6. 3D Scanning and printing
Group Assignment
- Test the design rules for your 3D printer(s
From the following link you can access the Group Assignment: Group Assignment
Individual Assignment
-
Design and 3D print an object (small, few cm3, limited by printer time) that could not be easily made subtractively
-
3D scan an object, try to prepare it for printing
Design and 3D print an object
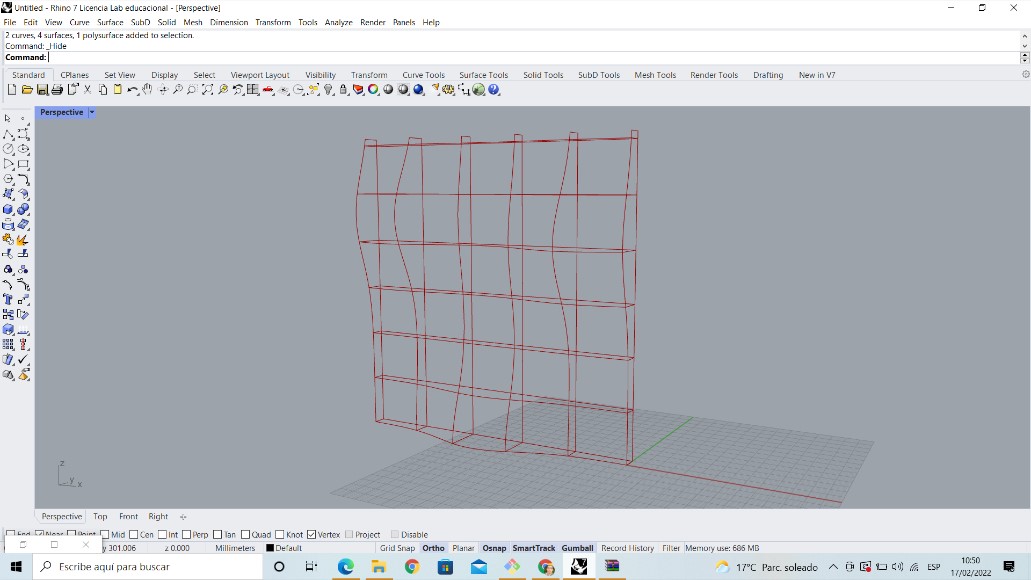
Taking advantage of the 3D object made in assignment 4 Computer controlled cutting. I decided to print it.
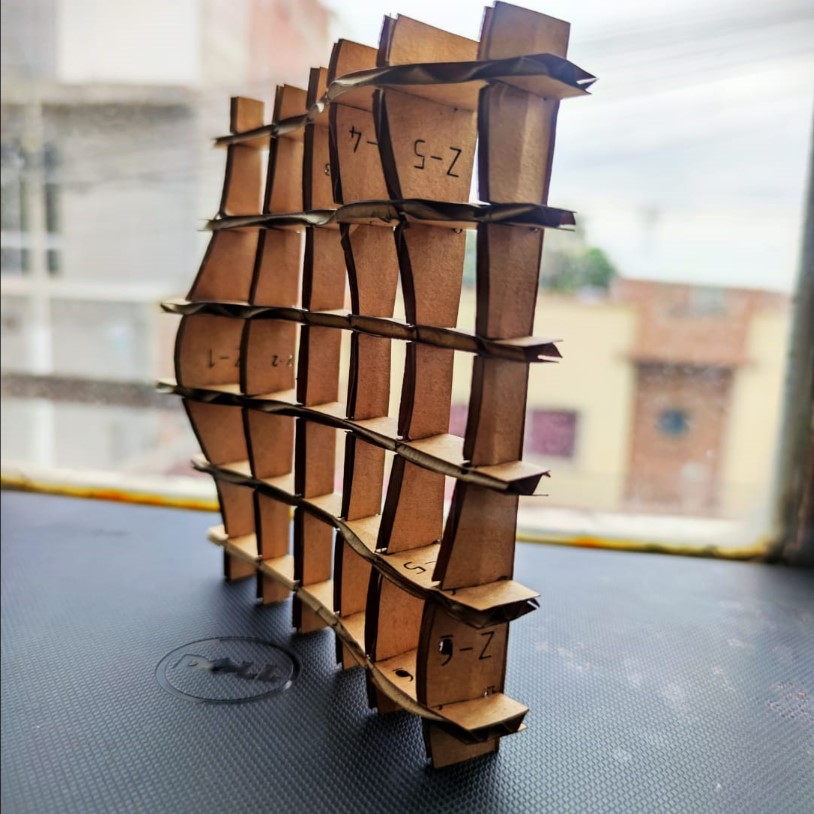
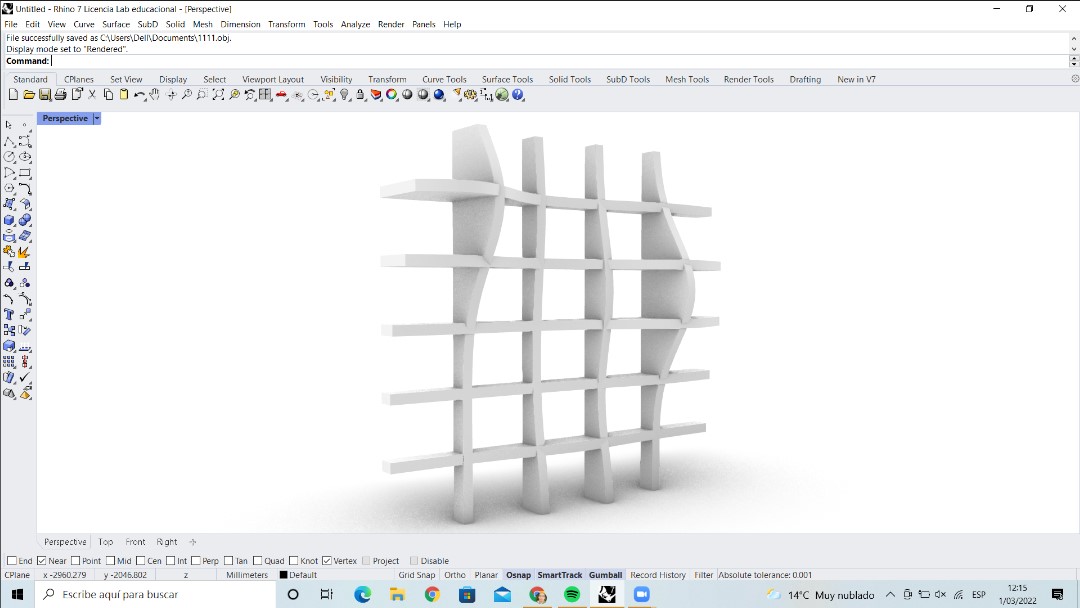
I was able to download the model and edit it. I was able to learn some tools from rinho7. In the following link you will find the procedure Waffle-structure
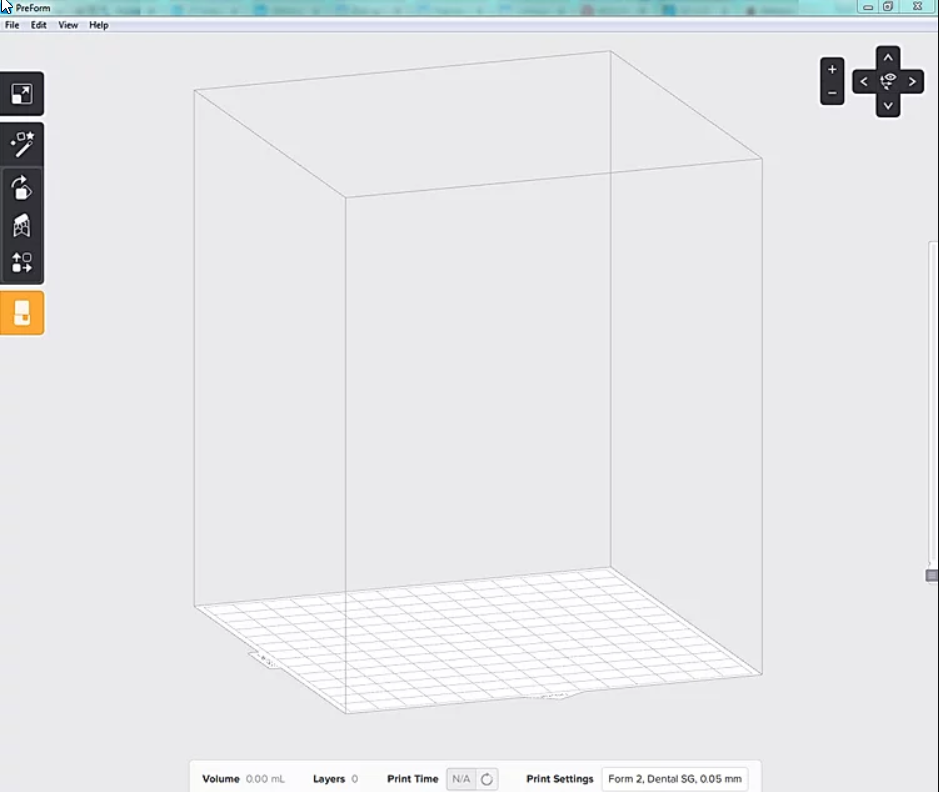
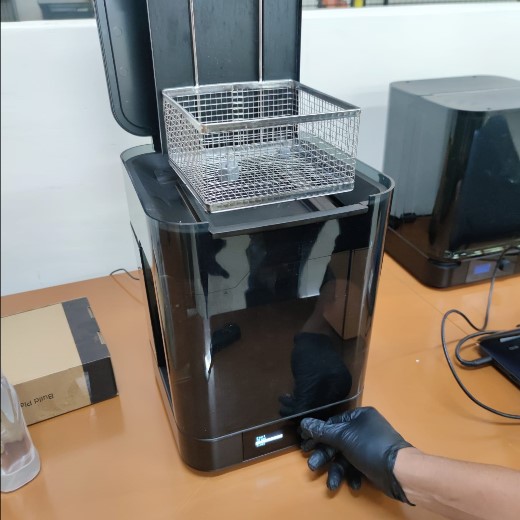
Use the PREFORM program, it is versatile and powerful cutting software for Formlabs 3D printers. I imported the file in millimeters, but it was too small to print, so I had to resize it larger with the “SIZE” option I added the supports automatically, now the ‘PRINTABILITY’ part is with the little green hands, which is a sign that our file can be sent to print. Now, click “ORGANIZATION > ORGANIZE ALL” and it will be placed correctly on the print table. The 3d printer starts to heat up, it balances the resin and the print bed.
Once finished, the print bed is removed, then placed in a special resin washer, removing non-part resin residue. Then it goes into the washing machine for 20 minutes. After washing, the print bed is removed and the part is removed with a spatula. Spray some isopropyl alcohol on the part and place it in the curing oven, set the temperature and cure time. This design took 1 hour for this process at 60°C.

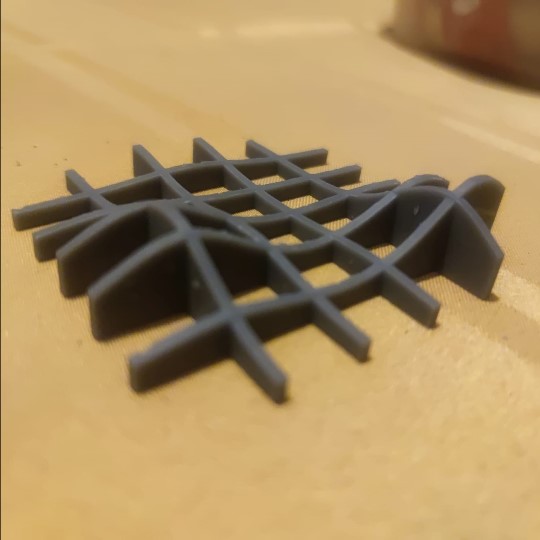
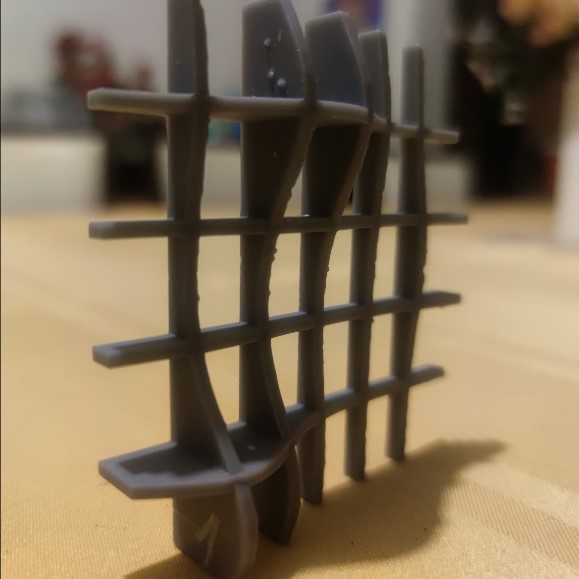
The support structures were removed:
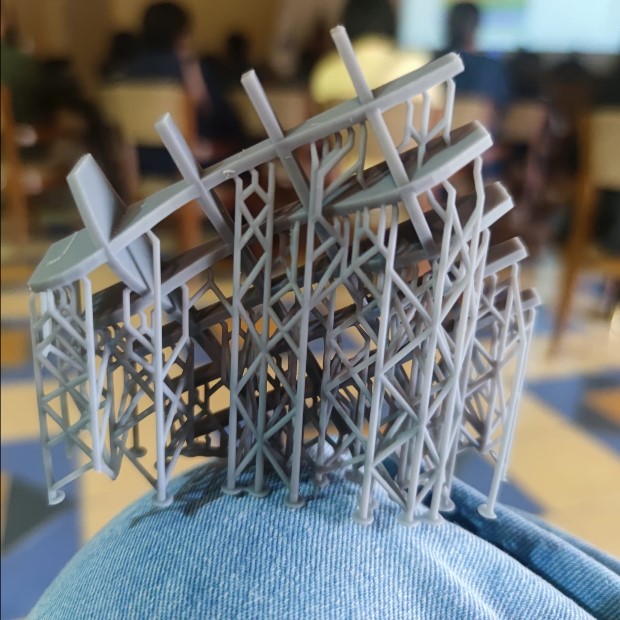
The end result is the following:
3D scan an object
In the lab we have an Artec Eva by Artec3D, it is a structured light 3D scanner that allows to capture textures and color with these features:
- 3D accuracy of 0.1mm,
- 3D resolution of 0.2mm
- Minimum target size of 10 cm
The scanner uses its own software called Artec Studio 15
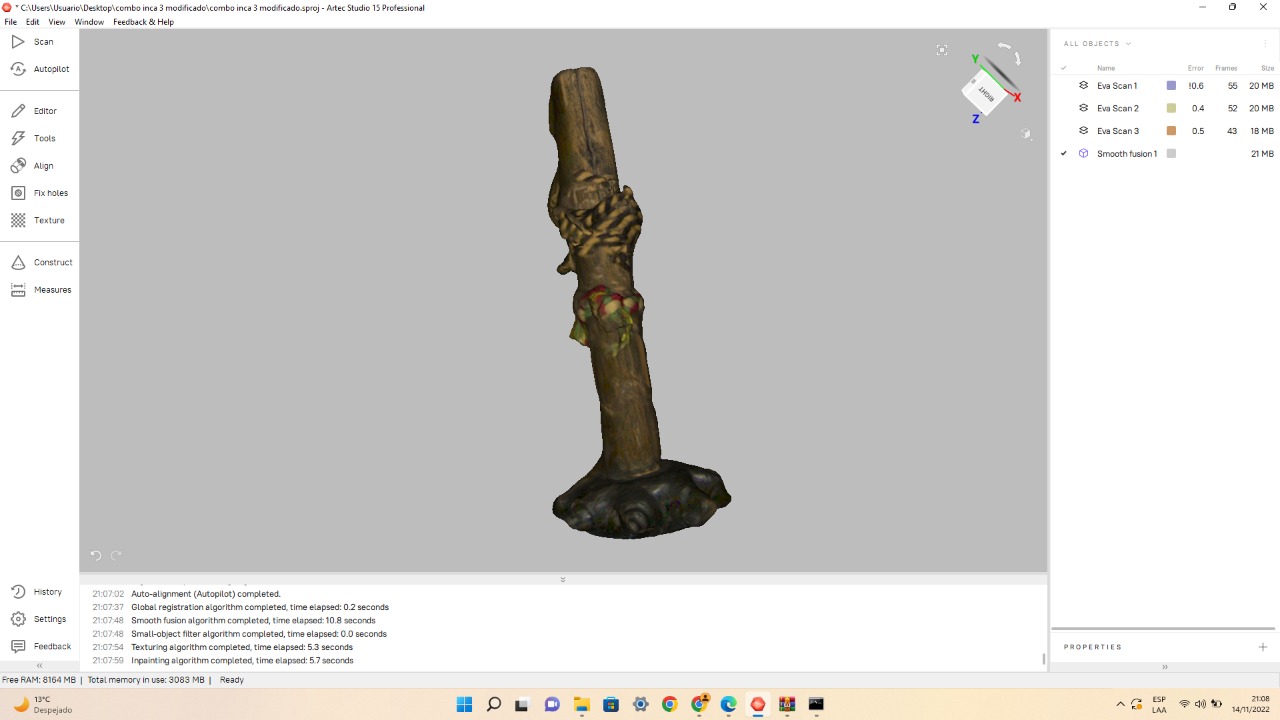
For this work, a war weapon from the Inca culture was used.

The machine was connected and the photos were taken from different angles. In total, 3 shots were taken.
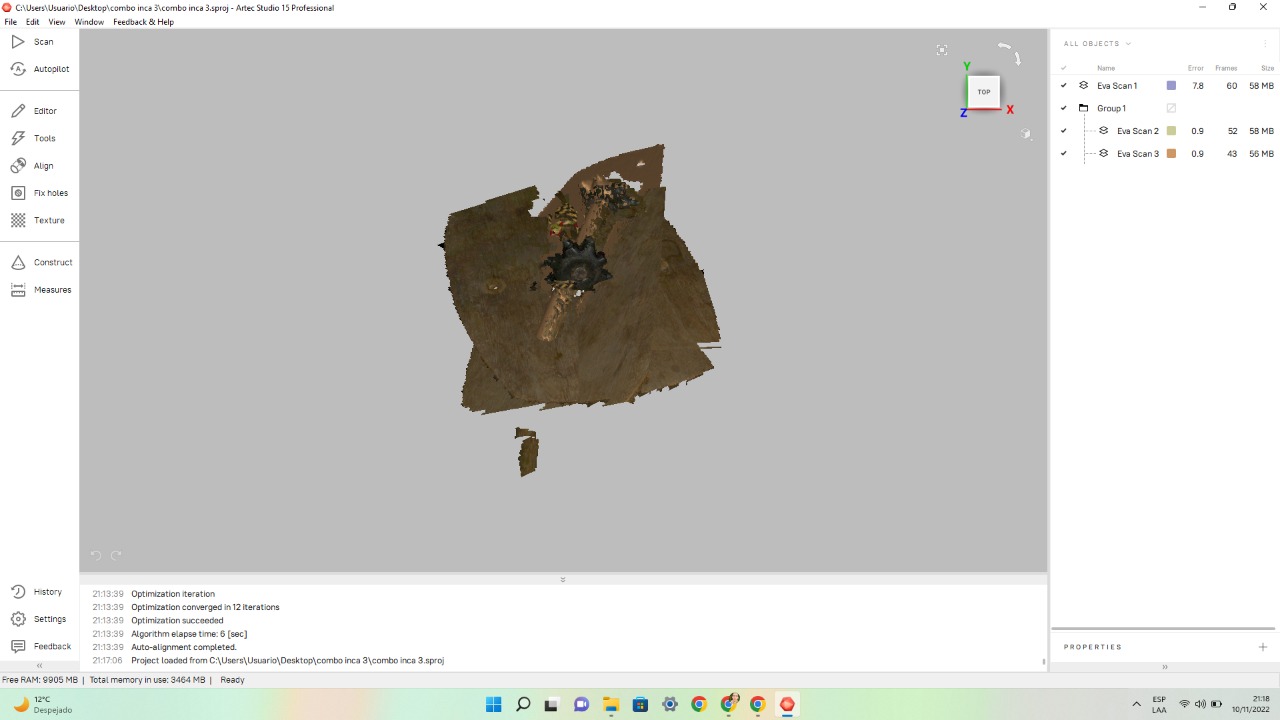
When opening the file in Artec Studio we will find the objects in 3 layers. We select the first layer and use the edit tool / Eraser / we will prepare the desired object. We choose the “lasso selection” option and with the control + shift + left click keys we select what we want to delete.

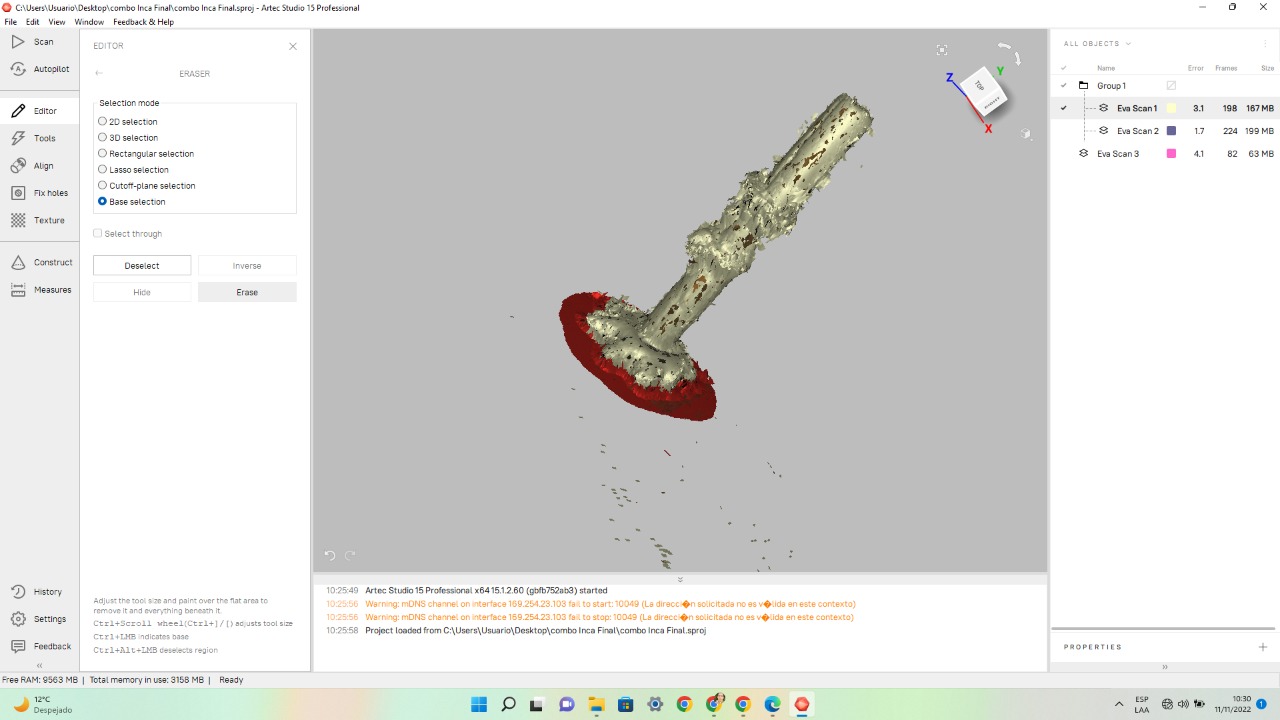
Now we use “Base Selection” and delete the sector
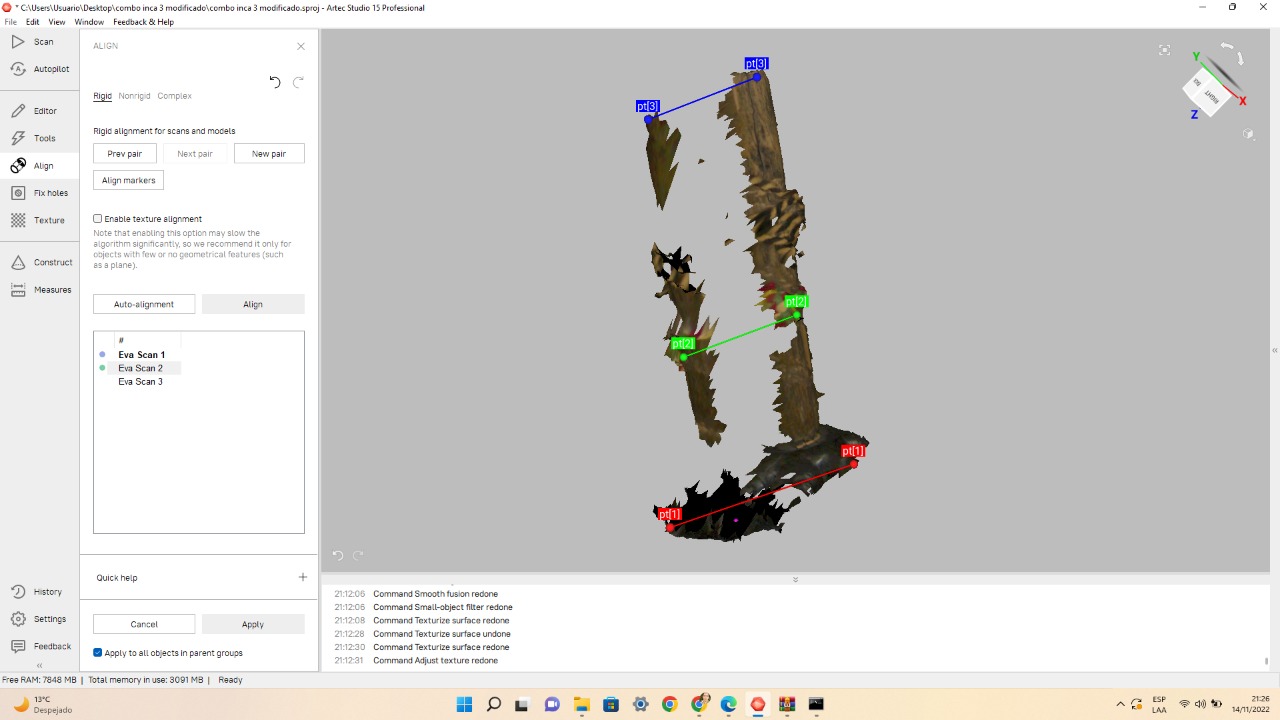
We do the same procedure for the other layers. Finally we use the Align tool. First we define a rotation point on the first layer. This will be magenta
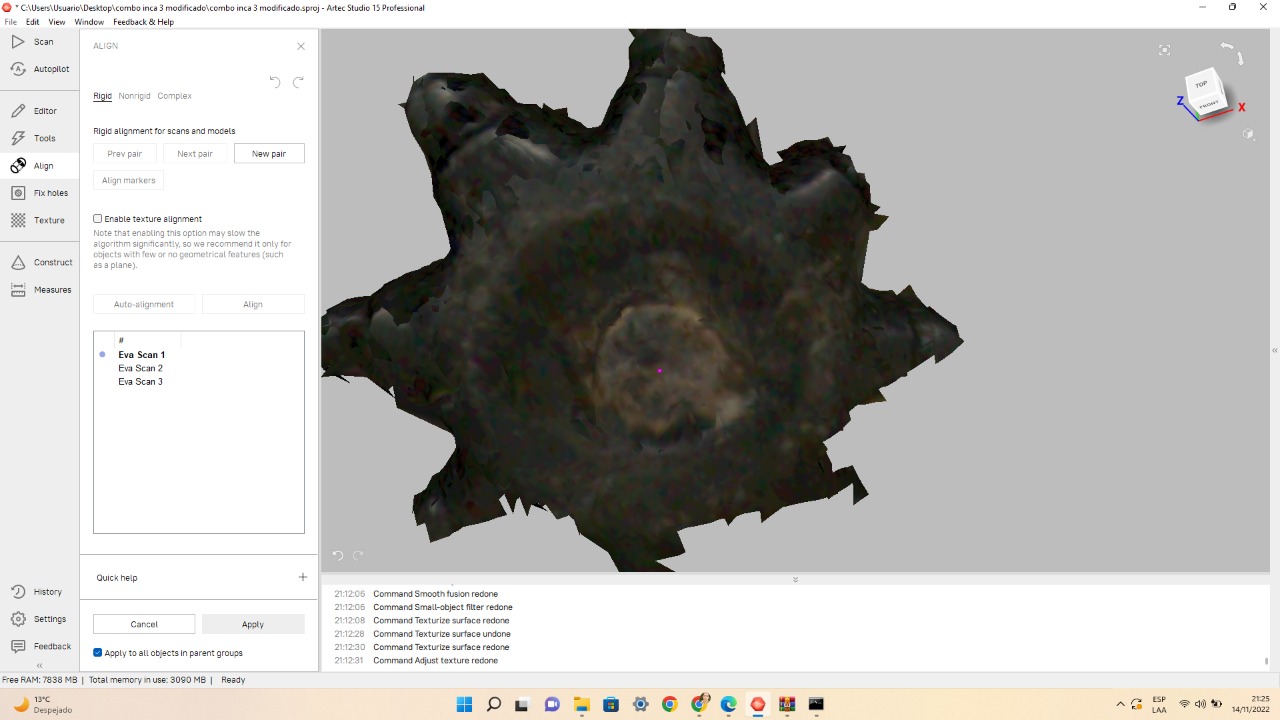
then we position the cursor on the second layer and with the Shift key and the left click we can rotate the second layer on the rotation point of the first layer.
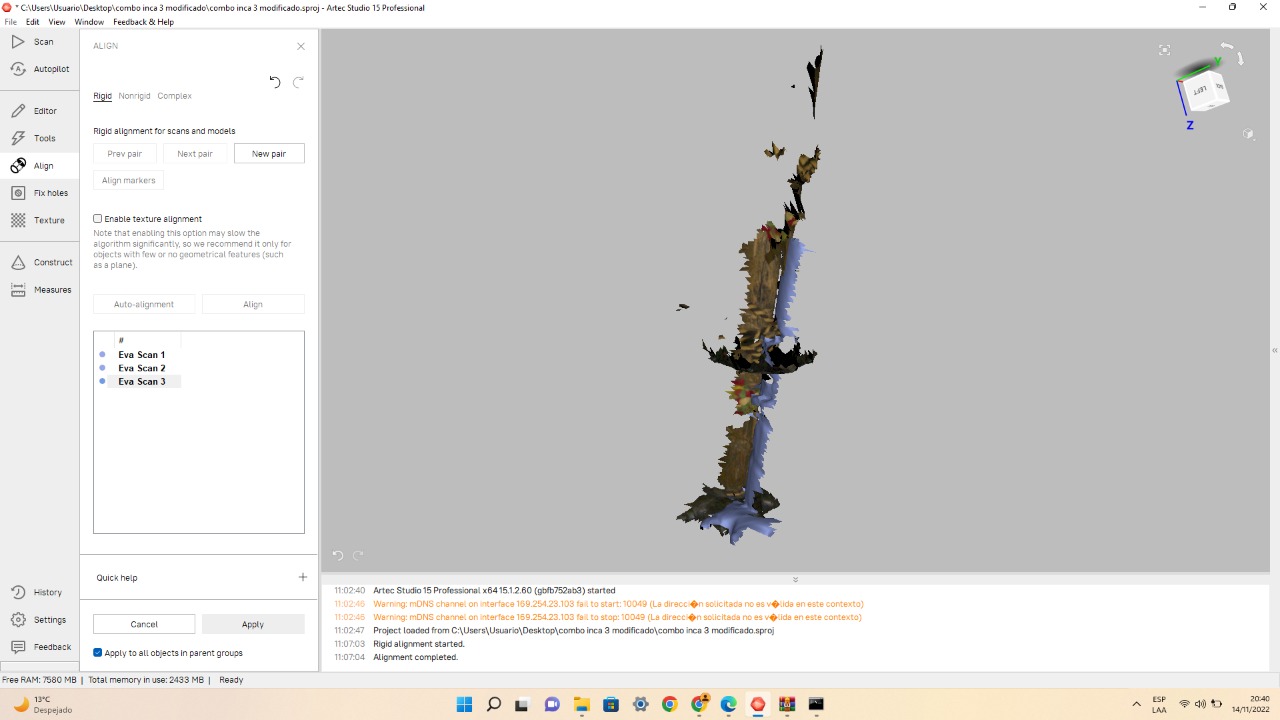
The same procedure is for the other layer. Finally we align through three reference points on each layer.
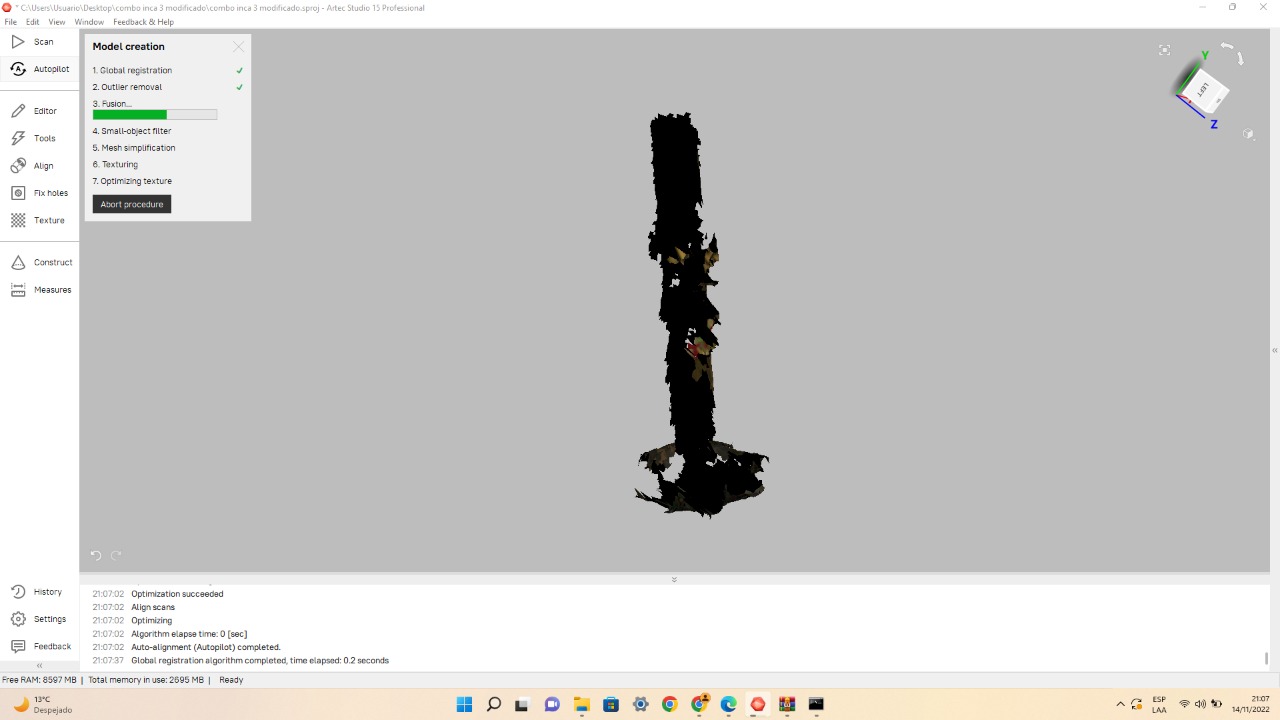
With the Autopilot tool we managed to join all the layers efficiently and quickly.
The end result is the following
About this week
This week I learned some Rinho 7 tools. It was also my first experience with 3D printing. This was not so difficult. I had some problems with the 3D scanner. It took me a long time to make the sequence of the photos since I didn’t have much space in the workplace. In addition, the object chosen to scan was small. These problems helped me to learn some editing tools in Artec Studio.