4. Computer controlled cutting
This week we started working with machines and materials. The first machines are the Laser Cutter and the Vinyl Cutter!!!
Group Assignment
- Test the design rules for your 3D printer(s)
From the following link you can access the Group Assignment: Group Assignment
Individual Assignment
Lasercut: parametric press-fit construction kit
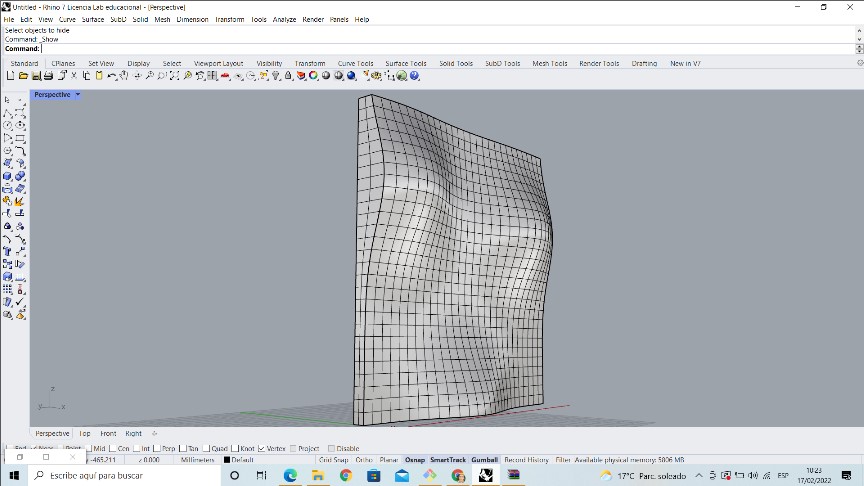
With the cut and the set of joints well defined, a Waffle-type structure was designed with the Rinho7 parametric software.
To create this 3D model I used the Waffle Structure tutorial.
The procedure was as follows:
With the surface 3P tool, two parallel rectangular surfaces were created.
With the rebuild Surface tool, the dividing nodes are edited to one of the surfaces
With the SoftEditSrf tool, the undulations were created on one of the surfaces.
With the Dopborder tool, the edge of the two surfaces was selected
With the Loft tool both surfaces were joined into a single object
The following image shows the result of this procedure:
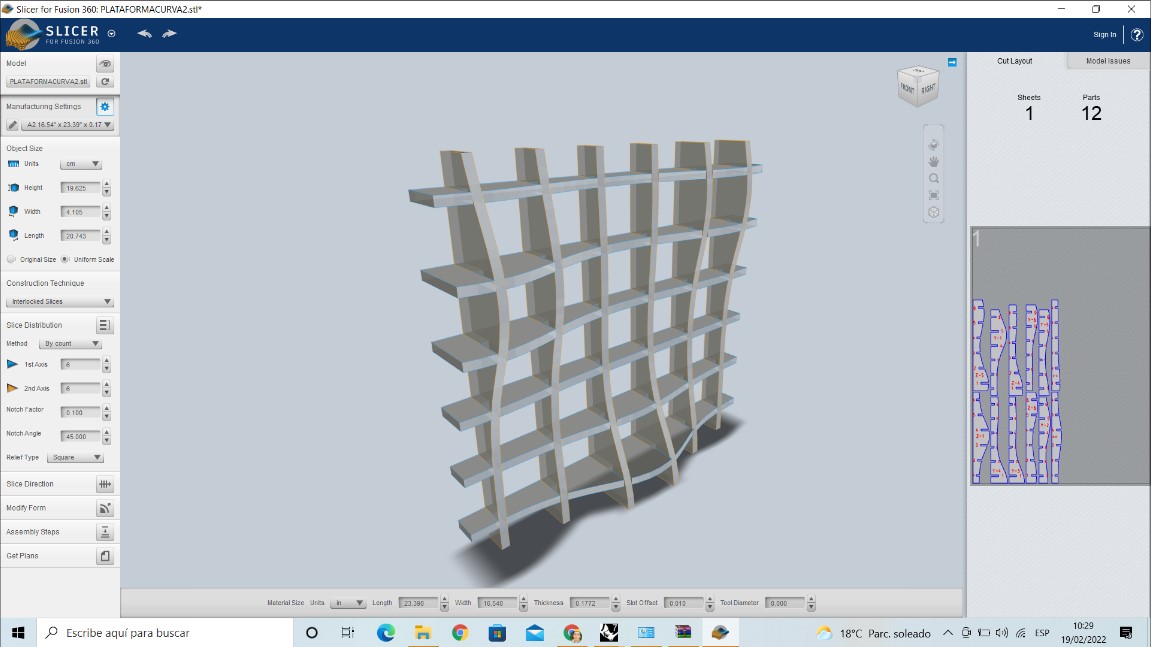
With the software slicerforfusion360 the cutting and joint plans to manufacture a screen-type wall.
The procedure was as follows:
The model created in Rinho7 was imported in .stl format
The format of the A4 sheet was created and the thickness of the joint was defined at 315mm
The Interlocked Slices 6x6 tool is used
Plans in .dxf format were removed
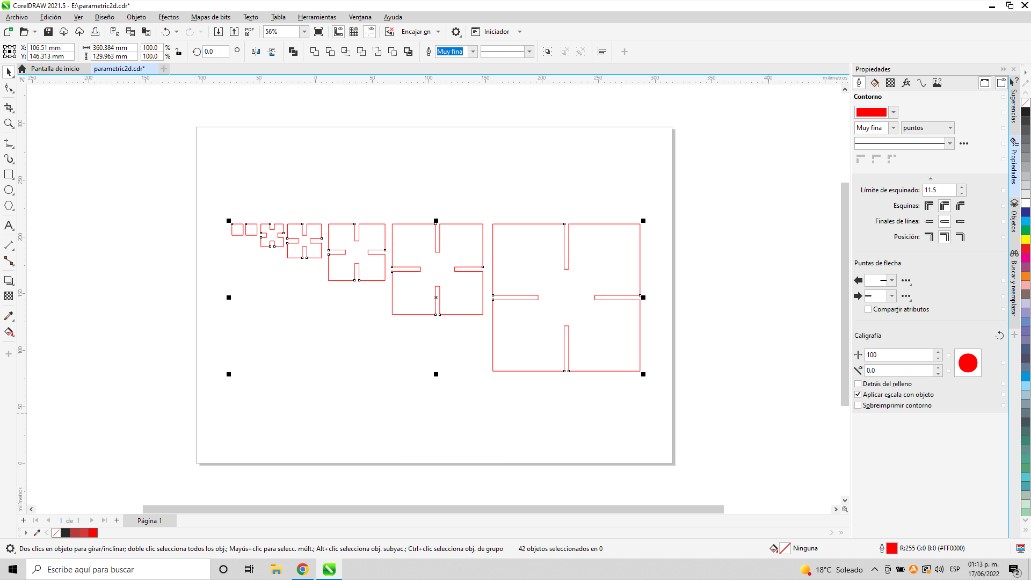
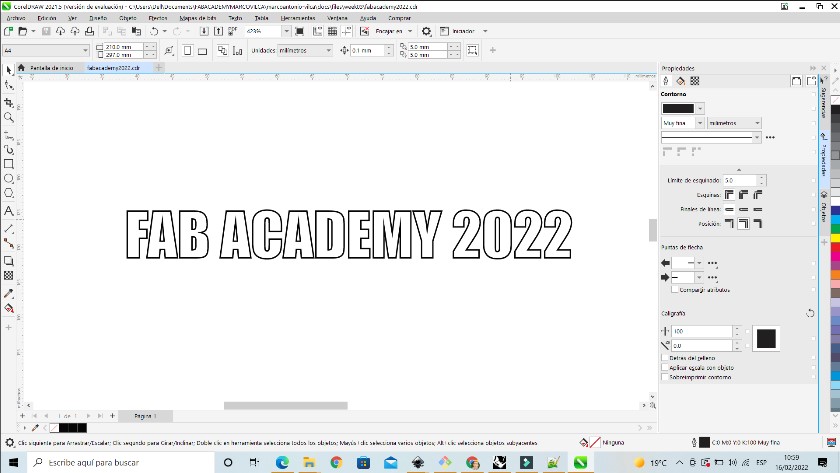
The .dxf format was opened in Corel Draw, the lines were edited in very fine format and RGB red color
The following image shows the result of this procedure:
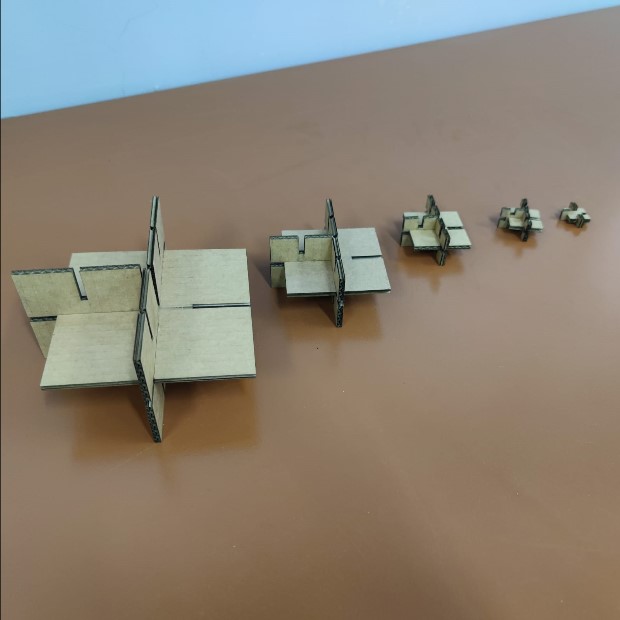
finally proceeded to join and assemble each of the pieces.
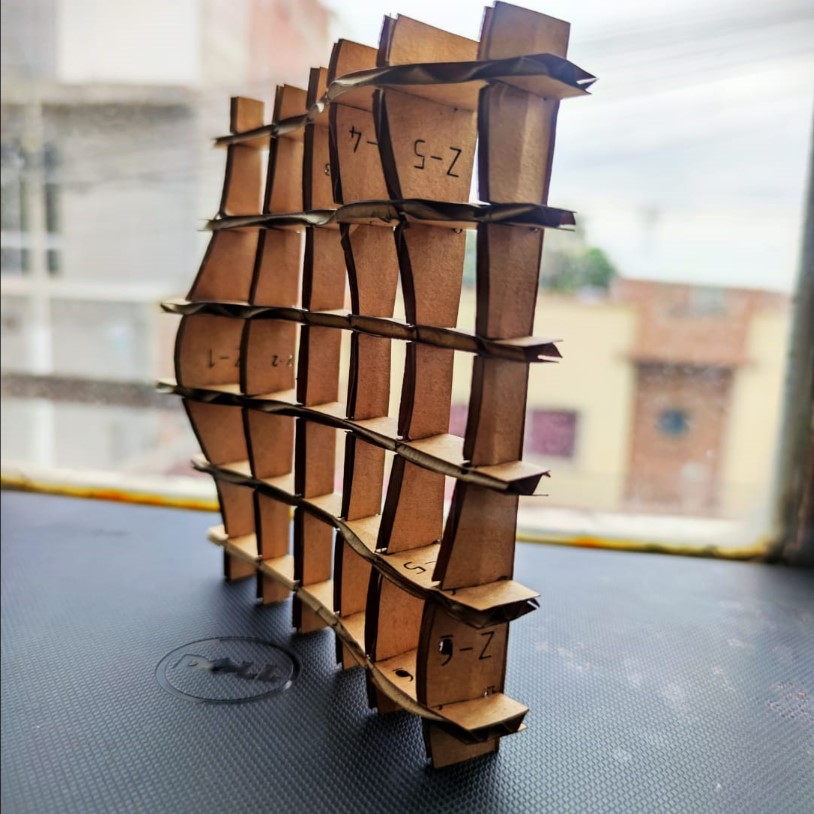

The object was designed as an orthogonal assembly. But the pieces can configure different shapes depending on the layout of the fabric. The following image shows a different assembly.

I also decided to do another exercise since I forgot to take some photos of the procedure. In this new design I was inspired by the Fibonacci sequence. Make the design of some squares in different scales according to the sequence 1,1,2,3,5,8,13.... The design was made in Autocad with polyline.
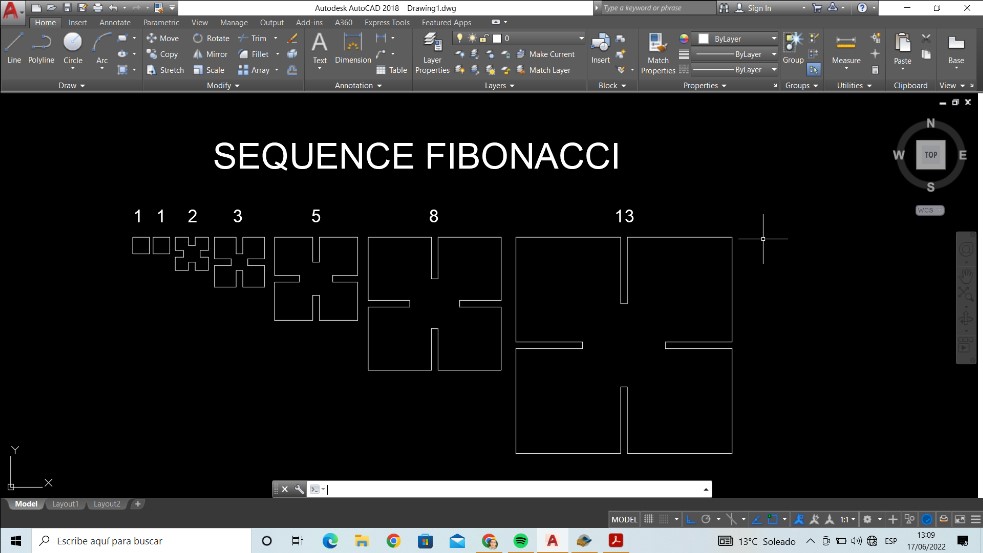
The layout was also done in Grasshopper but I had trouble scaling the gaps. The procedure was to create a surface with the “polyline” tool through points created in Rhino 7. To that created surface, the scale factor was applied according to the Fibonacci sequence. Through the “scale” tool

To print the 2D vector file was edited in CorelDraw. The “very fine” lines and the color “RGB 255”
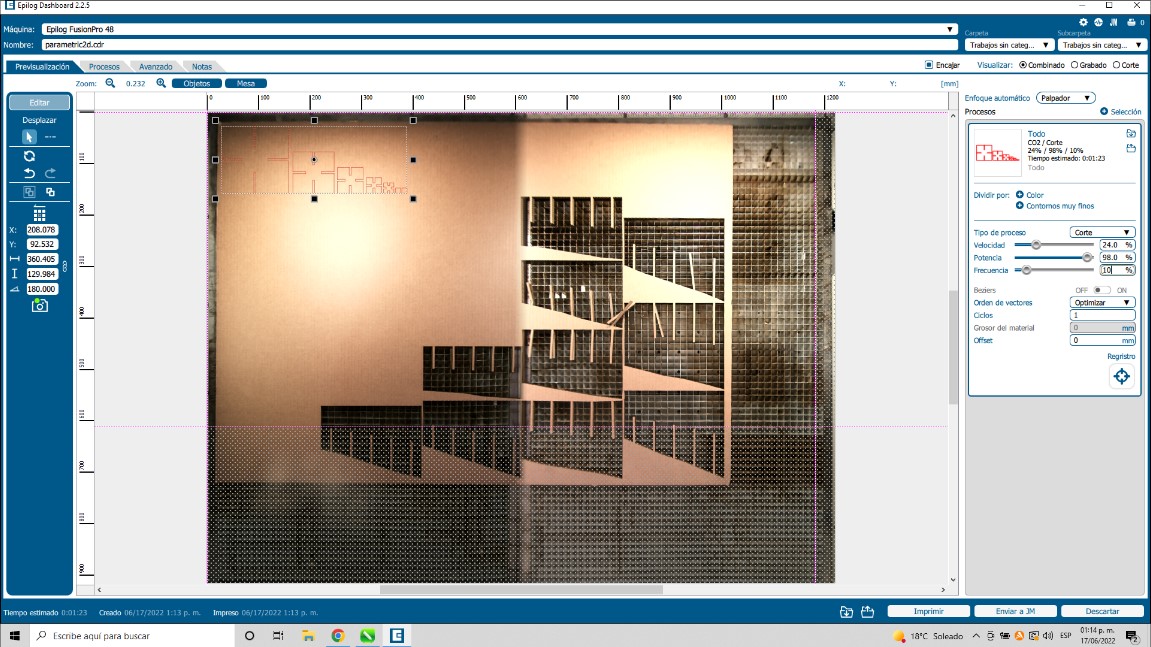
The cutting parameters for the 4mm thick cardboard was. Speed 24%, Power 98%, and frequency 10%.
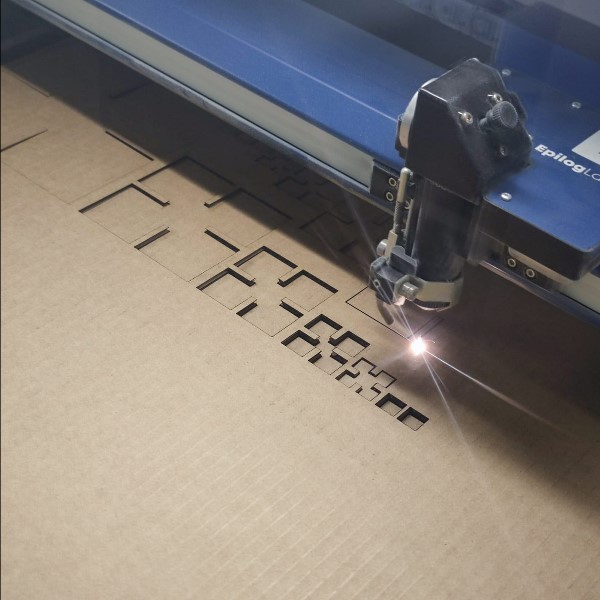
In the following you can see laser cutting procedure
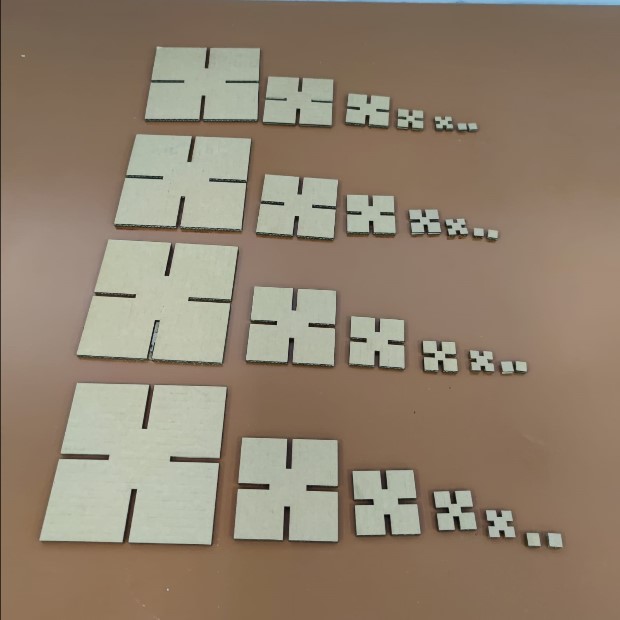
In the following image you can see 4 repetitions of the designed models
Union and assembly of parts
Exploration of proportion, direction and scale.

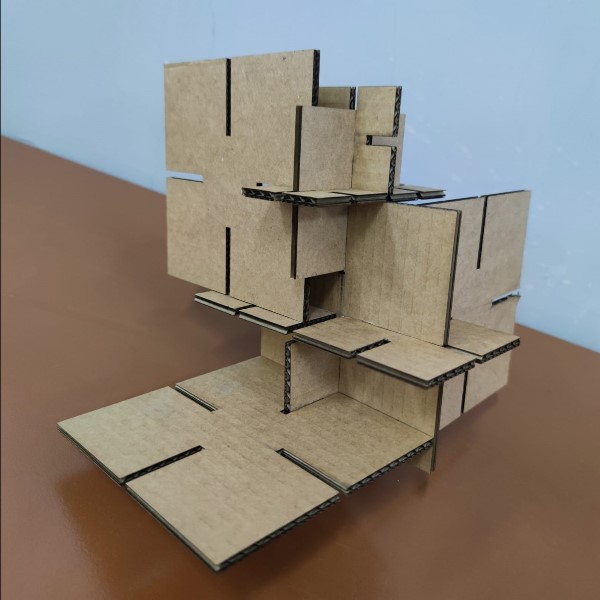
This can be an interesting exercise for architecture students. You can learn to explore the design criteria of scale, proportion, and directionality.
Vinylcutter
The vinyl cutter available in the lab is a GCC Expert II 24” model that can load materials up to a maximum width of 600 mm. The cutter has a standard 45° blade.

The vinyl cutting process is not very complex, you only have to set the parameters recommended by the supplier:
| Adhesive Vinyl 290gr/m² | Values | Observations |
|---|---|---|
| Velocidad | 21 | the greater the complexity, the higher the speed |
| Force | 85 | the thicker the material, the greater the strength |
| Offset | 0.25 | the deeper the cut, the greater the offset |

El diseño que se corto es el ya elaborado en el assigments 3: modelo vectorial 2D, realizado en Corel Draw.
The process of transferring the cut design to the final surface is aided with an adhesive transfer tape
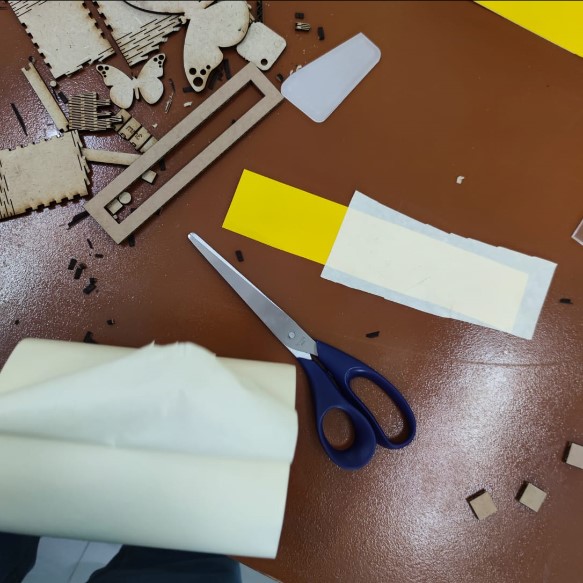
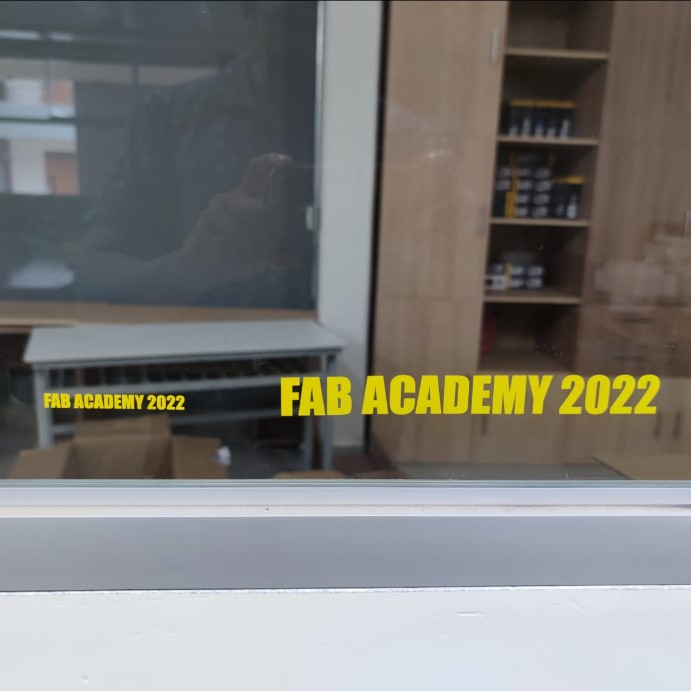
The result was pasted on the window of one of the laboratory offices
You can download the files below:
About this week
This week was a lot of learning. Never use this type of machines. I learned to use better Corel Draw and Rinho7. These software are not difficult to learn but it does require a lot of practice. I’m getting used to reporting every procedure. I consider that the longest time to manufacture is to study the thickness of the joint in the case of Lasercut. In Vinylcutter the complicated thing was when making the transfer of the letters. With more practice I will be more efficient when using these machines.