18. Wildcard week
Hey! We made it this far through the weeks of Fabacademy classes and assignments. I say well done, we are are not done yet just a little more effort then we will complete the fabacademy program for this year 2022. Now moving onto this week’s assignment on the wildcard week, we were tasked with this:
Design and produce something with a digital fabrication process (incorporating computer-aided design and manufacturing) not covered in another assignment, documenting the requirements that your assignment meets, and including everything necessary to reproduce it.
So now with this week’s assignment, I will be casting some aluminum but before I do that I need to satisfy the instructions above. So this blog will be in segments:
-
the computer aided design
-
the computer aided manufacturing
-
producing the mold
-
casting the aluminum metal
Hero shots
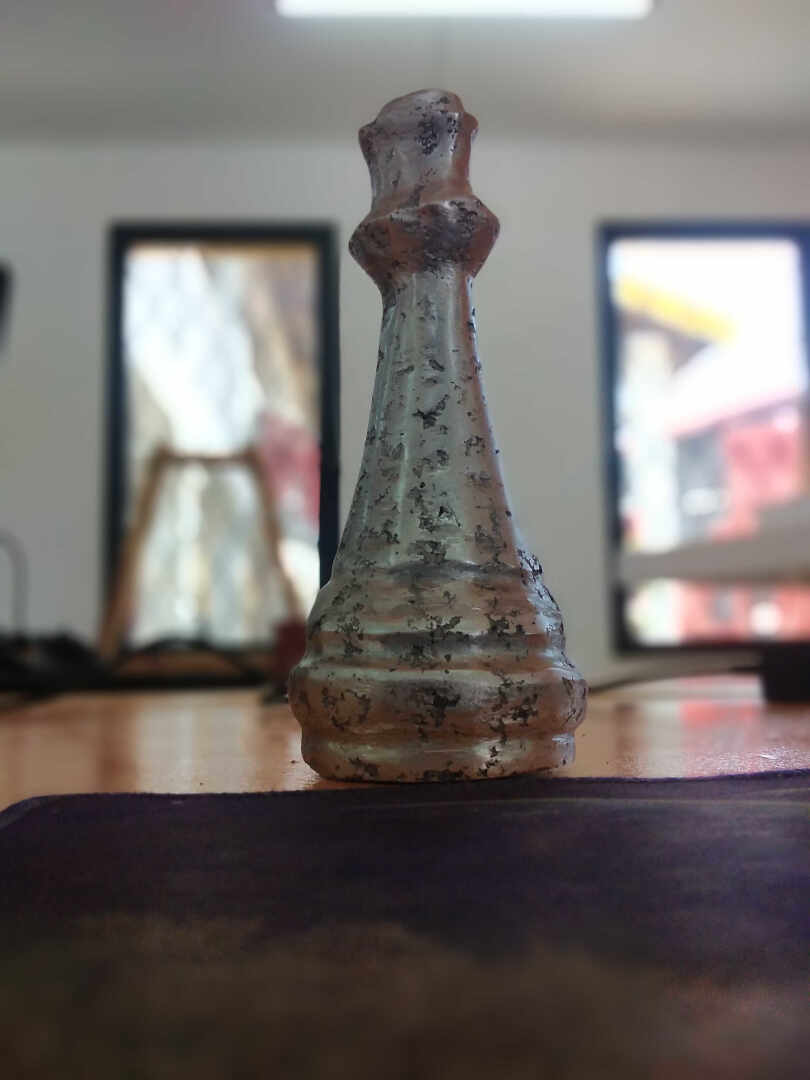
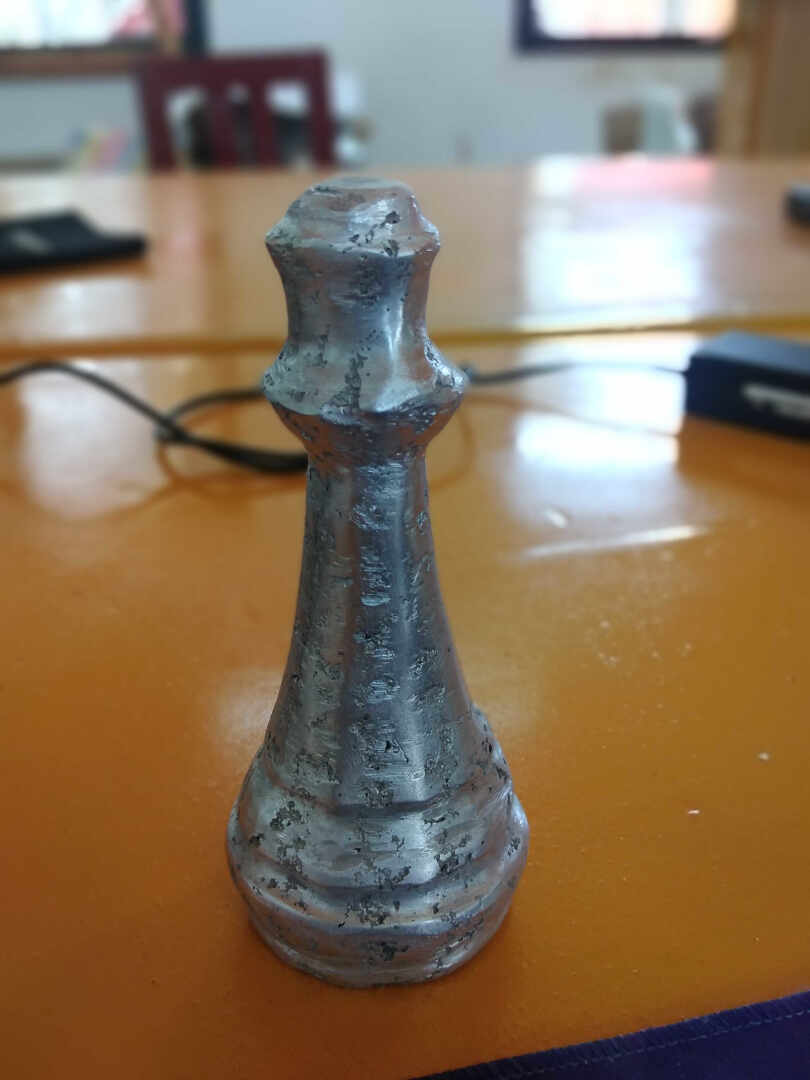
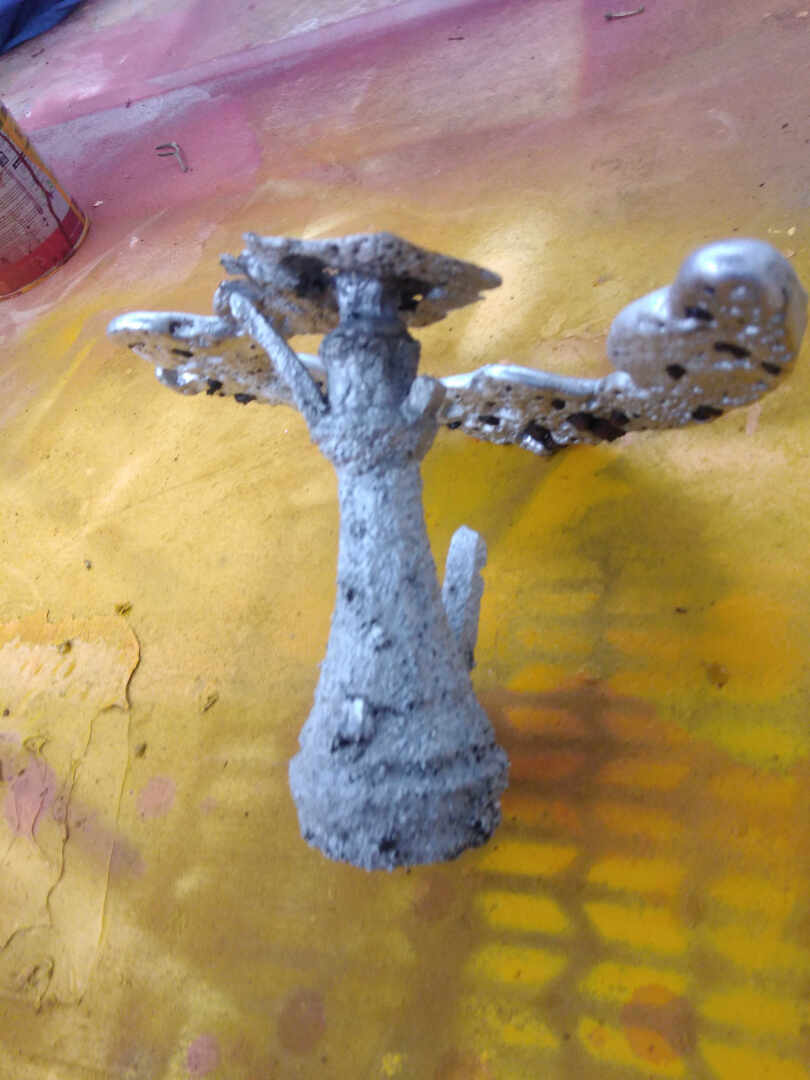
For the assignment, I will be casting Chess piece(the queen). you can find the finished work below
Computer Aided Design(3D & 2D model)
To start this assignment, I have to design and model the piece on a computer to see the outcome and optimise it when the need arises. i use BS Dassault Solidworks as my primary designing software for both 3D and 2D designs.
I started with the 3D designs using Solidworks to create the 2D sketch and produce the 3D to get my desired shape.
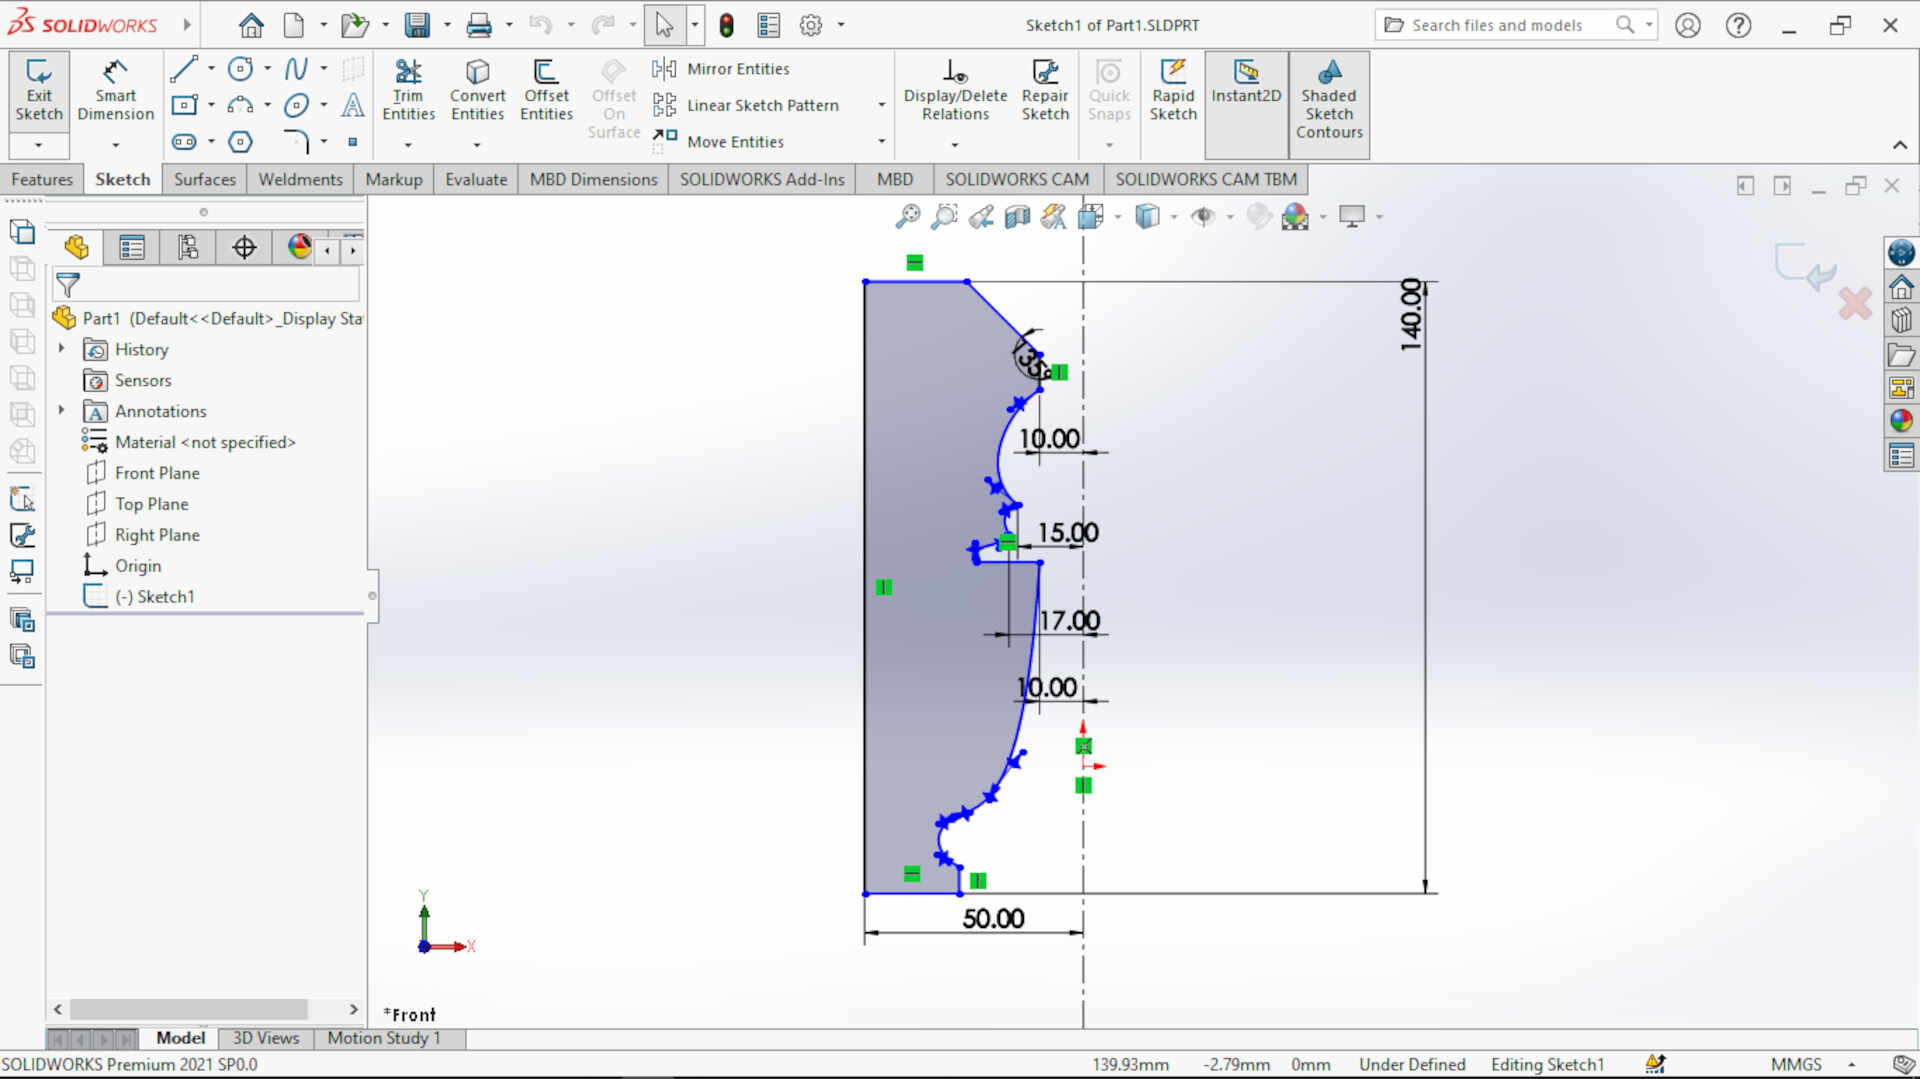 The picture above shows the 2D sketch drawn,this will be the path generaton sketch
 In the picture above, I used the revolve tool since it is cylindrical
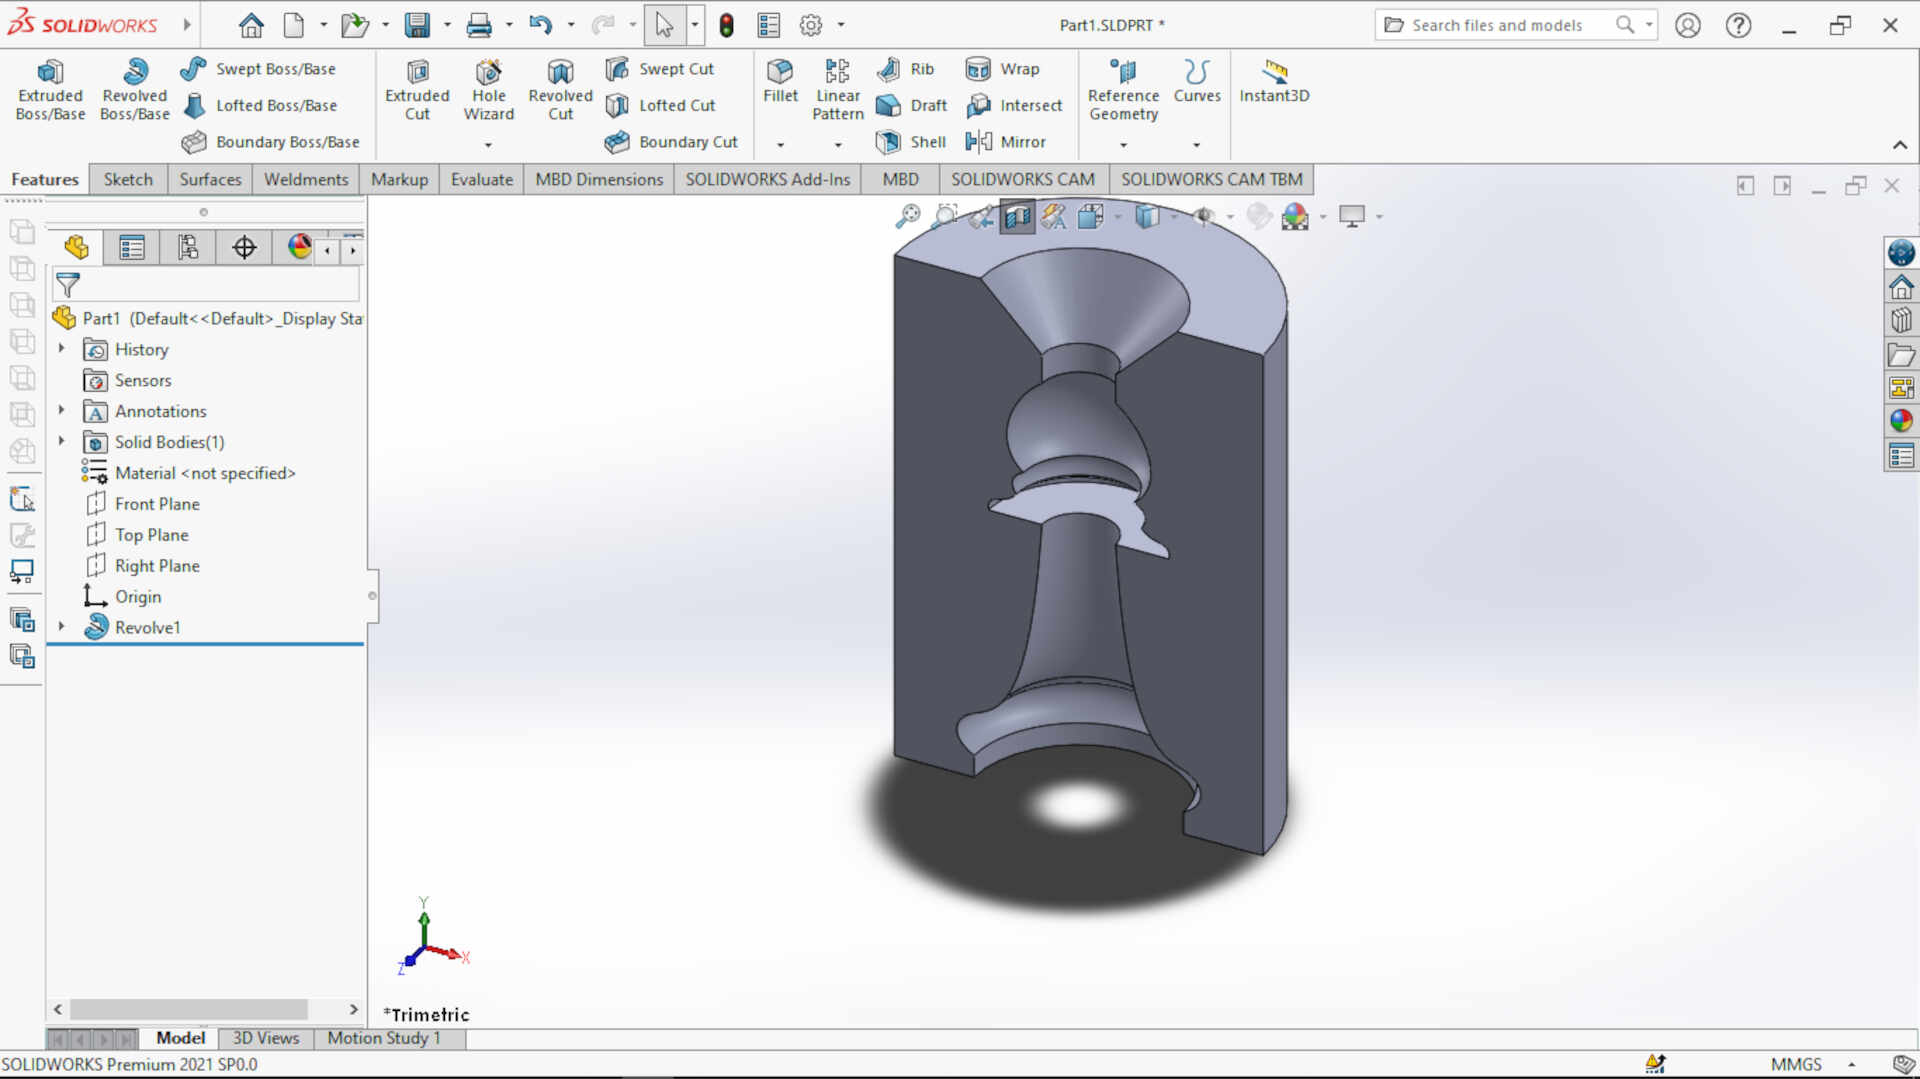 in the picture above is a sectioned view of the revolved part.
After desiging with Solidworks, I used Inkscape to generate the gcode tool path for Zoro to cut the foam for my mold.
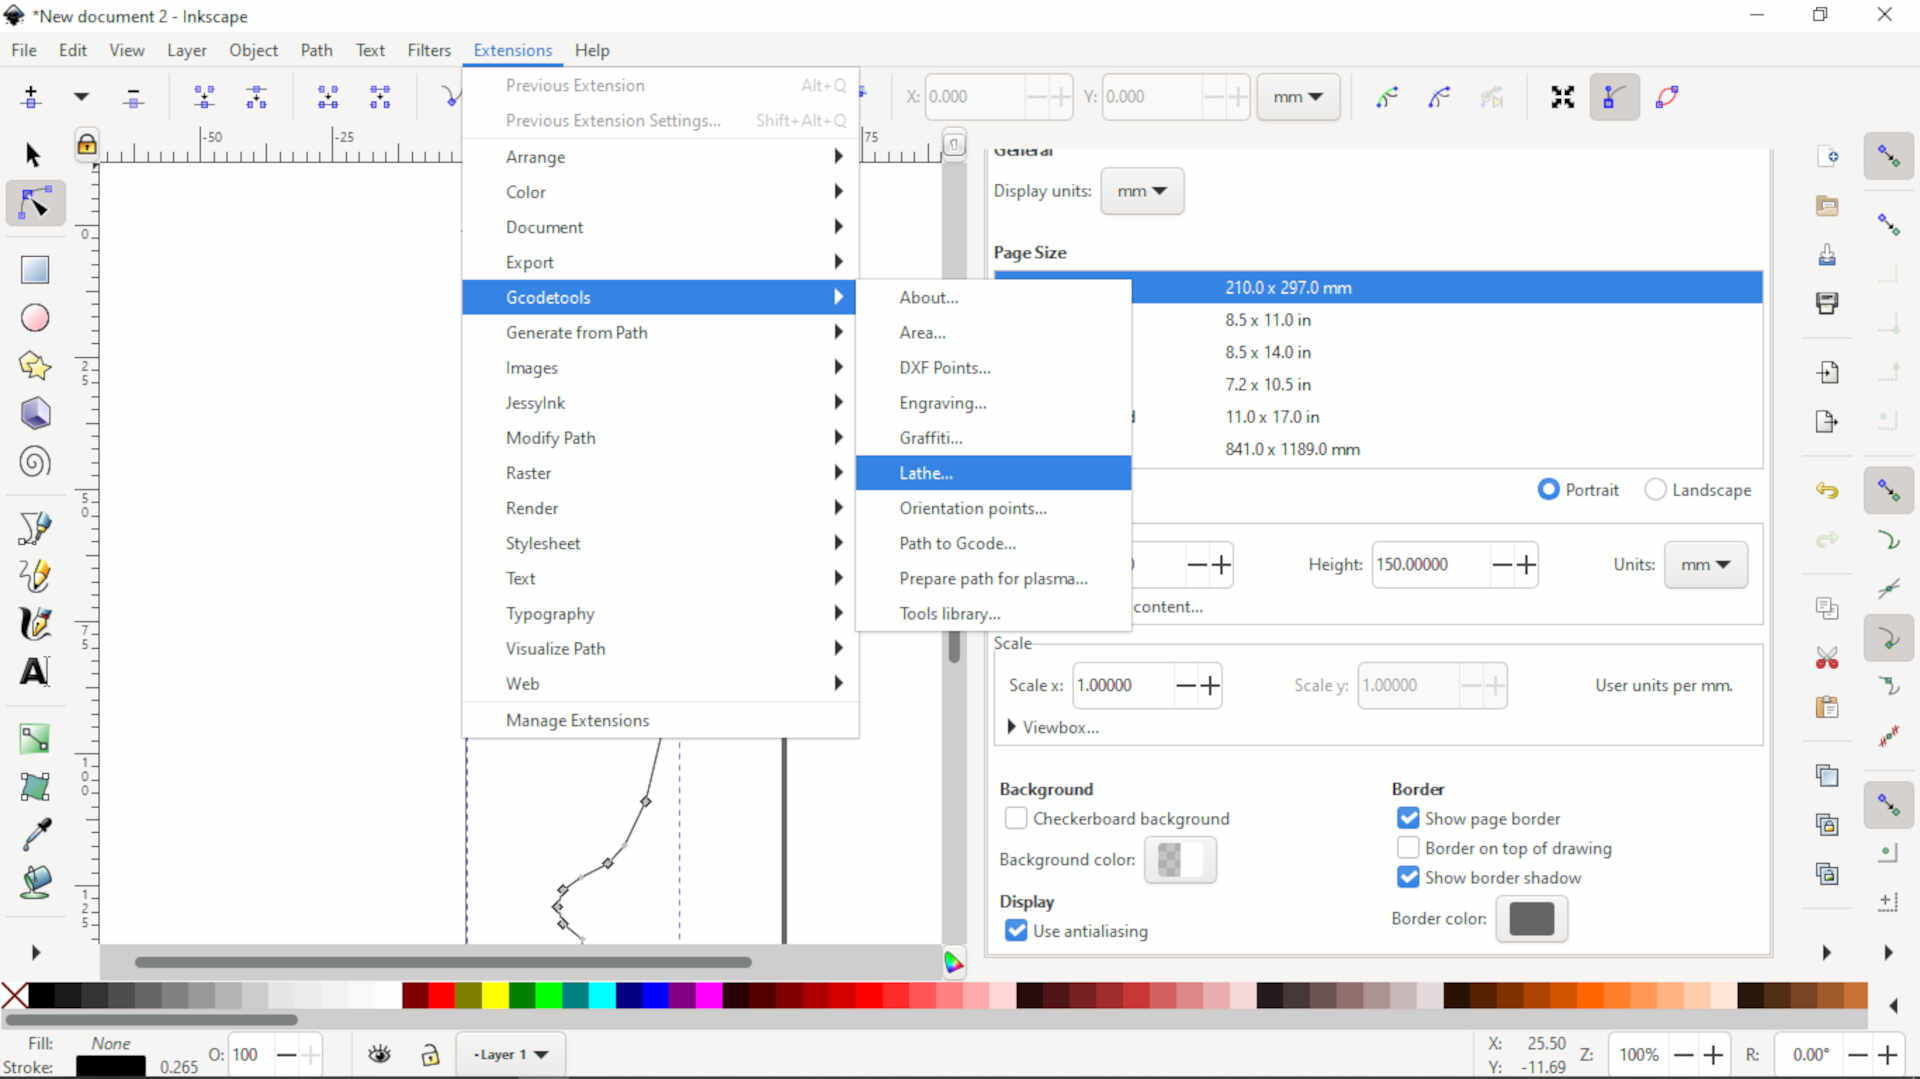 navigating yo the tool library
 navigating in the tool library
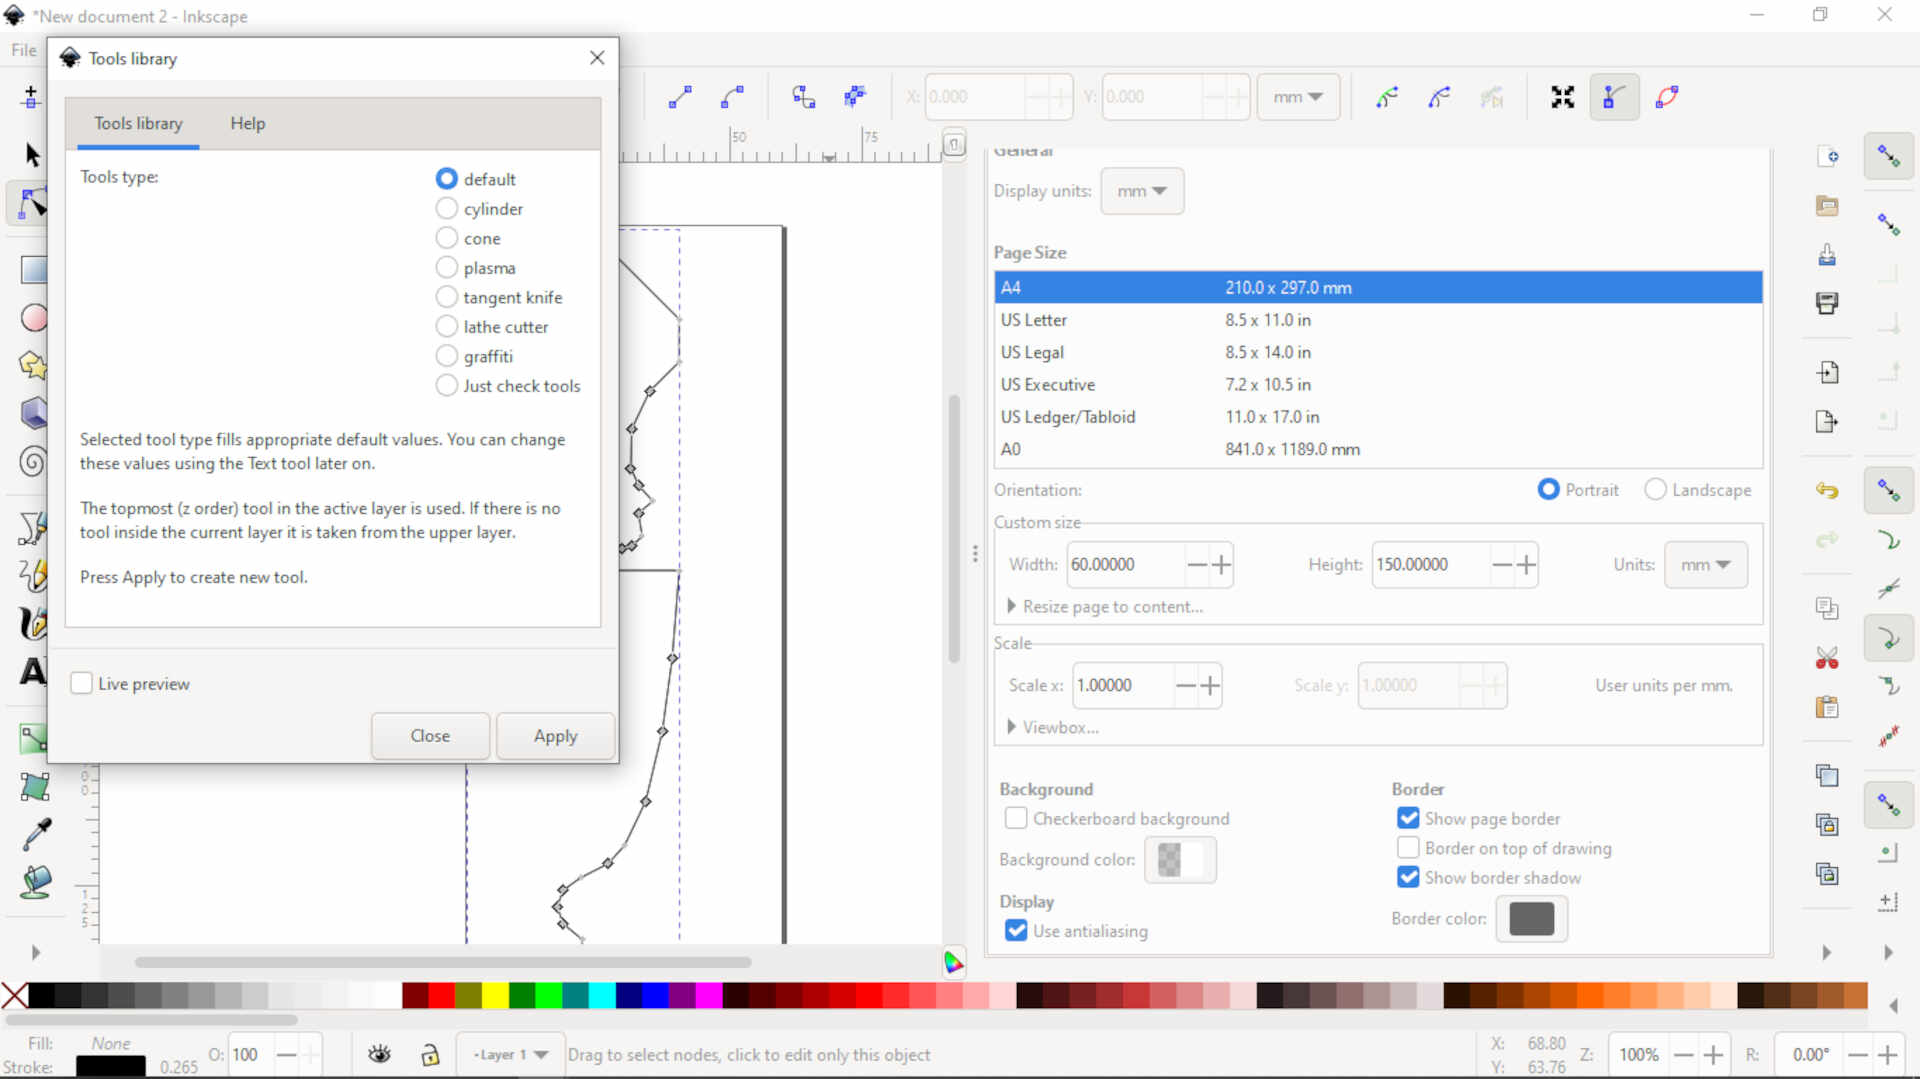
 choosing the cylinder tool type in the tool library
 definition of the cylindrical tool(parameters)
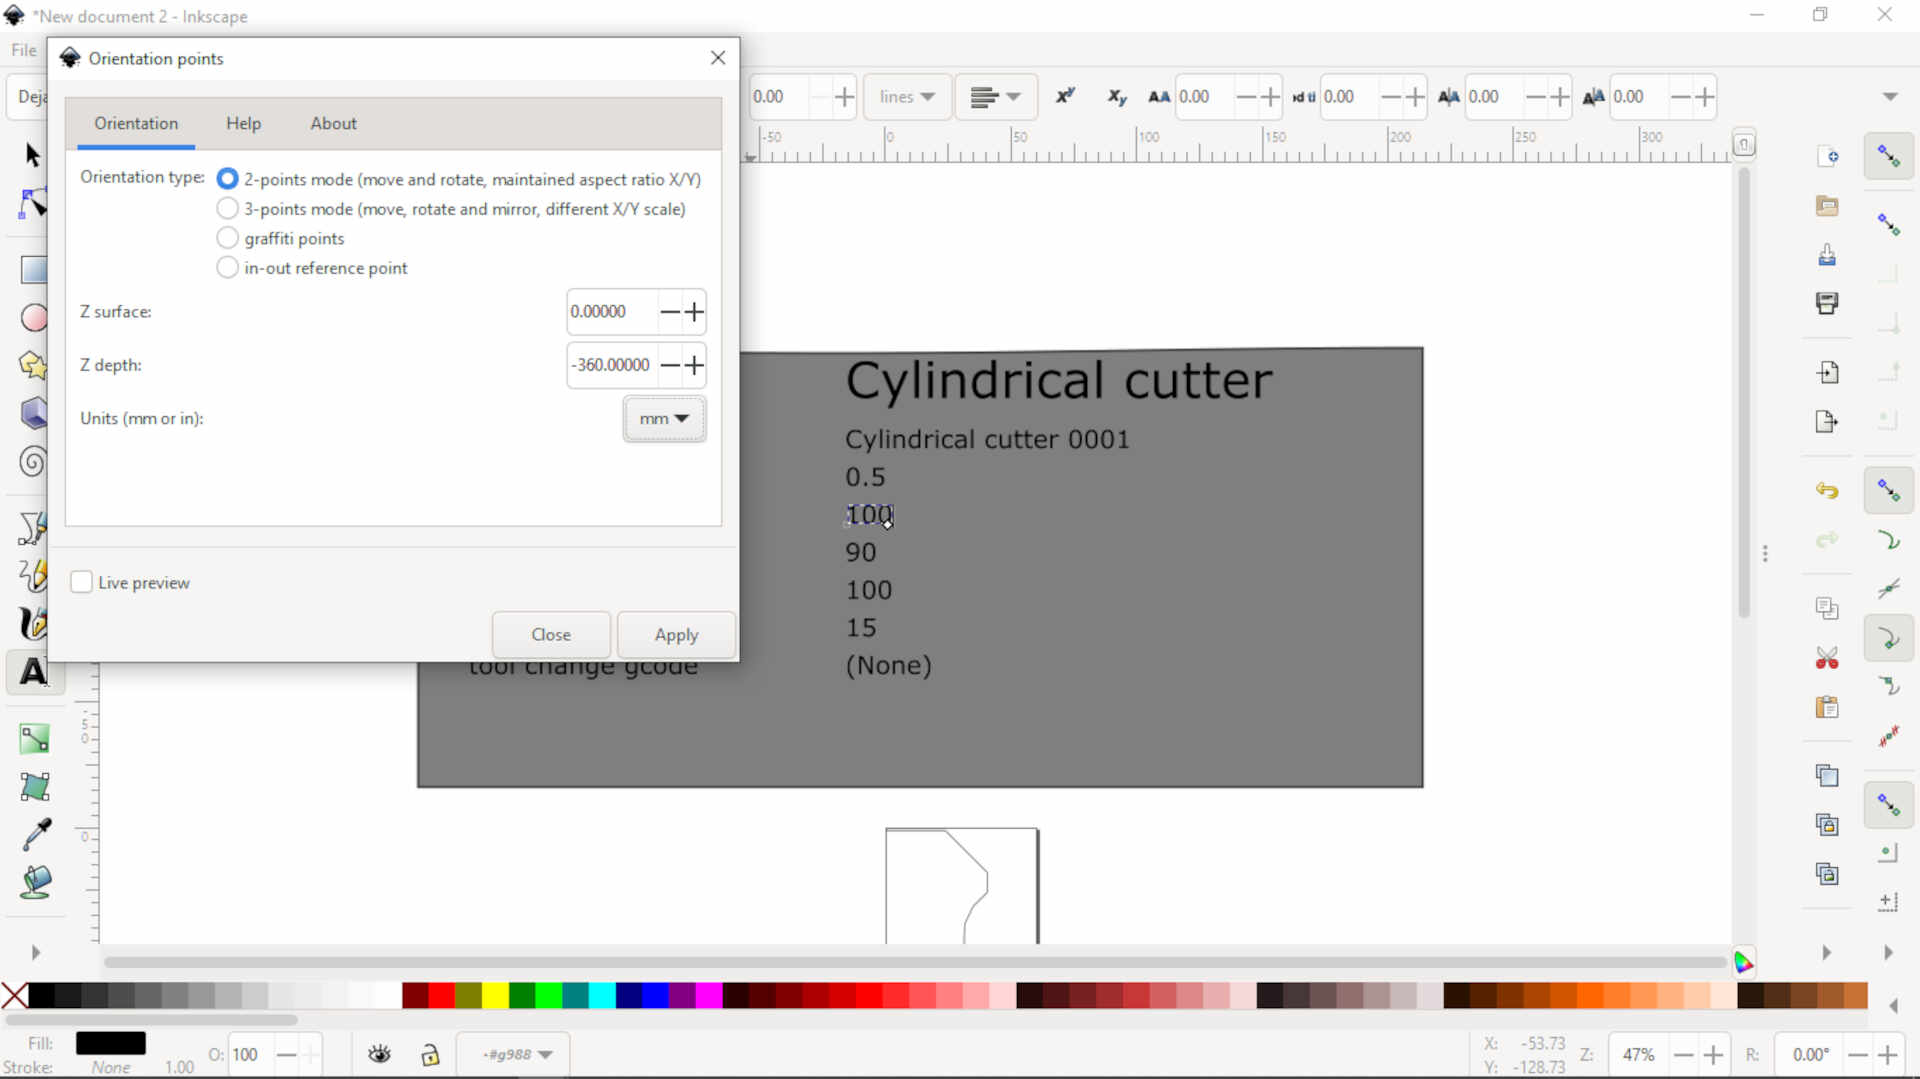 setting the orientation points of the tool
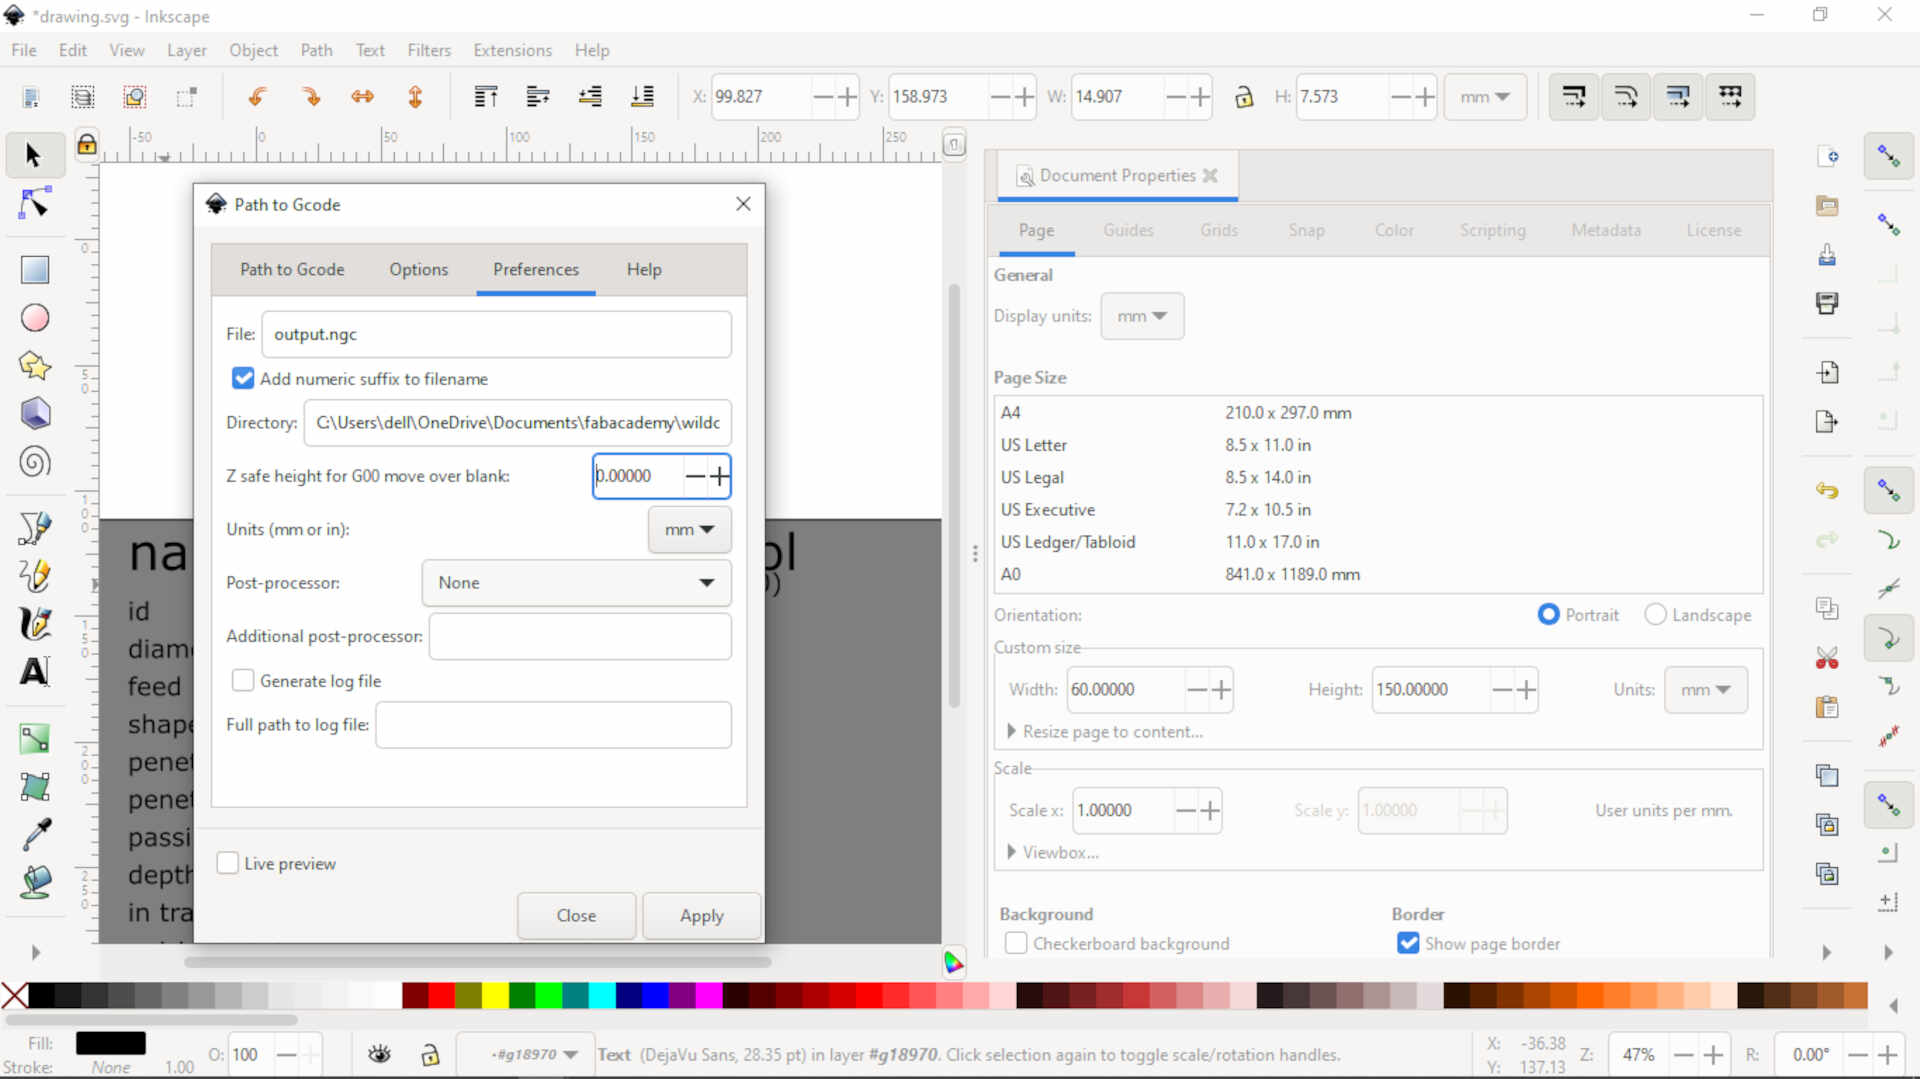 setting the preferrences in the gcode tool path window
 setting the document properties(the page width and height)
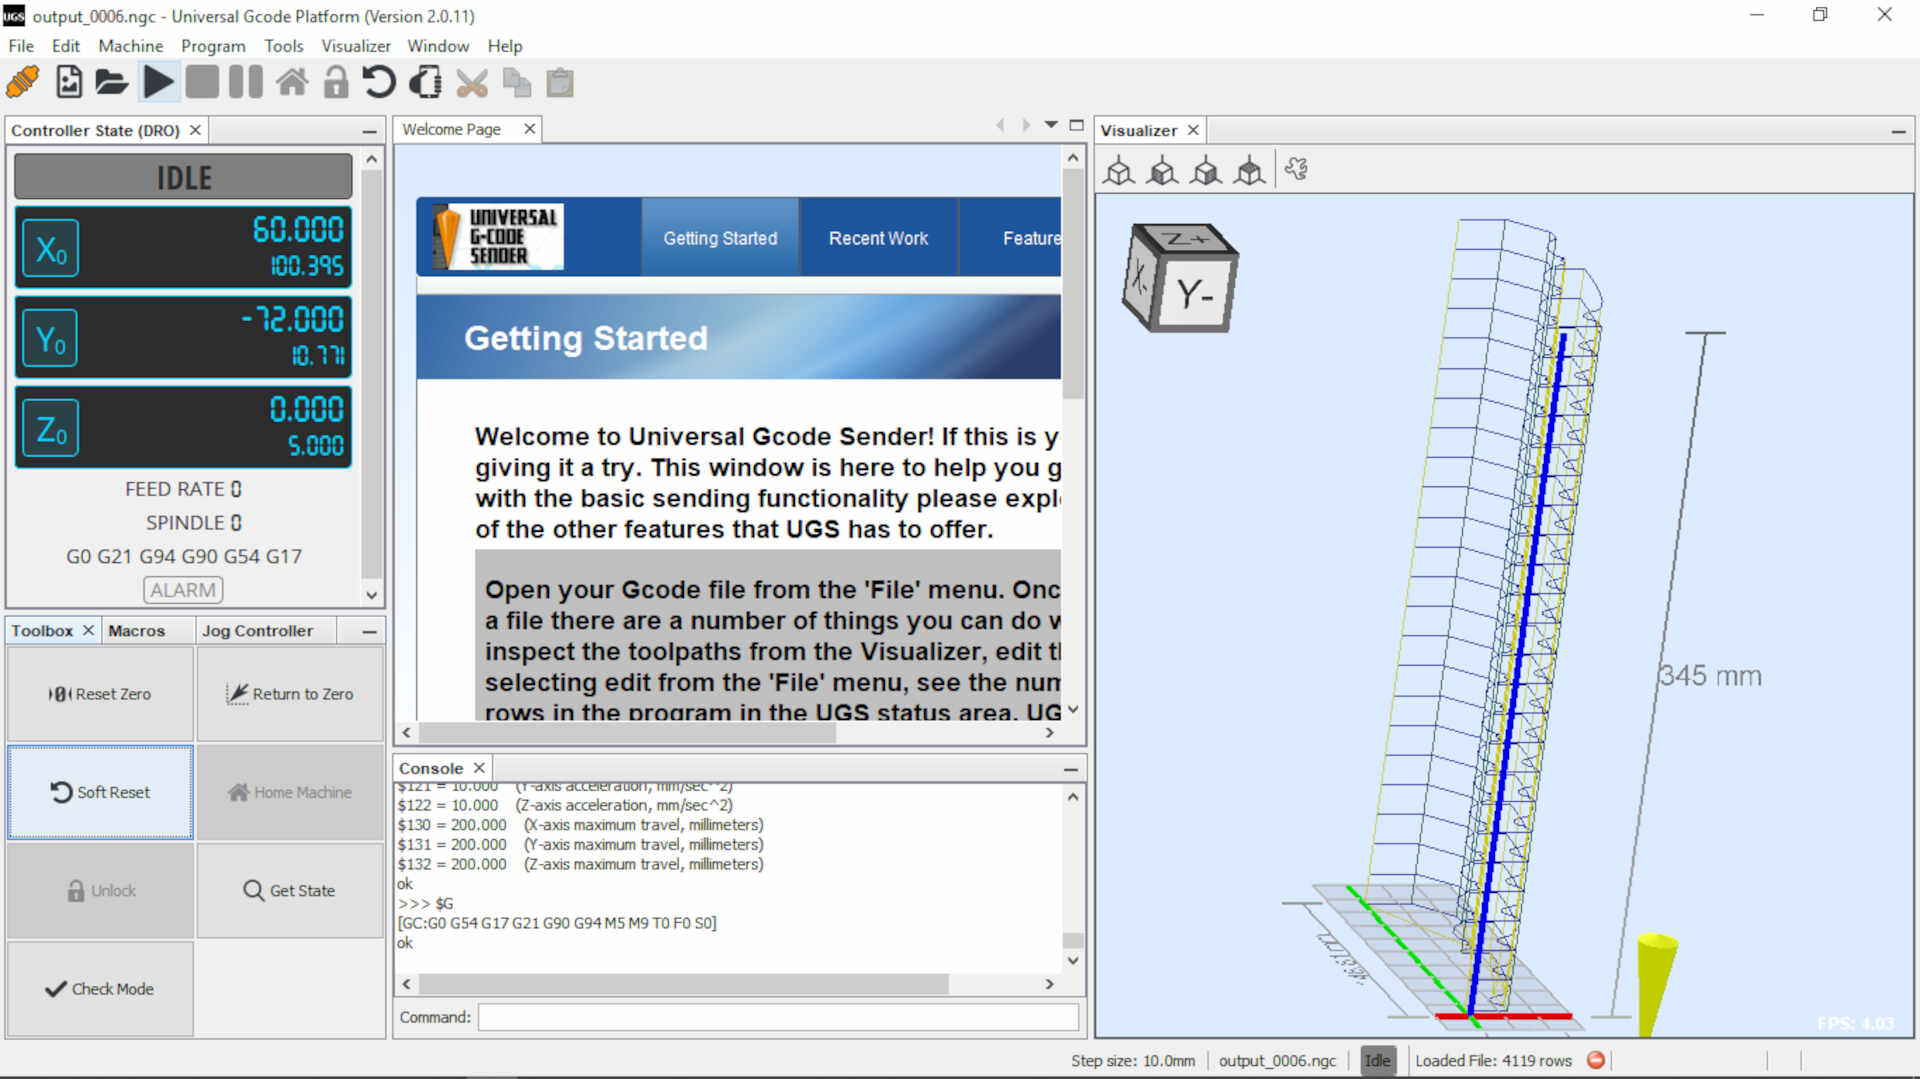 preview of the tool path loaded in the Universal Gcode Sender(UGS)
Files
Computer Aided Manufacturing
In the video below you can see Zoro(hot wire cutting machine) in action.
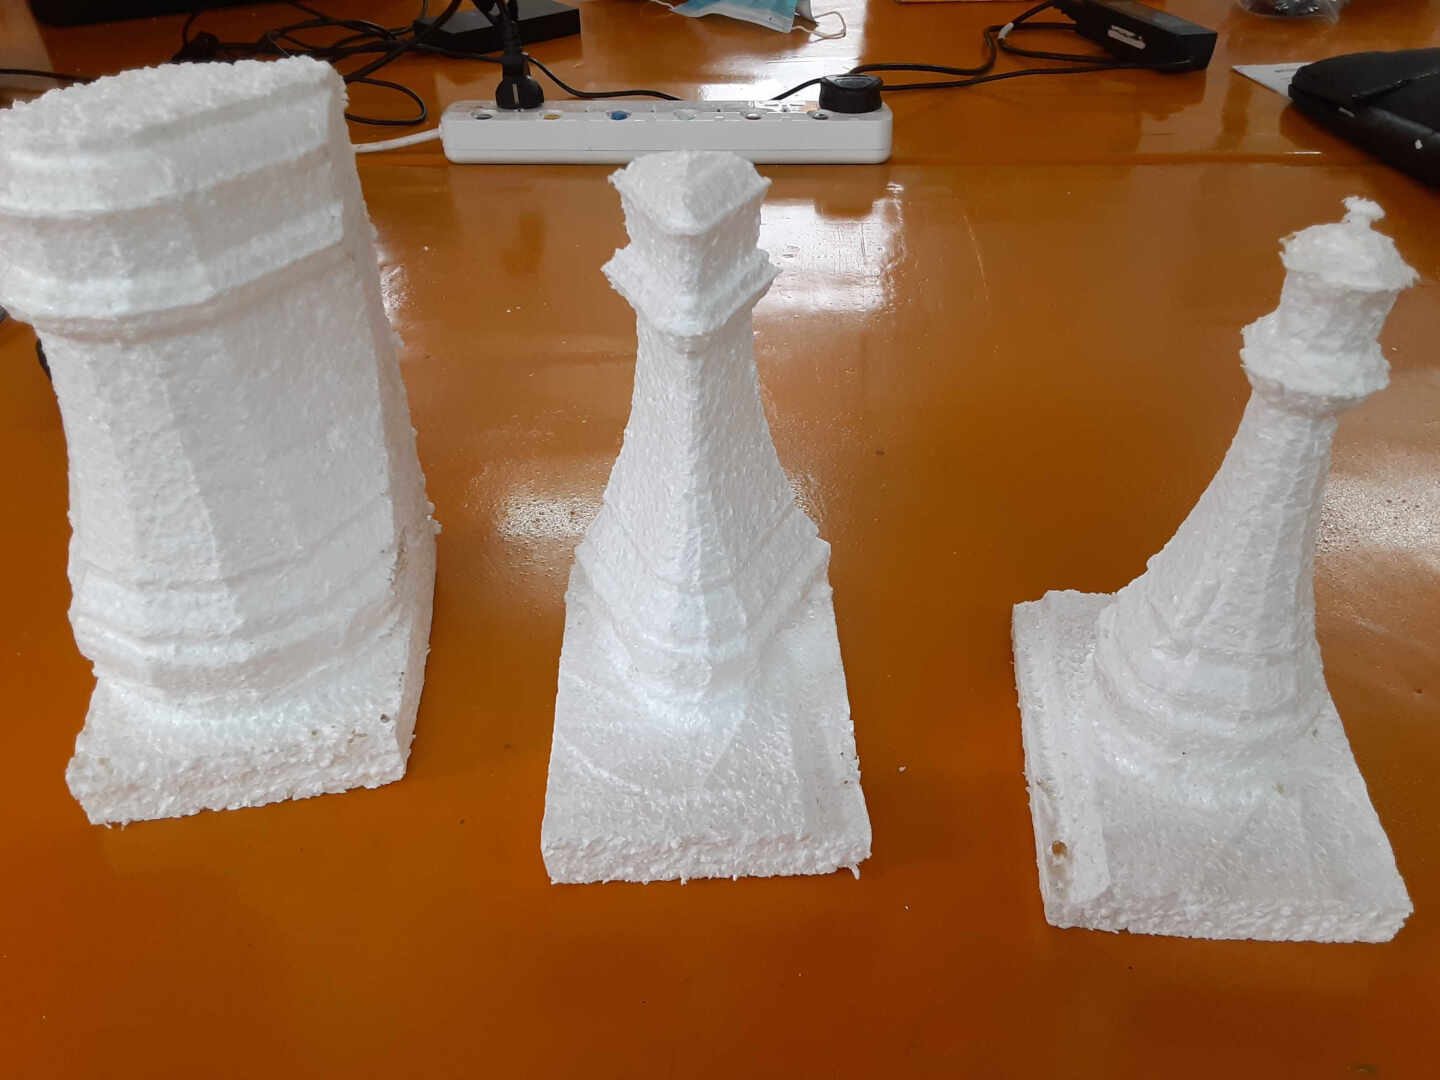 In this picture above, I cut the foam three times to achieve the desired size. They say three times the charm!
on the far left is the first unfinished cut. it was too huge for the size I wanted, in the middle had a narrow part that was not desired and on the right has all the right proportions desired.
In this picture above, I cut the foam three times to achieve the desired size. They say three times the charm!
on the far left is the first unfinished cut. it was too huge for the size I wanted, in the middle had a narrow part that was not desired and on the right has all the right proportions desired.
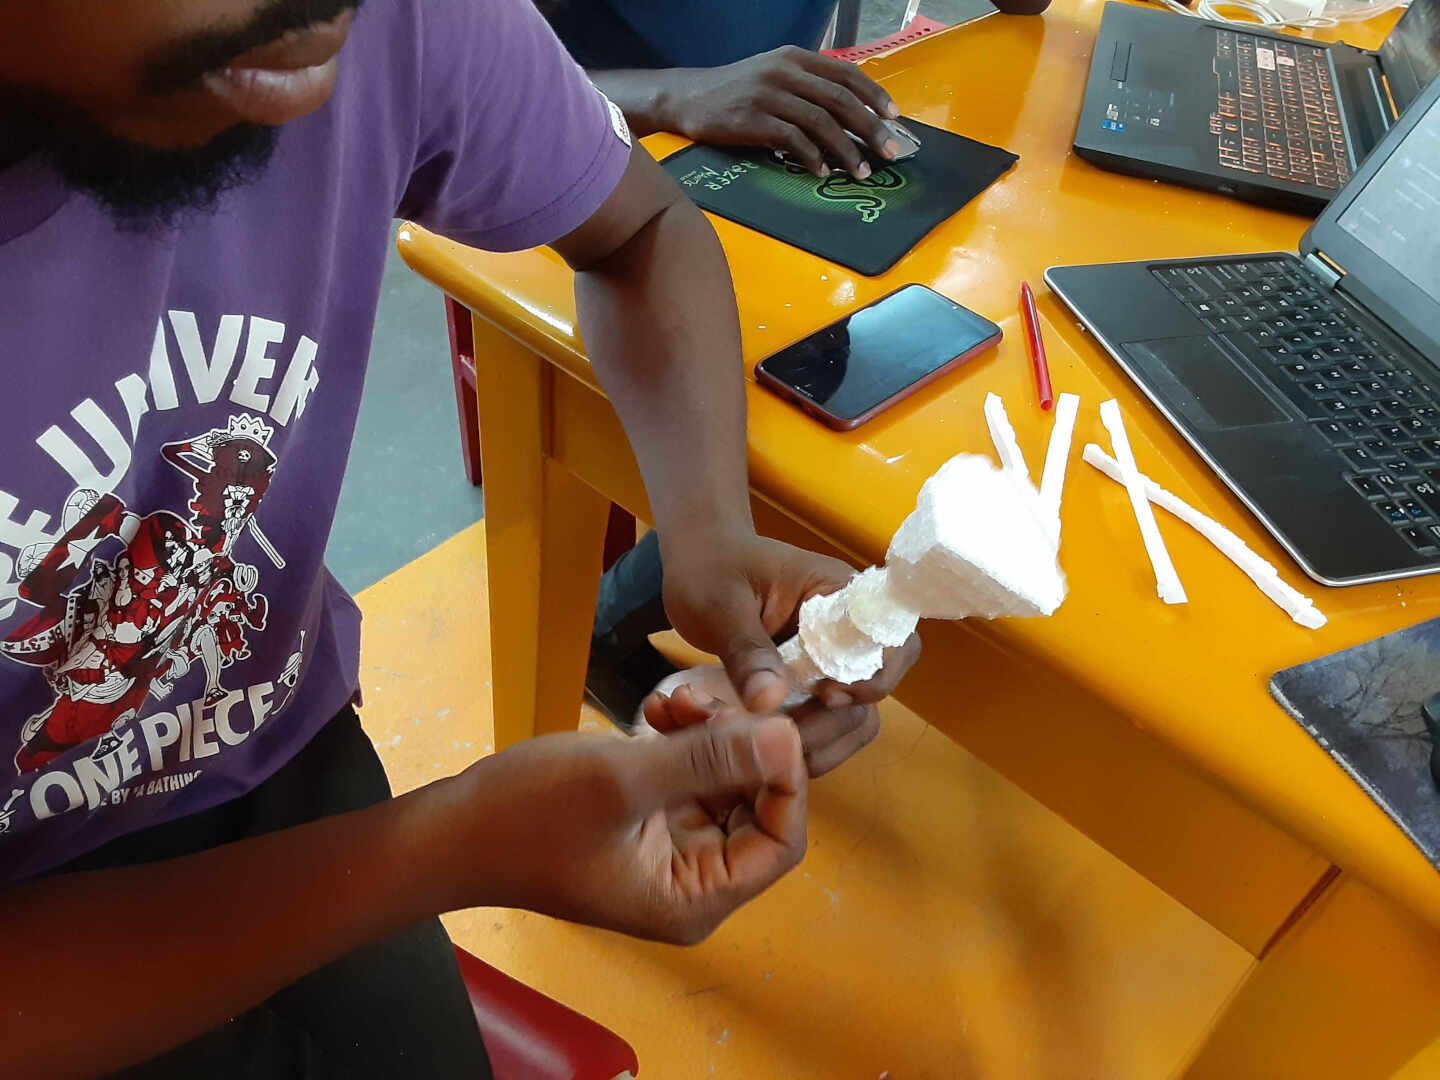
 in this image you can see me trying to smoothen out the rugged edges with a file.
 In this image i was gluing some thin styrofoam as vents to the model to enable a smooth poring process
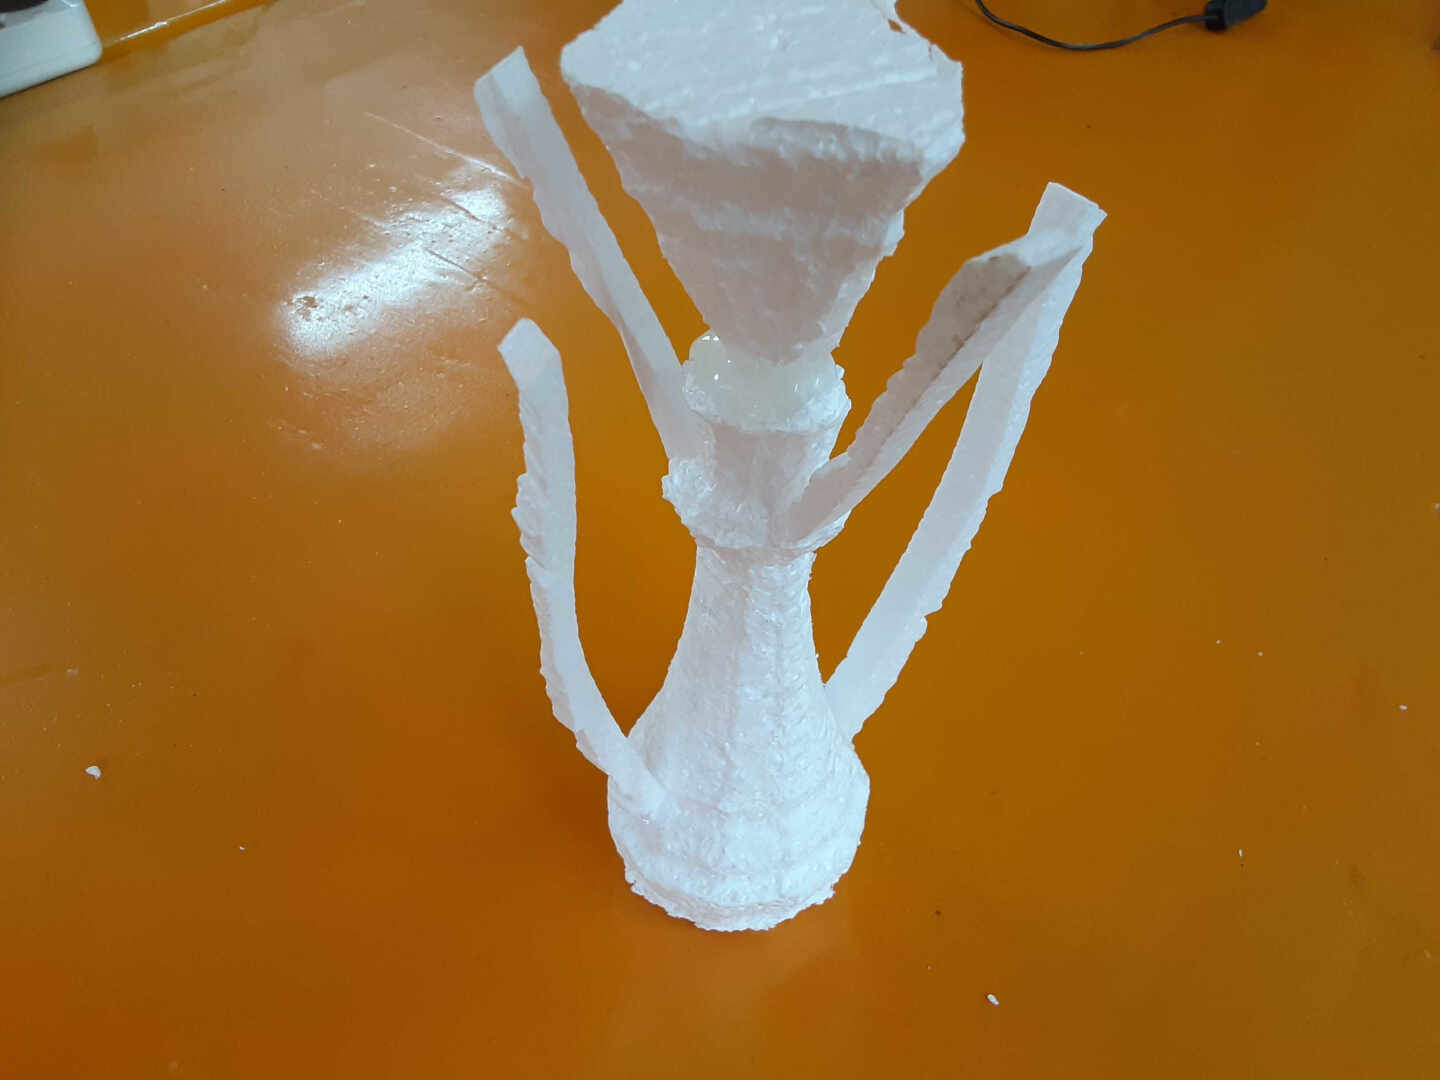 this is the finished model with the vents and funnel. This is ready to be used for the mold process.
Mold production
In this process, we prepared a special molding sand.
Components:
-
dry clay
-
dry sand(fine)
-
used motor oil(engine oil)
-
water
I mixed the fry clay and sand in a 1:3 ratio and added the moto oil and the water to form the special mix.
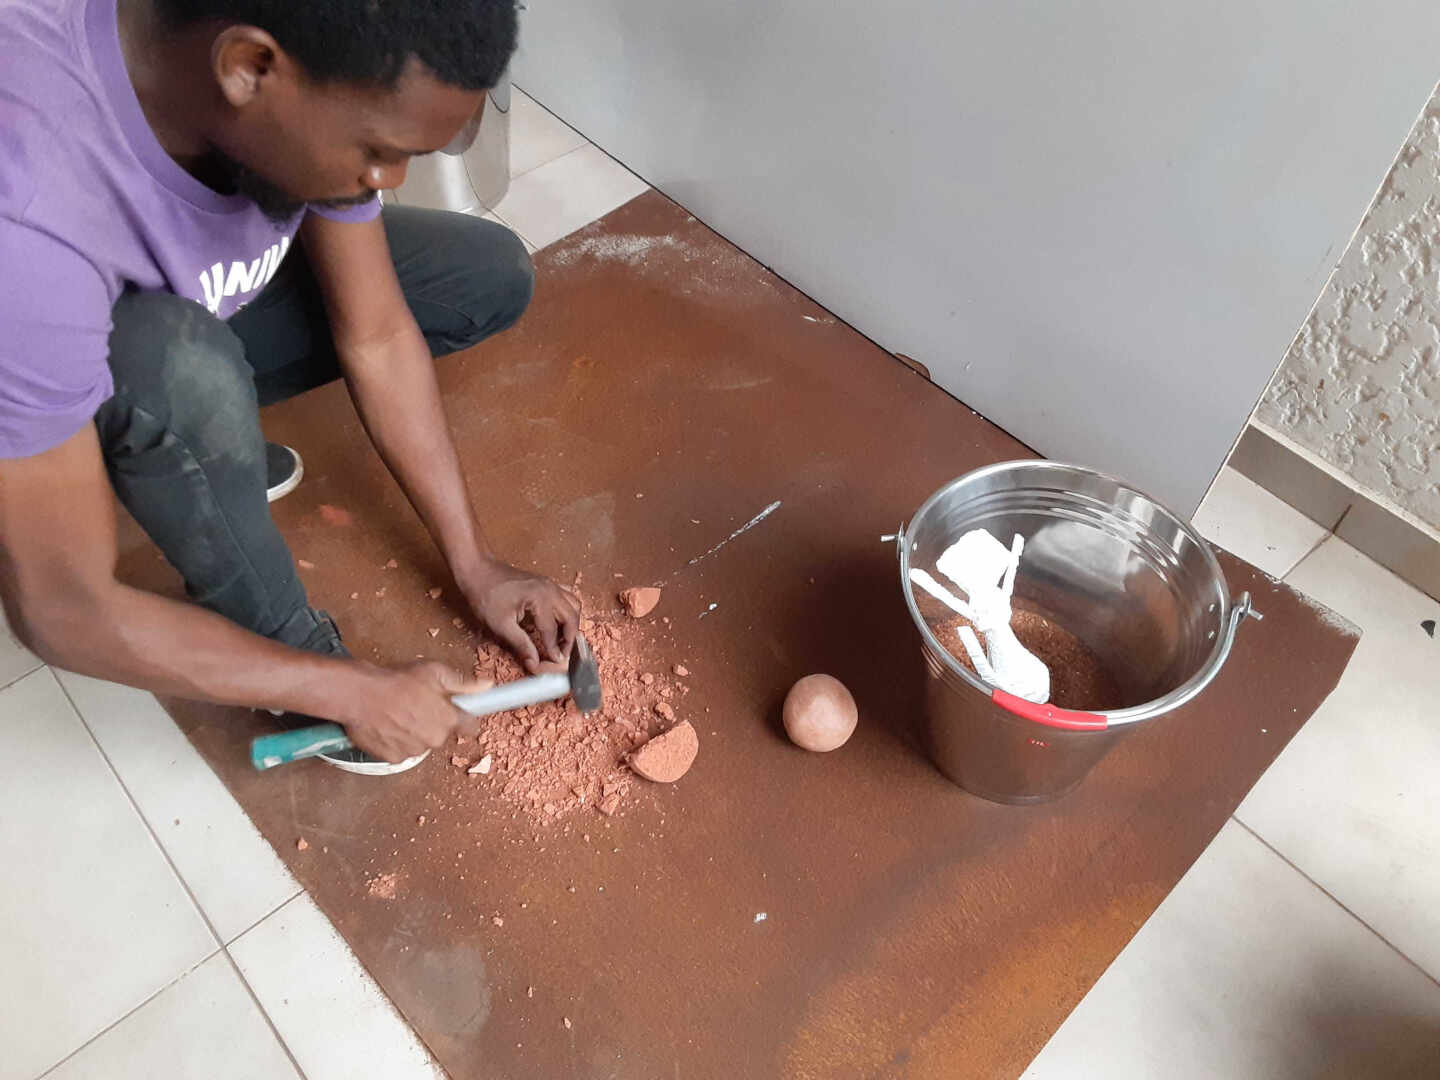 this is me breaking up the dry clay into smaller particles which was then seived to get finner particles
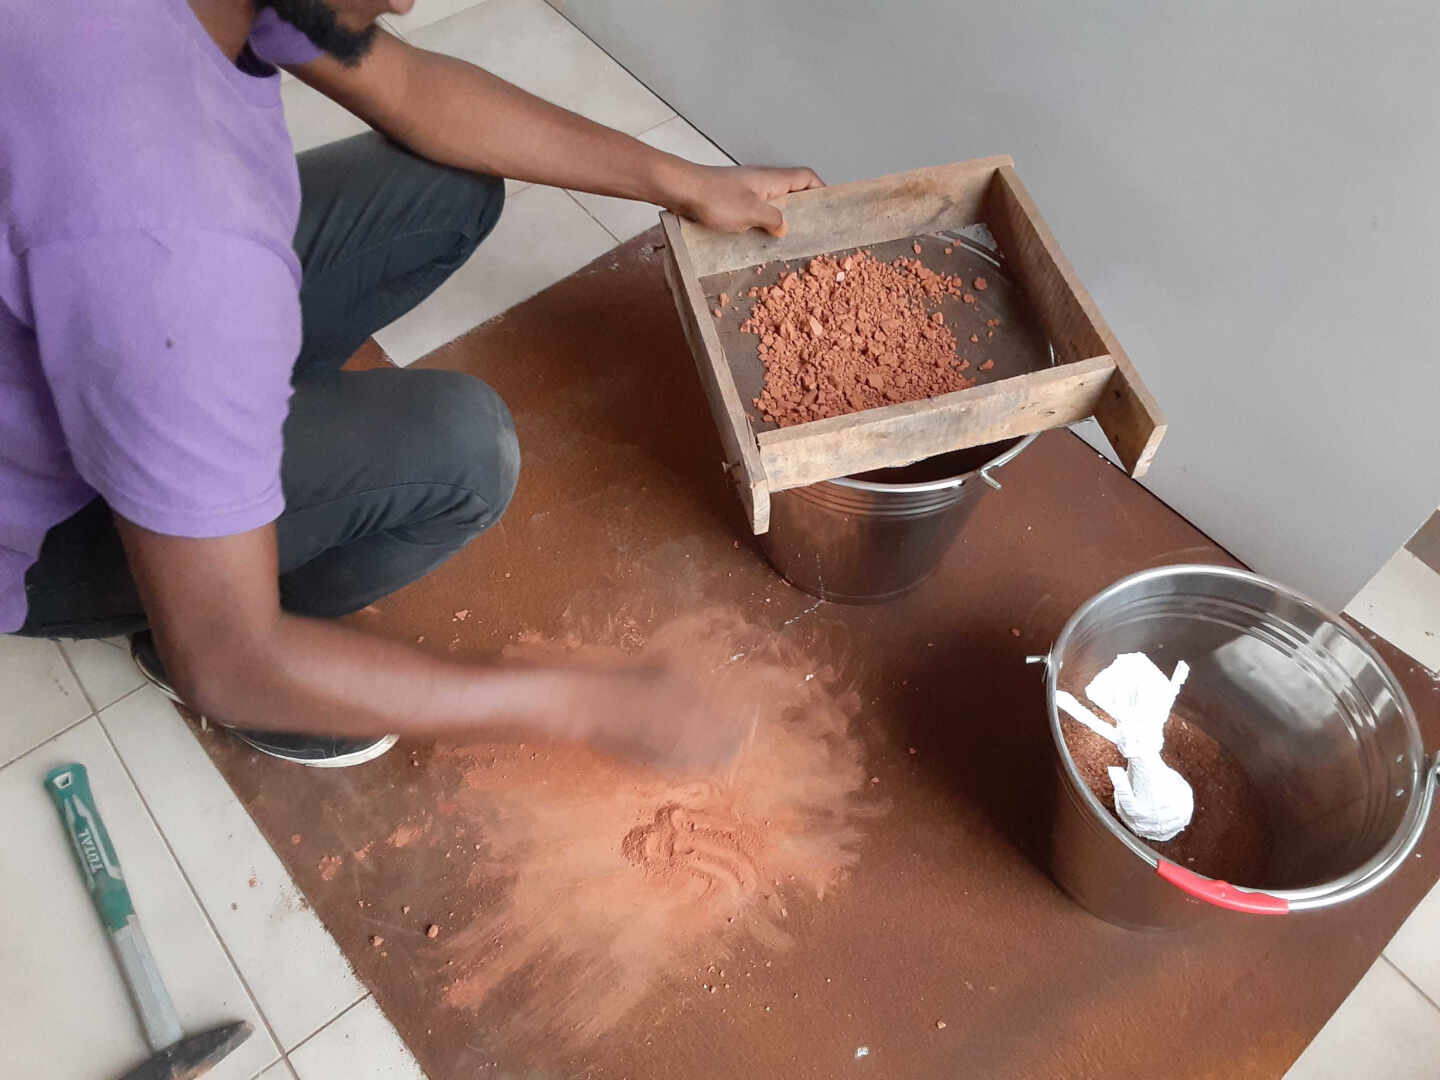 The sand was also seived to get finner particles
 this is me adding more motor oil to the sand-clay mixture
 This is the mold which I made in a metal bucket, the special mixture is compacted around the styrofoam model and the dry sand around the compacted special mixture.
Casting
Now this is the stage with the most heat. You would need a lot of protection against the heat.
 This is a local charcoal furnace. we had an old hair dryer hooked up as our blower to supply air to the furnace.
 in this image you can see me recycling some aluminum cans from soda cans we had been collecting in our lab for sometime now.
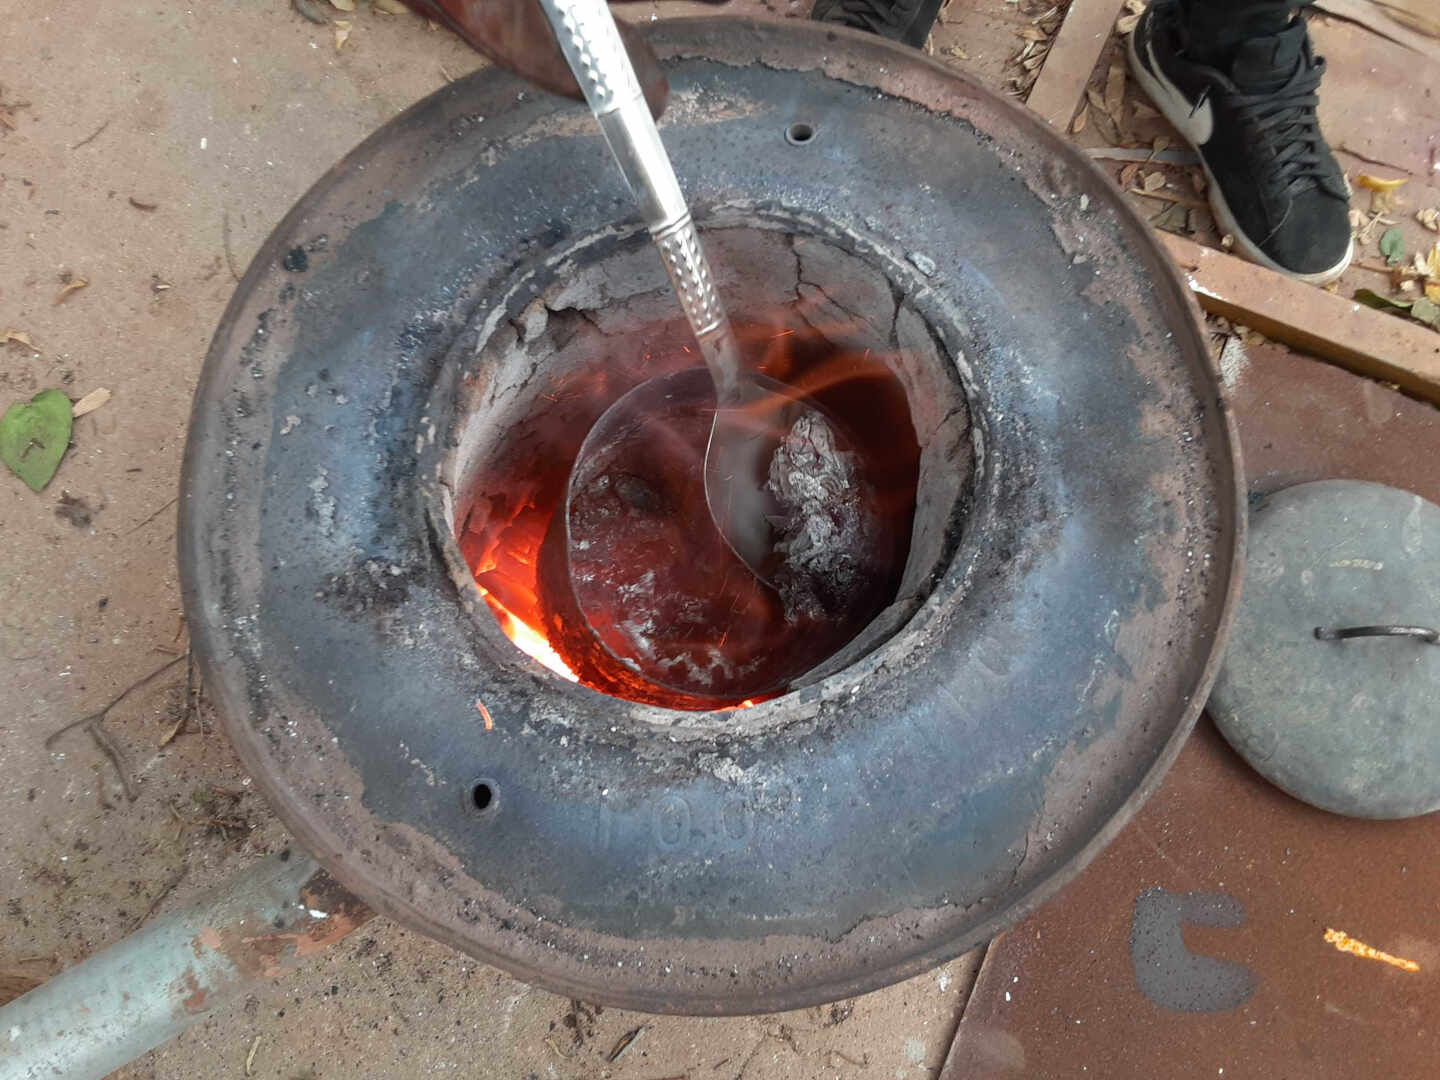 In this picture you can me collecting the slag from the surface of the molten aluminum.
After pouring the molten aluminum into my mold, this is how it looked
This is me finishing the rough surface after cutting of the vents and the excess aluminum.

 I used three grades of sand paper to further sand down the surface of the part.
- grade p120
- grade p128
- grade p110
This is the finished part.
I used three grades of sand paper to further sand down the surface of the part.
- grade p120
- grade p128
- grade p110
This is the finished part.
SAFETY
To work with molten metal or try casting you need to do the following: - you need to wear double gloves to protect you from the heat of the furnance
-
you need to have eye protection, wear sefety glasses
-
You will need a resperator to help with the fumes from the melting aluminum cans
-
you need to have leather shoes on to help incase there is a spillage of molten metal
-
Idealy you need a leather apron to protect your body, but you can use workshop overalls.
-
Have a fire exstinguisher
-
work in a well ventilated space or in an open space.
Melting the cans
Aluminum cans have a melting piont of 660.32 degrees celcius. so in our charcoal furnance we pre-heated it to approximately 400 degrees celcius and then gradually added more charcoal to get the temperature to the melting point range. In all I used 65 aluminum cans. I crashed them to compact them so that I could add alot of them in the cruciable.
aftermath
SO the molten aluminum is poured into the mold, it melts the styrofoam in the mold and takes the shape of the mold. so I cooled the whole metal bucket down by placing it in a larger bucket of cold water for 30mins and the tipped the bucket to the side and used a metal spatula to scoop out the mold soil to expose the cast.
Summary
Now what I’ve learnt in this week’s assignment is:
- Safety should always be our top priority when working with molten metels and fire.
- molten aluminum hardens fastest
- The special mixture of clay, sand, motor oil and water. The clay and water helps the sand to bond together and then the motor oil prevents the sand/impuritites get stuch to the surface of the aluminum.