10. Molding and casting
welcome to this week’s assignment! this week we will be casting and molding. We used machinable wax to create the negatives of the molds. This wax was machined using our home-built table top CNC machine we named ‘frankenstein’.
Assignments
This were the tasks for this week:
-
group assignment:
- review the safety data sheets for each of your molding and casting materials,
- then make and compare test casts with each of them extra credit: try other molding and casting processes
-
individual assignment:
- design a mold around the stock and tooling that you’ll be using,
- mill it (rough cut + three-axis finish cut), and use it to cast partsd
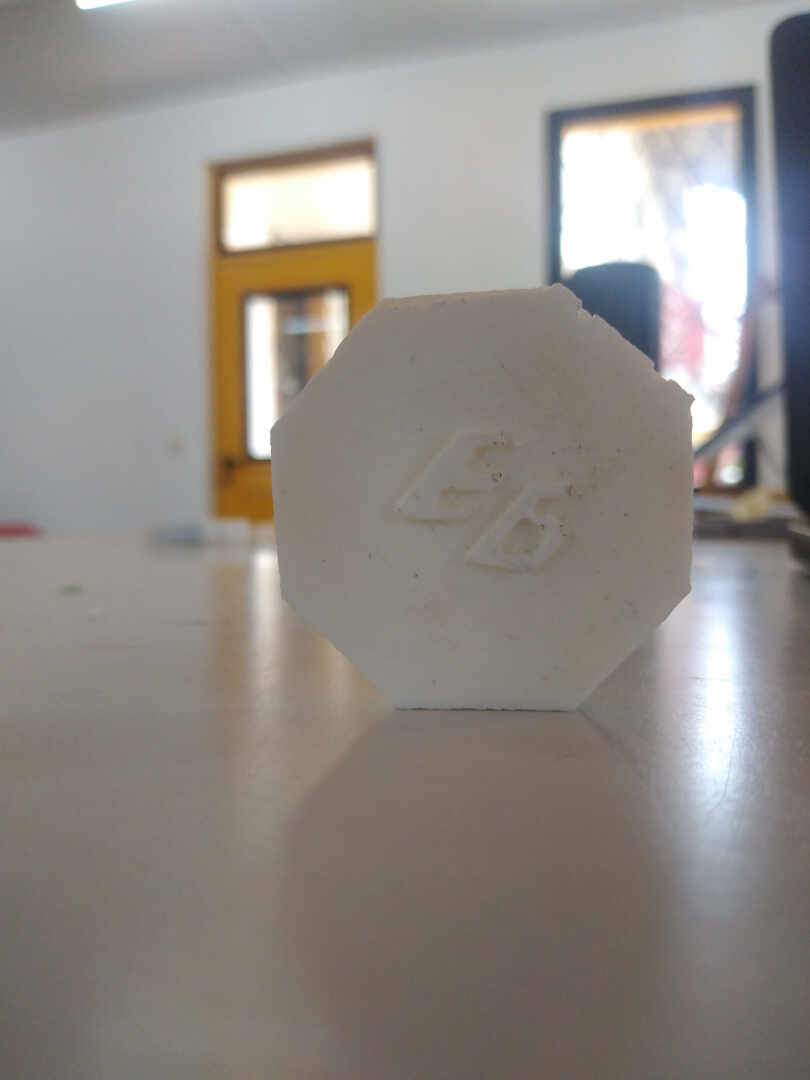
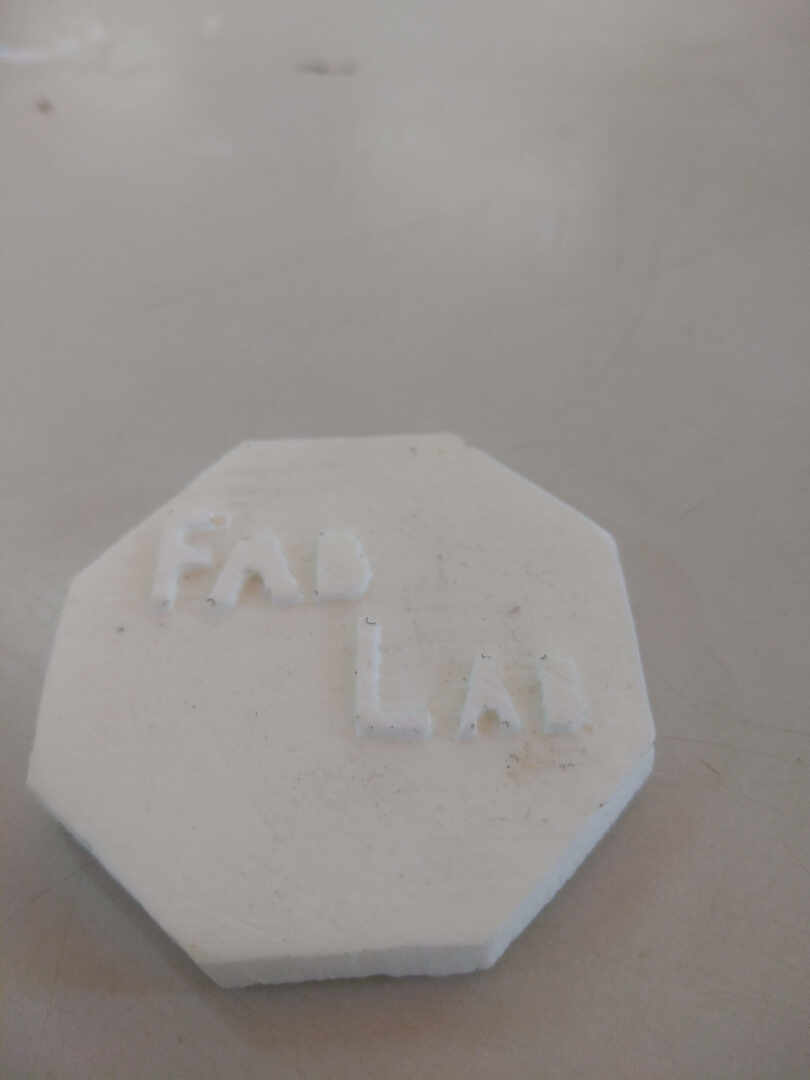
HERO Shots
Group Assignment
As the task for the group stated, we will start with a summary of the safety data sheets for the materials used for casting and molding processes.
Safety
There are some general basic things to have in mind before and during this whole process of casting and molding.
-work in a well ventilated area to avoid getting all the fumes produced into your system.
-Wear gloves, safety glasses and long sleeves
-If the casting material is even more nasty, wear a respirator
 in this picture, there are the PPEs we used. Goggles, a respirator and some gloves
Handling the materials
Each material used for creating molds or final casts is based on creating a chemical reaction between two compounds that get mixed. When in separate containers, these compounds won’t get into any reaction on their own (although they don’t have an endless shelf life), but when mixed they’ll transform.
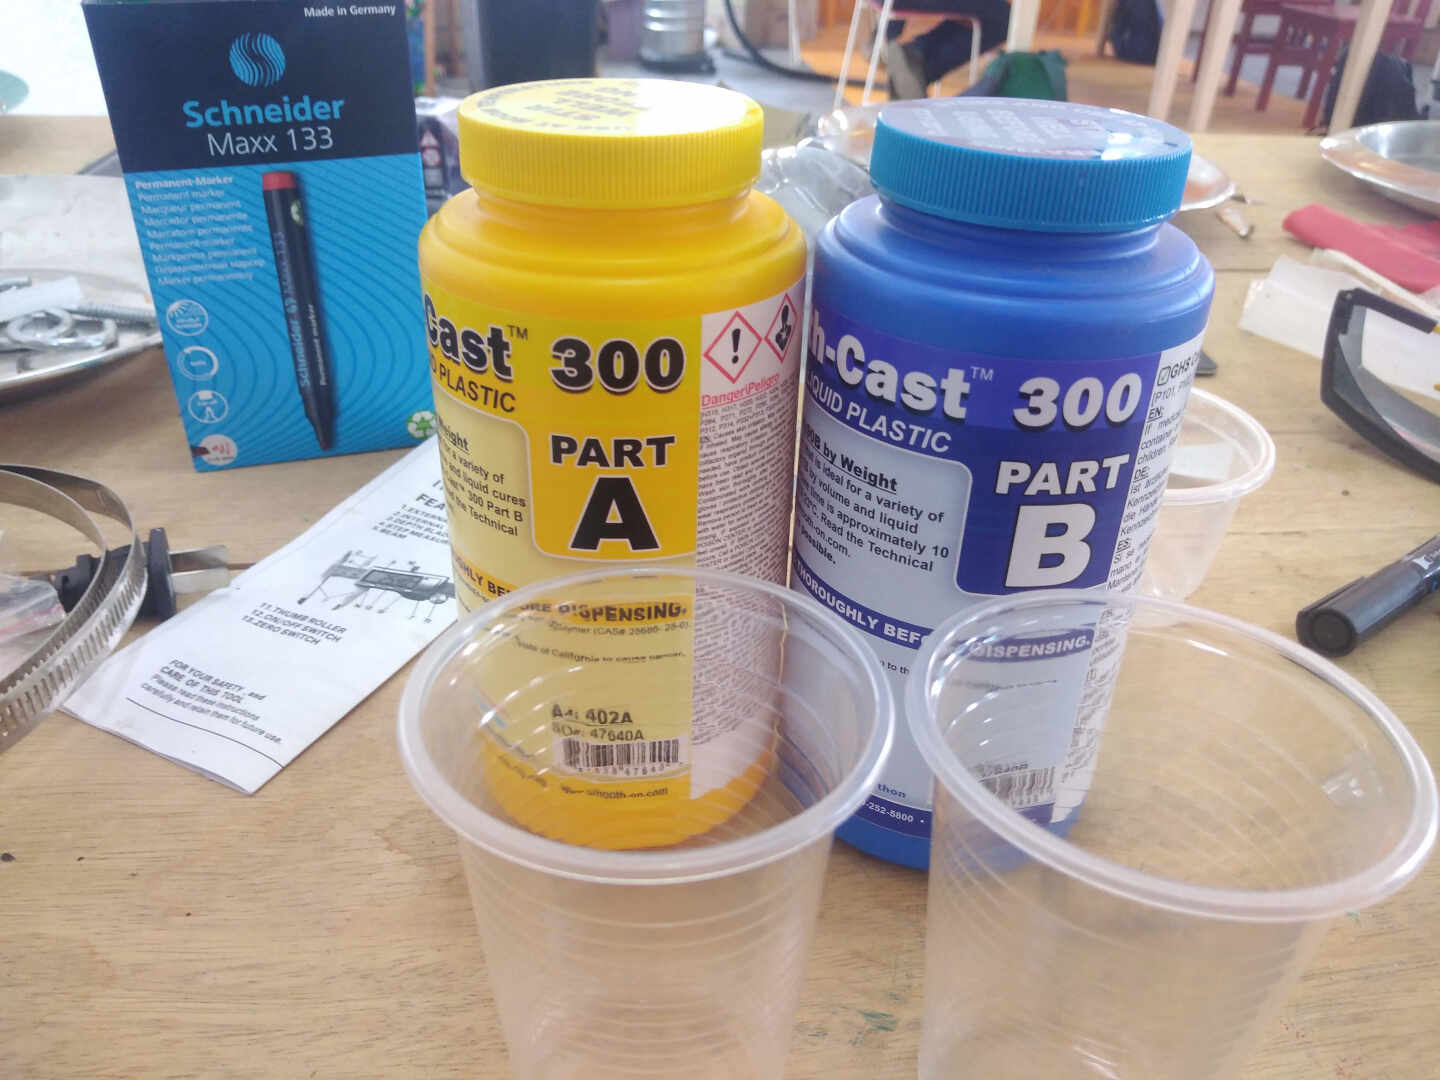 fast setting plastic
![]() silicone
silicone
Each material has a data sheet which gives instructions on how to use it, general safety measures to take, mixing ratio’s, curing times, etc.
Each material also has a safety sheet that more elaborately describes the hazards of using it. For each material there is a mixing ratio to use for the two substances. This is often given in both volume (e.g. 1A:1B) or weight (e.g. 100A:130B). We used the weight ratio and made sure to use a digital scale to measure it very precisely.
Each material has a pot life, which is the time you’ll have between mixing the two components and when the material’s viscosity doubles (apparently). It’s used as a proxy for understanding how much time you’ll have to mix and pour the material into your mold before it’s already started setting. These can be as short as 2 minutes to 30 minutes and longer. Each material has a curing time, which is the time needed for the material to fully set (most materials also have some post-curing time in a heated environment to get even better results). This can range widely as well from only 20 minutes to 16 hours.
For the best mold creation you want to have as few bubbles in the material as possible.
-While stirring always make motions that are on the horizontal plane (back and forth), and not moving up and down. Stir gently, not vigorously, but stir well, you want to have the two materials fully mixed and homogeneous.
-Another technique to reduce bubbles in the final result is to pour the material into the mold very slowly, with a uniform flow, and from a single spot (at the lowest point) and let the material seek its level up and over the mold. It’s best to let any leftover mixed material stand in its container and let it fully cure before throwing it away.
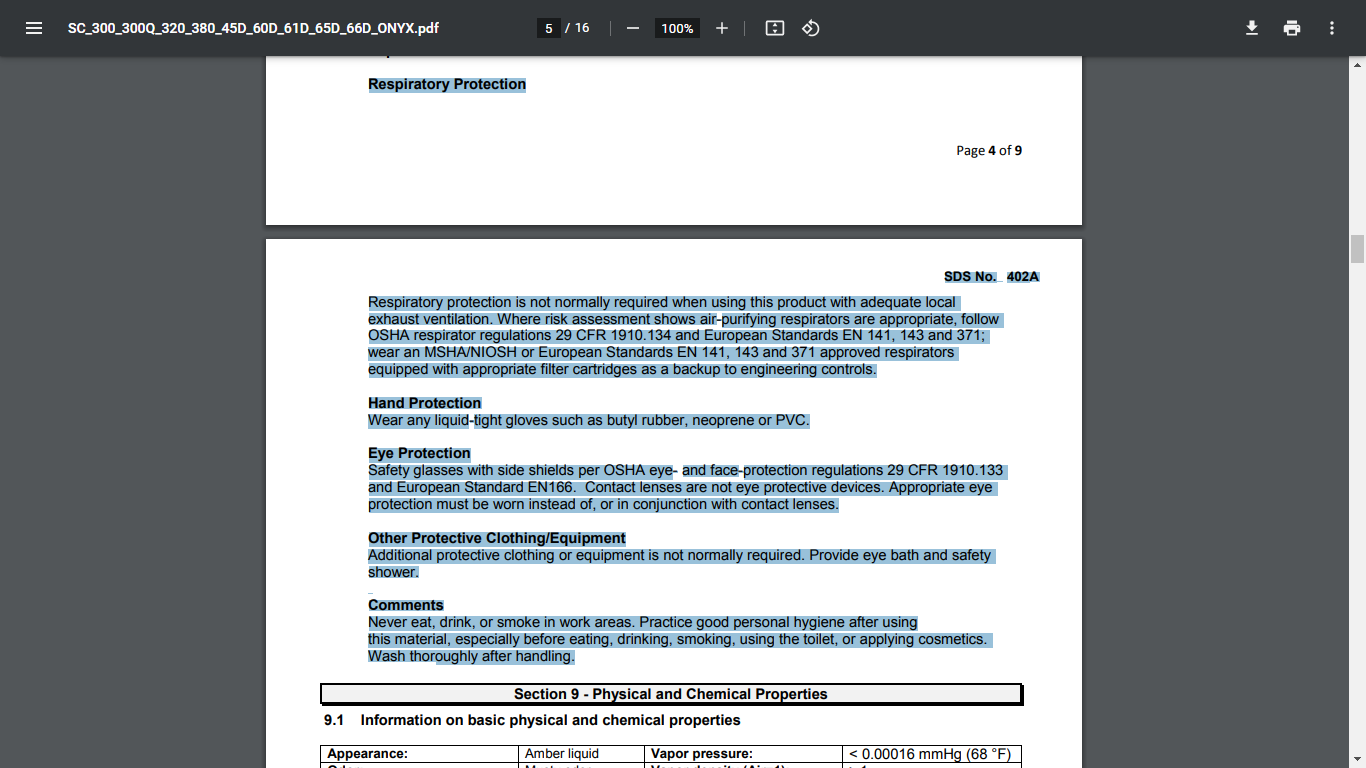 this picture shows the safety cautions from the official datasheet
Test casting
so in the test casting, we mixed some samples in two different containers and allowed them to set and observed while we could.
 this image shows the containers
 this image shows the cast parts. on the left is the silicone and on the right is the fast setting plastic.
Observations
| Silicone | Fast setting plastics |
|---|---|
| it took 12 hours to fully set | it sets in 10mins |
| It does not produce any heat | it produces heat as you mix and as it sets < 60 degrees |
| It has a pot life of 10 to 15mins | It has a pot life of 3mins max |
| fst setting plastic data sheet here |
Inidividual Assignment
For this task, I decided to cast an octagonal part with some few writings on both sides of it. I migrated to freecad to model and generate the CNC(G-codes) for ‘frankenstein’ to work with.
The pictures below shows the processes of toolpath simulation and some parameters setting in the freecad software.
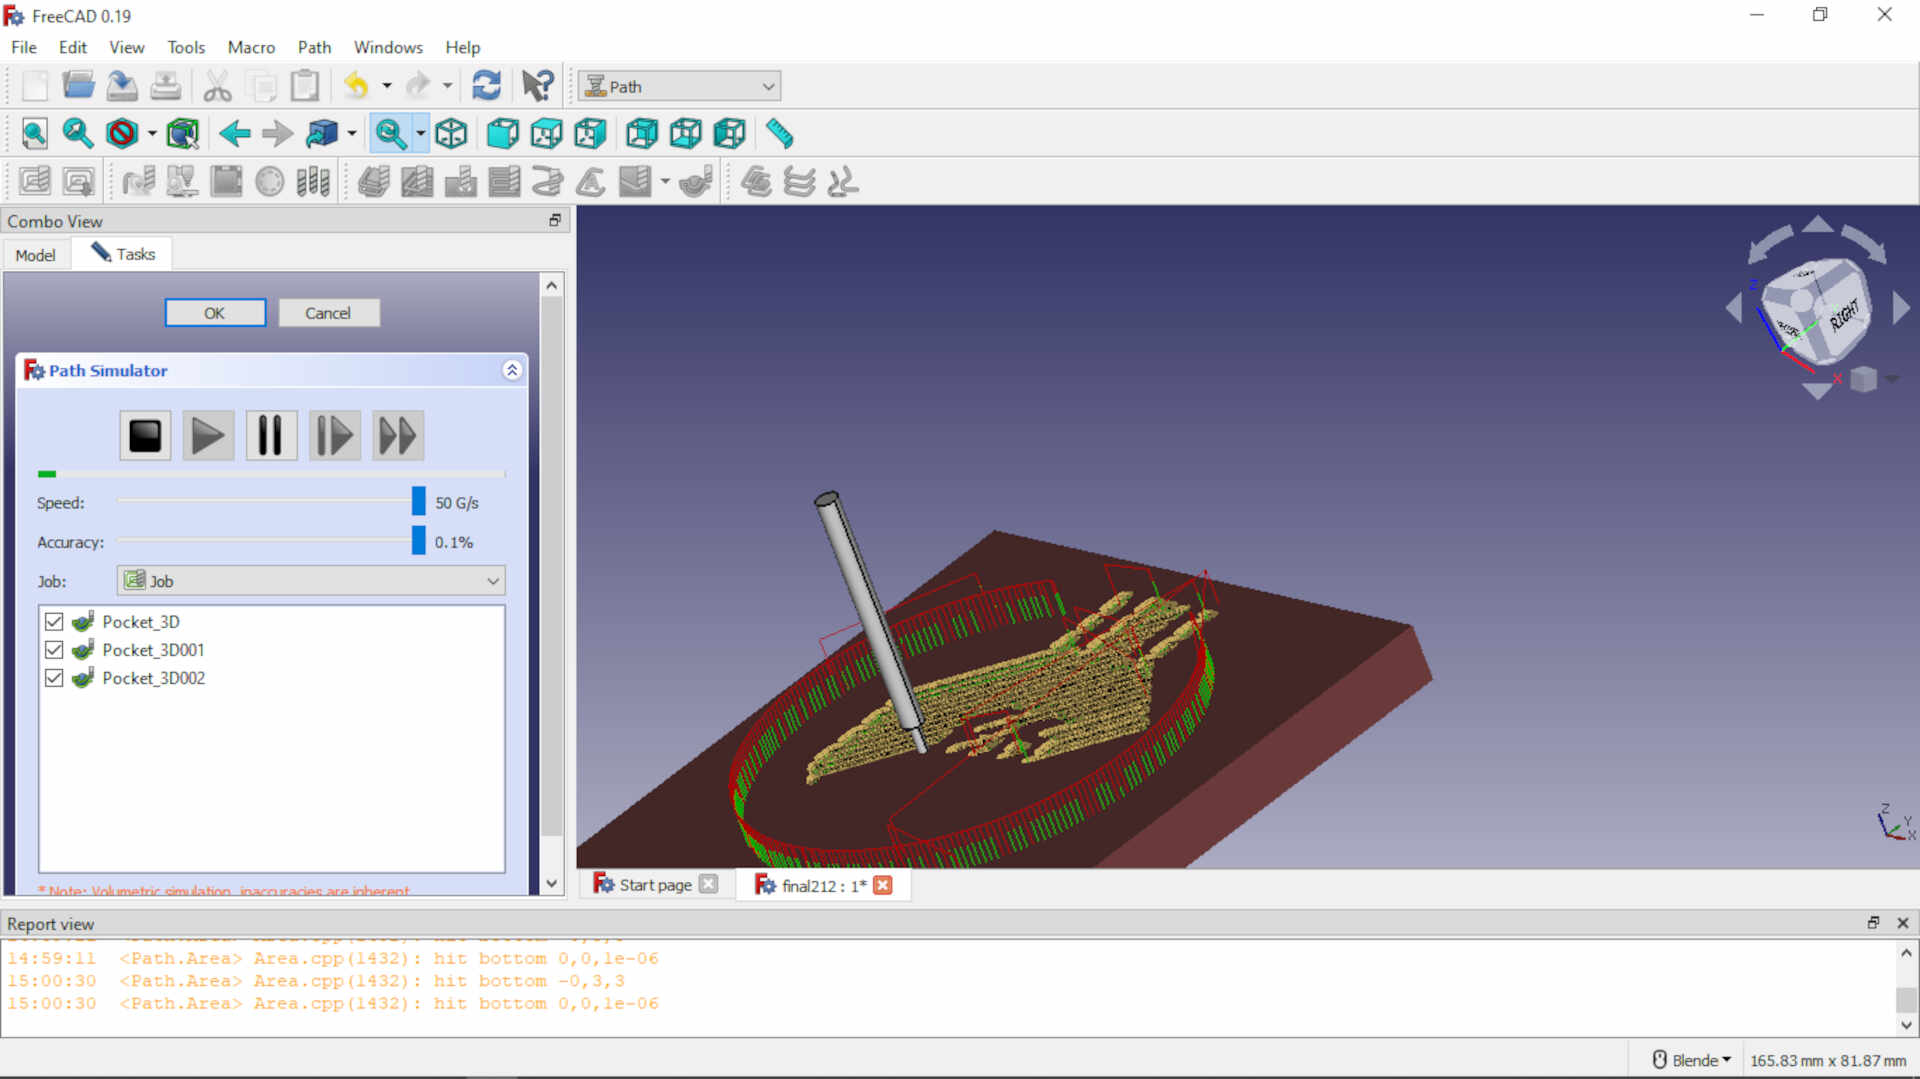
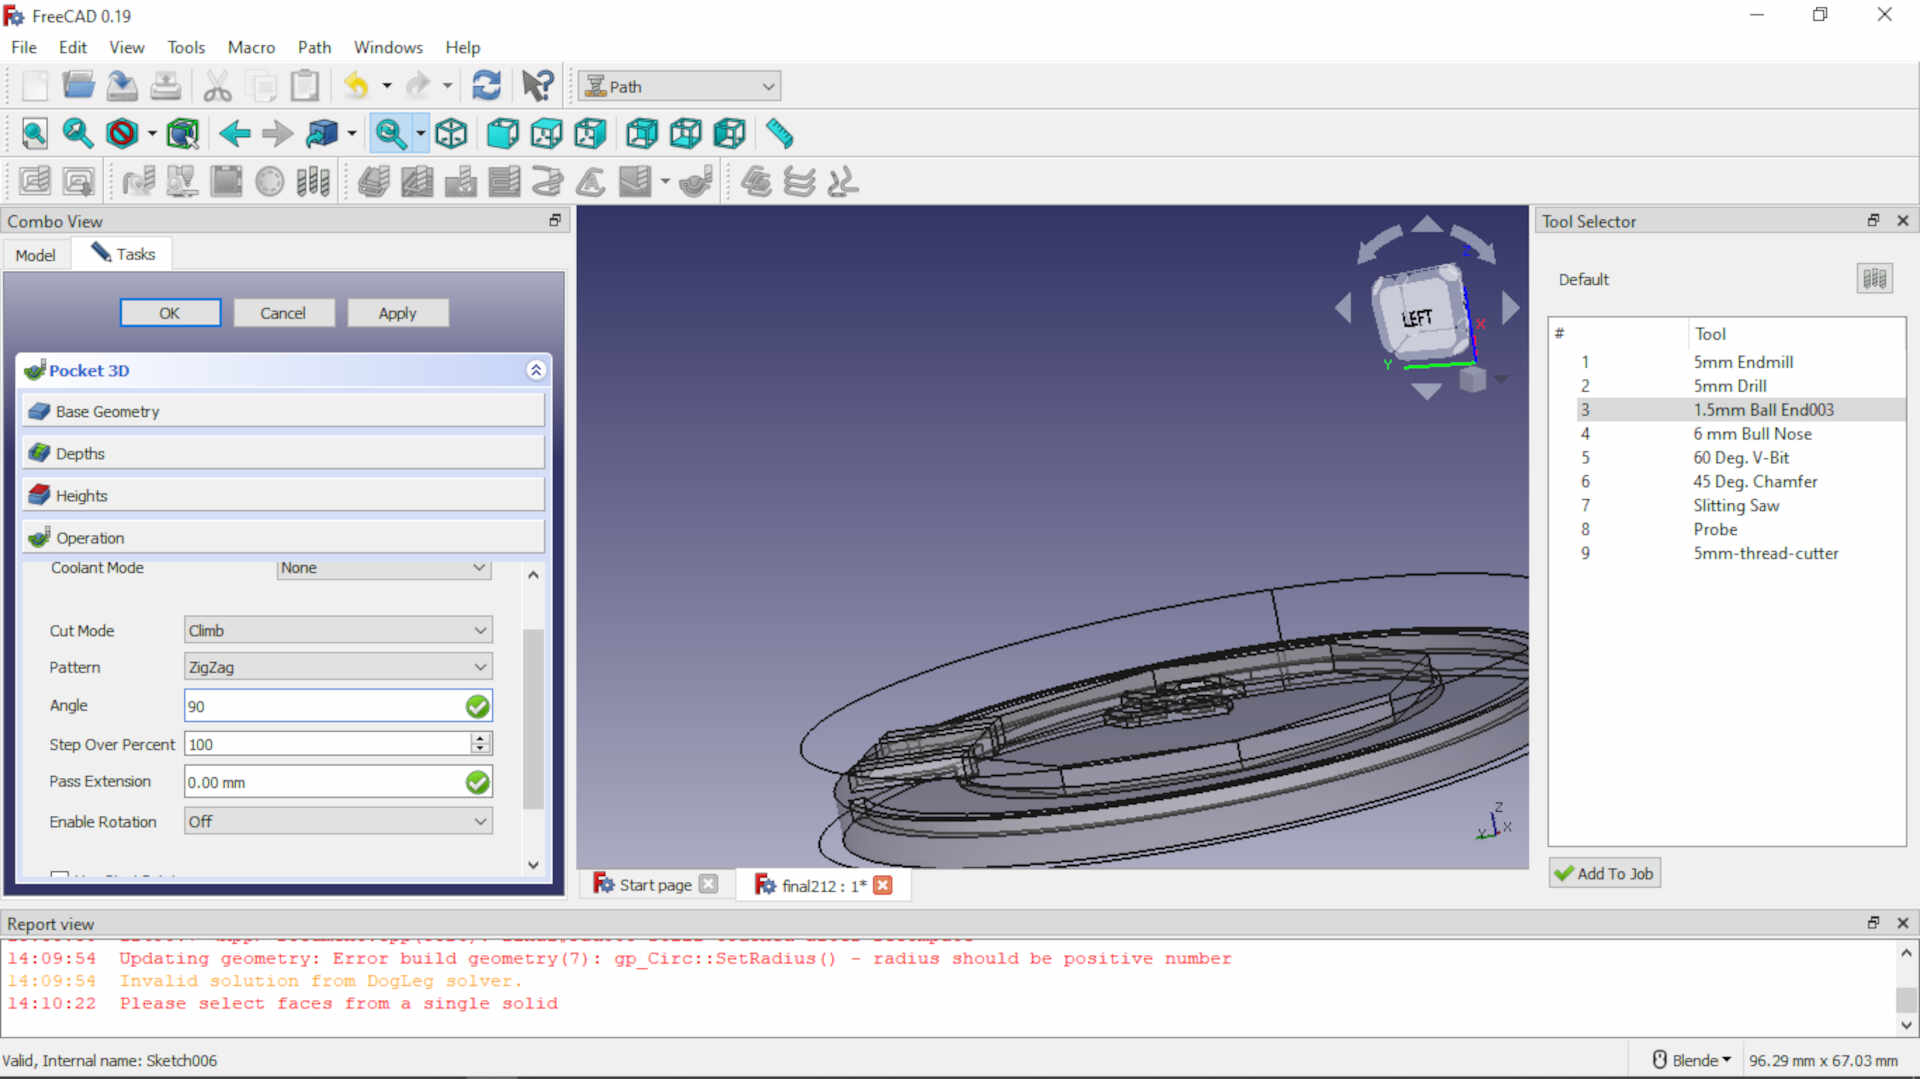
milling of the machinable wax
These pictures shows the various processes I took to get the negatives of my mold milled out on ‘Frankenstein’.
 In the image above, I secured my stock(machinable wax) using a double sided tape onto a piece of plywood as my sacrificial layer.
 In the picture above, I clamped my work piece down with some home-made clamps. This done to prevent the work piece from moving unecessarily.
 “In this picture, I’m setting the zero fot the x-y-z directions for the CNC machine on the universal G-code sender and set the feed rates of the CNC machine.
 In this picture, the negative of the mold is at 90% completion. I used the scissors to remove stuck wax debris to the end mill.
 In this picture, I sanded it down to give a much smoother finish.
Preparing to Cast the mold.
Now let’s go through the process of casting the mold.
 In the picture above, I used cardboard to create the boundaries to hold the silicone for the mold.
 In this image, I was pouring the part A of the silicone mixture. i used the weight ratio 1:1 to measure and mix. I used 46 grams of Part A

 In these two images above, I was pouring the part B of the silicone mixture. i used the weight ratio 1:1 to measure and mix. I used 46 grams of Part B so making the total weight 92 grams
 In this image, I was mixing the mixture. NOTE: While stirring always make motions that are on the horizontal plane (back and forth), and not moving up and down. Stir gently, not vigorously, but stir well, you want to have the two materials fully mixed and homogeneous.
In these two pictures below, you can see me pouring out the mixed silicone into the milled molds.


In the picture below, my instructor advised to put it in a cooler to slow down the setting time and let the air get time to escape.

Cleaning and Preparing the mold for casting
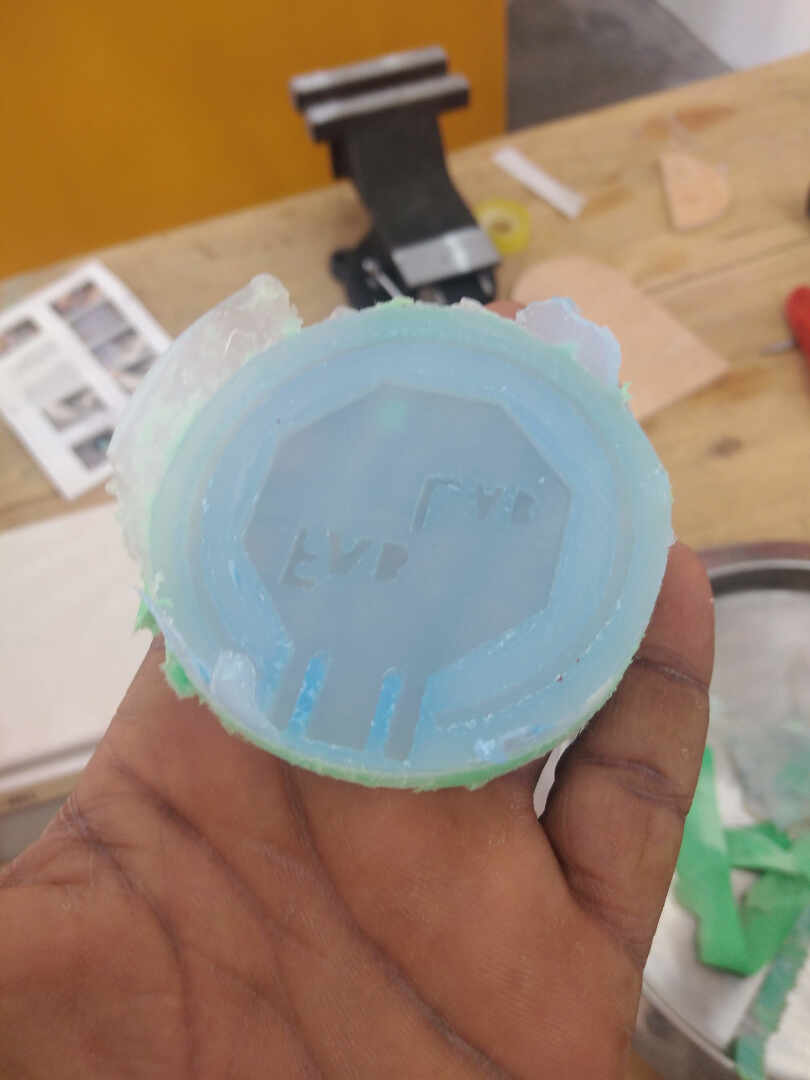 In the image above, the first part of the mold.
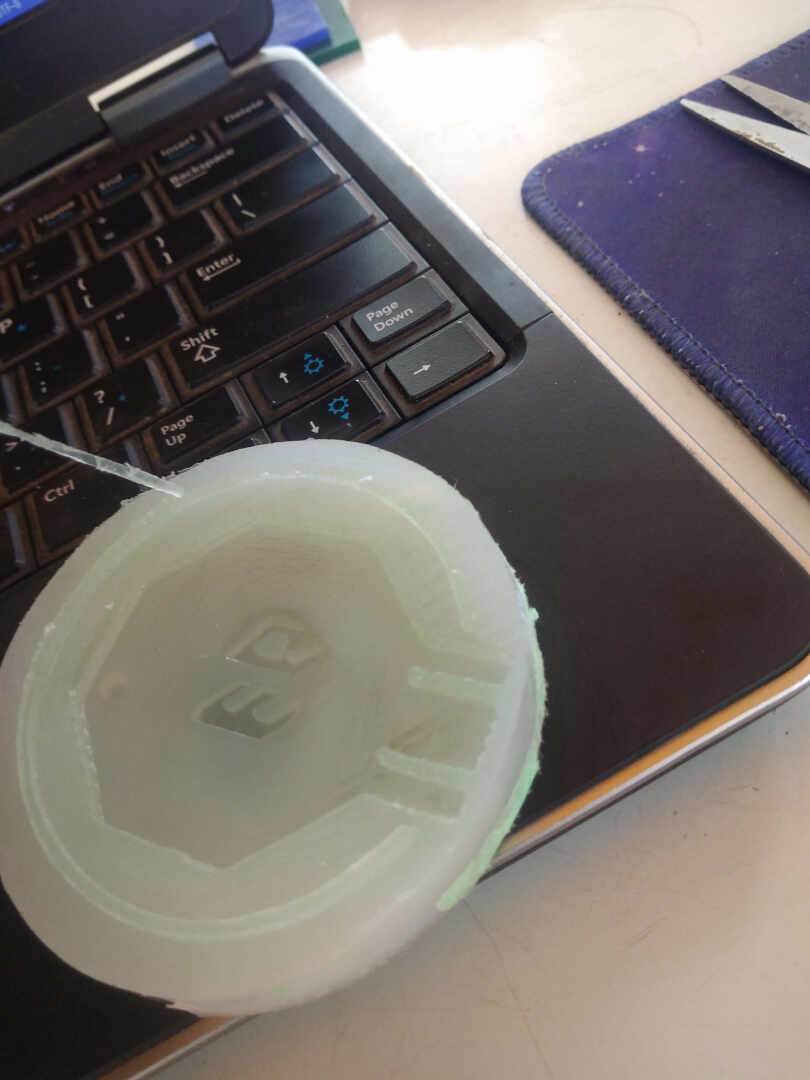 In the image above, is the second part of the mold.
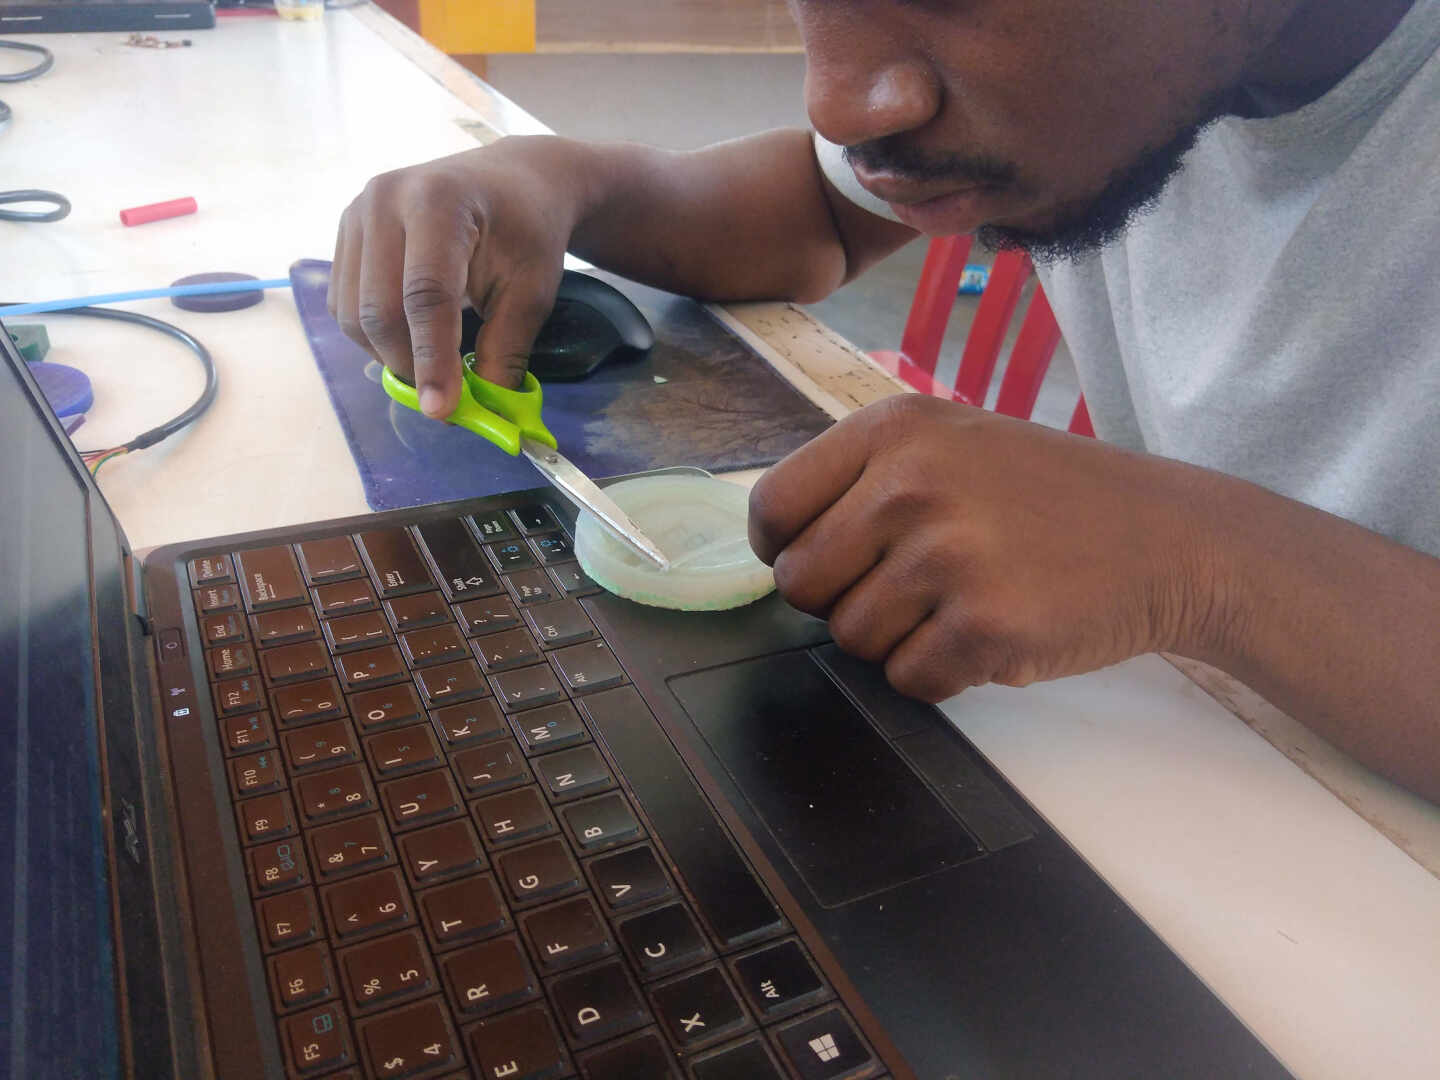 In the image above, you can see me trimming off the registration marks. There was an error in the editing of the cnc files during the milling stage.
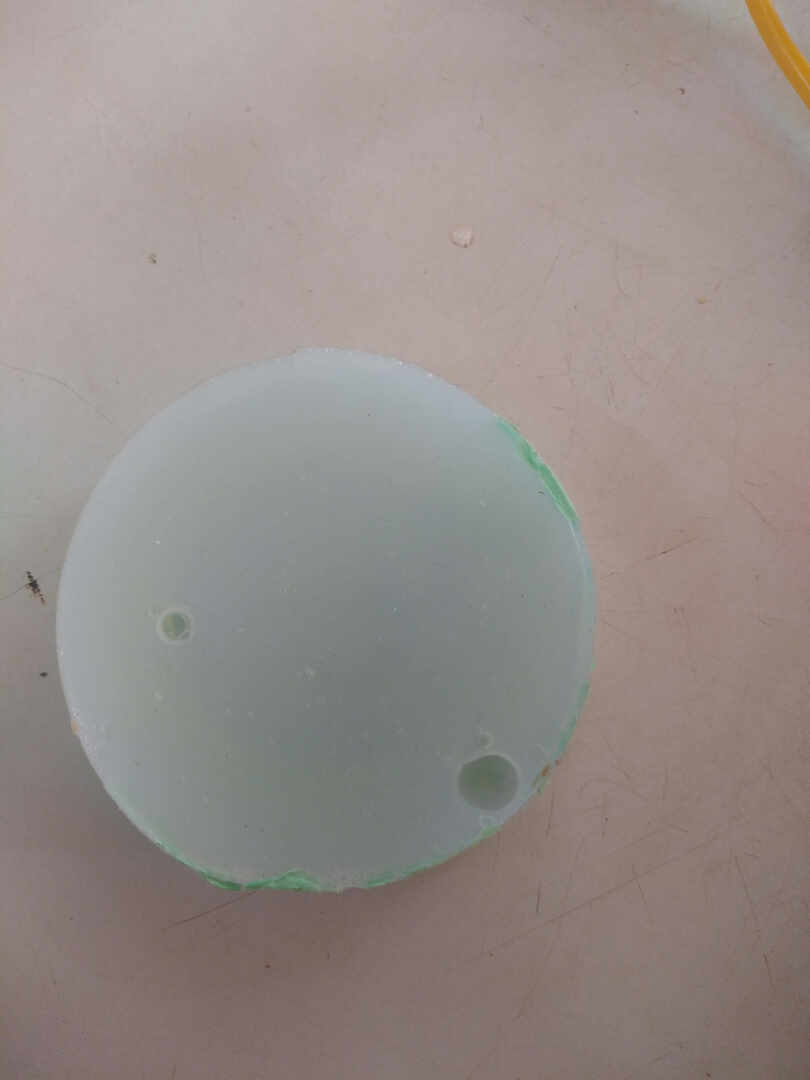
In the image below shows some more errors during the casting of the mold. There was an air bubble trapped in the mixture and it was probably from mixing and pouring technique.
Casting the Real Part
Now, this is the stage I cast the final part with the fast setting plastic from Smooth-ON.
 in this image, i had to fabricate a funnel asap since we did not have one that size available to enable me pour in the fast setting plastic mixture. As you can see it the mold was held between two pieces of ply-wood in a vice to clamp it for the pouring stage.
 The image above was taken 10mins after the mixture was poured into the mold. Here you can see me opening the mold to reveal the cast.
 An arial view of the cast still in the mold.
 A view of the cast out of the mold and this needs some cleaning and triming.
 This shows a cleaned cast.
wrapping Up
This was a good week, My first time doing this and I will say this was a great and wondaful experience. i learnt a new way of making a soil mixture for cast molds.