4. Computer controlled cutting
Welcome to this week’s assignment, this week we worked on the following tasks in our FabLab. group assignment: characterize your lasercutter’s focus, power, speed, rate, kerf, joint clearance and types individual assignment: cut something on the vinylcutter design, lasercut, and document a parametric construction kit, accounting for the lasercutter kerf, which can be assembled in multiple ways, and for extra credit include elements that aren’t flat
Group Task.
We were tasked to chracterize our Lab’s lasercutter’s focus, power, speed, rate, kerf and joint clearances.
Lasercutter machine
OMTech Upgraded 100W CO2 Laser Engraver Cutter 20” x 28” Laser Engraving Machine
 image: this is our Lab’s lasercutter
| PRODUCT | SPECIFICATIONS |
|---|---|
| Power | 60W |
| Software | Ruida DSP Control System |
| Engraving Speed | 0-23.62 in/s |
| Engraving/Cutting Thickness | 0-0.39”(depending on materials) |
| Data Transfer Interface | Flash Drive; USB to PC; Ethernet to PC & Offline Capabilities |
| Working Size | 20” X 28” |
| Compatible System | Windows, MacOS if you use LightBurn software (not included) |
| Cutting Speed | 0-15.75 in/s |
| Lift Table | 0-9.1” |
| Supported Graphics Formats | HPGL; BMP; GIF; JPG; JPEG; DXF; DST; AI |
Focus
We started by calibrating the focus of the machine. The bed of the lasercutter needed to be leveled so we leveled the bed from bottom to top until we reached our bare level. We did some laser drilling tests to observe the different cases of focus until we had the perfect height
 image: using the focus kit that came with the machine.
 image: here you can see the various laser drill test holes at various heights
Power
During this test, we adjusted the power and speed of the laser to see the effects it would have and chose what will be best for us.
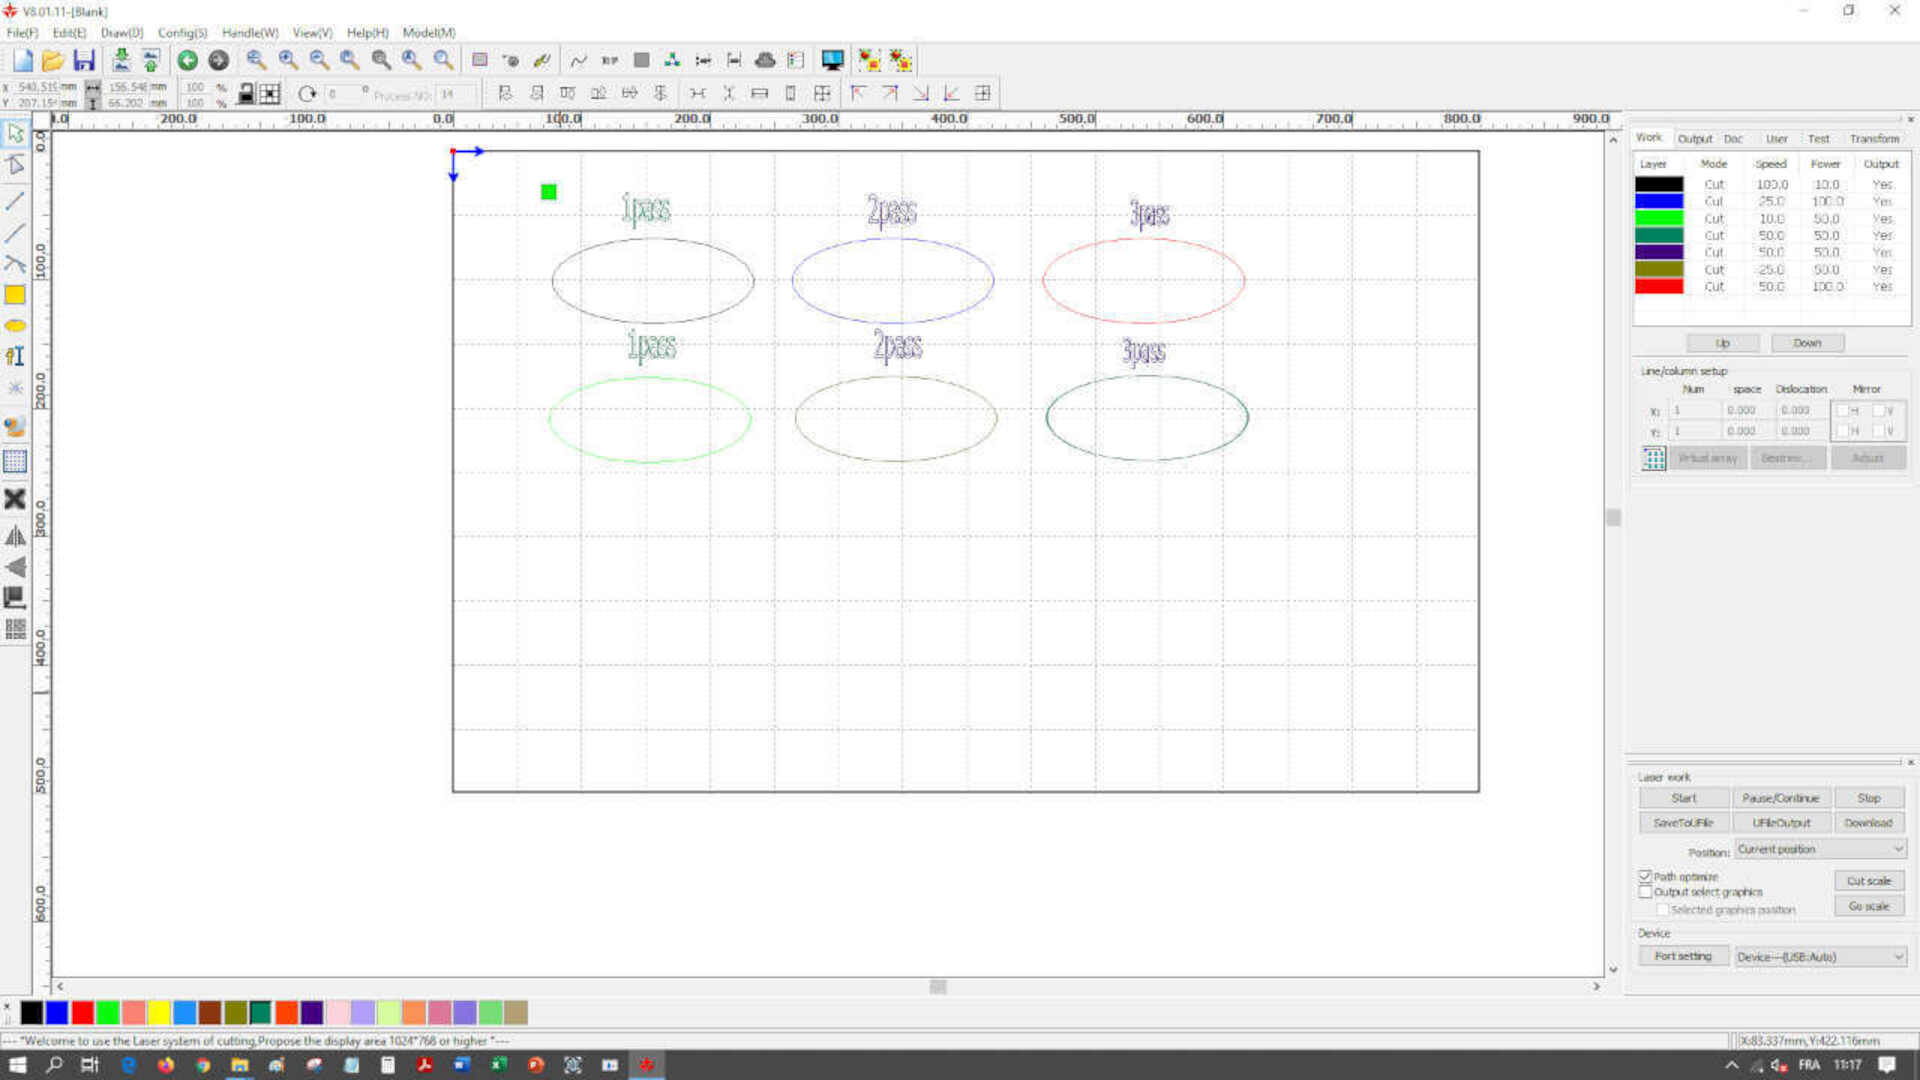 image: we used Rdworks to create files for the lasercutter
 image: here you can see the various power and speed settings and their results
Kerf and Joint clearance
We created a test piece in cardboard and plexiglass with different kerf dimensions allowing us to observe the ideal kerf. The cardboard has a thickness of 6.3mm and the plexiglass has a thickness of 3.8mm. we ran this test on the lasercutter. the results are below for both materials.


Now from our kerf and joint clearance test, we observed that for cardboard, the joints fits more with the 5.8mm dimension and for plexiglass the joints fits with the 3.6mm dimension.
Individual Task
So for my individual task, I designed my octagonal frame for my smart backyard garden which is my final project. I designed the parts to be cut using Solidworks 2021 which i then exported the sketches as .DXF files. I imported them to RDWORK V8 to set the cutting parameters.
 image: shows the parts to be cut out and to the right of the window, the cutting parameters
Parameters:
- MinPower: 100
- MaxPower: 100
- Speed(mm/s): 6.0
- Laser 1 freq(KHZ): 5.0
 image: shows the cutting process of the parts of the laser
 image: show is the cutting process
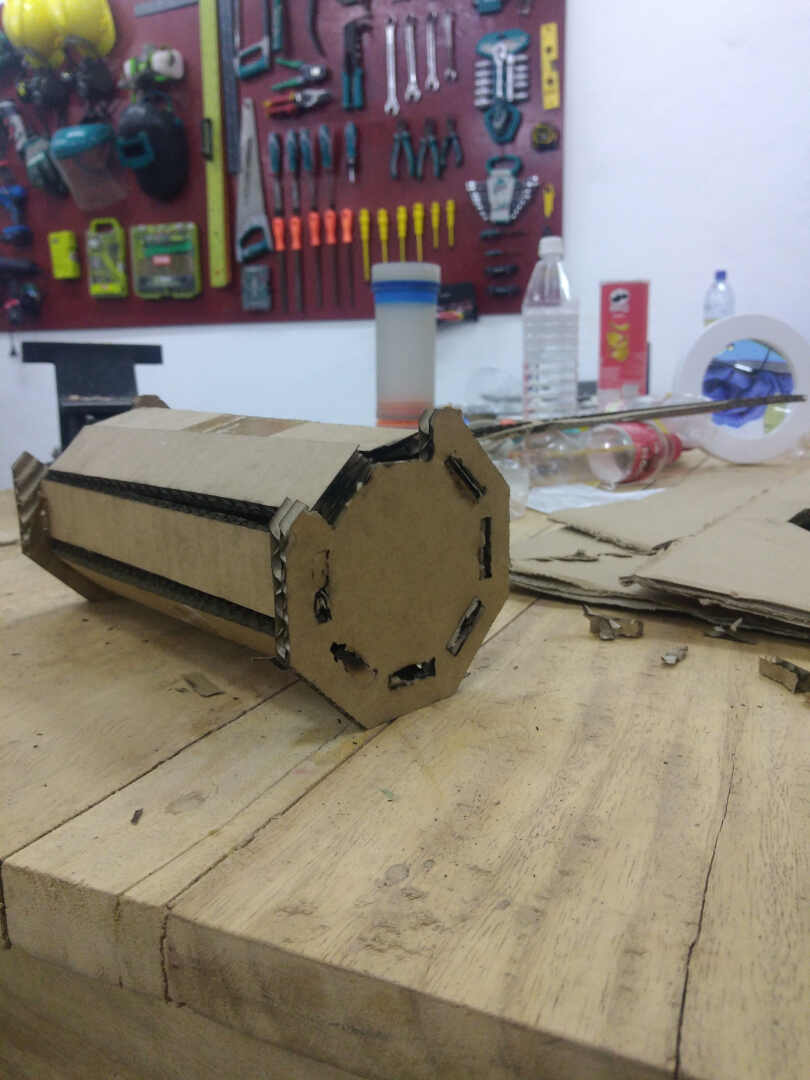 image: shows the finished cut and assembly
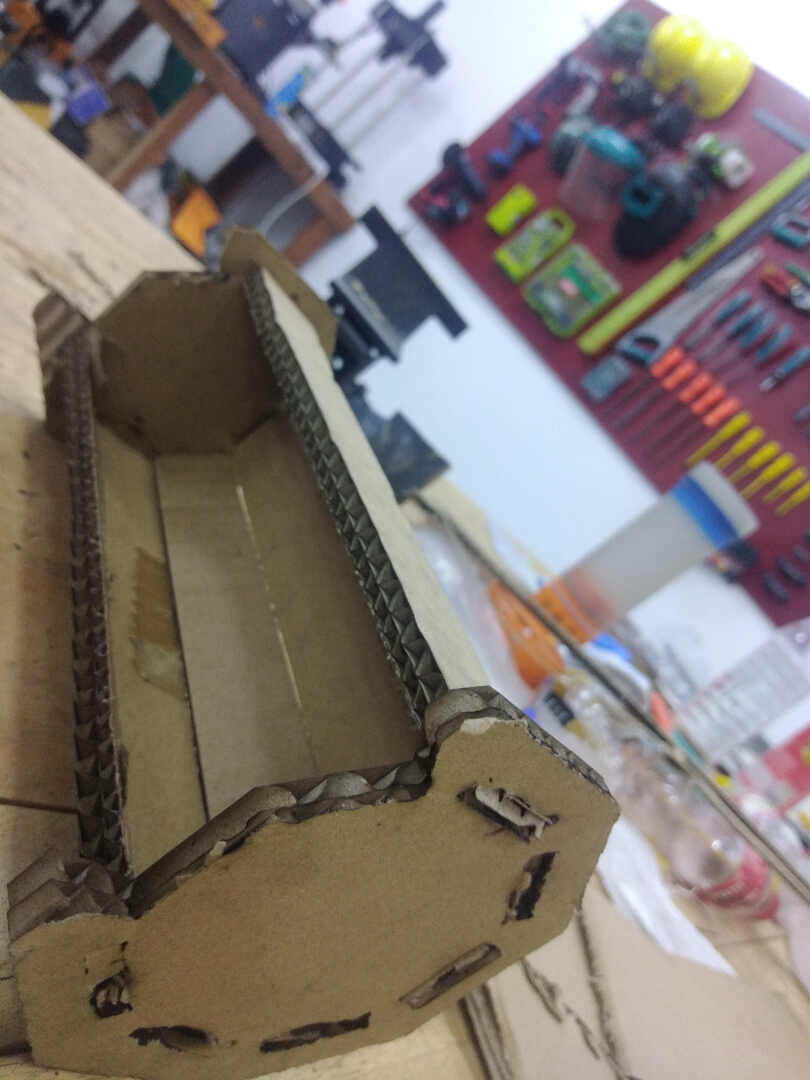 image: shows the finished cut and assembly
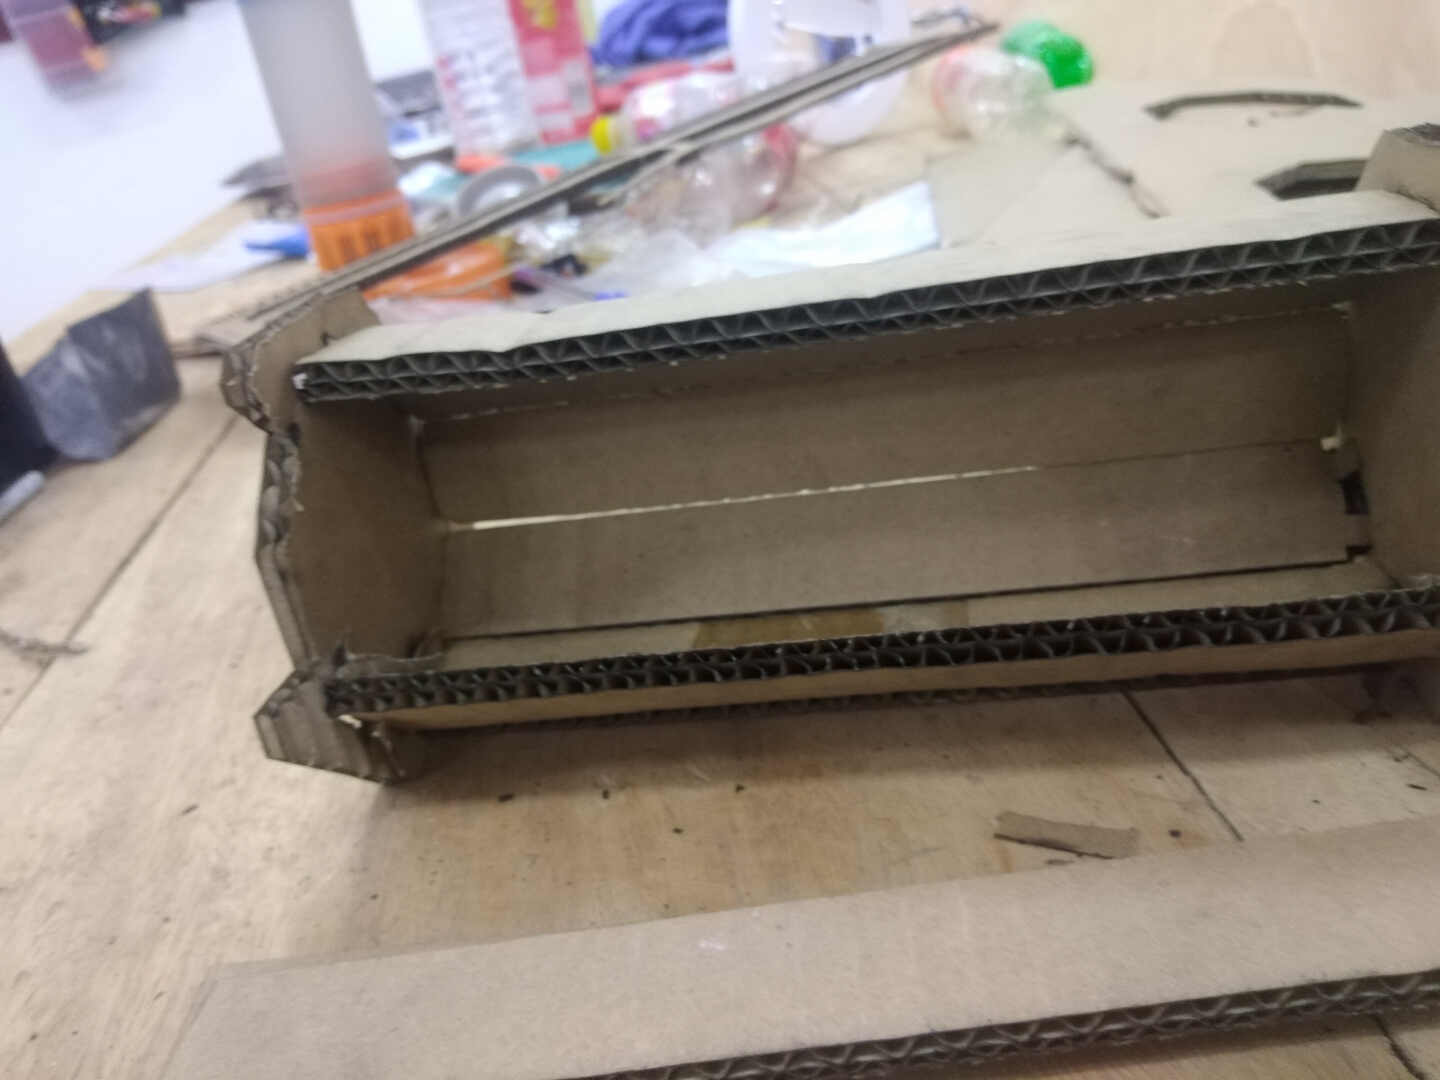 image: shows the finished cut and assembly
 image: shows the finished cut and assembly
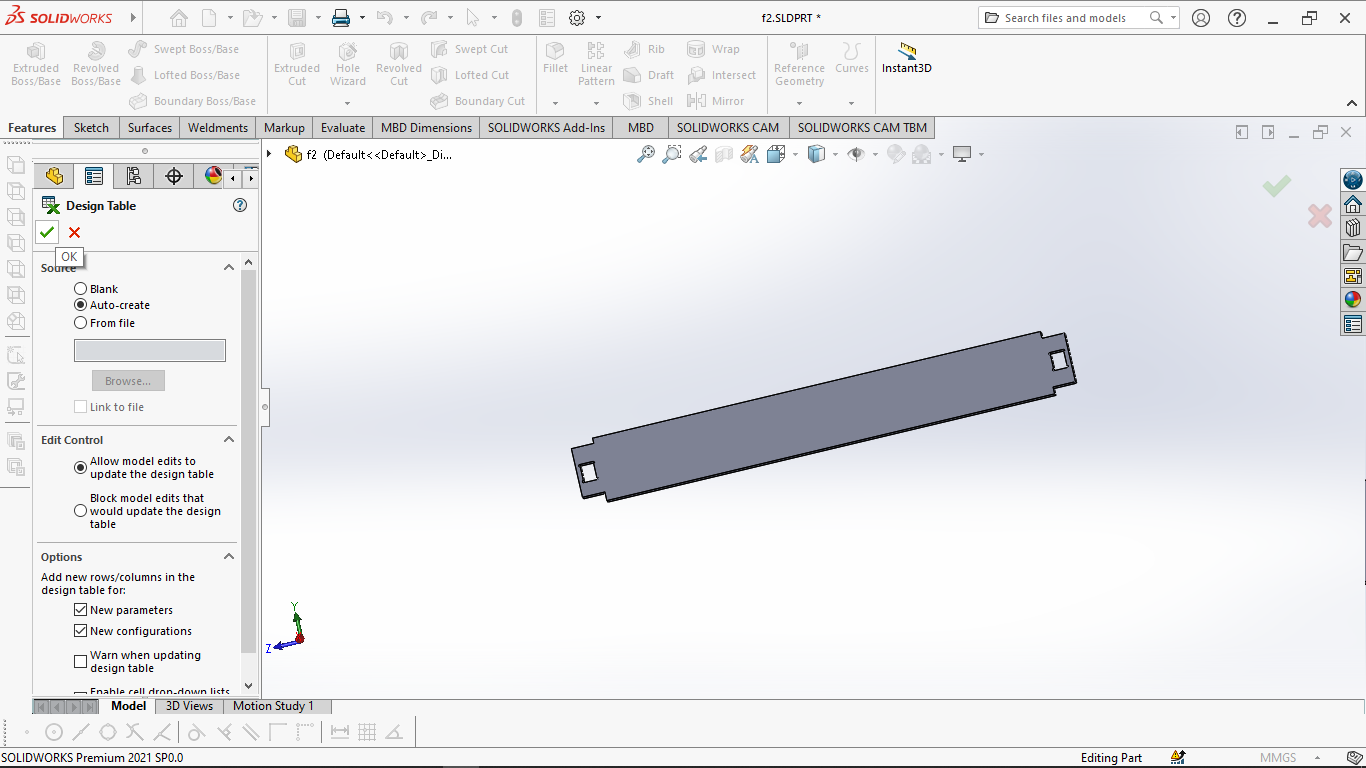
Parametric Design
Since I used Solidworks to design the parts, I set the parametric designs using the design table command in the insert tab on the menu toolbar.
the Images below shows how to get there and the dimensions:


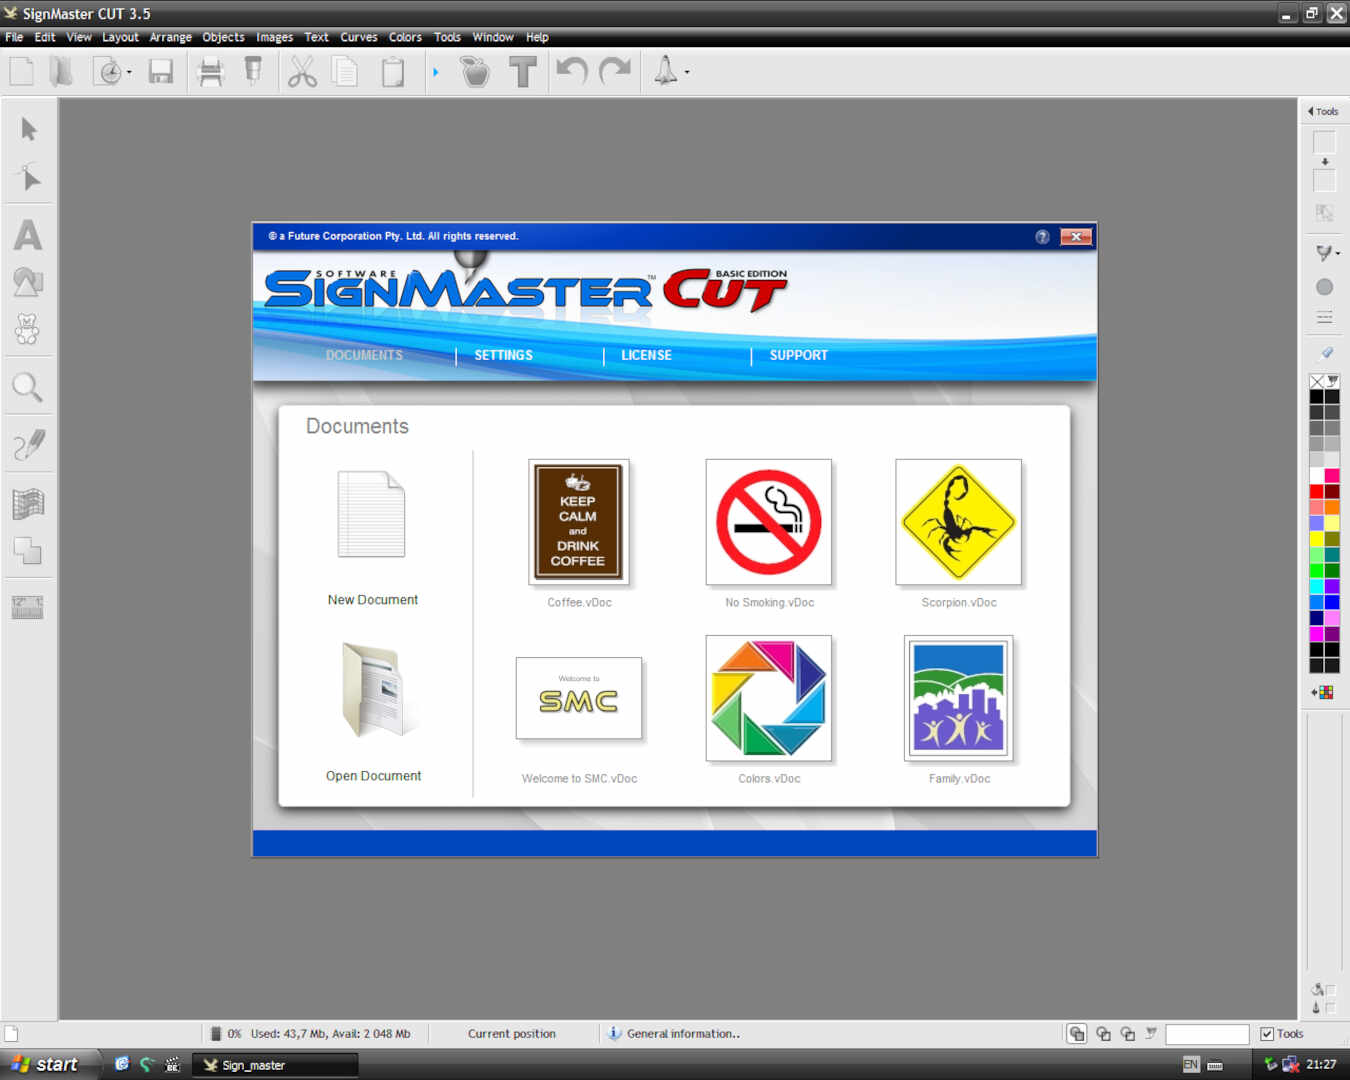
Vinyl Cutting
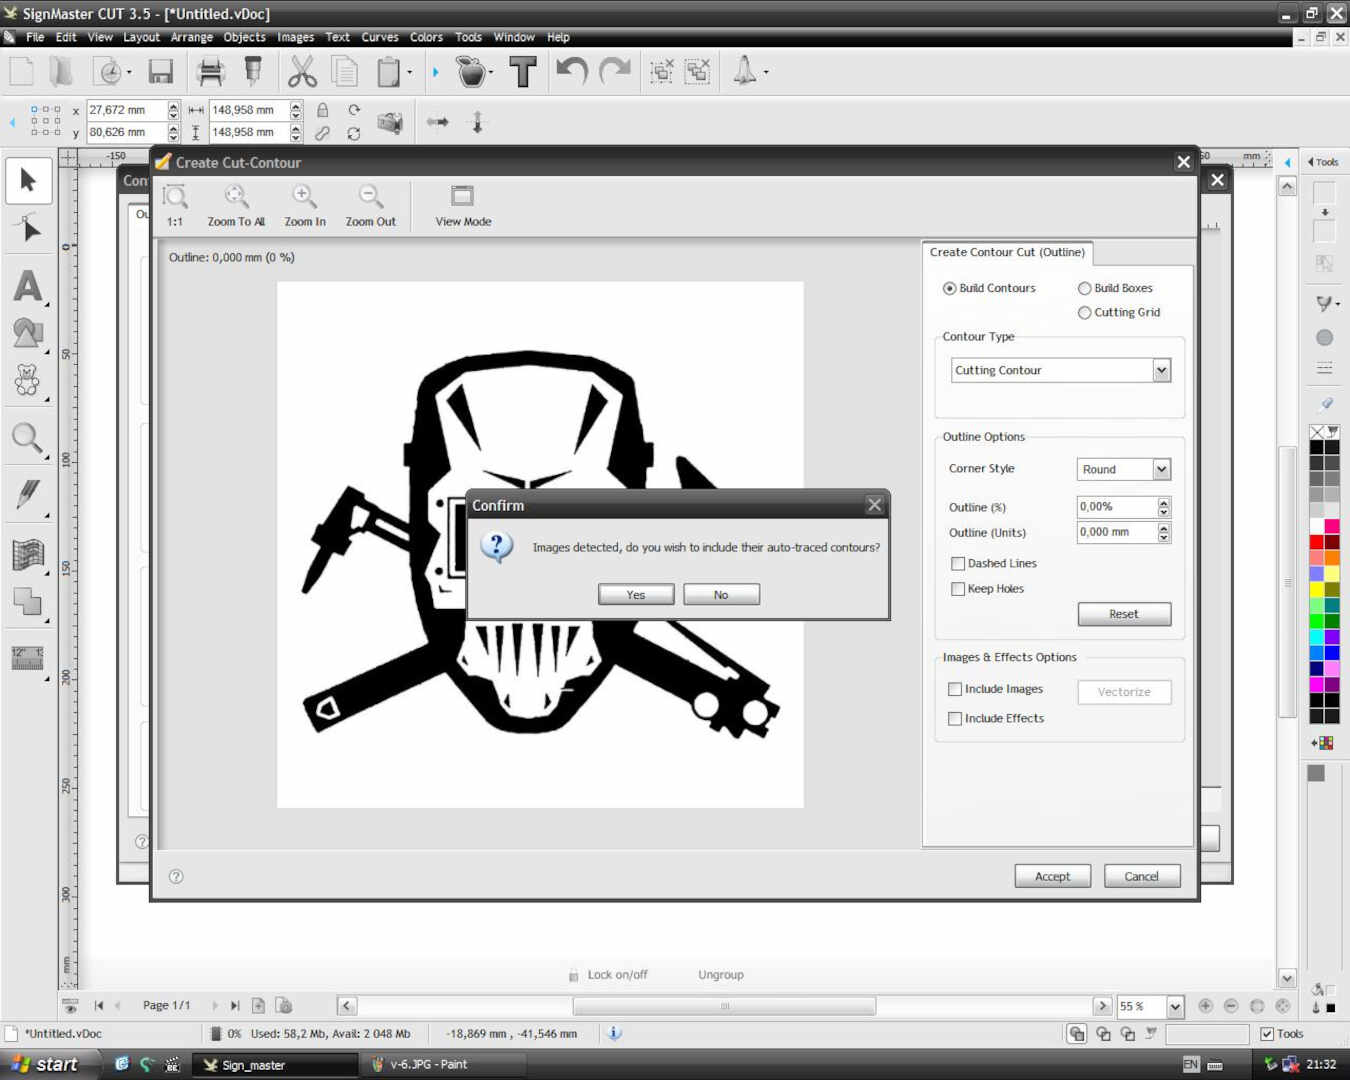
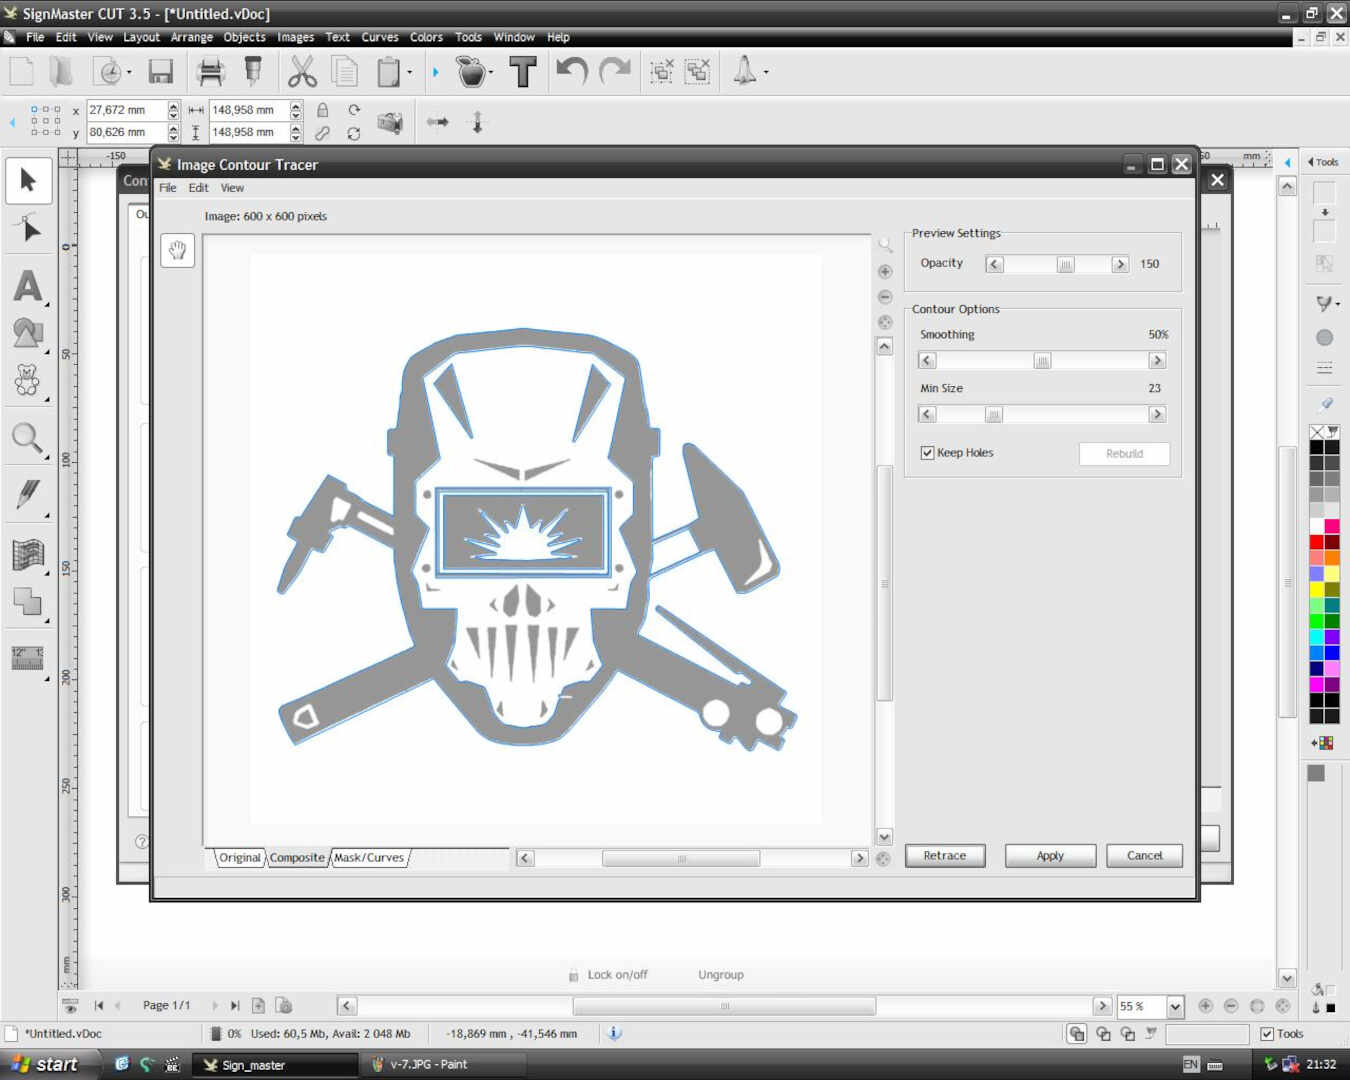
For the vinyl cutting I decided to cut a sticker for my laptop.
using the SignMaster CUT 3.5 software.

Machine
You can get one or see the details here
| machine | Specifications |
|---|---|
| Cache Capacity: | 1MB-4M |
| Paper Feed Width: | 1350mm |
| Cutter Pressure: | 0-800g( digital adjustment) |
| Cutting Width: | 1260mm |
| Cutting Speed: | 400mm/s |
| Driver: | High stepping motor, micro-step driver |
| Cutting Length: | Max 20000mm<=20 |
| Repeat Cutting: | Yes |
| Size: | 1351mm |
| Input voltage: | 110v/220v |
| Control panel: | over-head, 2*8LCD, 13-botton touch thin-film keyboard |
| Packing: | Hard carton |
| Operation system: | Windows XP,Vista,Windows7 |
| Max cutting speed: | 400mm/s |
| Knife press: | 0-800g( digital adjustment) |
| Application: | Vinyl and paper graphic cutting |
| Main board: | 16-bit CPU, 1MB-4M High-speed CACHE memory |
Cuttting the Sticker


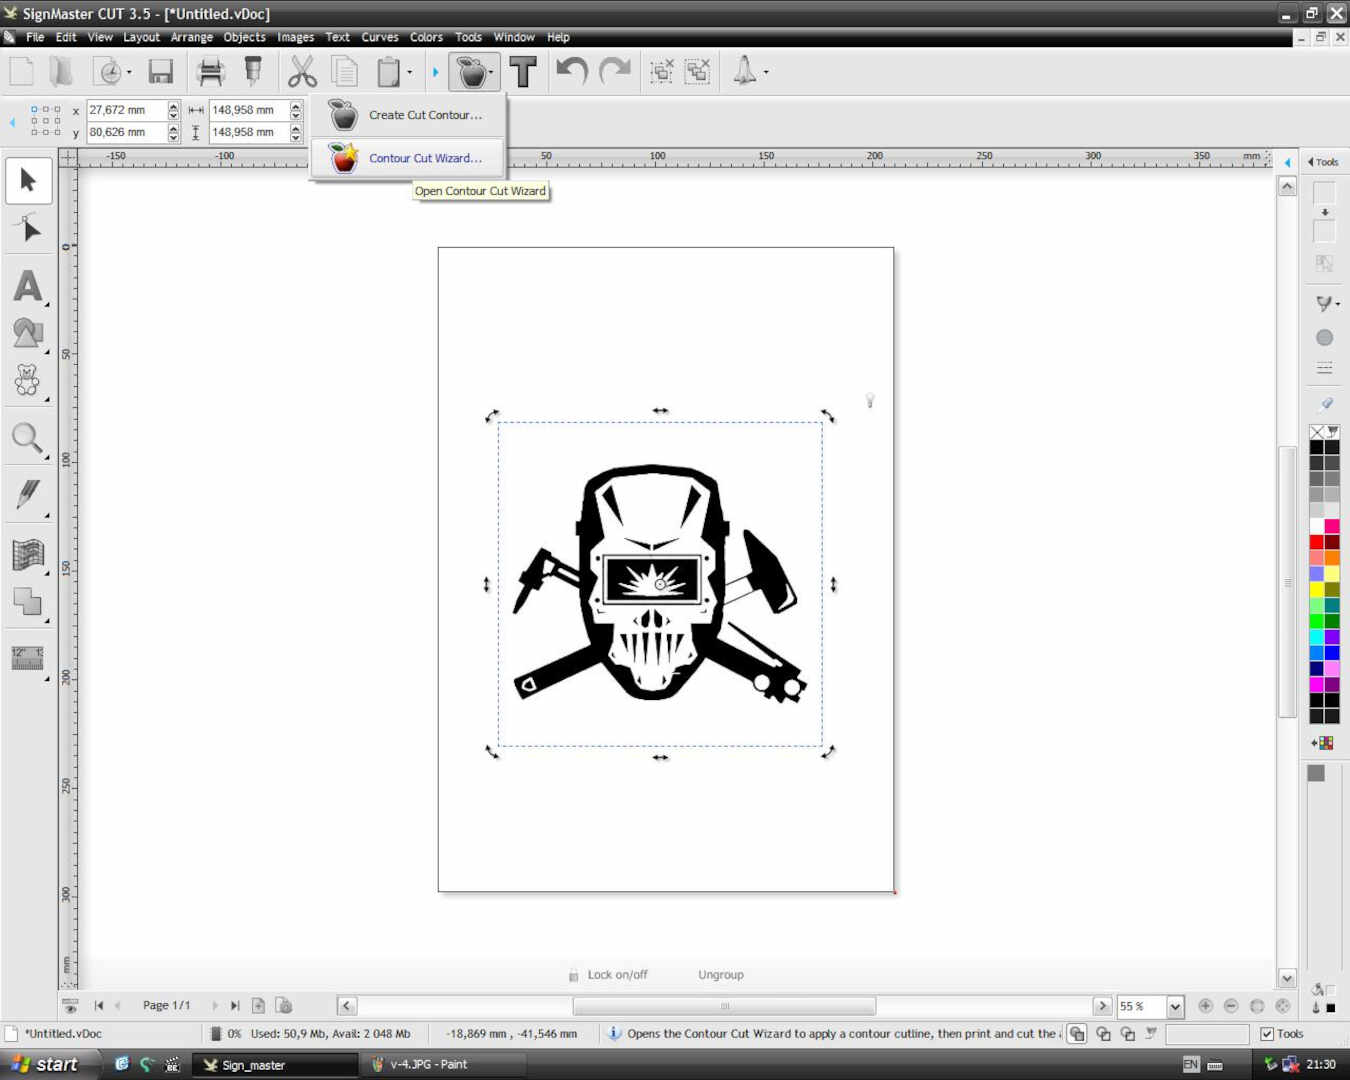
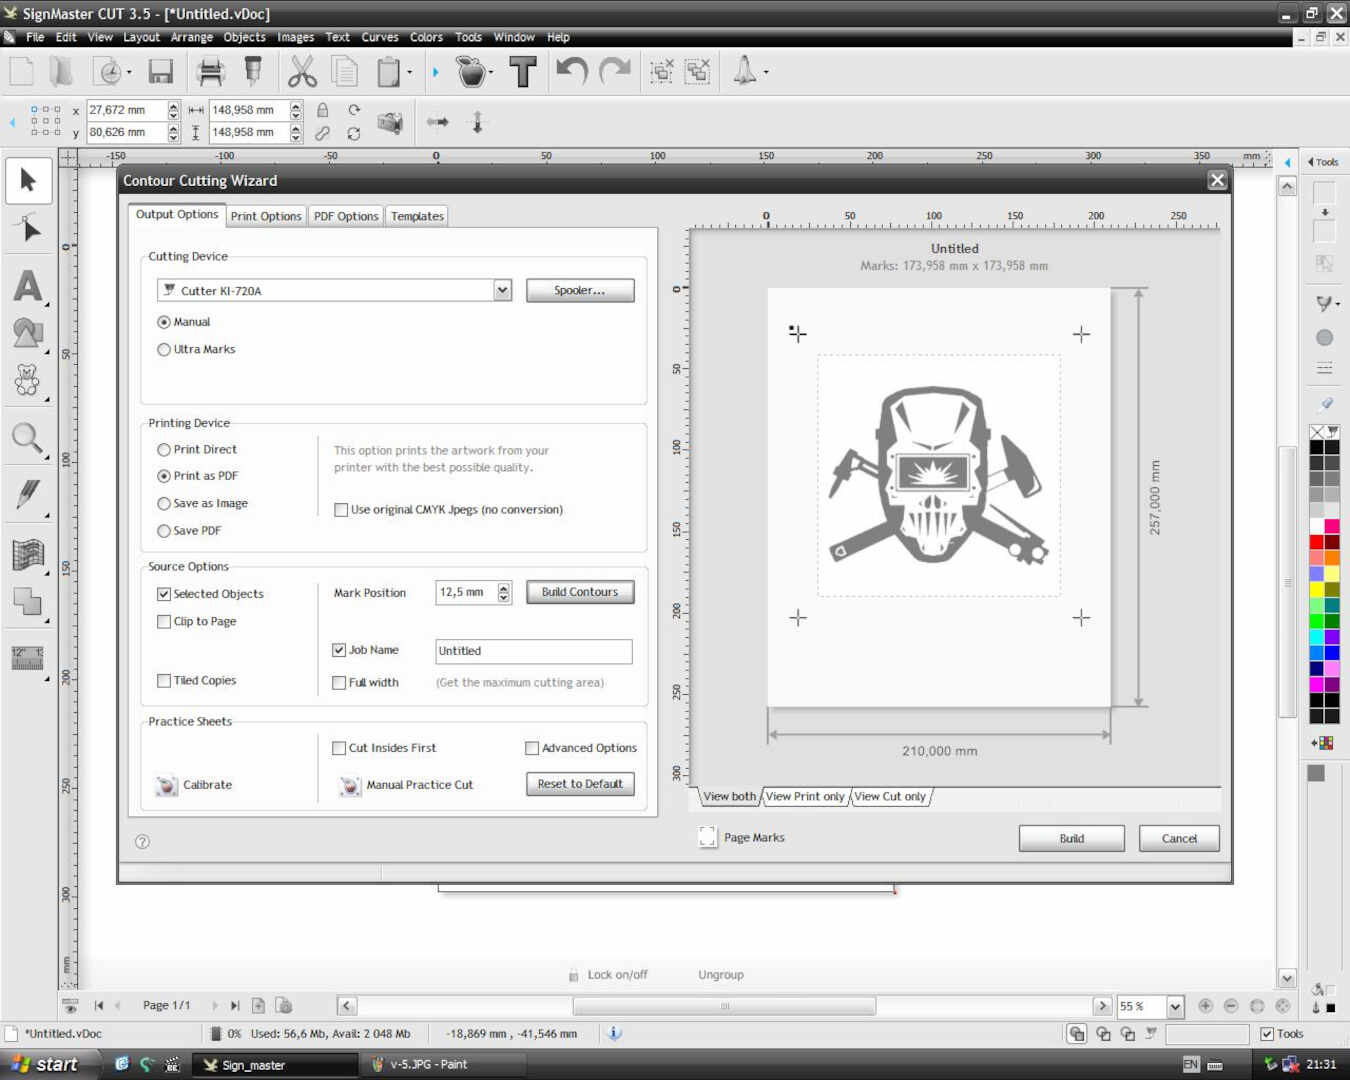


Design files
Wrapping Up
This was my first experience using a laser cutting machine, I learnt new things that include: - Do not leave the laser machine unattended to whiles it is working - Always make sure the fumes extractor is working before you use the machine - you need to have eye protection anytime you want to observe the laser in action. This was a fun week.