2. Project management
This week I worked on my documentation on to my Git repositorty. I genareated an SSH key.
Research
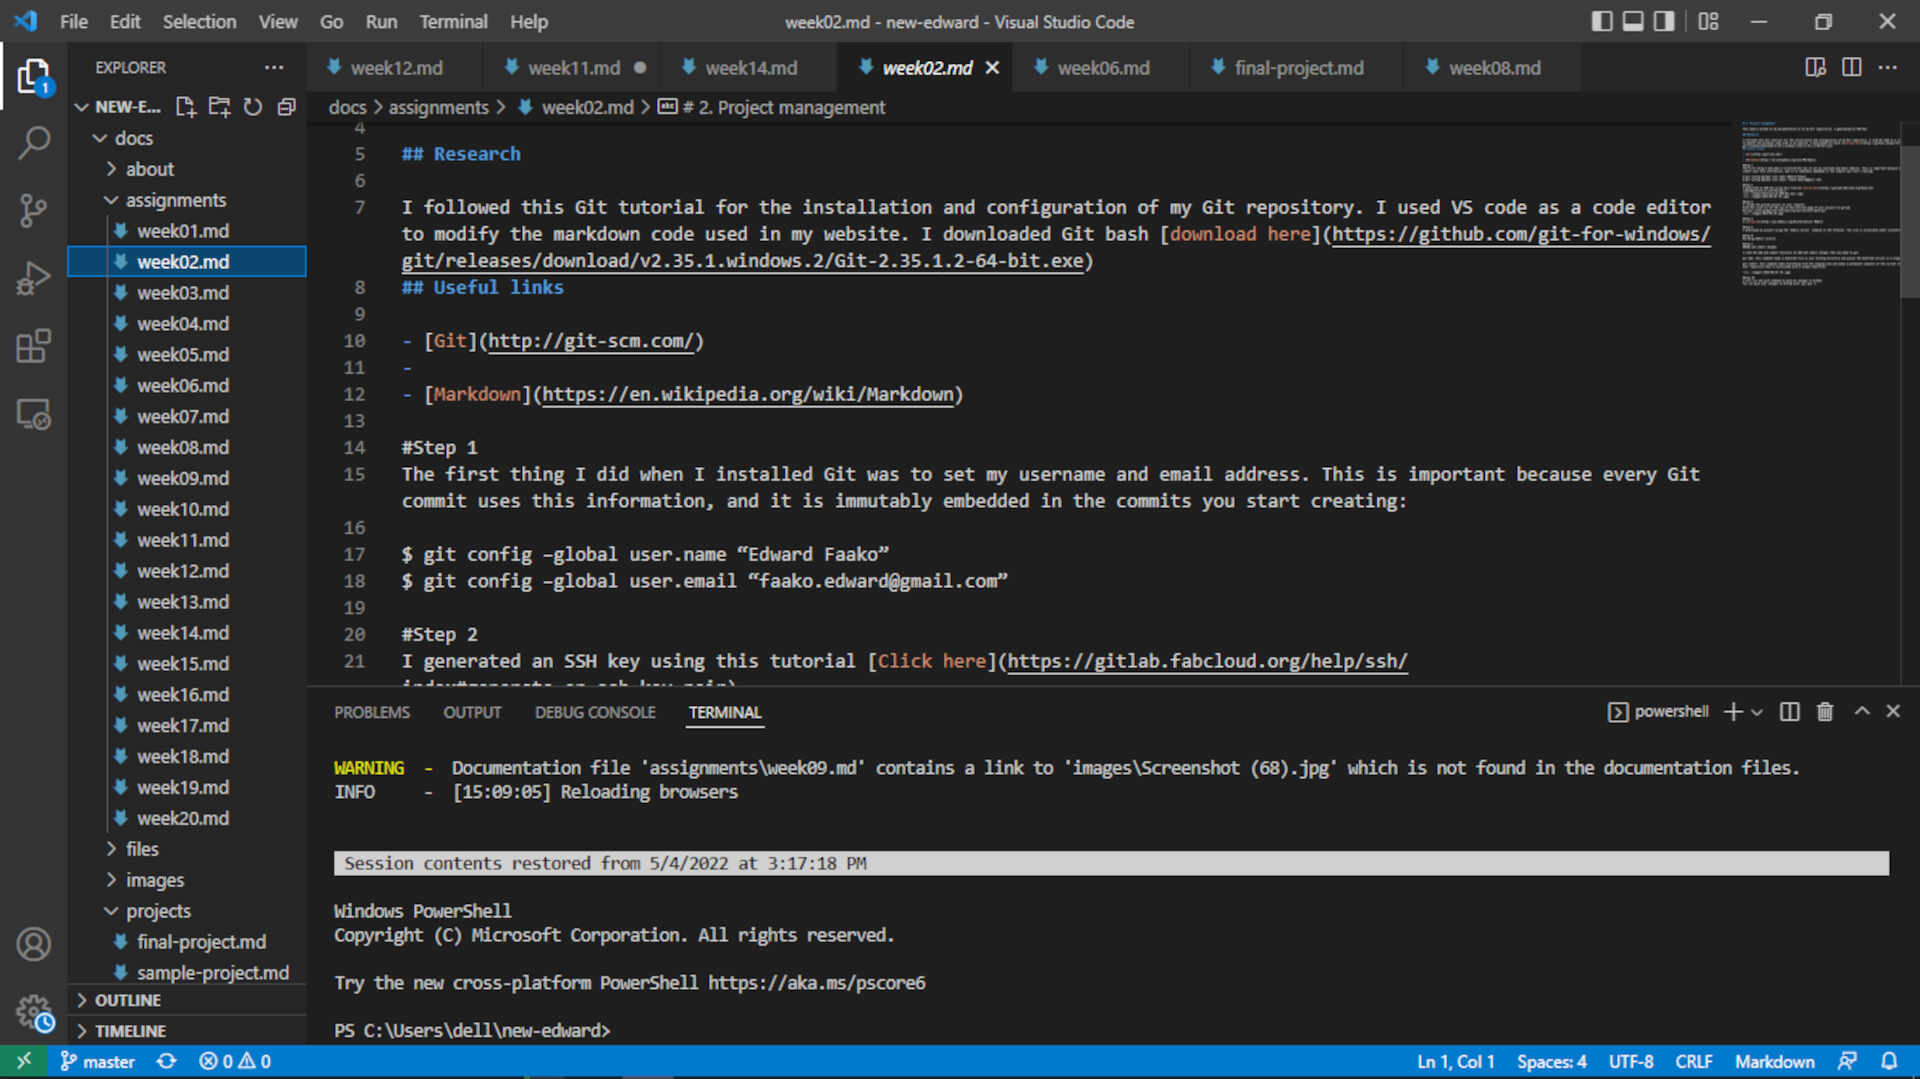
I followed this Git tutorial for the installation and configuration of my Git repository. I used VS code as a code editor to modify the markdown code used in my website. I downloaded Git bash download here
Useful links
- Git
Step 1
The first thing I did when I installed Git was to set my username and email address. This is important because every Git commit uses this information, and it is immutably embedded in the commits you start creating:
$ git config –global user.name “Edward Faako” $ git config –global user.email “faako.edward@gmail.com”
Step 2
I generated an SSH key using this tutorial Click here
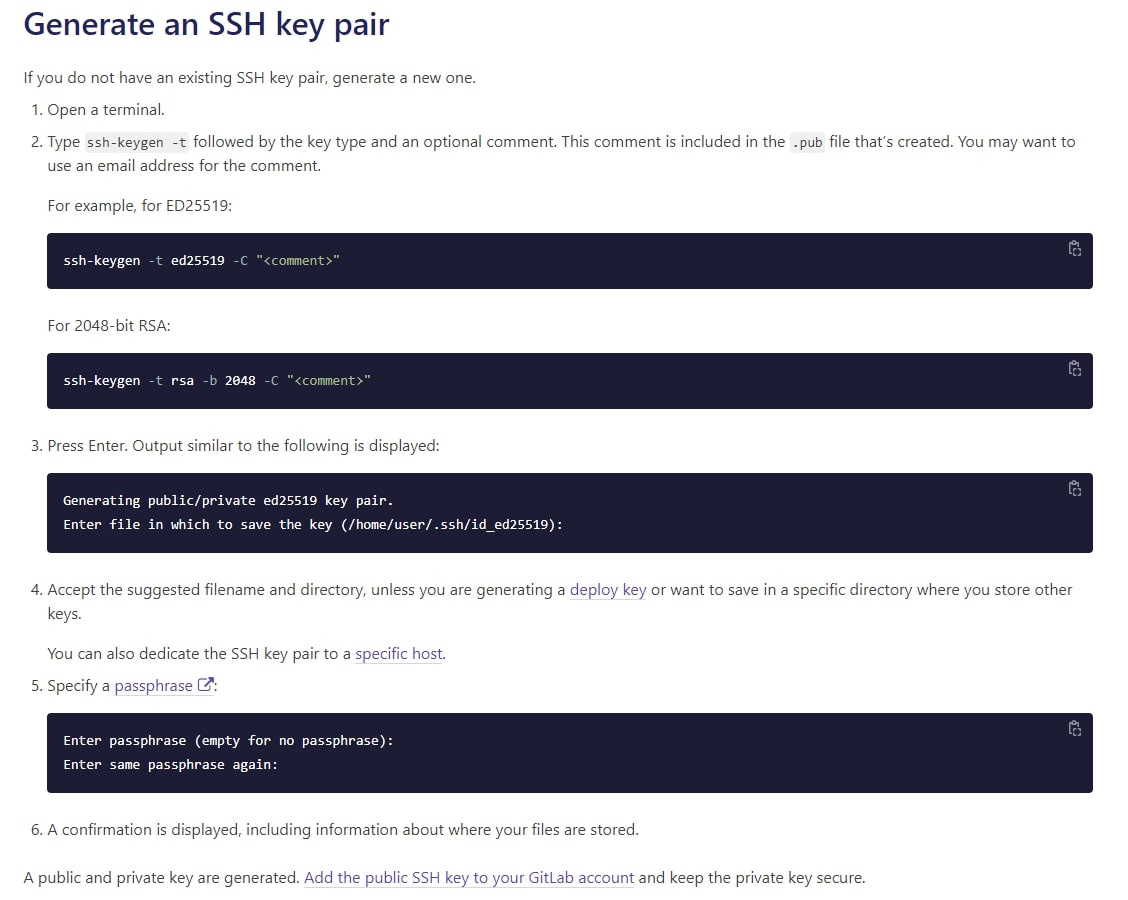
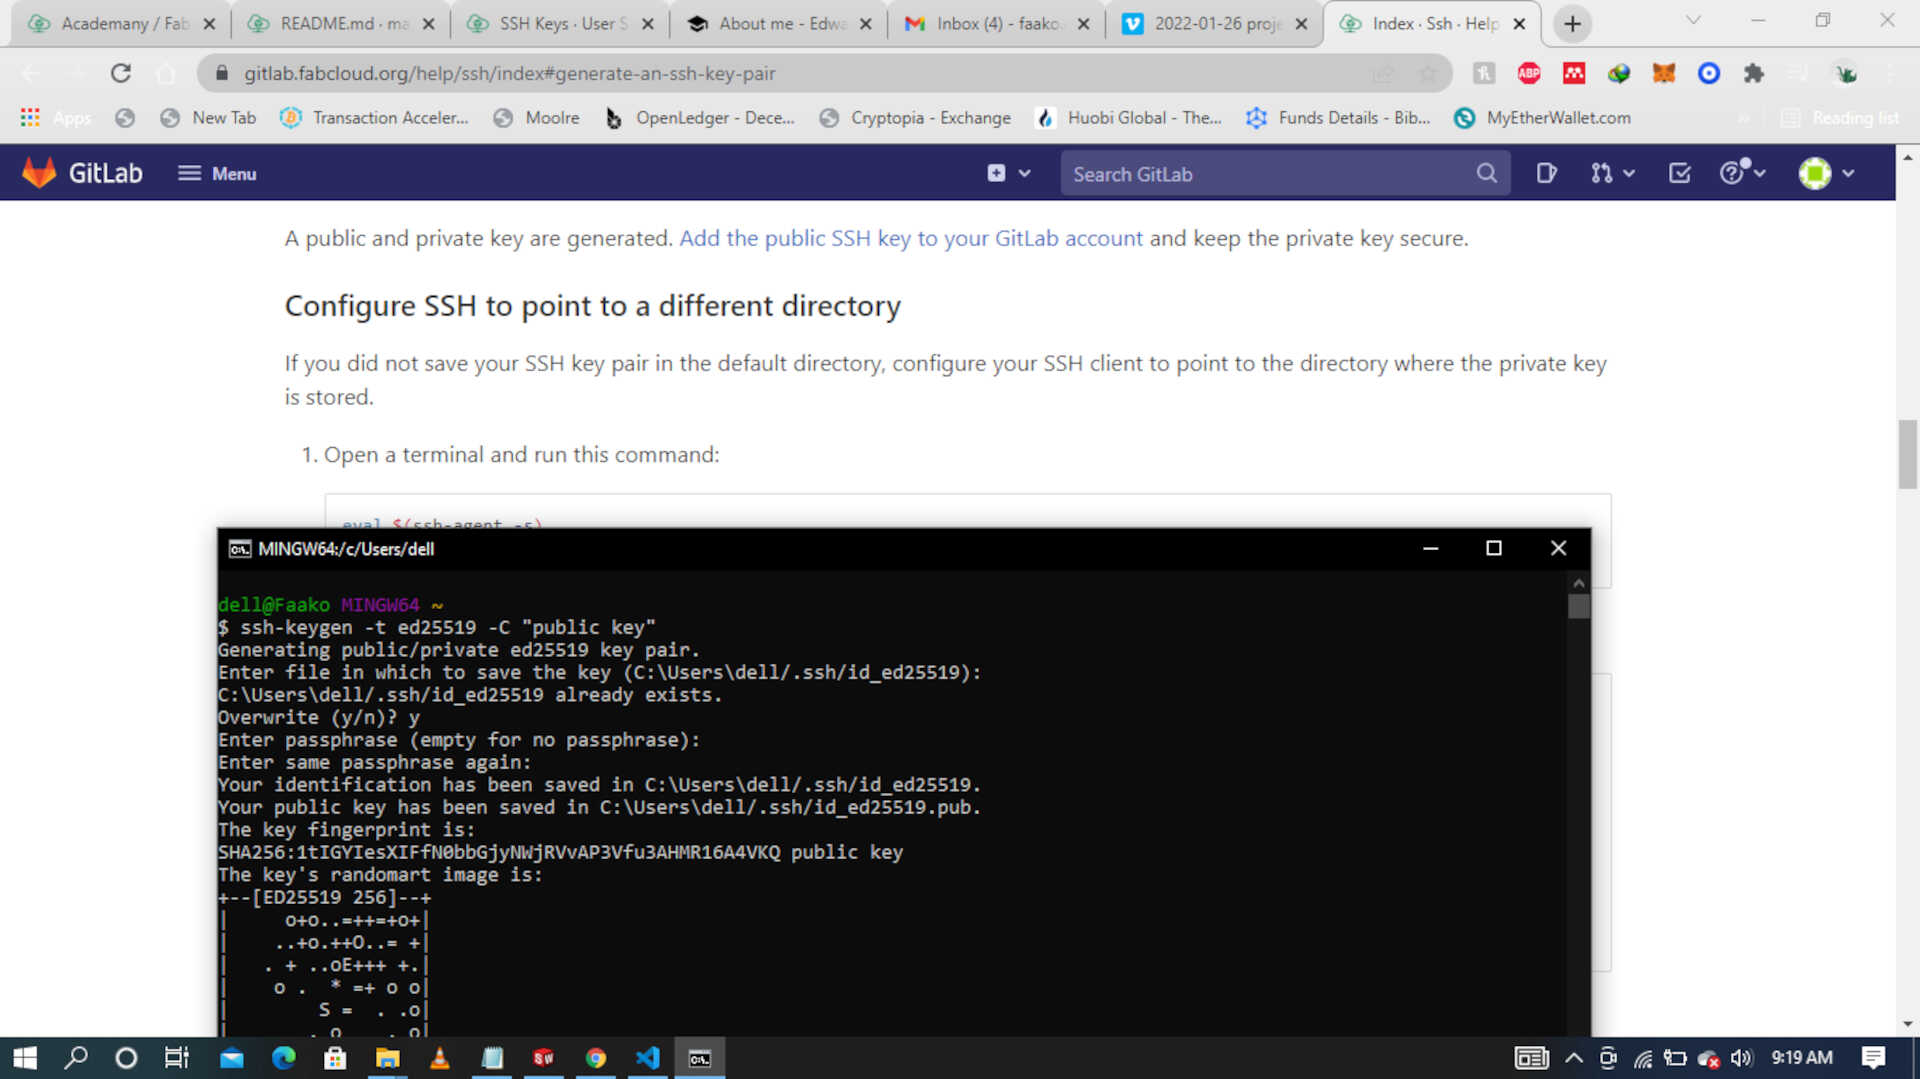
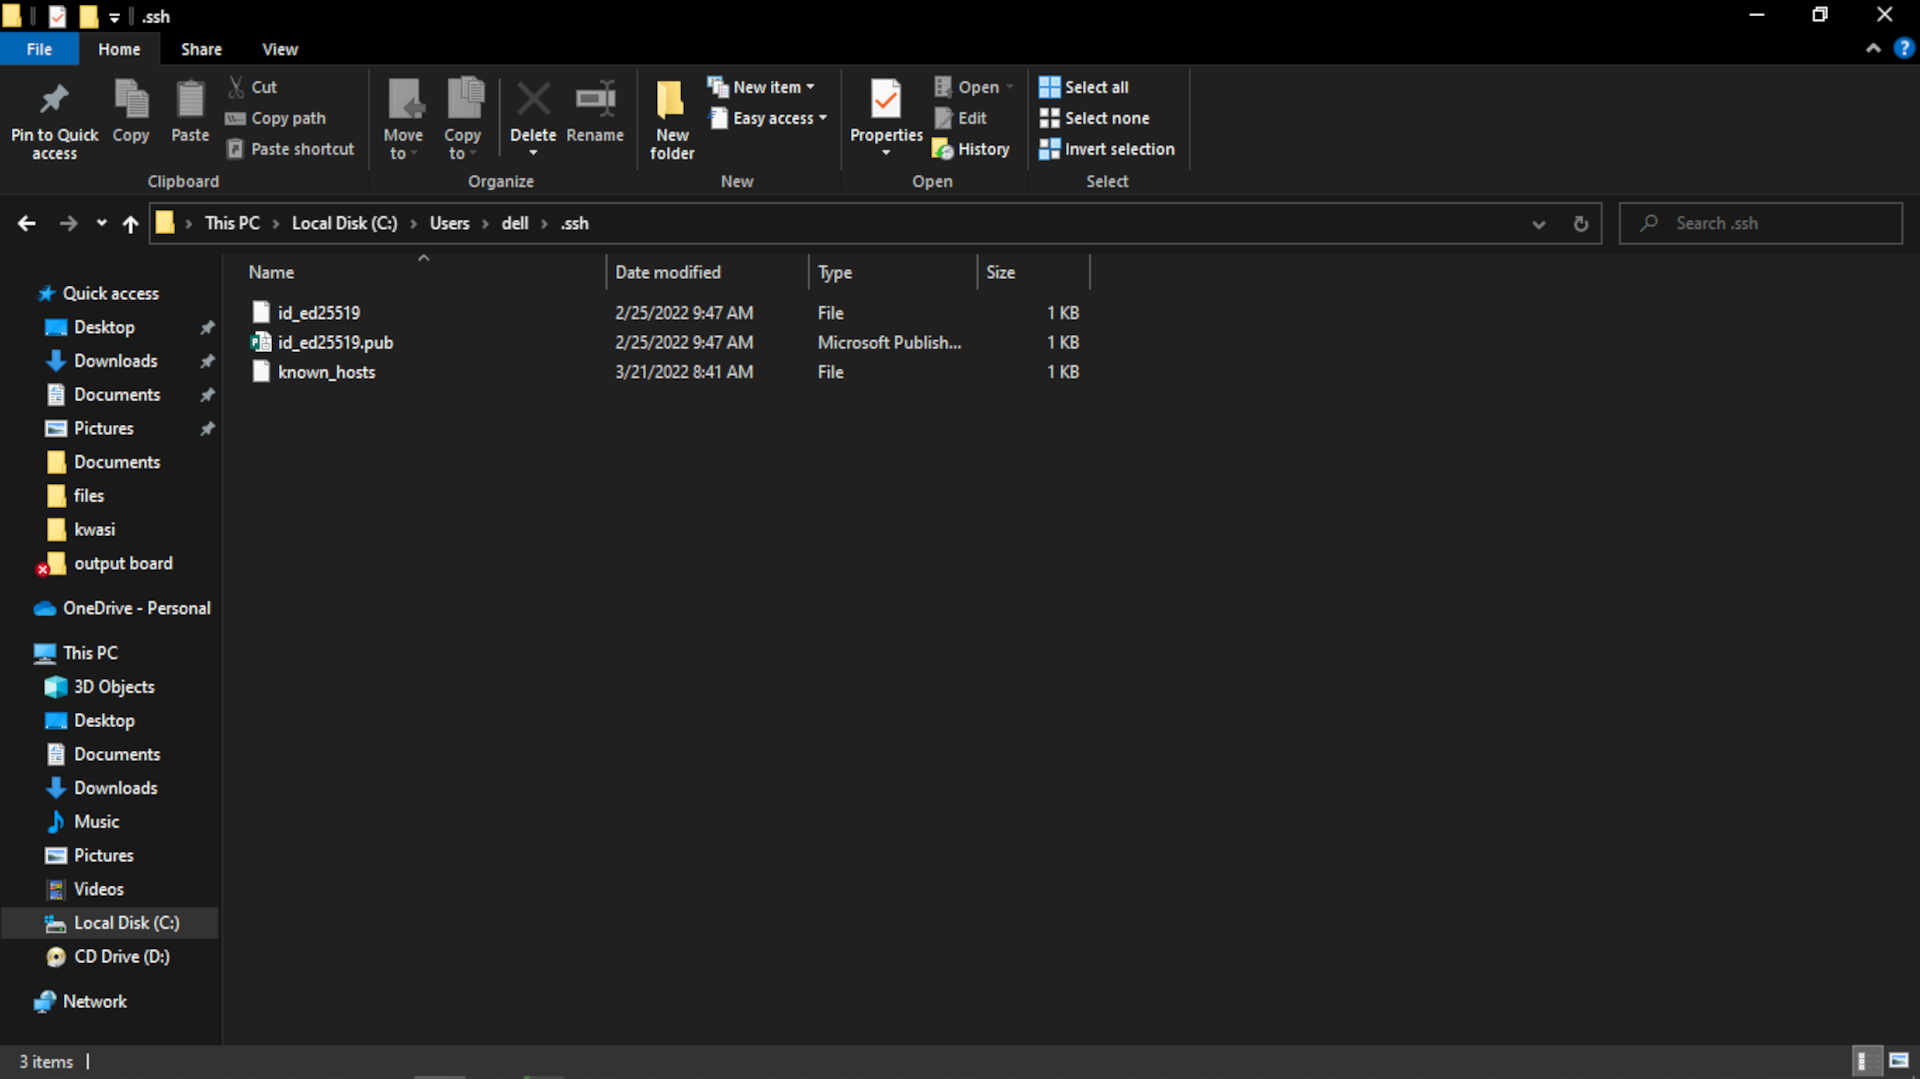
After generating my SSH key,
- I navigated to the directory it was saved.
-
I opened the file with note pad,
-
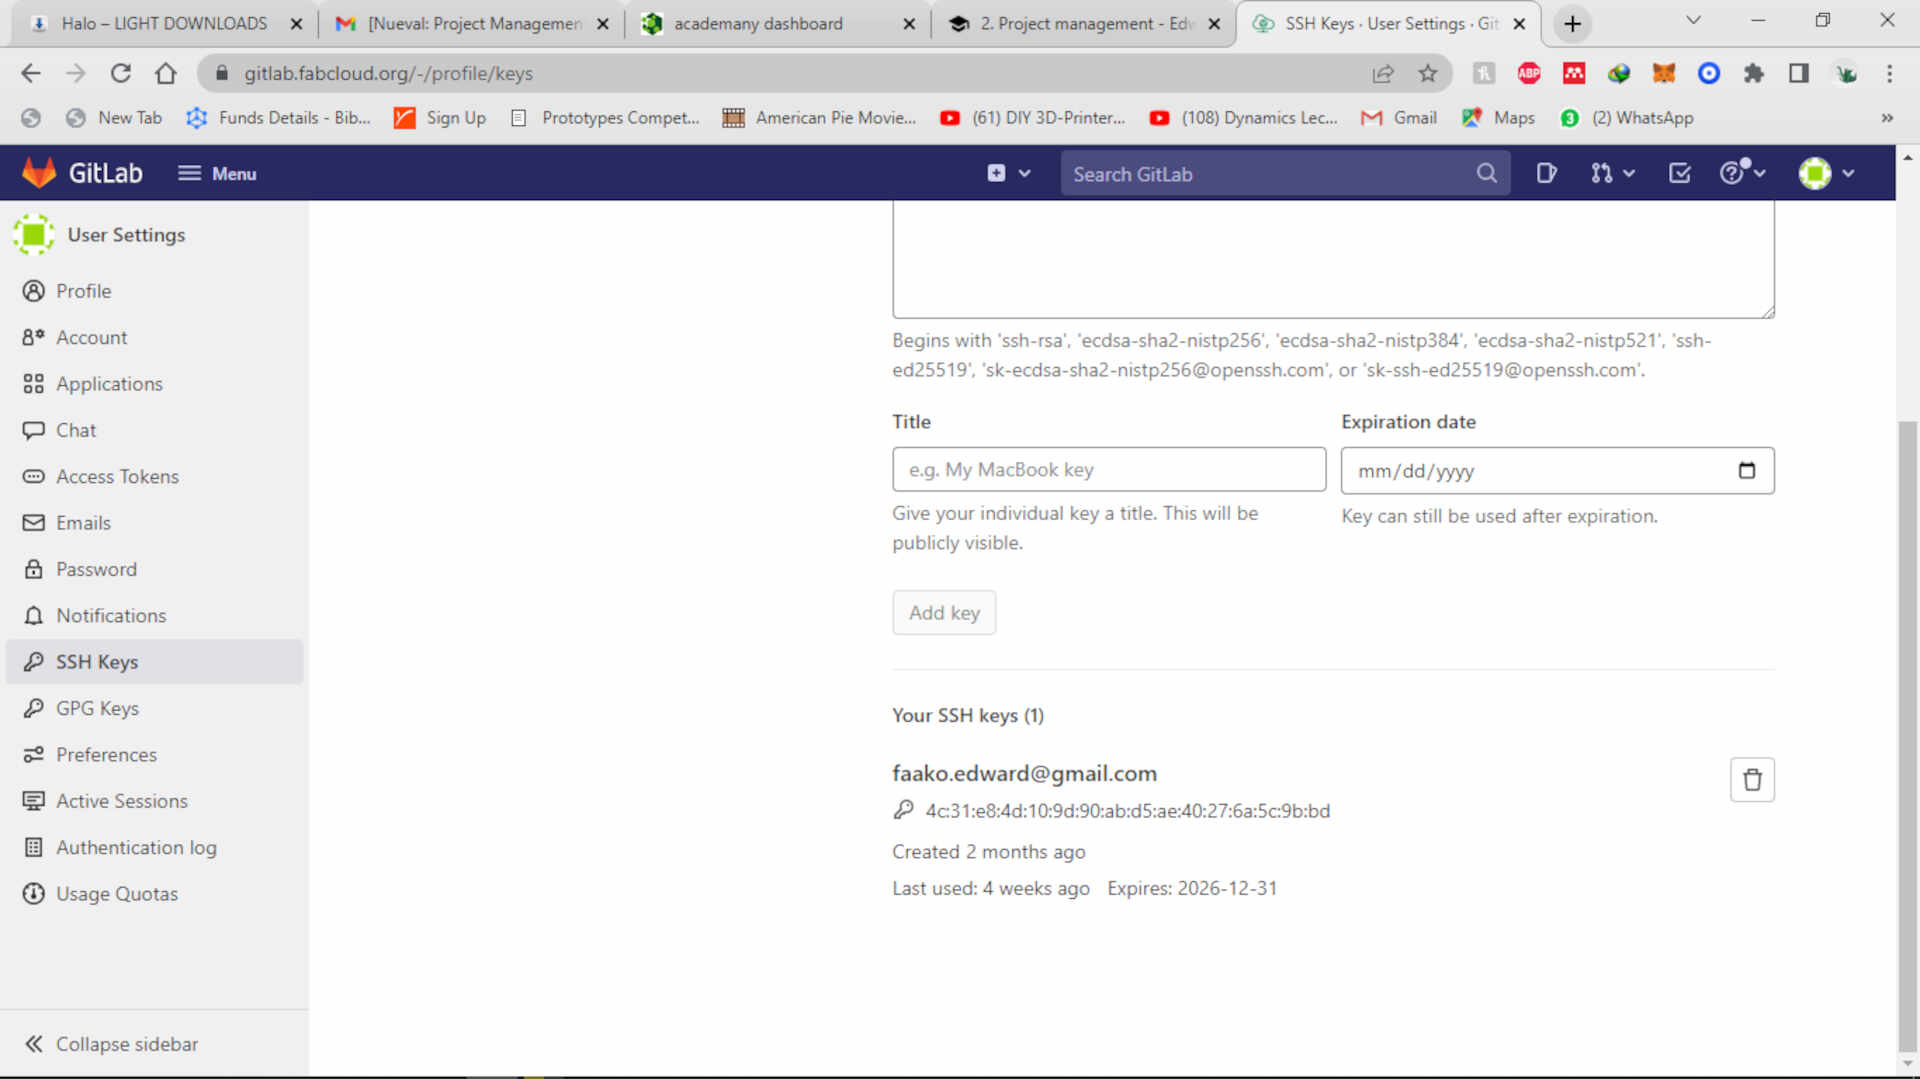
copied the key and then when in to my Gitlab page
-
navigated to the page(that is the SSH keys page under your user preferences page) where I can add my SSH keys
-
pasted it there and then clicked on add keys
Step 3
I cloned the gitlab project on your computer
Find the clone url at the top of the overview page of your project on gitlab.
Run git clone git@gitlab.fabcloud.org:your/project/path.git
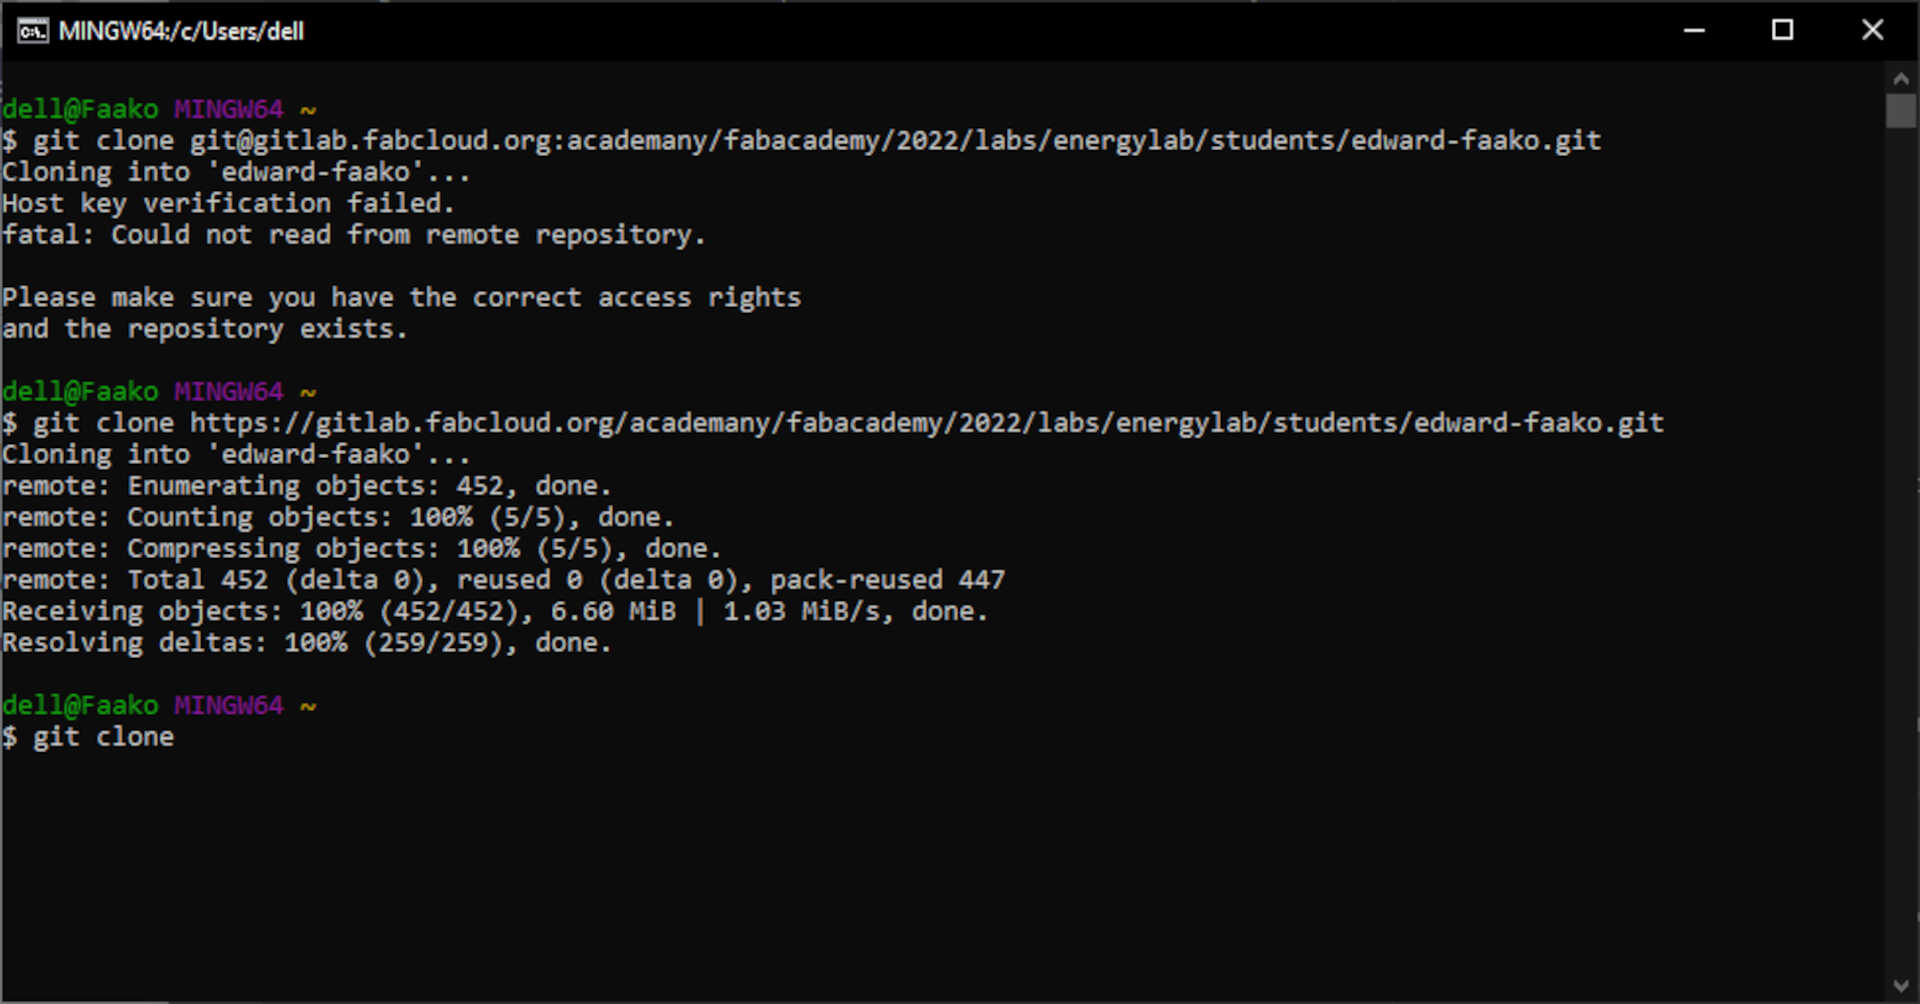
I got an error the first time I tried to add my SSH key to the GitLab server so I cloned using the https. I retraced the steps I took to add the Keys but I found out that I missed the very first and important step and that is to correctly input and bind my credentials to enable gitbash to access my page.
Step 4
I installed Mkdocs
Step 5
I previewed my project using the ‘mkdocs serves’ command in the terminal. The site is accessible under localhost:8000

Step 6
Building mkdocs locally
Step 7
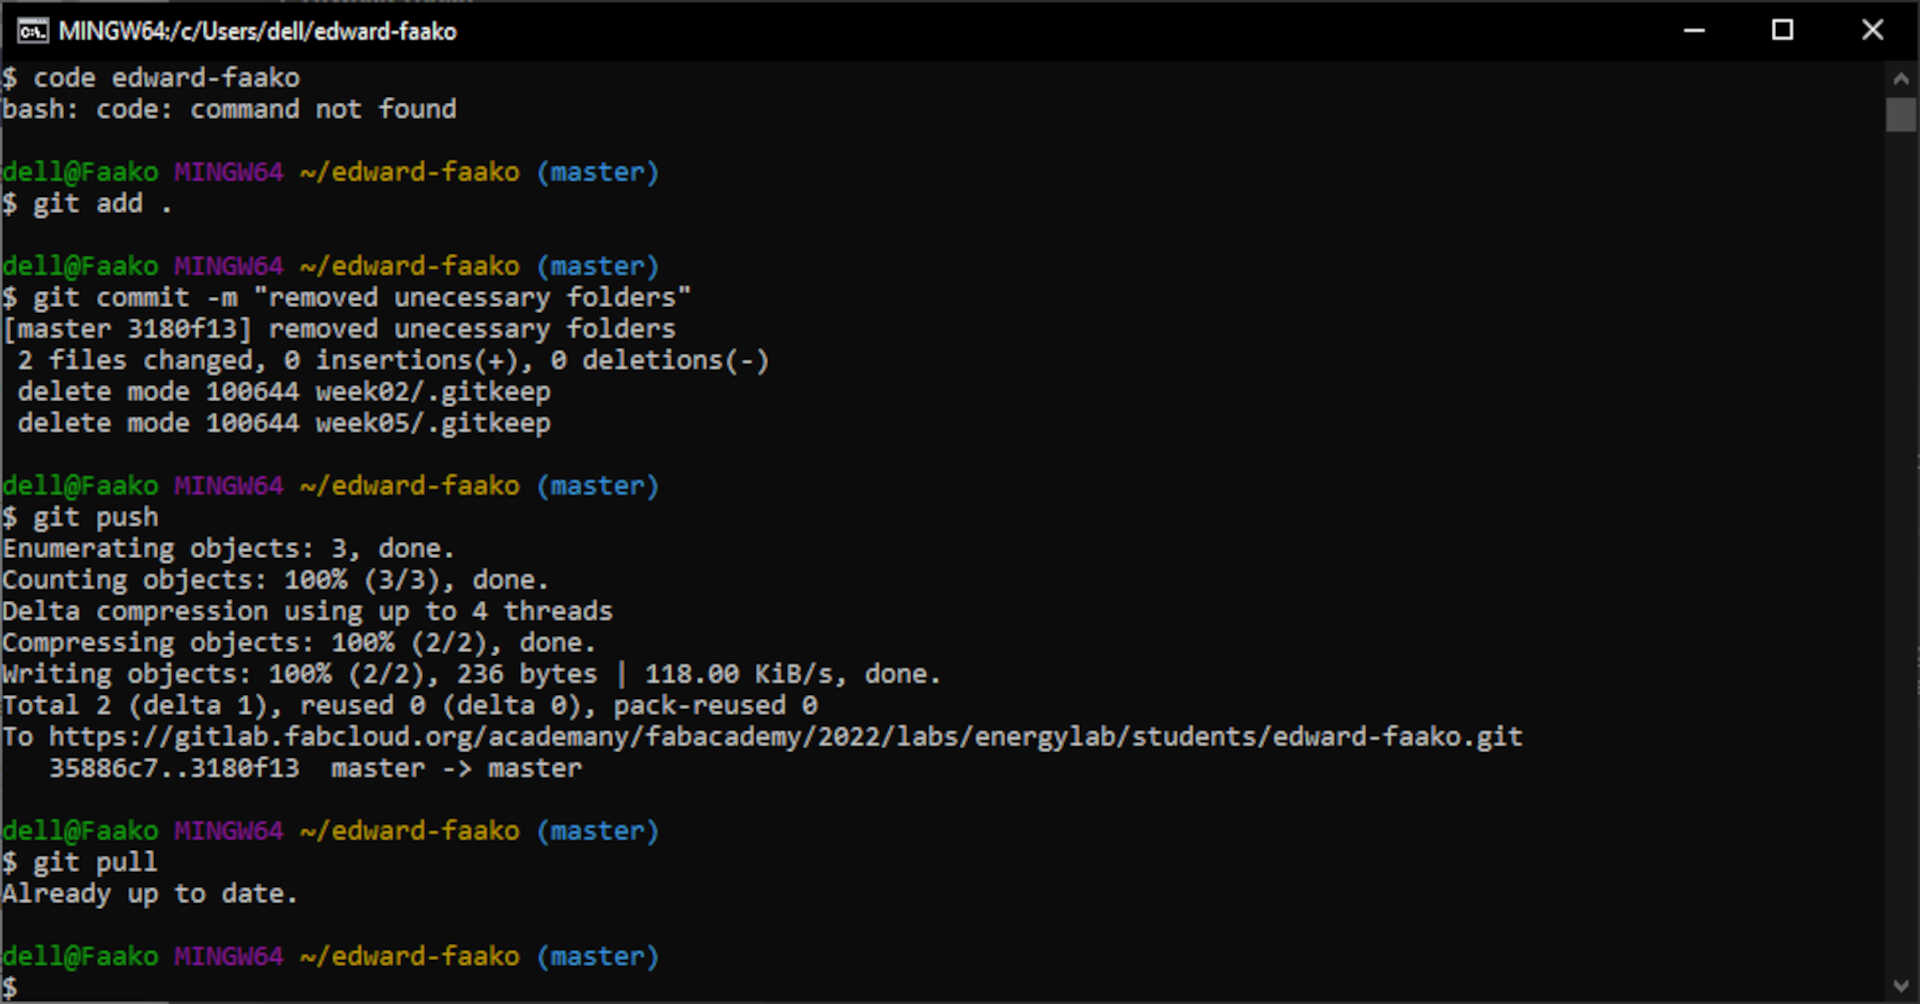
Add and commit changes
I used the add and commit functions to add and commit changes that you make to git.
git add: this command takes a modified file in your working directory and places the modified version in a staging area.
git commit: this command takes everything from the staging area and makes a permanent snapshot of the current state of your repository that is associated with a unique identifier.
Step 8
I will use the push command to push my changes to GitHub You can push your changes to Gitlab with: git puh -u