Week 17. Wildcard Week (May 10)
Week 17 Assignment
-
design and produce something with a digital fabrication process (incorporating computer-aided design and manufacturing) not covered in another assignment
-
document the requirements that your assignment meets, and including everything necessary to reproduce it.
Embroidering Avengers Logo
This week I decided to use embroidery to make an Avengers logo, which is sort of a fun side project and not really related to my final project. I have never done embroidery, nor used the embroidery machine before, so this was really just me learning another interesting skill. Overall, the final product turned out quite nice.
Inkscape Design
Before starting on the design I started by doing research on potential softwares to use. I looked at the sites of fellow classmate Aaron Logan and past student Sophia Vona, since these were Fab students who had done embroidery already. From this I identified two possible softwares I could use for embroidery: InkStich/Inkscape, and SewArt. I decided to use InkStitch since it was free, I already had Inkscape downloaded on my computer, and it seemed like SewArt cost money to use.
I found this workflow for Inkstitch online, which I followed. Here is the logo design I chose to embroider.

Opening up Inkscape, the first thing I did was File->Import the .jpeg logo into Inkscape. Here’s what it looked like in Inkscape.

Next, I wanted to convert it from a raster graphic to a vector graphic, or convert pixels into vectors (shapes and lines). To do this I would need to Path->Trace Bitmap of the image.
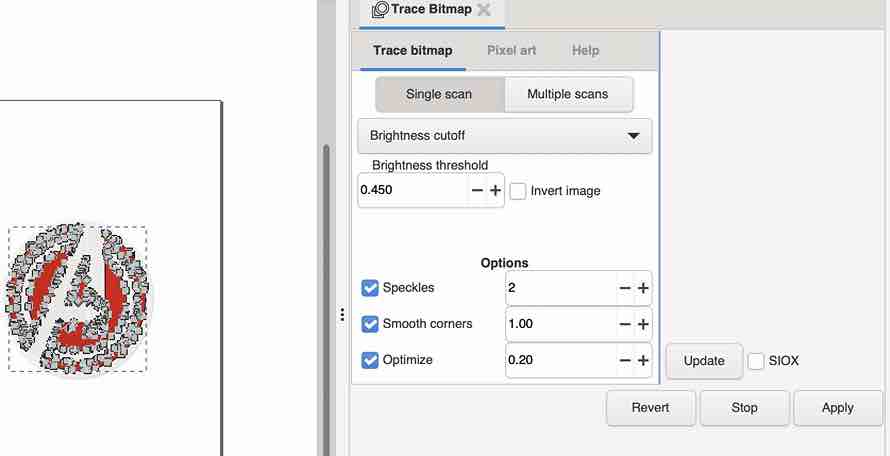
Here is how to image looked after the bitmap trace.
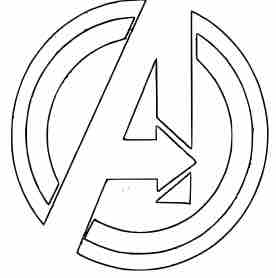
Then I had to simplify the vectors. This was done under Path->Simplify.
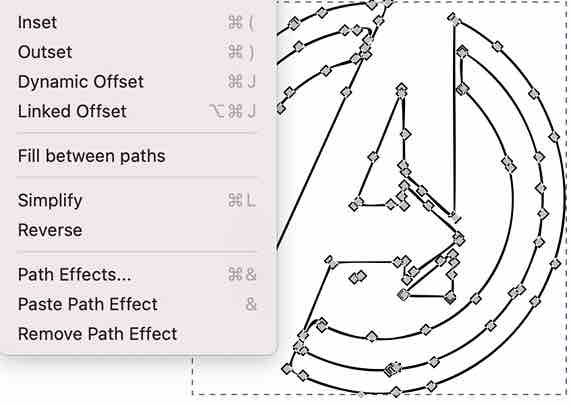
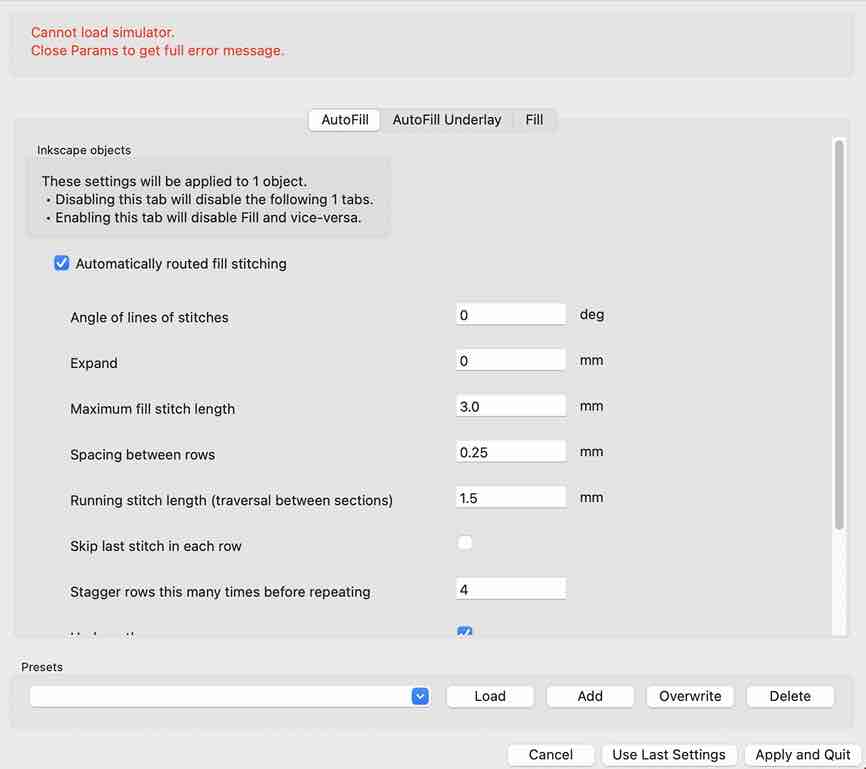
Next I had to do Params, which would map out the embroidery and create the path. First I did Object to Path, and then I went under Extensions->InkStitch->Params. The first time I did it I got these two error messages.
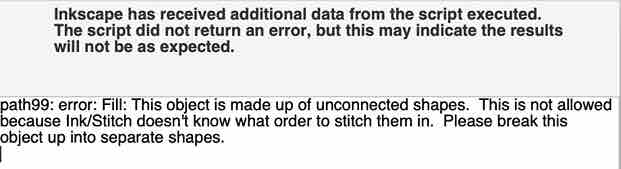
It turns out I had to break apart the two objects since they weren’t connected, and thus the embroidery machine wouldn’t be able to do them all in a single object.
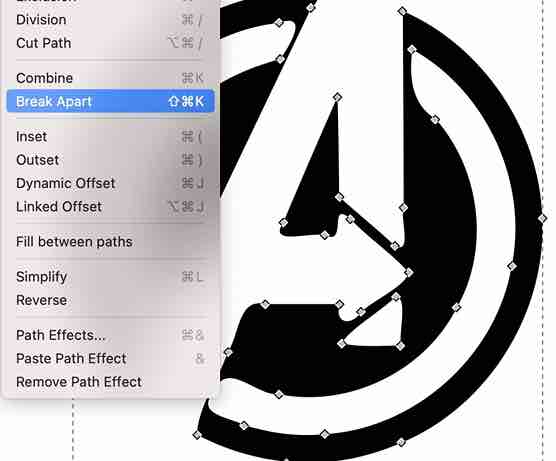
After breaking up the objects into two seperate ones I then ran the params again. I found success.
Here was the finished path for the machine, and I took this to be embroidered.

Brother SE 600 Embroidery
Next I had to actually embroider the design out, and I was assisted by fellow student Aaron Logan. This Brother SE 600 machine I used actually belongs to Mrs. Dhiman, who was so kind to bring in her own machine for all the lab’s students to use after the lab’s only embroidery machine broke.
First the black colored string had to be manually threaded through the embroidery machine. I followed the threading video on Aaron’s documentation to go through the numbered locations on the machine.
This involved threading the string through the numbered locations on the machine, and then pressing a lever, which would automatically thread the string onto the machine. After this, I took a pair of tweezers and carefully pulled on the little knot of excess string that formed, and then used scissors to cut off the excess. Threading done, the machine looked like this

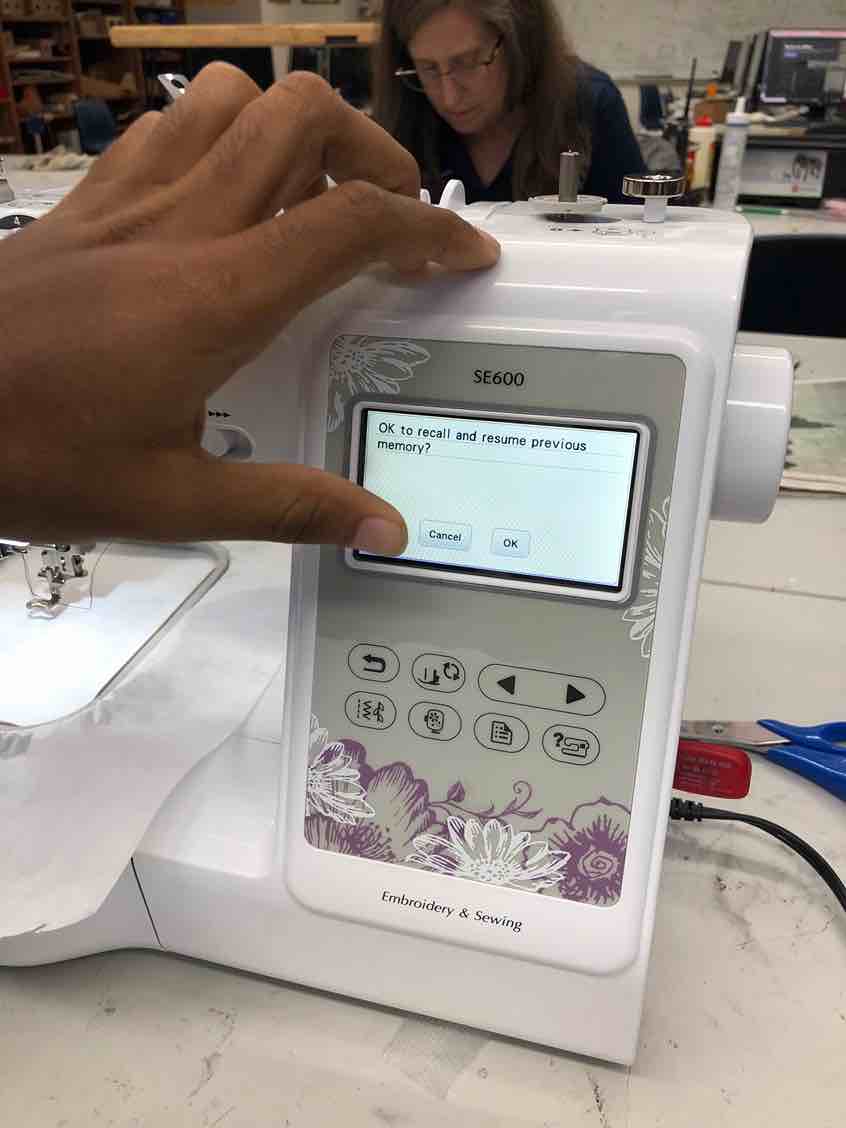
With the machine fully configured, the next step was to upload my file onto the machine and run it. I took the red USB storage drive, plugged it into my computer, and moved my .pes file into the drive. Then I ejected the drive, unplugged it from my computer and plugged it back into the machine. Turning on the black power switch in the back, this display showed up and I chose my embroidery file.
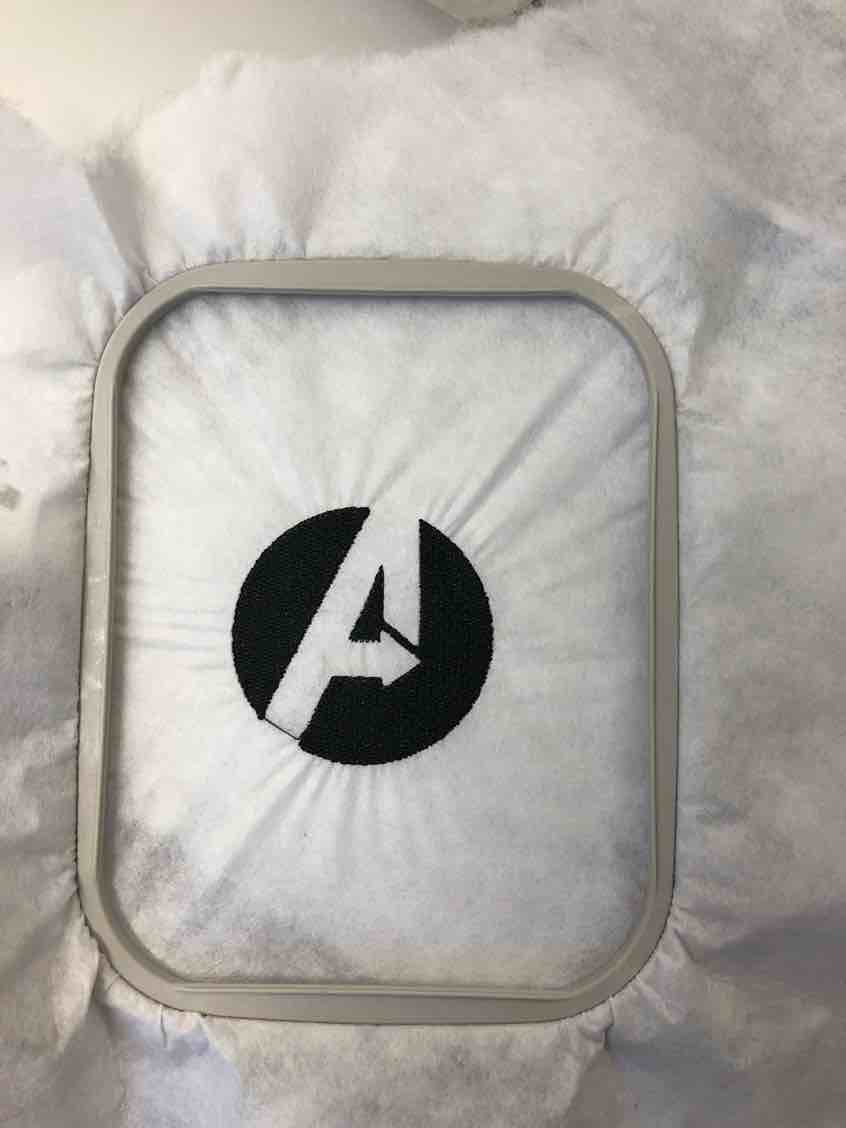
Before actually running the file, I first needed to find a material to embroider on. Aaron recommended that I use a sheet of cloth, so I found a roll and chopped off a piece with scissors. Then, I clamped down the cloth using these two clamp pieces that stretched it out. The point was to make the cloth as sturdy and even as possible so firstly it wouldn’t move around, and secondly, the embroidery would be the same thickness through the whole design. Here’s how it looked within the clamps
Next I took the clamping piece and latched it on using the two hooks on the side. Threading, machine, and cloth ready, I was finally ready to run the embroider. Here’s a video of how it looked embroidering.
Here was the final product
Overall I’m pretty happy with how the embroidery turned out, and even though it wasn’t a contribution to my final project, it was still a nice, fun break from all the stress of electronics. I would say this embroidery machine isn’t that hard to use, as I got the hang of it on my first time. Embroidery doesn’t really require too much compared to things like PCB milling, and all you really need is just need a machine, computer, string, bobbin, and cloth.
Week 17 Files
Click here to access my files for the week