Week 1&2. Principles and Practices, Project Management (Jan 25)
Week 01&02 Assignment
-
Plan and sketch a potential final project
-
Work through a git tutorial
-
Build a personal site in the class archive describing you and your final project
Below you will find my documentation and notes regarding the first and second weeks of Fab Academy, which includes designing my own custom website and sketching out an idea for my final project
SSH Key Generation
One of the first steps we took in creating our custom website was generating our SSH key, or a secure shell key.
In this week’s meeting, my instructors Mr. Dubick and Dr. Taylor said that they had more experience working with Windows as opposed to Mac computers for Fab Academy, and thus using a Mac computer for Fab Academy would be slightly more difficult for me. To compensate for this challenge, the instructors advised me to check out the pages of Miller Workman and Dr Taylor’s own page, because they had used MacBooks for Fab Academy just like I planned on doing.
Because I had never set up an SSH Key before, I decided to find some reference materials first to increase my chances of success. During my research, I came across Dr Taylor’s SSH Key Documentation, as well as the 2016 Archived Fab Academy Instructions for setting the SSH key up, which was located on his website.
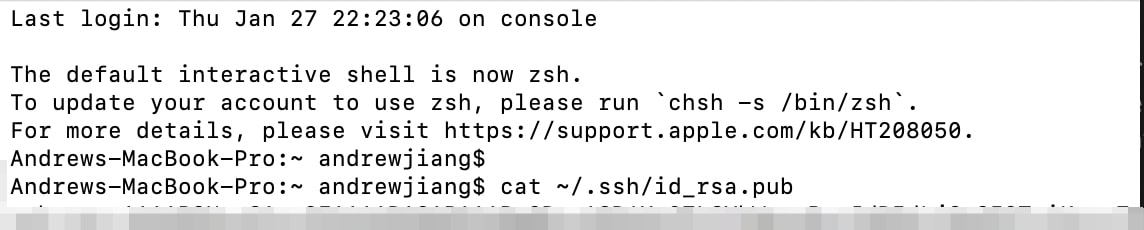
To set up the actual key, I first had to check if my system already had one, by running this command
cat ~/.ssh/id_rsa.pub
I didn’t see a long string that started with ssh-rsa, so I knew that I didn’t already have a key and I would have to generate one by myself. To generate the key, I copied this command from Dr Taylor’s page, and pasted in my email where it said your_email
ssh-keygen -t rsa -C "$your_email"
This command prompted me for a location and filename to store the key, where I just pressed enter, storing it in the default location. Finally, to show my public key, I used this command.
cat ~/.ssh/id_rsa.pub
After showing the key, I copied the key to my clipboard, and my SSH key was generated.
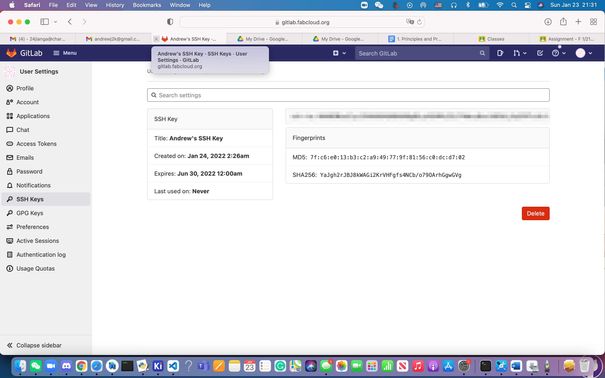
With my new SSH key, the final step was to paste it into Gitlab so I could actually use it. To do this, I went to my gitlab page and clicked on the edit profile option in the top right corner, which brought up my account settings page. On the left sidebar, I clicked on SSH Keys, and found a large text box for me to paste in my SSH key. I pasted the key into the text box, and under the title I named it “Andrew’s SSH Key”. For the expiration date, I set it as June 30th, 2022 to make sure that it would stay for the remainder of my time in Fab Academy, and I was done.
MKDocs and Nueval Setup
During the meeting with my instructors, Dr Taylor introduced me to MKDocs and Nueval, two important softwares that I would need to setup for Fab Academy. I learned from him that MKDocs was a fast and simple website generator and text editor that I could use for my documentation website.
Below describes the process I took to set up MKDocs:
The first step I took to set up MKDocs, like any software, was to do some research, where I found the setup instructions on the MKDocs website. I learned from this resource that I would need to setup both Python, and pip, the Python package manager, before I could setup MKDocs.
To setup Python and pip, I first had to check if I already had Python or pip installed on my computer by pasting the following commands
$ python --version

$ pip --version
This is the error that resulted
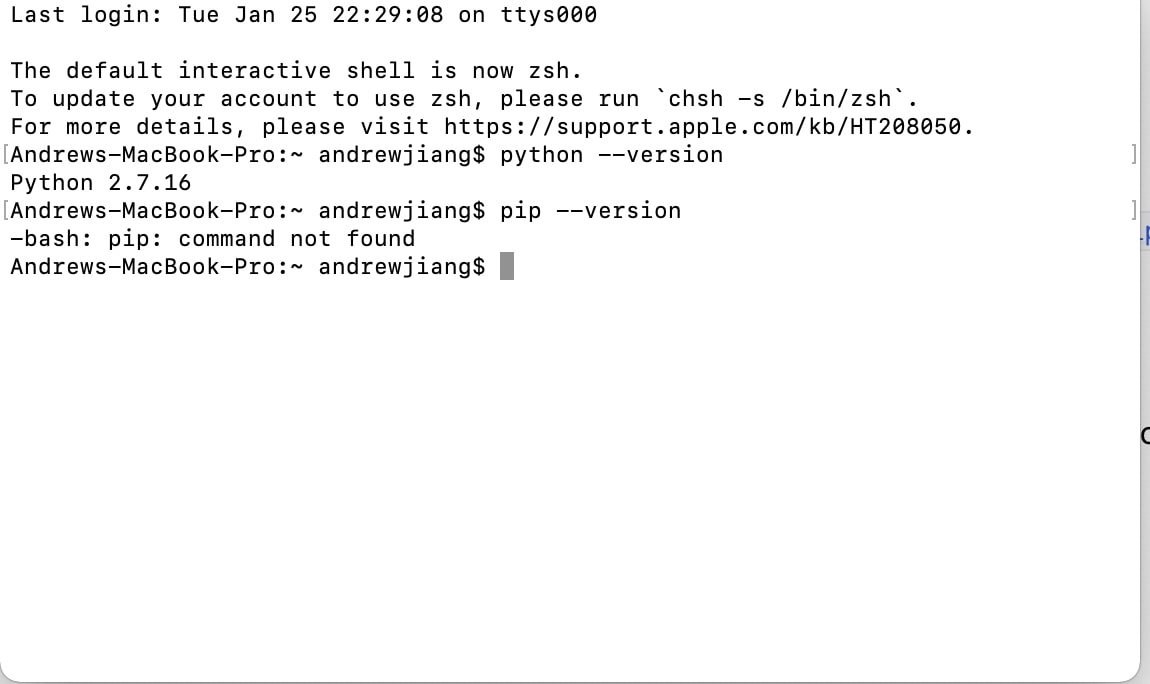
As you can see, I had version 2.7.16 of Python on my computer already, but I did not have pip installed.
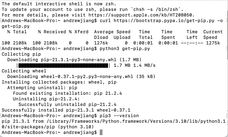
To install pip, I first tried pasting this instruction onto the terminal window, but I got the error that the version of Python I had was too old and did not work.
python get-pip.py

To solve this issue, I did a bit more research, when I stumbled on this tutorial for installing pip and Python. I learned that there were actually two versions of Python on my computer, the Python2 version and the Python3 version, and that the reason pip wasn’t installing was because I was trying to install it on the Python2 version instead of the Python3 version, so it was outdated. So what I had to do is install it on the Python3 version.
First, I confirmed that I actually had a Python3 version on my computer using this command
python3 -- version
Python 3.10.2
Now that I knew I had Python3, I installed pip using this command. I found success
python3 get-pip.py
Finally, once I had both pip and Python3 installed, I could finally install MKDocs with this command. I found success.
pip install mkdocs
I was also informed about Nueval, which was the Fab Academy evaluation tool that allowed me to connect with my evaluators, both local and global. The setup process for this was much simpler. I simply went online and searched up Nueval, and clicked on the first result, which had me login to fablabs.io. Once I logged in, it immediately took me to Nueval, and my nueval was setup. Then, I noted down some of the key features of Nueval for research purposes, such as the sidebar on the left side, and the profile dropdown menu in the top right corner.

Version Control and Git
Gitlab
Another key task we had for this week was to actually go and set up our site page, which would all be managed through the version control software Gitlab. During the week, Dr Taylor gave us a high level overview on how Git and Gitlab worked. While I already had some experience with another version control software Github, I had never actually used Gitlab before, so I reviewed concepts like commit, push, pull, and status.
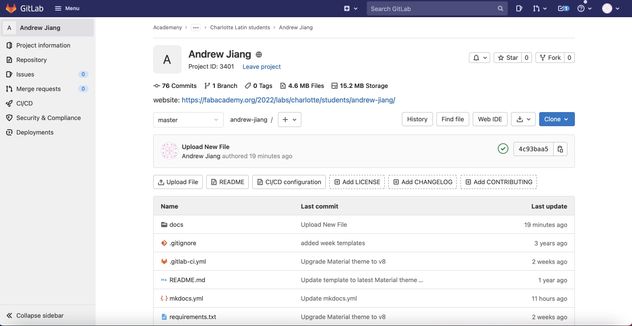
Later in the week, I received the invitation in my email to join the Fab Academy 2022 Students repository, and I clicked on the link to join the project. It brought me to this page, where I realized that Gitlab wasn’t that different from Github.
Still I thought it was a good idea to brush up on my git knowledge, so I scoured the internet for Gitlab tutorials. Not finding any good ones, I consulted a fellow adult student Mrs. Morrow, and she referred me to this video which was very helpful in relearning git commands.
Beginning at minute 1:18, I began following along with the video, until minute 12:47, where I felt I had gotten the hang of Git. I opened a new terminal window, and checked whether my computer had an existing git version using this command.
git --version
git version 2.24.3 (Apple Git-128)
This confirmed to me that I had indeed already installed git for Mac, and I could skip the installation step in the video. Next, I learned that a repository is a place to store files, and keep track of the changes to those files all in one place. I made a directory and cd, or changed directory to enter that directory
mkdir my-cool-website
cd my-cool-website
Now that I was inside the directory, I learned that I had to use the command
git init
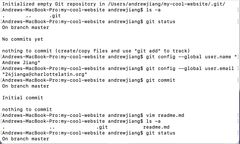
to actually create my repository, so that’s what I wrote. I found success. Next was the ls command, which lists all the files that are in that repository. Of course, I hadn’t made any files yet, so when I typed ls, I did not get any return. However, I learned that the ls -a command allows you to see hidden files. When I put in this command I saw the .git file in return. I then used the git status command to track the status of the repository, and I saw this in return
On branch master

No commits yet

nothing to commit
This response made sense to me, as I hadn’t committed or even made a file in the repository yet. The next step was configuring the repository, which I used the commands below, and inputted my username and email where it said to replace it.
git config --global user.name
git config --global user.email
When watching the video, I was initially confused at the wording when he described that this was a global configuration. After pausing the video, and thinking about it for a few moments, I realized that the word global didn’t mean “the whole world” but rather commands specific to my user, as opposed to commands specific to only one repository. I continued with the tutorial, as the next step was to create a file so I could commit it to the repository. I typed in
vim read.me
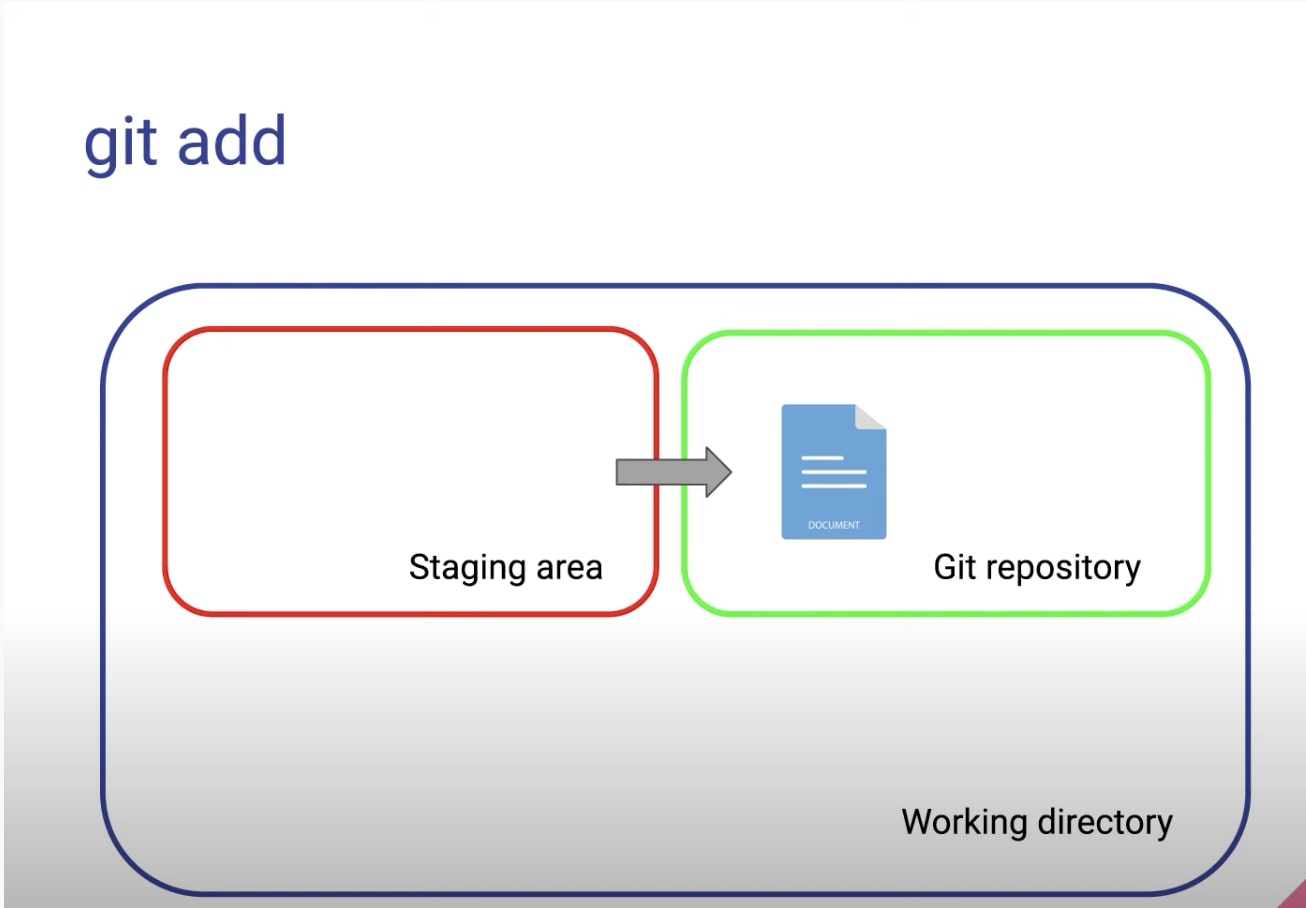
to create a read.me file, and pressed i to enter insert mode. Once inside the text file, I typed “hello, this is my first commit” and hit the escape key, then typed “x”, which brought me back to the terminal. Continuing, I typed git commit, where I was met with the error that the read.me file was untracked. To solve this I had to actually add the file to Git first, and only then could I commit the file. I learned that files in Git go through a four stage process as outlined in the image.
Finally, I was able to use the git commit command, while adding a commit message
git commit -m "My first commit"
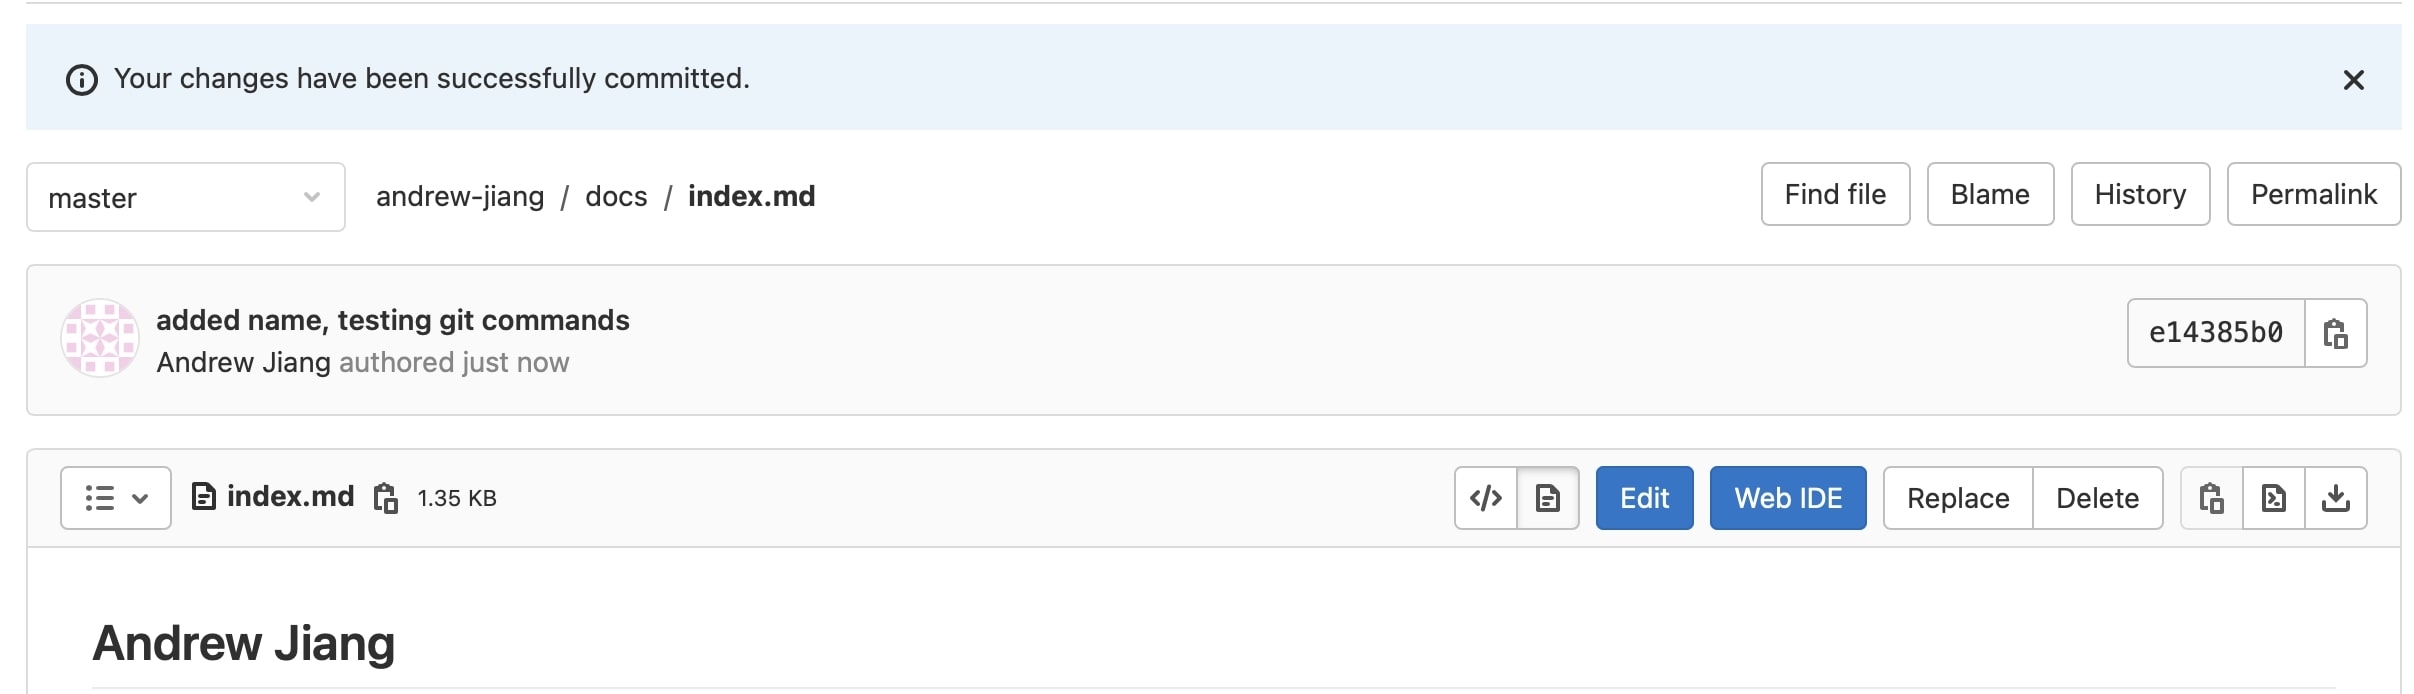
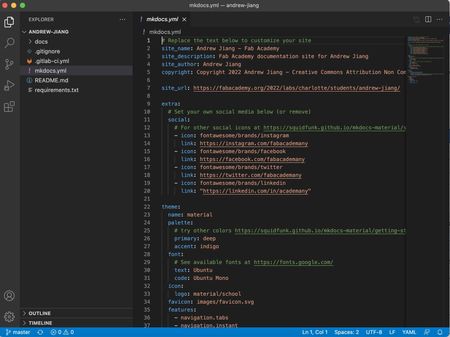
After commiting this file, I felt that I had a pretty good grasp on Git, so I went back to Gitlab. To test out the commit feature, I went into the mkdocs.yml file, and replaced the places where it said “your_name” with my actual name. Then I simply scrolled down, and clicked the blue commit button. I finally found success.
Github
This week I also used Github version control to organize my KiCAD projects in a more robust manner. Lots of times when I open up KiCAD projects, I get error messages telling me that my projects aren’t saved and that I need to recover the file, even though I save all of my projects. Thus I thought of using Github to backup my KiCAD files so there’s no possible way I will lose them. Also, this allows me to free up space on my computer.
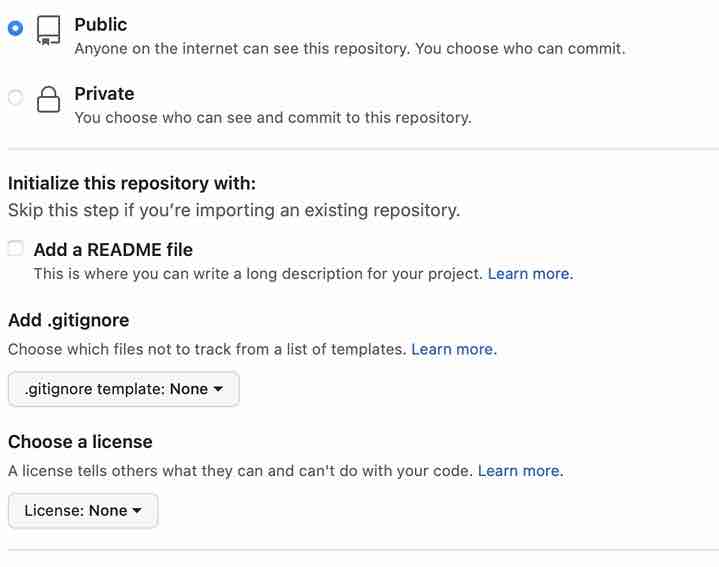
I started by going to the Github website, and clicked the “new” button to create a new repository. I saw this popup.

Then I configured the settings of the repo like so.
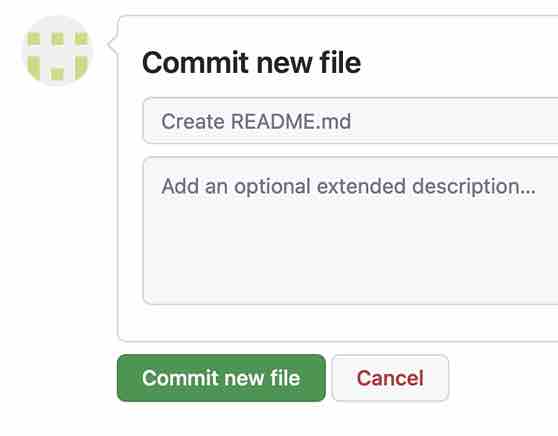
After creating my repository, I then went about adding my KiCAD projects into it. First I practiced commiting files on Github by creating a readme.md file with the repo description. Here is what the committing looked like.
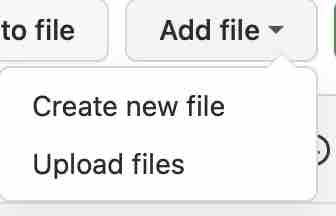
Then I went about adding all of my files, organizing them in folders by project. Here is what adding a file looks like.
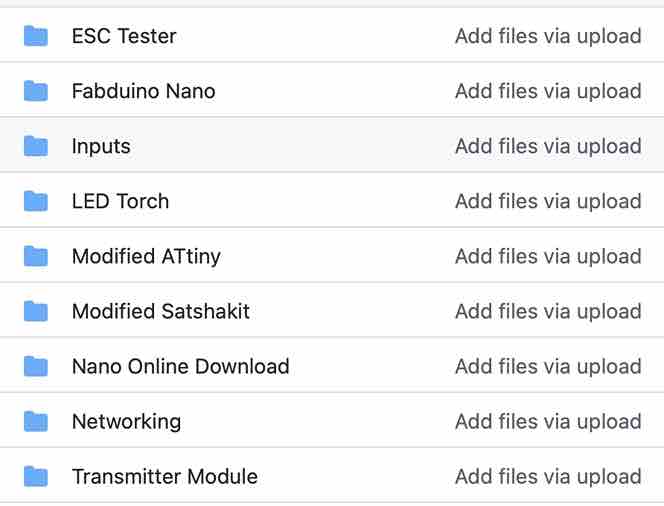
After adding all of my files into folders, here is what it looked like.
Here is the link to my Github repo, which I have made public.
Reflection
Although I already had some experience with version control prior to Fab, this week has taught me about different version control tools other than Github. Gitlab and Github are functionally very similar, but they are very different in how I used them. For Gitlab, it was mainly a repository for me to make changes to my website. For Github, it was mainly a repository for me to store and backup files so that I knew that I couldn’t lose them.
Here is a website that describes some further differences between Gitlab and Github.
From personal experience, however, I would say there aren’t that many differences between the two. For Fab Academy, I chose Gitlab since we had already received our pre-set up website repos complete with MKDocs and a website link during the week. All we had to do was actually explore and document through a text editor and push/pull through Git.
Website Development
Visual Studio
For my site, I decided to use the text editor Visual Studio. Originally, I had decided that I was going to just use MKDocs directly on the Gitlab page to edit my site, but after a discussion with my peers Alaric Pan and Jack Donnelly, I realized that Visual Studio was likely the best option because it was a simple text editor, but also allowed code within its IDE. Plus, the Visual Studio interface had a more robust look to it than the browser based Gitlab Editor, which convinced me of switching to Visual Studio. Here’s how I set up my website.
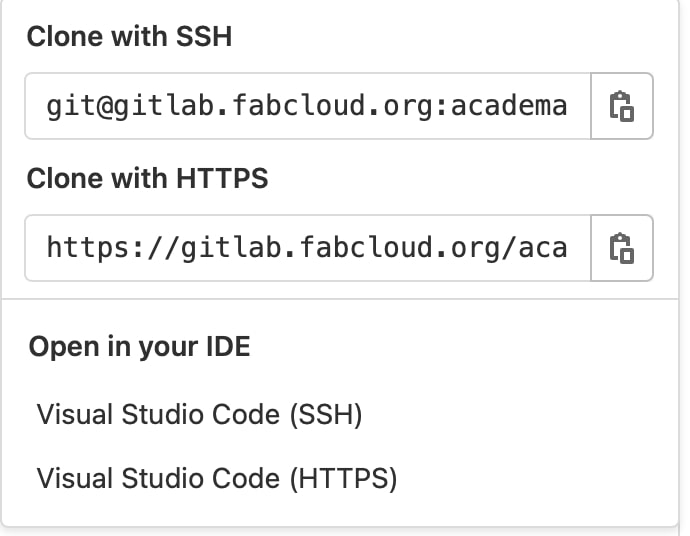
First, I downloaded the Visual Studio software off of the internet, and opened up the application. I realized that I needed to clone the repository on Gitlab in order to open the project in Visual Studio, so I returned to Gitlab and pressed the clone button on the right middle side. I was given two options: to open with HTML, or with SSH.
I chose to open the project in Visual Studio with HTML, and I found success. To test that the things I wrote in Visual Studio could be pushed to Github, I went to index.md under the about folder, and simply typed my name to replace any where it said “your_name”. Then, I went to the sidebar in Visual Studio, and clicked on the option that said Source Control.
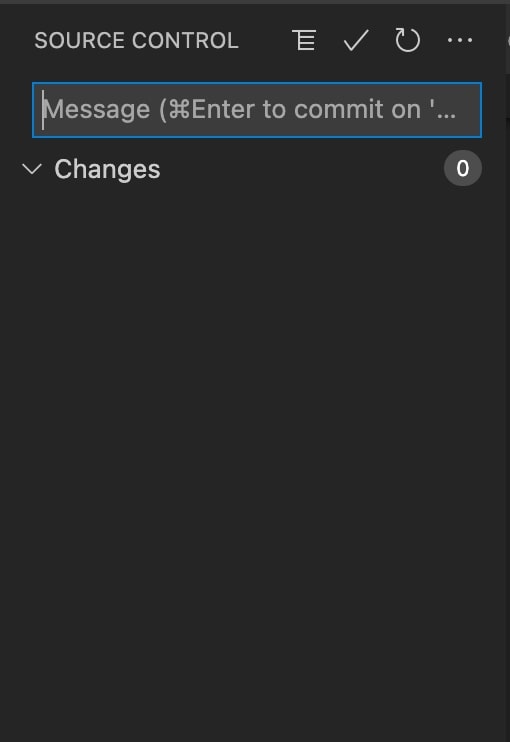
Once there, I clicked on the checkmark icon for commit, which prompted me to save all files before commiting, which I did. I wrote in the message, “Testing Visual Studio”, then went under the three dot dropdown menu and pressed push. This failed. After thinking about it for a moment, I realized why: because I needed to pull the information from Gitlab into Visual Studio, before pushing the changes from Visual Studio back to Gitlab. Testing my theory, I went under the dropdown again, selected the pull command, and then pressed push. I found success.
While editing my site, I came across the challenge of importing images. To solve this, I used the week01.md file under docs/assignments as a reference for what the syntax was for importing images. I learned that the syntax ran like this.
!["caption"]()location
To figure out the image location for each image and keep everything organized, everytime I needed to use an image. I went to the images folder under docs, clicked on the plus button at the top middle of the screen, and chose “import file”. Then I would simply upload my screenshots as png images, and then call them using this syntax
![]()../images/PictureName
I found success.
Brackets
This week I also explored the functionality of Brackets, another text editing software. I got the idea of using Brackets by looking at Dr. Taylor’s previous Fab documentation.
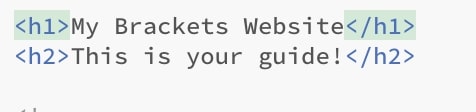
First I downloaded the software from the website linked above. Then I opened up a new Brackets file with an index.html and main.css files, and started testing out the functionality of Brackets. Here is what it looked like when I first opened up Brackets.
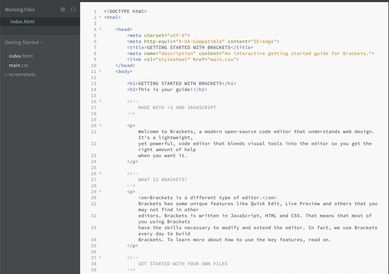
As you can see, all of the stuff in Brackets is written either in HTML, CSS, or Javascript, which I know are three very commong languages for writing websites. While I don’t have extensive experience with web development or either one of these languages, after testing out a few edits, it seems very simple to get the hang of if I were to use Brackets to create a website in the future.
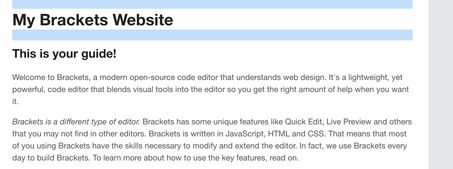
Next I began testing out some of the interesting features of Brackets. I started off by going under File -> Live Preview, which opened up a chrome browser window with what my website currently looked like. Here is what the live preview looked like.

I thought this feature was super interesting since I had never seen a feature like this where you could see your edits being made in real time as you changed the code. Just to test this out I decided to change some text.
That resulted in this change in the live viewer, confirming that it worked.
Reflection
Overall, I decided to use Visual Studio Code for a few reasons. Firstly, in VS Code, I can just document using regular text instead of having to put the p> and samp> headers with every paragraph and subsection I wanted. Secondly, if I really want to, I am able to use HTML in compatibility with Markdown on VS code, something I am not able to do on Brackets without adding an extension. Another reason I decided to use VS code is because it already had compatibility with git, something that isn’t possible on Brackets without an extension.
From this research, it seems that VS code has many features already built into it to assist both novice and experienced website developers, while Brackets might be more of an industry standard or have extra features for the more experienced. Also, Brackets seems to have a “better user interface” than VSCode, but VSCode is a “more powerful multilanguage IDE” according to personal experience and this website.
That being said, as I become more experienced, I want to become better at making websites and be able to fluently use Brackets one day, but for the purposes of the Fab website, I am using VSCode.
Final Project Sketching and Ideas
For this week, we were meant to sketch out a potential final project for the class. It had to combine most of the skills we learned during the course as well as be concise enough that we could finish the project in the time frame by designing parts for it throughout the different weeks and the last month of Fab Academy.
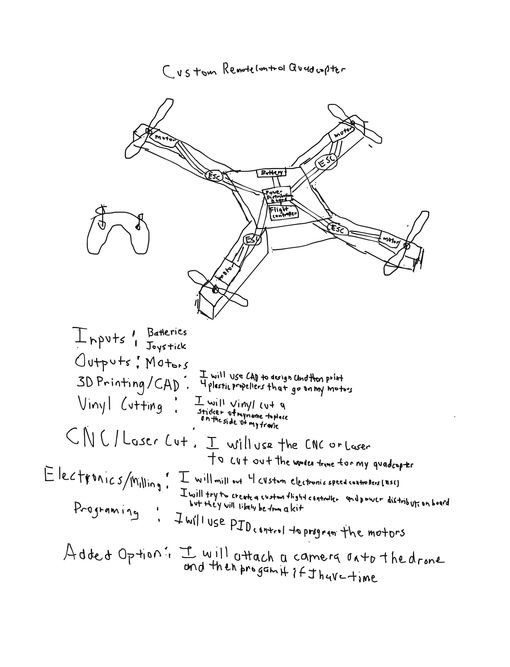
The idea for my final project is to create a custom built quadcopter drone that is able to achieve steady flight, and be controlled by an external RC controller. As an extension if there is time, an additional objective of the drone is for it to be able to use a webcam to see its surroundings. The inspiration for this project was derived from many different sources: my passion for aerospace, the aviation and aerospace engineering class I am currently taking in school, as well as a very interesting and complex Arduino tutorial I spotted before Fab Academy even began. The uniqueness of my project is that it will be built almost completely from scratch, with the exception of a few motors. This means that virtually every component: the frame, the electronics, and the code necessary to keep it in level flight, will all be done using machines that we have in the lab.
After discussing my project idea with Dr. Fagan, another one of my instructors, he advised me to create a plan of what components were needed and how I was going to do it. I first plan on using either the laser cutter, or the CNC machine to cut out the frame for my quadcopter. Then, I will design and mill out 4 custom Electronic Speed Controllers, a Power Distribution Board, and a Flight Controller, although one of these may come from a kit, depending on my time constraints. Then comes programming, where I plan to use Proportional, Integral, Derivative (PID) control to program the motors. I already have some slight experience in PID from my background in robotics, so that will help me out a bit. Next, I will 3D design and print custom plastic propeller blades to attach onto my motors. Finally, I will assemble the electronics and the frame together, and test to make sure it works.
On top of the already daunting task I am pursuing, I also have to consider gravity and weight of the drone. I need to make the electronics as compact as possible so that the 4 motors are able to provide enough horsepower to lift itself off of the ground. I also need to consider the material for the frame, as I don’t want it to be too heavy, but I also want a sturdy frame that will hold together in the event of a crash.
Hopefully I will be able to complete this challenge using the skills I learn from Fab Academy.