16. Wildcard Week
This week I decided not to complicate myself and go with the composites instead.
Assignment
- Design and produce something with a digital fabrication process(incorporating computer-aided design and manufacturing) not covered in another assignment, documenting the requirements that your assignment meets, and including everything necessary to reproduce it.
group assignment:
- produce test coupons for your composite fabrication process(es).
individual assignment:
- read the safety data sheet (SDS) and technical data sheet (TDS) for the resins that you’re using.
- design and fabricate a 3D mold (~ft2) and produce a fiber composite part in it, with resin infusion and compaction.
Group assignment
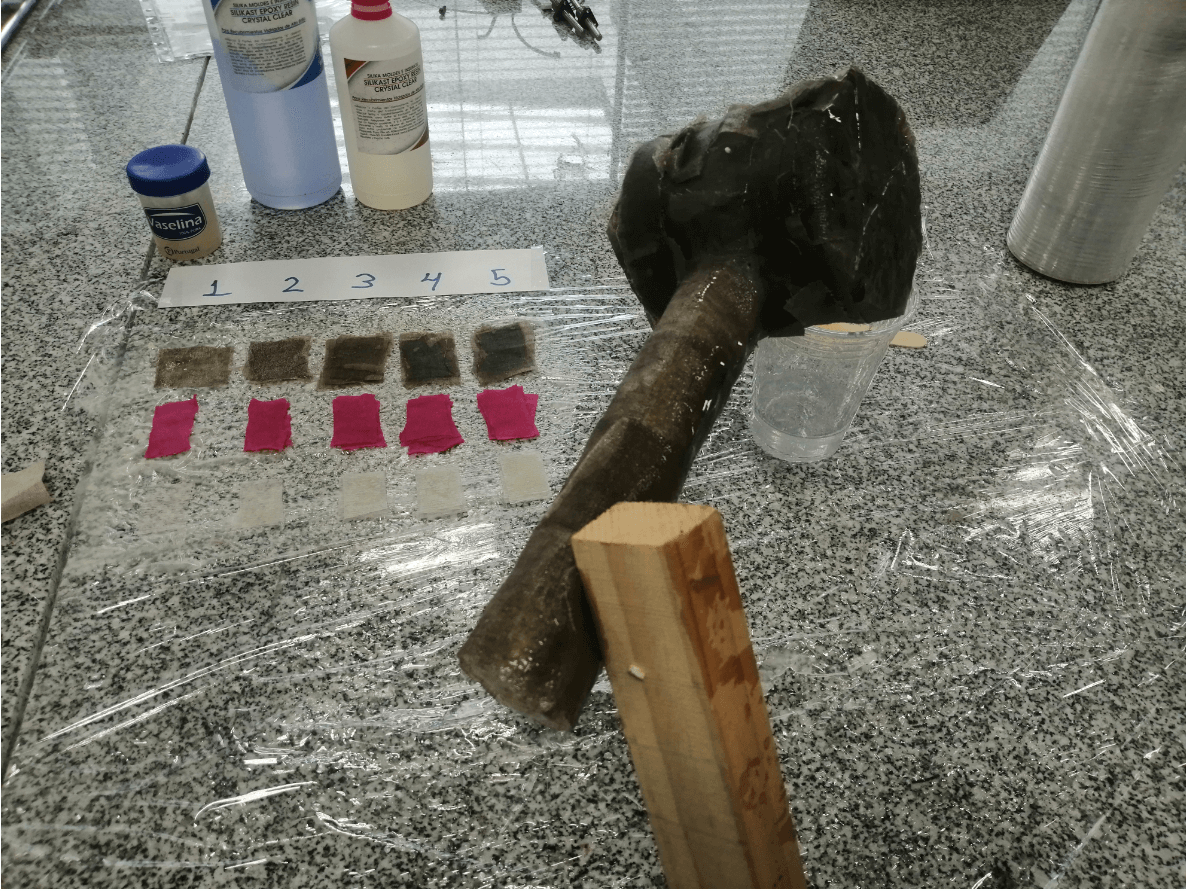
For the group assignment I decided to test the resistance of 3 materials: Cotton, Linen and paper towels. I first cut square pieces from each of the materials listed above and set them up on my workbench, waiting to finish covering my hammer and using the remaining resin. I decided to test from 1 layer to 5 layers in total and then check the properties of each one.

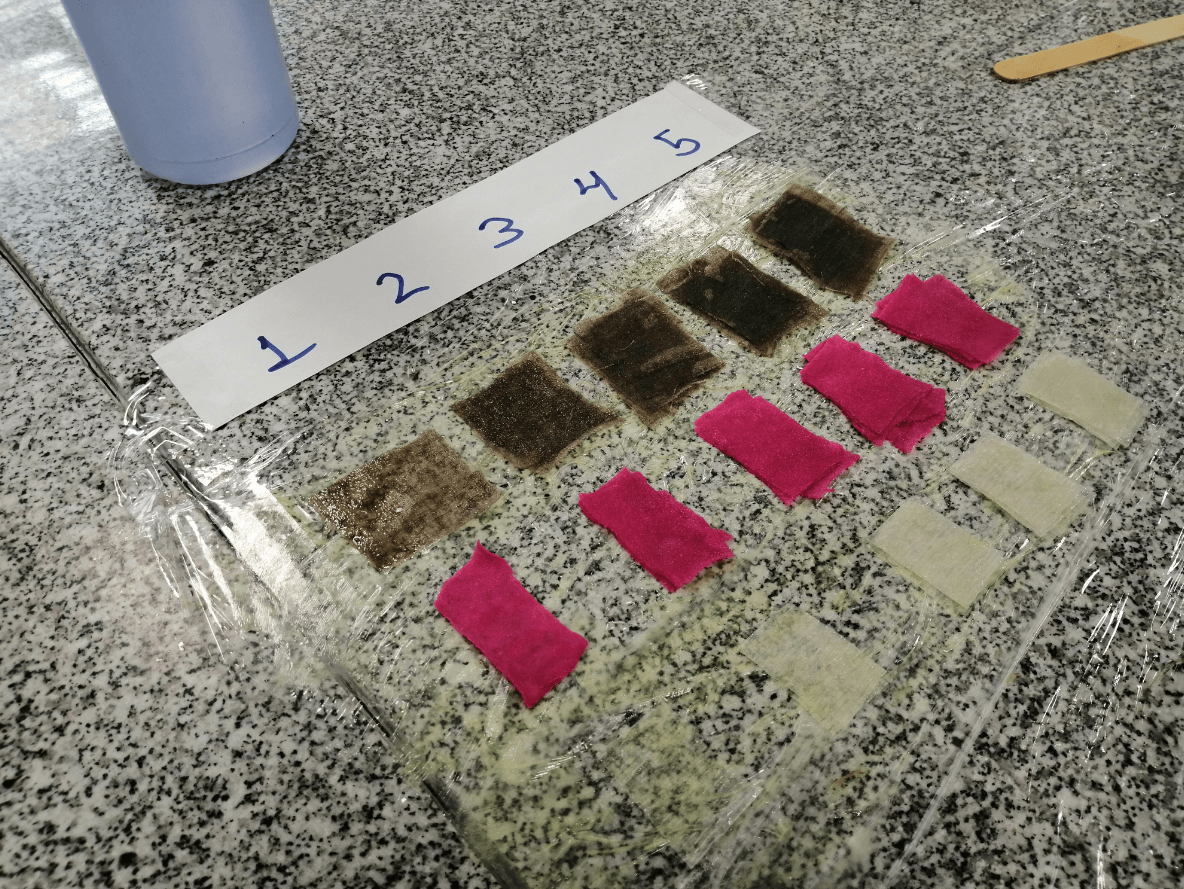
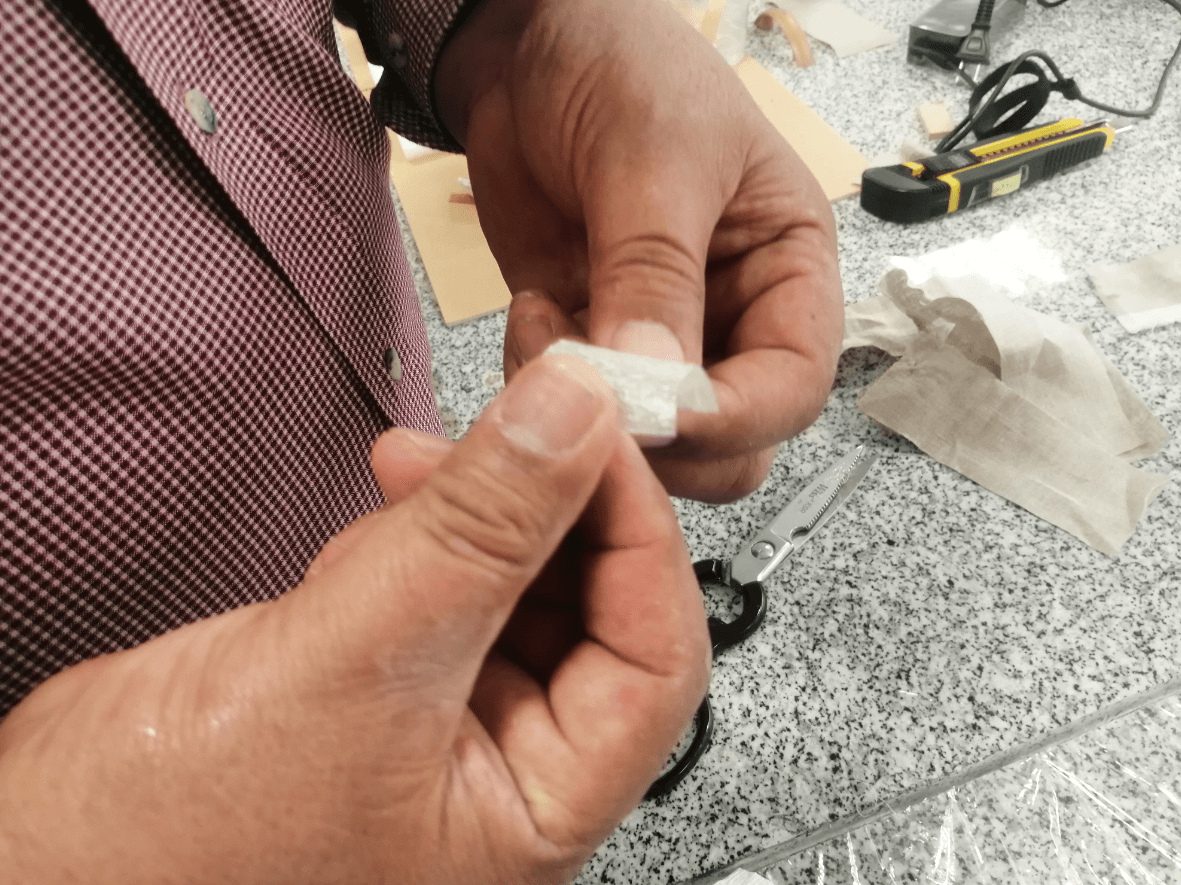
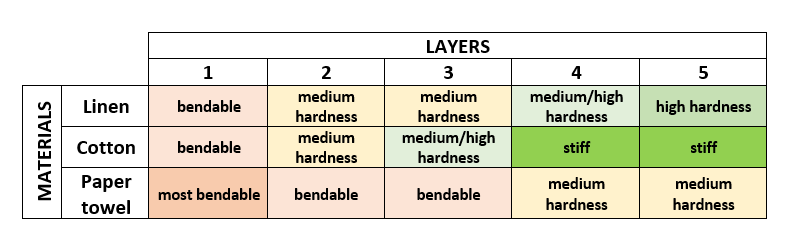
The next day with dry and cured pieces, we can perform an empirical test, because I do not have a machine that allows me to measure the force necessary to deform our test tabs
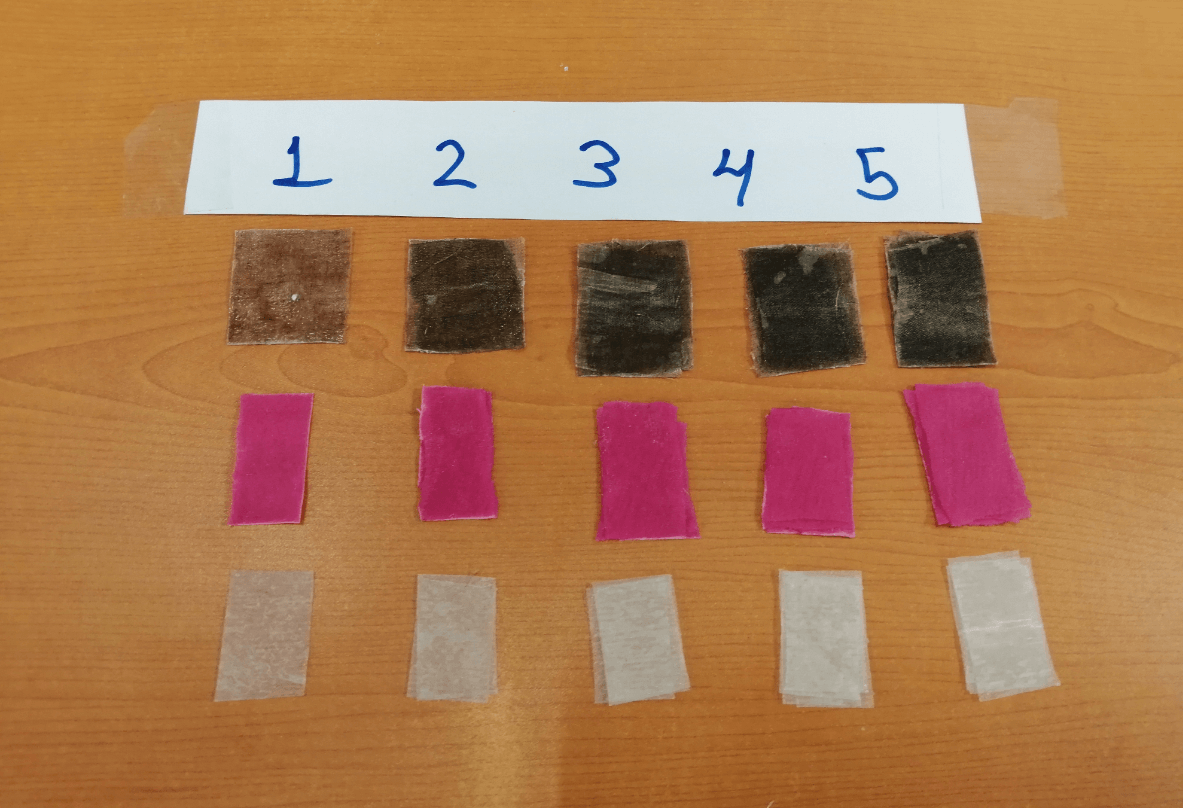
I decided to test the first layer of each of the materials, I was able to identify that the cotton shows more resistance than the other 2 materials, then the linen follows and finally the paper towel.
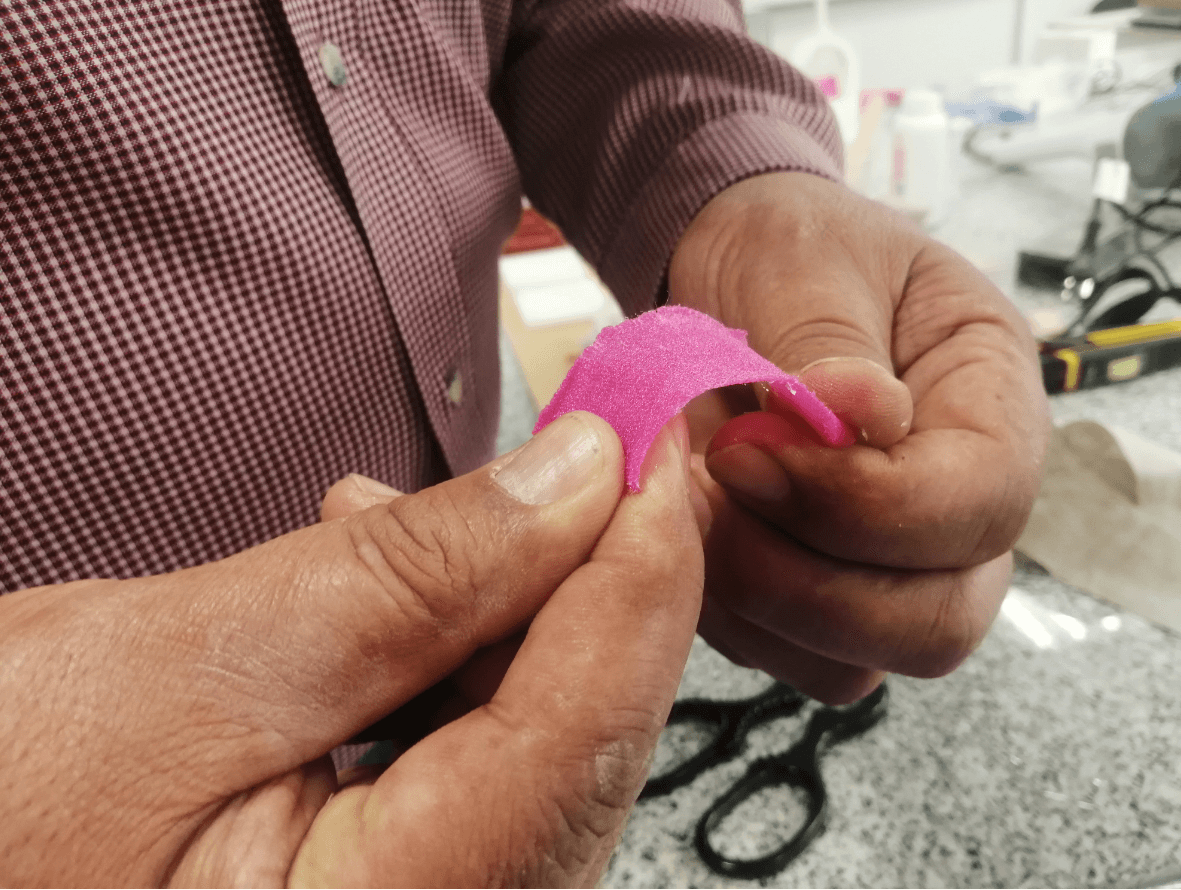
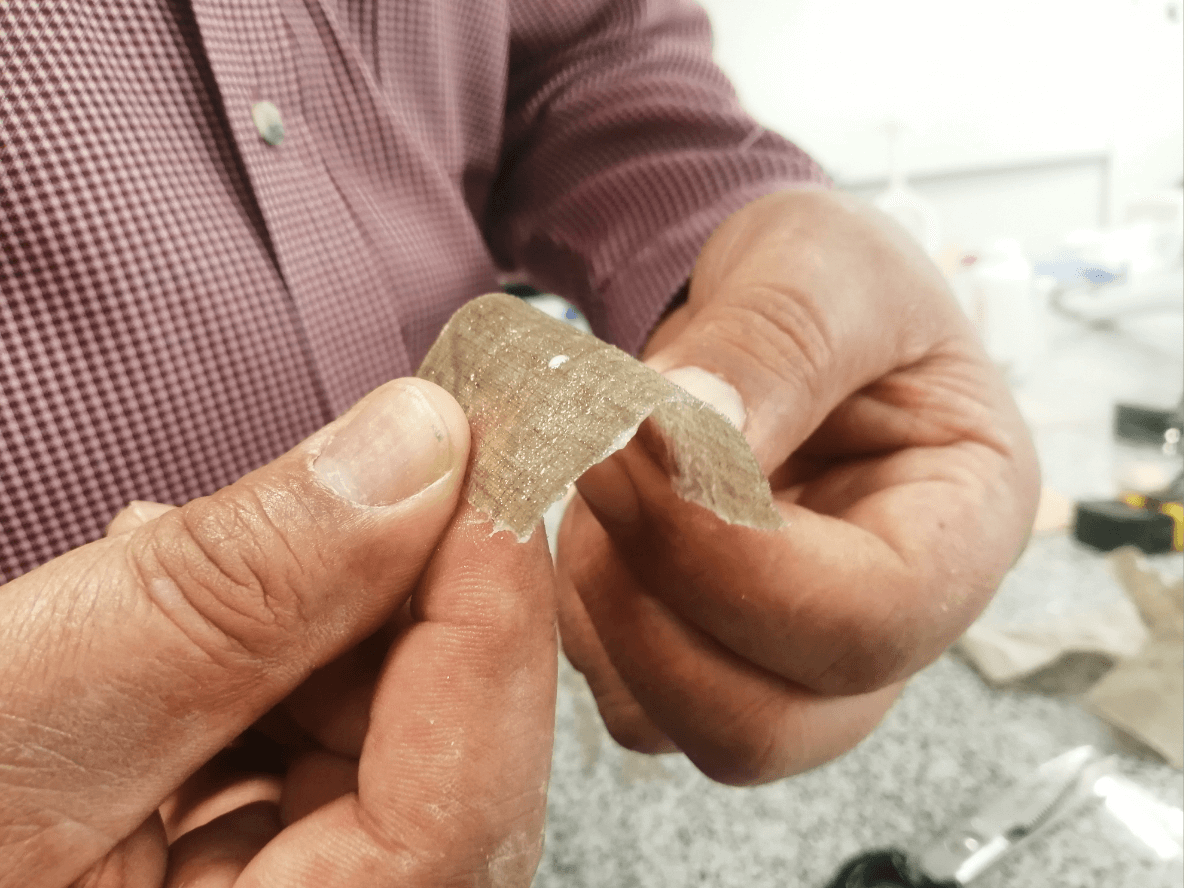
Also testing the tabs with 5 layers of thickness, the result was similar, unlike that the cotton was very stiff, the linen was really solid and the paper towel underneath both materials.
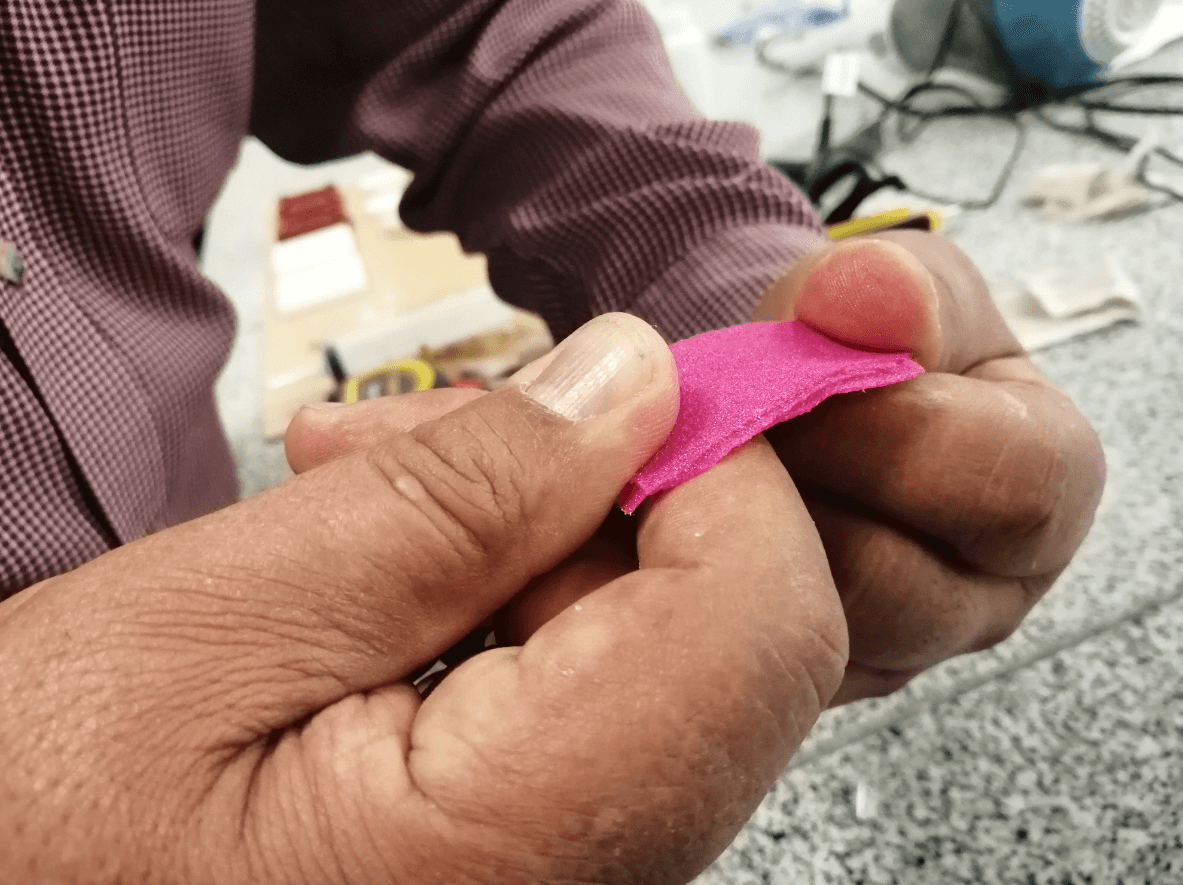
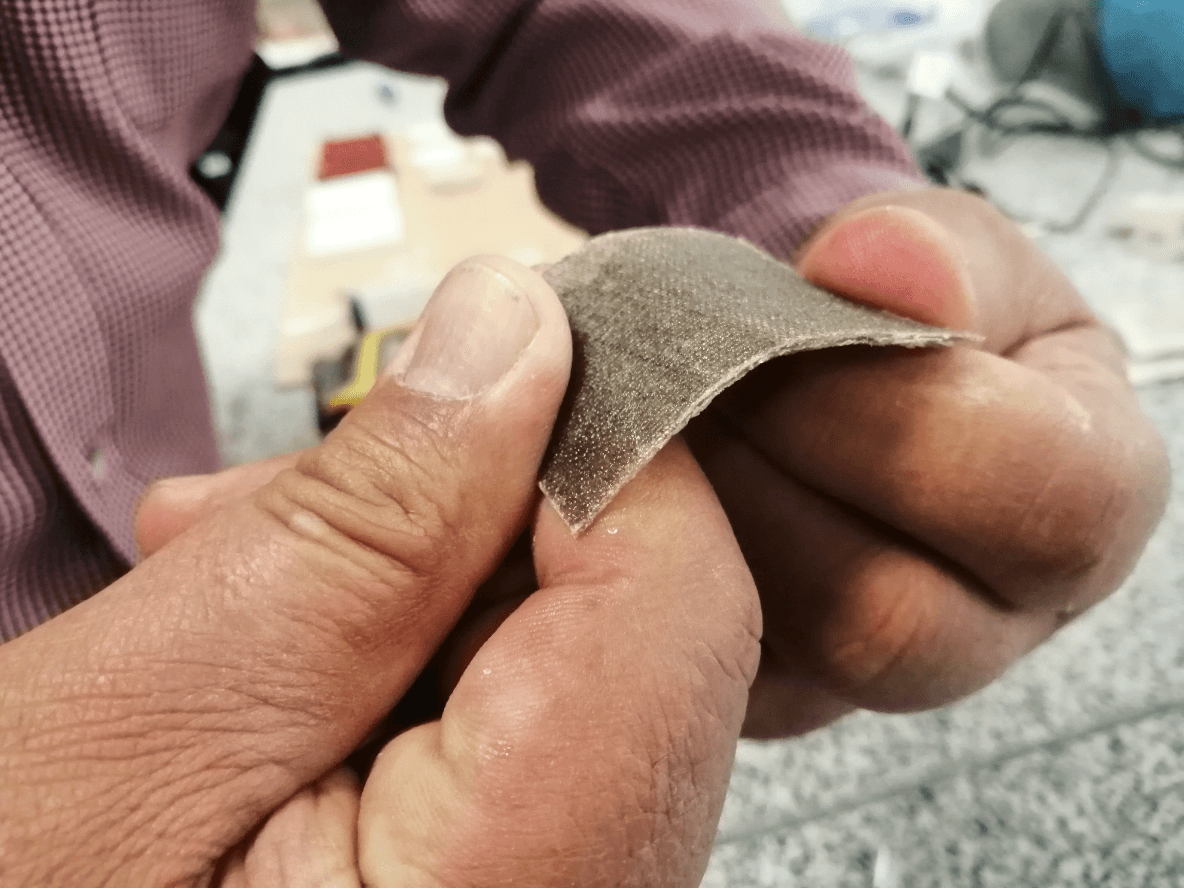
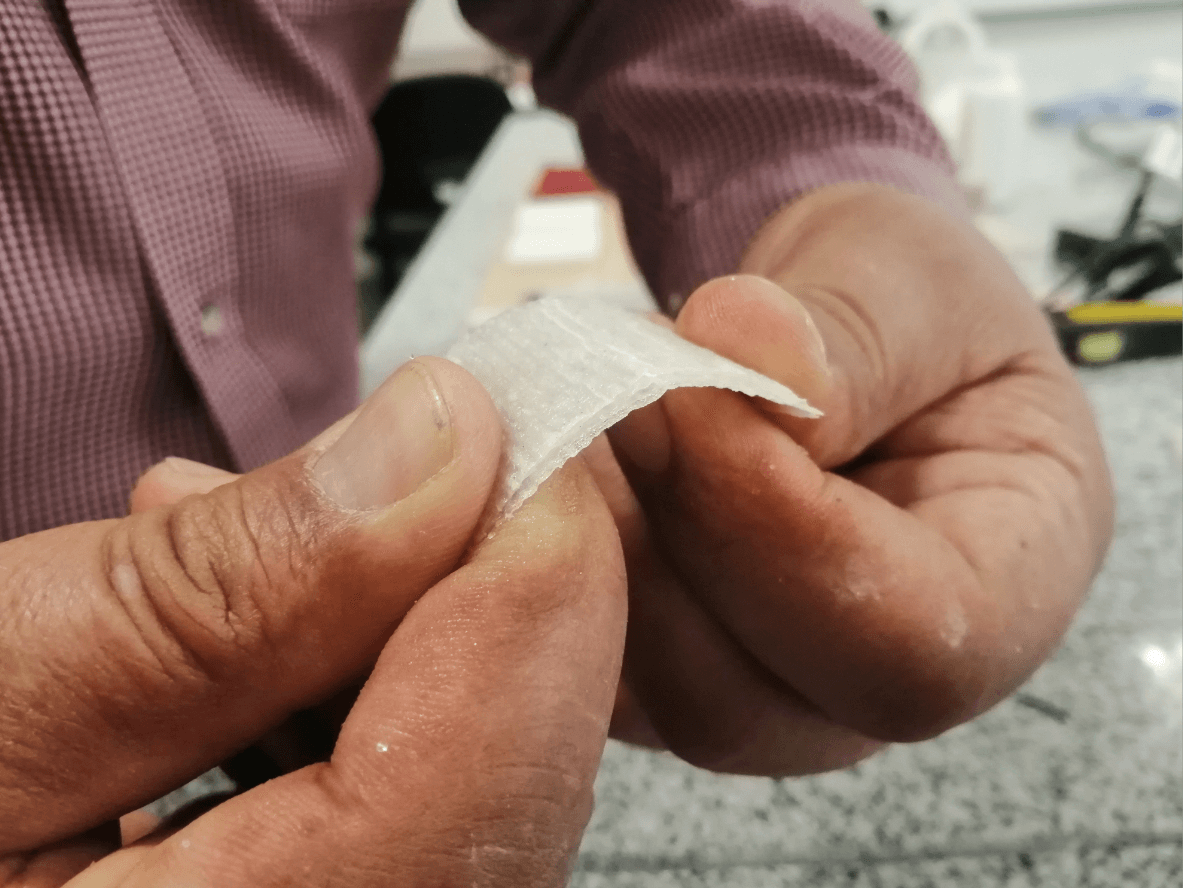
I decided to record all my observations in a comparative table to better reflect what was observed, but as a more outstanding conslusion I can affirm that the cotton was the one that presented more hardness, I assume that because it could absorb more resin, I am not very sure, another outstanding thing is that the linen behaved better than the paper towel, but it was not an extreme difference.
Test video


Individual assignment
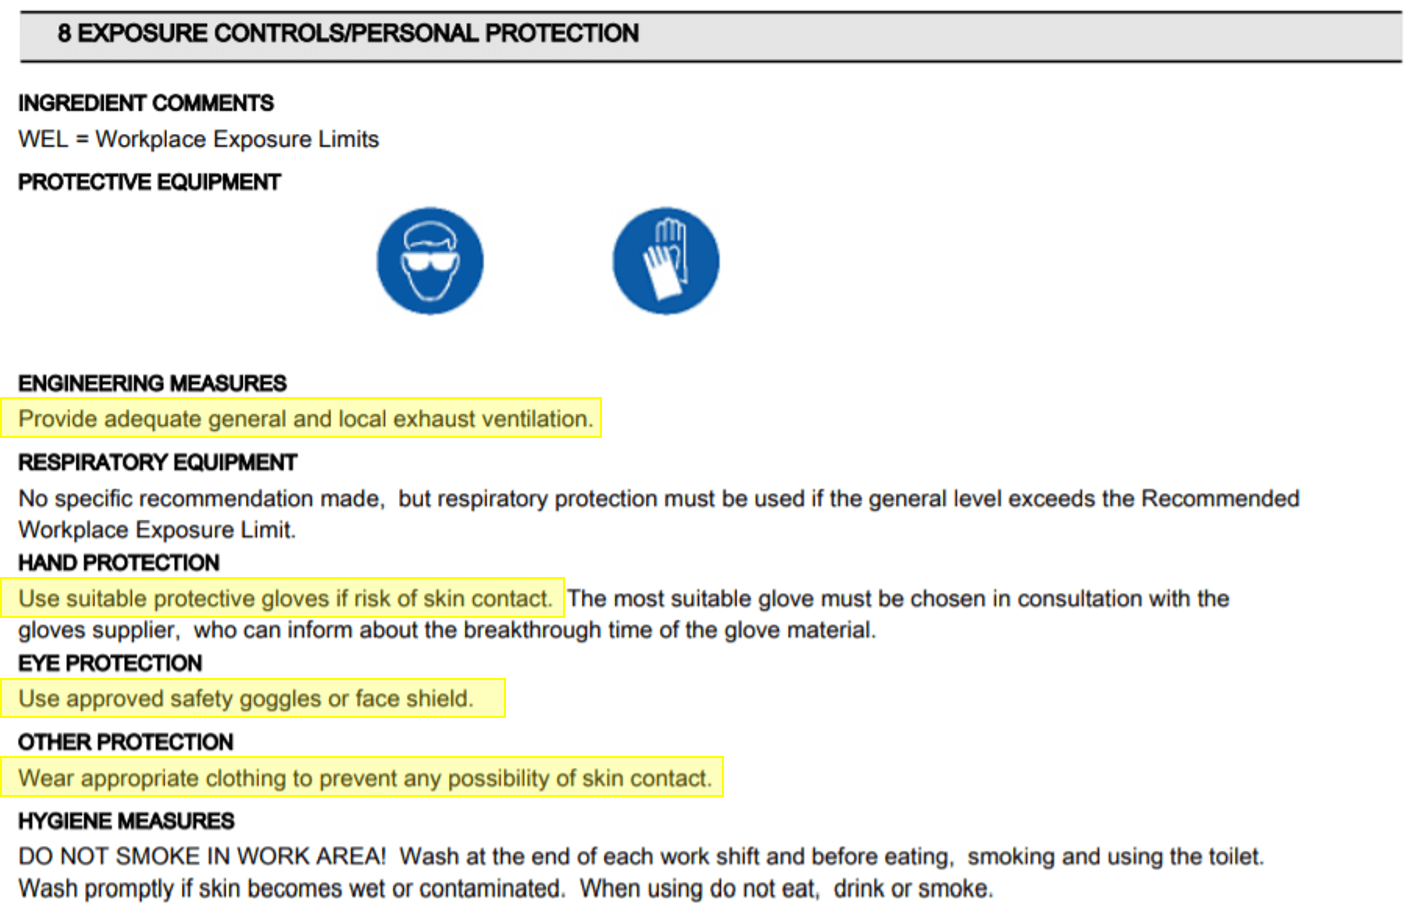
For this assignment we must produce a fiber composite with resin, the most important step is to read the SDS Epoxy resin Safety Data Sheet and the TDS Epoxy resin Technical Data Sheet, to take the appropriate precautions at the time of mixing and application.
Safety Data Sheet
The safety data sheet, as its name indicates, tells us about the parameters related to safety, I highlight 2 points that I consider important Hazard identification and Exposure control / Personal protection, we must identify the effects that contact with the resin can produce and also the type protection that we must use when handling it.

Technical Data Sheet
The technical data sheet talks about relevant information for the use that we will give to the resin, curing time, recommended amount of mixing, temperature that it can reach when mixing and other parameters that I detail below.

Design a 3D mold
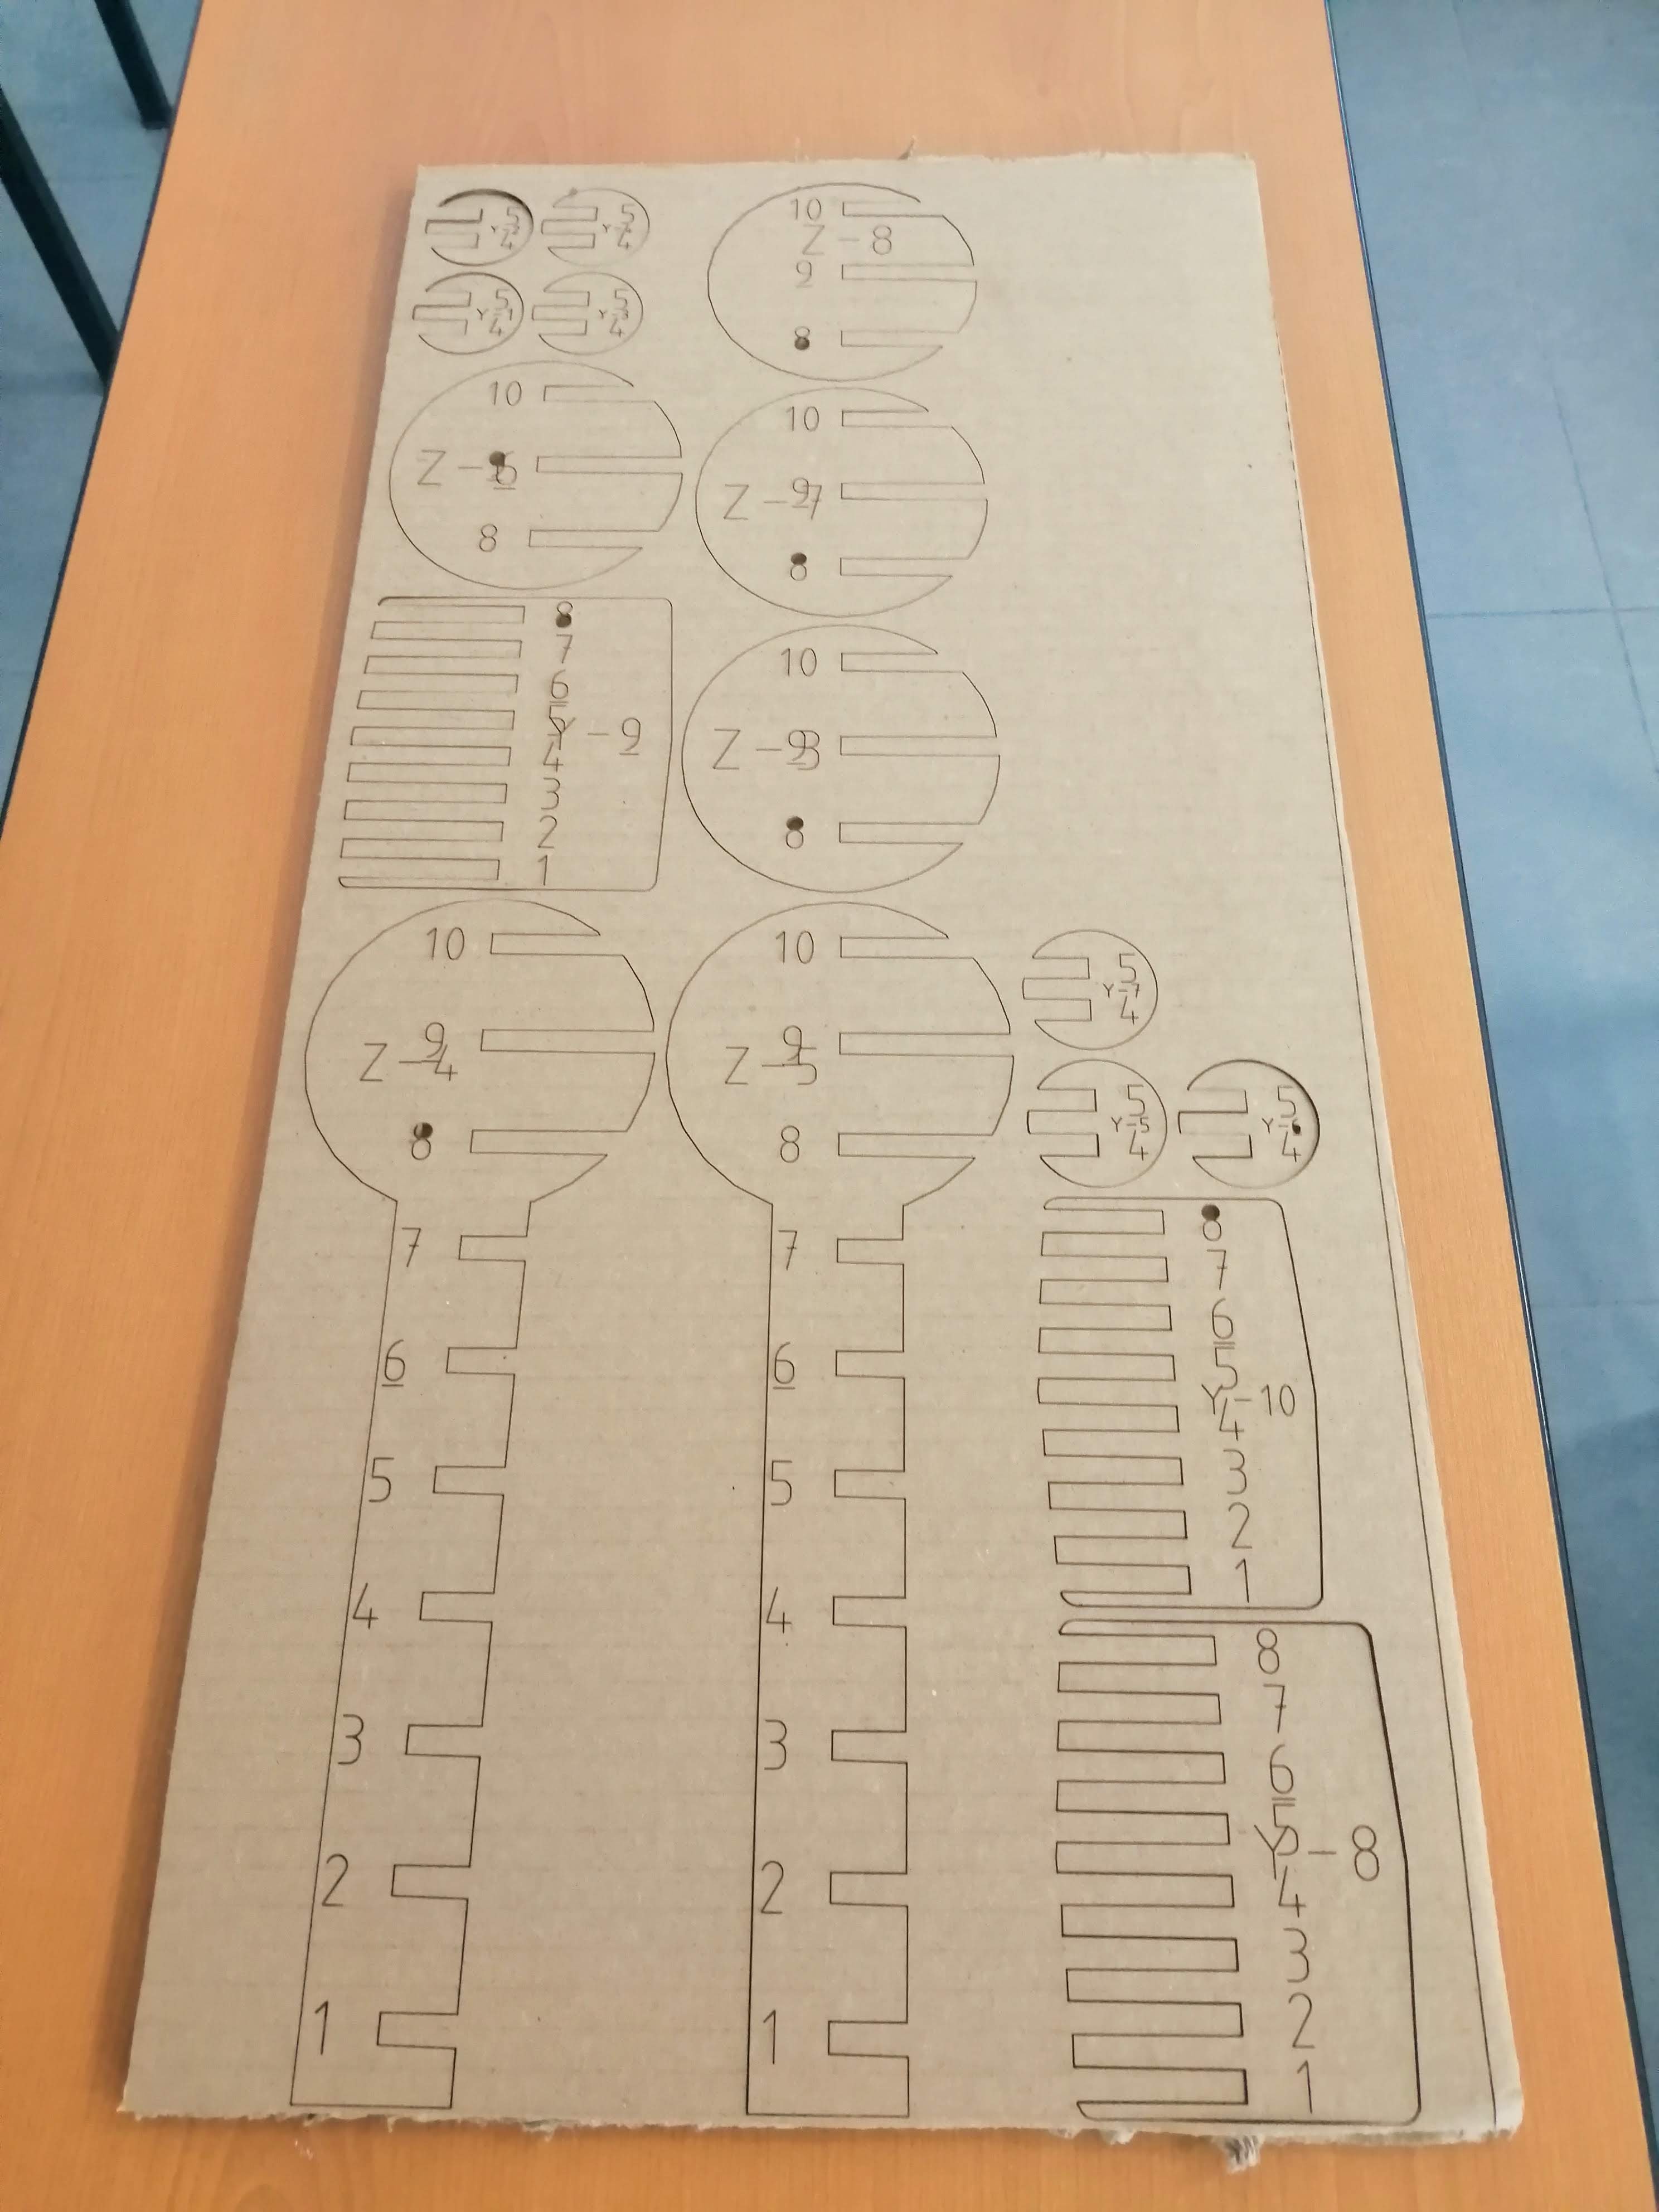
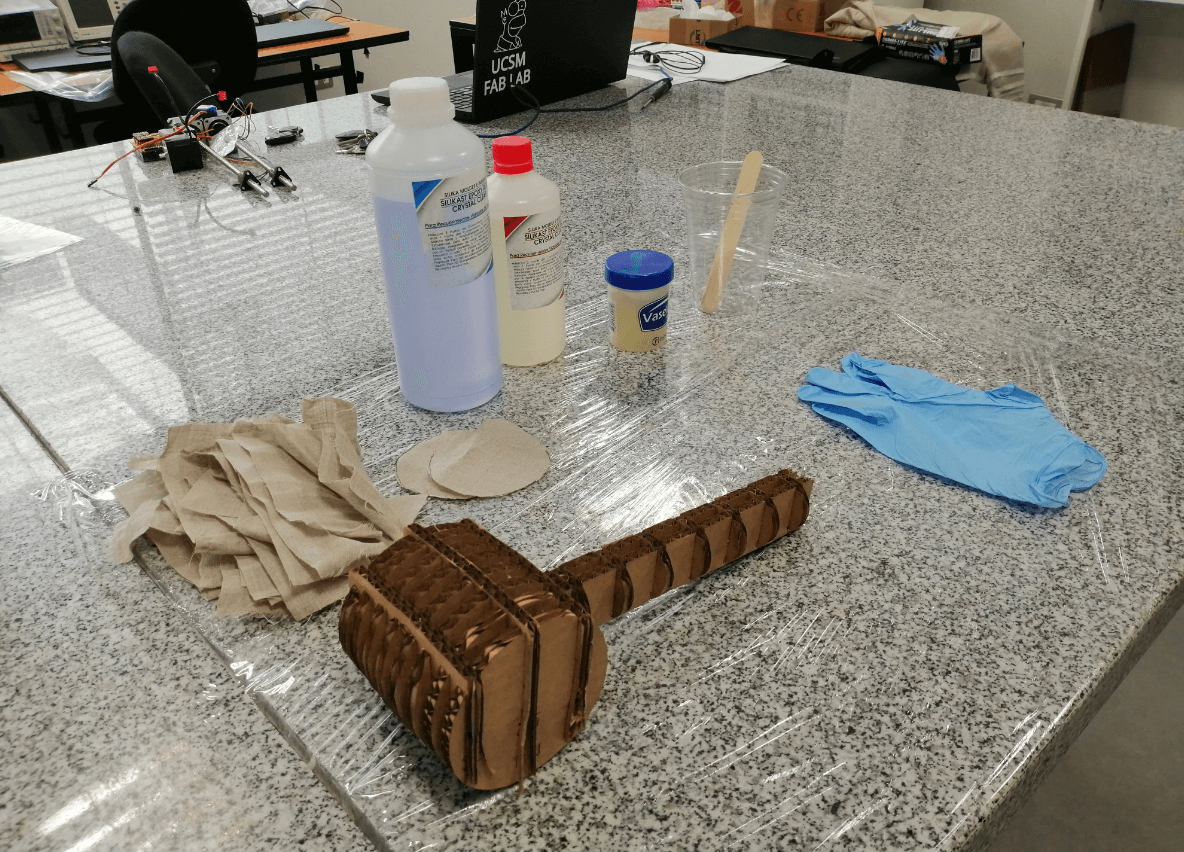
I decided to use as a reference the rubber hammer that we have in the laboratory to model it in 3D Fusion 360 as a solid and then enter it into Slicer to make a piece made up of different cross-sections, the material that I will use in the cut is BC flute corrugated cardboard (6.60mm thickness).

Once all the pieces were cut in our Epilog cutter, we proceed to make the assembly using the reference numbers of each of the pieces and following the diagram available in Slicer. We finished with a hammer model ready to use as a mold for our composites.

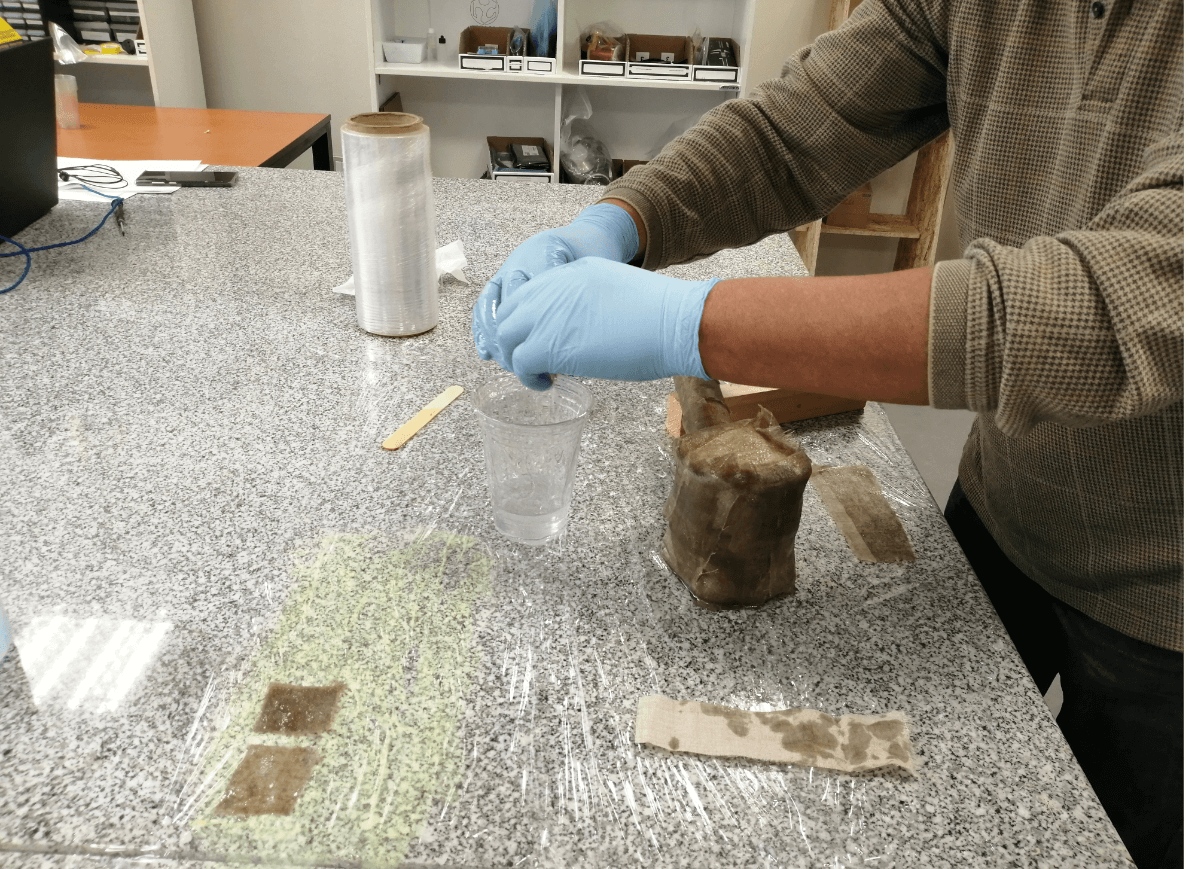
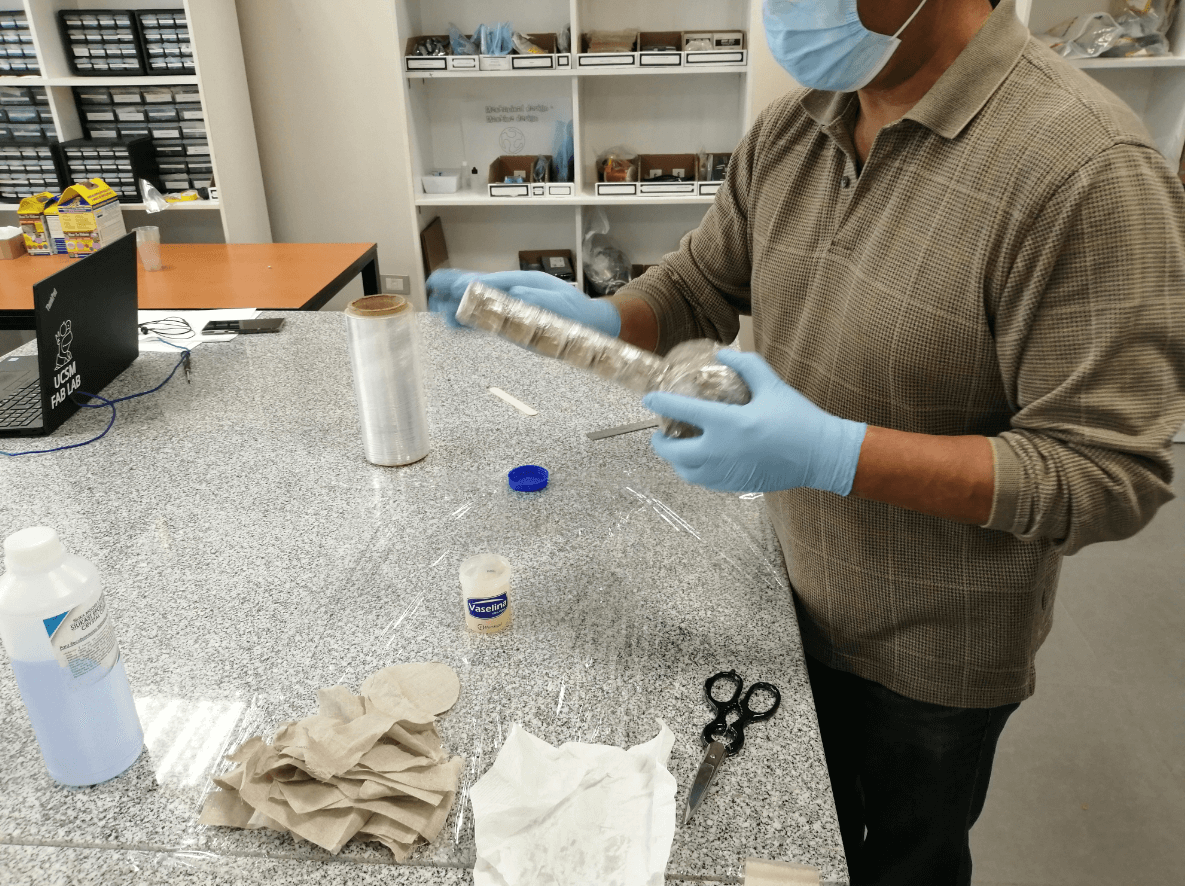
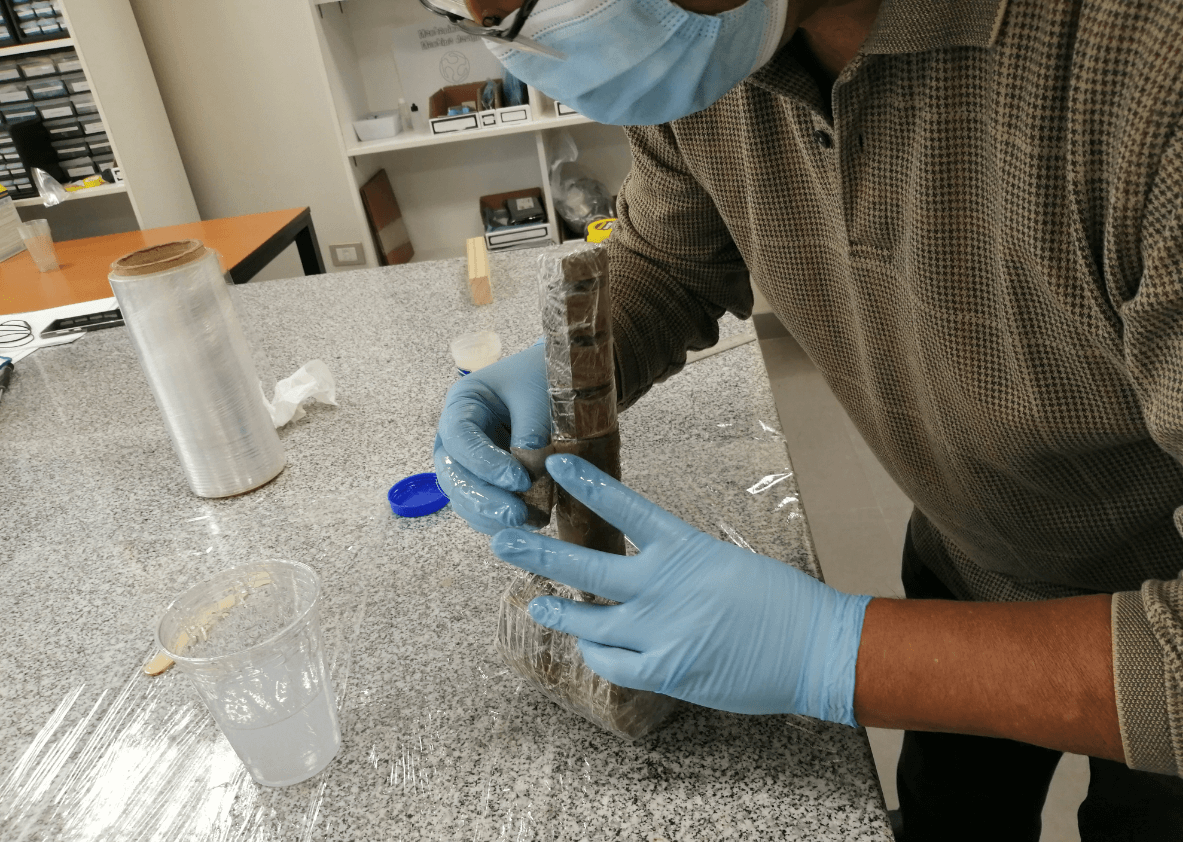
First we must prepare our workspace, make sure we are in a well ventilated place and additionally cover the surface of our table with a protective layer assuming that it is the first time we have done this procedure and the process can be very messy.
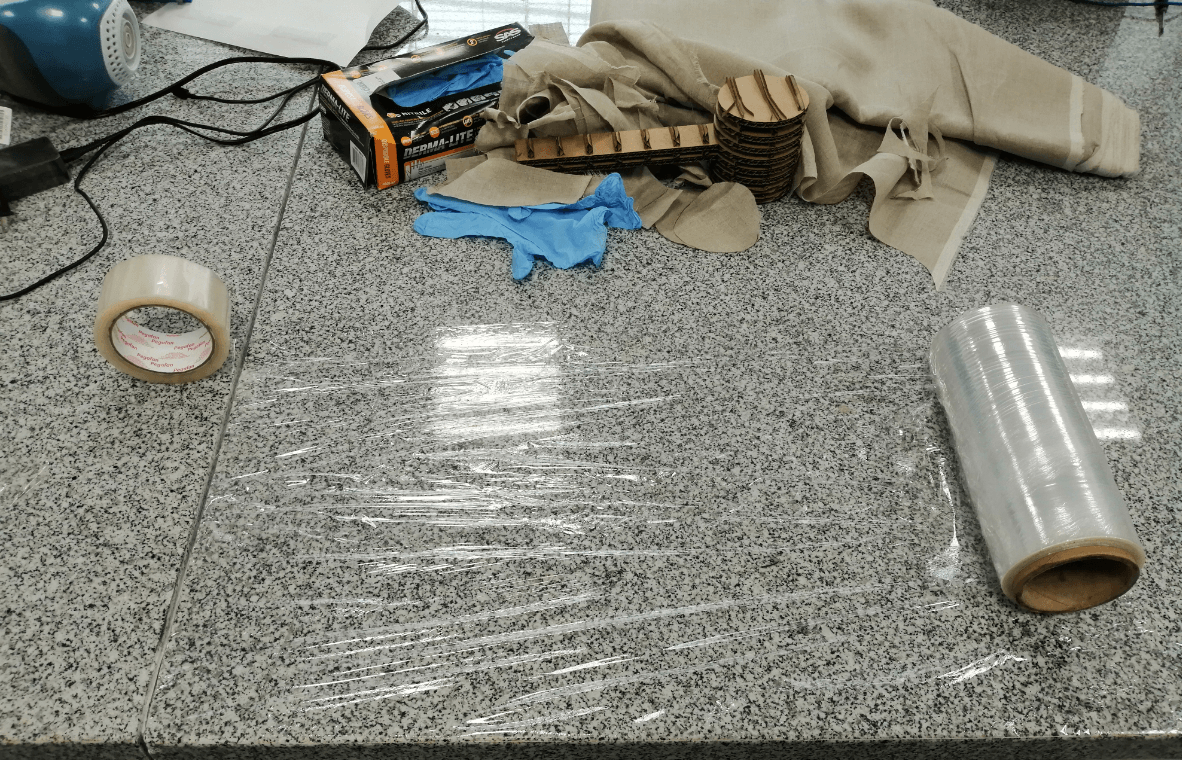
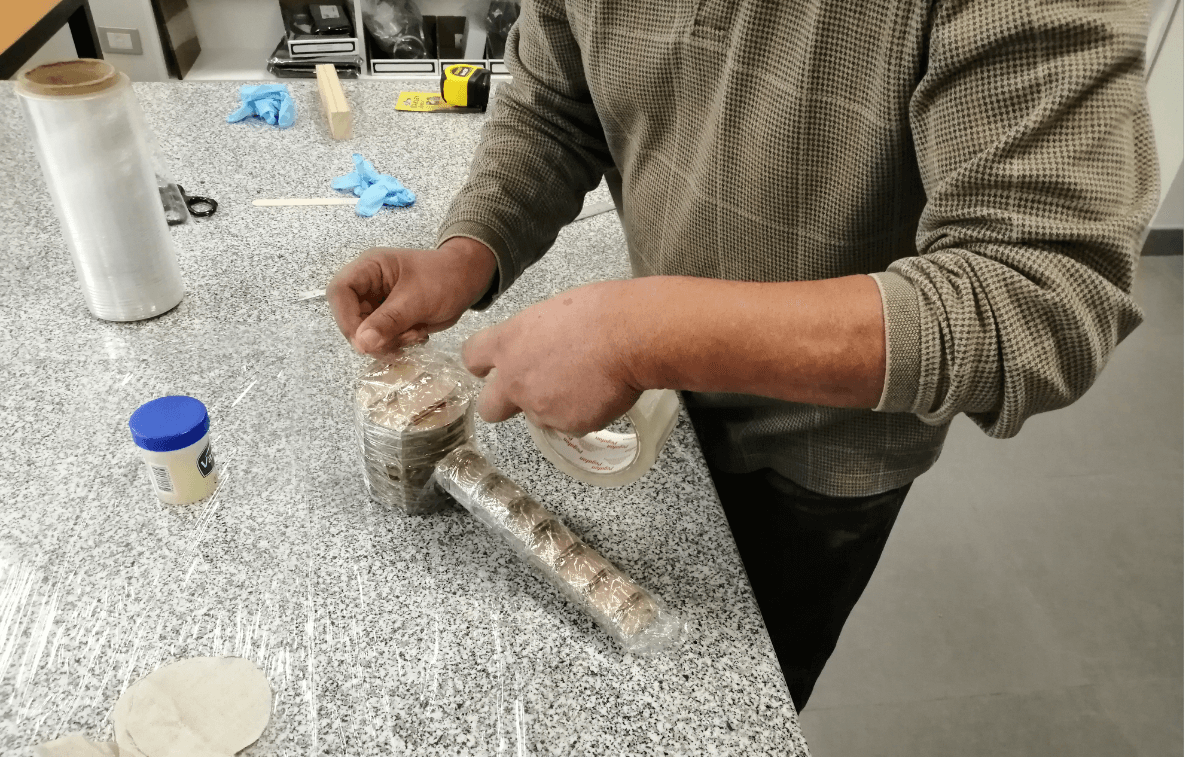
Since we decided to make a mold of our hammer in cardboard and because our piece has exposed parts, we must protect it with a film, we also use tape to improve the coverage in some parts of difficult access and finally we cover the entire piece with an uniform layer of vaseline so that later we can more easily separate our cured resin from the mold.
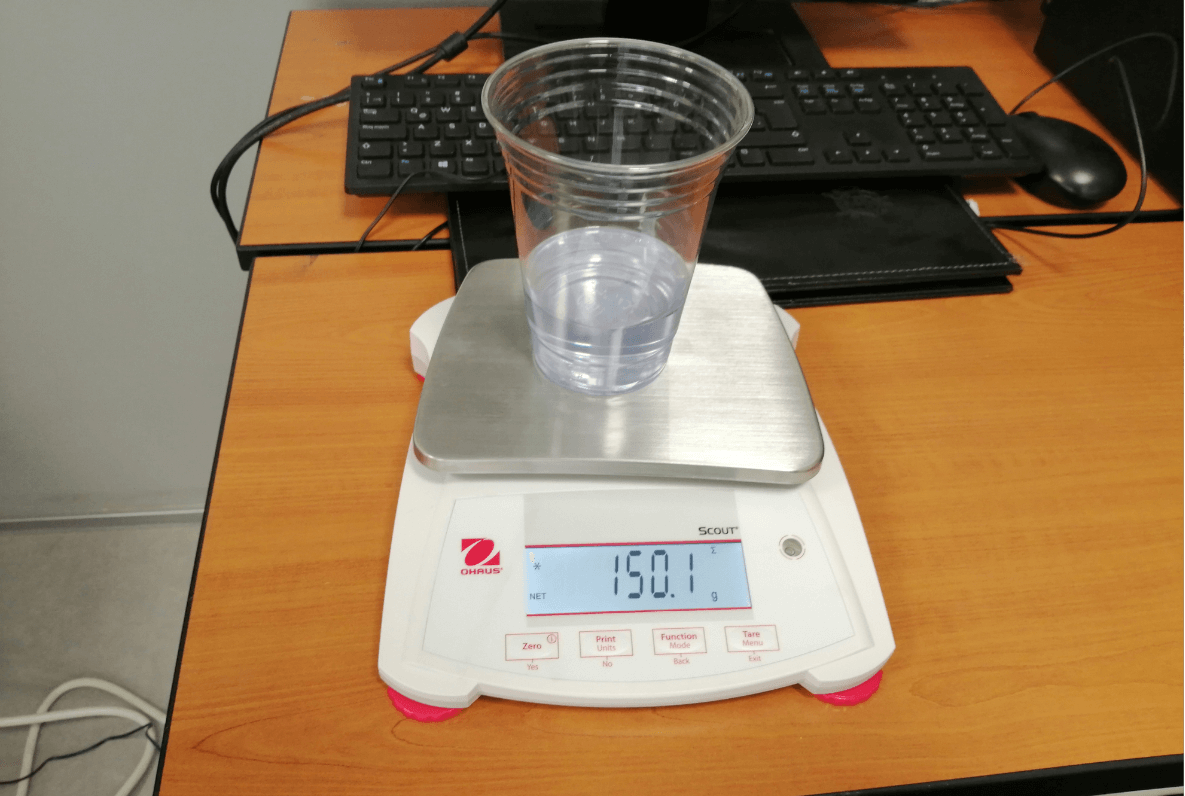
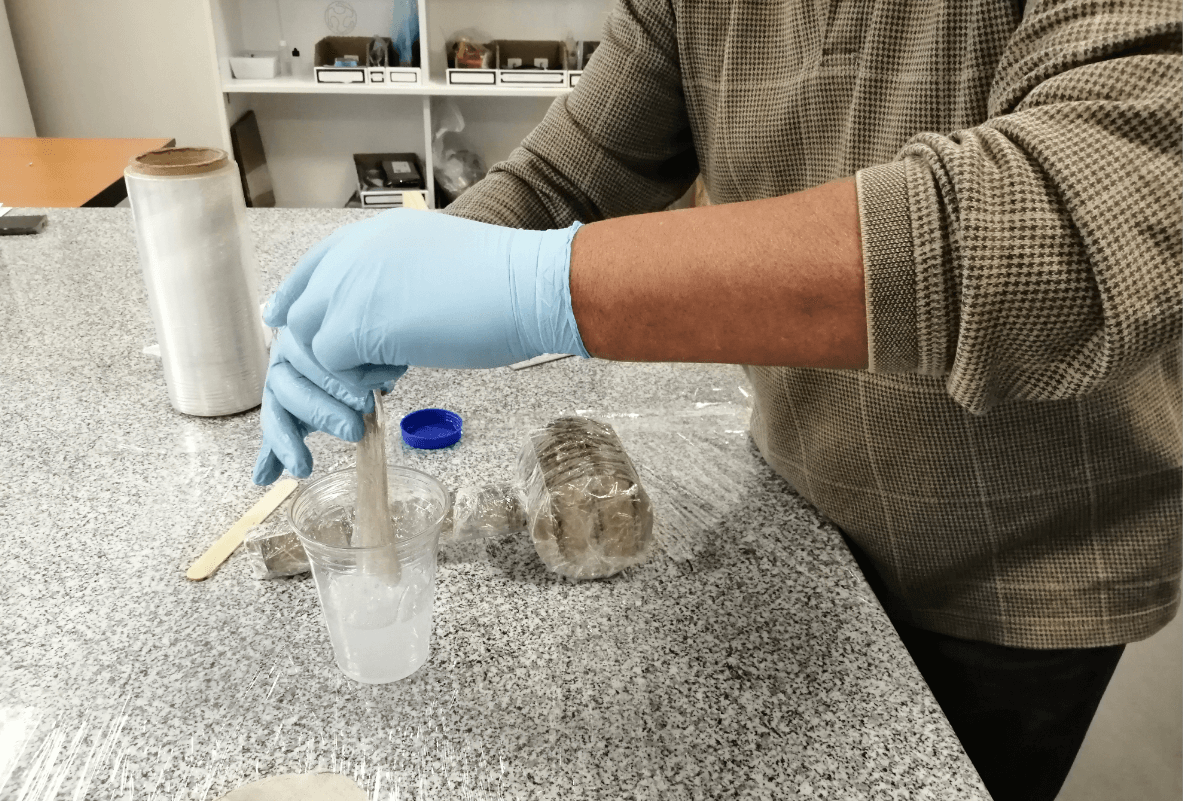
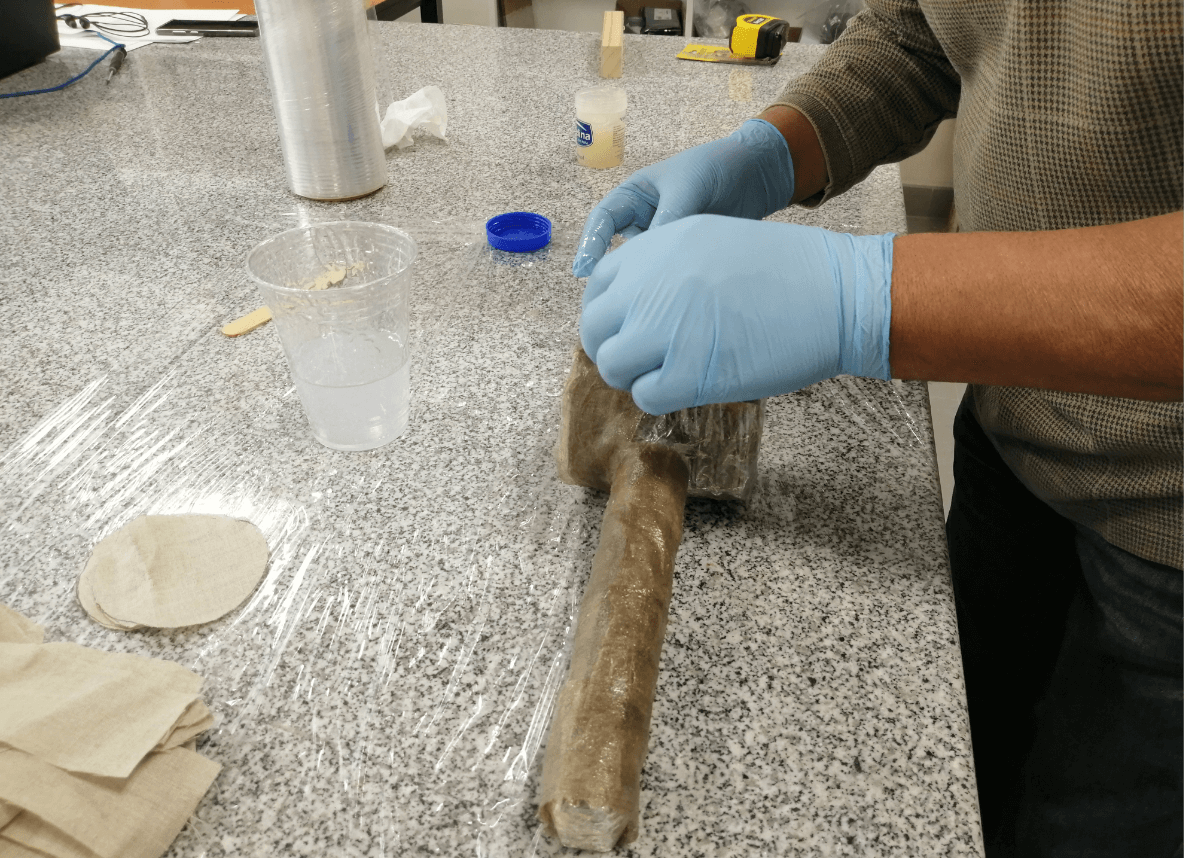
The resin mixture was not that complicated, to start it was only necessary to mix 2 parts of A with 1 of B, and to make the mixture we do not worry about the formation of bubbles because we will soak the linen parts in it and then we will drain them.

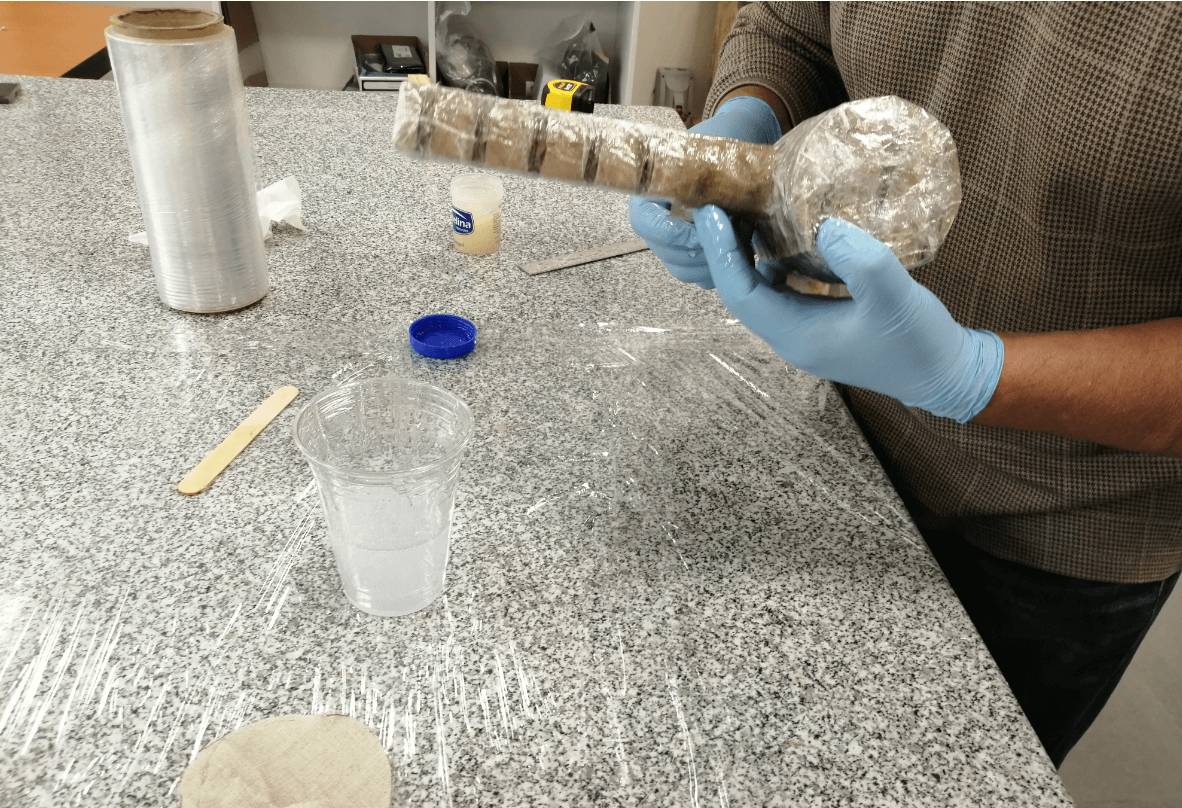
I must admit that at the beginning the application did not look so difficult, I was confident, but as I added more layers the process became very messy and I began to despair, it was necessary to keep calm and constantly check the piece, because some layers contained a lot resin and I end up dripping from the bottom.
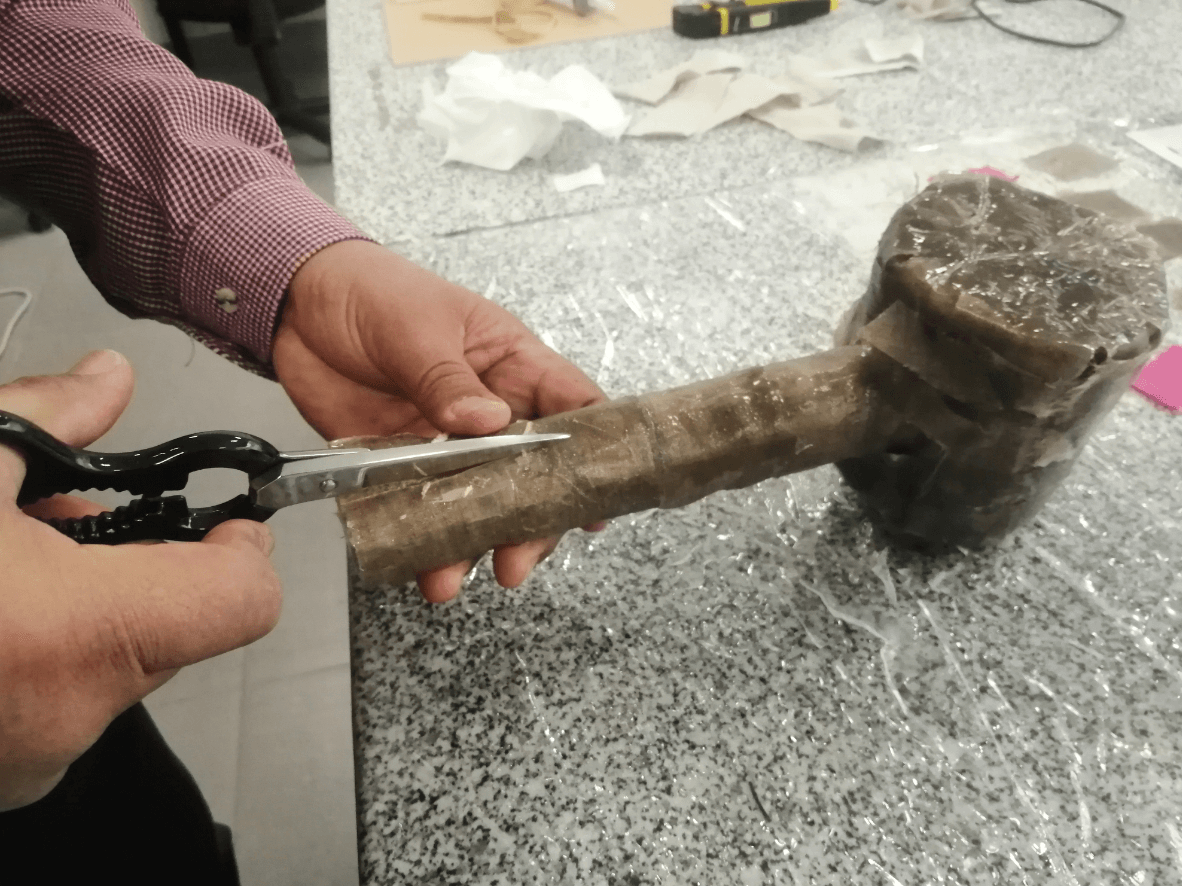
The next day, the expected moment came, due the resin dripped, the handle of the hammer stuck to the wood used to keep the hammer in a position parallel to the base, with a little effort I was able to separate the part, it was necessary to use industrial scissors to cut a space between the mold and the countermold, but the hammer was released without damaging the cardboard, I am very satisfied with the final result and the solidity of the part, so satisfied that I tried it to hammering screws into wood and it was not bad at all.
Testing the hardness of our hammer

You can download the files below:
Week Assessment
During this week, have I :
-
[ ] Documented how I made my creation ? Yes, I did
-
[ ] Described problems and how I fixed them ? It was a very messy process, but everything went well
-
[ ] Included my design files and hero shots of the result ? Yep