This week's fun assignment was:
- Sketched your final project idea(s)
- Described briefly what it will do and who will use it
- Made a website and described how you did it
- Created a section about yourself on that website
- Added a page with a sketch and description of your final project idea(s)
- Documented steps for setting up your Git repository and adding files to it
- Pushed to your class GitLab repository
- Signed and uploaded Student Agreement
Project Management
To start off this documentation for the first week, i have to admit that i lost a lot of time reading
random stuff that relates to all that was talked about in Prof. Neil's class.
As a web developer, i'm used to work with a lot of tools and i'm always looking for new ones. I'm also a
big fan of open source and i'm always looking for new projects to contribute to.
Right now i'm just a bit overwhelmed by all the information that i have to process. I'm also a bit
afraid that i will not be able to keep up with the pace of the course.
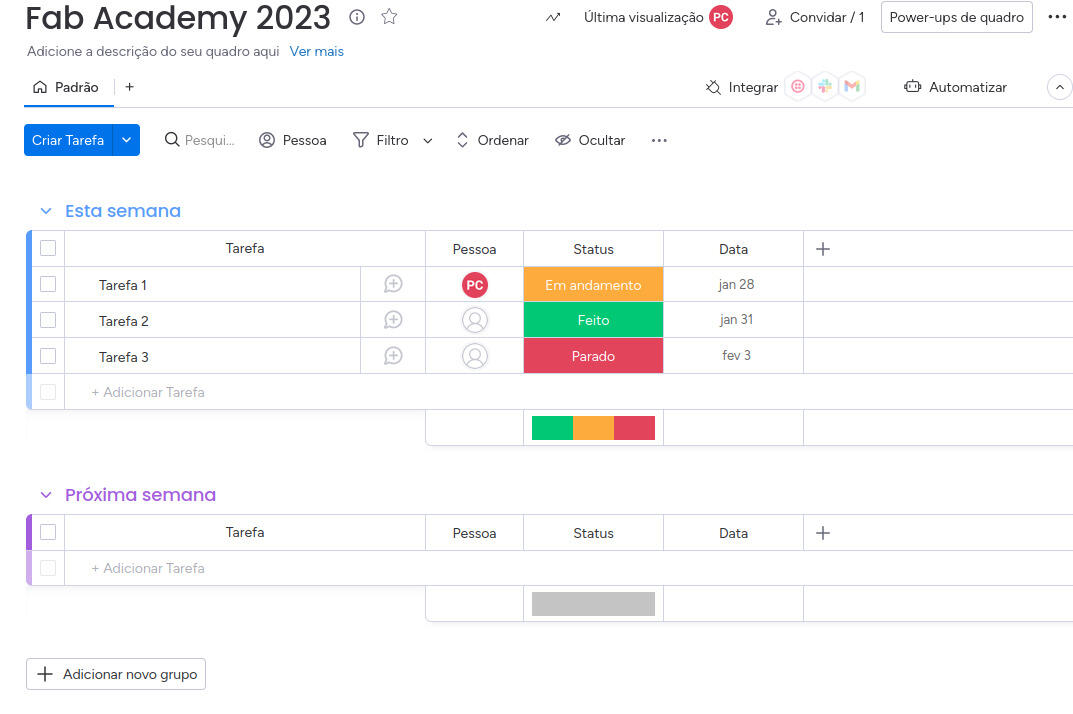
So my first step was to try to find a suitable project management software. Like i mentioned, i first
tried to find an open source one, but for now, decided to go for a proprietary one.
I'm setting up Monday.com.
Next up was for me to start documenting the Git processes.
I use Git on a daily basis, but i'm not really familiar with the GitLab interface. I use mostly
GitHub.
It's git, so it's not that hard to use.
I run linux on my machines, so I have git alreay installed as well as a terminal, but i want to check if
everything is updated so i will run
git --version followed by
sudo apt update
in my terminal, to update the packages and make sure everything is up to date.
I will try to follow this tutorial,
but it seems very Mac and Windows centric. Besides, as i mentioned, i already use Git in GitHub so i
will have to make configurations, like adding another user to my local git.
I learned git a long time ago using this tutorial: https://www.coursera.org/learn/introduction-git-github
Anyway, i will try to follow the tutorial and see how it goes.
First thing first, i will check if have more than one user using git config --list.
One should move to the directory it want's to use before hand. I will use the cd command to
move to the directory that i want to use.
I only have my normal user that it's a global one. I will add a local one just for this course using
git config --local user.name "pedro-candeias" and
git config --local user.email "pedrocandeias-fabacademy@gmail.com"

git config --list.

Next up: Generated a SSH Key.
I'm 100% sure i don't have a SSH Key setup here so I will jump the cat ~/.ssh/id_rsa.pub step
and go straight to the ssh-keygen -t rsa -C "pedrocandeias-fabacademy@gmail.com"

cat ~/.ssh/id_rsa.pub

clip -sel clip < ~/.ssh/id_rsa.pub
And finally added it to GITLAB following the instructions on this video
Everything pretty straightforward till here.
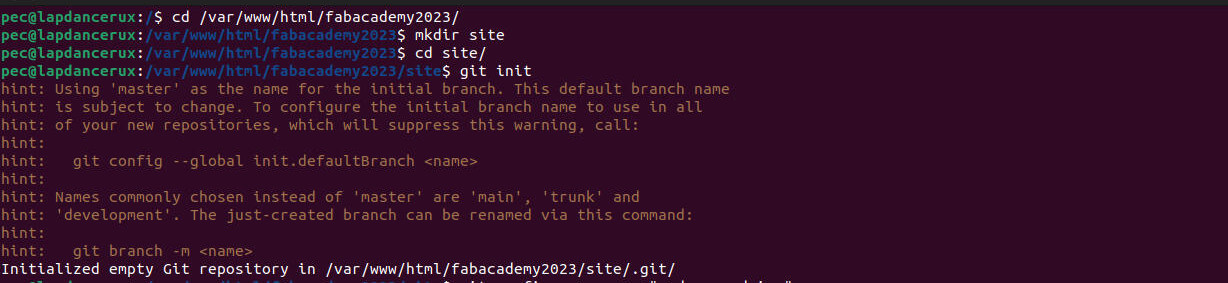
Now, let's try to clone the repository, get Nginx running and see if we can see the website.
I will clone the repository using git clone but first i have to create a folder for the repo
and init.

git status but I will just browse the directory, change some
text and commit.


One should use a mantra for Git:
git status(to see what has changed)git pull(to download the local repository to the last version of the online repository. This is very useful if several people are working on the same repository).git add .(to add the changes)git status(to check that the changes were added)git commit -m 'description of the change'(to confirm the changes)git push -u origin master(to make the changes effective and finally update the repository online)
- git clone - Clone a repository into a new current local directory, to do once at the beginning of documentation
- git init - Create an empty Git repository or re-initialize an existing one (starts a .git folder on local computer where all changes will be saved)
- git help - Help with git commands
- git diff - Changes between commits, commit and working tree, etc
- git log - Show commit logs
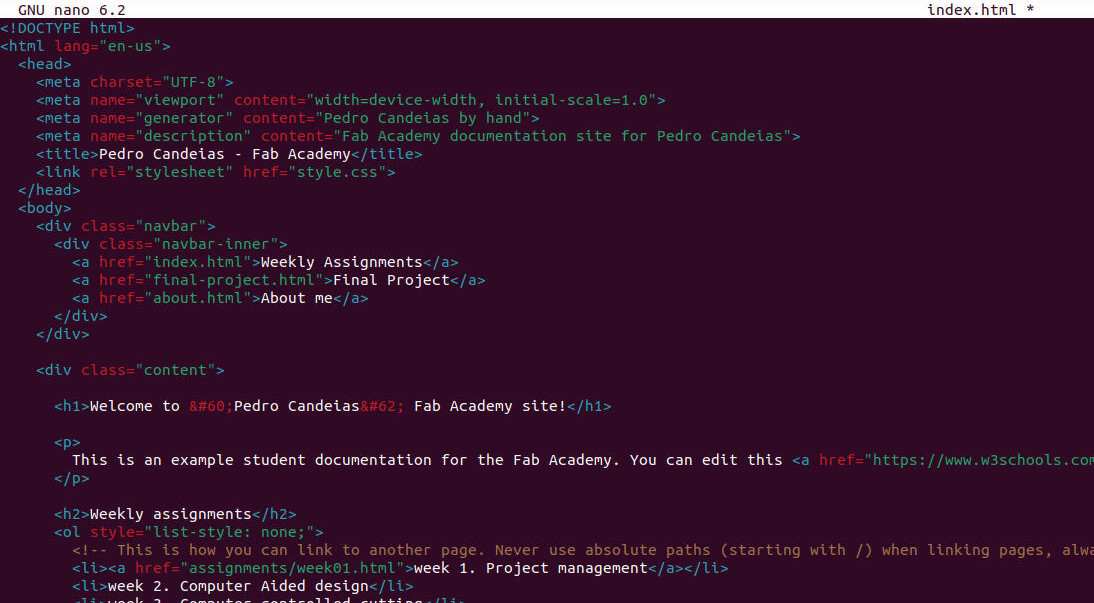
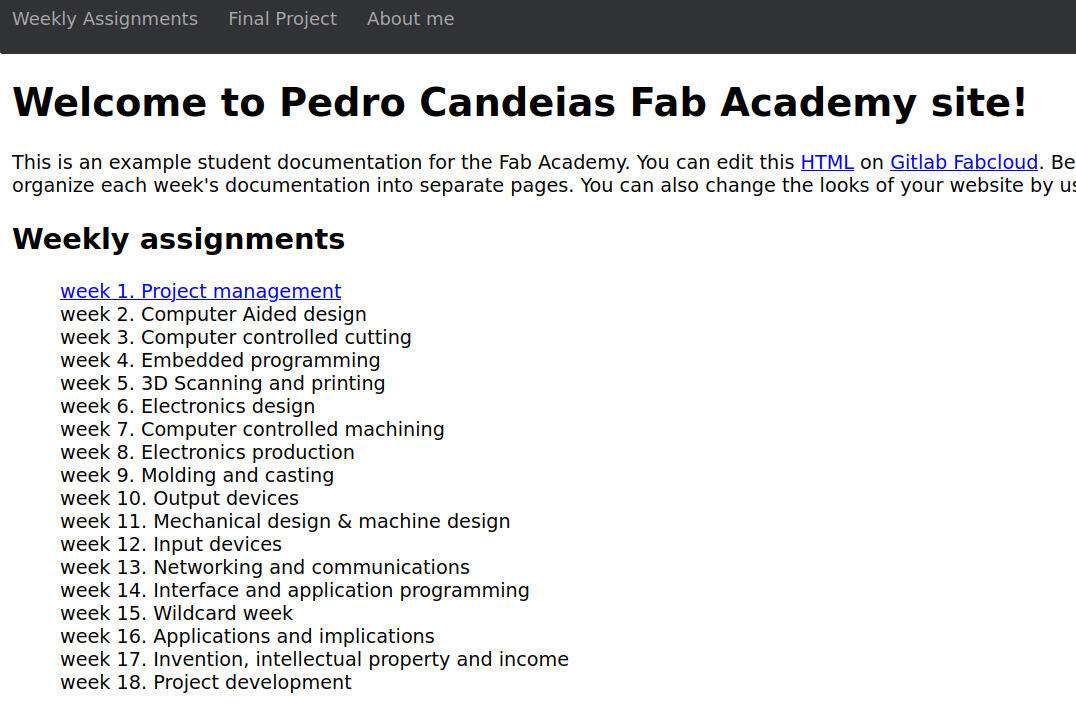
Now I will start on the site development.
For the IDE I will use Visual Studio Code. I already have it installed as i'm used to using it everyday for work.
I will also use Jekyll to generate the static site and NGINX to serve the site.
NGINX and pretty much everything that's needed for Development of the site is already installed and ready, excepto for Jekyll.
Haven't used Jekyll in a long time, but i'm going to give it a try.
Installing Jekyll is really easy, just follow the instructions on the Jekyll website.
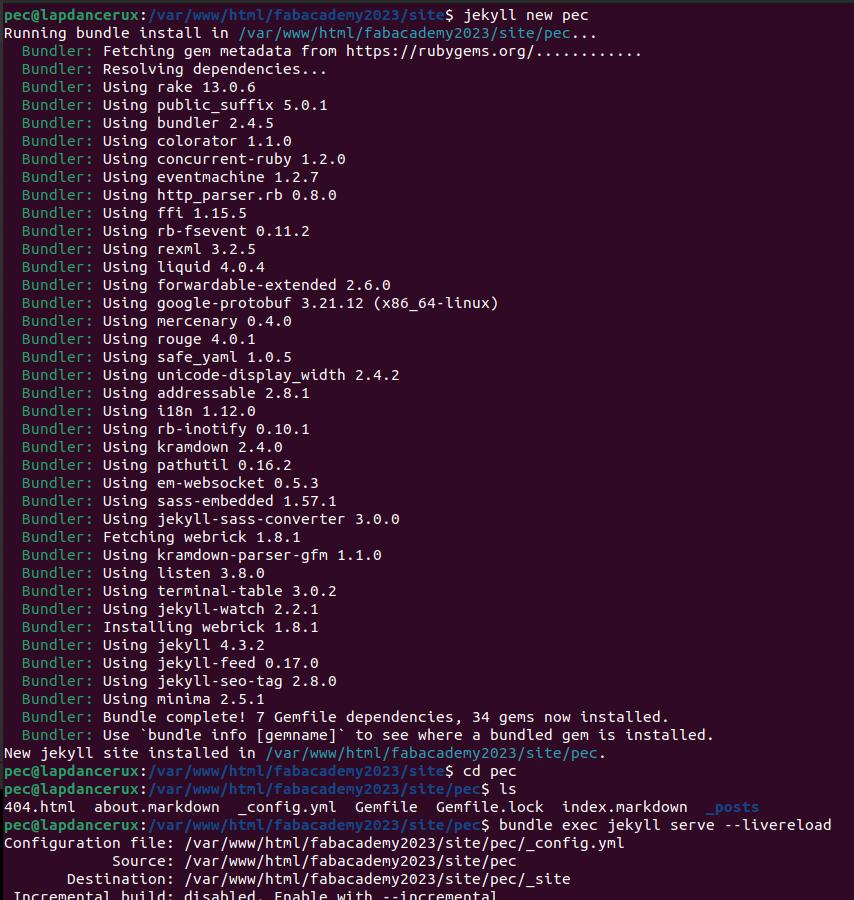
Install Jekyll using the command
gem install bundler jekyll and create a new site that will be
in a folder (mine will be "pec" as in PEdro Candeias)You can configure Jekyll to compile the static site directly to our local repo but i prefer to it to a different folder and then copy the files to the repo.
Later on i'll probably use a CI/CD tool to automate the process.
So, create the site
jekyll new pecMove into the folder
cd pecRun the site
jekyll serve --livereloadThe live reload command is to automatically reload the browser when a change is made.
Now, let's see if it works.
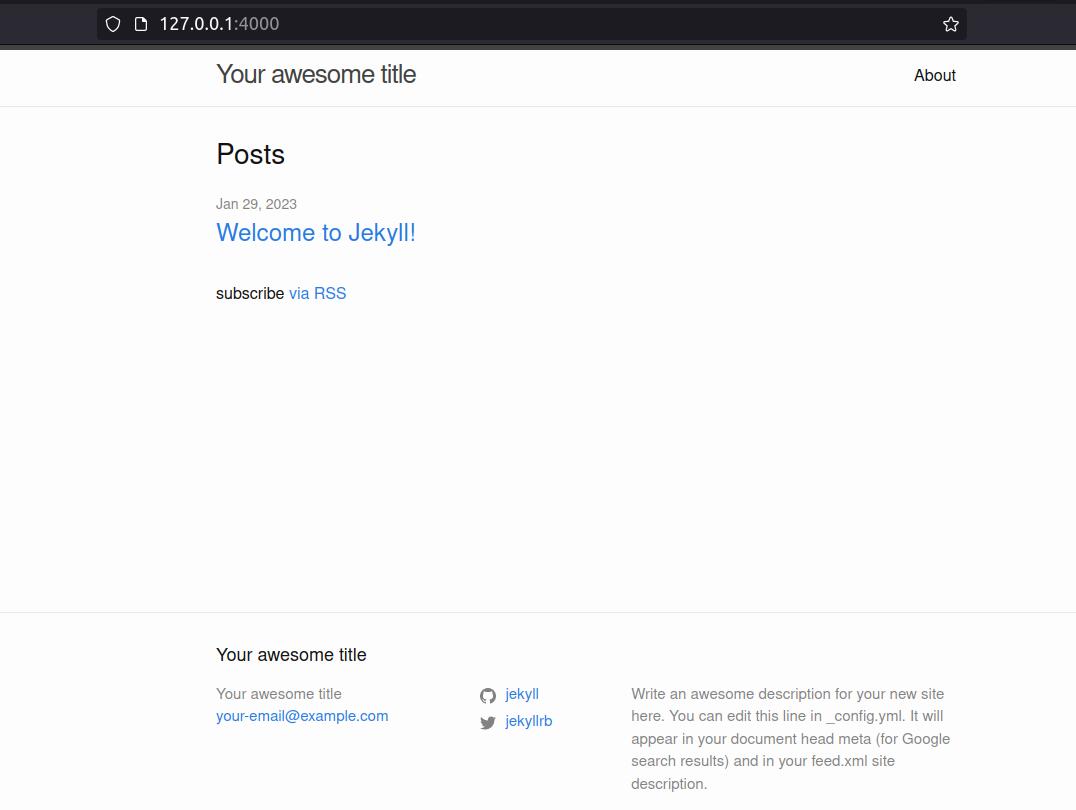
It's clean and simple and i will customize it to my needs.
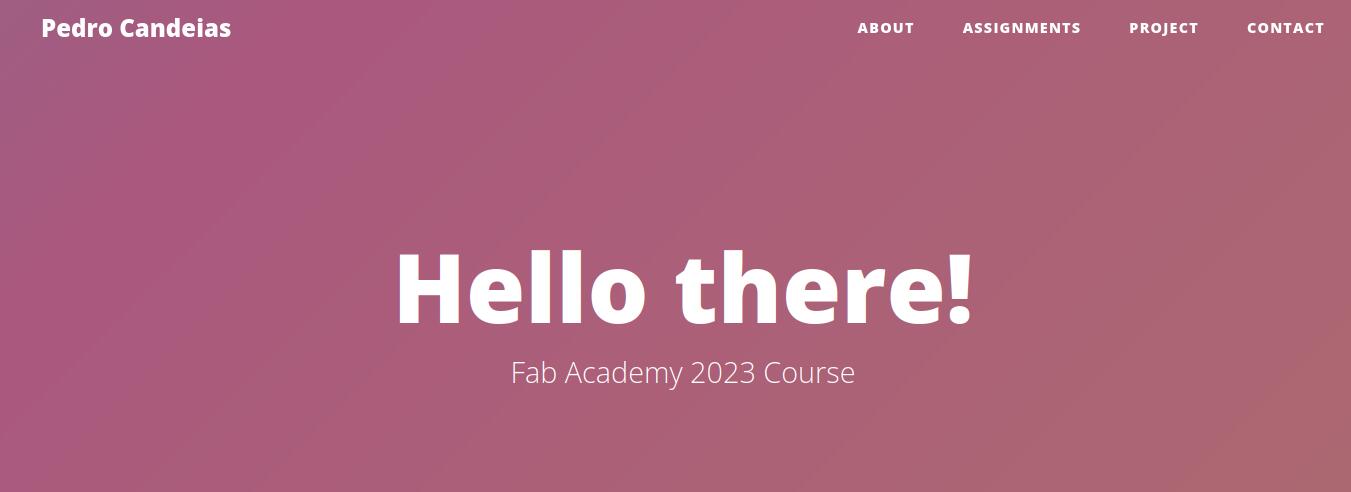
bundle exec jekyll serve --livereloadFirst, GitLab is not keen on having relative urls of folders, so i had to change the
baseurl to
an absolute url.Then, i had to change the
url to an absolute url as well.But i remembered that Nuria, my instructor told me to watch out for relative url's.
So, i had to change it again, this time making sure that all pages sit in the root of the folder.
Anyway, here is a first look at the site with absolute URL's just for posterity.
For the Final project
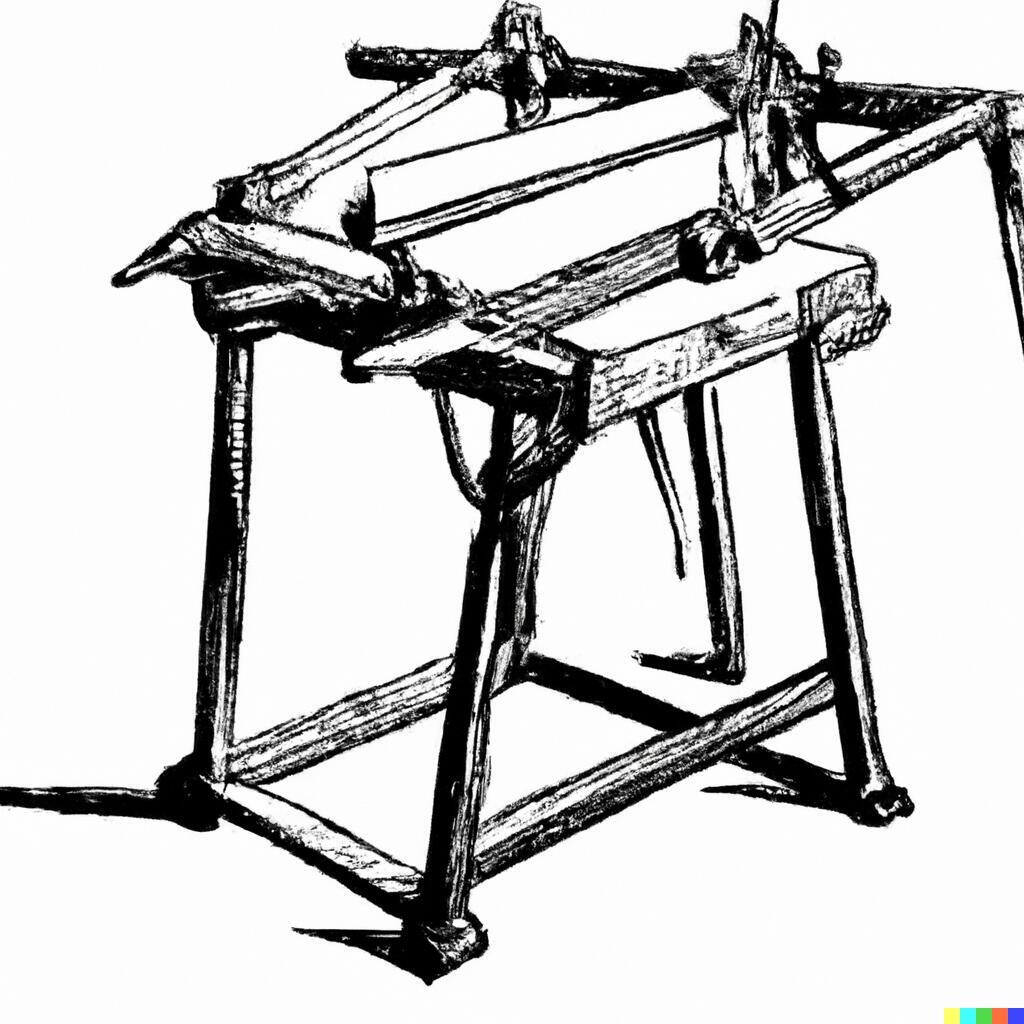
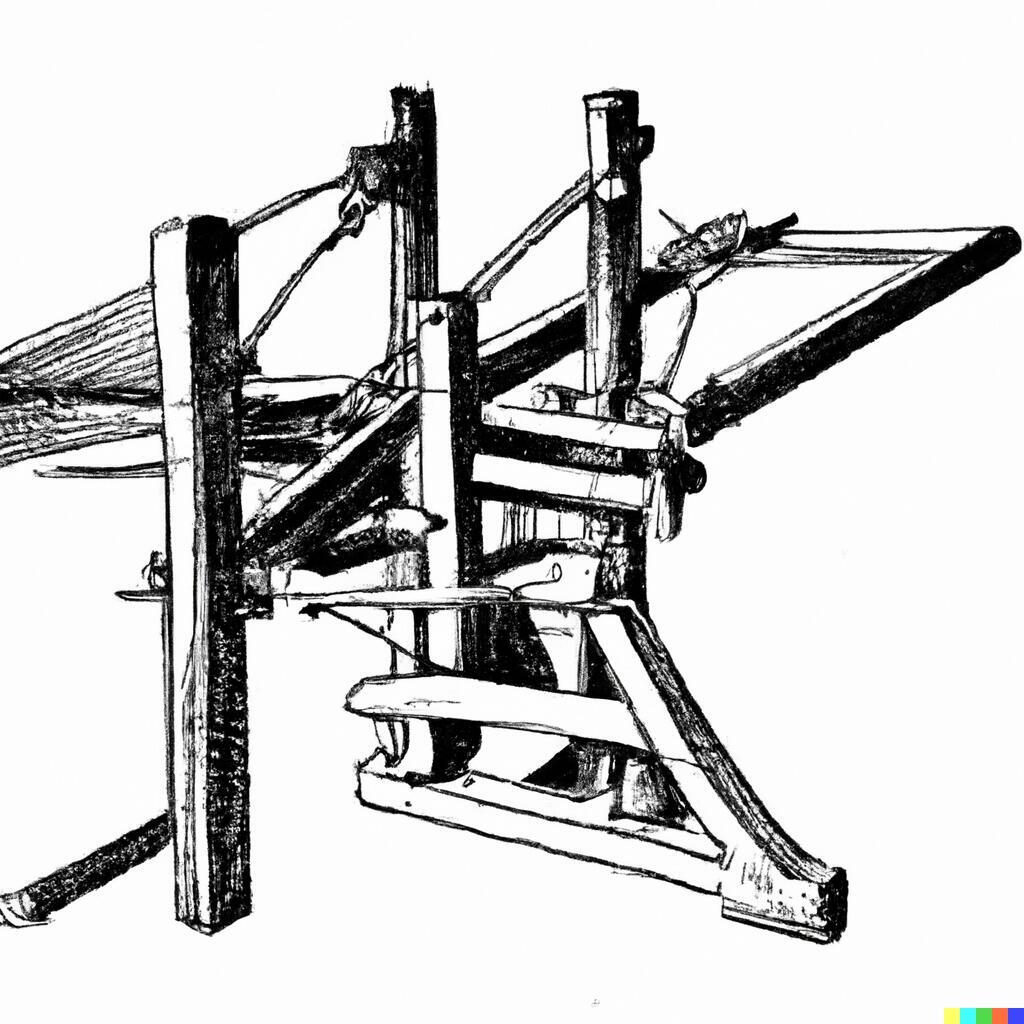
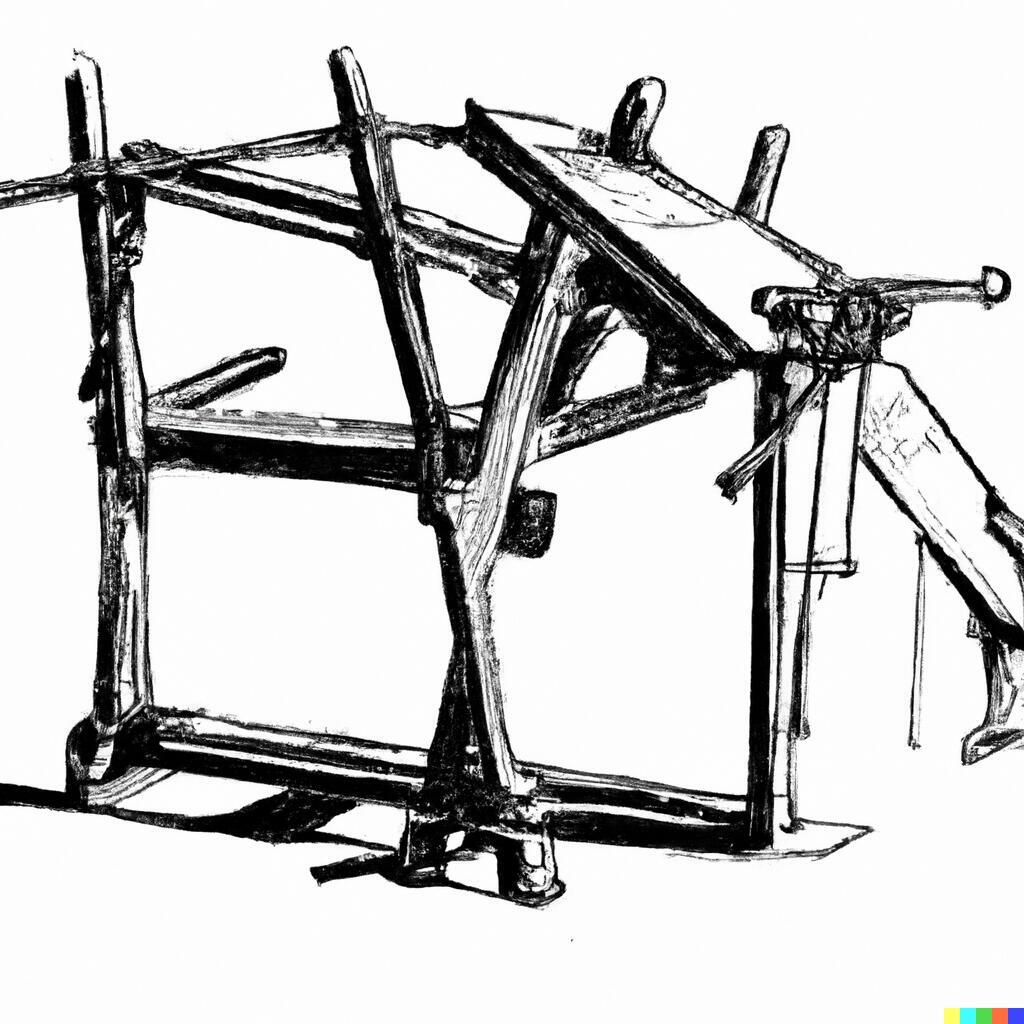
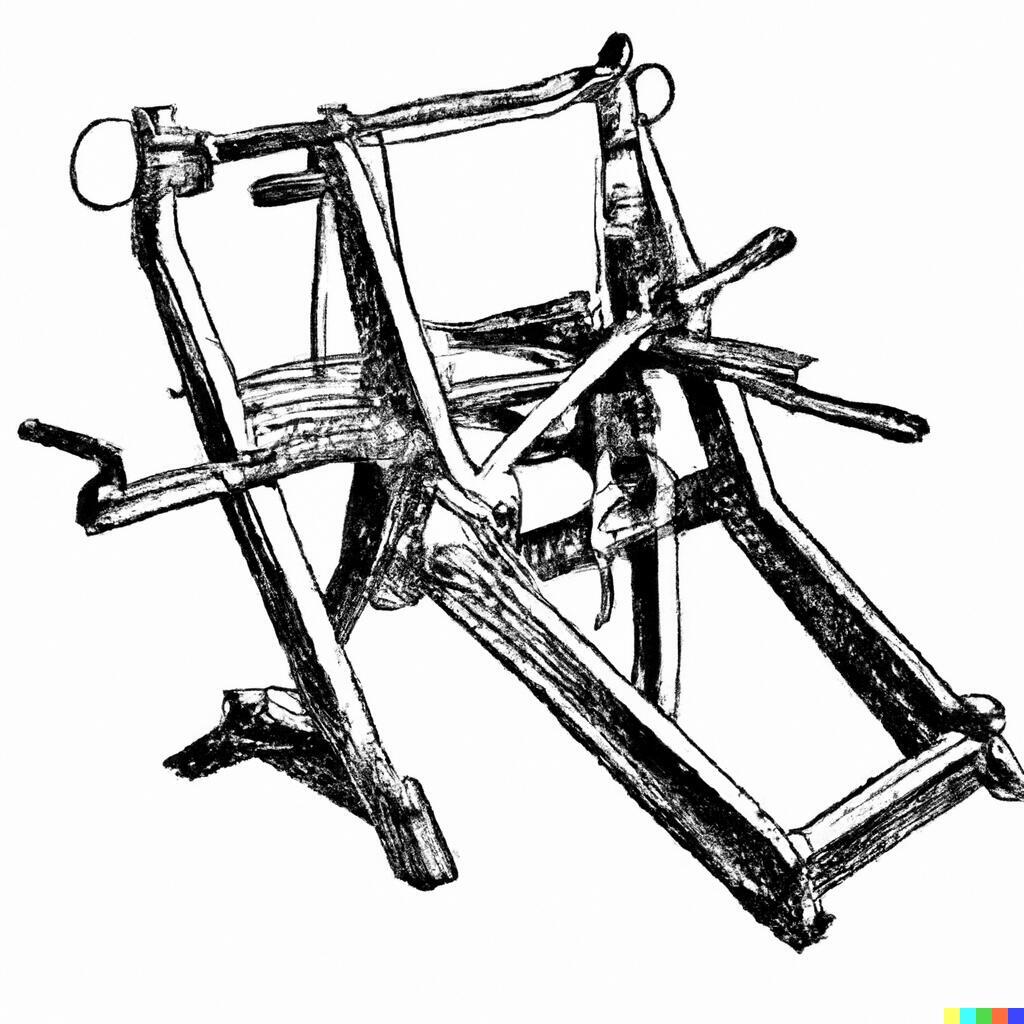
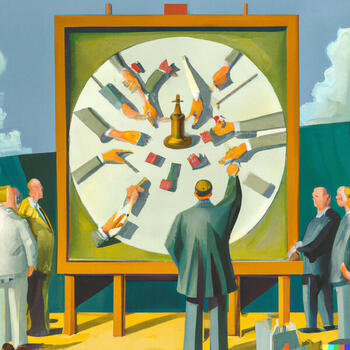
A tshirt folding machine drawing in the style of Leonard DaVinci made by Dall-e2
For the final project I would like to build a tshirt folding machine.
I would like it to be portable, or at least easily storable.
As a proud owner of about 60 tshirts there is no task more tedious then folding them.
I usually just keep them in a guest bedroom, unfolded on gigantic pile of recently washed and dried
tshirts, something that my wife hates!
What does it do?
It folds t-shirts (and maybe other clothes).
Who's done what beforehand?
There are a couple of videos on YouTube of people building manualy operated ones as well. Did also find
industrial grade machines and even some hobbyist makers plans for machines like this
What will you design?
I will be designing the machine, the software, the electronics and the mechanical parts.
What materials and components are you going to use?
PLA, MDF, controlers, tshirts, PCB, motors, hinges, etc.
Where will they come from?
Some parts will be build, printed and machined, others will be bought, or are already at the Fab
Lab.
What parts and systems are going to be made?
PCB, mechanical parts, software, etc.
What are the implications?
An automatic clothing folding machine can have several benefits and implications, including:
- Can fold clothes faster and more consistently than a person can, which can save time and increase productivity.
- Can fold clothes in the same way every time, which can make it easier to keep track of inventory and ensure that all items are folded to the same standard.
- Can reduce the risk of repetitive motion injuries that can occur from manual folding.
- Can fold clothes in a compact way which can save space.
- Can make my wife happier and happy wife, happy life!
- Can help people with disabilities to fold their clothes independently, which can increase their sense of autonomy and self-reliance.
- Can reduce the strain on people with disabilities who may have difficulty with manual folding.
- Can help people with disabilities to fold clothes more quickly and efficiently, which can improve their productivity and ability to complete tasks.
- Can be designed with ergonomic features that can reduce the risk of injury for people with disabilities who may have difficulty with manual folding.
- Can be considered as an assistive technology that can help people with disabilities in completing daily living task.
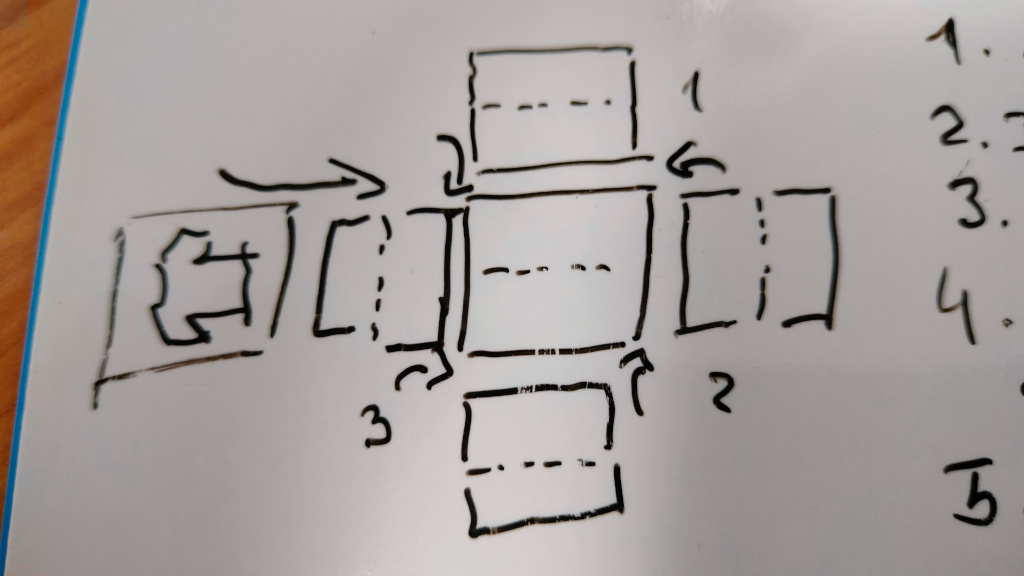
Here's a simple sketch:
And some fun features that it could have (spiral development) would be:
- Play a sound/music when it folds;
- Have a sensor to detect if a tshirt is in place;
- Auto unloading of tshirt to a basket;
Learned this week (in no special order)
- CLI for Imagemagic is going to be super usefull;
- Got to work more on my documentation skills and do it more quickly;
- Refreshed git by command line as normally only use it in VSCode;
- Got to play around with GitLab;
- Started reading on supply time demand and other methods;
- Gitlab doesn't like things that are not in the root;
Notes and Thoughts
Not sure if i'm going to keep this section, but i'm going to write down some notes and toughts that i
have during the course.
I'm also going to write down some notes about the tools that i'm using and how i'm using them.
ImageMagick
I'm using ImageMagick to convert the images that i'm using in the website to jpg. I'm using the following command to do so:Monday.com
I'm using Monday.com for the project management. I'm not sure if i will keep using it, but for now, it's working fine.Bootstrap 4
I'm using Bootstrap 4 for the website. I'm not sure if i will keep using it, but for now, it's working fine.GitLab
I'm using GitLab for the version control. I'm pretty sure i will keep using it.Markdown
I'm using Markdown for the documentation. Sometimes i just switch to plain HTML.Jekyll
primarySome commands i find usefull for now:
convert week7_christopher_wool.jpg -geometry x600 week7_christopher_wool.jpgconvert week7_christopher_wool.png week7_christopher_wool.jpgconvert week7_christopher_wool.jpg -quality 75 week7_christopher_wool.jpgls -lhrfor image in *.png ; do convert "$image" "${image%.*}.jpg" ; doneLinks
- ImageMagick cli tutorial
- Bootstrap 5 templates
- Creative commons license
- Monday.com for the project management
- Fab tutorials
- Fab Academy 2023 Bootcamp Day 1
- MIT Project Management
- MIT the missing semester