This week's fun assignment was:
- Model (raster, vector, 2D, 3D, render, animate, simulate, ...) a possible final project; Compress your images and videos, and post it on your class page
For the final project
- Model a print in place hinge;
Computer-aided design
Some vectors and some not so much vector
I use Fusion 360 in Windows. It's actually one of the few reasons why i have Windows in double boot as I usually only use Linux for work and for whatever else in life.
I decided to investigate if it was at all possible to use Fusion in Linux and found that there is a snap install altought in beta.
By the way, I do know about the web version. I just prefer to use the desktop version.
Here is the link for the Snap install: Fusion 360 Snap
So, opened the terminal and typed: sudo snap install --beta fusion360 --devmode
The installation went alright and I took the time to install Blender. I already have Inkscape installed.
So tried to run Fusion in Linux and it took a while to load. I was expecting it to be faster.
I was able to open the file I had been working on in Windows and it was all there but it was sooooo slow i decided to give up
The course is pretty fast paced so it doesn't allow me to fumble around trying to find a solution for something that is not really necessary in this moment
I will try to find a solution for this later.
Remenber me writing that Fusion is just one of the reasons I keep Windows around? The other ones are Adobe Illustrator, Photoshop, Audition and Premiere
Back in Windows to run Fusion 360.
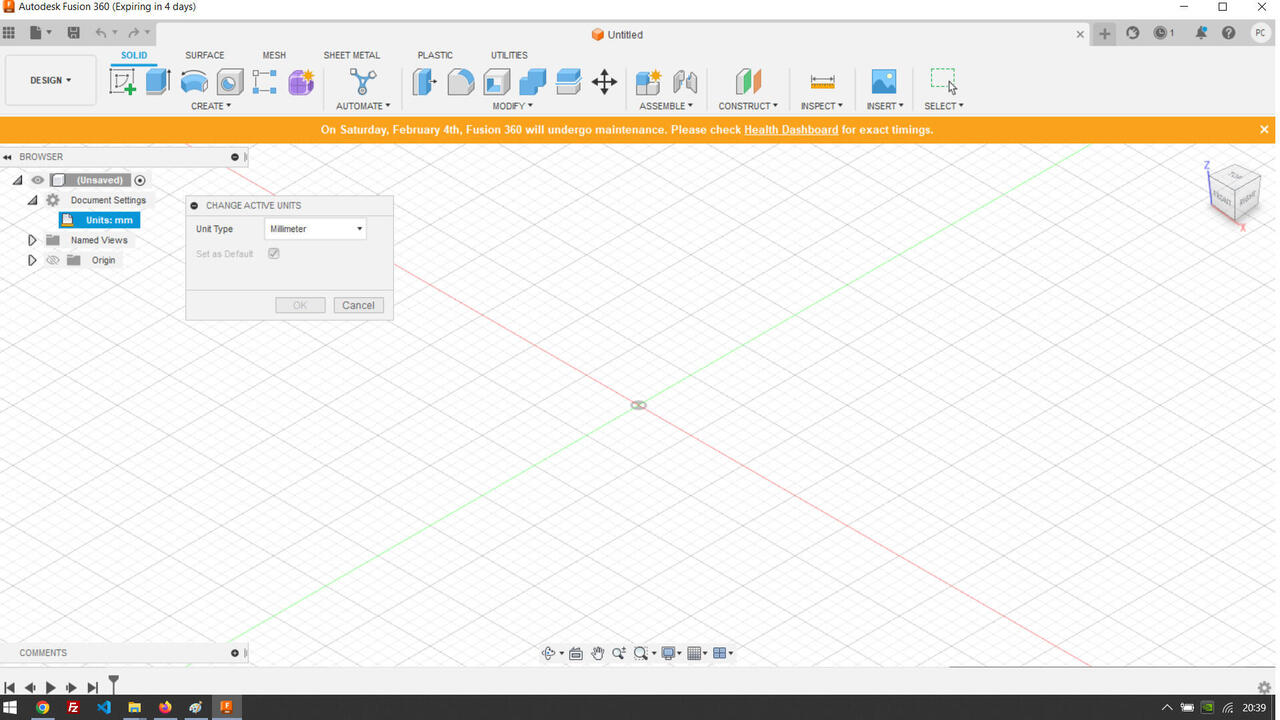
On the top of my head a couple of things that one should never forget:
That last one is transversal to every pice of software that one uses. I have seen people using inches in Fusion 360 and that is just wrong.
That last one is transversal to every piece of software that one uses. I have seen people using inches in Fusion 360 and that is just wrong for me.
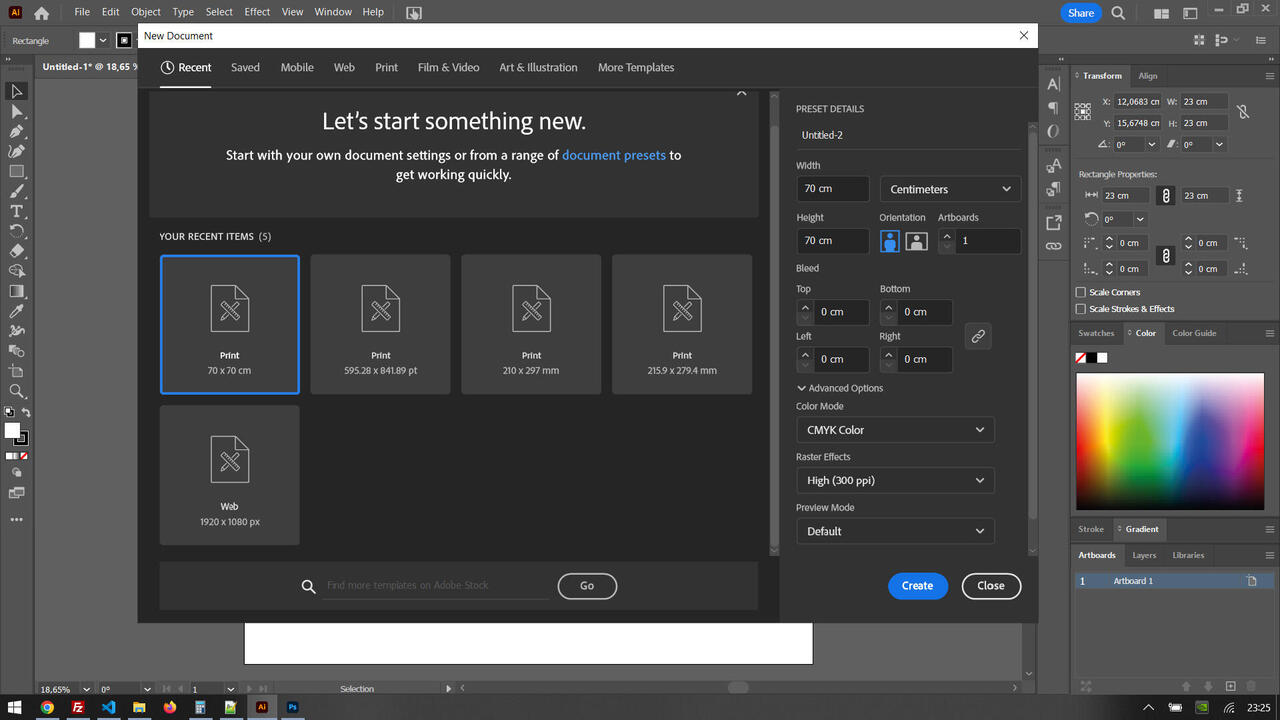
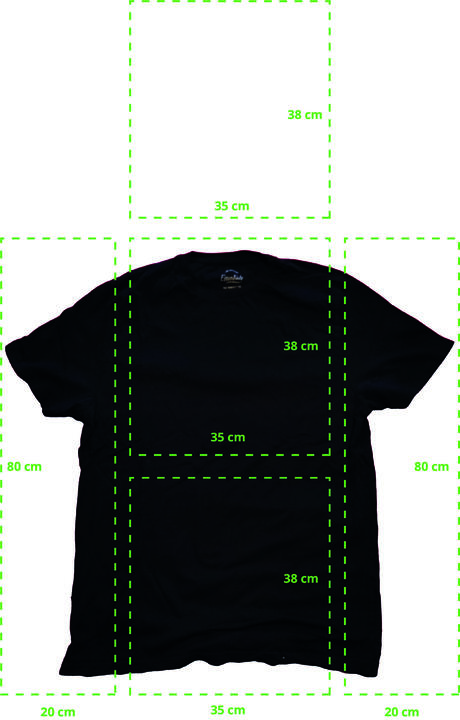
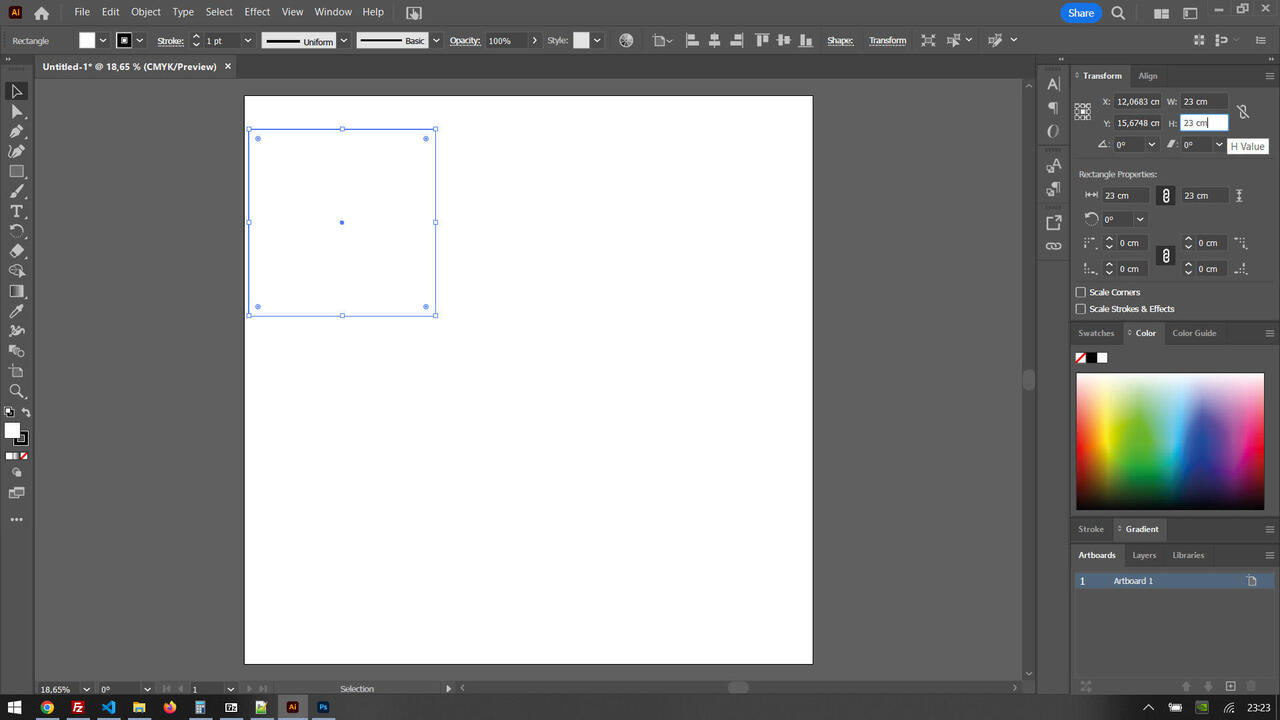
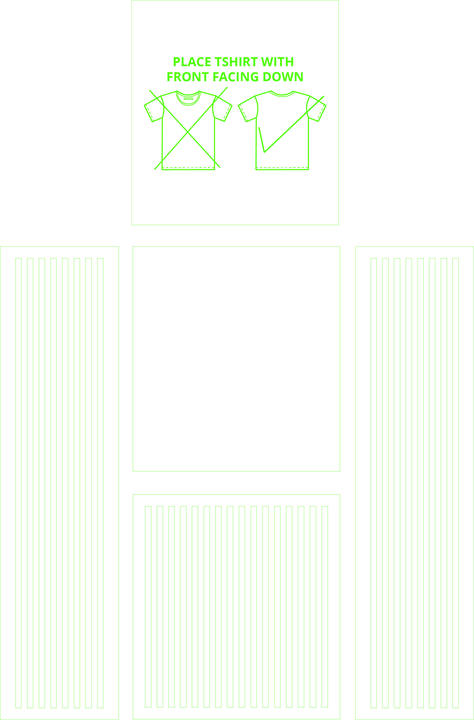
My first step was to measure a tshirt. I remov.ed the background in Photoshop and added the lines in Adobe Illustrator
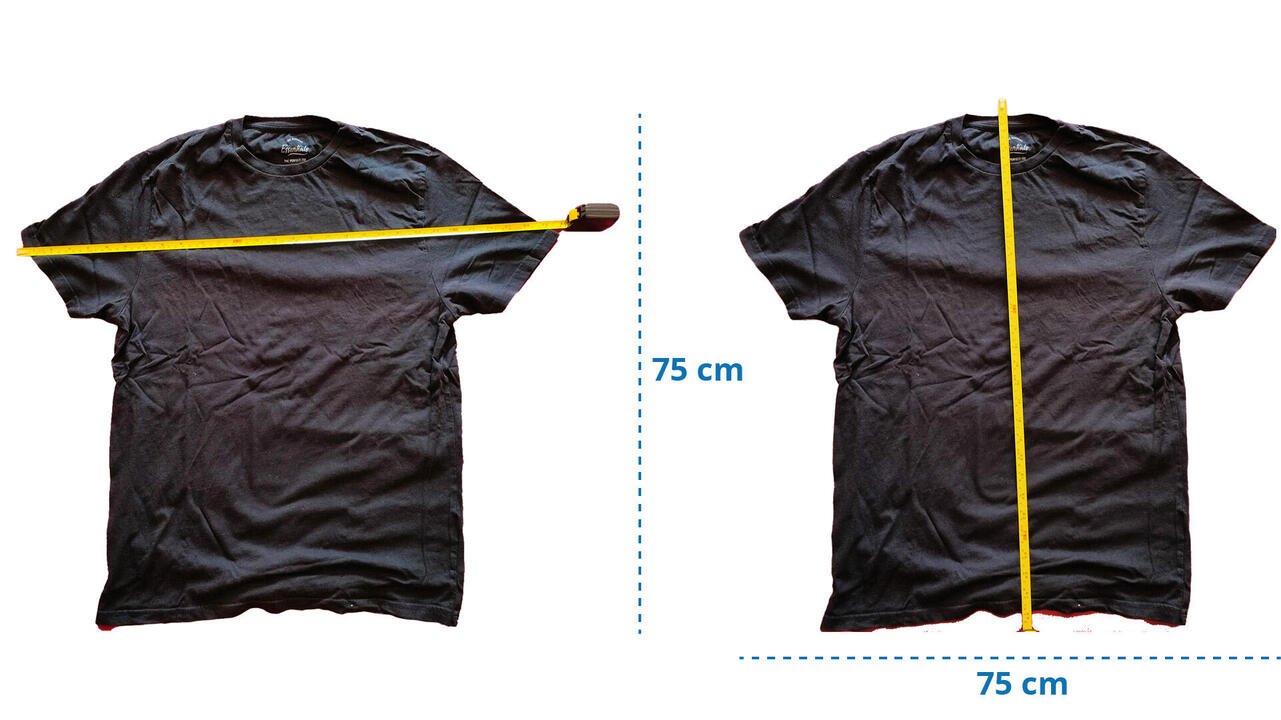
Then in Adobe Illustrator added the measurements simulating the folding segments.
After the initial setup of Illustrator, I started by drawing a simple rectangle but things moved fast as I alreay know how to use illustrator
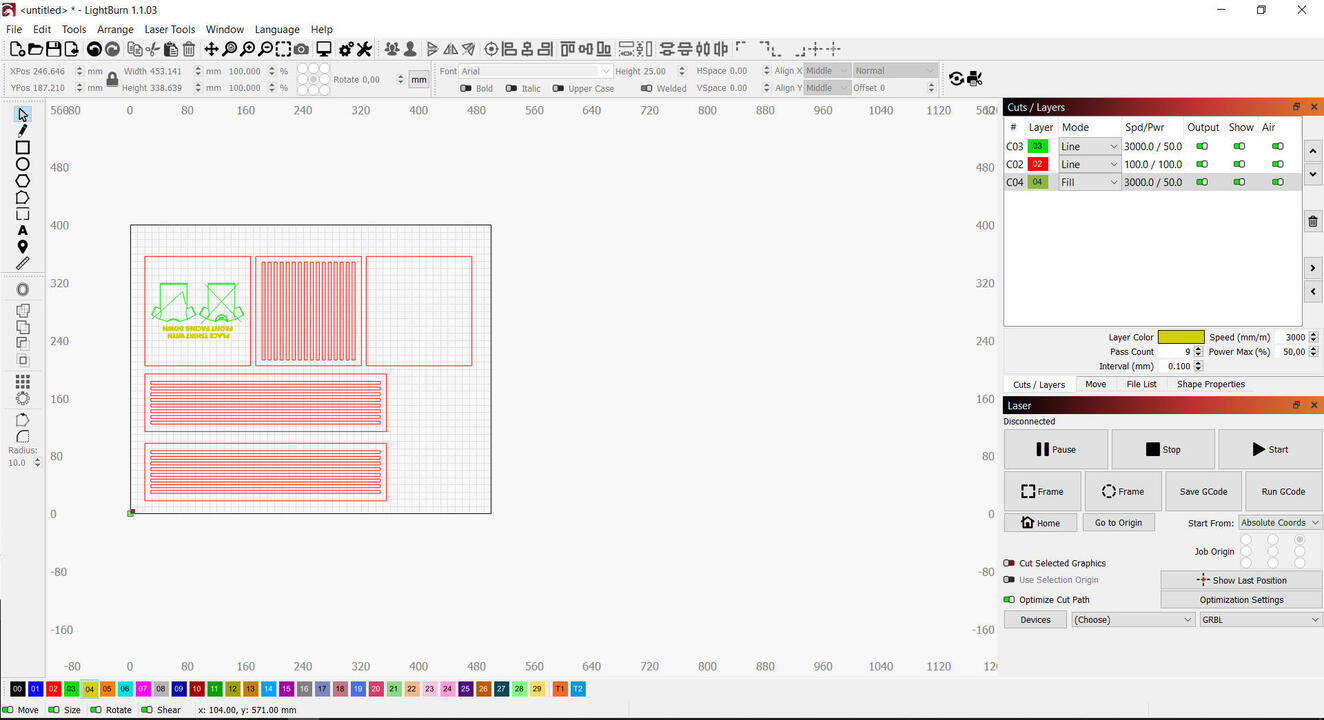
Things moved so fast that in a couple of minutes i had a file ready to send to Lightburn. Lightburn is the software i use for my Laser Cutter
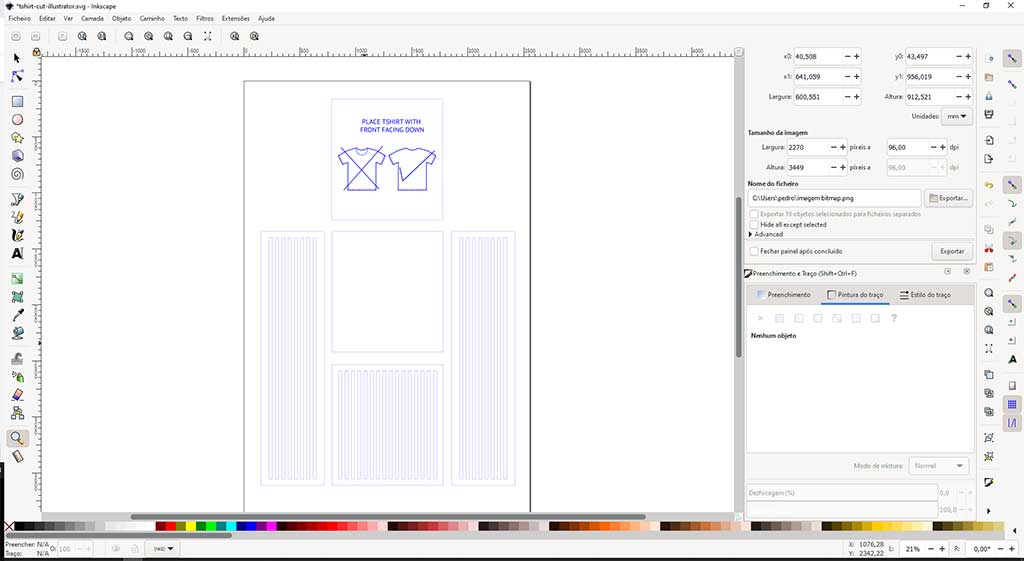
Replicating the process in Inkscape.
I also did the same design but in Inkscape.
The tool is a lot like Illustrator so the design process is the same.
I used the "create rectangles and squares" tool and well as the "Draw bezier curves and straight lines" tools

One thing that I noticed is that the file size is a lot smaller in Inkscape than in Illustrator as it saves in SVG.
Start modeling in Fusion 360
Back in Windows to run Fusion 360.
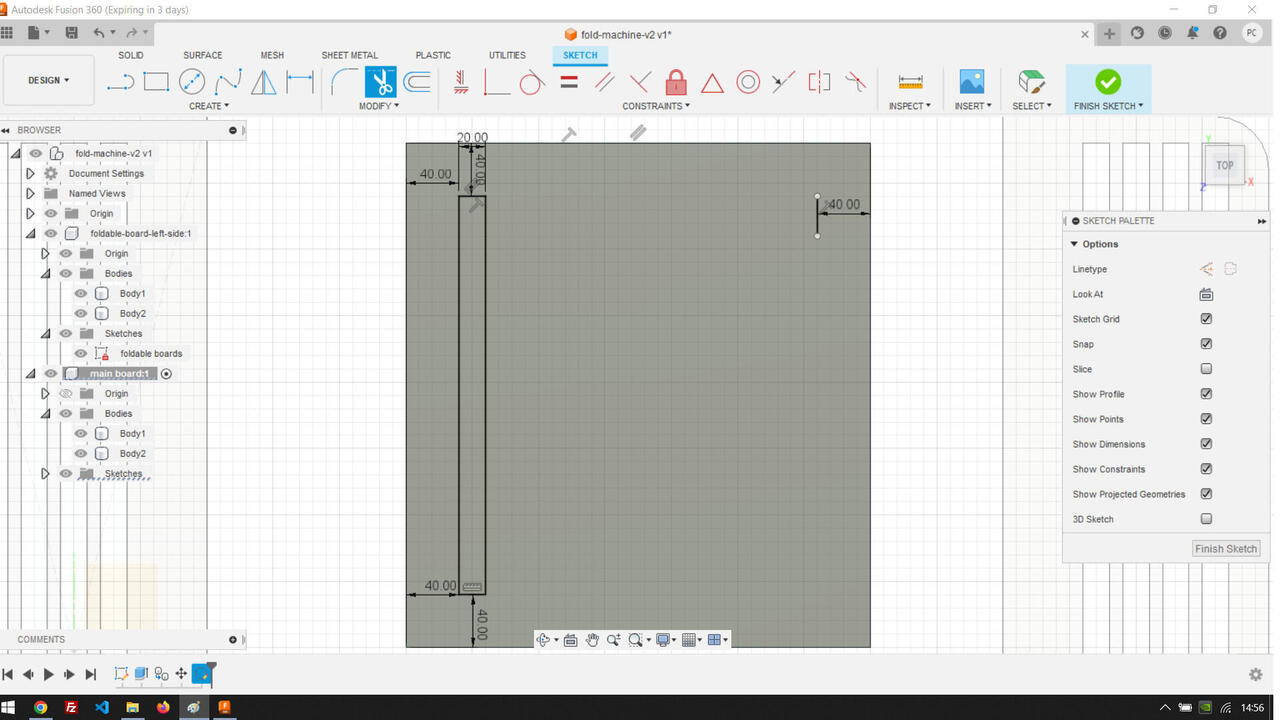
So, I started modeling in Fusion 360. I started by creating a new project and like I wrote before, the first step is to save
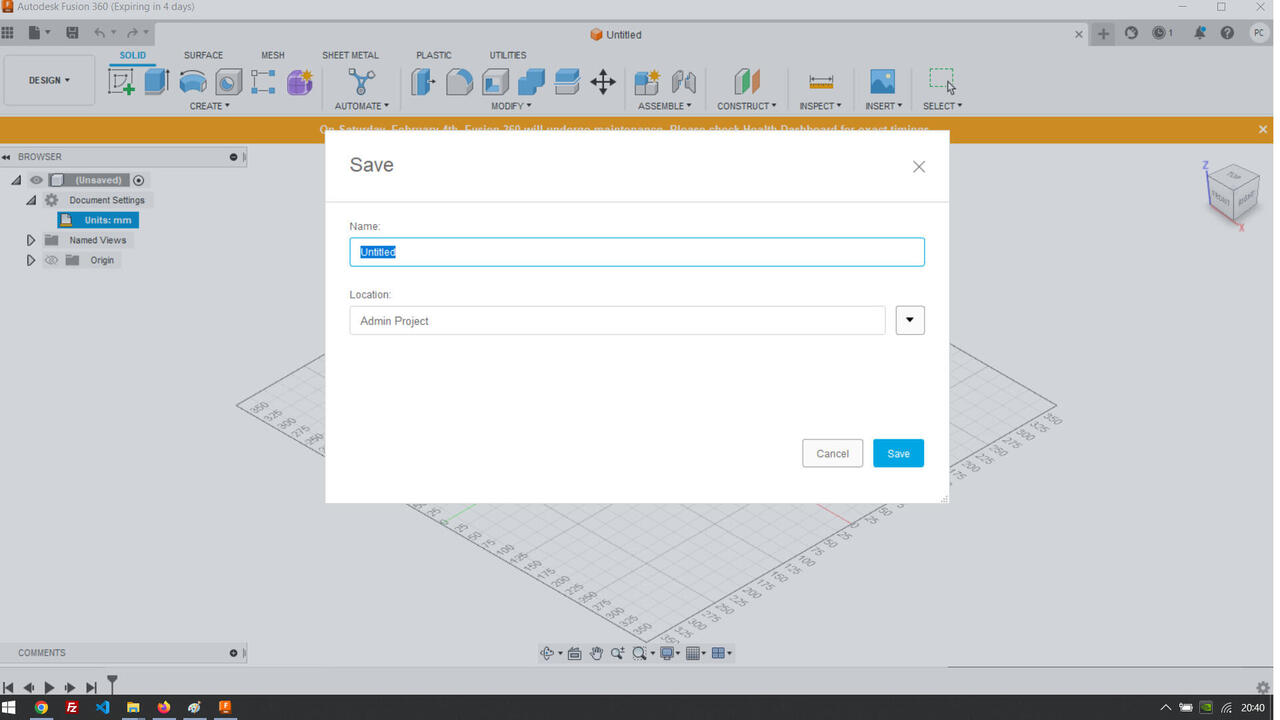
After that, we see if our measurements are fine
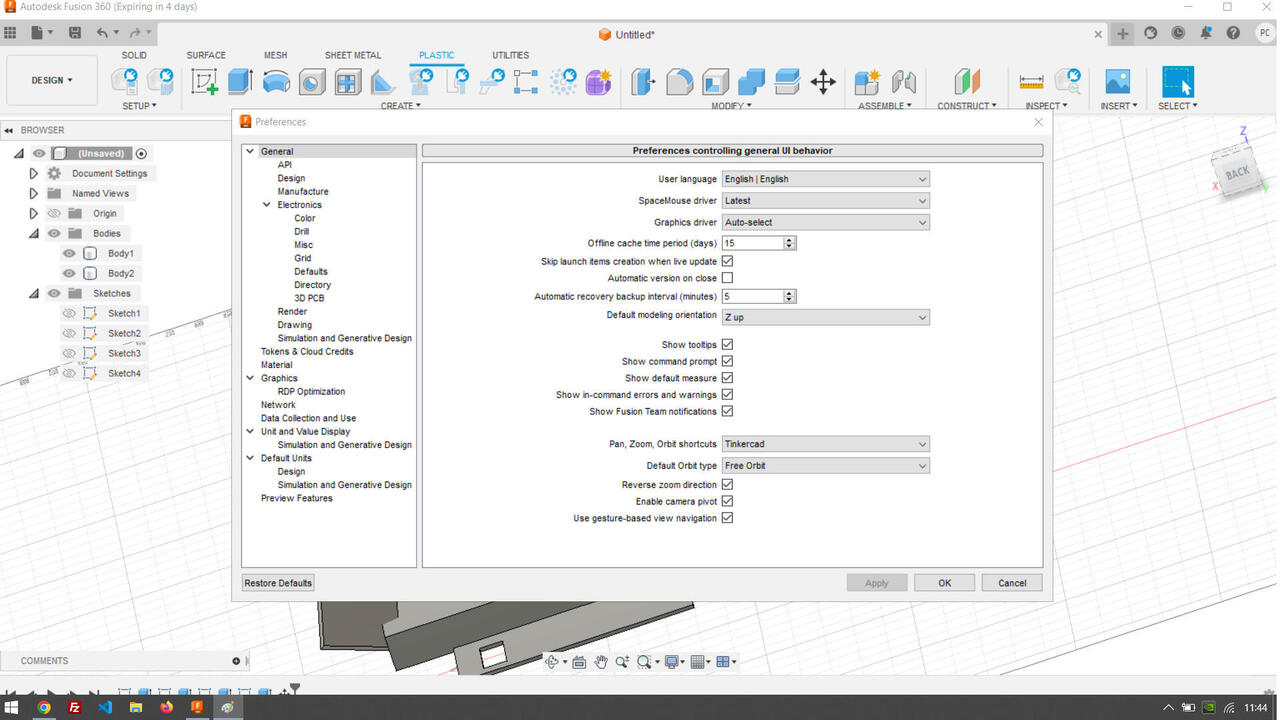
Almost everyone has a different way of working in Fusion 360, so there are some other configurations that one can look into:
Fusion 360 comes with Tutorials and they are very good
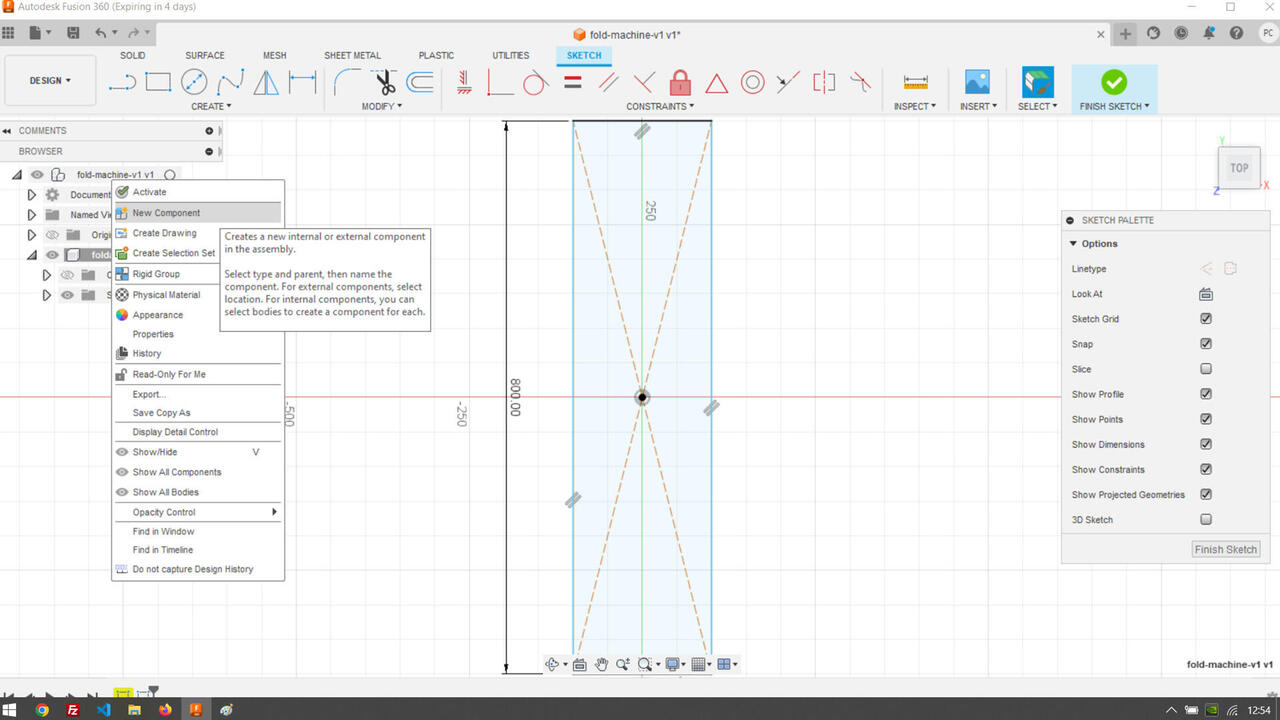
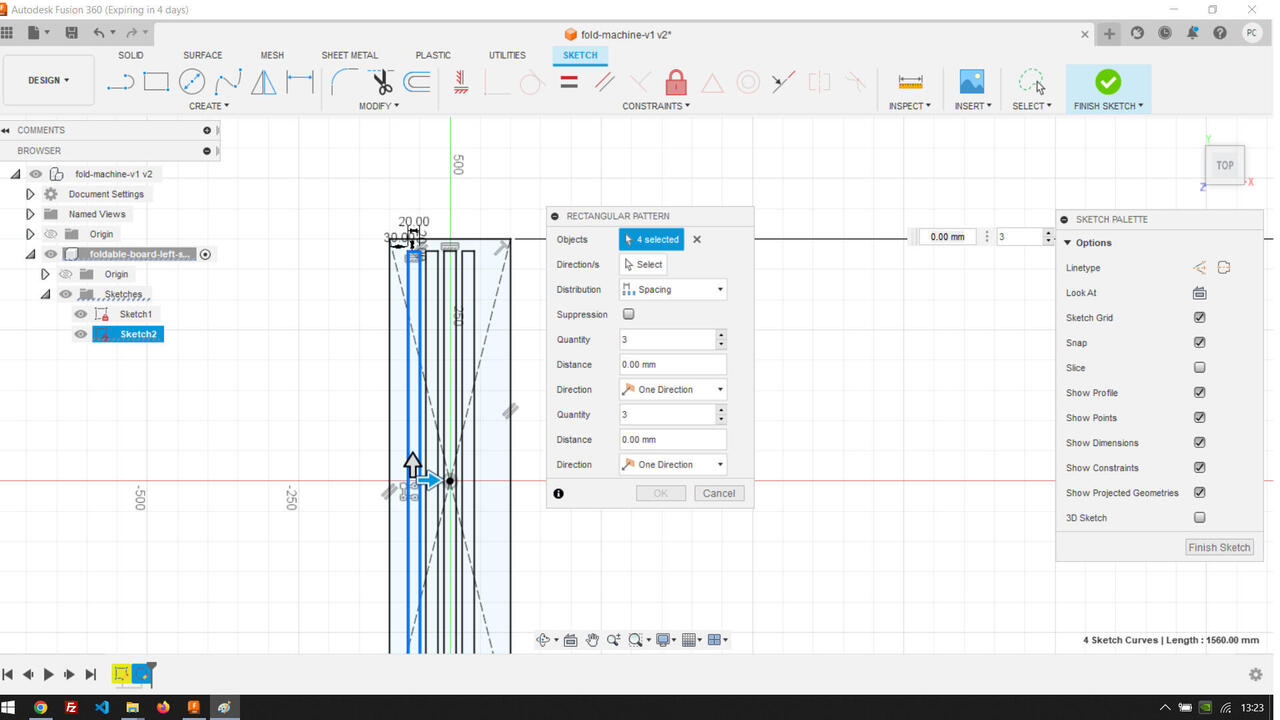
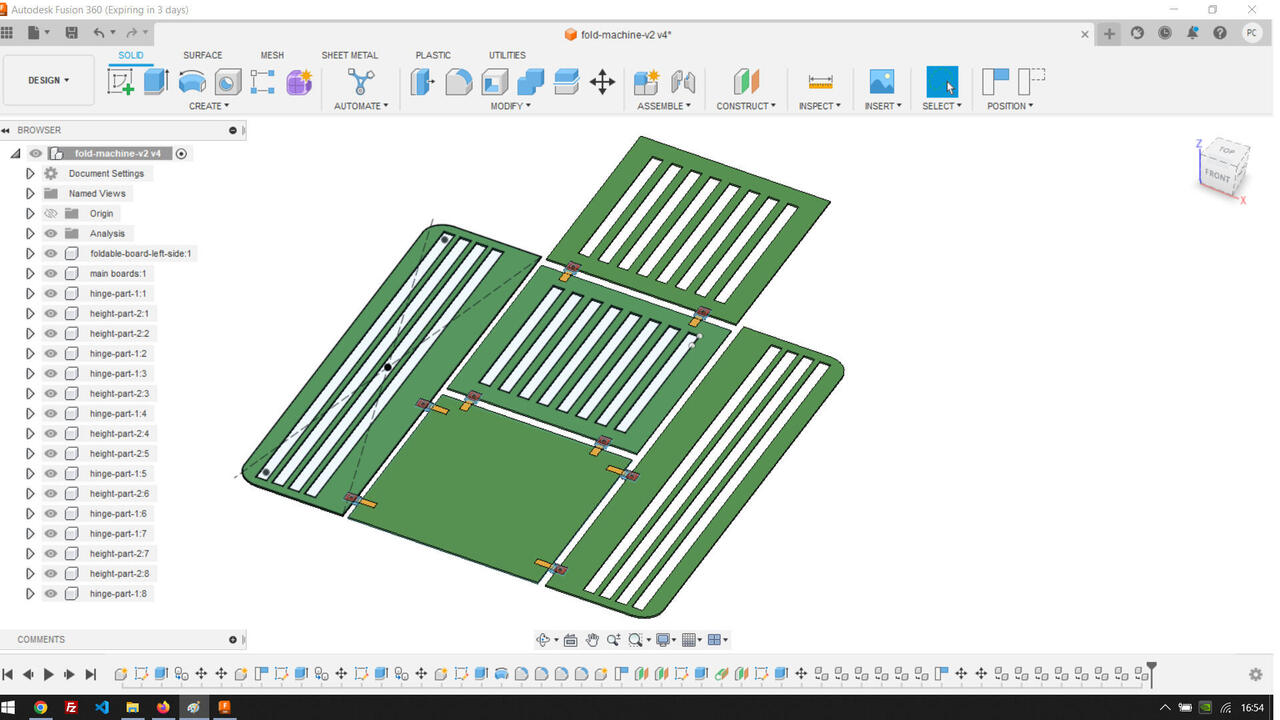
Now we are first going to create a sketch, turn it into a component, add a repeating pattern and then clone it because we have two parts that are equal.
I'm going to sketch, extrude, constrain, offset and in the end a simple animation.
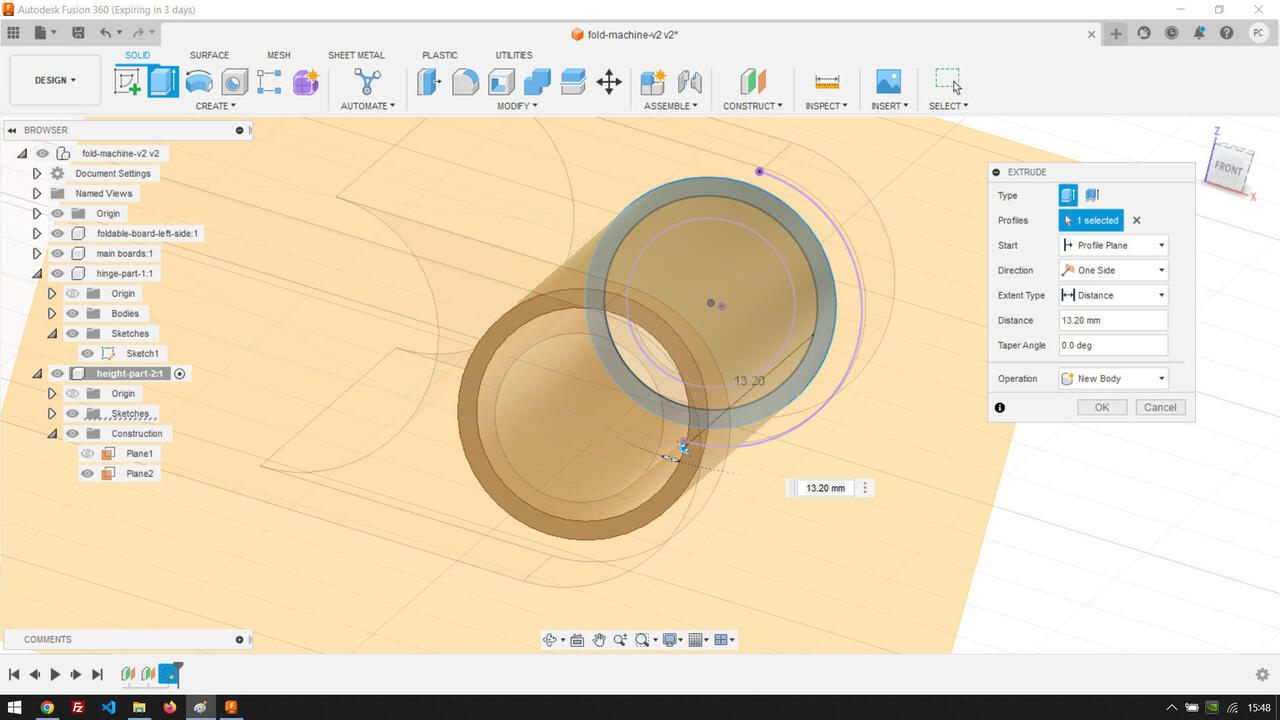
I'm also going to model a parametric, print-in-place, hinge.
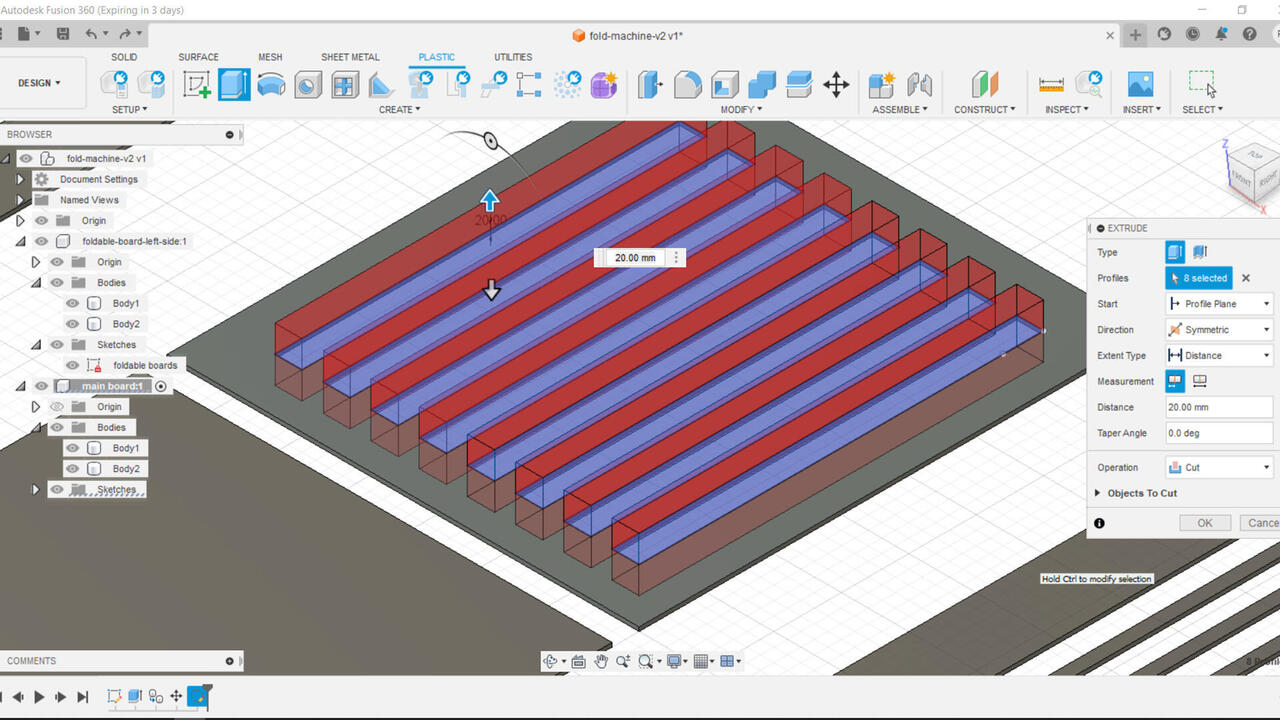
My instructors warned me about torque and the weight of the boards, so I decided that by removing material the boards will be lighter.
Fusion has a cool tool for this as one can control the number of repetitions
And now...the Extrusion!
Time to duplicate!
In Fusion there are a couple of ways to duplicate and one must be carefull cause some of this ways link components.
I usually just to "paste to new"
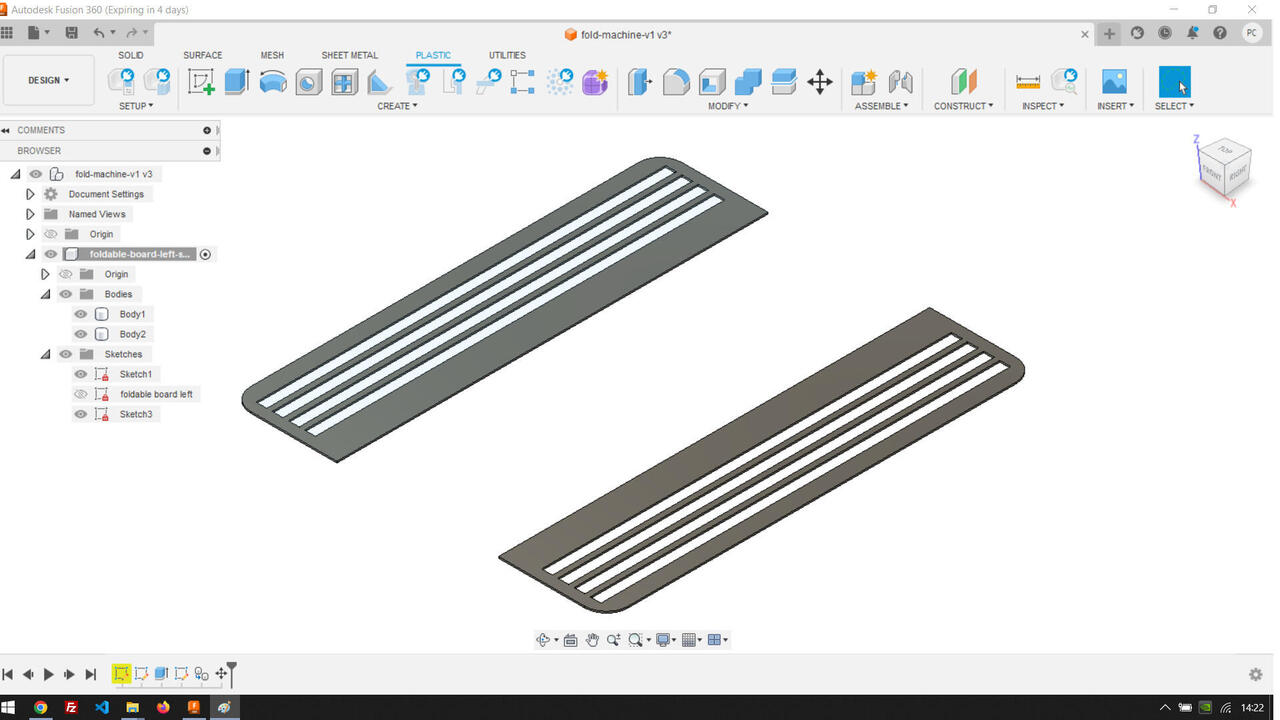
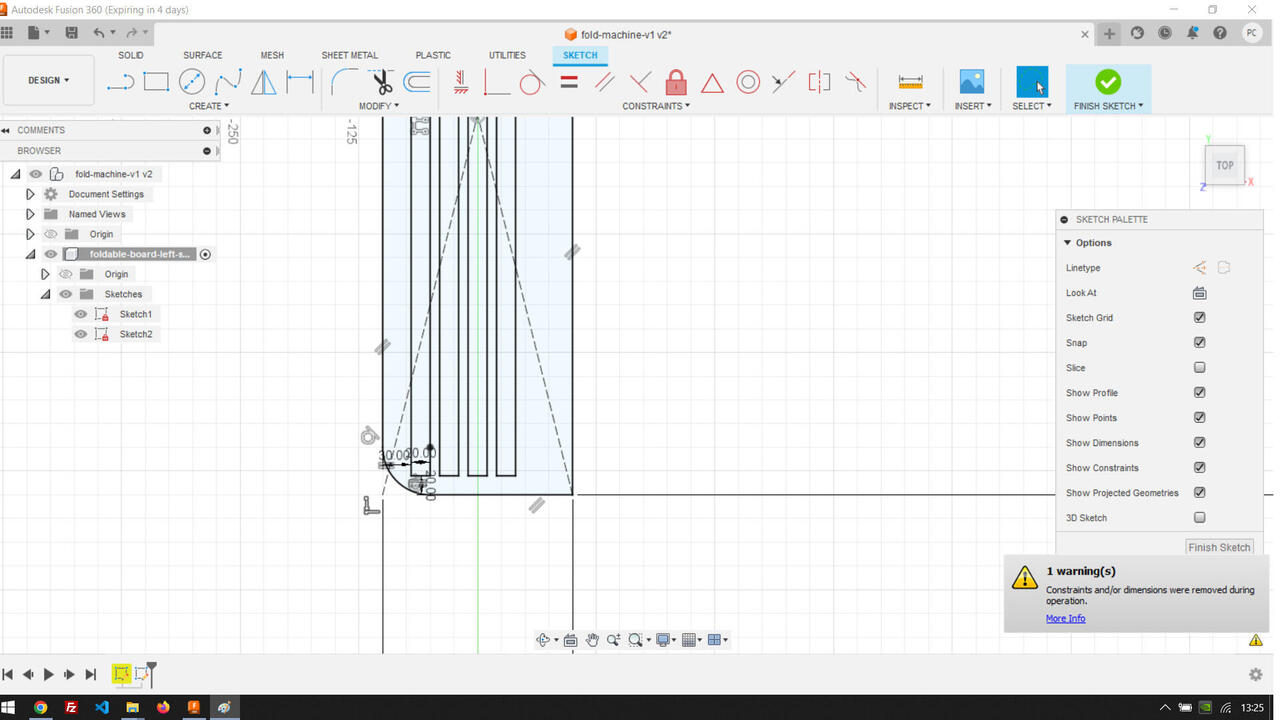
Now I just had to repeat the process for the middle boards
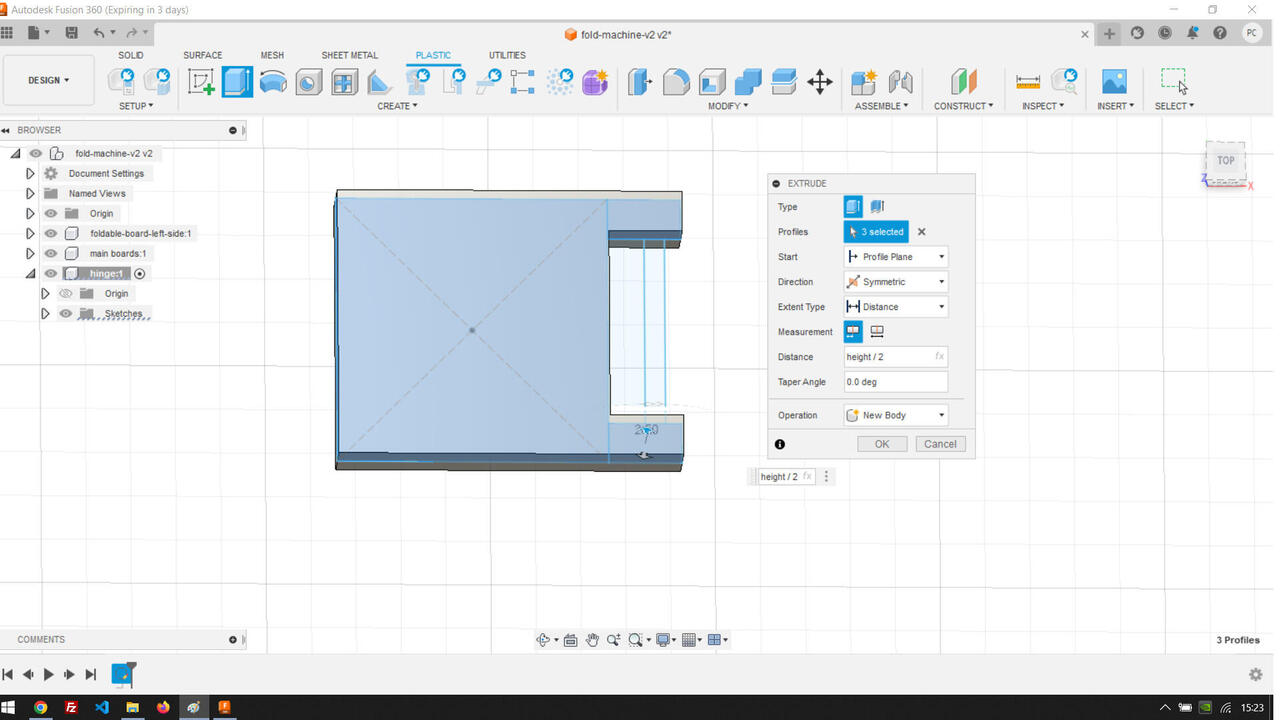
Modeling a parametric Hinge that is a print in place for the final project
So this part is going to be used in the final project. Well, probably not this one but this principle.
In fusion a user can define
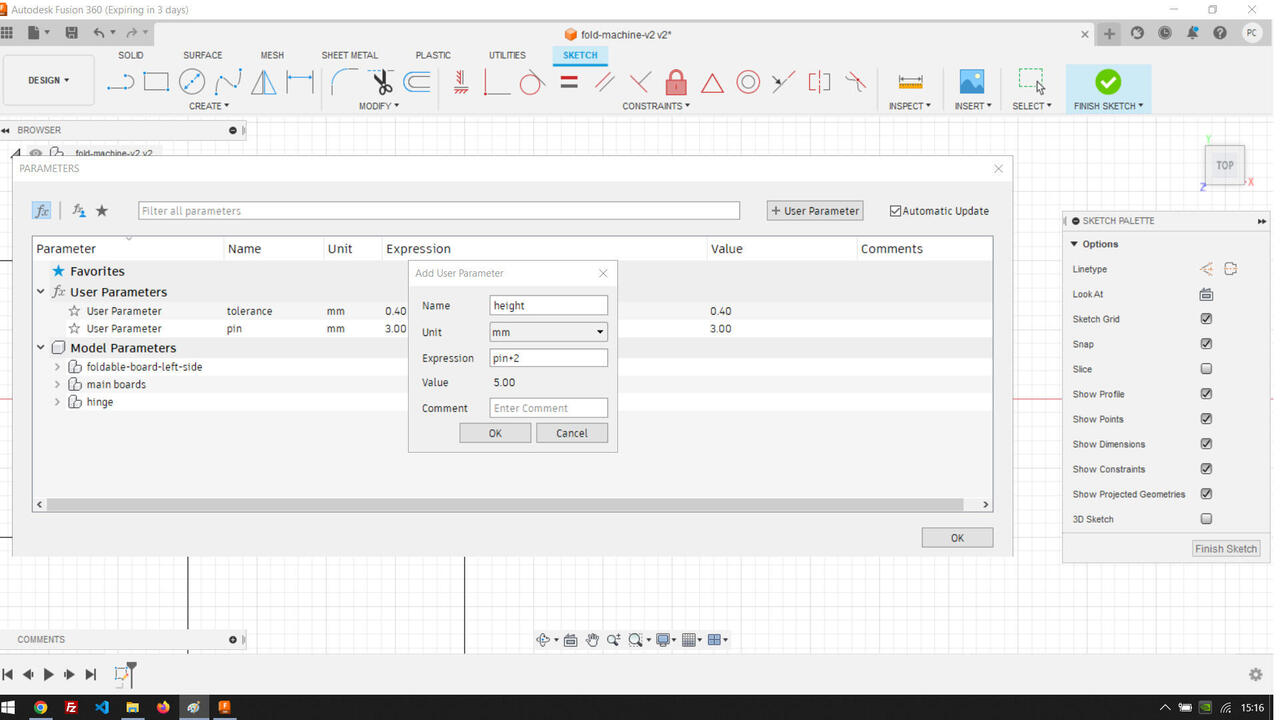
Now we can use this parameteres in equations
Another example
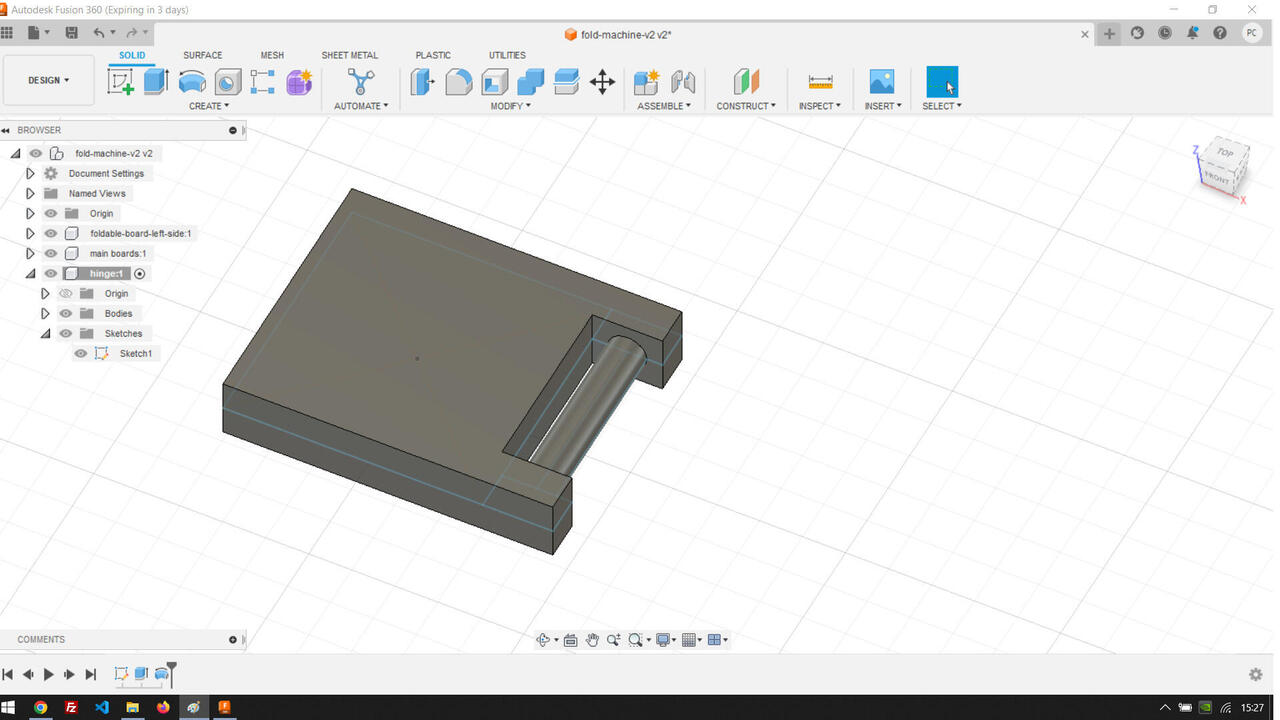
One hinge almost complete
First version
A simple animation made in Fusion 360
Fusion has a animation interface integrated.
It is very simple to use and it is very intuitive but it does lack some features that I would like to see in the future.
One of those features is the export of mp4.
But it was usefull to test my ffmpeg skills.
Printing the hinge
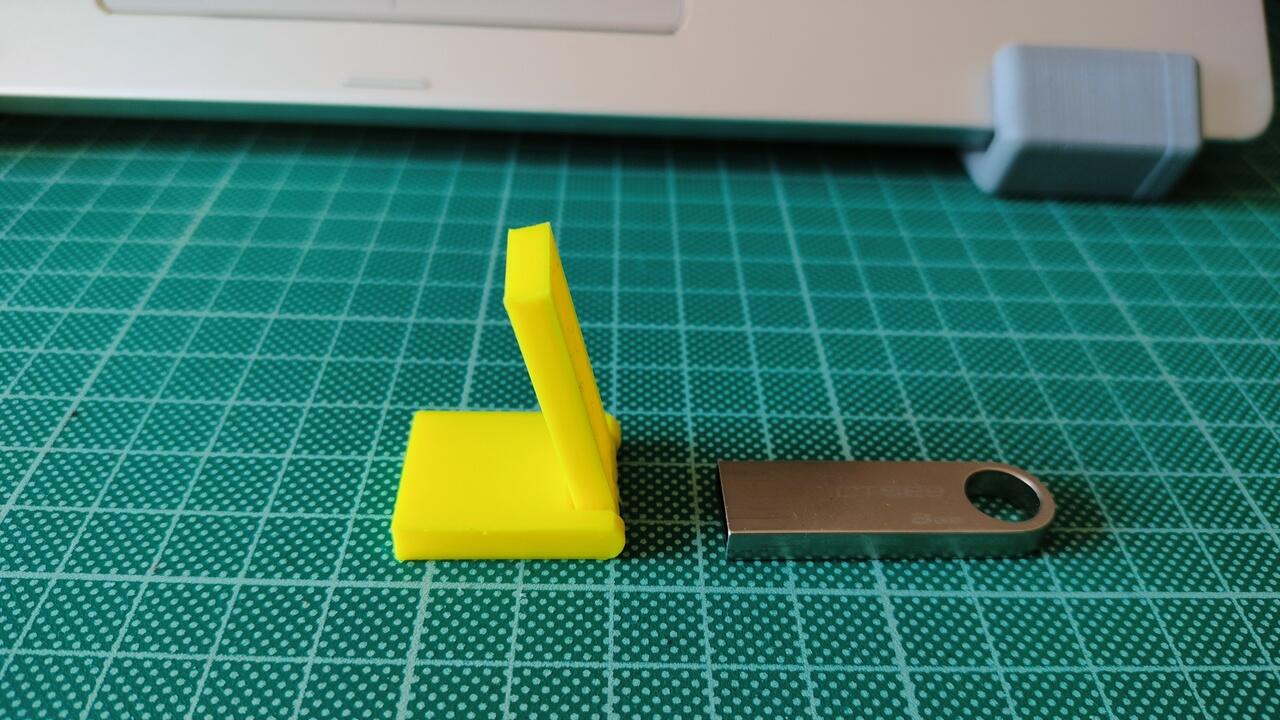
I tried printing the hinge.
It printed ok but still needs work.
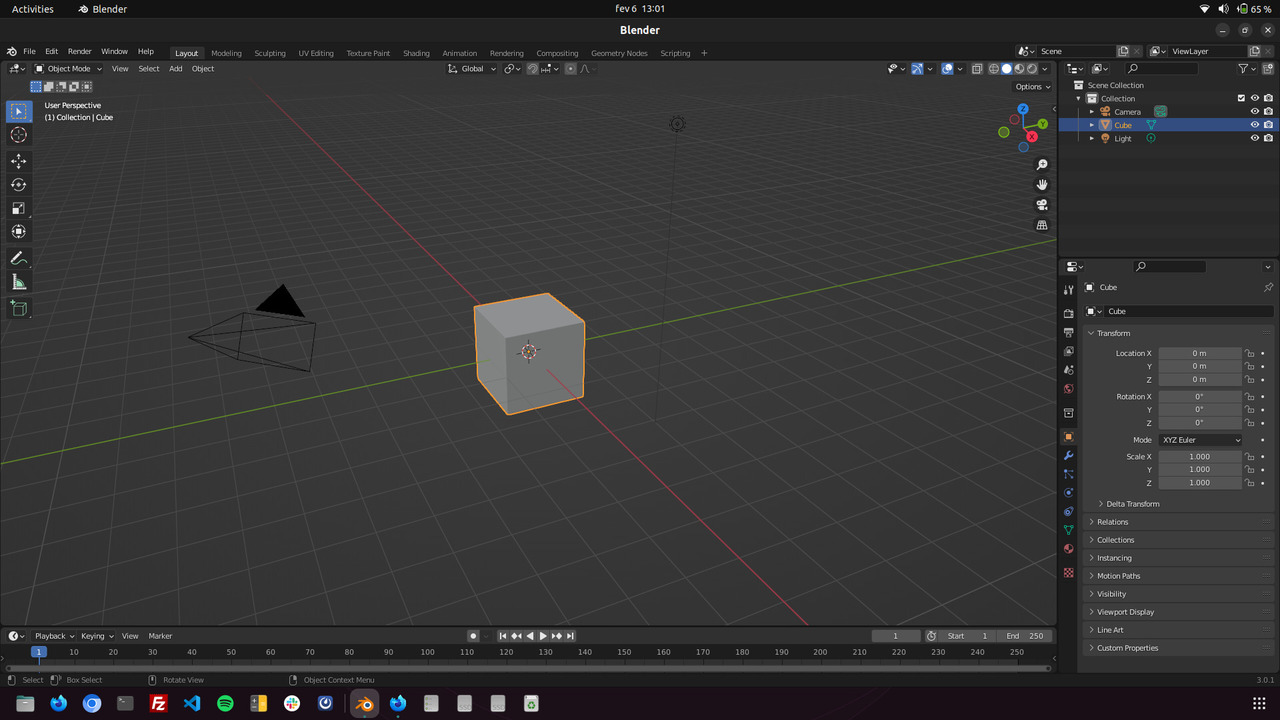
Trying out Blender
I'm trying out Blender to compare it do Fusion 360. I have used Blender a long time ago so I did a Tutorial do refresh (actually learn everything
Blender is a very powerful tool and it is free. It is also very complex and it has a steep learning curve.
I'm going to try to use it to make something simple.
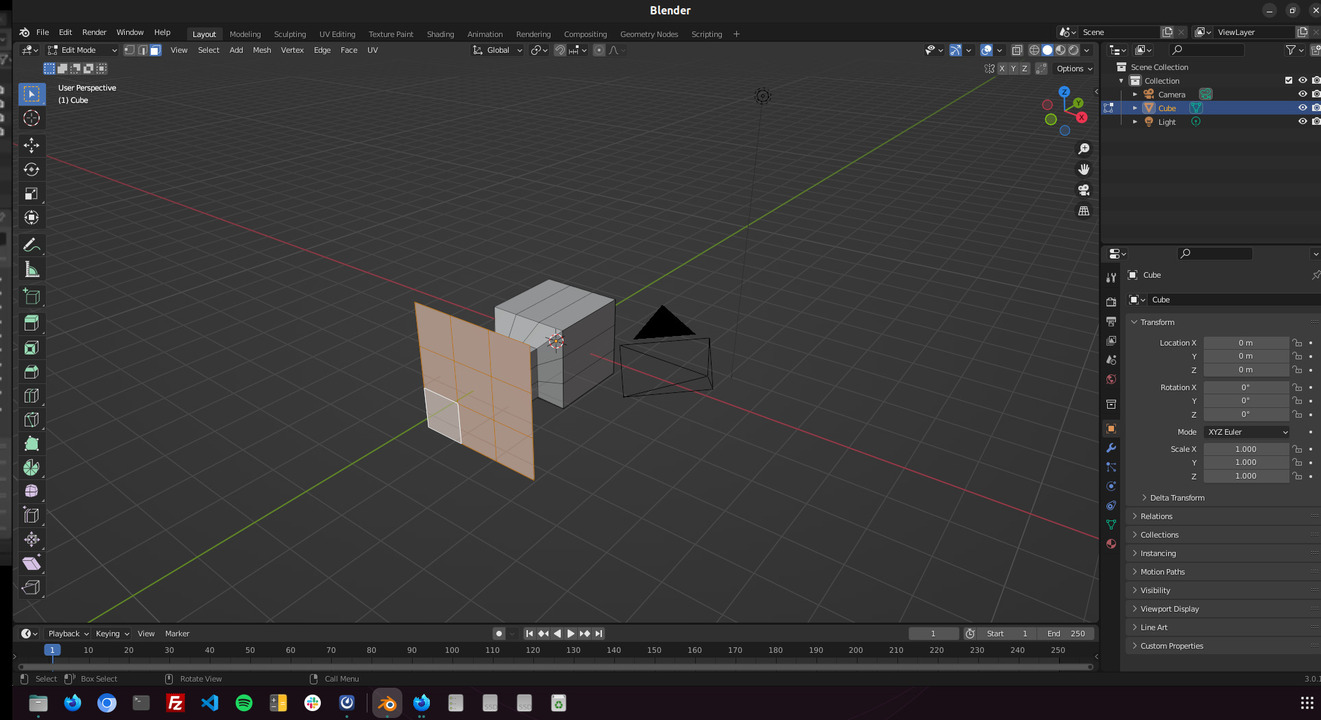
So I didn't finish the project but i did get the hang of it. Currently i do prefer Fusion 360 more, as I just know how to use it more.
I will certanly use Blender in the future.
Files
Learned this week (in no special order)
- How to animate in Fusion 360;
- Adding parametric personalization to a model;
- Creating a print in place 3D model for printing;
- Shape constrains;
Usefull commmands:
Variable bit rate 1080p MP3:
Ffmpeg -i input_video -vcodec libx264 -crf 25 -preset medium -vf scale=-2:1080 -acodec libmp3lame -q:a 4 -ar 48000 -ac 2 output_video.mp4
Fixed bit rate 1080p MP2:
ffmpeg -i input_video -vcodec libx264 -b:v 1000k -vf scale=-2:1080 -acodec mp2 -b:a 256k -ar 48000 -ac 2 output_video.mp4
No audio:
ffmpeg -i input_video -vcodec libx264 -b:v 1000k -vf scale=-2:1080 -an output_video.mp4
Crop size (width:height:xoffset:yoffset):
ffmpeg -i input_video -vf crop=1500:800:200:100 -vcodec libx264 -b:v 1000k -an output_video.mp4
Trim time (-ss start time, -t duration):
>
   ffmpeg -i input_video -vcodec libx264 -b:v 1000k -an -ss 00:00:10 -t 00:00:10 output_video.mp4
Mix audio and video:
ffmpeg -i input_video -vcodec libx264 -b:v 1000k -vf crop=1120:876:0:100 -i input_audio -acodec mp2 -b:a 256k -ar 48000 -ac 2 -ss 00:00:20 -t 00:00:20 output_video.mp4
Crop, pan, composite:
ffmpeg -i input_video_1 -i input_video_2 -filter_complex '[1:v]crop=175:95:930:860[cropout];[cropout]scale=350:190[scaleout];[0:v][scaleout]overlay=10:10[outv]' -map '[outv]' -vcodec libx264 -b:v 1000k -map 0:a -acodec mp2 -b:a 256k -ac 2 -t 00:00:05 output_video.mp4
Numbered images to video:
ffmpeg -r 30 -i %04d.jpg -vcodec libx264 -b:v 1000k -vf scale=-2:1080 -an output_video.mp4
Notes and Thoughts
- This computer doesn't have the necessary performance for complex 3D Modeling;
- I should learn more Blender;
- I really have to draw the full projecto to understand how it all works;
- To model or edit images one should use a mouse. The trackpad doesn't cut it;
Links
- Automatic documentation
- Sculpt GL
- Five essential tips for beginers
- Five essential tips for beginers
- Desktop Makes Sketch constrains cheatsheet
- Hinges Tutorial
- Nema 17 motor model
- Onshape