This week's fun assignment was:
Group assignment:
- characterize your laser cutter's focus, power, speed, rate, kerf, and joint clearance.
- Document your work to the group work page and reflect on your individual page what you learned.
Individual assignments:
- Design, lasercut, and document a parametric press-fit construction kit, which can be assembled in multiple ways. Account for the laser cutter kerf.
- Cut something on the vinyl cutter.

Computer-Controlled Cutting
Let me start by writting that this was a fun week.
I was able to cut out lots of things and realised that laser cutting and vinyl cutting is pretty addictive.
I do own a laser cutter but not nearly as fancy as the one i used in the lab.
Mine is as always riddle with problems and a good base to learn more but not so much to work.
This week is also the start of the Group assignment weeks.
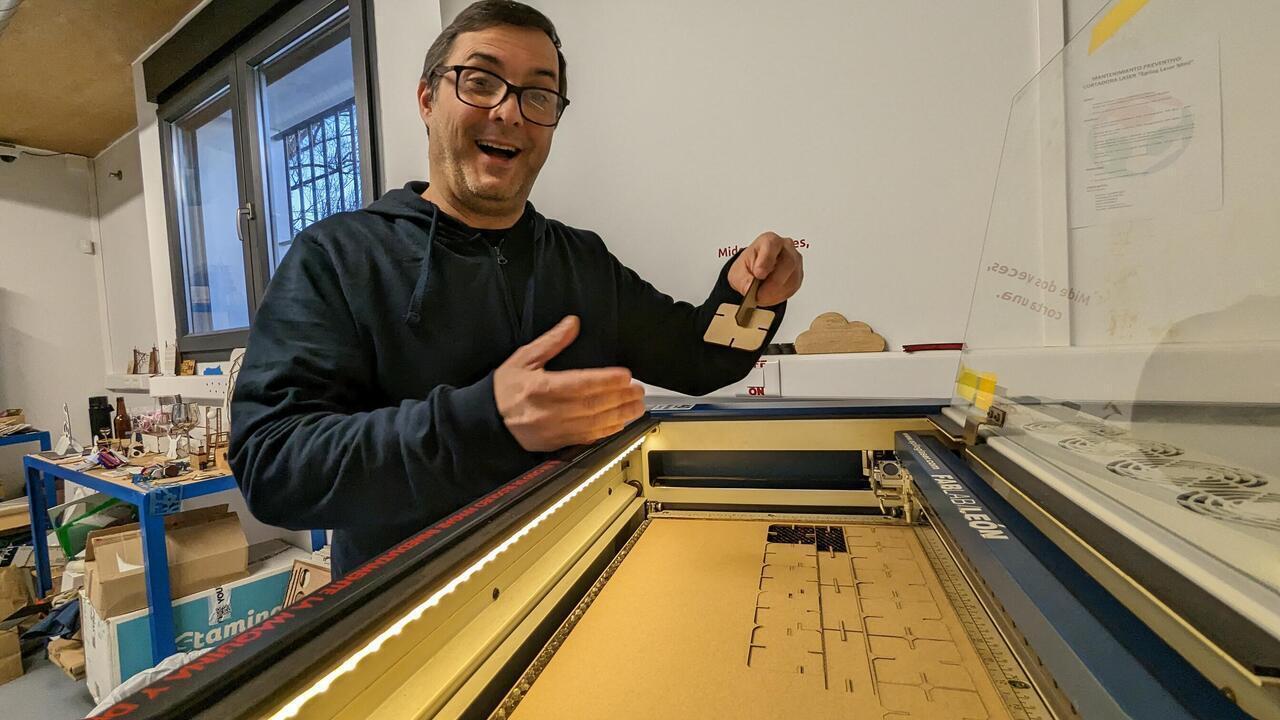
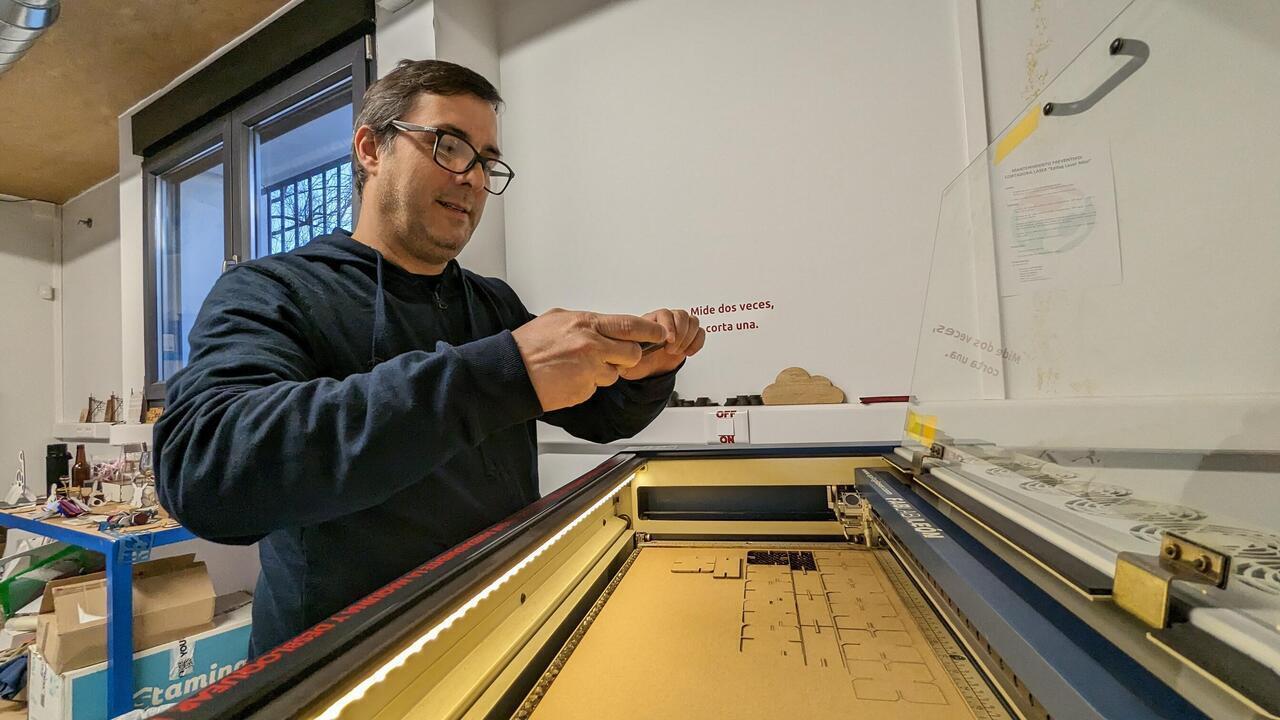
I'm the only student doing Fab Academy in Fab Lab León, but altought I do have to do my assignments and
the group assingments all by myself that does not mean I'm alone, my instructors are always around and
available to help: teachign me, answering questions, giving tips and tricks and even recording videos
and taking photos when I'm not watching.
This week wouldn't have been as fun without them.
So, let's get to it.
Group assignment
- characterize your laser cutter's focus, power, speed, rate, kerf, and joint clearance.
- Document your work to the group work page and reflect on your individual page what you learned.
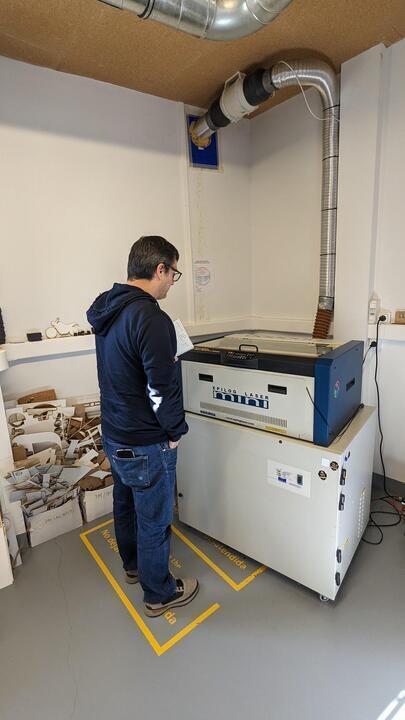
In Fab Lab León there are 3 machines we can use for this week's assignment
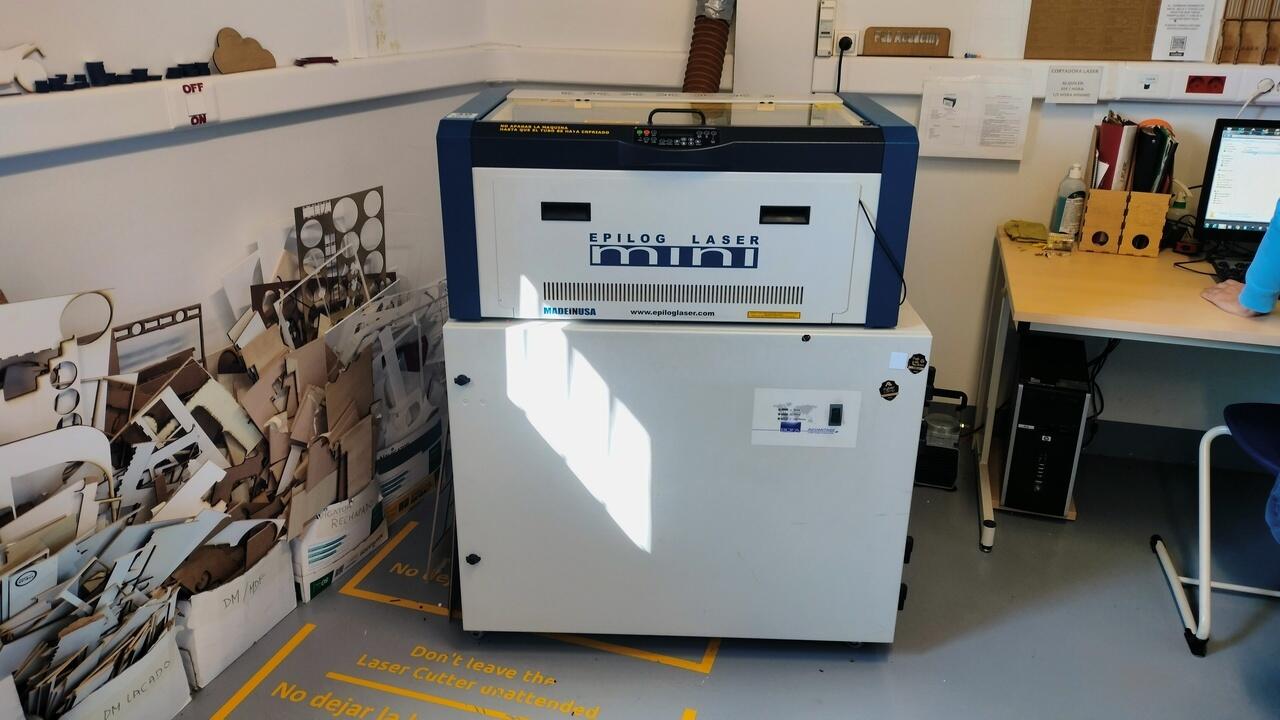
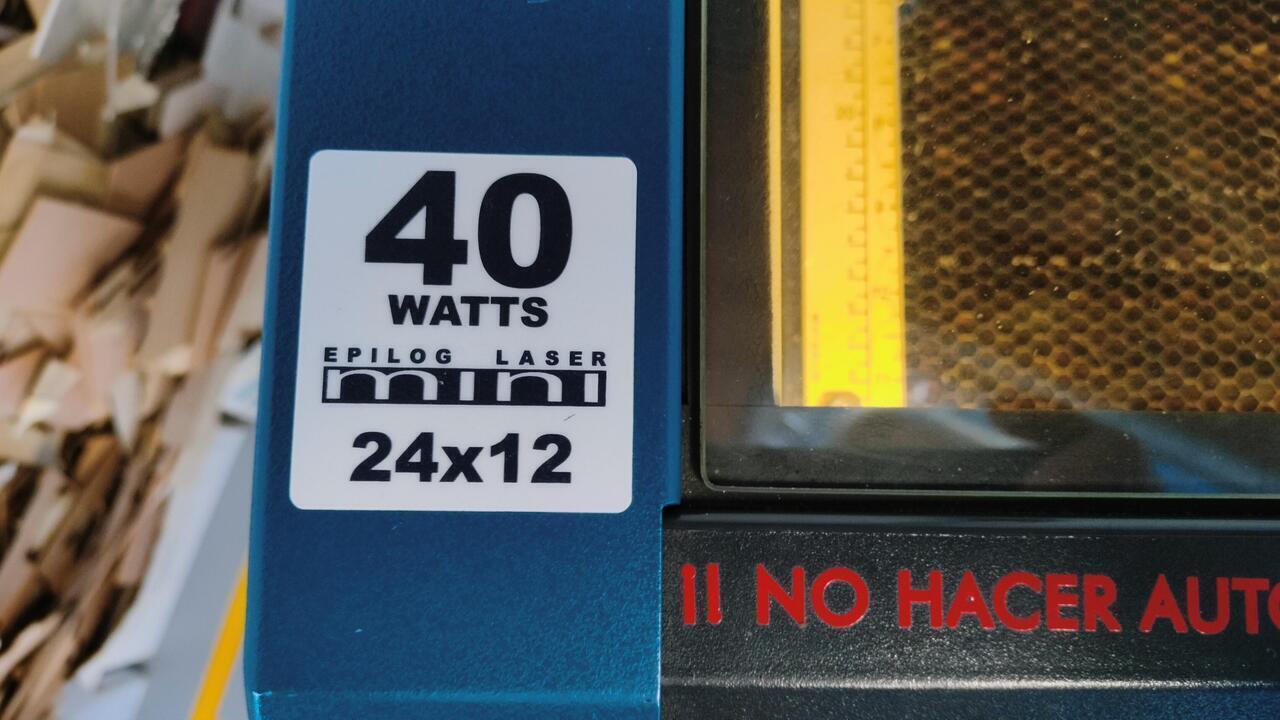
- Laser cutter: Epilog Mini 24
- Vinyl cutter: ROLAND CAMM-1 GX-24
- Vinyl cutter: Silhoutte Cameo 4
Laser cutter
| Epilog Mini 24 Laser 40 W CO2 | |
|---|---|
| Working Area | 610 x 305 mm |
| Maximum Material Thickness | 139.7 mm or 203 without plate or rack |
| Software | Rhinoceros + Driver of Epilog |
| Laser Wattage | 40 Watts |
| Laser Source | Air-cooled CO2 Laser Tubes |
| Operating Modes | Raster, Vector or Combined |
| Resolution | 75 to 1200 DPI |
| Interface | 10 Base-T Ethernet or USB |
| Max Power Consumption | 960 watts |
| Size (W x D x H) | 876 x 660 x 406 mm |
| Weight | 41 kg - 55 kg w/stand |
A complete description of the machine can be found on the manufacturers website
Laser cutters are machines that use a focused beam of light to cut, engrave, or mark materials such as wood, plastic, metal, and fabric. They work by directing the laser beam onto the material. The material then, bruns, vaporizes, and melts the excess material, leaving the programed shape or pattern.
This machines are used in various industries, including manufacturing, prototyping, art and design.
They are valued for their precision and speed, as well as their ability to produce intricate designs and shapes that would be difficult or impossible to achieve with traditional cutting methods.
Laser cutters are built with different types of laser, power levels and size.
The most popular types of lasers used in laser cutters include CO2 lasers and diode lasers.
Some laser cutters can include additional features such as rotary attachments, which allow for 3D engraving, as well as air assist systems, which blow away debris and keep the material cool and clean during the cutting or engraving process.
While laser cutters can be expensive, they are becoming more accessible to hobbyists and small businesses.
Safety precautions must be taken when operating a laser cutter, as the high-powered lasers can be dangerous if not used properly.
To start using our laser cutter in Fab Lab León, we began by preparing the files that we are going to cut and engrave.
The files were created in Adobe Illustrator and Fusion 360 and were exported to DXF format and imported to Rhino.
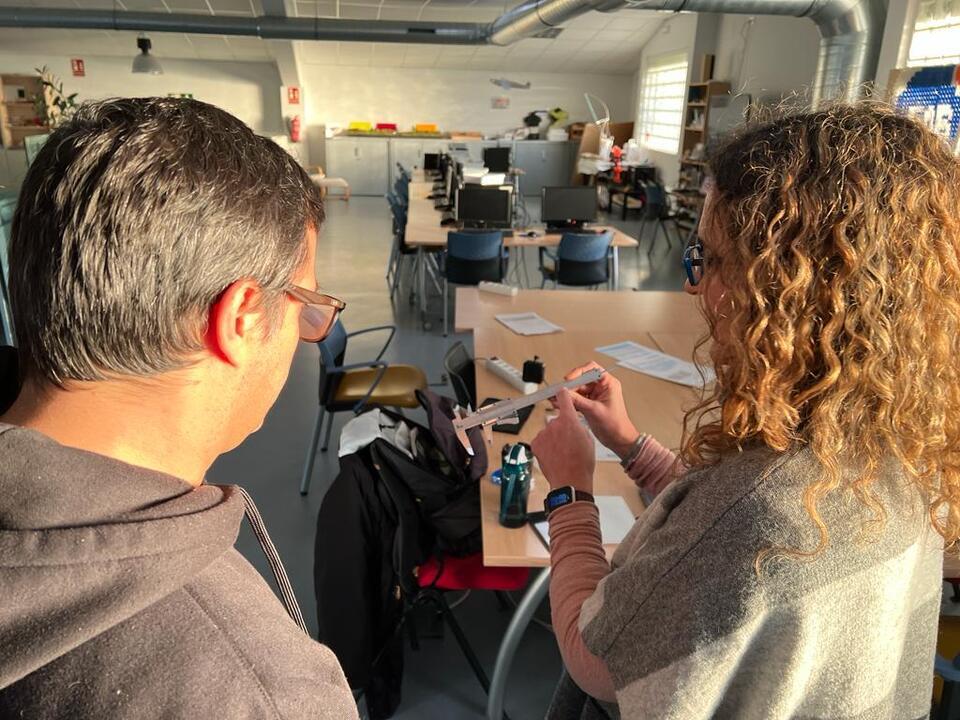
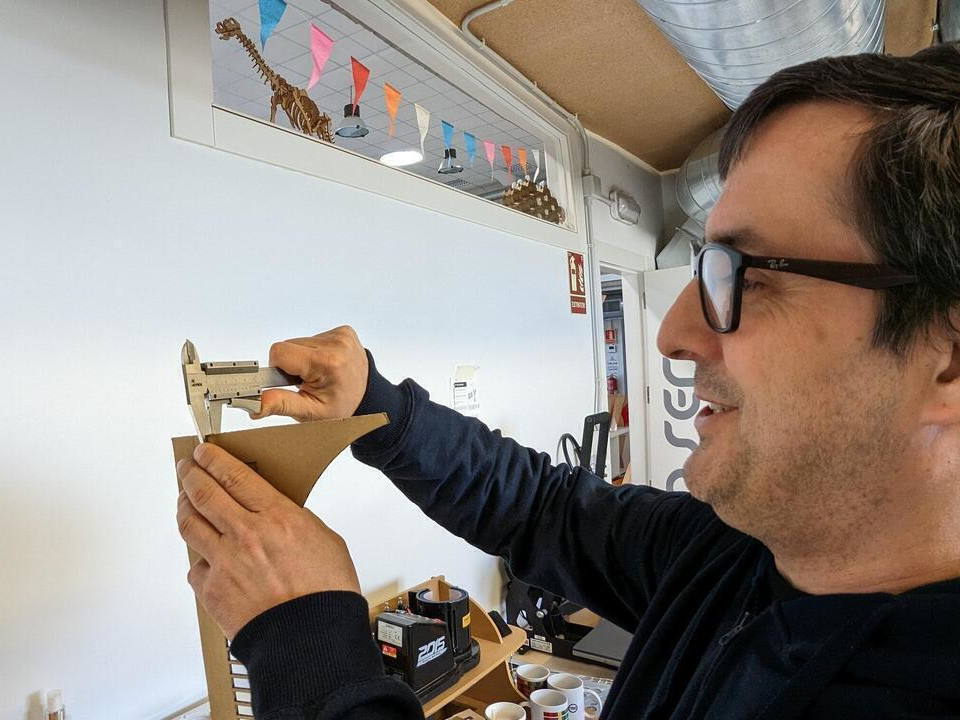
I created the files for the tests in Fusion 360 based on the measurement I did with the "analog" Caliper that Nuria teached me how to use the day before.
I had never used a analog caliper, just a digital one.
A complete description of the machine can be found on the manufacturers website
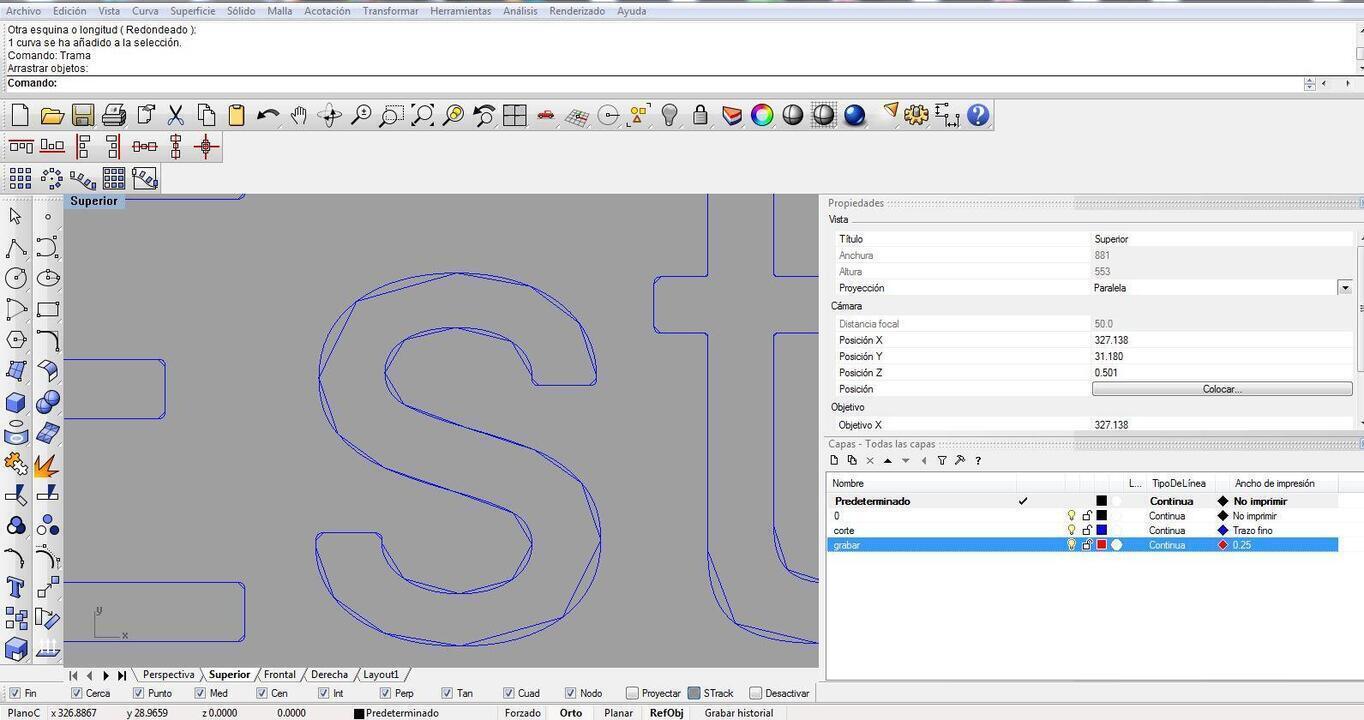
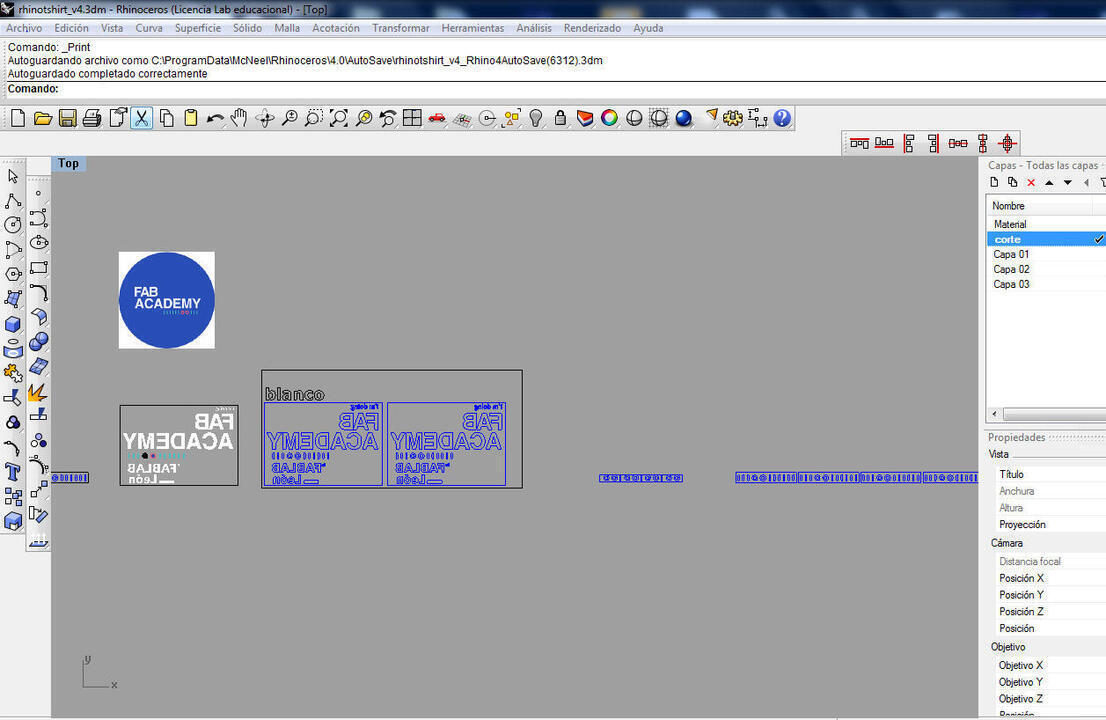
We won't see white lines over the white background and yellow is the selection color in Rhino.
By the way, this was the first time that I used Rhino3d and I LOVED the way that one could simply write commands to do things. It was so easy to use and I really liked it.
On the previous image we have already defined what is to cut and what is to engrave.
There is no internationally determined colors for this but usually people stick to blue and red.
Blue to cut and red to engrave.
On this machine any line under 0.25 is defined to cut and about that value is defined to engrave.
So after this comes one of the most important things in laser cutting. Positioning the object!
This is important not only to save material but also to make sure that the object is in the correct position.
First things, first: we move the "table" to the object and not other way around.
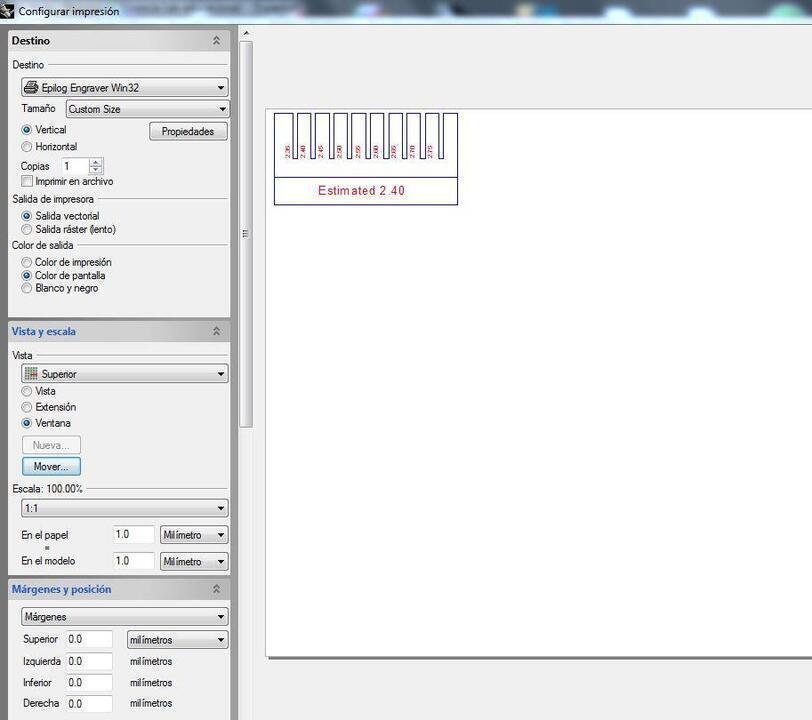
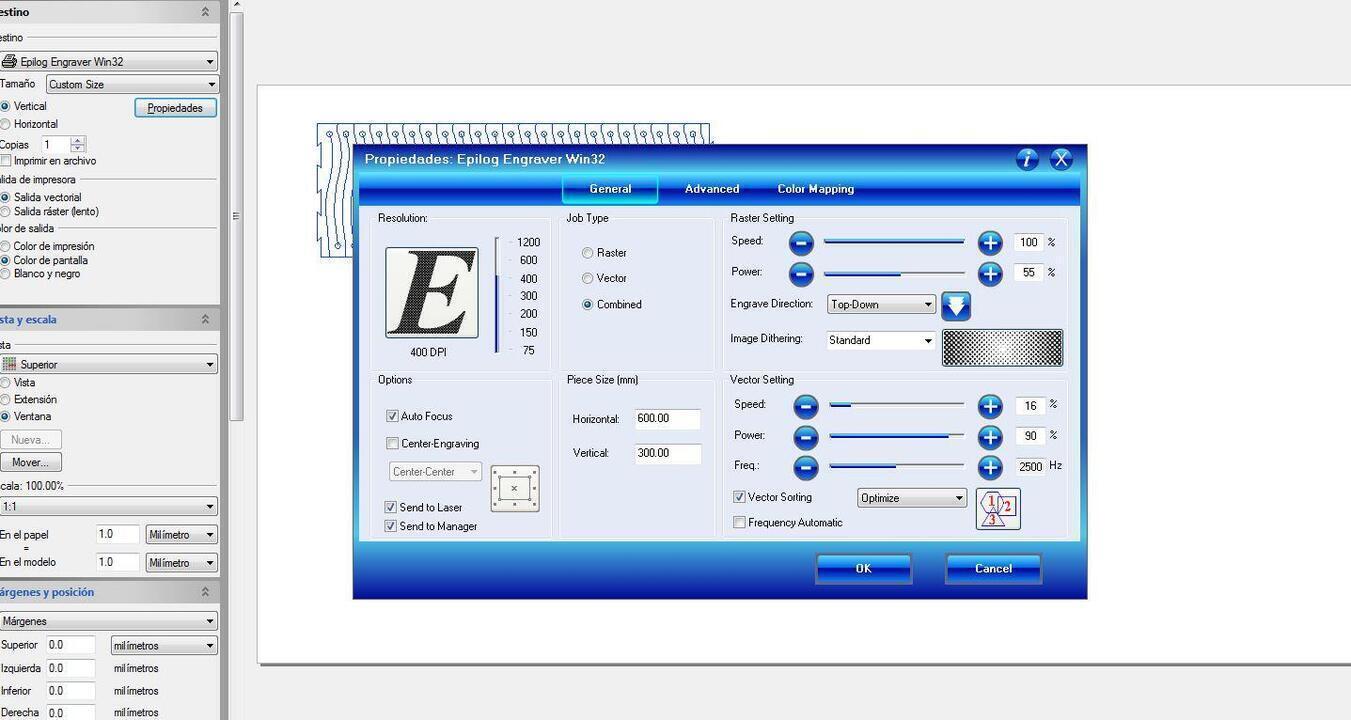
We can move the table by clicking on the "move" button, but before we do that, we should click on the properties button and make sure that the size is correct
My measurements with the caliber return a thickness of 2.40 mm for the corrugated cardboad.
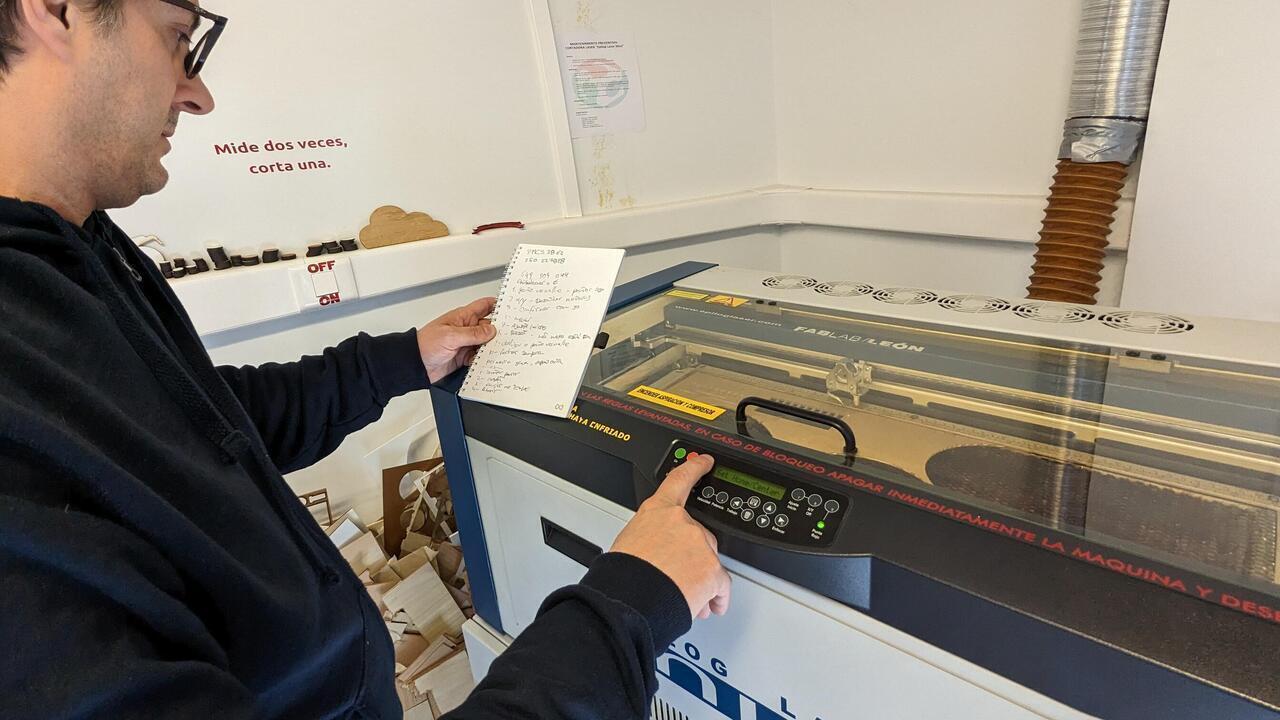
After sending the job to the laser we must first make sure it's ready. For this I wrote down a workflow that helped guide me while repeating the process.
We have to define the "origin" of the machine.
For this we have to move the laser to the corner of the object and then set the origin.
Establishing the origin:
- 1. Enable the red dot with the "pointer" button
- 2. X/Y off, to disable motors
- 3. Confirm with the button "Go"
- 4. Move, by hand, the laser to the origin we want
- 5. Push "set home;
- 6. Push reset to make sure everything is correct;
- 7. Turn off the pointer pushing the button "pointer" again;
- 9. Close the lid;
Before cutting:
- 1. Make sure the material is the correct one and it was measured!
- 2. Alway turn on the exaust system;
- 3. Make sure the project name on the display is the correct;
Cutting:
- 1. Don't leave the laser cutter unattended;
- 2. When the laser stops, turn off the exaust system when there is no more smoke or just wait a minute;
- 3. Turn off the laser cutter if no one is going to cut anything else;
If something goes wrong (like a fire):
- 1. Keep your cool and turn off the machine in the button on the side;
- 2. There must be some rags around that are humid, if it's something very small use a rag;
- 3. If it's a fire... if it's small use the rags first, if not use the Fire Extinguisher and call the Fire department;
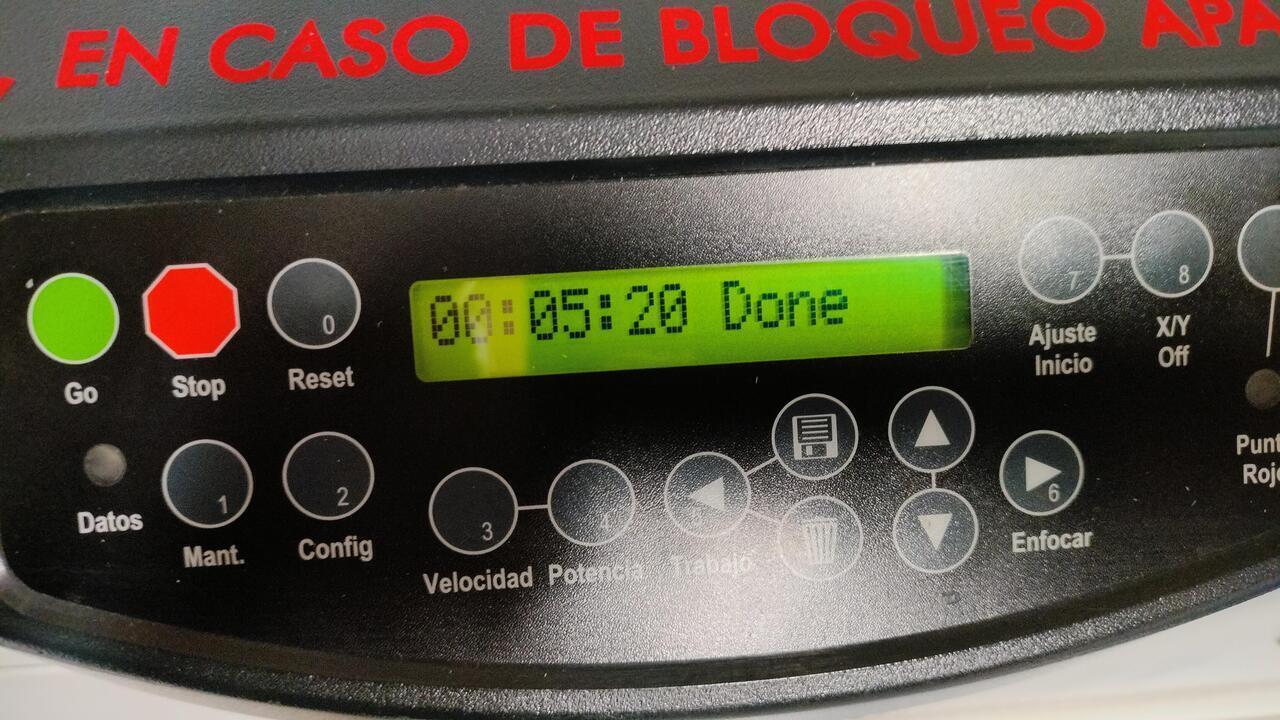
Hopefully everything went well and the project got cut or engraved, either way...
I did some tests with cardboard but also without other materials.
After each test I wrote down the
settings used for the test:
Here's Pablo voice, one of my instructors, reminding me to write down the settings that didn't work.

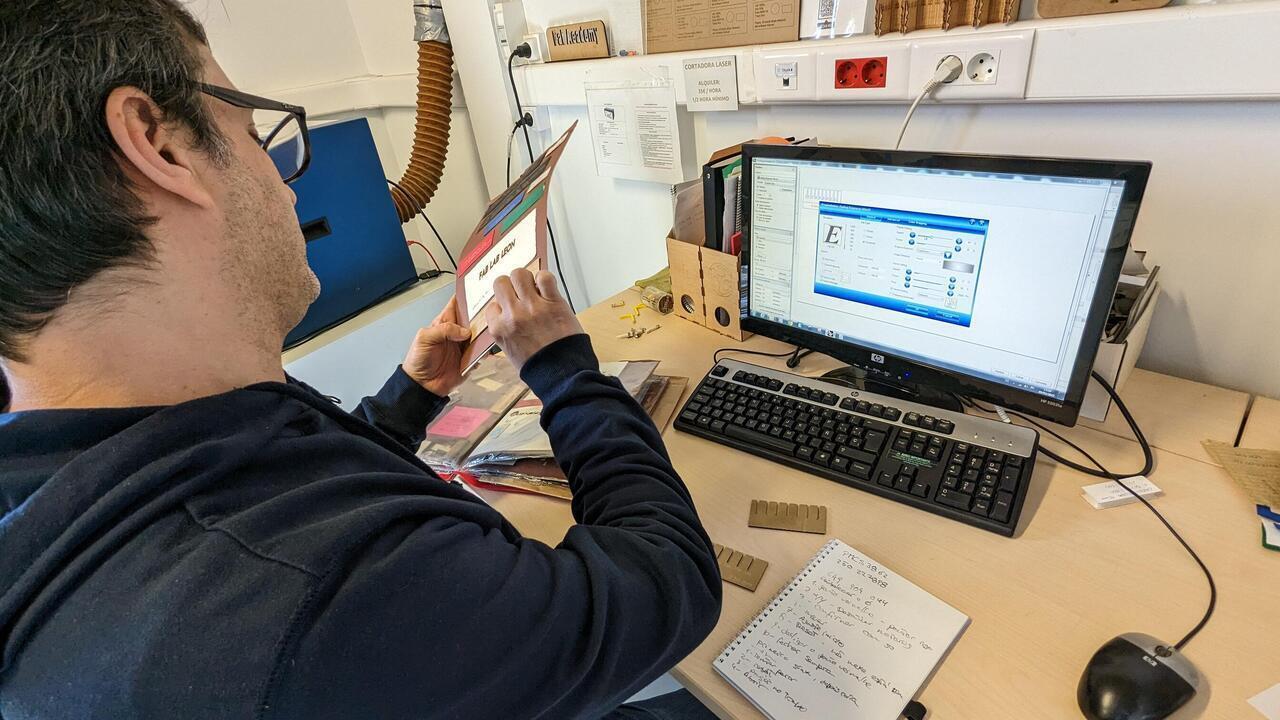
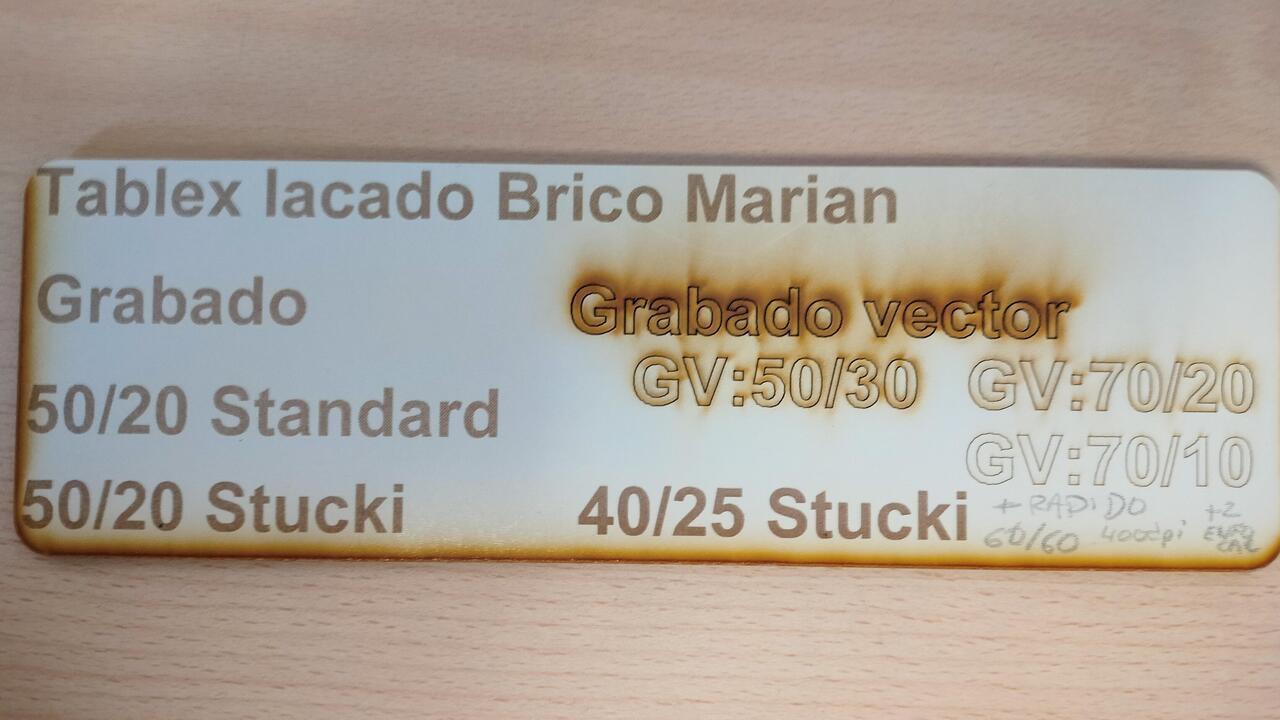
I should point out that Fab Lab León has a "materials guide".
It's like a folder full of cut out or engraved material and I used it to get some kind of reference for
the first tests
Eventually after some tests I got the correct settings
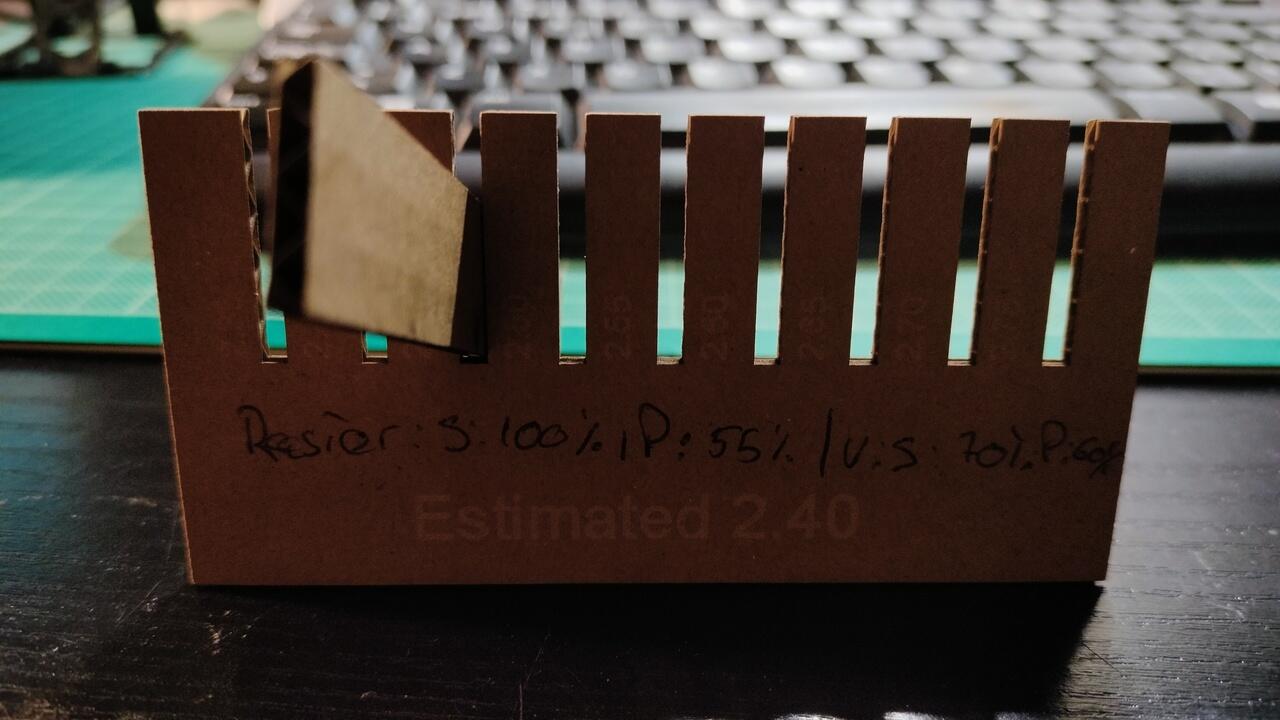
Corrugated cardboard
- Thickness: 2.40mm
- Vector: Power: 60% / Speed: 70% / Frequency: 600 Hz ppi 400
- Raster: Power 55% / Speed 100% ppi 400
I made the test 100mm so I measured it to find out the variation
Kerf: 2,40mm (thickness of the cardboard) - 2,40mm (real pressfit) = 0,00 mm kerf of cardboard
With this settings I can move on to cut the construction kit:
I made the construction kit in Fusion 360 and that's described in the individual assignment section.
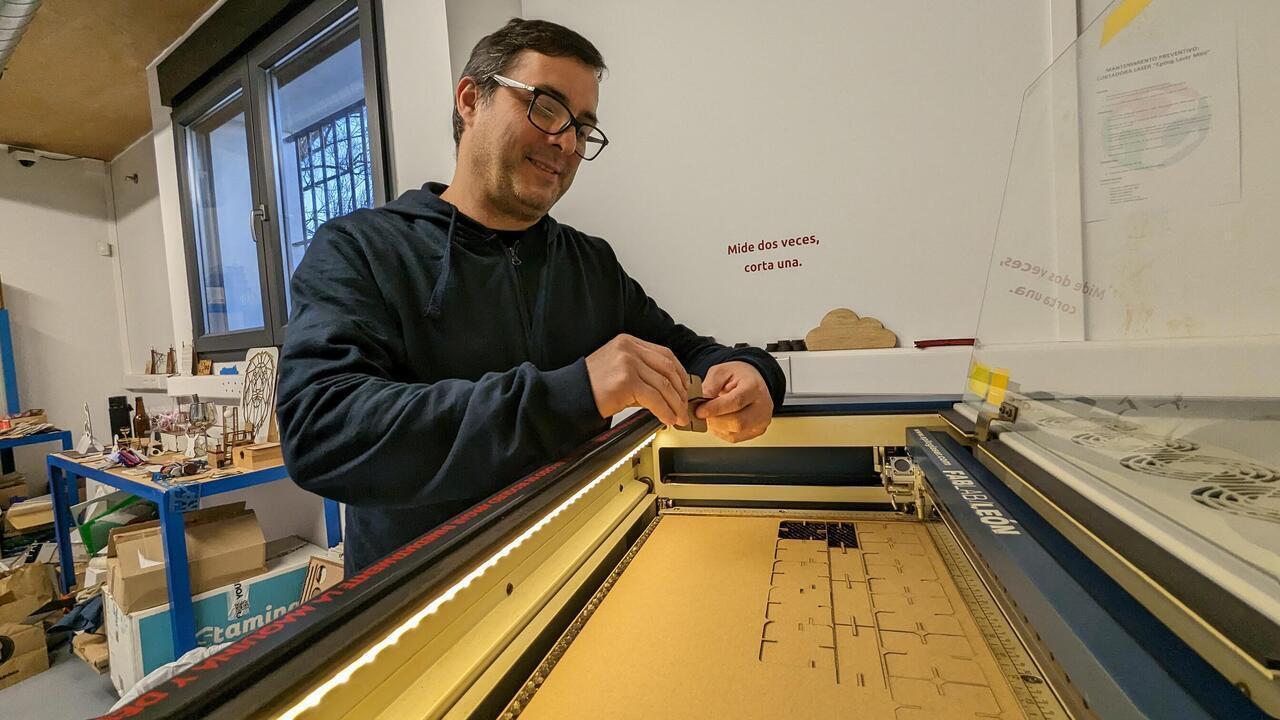
After cutting the construction kit I started to assemble it, but more about that latter.
Next up, cutting different materials!
First off, some thin wood.

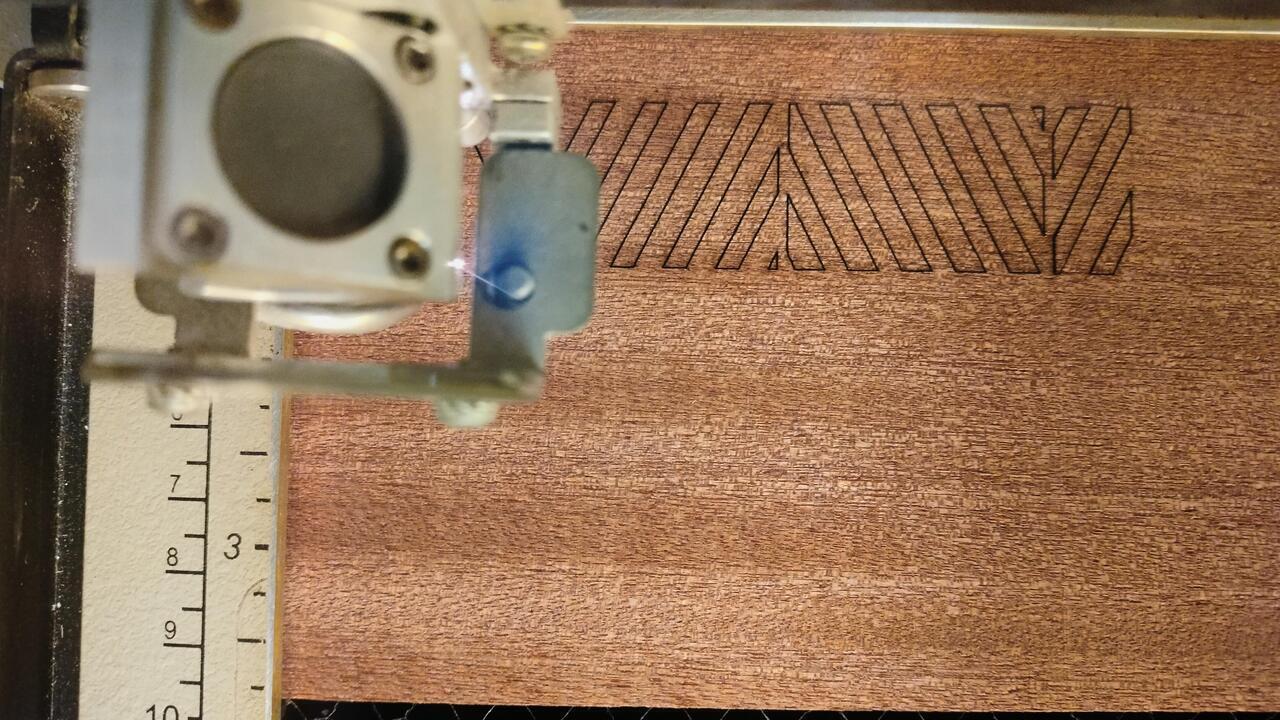
Cutted some really cool bookmarkers that I got from here
And then some living hinges, that have a different thickness. This ones are going to be MDF but 4mm.
- Thickness: 4mm
- Vector: Power: 90% / Speed: 16% / Frequency: 2500 Hz ppi 400
- Raster: Power 55% / Speed 100% ppi 400
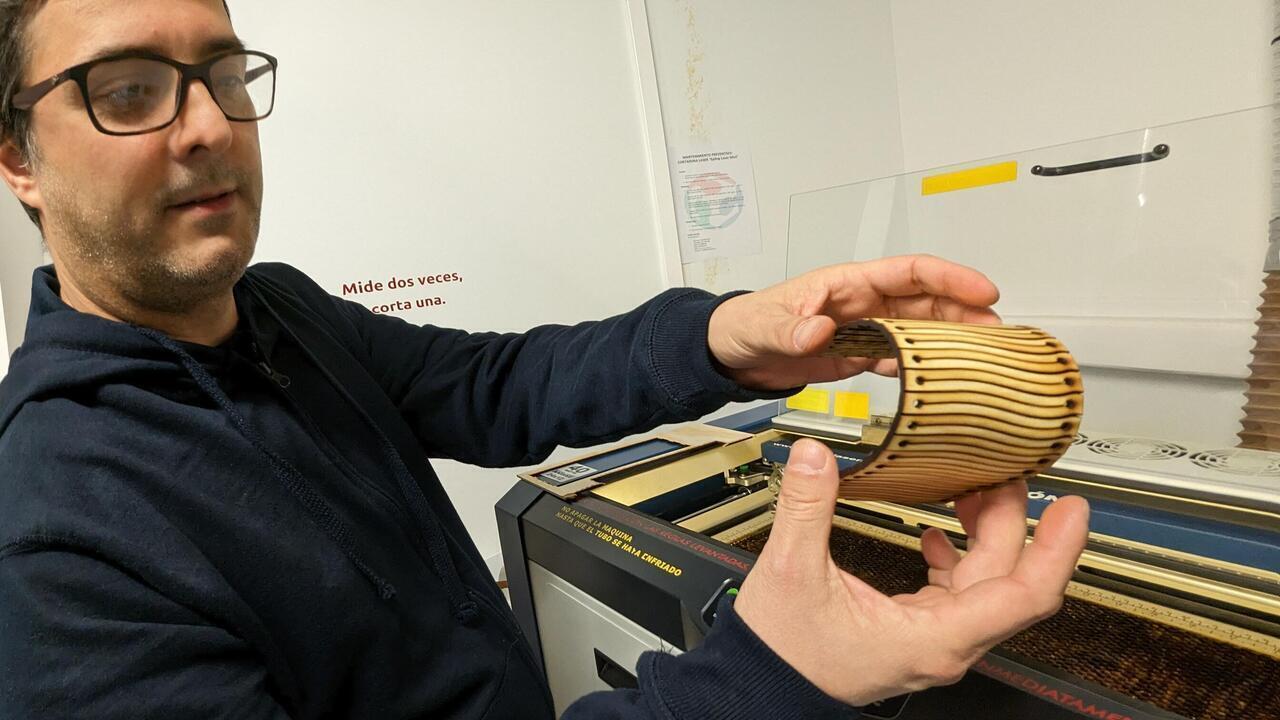
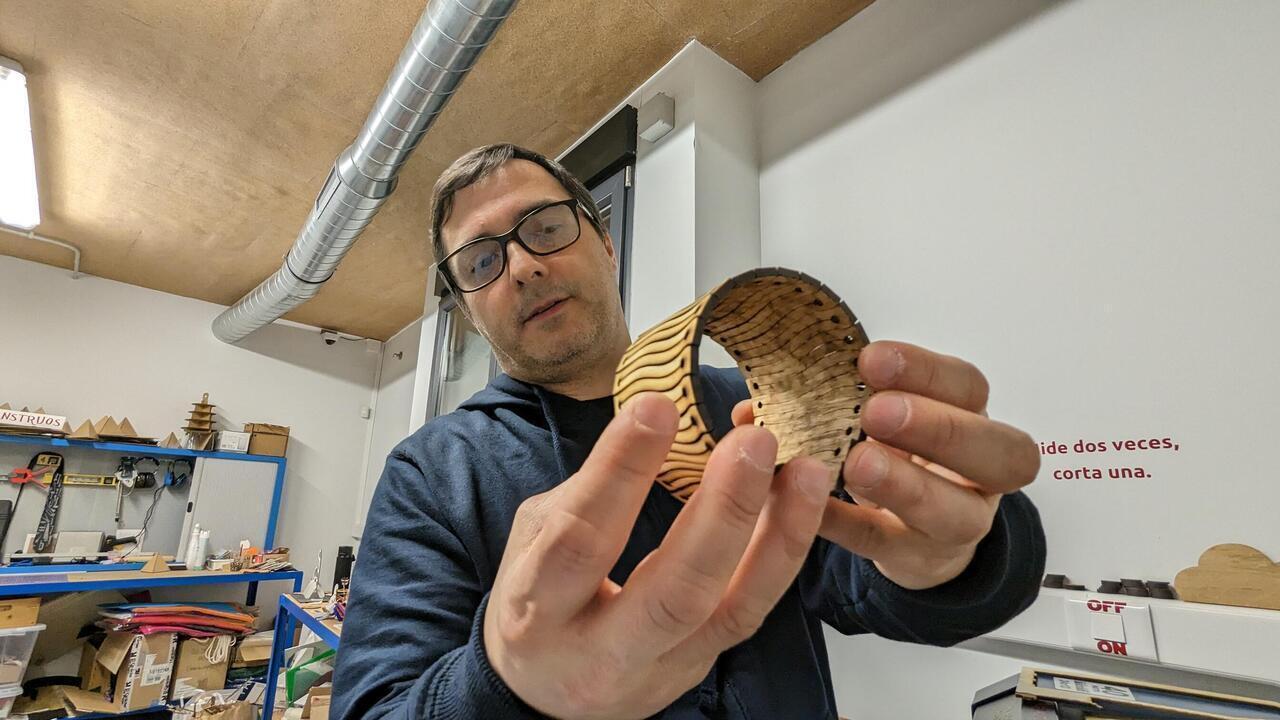
You can get this bracelets from here: Counterglow Designs
The bookmarks and the braceletes were bought on ETSY a couple of years ago, but I feel like now I could have just designed them myself.
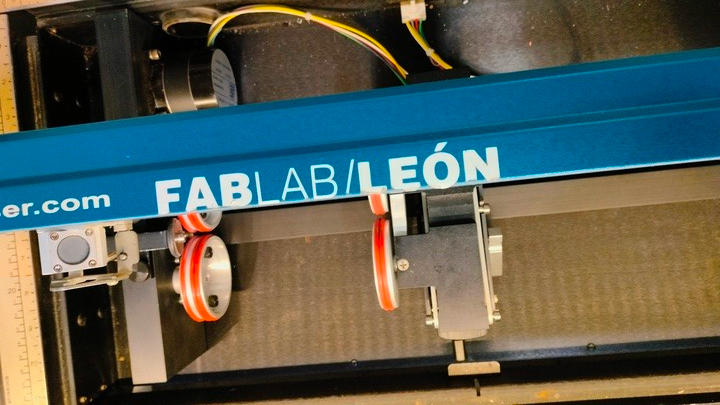
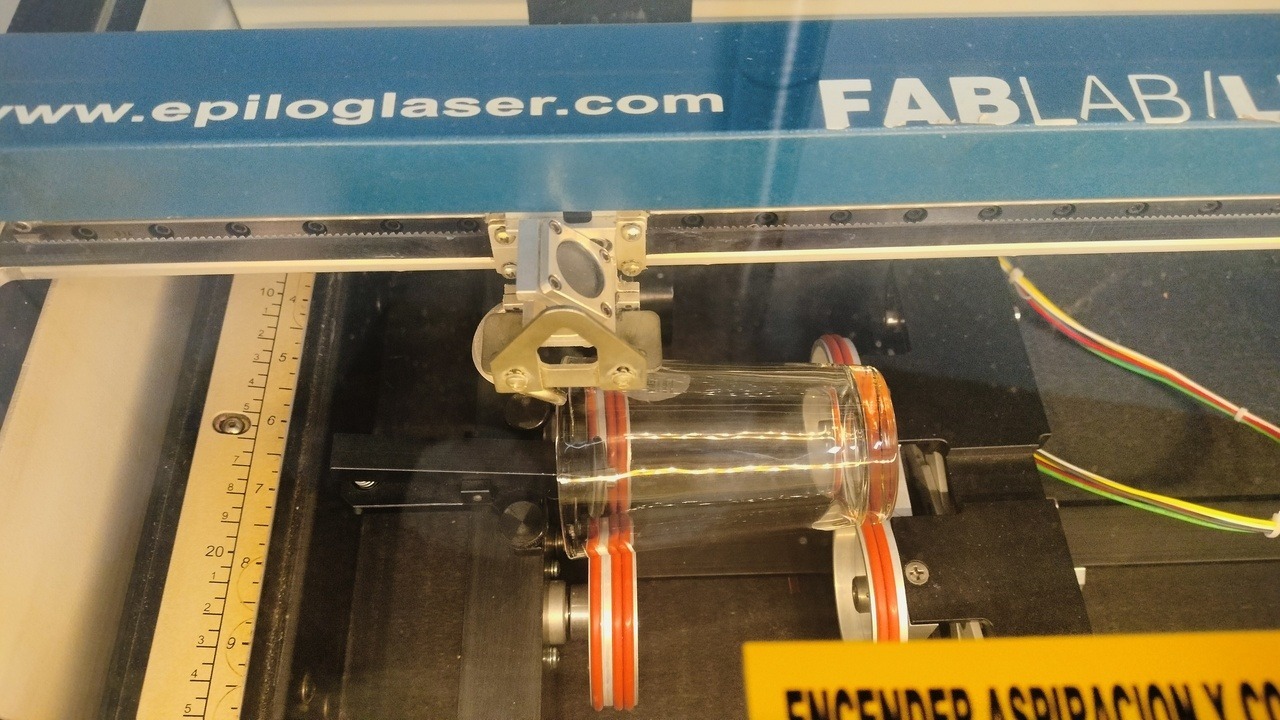
Next up, engraving in glass with a Rotary Attachment!
The Rim-Style Rotary Attachment is used for engraving cylinder items. It can be glass or other materials.
The Rotary Attachment can quickly be adjusted to the size and shape of the material.
It can be adjust in height and lenght. The main reason for height is to make sure that the surface of the material is as flat as possible.
The way it works is by rotating the object as the laser only moves on one axis.
The process is pretty much the same for all the materials, but the settings are different.
One thing to keep in mind is that you need to turn off the auto-focus on the drivers settings as here the focus is done manually.
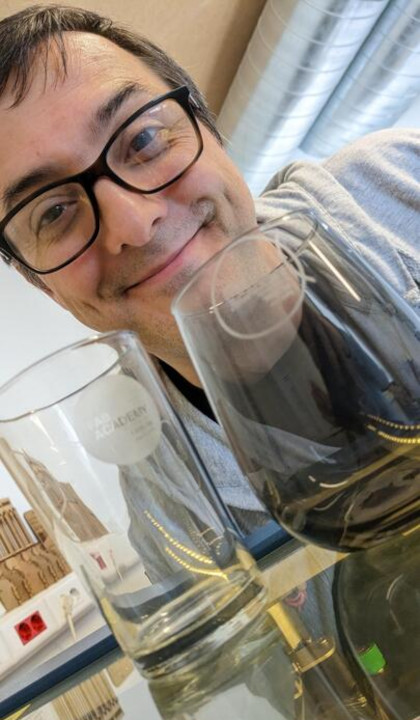
...PICTURES!
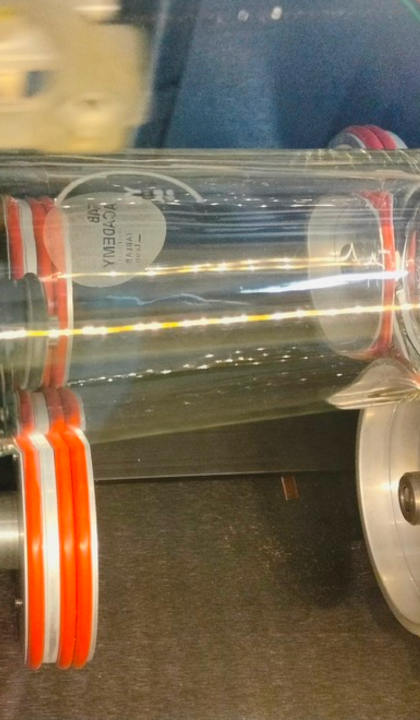
Now the spoilers...not all went right:
- Make sure that the glass can rotate or else the engraving will not come out right;
- The Glass must be well positioned if it can't be fixed, otherwise it can move during the engraving and ruin the process;
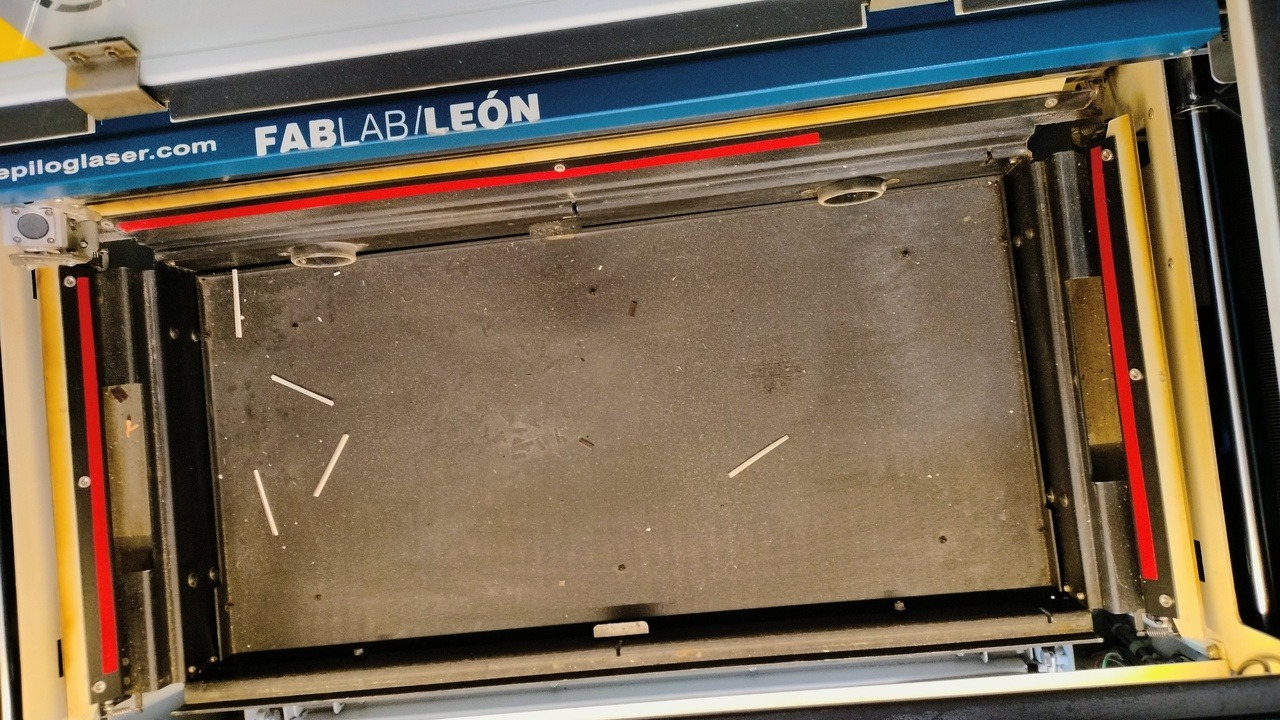
Maintenance of the Laser cutter
One thing that needs to be done regularly is naturally cleaning the debris from cuttin that fall to the residues tray.
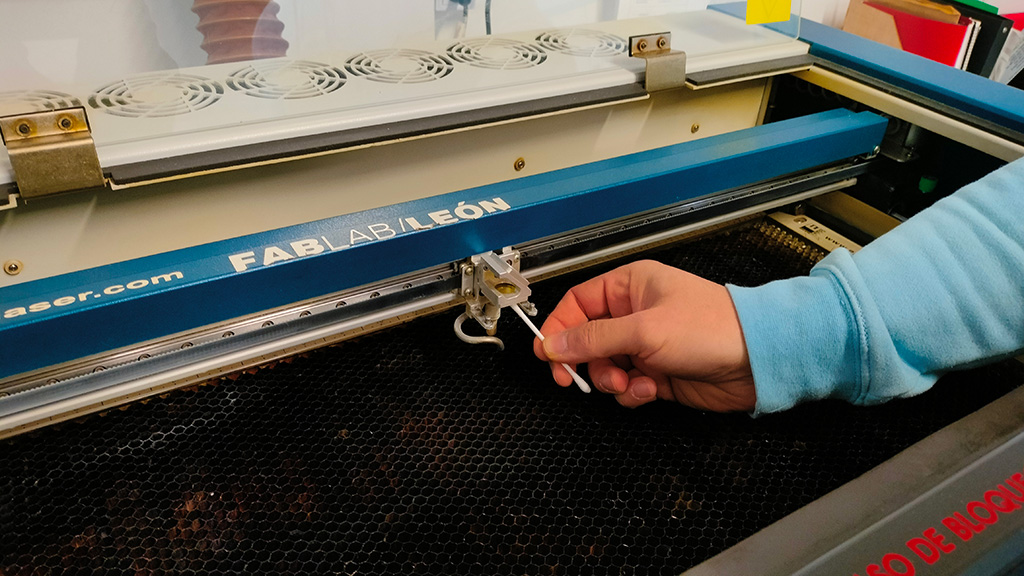
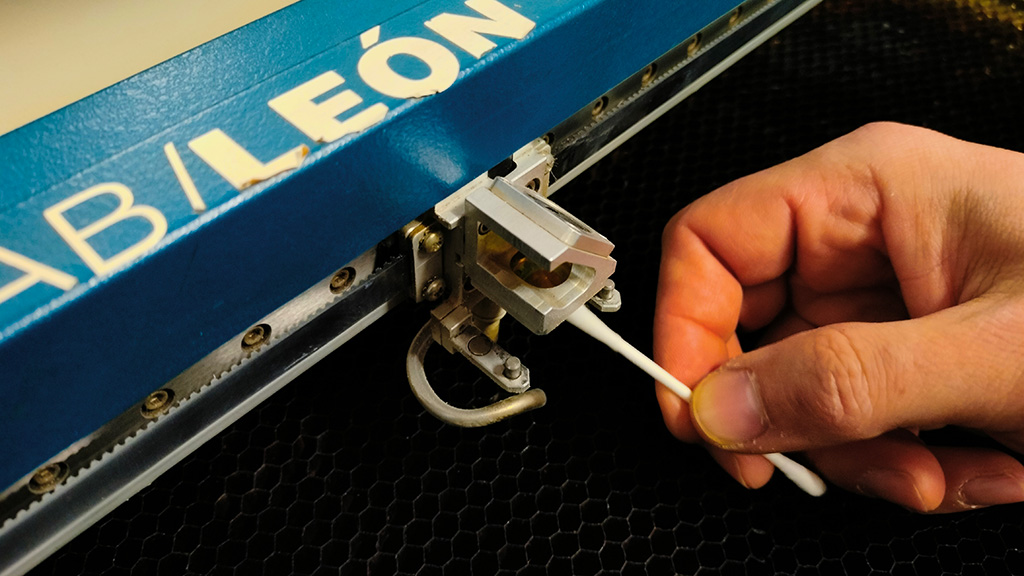
After cutting some types of materials, the laser cutter's mirrors need to be cleaned.
This is done with Isopropyl alcohol and a cotton swab.
There are three mirrors that need to be cleaned as the following pictures show.
Individual assignment
- Design, lasercut, and document a parametric press-fit construction kit, which can be assembled in multiple ways. Account for the laser cutter kerf.
- Cut something on the vinyl cutter.
Building a parametric construction kit
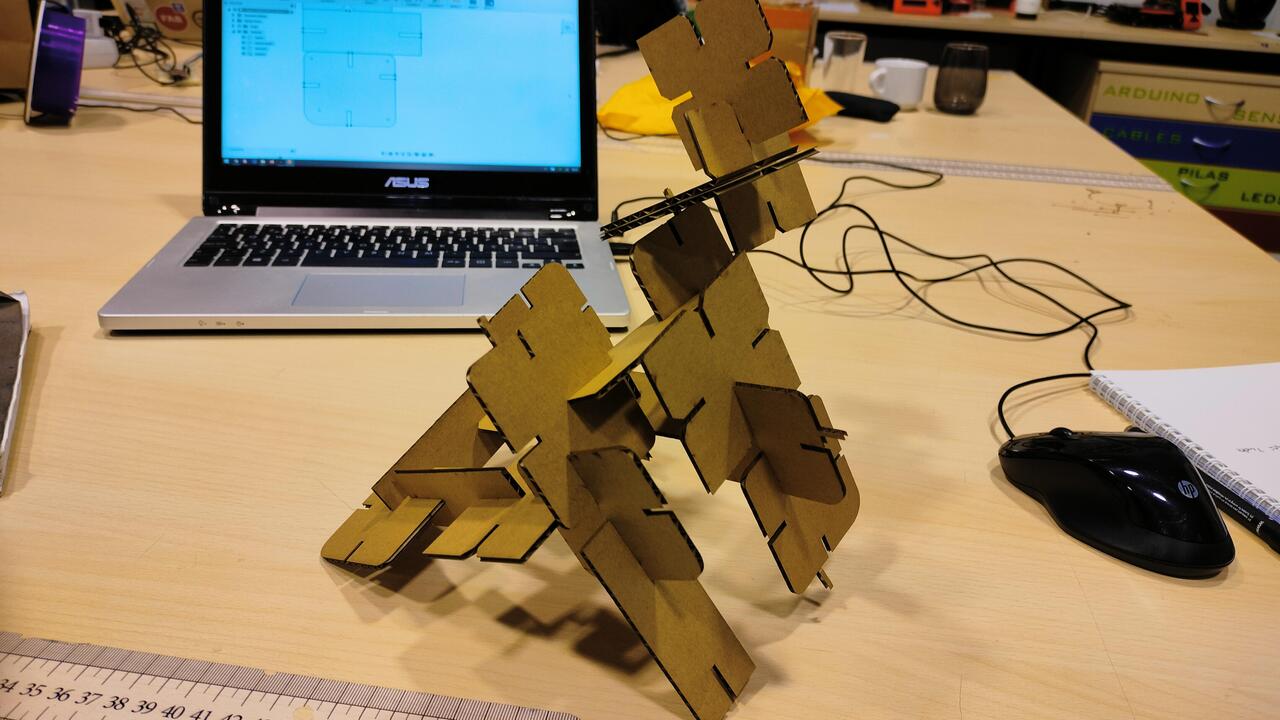
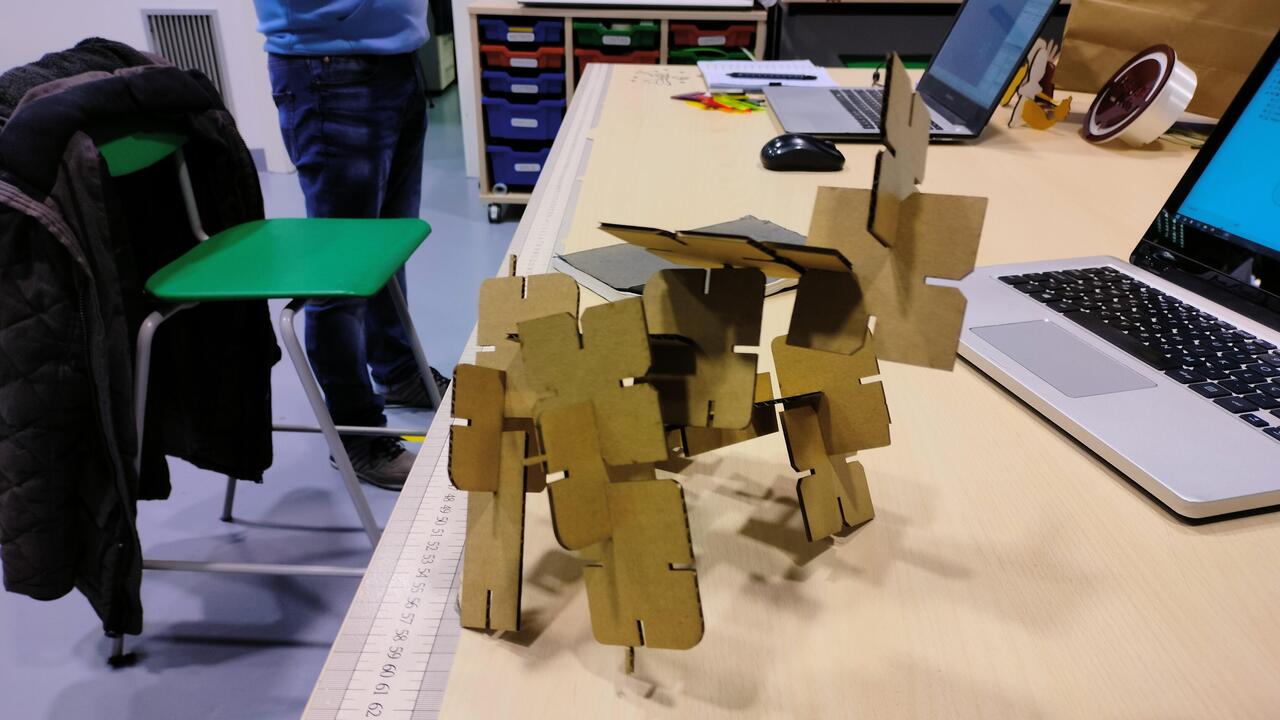
Like I previously wrote, I have a cutted cardboard parametric construction kit:
I started by creating the pieces for the construction kit. I mostly used the line tool and the chamfer tool.
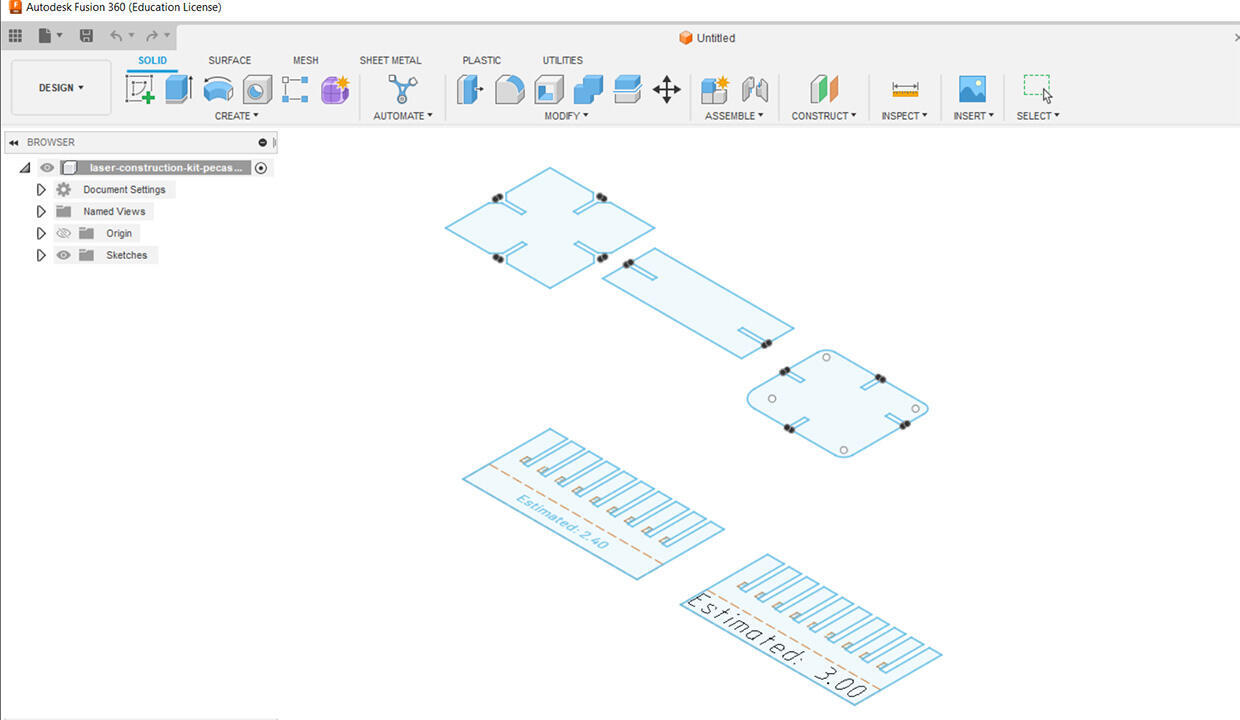
After the pieces were created, I started defining the parameters that are going to be used in the pieces. Some of the parameters are defined using other parameters.
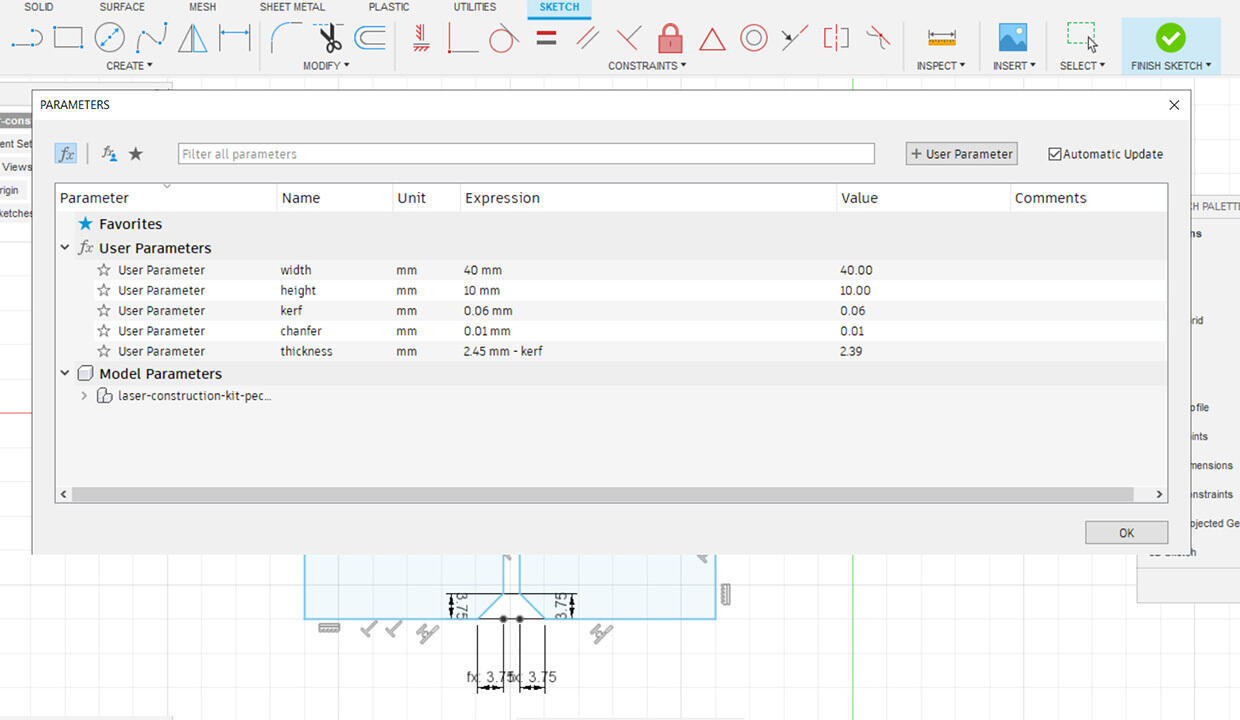
Then I added the parameteres to calculate the thickness and a parameters for the lenght.
Some parameters are dependent on other parameters. Like the thickness parameter is the result of the material thickness and kerf.
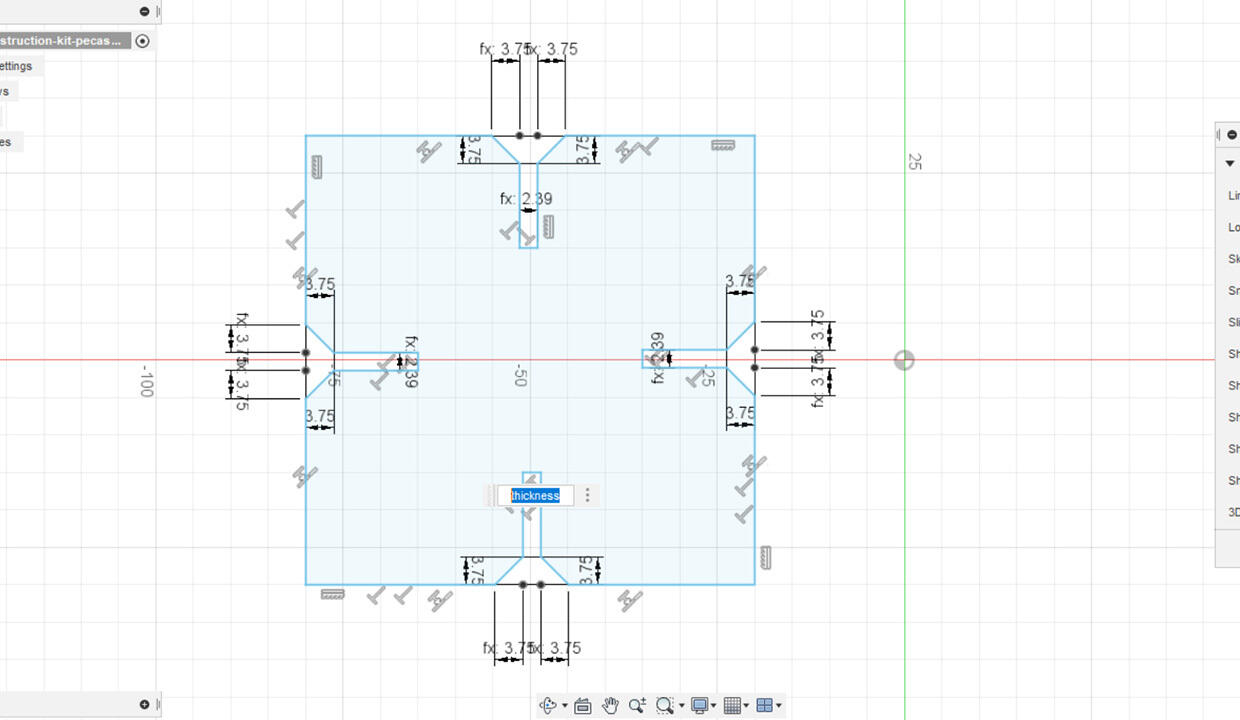
I also applied the parameters to all the pieces:
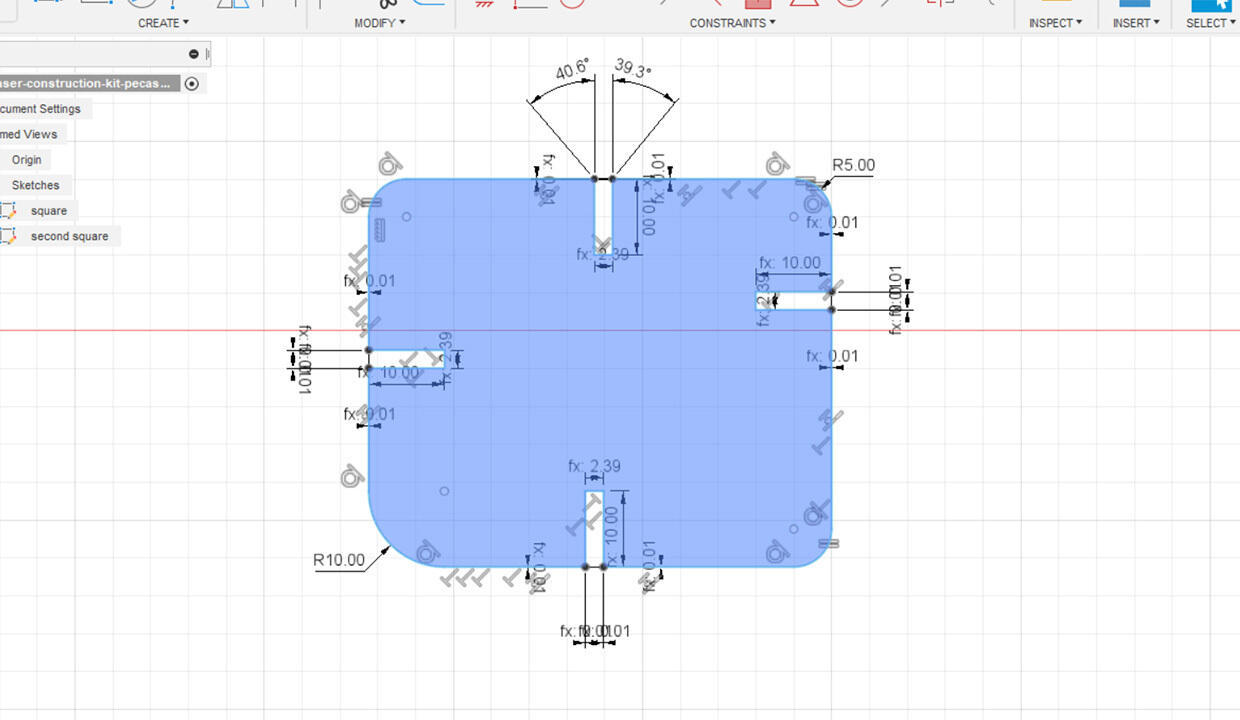
Altought the part were design indepentendly, I combined the multiple shapes in the same file to make the best nesting for zero waste.
The premise of the construction kit it that it can be assembled in different ways, so here it is:
Vinyl cutter
Vinyl cutters are machines that are used to cut (like the name implies) vinyl into pre programmed (using software) precise shapes and designs.
They work by using a small blade to cut through a roll or sheet of vinyl
After cutting, the vinyl is removed from the machine and applied to a surface like a t-shirt or, if it's a sticker, to a laptop.
These machines are commonly used in the sign-making industry, but they are also popular among hobbyists, DIY enthusiasts, and small businesses.
Vinyl cutters are controlled by software that allows users to create and edit designs, as well as to adjust the cutting settings, such as speed and pressure. Some software even allows for the creation of multi-color designs, by cutting different layers of vinyl and then layering them on top of each other.
One of the advantages of vinyl cutters is that they can cut a wide variety of materials, including heat transfer vinyl, which can be applied to fabrics, and adhesive vinyl, which can be applied to surfaces such as glass, metal, and plastic as well as cooper that can be used to produce flexible circuits.
In the Fab Lab we have the following two machines
| Roland GX-24 | |
|---|---|
| MODEL | GX-24 |
| Driving method | Digital control servo motor |
| Cutting method | Media-moving method |
| Acceptable media width | 50 to 700mm |
| Maximum cutting area | Width: 584mm Length: 25m |
| Acceptable tool | Special blade for CAMM-1 series |
| Cutting speed | 10 to 500mm/sec |
| Blade force | 30 to 250gf |
| Mechanical resolution | 0.0125mm |
| Software resolution | 0.025mm |
| Distance accuracy (1) | Error of less than +/- 0.2% of distance traveled, or +/- 0.1mm, whichever is greater |
| Repetition accuracy (1) (2) | +/- 0.1mm or less |
| Alignment accuracy for printing and cutting when loading printed material (1) (3) | +/- 1mm |
| Interface | USB |
| Instruction system | CAMM-GL III |
| Power supply |
Dedicated AC adapter Input: AC 100 to 240 V +/- 10% 50/60 Hz 1.7A Output:DC 24V, 2.8A |
| Power consumption | Approx. 30W (including AC adapter) |
| Acoustic noise level during operation | 70 dB(A) or less (according to ISO 7779) |
| Dimensions | 851mm (W) X 310mm (D) X 235mm (H) |
| Weight | 16kg |
A complete description of the machine can be found on the manufacturers website
| Silhouette Cameo | |
|---|---|
| Maximum Cutting Area | 30.5 cm x 61 cm with a cutting mat 30.5 cm x 3m without a cutting mat |
| Maximum Media Thickness | 3 mm |
| Maximum Cutting Force | Carriage 1: 210 gf Carriage 2: 5 kgf |
| Compatible Media Types | Vinyl, Heat transfer material, Cardstock, Photo paper, Corrugated paper, Chipboard, Fabric, and more |
| Interface | USB 2.0 high speed / Bluetooth® |
| Unit Dimensions | 57 cm x 19.5 cm x 17 cm |
| Unit Weight | 4.7 kg |
A complete description of the machine can be found on the manufacturers website
For this week's assigment we will be cutting vinyl for different applications:
- Making a multicolored heat transfered vinyl tshirt
- Cutting a sticker
I have never used a vinyl cutter before.
We will start by using the Roland Camm-1 servo GX-24
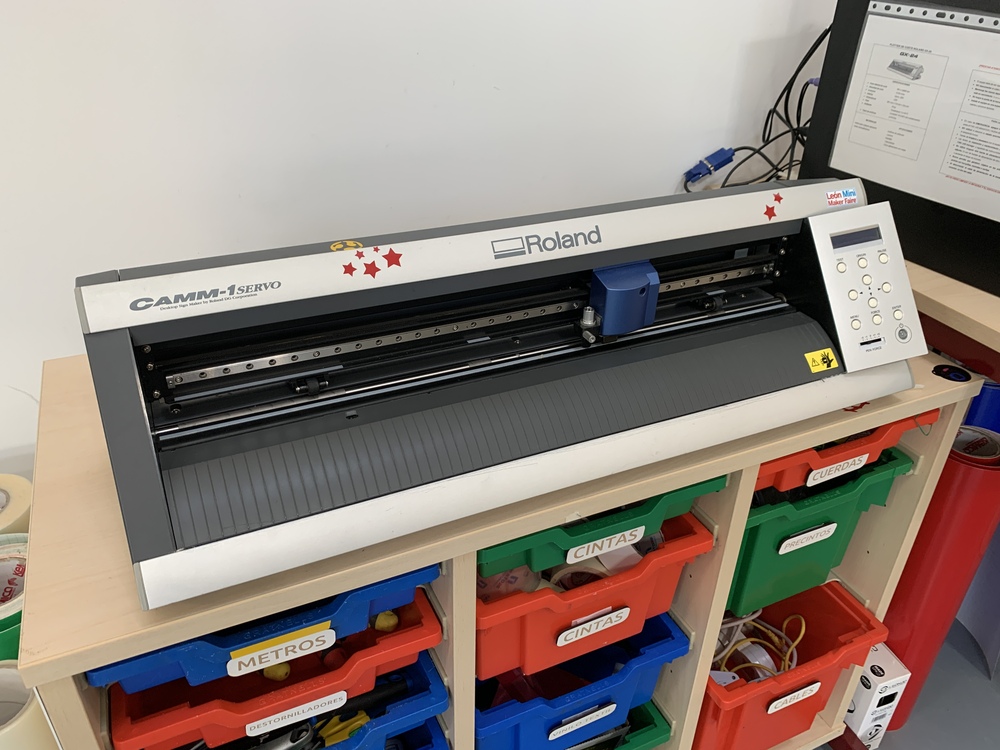
As i came to learn, it's not and intimidating machine and it's really well built.
It uses, just like the laser cutter, Rhinoceros and a Driver. In this case, a Roland one.
We at Fab Lab León have 3 types of blades that differ by degrees of angle of cutting: 30º, 45º and 60º.

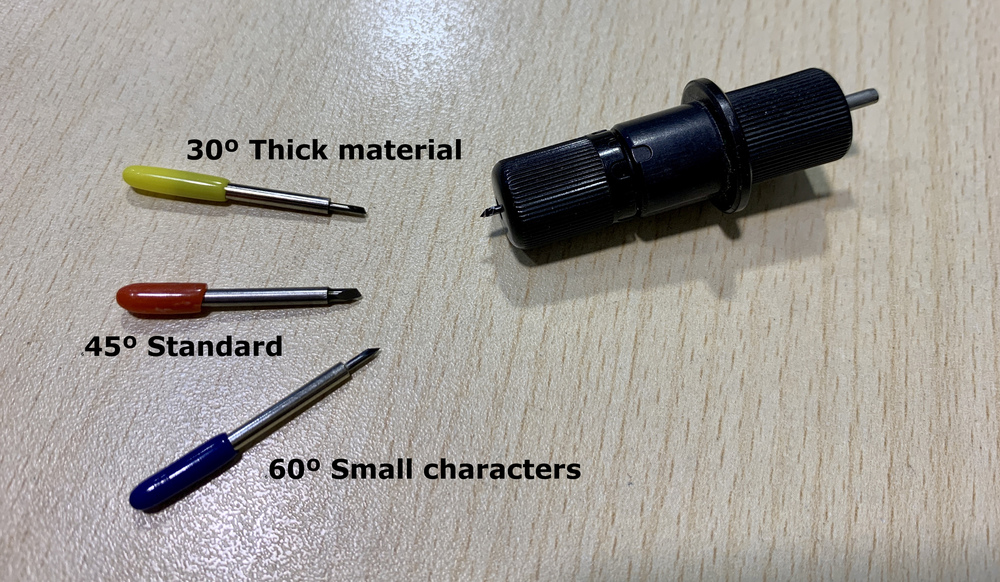
I stole the second images of the blades from the great Adrián Torres site. You can find it here: Adrián's very usefull site!
The Roland blades come with colors:
- Yellow: 30º: Thick material
- Red: 45º: Universal cuts
- Blue: 60º: Small cuts,thermal transfer, sandblasting mask, magnet;
Here's the Roland datasheet for the blades: Get into cutting
Another thing to take note it's that of the dimension of the drawing. Think about were it's going to go before starting to cut.
First we start by getting the machine settings and changing them.
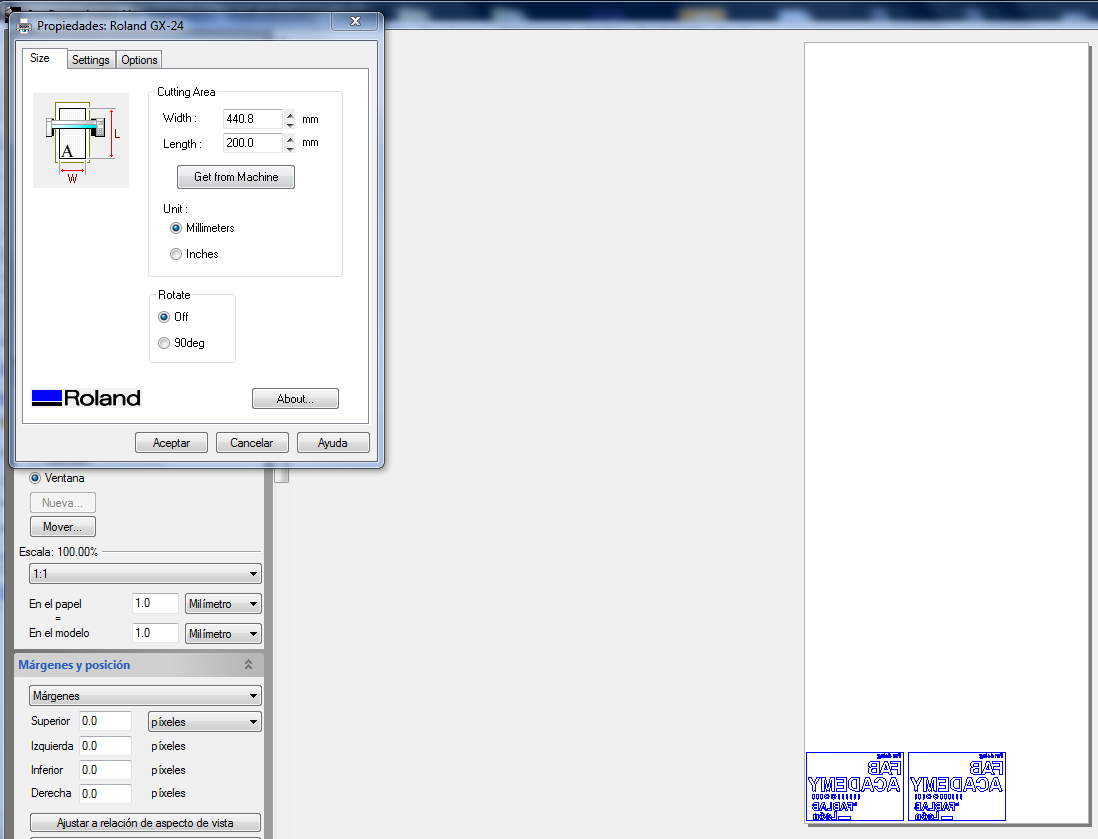
The width is calculated from the distance between the turn wheel on the left to the turn wheel on the right.
To ensure that the machine doesn't use more material that it's need it, we can set the height for the necessary height and not more.
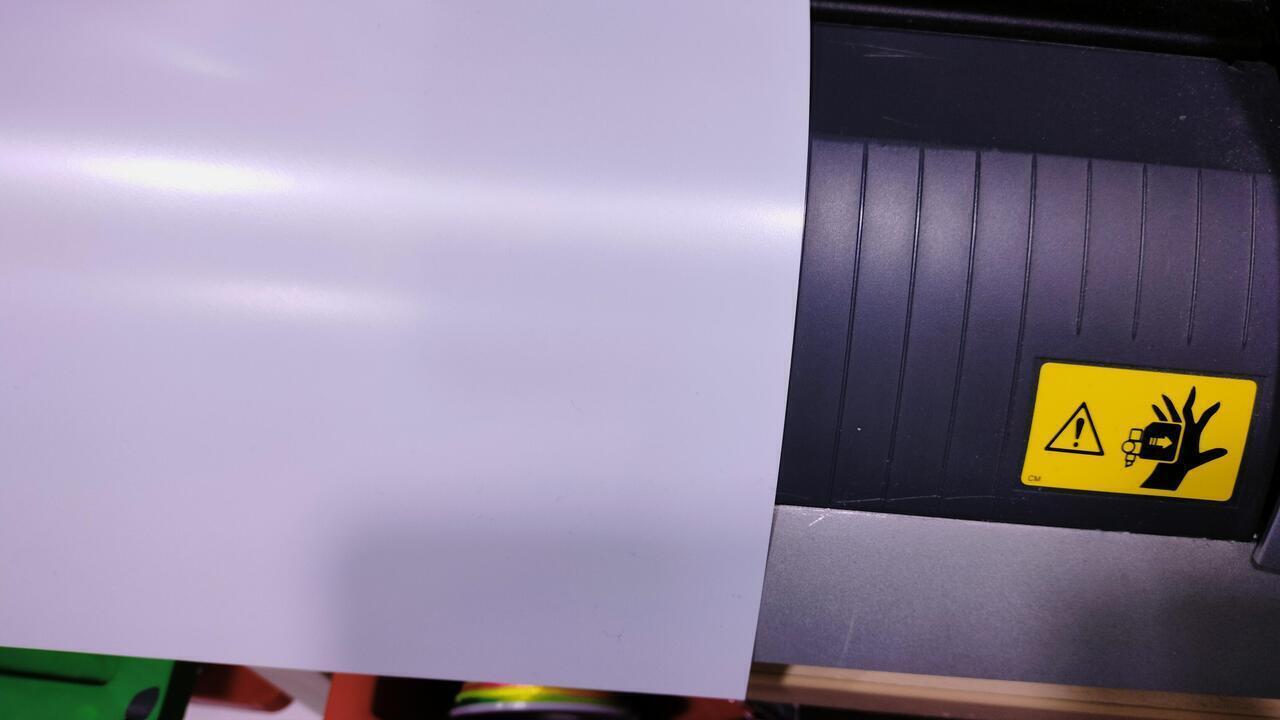
Loading Material
When loading material this must be done with the material over the left and right Pinch rollers.
The workarea for the Pinch Rollers must be maximixe for the use of material, keeping in mind that the pinch rollers must be over a grit roller.

Check this manual for more information on how to calibrate the machine for use: Manual


The material must also be aligned to the guide lines, if not the machine will start pushing the material
in
a diagonal.
It must be align with the guide lines in the front as well as the guides in the back of the machine
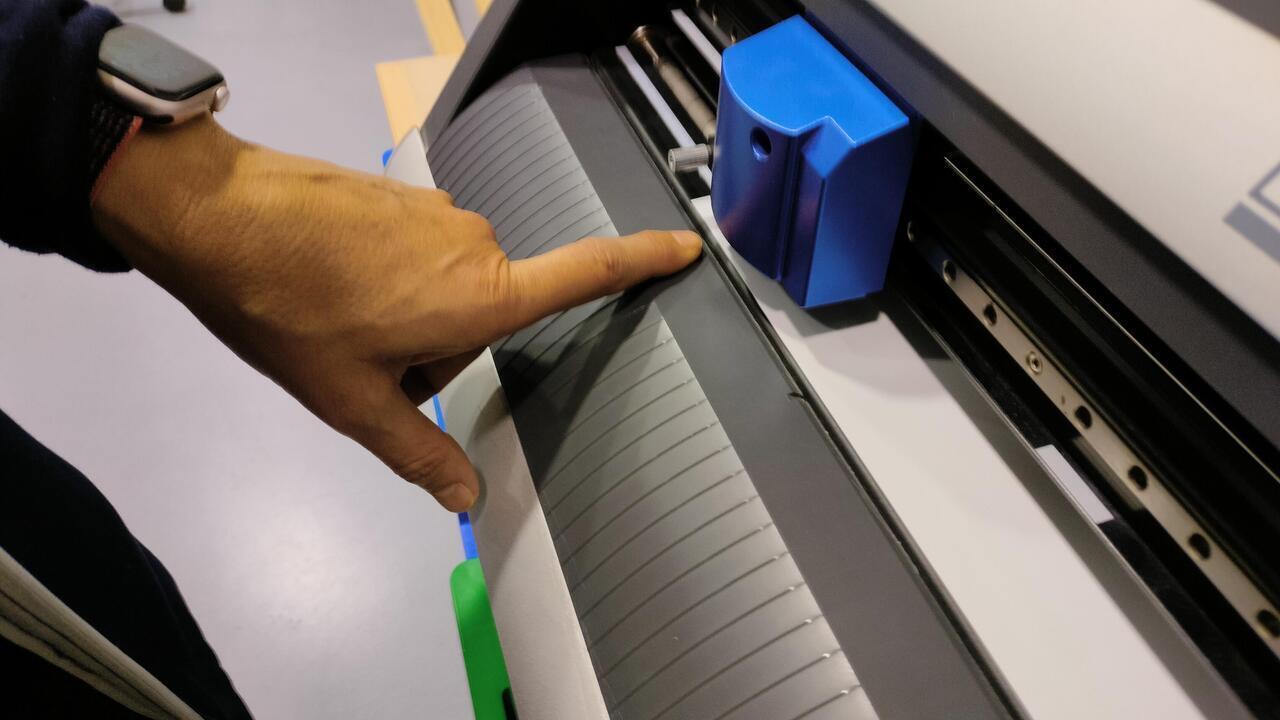
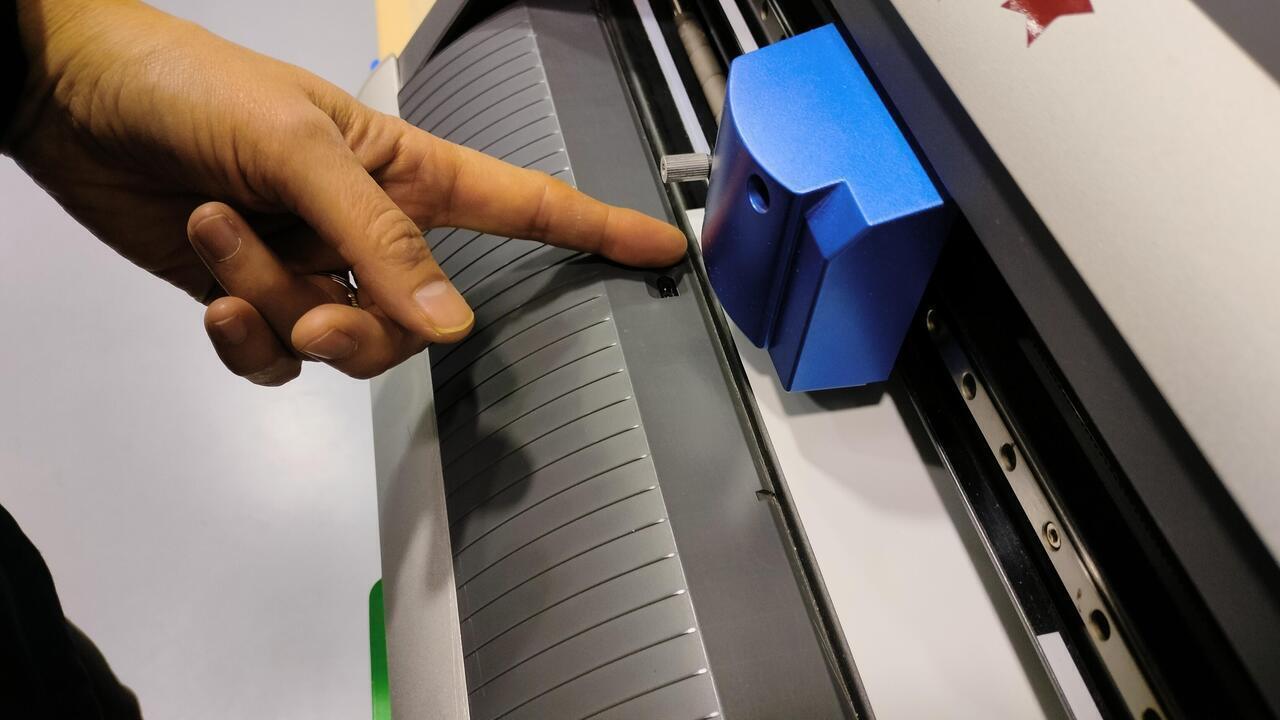
The machine can be tricked when loading material and preparing it before use. It's a way to save material.
There is a sensor at the front that stops the material from rectrating more.
For the machine to
work properly, the sensor must be under the material.
To avoid this, one could place a finger over the sensor until the material reaches the desired lenght. The cutter thinks that the finger is the material and allows us to rectract more than it would normally.
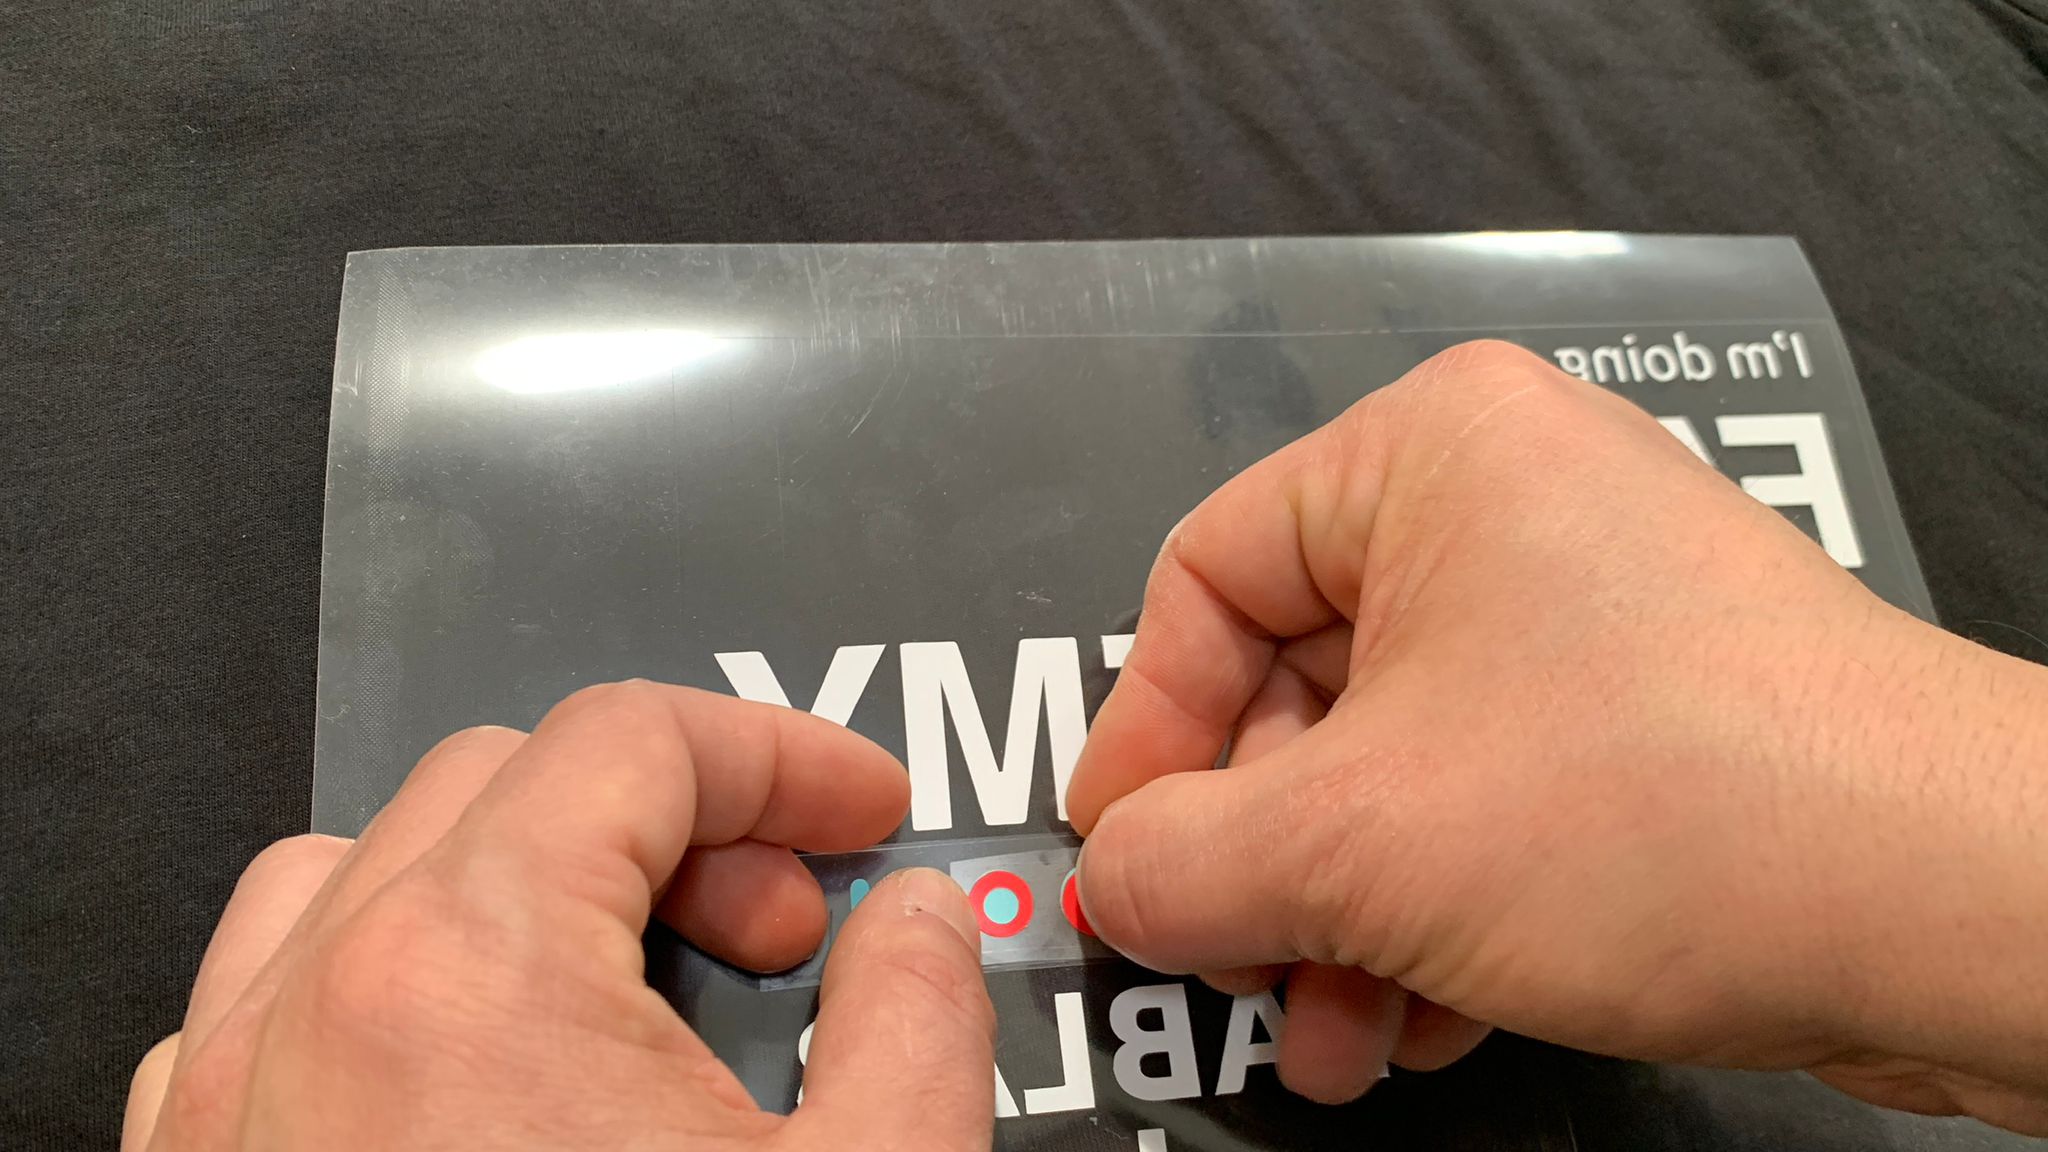
If the material is a heat transfer vinyl, remenber that the design must be inverted.
A simple following-workflow
- 1. Unlock the pinch rollers;
- 2. Insert material;
- 3. Align the material with the guides;
- 4. Lock the pinch rollers;
- 5. Use the arrows in the panel to rectract the material;
- 6. Place the finger over the sensor;
- 7. Use the arrows in the panel to rectract the material some more;
- 8. Remove the finger from the sensor;
- 9. Press the test button for a few seconds for a test;
- 10. Push the origin button for a few seconds;
- 11. Choose roll or piece ;
After a test cut is done, one should remove the circle, but the square must stay in place.
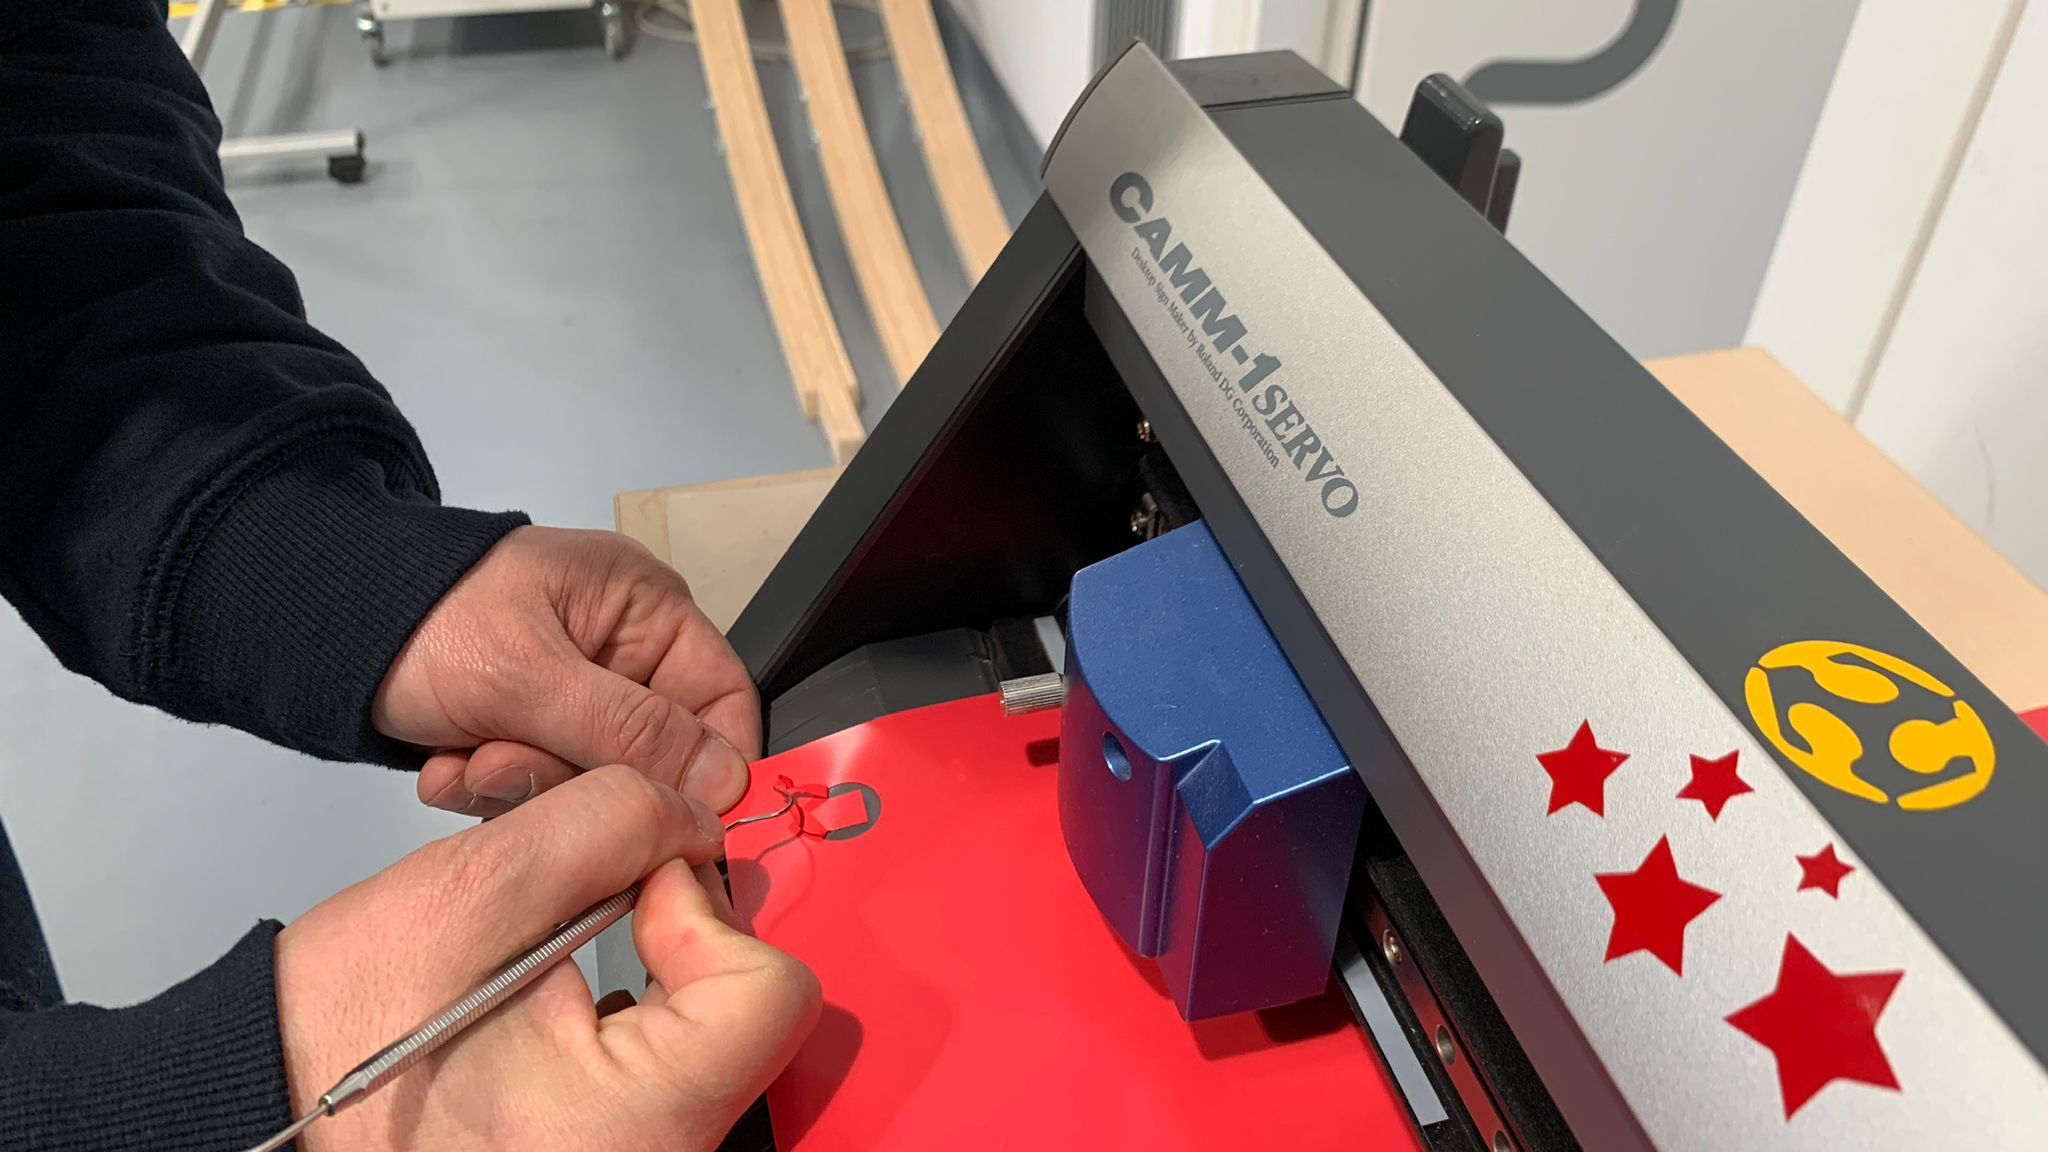
If everything is alright we can cut
After cutting we must separated the parts of the drawing that were cut from the parts of the drawing we are not going to use.
After separating the parts we want, we must remove the excess material.
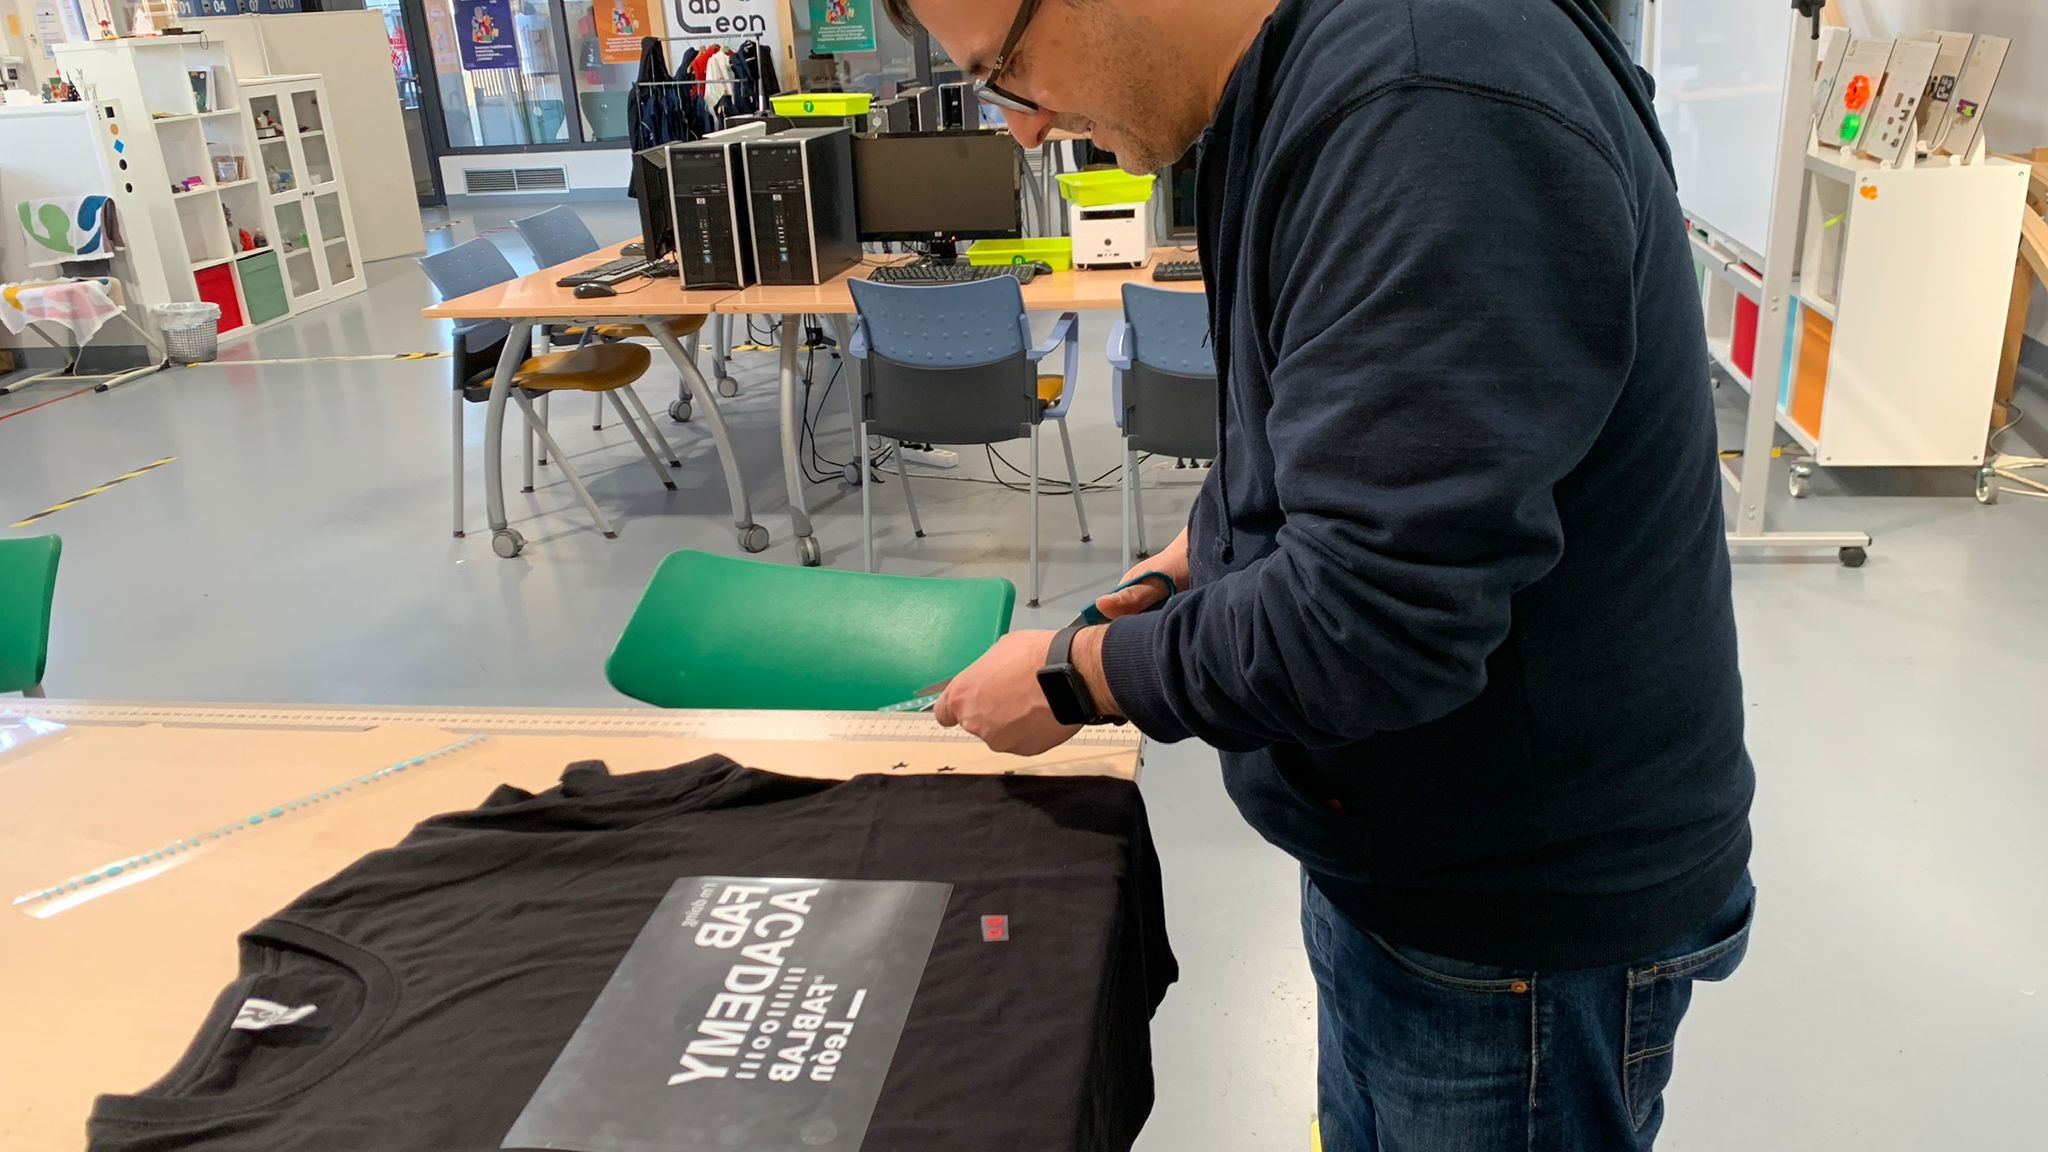
We are making a tshirt, so, when the excess material is removed, we can overlay the diferent colors:
After overlaying and if everything is ready we can use the heat transfer material hot board.
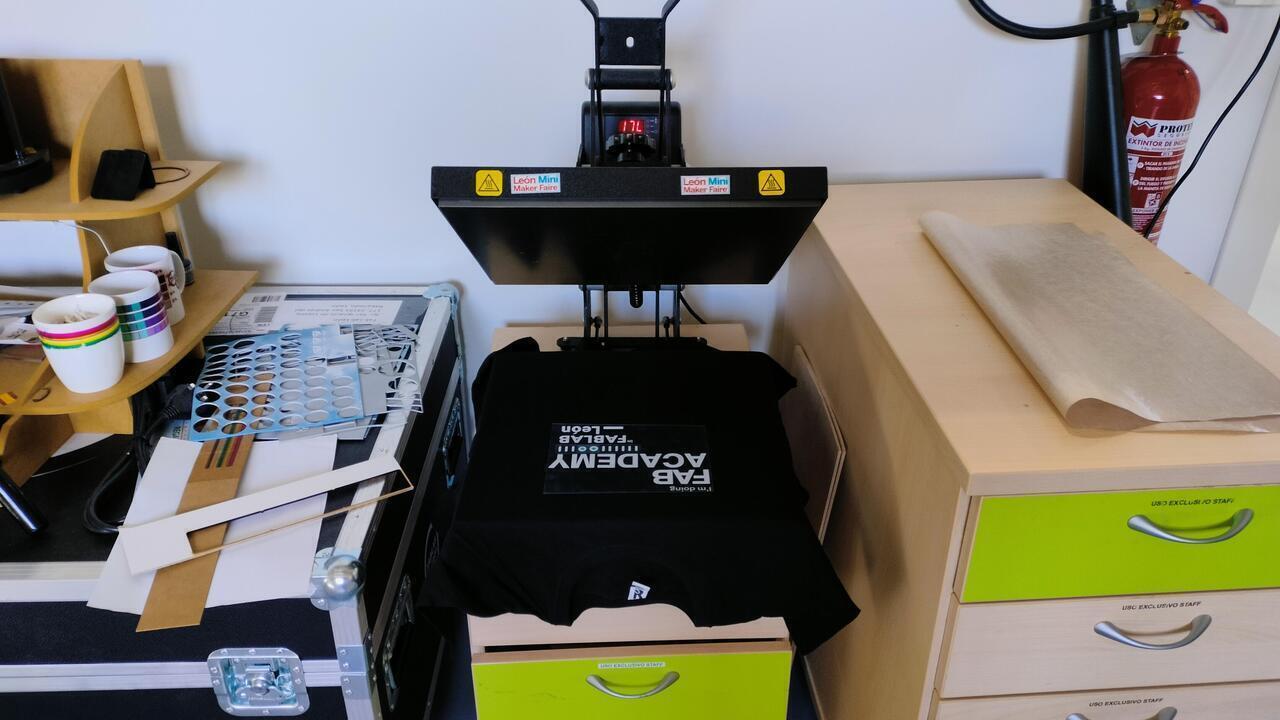
Some kind of protection should be placed over the Tshirt. It can even by baking tray paper
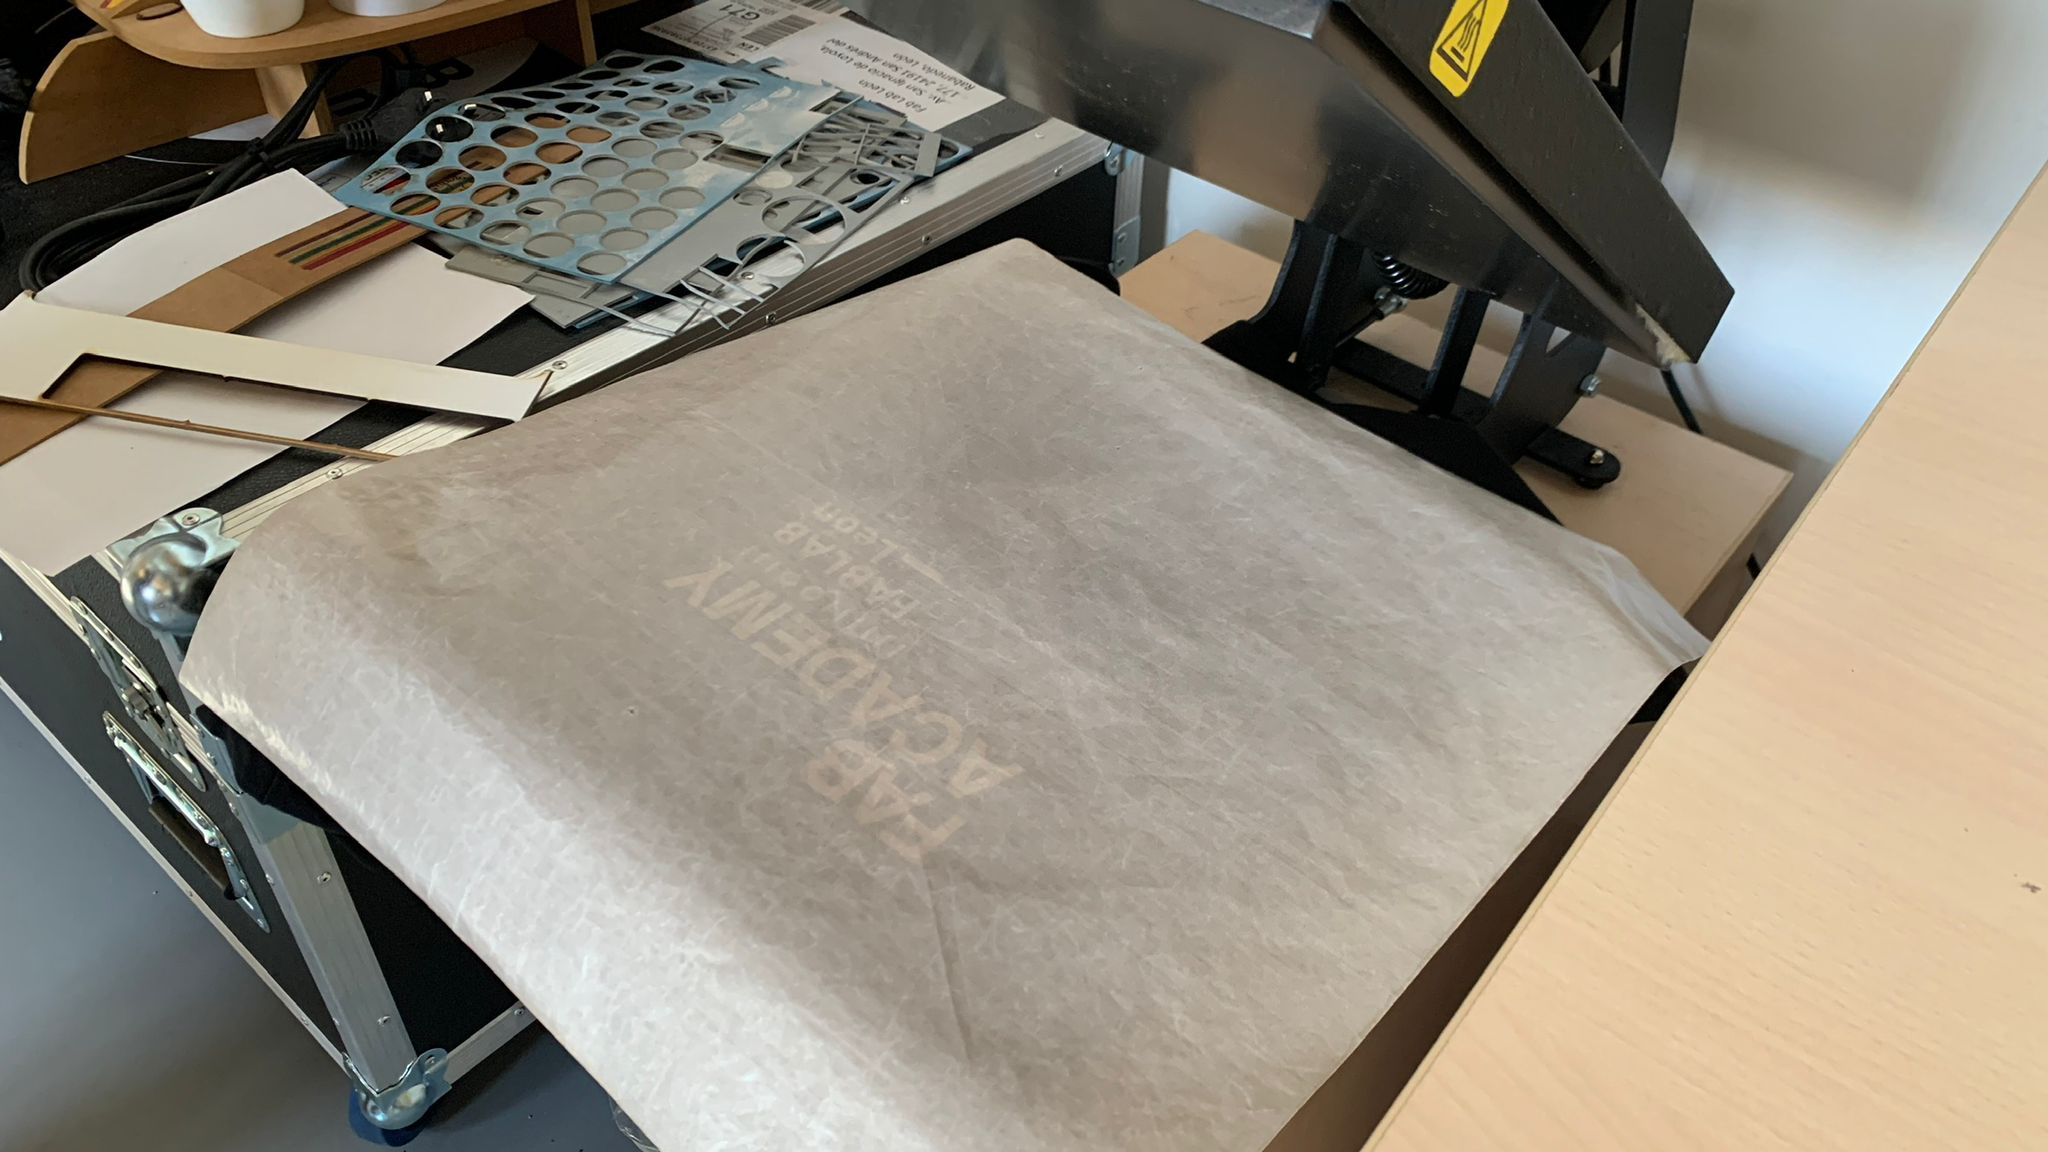
After the "press", the Tshirt is very hot, so it's better to shake it a bit to help it cool down.
When the Tshirt as cooled down, gently pull the transparent transfer.
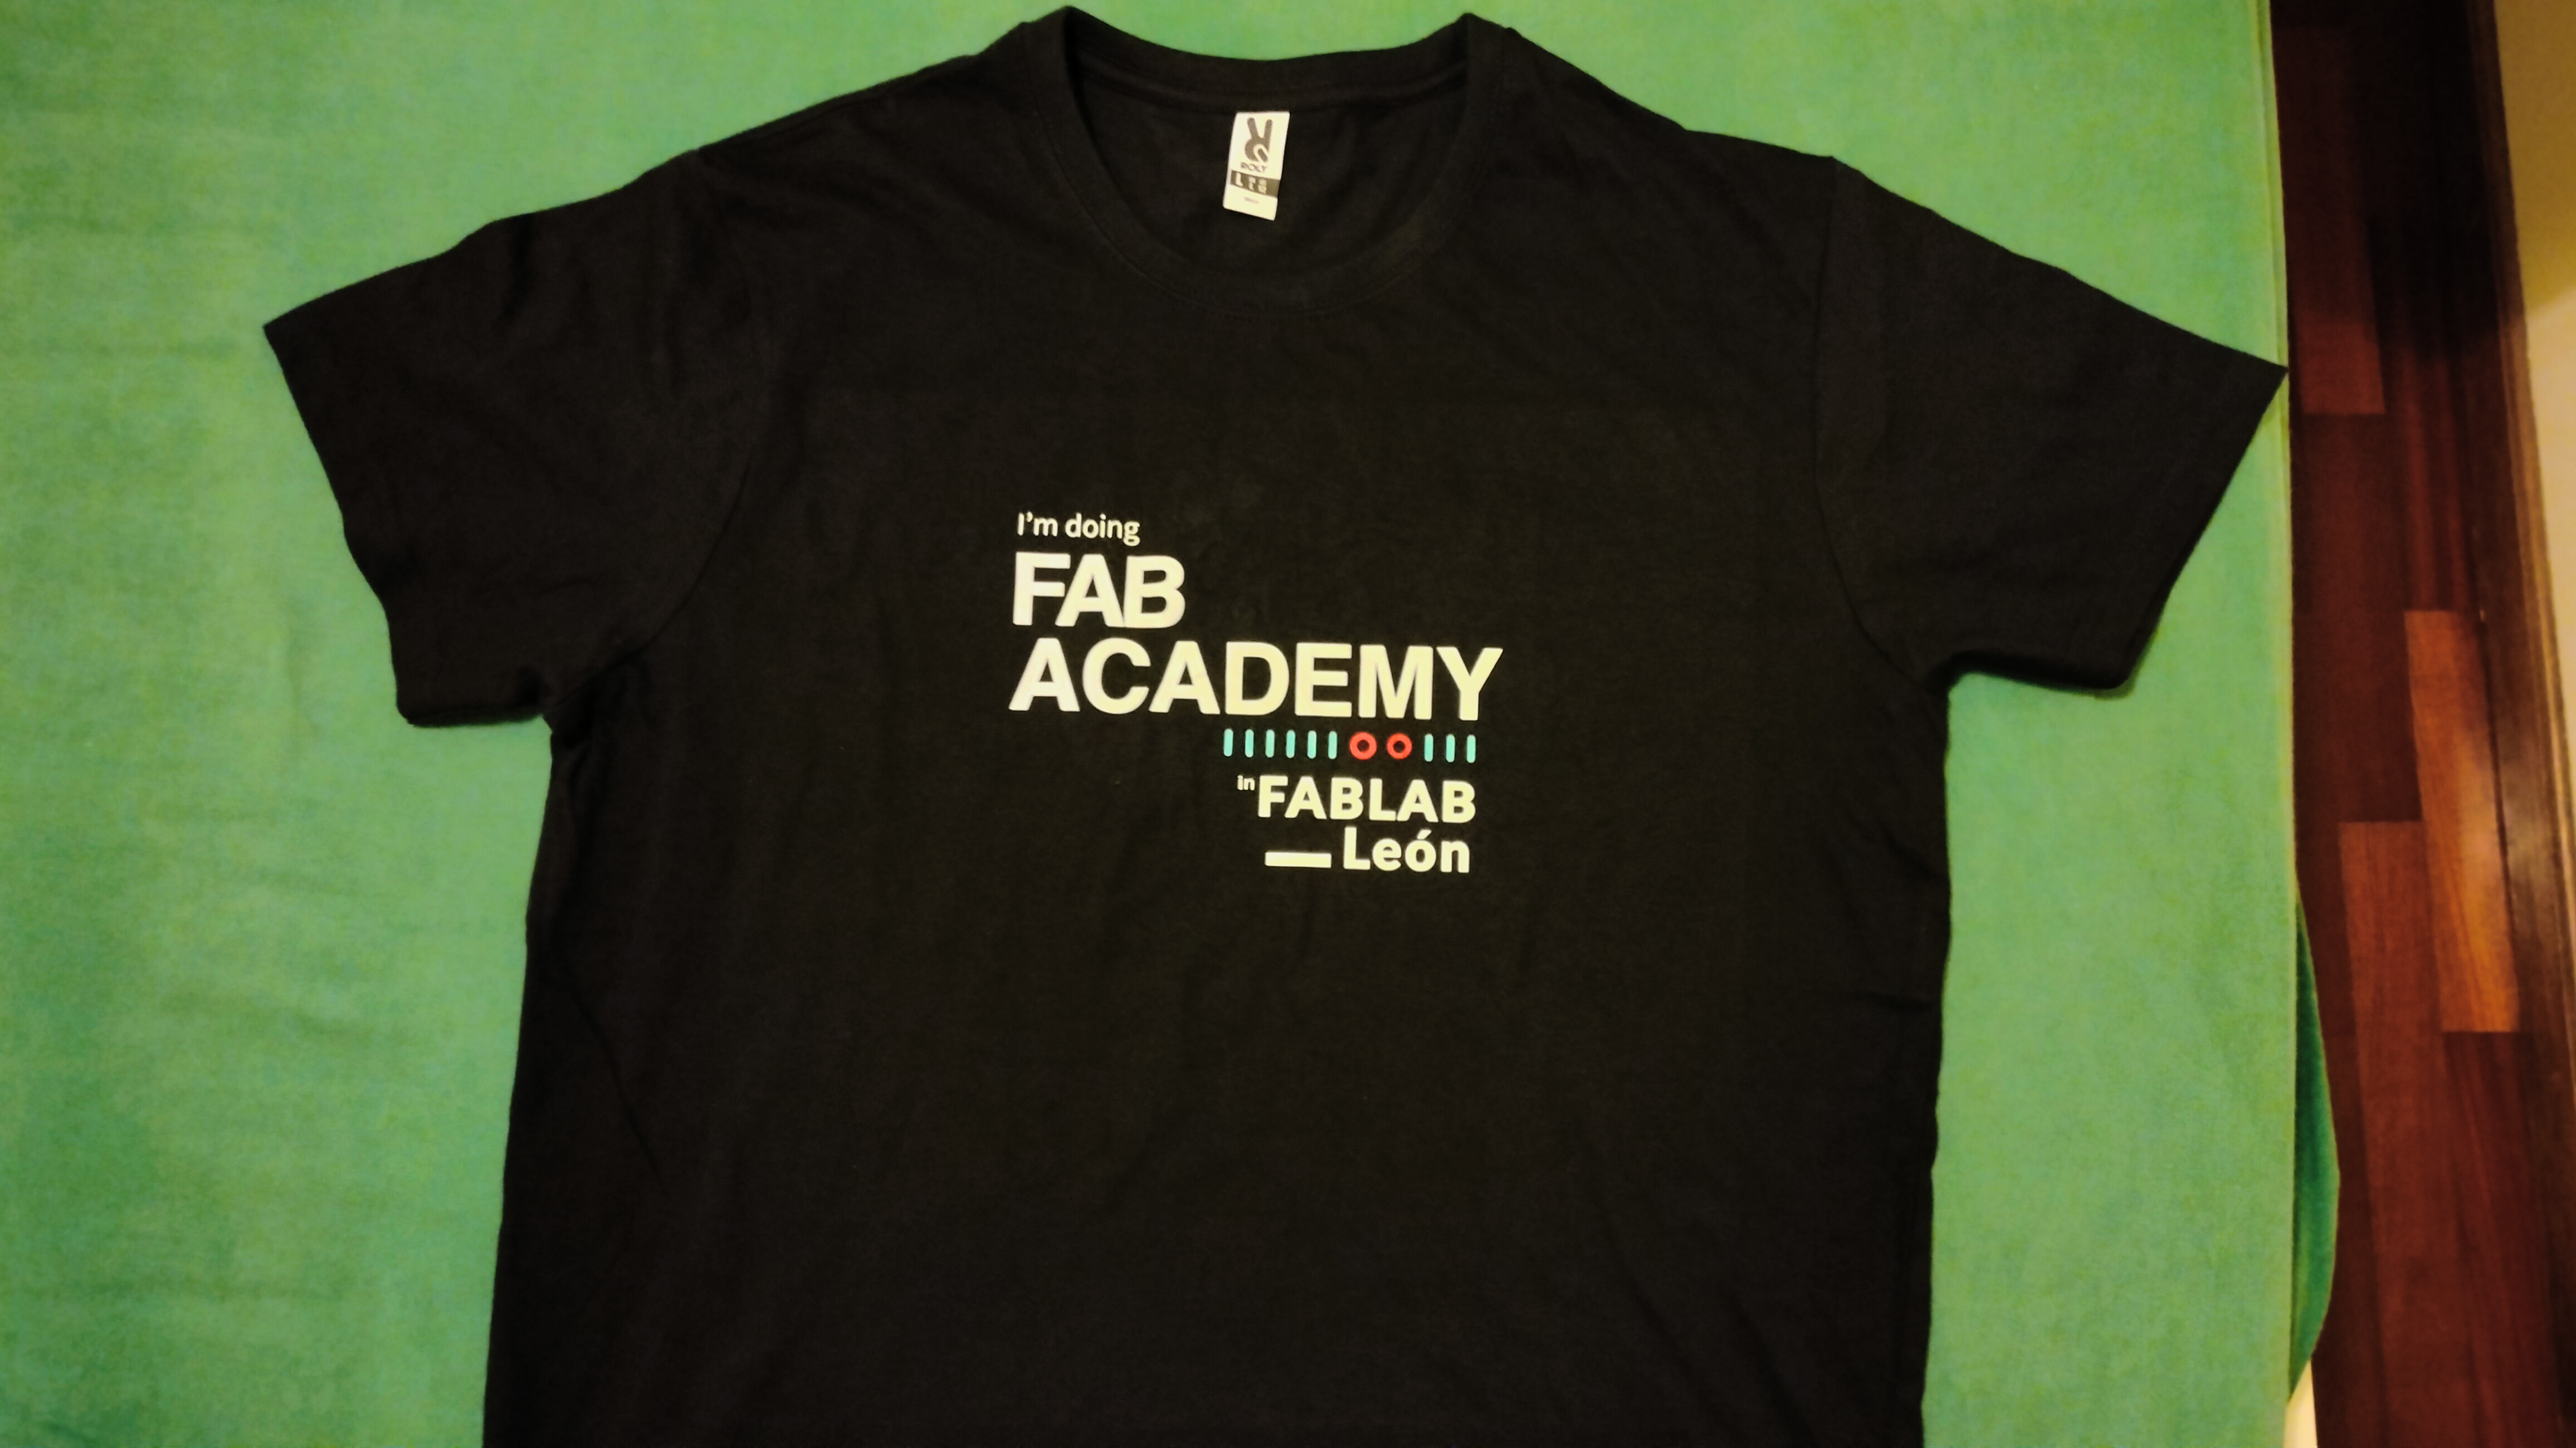
And now we have a cool tshirt
Cutting a sticker
The process to cut a sticker is pretty much the same as we did with the heat transfer vinyl, but as the design is small we must take special care.
Due to it's small size, cutting the sticker was more challenging.
We tried to change the blade as well as changing the speed and the pressure.
- 45º, 20mm/s
- 45º, 10mm/s
- 30º, 10mm/s
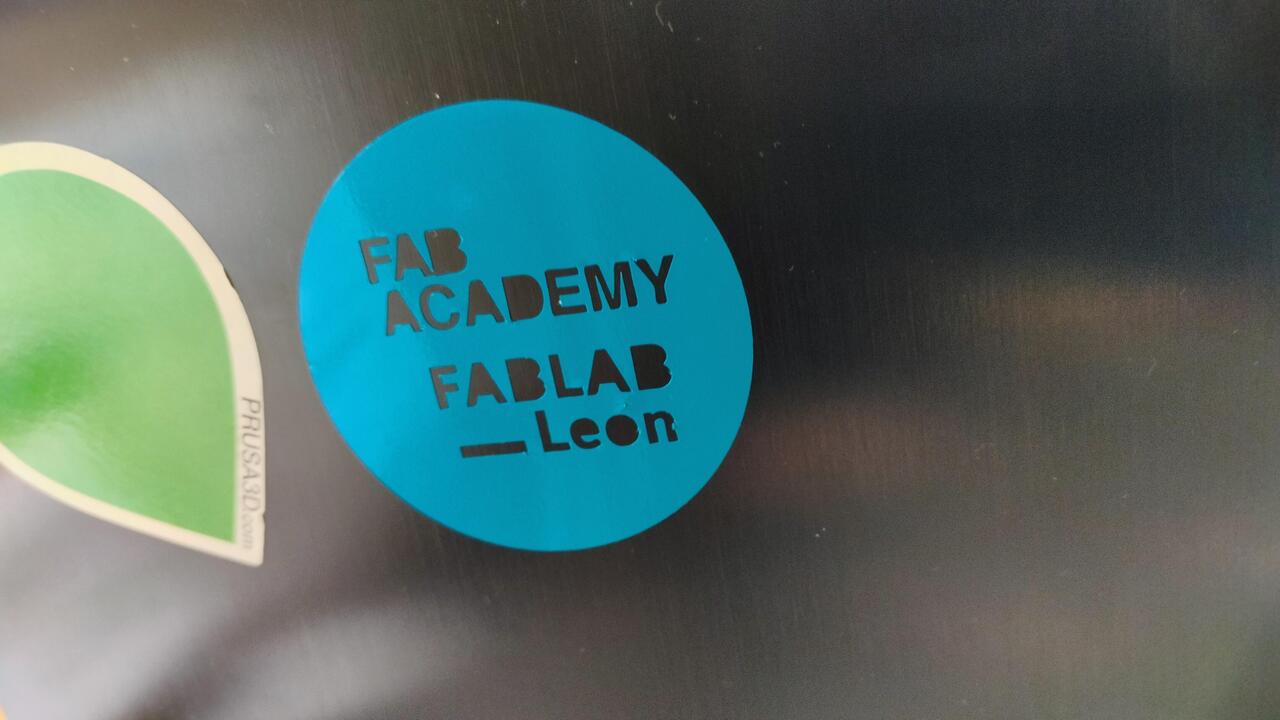
Eventually we did go back to the first blade and settings and changed the speed and the force:45º, 20mm/s
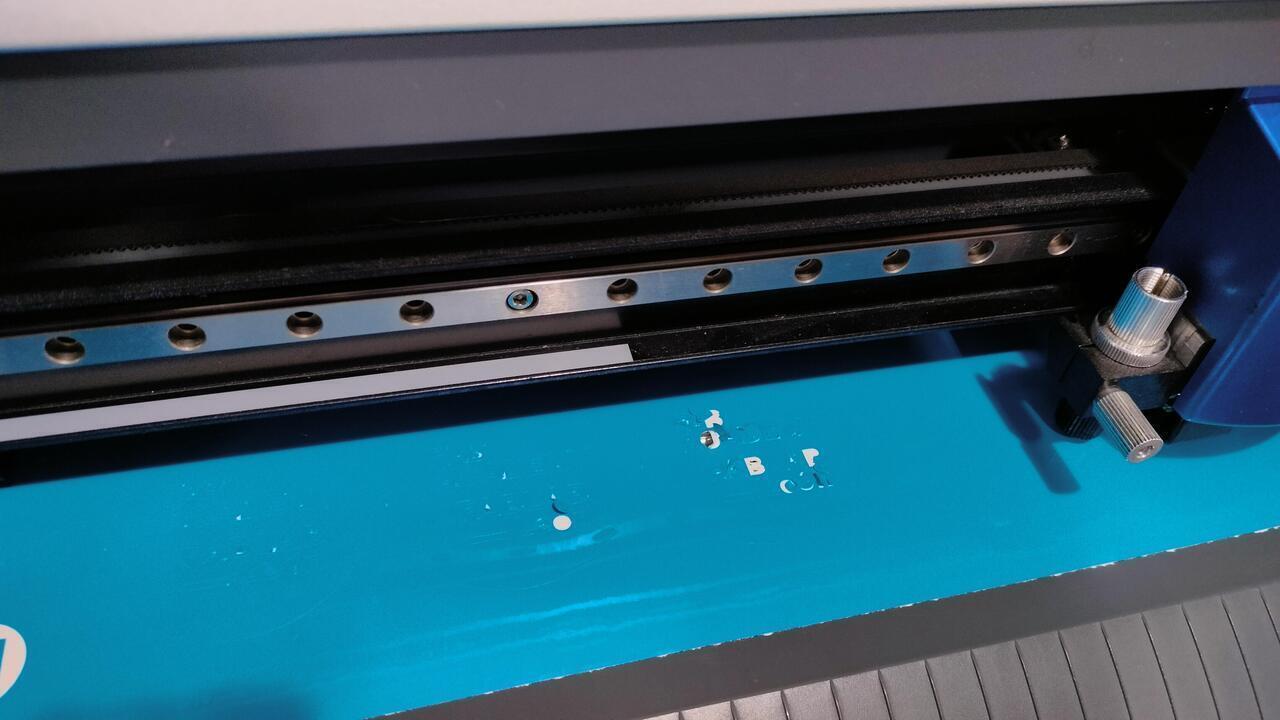
Some moderate sucess:
After some work removing the excess material
Haven't yet had the time to work with the Silhouette Cameo yet, but do hope to do it soon.
Final project
Nothing to add here for now
Files
Learned this week (in no special order)
- How to make a parametric design in Fusion 360;
- Got to use Rhino3d;
- How to use a Co2 Laser cutter;
- How to make a tshirt via heat transfer;
- How to make a sticker via vinyl cutter;
- How to use a rotary attachment in the laser cutter;
- How to use a vinyl cutter;
- How to use a heat press;
Notes and Thoughts
In Rhino the _distance command calculates the distance between two points;
In Rhino, just start typing commands and look at the suggestions;
In Rhino, you have to add a _ if you want to use English in the spanish Rhino version :)
It's spelled doesn't and not doesn't (Thanks Nuria!);
Tried to use the laser cutter back home in the weekend to add to this weeks assignments but there's some kind of power failure;
I have to think how i could integrate laser cutting and vinyl cutting in my final project
ffmpeg -i input.mp4 -vcodec libx265 -crf 28 output.mp4
Those living hinge bracelets that i bought for a couple of bucks a couple of years back are not that hard to make.
When I have time I would like to visit Luis Fab Lab in Vigo. I have a direct train from my home in Porto or Caminha to Vigo.