This week's fun assignment was:
Group assignment:- Test the design rules for your 3D printer(s);
- Design and 3D print an object (small, few cm3, limited by printer time) that could not be made subtractively
- 3D scan an object (and optionally print it)
3D scanning and printing
I'm not new to the world of 3D printing as I have two 3D printers at my "home lab". Well, currently I
only have one running as the parts for the other one got cannibalized for another project.
That's why I knew that this week was going to be pretty fun!
I have also used a scanner before, but it was a long long time ago in college.
So, let's get to it.
Group assignment
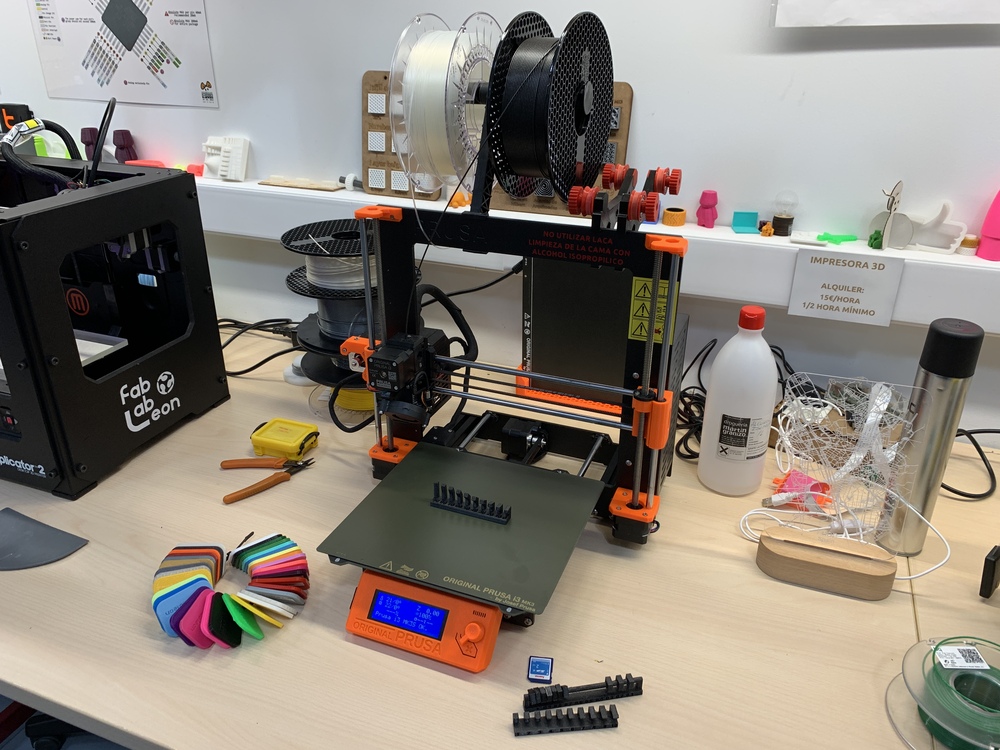
The Fab Lab Léon has several generations of 3D printers, from some museum pieces to the Makerbot Replicator 2 that came out in 2012, as well as Prusa Minis that started arriving in Fab Labs around the world in (late) 2020.
For this group assignment I had to test the design rules for the 3D printers in the Lab.
Design rules are configurations and settings that one (as in me) has to follow to make sure that the 3D print
will print correctly.
Each 3D printer has its settings, but there are some general rules that apply to all printers.
The 3D Printers in Fab Lab León have been thoroughly tested and put through the paces but I will print some tests anyway. The tests are going to be printed in PETG as all the previous tests (as in torture tests) have been made using PLA.
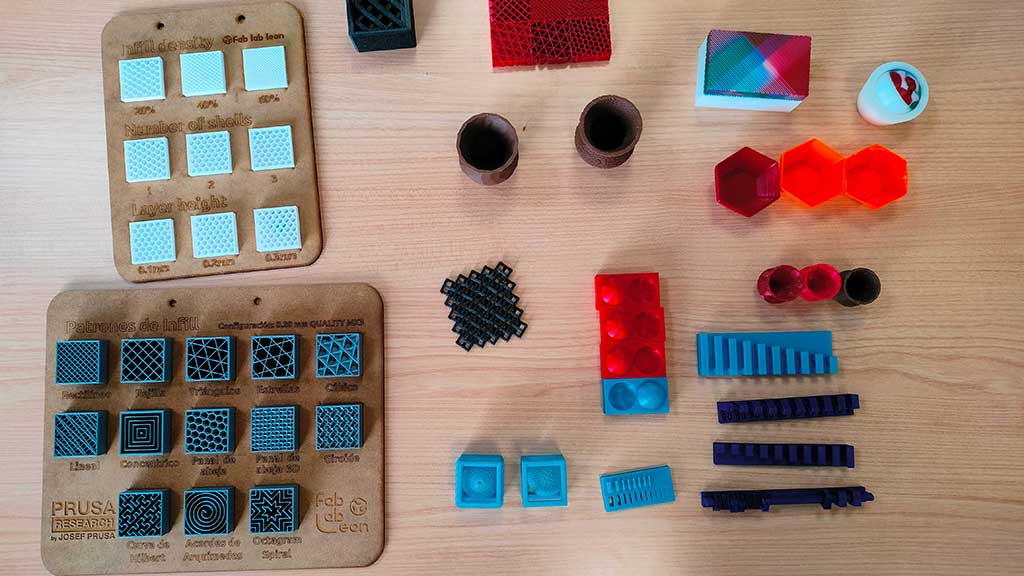
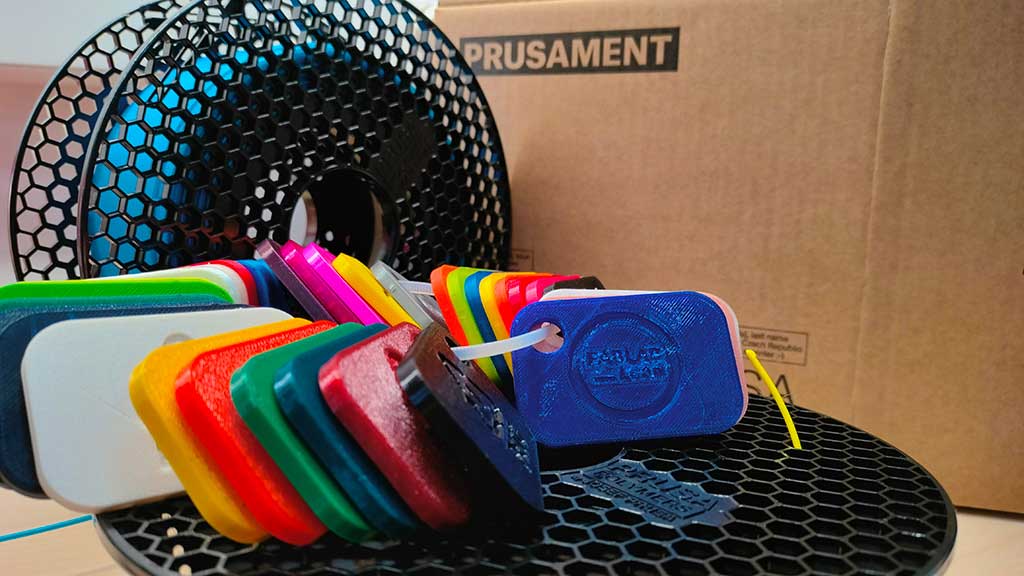
Fab Lab León has a very useful material guide. I mentioned it before in the Laser
cutting week.
In this week's case, the material guide goes from colors and materials like PLA and PETG:
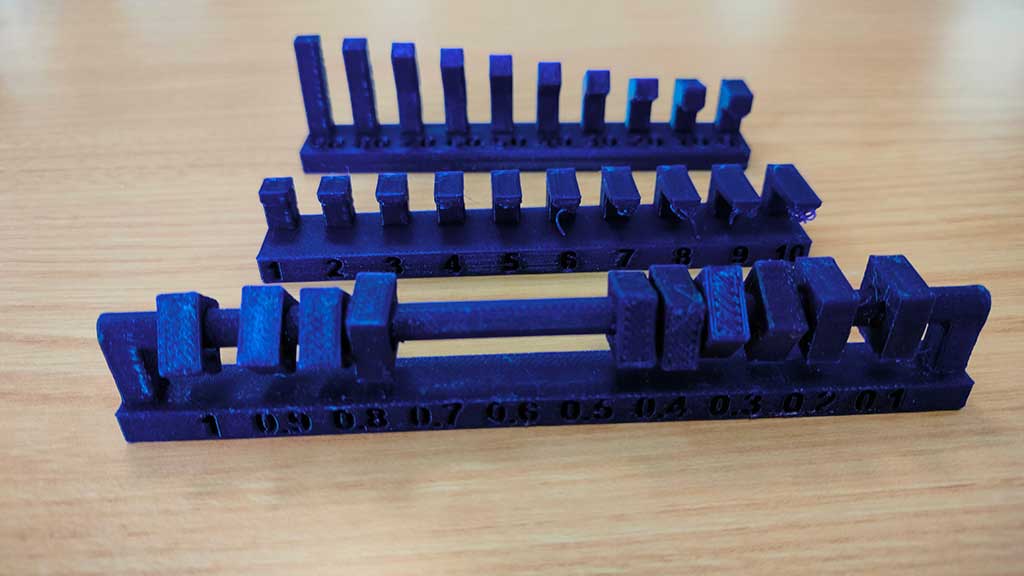
For the tests with PETG I'm going to replicate the following tests that were printed in PLA
The printers i'm going to test are the following:
Prusa I3 MK3S+
What's important:
- FDM type printer
- Nozzle Diameter: 0.4mm.
- 300 °C Max nozzle temperature
- 120 °C Max heatbed
- Direct Drive extruder
- Filament diameter of 1.75 mm
- Fully-automatic Mesh Bed Leveling process;
- Removable magnetic print sheets: smooth, textured and satin;
- Power Loss Recovery;
- Built-in filament sensor;
| Specifications | |
|---|---|
| Build Volume | 25x21x21 cm |
| Layer height | 0.05 - 0.35 mm |
| Nozzle | 0.4mm default, wide range of other diameters/nozzles supported |
| Filament diameter | 1.75 mm |
| Supported materials | 200+ mm/s |
| Max nozzle temperature | 300 °C |
| Max heatbed temperature | 120 °C |
| Extruder | Direct Drive, Bondtech gears, E3D V6 hotend |
| Print surface | Removable magnetic steel sheets(*) with different surface finishes, heatbed with cold corners compensation |
| Printer dimensions (without spool) | 7 kg, 500x550x400 mm (XxYxZ) |
| Power consumption/td> | PLA settings: 80W / ABS settings: 120W |
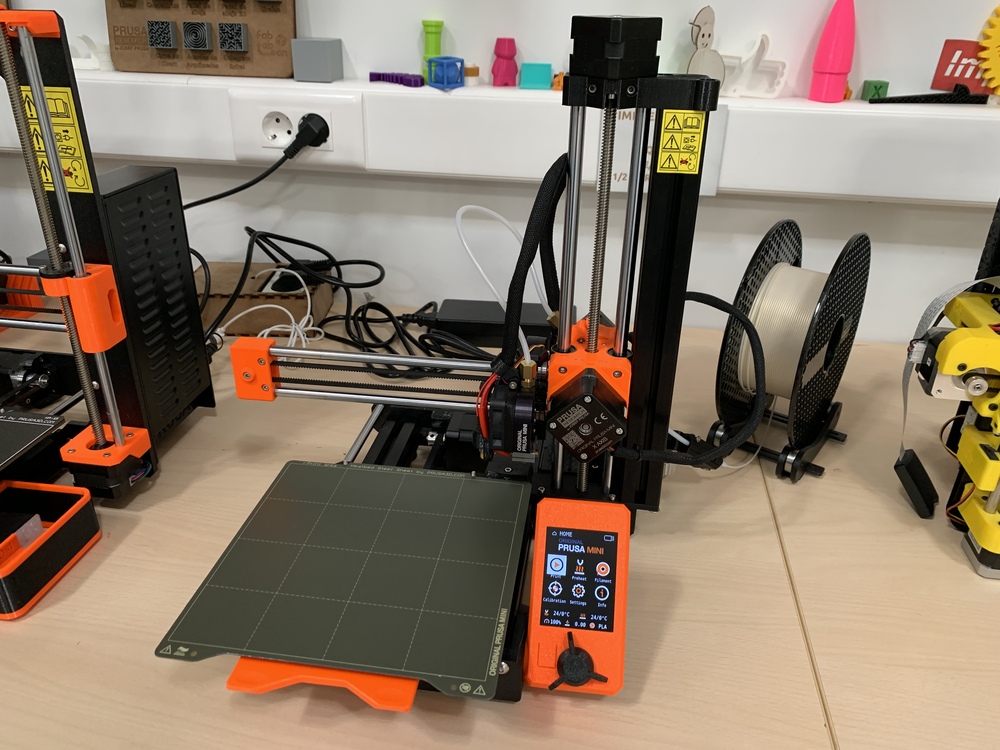
Prusa Mini
What's important:
- FDM type printer
- 280 °C Max nozzle temperature
- 100 °C Max heatbed
- Bowden system with 3:1 gearing extruder
- Filament diameter of 1.75 mm
- Color LCD Screen with preview of sliced models;
- Fully-automatic Mesh Bed Leveling process;
- Network Connectivity: ESP WIFI or Ethernet;
- One-click Printing;
- Filament run out sensor;
| Specifications | |
|---|---|
| Build Volume | 180 x 180 x 180 mm |
| Layer height | 0.05 - 0.25 mm |
| Nozzle | 0.4 mm default, widex range of other diameters/nozzles supported |
| Filament diameter | 1.75 mm |
| Supported materials | PLA, PETG, ASA, ABS, PC (Polycarbonate), CPE, PVA/BVOH, PVB, HIPS, PP (Polypropylene), Flex, nGen, Nylon, Woodfill and other filled materials. |
| Max travel speed | 200+ mm/s |
| Max nozzle temperature | 280 °C |
| Max heatbed temperature | 100 °C |
| Extruder | Bowden system with 3:1 gearing |
| Print surface | Removable magnetic steel sheets(*) with different surface finishes, heatbed with cold corners compensation |
| Printer dimensions (without spool holder & external PSU) | 4.5 kg 380x330x380 mm (XxYxZ); |
For the tests, I will be using the same files that Adrián used to test in PLA.
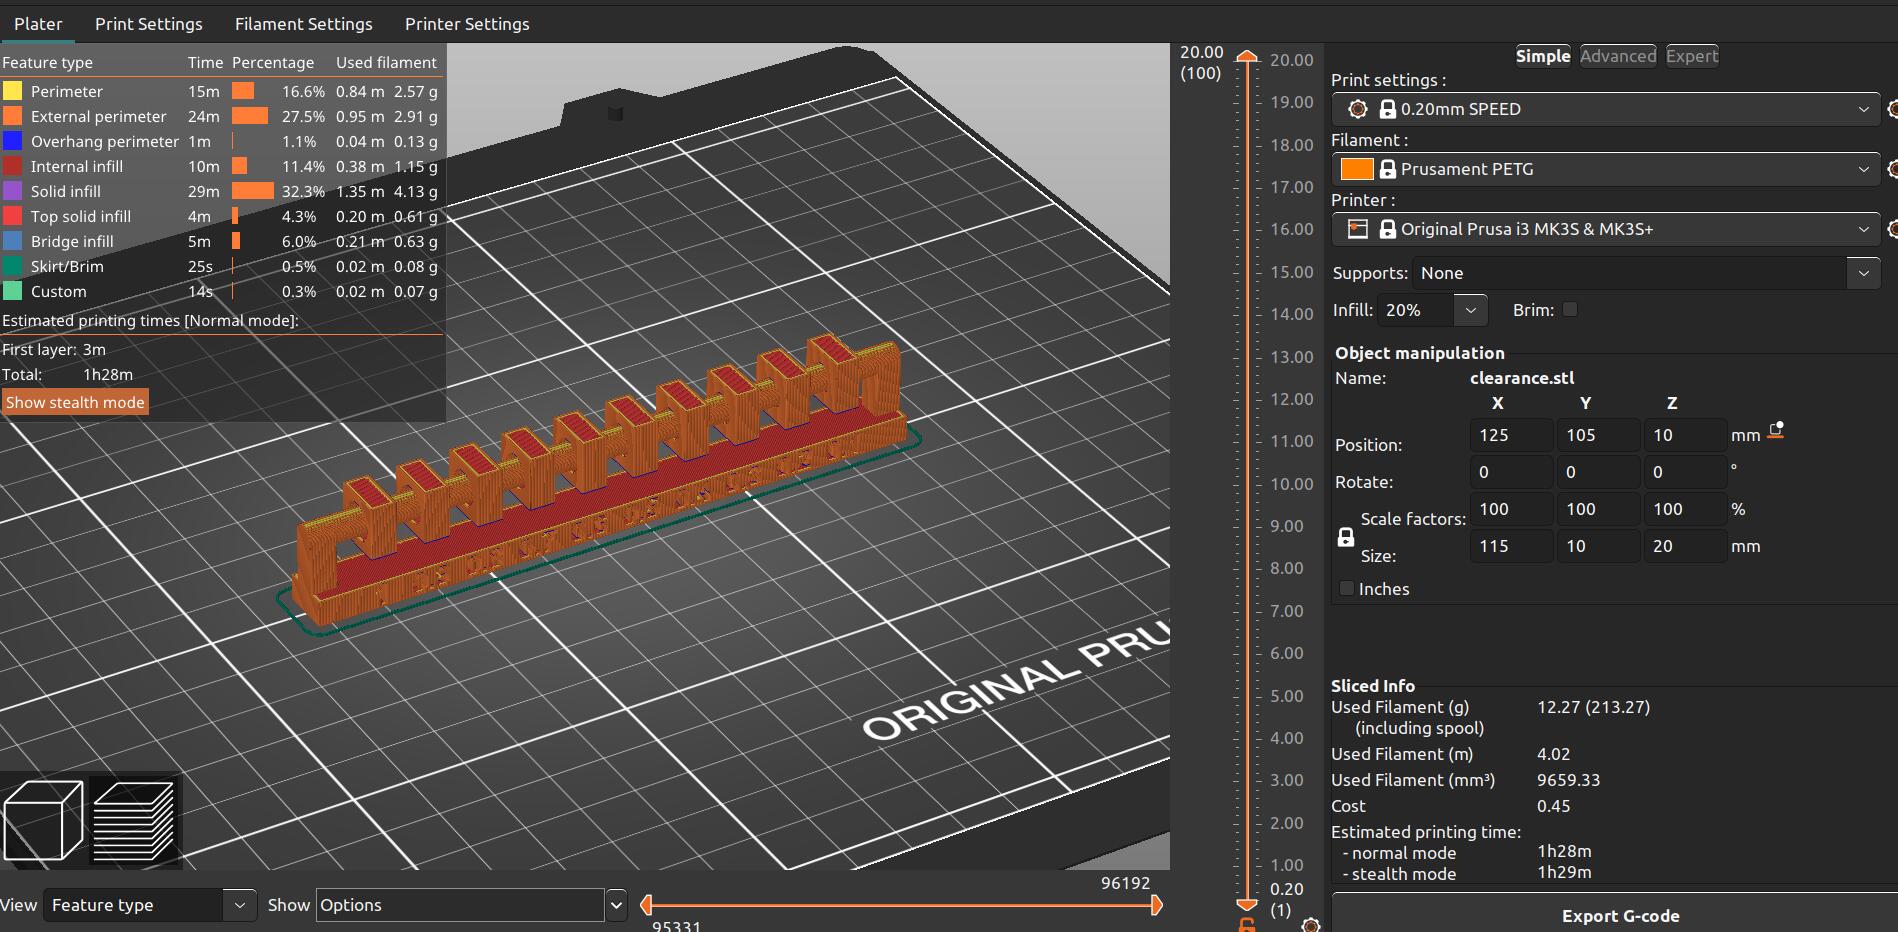
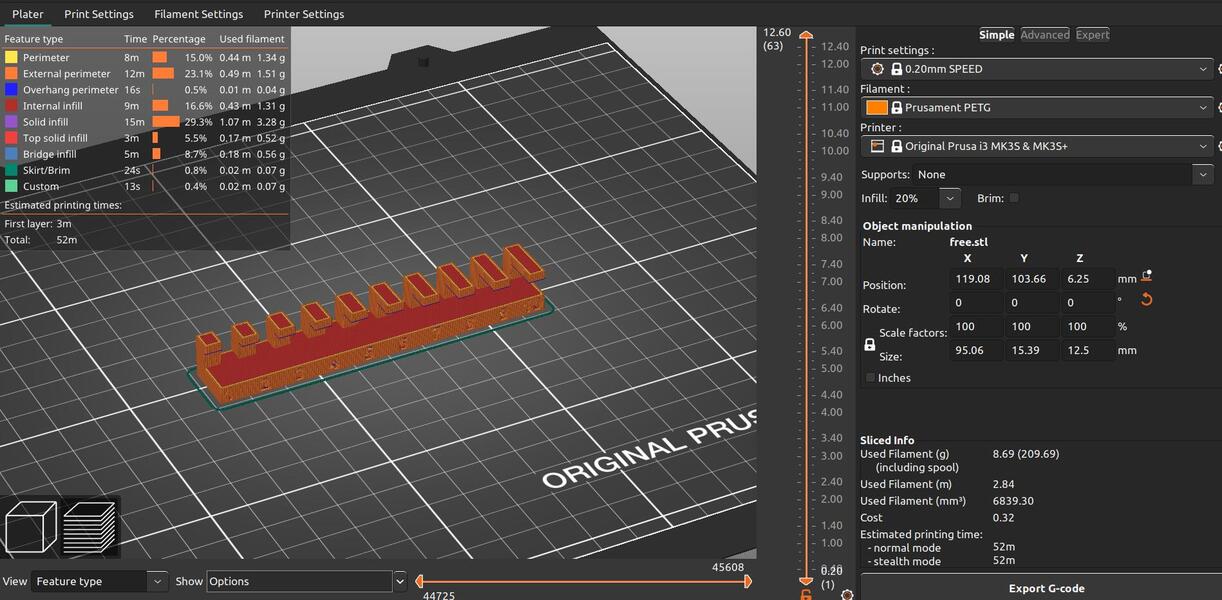
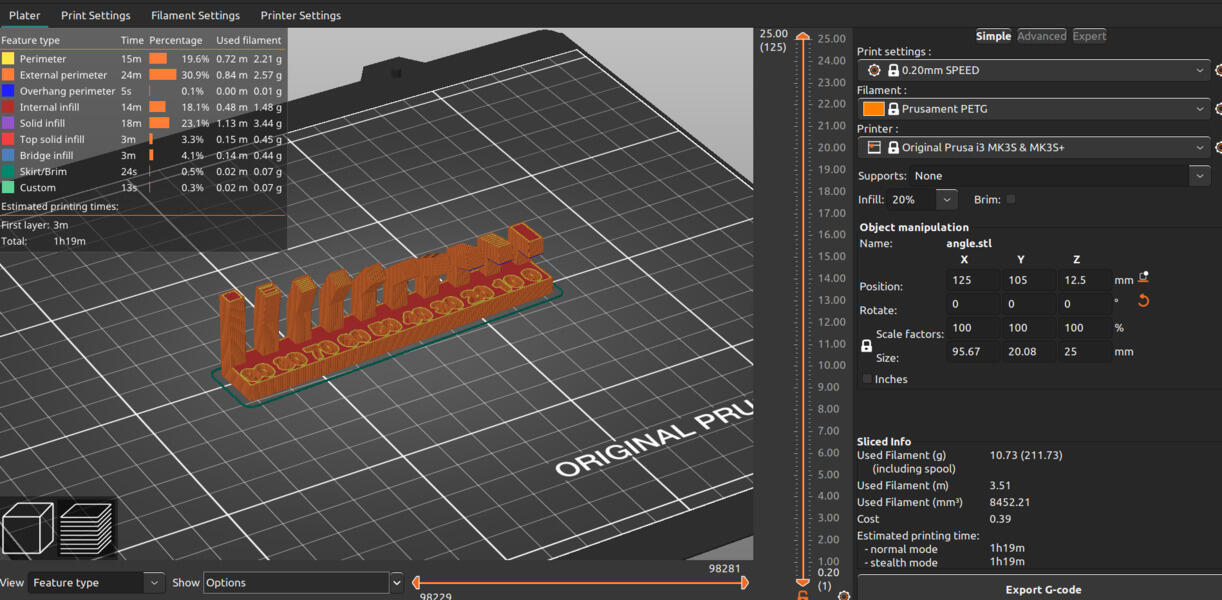
The tests will be printed in the Prusa MK3S+ All tests are printed in PETG filament, at 0.2 mm resolution and the default 20% infill:
The filament I will be using is the Prusament PETG Ultramarine Blue Transparent
The Printing Setup is the following:
- Nozzle: 250 °C
- Heatbed: First Layer: 85º
- Other layers: 90 °C
- Angle test: 1h19 minutes print time
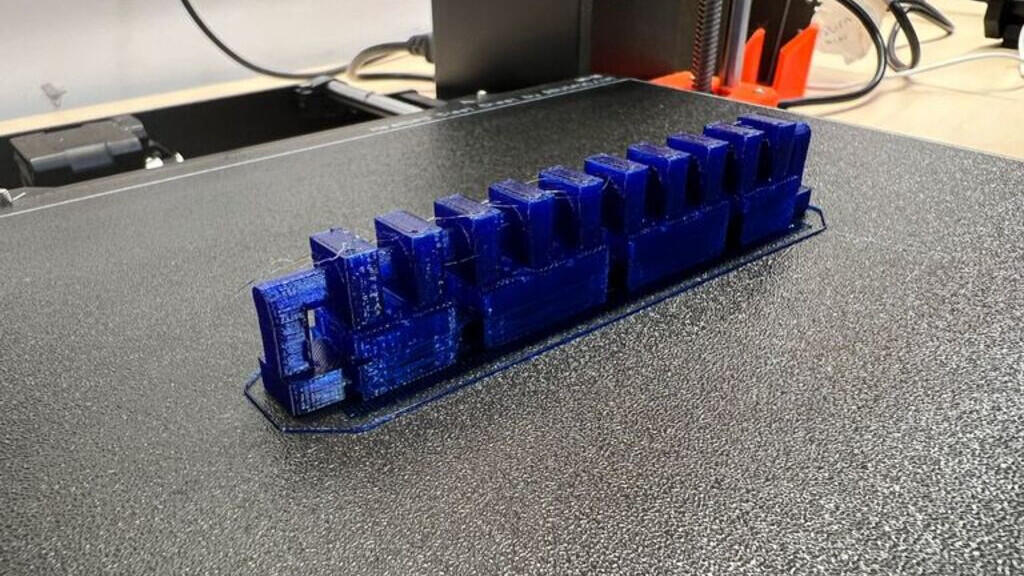
- Clearance test: 1h45 minutes print time
- Overhang test: 52 minutes print time
The clearance test takes a lot longer as it needs painted on supports.
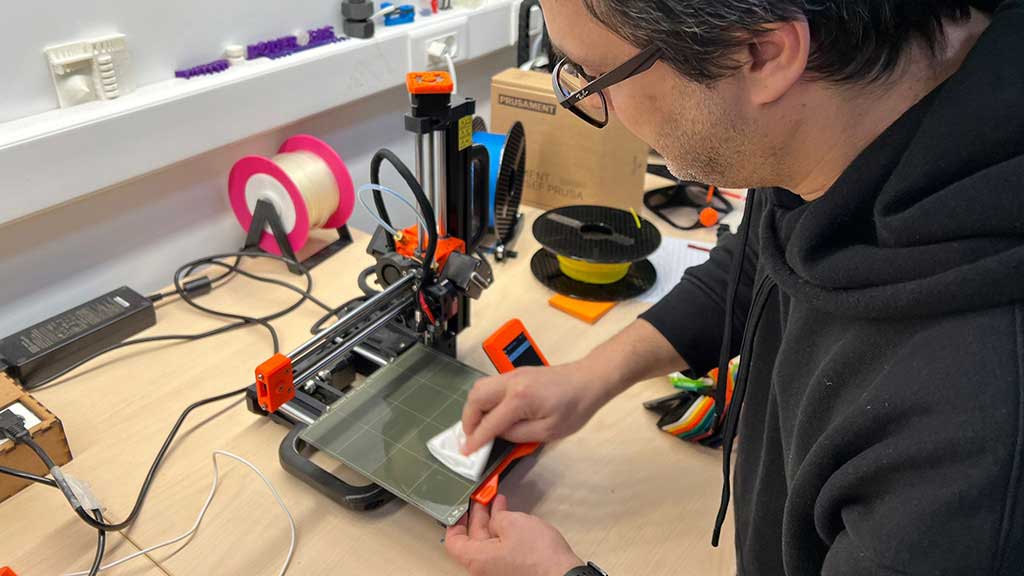
But before we start printing whatever...we need to clean the bed!
The printer bed should be cleaned with Isopropyl Alcohol and a dry, non-abrasive cloth.
Prusa printers use different types of steel sheets that are placed in the heat bed.
Besides the appearance that the sheets leave on the prints, a major reason to know the difference
between the sheets and use the correct one is that PETG has a great adhesion to a flat surface making it
more difficult to remove from the bed.
For these tests we will be printing on a Textured PEI sheet and not on the usual Smooth PEI sheet.
Let's print:
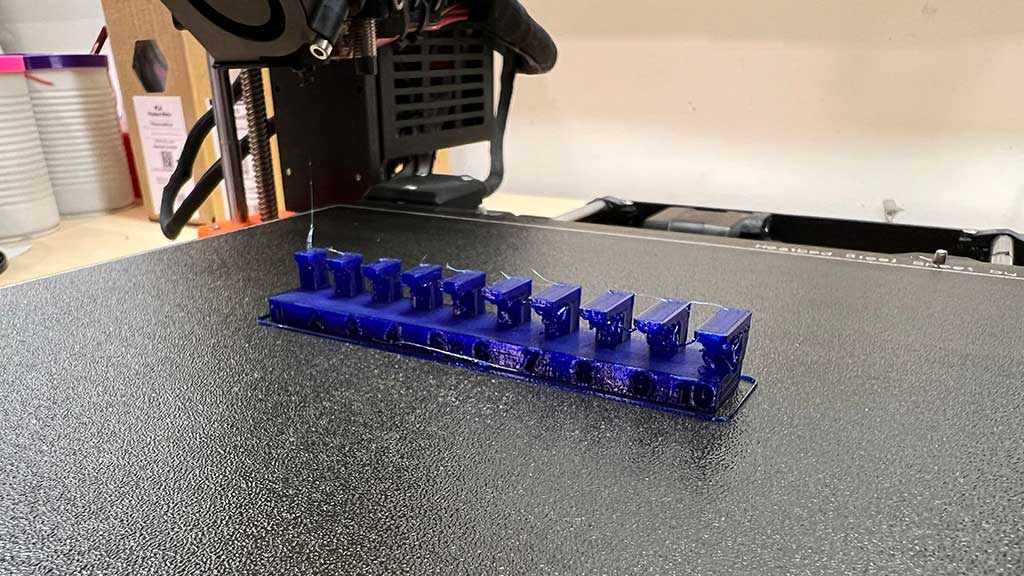
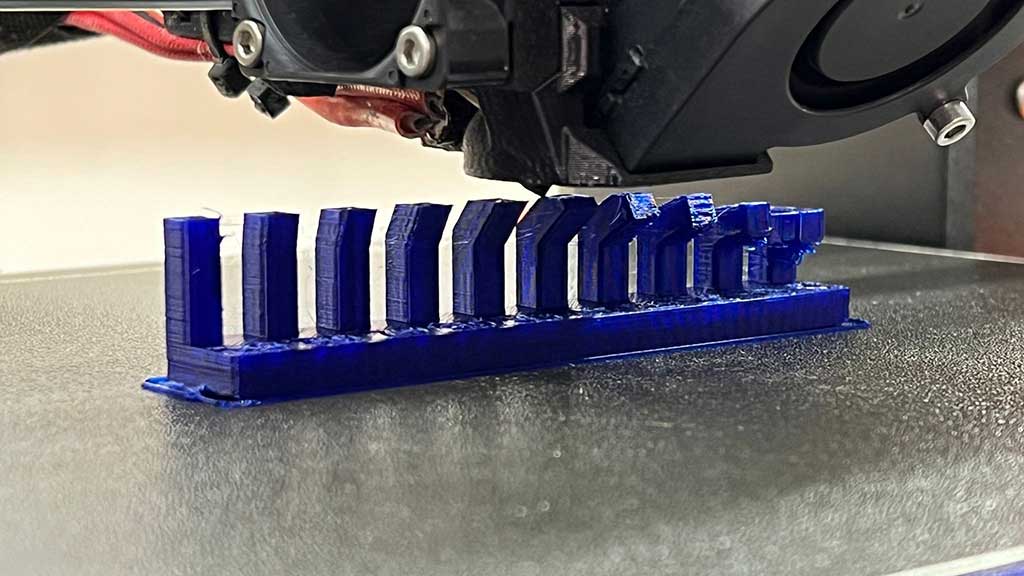
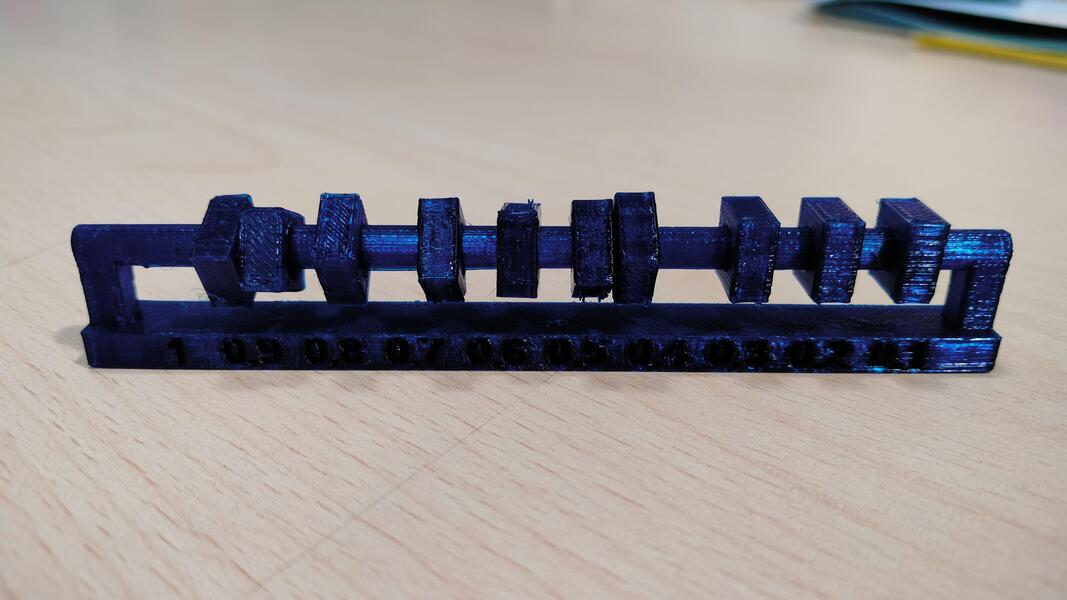
Let's see the results:
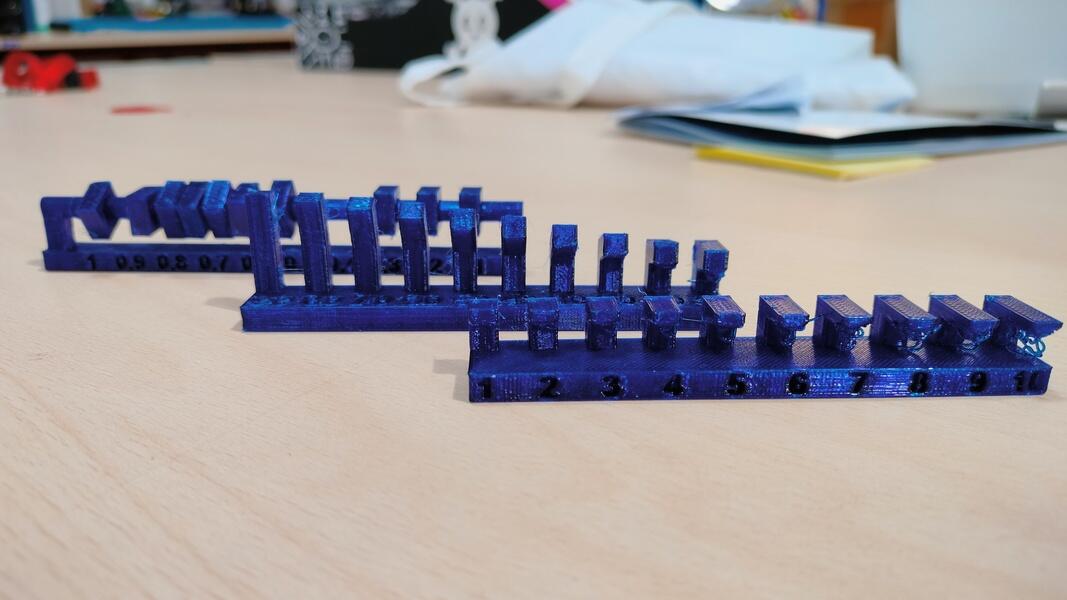
Angle: Supports needed in and after 20º .
Overhang: 2 mm for filament loose.
Clearance: Free from 0.3 mm
The Clearance test was printed with supports. Here is a picture of the final print with the supports still on.
These tests cannot be done in the Prusa MINI because currently there is no Textured PEI sheet for the
Prusa MINI in Fab Lab León.
I could print with PETG without the Textured PEI sheet by adding masking/painters tape over the sheet but that would add glue to it and it would be hard to clean it.
Prusa Printers are great machines and produce great results with consistency.
Individual assignment
3D scan an object (and optionally print it)
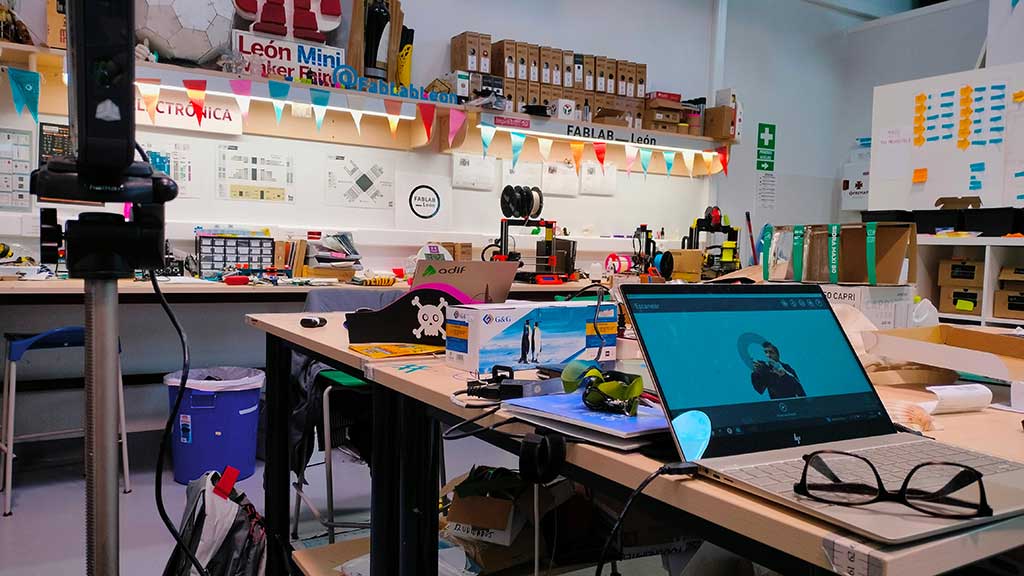
Fab Lab León is a great lab not just for the people in it but also for all its equipment.
Just because something in tech is not new, that doesn't mean it's not worth it to try out or use. We have seen in prior weeks with the vinyl cutter that it is true and this week I used a piece of equipment that is not new but it's still very cool!
For this assignment I used 3 different scanners:
- 3D Sense Pro + Software
- Kinect + Skanet
- smartphone + PolyCam App
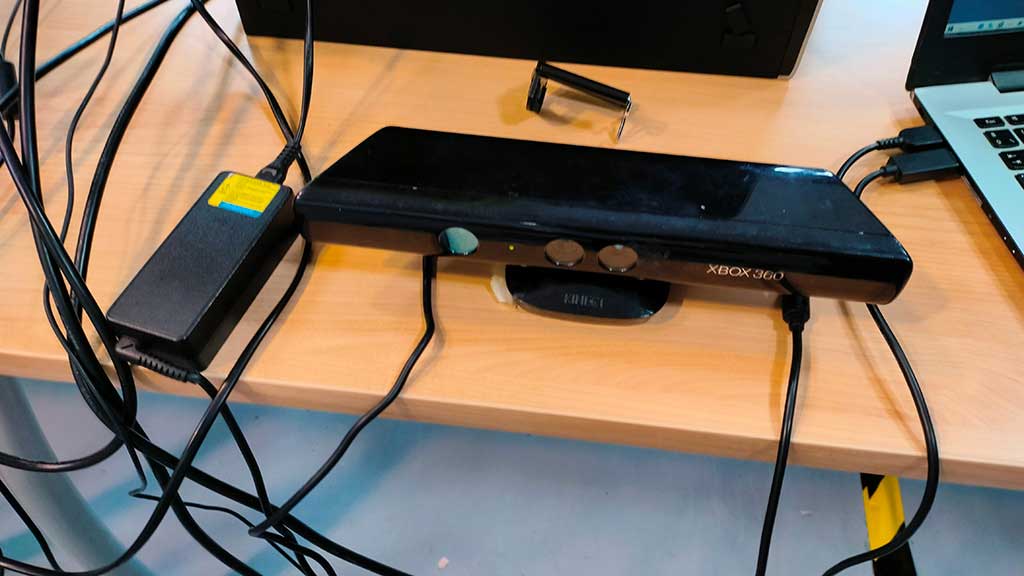
Kinetic + Skanet
I like Kinect because I believe it has so much potential for hacking, that didn't happen this week (the hacking part) but i'm thinking of looking at the second hand tech stores and get a Kinect for myself that i can hack without worrying about breaking it (more stuff for the "someday it will be useful" bin).
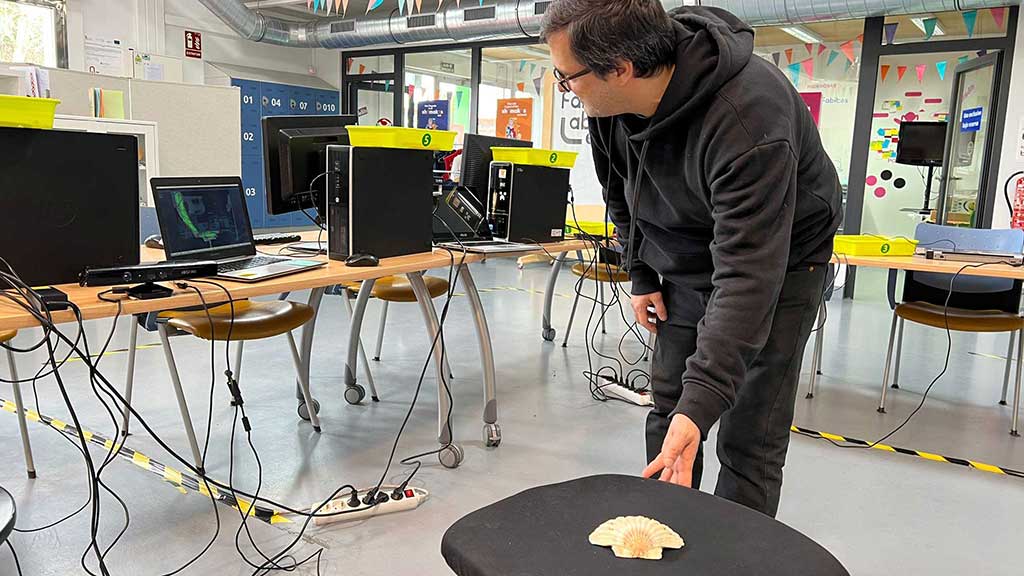
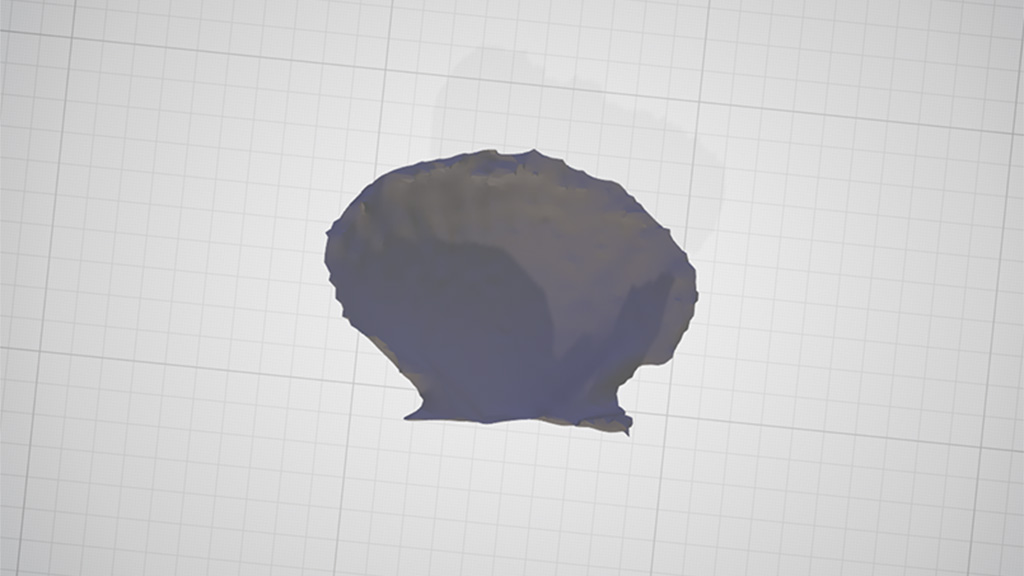
I used a Kinect to scan me and a seashell.
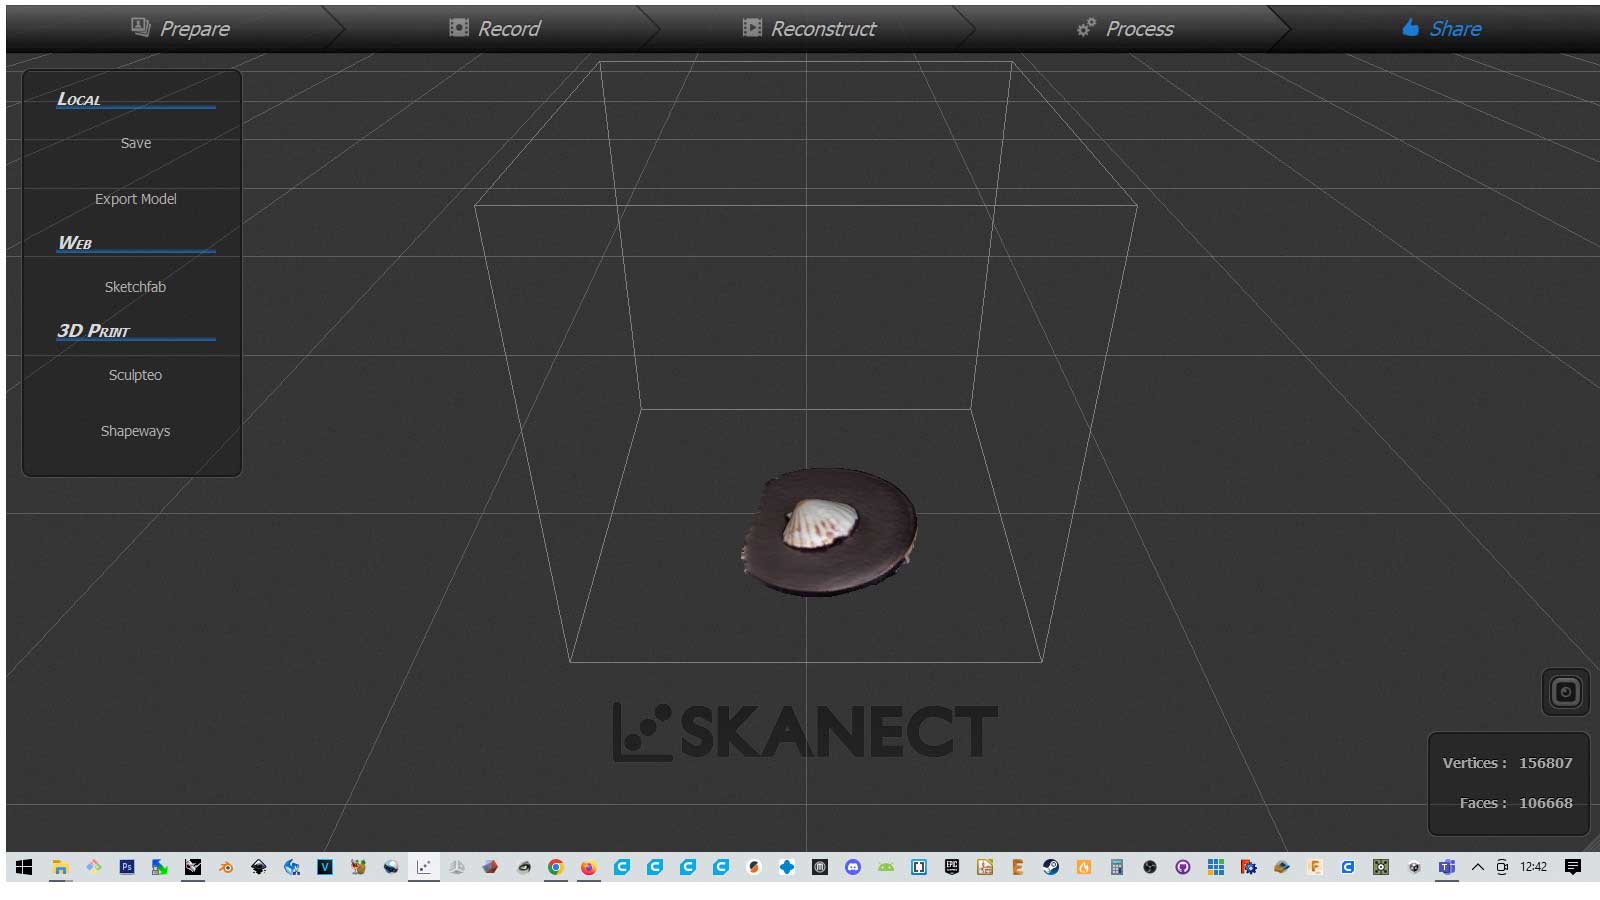
My final project is going to be housed inside a 3d modeled "seashell" so why not
try to scan a real one? Besides, shells have a lot of details, so it is cool to see what gets scanned or not.
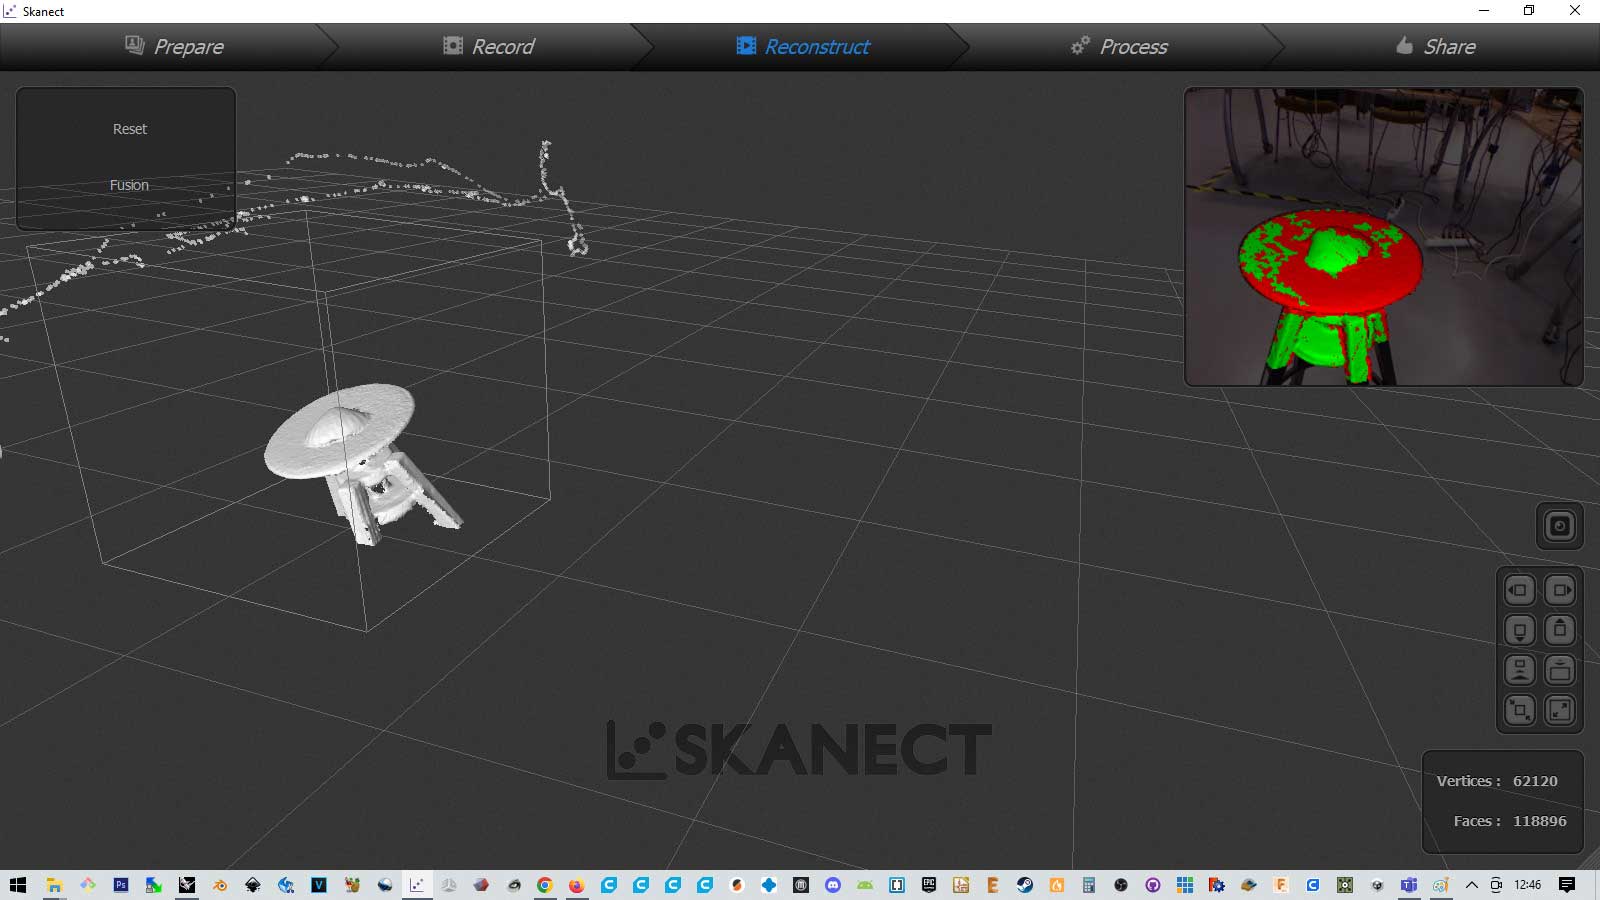
I used the Skanet software and there are some issues one most know beforehand about performance.
The official Skanet site has the following minimum requirements :
- CPU Reconstruction: 2 GB RAM, Quad core processor.
- GPU Reconstruction: GPU Reconstruction: 2 GB RAM, Intel Core 2, CUDA 2.0-compatible graphics card with a Compute Capability between 3.0-7.5 and 1 GB memory
- Recommended PC: Windows 7 or later (64 bits), Intel i7, 4 GB RAM, NVIDIA GTX 560 or higher.
Although that might be true and apparently everything should work, my computer didn't have enough resources to run the software and the scanner, so Pablo lended me it's computer.
I used a Kinect 1. Kinect v1 uses triangulation paired with structured light, the Kinect v2 uses time-of-flight calculations.
Pablo explained that the time-of-flight sensors are more easy to use as they don't take into account shadows and light positions.
Keep in mind that this is a learning in progress kind of task. Practice makes perfect.
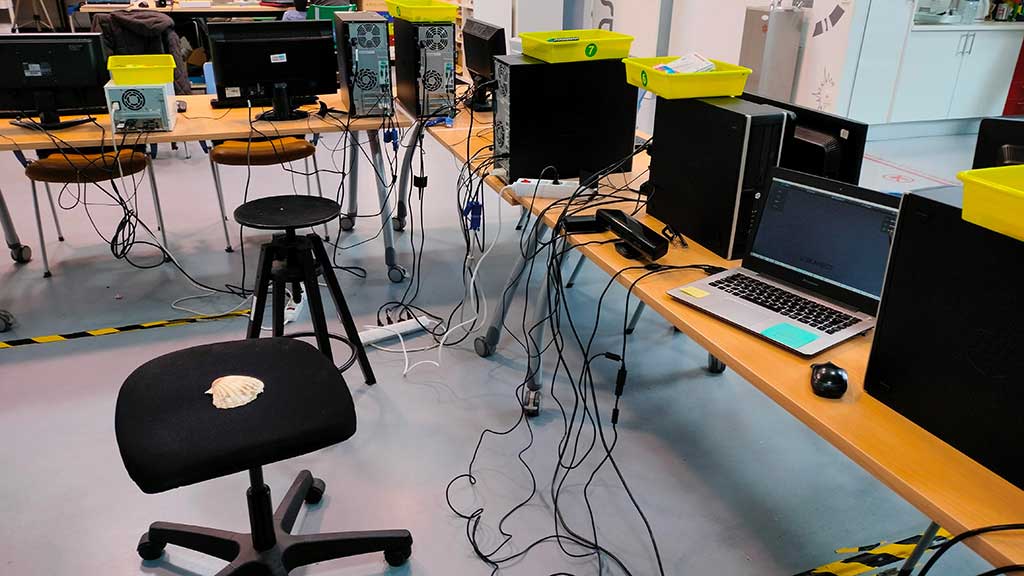
To scan the seashell I used a rotating bench. The trick to get a good scan with the Kinect is to move
slowly and keep the correct distance.
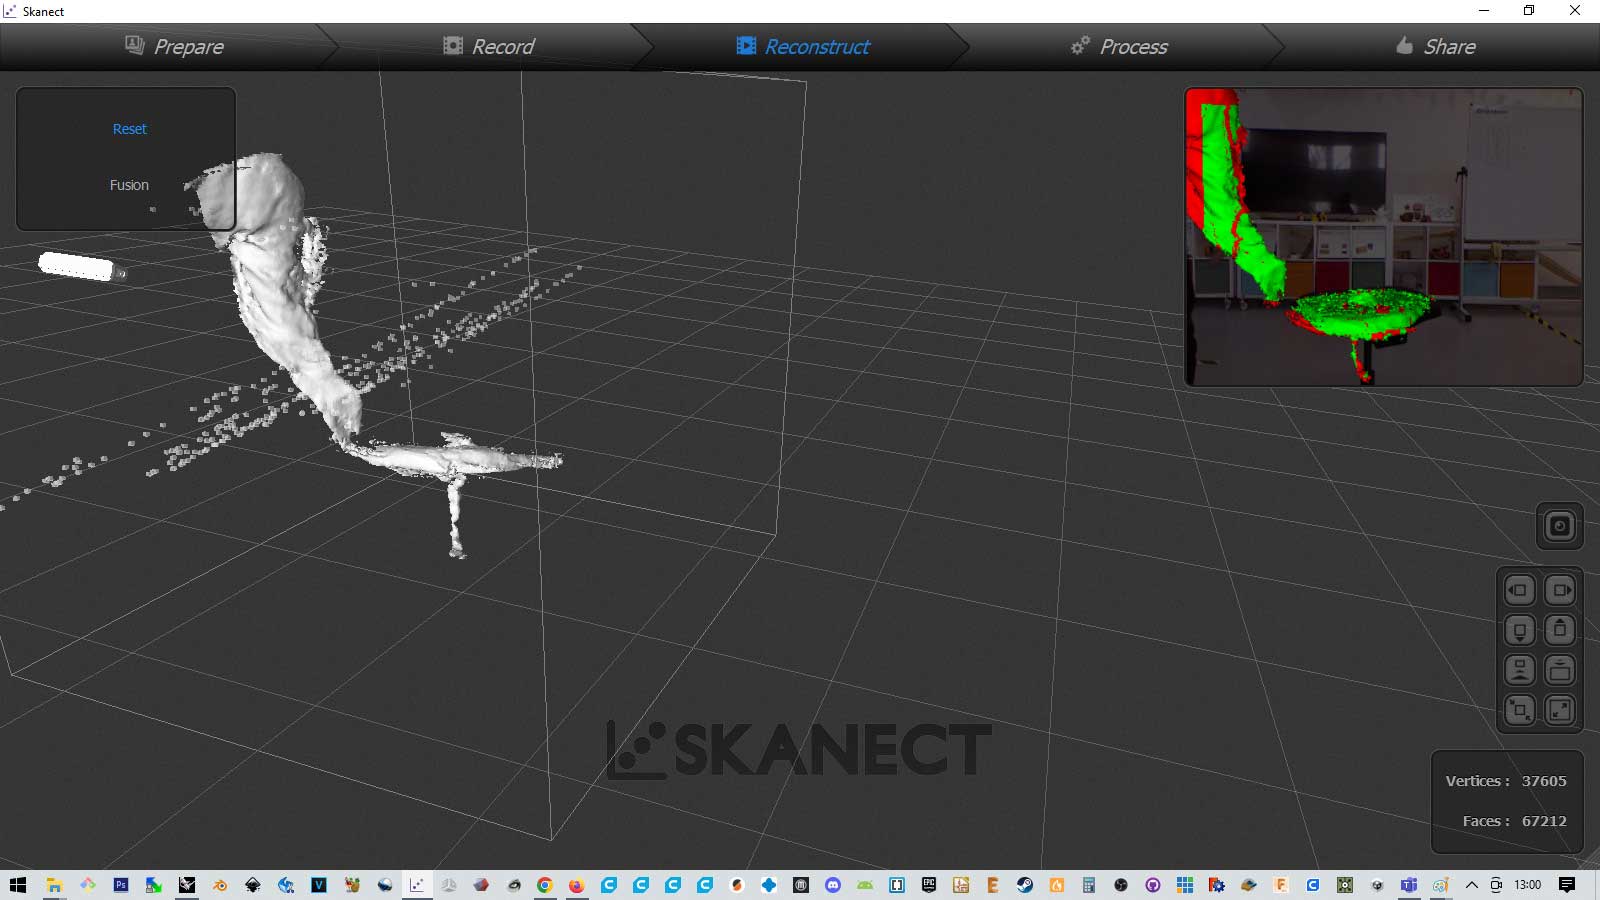
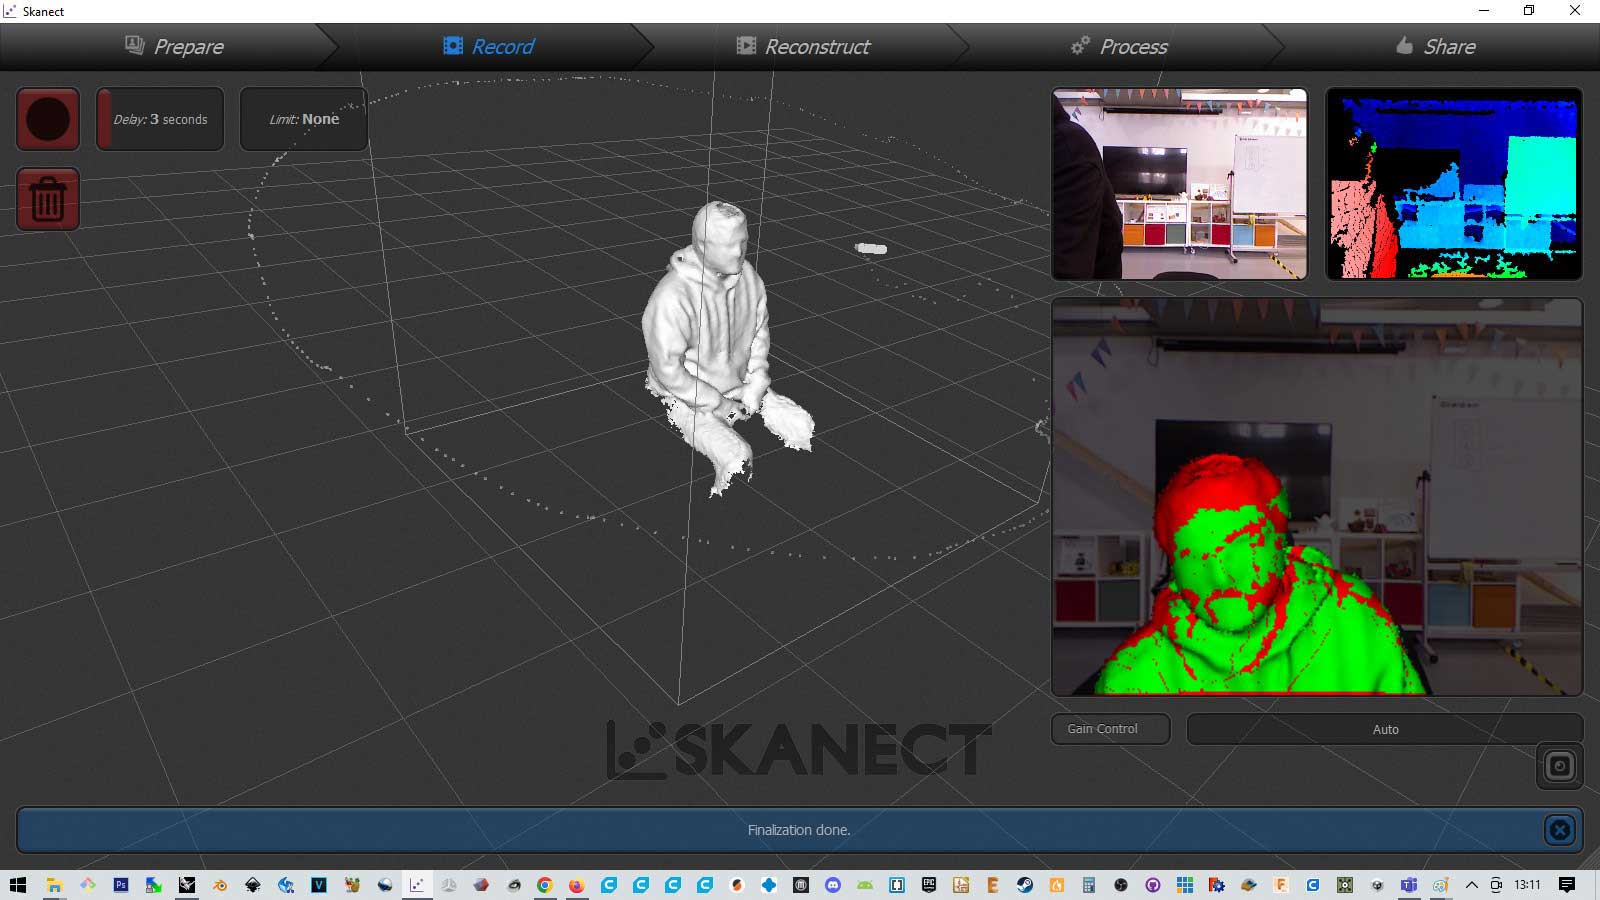
That is visible in the following images. The green parts means that the distance is correct
I also tried a different rotating base:
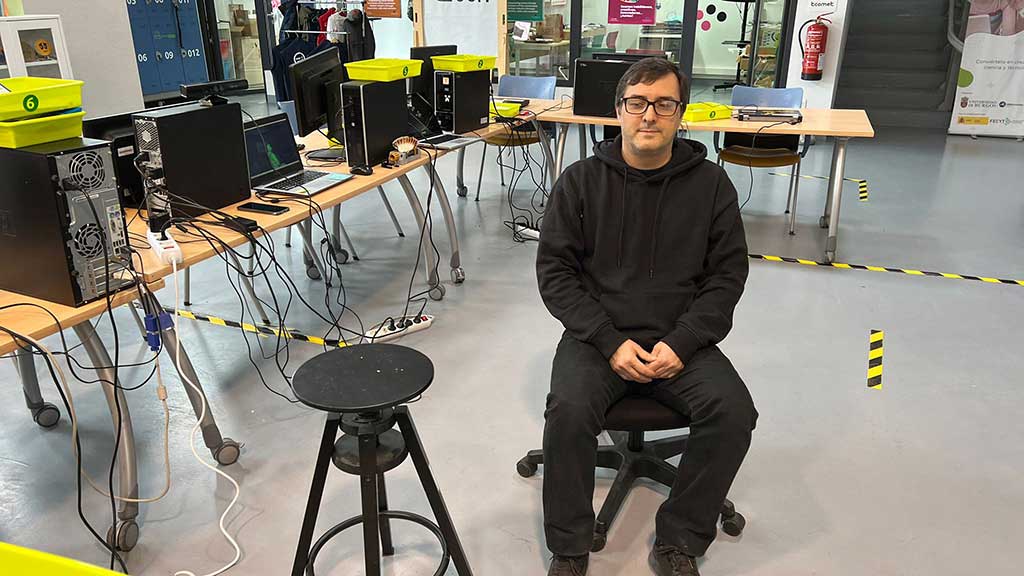
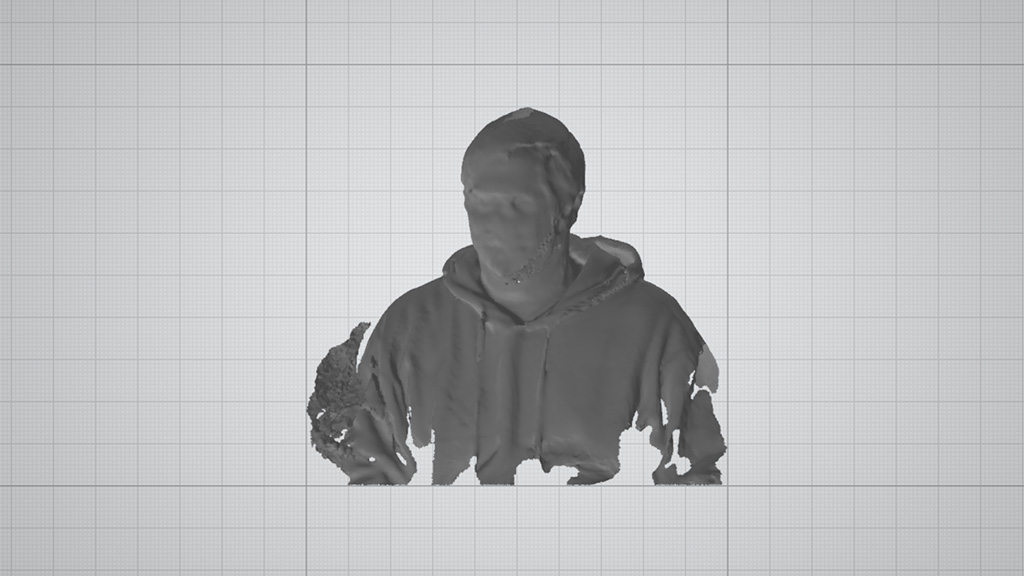
After scanning the shell I tried to scan myself hoping to get the model to print a mini-me.
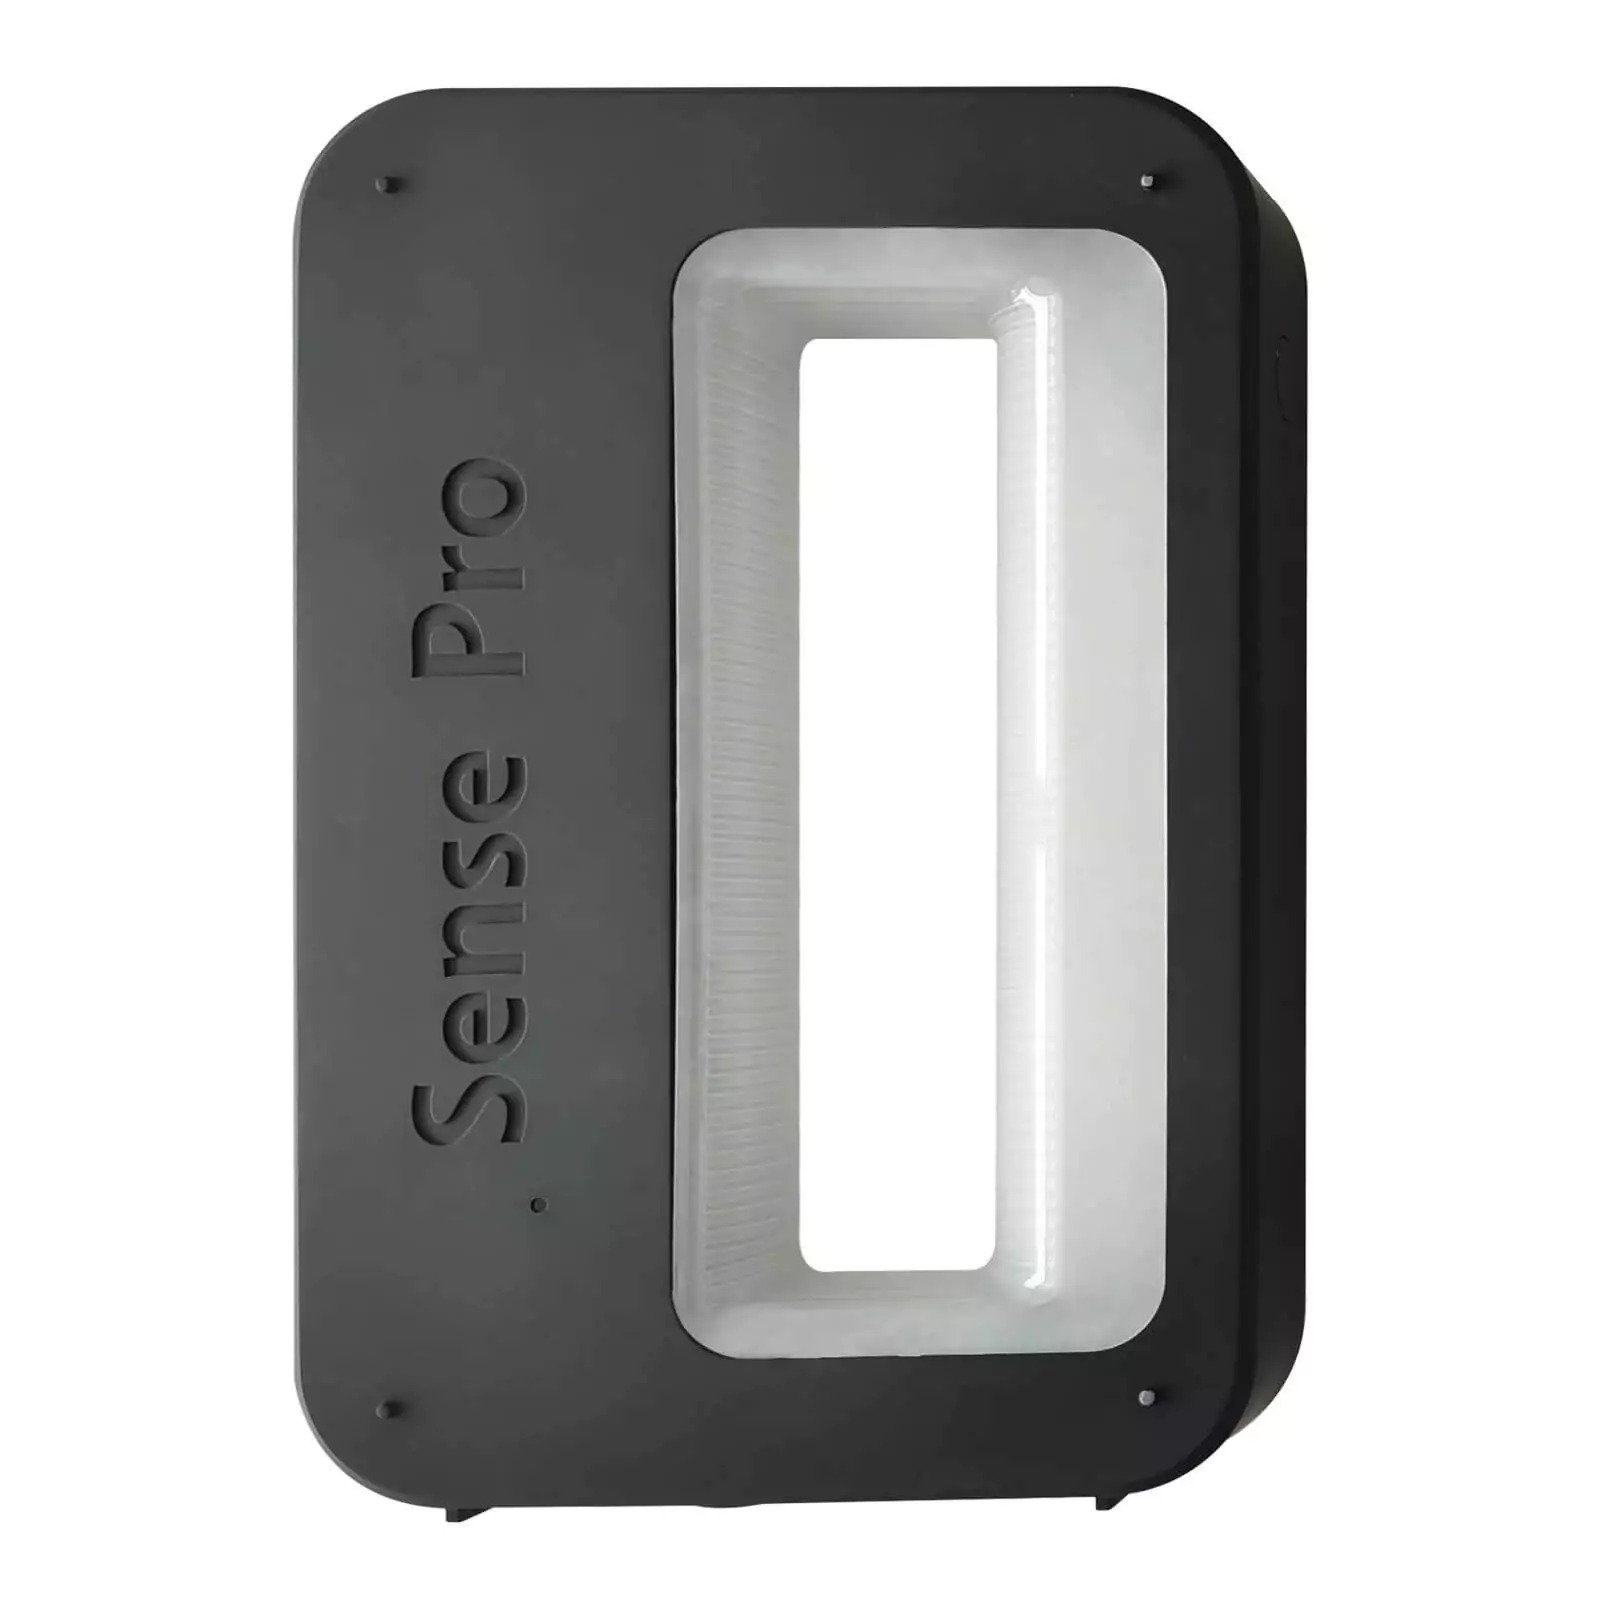
3D Sense Pro + Software
Next I tried the Sense Pro. It's a handheld scanner that's easy to use. It comes with very simple software.
Again I tried to scan a seaShell and also myself, but didn't get great results.
A couple of scan tests with the Sea Shell
And then ... me!
Polycam
Polycam is the leading 3D capture application for iOS as well as Android. It creates high-quality 3D models from photos and rapidly generates scans of spaces with the LiDAR sensor.
The user can edit the 3D captures directly on the device used for scanning as well as exporting. In the paid version we get over a dozen file formats but on the free version, only one file type GIB.
If the models are not exported they remain inside the App and one will eventually lose access to the files when the app disappears from the marketplace as the files, from what i gathered, are all kept in the "Cloud".
Again tried to scan the Sea Shell and Myself.

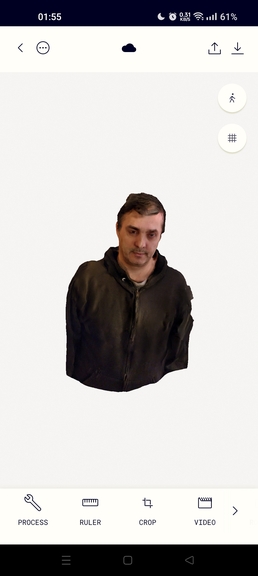
I exported the scans in GIB format and used an online conversionto STL.
From this scan of myself I extracted a mini-me. I closed the holes in the model in Fusion 360 and printed it.
It's possible to close the holes in the APP.
As a conclusion of the scan assignment I would say that Kinect has a lot of potential for Hacking and
Sense is really fast as a scanning tool and probably with time I could get it to work really well, but the
simplicity or Polycam makes it a winner.
The problem with Polycam is that it's a paid service and no one knows how long it will keep in
service.
I wonder if there are any open source apps like Polycam out there.
Nuria also gave me a few tips after the scanning. To scan a person it's easier to start in the scan from behind the person.
Design and 3D print an object that could not be made subtractively.
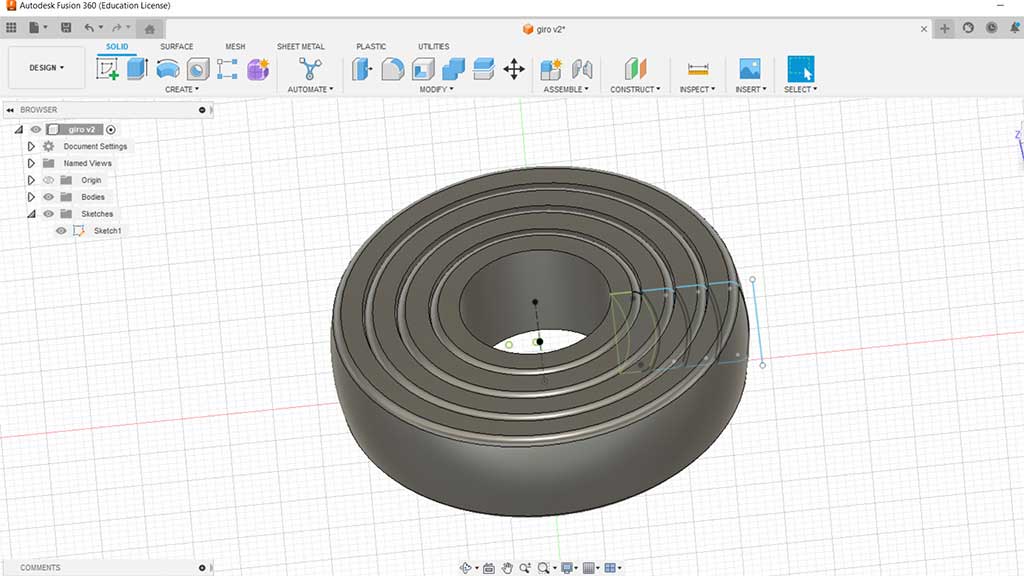
For this assignment I decided to design a print-in-place Gyroscope using parametric design to make
changes if it didn't print correctly or work like it was supposed to.
The gyroscope was designed in Fusion 360.
I started by setting some parameters like we did in design week: Thickness and spacing
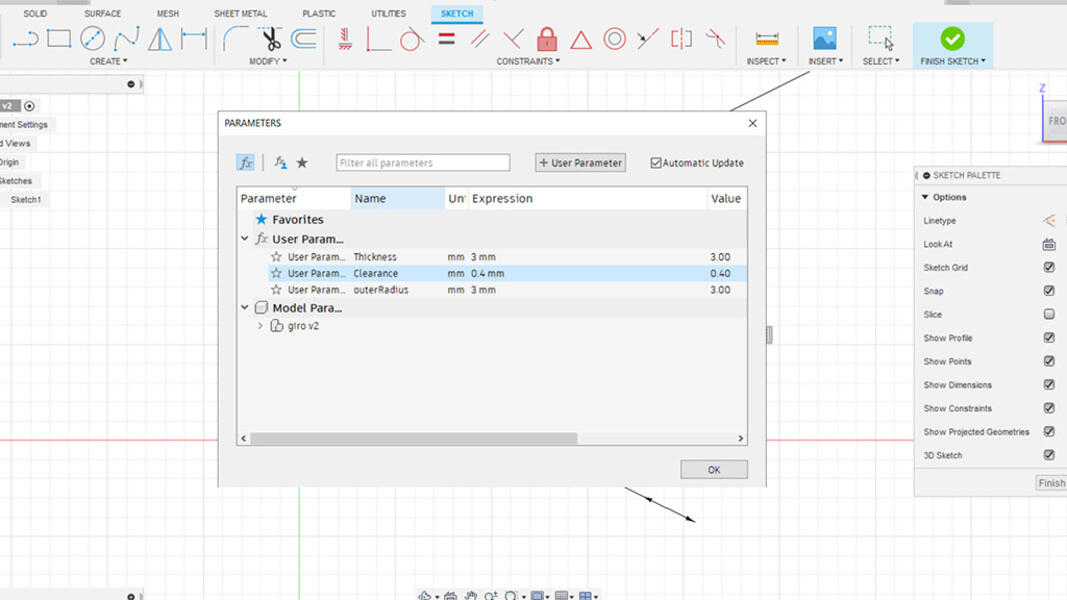
Then I design a sketch using the parameters.

Lastly I extruded the Sketch using the revolve action:
The filament used was the Prusament PLA Azure Blue.
The print settings are the following:
- First layer 215 / Other layers: 210
- Bed: 60º
Printing the Gyro.
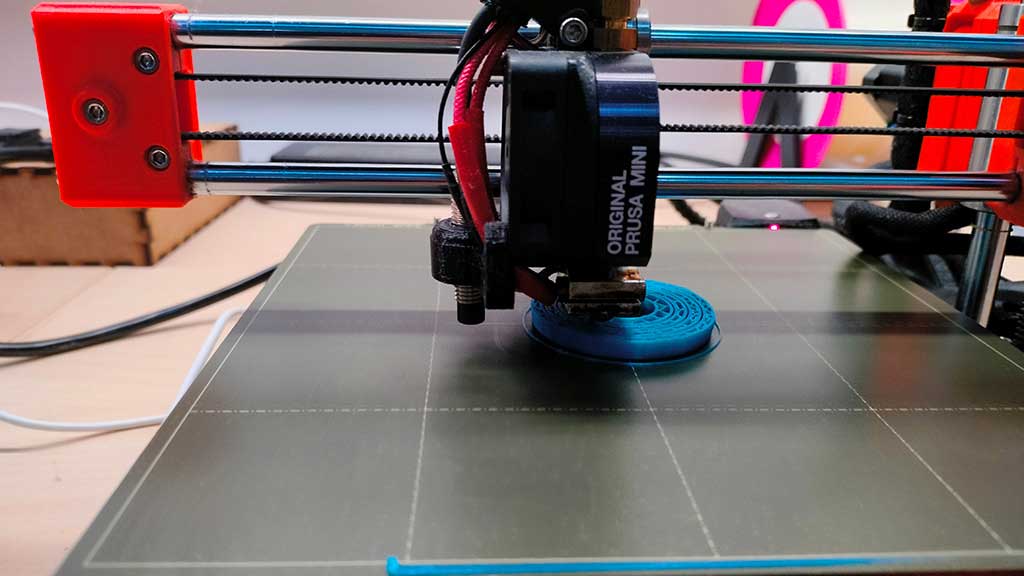
Printing the Gyro.
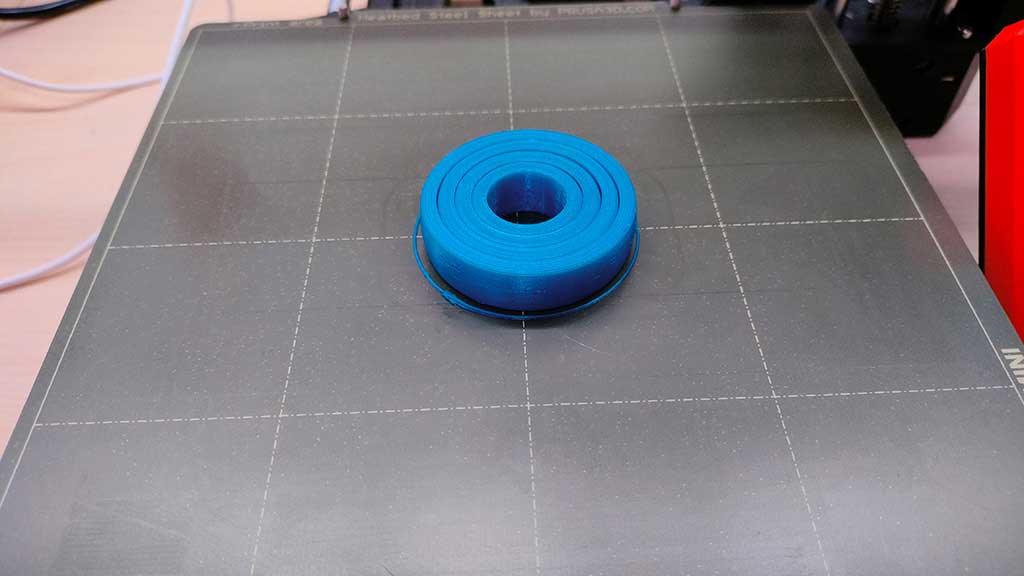
It came out alright in the first print.
Printing in multiple colors.
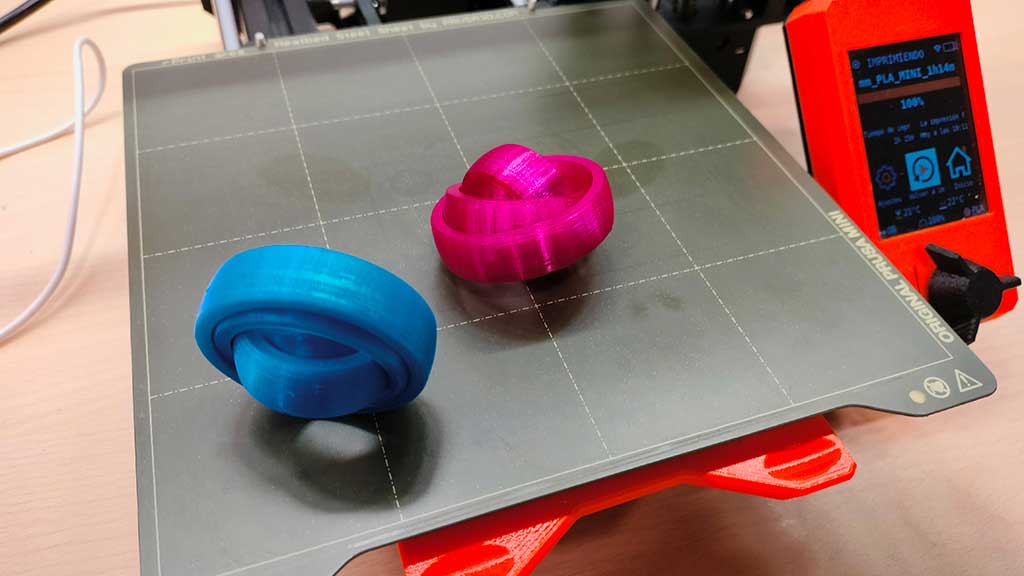
Proving it works!
I should have added a sphere in the middle, well, maybe next time.
Going further
I was (and still am) curious about printing over different materials, especially in textilees.
I shared this interest with my instructor, Nuria, who immediately gave me a few samples of different fabrics to try out and
also gave me an overview on what could be done and how to approach it.
To try and print on textilee/fabric, Nuria also allowed me to use the Prusa Mini that Fab Lab León has dedicated to Fabriacademy.
Both the pieces of cloth were non-synthetic or at least not totally as the hot plastic had no effect on the fabric.
I started by trying to get the easiest fabric stretched over the printer bed:
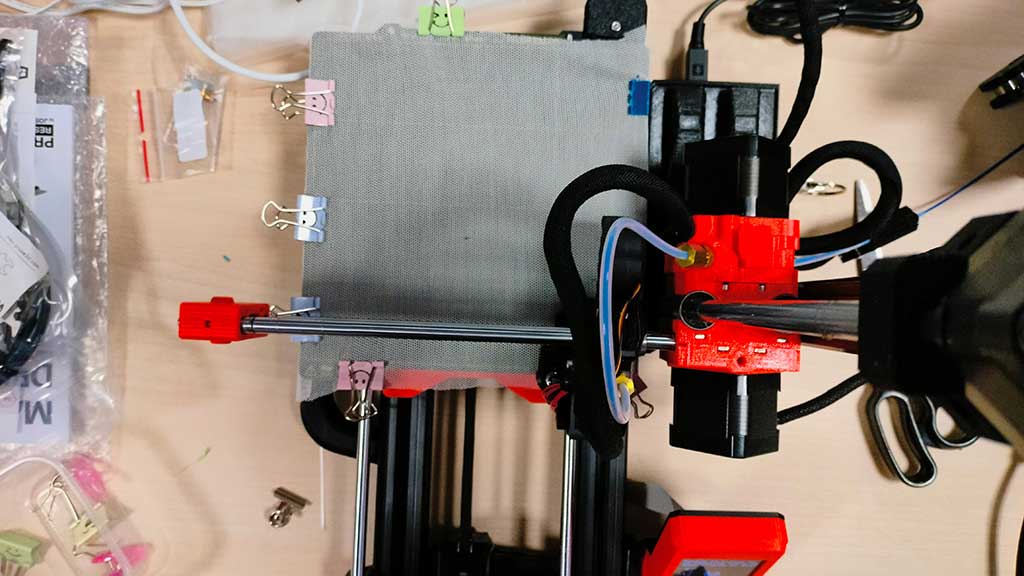
After that I printed in PLA using the same settings as usual but altering the bed Z height.
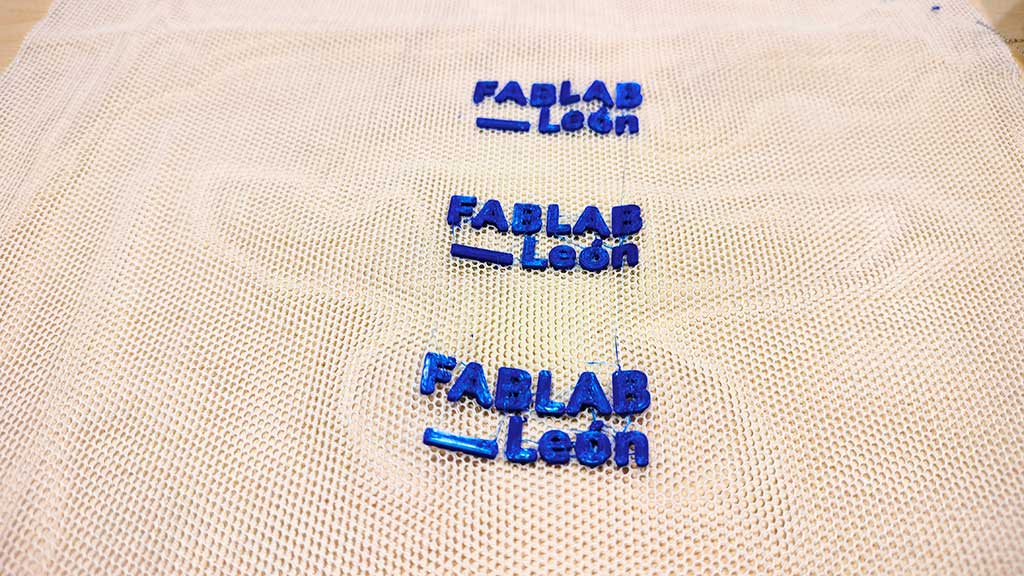
The settings used were:
- Filament: Prusamente Royal Blue
- First layer 215º / Other layers: 210º
- Bed: 60º
- Added 1mm to the Z offset to compensate for the fabric.
- Later when printing manually adjusted the height
I tried 3 different height prints.
Printing!
During printing I decided to increase the bed temperature as the material (PLA) was not being deposited directly in the bed but over a layer that's colder. This didn't really get noticeable results.
Next I tried to print over a different fabric, a more dense one.
Nuria warned me that in this type of fabric the plastic won't get to the other side of the fabric, so it won't stick in a more permanent form.

And she was right!
To test out the limit's, i increase the bed temperature and lowered the nozzle just enough that it won'tscratch the fabric and kept playing with the Z height for the rest of the print.
After printing I kept the bed temperature high and slightly pressed over each print with my hand and a plaque of an undetermined material.
I also tried to print in TPU over oven paper but didn't get very far and should (and will) probably try it again.
The reason this failed has to do with the printer and the settings I used.
I have printed with TPU before in the Prusa Mini that has a bowden extruder, but never something as complex and tiny as text.
Final project
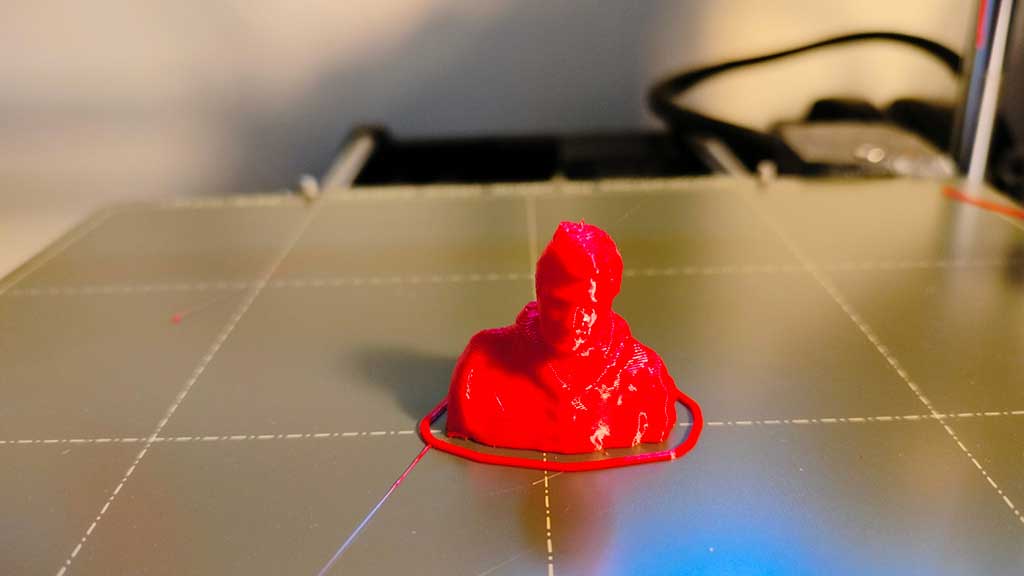
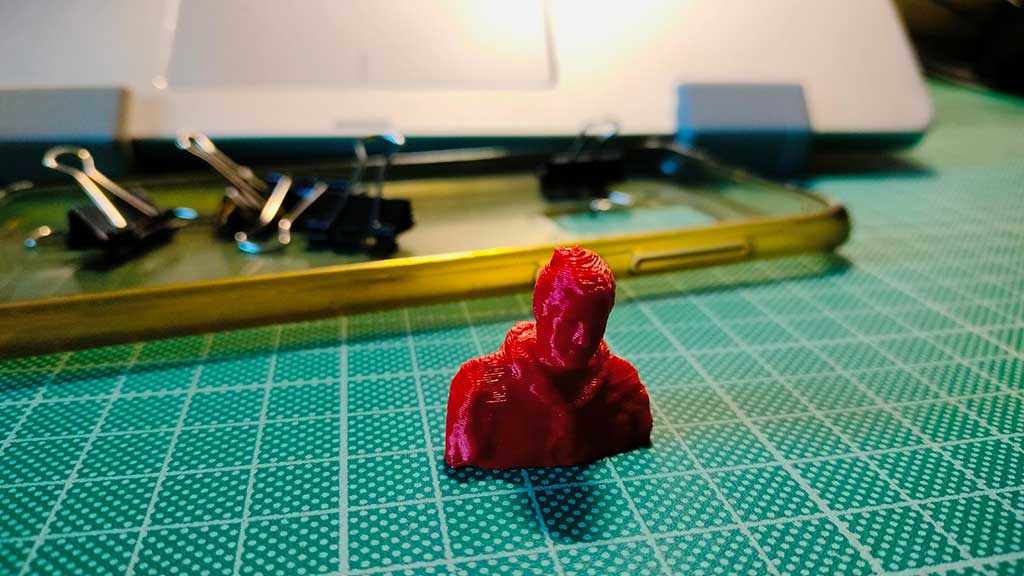
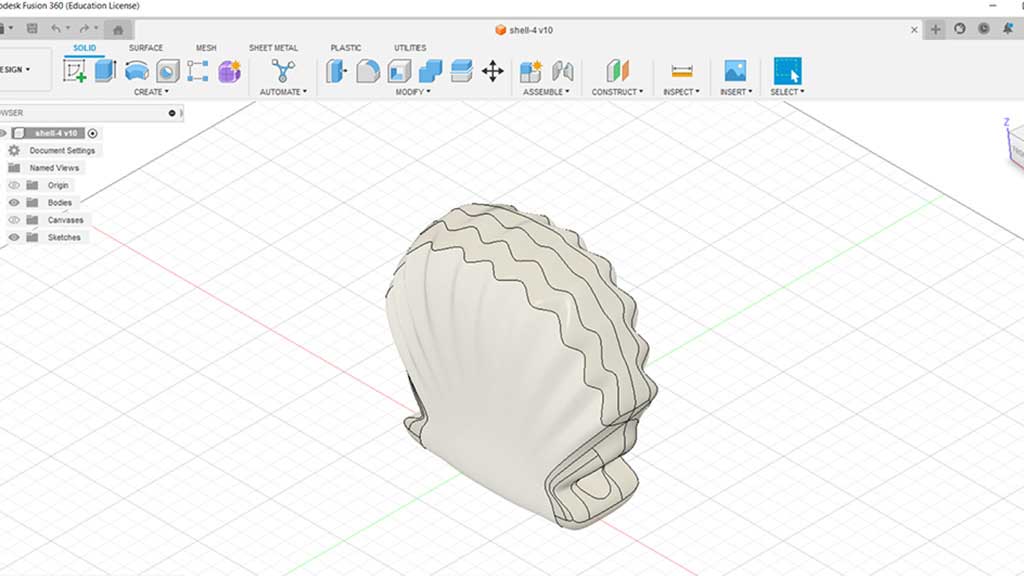
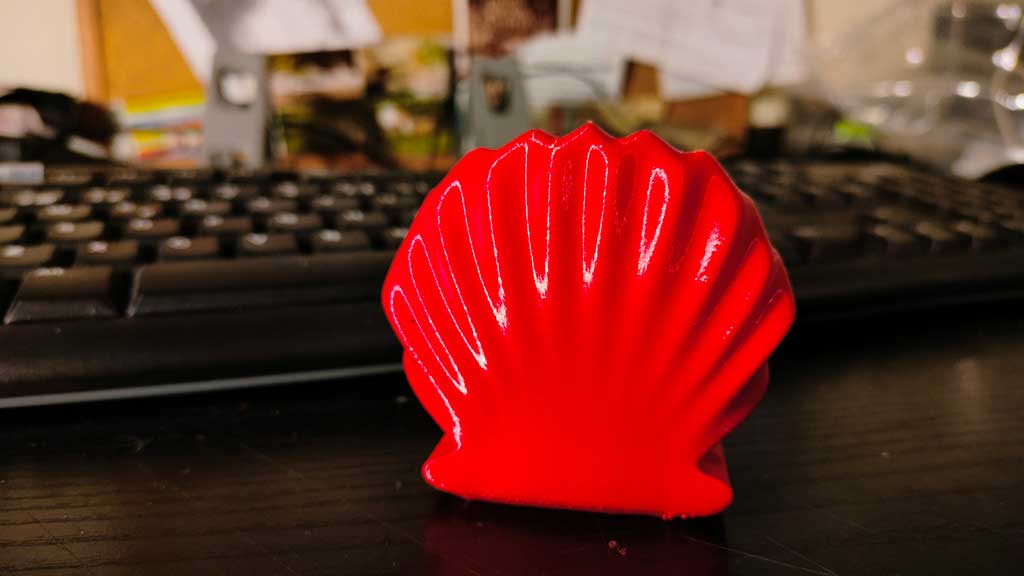
As a development step for my Final project I made a 3d model of a seashell that will be the first model to start building an enclosure for the electronic components.
It was modeled in Fusion 360.
Printed in Prusament PLA Lipstick Red as that was the filament already in the printer.
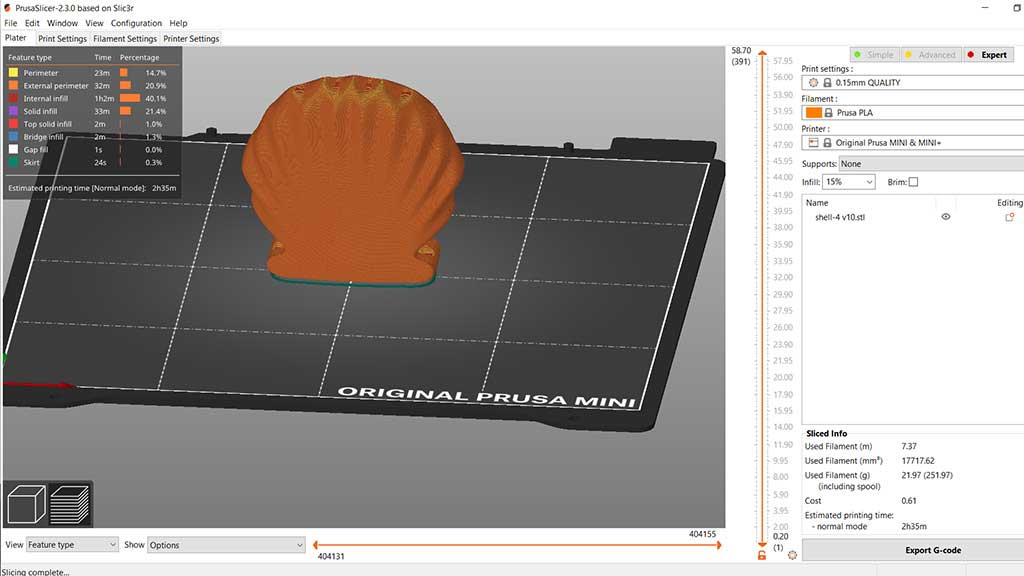
Here is the end result:
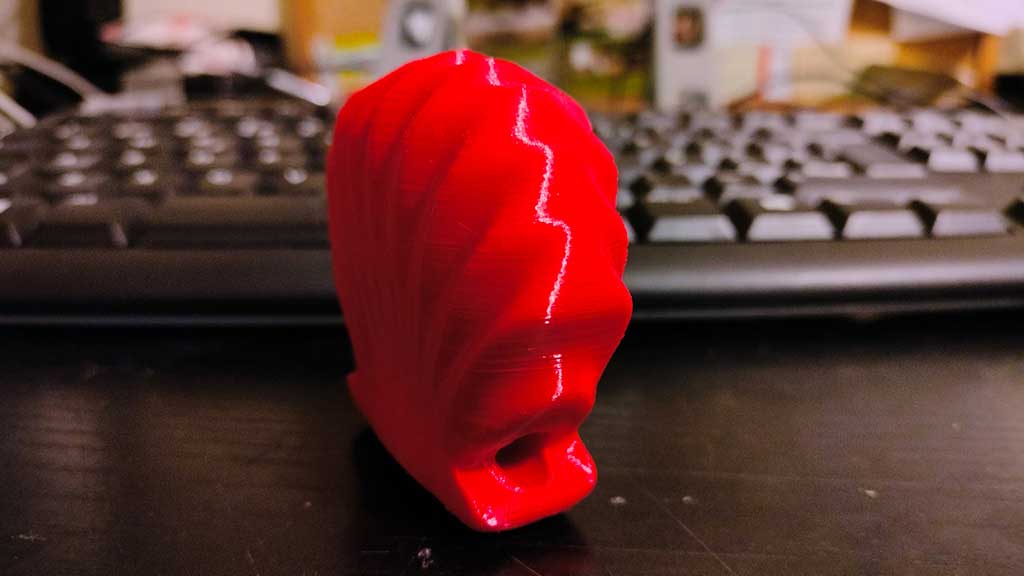
And here's a timelapse of the printing process in a Prusa Mini:
Files
- Gyroscope Step file
- Gyroscope STL file
- Shell Step file
- Shell STL file
- Mini-me Step file
- Mini-me STL file
Learned this week (in no special order)
- How to print on textile and what doesn't work!
- Modeled a Gyroscopic thing, print in place;
- Printed print tests in PETG;
- Modeled a seashell
- How to scan with a Kinetic a Sense and with my smartphone
Notes and Thoughts
I love 3D printing and have been doing it for a while now.
I'm getting better at modeling and have finally modeled a Sea Shell that looks like a shell!
I should start praticing with Blender.
In the next week I should really start to modeled a shell with components inside
Links
- Adrián Torres Fab Academy site
- How would you model a seashell in Fusion 360?
- Fabriacademy
- Printing on textilee
Glossary:
PLA: Polylactic acid (PLA) is a thermoplastic aliphatic polyester derived from renewable resources, such as corn starch (in the case of polylactic acid), tapioca roots, chips or starch, or sugarcane. It is also derived from materials such as castor oil, or from partially hydrogenated vegetable oils.
PETG: Polyethylene terephthalate glycol (PETG) is a thermoplastic polymer resin of the polyester family. It is a clear, amorphous, and tough plastic. PETG is a copolyester made by reacting the monomers of terephthalic acid and ethylene glycol.
Supports: Supports are structures that are printed along with the main object to help it keep its shape during the printing process. They are usually removed after the print is finished.
Bridging: Bridging is the process of printing a gap between two points. It is a common problem in 3D printing, especially when printing with a low infill density. The printer has to print a gap between two points without any support underneath.
Brim: A brim is a skirt that is printed around the object. It is used to prevent the object from warping during the printing process.
TPU: Thermoplastic polyurethane (TPU) is a type of thermoplastic elastomer (TPE) that is a polymer blend of polyurethane and a plasticizer. It is a rubber-like material that is flexible and durable.
Some of these definitions were generated by AI using ChatGTP.