18. Composites
For this week, Henk recommended we do composites. I was quite happy with this, as I wanted more experience on the CNC and enjoyed molding and casting. My first thought was back to the Alex Da Corte Sculptures I talked about in week two. I still had not made anything resembling this process, so I decided to work on that this week- something visual that I could give a bit of depth to.
Hammer
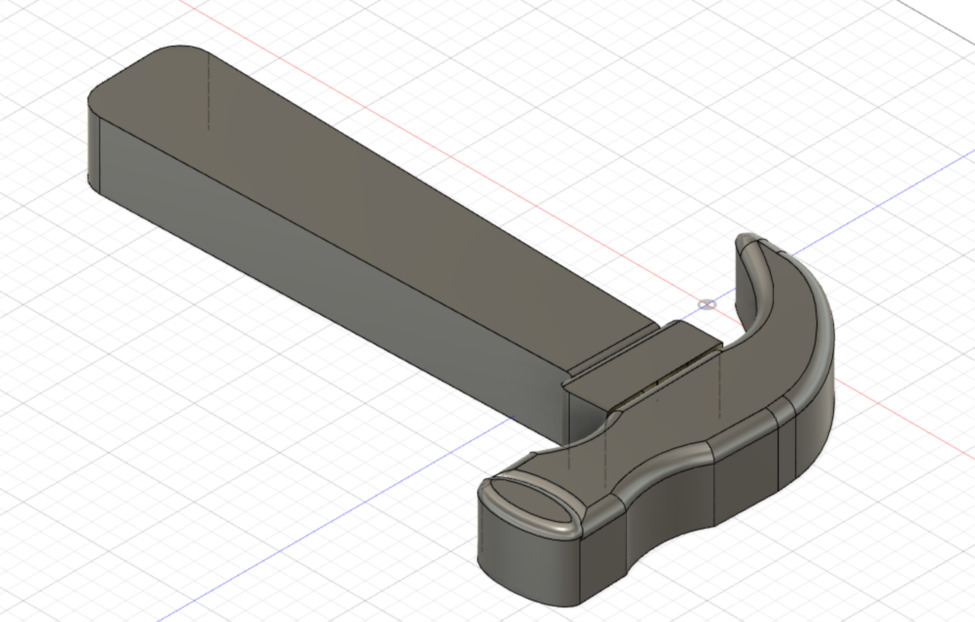
At first, I thought I would make a cactus shape- something very simple. I decided to challenge myself a bit more thought, as I wanted different sections of the item to have different colors to imply depth. I then decided to do a hammer, as this a few different sections but is relatively simple. This was my first design:
Offsetting a Body
The main issue I ran into with this design was offsetting a body. As I wanted to keep the fillets and corners of the design, I did not want to simply extrude from the sketch. Although there is not a natural way to do this in fusion, you can do it via the surfaces workspace
I learned this from watching this video
- In surfaces, drag to select the entire body you want to offset.
- Choose offset, all of the faces from the body will be selected. Sleect the offset amount, and press ok. This will create a surface body.
- Back in the design workspace, choose
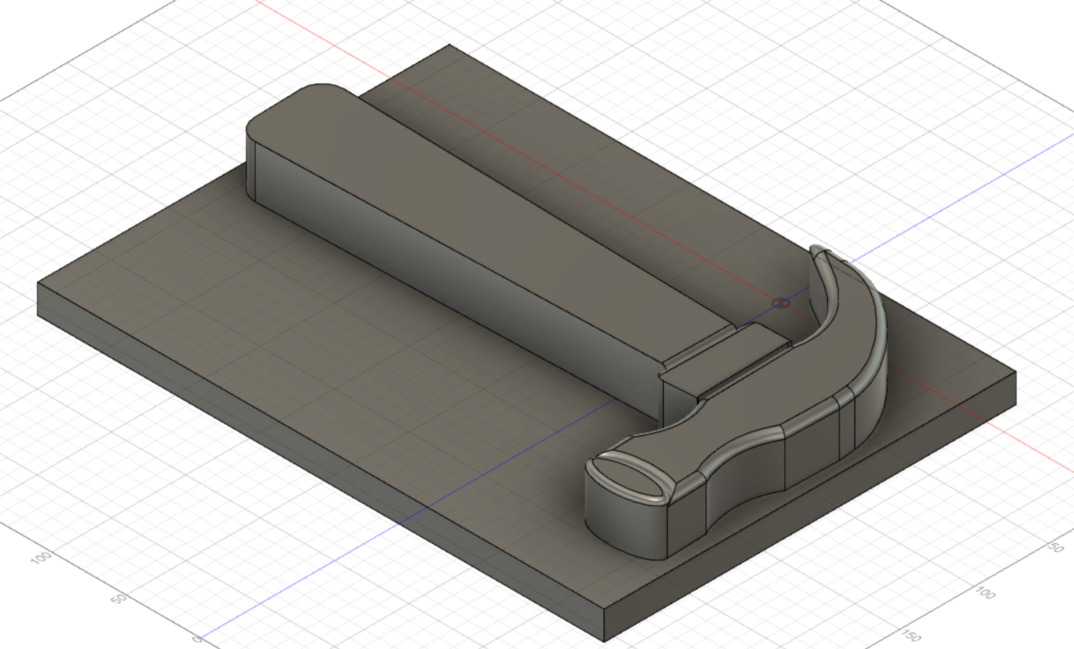
I designed this, then set up the CNC machine. I imported my file, then set up the material on the mill:
At the end of the day, it was too late to mill my design, but this was fine as I wanted to try to tweak it a bit over the weekend.
Ghost
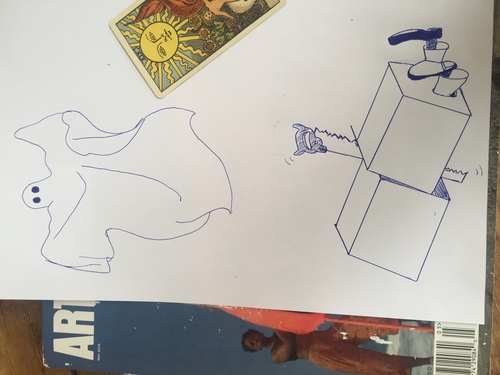
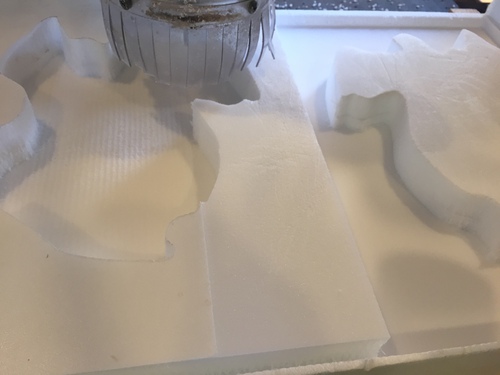
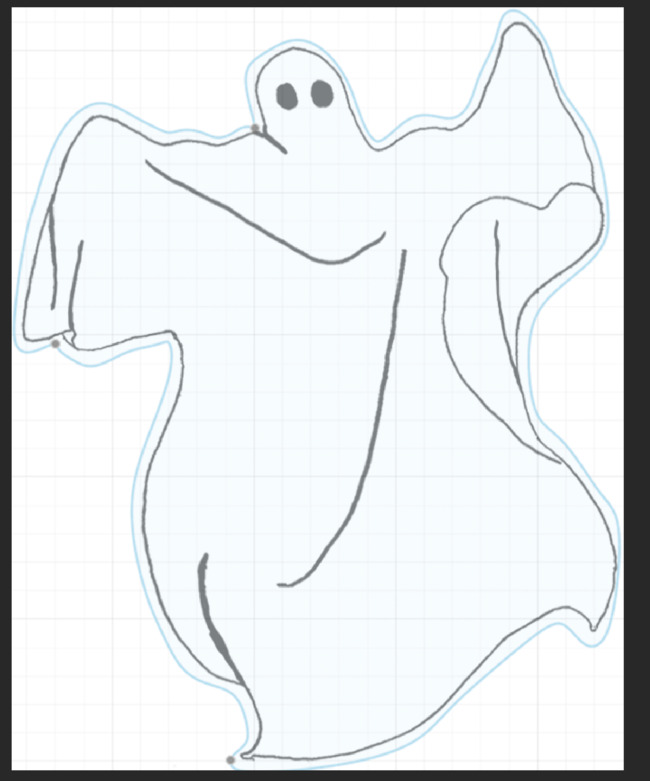
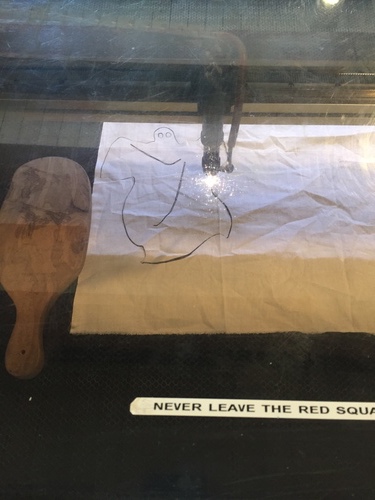
After browsing through previous fabacademy composite projects, I realized they usually came out messier than the original design. I decided my design might not be well suited to composites, so I decided to do something simpler. I still wanted to an image, so I decided to just make a shape that I could place a printed image on top of. I had made this sketch of a ghost when brainstorming projects earlier in fabacademy, so I decided to work with that, as I liked that the 3d file would just be an extrusion, it would still be a simple design.
I decided to lasercut the ghost in a thin sheet of white acrylic and place it on top of the design, and to make the composite black. This way, the black background of the drawing would show through the negative space as black lines. I would still vaguely be using the project to create a drawing, but without getting too complicated on the first attempt, and using different colored patches to create depth as with the hammer.
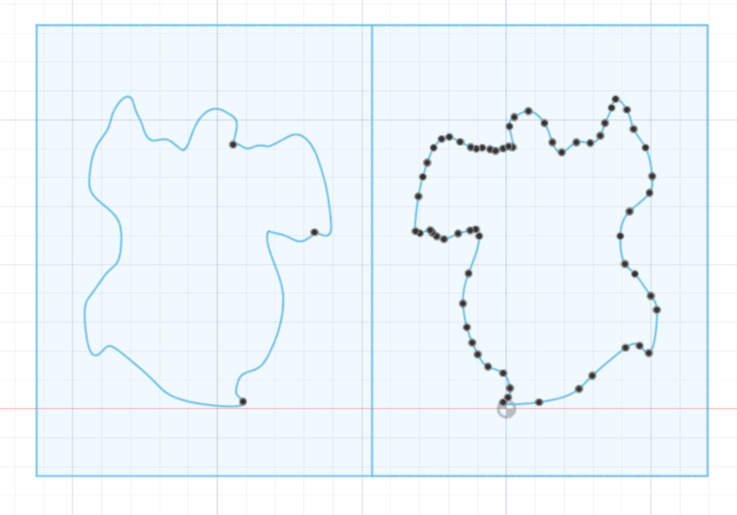
- I opened the image as a canvas in fusion.
- Traced it as a sketch
- Extruded it
- Offset it, increasing size by 2mm
- Mirrored the offset figure
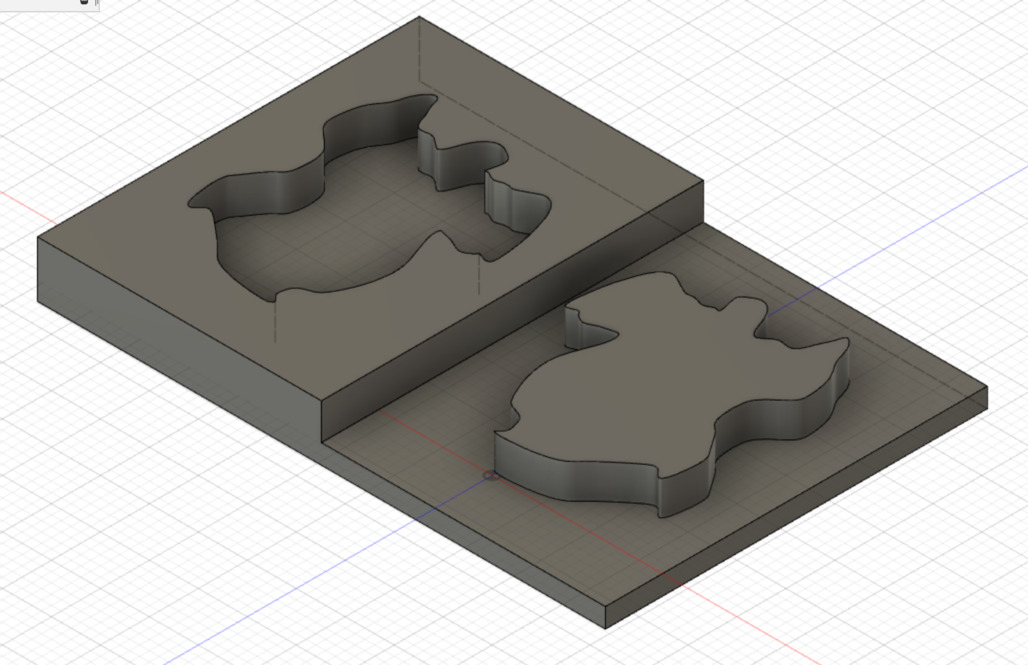
- Extruded both within a block that I could carve out as a mold on the CNC mill
CNC
On the CNC mill, everything seemed to go smoothly to start. It actually all did go smoothly except for the amount of time it took.
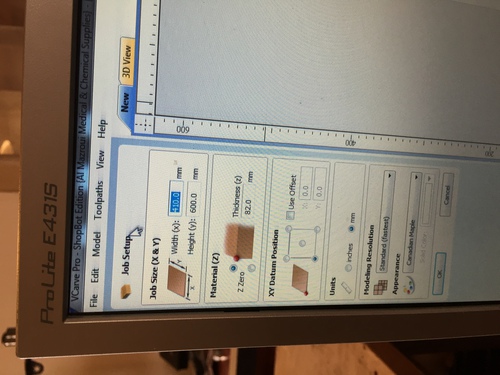
I had set up the block the previous day with Rutger, so the next morning, I loaded my new file into VCarve and made a new file. My biggest mistake was keeping the settings from the wax block for molding and casting. I could have sped everything up a lot. My settings were:
Roughing
| Setting | Value |
|---|---|
| Drillbit | 5mm, 2 flute |
| Stepover | 2.25mm, 45% |
| Movement XY | 120 |
| Movement Z | 120 |
| Jog X Y | 30 |
| Jog Z | 30 |
| Spindle | 10,000 |
Finishing
| Setting | Value |
|---|---|
| Drillbit | 5mm, 2 flute |
| Stepover | .25mm, 5% |
| Movement XY | 120 |
| Movement Z | 120 |
| Jog X Y | 30 |
| Jog Z | 30 |
| Spindle | 10,000 |
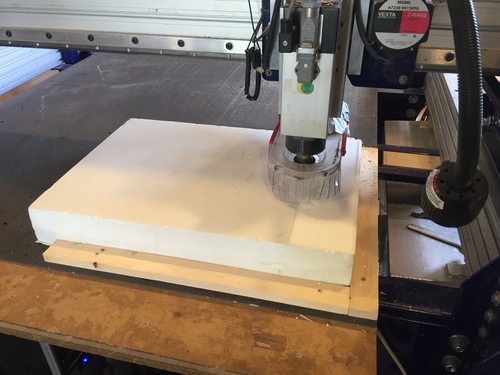
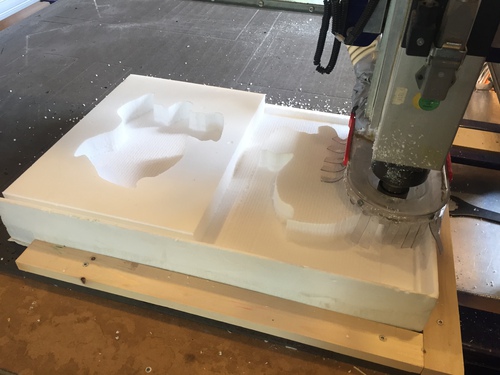
In all, this took 7 hours. The finishing was completely unnecessary, and on its own took 3 hours. I could have stopped it before this step, but I kept being in denial about how much longer it could take. At one point, Harm suggested I pause the job, and enter a new move speed of 250. I did this around 50% job completion, and it still took 7 hours! So it would have been even longer with the original settings. In the future, I would not do finishing at all for a job this simple, and for the roughing, I would make the stepover something like 80% rather than 45. I would also, of course, set the move speed to 250 from the beginning. I would not go past this, because it caused the table to shake a bit when it went around the perimeter of the ghost, but it was smooth for the horizontal lines.
Laser Cutting
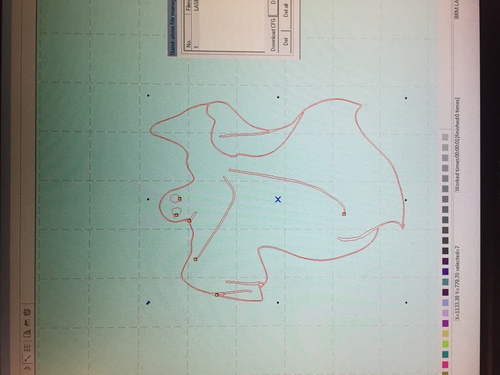
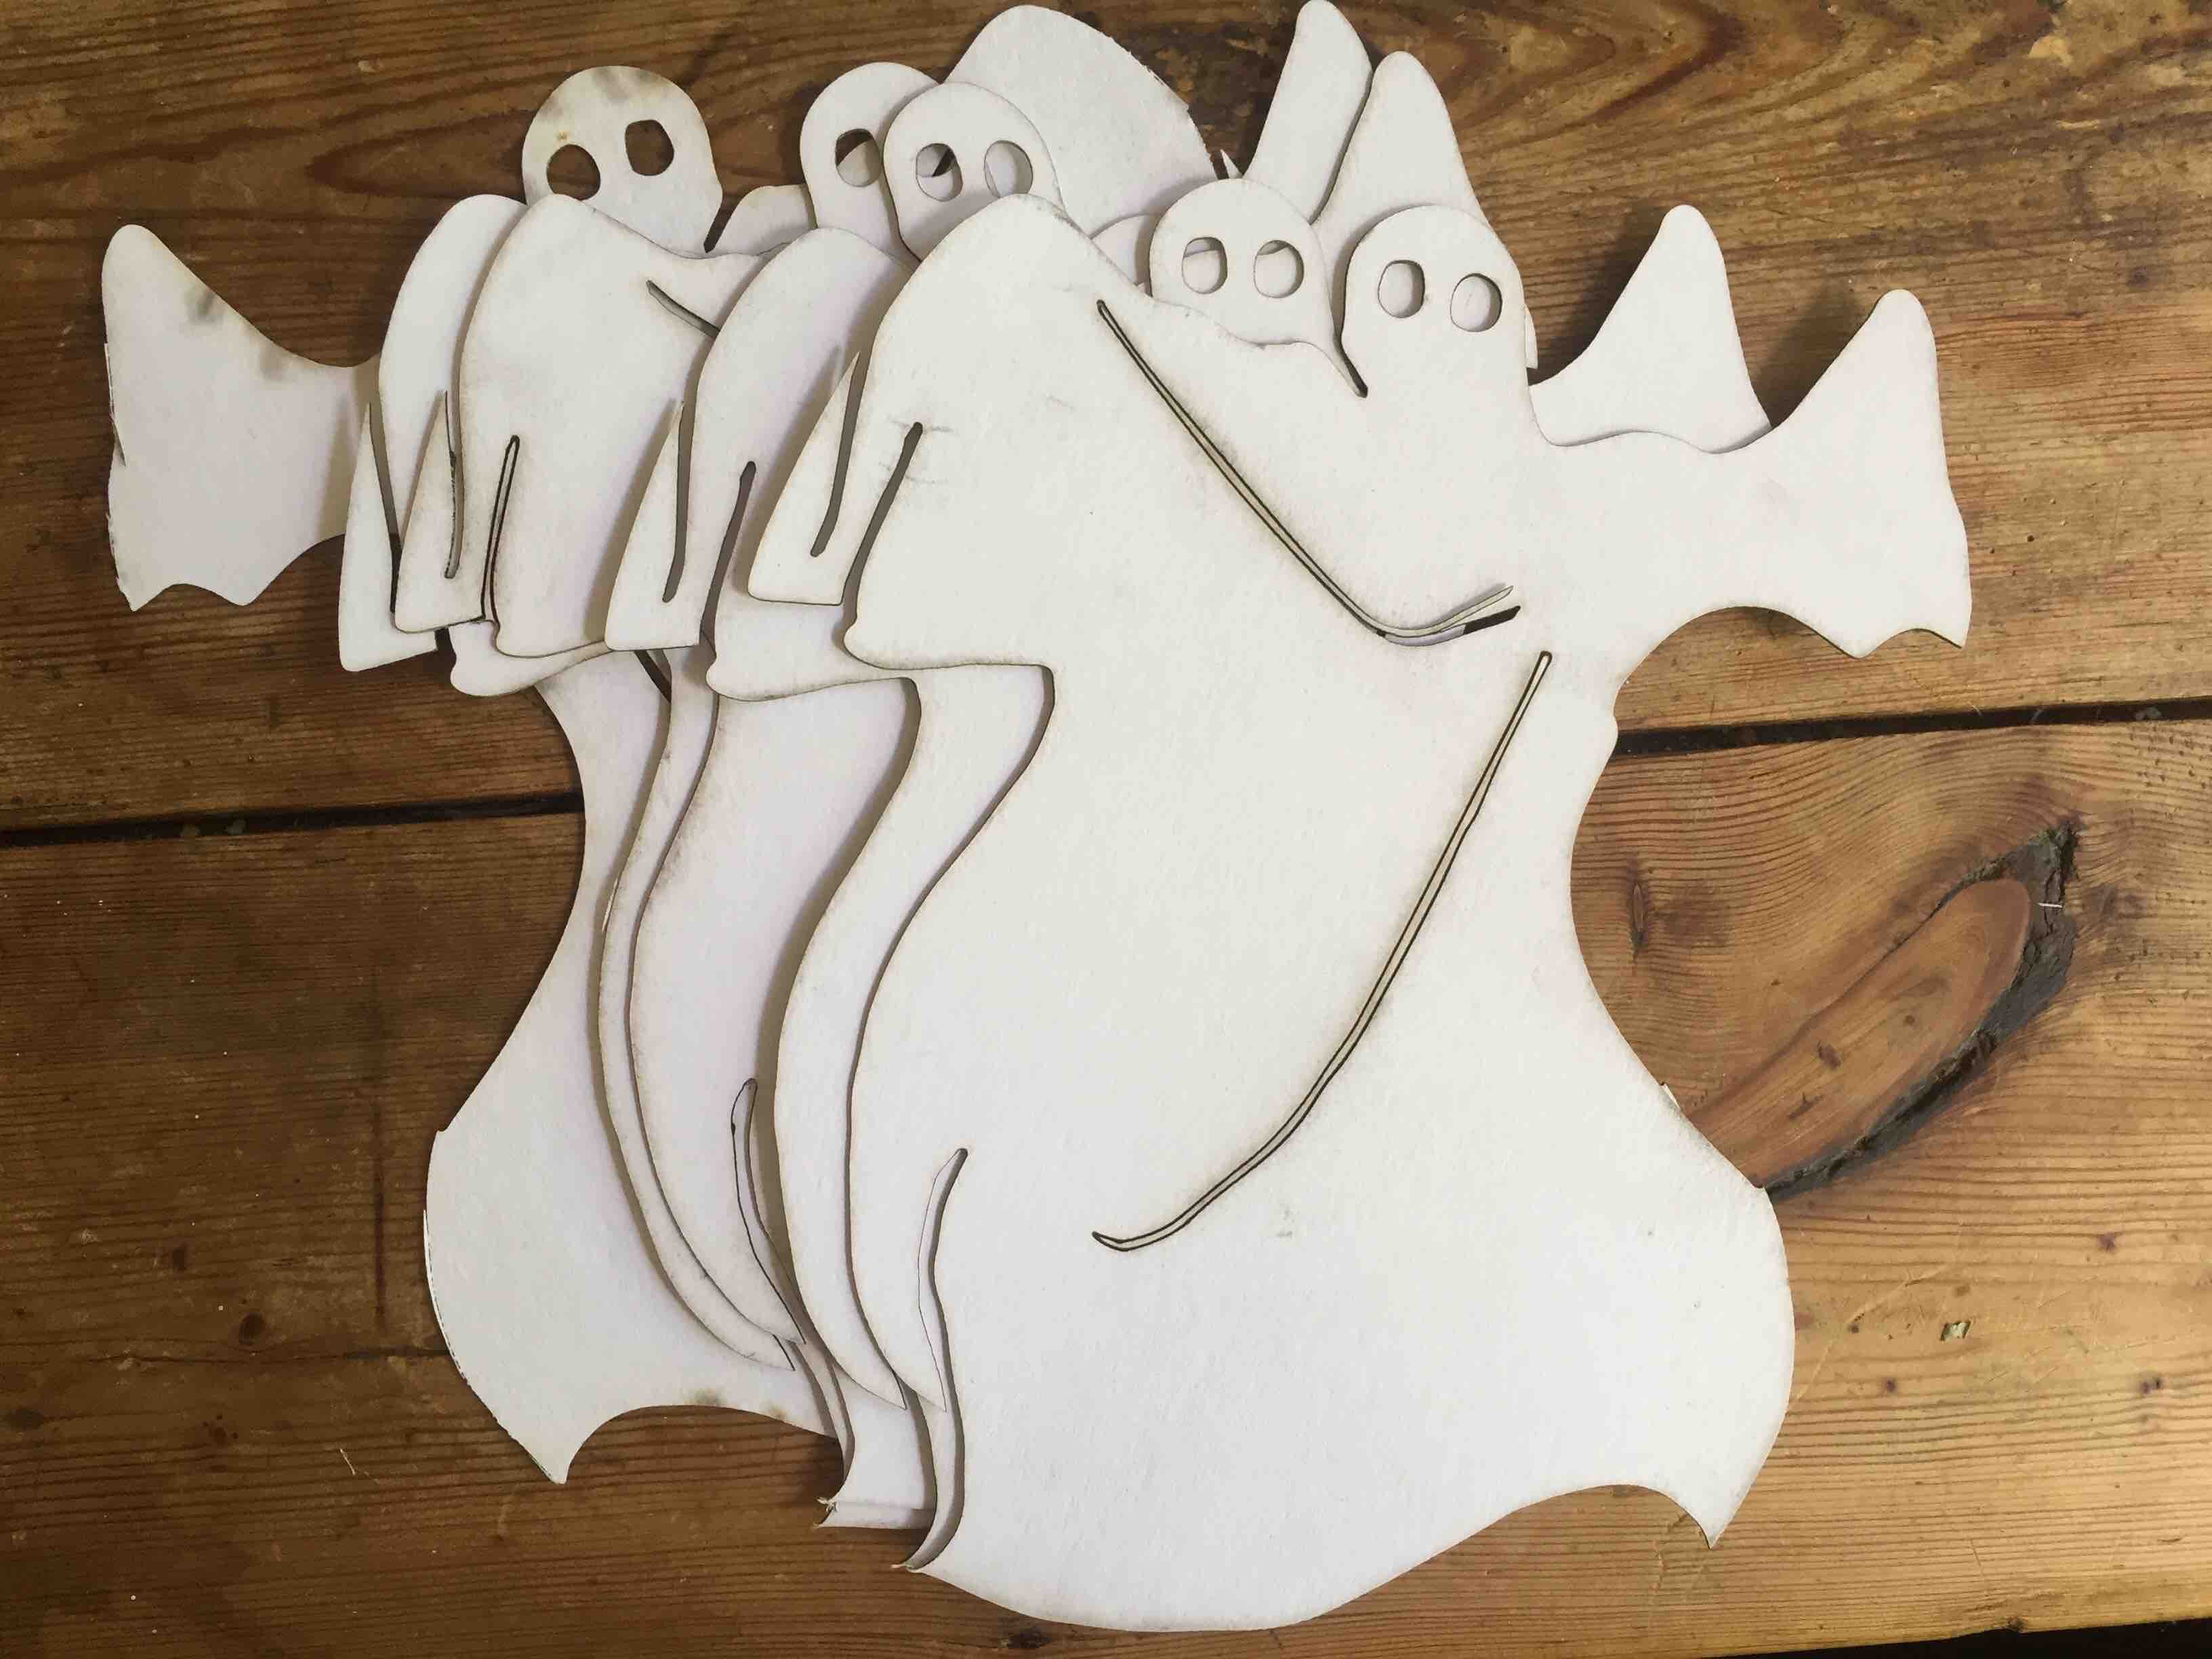
It had been a while since I used the laser cutter. I knew we had to use .ai files, so I made my original sketch into a line drawing by making it a threshold in photoshop, saved this as a jpeg at the approximate size of the dimensions of the fusion sketch, brought it into an ai file, and saved that. When I opened it in the laser cutting software on the windows computer, nothing happened. I realized I should of course have made it a vector, so I went back to AI, ran image trace on the jpeg, saved it again, and brought it into the laser cutter. It worked!
I did a test cut on some white poster board in the lab. I liked how it came out, so I ran it on some thin white acrylic I found. I was happy with how it looked on this material, especially because very little burn showed. I sat this on the foam cut out, and realized the dimensions did not line up exactly. It wasnt so much a size issue, as the image had gotten warped somewhere in the 3D design process. I took a screenshot of the fusion sketch, brought it into the photoshop file, and warped the image until it was inside the bounds of the sketch.
After this, I still resized it several times in the laser cut software before it sat on top of the mold in a way I was happy with. I ended up with a lot of ghosts.
Making the composite
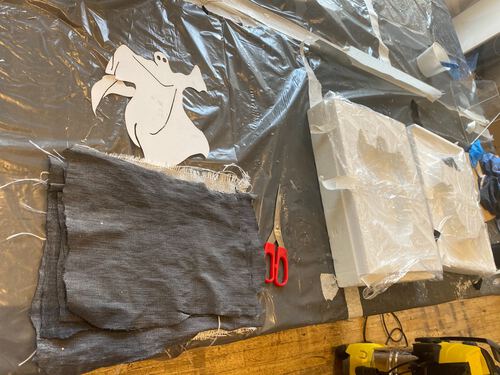
I brought the final laser cut over to the work table. I applied vaseline to sheets of cling film and I placed these on the open mold. I cleared the table, set up my fabrics, and the mold, and went over to mix the epoxy. We used Tarbender for this week, which I had already worked with in molding and casting. The safety sheet can be found here.
I mixed the epoxy accoridng to the tarbender instructions, which I documented in the molding and casting week. I copy them here:
- Prepare equipment:
- Containers should have straight edges and a flat bottom. They should be made of plastic, metal, or wax coated paper. Due to high temperatures, do not use foam or glass
- Mixing sticks should be flat and stiff with defined edges
- Use in high ventilation
- Measuring
-
Accurately measure 2A:1B
-
Pre-Mixing
-
Stir or shake Part A and Part B thoroughly before dispensing
-
Mixing
- Mix with a flat edge mixing stick for 2 minutes. Scrape the sides and bottom of the container with the edge several times
- Pour contents into a new, clean mixing container and mix again for 2 minutes.
- Greater masses of epoxy will reduce pot life
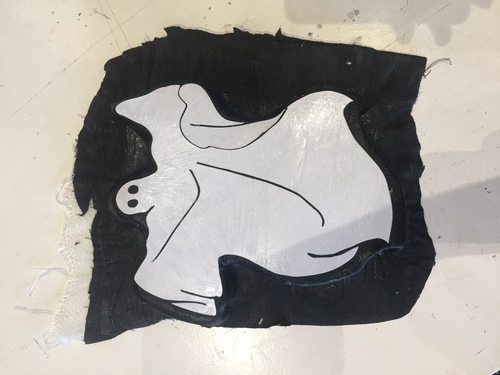
I painted this on to the fabric layers, starting with the synthetic mesh, then the black denim, followed by the ghost on top. I don’t have pictures of this whole process as I couldnt touch my phone. I tried to soak the fabric less than I did during the weekly assignment, as I did not want too much epoxy bleeding over.
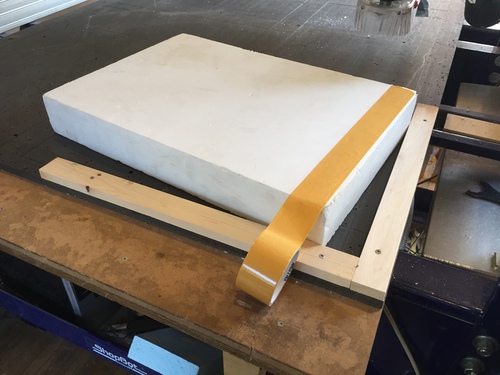
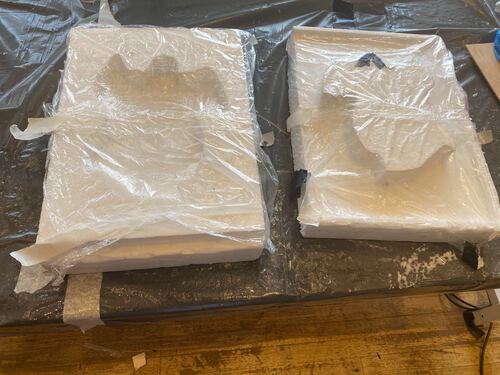
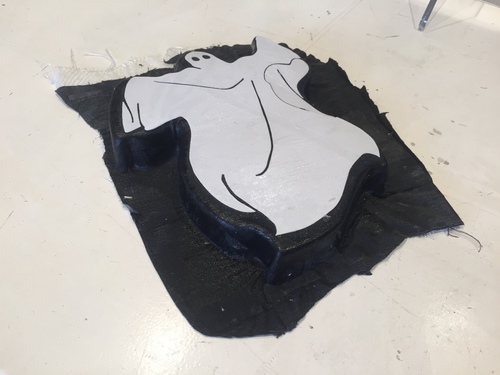
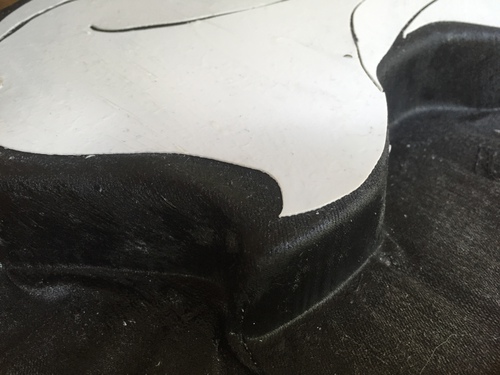
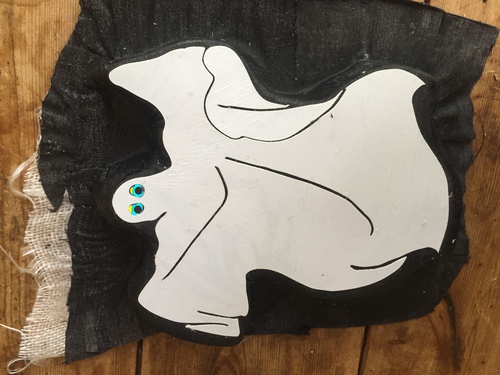
I placed the material inside of the milled styrofoam mold I had made with the layer of plastic wrap, and then used sever C-Clamps for compaction, to hold the mold tightly together. This is what it looked like when I pulled it out:
I then attached an SSD1306 OLED to an arduino and taped the SSD1306 inside of the ghost’s head, with an animation for eyes that I wrote using the drawshapes methods of the adafruit graphics library. I used the fillCircle method to draw two separate circles on either side of the screen, and I made them move in parallel (they would grow, shrink, or move left and right at the same time.) I also used FillRectangle across the whole screen to give the appearance of blinking.
#include <Wire.h>
#include <Adafruit_SSD1306.h>
#include <Adafruit_GFX.h>

#define OLED_WIDTH 128
#define OLED_HEIGHT 64

#define OLED_ADDR 0x3C

Adafruit_SSD1306 display(OLED_WIDTH, OLED_HEIGHT);

int delayTime = 2500;

void setup() {
  // put your setup code here, to run once:
  display.begin(SSD1306_SWITCHCAPVCC, OLED_ADDR);

}

void loop{

display.clearDisplay();
  display.fillRect(0, 0, 128, 64, WHITE);
  display.fillCircle(31, 40, 7, BLACK);
  display.fillCircle(92, 40, 7, BLACK);
  display.display();
  delay(2500);
  display.clearDisplay();
  display.fillRect(0,45, 128, 4, WHITE);
   display.display();
  delay(300);
    display.clearDisplay();
  display.fillRect(0, 0, 128, 64, WHITE);
  display.fillCircle(25, 36, 15, BLACK);

  display.fillCircle(96, 36, 15, BLACK);

  display.display();
  delay(2500);
   display.clearDisplay();
  display.fillRect(0,45, 128, 4, WHITE);
   display.display();
  delay(300);


   display.fillRect(0, 0, 128, 64, WHITE);
  display.fillCircle(33, 31, 10, BLACK);
   display.fillCircle(105, 31, 10, BLACK);
  display.display();
  delay(1000);
  display.clearDisplay();
  display.fillRect(0, 0, 128, 64, WHITE);
  display.fillCircle(15, 31, 10, BLACK);
   display.fillCircle(87, 31, 10, BLACK);
  display.display();
  delay(1000);

 display.clearDisplay();
  display.fillRect(0, 0, 128, 64, WHITE);
  display.fillCircle(31, 40, 9, BLACK);
  display.fillCircle(92, 40, 9, BLACK);
  display.display();
  delay(2500);

display.clearDisplay();
display.display();
delay(300);
}

Group Assignment
Please see the group assignment page.
We are going to make sample pieces of composites of epoxy. You can vary with combining different textiles, the number of layers, the amount of epoxy you use, etc. After they are finished we will describe the difference between the different example pieces: Are they flexible, hard, nice to look at, etc. We have divided the work between the two groups: Hyejin and Harm do several, same for Nathan and Tessel. We also each have to read the datasheet and safety sheet of Tarbender: the epoxy we will use.
Summary
I liked this week’s project, but feel like I could get better results with a different epoxy and fabric. I want to try to make something with a lot of strength, as I feel like my ghost could have broken. It can be a bit frustrating using the liquids and resins, as the process is less exacting than many of the other processes we have learned.