8. Computer controlled machining
assignment
group assignment test runout, alignment, speeds, feeds, and toolpaths for your machine individual assignment make (design+mill+assemble) something big
The CNC Machine
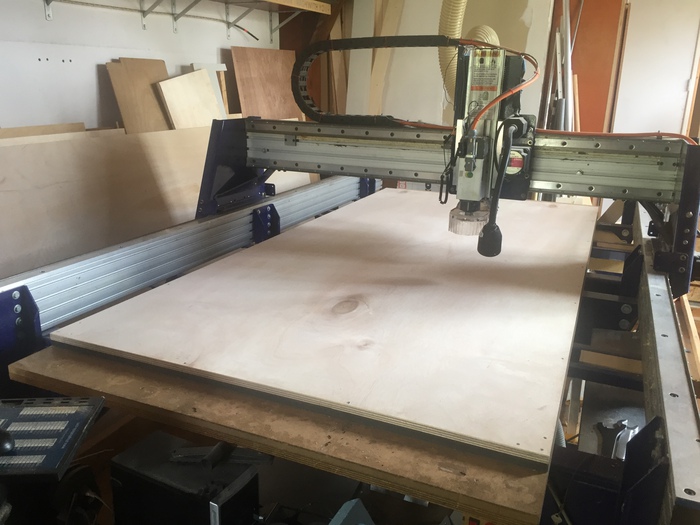
We started out this week with a long tutorial on the CNC machine, which appeared to be the biggest (and maybe most dangerous) of the machines we had been introduced to.
Before showing us the actual machine, Henk made sure had some basic safety rules for the machine down:
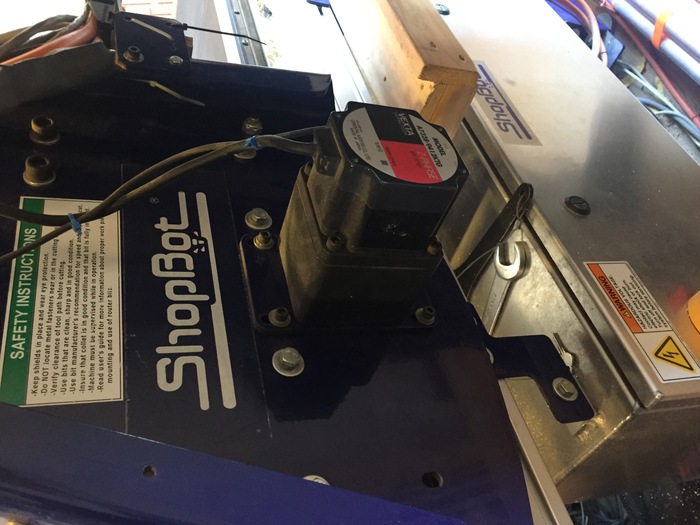
CNC Safety
- Do not touch the machine at all while it is on
- No clutter on or around the machine. Even a piece of wood leaning on it can derail it!
- Unlike other weeks, do not make mistakes this week
- Never work in a hurry. Using the machine can take half a day or more, be prepared
- Secure long hair, sweatshirt strings, headphones etc. Be careful that nothing can hang into the machine
- Work clean, quiet, and alone
- Wear glasses
- Do not wear gloves, as they can make you careless
- Always work on the side of the machine closest to the computer
- If you had to stop the machine, do not continue right away after as you will be stressed
- If sparks fly into the vacuum, stop the machine, then bring the bag of sawdust outside.
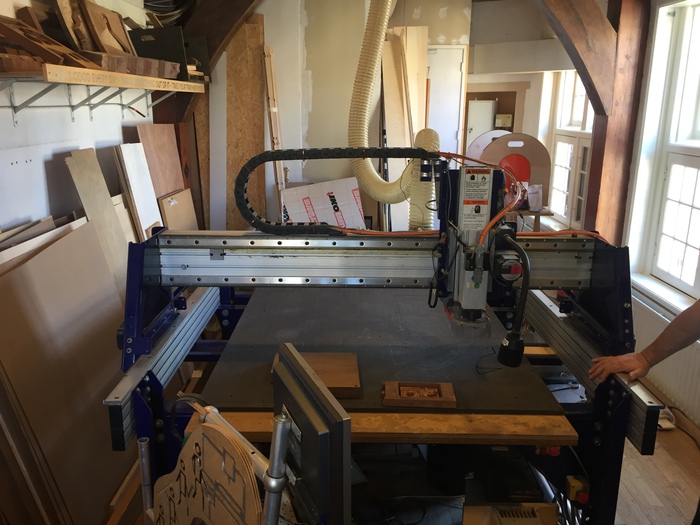
Using The Machine
Parts of the Machine:
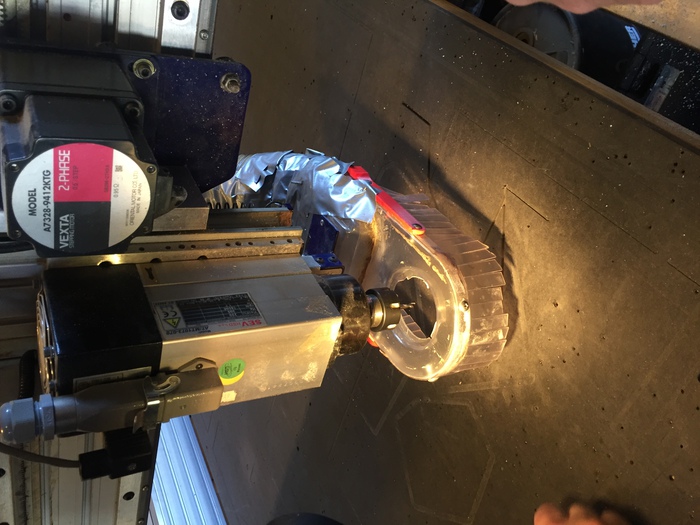
- Spindle
This is powered independently of the machine’s movement and is started with a key. When you press ‘stop’ it does not stop the spindle, only the movement, so it can start a fire while sitting in place. Be careful!

- The skirt
covers the drillbit to protect from projectiles, covers the area that will be vacuumed. This can be lowered up and down with the wingnut.
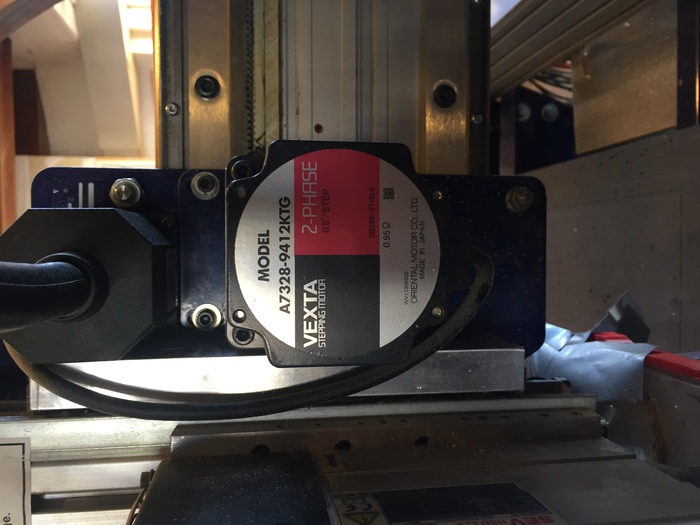
- Steppers
The motors for each axis of the machine
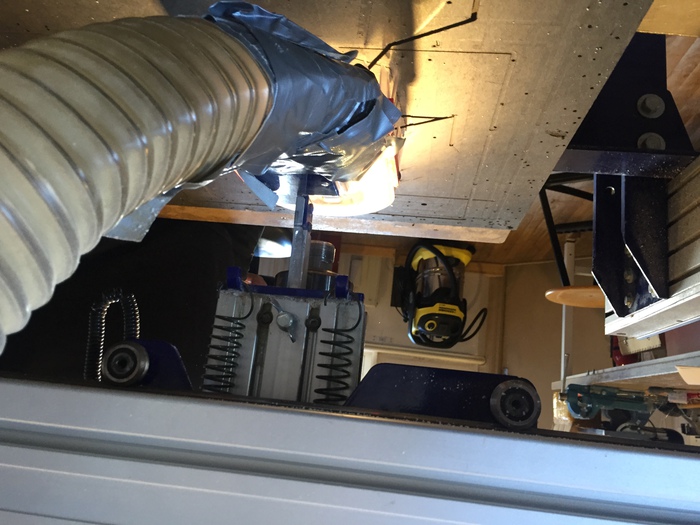
- Dust collection system
Makes a lot of noise. Be careful to check that the spindle is not on before touching it. Sometimes the sound of the dust collection will disguise the spindle. If sparks are ever vacuumed into this system, check that there is no fire, then detach the collection bag and bring it outside.
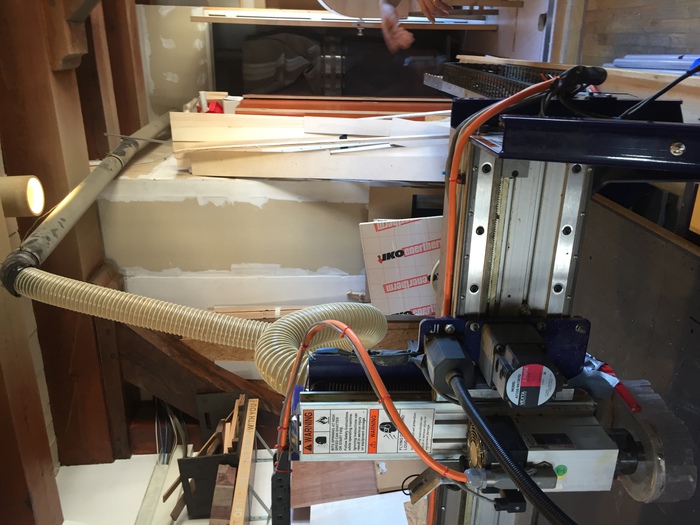
- Sacrificial layer. The material you are using will be screwed to this. Make sure your toolpath does not hit the crews as this can create sparks
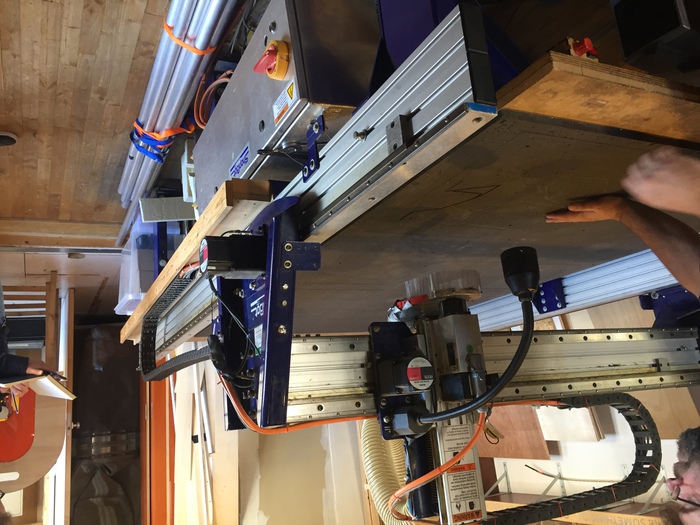
- X axis moves across the platform, the width of the machine. Y moves up and down the tracks, the length of the machine. Z is up and down
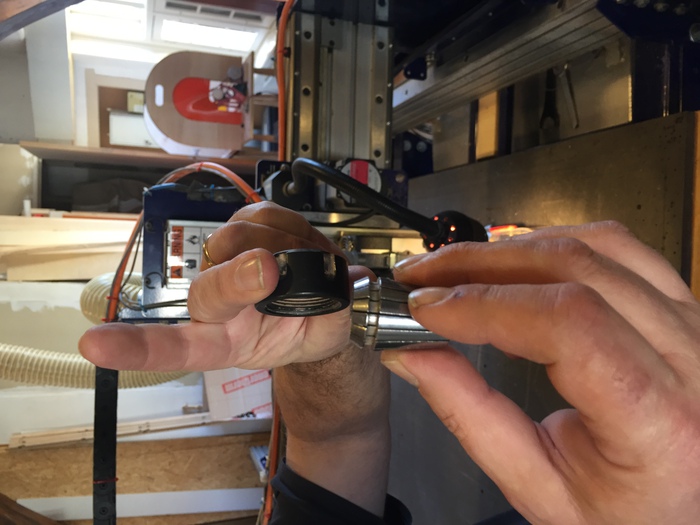
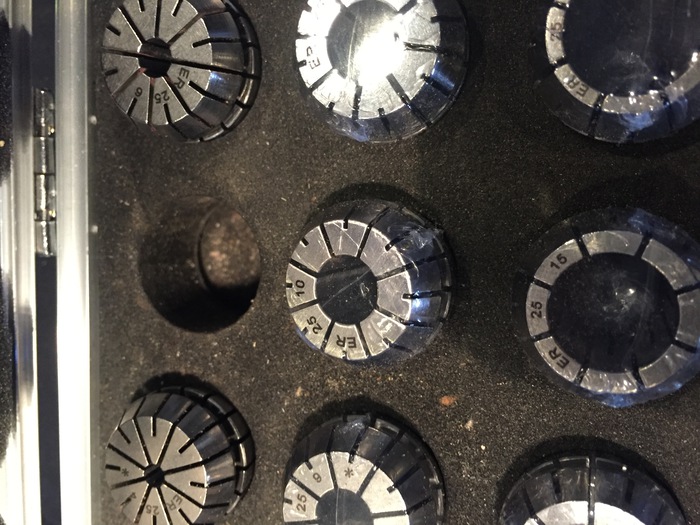
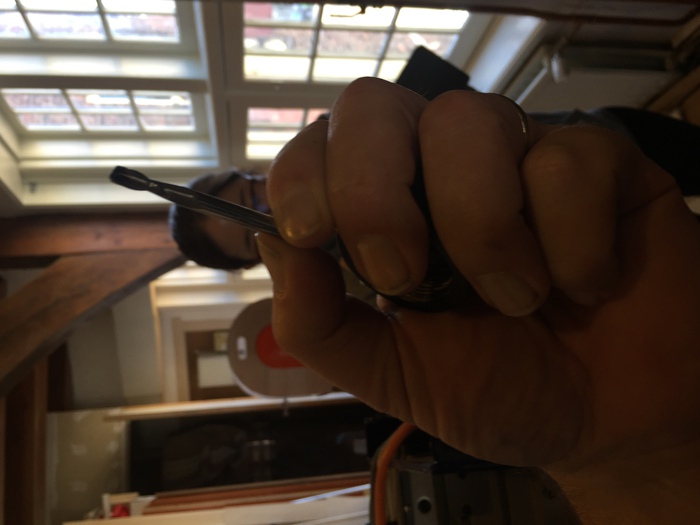
- Collet, Nut and Drillbit
These are inserted into the spindle. Every drillbit size has its own collet, and the size of drillbit that the collett takes can be ready in tiny print on the collett.
Setting up the Machine
First, prepare your file in the software:
- Open VCarve Pro
- When opening and saving project files, these should be saved in the Fabacademy 2020 folder, under a new directory with your own name
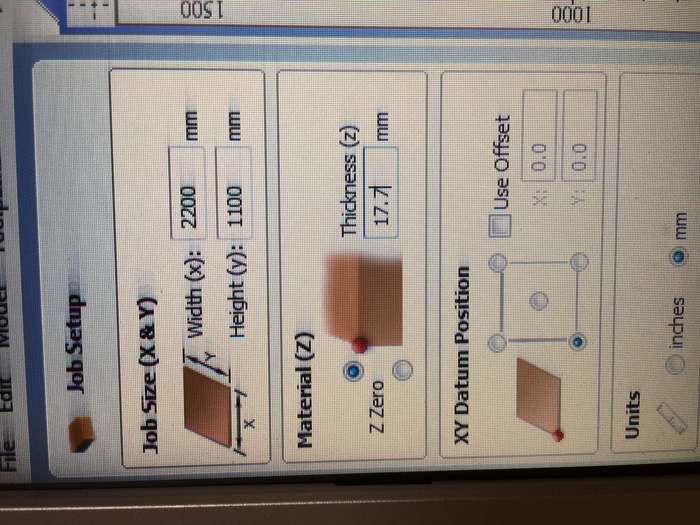
- Go to New Project - Job Setup
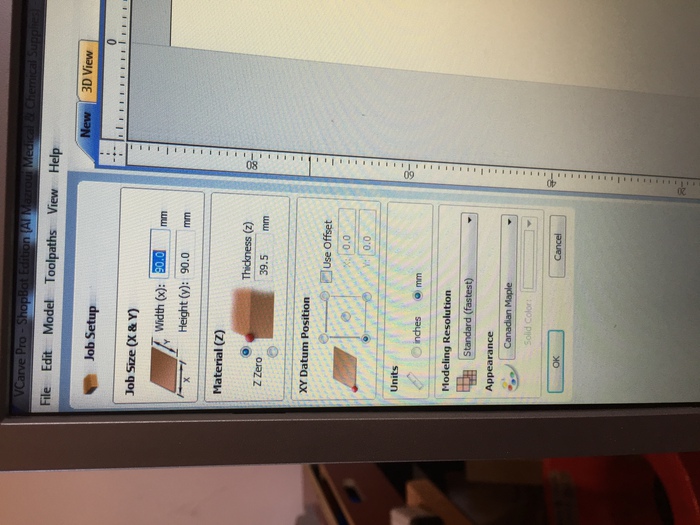
- Measure your material: thickness, length, and width, and enter these values
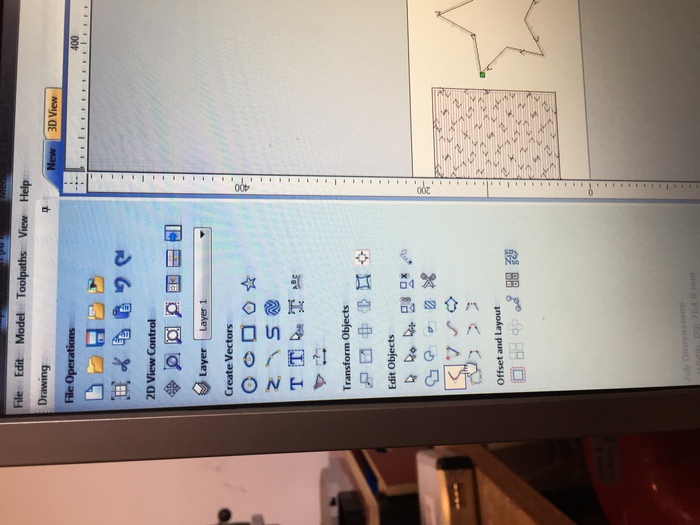
- For the demo, Henk drew a rectangle in the software. At this point you can also import a 2d file - make sure that any design you use is smaller than the material
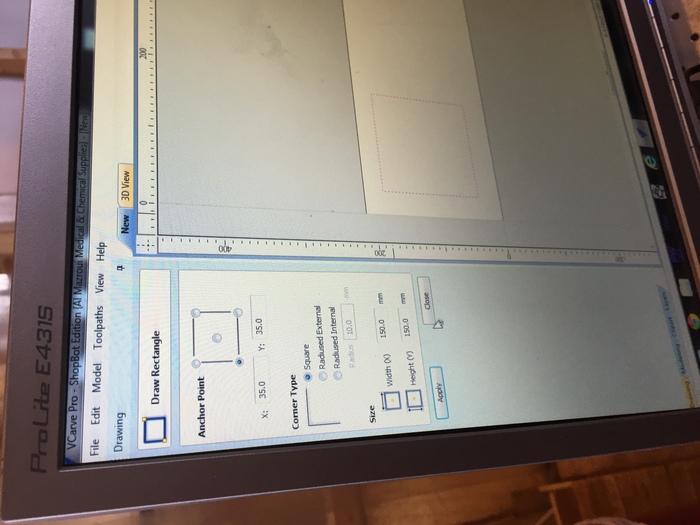
- To add fillets to the corners, click on the fillet tool in the drawing menu, and click on corners in the design to add fillets
- Go to toolpaths, and select the profile icon
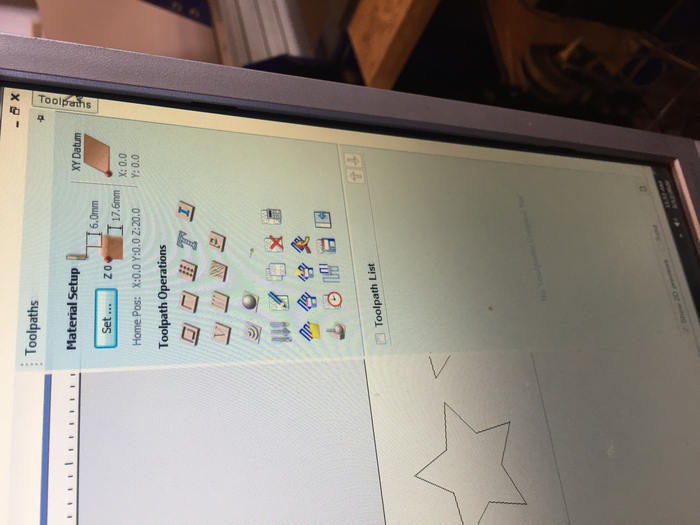
- Cut depth- set depth of material if you want to cut through it
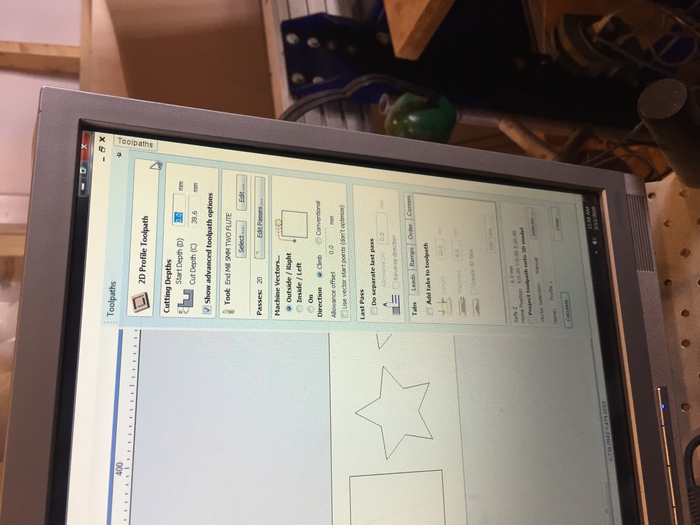
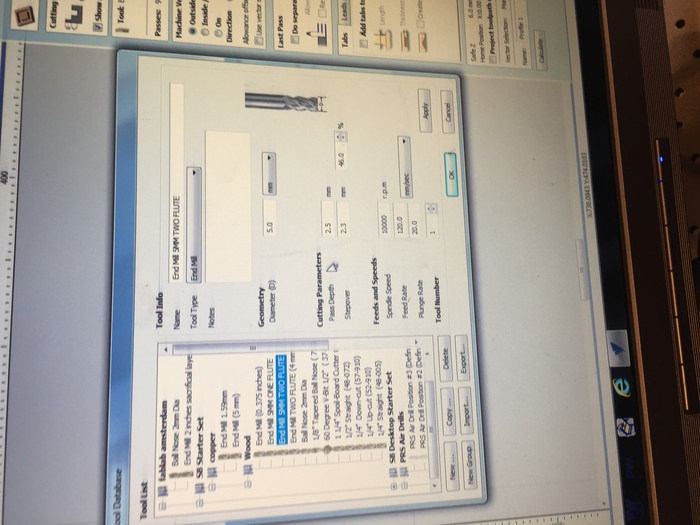
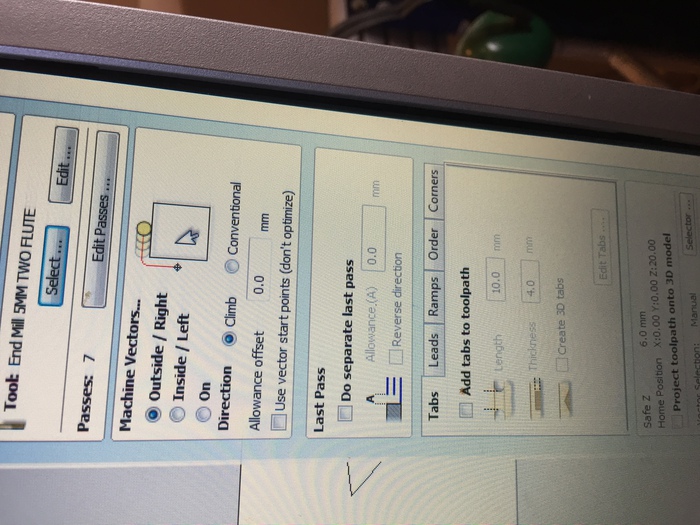
- Select tool you are using - for the demo we used 5mm 2 flute
- Set pass depth to 50% of tool diameter
- stepover. Again, this can be 50%, but would be less if doing a 3d path
- Spindle speed: 10-14000
- Feed rate: 120mm/sec. This is how fast it travels over the X/Y axis
- Plunge rate 20mm/sec. This is how fast it travels on z axis
- Now click add tabs - these prevent the material from flying away. Click to add a tab to the image, and avoid adding them in corners
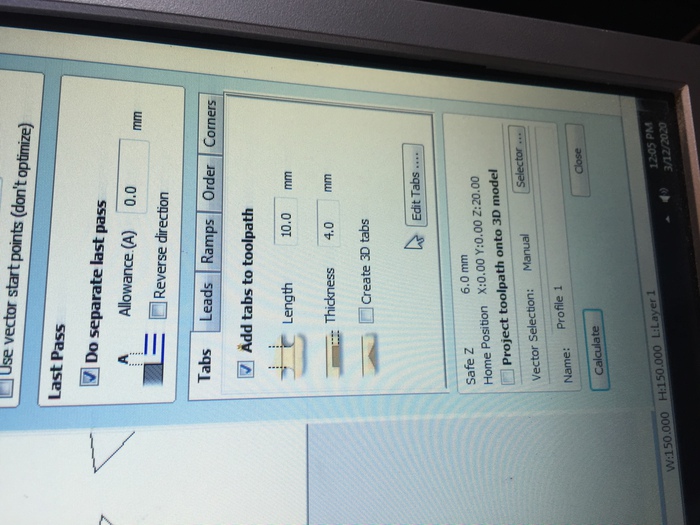
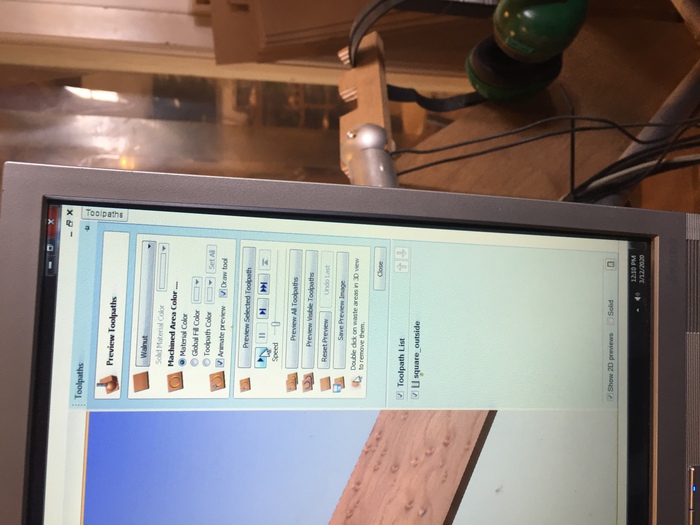
- Hit calculate: this will generate the G-Code needed
- Press play to preview the toolpath - make sure it does what you expect
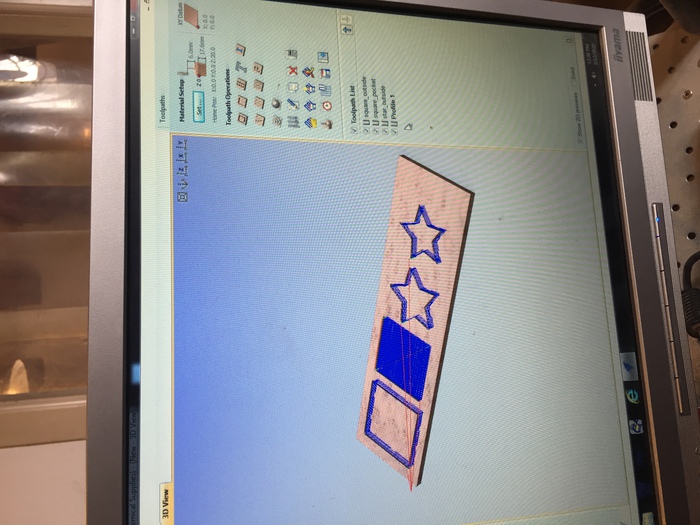
- If doing an additional path (in our case a pocket) exit the preview and go back to the toolpaths tab, click the new type of path icon
- For pocket, use the same settings, but reduce cut depth and stepover
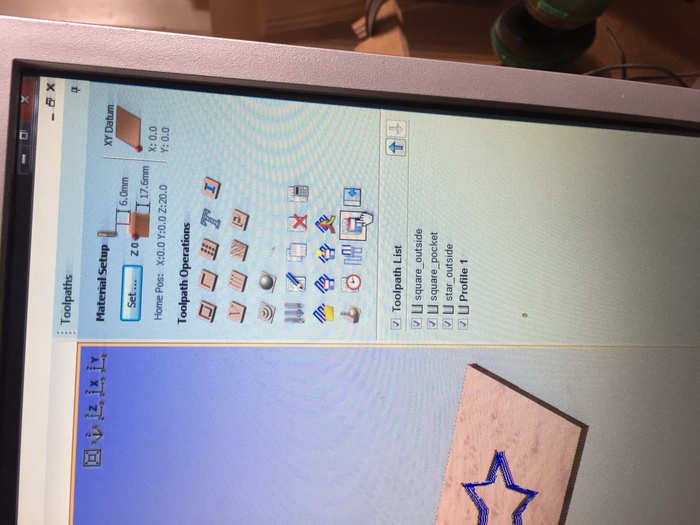
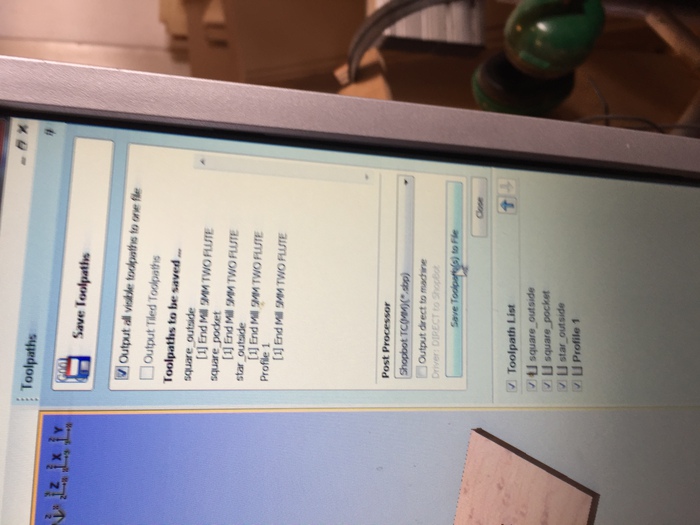
- When completed, from the toolpaths menu check all the toolpaths then click the save file icon
Next, prepare the machine.
- Attach the drillhead you will be using: insert the collet into the nut.
- Insert the bit into the collett. Always make sure these pieces are locked together BEFORE placing them in the endmill
- Screw the nut, collett, and bit into the machine head. Tighten with the wrenches that will be found sitting on the power supply of the machine. One is attached to the machine key to make sure the spindle is not on when you attach the drillhead.
- A wingnut behind the drillhead tightens/loosens the skirt. Make sure this is at the height that you want and that it is tight.
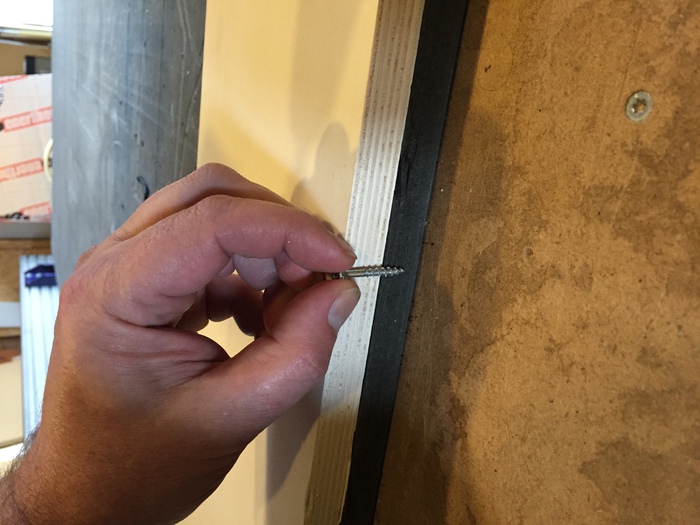
- Screw material to the machine bed using a drill. Place one screw about every 30cm, and make sure you do not use screws that are too long. Keep screws the same distance from the edge all the way around
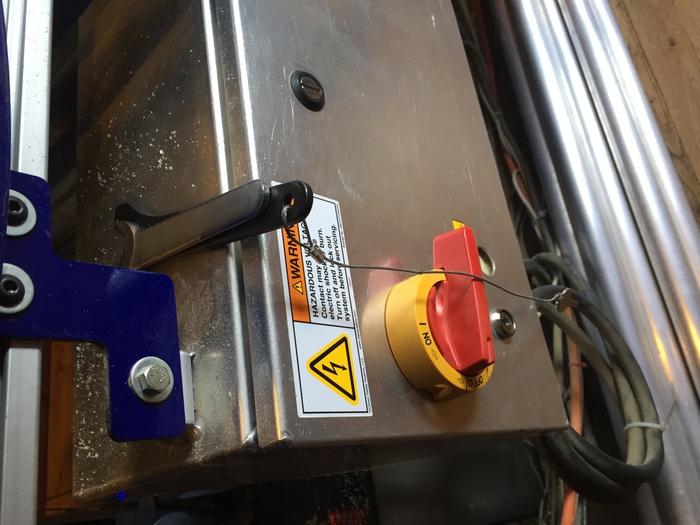
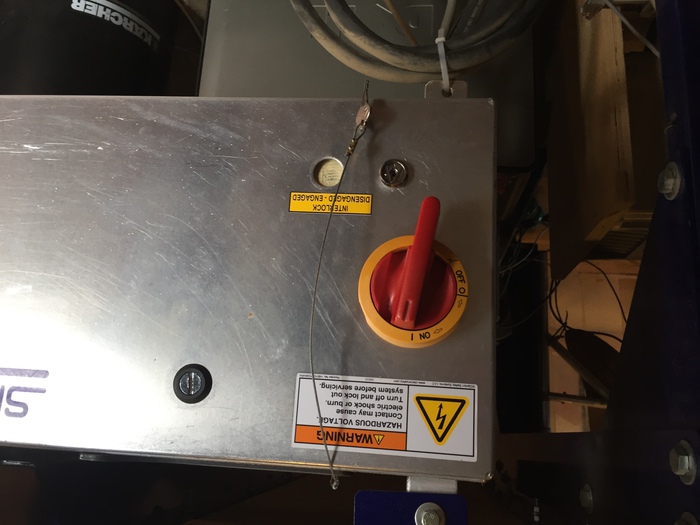
- Turn the machine on using the ON switch on the side of the machine- dont use the key yet
- Open the ShopBot software on the computer
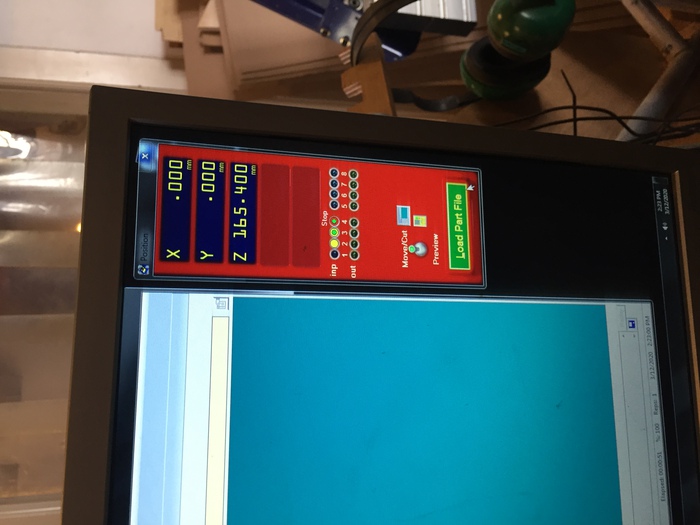
- Click ‘jog home’ to send to default origin
- Press K, which will bring up the keypad for moving the machine. The control pad arrows move along X/Y axis, while PgUp/PgDown control z axis
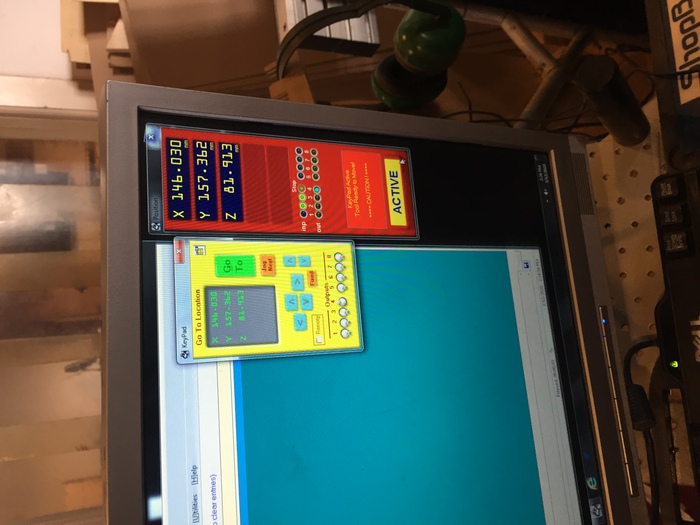
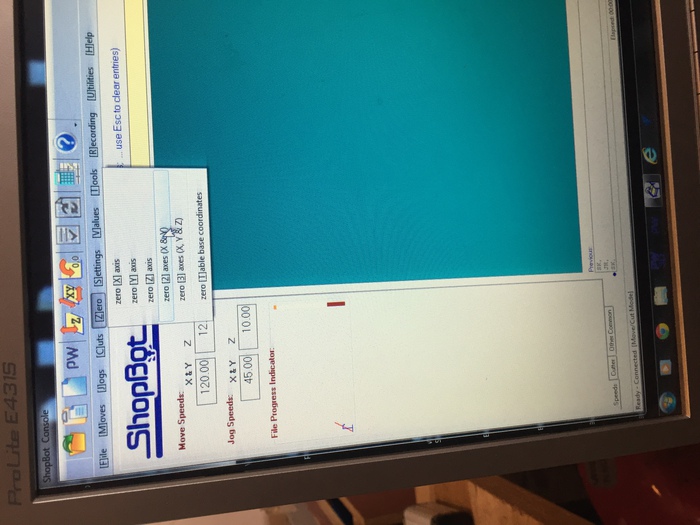
- Move to the origin you want, then click the Zero menu and select Zero 2 Axes (X and Y). The current position will now read as 0,0
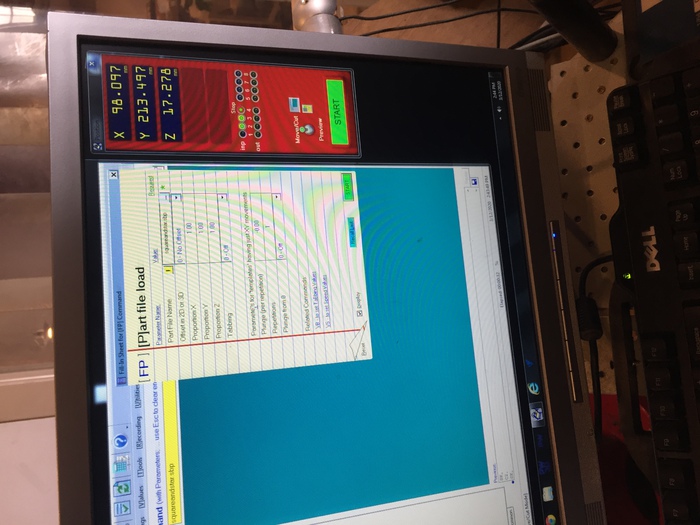
- Now move the drill over the middle of your material. Take out the metal plate resting on the side of the drillhead and place it flat, under the bit
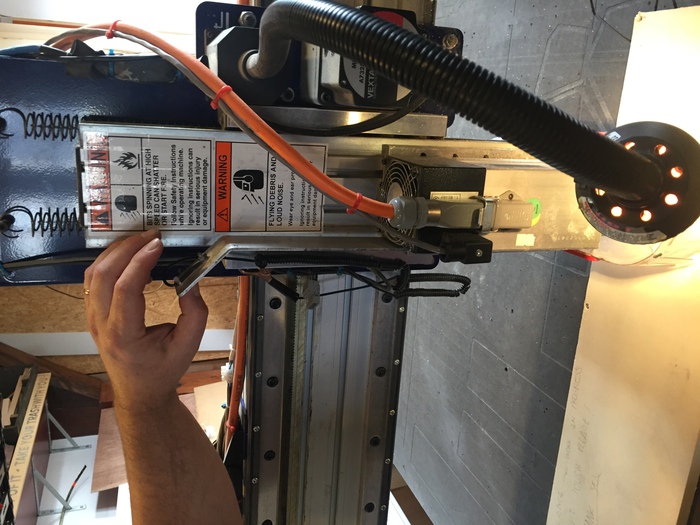

-
Hit the Z icon to Zero the Z axis
-
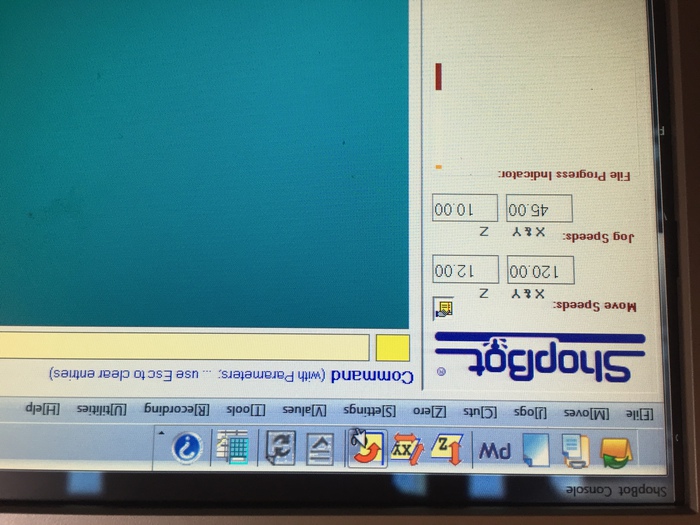
Click File, Part File Load
-
Walk to the back of the room and turn the dust collection on
-
Turn it on for the machine with the small red button on front of the machine
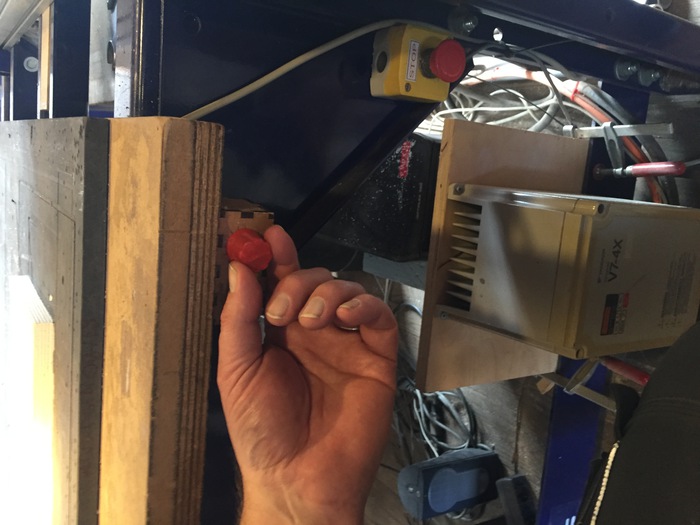
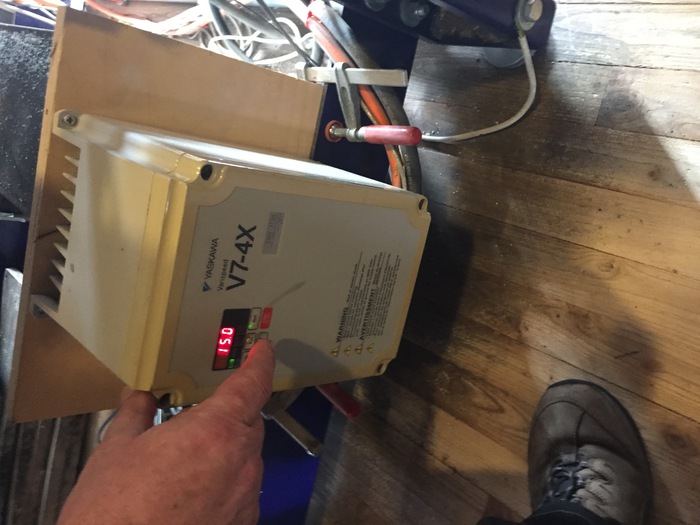
- Turn the spindle on with the key
- Set spindle speed under the machine, to the same speed you set in your software
- Click start on the computer. It will ask for confirmation.
- As the job starts, make sure to have your hand ready above the spacebar- this will pause it should anything go wrong. If something is wrong, turn off the spindle immediately after pausing it
When the job finishes:
- Turn spindle off with key
- Move arm away from the job with the K key in shopbot software
- Turn off the machine with the switch
- Turn off dust collection
- Unscrew the material
- Saw tabs to remove pieces and sand any rough edges
Group Assignment
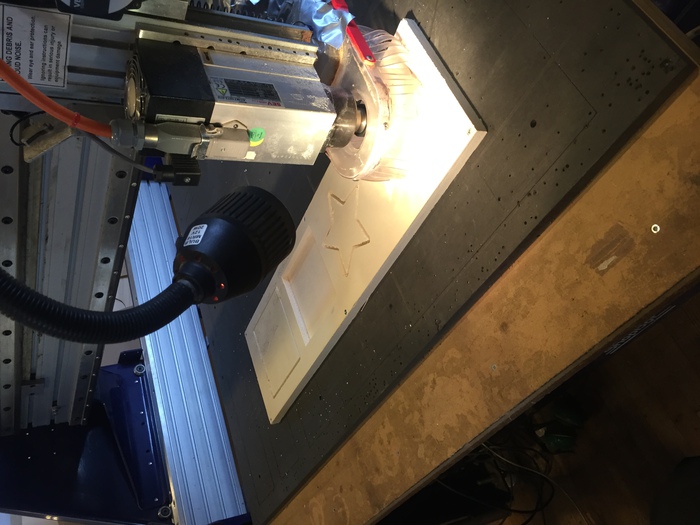
For the group assignment, we cut a bunch fo different squares in wood to tested the different move speeds, endmill sizes, flutes, and how new vs old endmills compare.
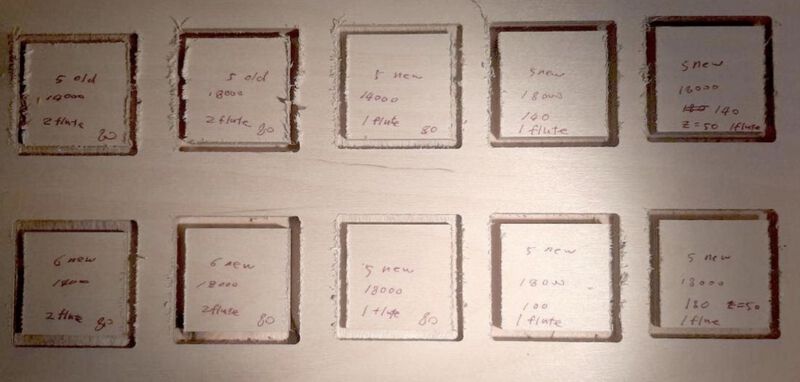
The new drill vs old drill seemed to produce the most difference, with the newer drill having much cleaner cuts.
Drill speed did not seem to have much difference, but 18000 was possibly cleaner than 14000.
Faster move speeds had more splinters, and 2 flute seemed probably better than one flute. Overall, it was hard to tell as so many different factors were changing in each test, so it was a bit hard to say exactly what was doing what.
Individual Assignment
This week, we had to make something big. I decided to make something practical- a shoe rack- as I really needed one for the entrace of my apartment. There were too many shoes.
I knew how to make parts from sketches in Fusion, but I did not know how to assemble parts together once I had made them, so I decided to start out by learning how to do this, as I would want to be able to see the rack fully assembled in fusion.
I started with this tutorial. Seems easy enough— I would make the sketch, make bodies from the sketch, make components from bodies, and palce them together.
I have limited time I could spend at the mill, so I wanted to keep the design as simple as possible. Conveniently, I prefer an extremely simple design for this, as I want it to not draw too much attention to itself, as it will face people when they walk in.
The design process was straightforward. The only aspect that might not be immediately discernible from the sketches is that I removed .1 mm from the positive joints to account for kerf. These are my sketches:
At one point, I added a square hole to the sides of the design, but did not like how this looked. In the end, I thought it would look best without any embellishment.
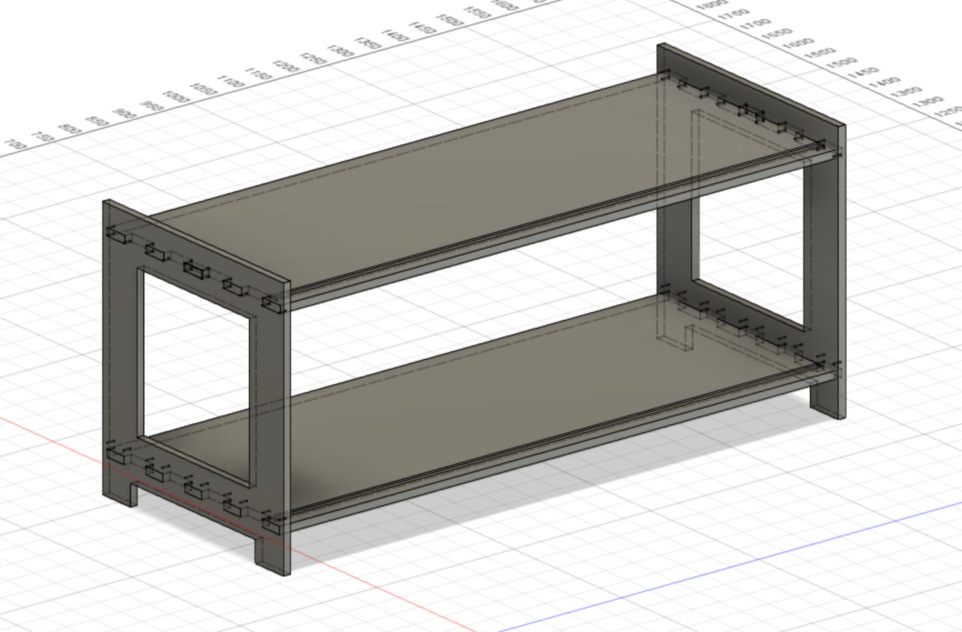
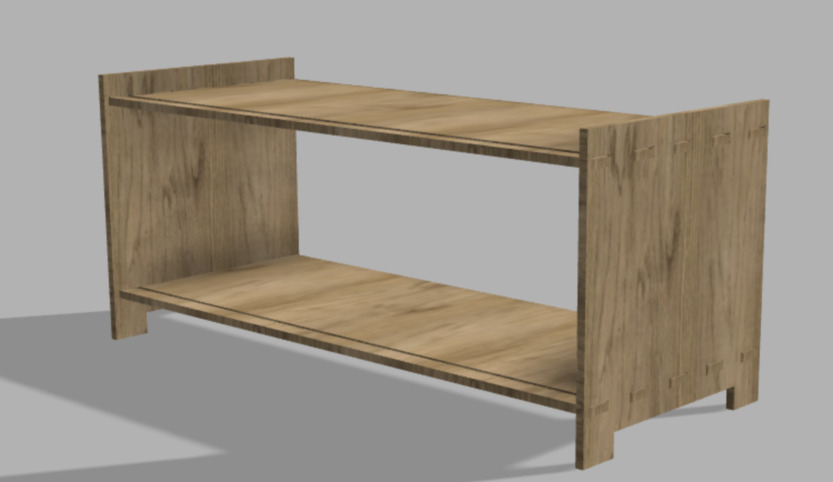
And this is the final design assembled in fusion with wood texture rendering:
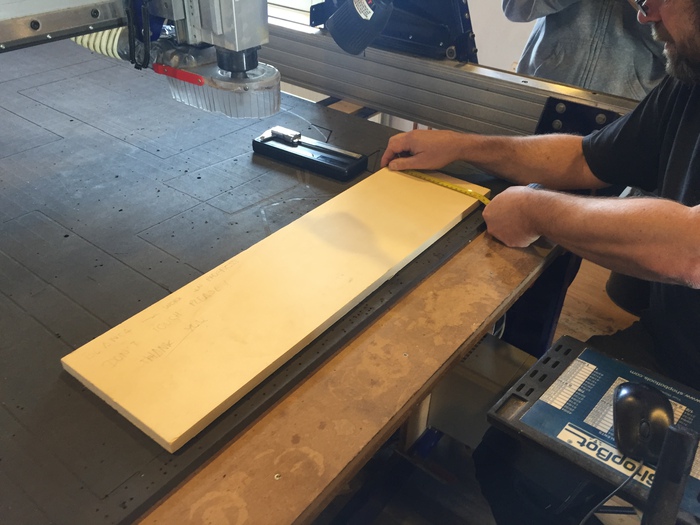
I screwed the sheet of wood to the table, placing screws about every 30cm.
To prepare the design for the machine, I exported the sketch as a DXF from Fusion.
I opened a new project in V-Carve, and input the material dimensions.
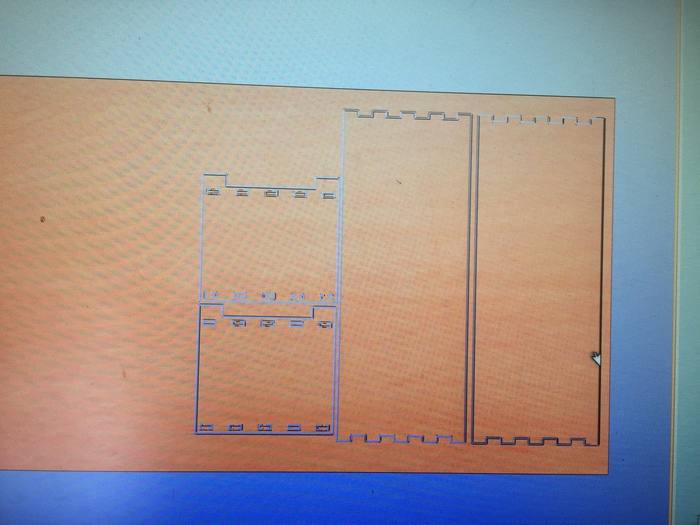
And Imported my design:
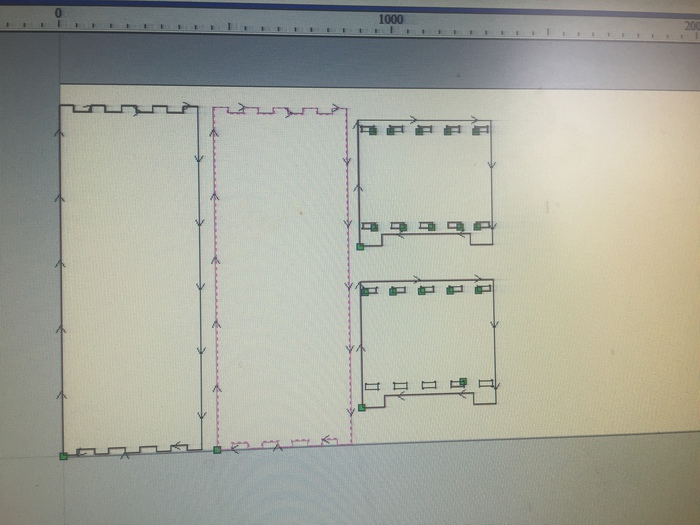
I used the following settings for my toolpath, following the steps above:
| Setting | Value |
|---|---|
| Drillbit | 5mm 2 flute |
| Spindle Speed | 18000 |
| Pass depth | 2.5mm |
| Stepover | 50% |
| Feed rate | 120mm/s |
| Plunge Rate | 20mm/s |
For some reason, it would not create a path from the larger pieces, even though everything was connected in the design. I attempted to bring it into Illustrator first and use that file, but ran into the same problem.
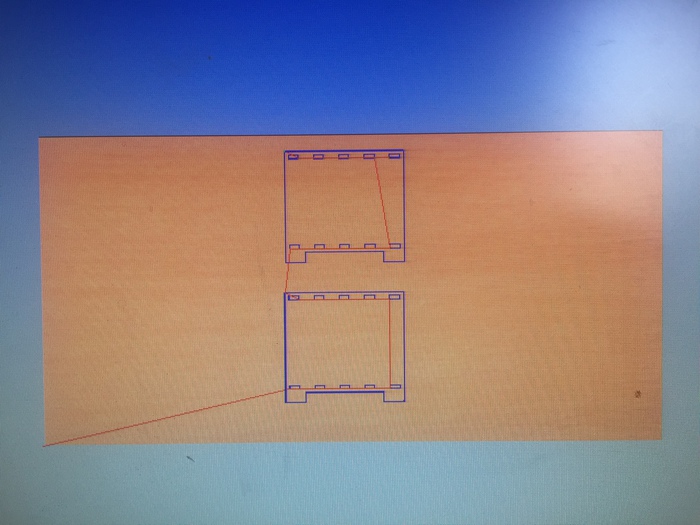
Rutger helped me by bringing the file into Inkscape and saving it again from there, as I did not have it on my computer. This worked!
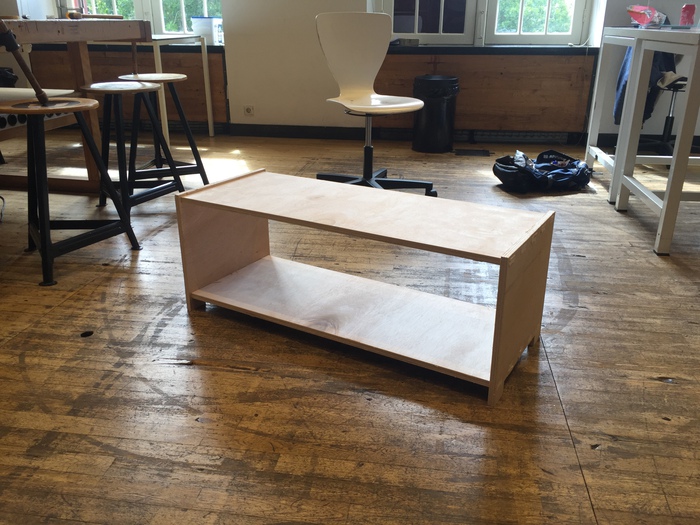
I broke the pieces out- I think they were so big that they were easy to pull from the tabs, so I didnt have to saw them. I sanded them by hand with some coarse sandpaper, but they were not as splintery as I expected.
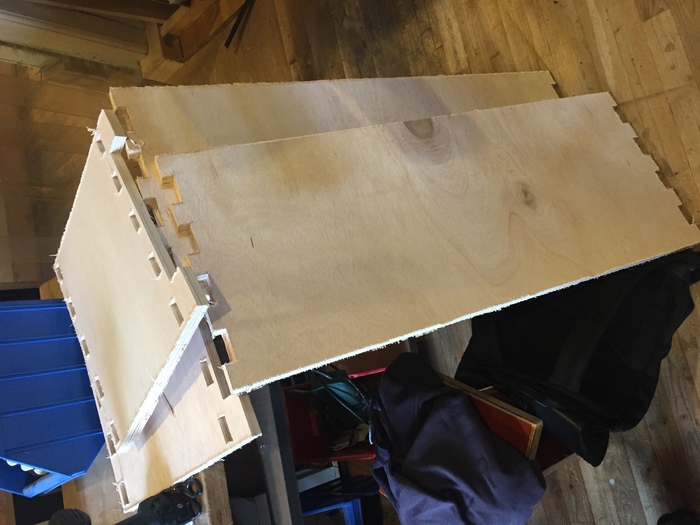
I hammered the pieces together and this is the final result!
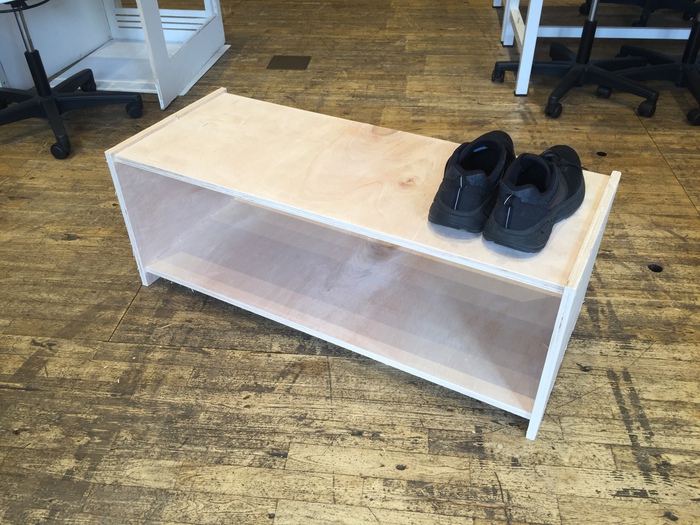
I was very happy with it in the end. The wood was nicer than I was expecting, and I was glad it was something i could actually use.
Summary
As often seems to be the case with these machines, the software was the biggest obstacle. I lost a lot of time because I did not udnerstand why it would not create a path for the bigger pieces of my design, and in the end it was only that it liked DXFs from inkscape better. Overall, I was impressed with how well press fit furniture could turn out, I had expected it to look more cheap. I feel like this is the type of project I would definitely like to repeat after Fabacademy and use to make more of my own things.