6. 3D Scanning and printing
To begin this week, we had a tutorial with Rutger on how to prepare a file for printing in PrusaSlicer, then how to print on the machines with Michelle.
Printing
Prusa Slicer
To prepare a file for the 3d printer in Prusa slicer, first export it as either .stl or .obj from the 3d editing software.
In Prusa slicer.
- File > Import file
- On the left hand panel, you can scale or rotate your design
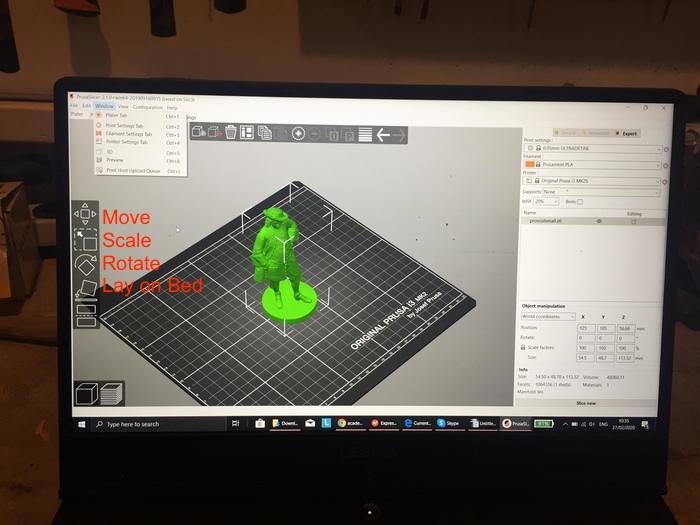
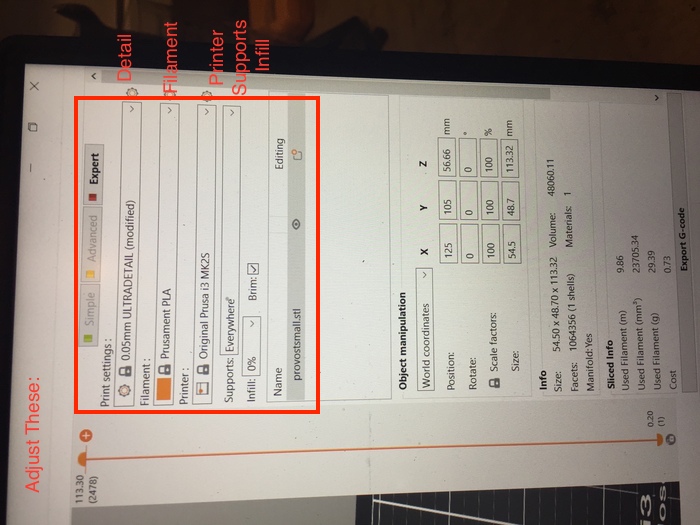
- Adjust print settings on the right hand panel, primarily
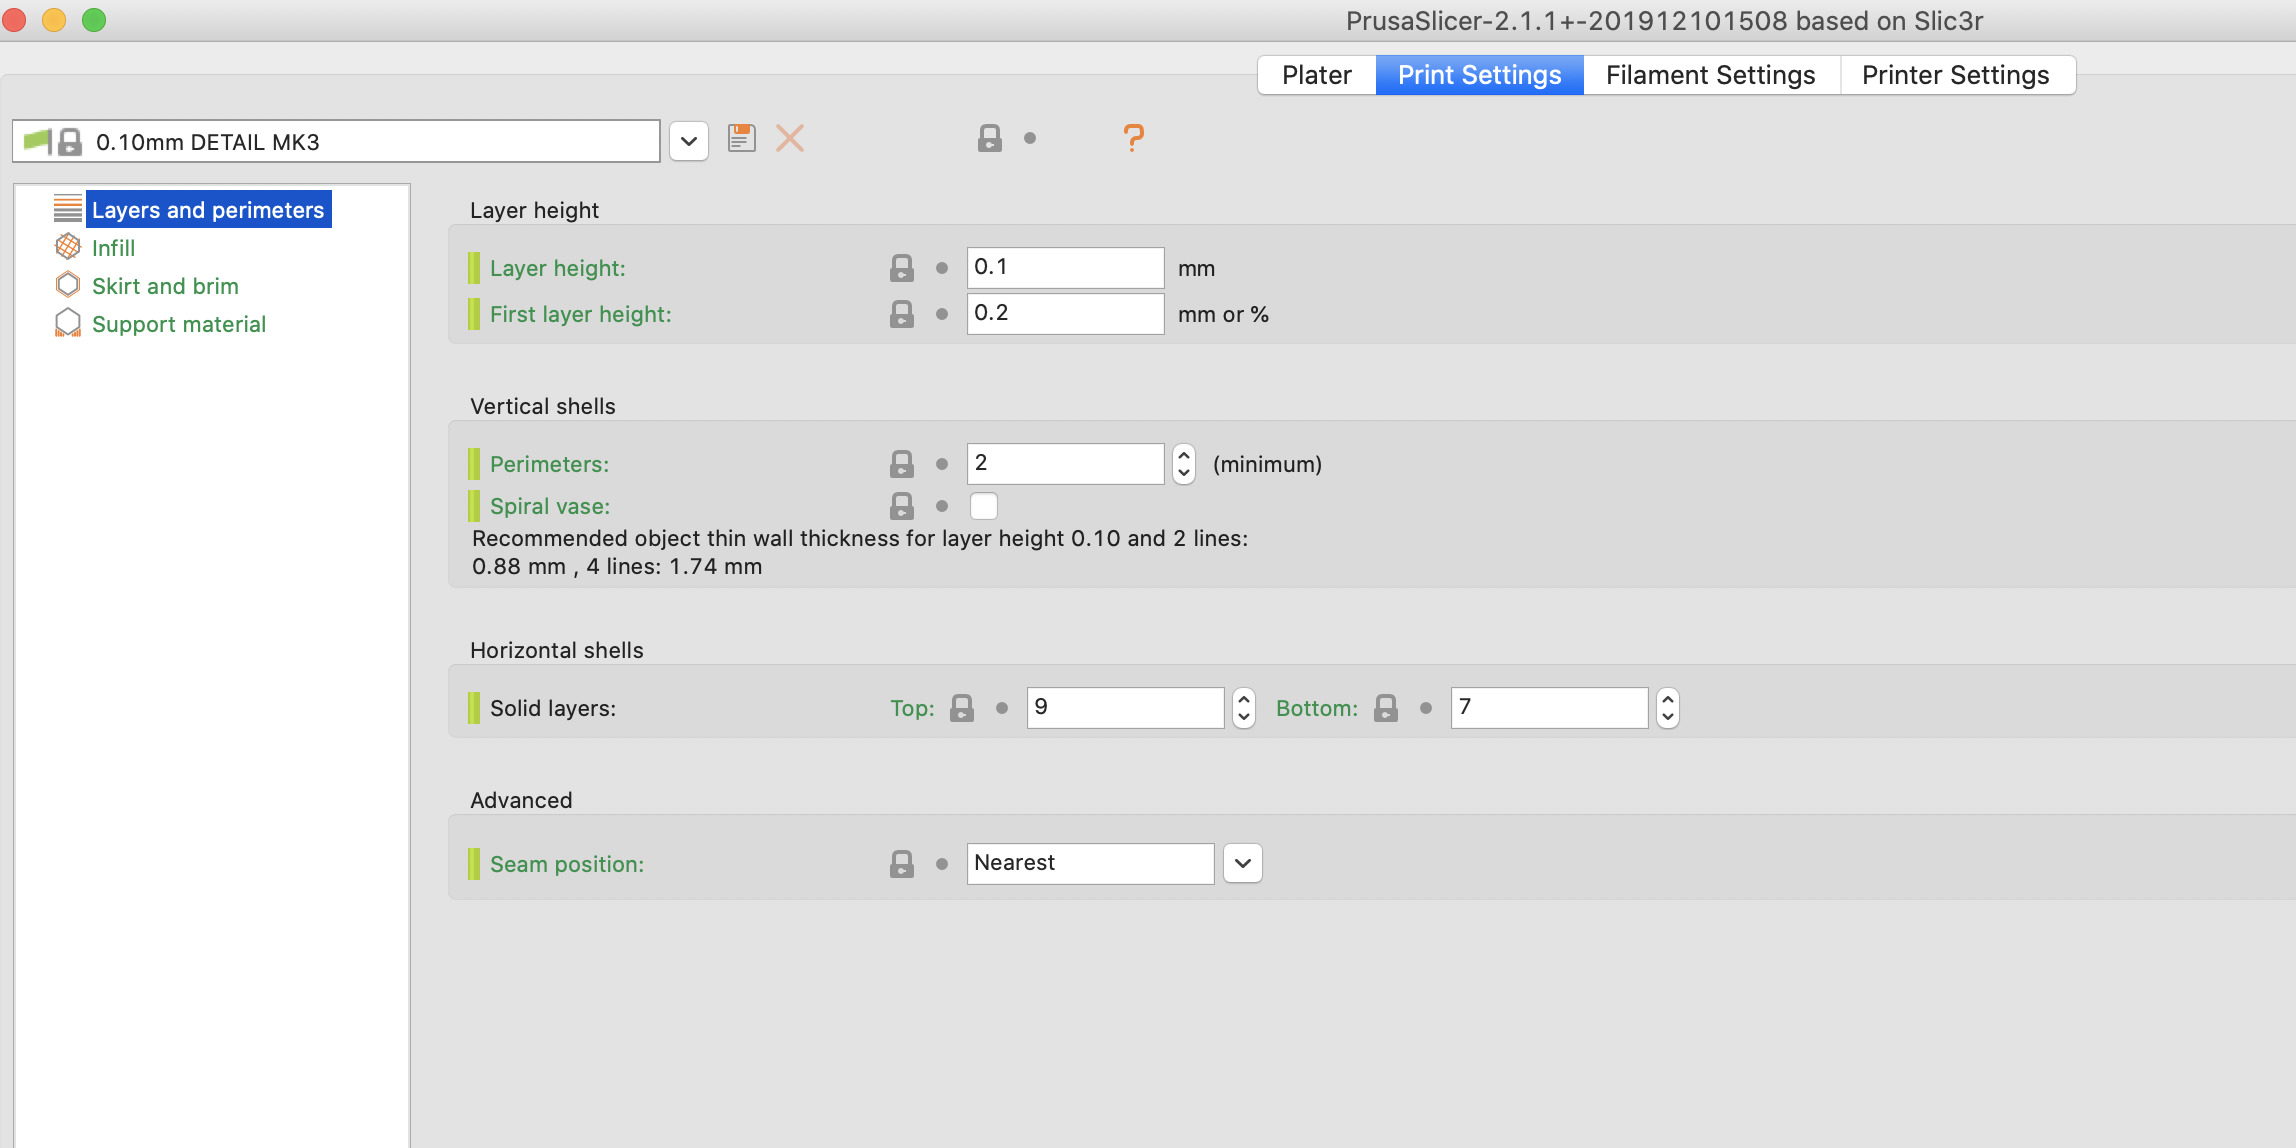
- These settings can also be fine tuned in the print settings tab at the top of the window
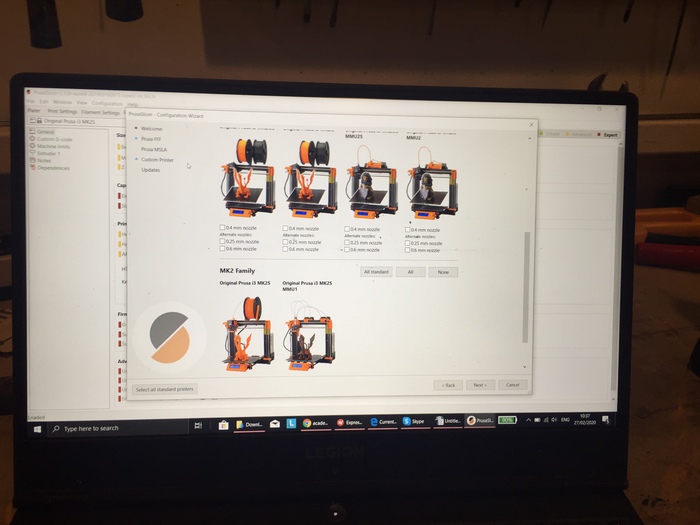
- Select the printer you will be using
- Select the filament you will be using
- Select the layer size, which will affect detail and speed of the print
- Select the supports (a scaffold added to the print that can be broken away easily)
- Check brim (adds a wider base so the design is less likely to move during print, more important for vertical prints)
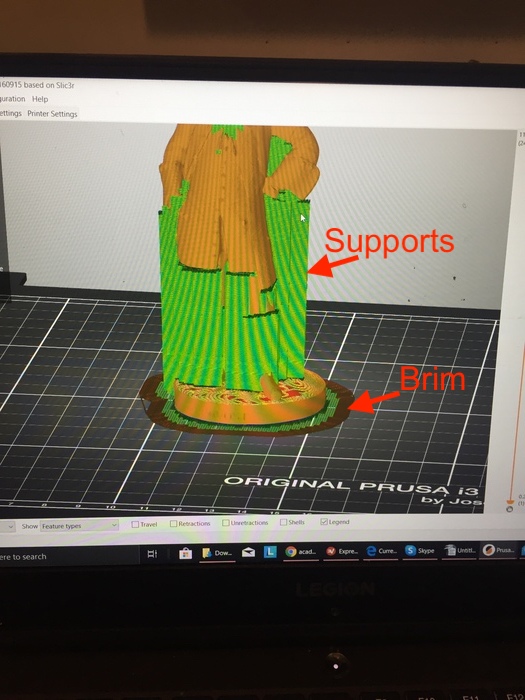
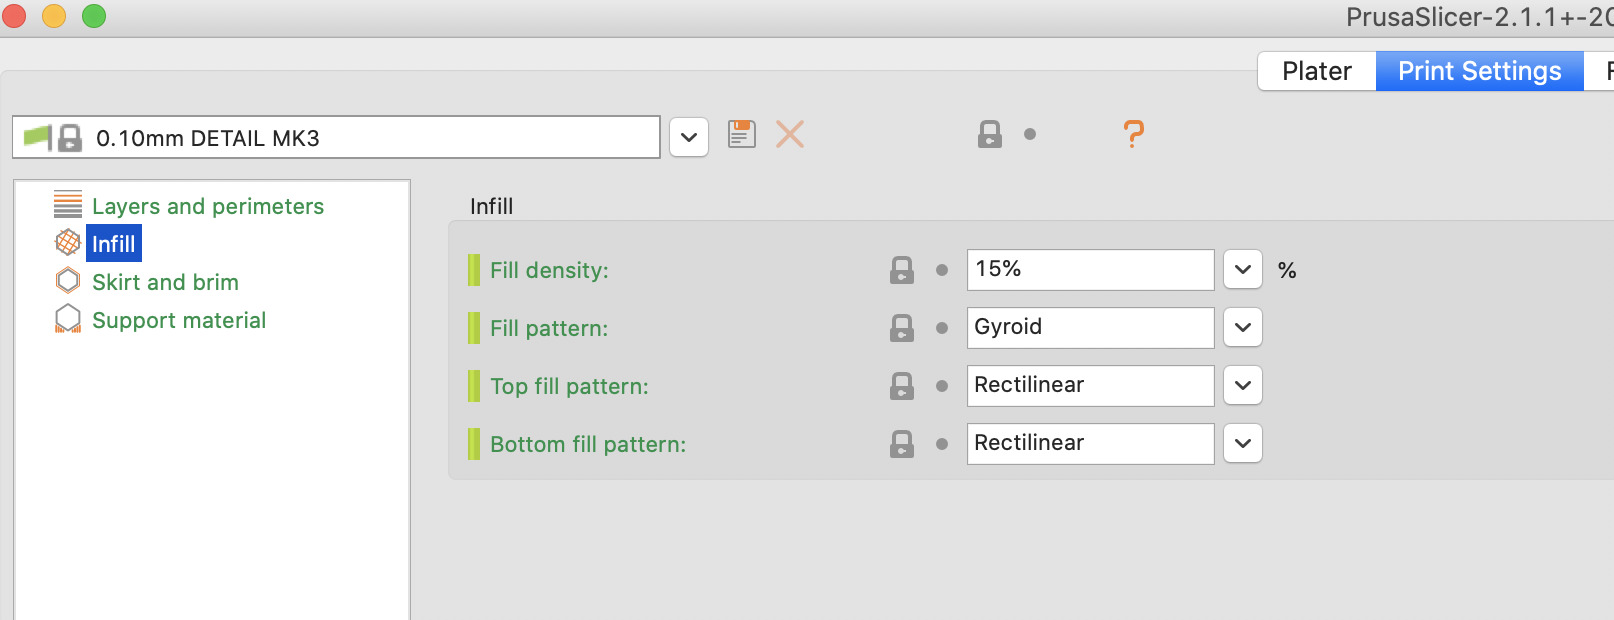
- Select infill (How much the design is filled in, and the pattern that filling takes. 5-10% usually ok, and linear patterns are quicker) Details can be adjusted in the print settings tab:
- Press slice now in the main window. This will tell you the amount of time required for the print and prepare the g code
- Press export g code
- Save to an sd card
Prusa MK3
-
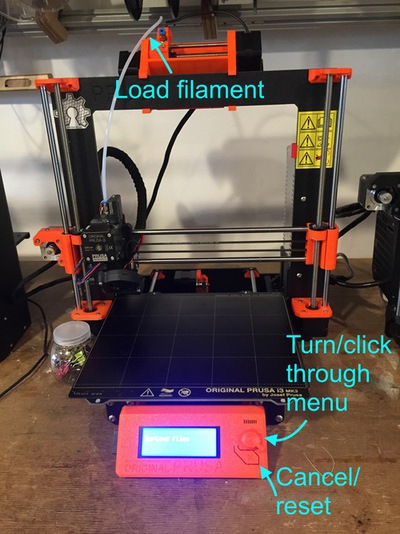
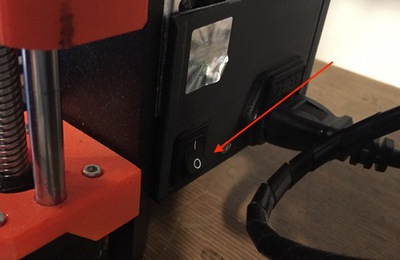
Turn the machine on using the switch on the back right side of the machine. The home screen will appear
-
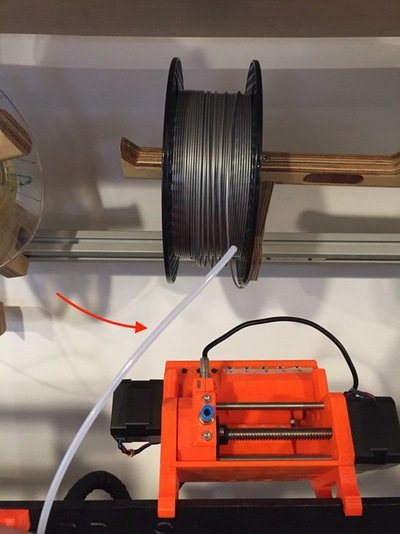
Turn the knob to select ‘Load filament.’ The machine will preheat, then instruct you to load when it is ready. Run the filament into the plastic tube until you can feel the machine start pulling it
-
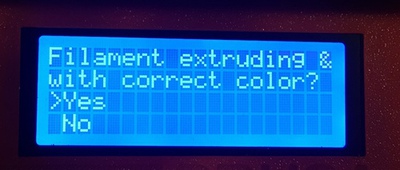
Next, the machine will extrude some filament and ask if it is the right color. This is to make sure it has purged any older filament of a different material or color
-
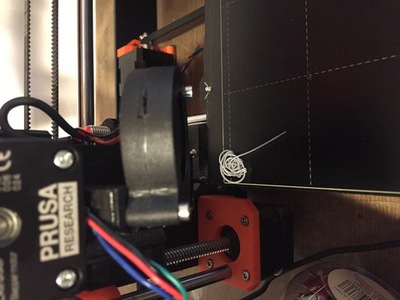
Remove the extruded filament and wipe down the base
-
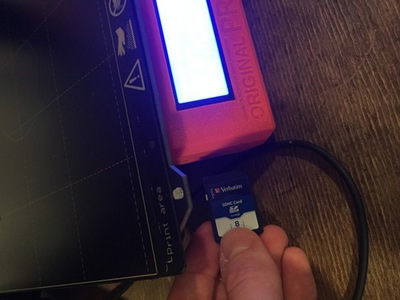
Insert the sd card with your project file on it
-
Scroll to select the project on the card, select it, and print
Scanning
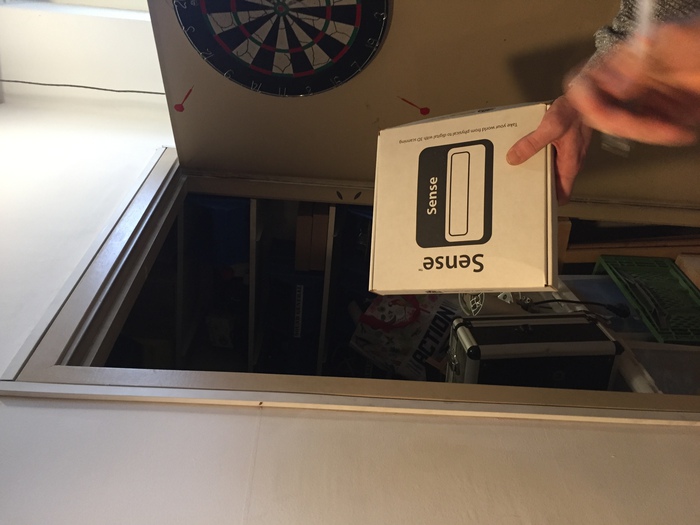
We use a Sense scanner at Waag, which can be found in the closet by the laser cutter:
To use it:
- Plug the scanner into the computer via USB
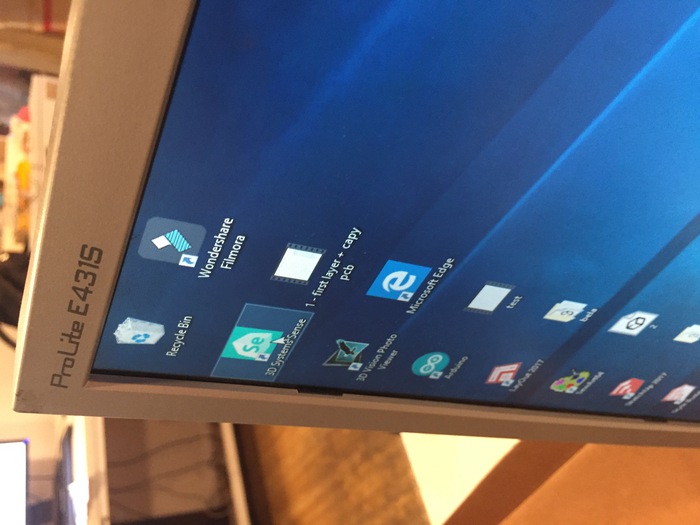
- Open the Sense software
- Choose the object to scan from the options object, head, or body

- Click scan
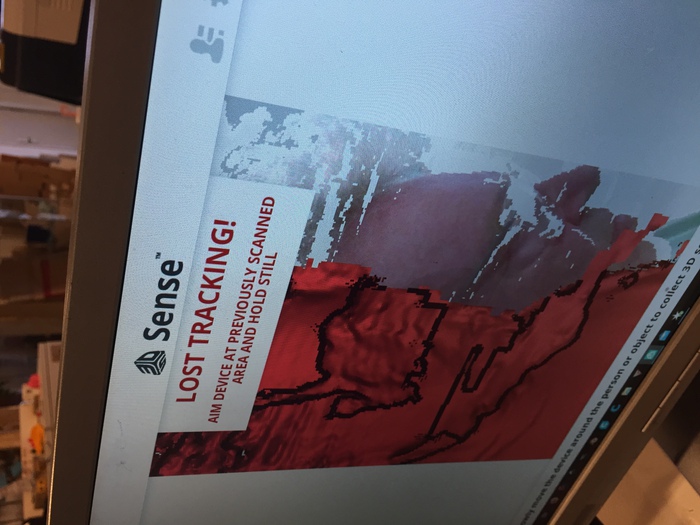
- Move over the object slowly with the scanner. Try to keep the same distance from the object the entire time.You will see parts fill in on the software scan live as you create the scan, and it will warn you if you move too far away
- Click finish when the scan is complete
- You can then clean up the scan by clicking on individual parts of it to delete extra information using trim. You can also use erase or crop
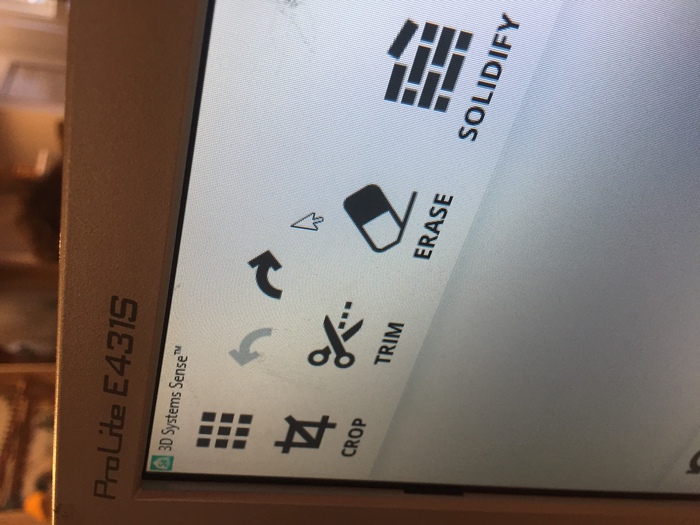
- The scan will be only the shell of the object, click solidify if you want to make the scan solid. Click apply to save any deletions or solidify
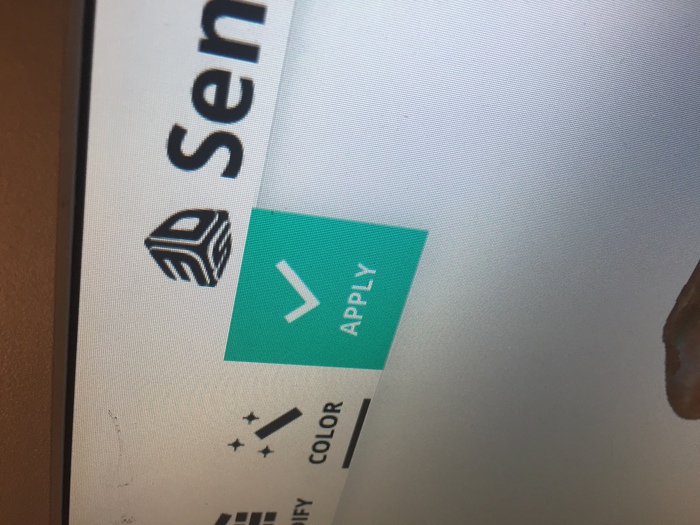
- Click export to create an OBJ or STL file
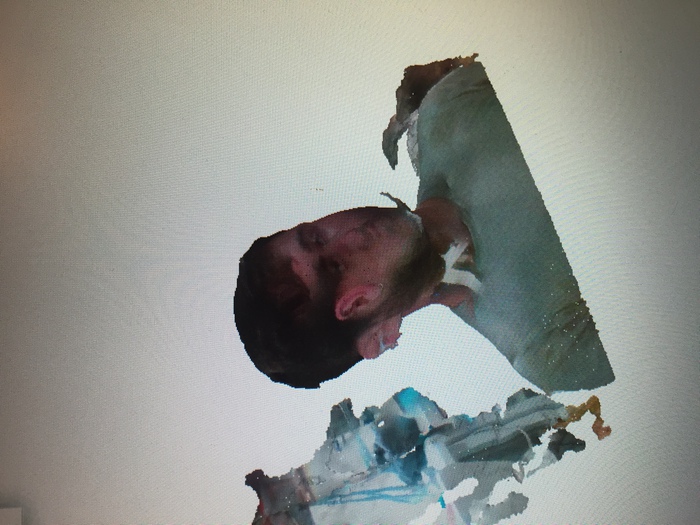
When we tried out the 3d scanner as a group, we had a lot of trouble getting my head to work well. Everyone else’s seemed to work except for mine- even after several tries got a lot of distortion on my face.
Group Assignment
I tested the Prusa MK 3, following the steps from our tutorial, listed above. I placed the images from working on it myself, described below, in the general steps above, as I did not get great ones during the tutorial. So see above for numbered steps and photos!
Notes
The machine was already on and had filament inside when I approached it. I wanted to work with the machine from off, and load filament. I turned it off using the switch on the right side of the machine toward its rear.
I then clicked unload filament. It preheated, then told me to pull out the material immediately. I pulled it out from the long translucent tube.
I then hit Load material on the menu, and selected PLA. It preheated then beeped, and told me to load material. I ran it through the tube and the machine slowly rose up the z axis. I eventually felt it pulling on the filament. It extruded some material and asked if it was the correct color. I said yes, then it returned to the main menu.
I now wanted to experiment with calibrating it. I went to calibrate- calibrate z in the menu. It chose different points and moved around. I then chose first layer calibrate. I did not notice big changes in the different settings. It finished calibration.
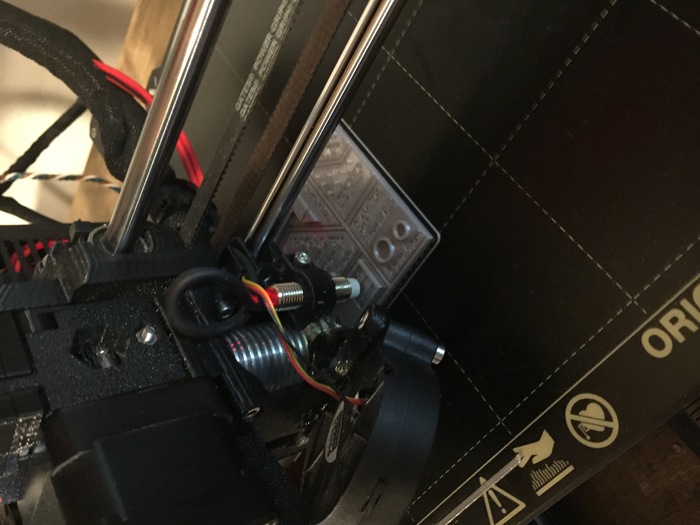
I then inserted the SD card with the file we made and selected it from the menu. The print ran successfully from the first try! For comparison of the results of the different prints, see the group documentation.
Weekly Assignment
Printing
I wanted to use the assignment this week to challenge myself a bit with Fusion. As I just started working with fusion during fabacademy, I decided to follow a tutorial for a type of object that initially seemed difficult. I remembered seeing some product design tutorials that had seemed interesting to me during the CAD week for cleaning supply bottles- strange organic shapes with some surface modeling. I decided to make a spray bottle, like one that would hold window cleaner, as this would have the extra challenge of the spray head.
I mainly followed these two tutorials, the modeled the head off of that on a spray bottle in my apartment.
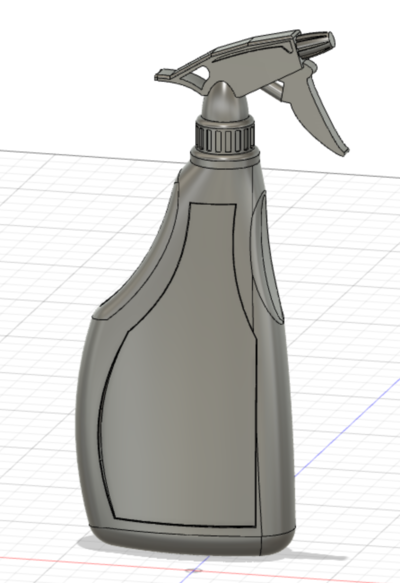
At first, I worked on the bottle, following this tutorial:
I followed this tutorial pretty closely. I did not run into too much trouble here- the main point where my design differed from that in the video is that I did not use rails in my loft, so am still not completely sure how those work. I additionally later added some surface modeling.
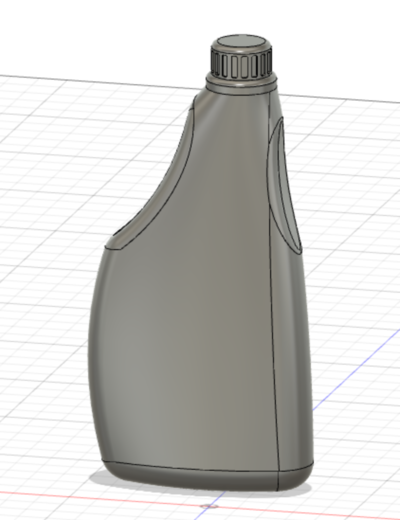
Here is the bottle I completed based on this video, before adding the spray head and surfacing:
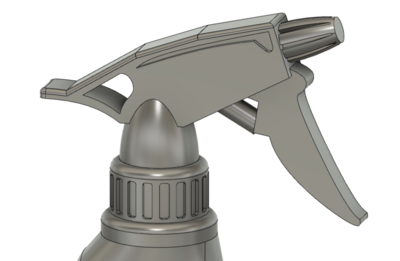
To get an idea of what to do for the spray head, I followed this tutorial:
How to design a spray bottle in fusion 360
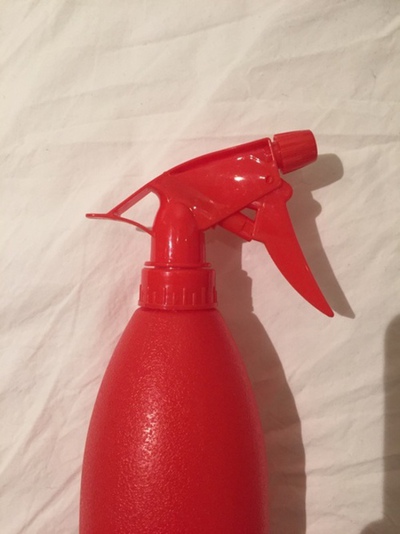
I ended up trying to copy this spray head from my house:
Finally, I wanted to add a recessed area on the curface where a label could be placed. In order to do this, I needed to review some surface modeling, so i watched this video:
The main issue I had here was getting the label area to fall over the surface of the bottle evenly. At first, I didn’t have it follow the vertical curve of the bottle, so when I extruded the shape and cut it into the bottle’s surface, it would cut too deeply into the lower part of the bottle and barely touch the top. I ended up drawing a spline that traced the shape of the bottle, and then extruding that into a surface to make the shape. However, I still wonder if there is a way to use the surface of the bottle directly–seemed like there wasnt!
After that, exported the file as .stl (took longer than expected) and imported that into Prusa slicer. I used the steps described above for using Prusa Slicer.
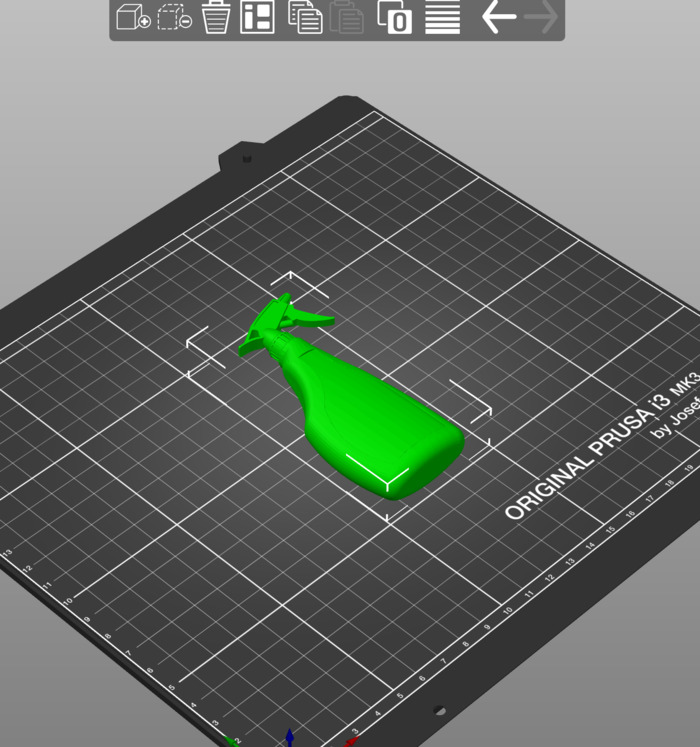
My settings were:
| Setting | Value |
|---|---|
| Layer size | .10mm DETAIL MK3 |
| Filament | Generic PLA |
| Printer | Original Pruse i3 MK3S |
| Supports | Everywhere |
| Infill | 15% |
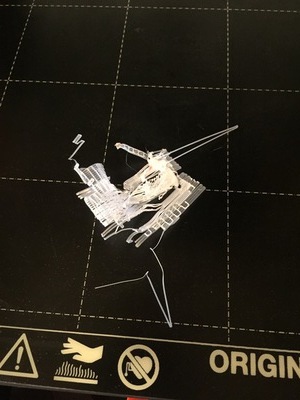
My first print failed during the first layer. It did not stick to the board and started to become tangled.
For the second attempt, I went back into PrusaSlicer and changed the filament from generic PLA to Prusa PLA. I brought the file back over. When the second print started, I was worried it looked like one corner was curling up, so we taped it down. While it was printing, and also did a live adjustment of the speed on the machine to slow it down. It took closer to 2 hours instead of 1, but I was happy because this print worked!
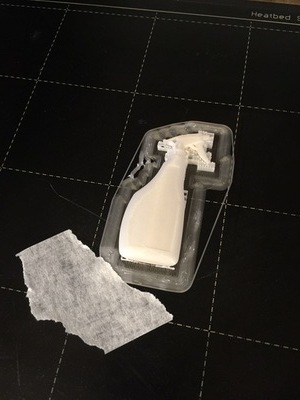
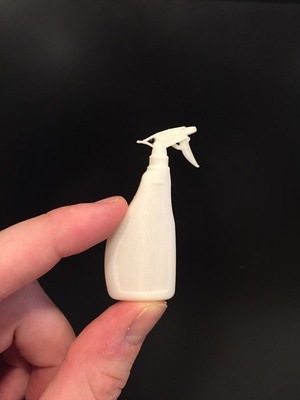
When I removed the scaffolding on the back, it peeled off some of the first layer, but here is a final shot with the top side facing forward:
Scanning
As I had made a spray bottle in fusion, I decided to scan a similar item, so that I could compare the two 3D objects!
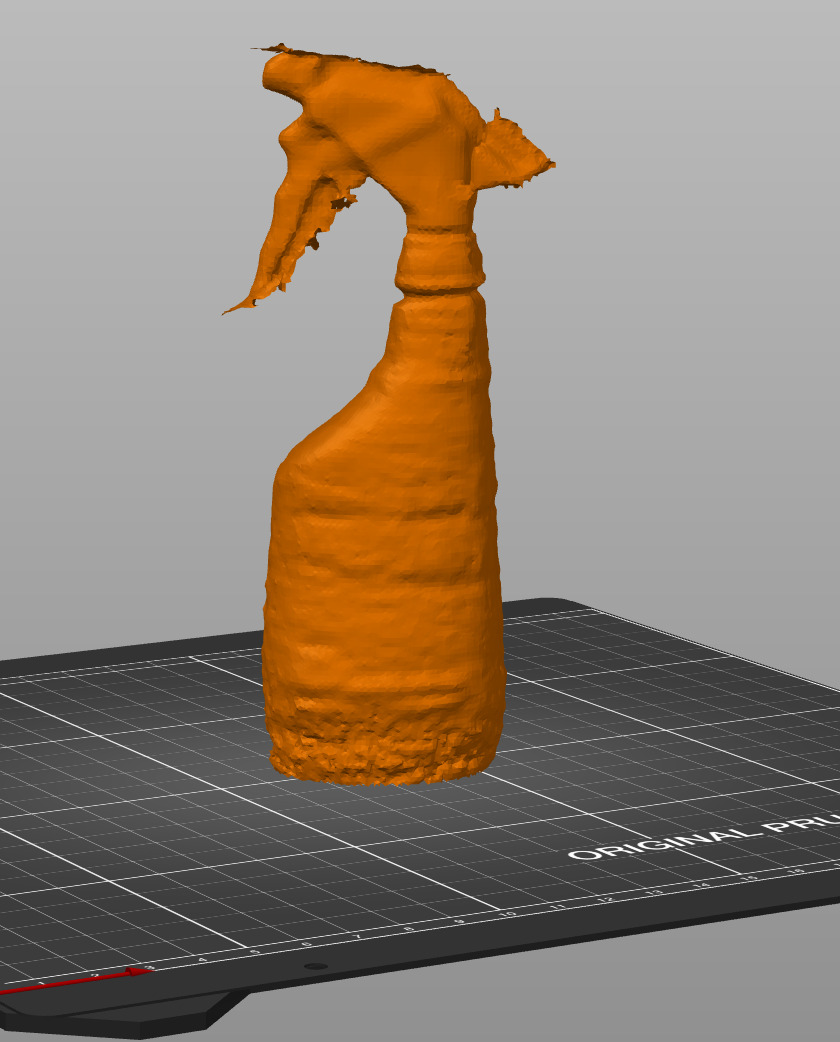
I used the process above to scan a spray bottle at Waag.
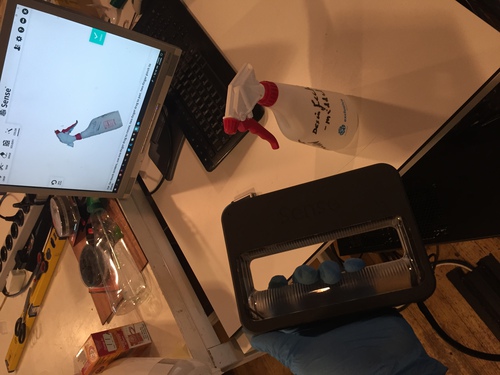
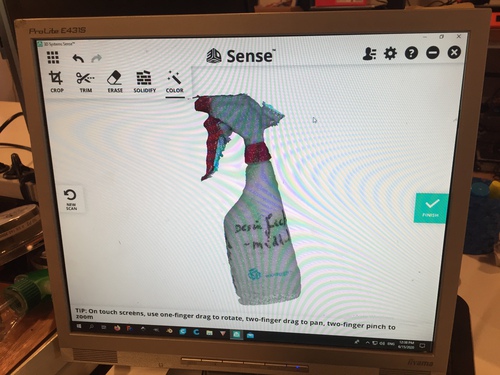
I then opened the file in PrusaSlicer to compare it the fusion design. The scan is nowhere near as precise as the cad file.
Summary
I was a little underwhelmed by how slow 3d printing is, and how most prints are just small plastic objects. I was also excited about 3d scanning, but found it a bit trickier and lower quality than I expected, though this might just be the scanner we have. I think 3d printing will be more useful for small machine parts, or frames, than finished objects I would want to look at.