3D Scanning and Printing
Week Task
group assignment:test the design rules for your 3D printer(s)
individual assignment:- design and 3D print an object (small, few cm3, limited by printer time), that could not be made subtractively
- 3D scan an object (and optionally print it)
Introduction
3D scanning is the process of analyzing and capturing a real object or environment and creating
a virtual 3D model with the help of the collected data. A 3D scanner, then, is the tool responsible for executing this capturing.
3D printing or additive manufacturing is a process of making three dimensional solid objects from a digital file.
The creation of a 3D printed object is achieved using additive processes. In an additive process an object is created by laying down successive layers of material until the object is created. Each of these layers can be seen as a thinly sliced horizontal cross-section of the eventual object.
3D printing is the opposite of subtractive manufacturing which is cutting out / hollowing out a piece of metal or plastic with for instance a milling machine.
3D printing enables you to produce complex shapes using less material than traditional manufacturing methods.
Source:https://3dprinting.com/what-is-3d-printing/
Group Assignment
In group assignment, the task for this week is to characterize the design rules 3D printer.
So we five member in group, the Fab Academy provides different jpg images to test the printer.The image include some supports and unsupports type
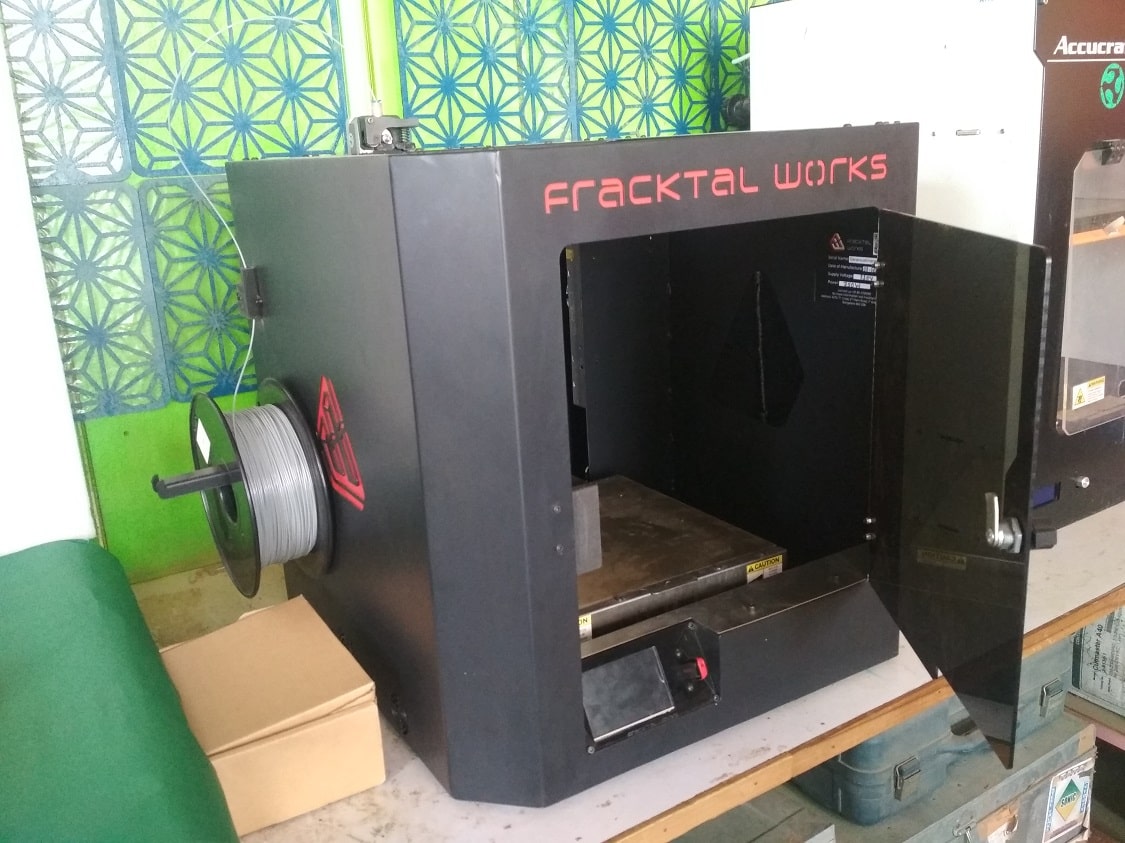
printing. We have developed the all design in our 3D printers. The 3D printers available in our lab has the following specification:
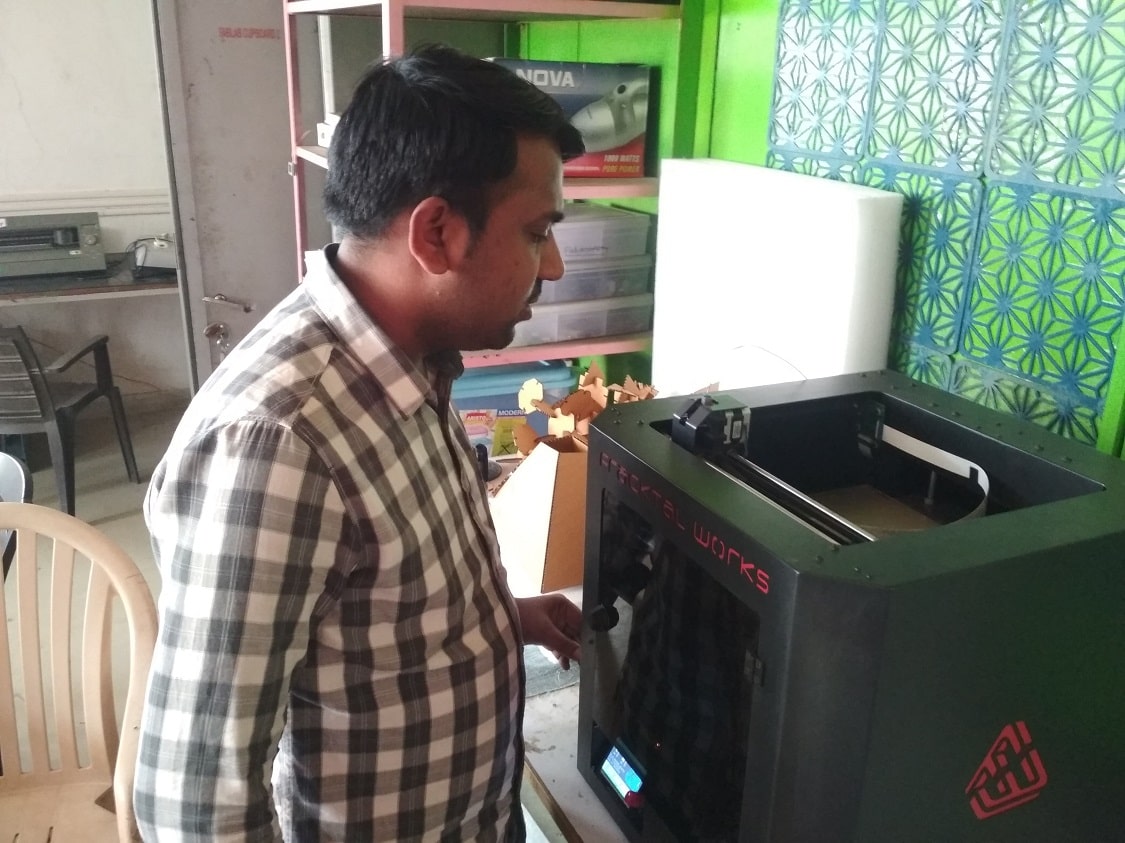
Make: Fracktal Work 3D printer
Build Volume: 200x200x200mm
Nozzle: 0.25, 0.4(Default), 0.6, 0.8mm(Direct Drive Extruder with E3D V6 Hotend)
Build Surface: Flexible PEI (AC Heated Bed)
SD Card input wild LCD Display (Stand alone printing)
Power Failure ressurection - Never lose a print to power failures again.
Multi Filament Capability: PLA, ABS, Flexible, Composite Materials (Wood Fill, Bronze Fill, etc), Nylon 618
The details about Group Assignment is given on our Fab Lab, Vigyan Ashram page
Click here for details about 5-Week Group Assignment
Individual Assignment
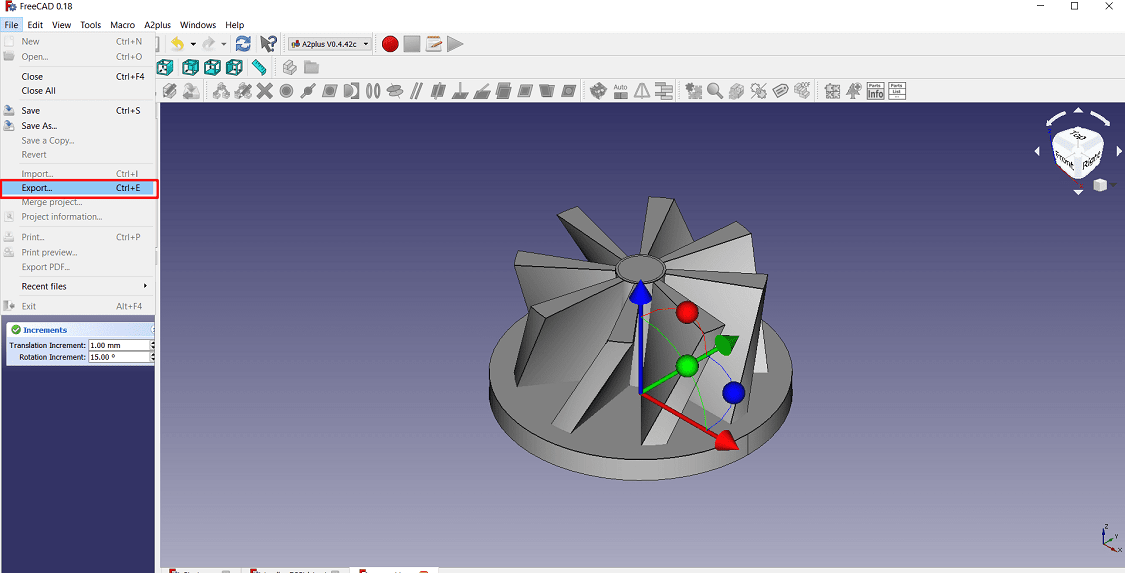
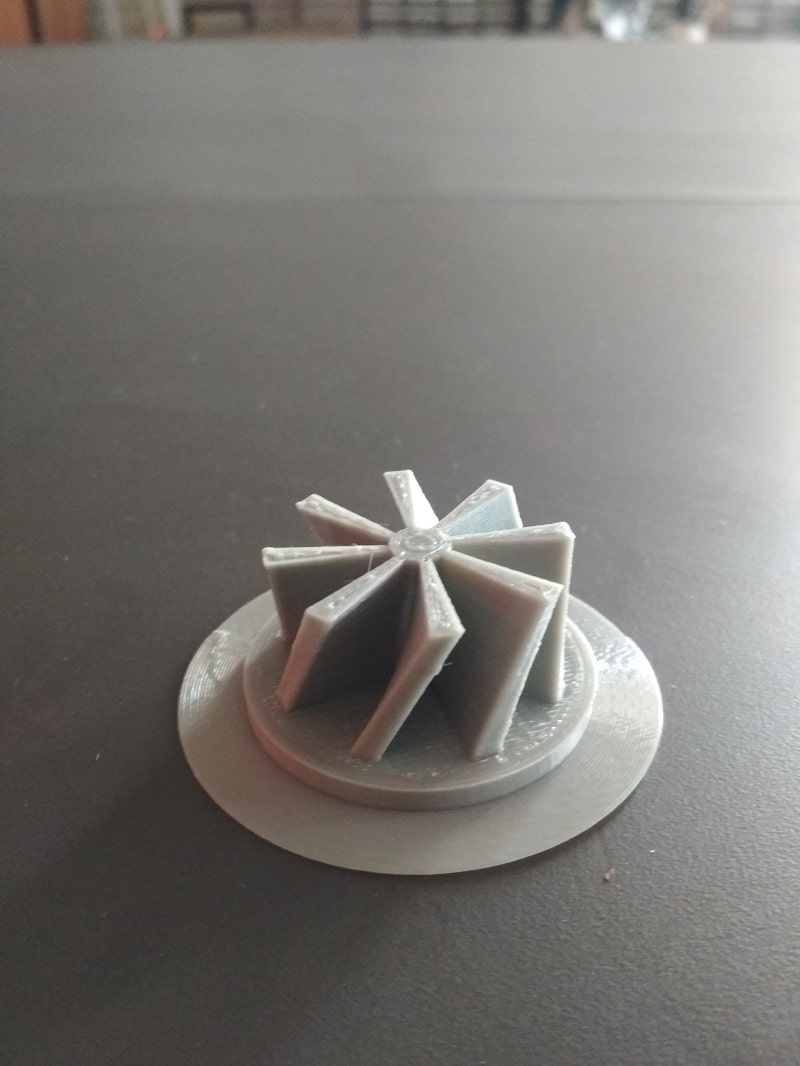
The task for the week is to design the object and 3D print it. so here i have designed impeller by using FreeCAD software.
Then the design is exported from FreeCAD and saved in stl formatt.The stl formatt is imported in machine software. Prepared the objet and then i will print it.
In task of 3D scanning, using the Sense software scan and camera we will scanned the 3D object. Below i wil explain in details procedure of the 3D printing and scanning.
3D Object Design
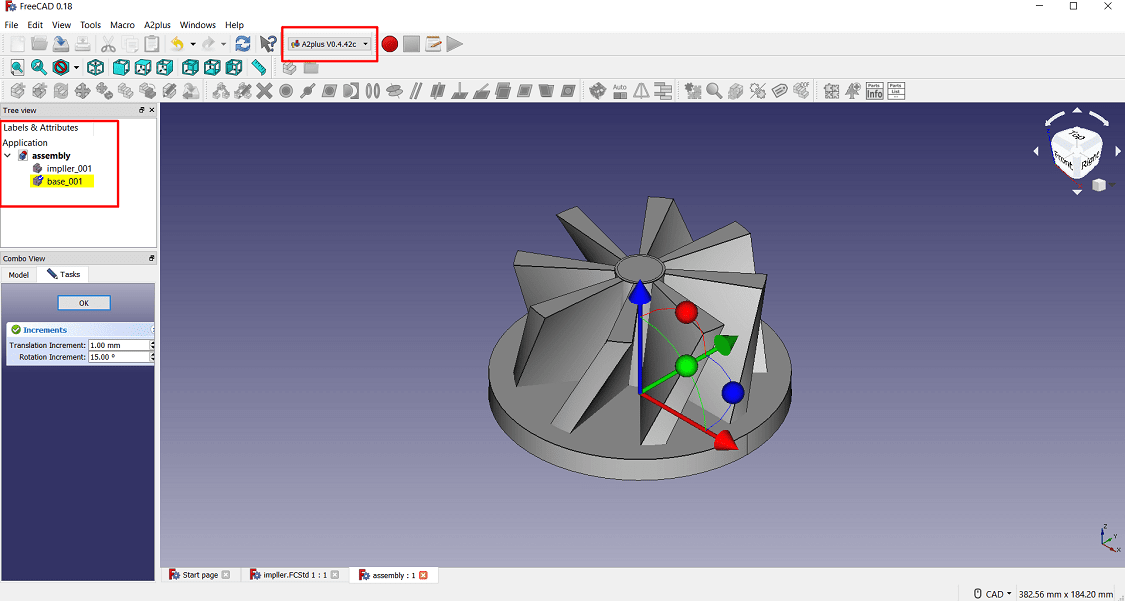
So here i have tried to develop the object i.e. vanes and the impeller hub in a single design, but it will difficult to me so i have design this two parts
seperatly and then assemble this part in FreeCAD
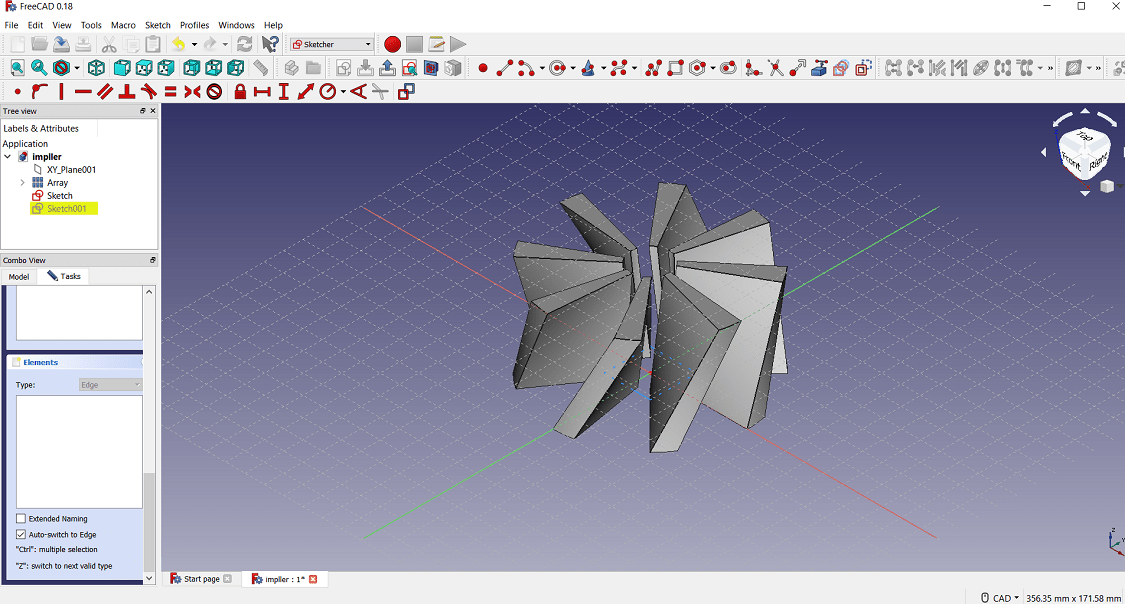
Impeller vanes designed in FreeCAD
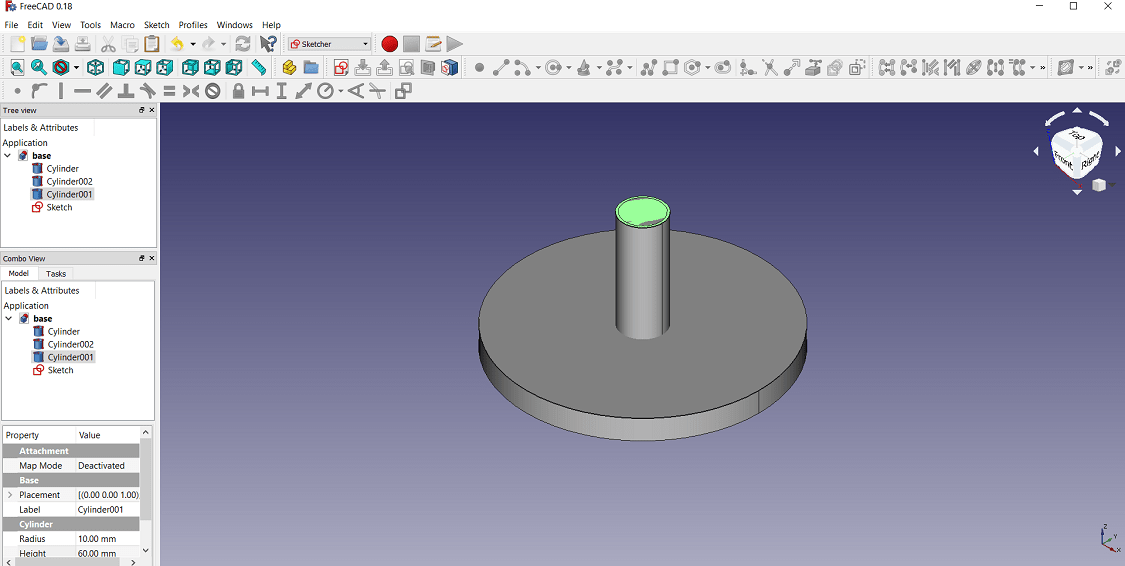
The impeller hub for venes (blade).
The final assembly of parts for 3D printing
3D Printing
Our Fab Lab 3D printers software is "Fracktory" which can read the stl formatt file.
The stl formatt file can create G-Code which can decide the path of nozzel.
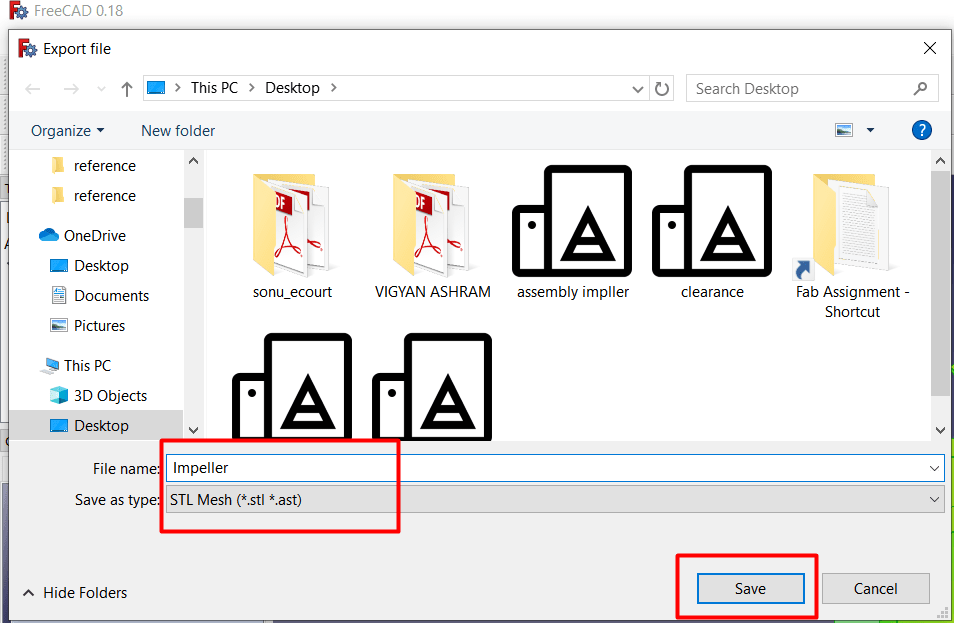
The design is exported and saved in stl formatt
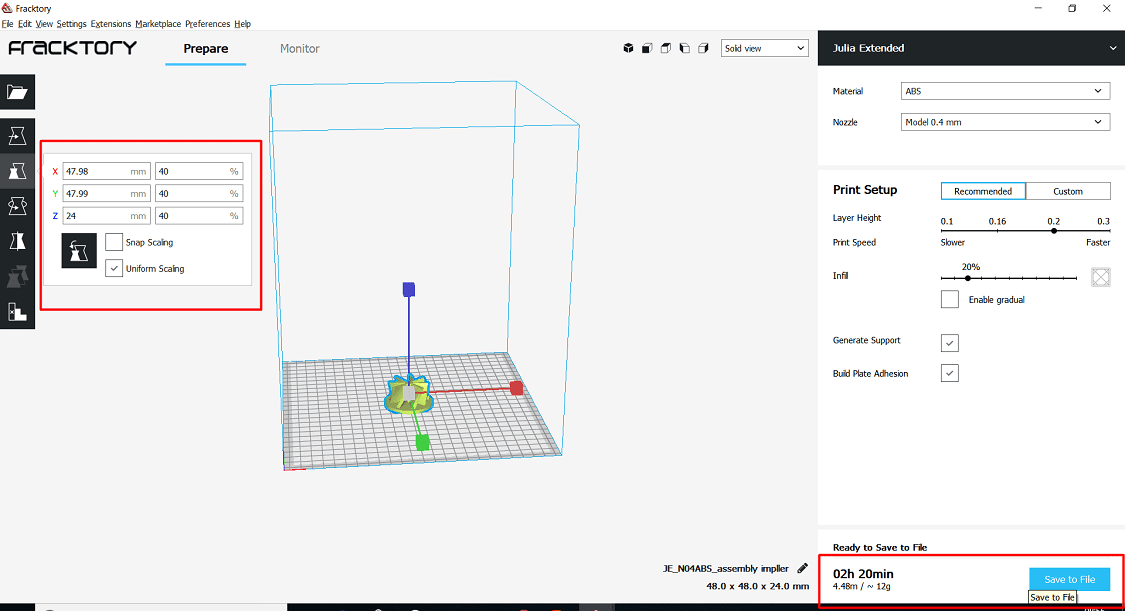
Now this image is open in Fractory software.Select the material>then nozzle diamter>
percentage of infill>select whether the support is required or not>then prepare the object for 3D print.
After preparation the object, it will shows the
the time required for printing, length of required material in meter and weight of material in gramm.
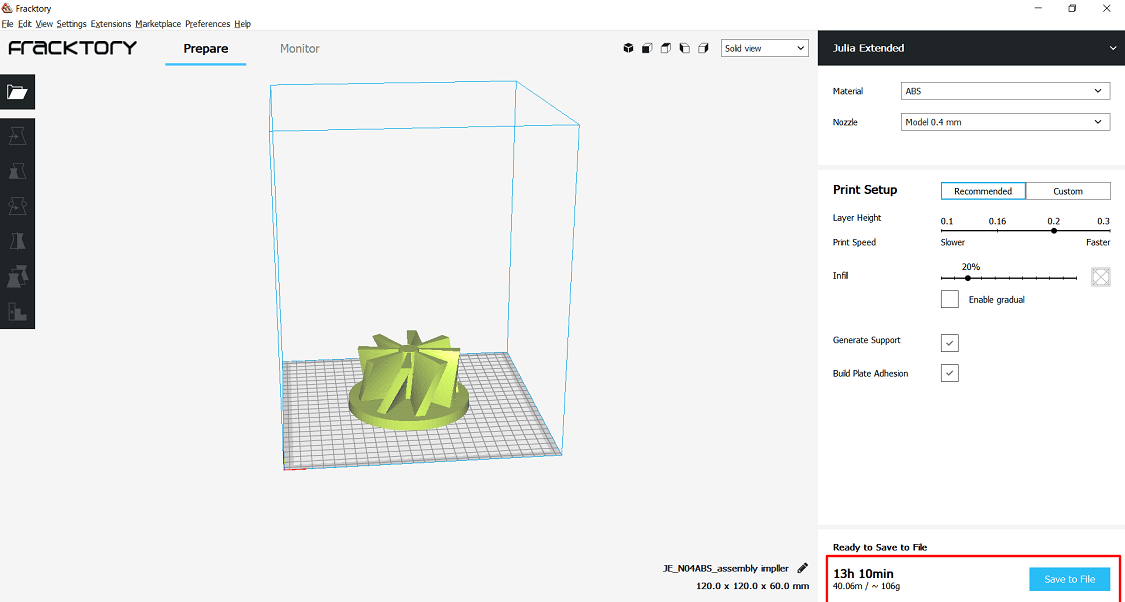
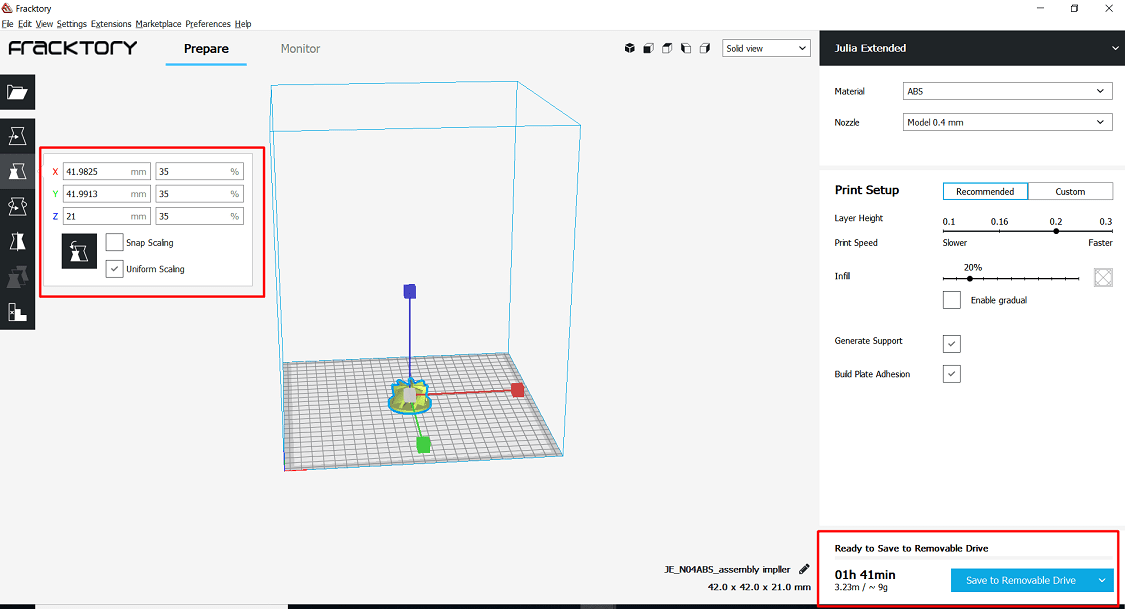
Ohh my object is required to much time to print, so i will reduce the dimension of the object
for this Scale option is given in software. Here i will set the scale 35% uniformally in x, y and z direction.so it will also reduce my print time also.
Now my print is only 1 hour 41 minutes.
Key Parameter Set during Print:
1. Layer Height:0.2 mm
2. Nozzle Temperature: 240 °C.
3. Nozzle Diameter: 0.4 mm
4. Bed Temperature: 110 °C.
5. Print Speed: Optimum
6. Percentage Infill: 20 %
+
Also i can check for another scale i.e.40%, the checked the time required for print. It is more than 2 hours. so i will prepared the 35 % scale which can reduce my time of print and material also.
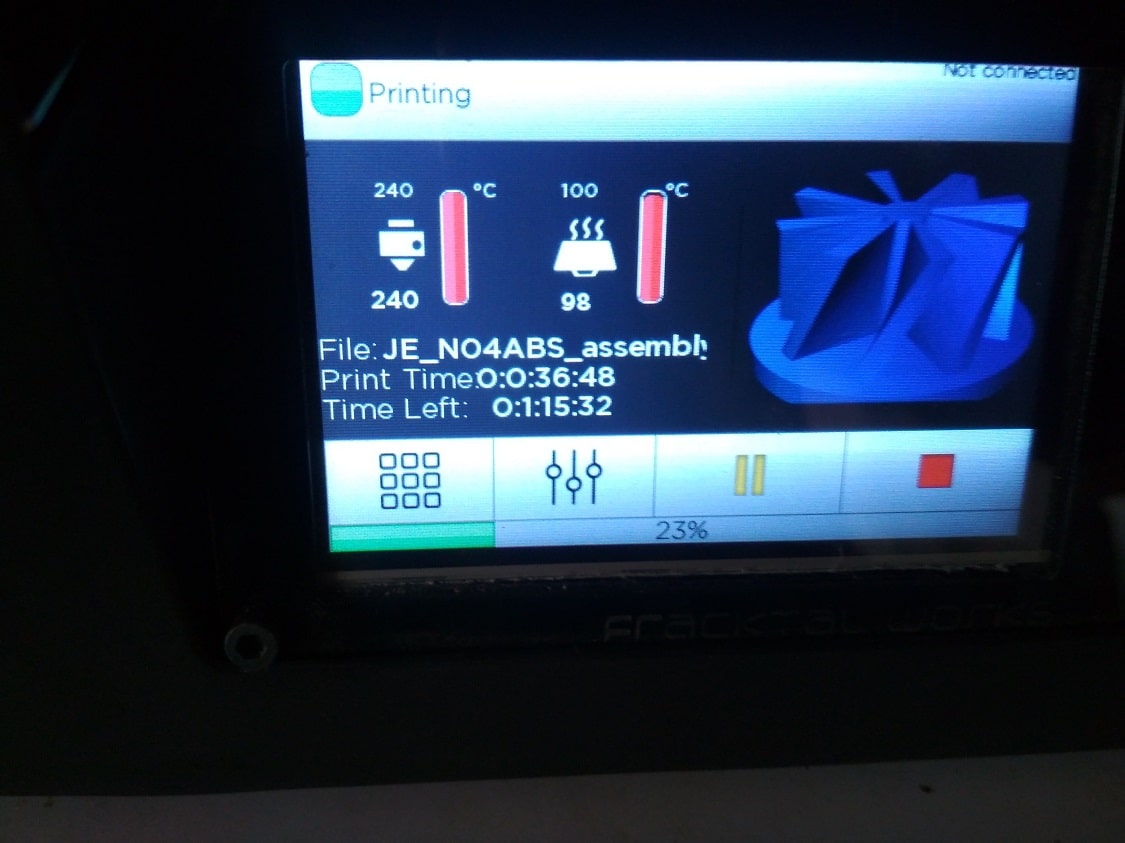
Now the image is saved in Computer or directly in pendrive. Start the machine and click on touch pad of printers. select the print option. Select the object from USB.The touch pad shows like this.After reaching to desired nozzle and bed temperature, then the print is start. percentage of print status shown on the display.
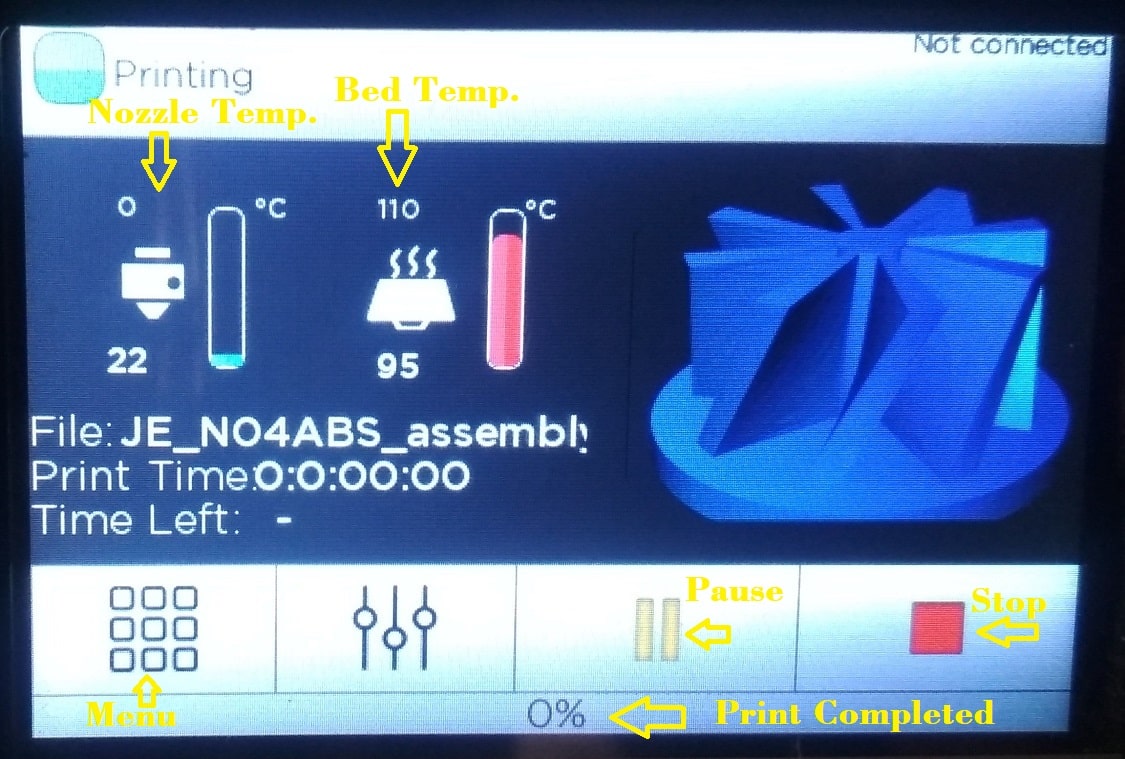
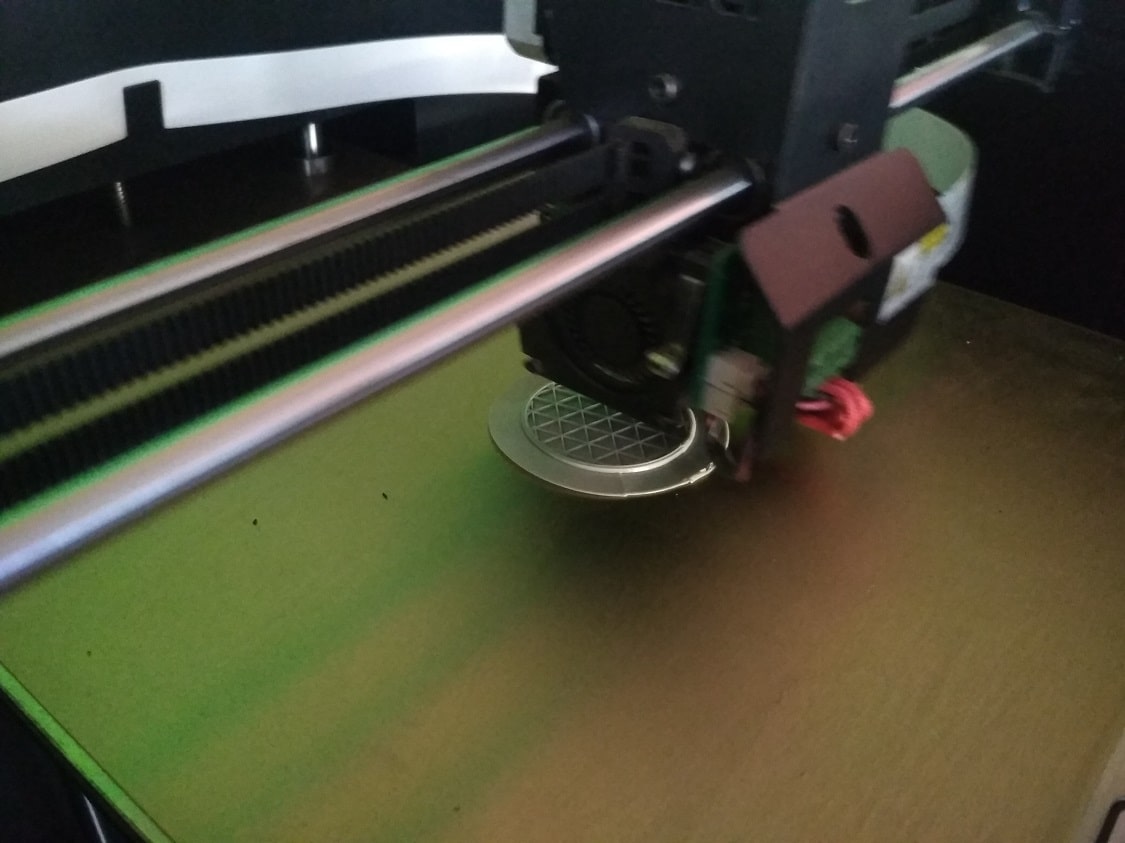
Print is started now.
5% of print is completed now.

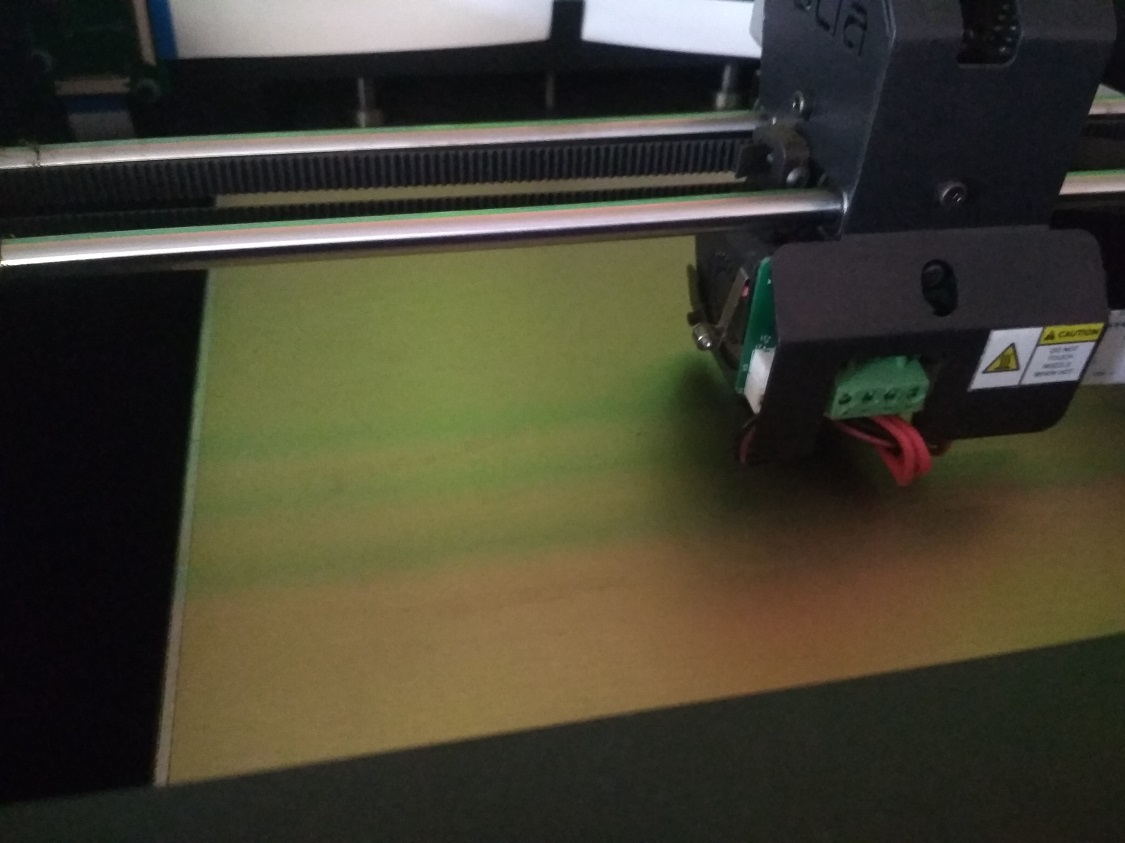
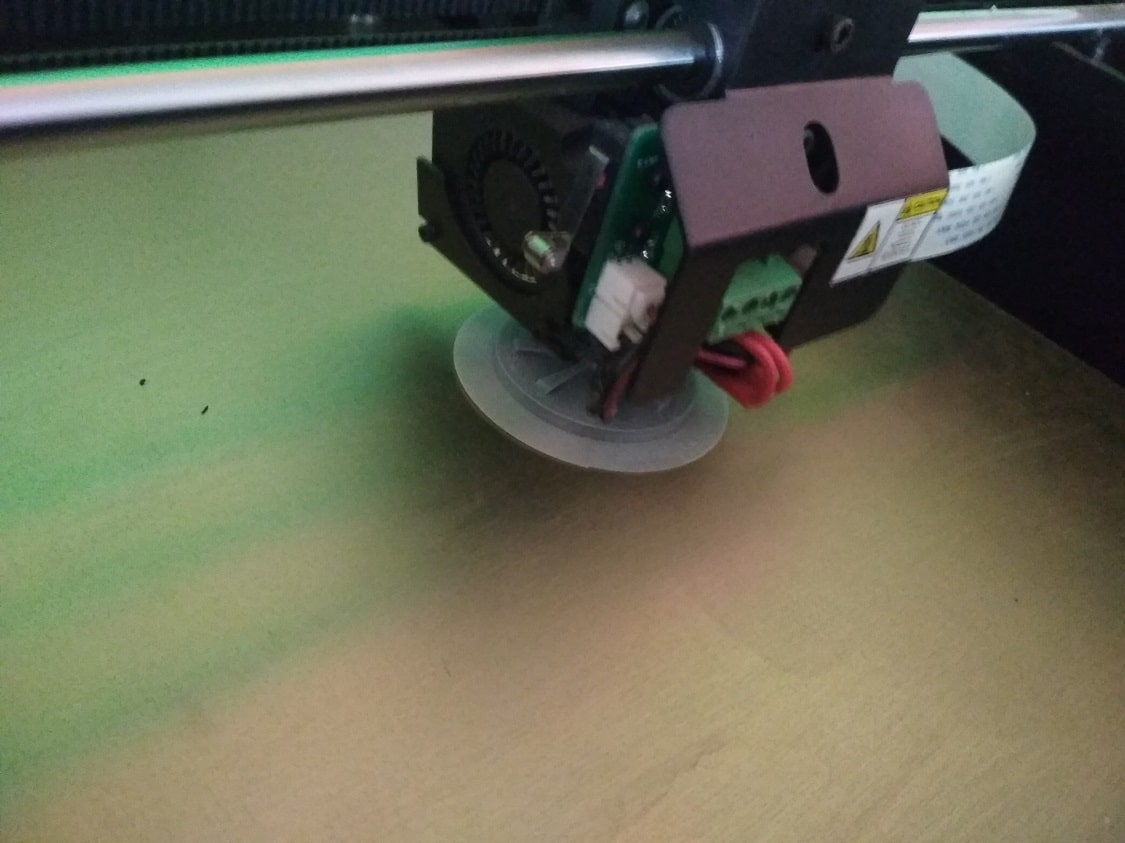
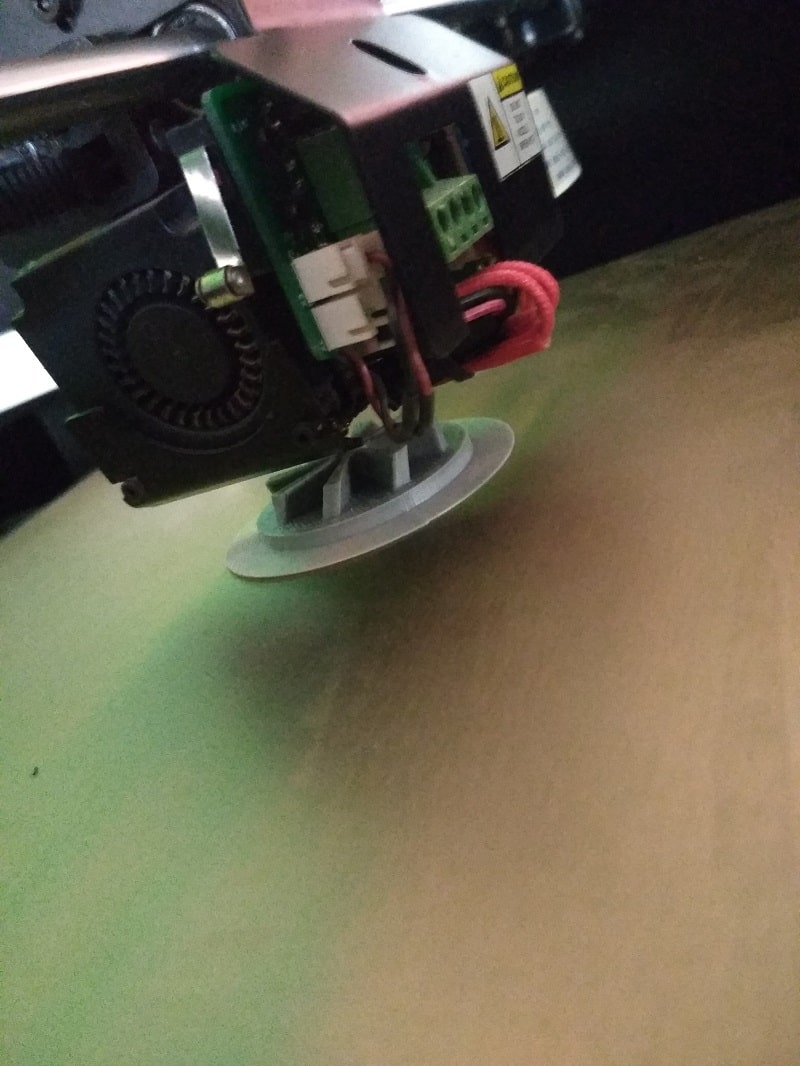
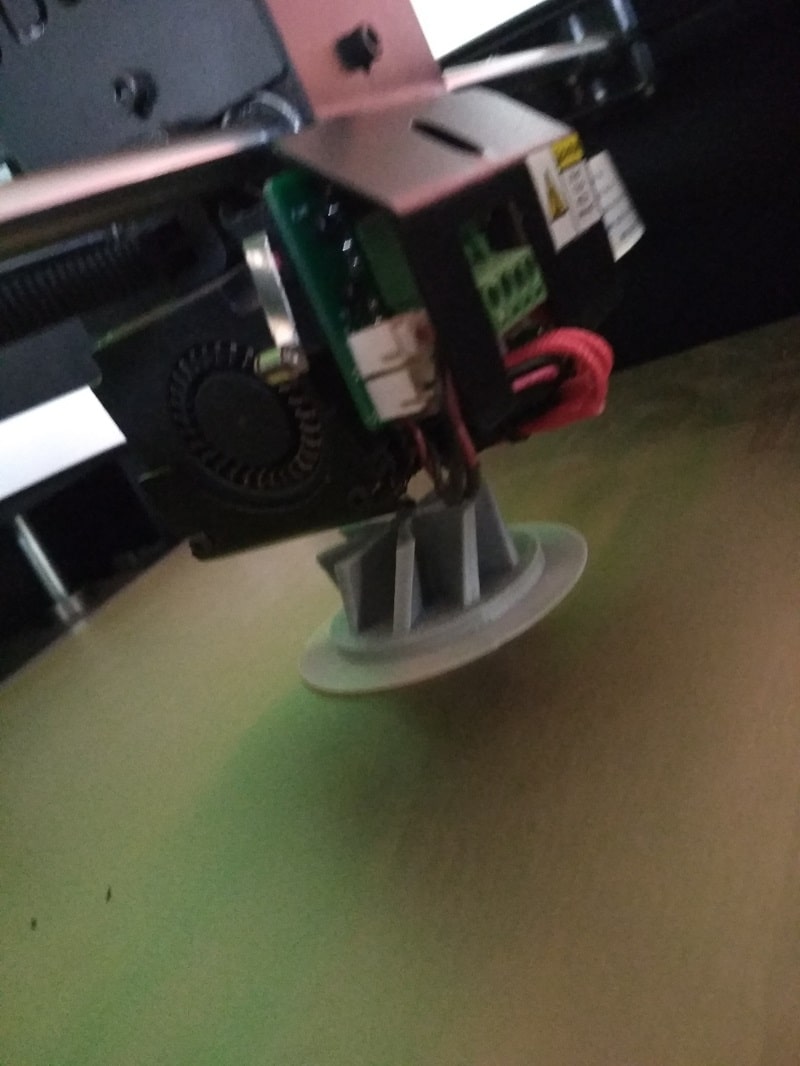
ohh! The object is sliped on the bed and the print will get fail.
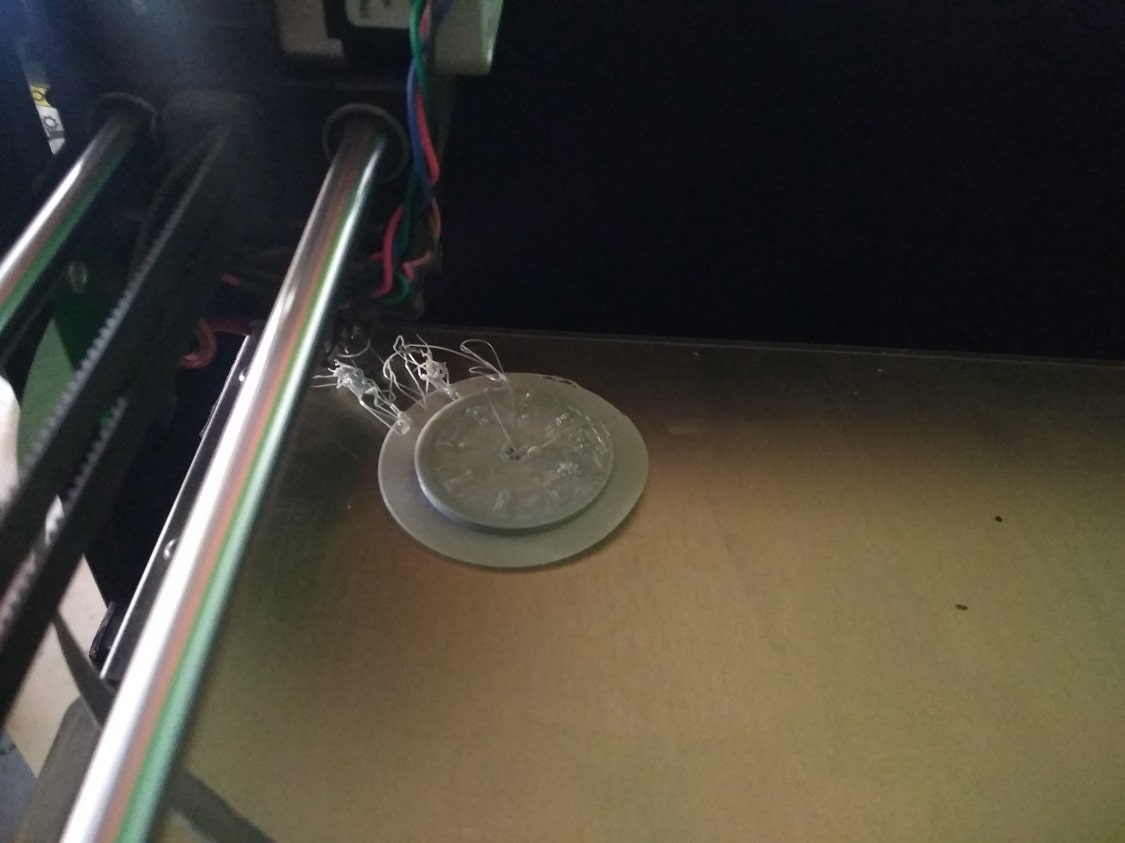
How the object is slipped? i am looking the bed temperature, it will get down, i think this is the reason. So when is ask to my instructor, she said me, kept the door off of the printers during printing, here i have opened the door, 3/4 times to see the how the printing is going on. So due to convection, the temperature of the bed is going down. So again i will start the printing, now the door is completely off.
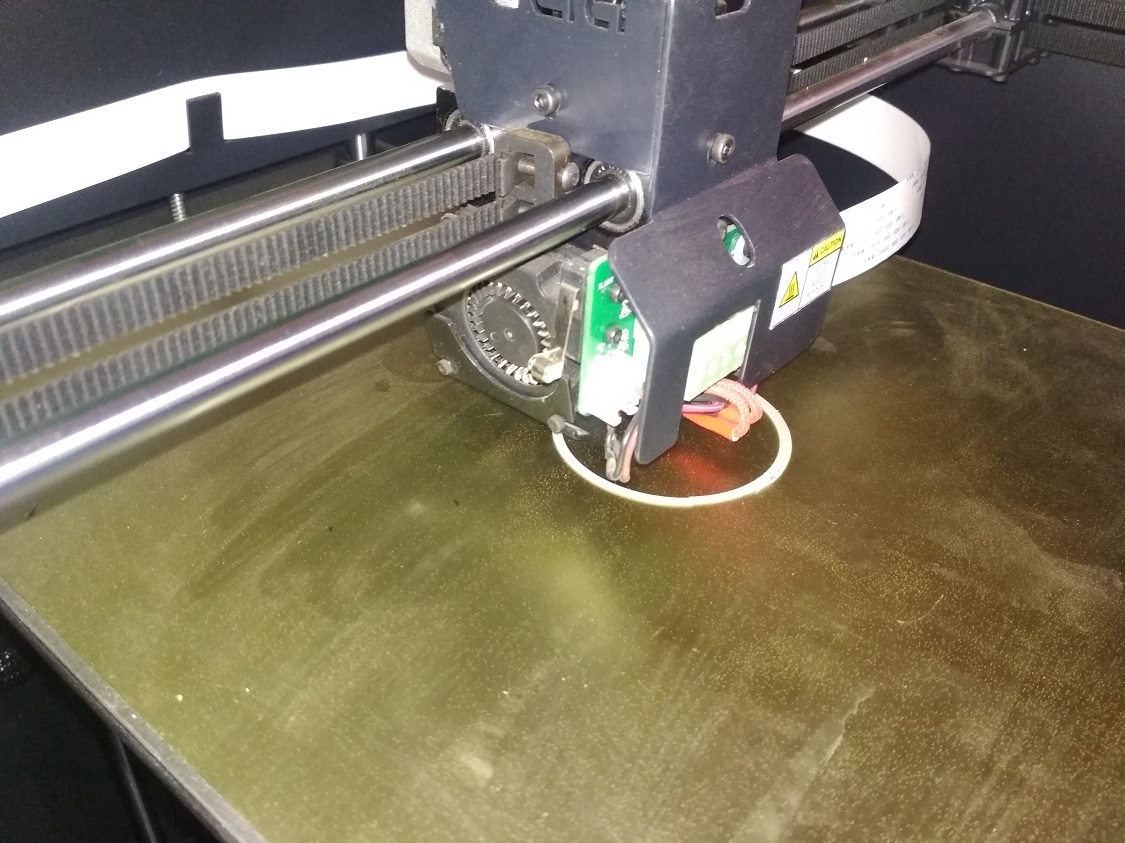
Now i will checked the status of printing.
Now the printing is going well, now its about to finish
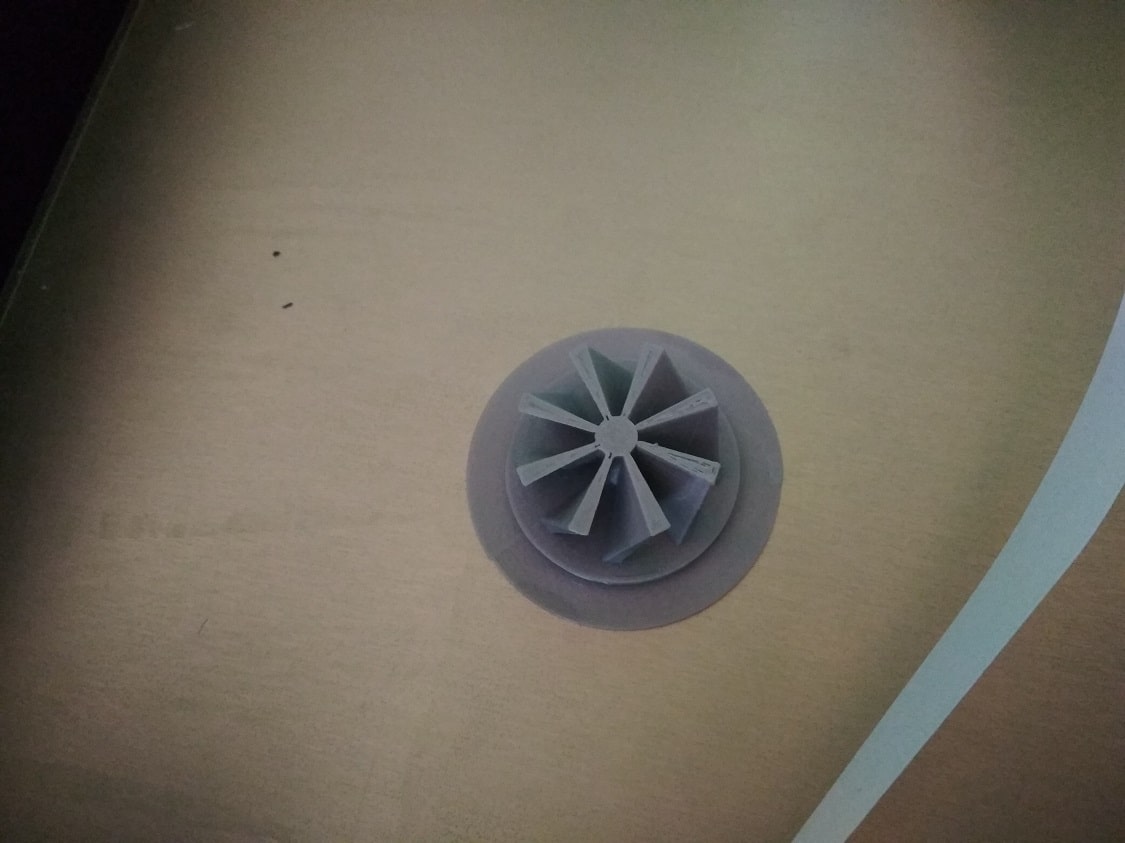
The final object is ready now.
Explaination about why the object is easily not made subtractively
A impeller is composed essentially of three parts: a hub portion, vanes, and a shroud portion. so here i develop the vanes and hub portion in a single assembly. Traditionally, there have been several ways to manufacture impellers. In one method, molds for the vanes are placed on top of a hub. The molds are arranged as desired for the vanes, and filled with weld material.Because it is not possible to manufacture by subtractive method.The material fills the mold, forms the vanes, and is attached to the hub. Other manufacturing methods deform the impeller pieces into their respective shapes, and then attach them to each other. The impeller parts may also be cast, and then assembled. Generally the impeller is manufacture by casting and molding or by welding the vanes on hub. Vanes is always manufactured by casing. In short the subtractive manufacturing process is not suitable or not easy for this one. so here i tried to develop this object in 3D printers
3D Scanning
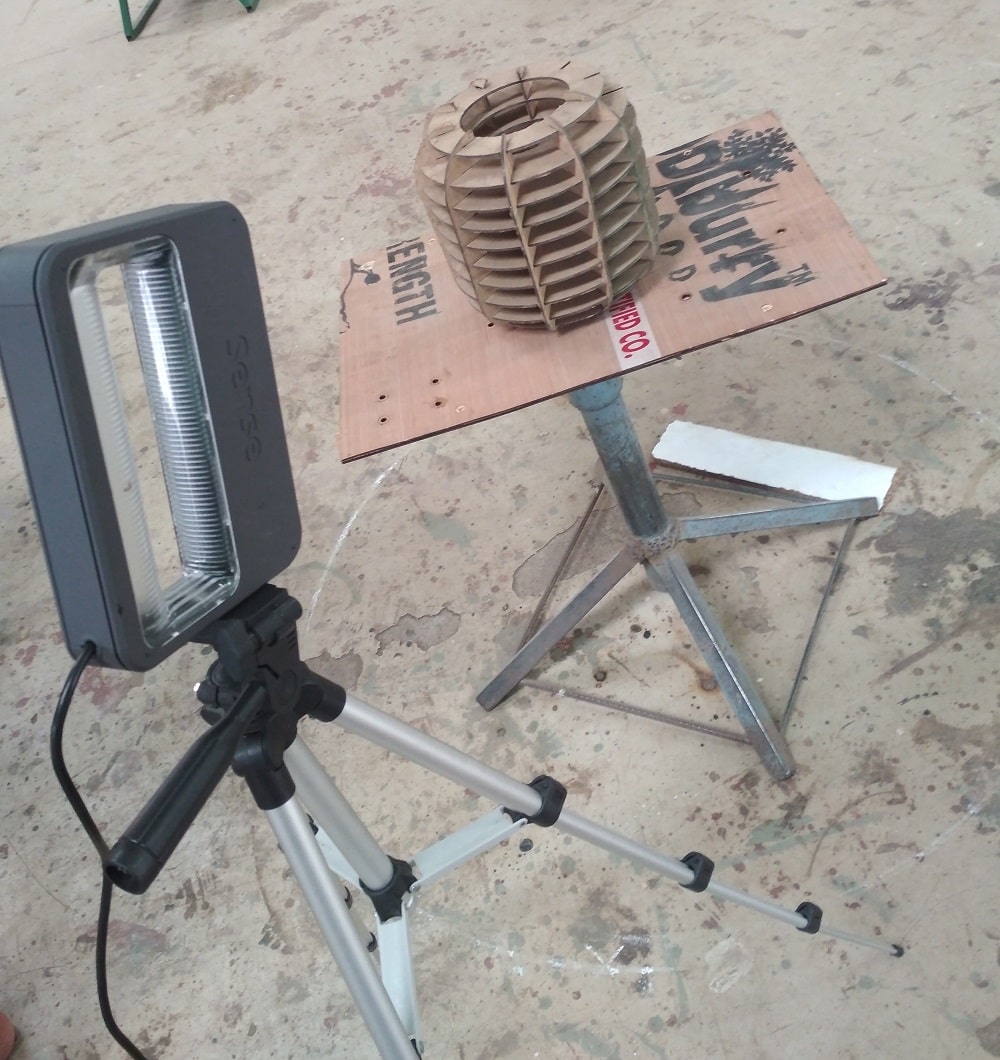
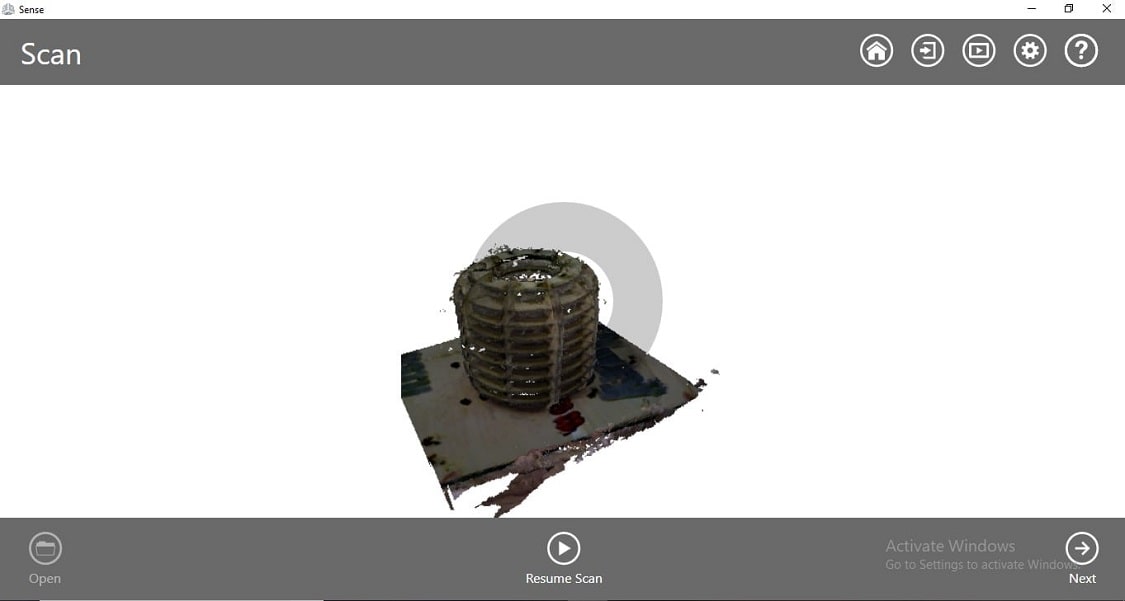
For 3D scanning, the Sense software is available with camera. Software is installed in the Laptop and then the USB cable of camera is connected to laptop.In front of camera, the 3D object is placed on the 360 degree rotating stand for scanning.
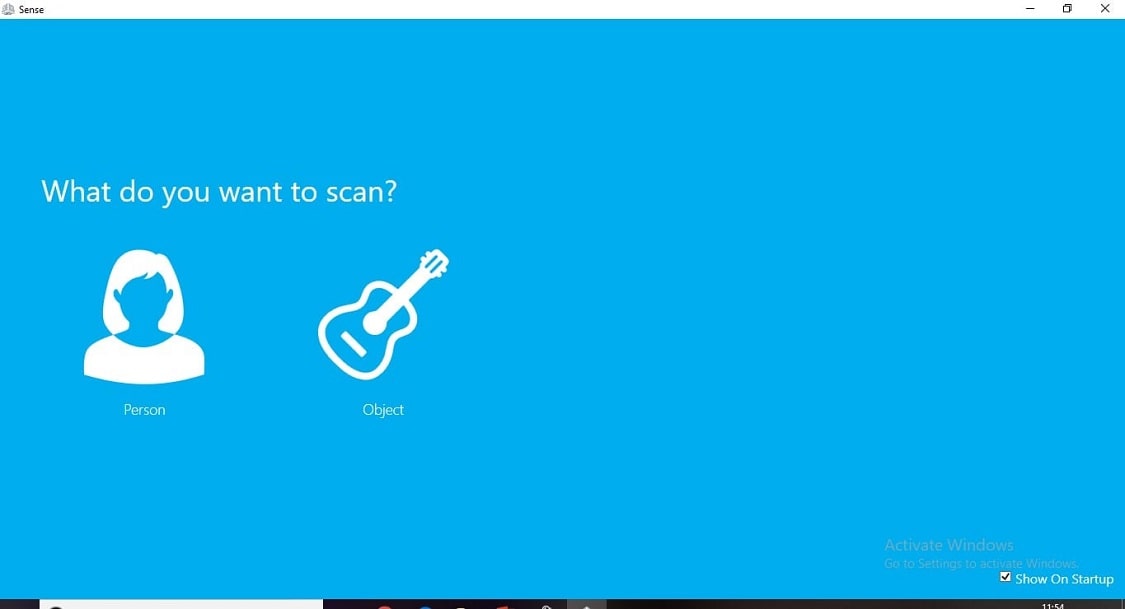
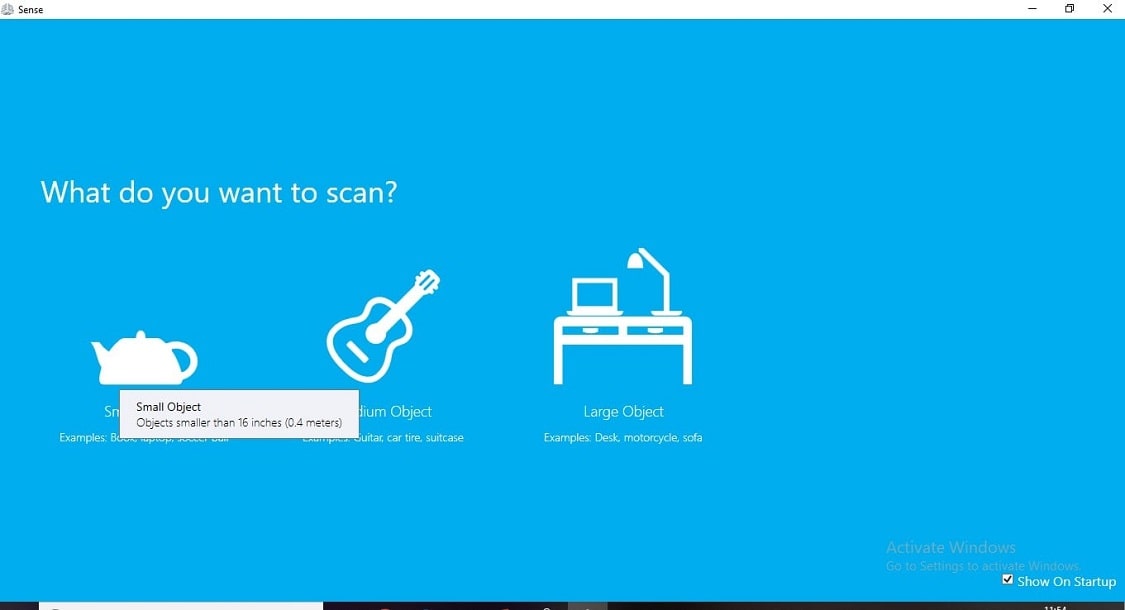
Now the software is opened, selected the option what i have to scan, person or object>select object> the size of the object> if the object is less the 16 inch then it is consider as a small object> so here i have click the small object> now the camera image is open in laptop>set the image properly and then start 360 degree scanning so here for 360 degree scanning, i have rotate the object slowly on the rotating stand.
After the 360 degree rotation the object is scanned like this.
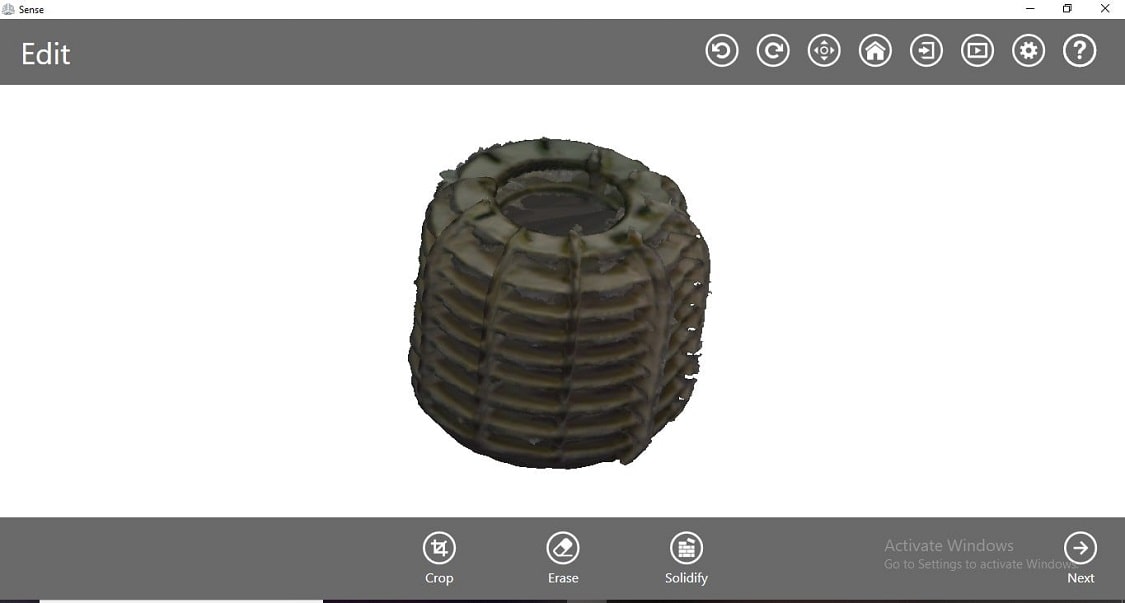
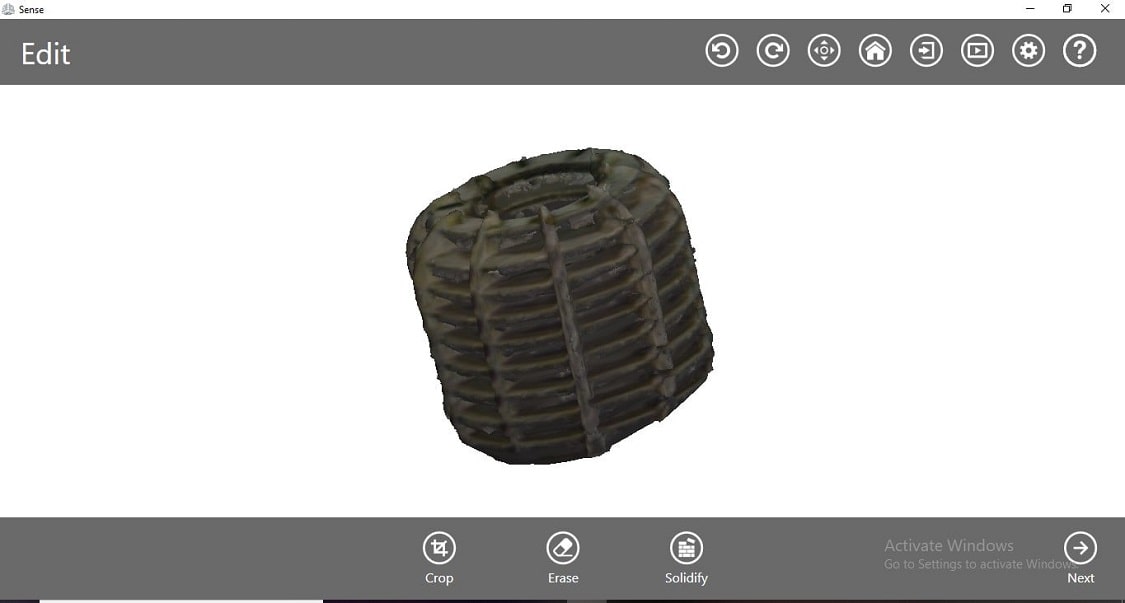
Edited the object in the same software, cuted the extra parts, now the object is saved as a stl file
Preparation of an object for 3D printin from 3DScanning
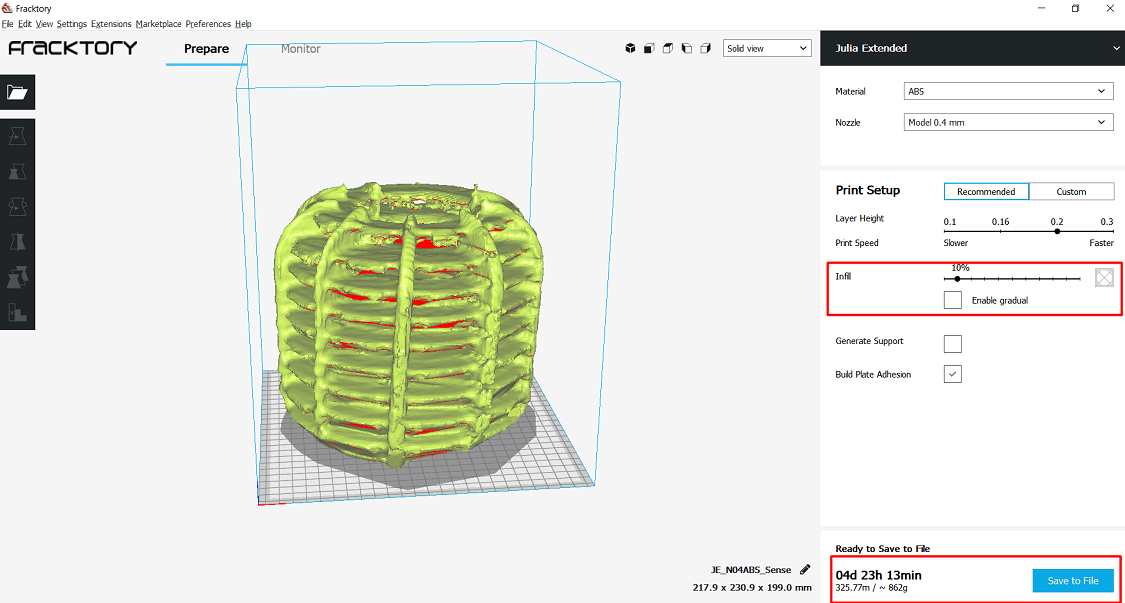
The object is scanned using Sense software. The file is saved in stl formatt. After openening the file in 3D printing software i.e. Fracktory Then prepare the object for printing using support and 20 percentage infill. It will take around 9 days to develope.
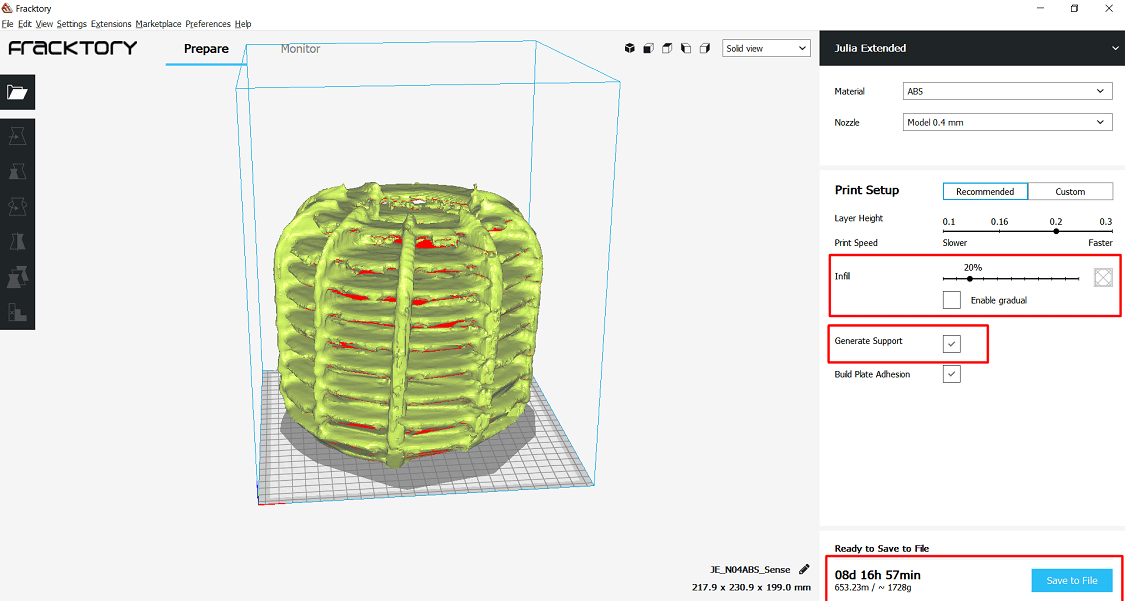
If i am not using the support during printing, it will reduce around 3 days, now it will take around 6 days to print the object

Also if i am reducing the infill percentage, that is from 20% to 10%, it will reduce the time by 1 days.
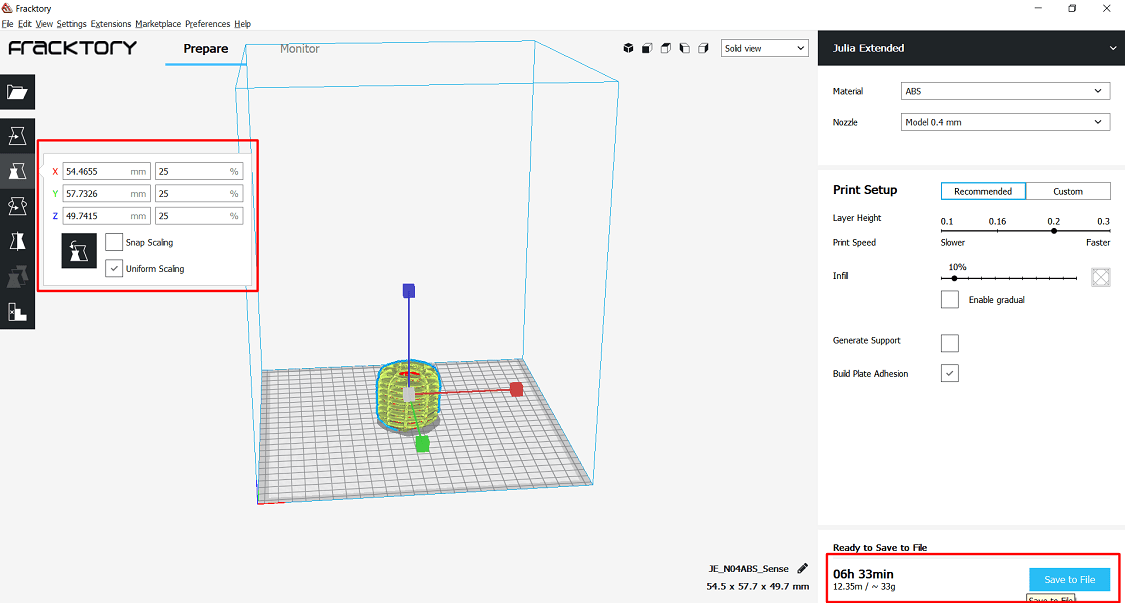
Now i am reducing scale of the object by 75%, now it will take 7 hours to complete the print.
So by using this techniques, we can prepare the object for printing. Infill percentage, supports this things are depends on type of object we are printing. Here we learn this thing from design rule in group assignment.
What i learn?
I am learn about
1. Advantage and limitation of 3D printing
2. Design and praparation of 3D object for printing
3. Design rule of 3D printers.
4. Production process of 3D printers.
5. 3D object scanning.
6. Preparation of scanned object for printing.
7. Application of 3D printers and scanners.
Question and Answer
1. Explain about bed and nozzle temperature
Ans: a. Nozzle Temperature: ABS melts somewhere between 210 and 250 °C. We will be able to play around with temperature settings in this range. We find, for example, that 235 °C does a pretty good job.
If we are running the extruder too hot, it is notice a lot of strings created between the walls of the part. If we run it too cold, we might find it under-extruding. So here i am set the nozzel temperature around 240 °C.
b. Bed Temperature: The most important purpose of a heated bed is to eliminate warping, so setting the correct heated bed temperature is crucial. The temperature at which a plastic changes phase from a solid to molten liquid is
known as the glass transition temperature (Tg). So its need to set the heated bed temperature just above that point.For ABS, the glass transition temperature is 105 °C, hence a bed temperature of 110 °C should suffice.
2.Which material you are using to print(PLA/ABS??)
Ans: ABS is the material used to print. ABS or Acrylonitrile Butadiene Styrene is a common thermoplastic. It’s a popular plastic for injection molding and it’s used to make legos, instruments, sports equipment and more.
ABS is a strong and heat resistant filament, with awesome post processing options. ABS also offers the possibility of a good surface finish. ABS reacts to acetone, which tends to smooth and polish the surface.
It’s also a lot easier to sand ABS.
3. Is this printed object is the part of project or if yes please mention.
Ans: NO. The object is not the part of project.
Download my original file here
Go to the top
Back
Assignment 7: Electronics Design
An electronic circuit consists of various electronic components like resistors, capacitor, diodes and transistors connected by a wire, through which current flows in the circuit.

Fab Academy Course on Digital Fabrication by Nikhilkumar More is licensed under a Creative Commons Attribution-NonCommercial 4.0 International License.
Based on a work at http://fabacademy.org/2020/labs/vigyanashram/students/nikhilkumar-more/.
Permissions beyond the scope of this license may be available at http://fabacademy.org/2020/labs/vigyanashram/students/nikhilkumar-more//contact.html