6. 3D Scanning and printing
Assignments for week 5 :
-
This week we have a group assignment and an individual assignment .
-
The group assignment for this week is to test the design for our 3D printers in the lab .
-
The individual assignment is to design and 3D print an object (small, few cm3, limited by printer time) that could not be made subtractively, also to 3D scan an object (and optionally print it) .
The goal for this week is to characterize the 3D printers that we have in our lab and acquire the knowledge about the filaments that we use in our lab also to know the right settings for each material and to know the different types of 3D scanners.
3D printing can be used in many effective ways such as prototyping, medical application, Art and Jewellery, and much more, and in order to get the right use and application you have to differentiate and know the differences, right settings of each material and the 3D printer you are using.
But there is one problem with 3D printing and that problem is that the process needs a lot of time.
Files to dwonload :
I have included all the files that you can download down below and here you can find them directly :
Group assignment :
For the group assignment we have to learn about 3D printers, the filaments we use, techniques and the right use in order to produce the best quality product.
so basically to use the 3D printer you have to have a 3D design in order to send this design to the printer by using a software.
3D printers uses various of techniques such as :
1. Fused Deposition Modelling (FDM), or Fused Filament Fabrication (FFF), is an additive manufacturing process that belongs to the material extrusion family. In FDM, an object is built by selectively depositing melted material in a pre-determined path layer-by-layer.
• The materials used are thermoplastic polymers and come in a filament form. FDM is the most widely used 3D Printing technology: it represents the largest installed base of 3D printers globally and is often the first technology people are exposed to. In this article, the basic principles and the key aspects of the technology are presented.
• A designer should keep in mind the capabilities and limitations of the technology when fabricating a part with FDM, as this will help him achieve the best result.
2. Stereolithography (SLA) is an additive manufacturing process that belongs to the Vat Photopolymerization family. In SLA, an object is created by selectively curing a polymer resin layer-by-layer using an ultraviolet (UV) laser beam.
• The materials used in SLA are photosensitive thermoset polymers that come in a liquid form. SLA is famous for being the first 3D Printing technology: its inventor patented the technology back in 1986. If parts of very high accuracy or smooth surface finish are needed, SLA is the most cost-effective 3D printing technology available.
• Best results are achieved when the designer takes advantage of the benefits and limitations of the manufacturing process. SLA has many common characteristics with Direct Light Processing (DLP), another Vat Photopolymerization 3D printing technology. For simplicity, the two technologies can be treated as equals.
3. Selective Laser Sintering (SLS) is an Additive Manufacturing process that belongs to the Powder Bed Fusion family. In SLS, a laser selectively sinters the particles of a polymer powder, fusing them together and building a part layer-by-layer. The materials used in SLS are thermoplastic polymers that come in a granular form.
• SLS 3D Printing is used for both prototyping of functional polymer components and for small production runs, as it offers a very high design freedom, high accuracy and produces parts with good and consistent mechanical properties, unlike FDM or SLA. The capabilities of the technology can be used to its fullest though, only when the designer takes into consideration its key benefits and limitations.
In our lab we have only “FDM” and “SLA” printers.
Materials :
There are more than 400 material used for 3D printing and the most commonly used materials are :
- PLA and ABS :
First of all PLA and ABS are the 2 most common FDM desktop printing materials. Both are thermoplastics, meaning they enter a soft and mouldable state when heated and then return to a solid when cooled. Via the FDM process, both are melted and then extruded through a nozzle to build up the layers that create a final part.
- Resin :
SLA uses a UV laser to cure liquid resin into hardened plastic in a process called photopolymerization. Different combinations of the monomers, oligomers, photoinitiators, and various other additives that comprise a resin result in different material properties.
Here is a table for the most common materials and what they are used for :
| Filament | Properties | Printing Temperature | Bed Temperature |
|---|---|---|---|
| ABS | Making durable parts that need to withstand higher temperatures ,Easy to print with, strong plastic | 210°C to 250°C | 80°C to 110°C |
| PLA | Odourless, Low-warp, Eco-Friendly, Less energy to process | 190°C to 230°C | 60°C to 80°C |
| PVA | Non harmful, non-toxic, and environment friendly ,Easily be dissolved in water under normal temperature, Easily stripping | 180°C to 230°C | 45 °C |

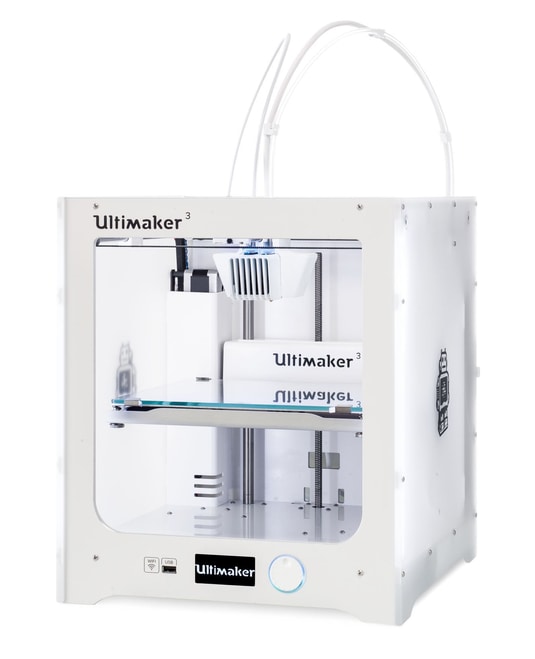
In our lab we have many 3D printers such as :
- Ultimaker3
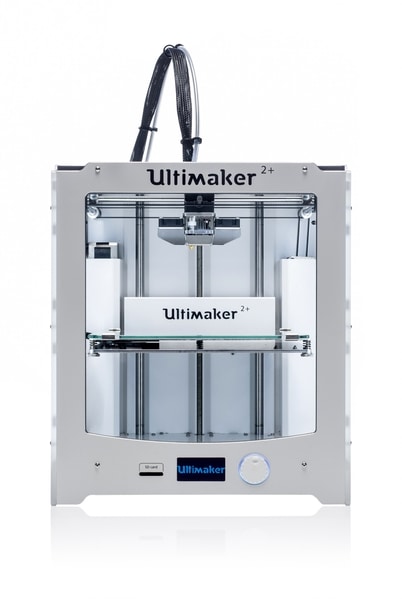
- Ultimaker 2+
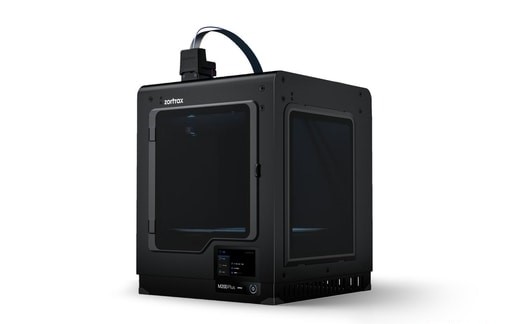
- Zotrax
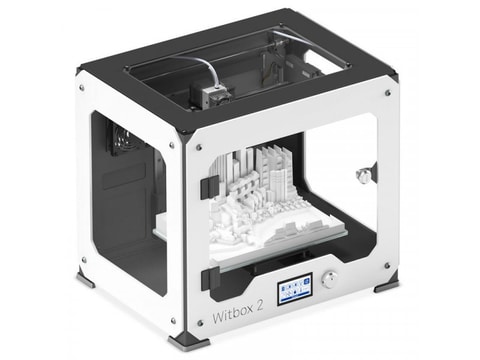
- Witbox 2
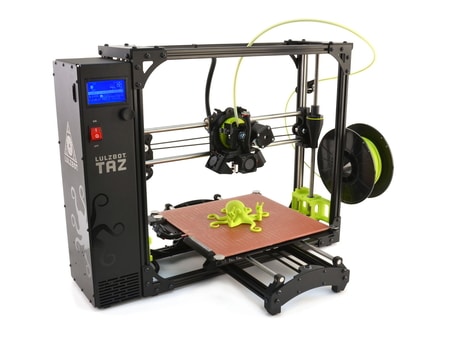
- Lulzbot
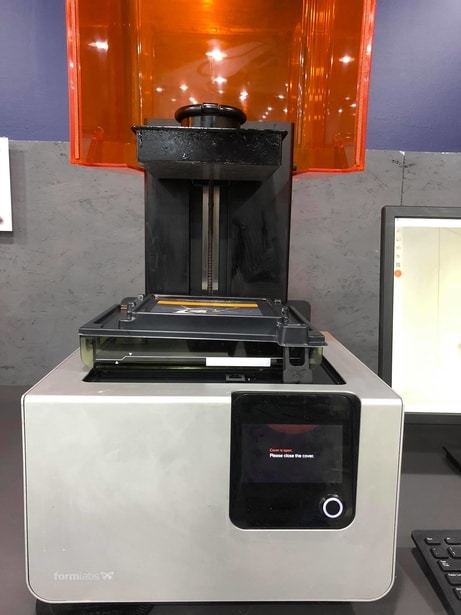
- Formlabs Form 2 SLA printer
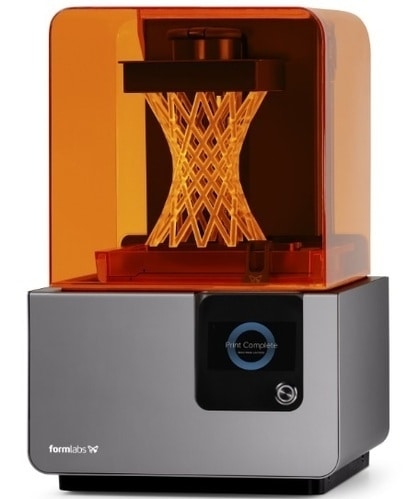
characterizing the “SLA printer” Formlabs form 2
- First here is a look for what the machine look like :
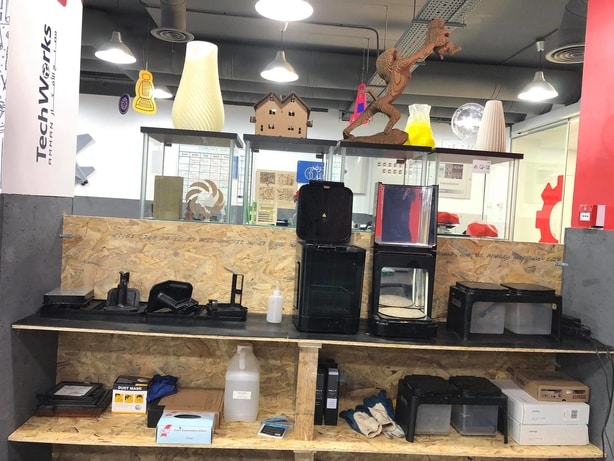
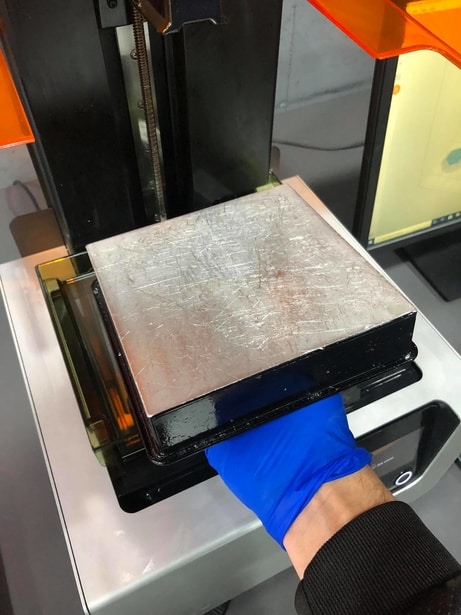
- Here is the cleaning station that we clean the beds from the resin using ethanol and then we put the bed in the washer which automatically washes the bed and after that the bed is ready to use
- Here is the bed after we cleaned it and its ready to use “the scratches may effect the print”
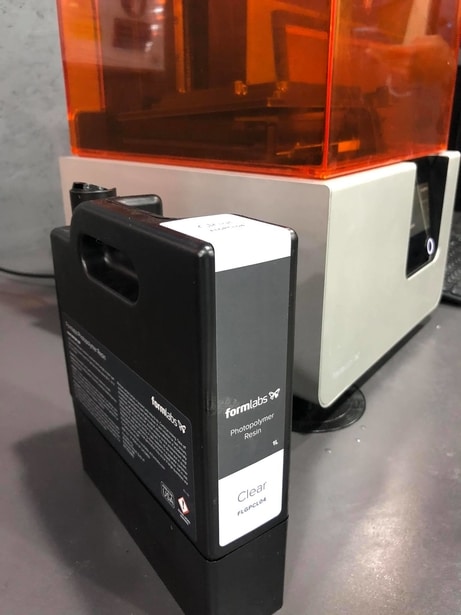
- Here is the resin and we must make sure that the resin is not rigid it has to be liquid and moves in a good way, we can make sure of that by unplugging the handle from the motor and moving it manually :
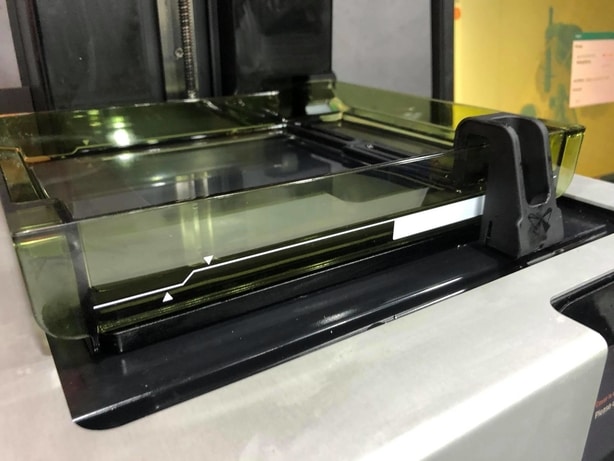
- Here is the resin tank which can last for two months for regular use, also this tank has a smart chip which notify the machine of the tank is placed or not :
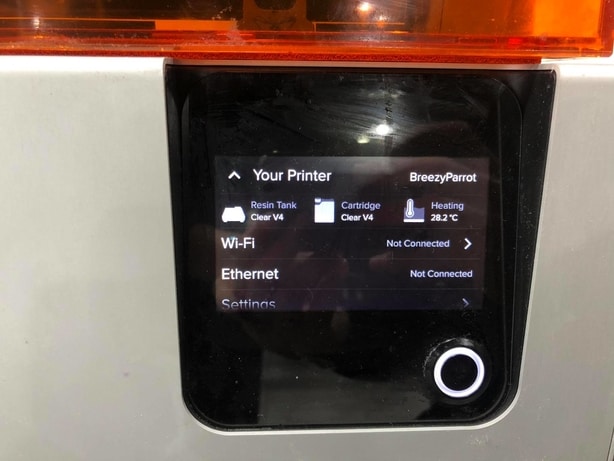
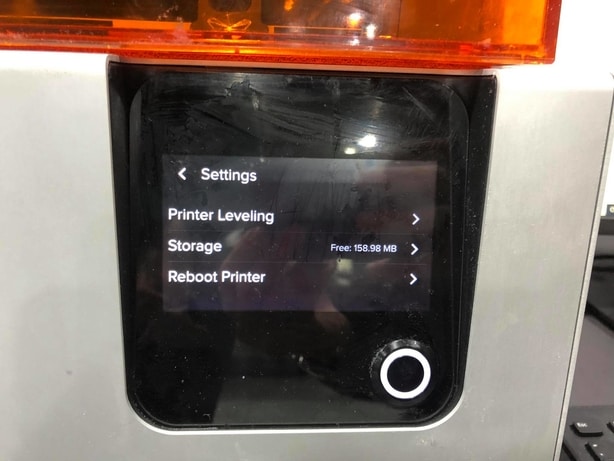
- Here you can see that every machine has it own name “BreezyParrot”, also a table telling us that the resin tank is plugged and the temperature is 28,2 C :
- This machine needs to be levelled 100% in order to print otherwise the bed will be affected in a bad way, so here we choose the option “Printer levelling” :
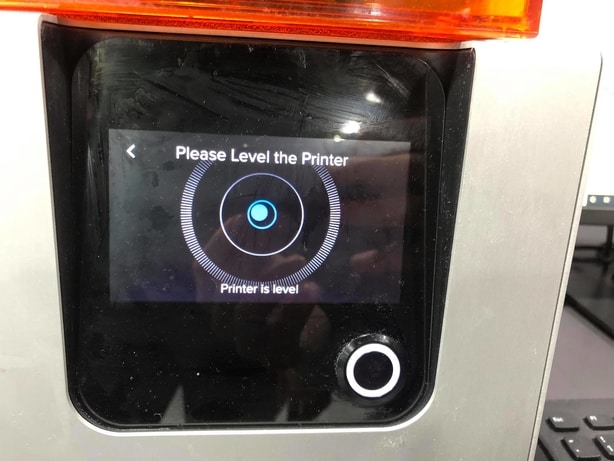
- And this screen will appear, if the circle is blue then the bed is levelled and we are ready to print, if the circle is red then the machine is not levelled and we must level it :

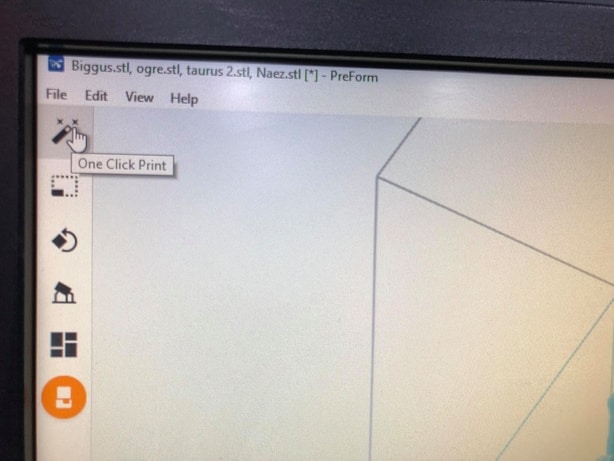
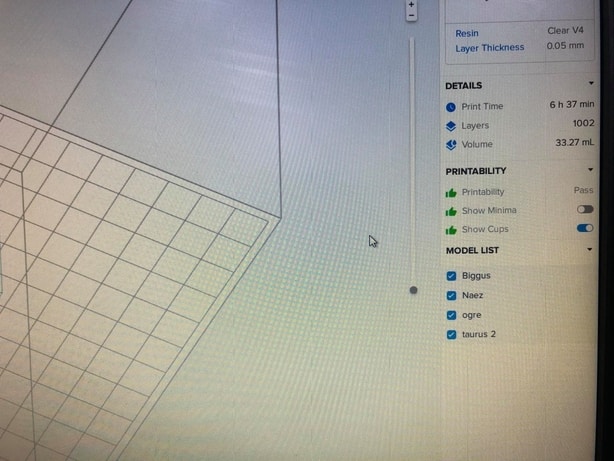
- Here we can see the slicer of this machine is unique and it limits us to only choose if we want a faster print or slower print, also this machine has a lot of constrains and that means we can only print a design if it has a lot of support otherwise the bed will be damaged and the job will not come as we expect.
- But before we use this machine there are some safety rules we must follow and keep in mind :
Click here to see the safety rules please
The process of printing the test files :
We printed the test files using Ultimaker 2+
and this is the slicing software
Here are the settings for printing the “Supported Overhangs and Clearance” :
Quality
Layer Height: 0.20 mm
Line Width: 0.35 mm

Shell
Wall Thickness: 0.7 mm
Top/Bottom Thickness: 0.6 mm

Infill
Infill Density: 20%
Infill Pattern]: Grid

Material
Printing Temperature: 200 °C
Build Plate Temperature: 60 °C

Speed
Print Speed: 45 mm/s

Travel
Enable Retraction: Yes

Cooling
Enable Print Cooling: Yes
Fan Speed: 100%

Support
Generate Support: Check
Support Placement: Everywhere
Support Overhang Angel: 50°
Support Pattern: ZigZag

Build Plate Adhesion
Build Plate Adhesion Type: Skirt
Here are the settings for printing the “Unsupported Overhangs, Bridging and Angle” :
Quality
Layer Height: 0.20 mm
Line Width: 0.35 mm

Shell
Wall Thickness: 0.7 mm
Top/Bottom Thickness: 0.6 mm

Infill
Infill Density: 20%
Infill Pattern]: Grid

Material Printing Temperature: 200 °C
Build Plate Temperature: 60 °C

Speed
Print Speed: 45 mm/s

Travel
Enable Retraction: Yes

Cooling
Enable Print Cooling: Yes
Fan Speed: 100%

Support
Generate Support: Uncheck

Build Plate Adhesion
Build Plate Adhesion Type: Skirt
Here are the settings for printing the “Wall Thickness and Dimension” :
Quality
Layer Height: 0.20 mm
Line Width: 0.35 mm

Shell
Wall Thickness: 0.7 mm
Top/Bottom Thickness: 0.6 mm

Infill
Infill Density: 20%
Infill Pattern]: Grid

Material Printing Temperature: 200 °C
Build Plate Temperature: 60 °C

Speed
Print Speed: 45 mm/s

Travel
Enable Retraction: Yes

Cooling
Enable Print Cooling: Yes
Fan Speed: 100%

Support
Generate Support: Uncheck

Build Plate Adhesion
Build Plate Adhesion Type: Skirt
Here are the settings for printing the “Anisotropy and Surface Finish” :
Quality
Layer Height: 0.20 mm
Line Width: 0.35 mm

Shell
Wall Thickness: 0.7 mm
Top/Bottom Thickness: 0.6 mm

Infill
Infill Density: 20%
Infill Pattern]: Grid

Material Printing Temperature: 200 °C
Build Plate Temperature: 60 °C

Speed
Print Speed: 45 mm/s

Travel
Enable Retraction: Yes

Cooling
Enable Print Cooling: Yes
Fan Speed: 100%

Support
Generate Support: Uncheck

Build Plate Adhesion
Build Plate Adhesion Type: Skirt
Here are the settings for printing the “Infill” :
Quality
Layer Height: 0.20 mm
Line Width: 0.35 mm

Shell
Wall Thickness: 0.7 mm
Top/Bottom Thickness: 0.6 mm

Infill
Infill Density: 0%, 15%, 50%, 100%
Infill Pattern]: Grid

Material Printing Temperature: 200 °C
Build Plate Temperature: 60 °C

Speed
Print Speed: 45 mm/s

Travel
Enable Retraction: Yes

Cooling
Enable Print Cooling: Yes
Fan Speed: 100%

Support
Generate Support: Uncheck

Build Plate Adhesion
Build Plate Adhesion Type: Skirt
important safety rules before using the Ultimaker 3 or 2+ :
- General Safety Information :
The Ultimaker 3 or Ultimaker 3 Extended generates high temperatures and has hot moving parts that can cause injury. Never reach inside of the Ultimaker 3 or Ultimaker 3 Extended while it is in operation. Always control the printer with the button at the front or the power switch at the back. Allow the Ultimaker 3 or Ultimaker 3 Extended to cool down for 5 minutes before reaching inside.
Do not change or adjust anything on the Ultimaker 3 unless the change is authorized by the manufacturer.
Do not store items in the Ultimaker 3.
The Ultimaker 3 or Ultimaker 3 Extended is not intended for use by persons with reduced physical and/or mental capabilities, or lack of experience and knowledge, unless they have been given supervision or instruction concerning the use of the appliance by a person responsible for their safety.
Children should be under constant supervision when using the printer.
-
Intentional radio : This device may not cause harmful interference, and this device must accept any interference received, including interference that may cause undesired operation.
-
Electromagnetic Compatibility (EMC) : This equipment has been tested and found to comply with the limits for a Class A digital device, pursuant to part 15 of the FCC Rules. These limits are designed to provide reasonable protection against harmful interference when the equipment is operated in a commercial environment. This equipment generates, uses, and can radiate radio frequency energy and, if not installed and used in accordance with the instruction manual, may cause harmful interference to radio communications. Operation of this equipment in a residential area is likely to cause harmful interference in which case the user will be required to correct the interference at his own expense.
-
Electrical Safety : The Ultimaker 3 has been tested according to the IEC 60950-1, which falls under the low voltage directive. The Ultimaker 3 must be used in conjunction with the Meanwell power supply GST220AX and delivered power cord. In combination they guarantee safe use in relation to short-circuit, overload, over-voltage and over temperature. For more information, please look at our website for the CB-report.
Always unplug the printer before doing maintenance or modifications.
- Mechanical Safety : The Ultimaker 3 contains moving parts. No damage to the user will be expected from the drive belts. The force of the build plate is big enough to give some damage, so keep hands out of the reach of the build plate during operation.
Always unplug the printer before doing maintenance or modifications.
- Risk of Burns : There is a potential risk of burns: the print head can reach temperatures up to 280 °C, while the heated bed can reach temperatures of 100 °C. Don’t touch both with your bare hands.
Always allow the printer to cool down for 30 minutes before performing maintenance or modification.
- Health and Safety : The Ultimaker 3 is designed for Ultimaker PLA, Ultimaker ABS, Ultimaker CPE, Ultimaker Nylon and Ultimaker PVA. Our materials can be printed safely if the recommended temperatures and settings are used. We recommend printing all Ultimaker materials in a well-ventilated area. Please check the SDS of each specific material for more information.
Non-Ultimaker materials could release VOC’s (volatile organic compounds) while processed in Ultimaker 3D printers (not covered by warranty).These can cause headaches, fatigue, dizziness, confusion, drowsiness, malaise, difficulty in concentration and feeling of intoxication. Usage of a fume hood is recommended. Take a look the SDS of these materials for more information.
Now we are ready to use the printer and first we put the material we want to use and in our case we used PLA :
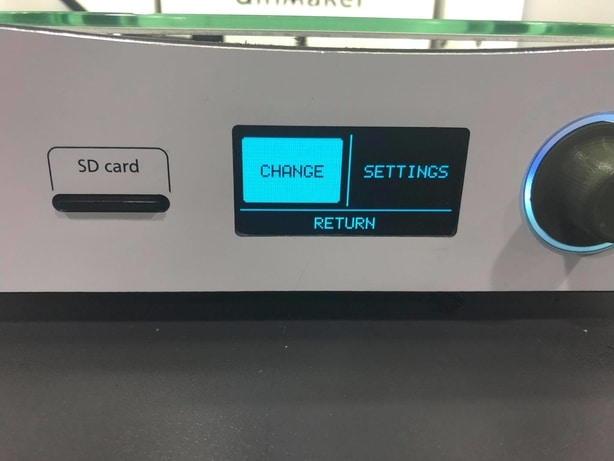
Here we press material :

Here we press change :
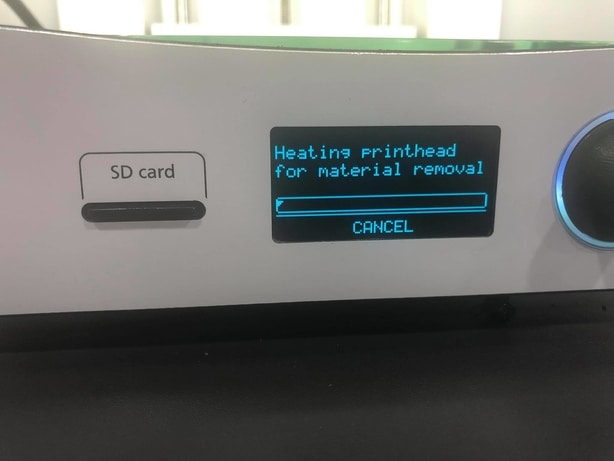
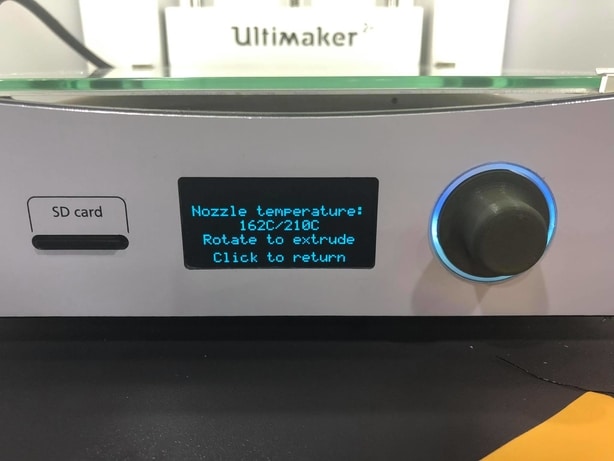
Here a message will tell us that the nozzle is going to be heated in order to remove the material :
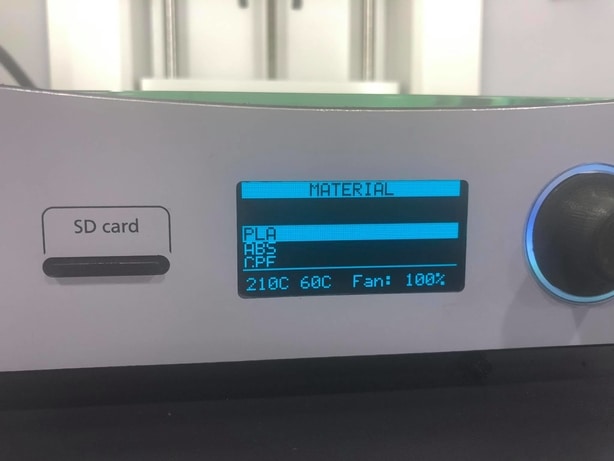
Then we insert the material and choose what is the type of it also the machine will automatically tell us what is the right temperature for it :
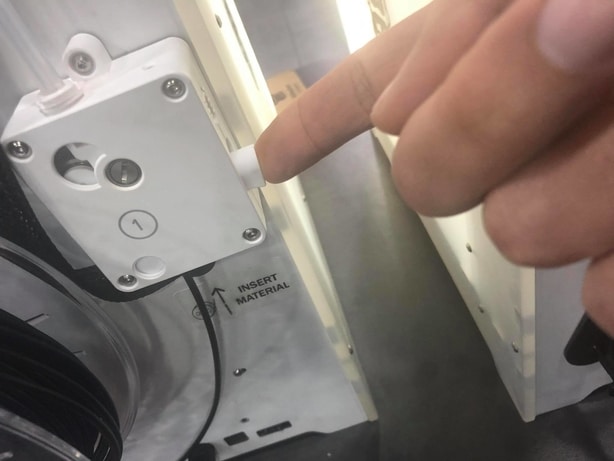
Here a message will tell us to insert the new material from the back of the machine :
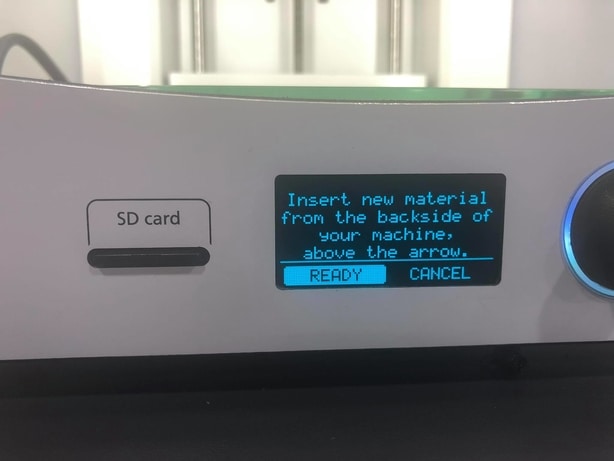
We left this button up and insert the material manually :
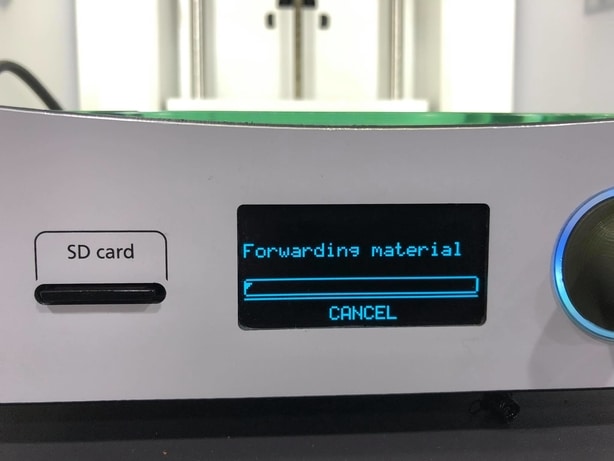
Then we press ready and then we wait until the machine tells us that its forwarding the material :
After that we level up the bed in order to get the right print like this :
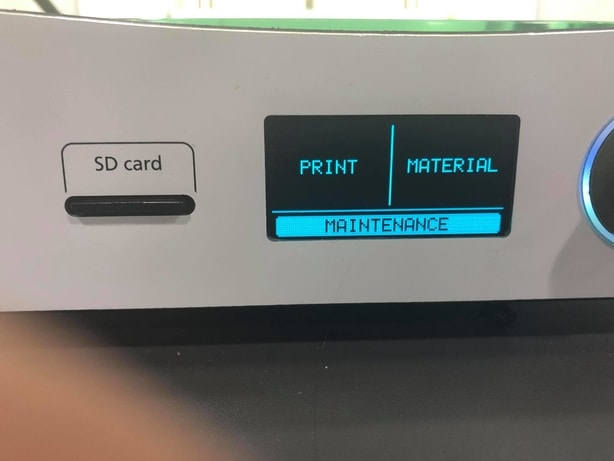
Here we choose the option maintenance :
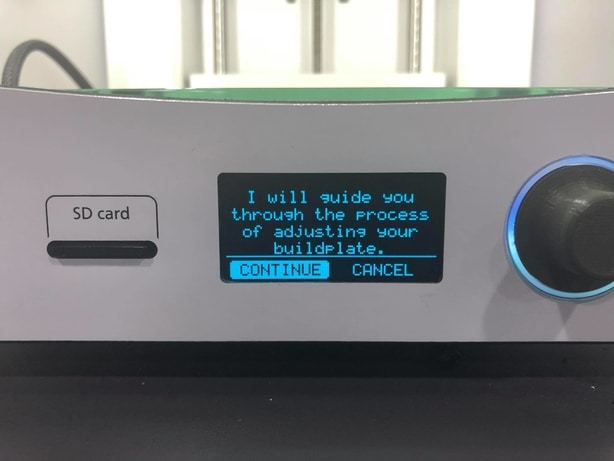
Then build plate and the machine will walk us throw the process

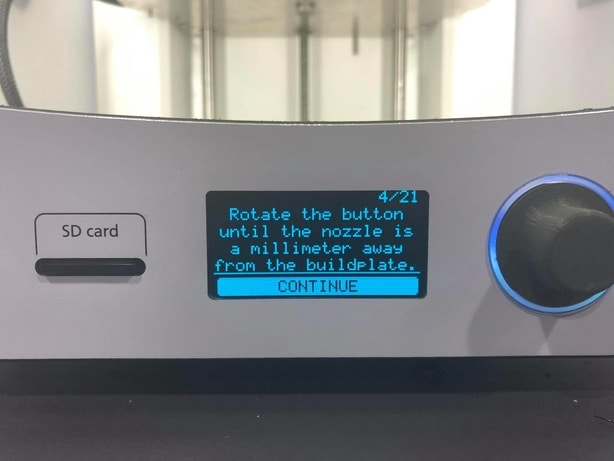
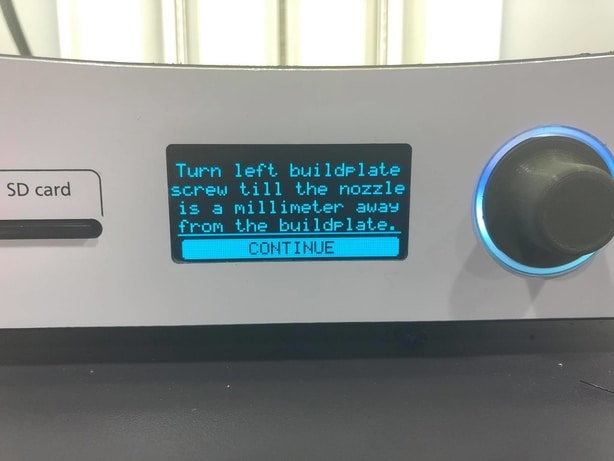
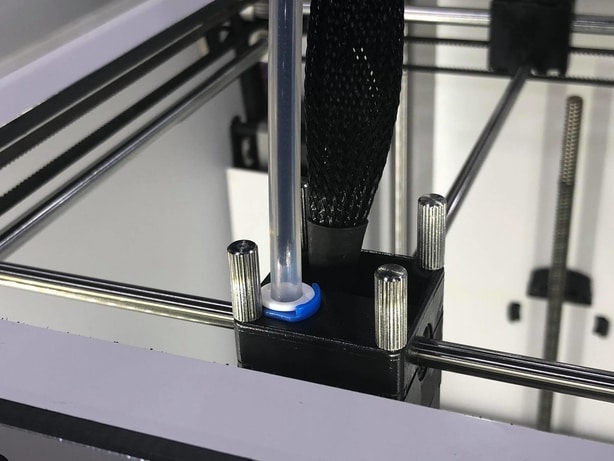
Here the machine tells us to rotate the button in order to move the bed up or down like this :
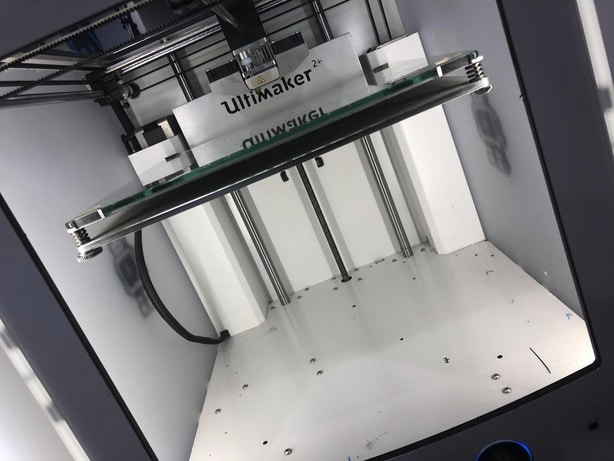
Then the extruder will go to the left automatically and then we level it manually using the screw

Here we are making sure that the levelling is right by testing the resistance of the paper and nozzle:
And we repeat the same thing to the right side and we end up with levelling .
Now we have to make sure that we are using the right nozzle

Here the machine will send us a message saying that the nozzle is heating and we have to move the material backward like this :
Here we use the Ultimaker nozzle kit in order to replace the nozzle :
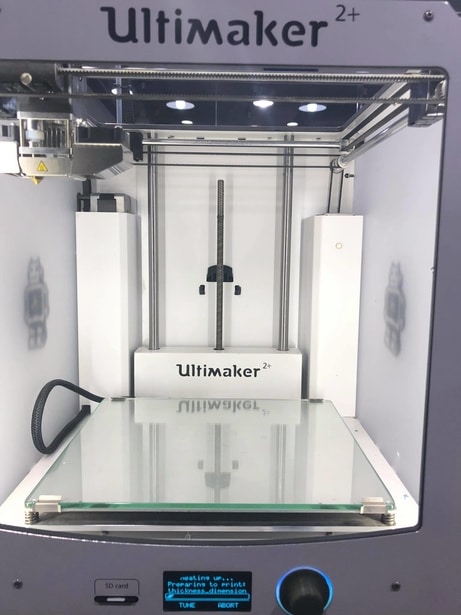
And finally after making sure we have the right material, level, nozzle, and design settings we are ready to print :
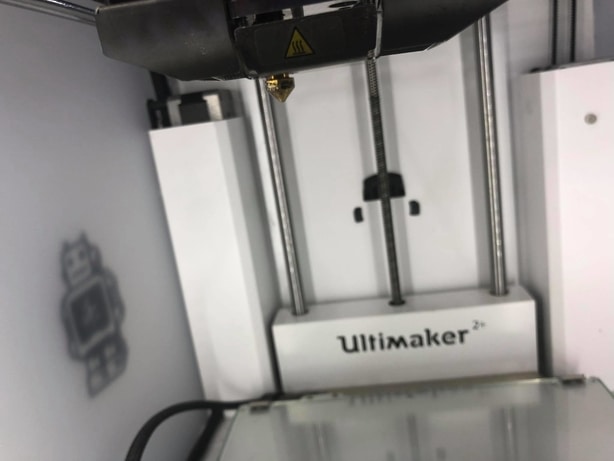
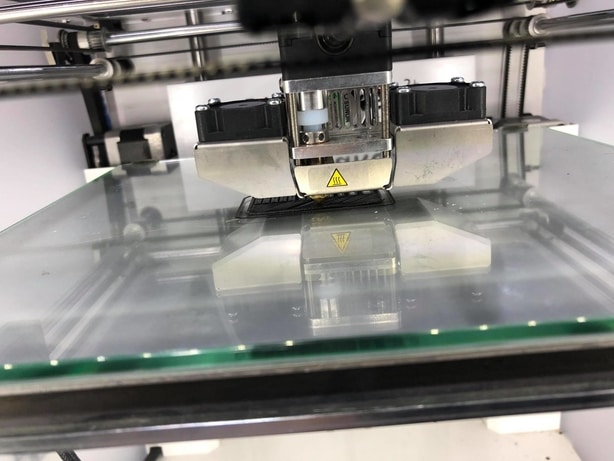
Here the bed and nozzle will start heating up in order to prepare the machine for printing
Here we used two printers in order to save time :

But unfortunately we faced a problem while printing that the first machine was not levelled 100% and the bed temperature was a little bit lower than the required temperature we knew that because the print was not sticky enough and the edges were bending like this :
but we fixed the problem and here is the final results :
The hero shot for the group assignment :
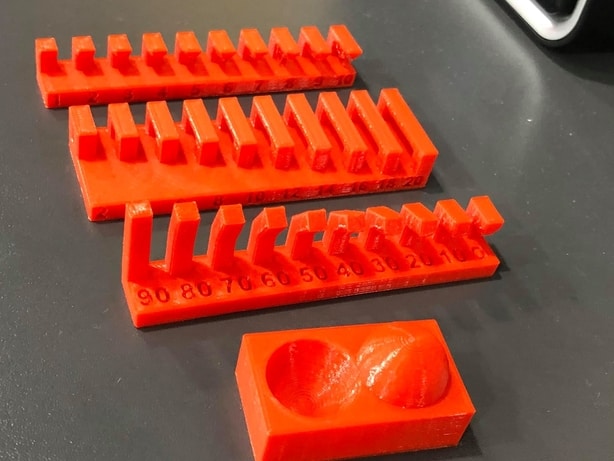
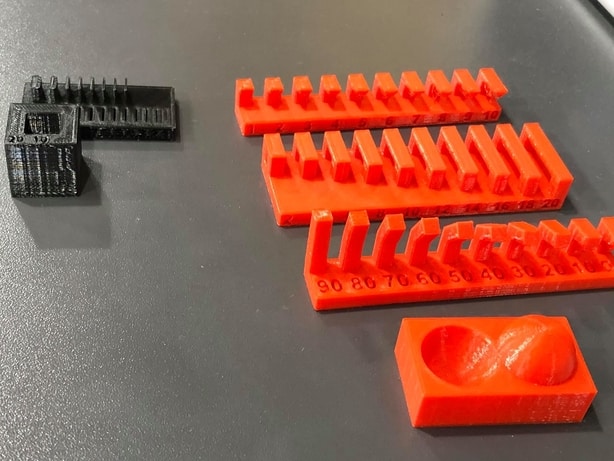
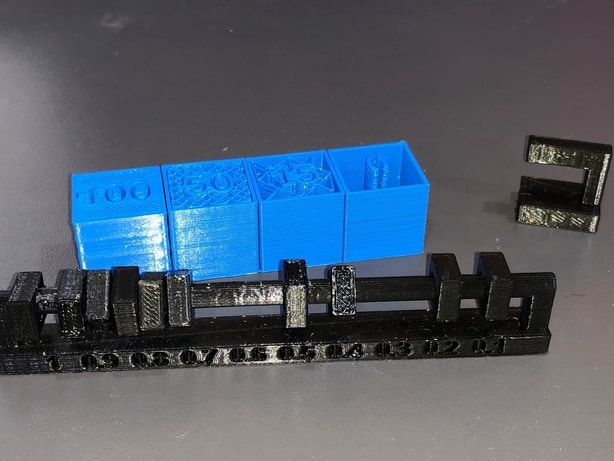
Here we can see that on “0.1 , 0.2” the blocks are not moving and from “0.3” to “1” they are moving smoothly.
And that all for the group assignment .
individual assignment :
For the individual assignment we have to design and 3D print an object (small, few cm3, limited by printer time) that could not be made subtractively, also to 3D scan an object (and optionally print it) .
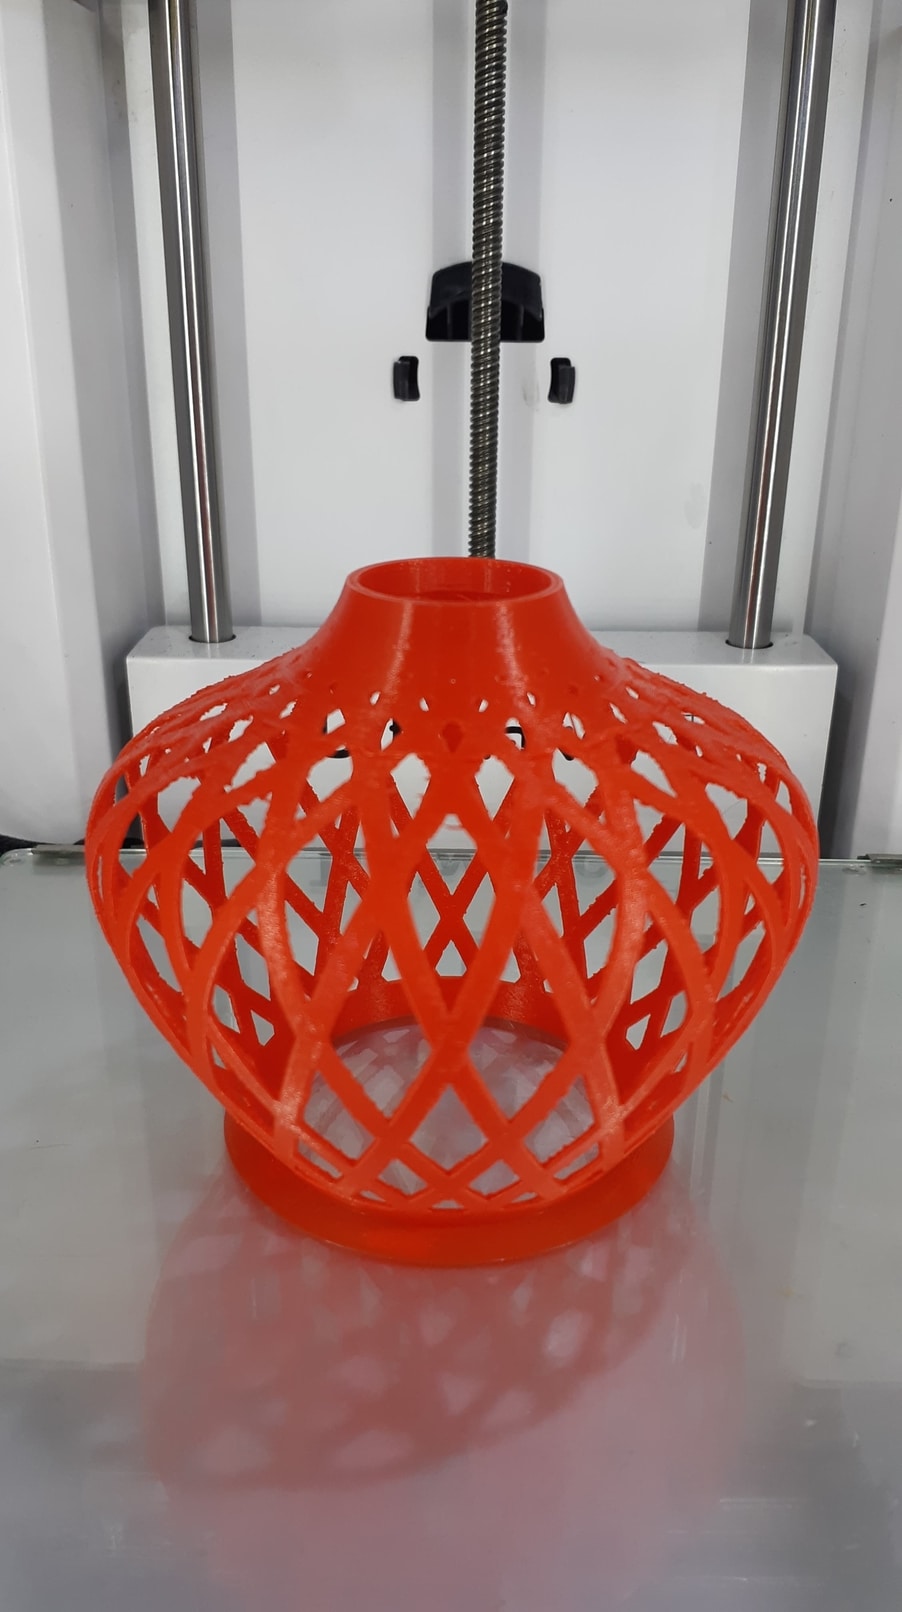
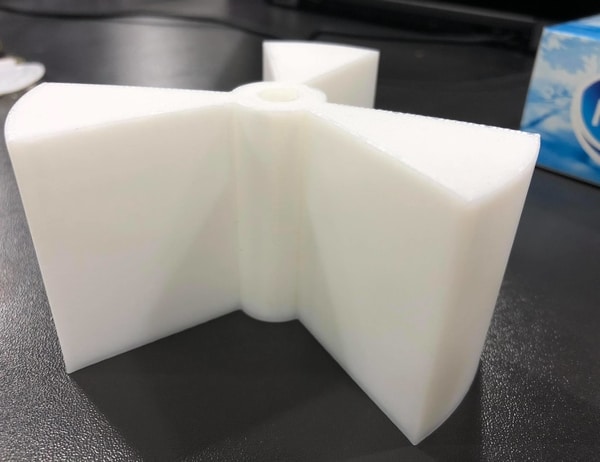
- First i designed a 3D model from scratch on “fusion 360” and the design is a self support design which means when printed no need for support and here is a look for the design :
Self support design :
Also i have made this design parametric so whenever you change any sketch the whole design changes
- Now i saved the file as STL file and opened it using “cura” which is a slicing software :
Here is the file :
- Here is the job being sliced on “Cura” :

- Here are the settings for my design :
Quality
Layer Height: 0.2 mm


Shell
Wall Thickness: 1.05 mm
Top/Bottom Thickness: 0.8 mm
Tpo/Bottom layers : 4


Infill
Infill Density: 20%
Infill Pattern]: Grid

Material Printing Temperature: 200 °C
Build Plate Temperature: 60 °C

Speed
Print Speed: 50 mm/s
Travel Speed: 150 mm/s


Cooling
Enable Print Cooling: Yes
Fan Speed: 100%

Support
Generate Support: Uncheck

Build Plate Adhesion
Build Plate Adhesion Type: Brim
Brim Width : 8 mm
Designs for my final project :
I have designed the parts i need for my final project using “Fusion 360” and “Onshape” Click here to see the designs form week 3
The food portion dispenser :
here are the files of the 3D designs:
Click here to see the design file
Click here to see the design file
Click here to see the design file
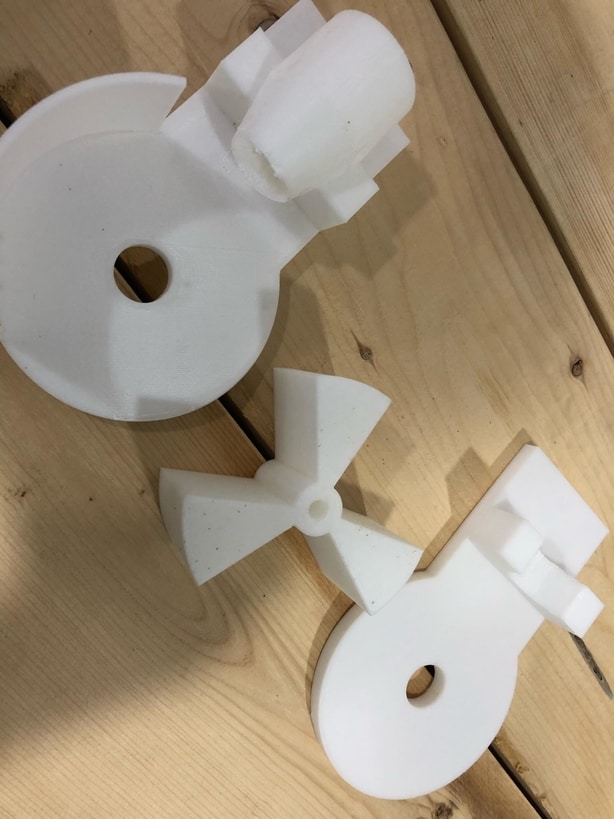
- Here i printed the food dispenser design using “zortrax 300 M” :
- As you can see i have decided that every portion is a 60 Grams of dry cat food, and here i have put a 20 grams in every space, so in order to serve a whole portion the wheel has to do a full rotation :
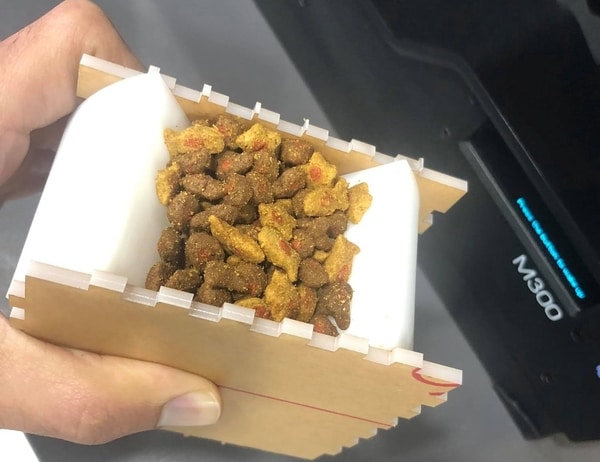
- Here is a look for the food dispenser :
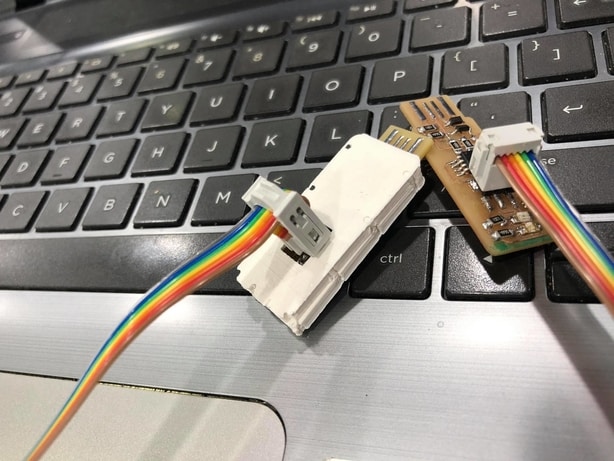
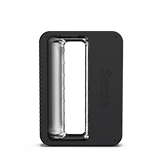
Design and print a case for my ISP :
Also this week i designed a case holder for my ISP and 3D printed the design :
3D Scanning :
-
first you open the software sense and here is a link to see their site Sense 3D Scanning
-
Make sure to clean the lens of the scanner
-
you can choose if you want to scan an object or a person
-
after choosing what you want to scan an option for the sizes will appear in order to choose the size of the object or the person you want to scan
-
now you start Scanning and moving slowly in order to get all the details then you save your scan and Export in “.ply” extension from sense “.stl”Open in Meshmixer to modify the mesh.
and here is a tutorial for 3D Scanning Click here -
finally here is a scan for myself :
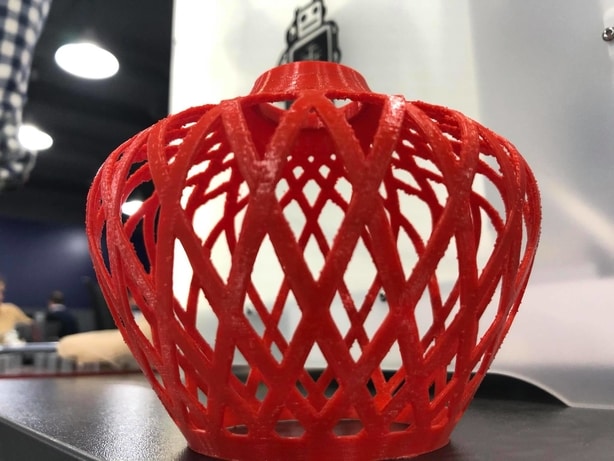
The hero shot for the individual assignment :
The process of 3D printing my self support design:
And here is the final look :