Week 5: 3D Scanning and Printing
Group Assignment:
1)Test the design rules for your 3D printer(s).
Individual Assignments:
1) design and 3D print an object (small, few cm3, limited by printer time)
that could not be made subtractively.
2)3D scan an object (and optionally print it).
GROUP ASSIGNMENT
The documentation of the intial processes of the approach to the 3D printer - Ultimaker 2+ - and the design rules are available at this link.
INDIVIDUAL ASSIGNMENT - 3D MODELLING AND PRINTING
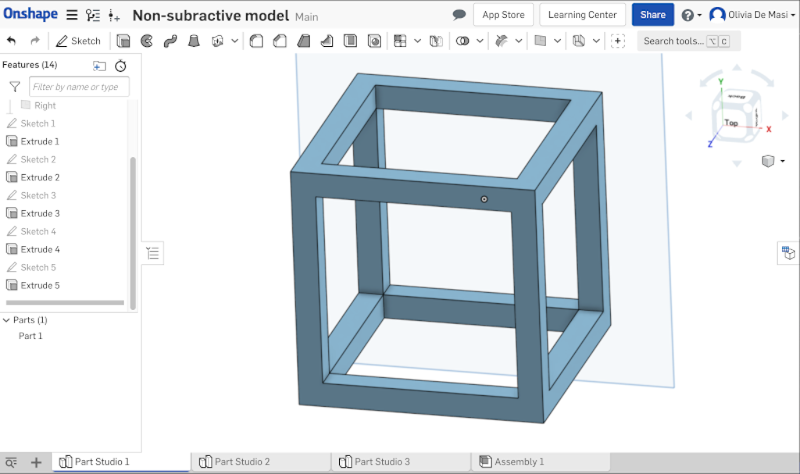
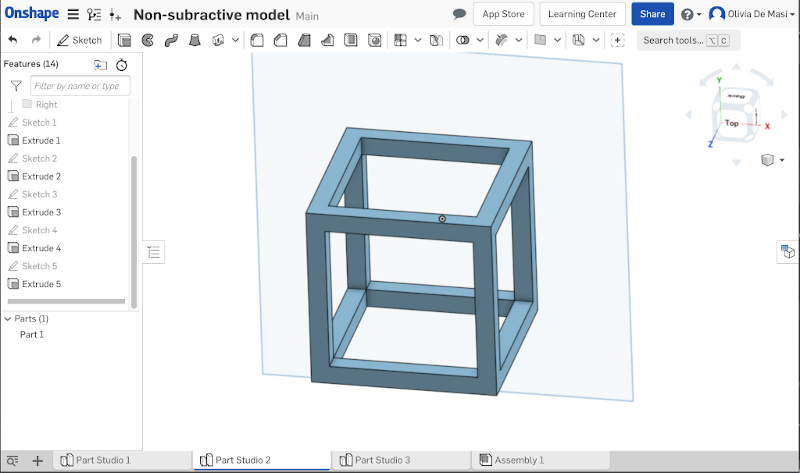
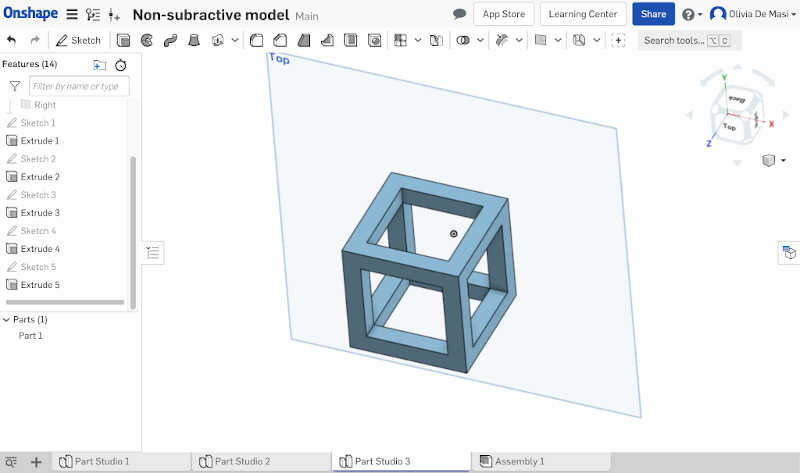
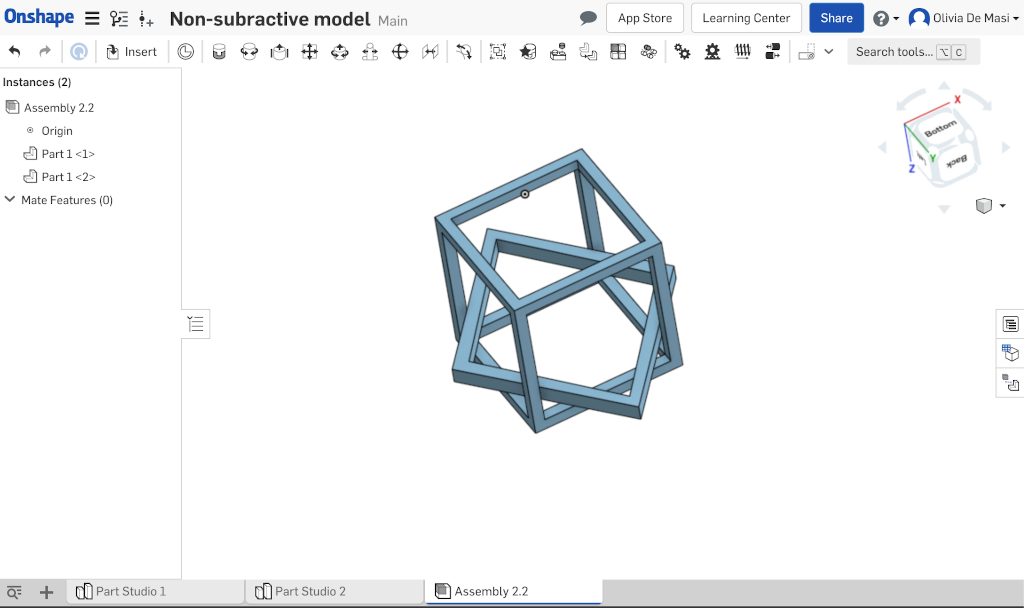
For this week's assignment I had to make and print a non-subtractive 3D model. So I decided to make three cubes in one another using Onshape.
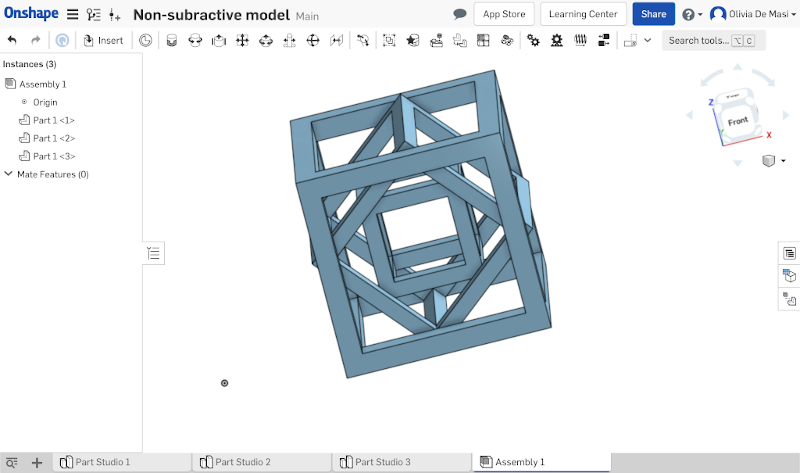
After I created the three cubes, I inserted them in the Assembly worksheet:
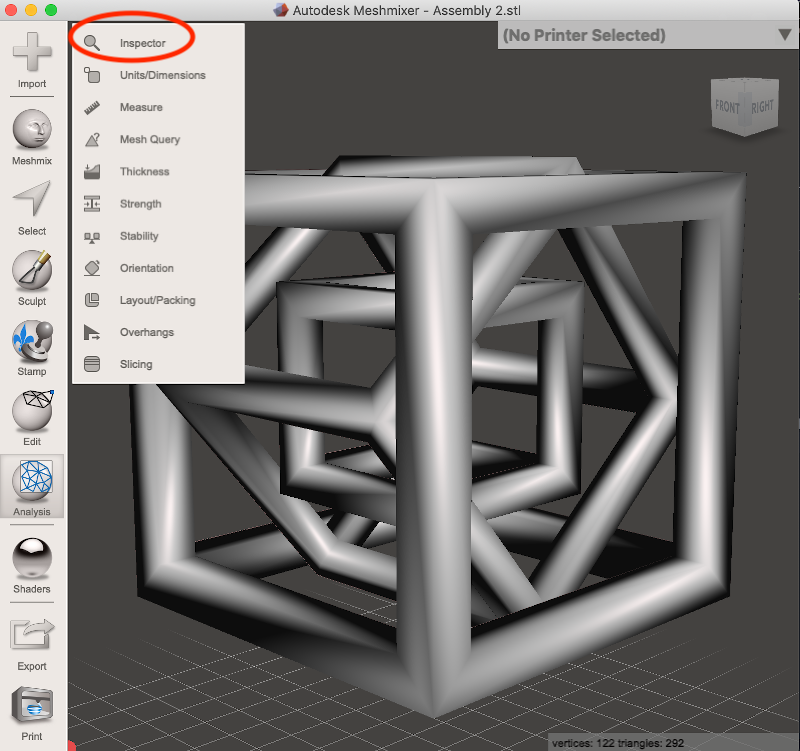
I learned that the first thing to do is to open Meshmixer and check that the 3D model is utterly closed this way I won't have troubles during the printing. So I imported the .stl file and clicked on "analisys" and "inspector":
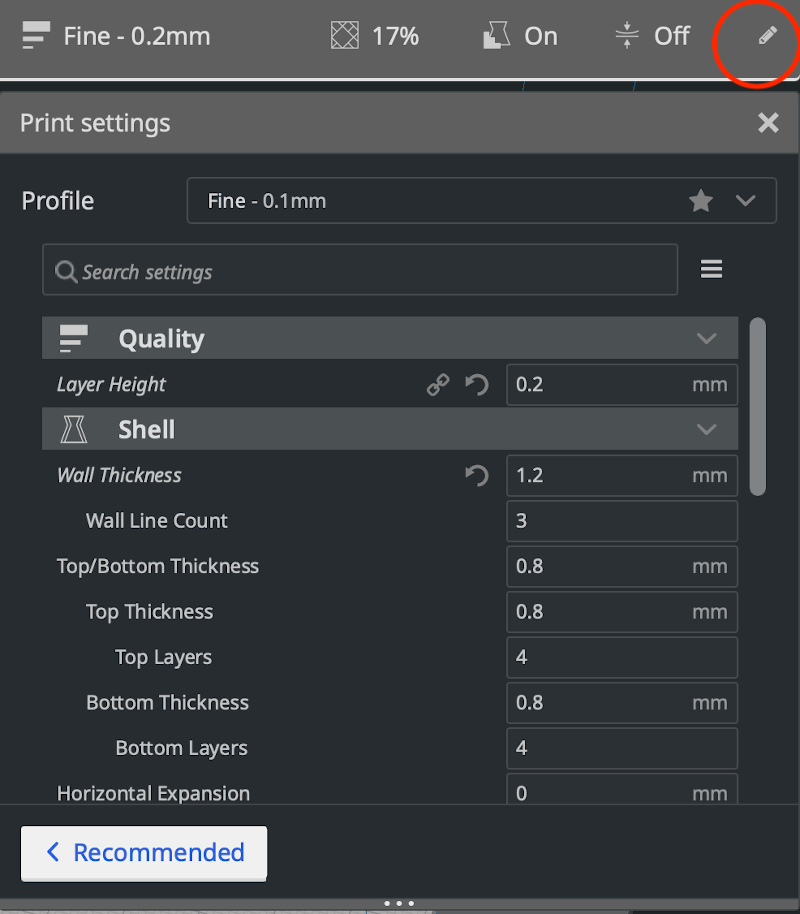
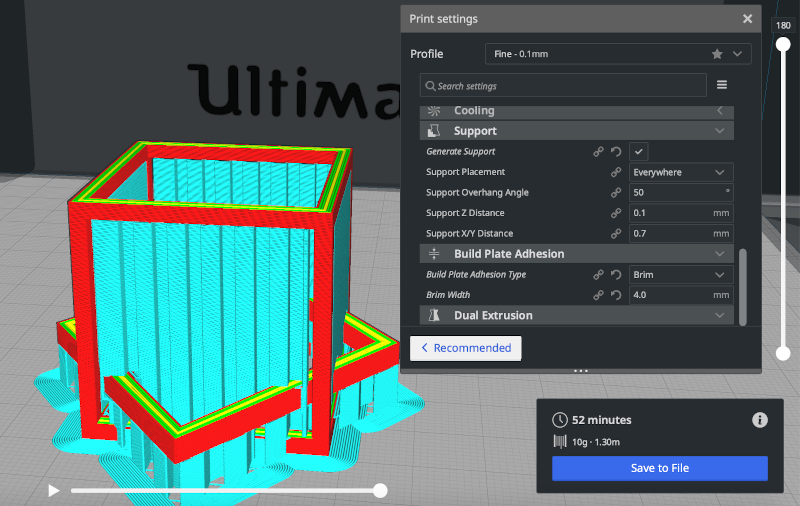
After I was sure that my mesh we're ok, I opened Ultimaker Cura and imported the file. On the upper right corner I can change the settings clicking on the pencil icon:
On the right side I can see and move the origins axis, and most importantly I must click on "lay flat":

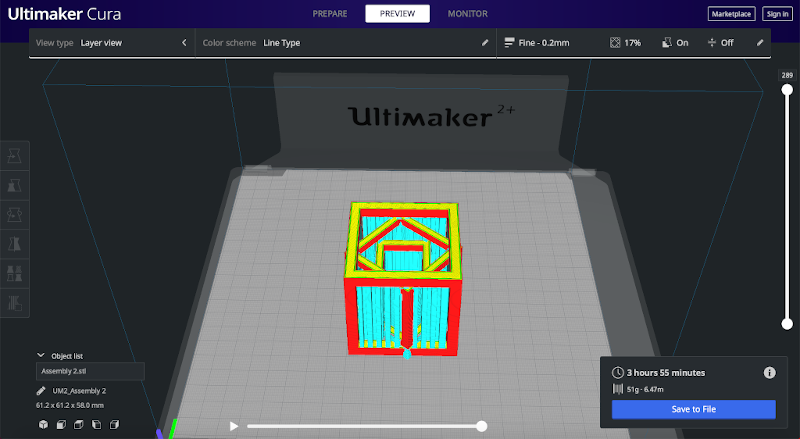
When all of my settings are settled I can go on the "preview" section and click on "slice". This gives me the chance to check how my object is going to be printed and how long will it take.
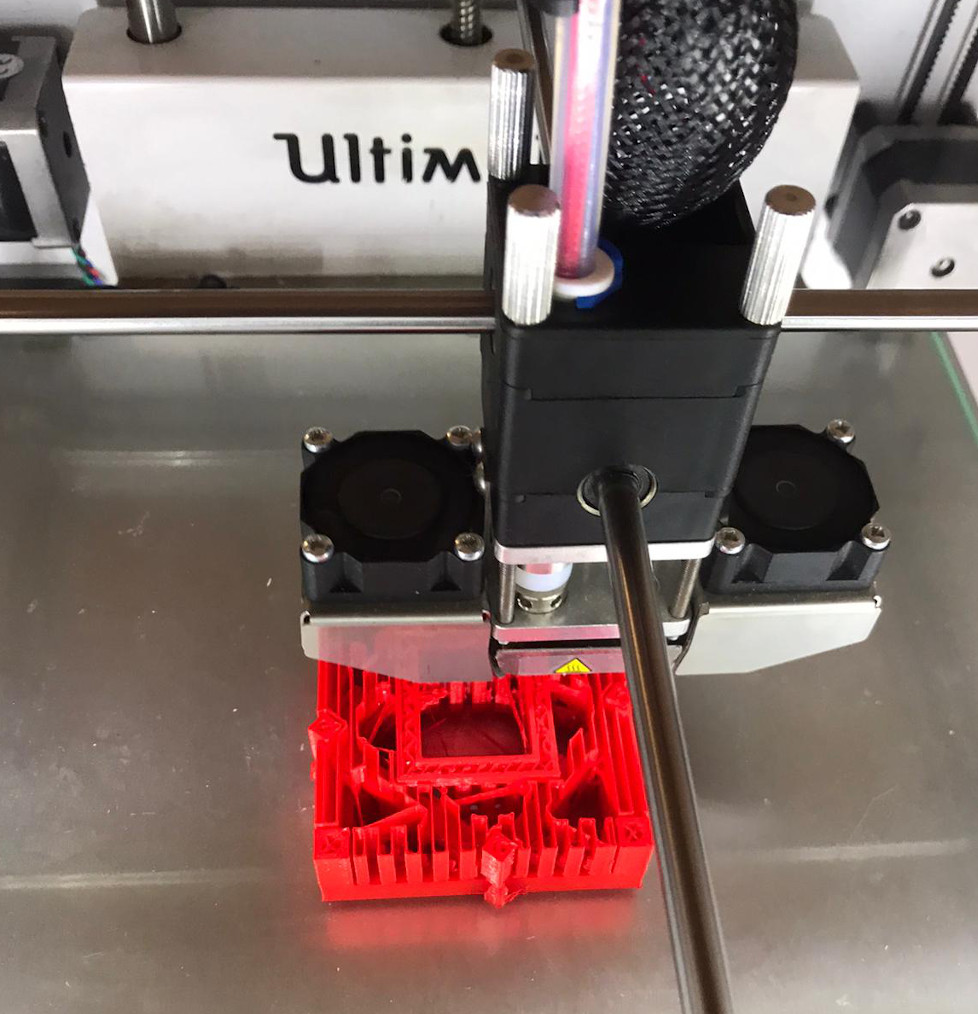
I saved my file in a .gcode format and then, set and ready, I sent my file to the printer using and SD card. I chose the material (PLA), selected the file directly from the printer's interface and click on "print". (The Z origin was already set during the group assignment ):
Unfortunatelly my model didn't come out as I expected, the inside cubes we're too loose so they came out pretty easly:
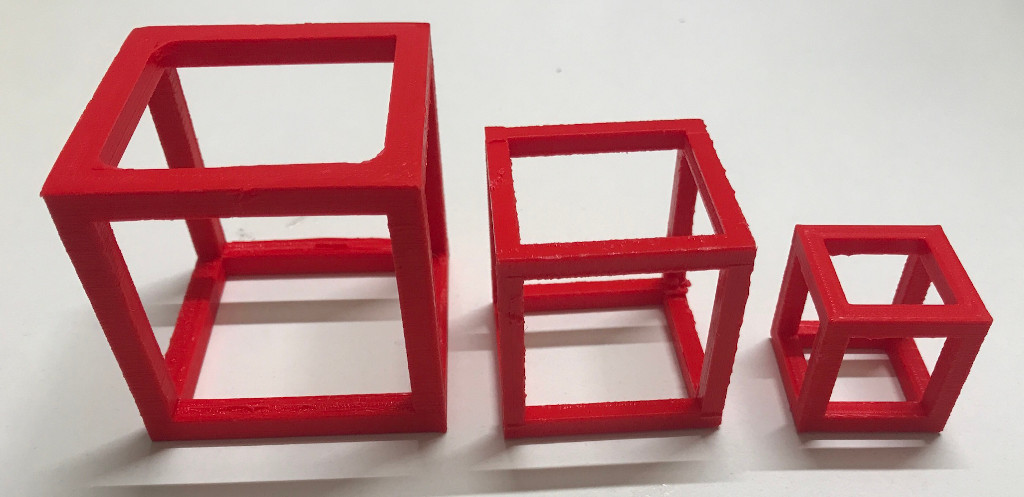
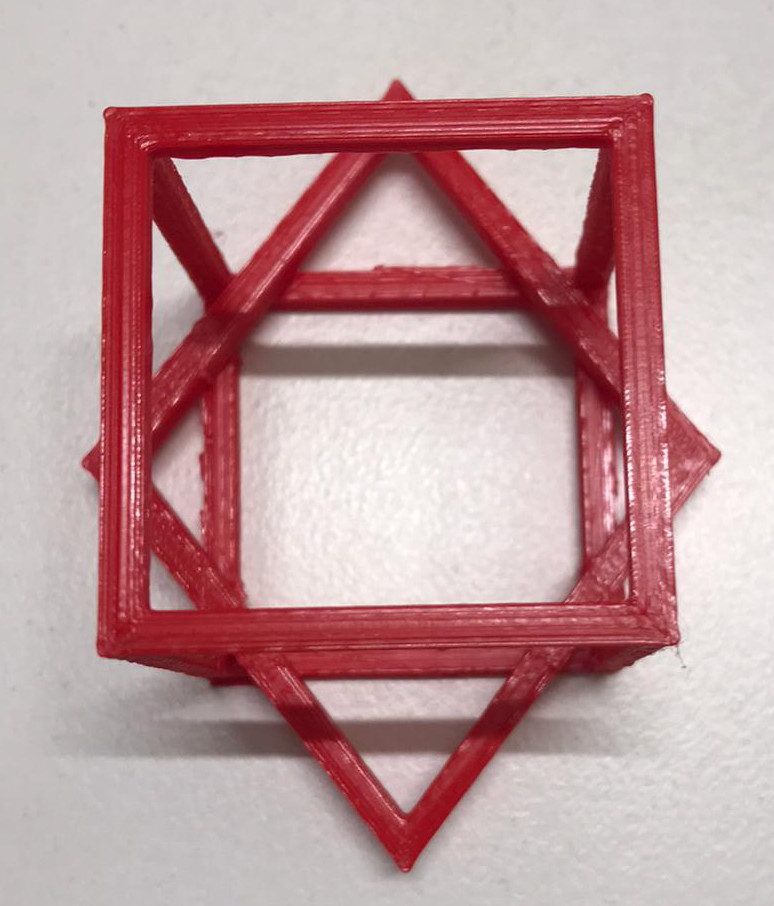
So I decided to start a new sketch on Onshape and to be really sure about the dimensions I substituted the two inner cubes with a rhombus:
After checking it on Meshmixer this is the Cura preview:
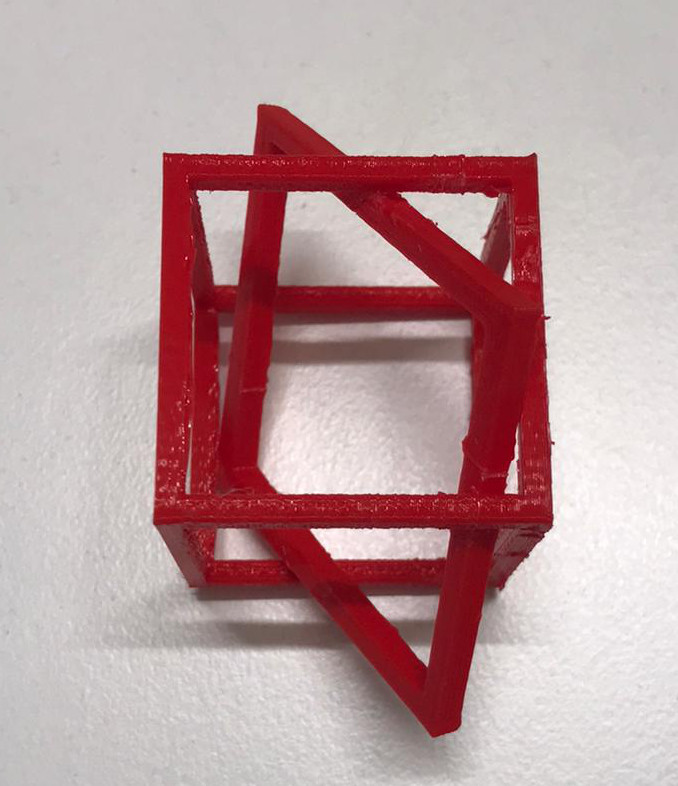
My model this time came out fine and it did the job, here it is:
INDIVIDUAL ASSIGNMENT - 3D SCANNING
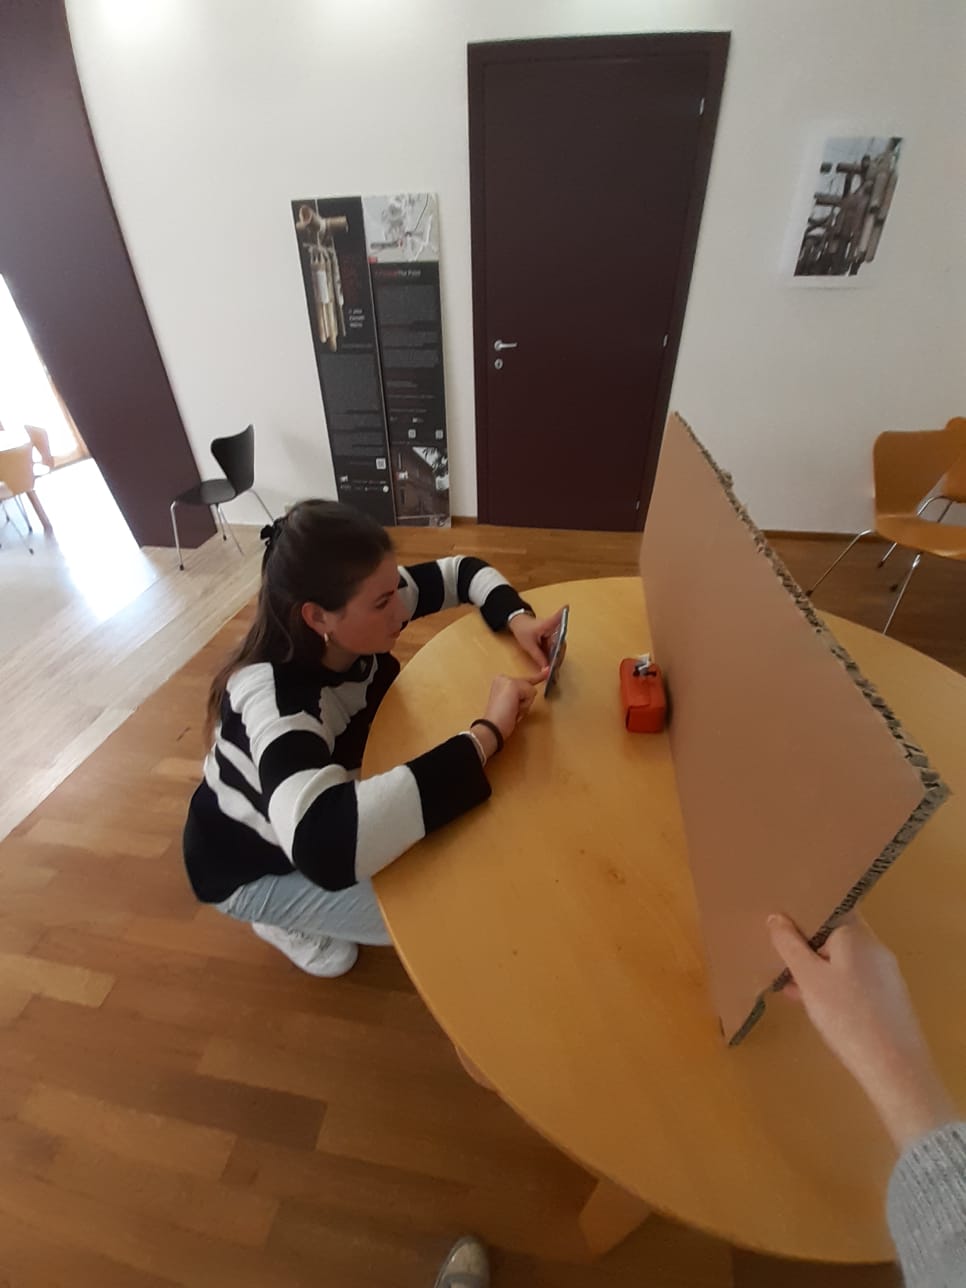
For the 3D scanning I used the photogrammetry technique with a Huawei smartphone. The first thing that I learned is that the most important part is to create a good work enviroment as in light setting: the light has to be uniform either if you are shooting inside or outside. The second thing is to make the object that has to be shot very outstanding so I had to create a nice color contrast. My instructor also suggested to keep the ISO level low and to accelerate the frequency of the shots. So What I did was to try and shoot this object:
So I created what I thought was a right light enviroment using some different color pannels and shot around 80 pictures of it. 1/3 were front photos, 1/3 were 45° hight photos and 1/3 were 45° lower photos all around the object.
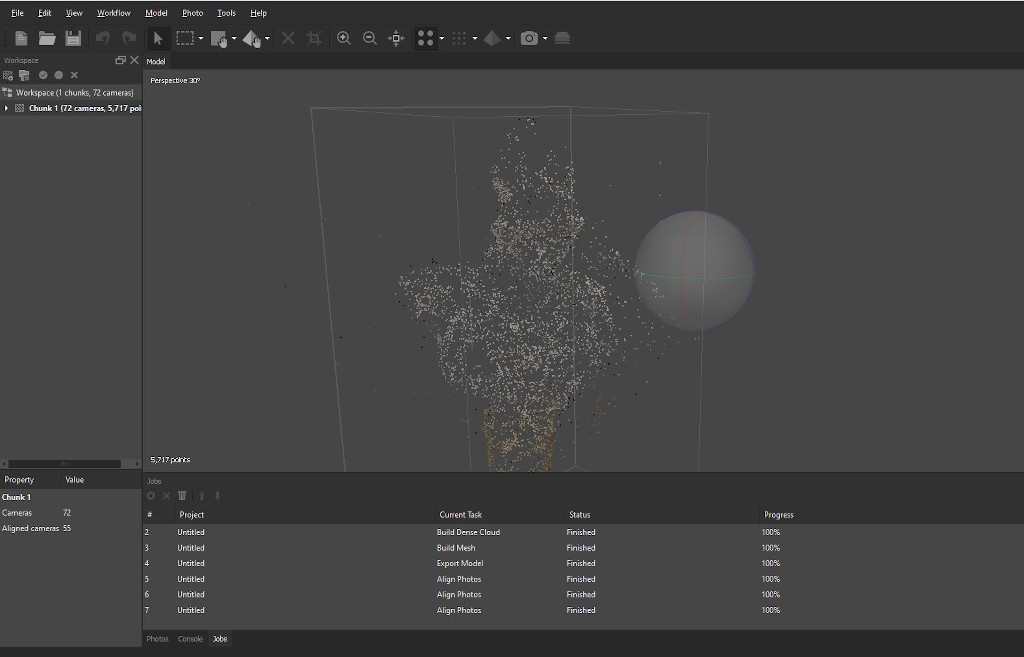
After the shooting I tried to upload all of the pictures on Metashape. There is a menu on the leftside: right click on "chunk" then "add". At this point the firts thing to do is the "align photos" part clicking on "process". After the software has processed all the pictures you can see right away if your job is good or not. Mine was no good. The software was only able to align half of the pictures I uploaded and this is already a bad sign. In the firts preview you are shown the 3D model in little dots and mine was not understandable. So I decided it was best to try again and I also changed my subject. This time I chose a small white statue of a bust so I created the constrast using two big black cardboard. I followed the same procedure as before and I uploaded the photos on Metashape:
After doing the firts alignemnt I selected the dots that were too far away from the mdoel with the selection tool and deleted them. When my statue seemed better I went to the second step of the "process" menu: "build dense cloud". And finally the last step: "mesh cloud".
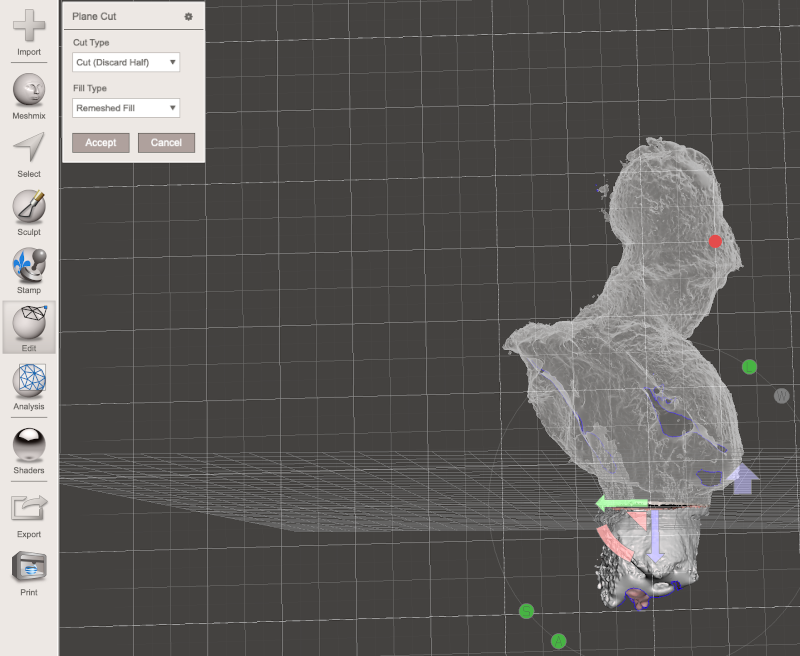
It's now time to export it as a .stl file and import it on Meshmixer to fix all the problems. The first thing that I did was to cut my model using the command "plane cut" in the edit menu:
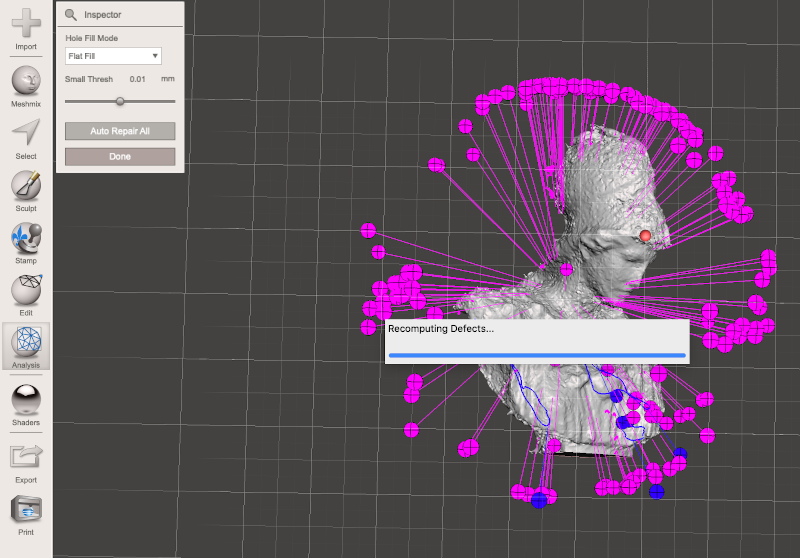
After the plain cut I wanted to see where the mesh problems were so I commanded an "inspector" and the I clicked on "auto repair all":
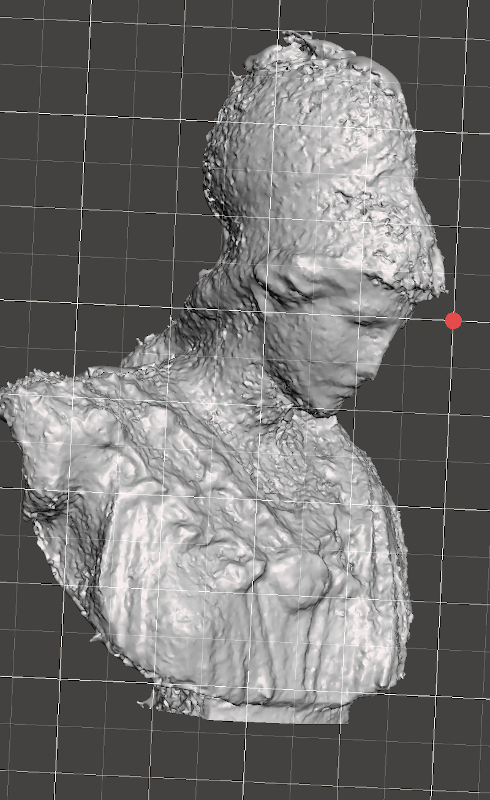
Now my model looks a lot better. This is the final scanning result:
Links
- http://fabacademy.org/2020/labs/santachiara/03.html
- https://sketchfab.com/
- Meshmixer tutorial guide 1
- Meshmixer tutorial guide 2
Improvements
- I'm going to improve my acquisition skills.
- I want to try new acquisition methods (e.g. scanner).
Downloads
- Non substractive model file
Onshape file
To make the 3D model downloadable I used Sketchfab. I created a free online account with which I can make my models public and get an embedded code too.