Group Assignment:
1) Review the safety data sheets for each of your molding and casting materials,
then make and compare test casts with each of them.
The group documentation of this week is to be found at this link.
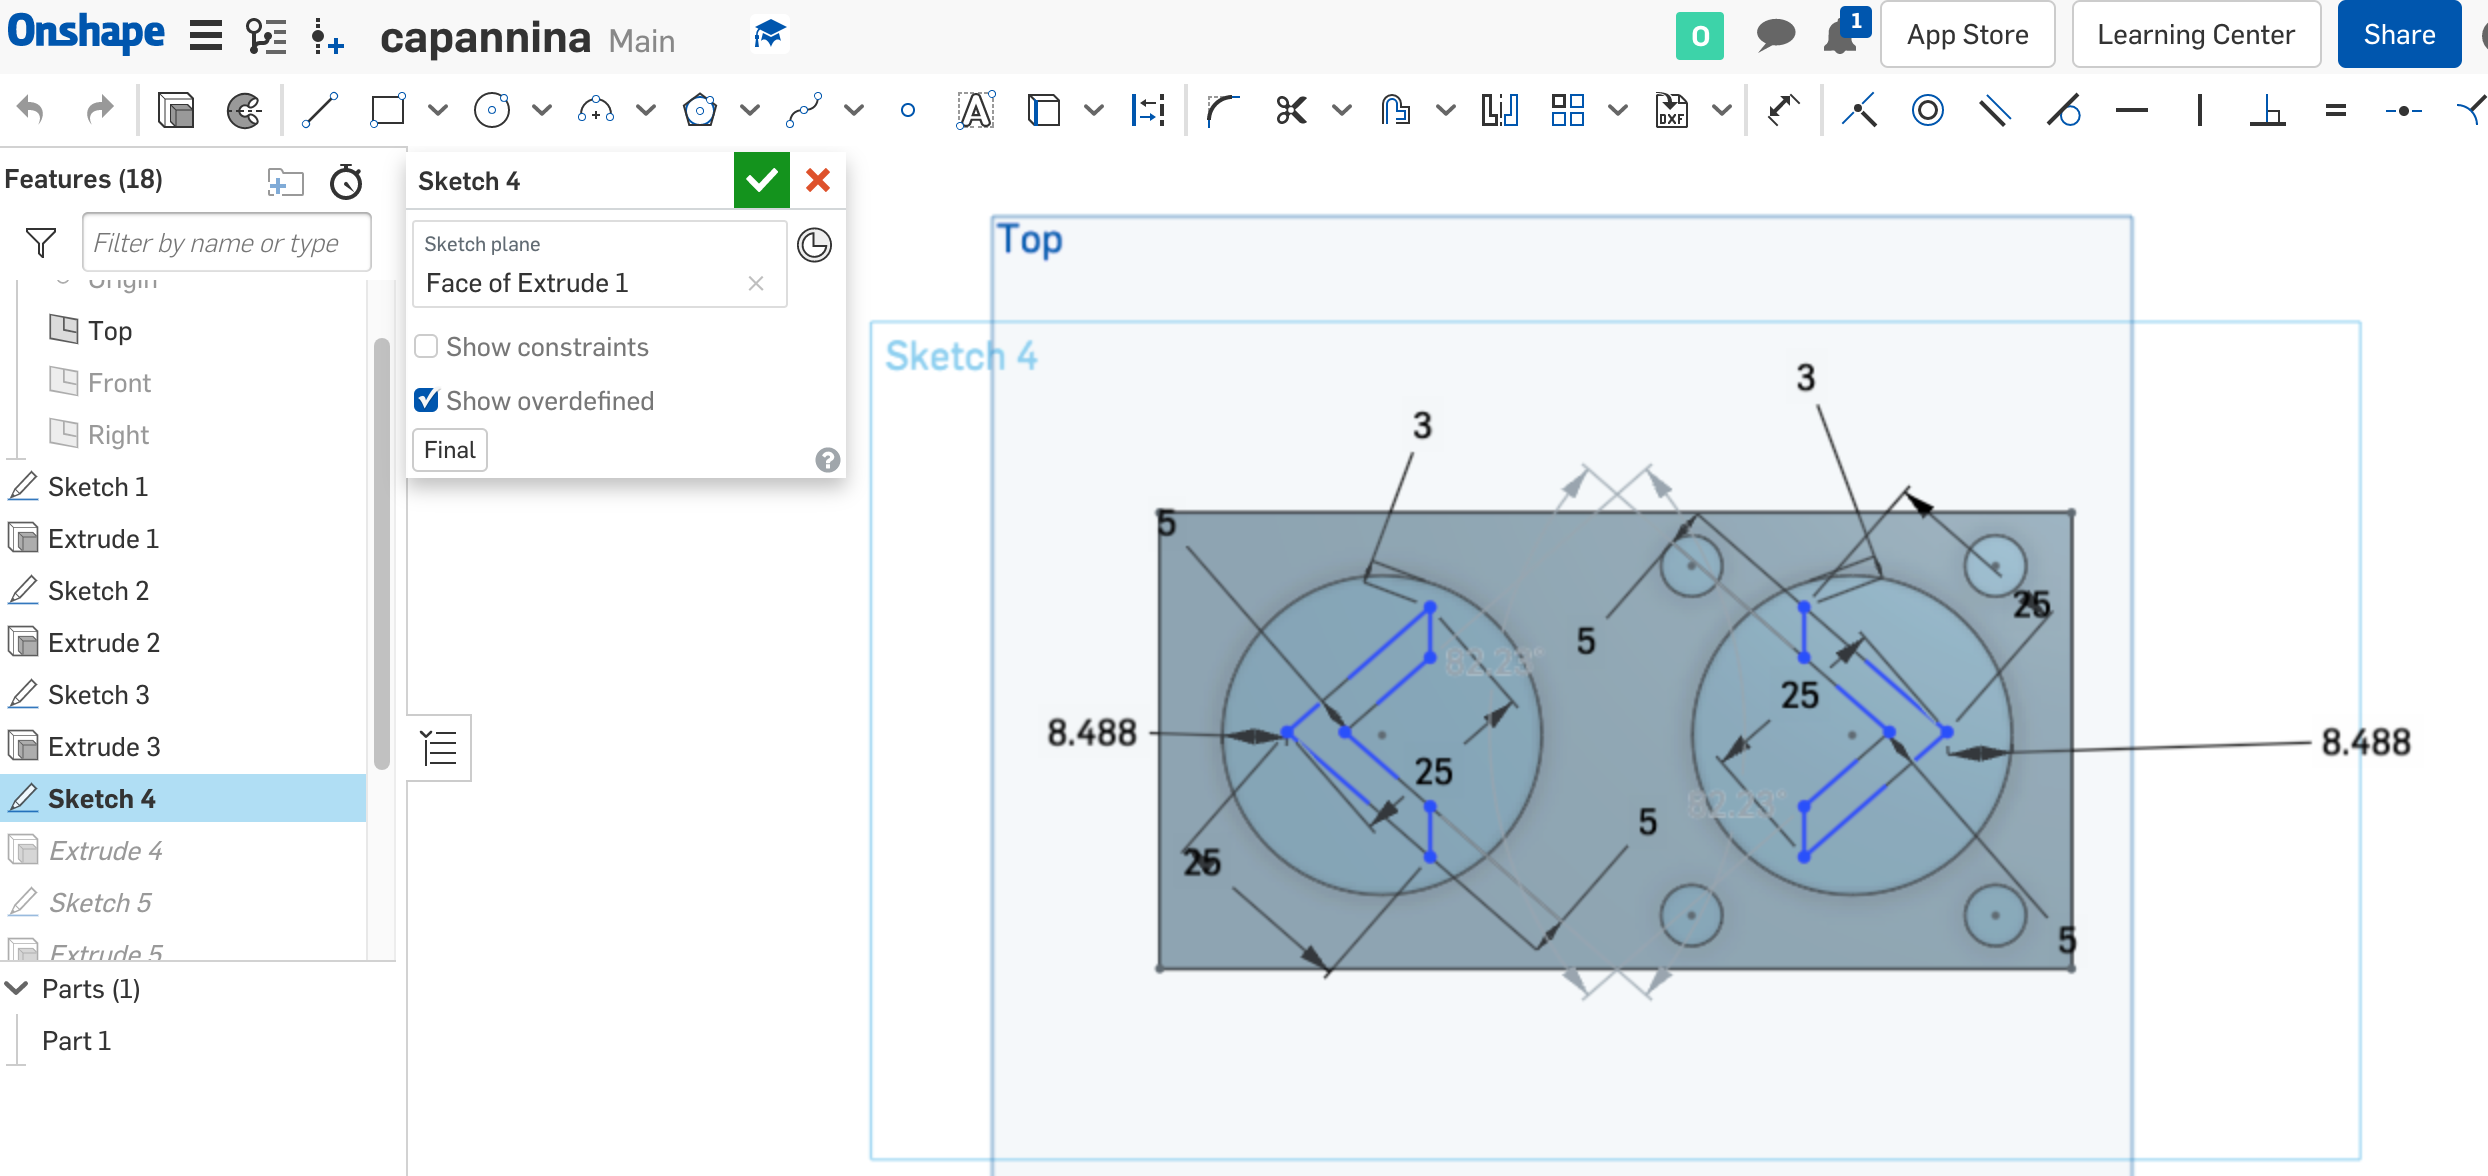
As a first thing for this week I decided the objcet I wanted to make: a keychain with a letter C on it. I looked up the docuemtation of the previews years and I particulary referred to Eleonora Piccinelli. As the assignment required I had to take in consideration the tools I was going to use (although I was quite advantaged by the group tests). Infact I created the keys and the air and injection conducts thinking about the diameter of the endmills I chose.
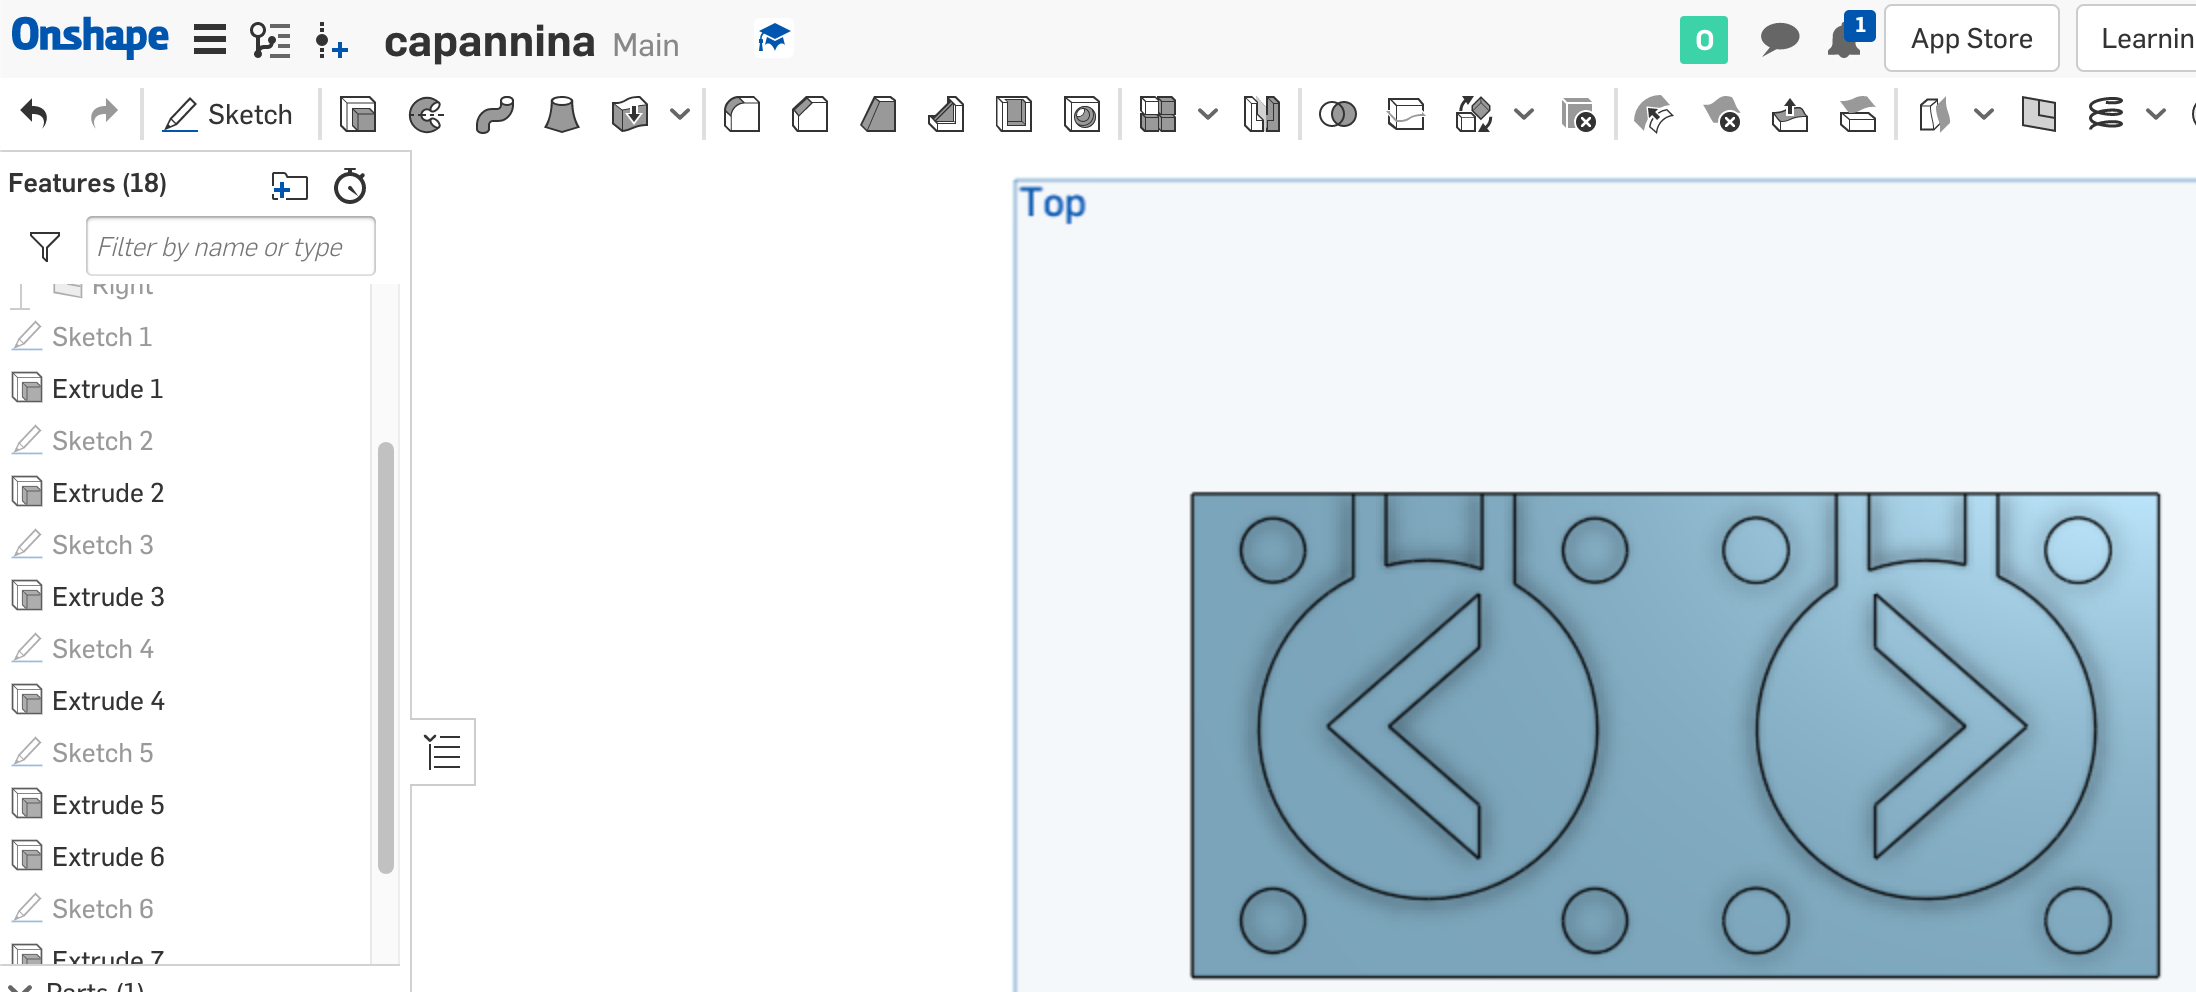
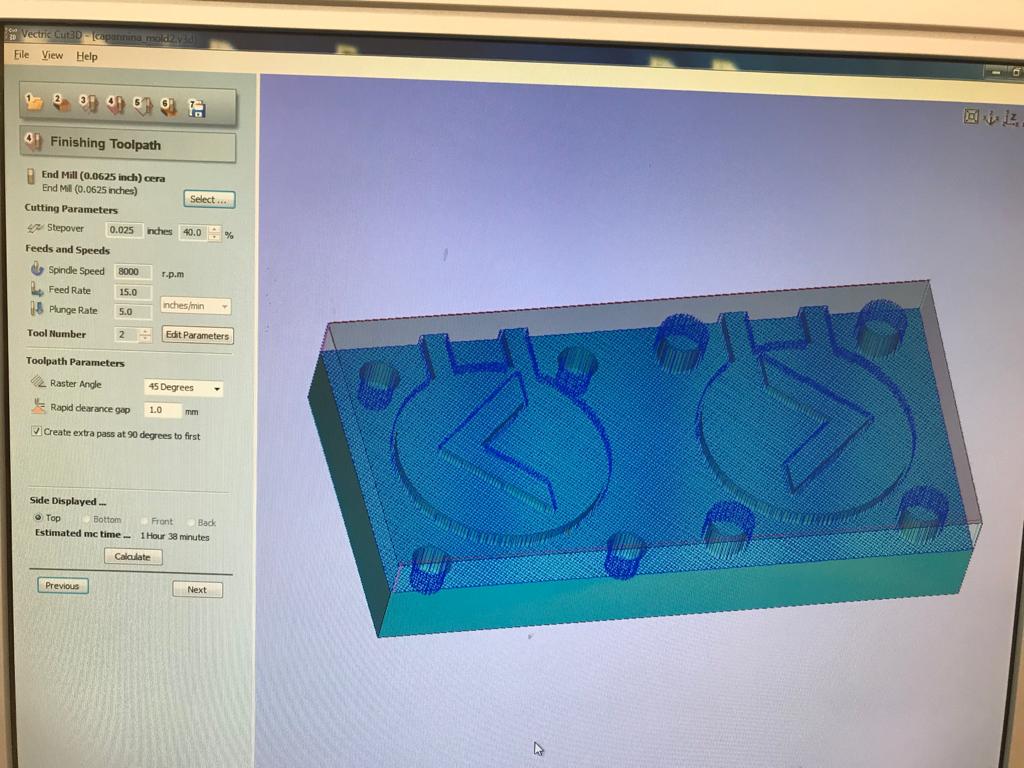
I then exported the .stl file of my model to create the g-code on Vectric Cut3D Vectric Cut3D for our Roland SRM-20.
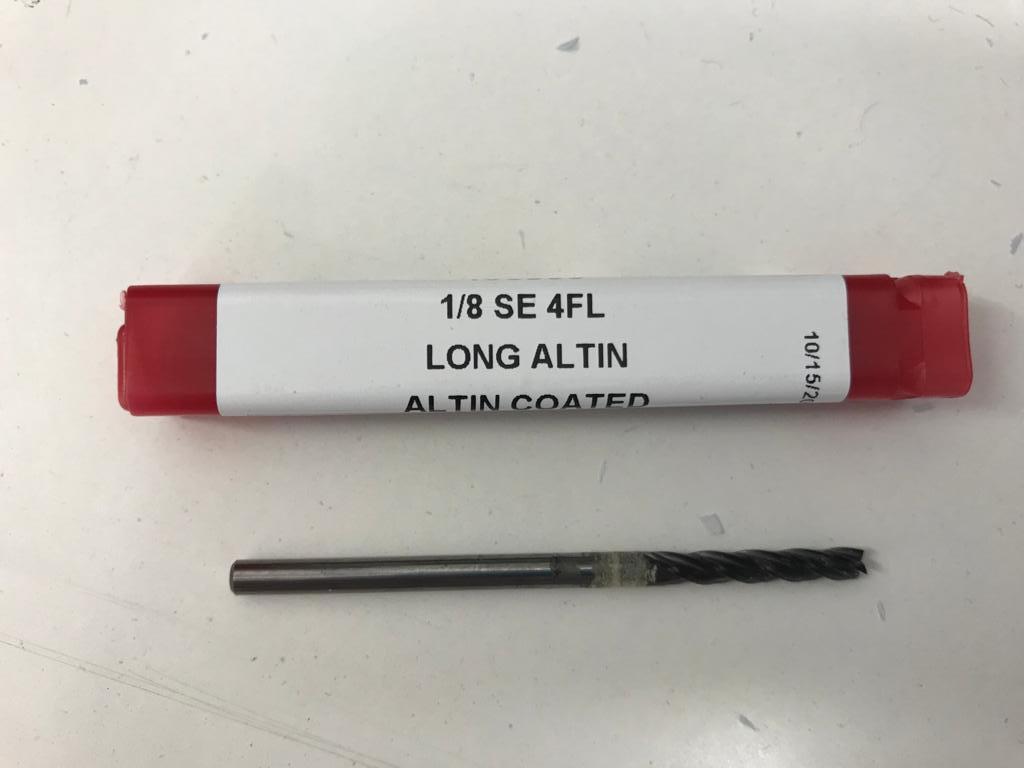
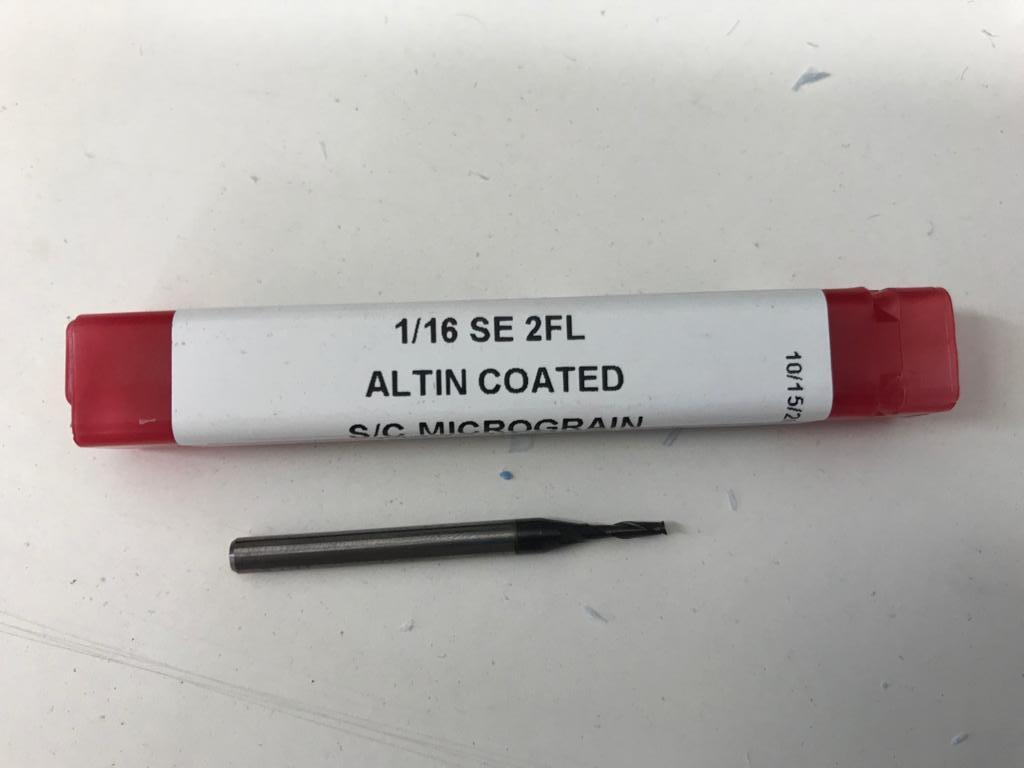
These are the two flat endmills that I decided to use:
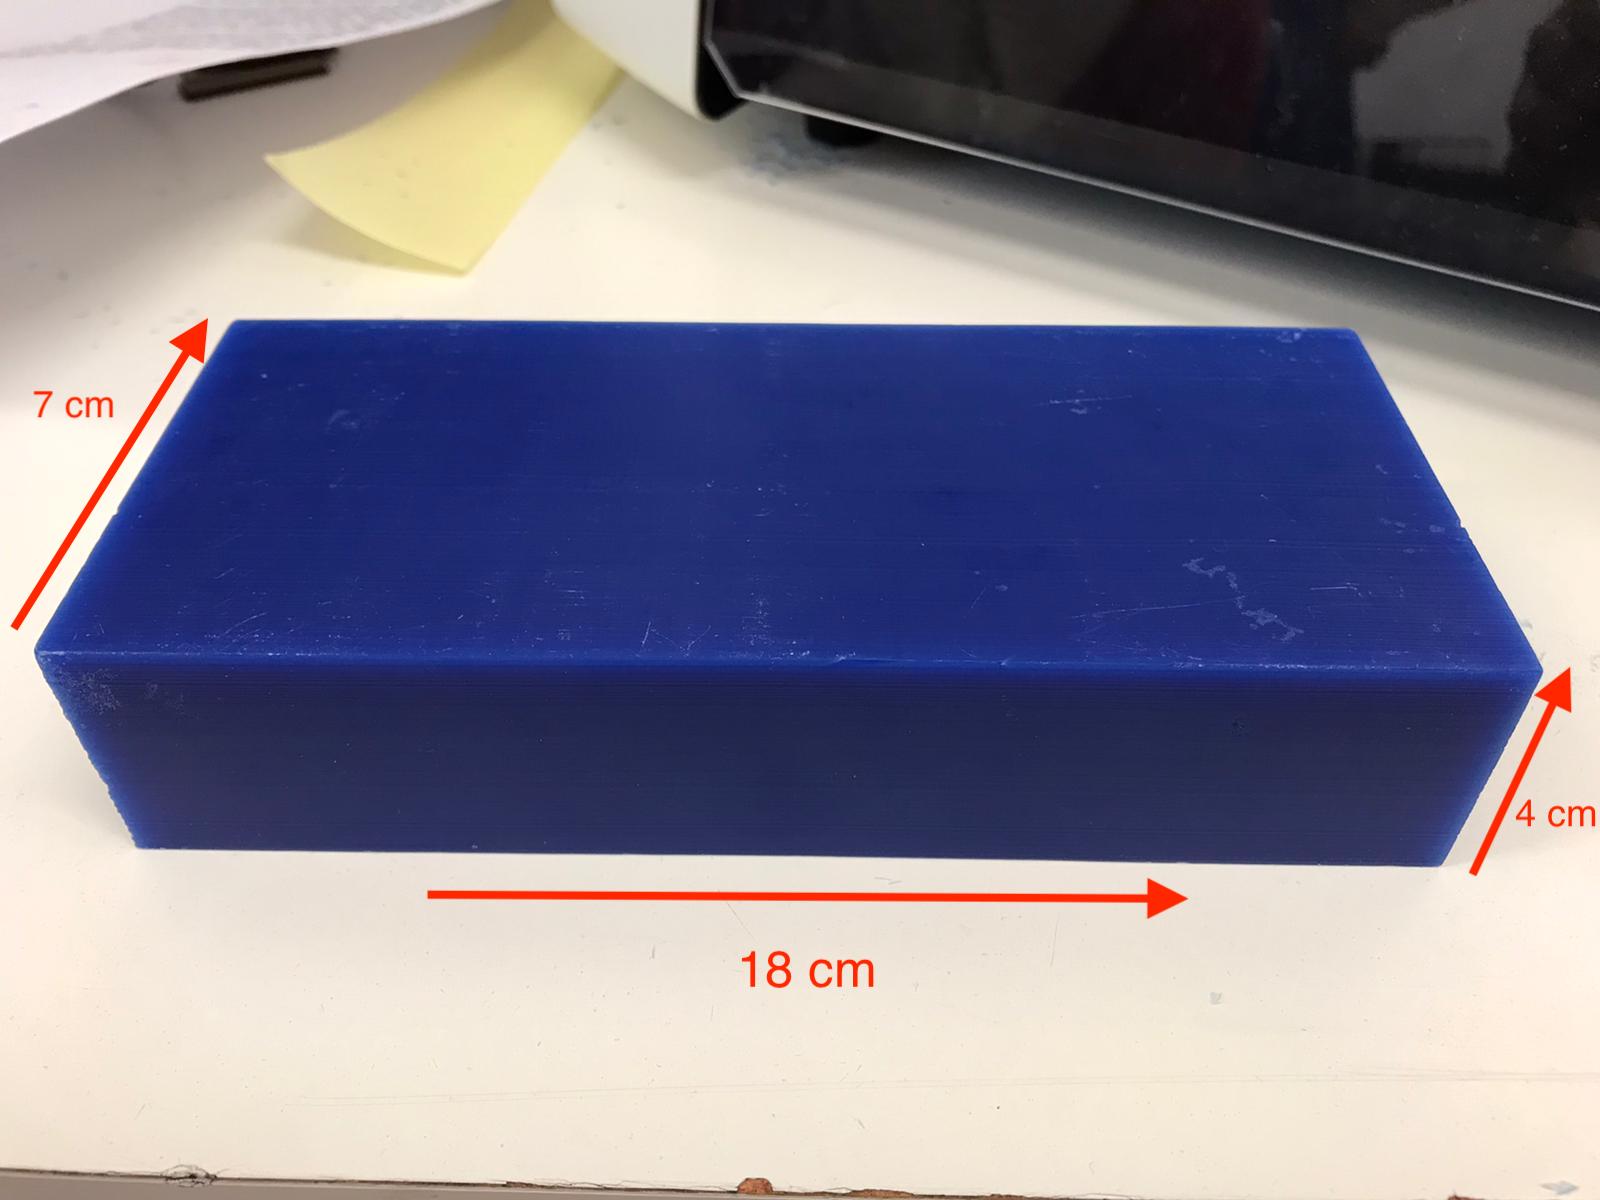
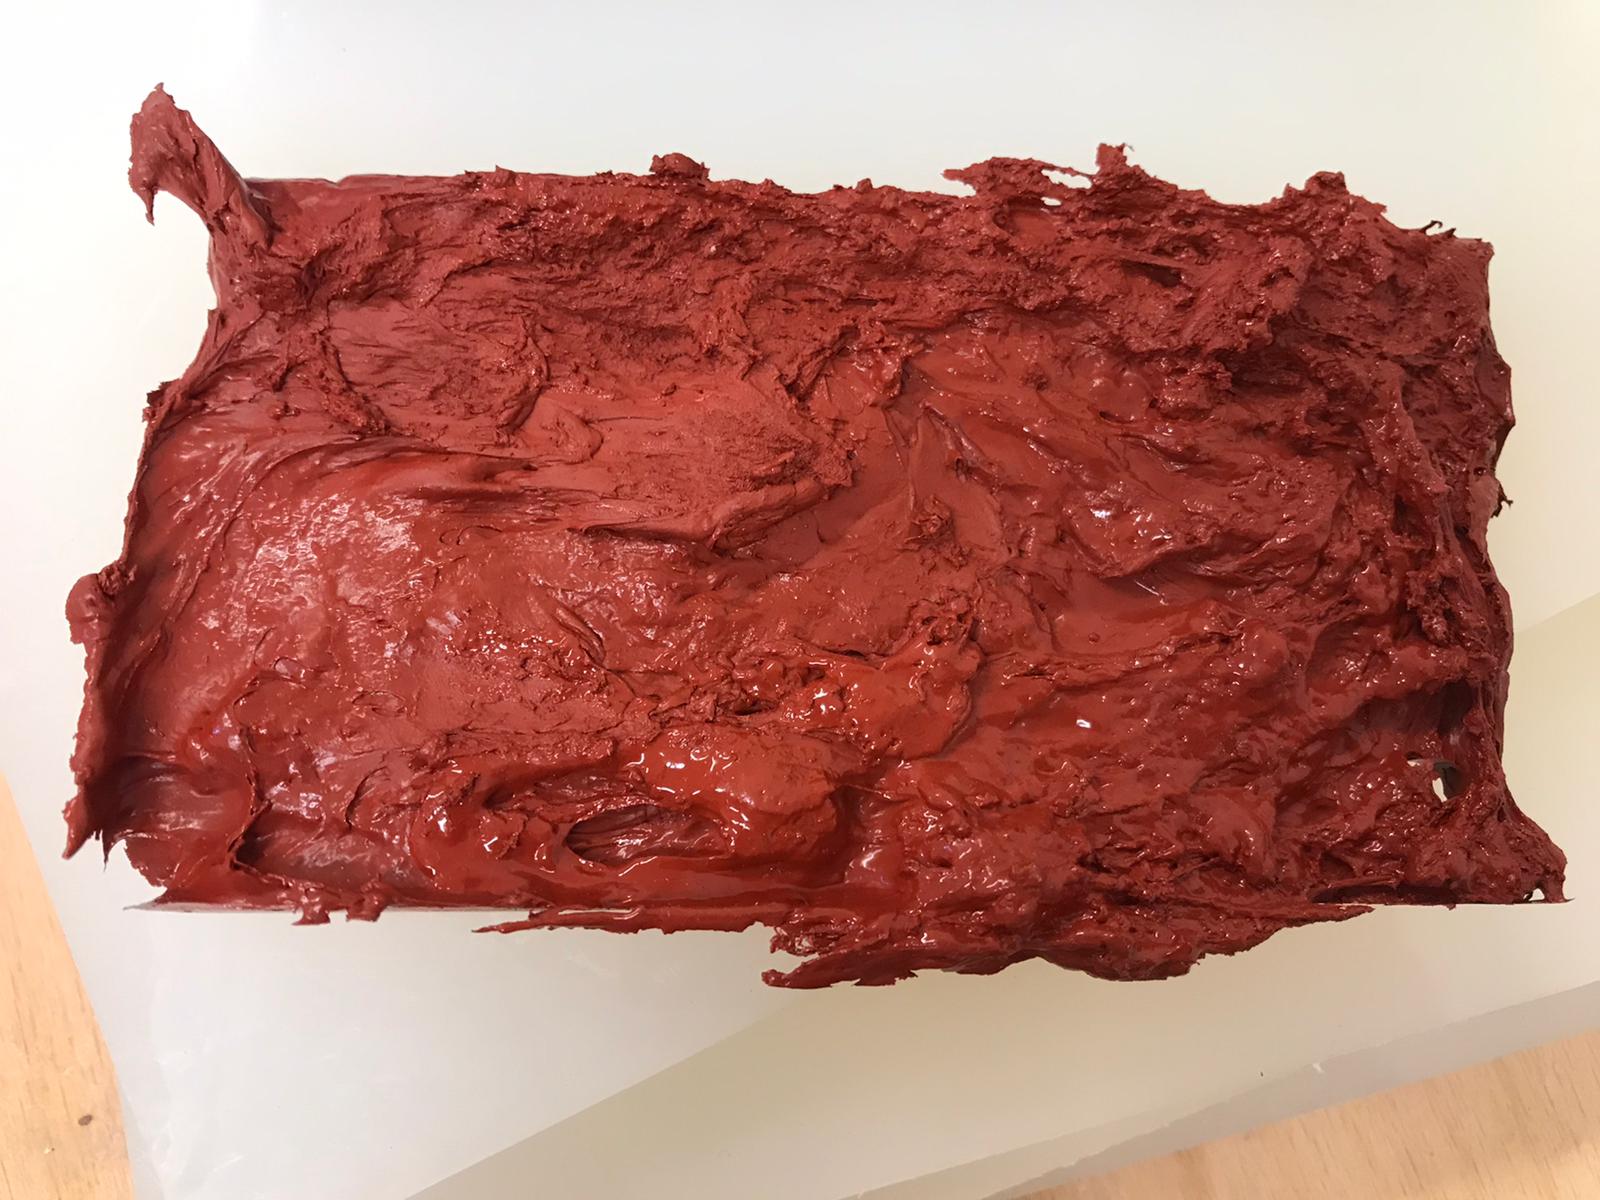
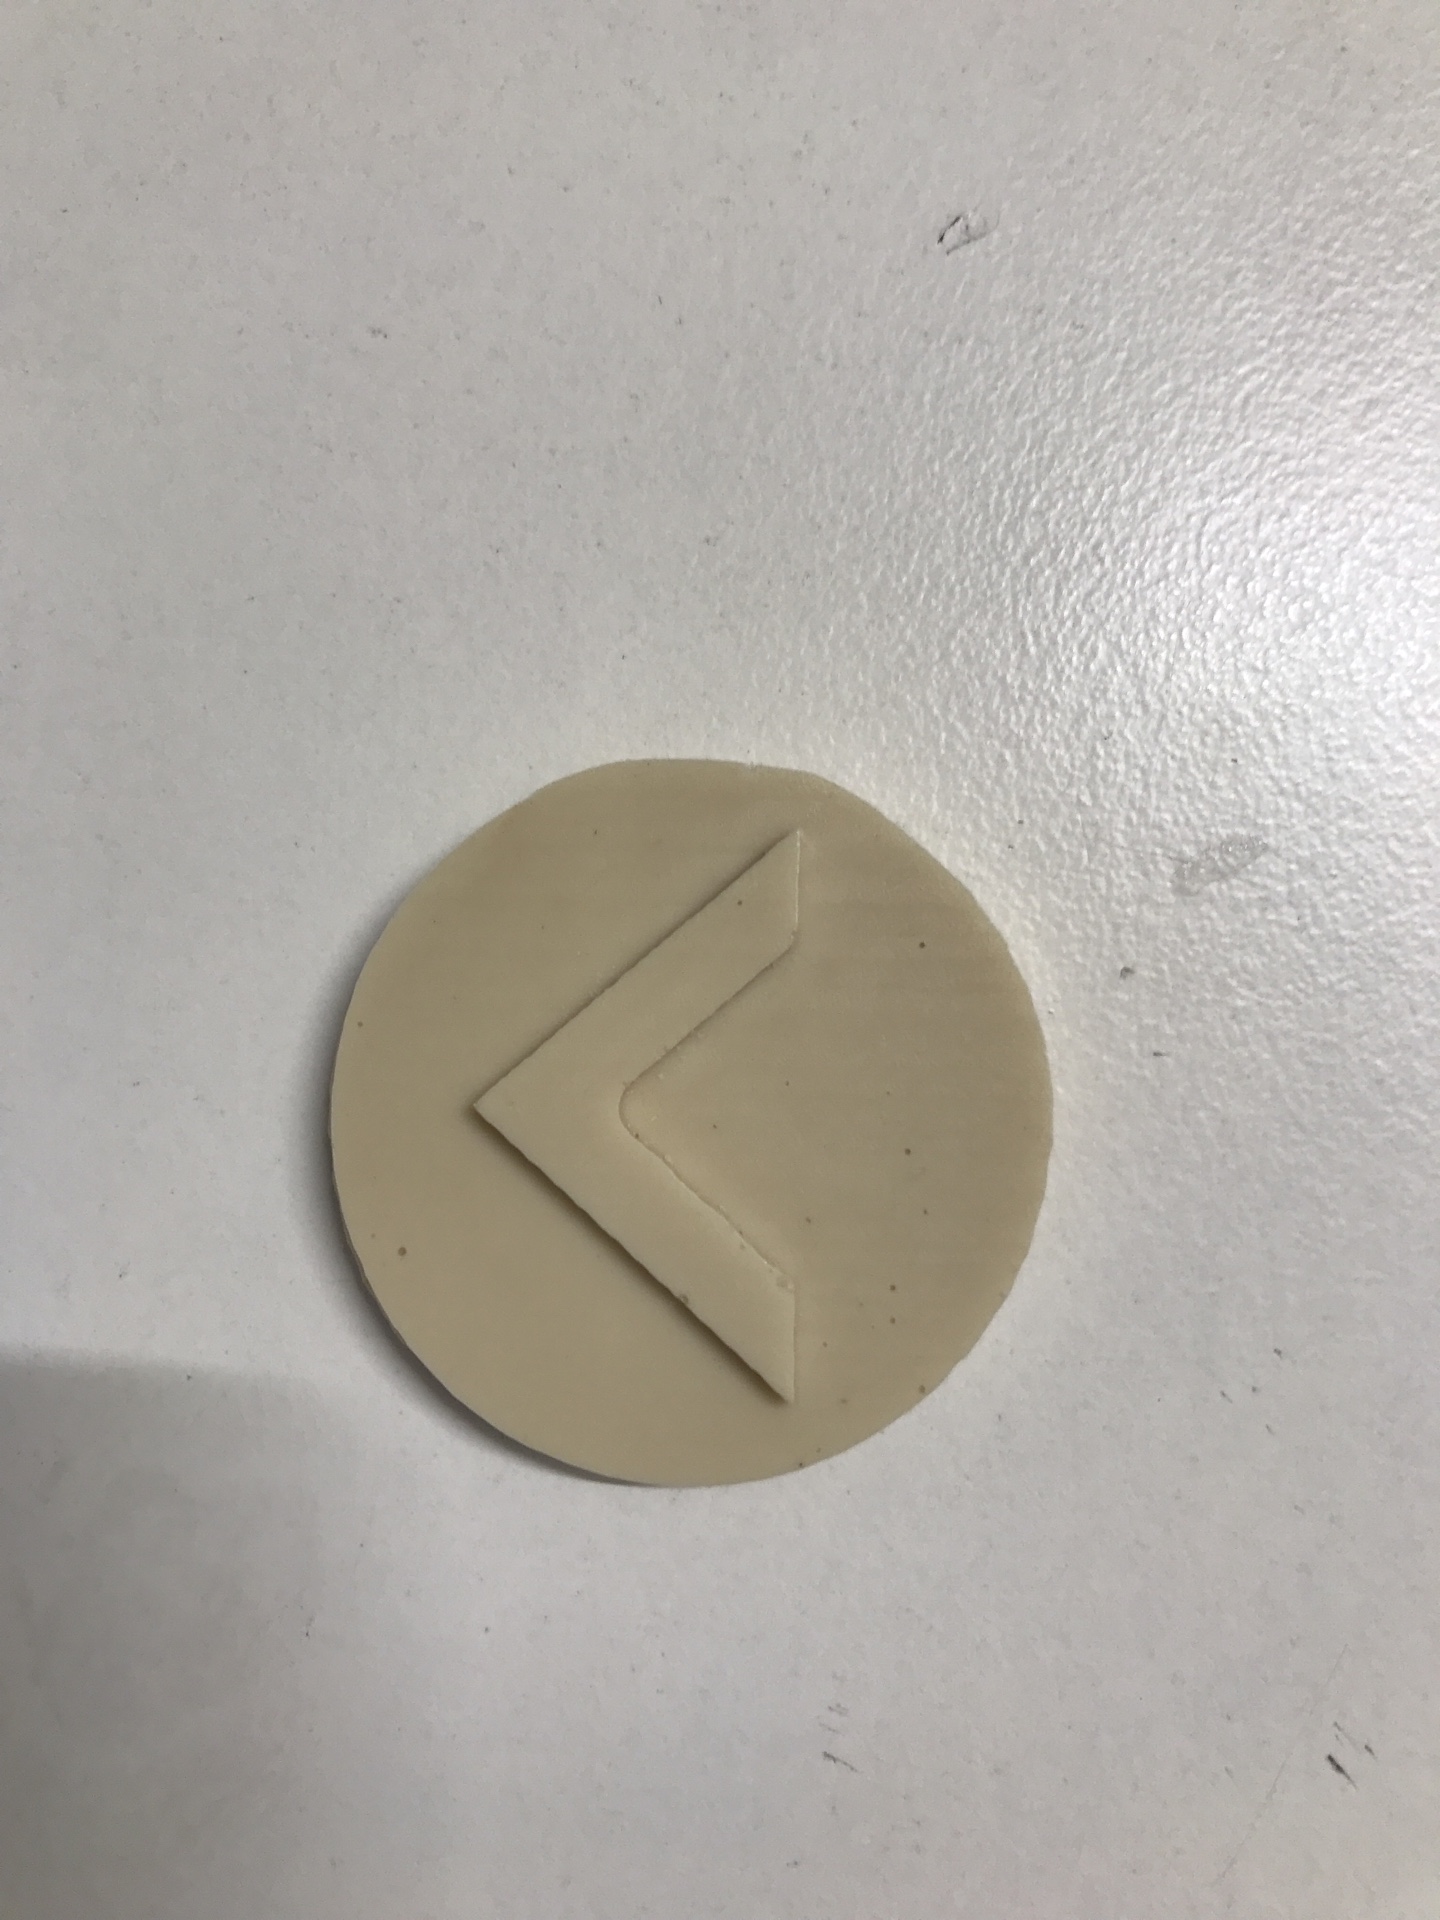
This is the wax brick I used:
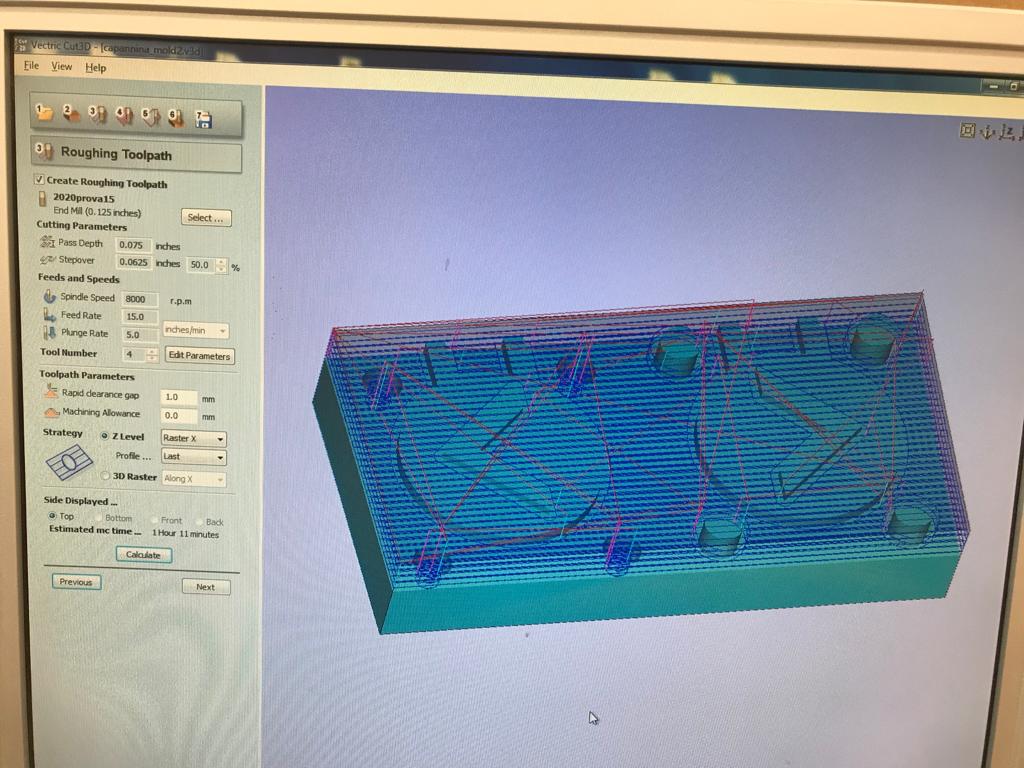
This is a quick summary of the tool and machine parameters:
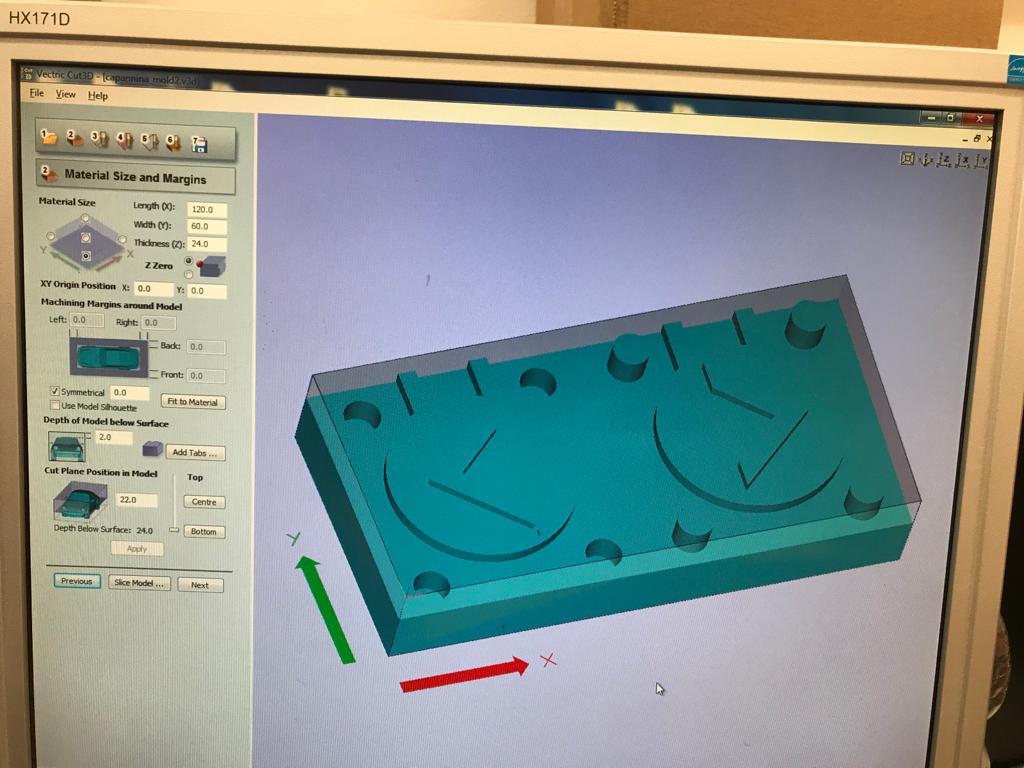
I imported my .stl file and I started to set the cut:
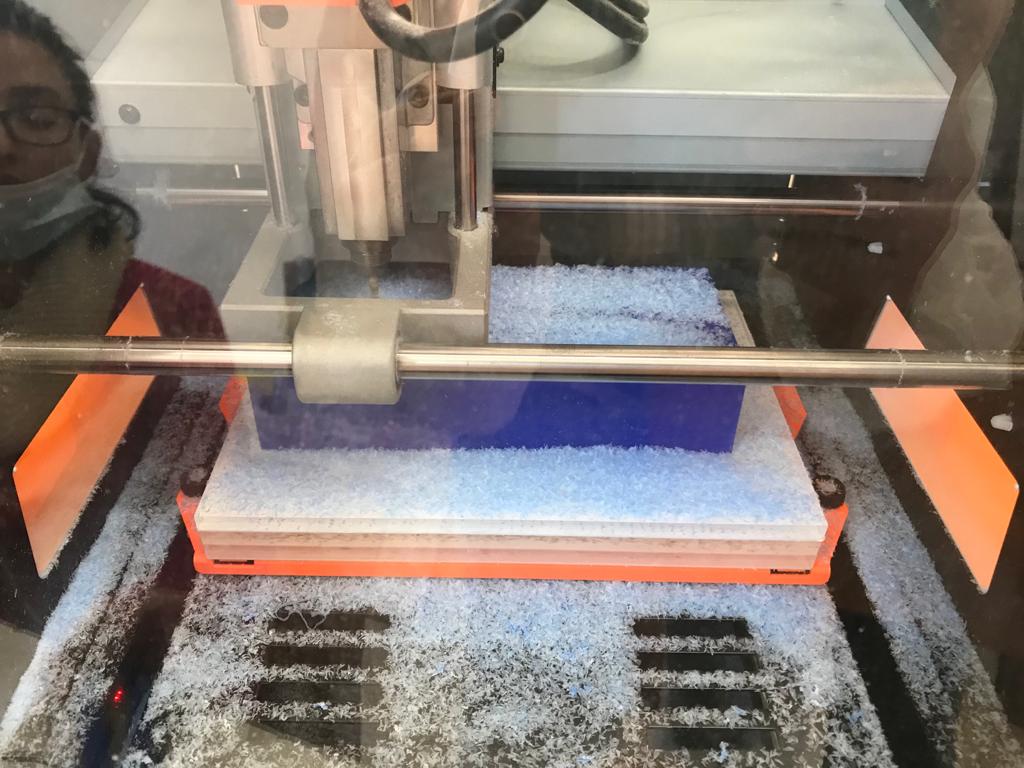
STEP 1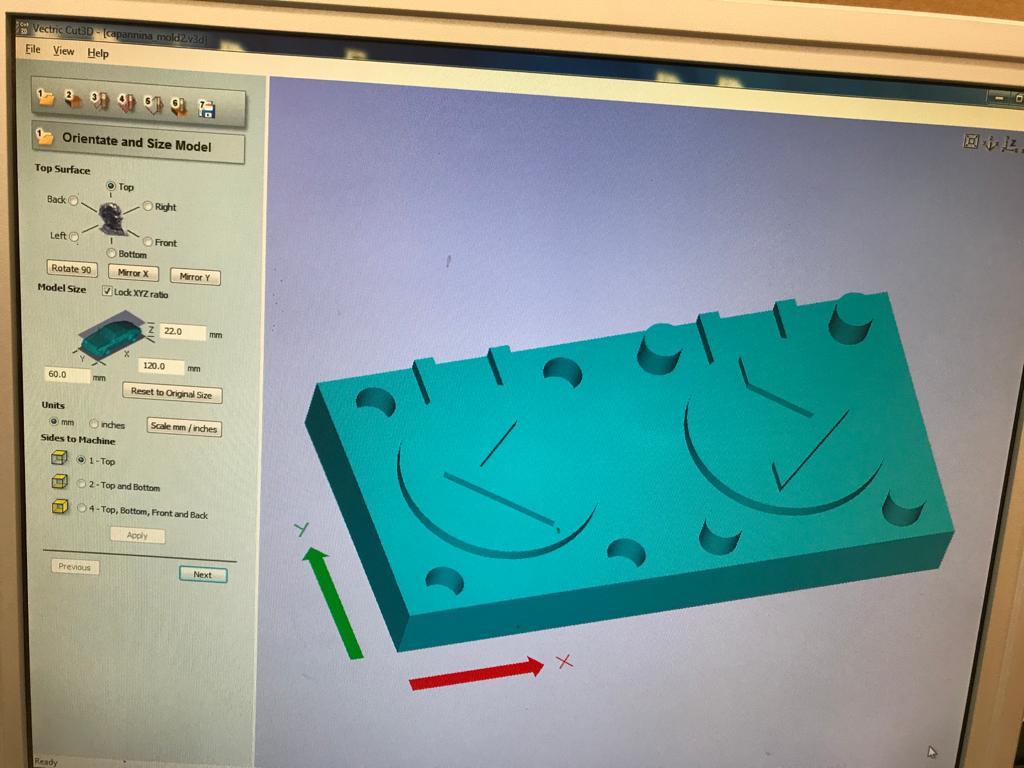
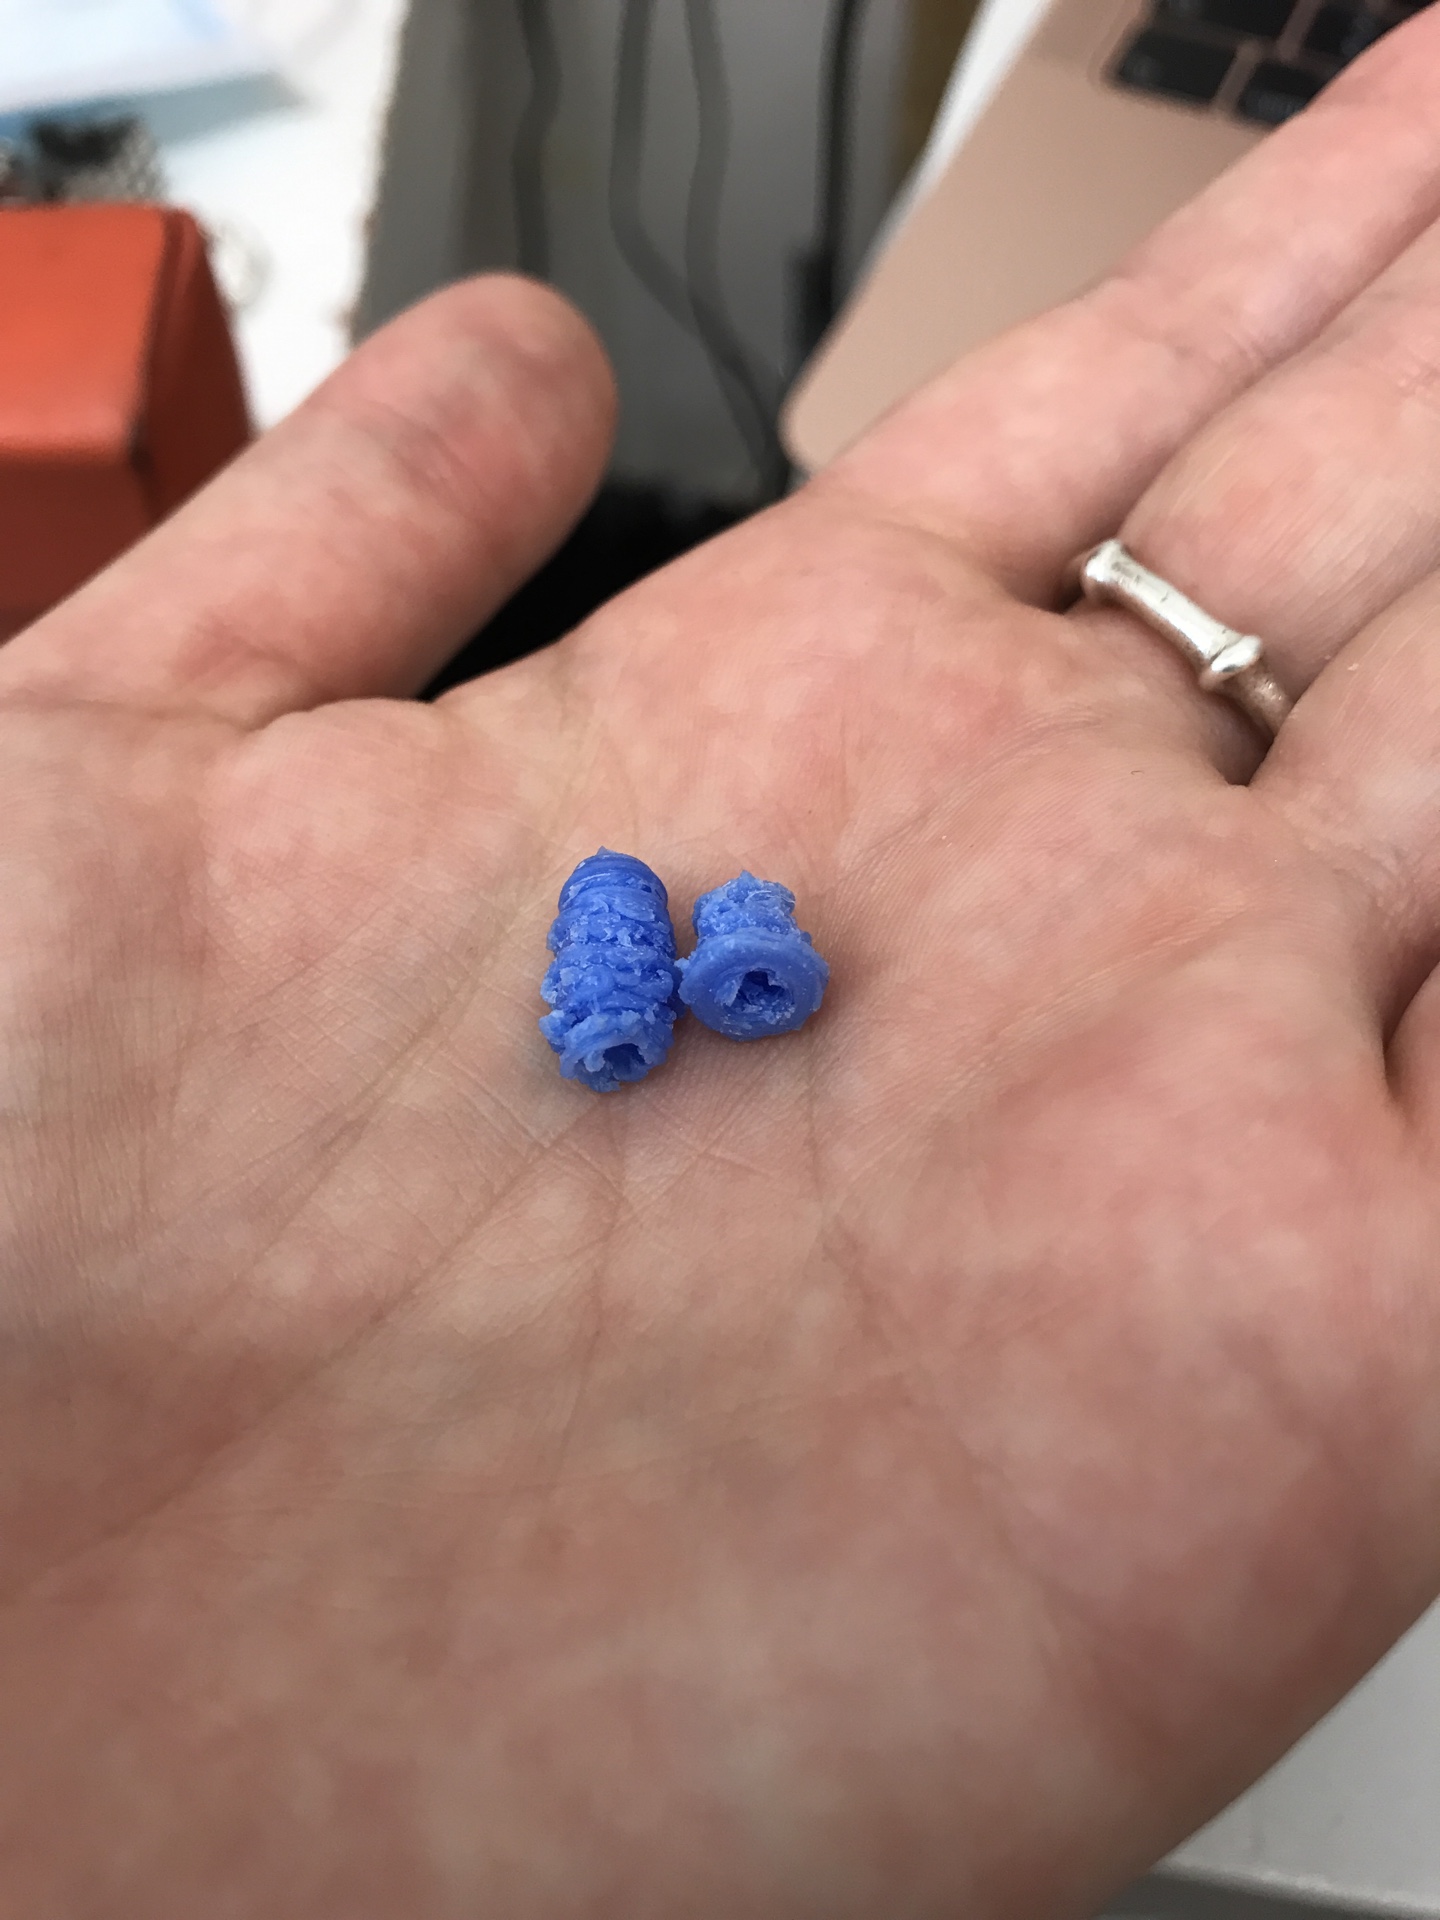
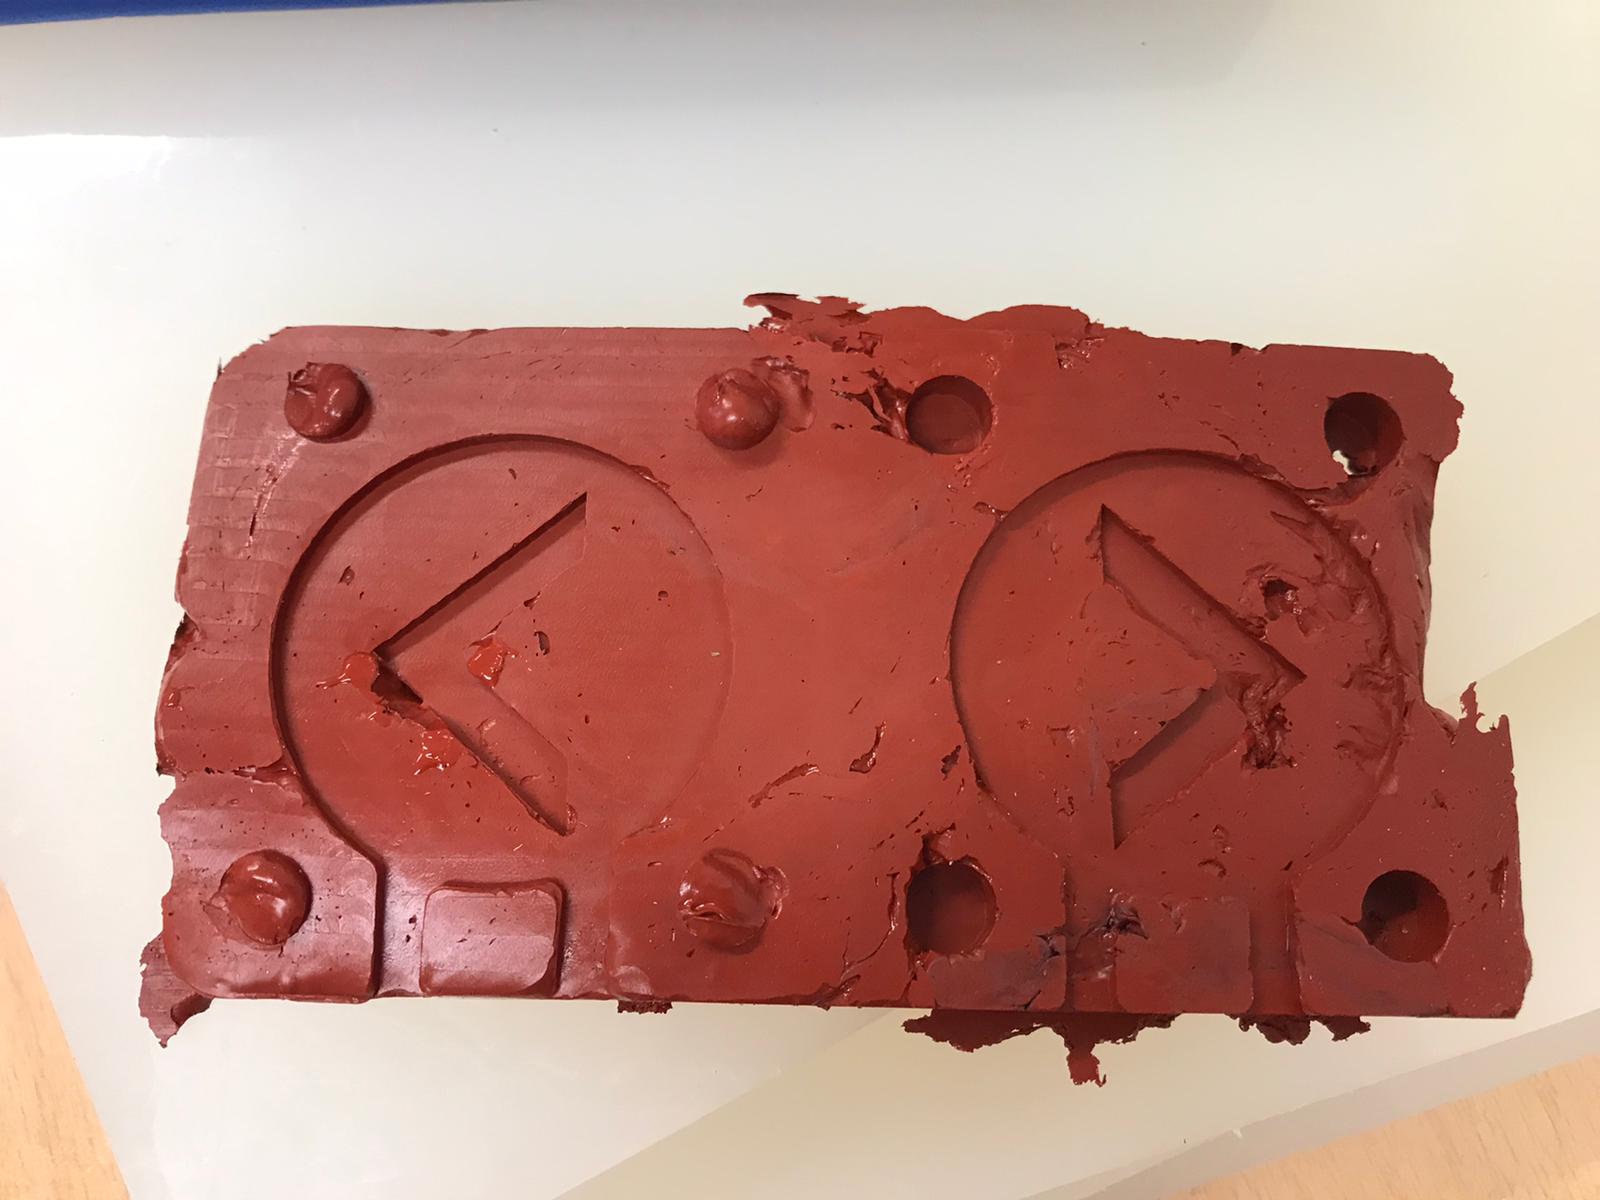
During the milling process I had some issues with the was rolling up on the endmill quite often, this ruined a tiny bit some parts of the mold. So I had to pause the machine several times to remove the wax. This is what I'm talking about:
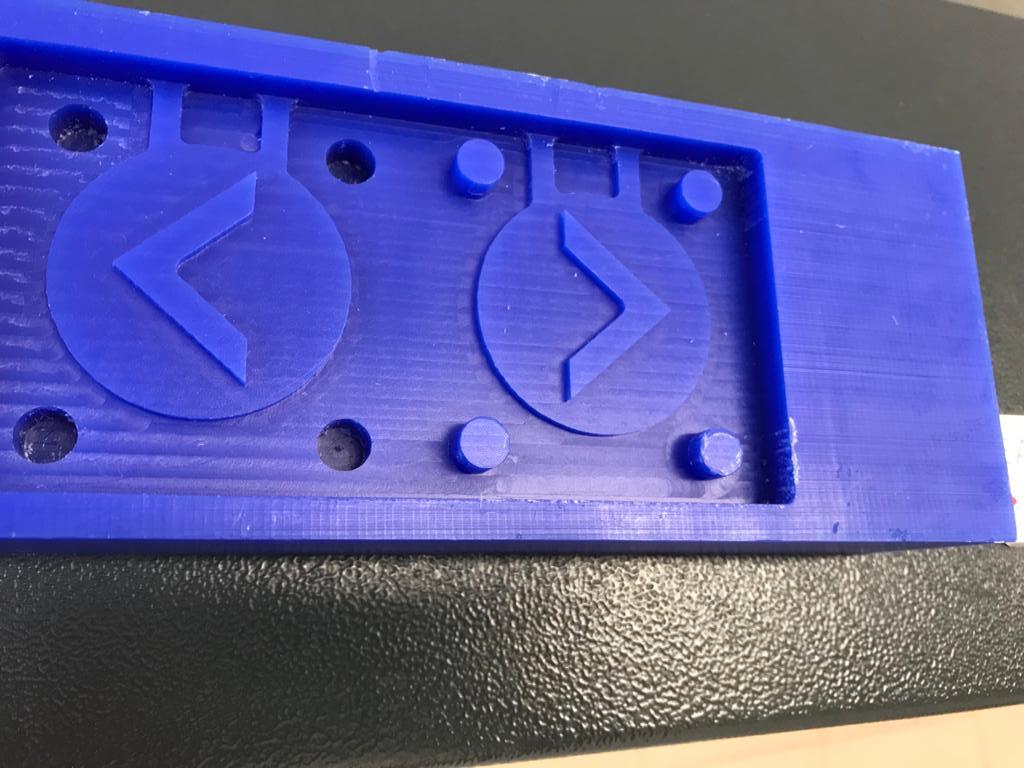
Anyway the result I got after 2 and a half hours of milling is not bad and I'm pretty satisfied:
As a first thing I used and old tin of silicone that was already opened from last year's Fab Academy. It was a Mold Max 60 silicone mold rubber.
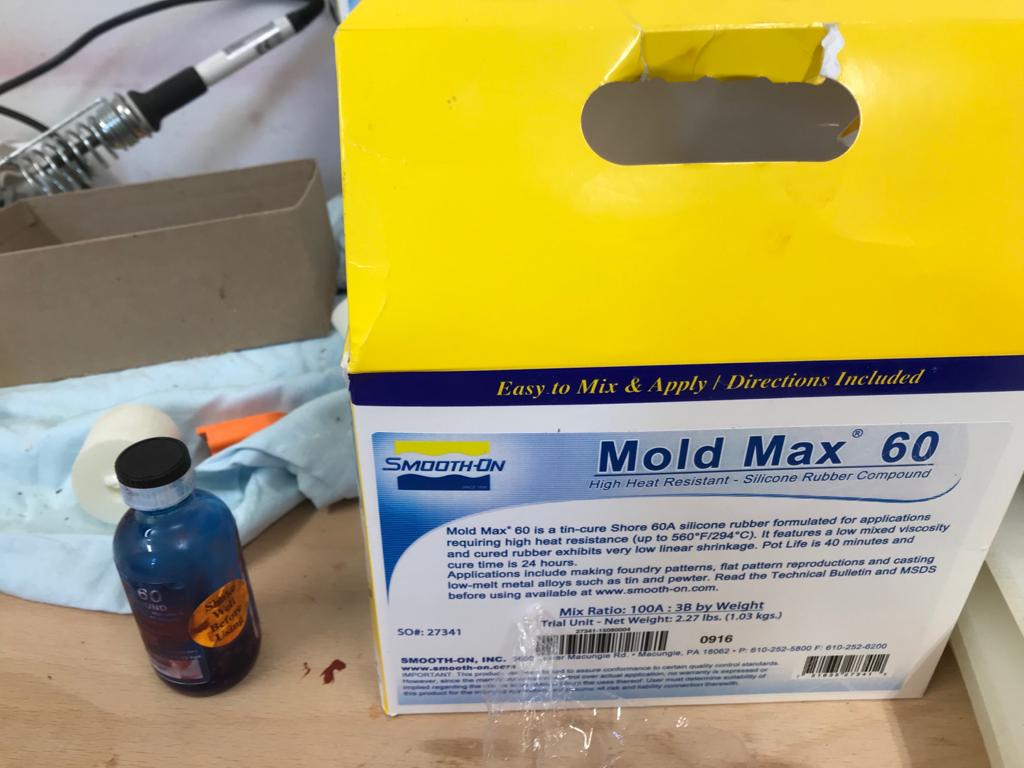
The product comes in 2 part: A and B. Before opening the tins you need to agitate both very well. The mix ratio is 100A : 3B by weight, the pot life is 40 minutes and the cure time is 24 hours. So as a firts thing I mixed the two parts quite strongly (remembering this was an old silicone rub).
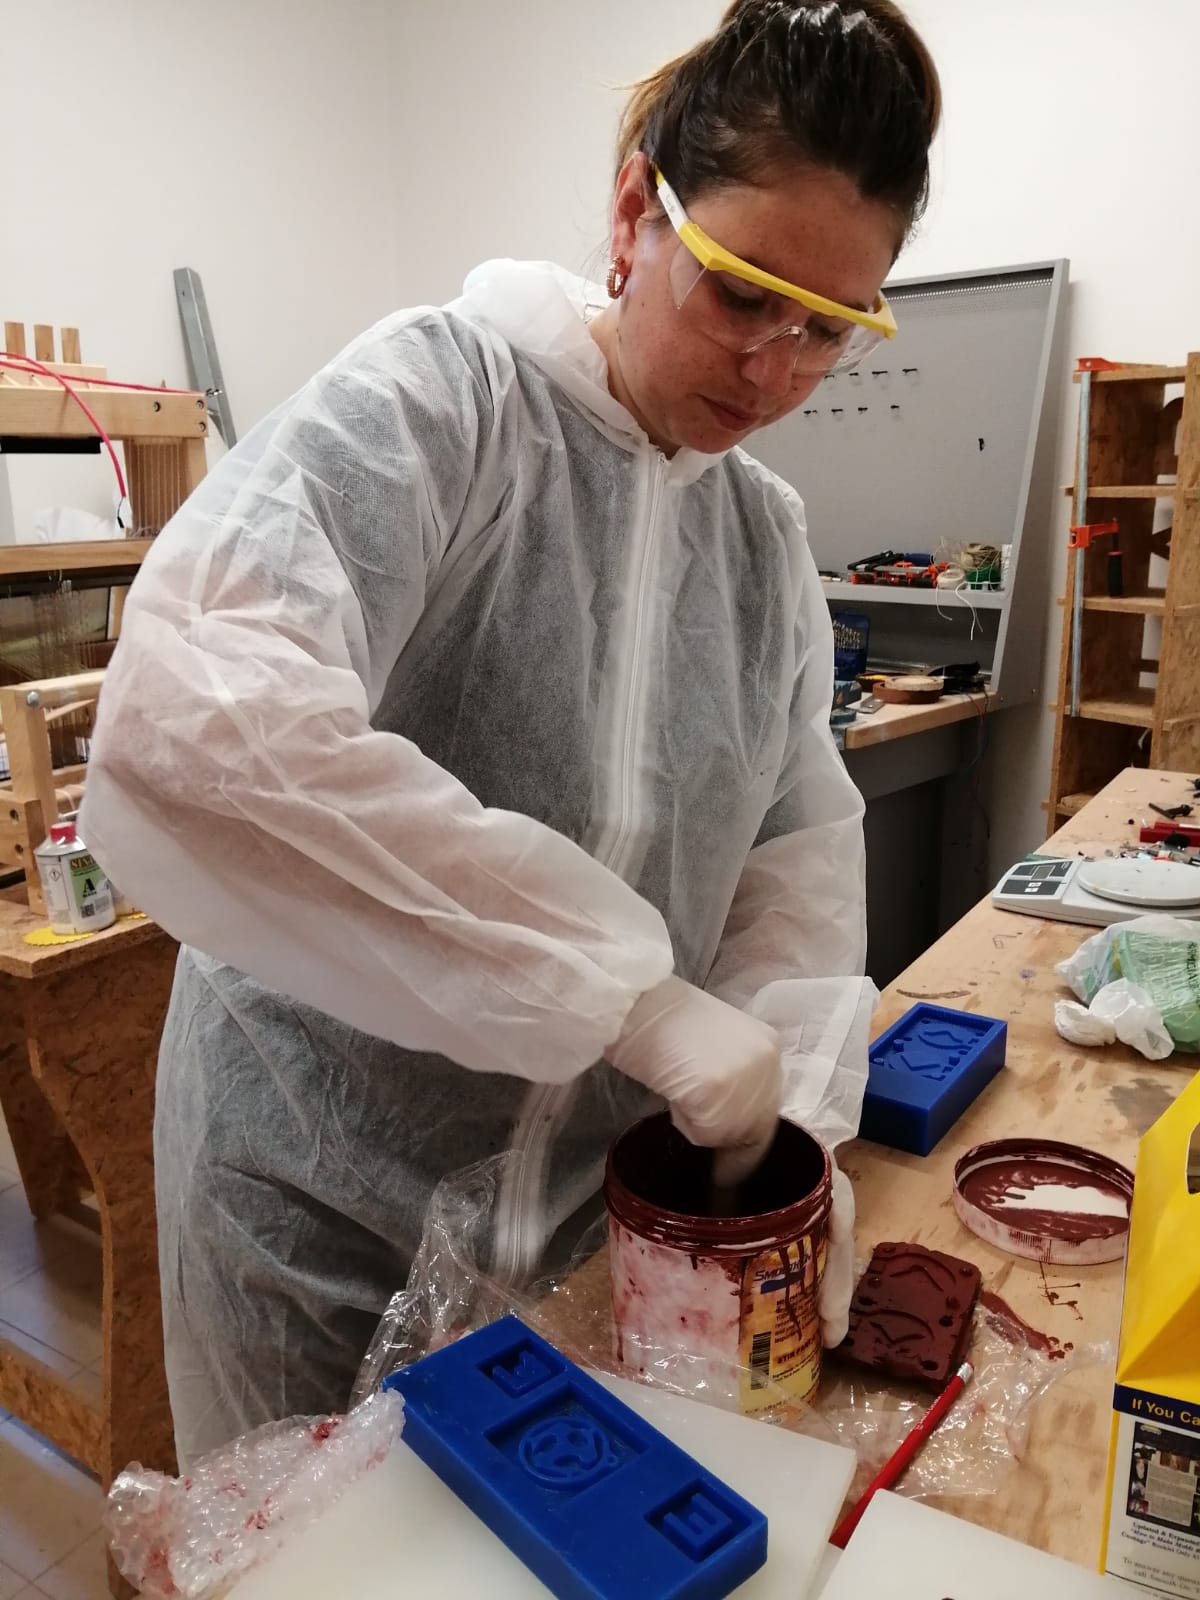
Then on a weight scale I measured 100g of part A:
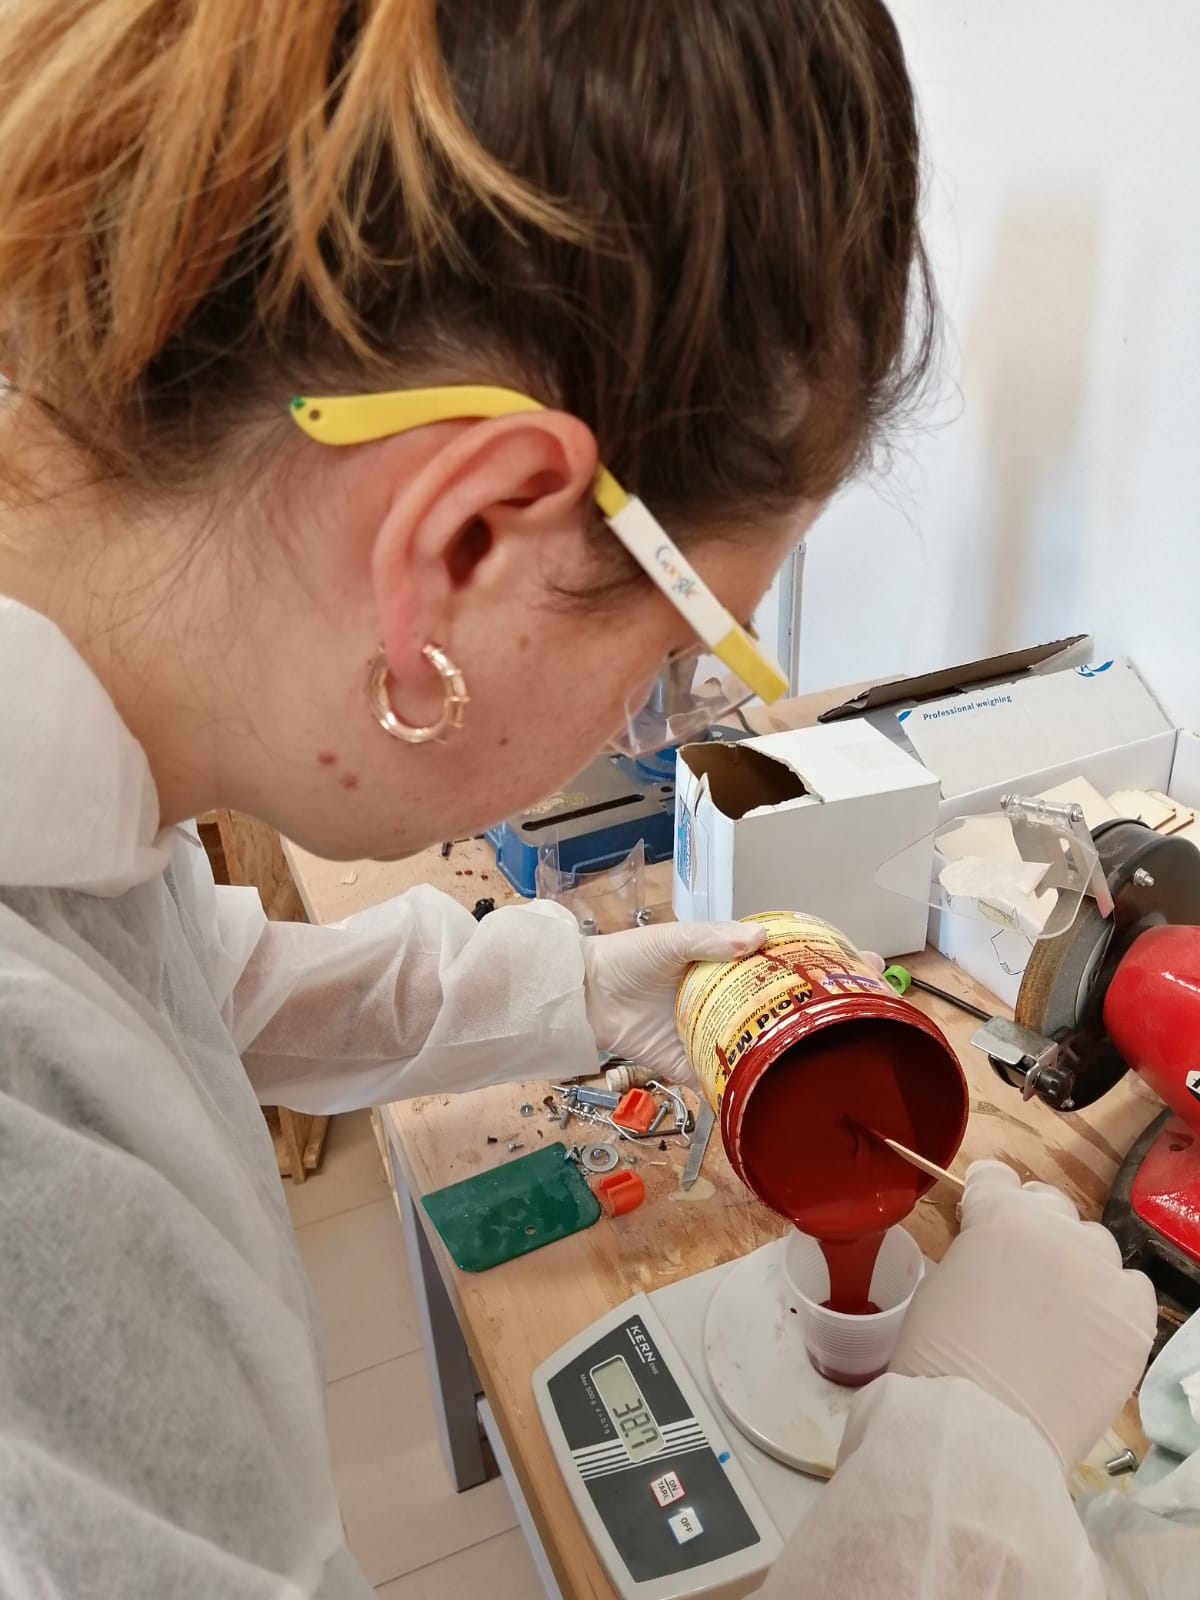
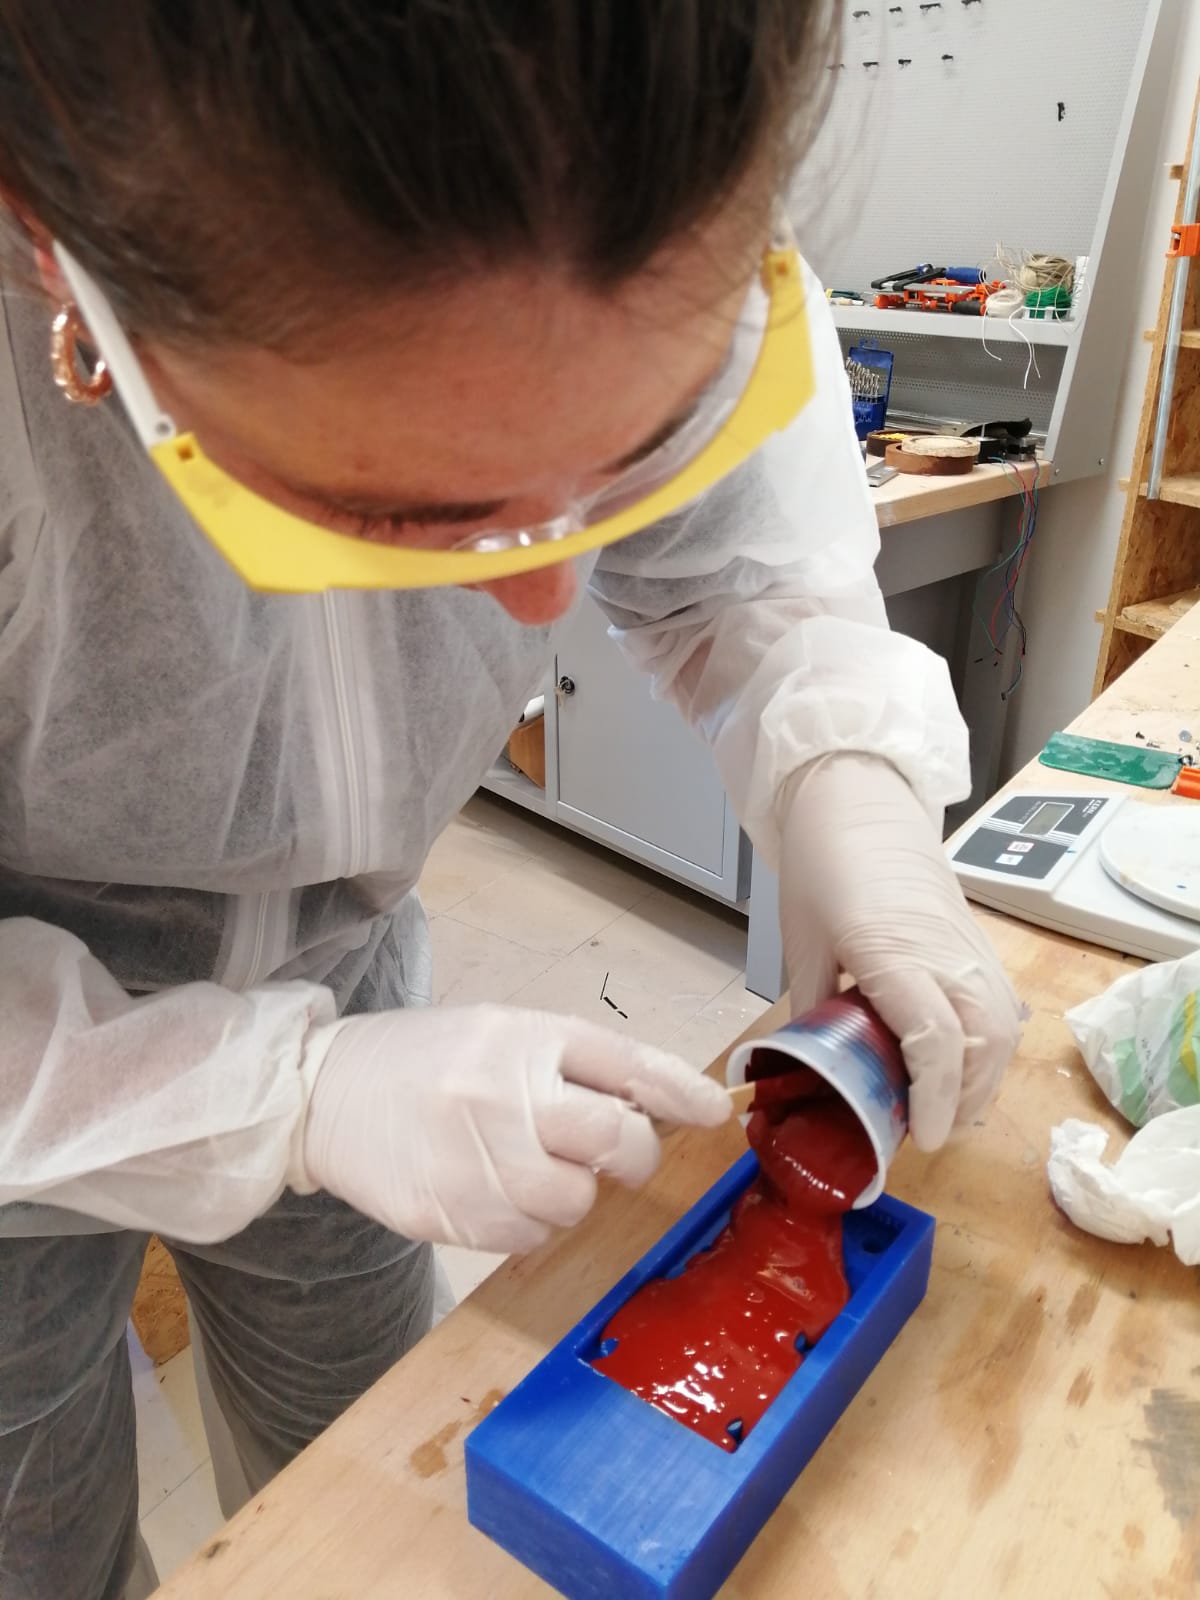
And I added 3g of part B and mixed it with part A very slowly and trying not to incorporate air. After a couple a minutes I noticed that the silicone was already becoming solid so I new that the cast was not going to come out properly but I tried anyway to pour it into my mold. After 1 hour it was solid and from these two pictures you can see that it was alredy solidifying while I was pouring it:
Before using the new tin of silicone I decided to try again with this old one lowering the dosage of part b just out of curiosity. So I mixed 100g of part A with 1g of part B. This time it looked much better while I was pouring it:
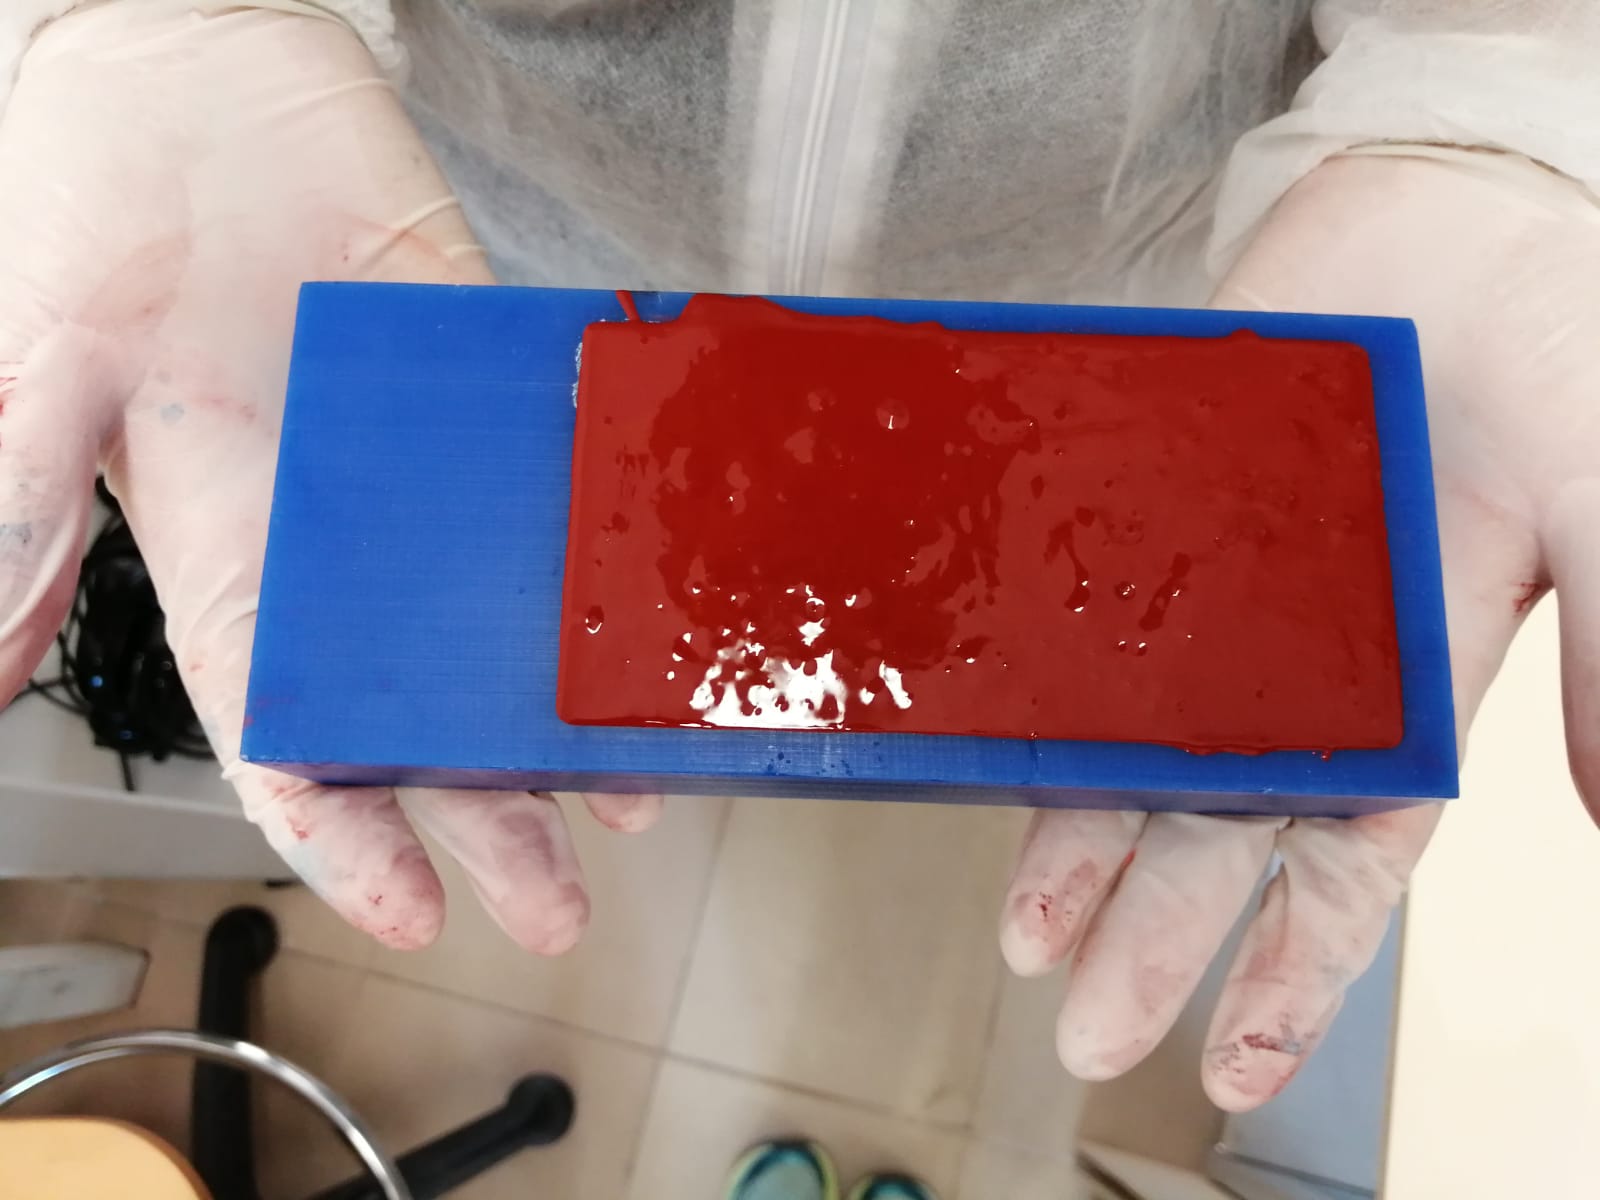
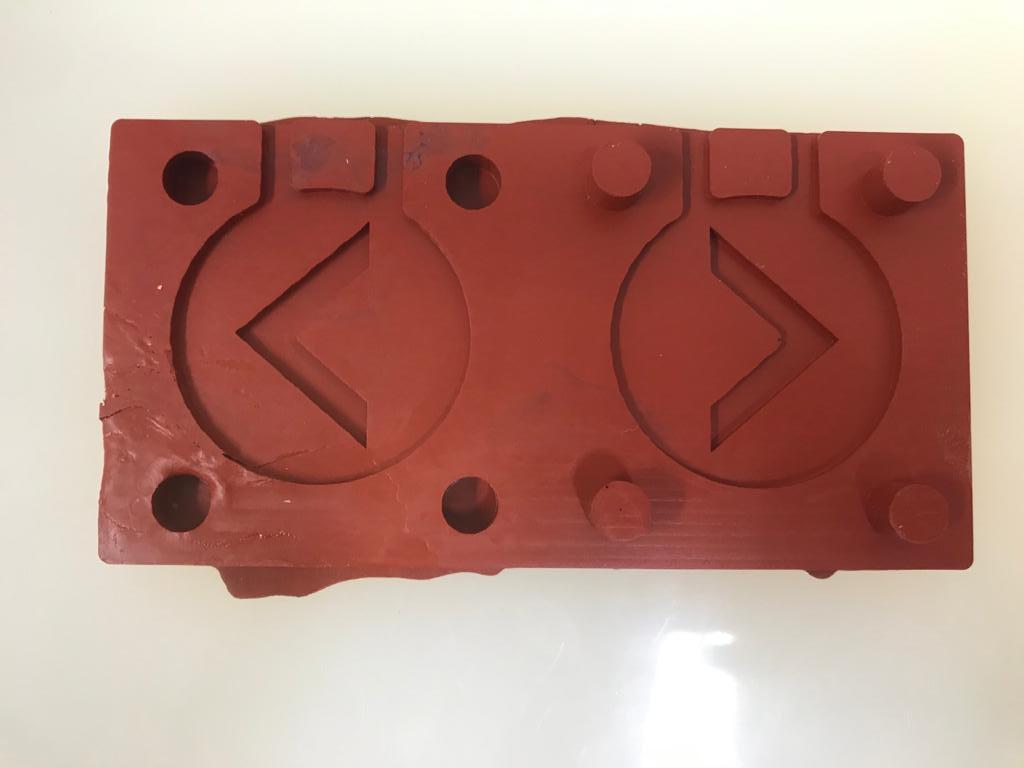
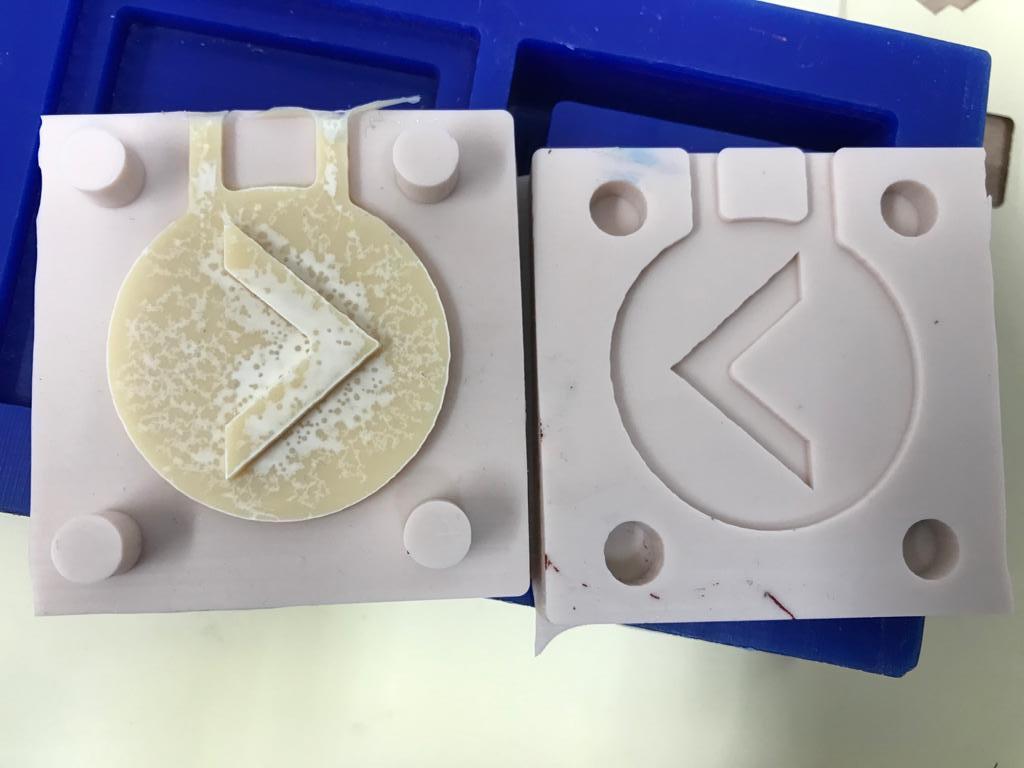
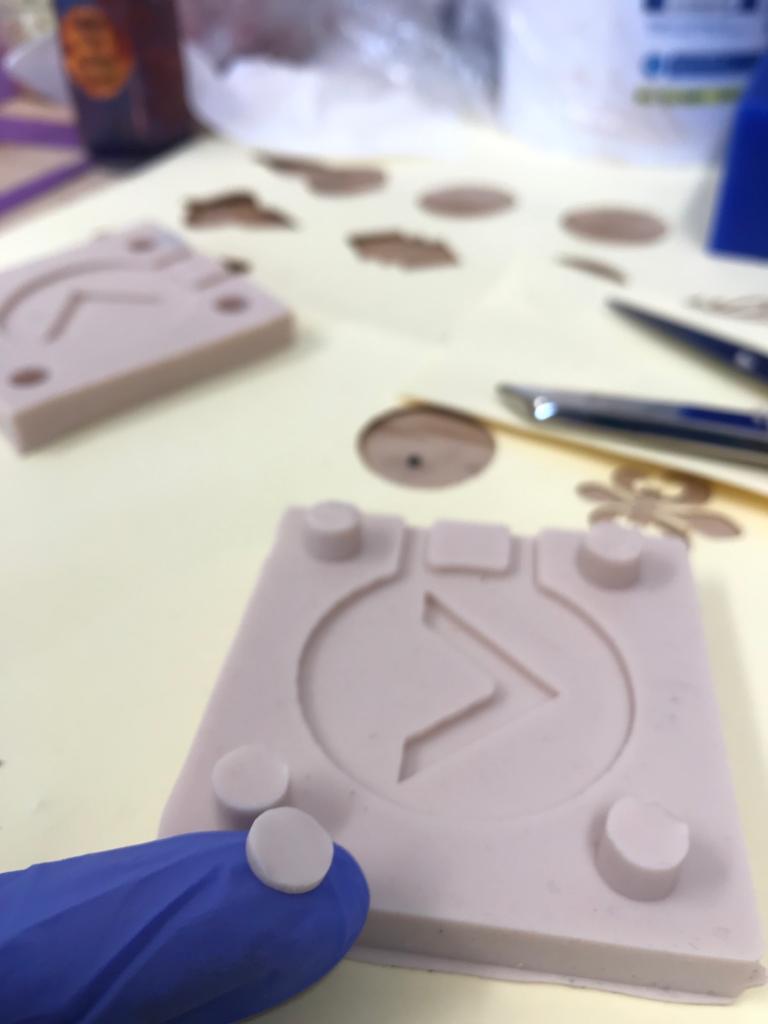
After a couple of days the silicone was ready and this is the result:
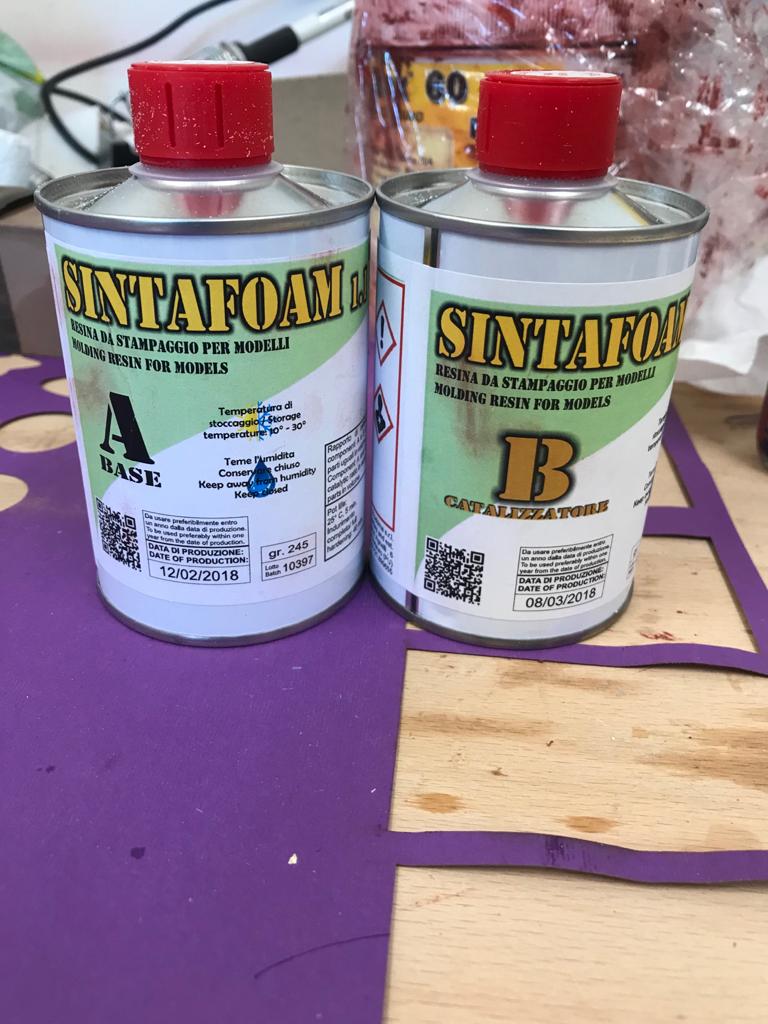
I decided to use an old resin alswell to learn how to manage and pour it. This are two tins:

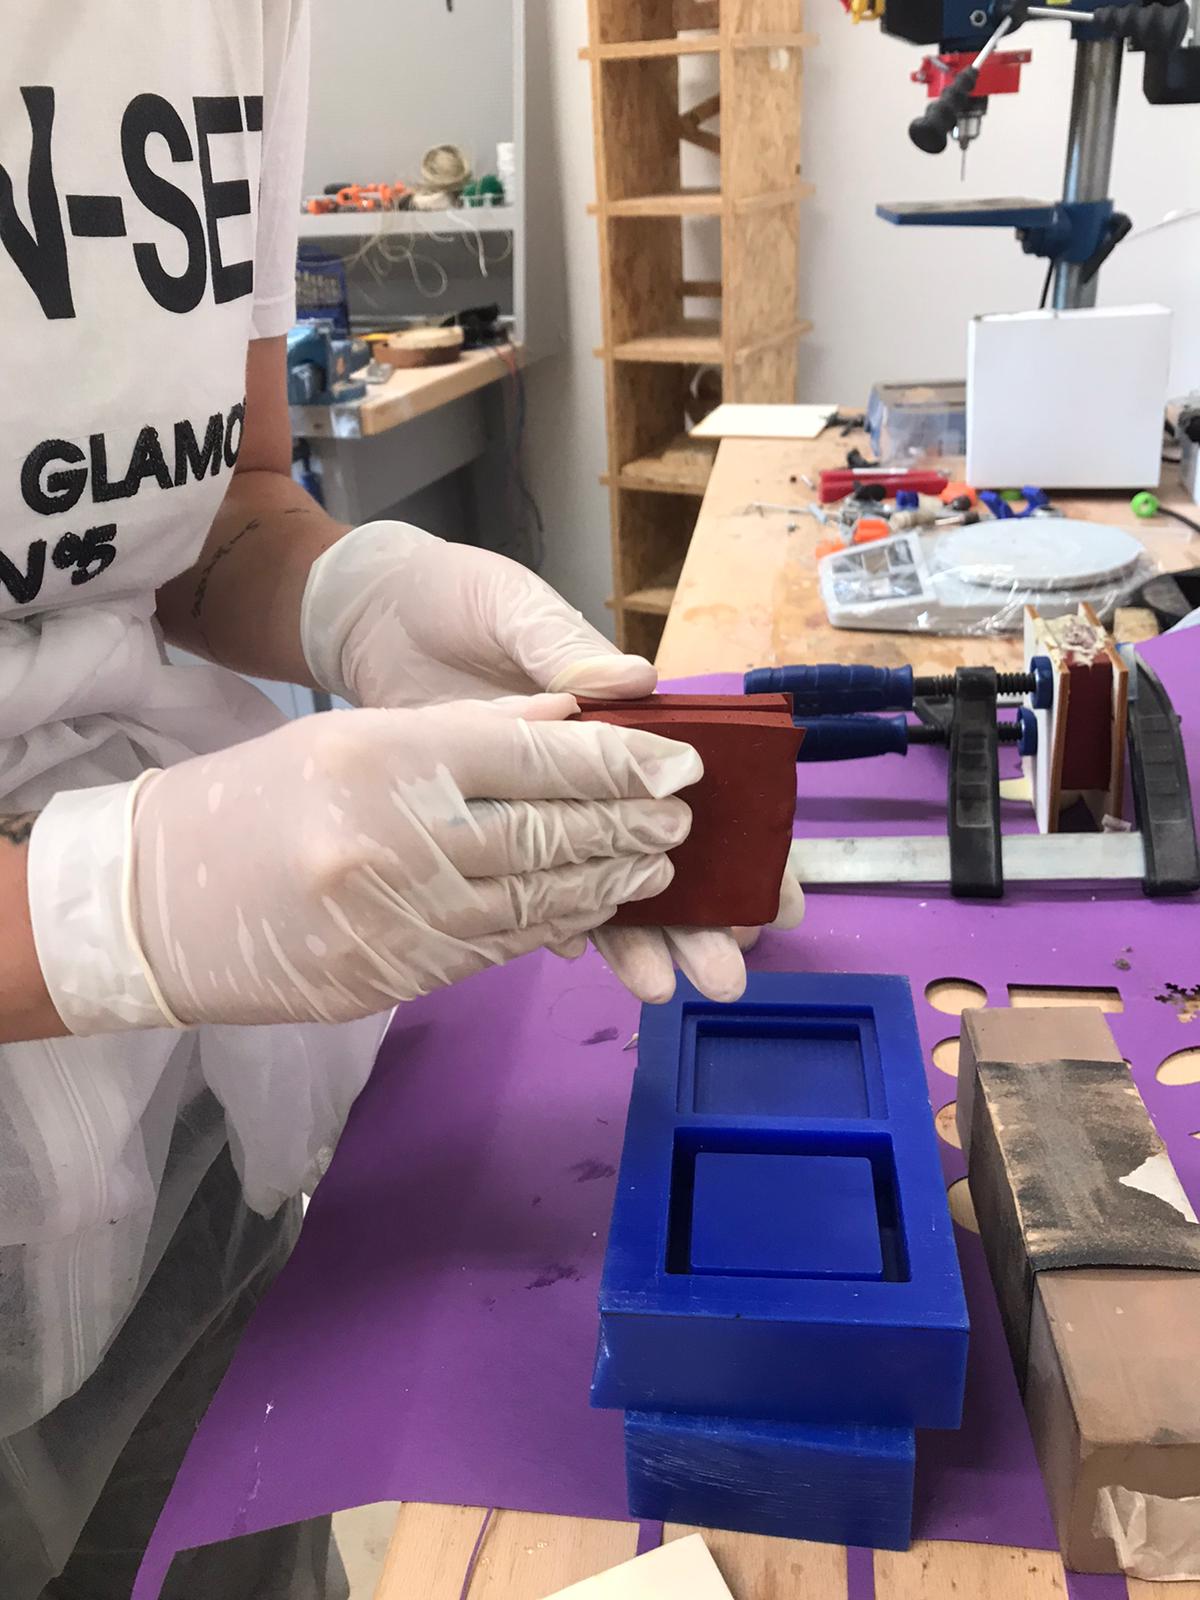
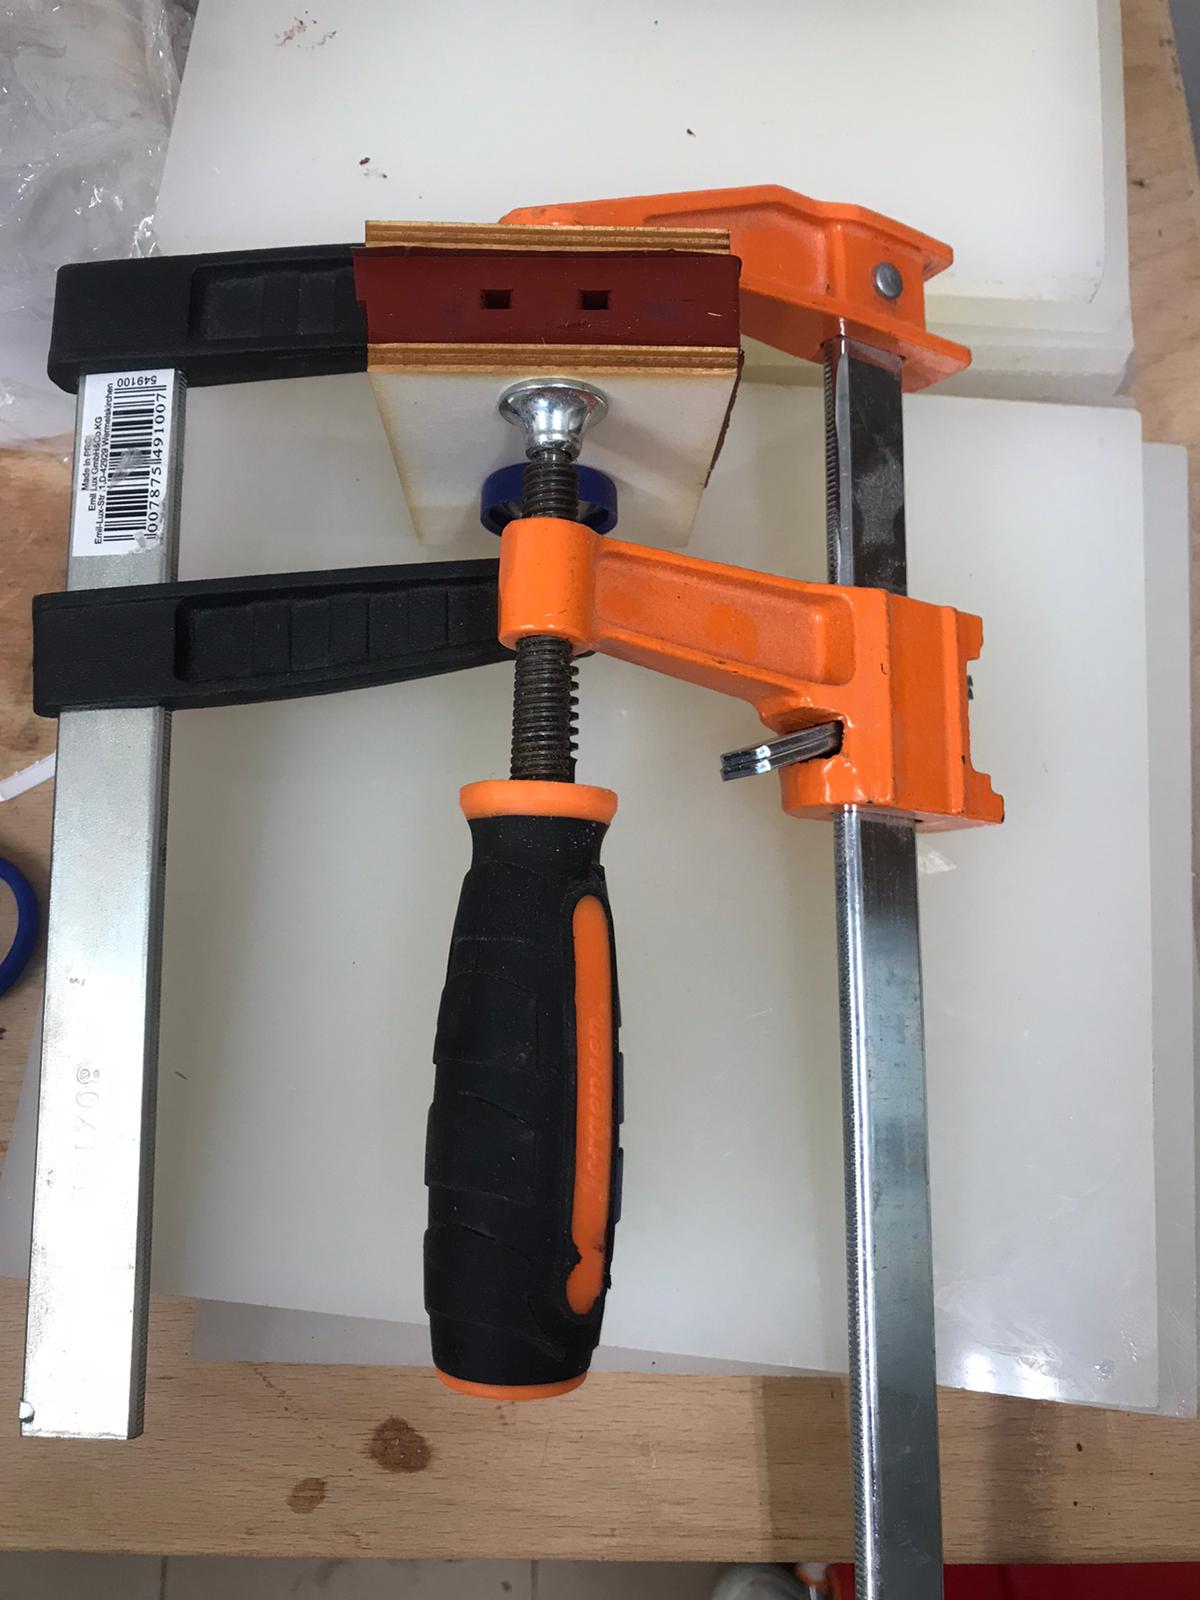
To tighten the two parts of the silicone mold I used a clamp and two pieces of wood not to deform it:
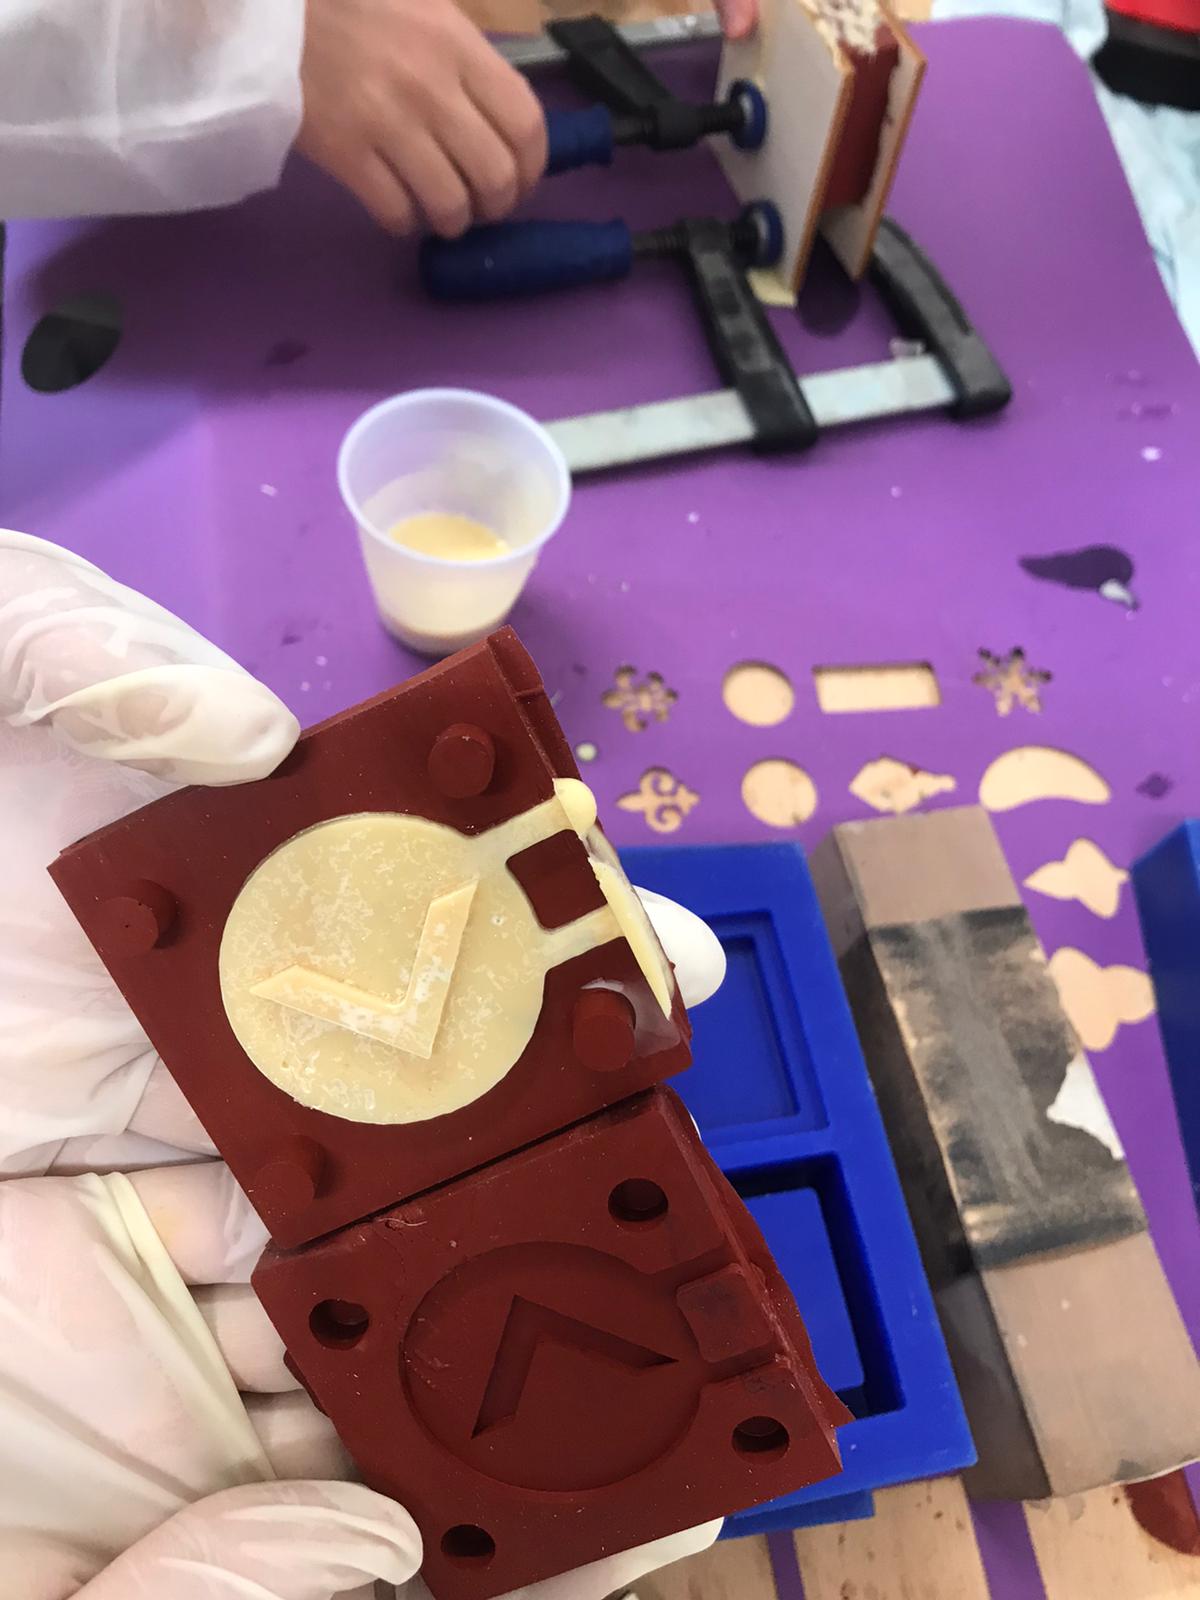
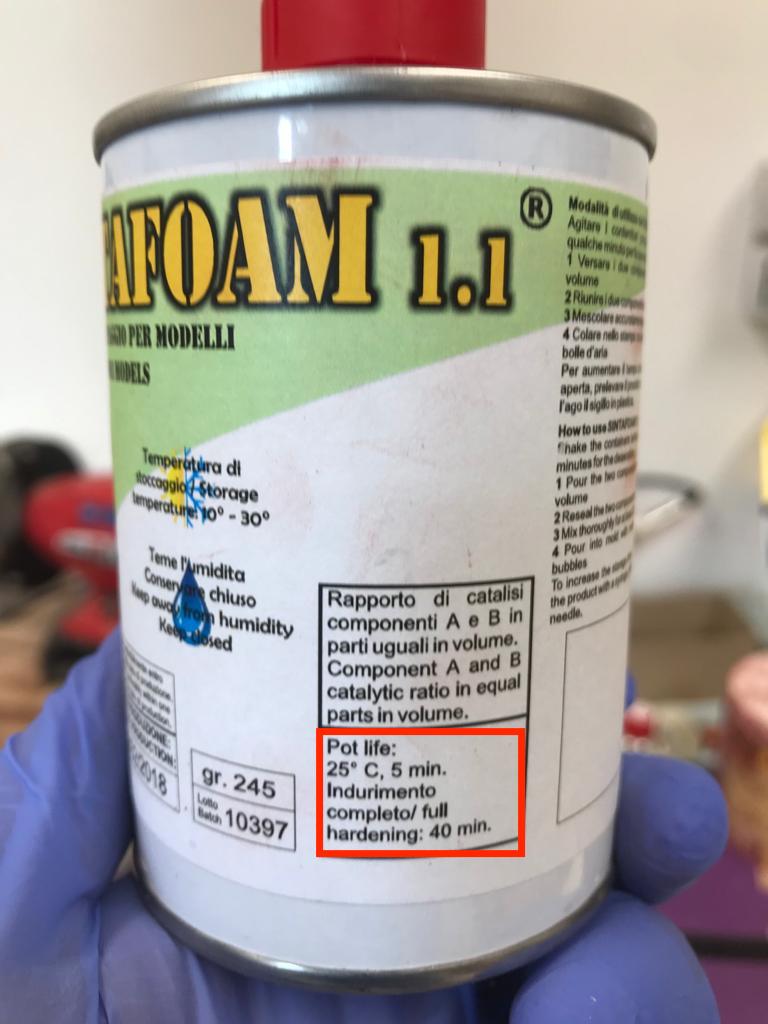
The mix ratio for this resin was 1:1 so used 25g of part A and 25g of part B. The pot life is very very short so I had to be very quick mixing, as soon as it bacame worm I immediately pour it into the mold (being careful to pour it just in one hole to let the air come out from the other):

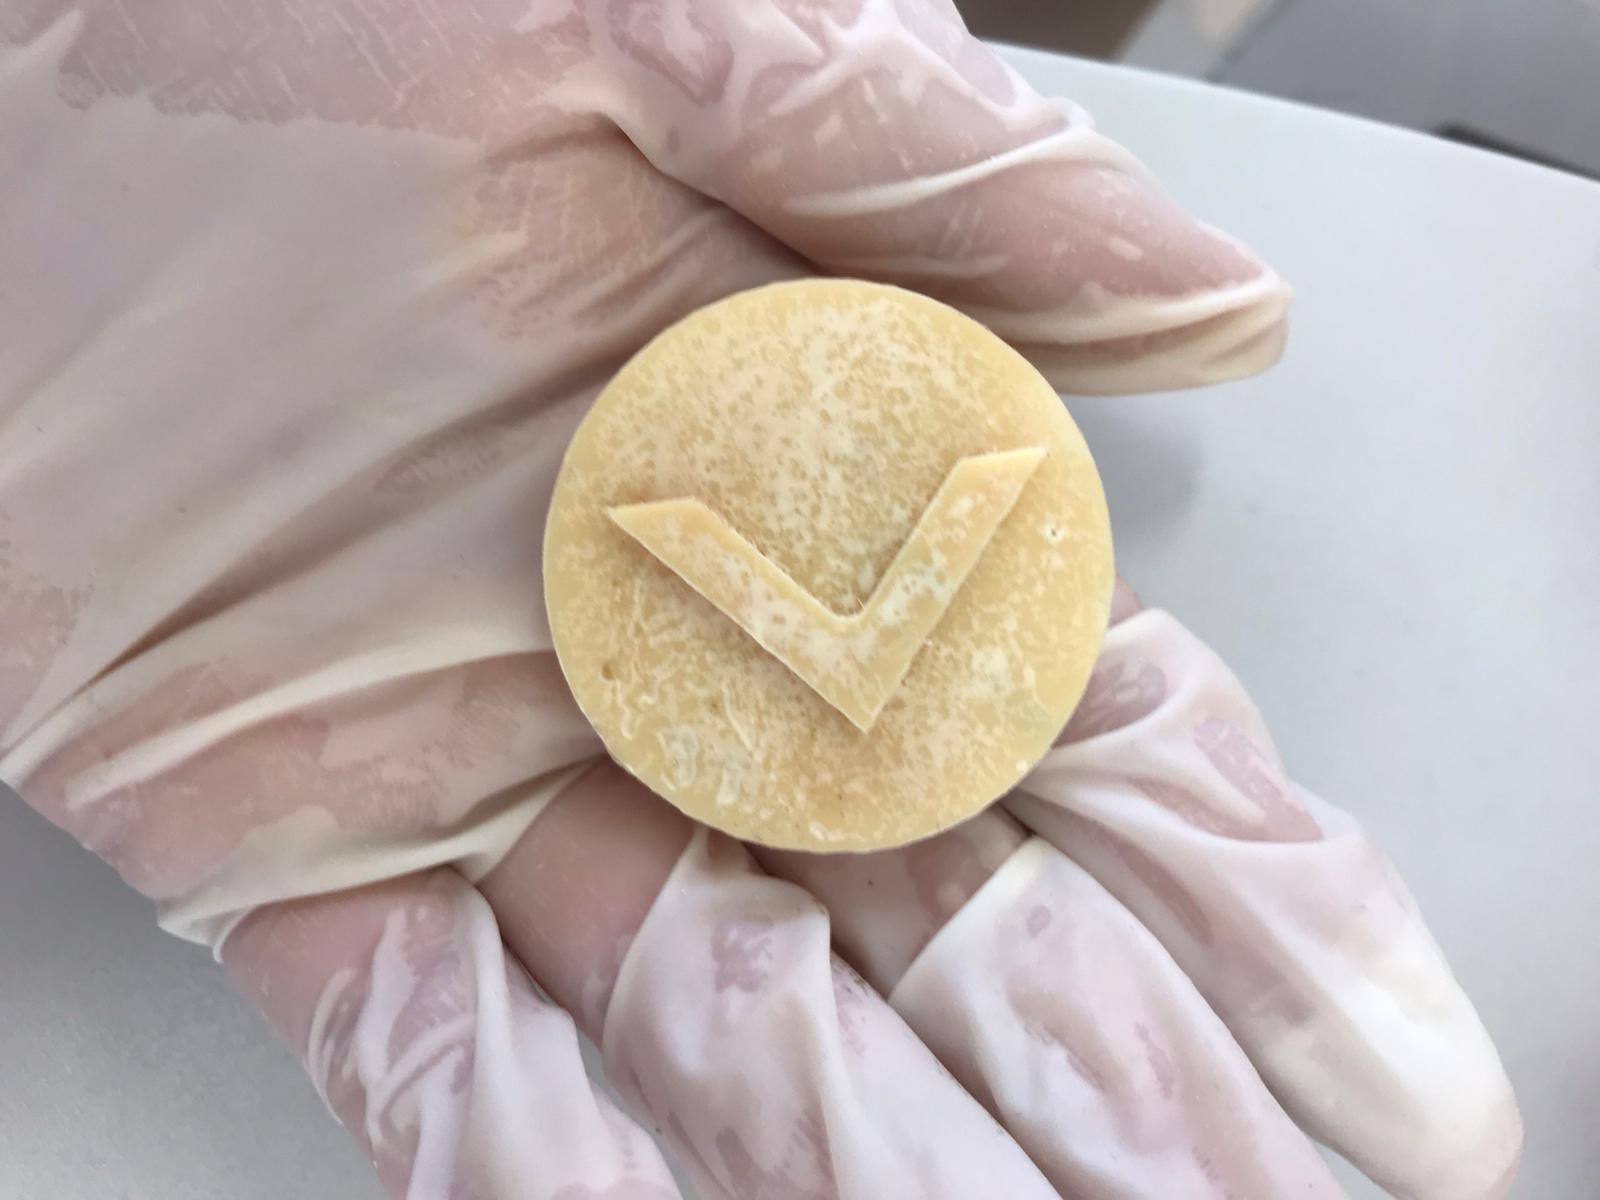
This resin had just 30 minutes of cure time so I quickly had a feedback. I think it was not bad, considering it was the first time for me and that I used old materials.
To remove the excess of resin along the injection channels I used pliers and then I used sand paper:
An obvious mistake of mine was probabily to tighten too much the clamp around the mold so the two borders of the object were badly misaligned:
After this mediocre result, from which I improved my casting, I used a new silicone rubber:
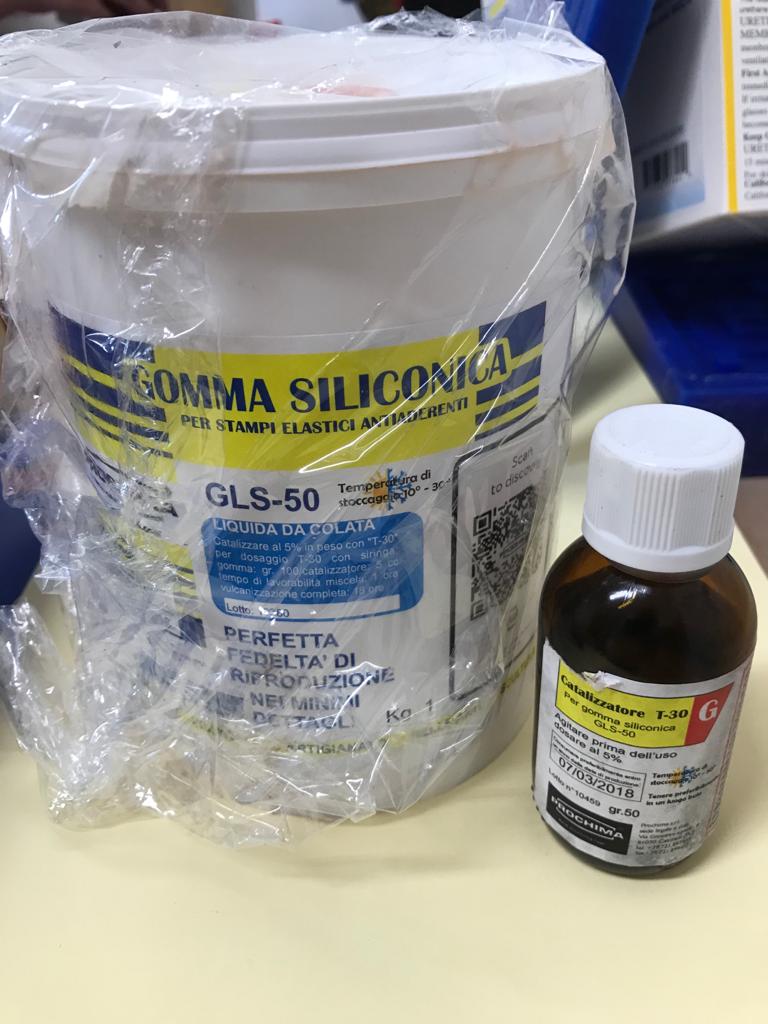
The cure time was 18 hours so I had wait the next day to see the result. The new silicone resulted a lot more flexible and I preferred to the old one. Anyway I wanted to test the old resin in the new silicone cast to see if the result would have changed, unfortunatelly it didn't:
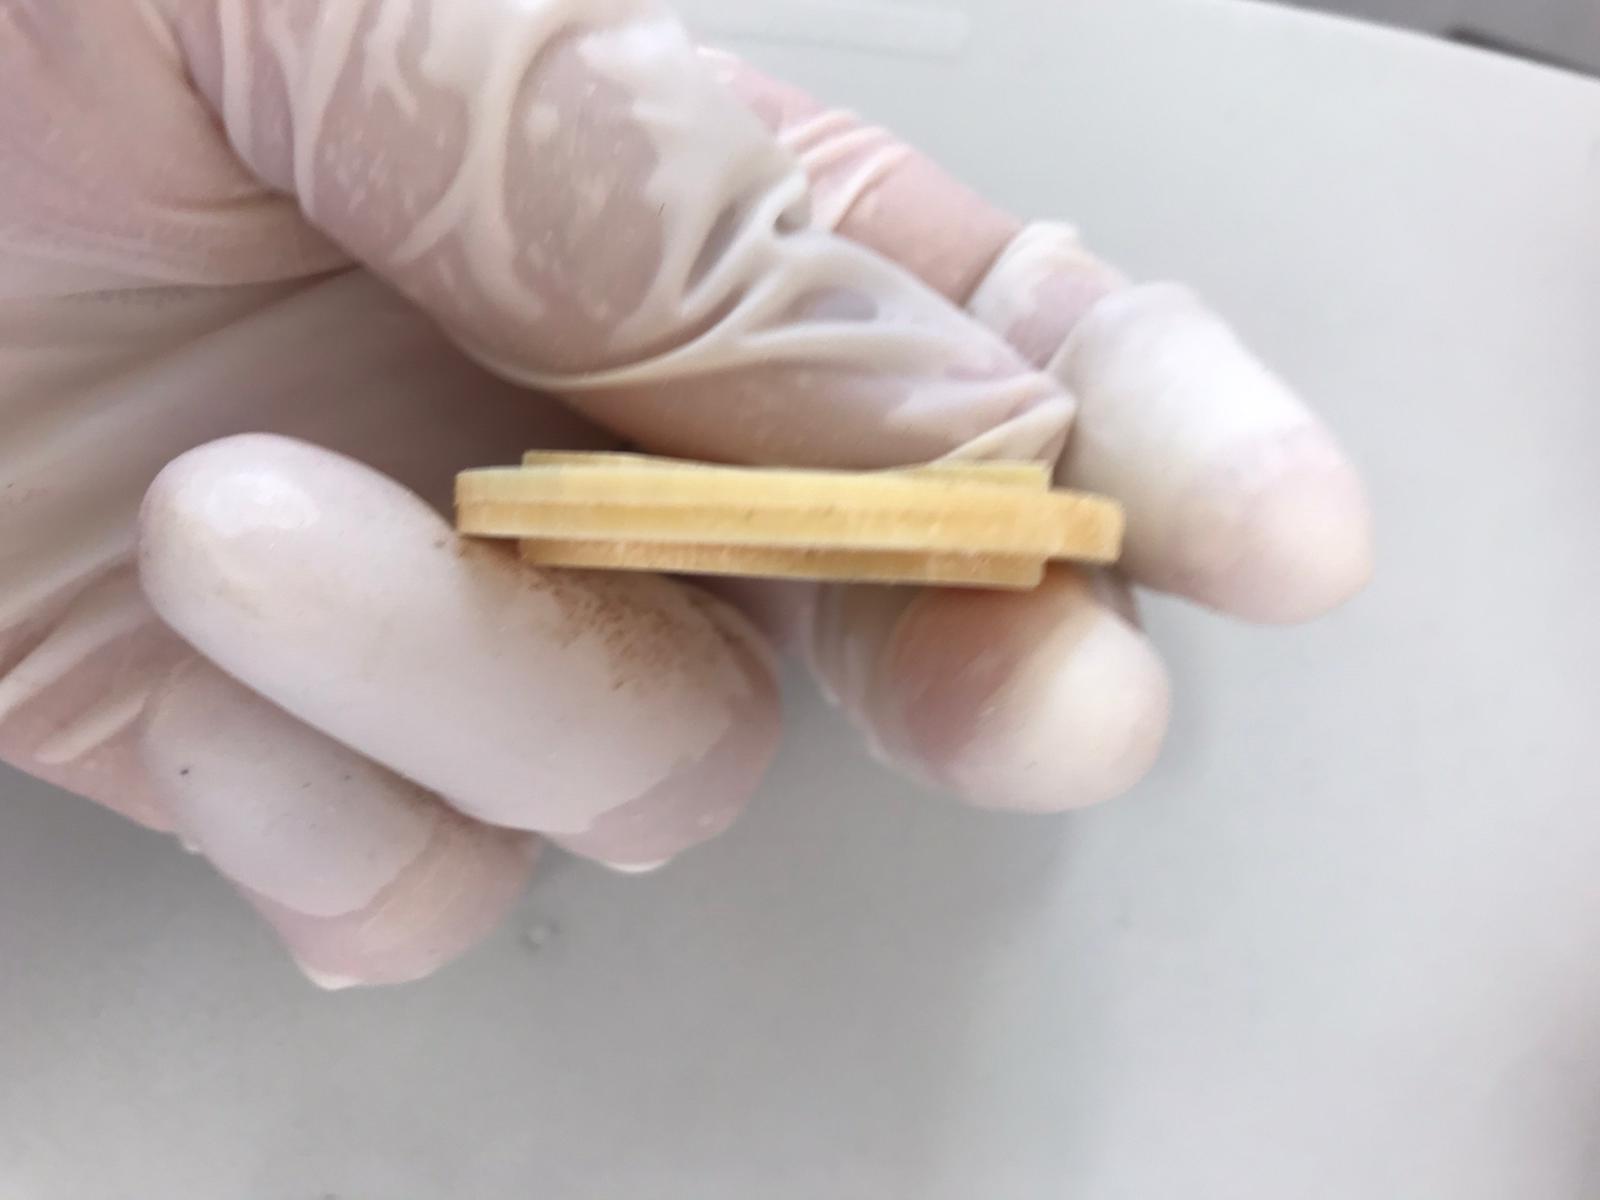
Although I learnt something very important that I didn't notice before: my keys didn't close properly. I immediately checked the design but everything was all right. I don't why that happened but I decided to trim the keys untill they would fit better. I just used a pair of scissors and this is about the amout I took off each one of them:
I then tried the new resin which is the same make as the old one but in smaller tins. (N.B. the cure time is 40 mins):
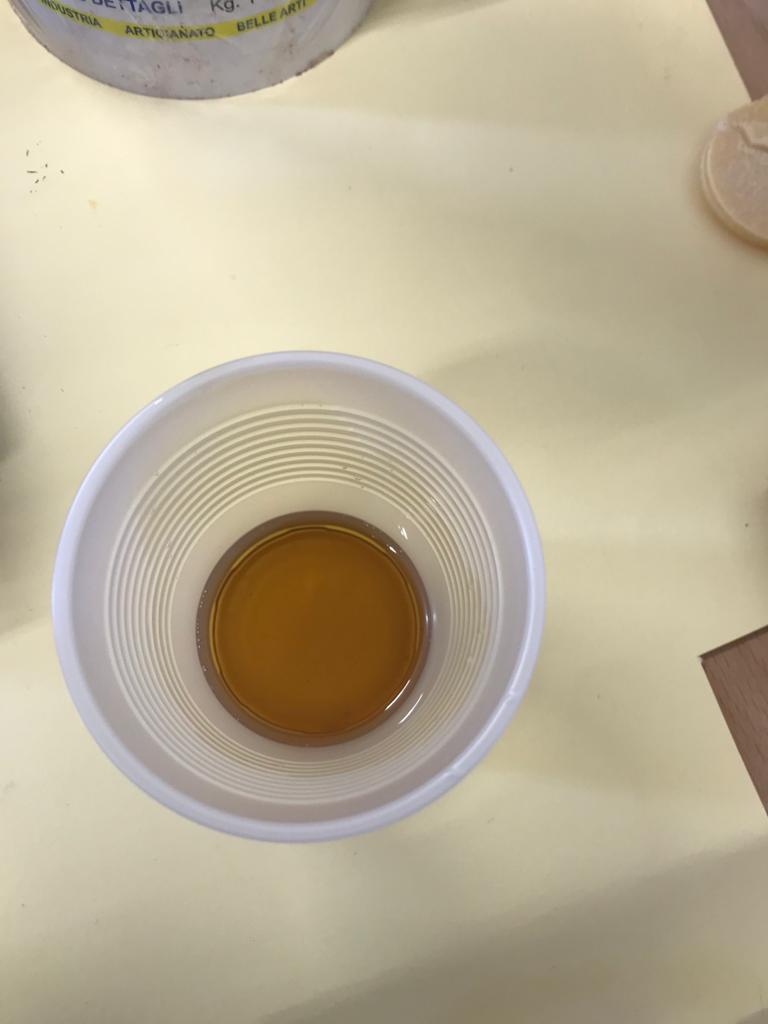
This is what it looks like when the two parts are mixed together but has not yet begun to react:
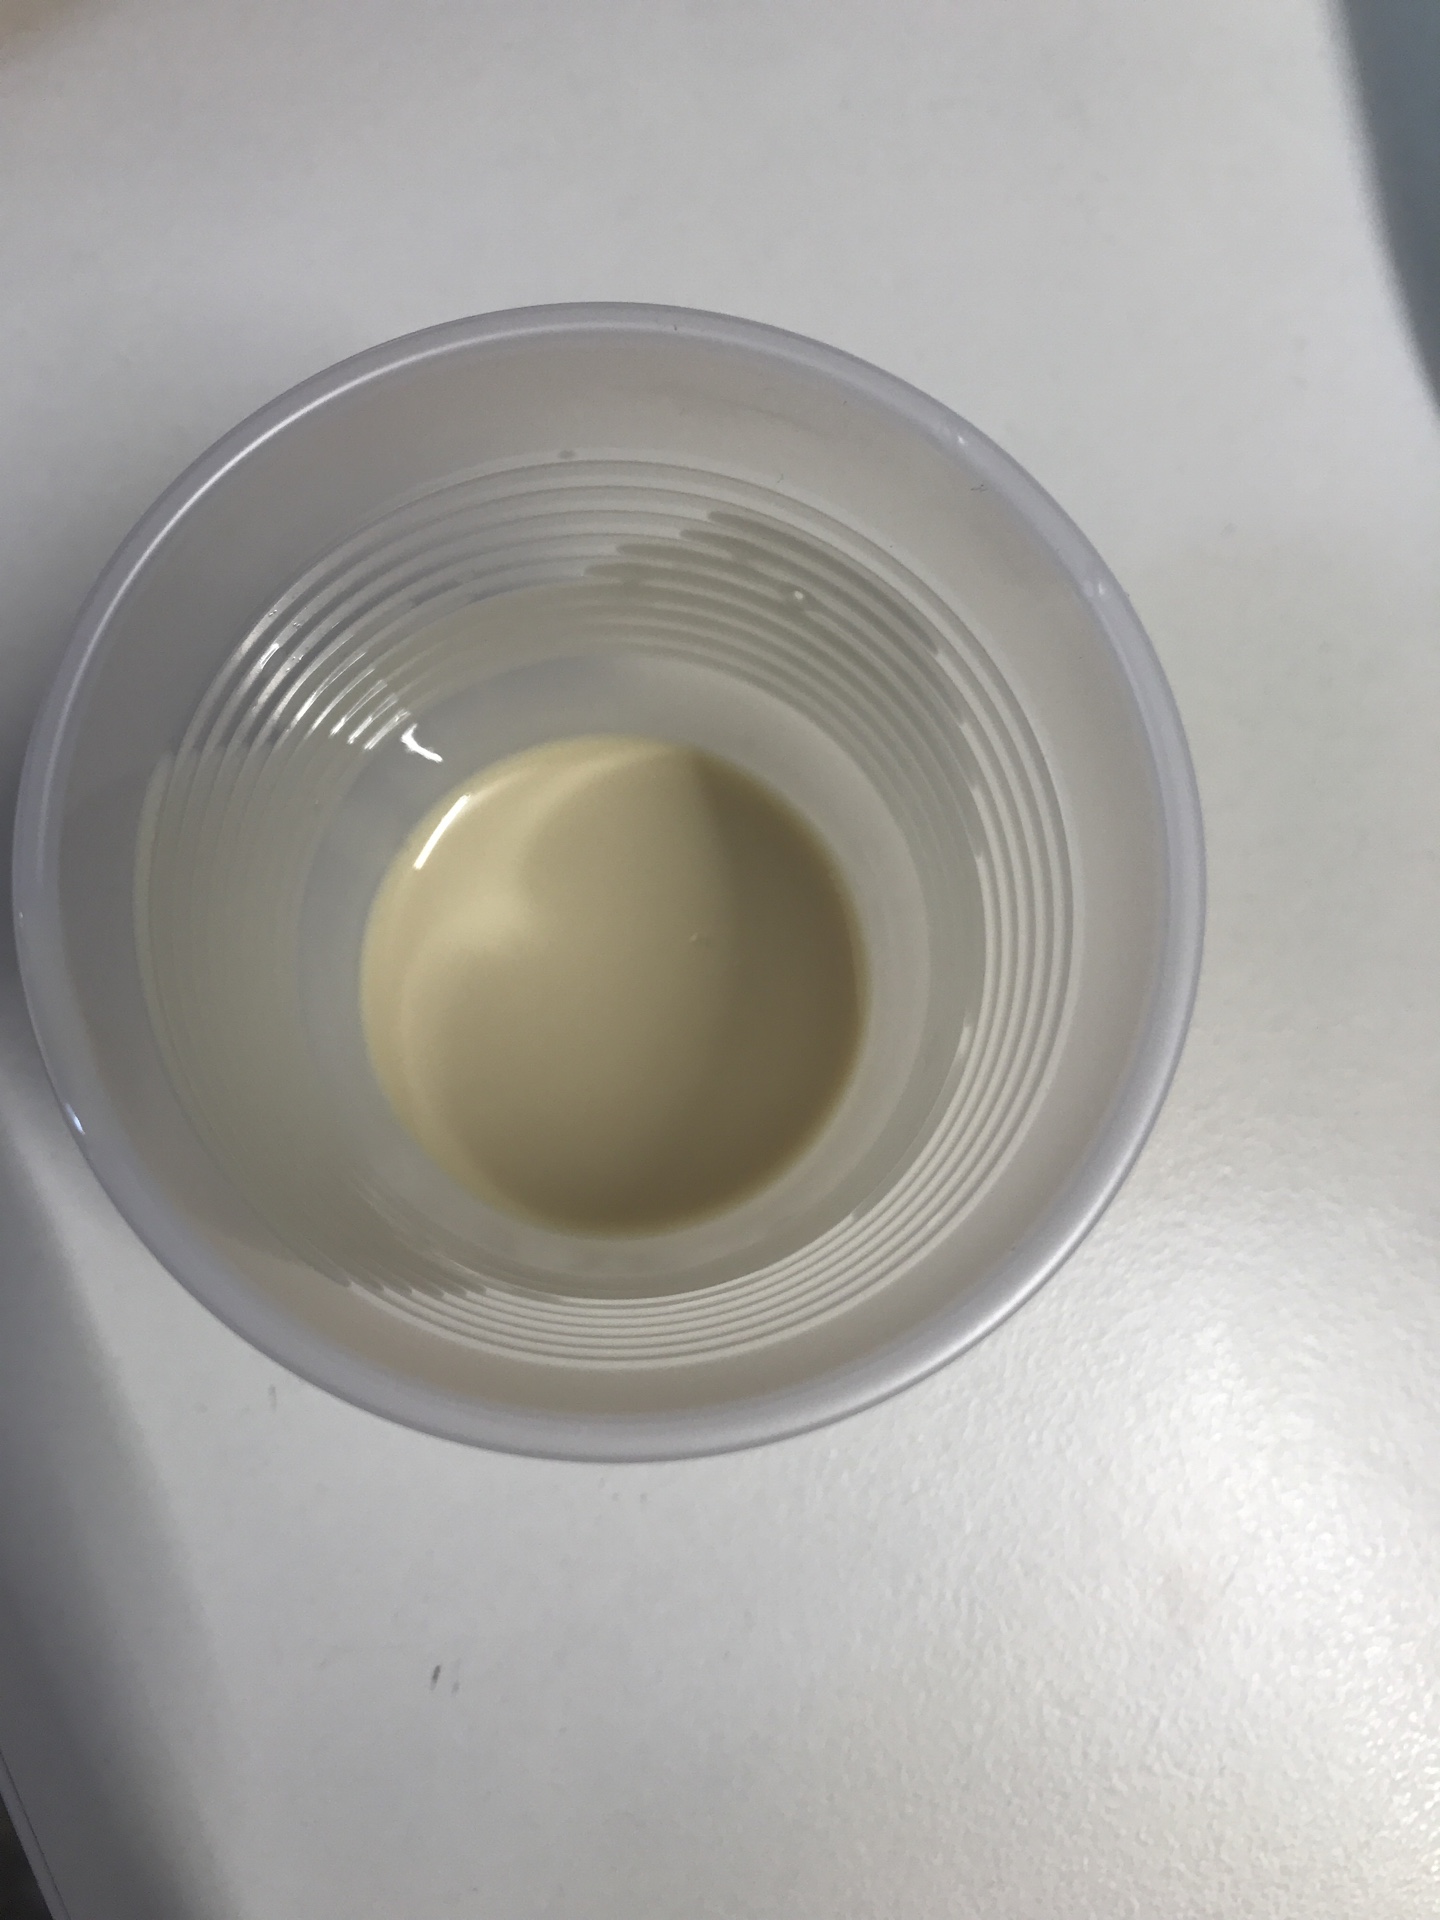
This is what it looks like when it has reacted:
After 40 minutes my resin object was ready and it looked much better than the one before:
To make the 3D model downloadable I used Sketchfab. I created a free online account with which I can make my models public and get an embedded code too.