
Individual Assignments:
1) Design and produce something with a digital fabrication process
(incorporating computer-aided design and manufacturing) not covered
in another assignment, documenting the requirements that your
assignment meets, and including everything necessary to reproduce
it.
Our lab decided to experiment something that was never tried here: a cardboard and water compound. We started this experiment watching this YouTube video.
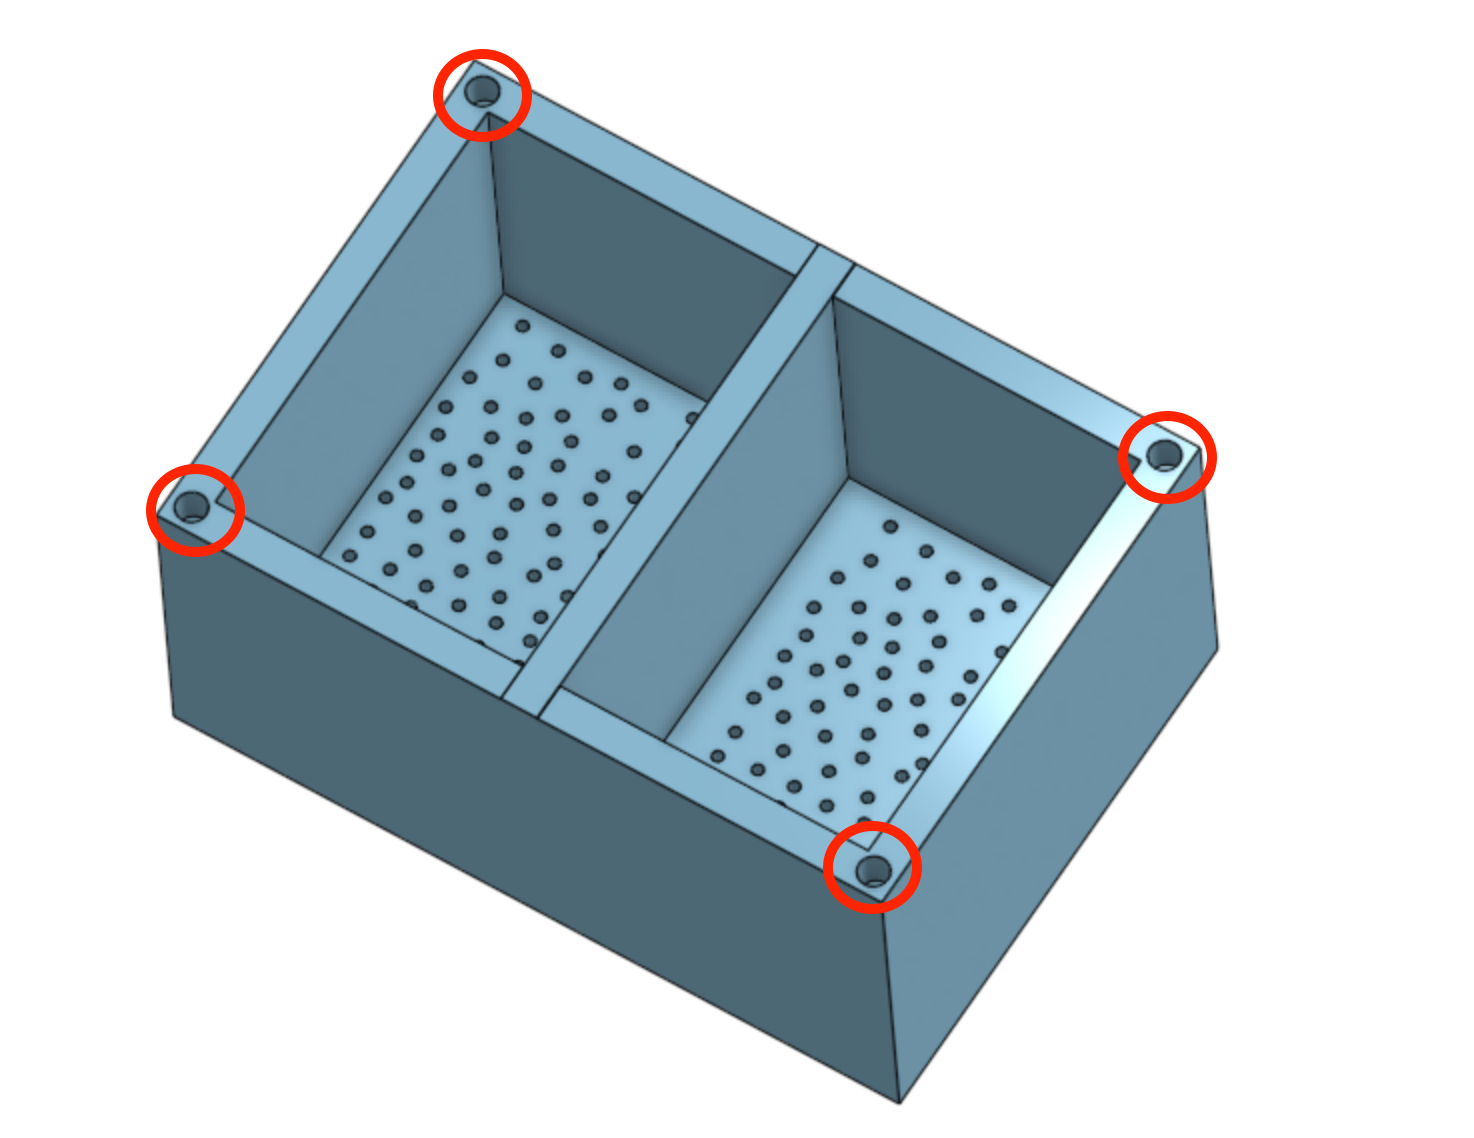
So I started to desing a mold on onshape that I then 3D printed in PLA. I decided to design a small double vase for cactus. Being our compostable compound I thought that after nursing a cactus at the beginning of its life I could transfer directy the vase into a bigger vase or the garden. So this is the design of the mold:
I made 4 keys to help the mold's allignment:
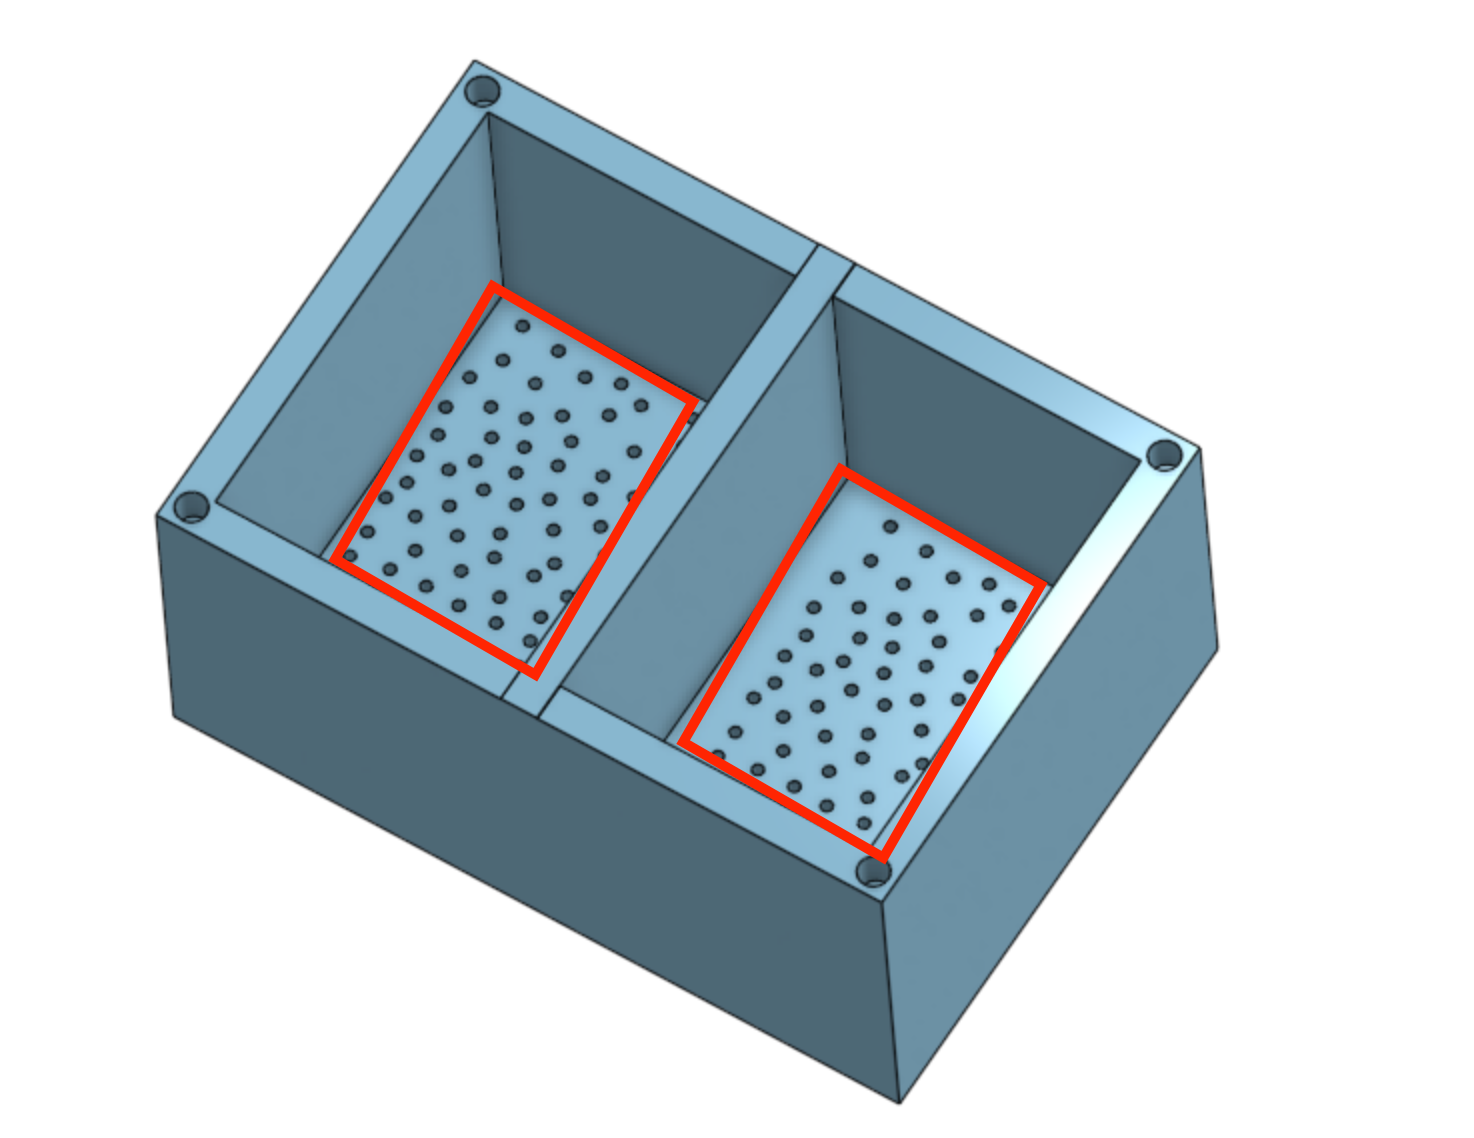
And I also made 1.5 mm holes on the bottom of the mold to let the water drain:
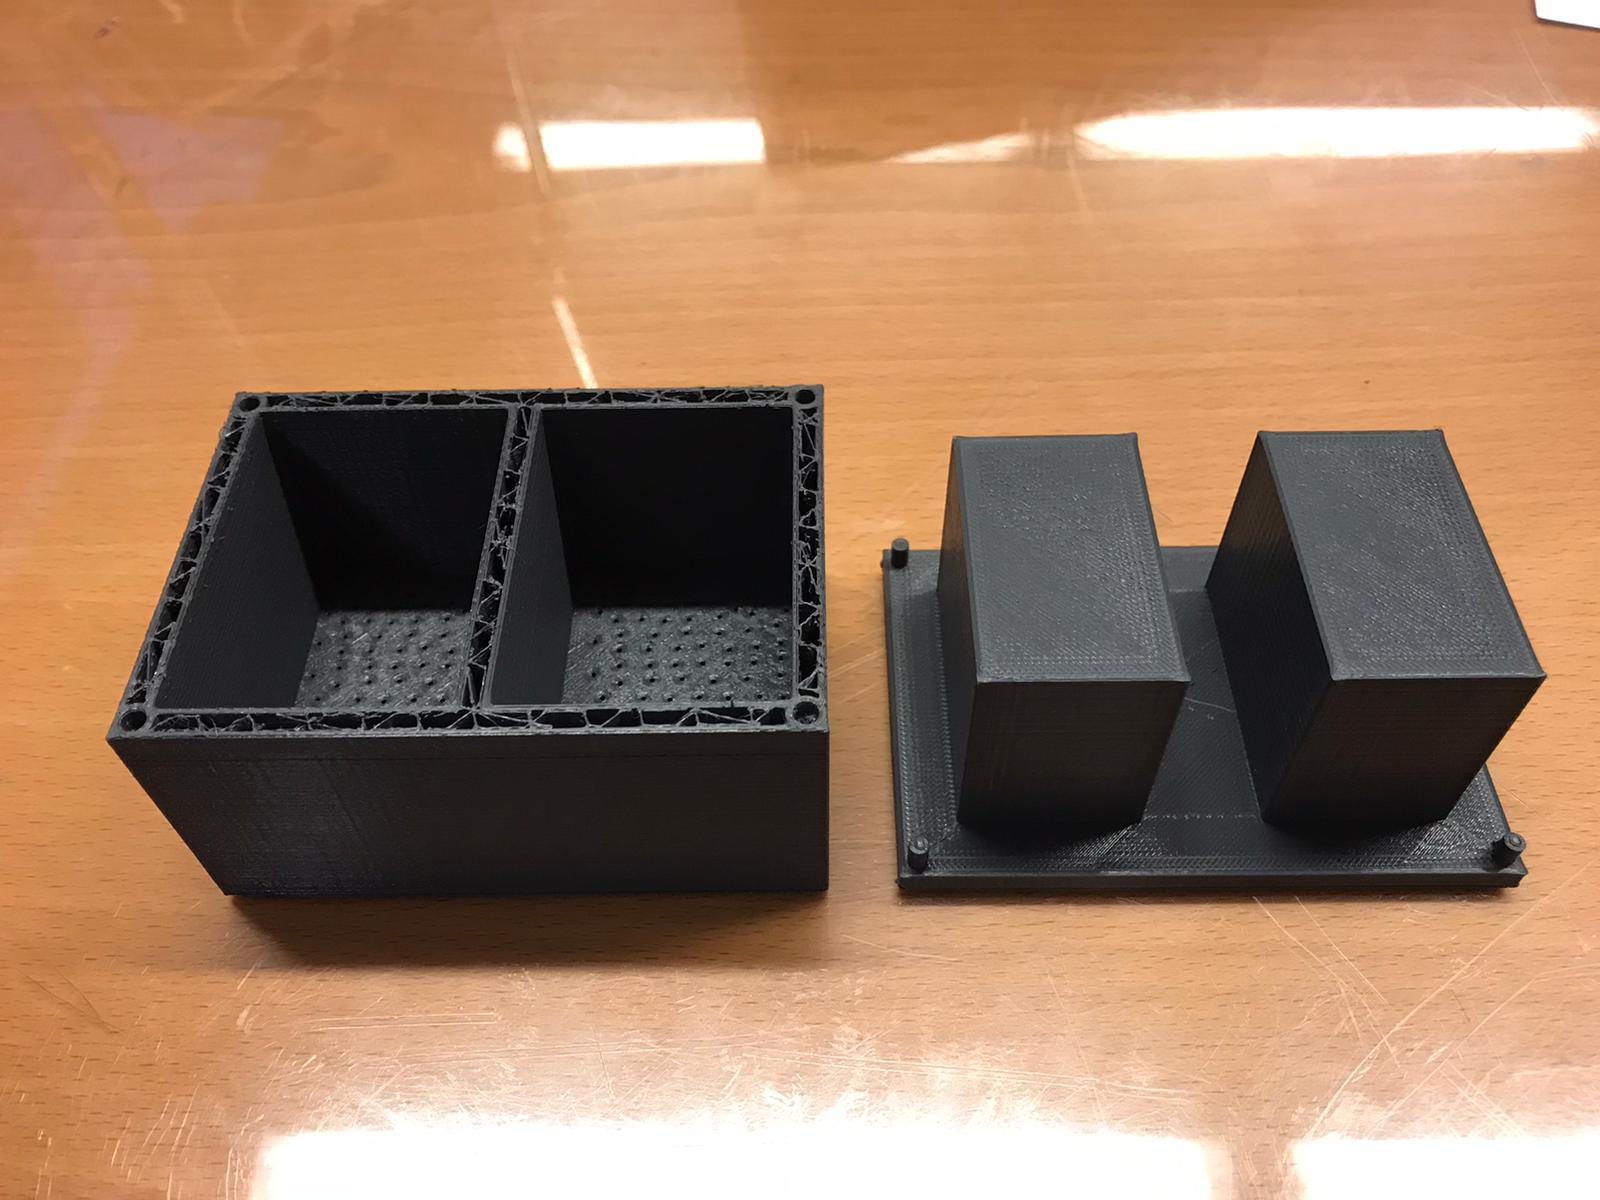
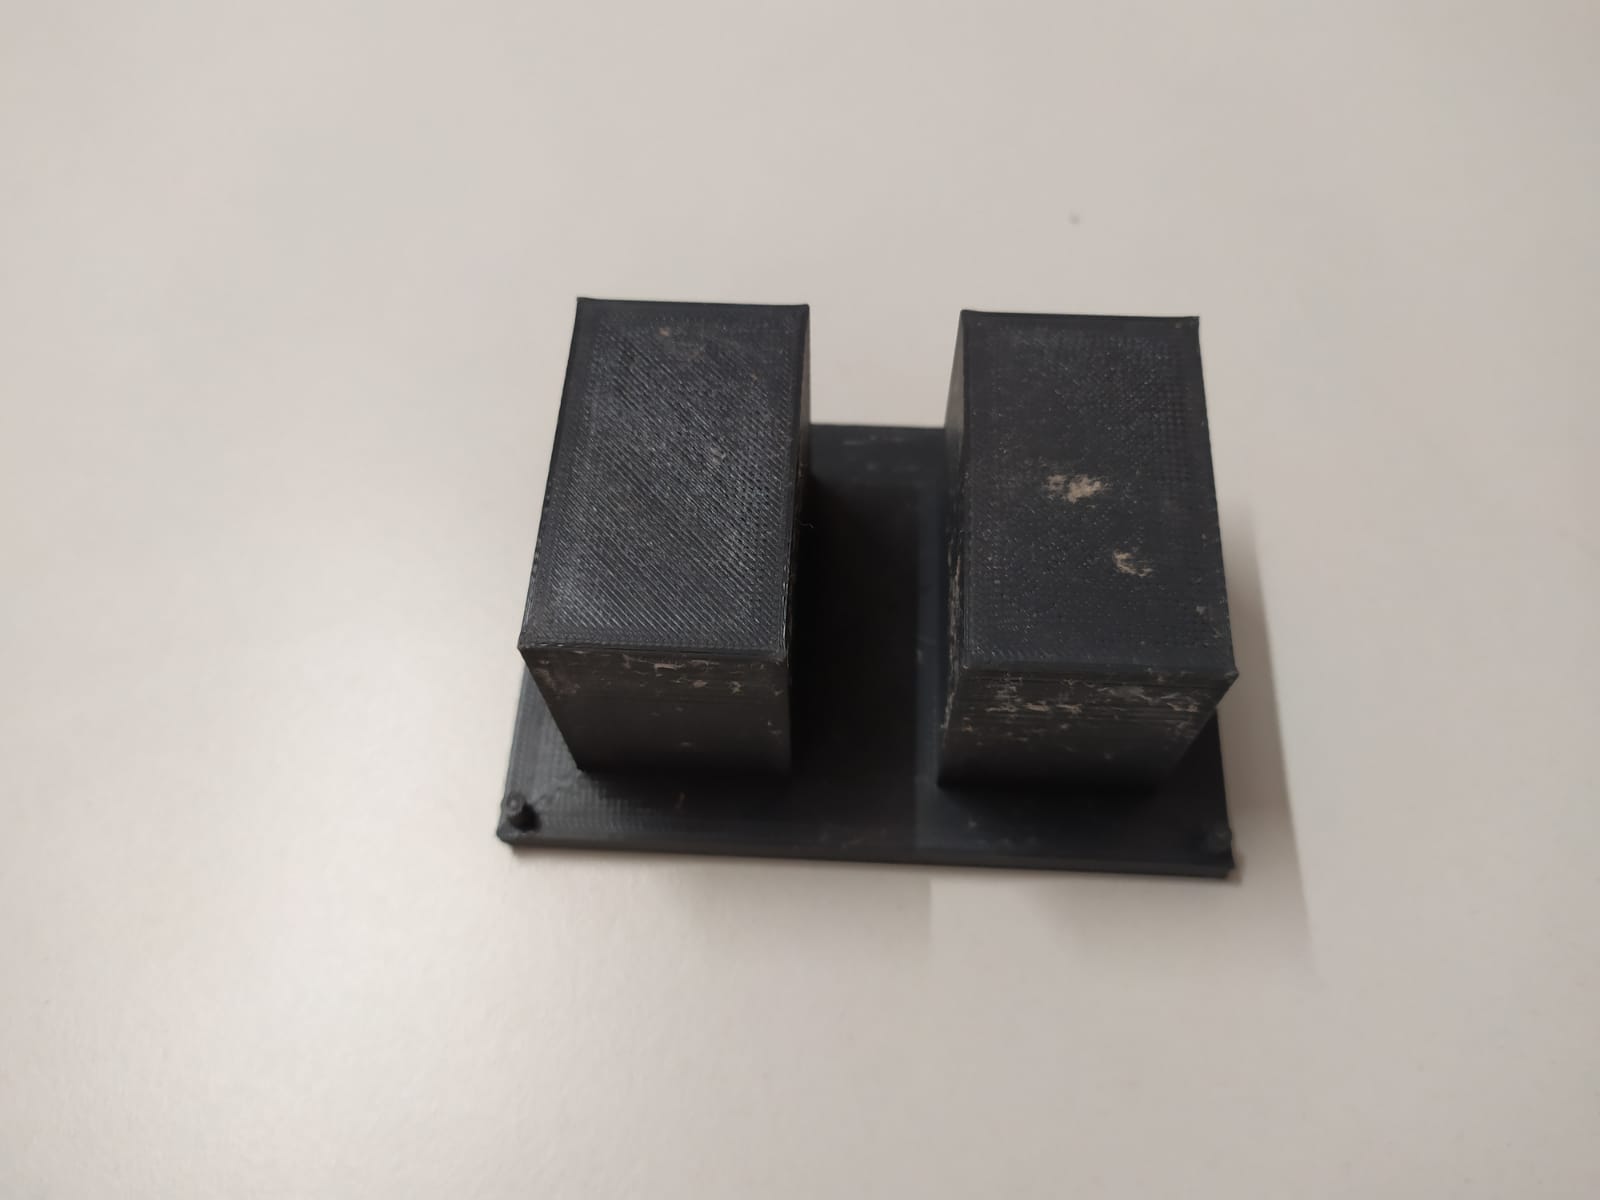
The one below is the counter mold of my vase:

I've printed both the mold and the counter mold on the Ultimaker3 and this is the result after a few hours:
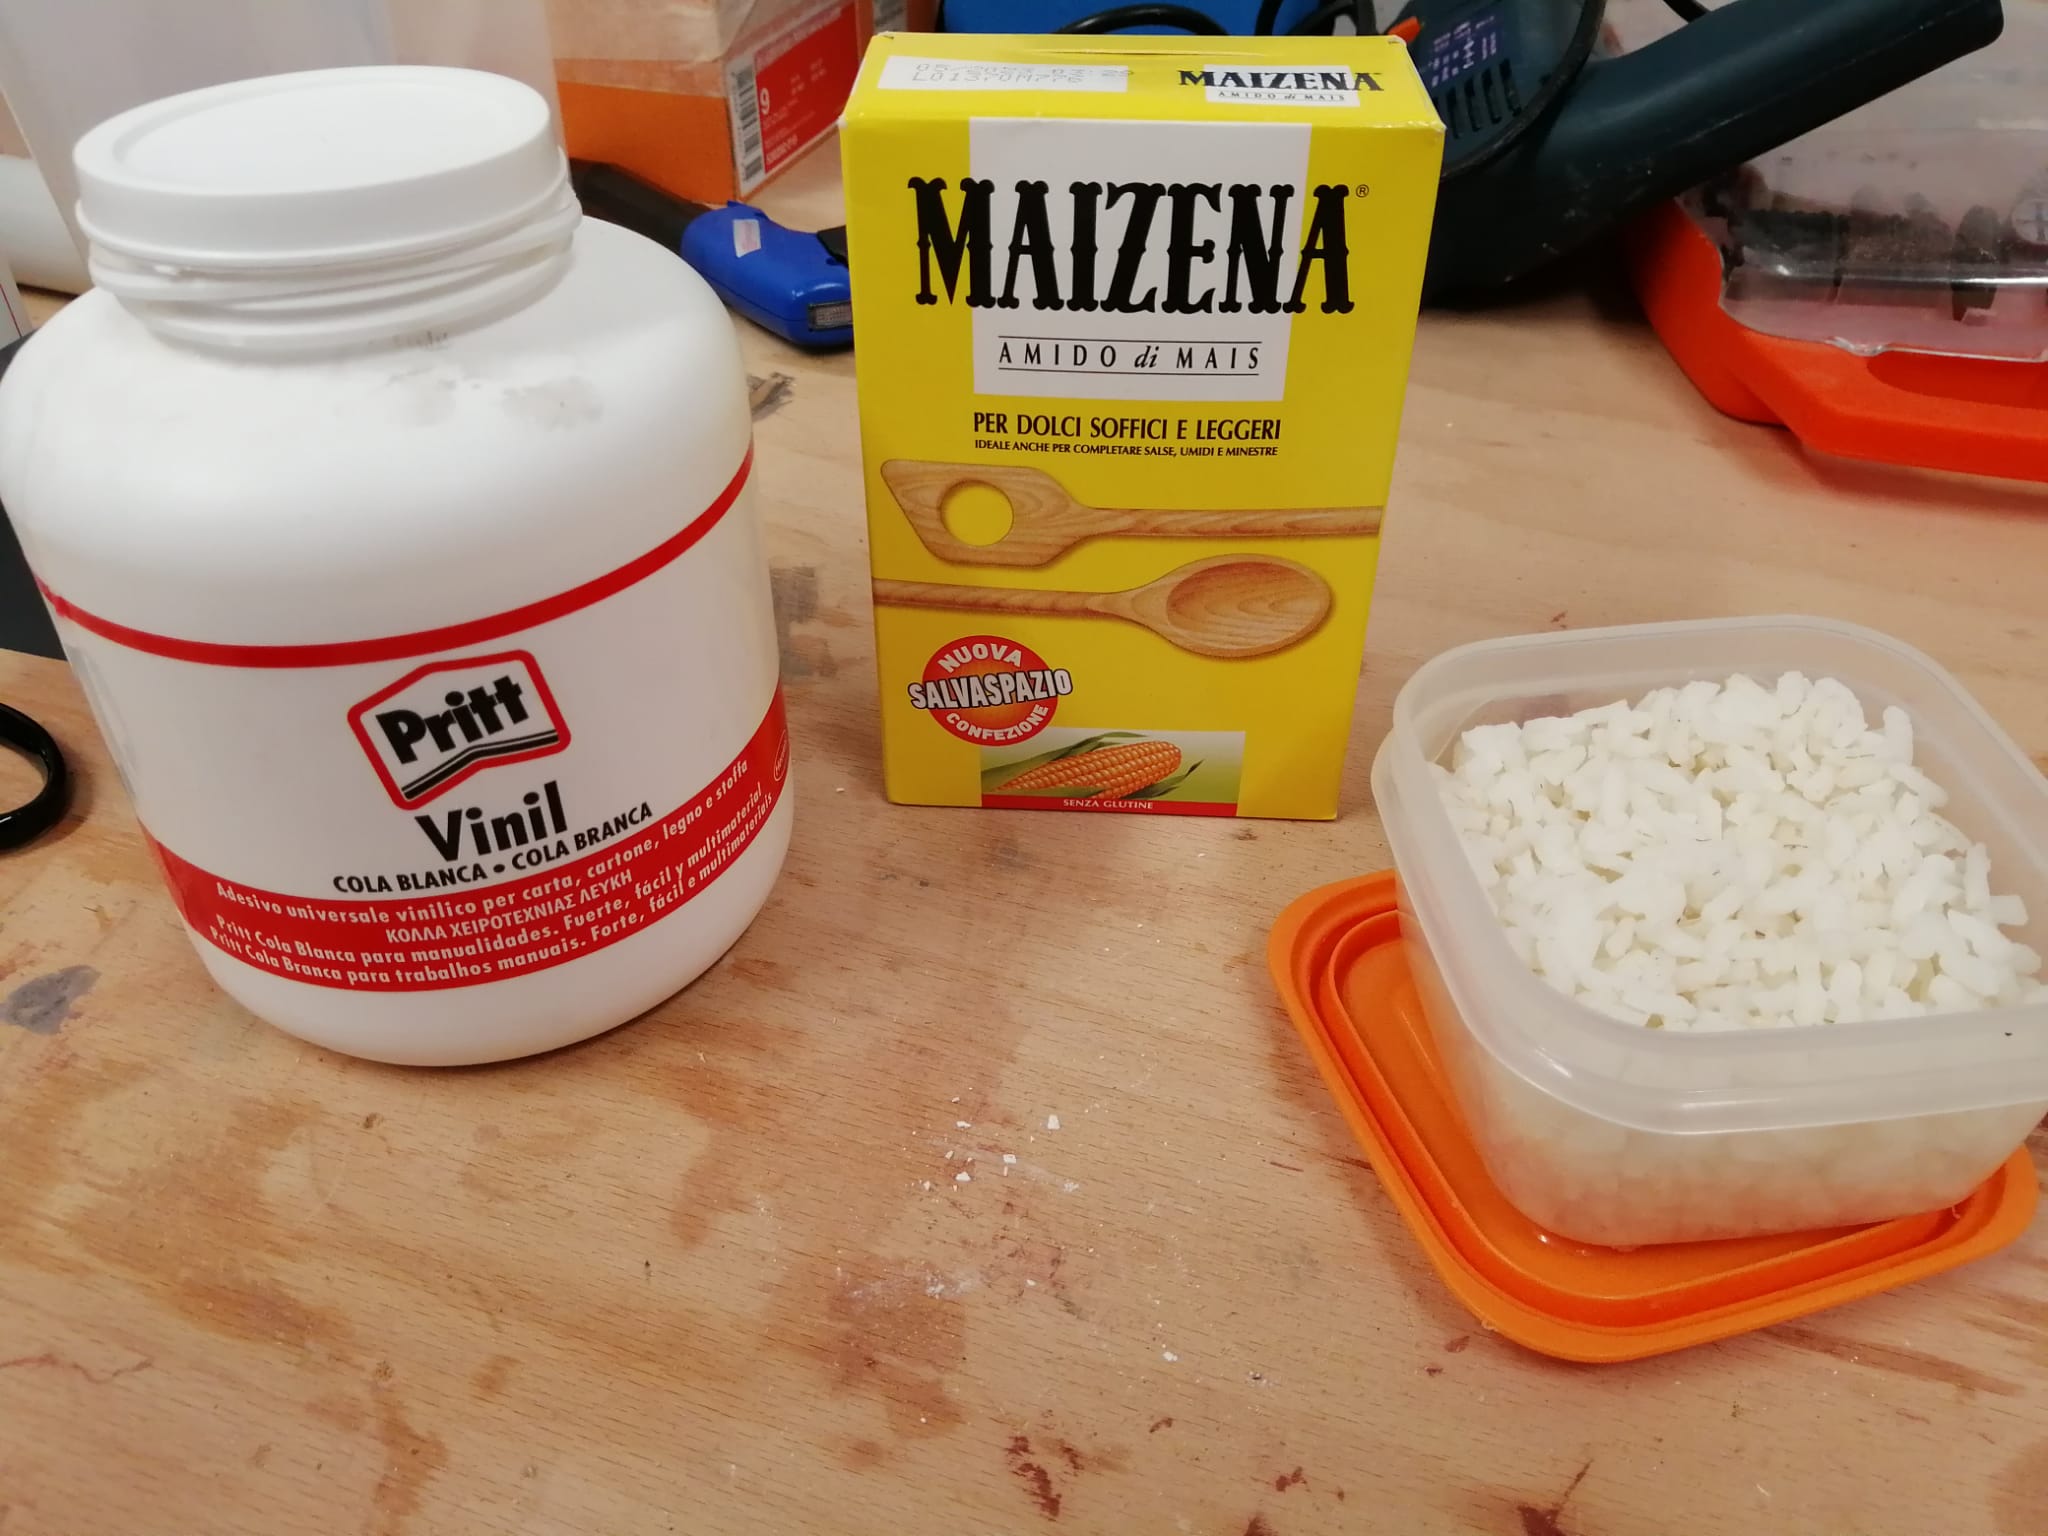
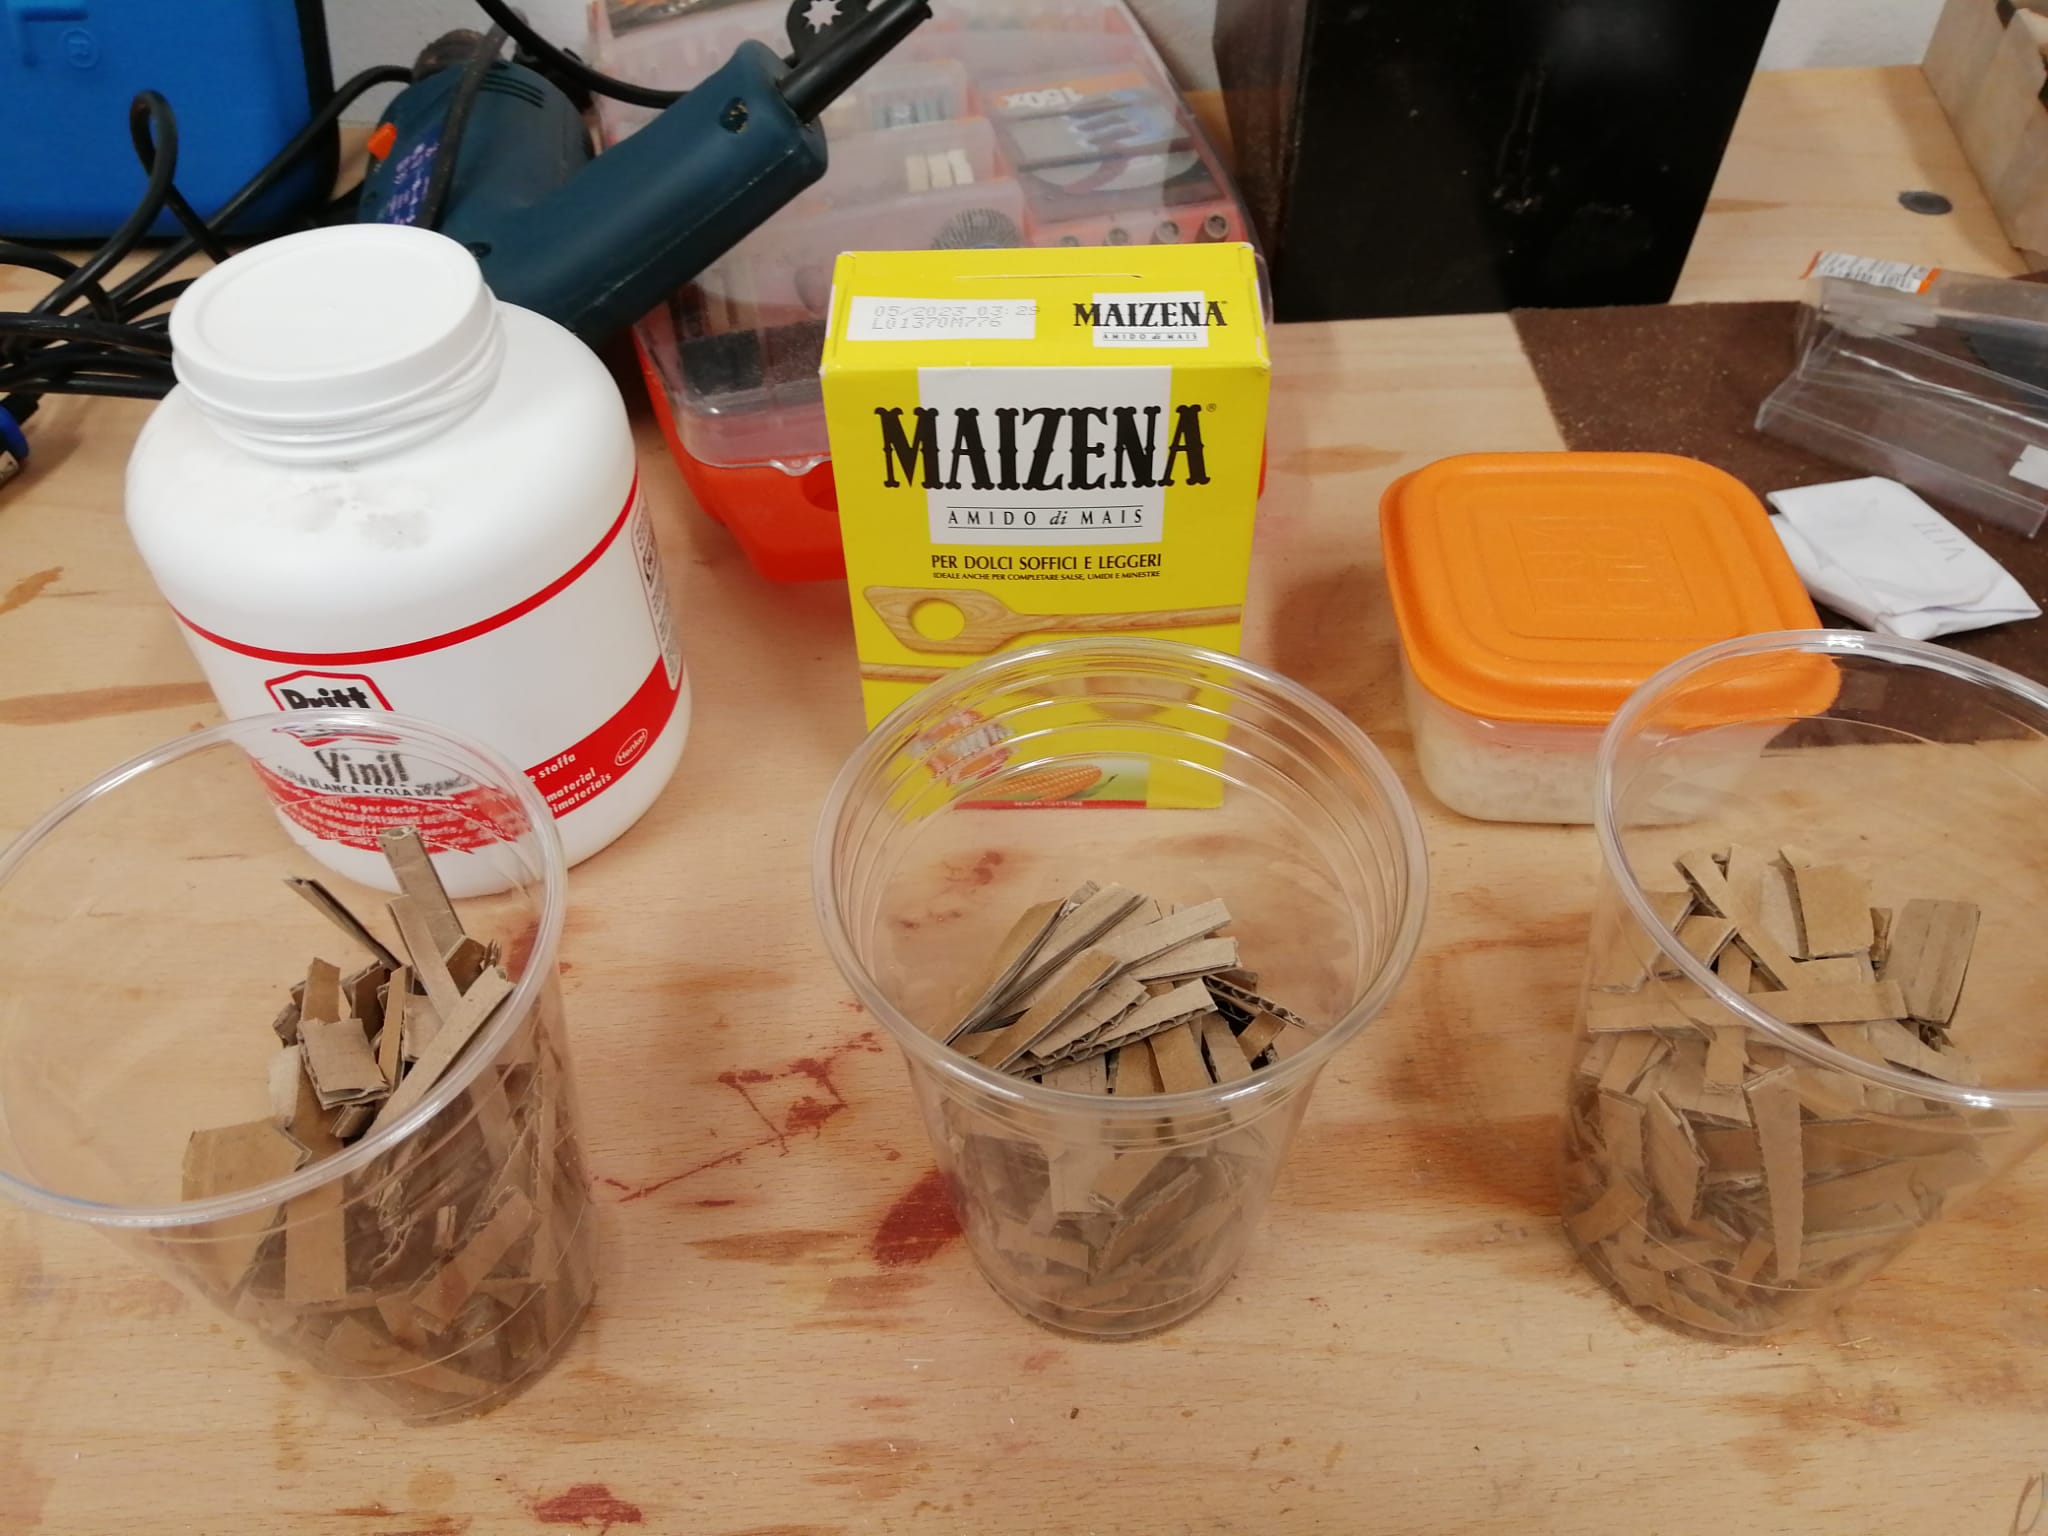
As I mentioned at the beginning, the compound I'm going to use is the result of a mixture of water and cardboard but to make it more dense I'm going to add a thickening agent, actually 3 agents: corn flour, cooked rise and glue.
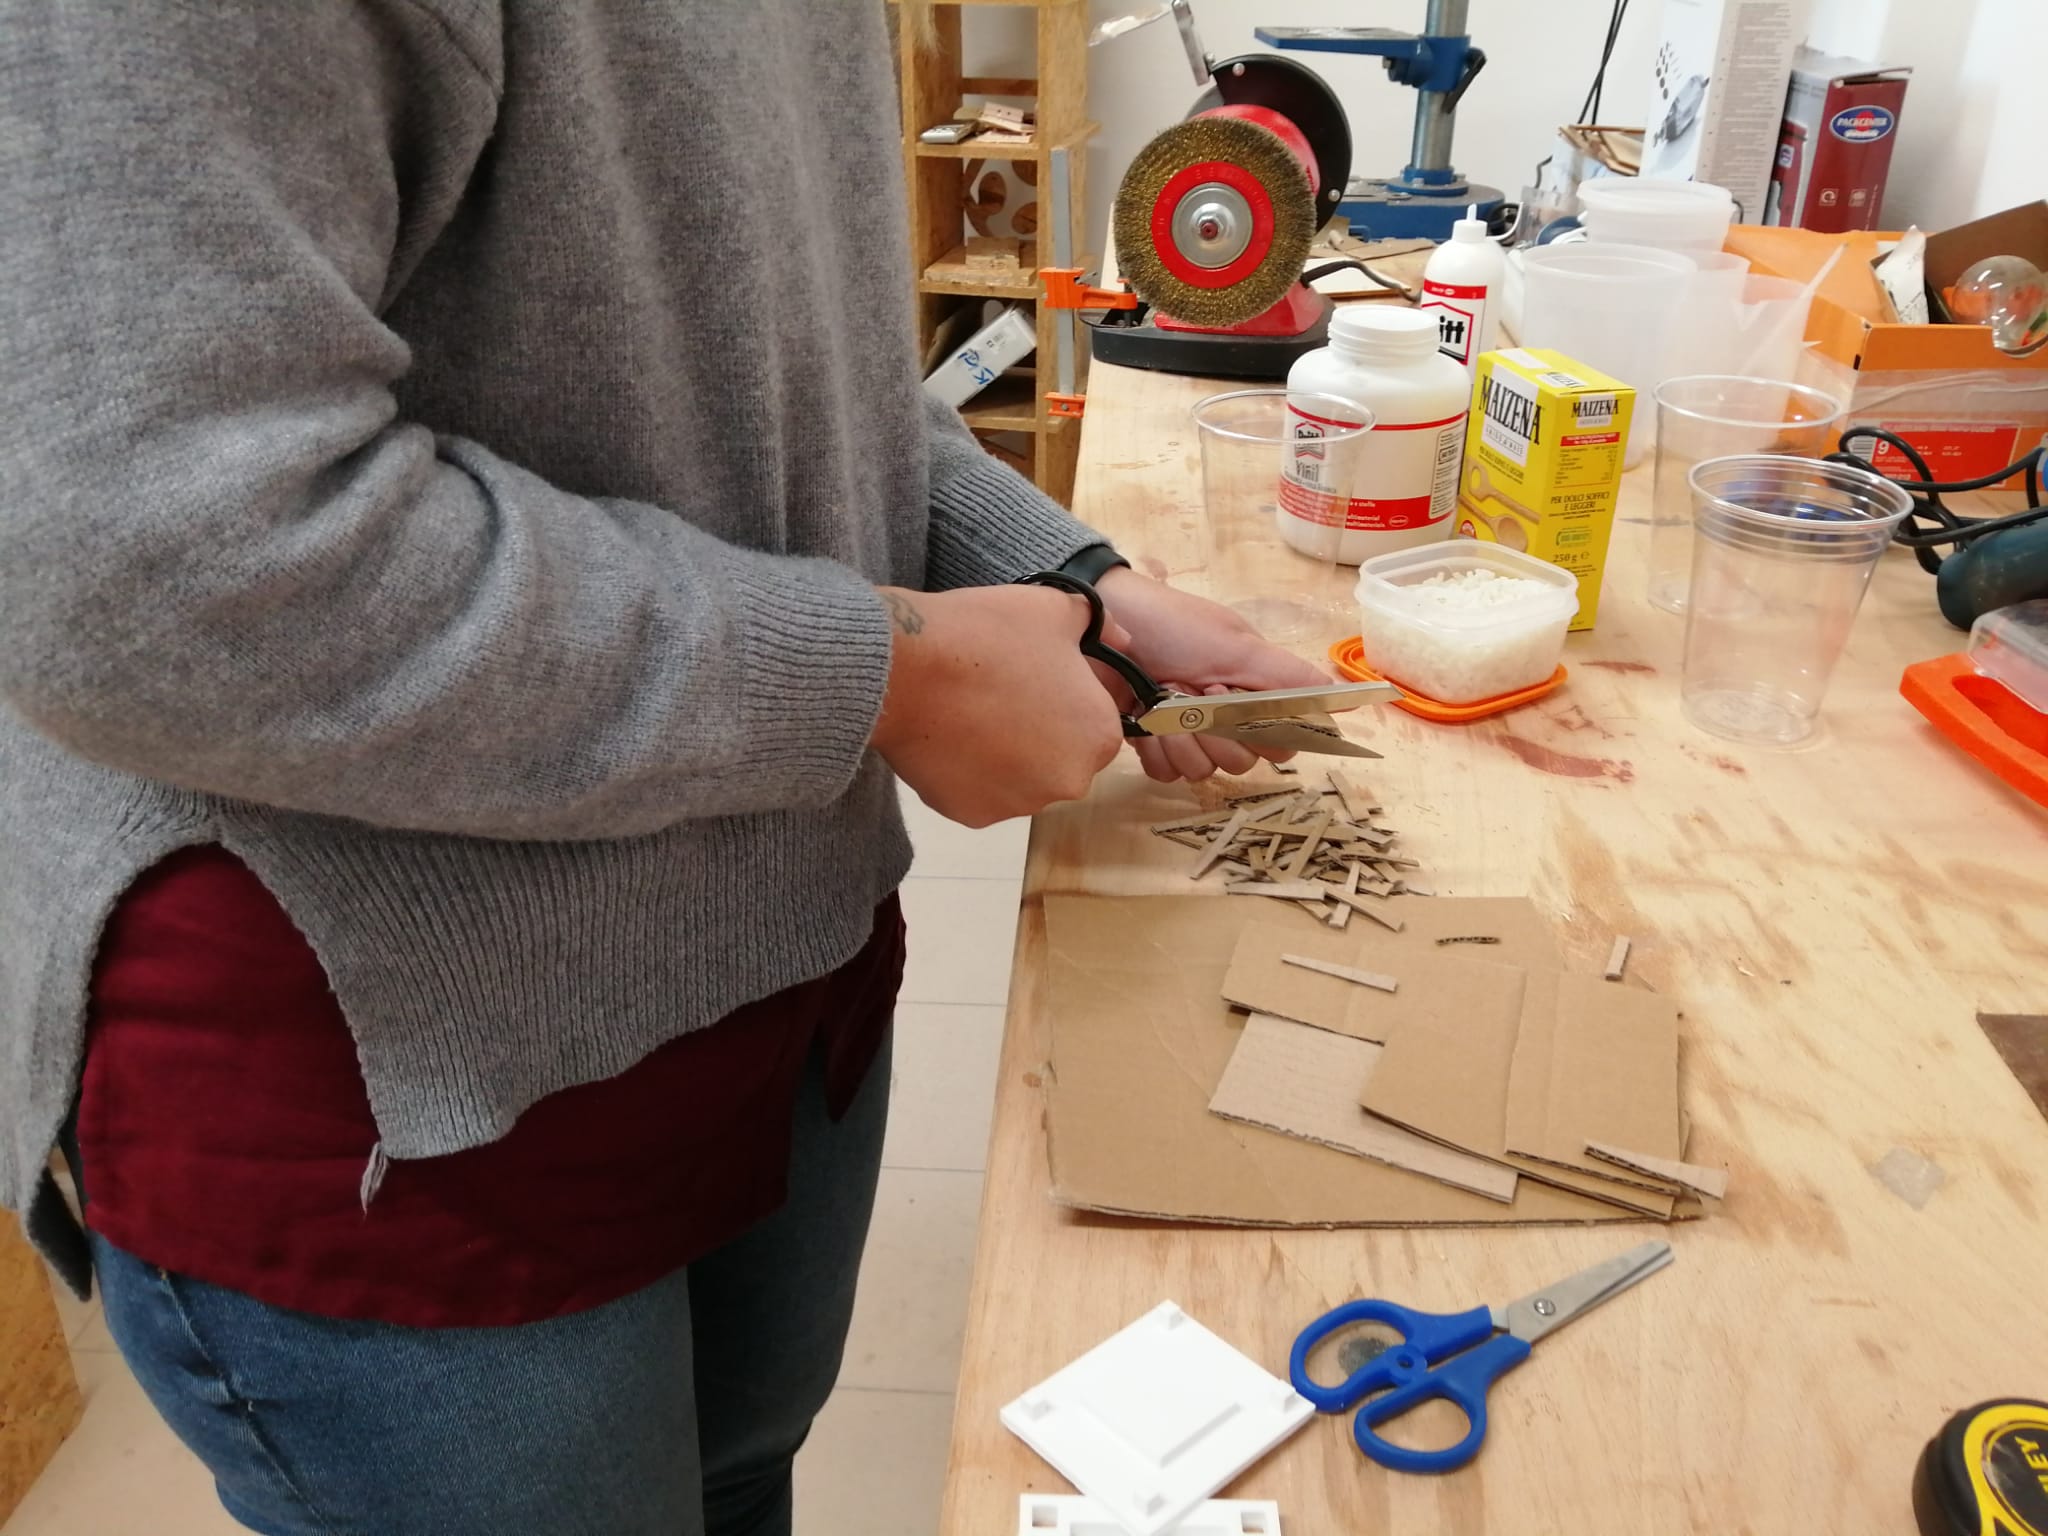
First thing I've cut the cardboard into small pieces using a pair of scissors:
Then I put the pieces into 3 cups to be mixed with a little bit of water and, one at a time, the three thickening agents:
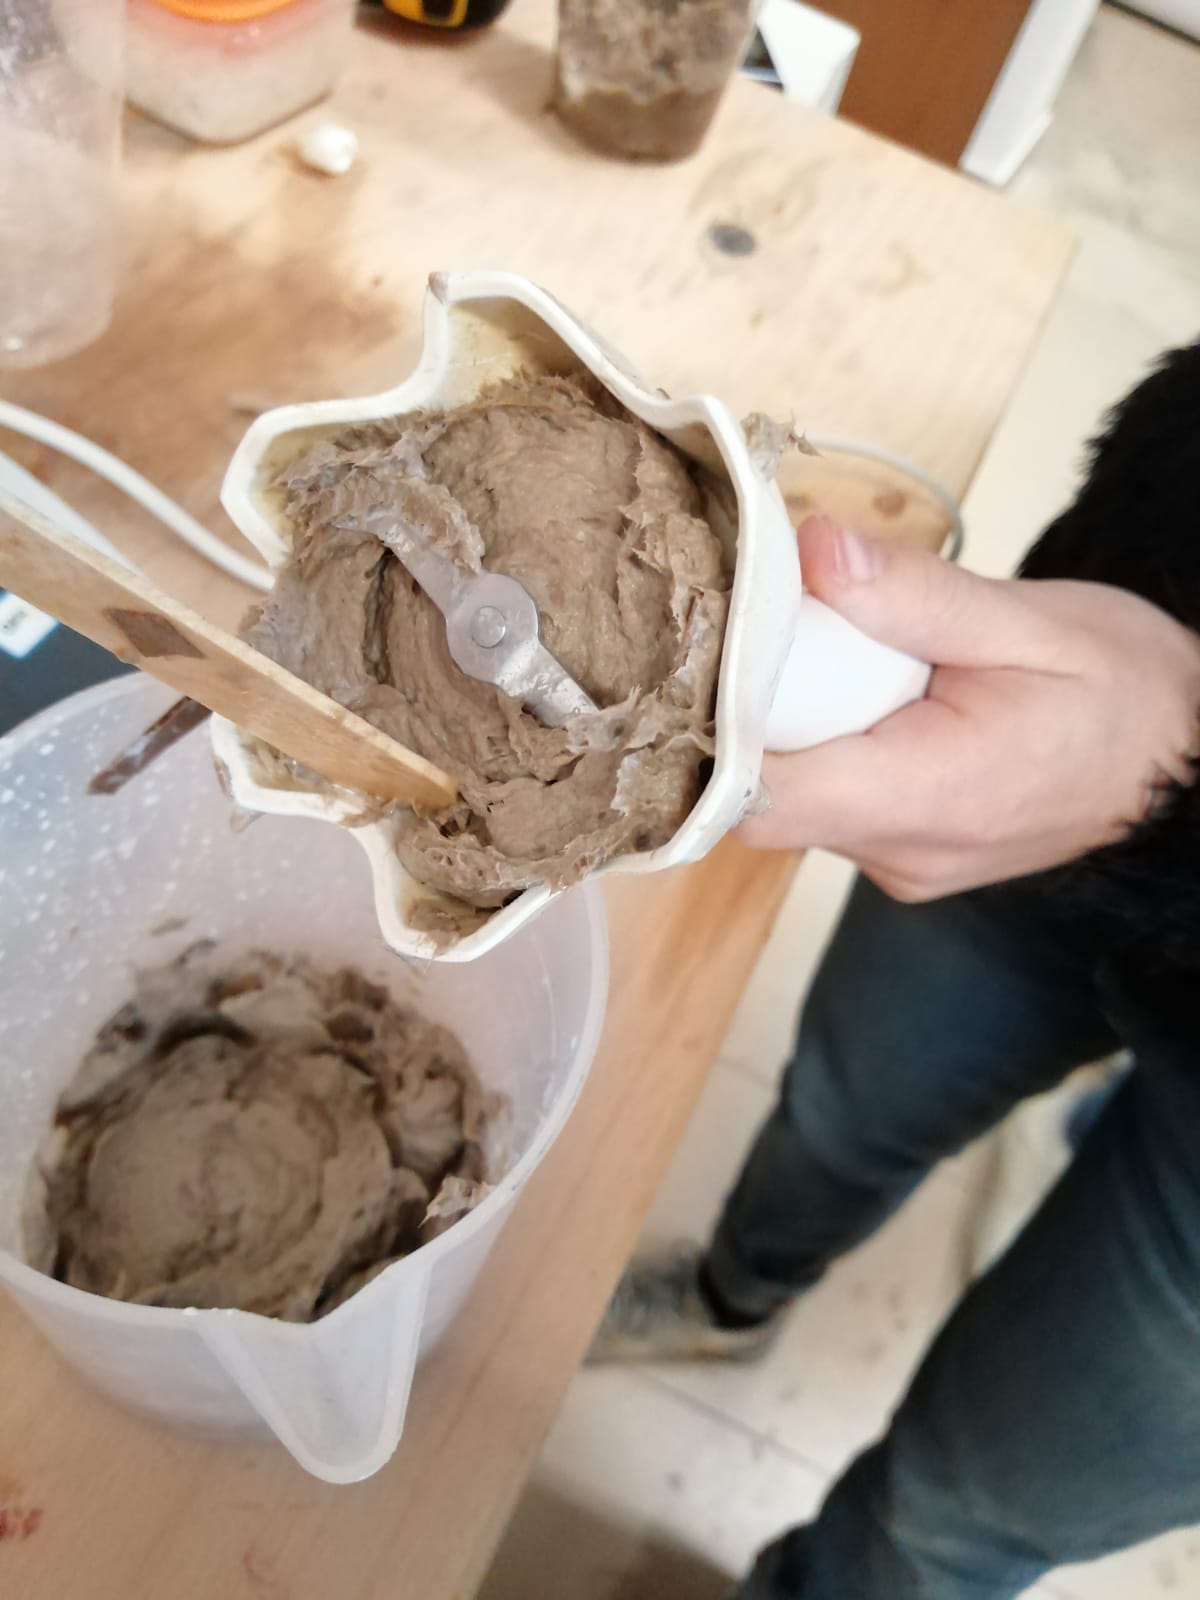
Using a blender I made a mush. This is the first compound mad with corn flour:
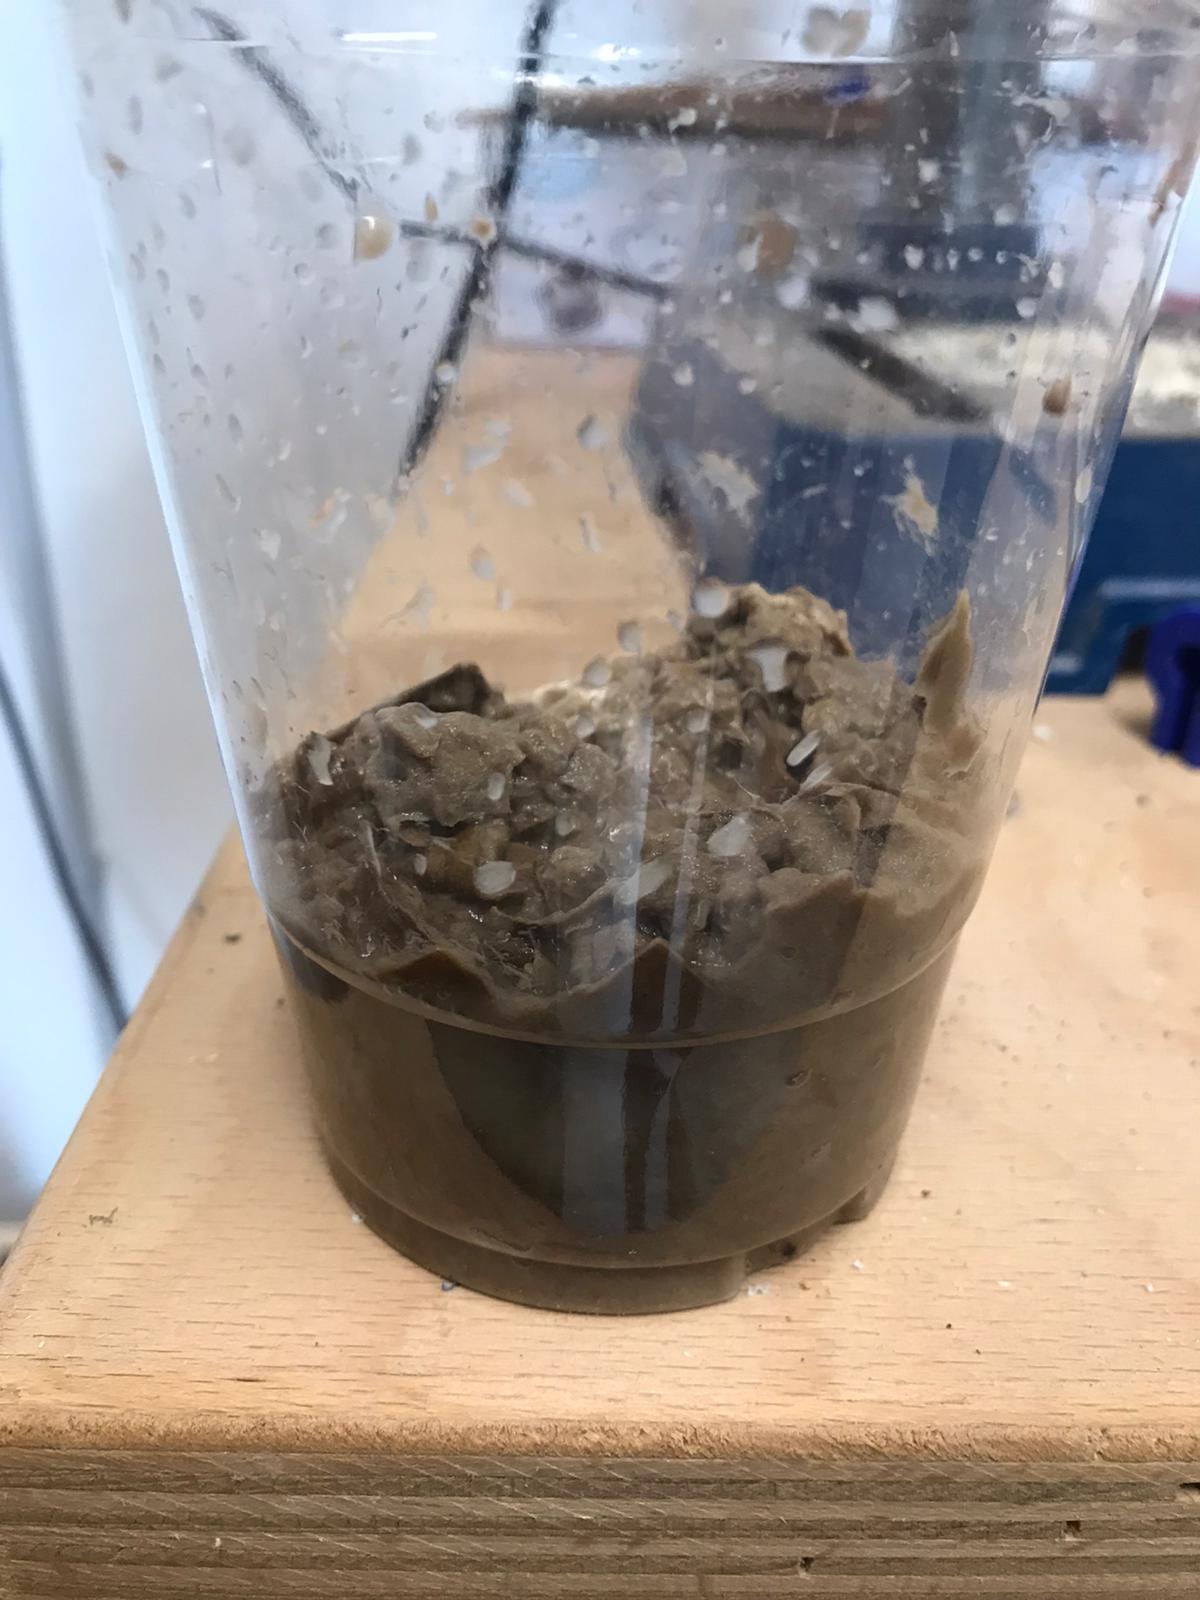
The cooked rise compund:
And the glue compound:
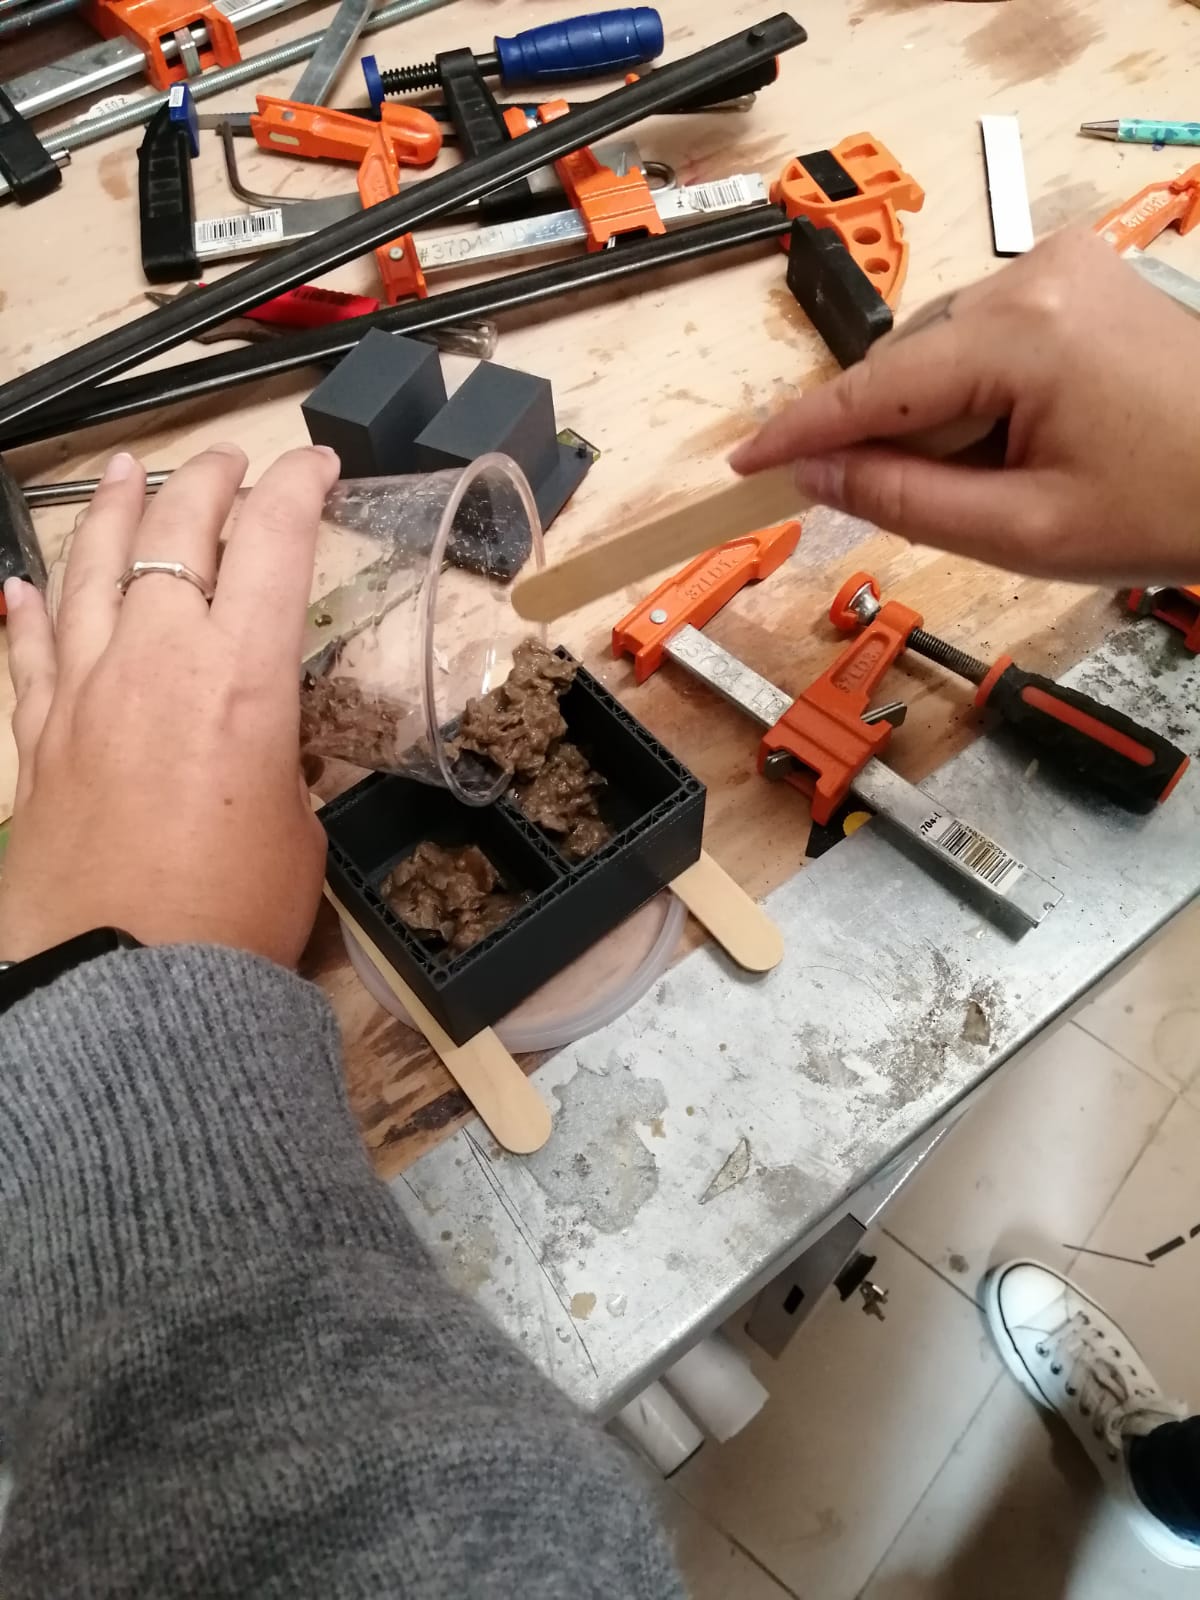
I poured the corn flour compound in my mold because I would like to keep the vase compostable, but I'll try the glue aswell.
I've put the counter stamp over it to make the vase:
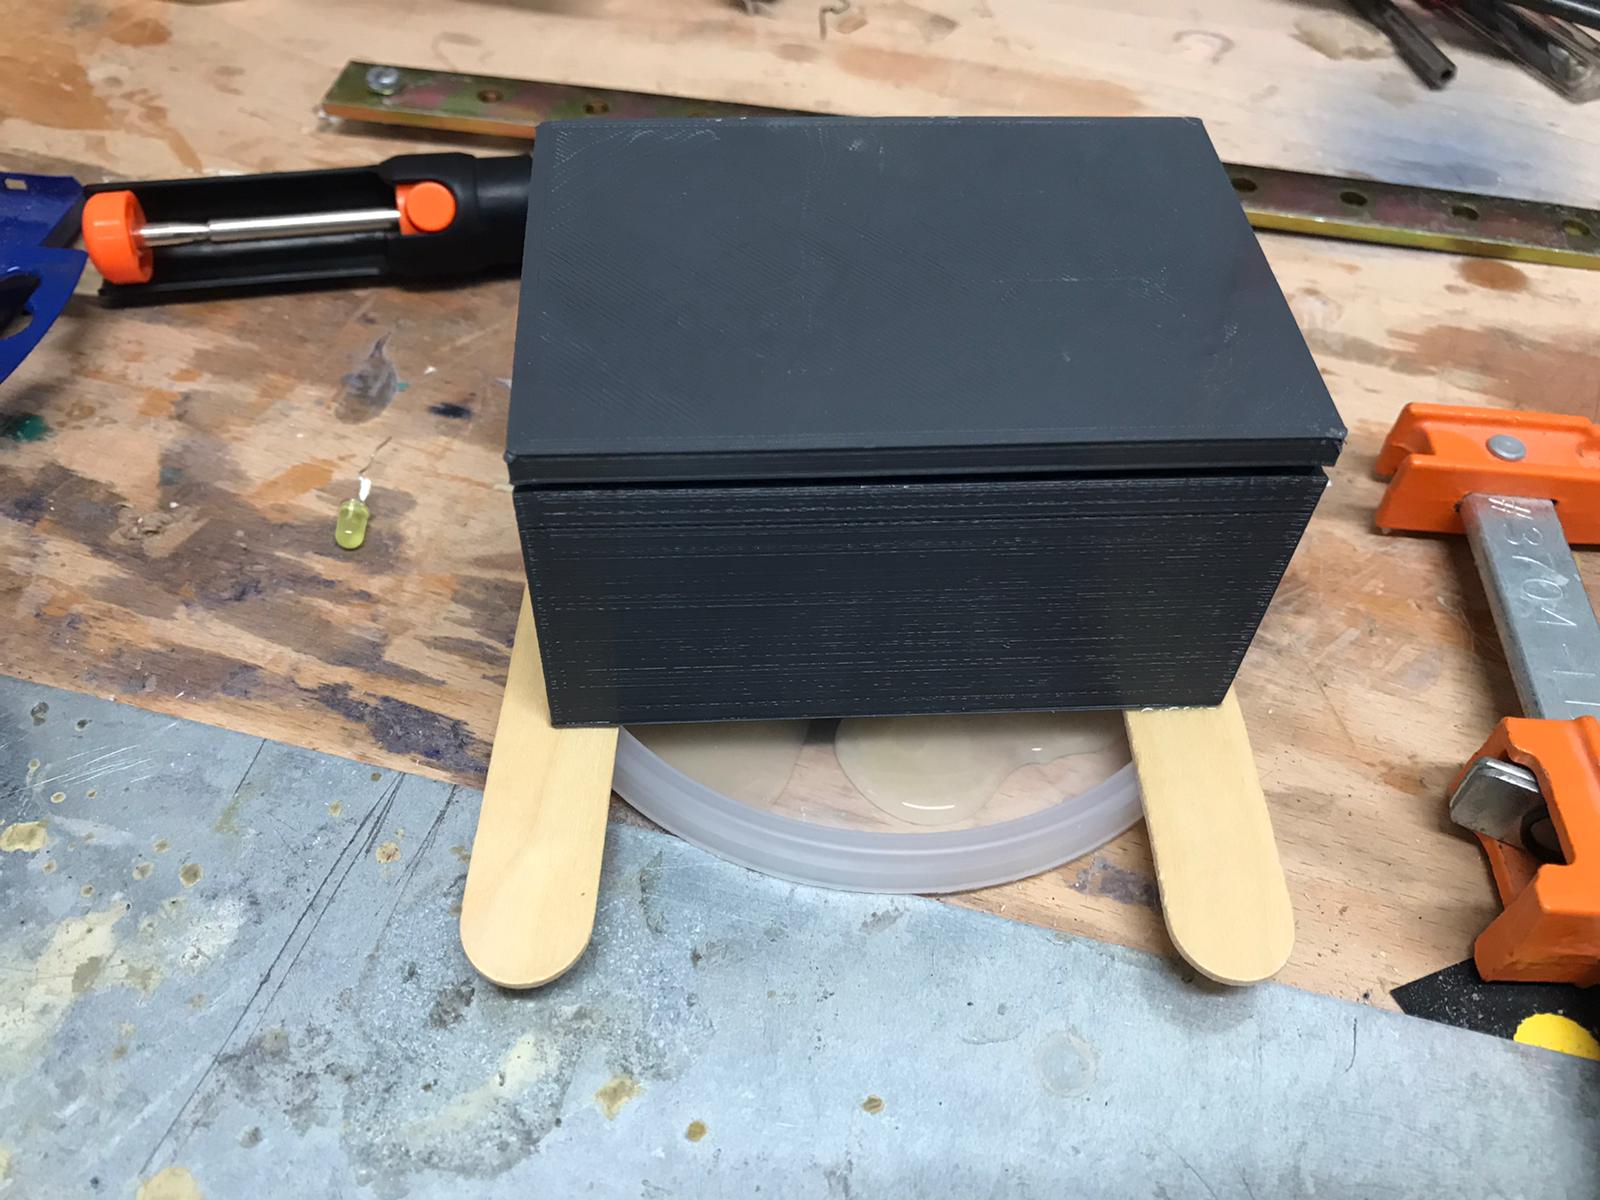
And then I put everything at rest with some clamps to seal it properly:
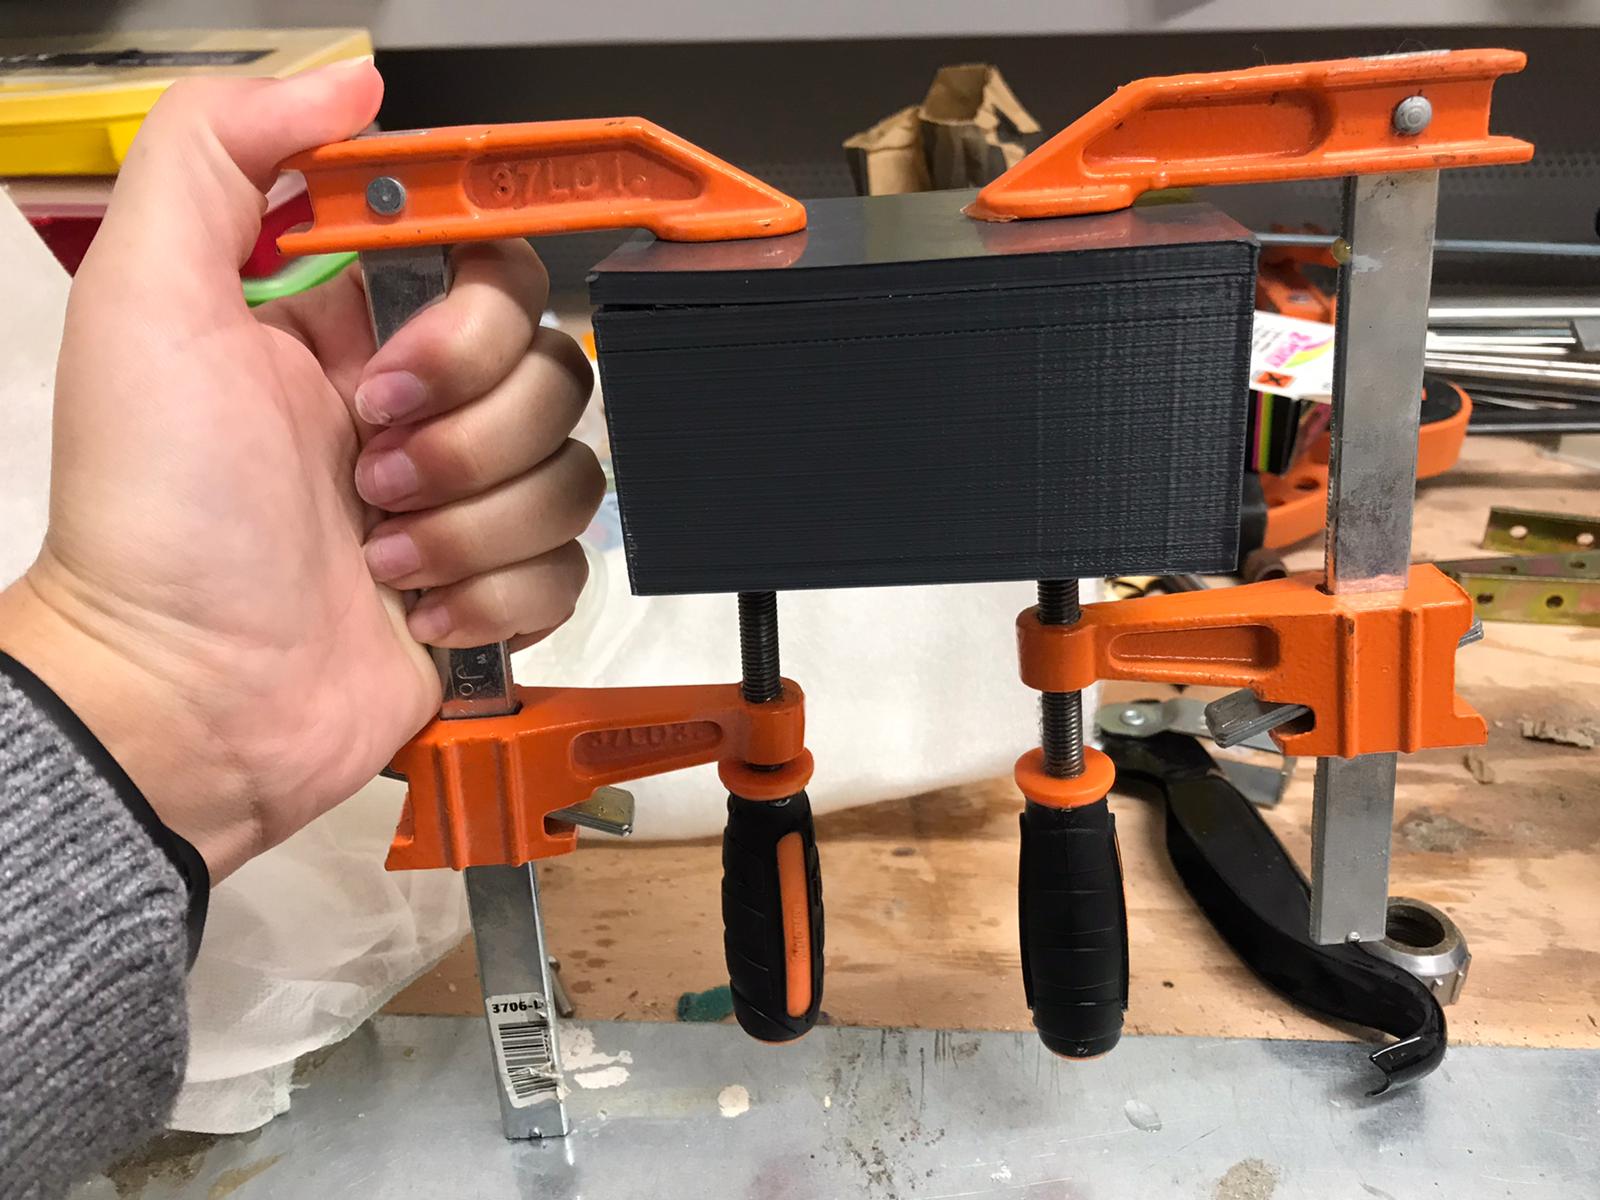
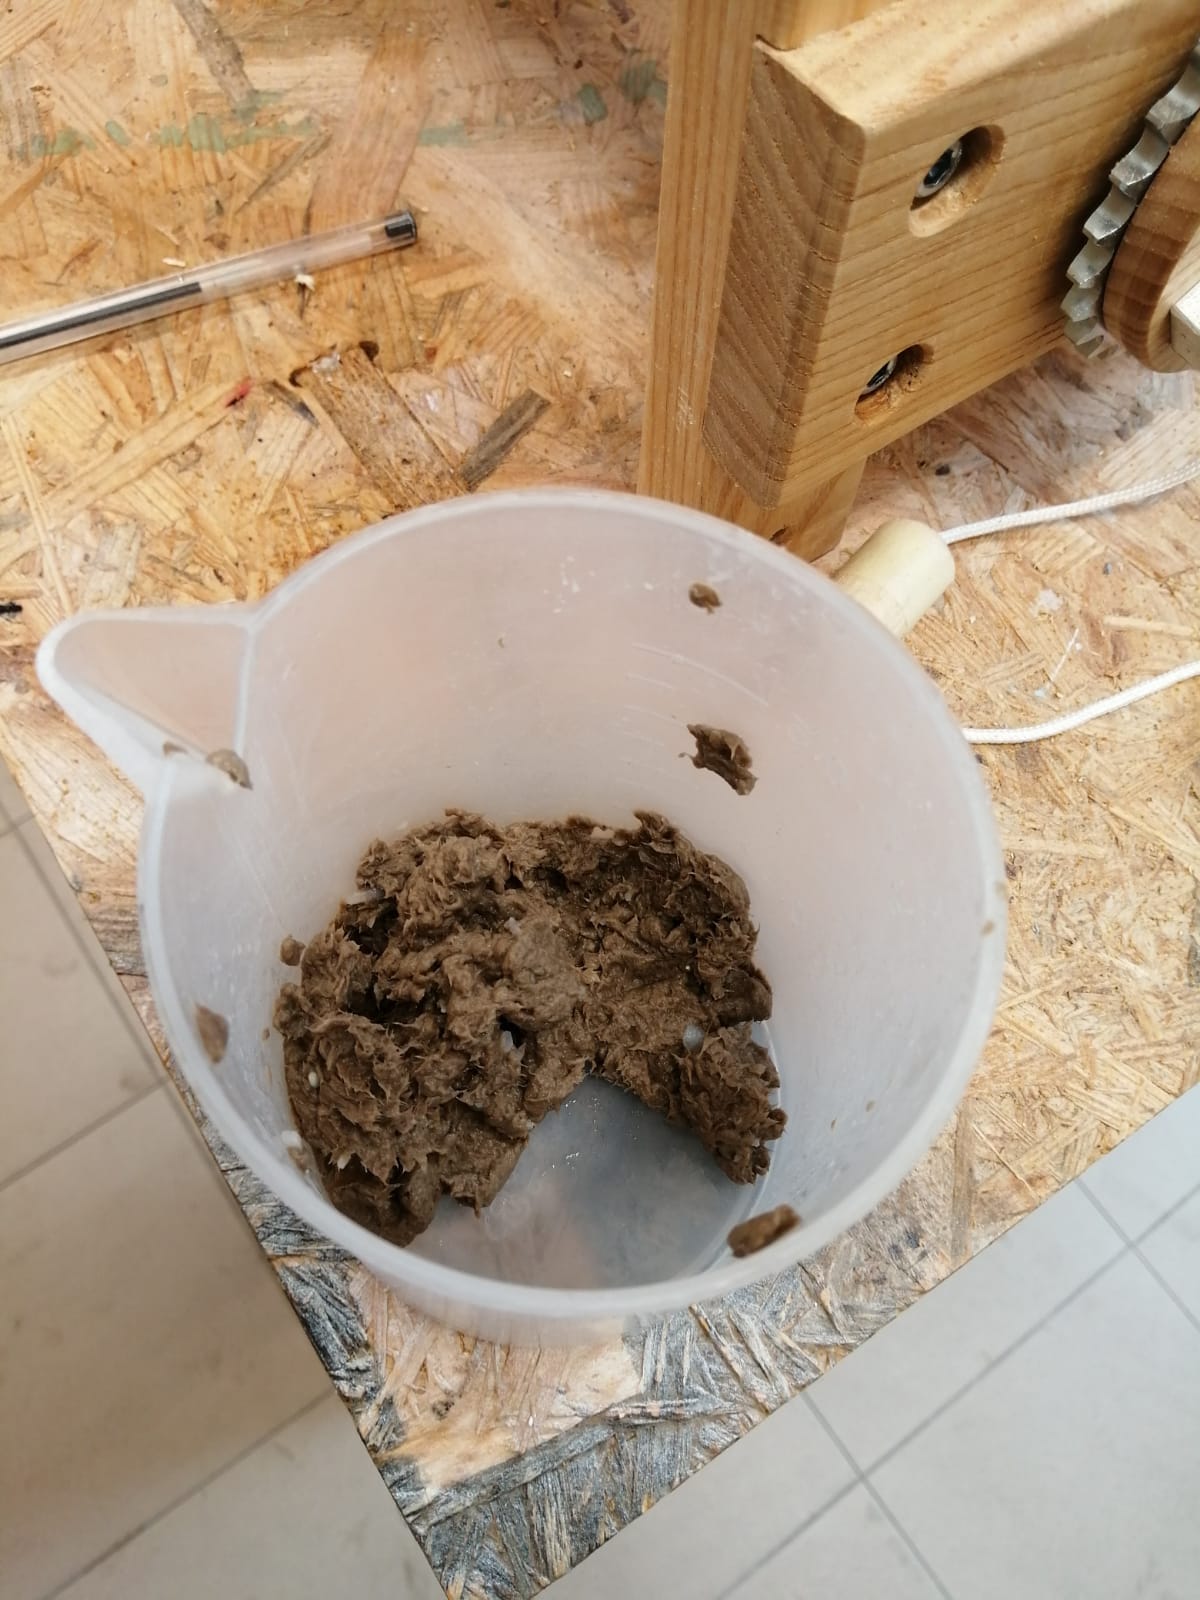
The compound was still very wet after a couple of days, so I decided to put the mold near a heat source so that it would dry properly. After 1 day the mold was completely dry.
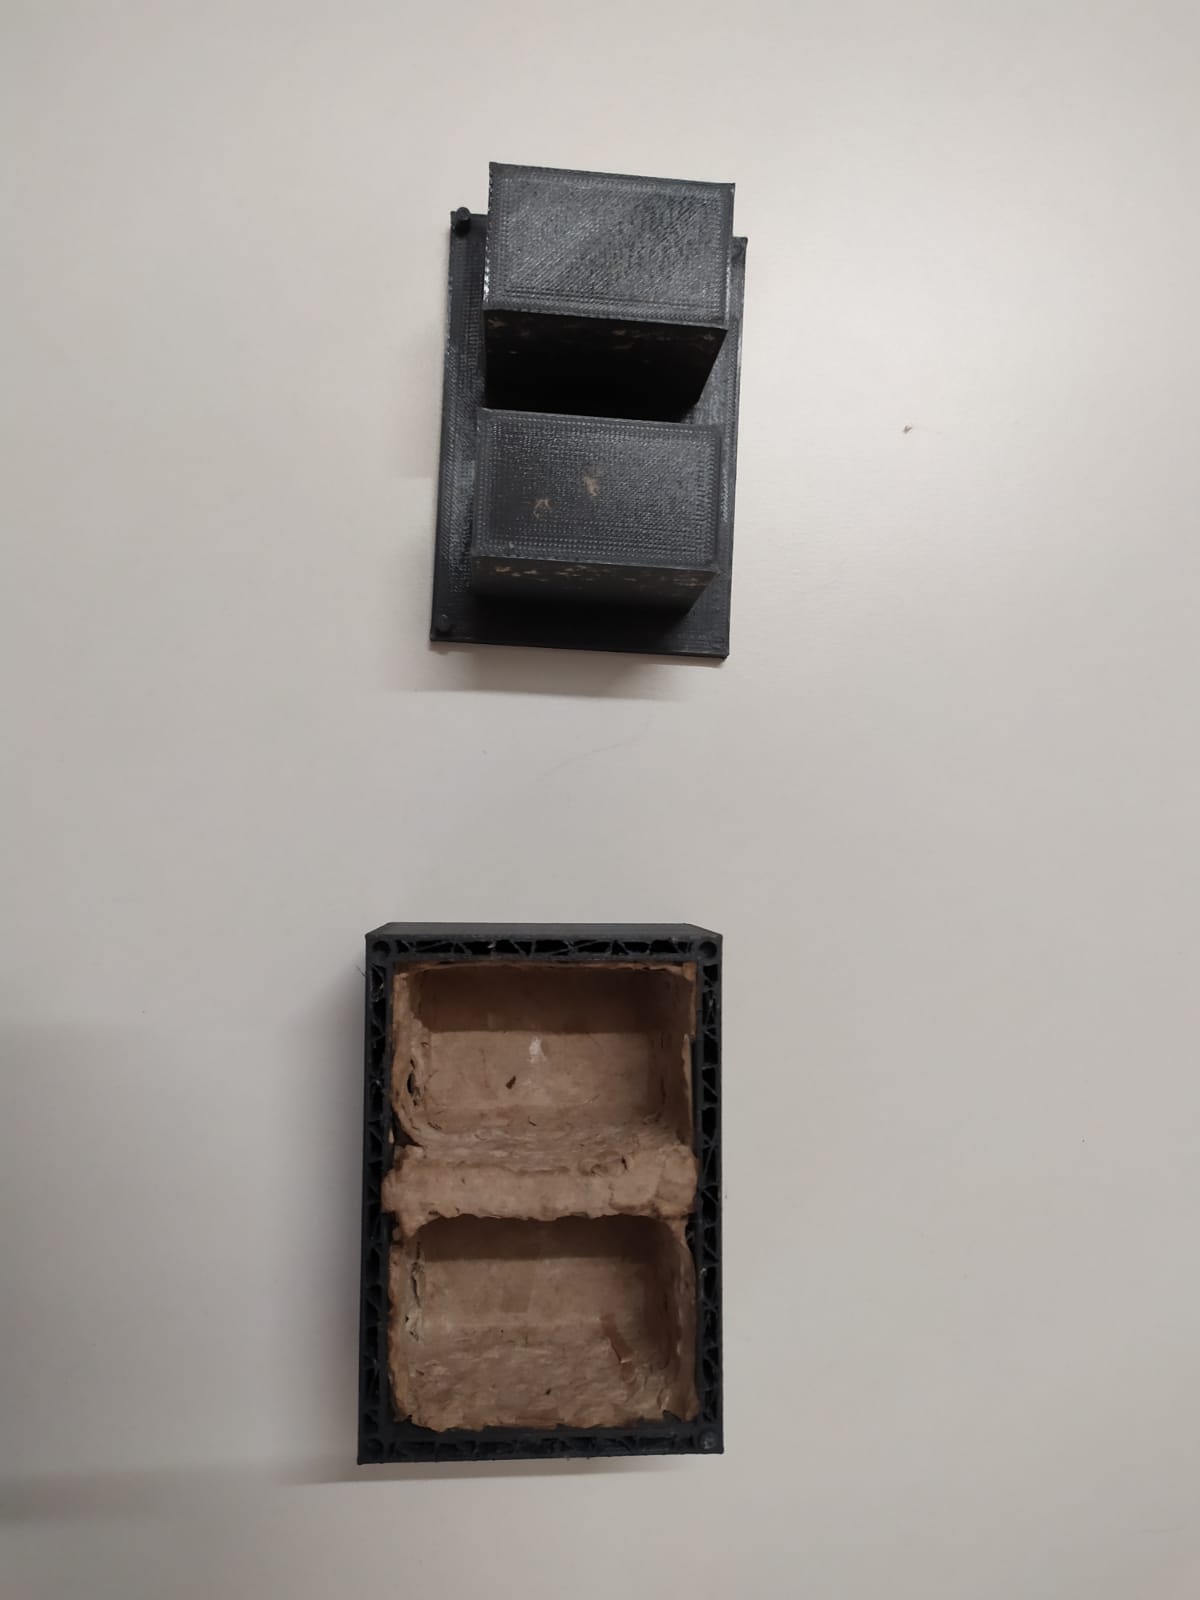
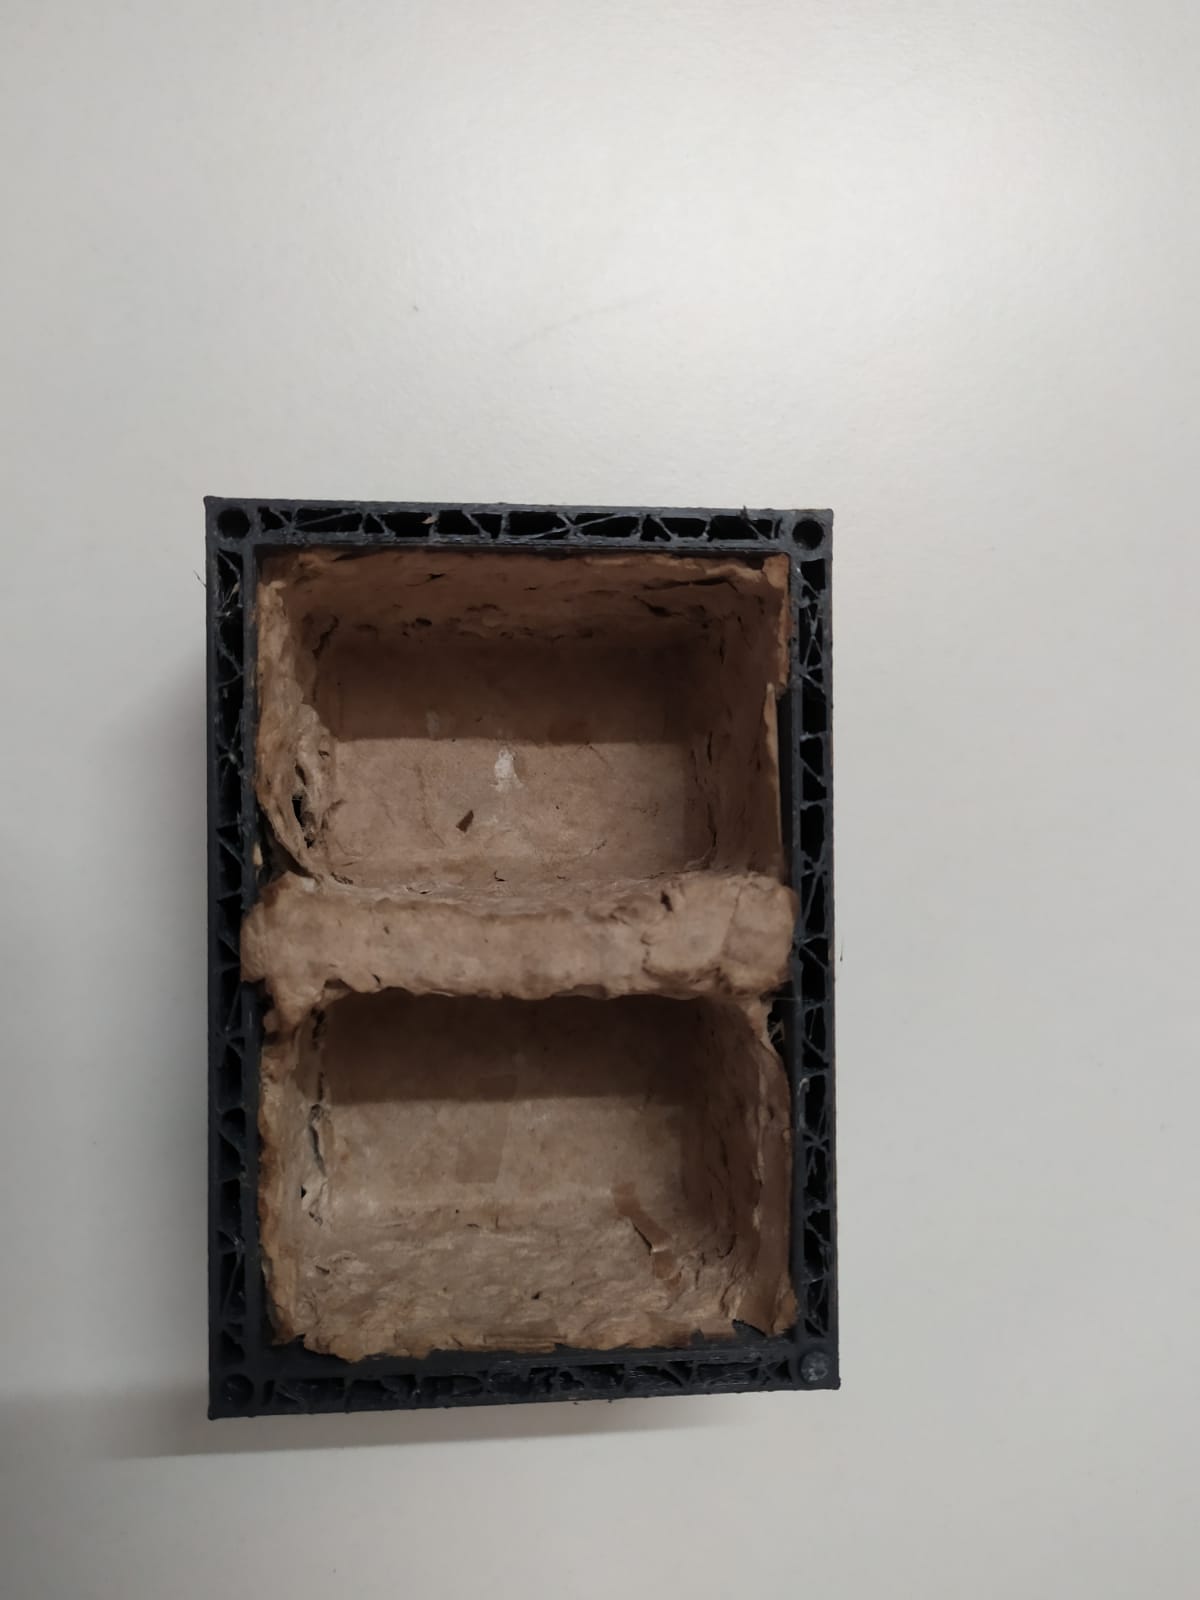
Unfortunatelly when I tried to pull out the compound it crumbled completely.