_____________ COMPUTER-AIDED DESIGN _____________
GOALS:
- INDIVIDUAL ASSIGNMENT:
Model (raster, vector, 2D, 3D, render, animate, simulate, ...) a possible final project, compress your images and videos, and post it on your class page...
| 2D CAD |
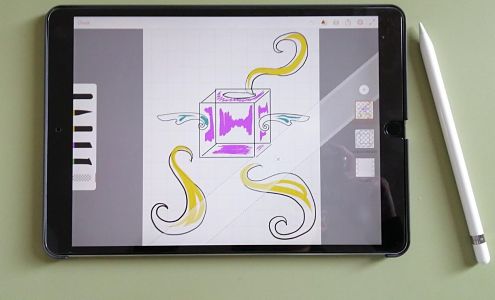
_______ ADOBE DRAW & ADOBE PHOTOSHOP SKETCH APP _______
I was already familiar with Adobe Illustrator Draw and Adobe Photoshop Sketch for iPad pro.
Both apps have a simply User Interface, created for quickly sketching out ideas.
They comes with limited tools like: different sets of brushes (24 in total), basic shape forms,
link to Adobe desktop, and the possibility to export in PDF, PSD format.
__________________________ GIMP __________________________
I had already used GIMP for resizing images, but this time I wanted to experiment with layers, effects and filters.
I tried to change the color saturation and play with other filters and parameters. I also added star and light effects.
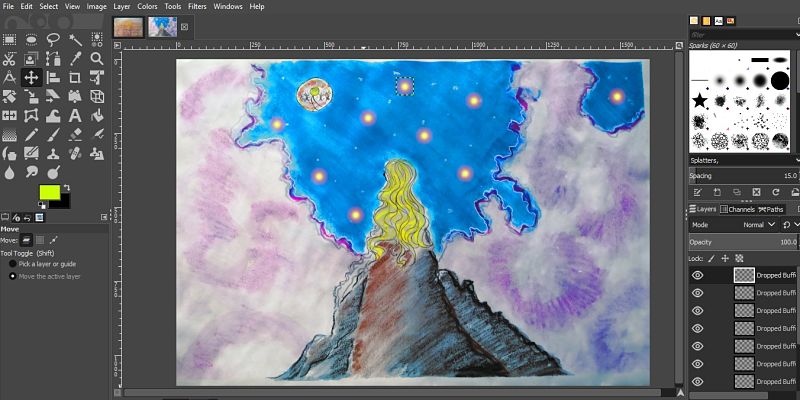
I also tried to inchorporate two different drawing, using two different layers and different level of opacity.
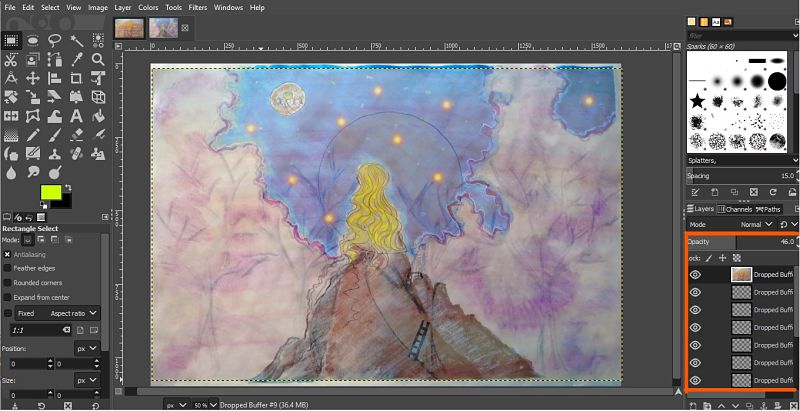
GIMP is definitely the top-free alternative to Adobe Photoshop, for its versality and the range of tools that offers.
I would like to learn more about it ad I will continue experimenting with it in the future.
_______________________ INKSCAPE _______________________
and Inkscape.
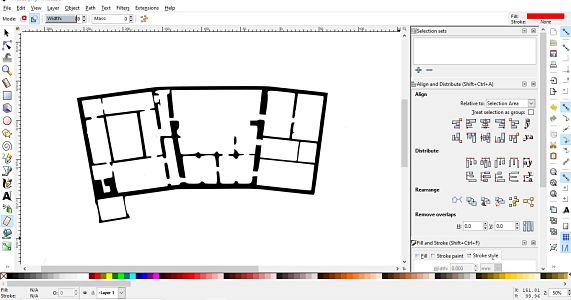
but it was my first time using Inkscape, The instructor gave us an overview of basic tools like zoom, creating shapes, fill and stroke, align and distribute when you have multiples figures. I learned how to import images, how to move multiples images at the same time (with the "group" option). and how to render an image (select "path" from the toolbar and then "trace bitmap").
| 3D CAD |
I have never created a 3D model, nor have I ever use a software for 3D modeling, but I was excited to use them for the time. I tried a couple of them, and I have also tested 3D modeling apps specifically created for Ipad pro in combination with Apple pencil.
_________________________ SHAPR3D _________________________
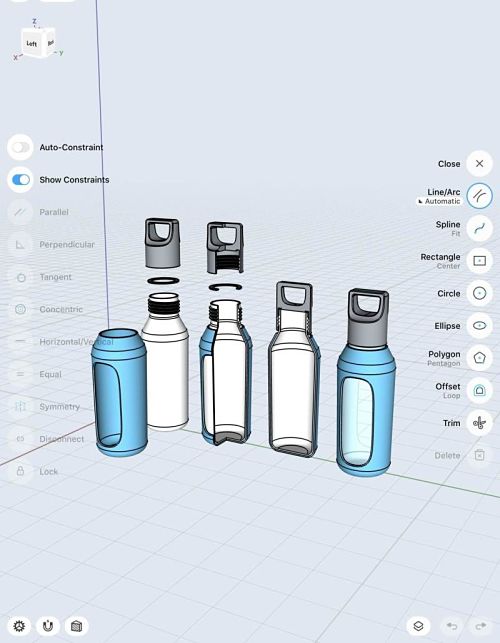
Shapr3D is a mobile 3D CAD app for Ipad pro, in combination with apple pencil.
I have always seen lots of comments and praise about this app, and once I tried it, I understood why. The direct modeling with apple pencil make the 3D design process so effortlessy, even for a begginner like me.
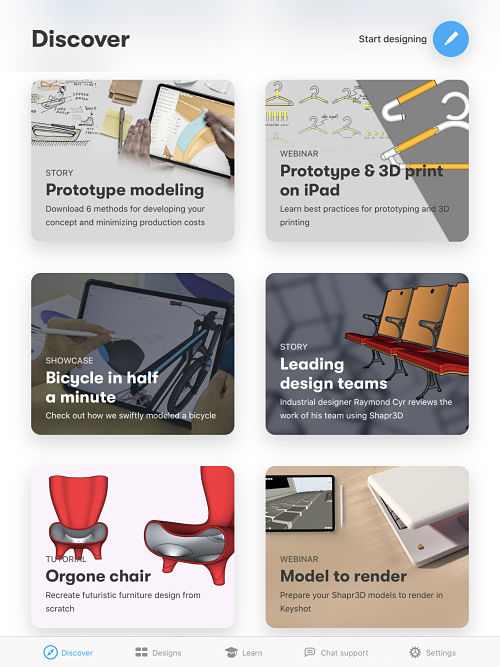
Lots of tutorials and web seminars are also available, even on side-screen mode.
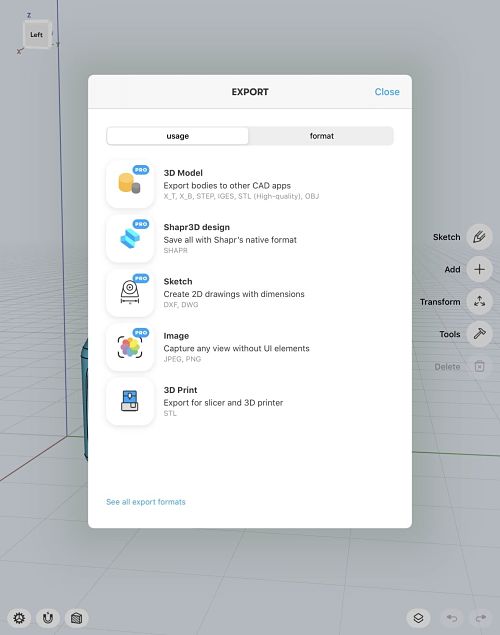
It contains almost the same features of other 3D CAD software, and the free version offers the export feature in the STL format.
The only limitation I can see at the moment, as it was pointed out by my instructor, is that Shapr3D was developed for Direct 3D Modeling, and for the next weeks, Parametric 3D Design will be required.
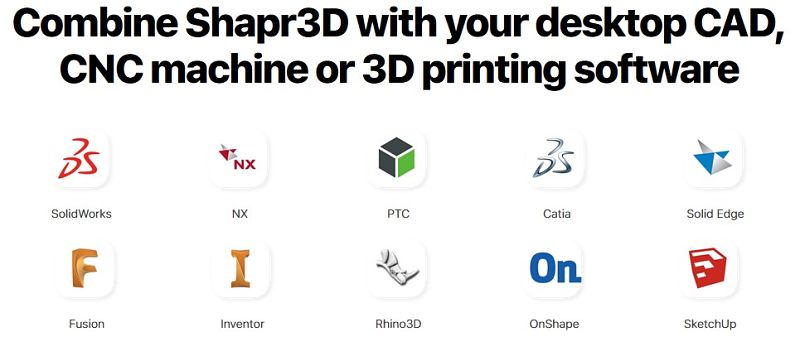
Thankfully, the app allows to share your works with multiple 3D CAD software, even the ones that runs on browser (like Onshape). So, I think that matching the mobile 3D app with a more powerful software on the computer will definitely be the best option.
_________________________ XDESIGN _________________________
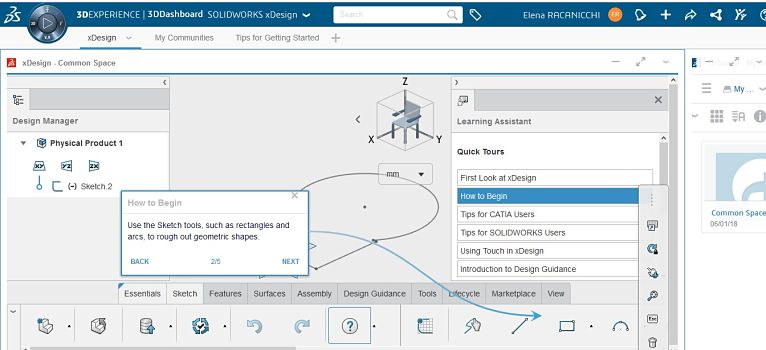
xDesign is a 3D, parametric modeling program lounched from the 3DEXPERIENCE Platform.
It works on a browser and it is the cloud version of Solidworks,which means that it stores your files directly on a database on the cloud.
When I first used it, I was overwhelmed by the interface, which appears more oriented on professional users.
I found it confusing at first, and it took me half an hour just to create a document. Even the slide toolbar was tricky
to use because I couldn't have all the functionalities visible at the same time.
After watching a few tutorials on youtube, I was able to understand the basic tools and make the first steps on creating shapes.
It is indeed a complete and professional program (maybe too much for me right now), but I didn't feel in love with the interface.
__________________ AUTODESK FUSION 360 __________________
Autodesk Fusion 360 is the first 3D modeling software to combine 3D CAD, CAM,
and CAE tools.
I downloaded the education license directly from the link education
on the Fab Academy 2020 schedule - second week - 3D design - programs.
I liked the interface instantly, and it was a lot easier to understand, thanks to video tutorials and training differentiating begginer,
intermediate and advanced users from the Design Academy site.
I tried to recreate the tutorial our instructors gave while explaining Onshape ( I am going to talk about it later).
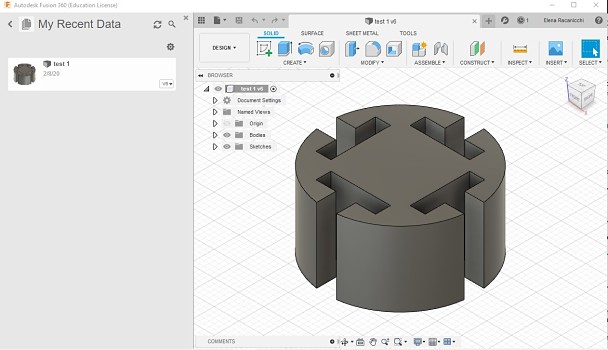
I didn't encounter major issues, other than exploring the interface, seeing how the different tools interact with it, and a couples of crashing.
I experimented on first hands that I can't run Fusion in multitasking mode with different programs or browser pages opened at the same time.
A couple of times the program didn't respond, shut down or the interface got freezed for more than a minute.
Although this is still a superficial evaluation, I can see myself using Fusion for future projects,
but I will keep monitoring how it will perform on my computer.
_______________________ ONSHAPE _______________________
The first 3D CAD program our instructor introduced to was Onshape, and I felt inevitably attached to it.
Onshape is a free product development platform that works on browser.
It has also a mobile version, that allows you to make changes to the document, modifying sketch and saving them on your Onshape account.
On Ipad Pro, in combination with Apple pencil works without any problems.
I think having an IOS app version was a key factor for choosing Onshape as one of my top 3D CAD programs.
An iPad is a much easier, faster, and lightweight option to carry around, especially at work.
I could easily modify a sketch instead of bringing the computer with me.
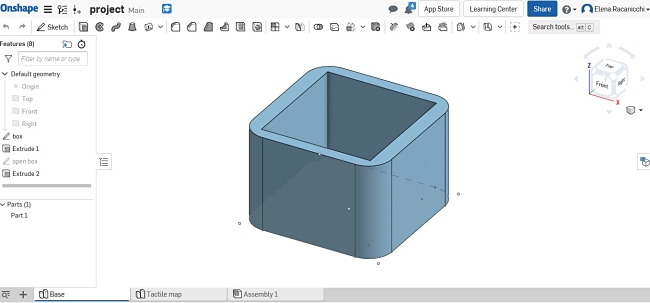
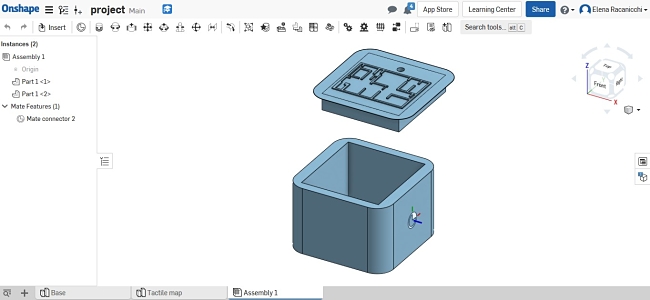
I started creating the shape of my final project dividing it in two key components: the box and the lid with the tactile map.
For the box, I estruded a simple square, created from a centered point rectangular, and fillet the angles.
For the lid, I estruded a first square and then a second, smaller, on the bottom to make it fit inside the box.
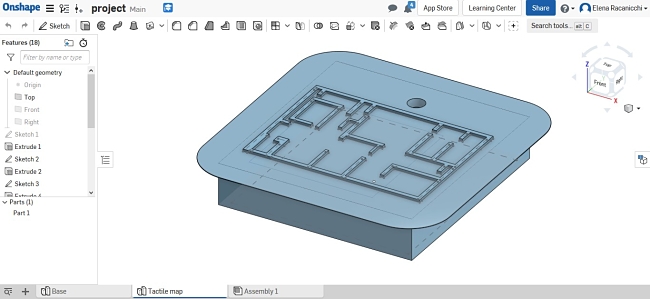
From the images above you can also notice that on top of the lid there is a tactile map and a hole for the eventual "find me" button.
To create the tactile map I first tried to use the vectorial image of the map of the museum (Museo Civico in Siena).
I converted the raster image to vectorial image with "Trace bitmap" in Inkskape, I exported the file in "dxf" format and imported it in Onshape.
When I tried to insert the "dxf" file into a sketch on top of the lid, a message appeared saying that the dxf file had degenerated and in fact I couldn't extrude it.
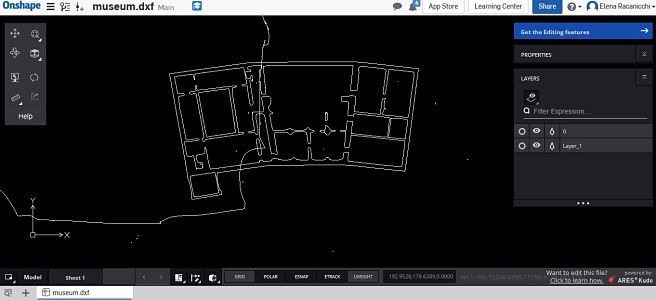
I couldn't even modify the dxf file because that is a pro feature in Onshape and you have to pay a subscription. So I decided to simply add an image to the sketch and I imported on Onshape the vectorial image of the museum map in the "png" format.
Then I created another sketch and, following the image in the previous sketch, I traced every line and extrude them to create the tactile map.
The final assembly looked like the following image:
_______________________ SKETCHFAB _______________________
Last but not least, I wanted to add Sketchfab into the documentation.
Sketchfab is a really helpfulf 3D CAD tool. It is, in fact, a platform that allows you to publish, share, and discover 3D content on web. The steps that I followed to make the download of the project accessible to everyone are the following:
1. Importing the Onshape project saved with a "STL" format on sketchfab by clicking on "upload" in the right upper corner of the sketchlab site.
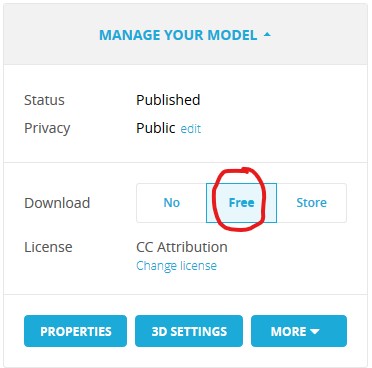
2. Once your project is uploaded on sketchfab, you will notice on the right a "manage your model" window.
"The download" line is set with a default mode "no". You have to change it to "free" in order to not have a limit amount of uploads. Like the image below.
3. Then you are ready to click "Save and public".
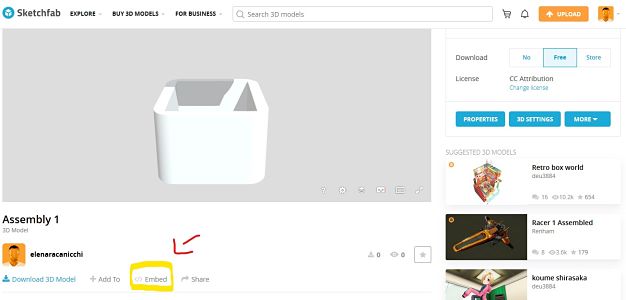
4. When your model is ready, you will be notified with an email. At that point you have to click on "Embed" as the image below shows.
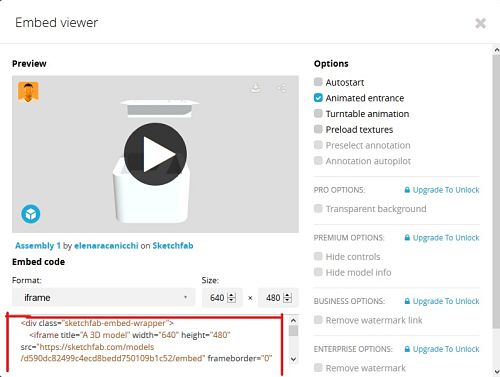
5. Once you click on "Embed" it will appear a windows like the image below.
On the bottom there is the code you will have to copy and paste on your HTML editor.
Once you have done all the previous steps, this kind of window will appear on your site:
