Trap Manufacturing
Manufacturing
To manufacture my trap i needed:
Laser cutting
CNC milling
3D printing
CNC MILLING
I choose to make the shape with the alucobond which is a composite panel made up of two sheets of aluminum facing and a mineral filler core that is hardly flammable or even incombustible.i choose it epecially for it’s its weather resistance ; Temperature , rain because my trap will be installed in the agricultural fields in the open air so it will be uncovered which may damage the components inside .
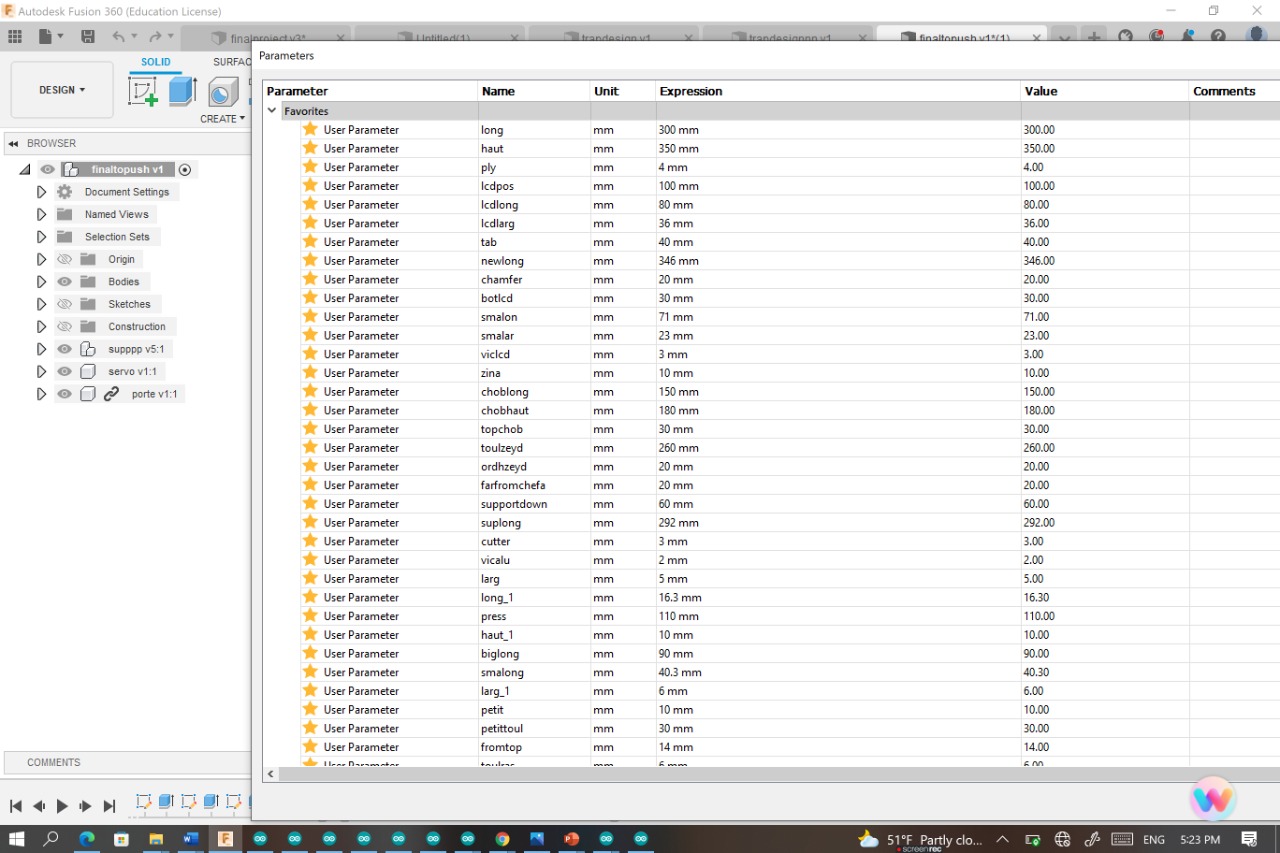
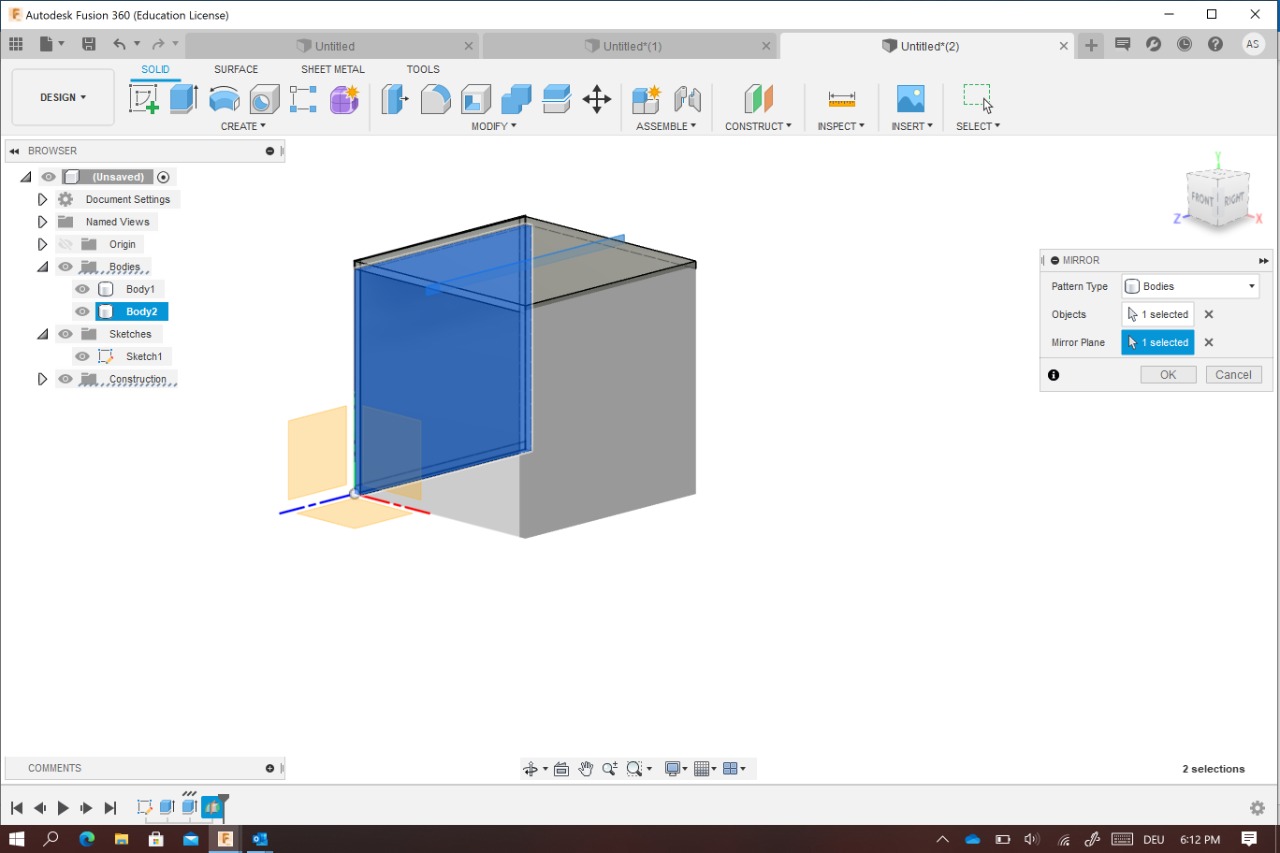
I used Fusion 360 to design my trap shape
At first I fixed all the trap dimensions
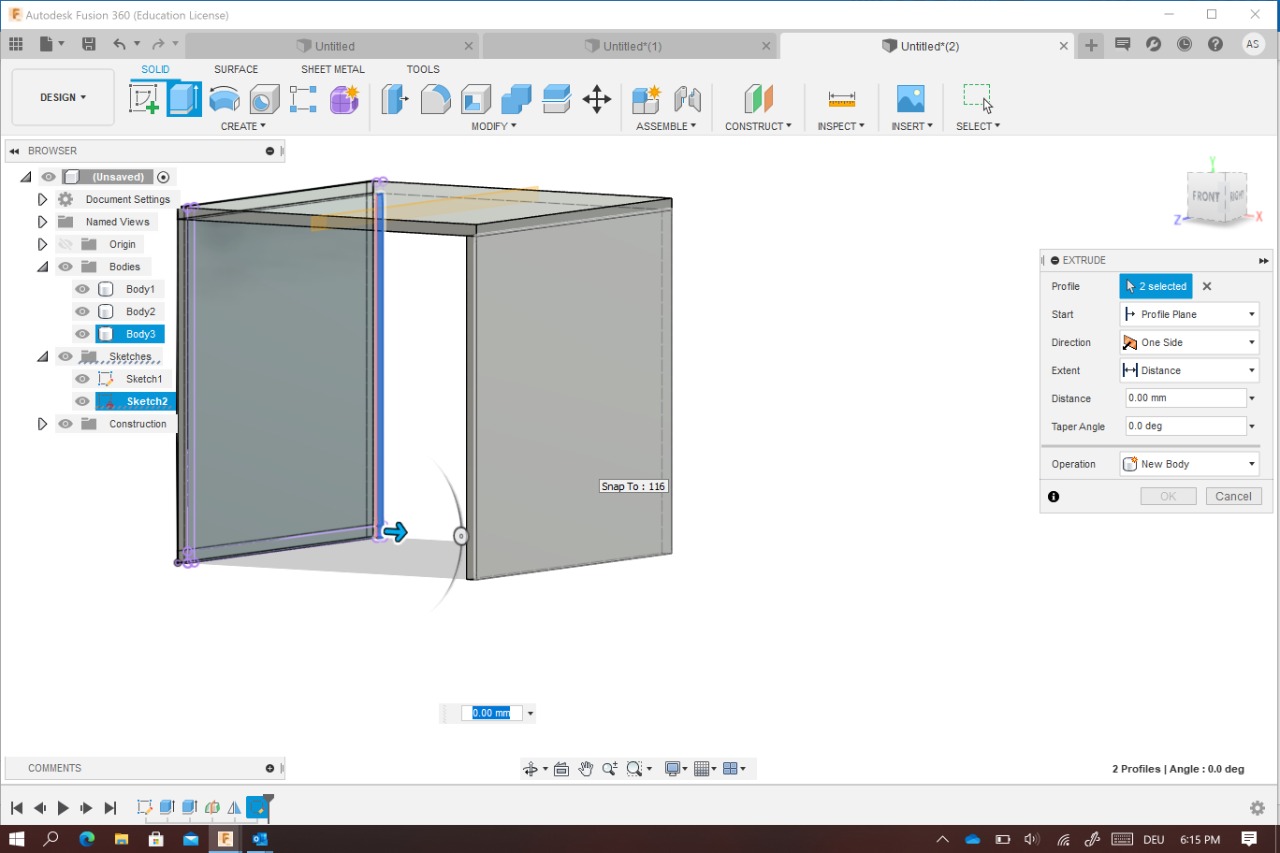
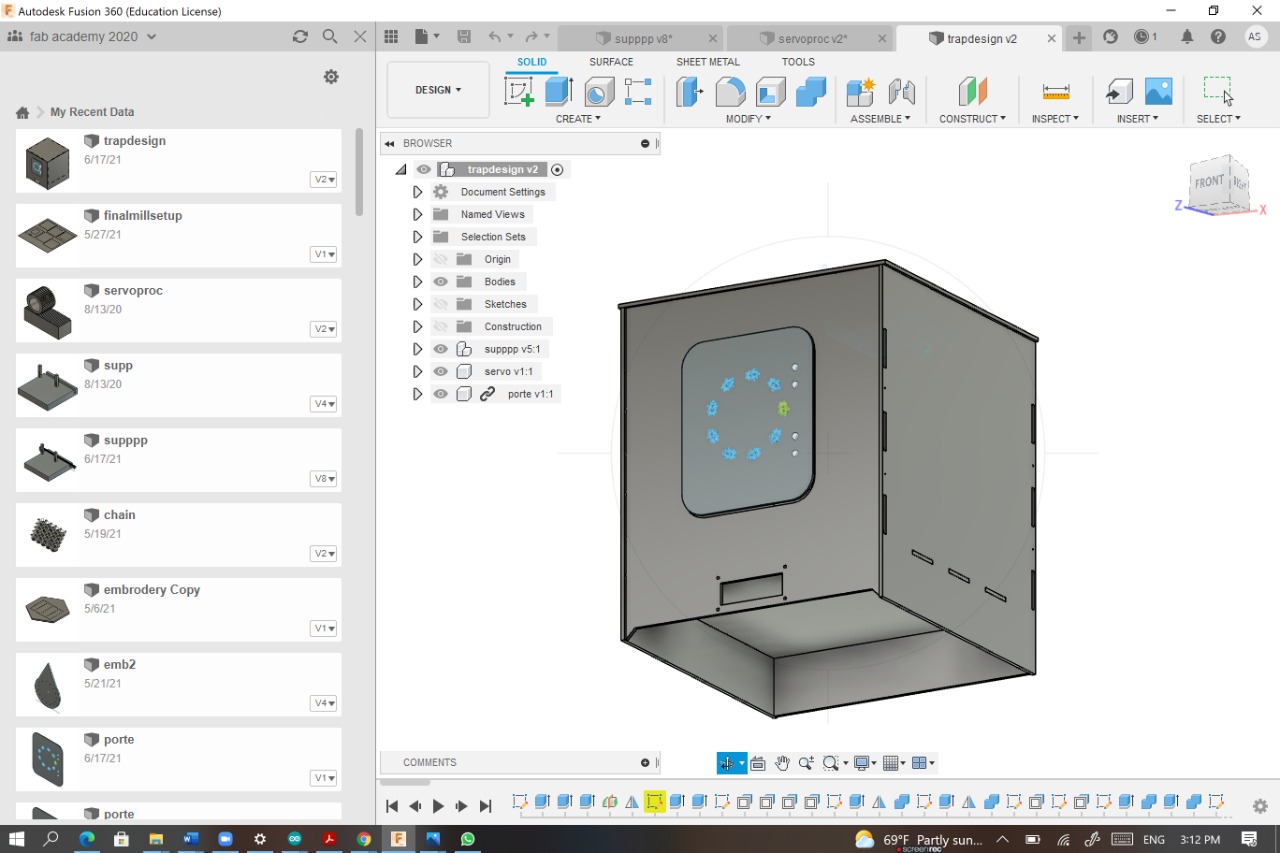
For the design I started with the left side and I used it to make the top by extruding the upper part as much as the width distance
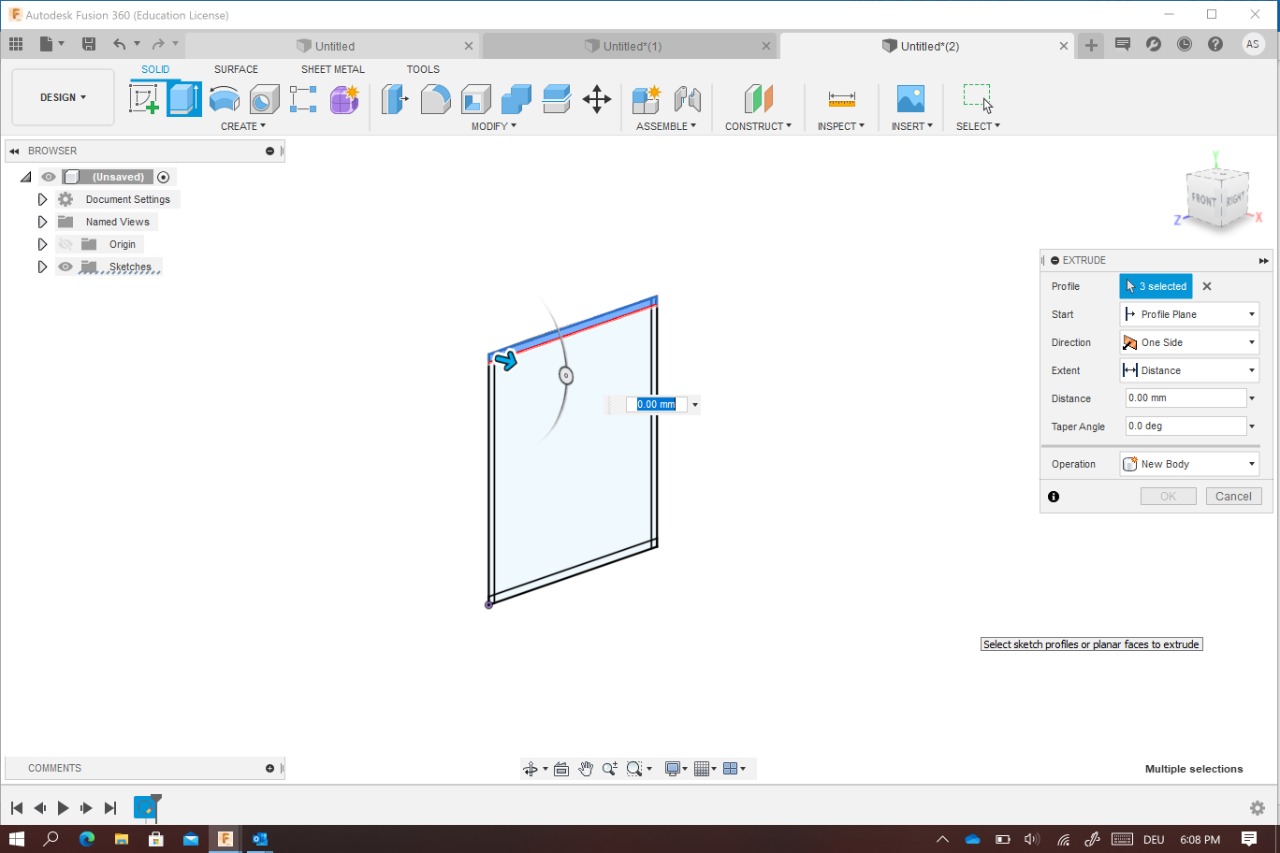
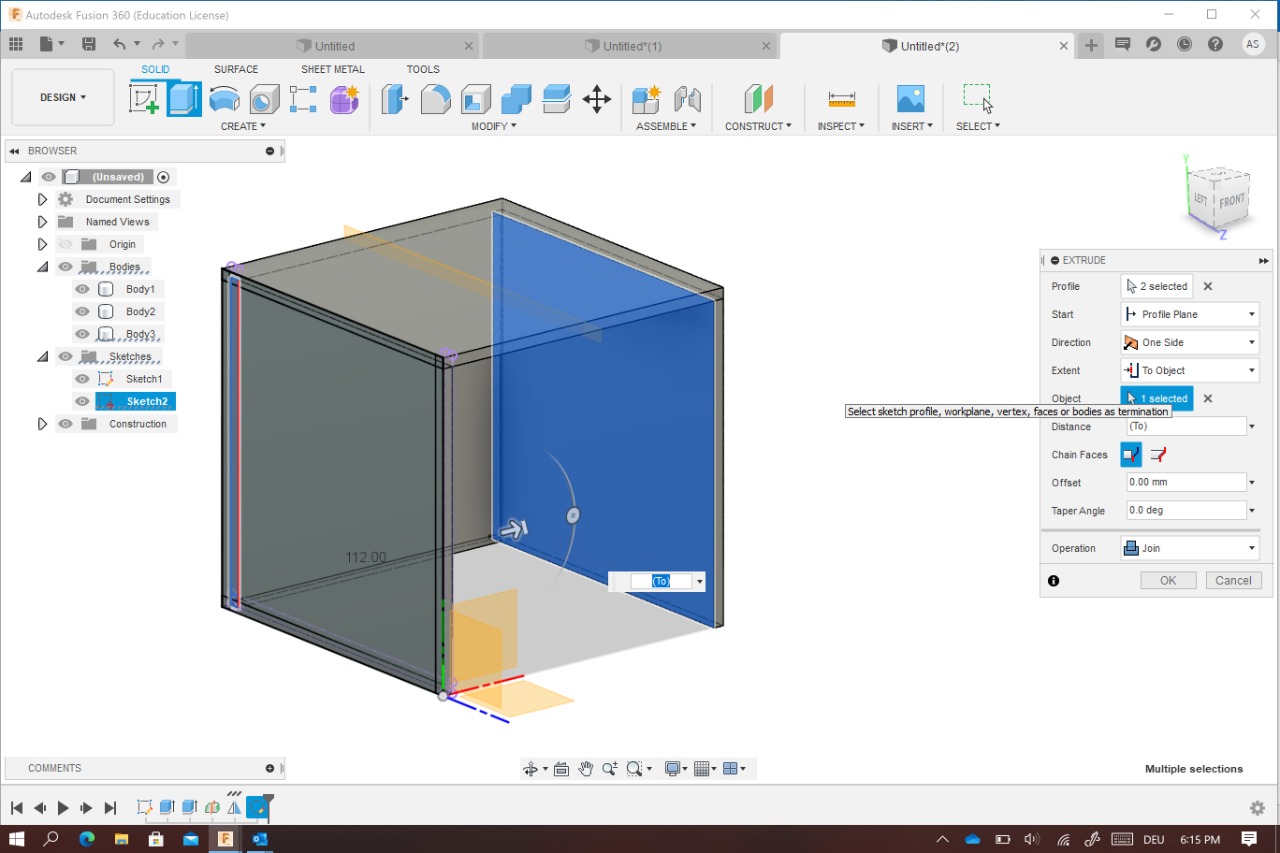
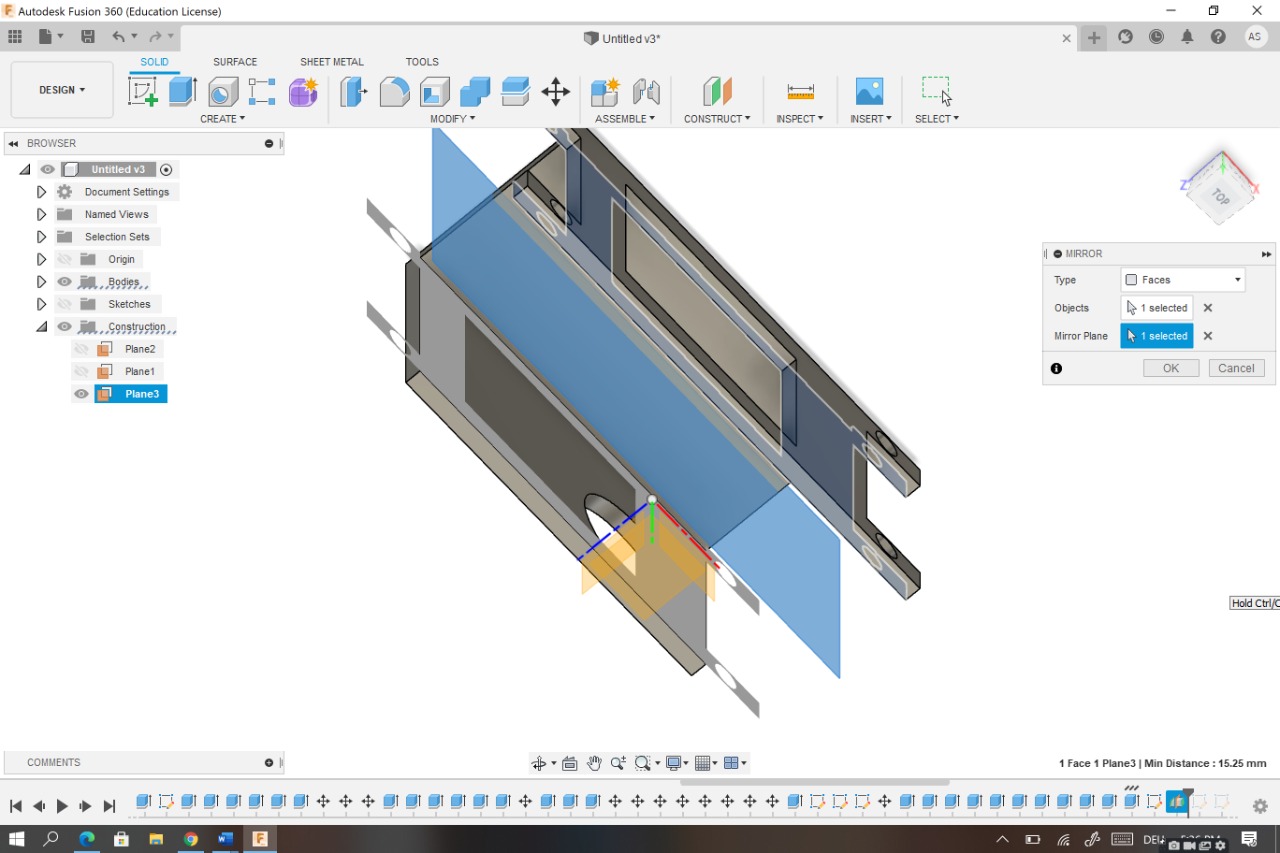
I used the miror option to make the right side then i used the same method as before to create the back and the front side
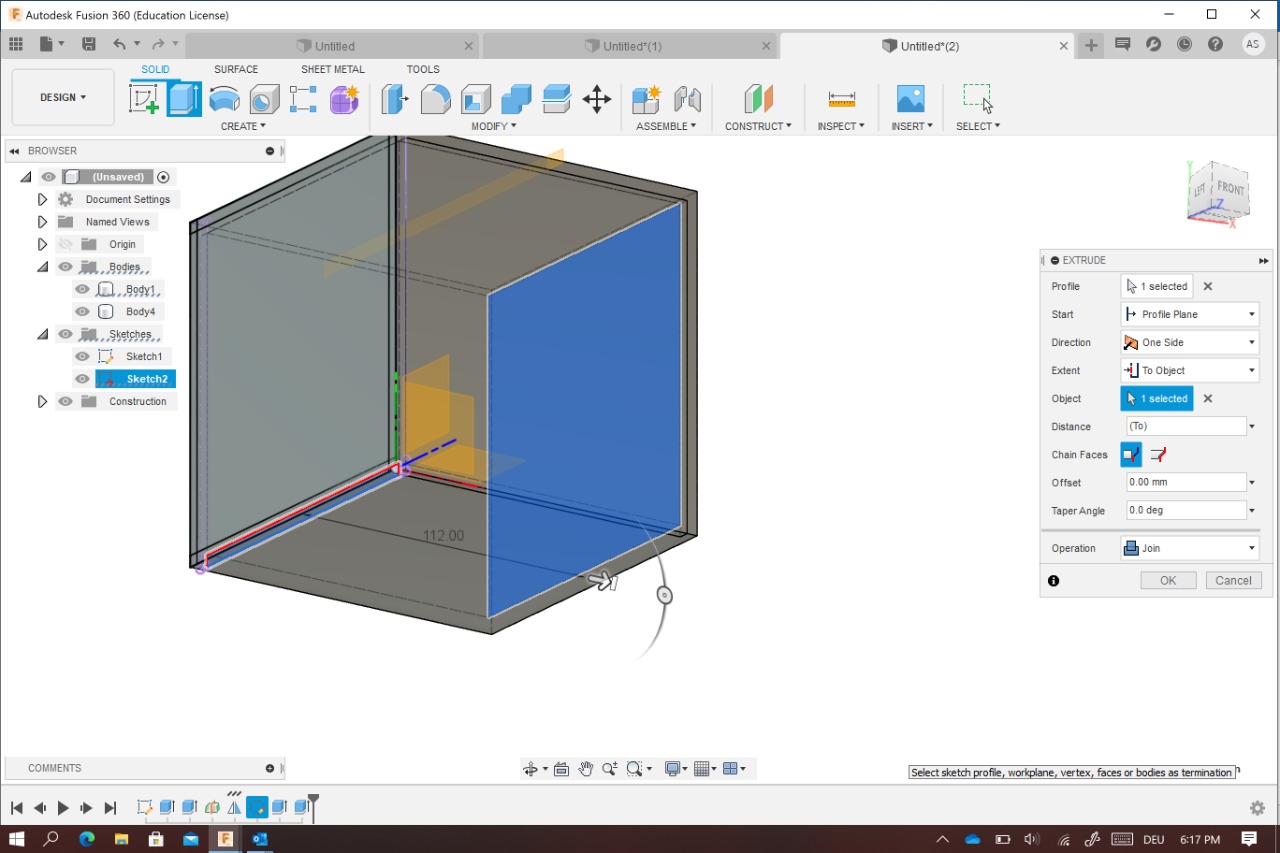
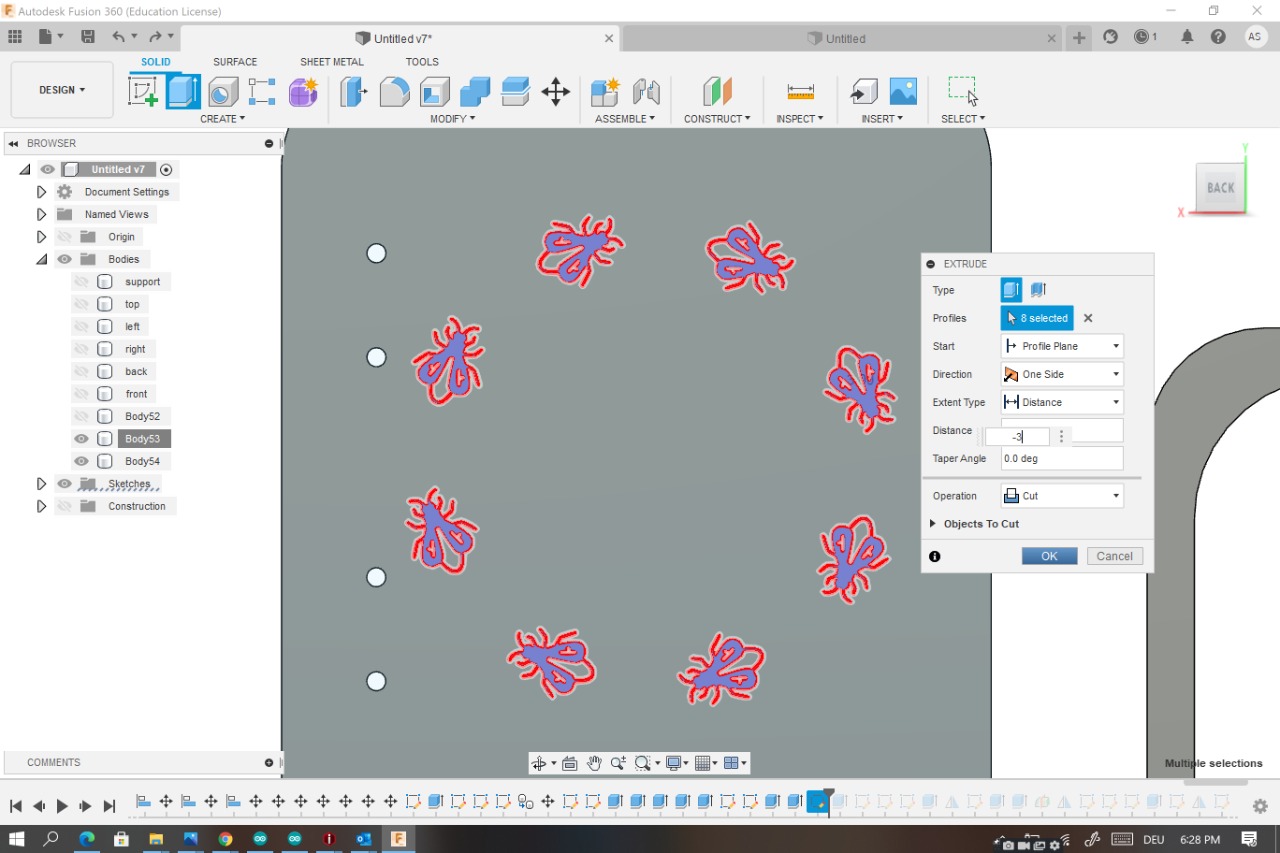
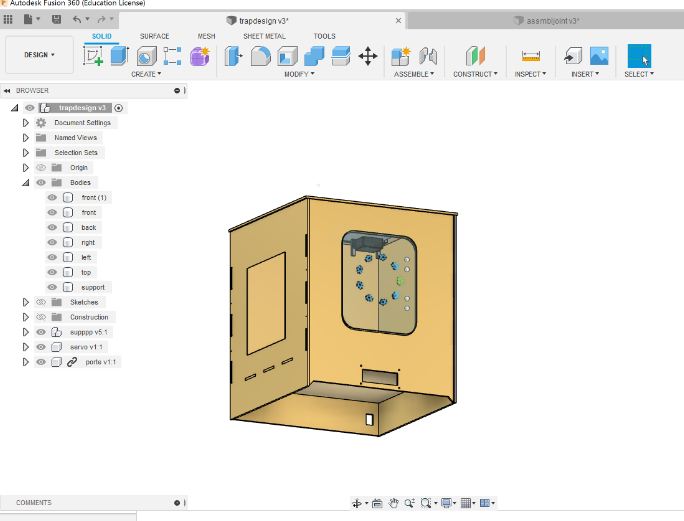
For the front side I had to design the door and the LCD shape I choose to decorate the door with a form of the target insect , these perforations are also from where the insects will enter the trap

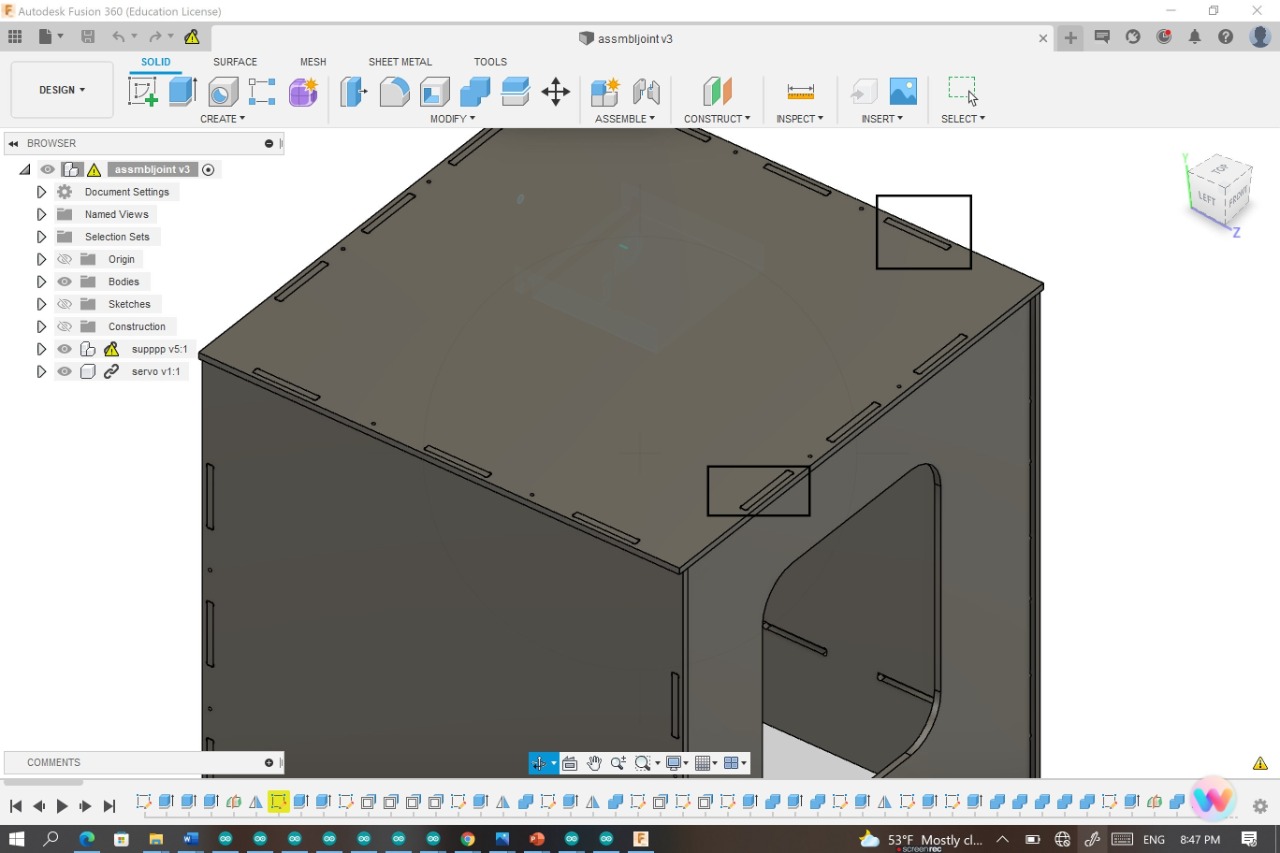
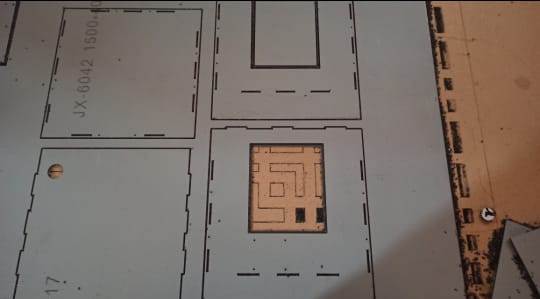
As we know while making corners ,milling tool doesn’t give sharp corners thus joinery fails in the CNC product I used dogbone add in to add circle at all corners of a slot this is because vertical end mill cutter cannot cut square corner
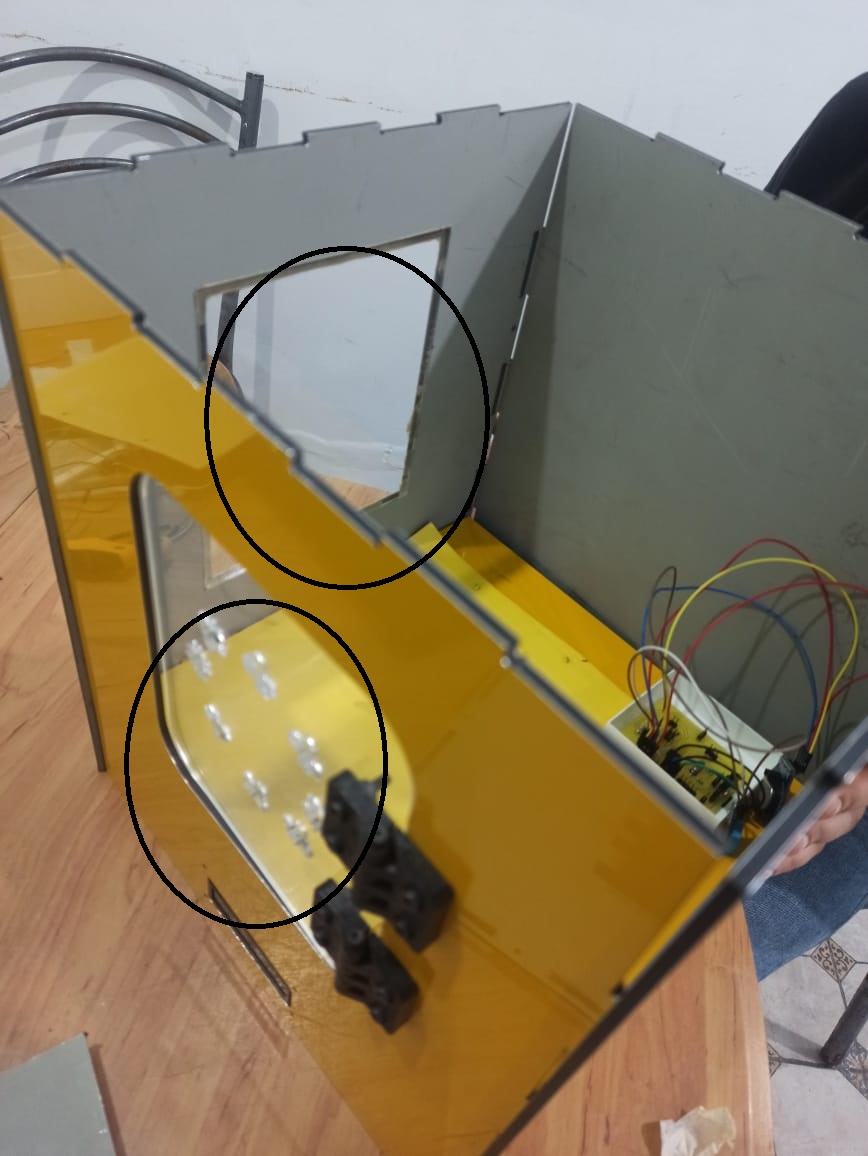
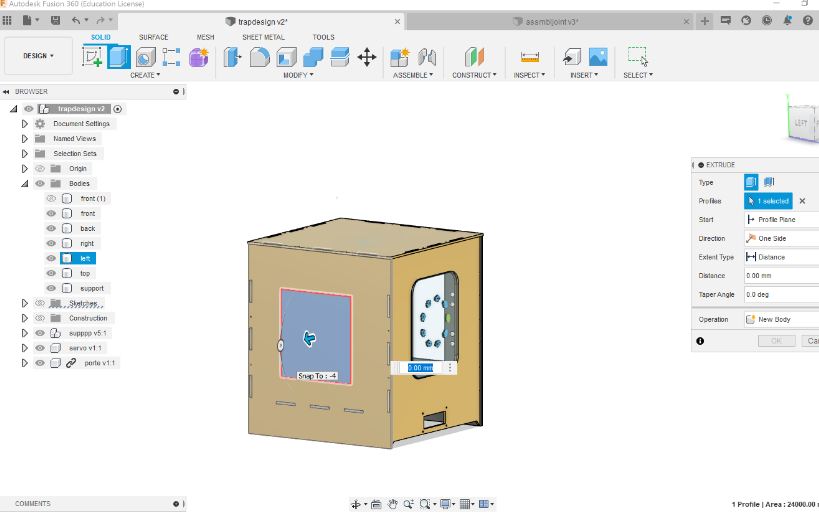
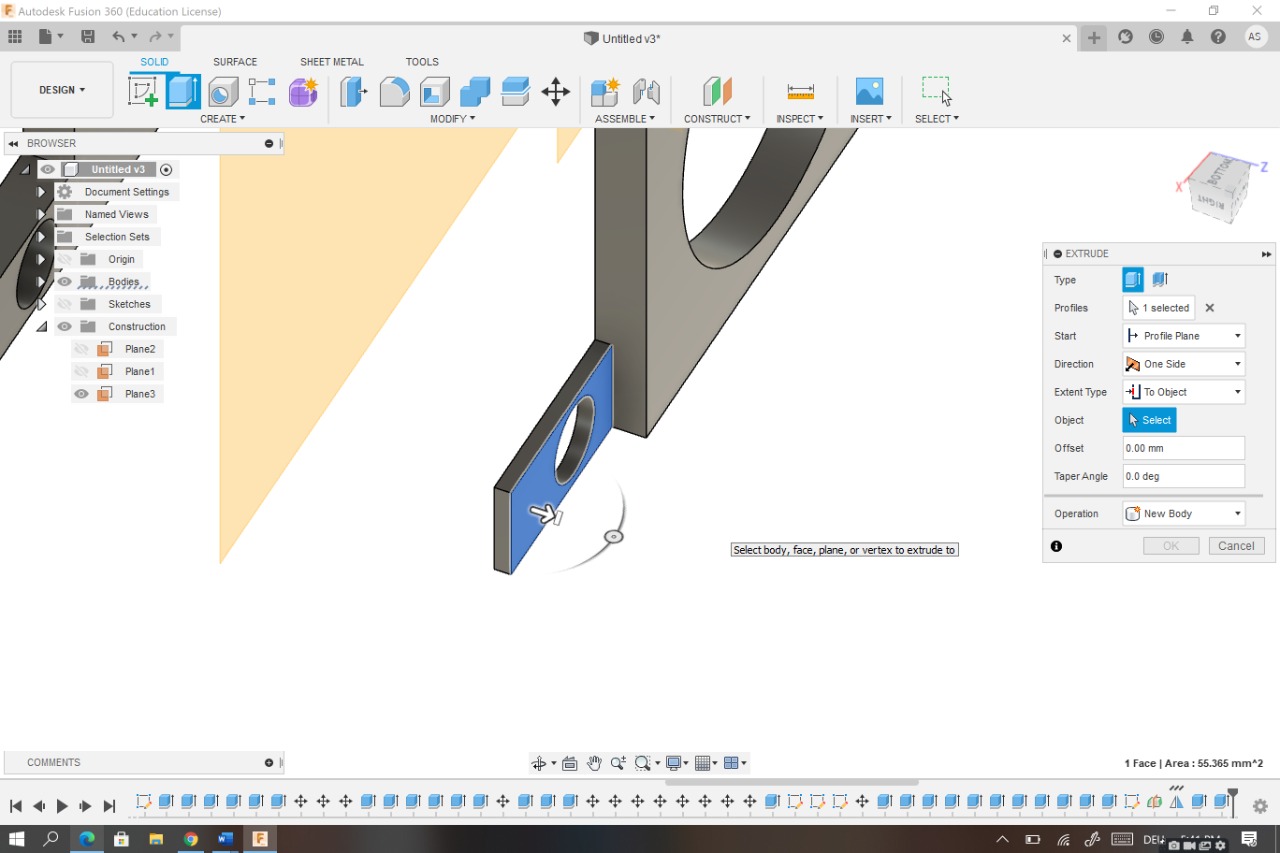
I made windows on the left and right side to be cutted by the laser cutter from plexiglass , I extruded 4mm as i defined the depth
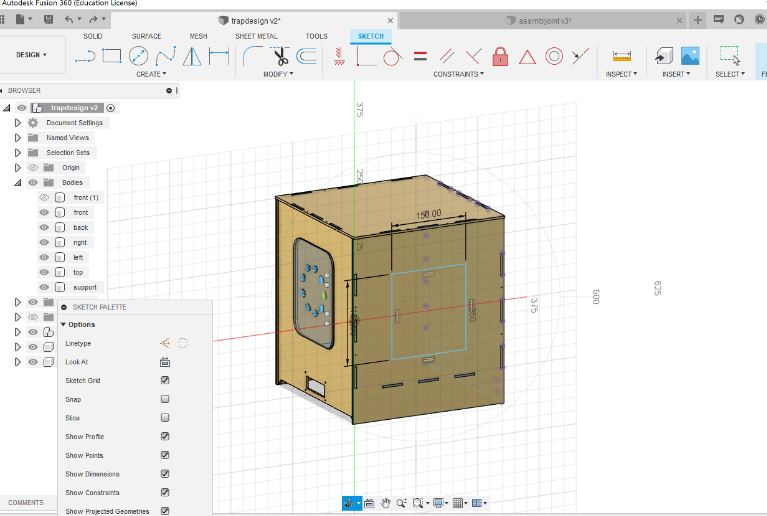
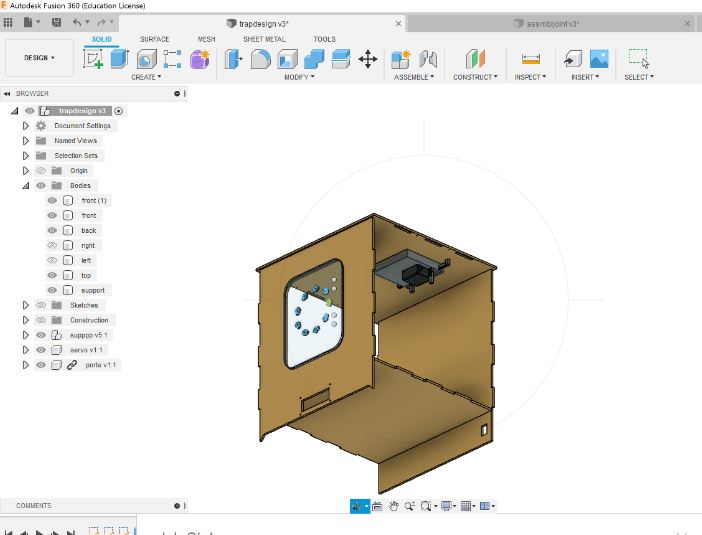
As a final step I imported the linear servo actuator and i used the move option to fix it on the top
For the setup I had to define the stock and choose my (x,y,z) axes I defined my cutter (4mm)
I started with the inner cutting going the outer cutting I selected the inner holes then i movedto the outside for the contour
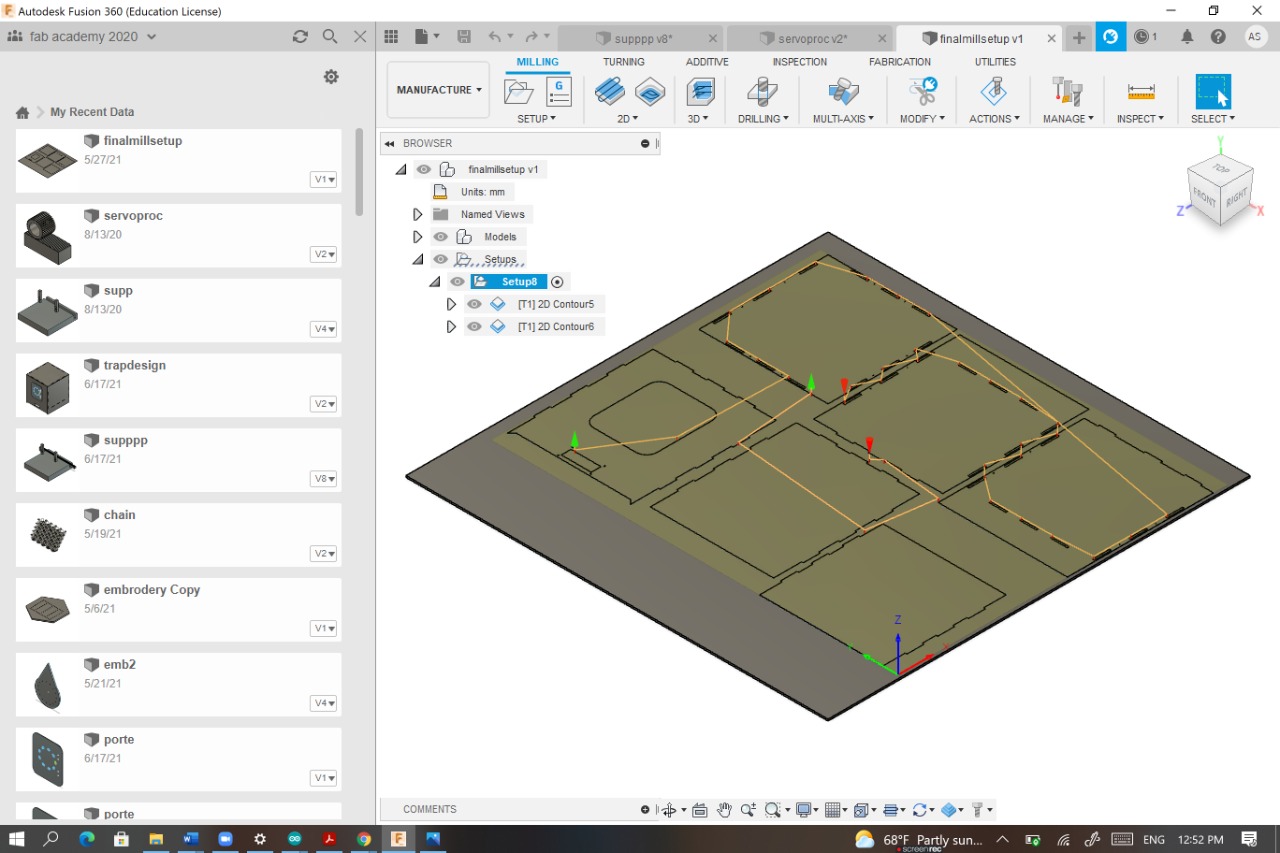
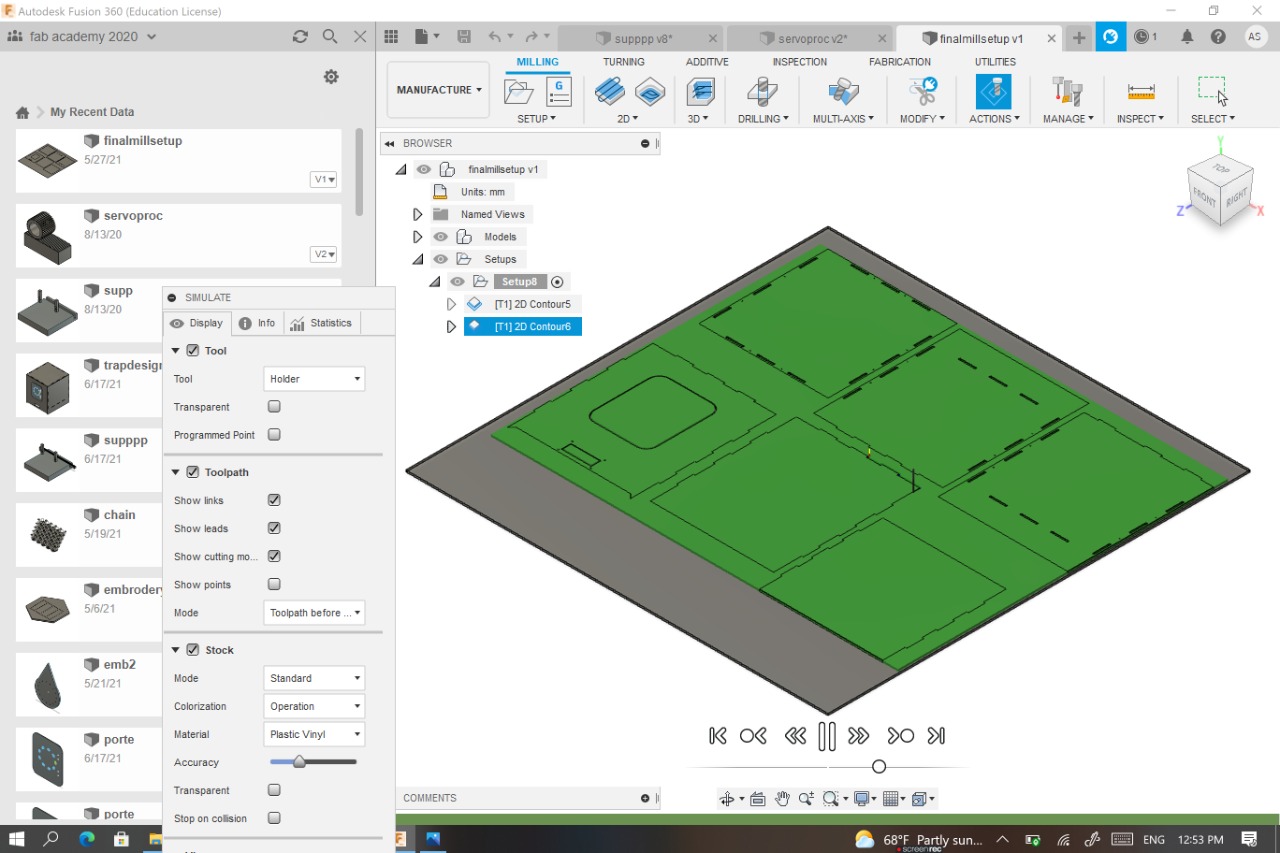 The last step is to generate the Gcode
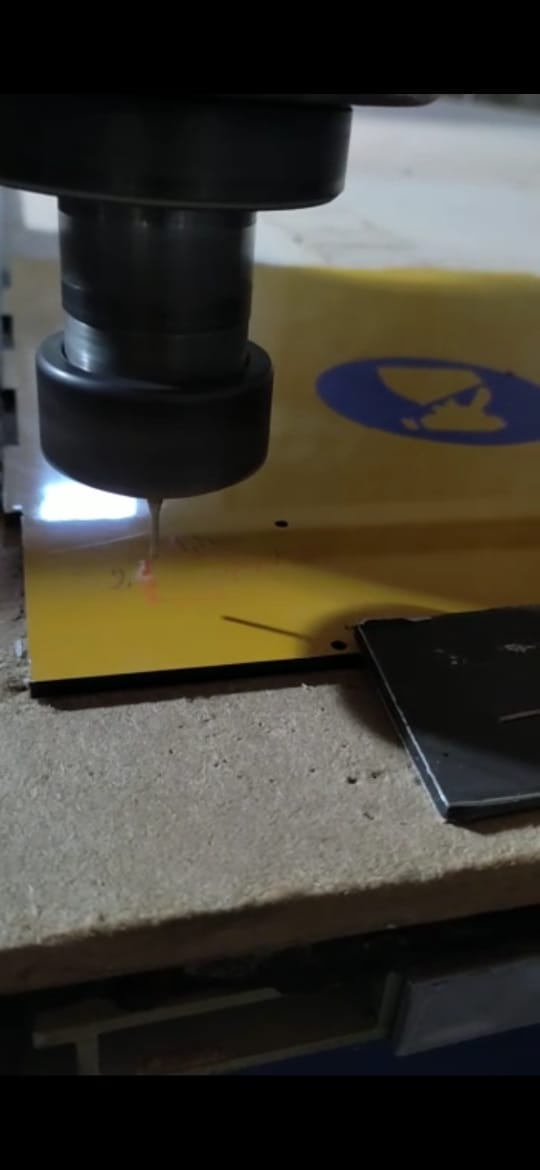
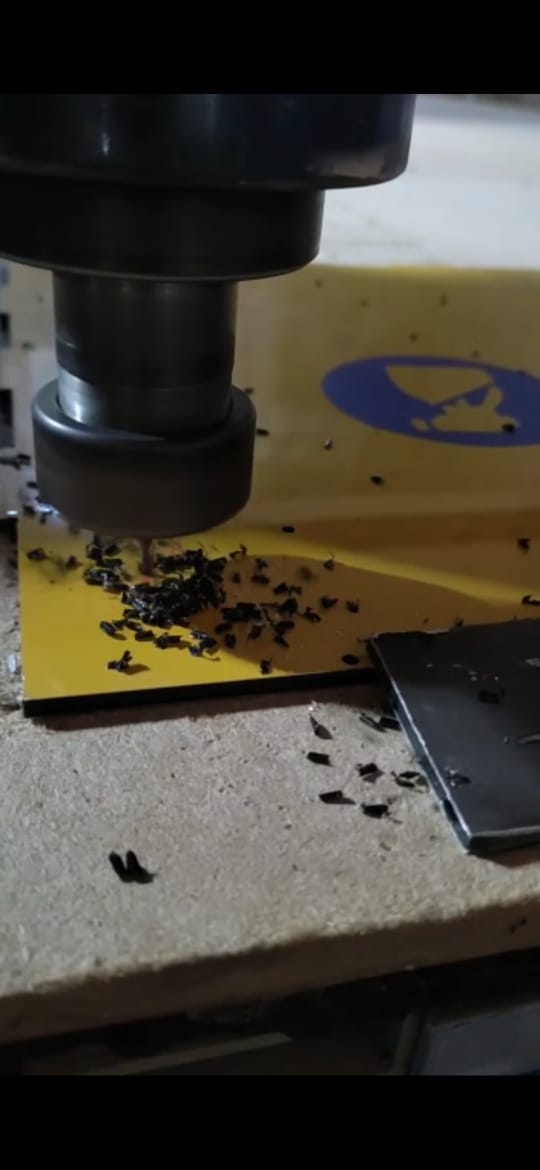
For the making process I used Victor VR0907B cnc machine
The last step is to generate the Gcode
For the making process I used Victor VR0907B cnc machine
Check the fusion file
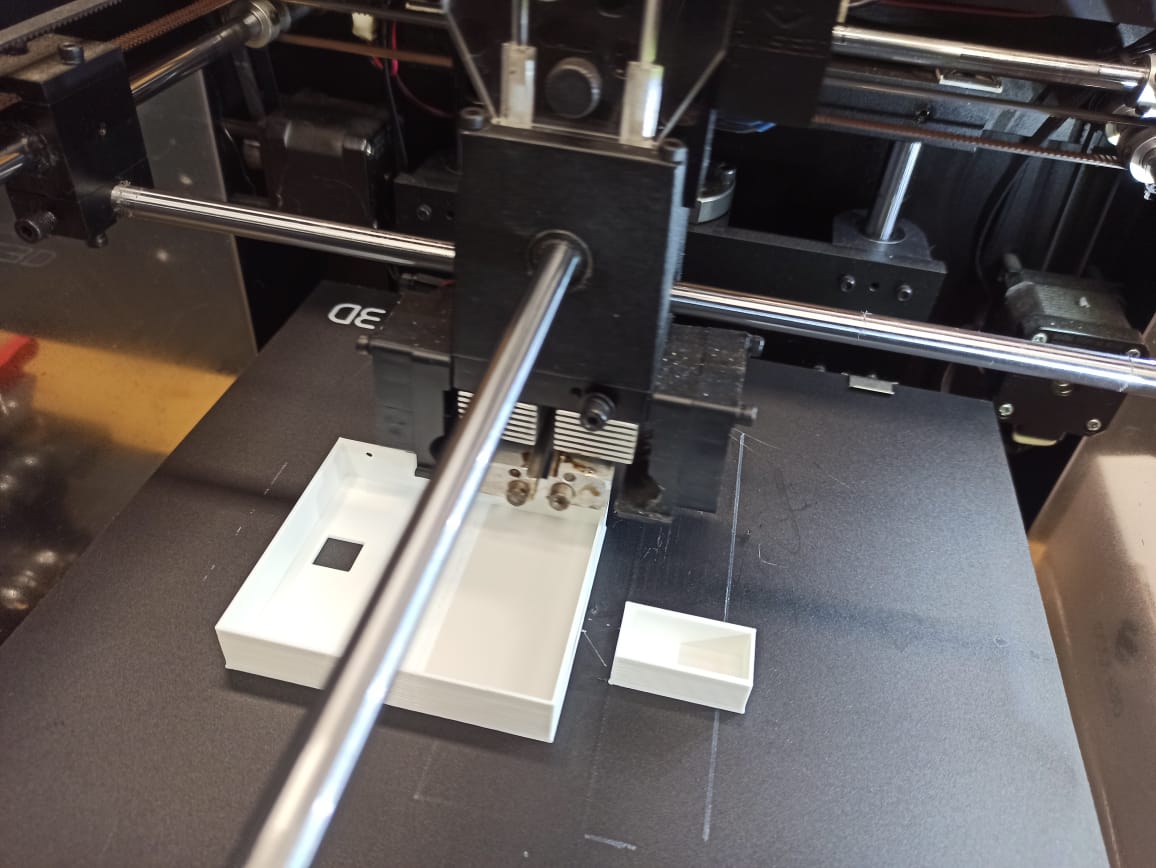
3D printing
I used the 3D printer for two purposes , to print the camera mount and to print the servo actuator
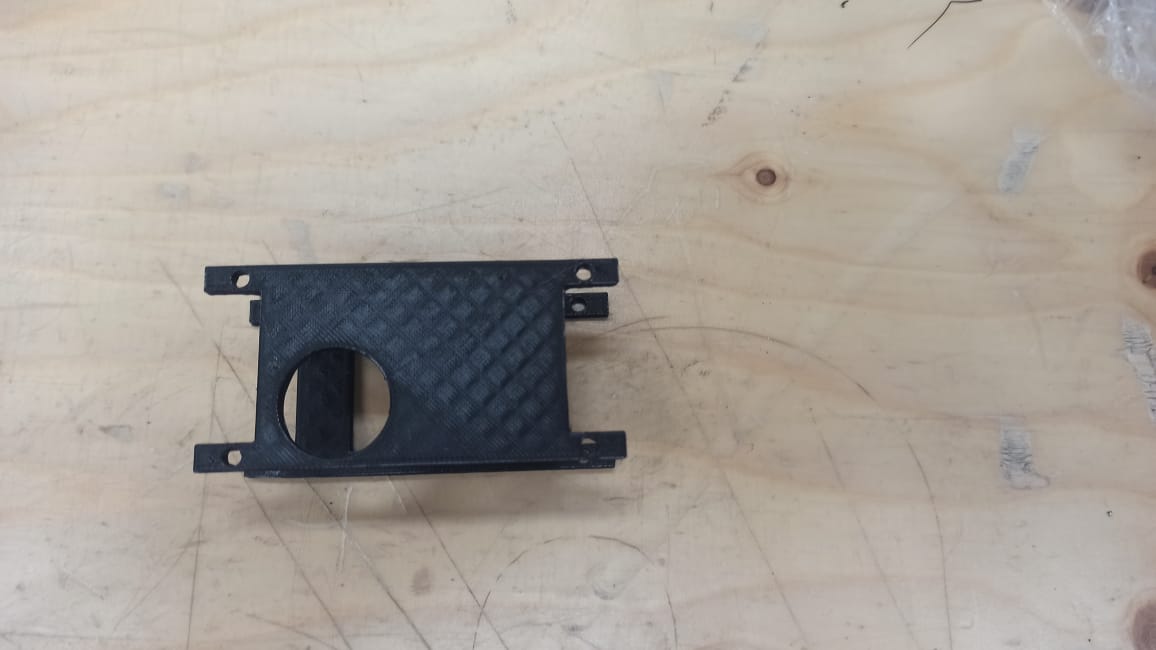
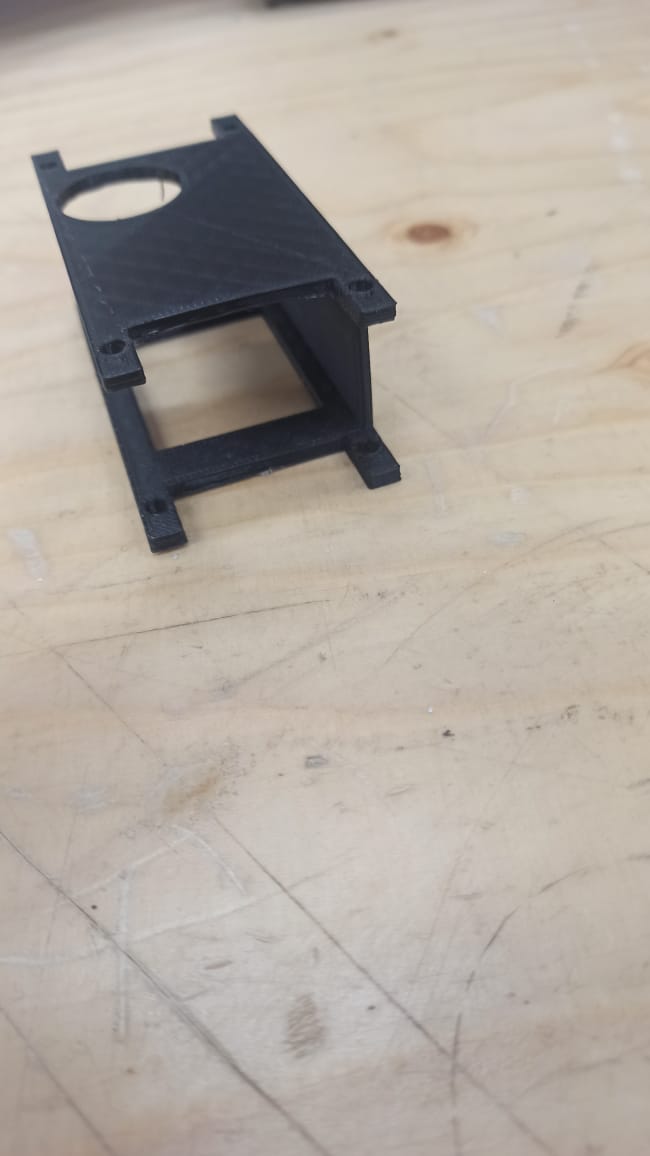
Camera mount
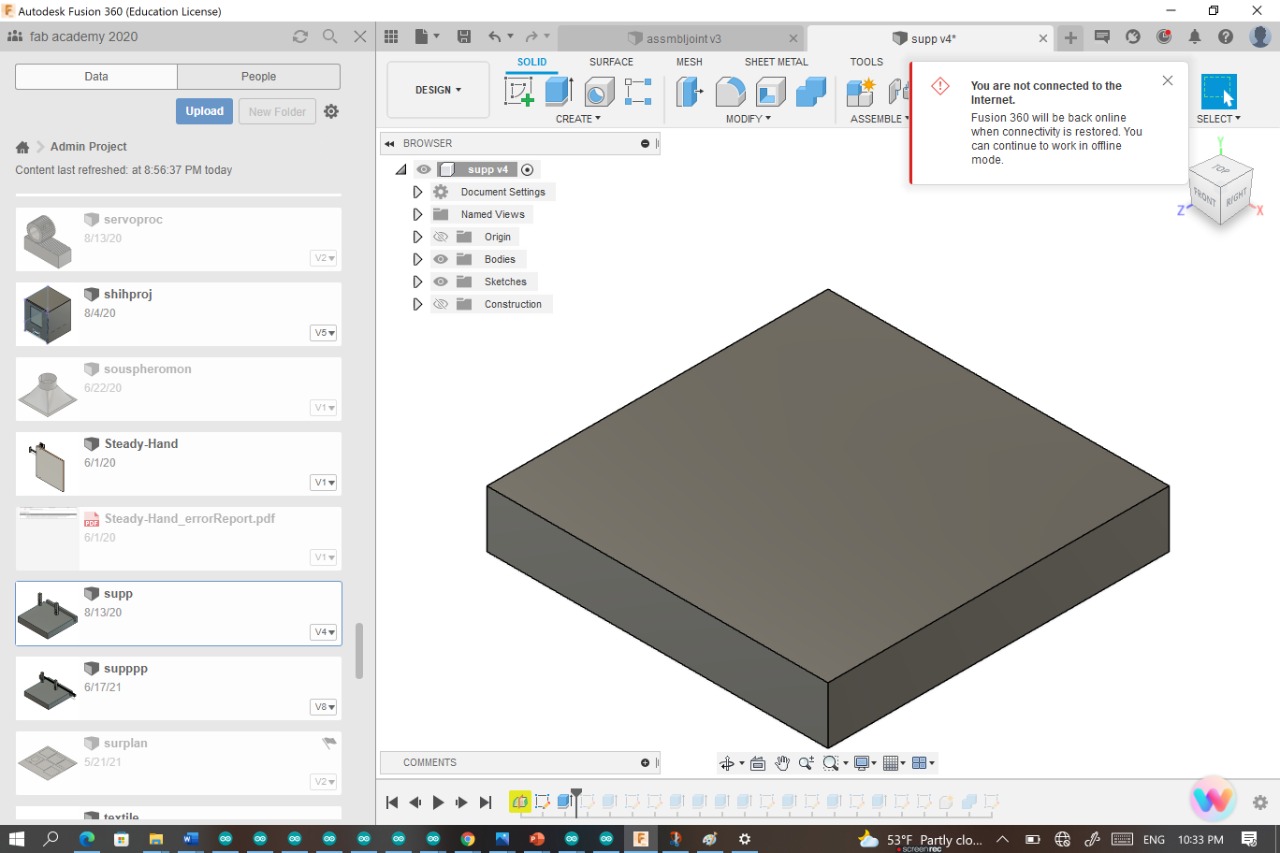
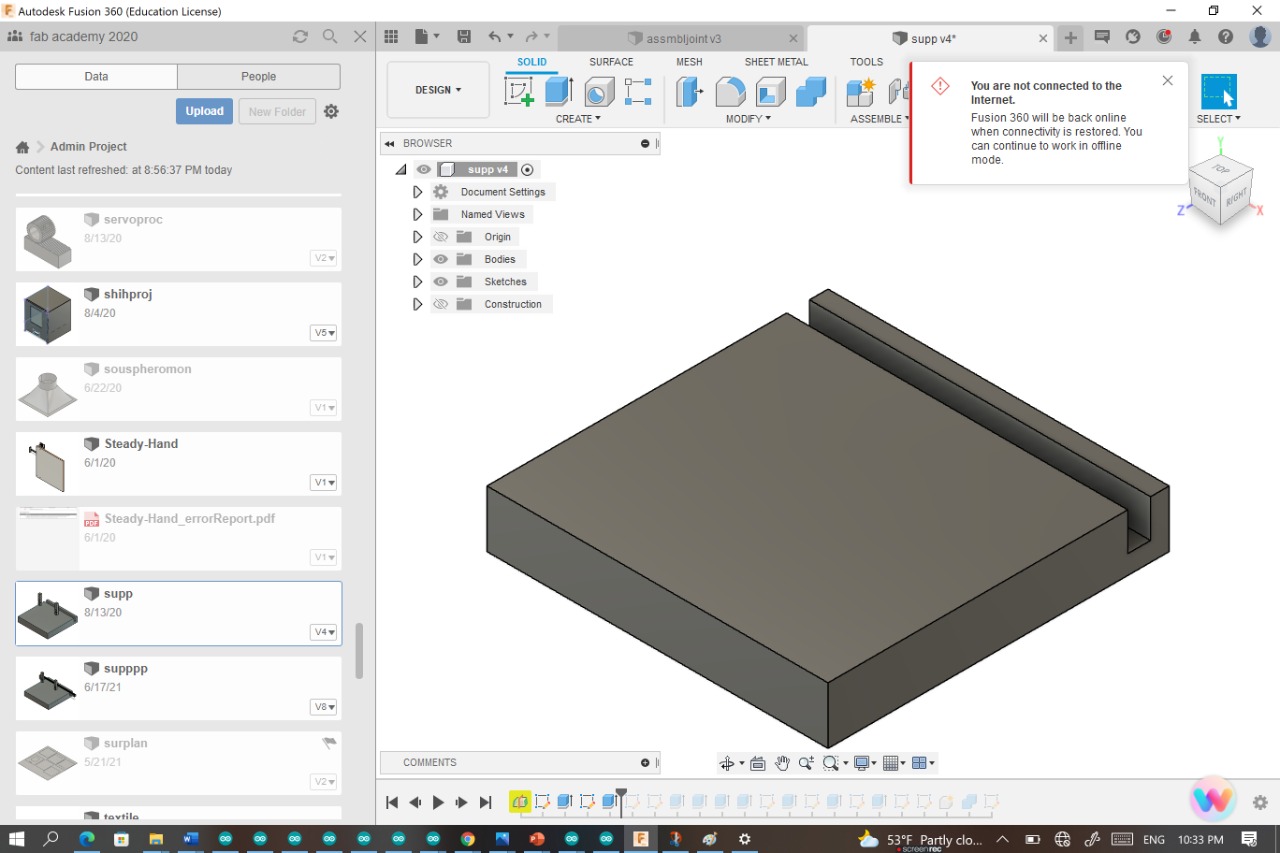
As I mentioned ,I needed the camera to take a photo of the plate at a specific time , for that i needed to print a support for it
check the fusion file
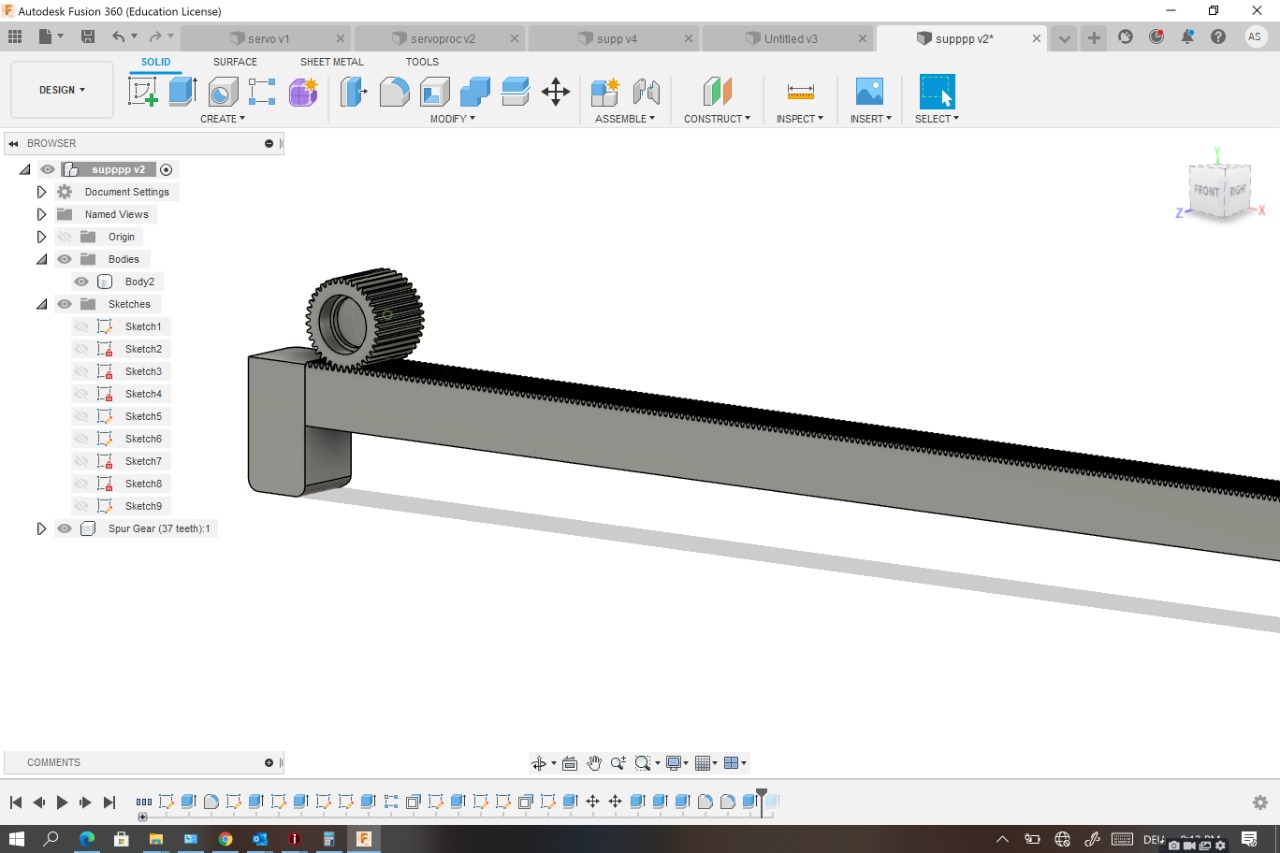
Servo actuator
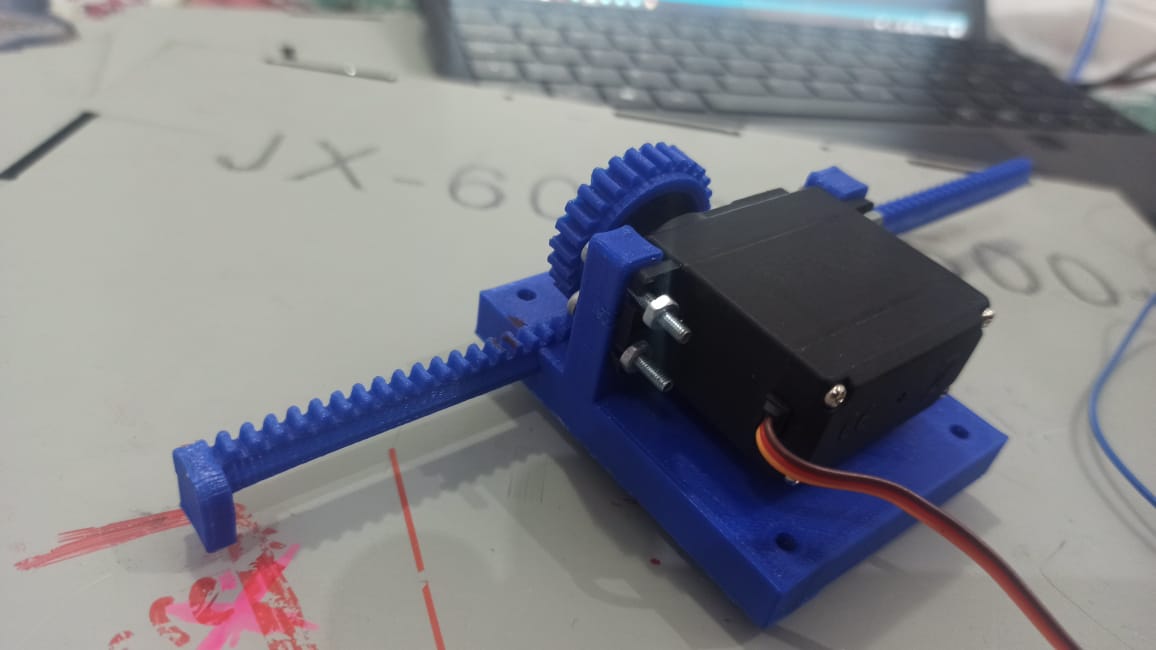
i tried to find a mechanism to push the button-on of my camera at a specific time without my intervention .At first i thought about differet mechanisms but at the end i found tha the linear actuator can solve the issue that’s why i decided to print a pusher , a gear and a motor support
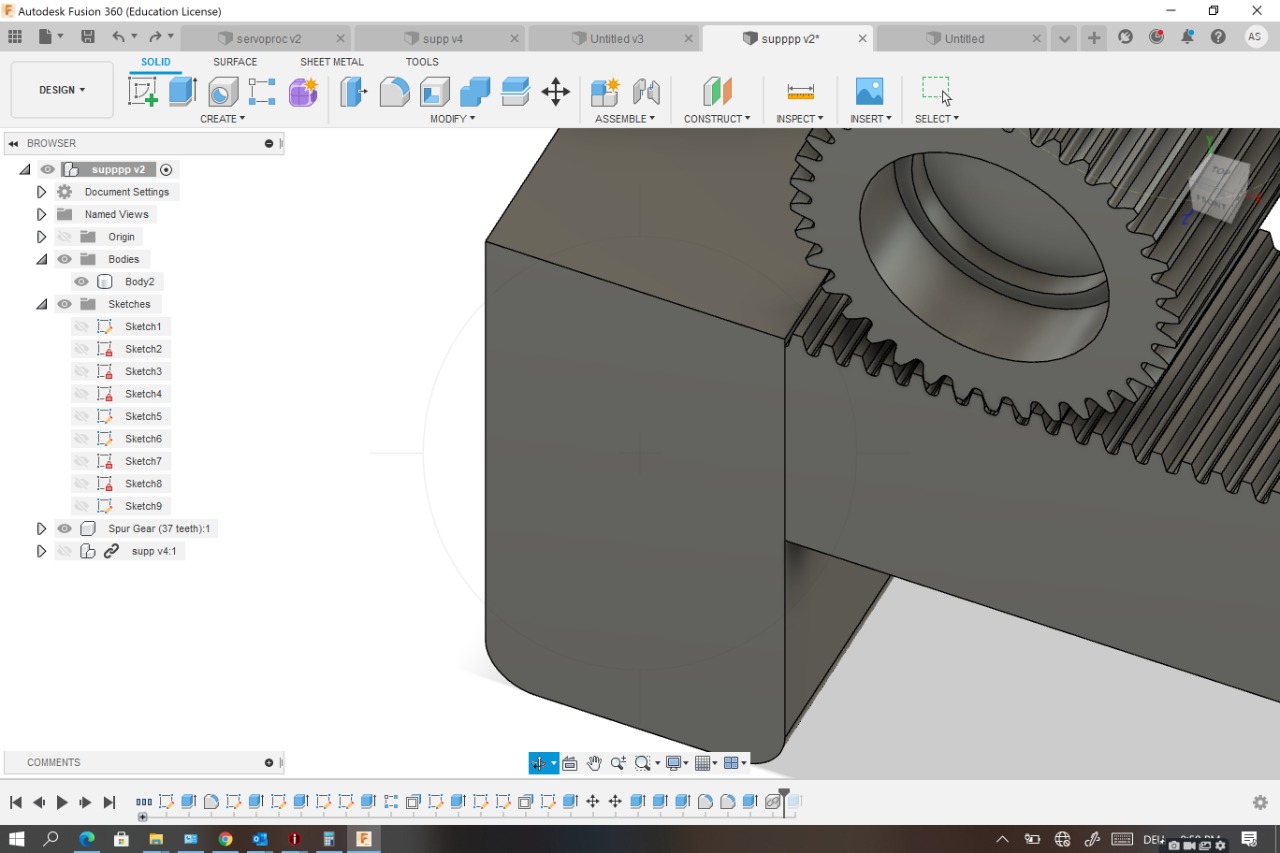
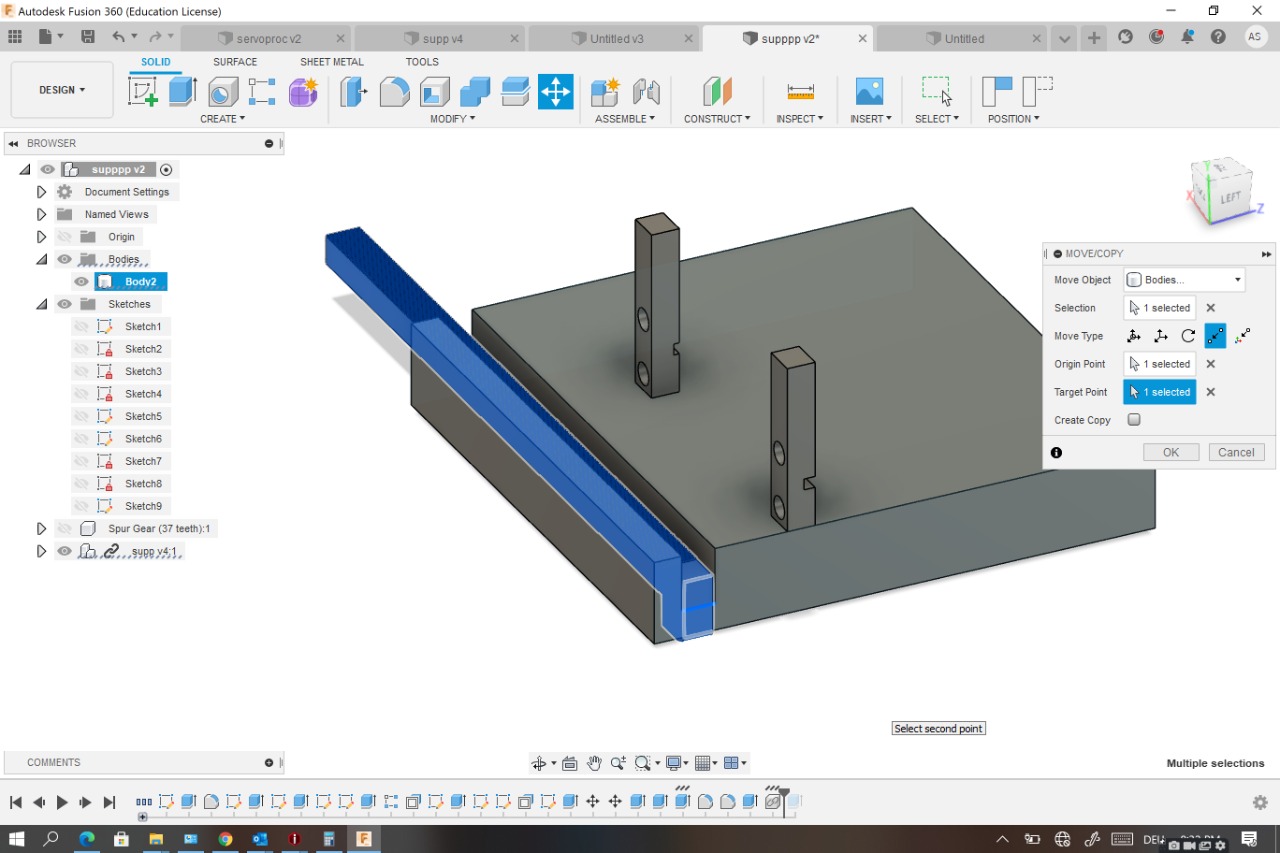
I started by designing the motor and the pusher support I used the MG996 servo motor datasheet to be sure about the dimensions which I should define in the parametres
I extruded the part where the pusher should be mounted and I extruded the perforations where the servo motor should mounted as showing bellow

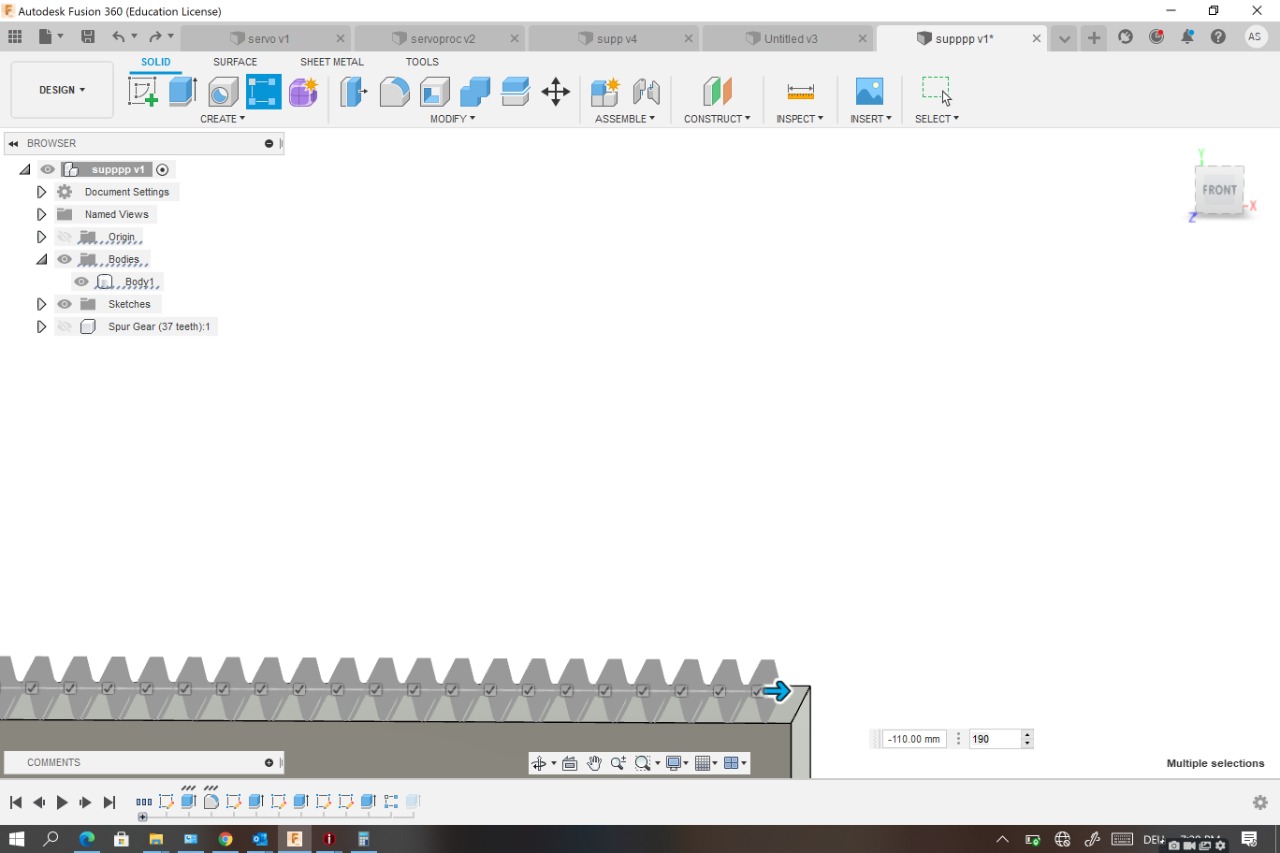
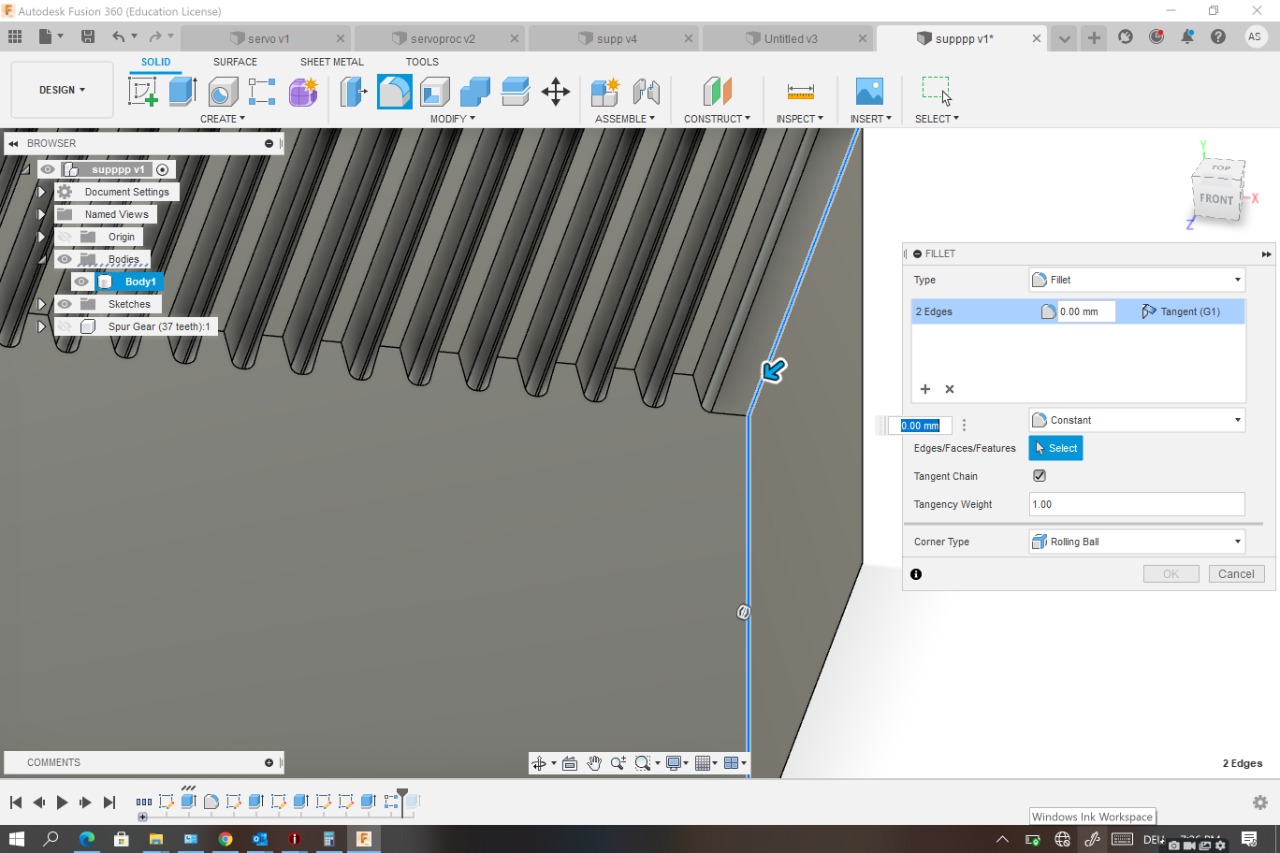
Then I designed the pusher so i started by designing 2D pusher teeth then I extruded these teeth as the pusher width
Then I used the pattern option to multiplie the number

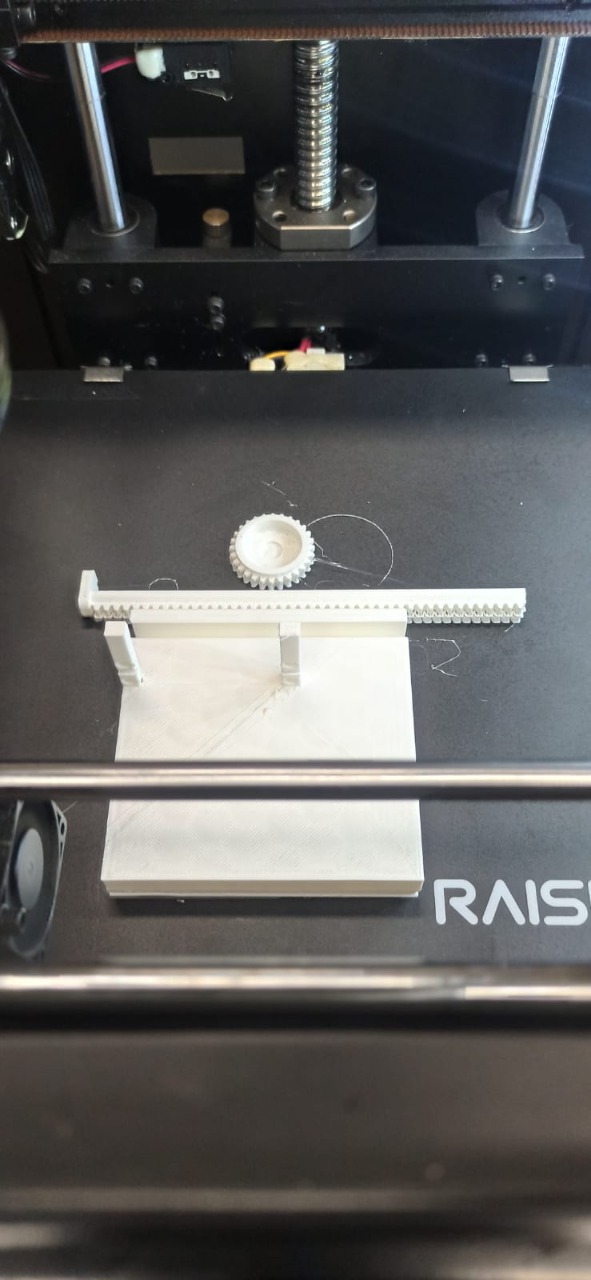
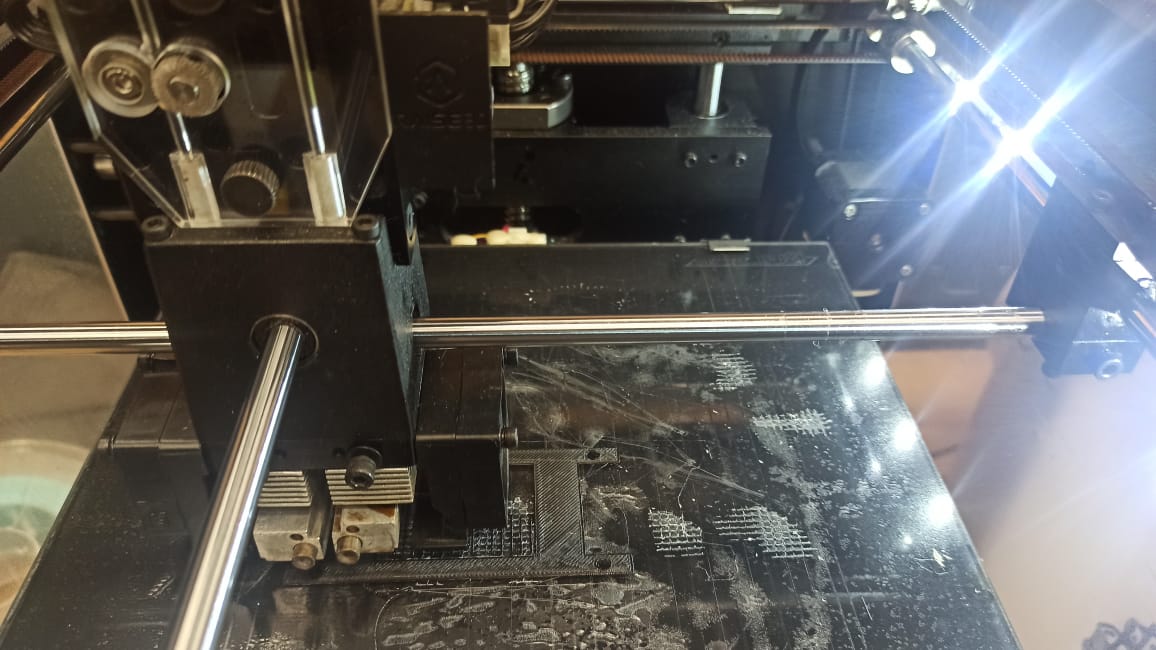
The first version wasn’t really as I was expecting ,I didn’t likethe quality at allthat’s why I changed some parametres and i also changed the PLA filament and used the ABS instead and i could have a better version
Check The servo actuator fusion file
I also printed a battery box as showing bellow , It was a simple enclosure for 12v battery
Check fusion file
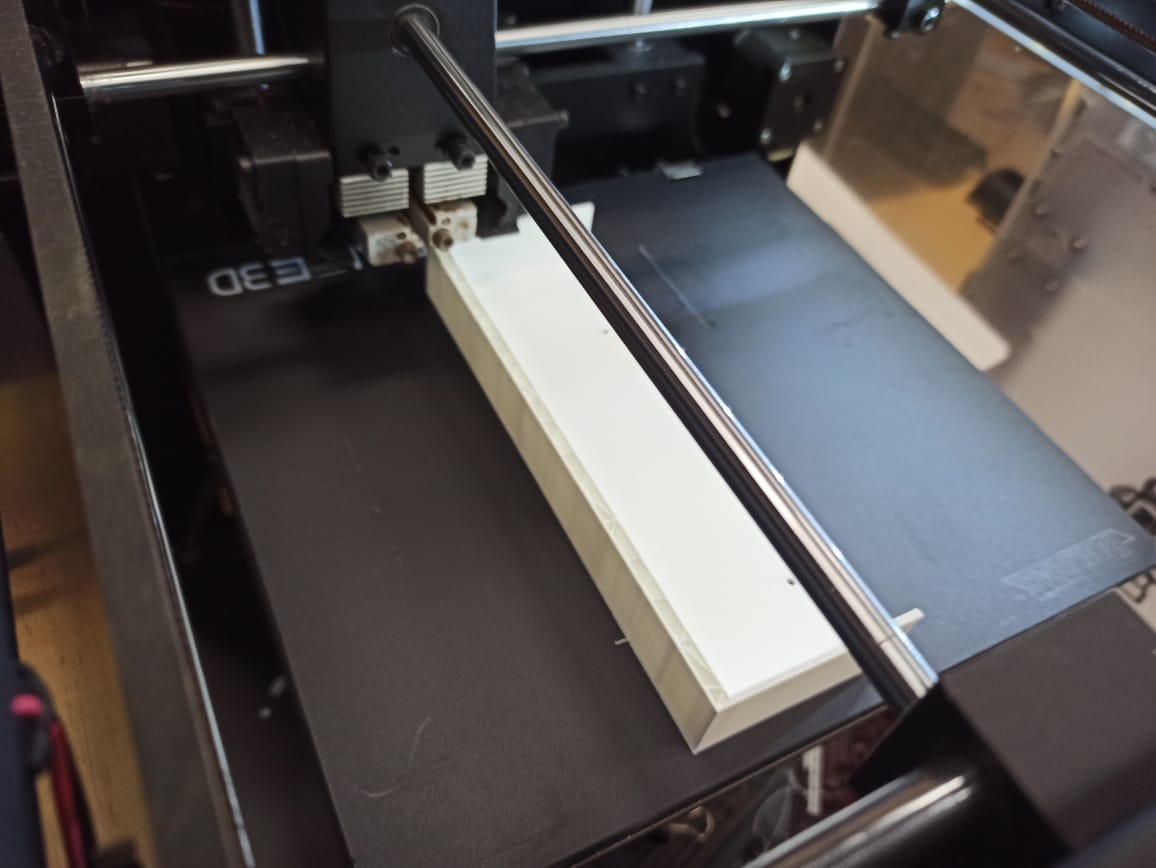
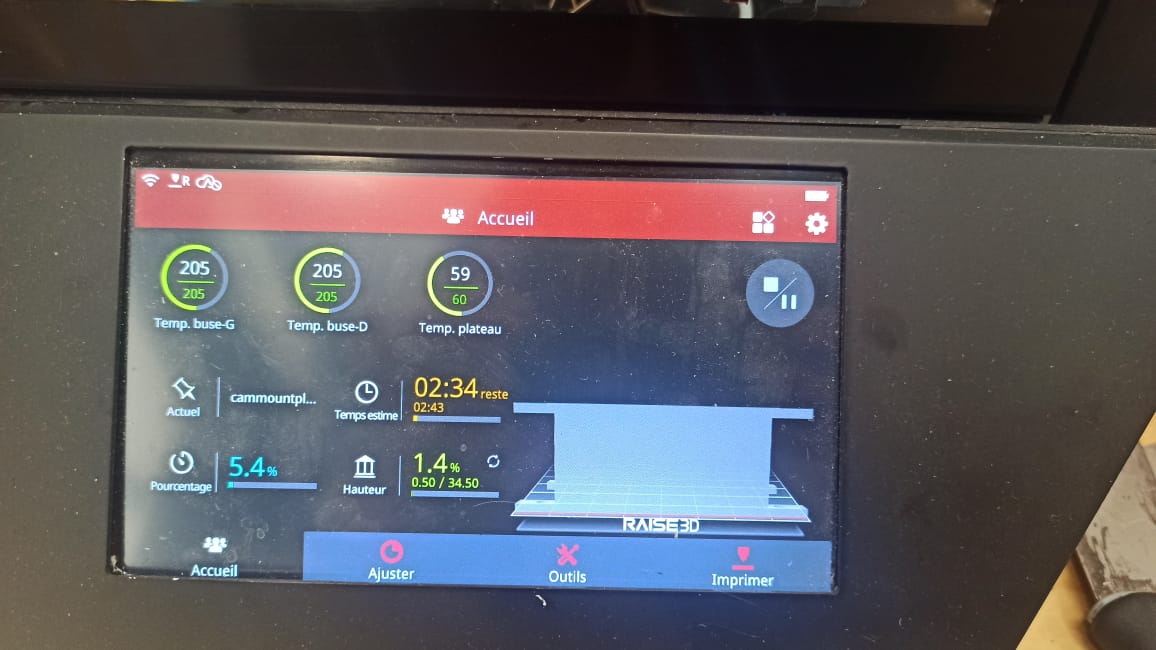
Also t fix the board inside the trap i designed a 3d printed box using Raise 3d printer
Check fusion file
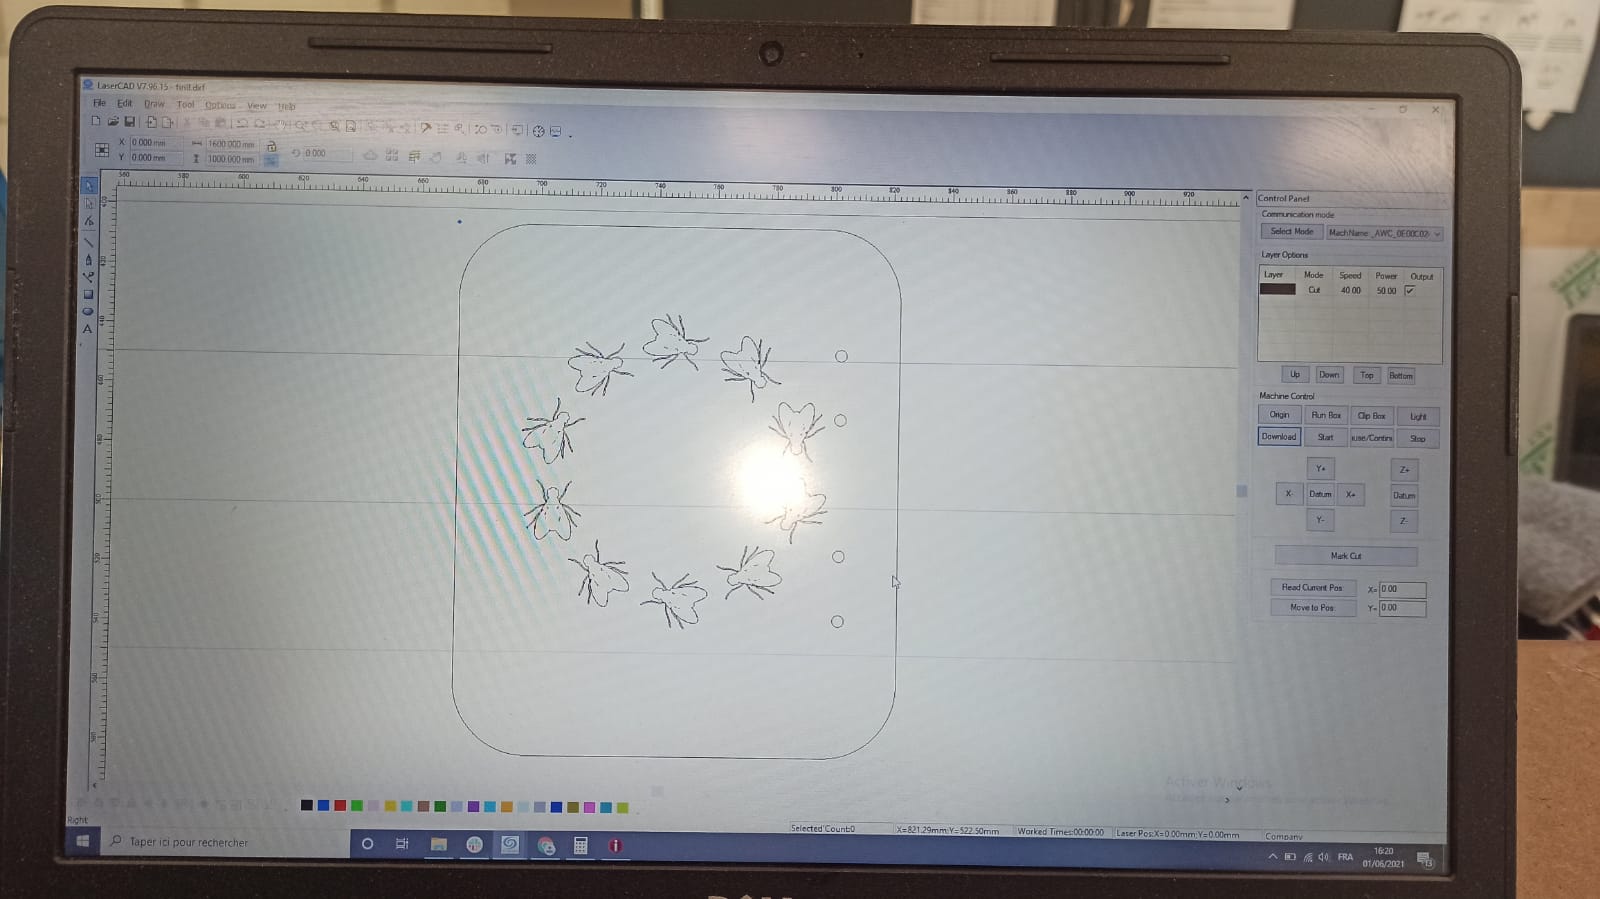
laser cutting
Beside the cnc milling and the 3d printing i used the laser cutter

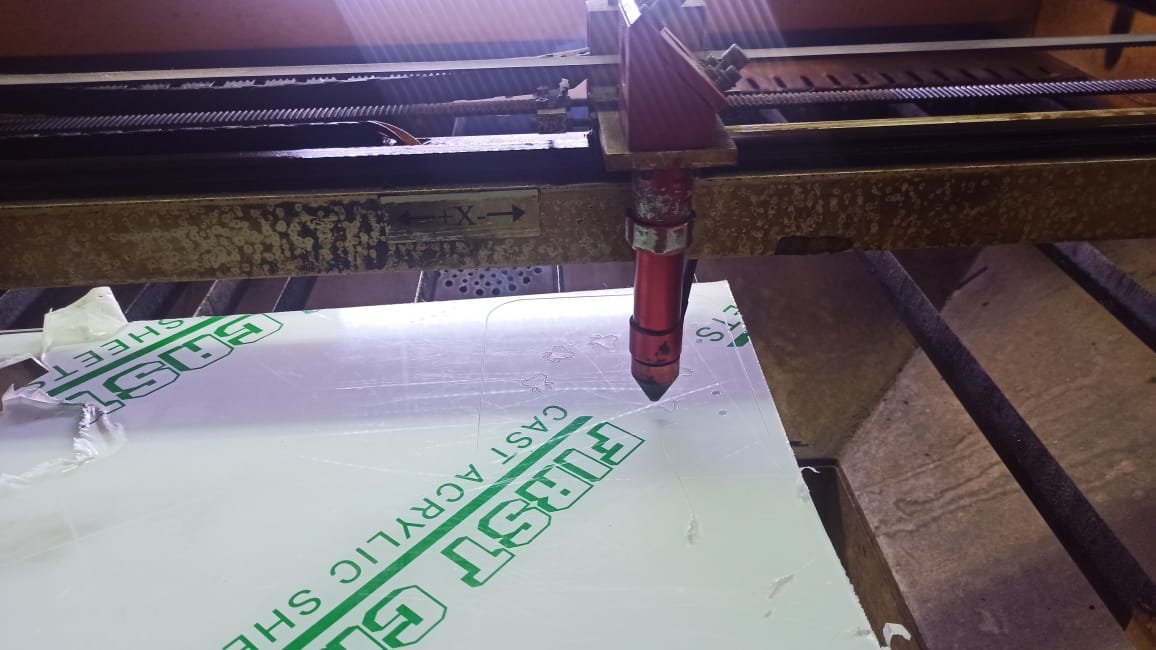
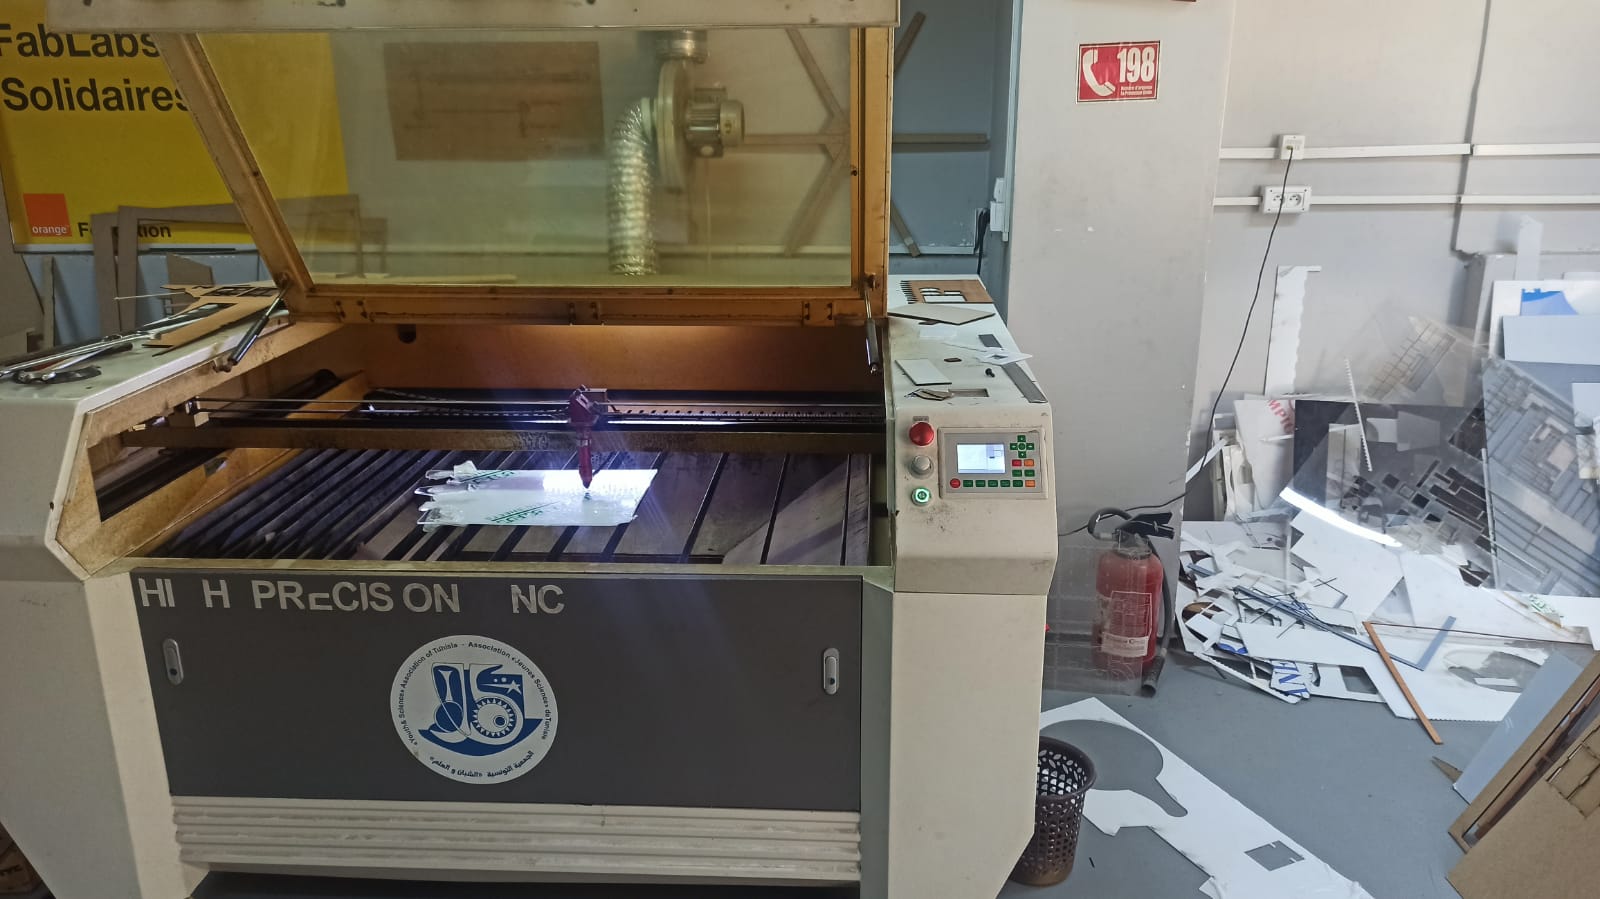
The laser cutting was the process i used to manifacture the door of the trap and the sides as showing bellow.The material I used was the plexiglass 4mm.
I choose the plexiglass because it has different charachteristics , it is 50% lighter than glass and resistant to UV rays as well asweathering which makes it perfectly suitable for outdoor installations