17. Wildard
This week was about exploring areas that wee didnt explore much during FabAcademy.in fact we had to Design and produce something with a digital fabrication process (incorporating computer-aided design and manufacturing) not covered in another assignment, documenting the requirements that your assignment meets, and including everything necessary to reproduce it. Possibilities include but are not limited to composite , textile I was interested in doing something about embroidery and especially print a piece of fabric to design clothes
Individual assignment
Printing on Fabric
In our day 3D printing is used in various fields such as the fashion and th industry.the link between fashion and 3D printing is quite strong and amazing projects are unveiled quite regularly. Additive manufacturing is evolving, getting even more precise, but also developing new materials and new applications. 3D printing is offering great advantages for the fashion industry, from 3D printed clothes to 3D printed footwear and accessories, the possibilities are endless.
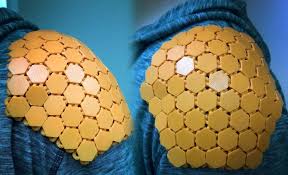
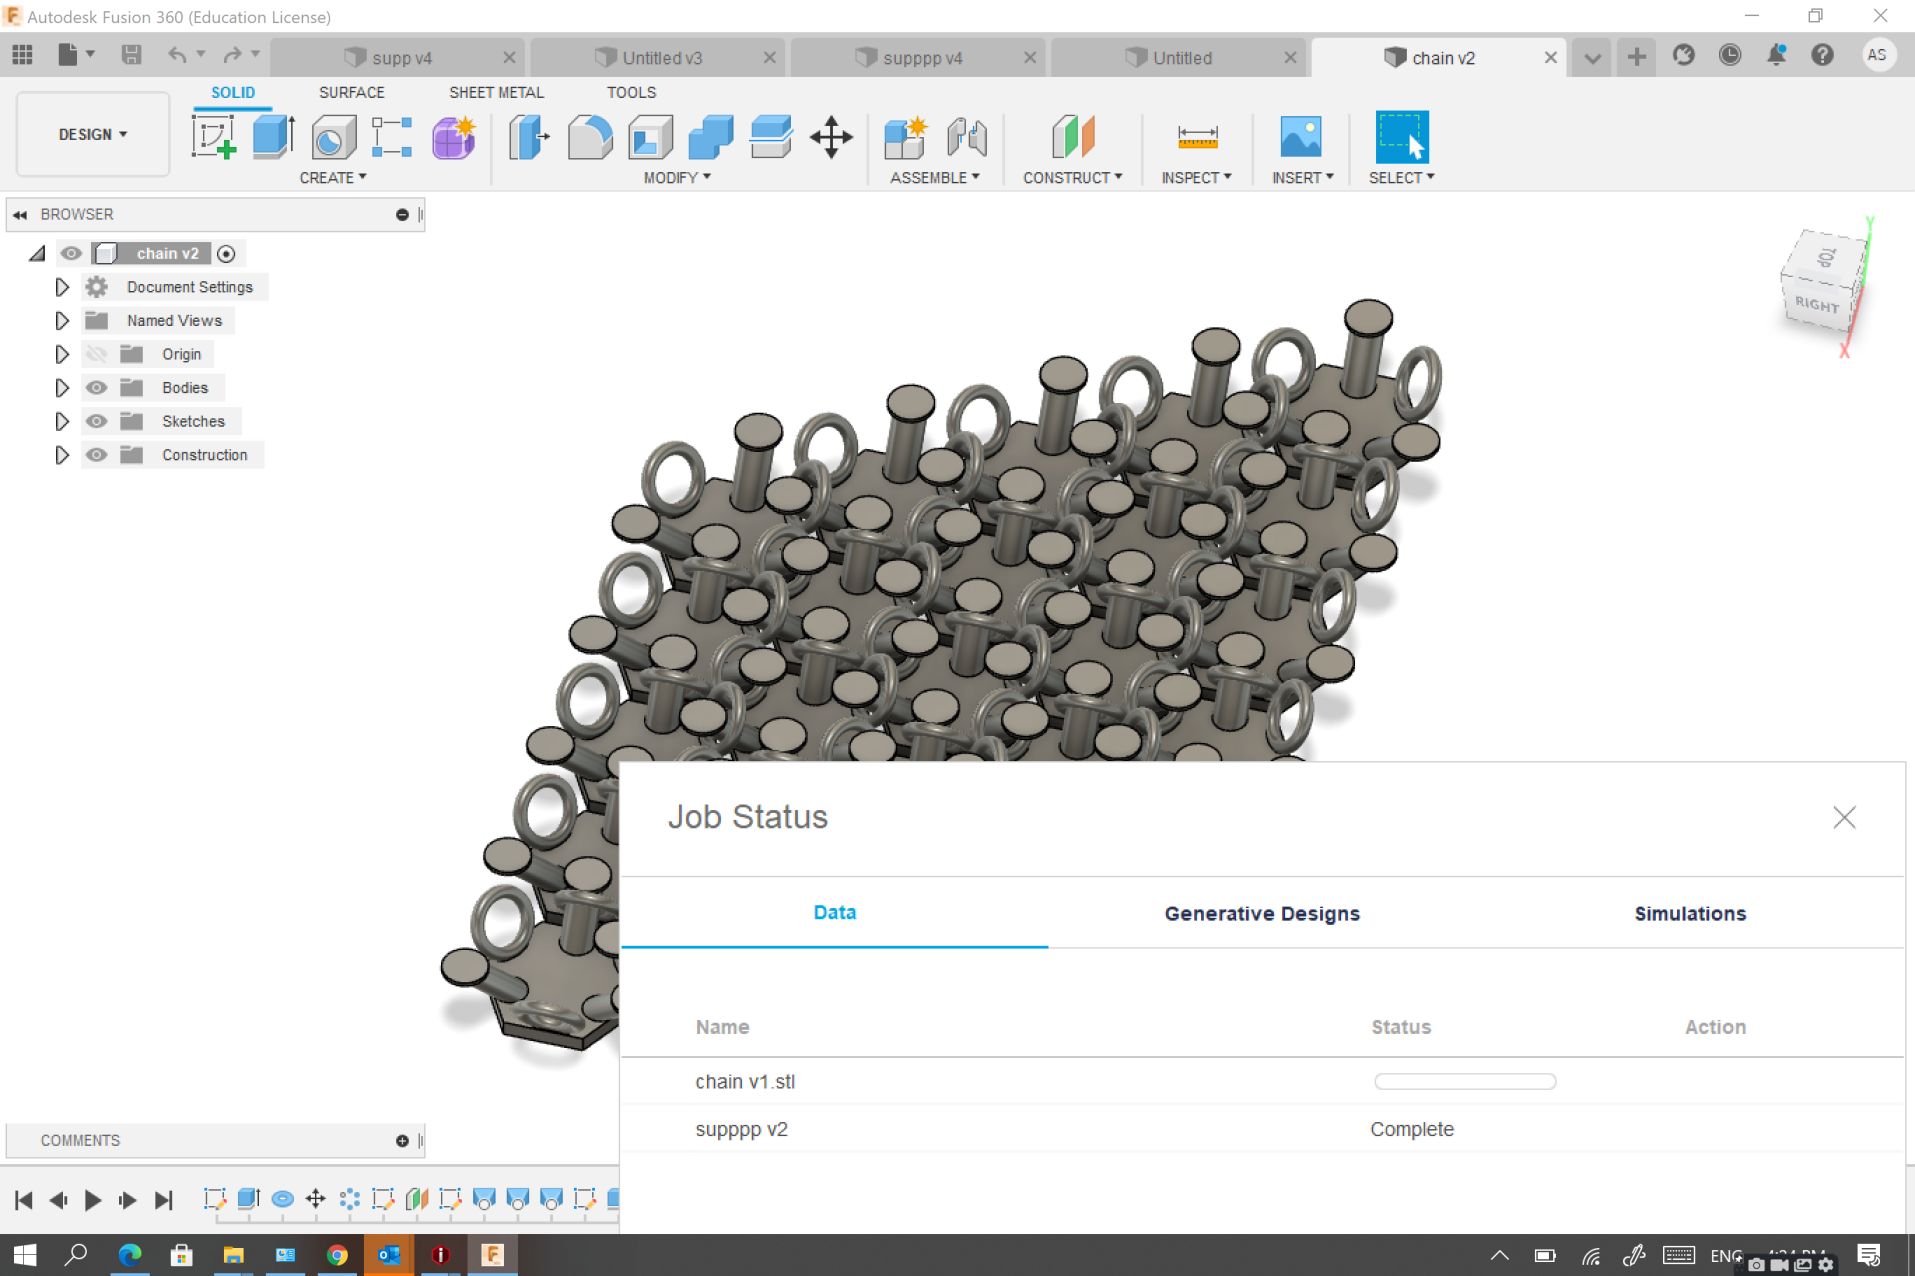
I started looking for some designs to do in this assignment and i decided to dsign a 3d printed chainmail as showin bellow
Choose the Fabric
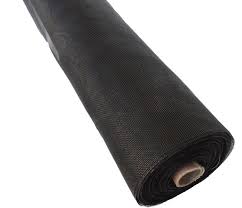
Then after getting an inspiration about what m going to design in this week , i made a research about the type of the fabric m going to use
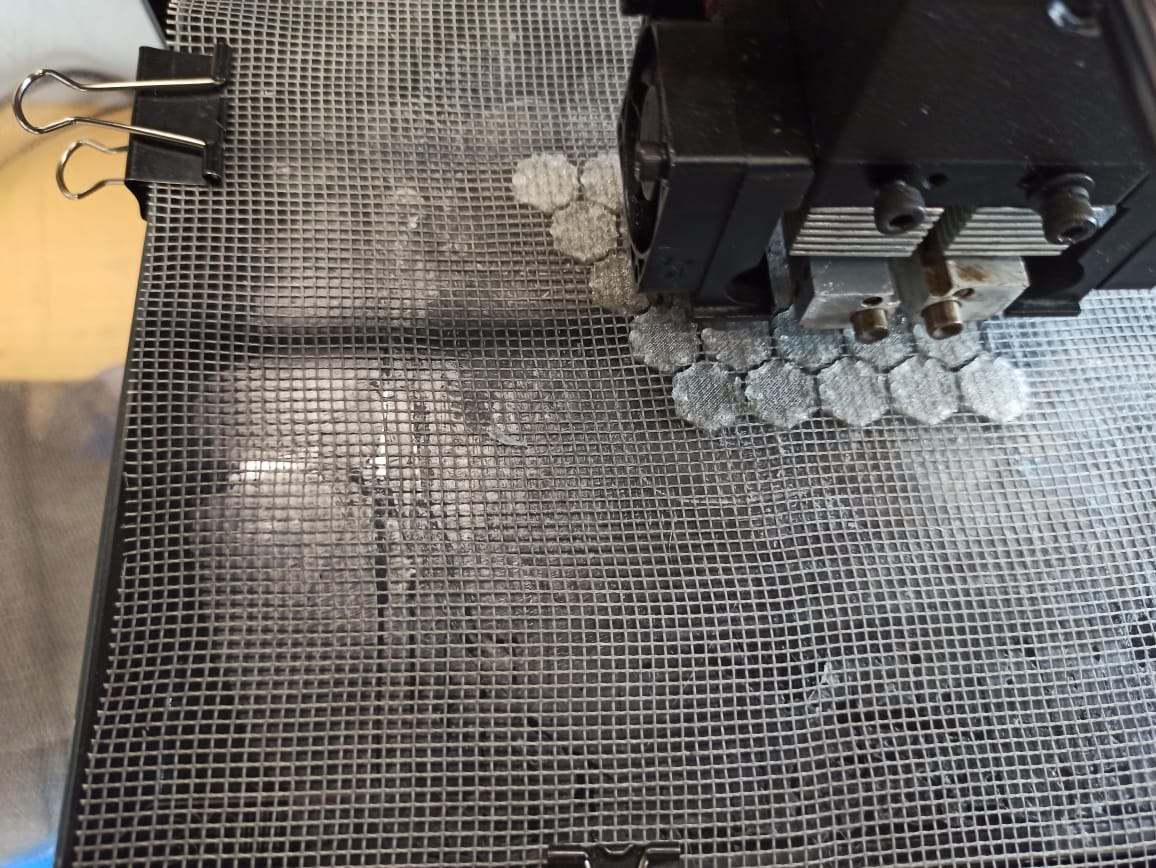
It needs to be perforated or be coated with a hot-melt polymer.The perforated fabric can be a mesh or netting. The fabric is placed in between layers of printed filament making contact and bonding with itself through the holes in the netting or perforation. The fabric then gets locked in and your print sticks on the fabric. Itcan be power mesh or tule …


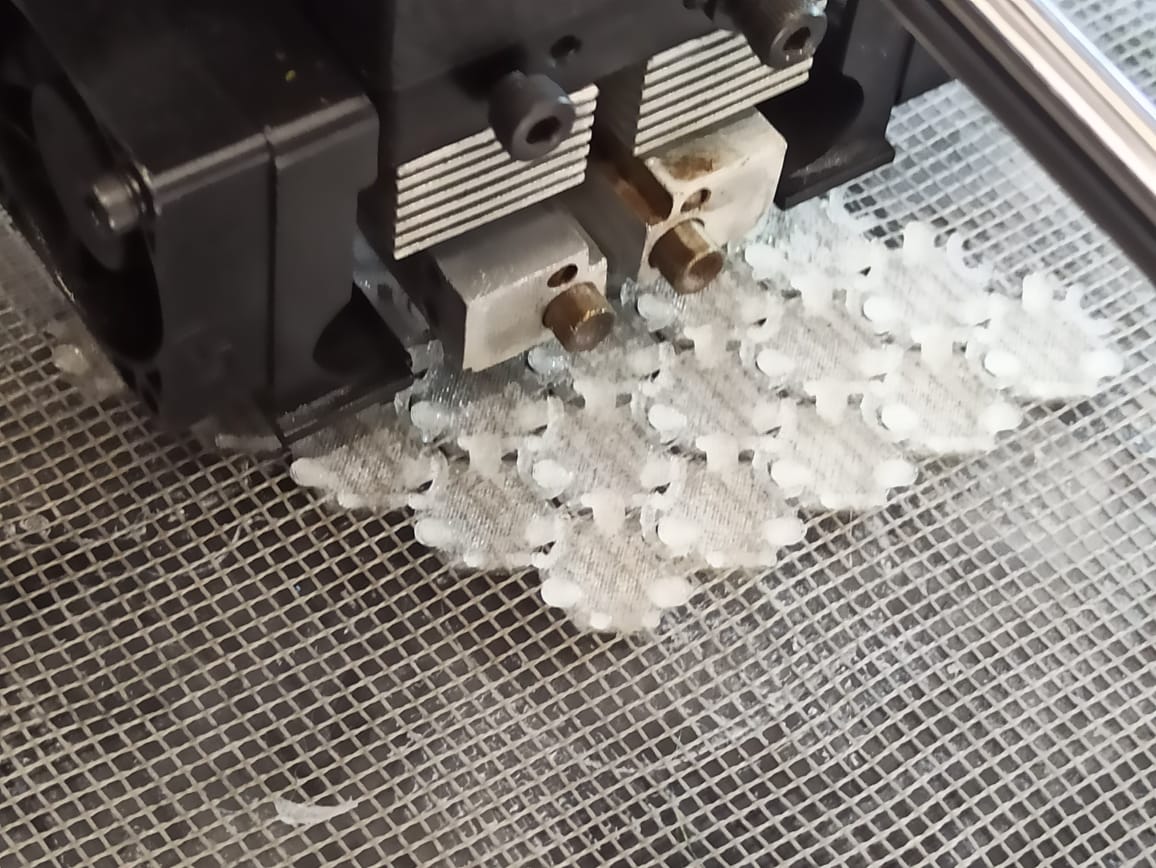
Maybe the challenge about this design is the process printing on a fabric , i m thinking about generating code that allows me to print some layers then to order the 3d printer to stop at a certain layer height after that i fix the fabric and resum the printing so i can combine the top and the bottom layer
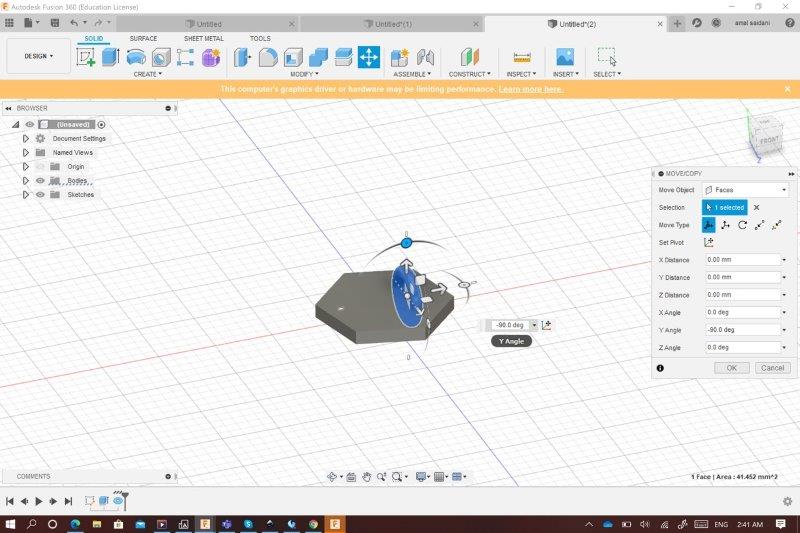
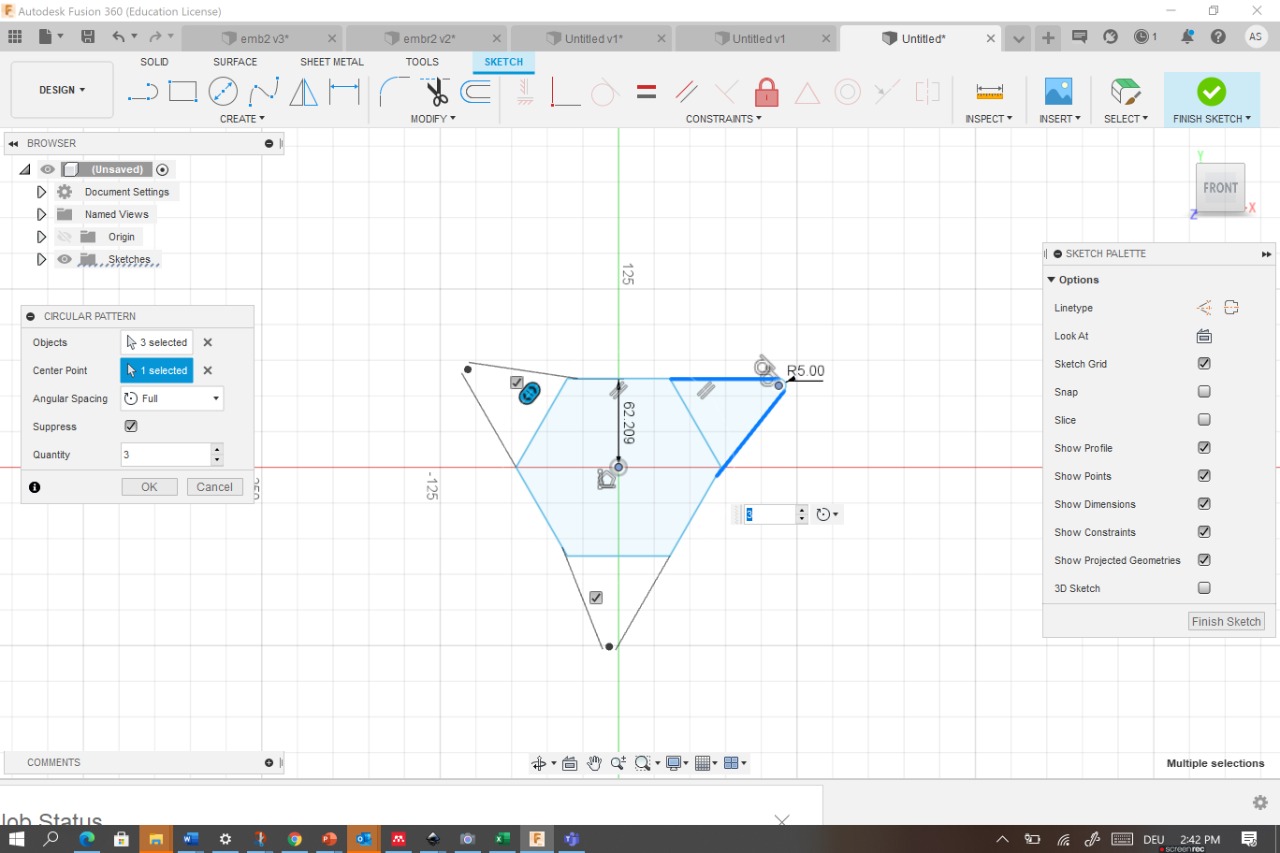
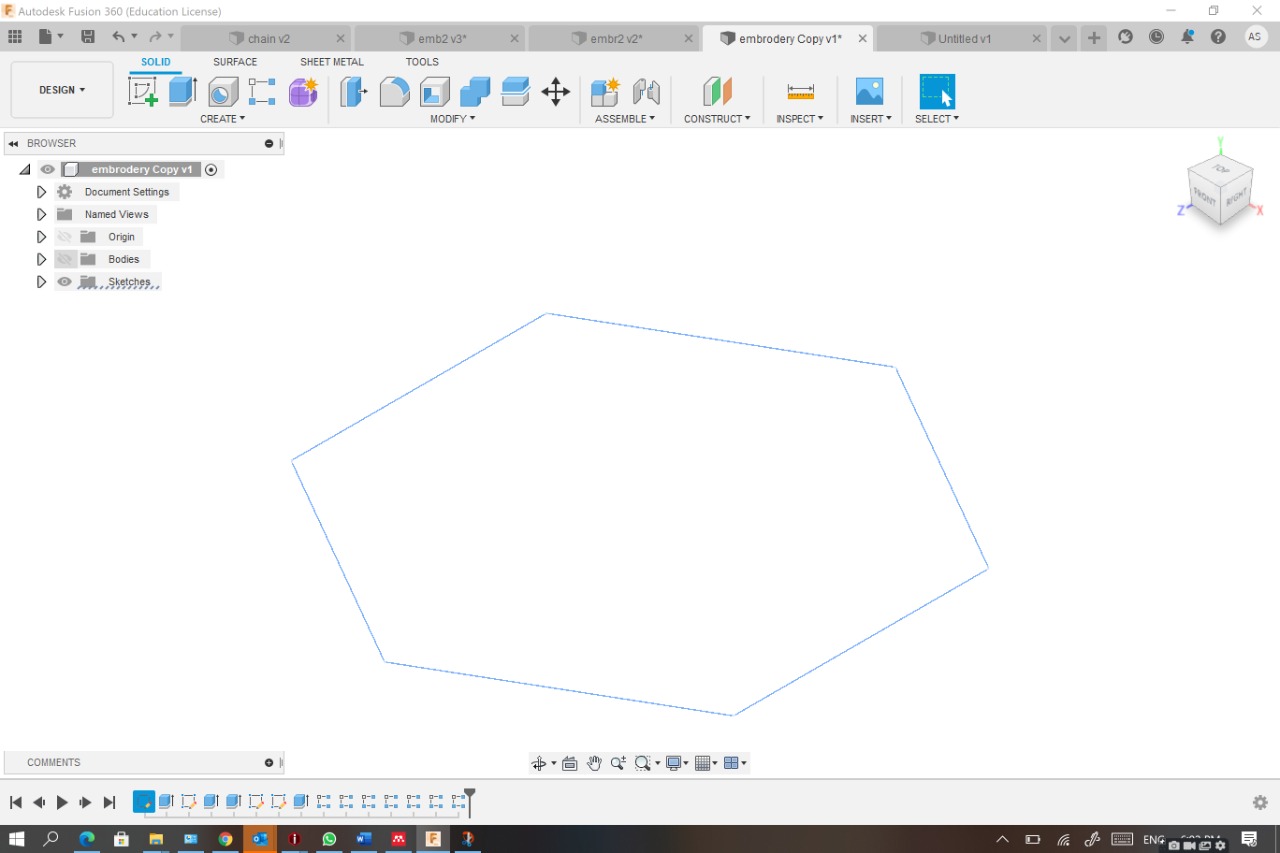
The first step was to create a polygon then to extrude it . After that i added a torus on the top of the hexagon
i used move and copy to move the torus to the wanted position and i created a pattern to do the rest torus
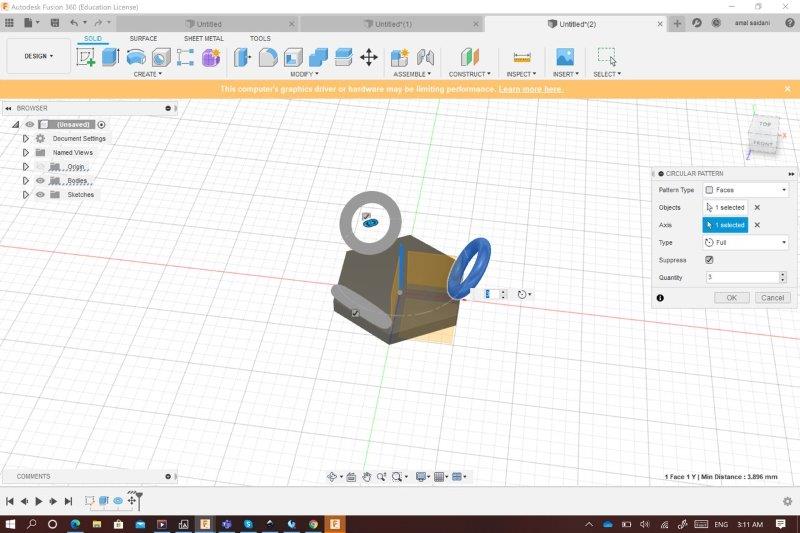
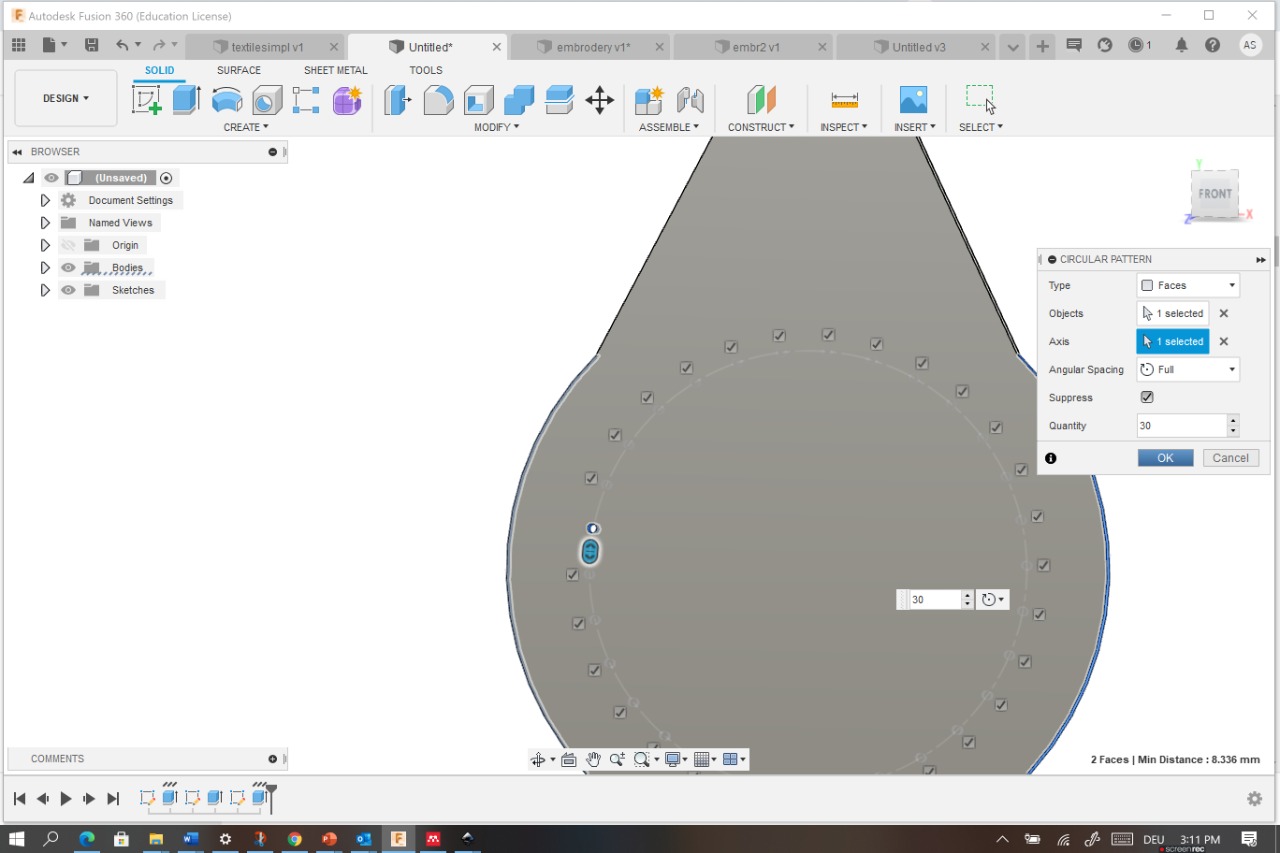
i created one center circle then i used circular pattern to model the rest and after that i extruded all of them as showing bellow
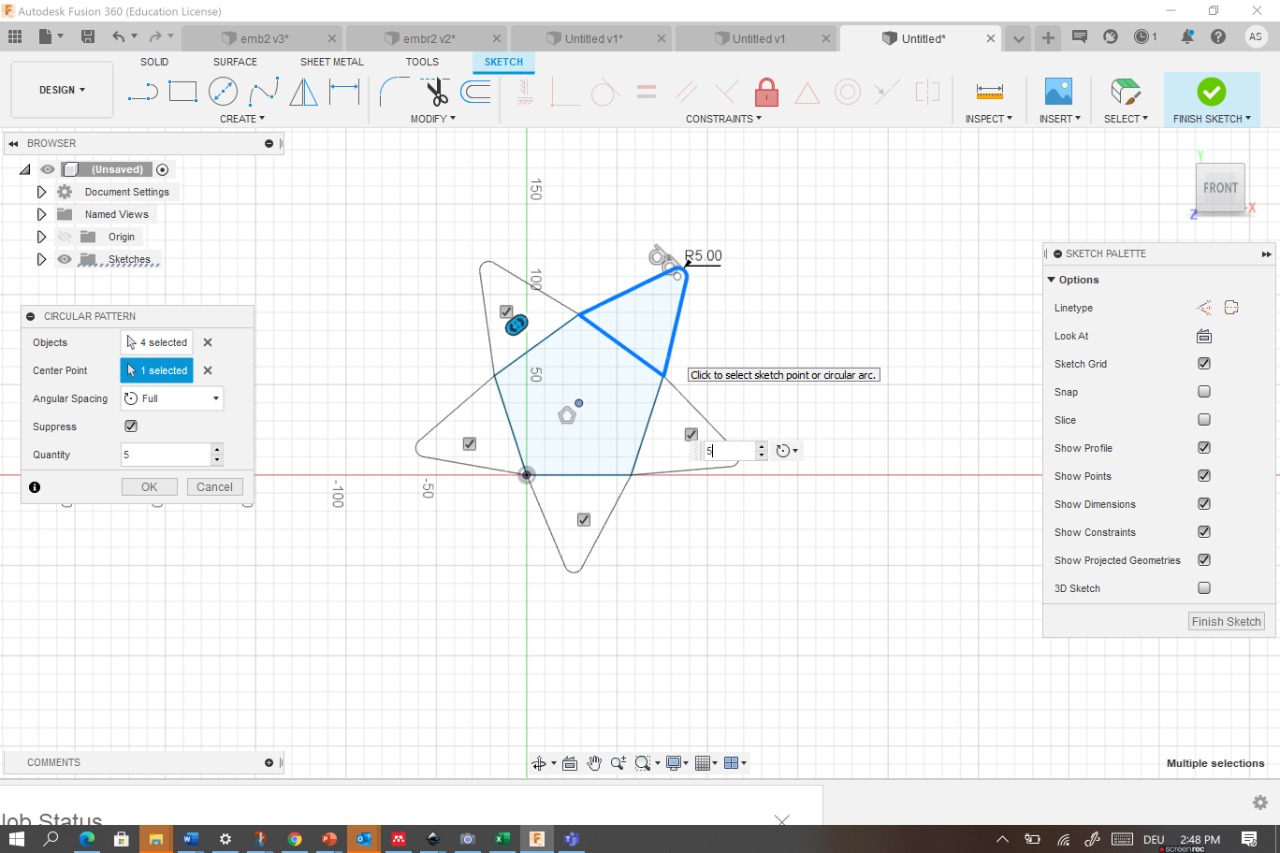
I created another circle around one torus then i used again pattern to complete the rest of circles around the three toruses
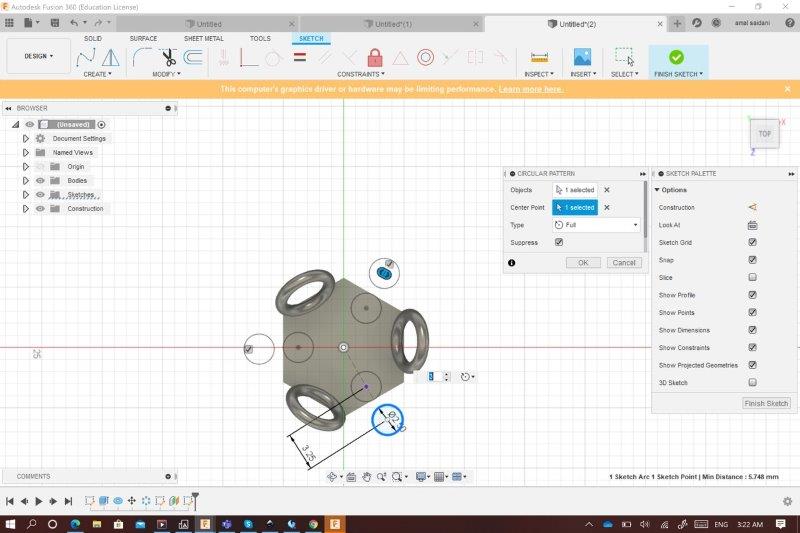
I used create “LOFT” by selecting the two circles to design the poses then i choose one top pose as a plan to made another circle wich the diametr is bigger then the pose diametr by 0.3mm As usual i choose to create circular pattern to make other circles ,the center point was the hexagon center.After thet i extruded the new three circles (0.3 as distance) then i cmobine them with the hexagon
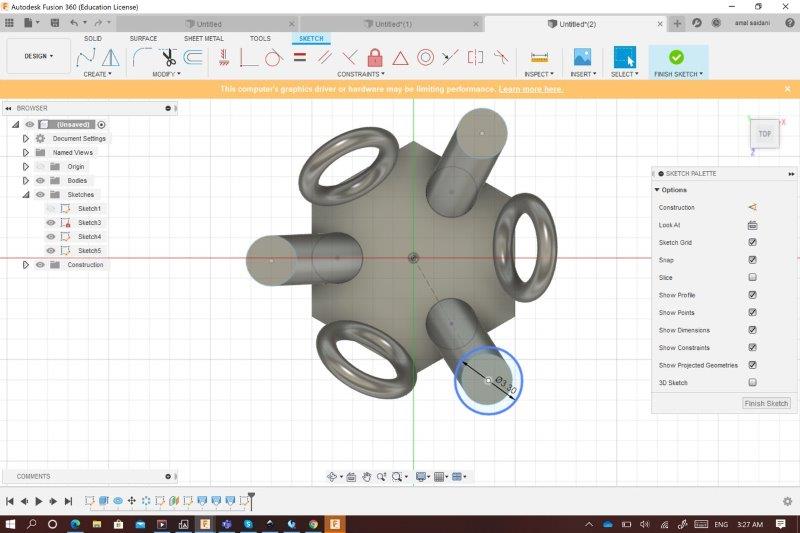
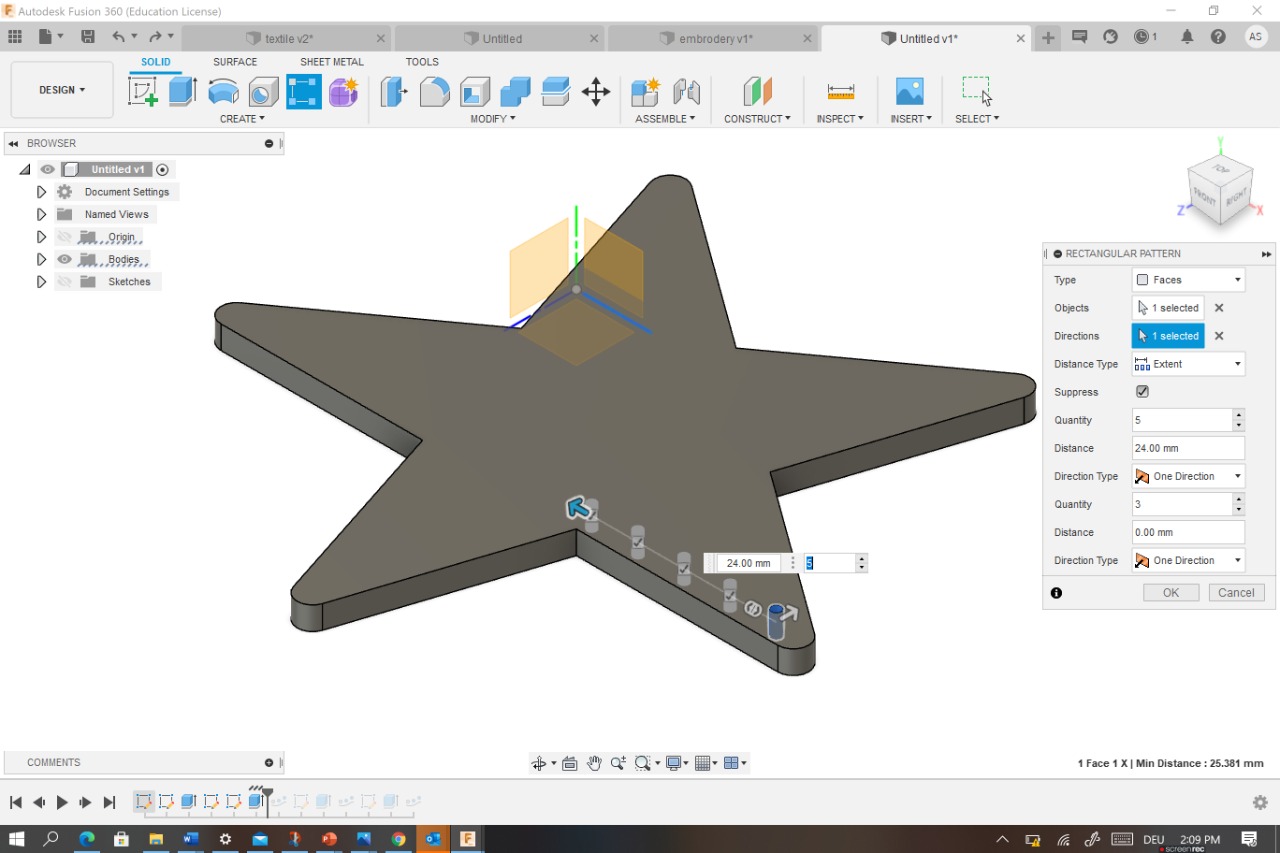
I added two construction lines to define the direction for creating rectangular pattern
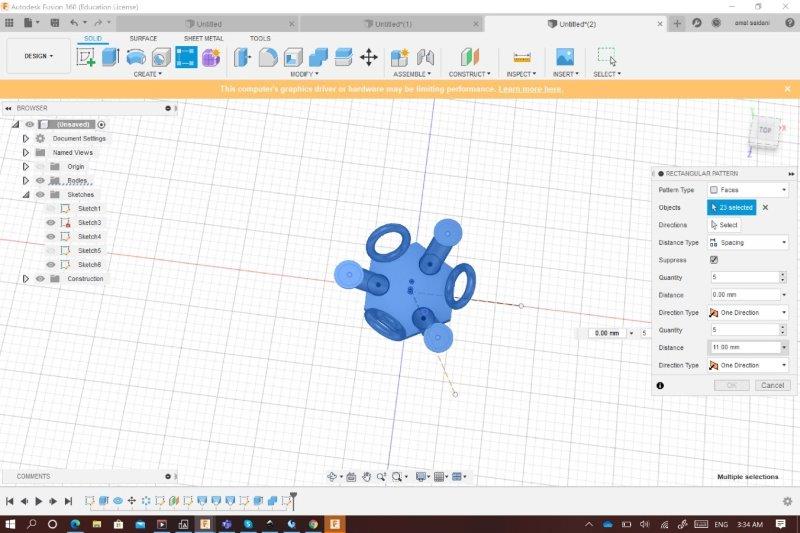
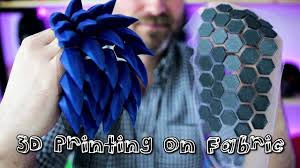
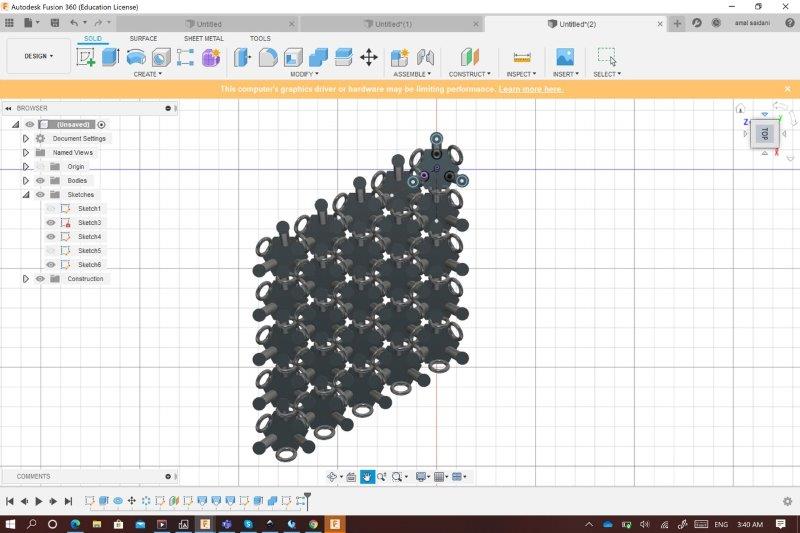
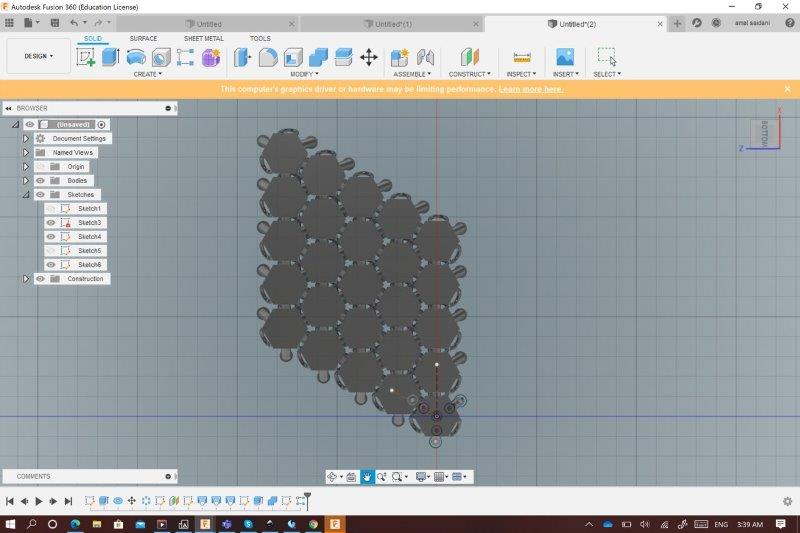
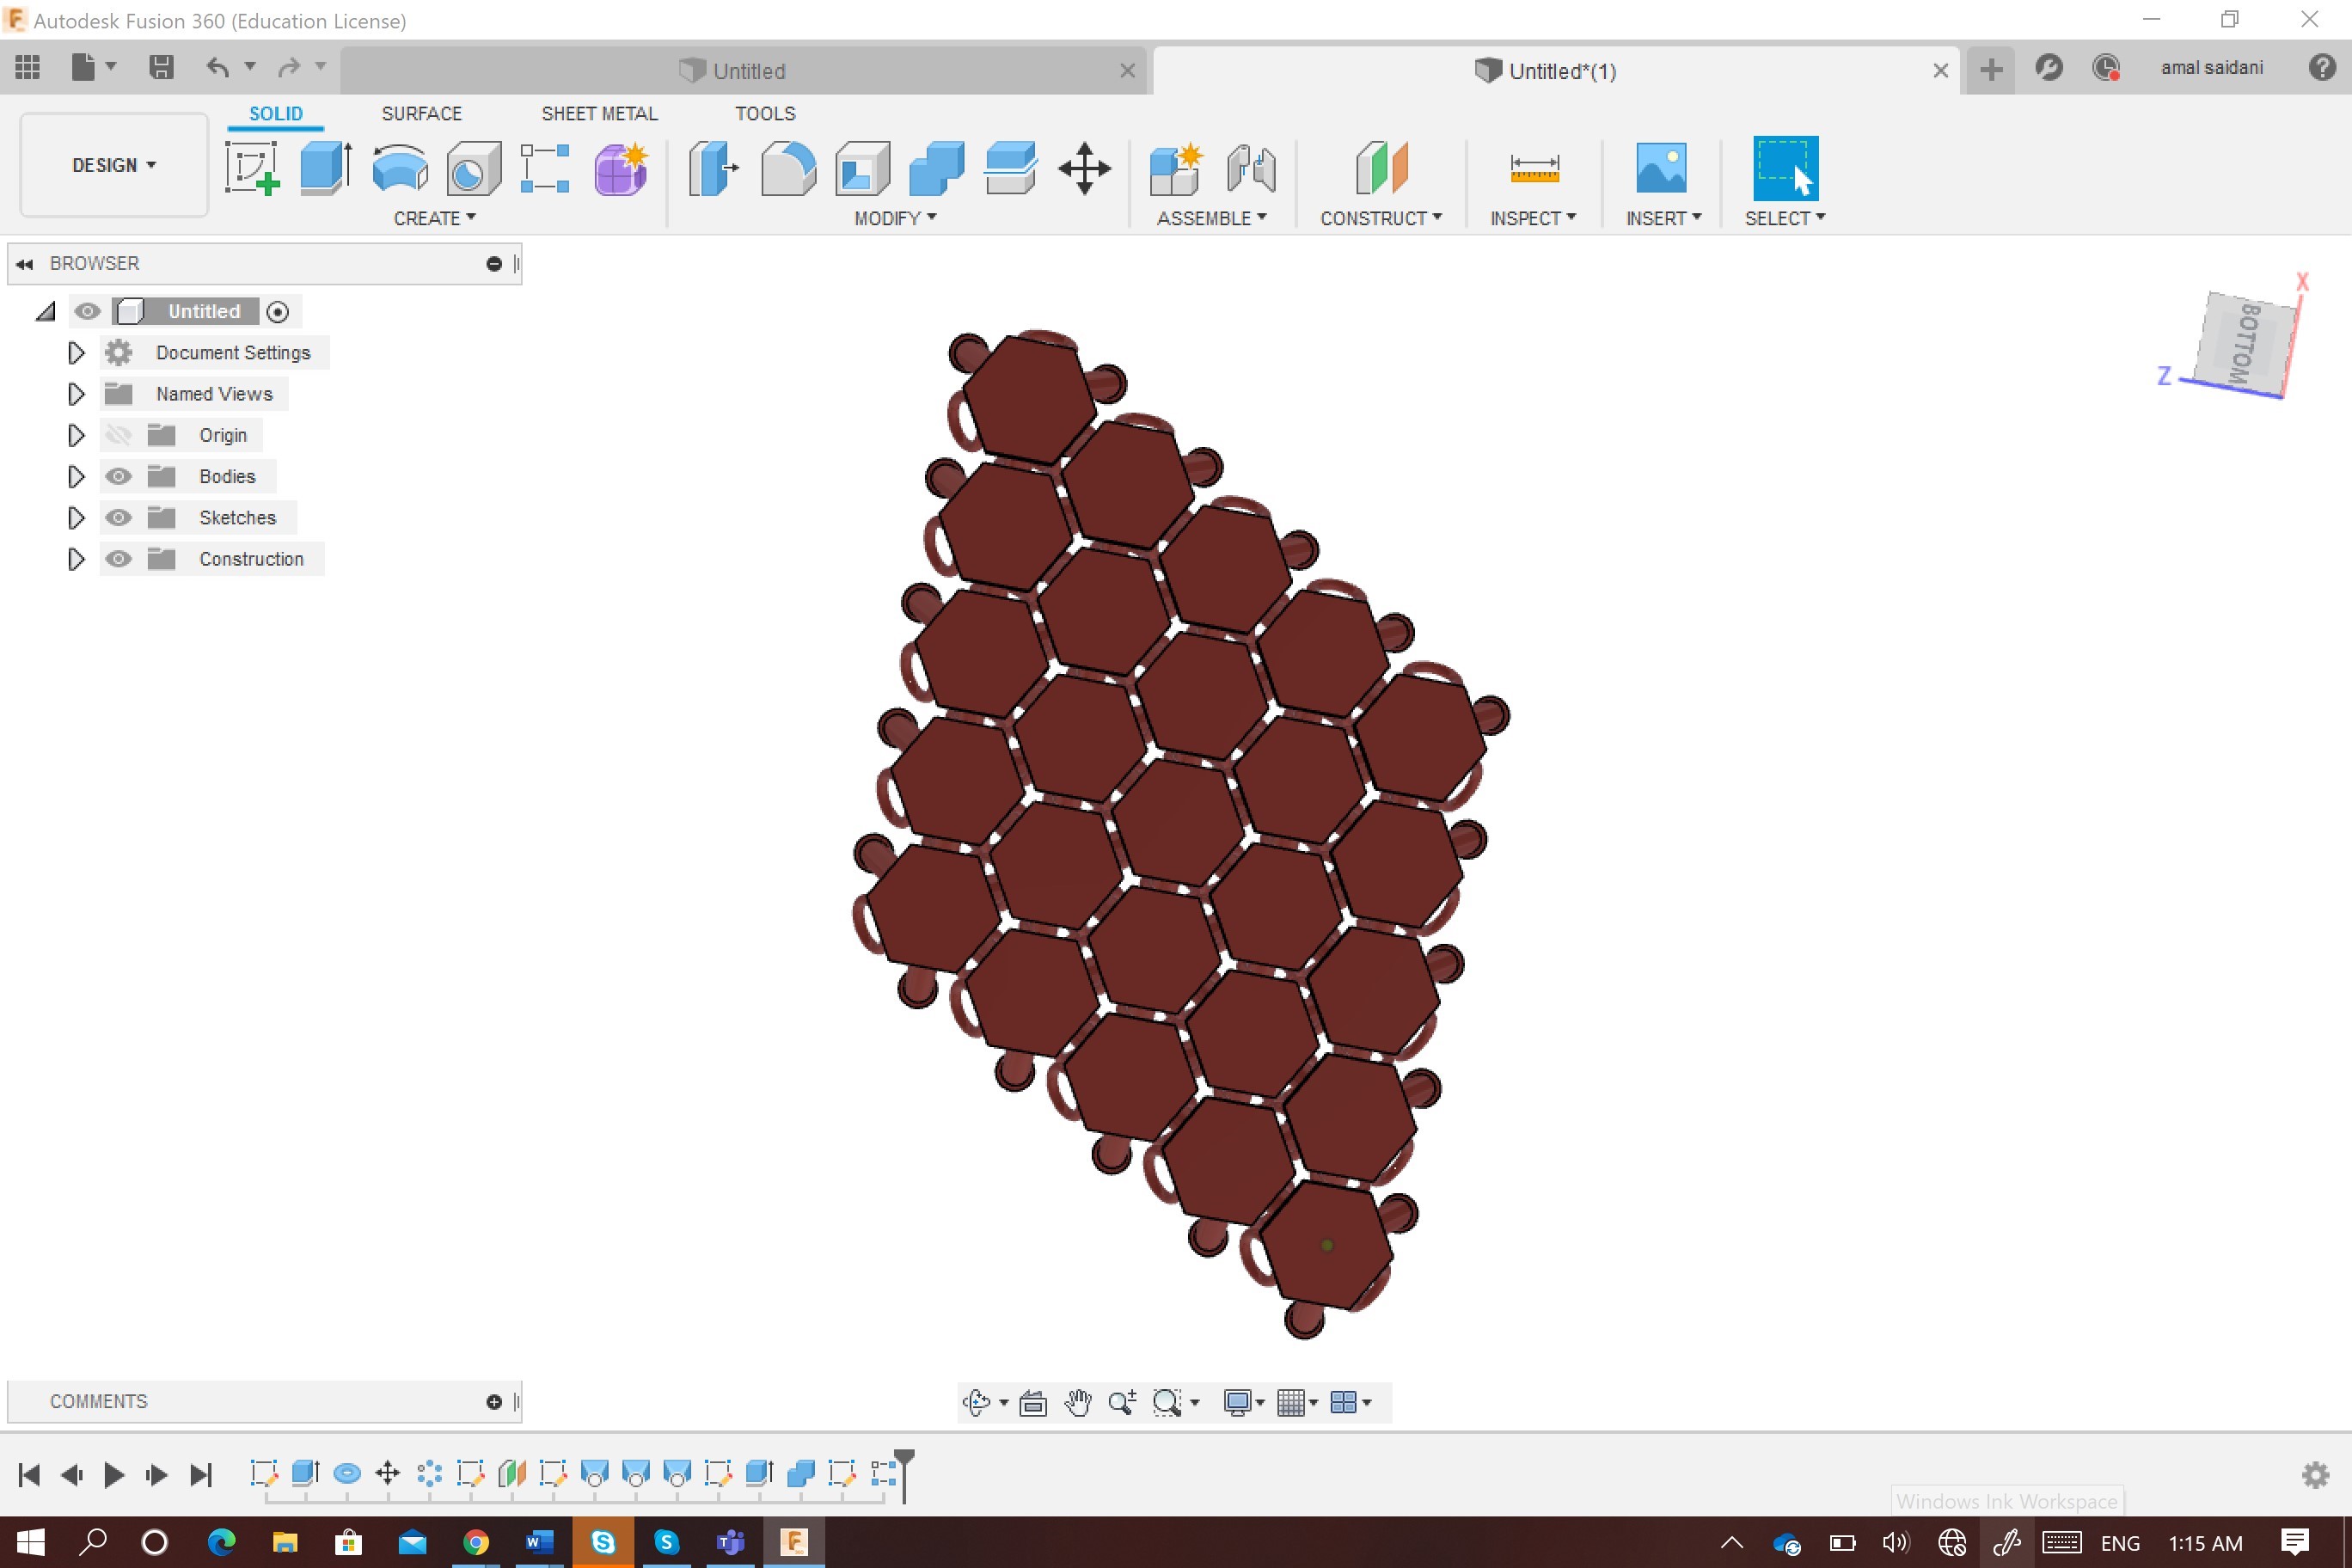
i repeated the same quantity of pattern(5) for each direction and i ve got this beautiful and flexible 3d printed chainmail
Now it is time to start the printing process
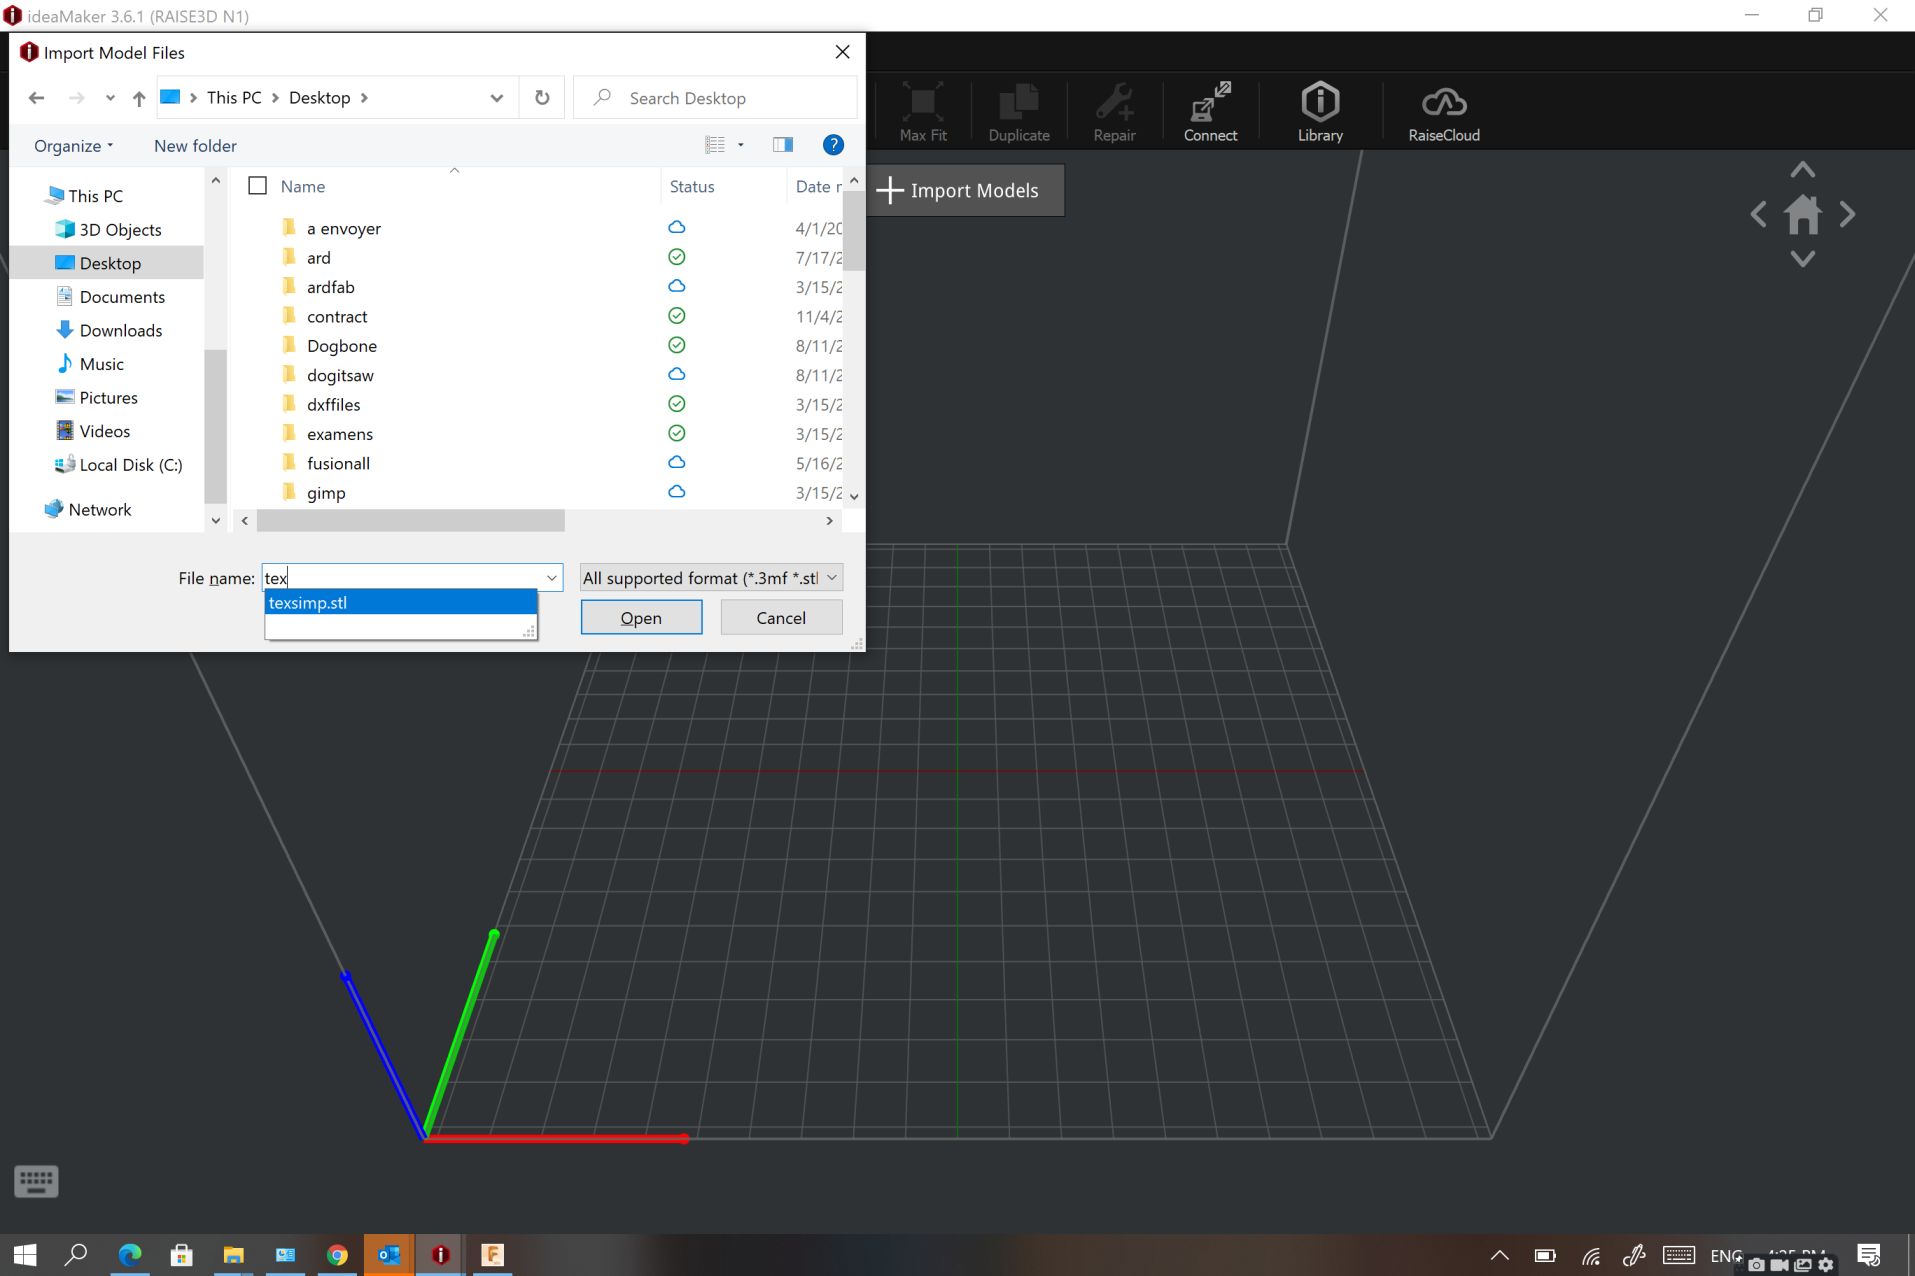
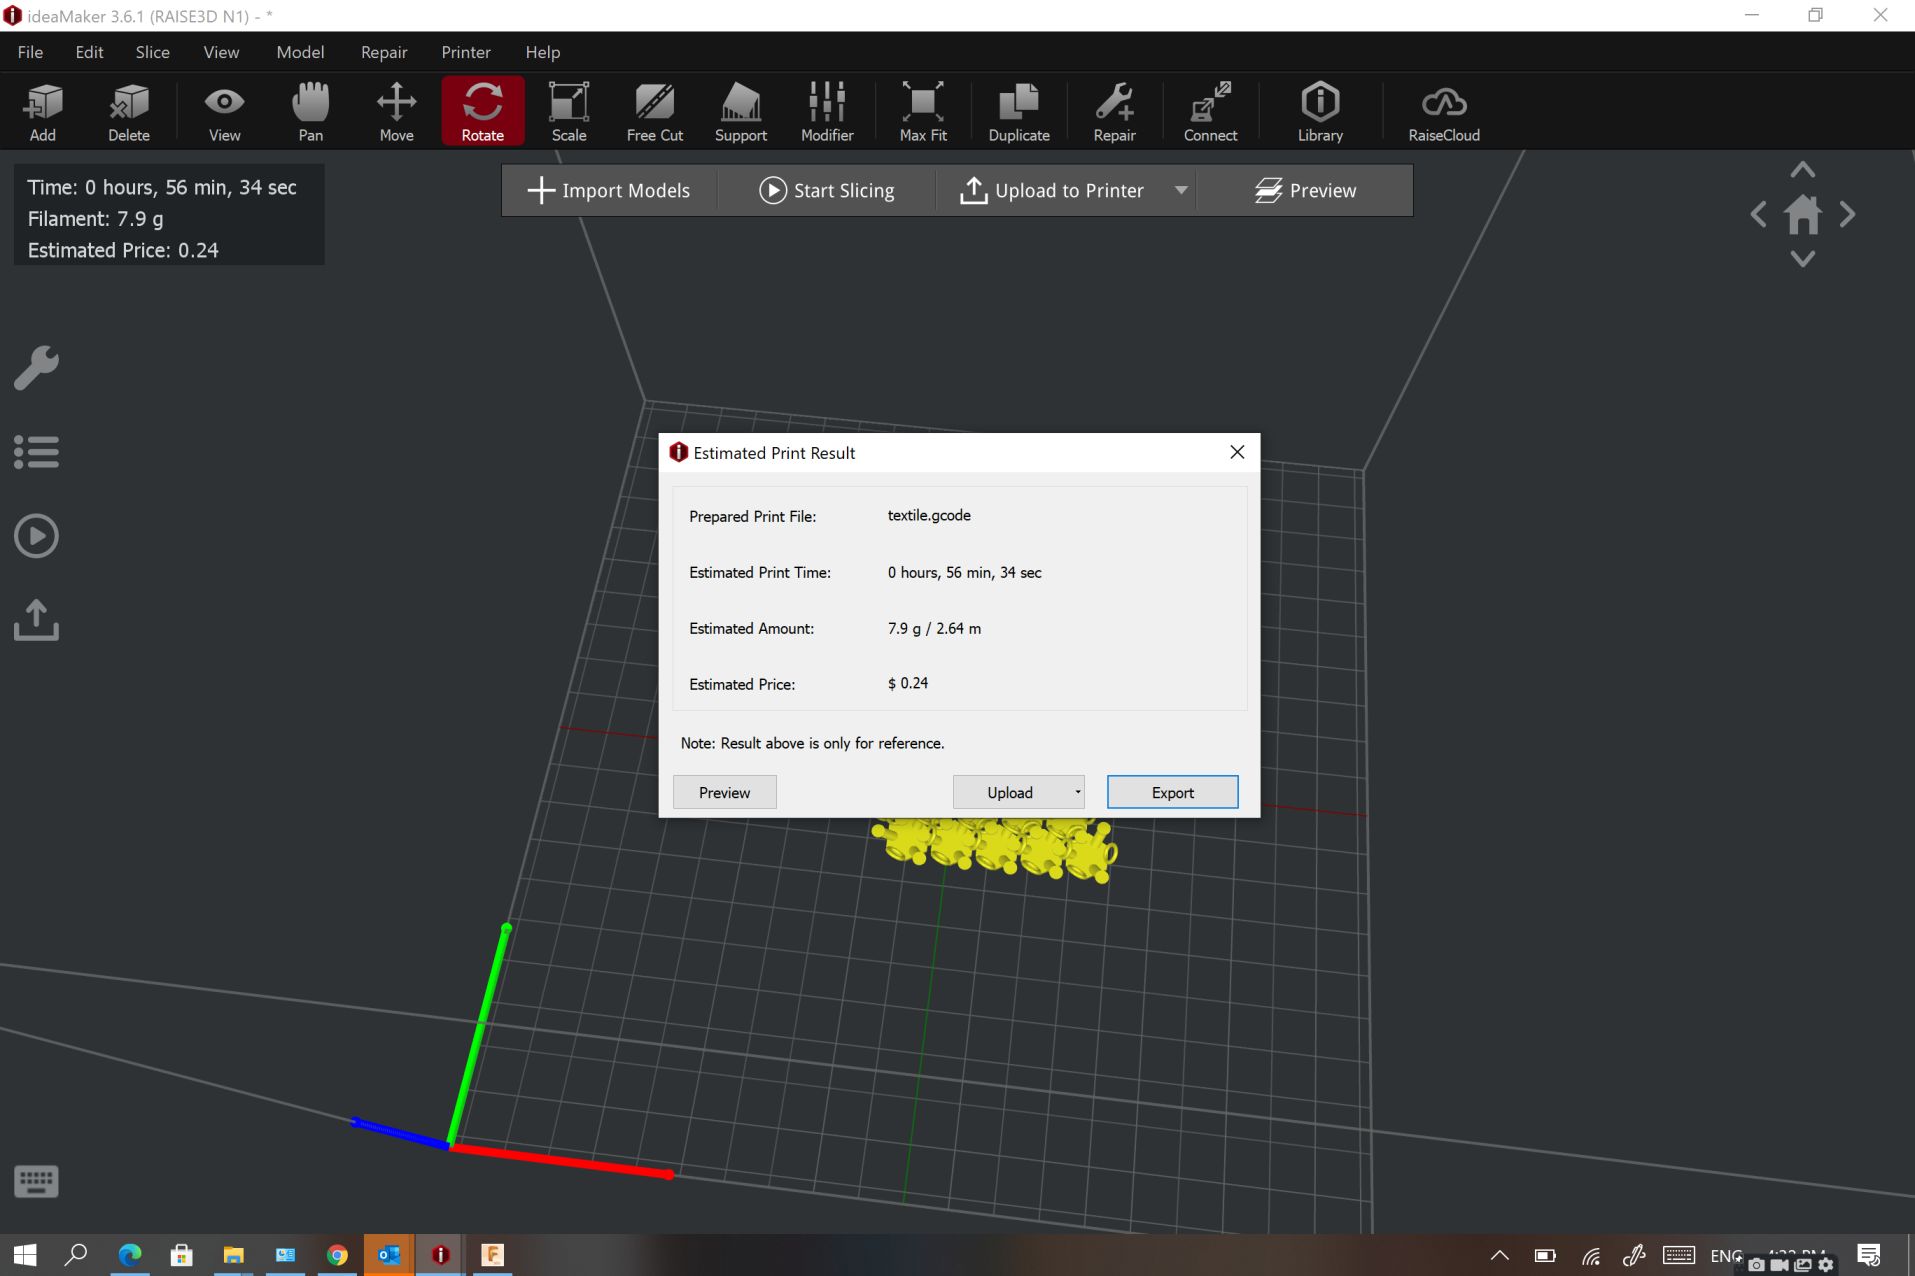
first i need to save my file as STL so i can open it on idea maker which a 3D slicing software that automatically generates support structure while providing a set of tools for manual editing and advanced purposes
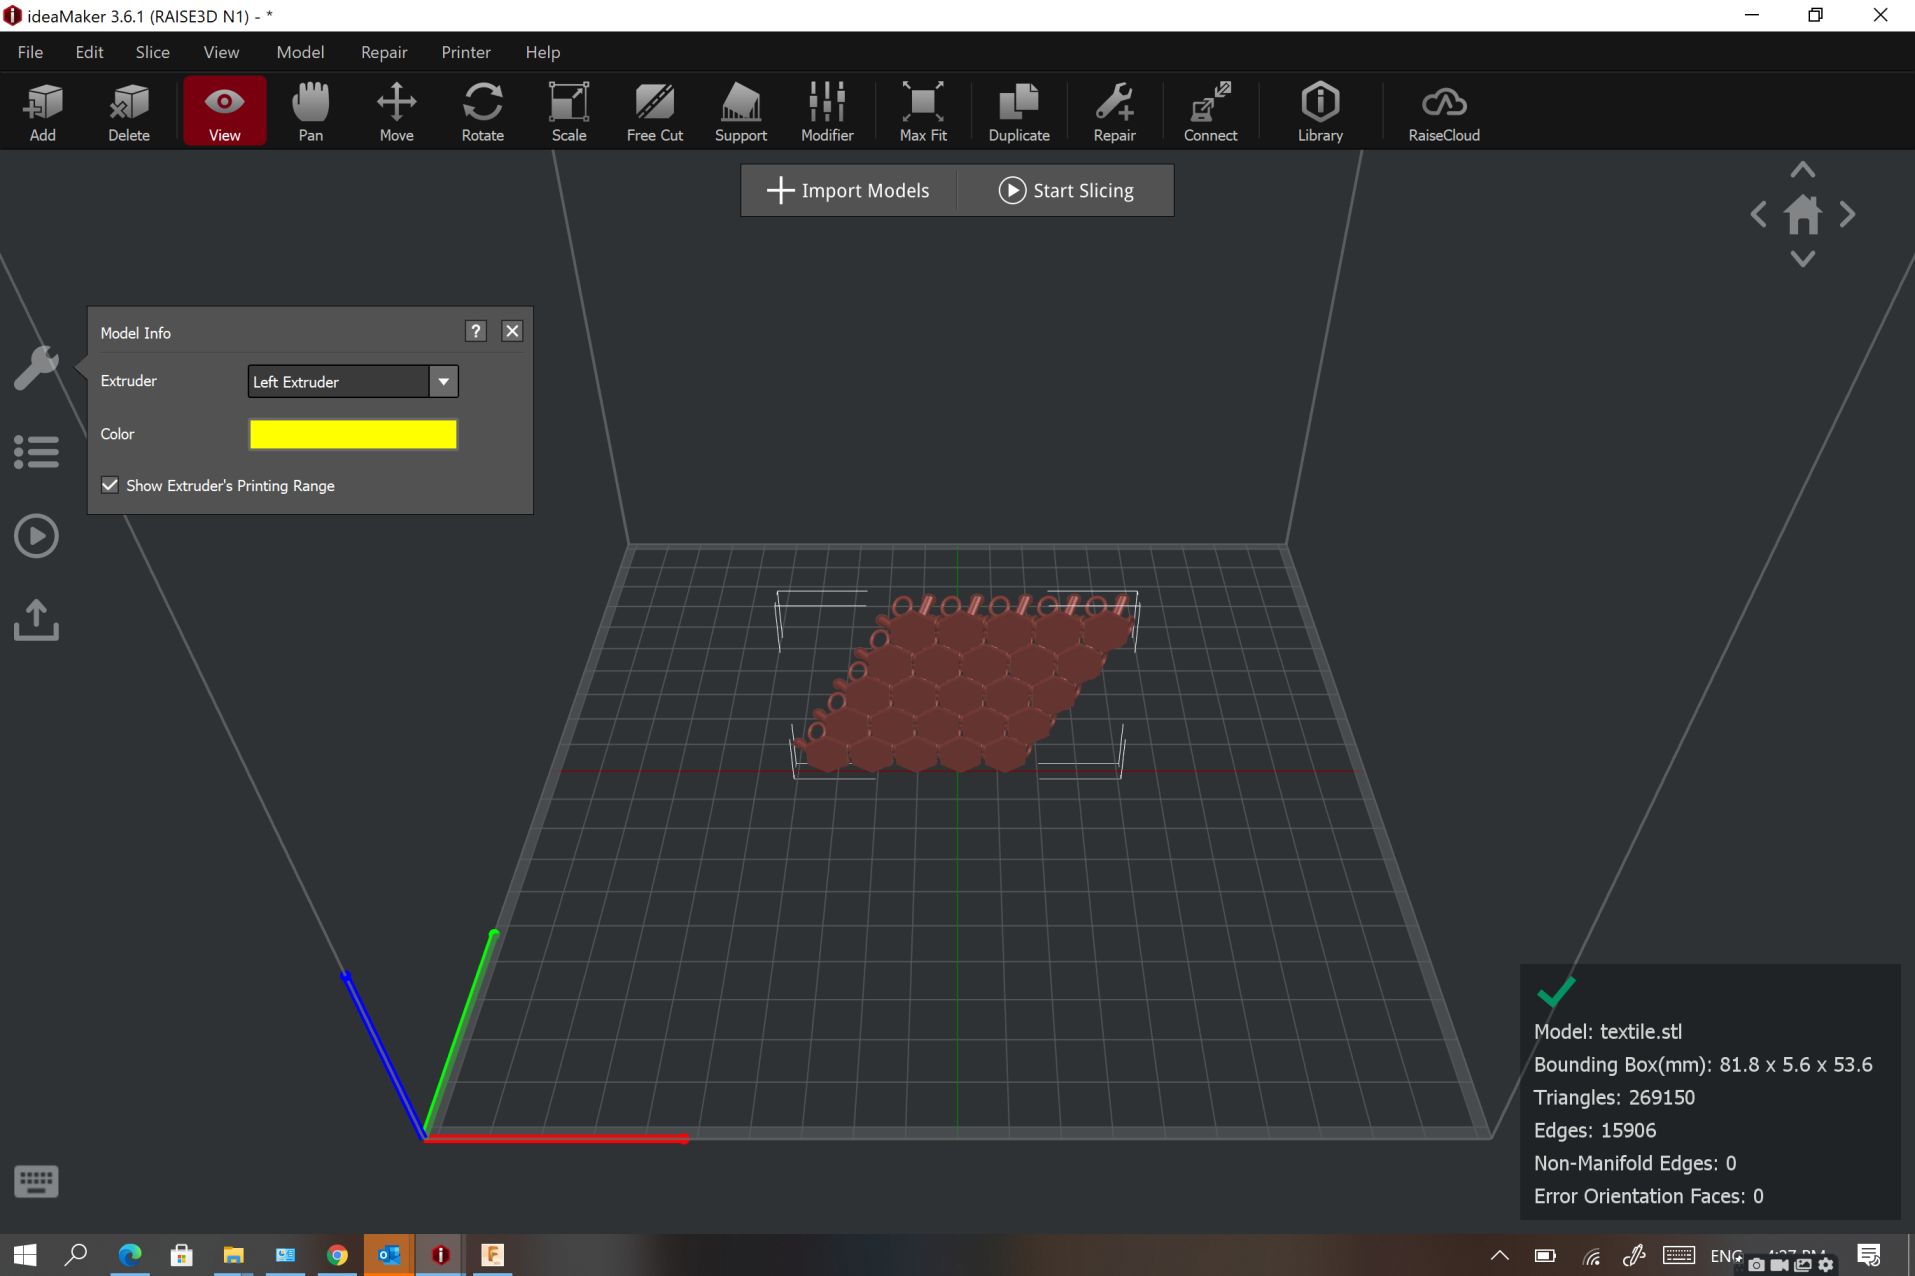
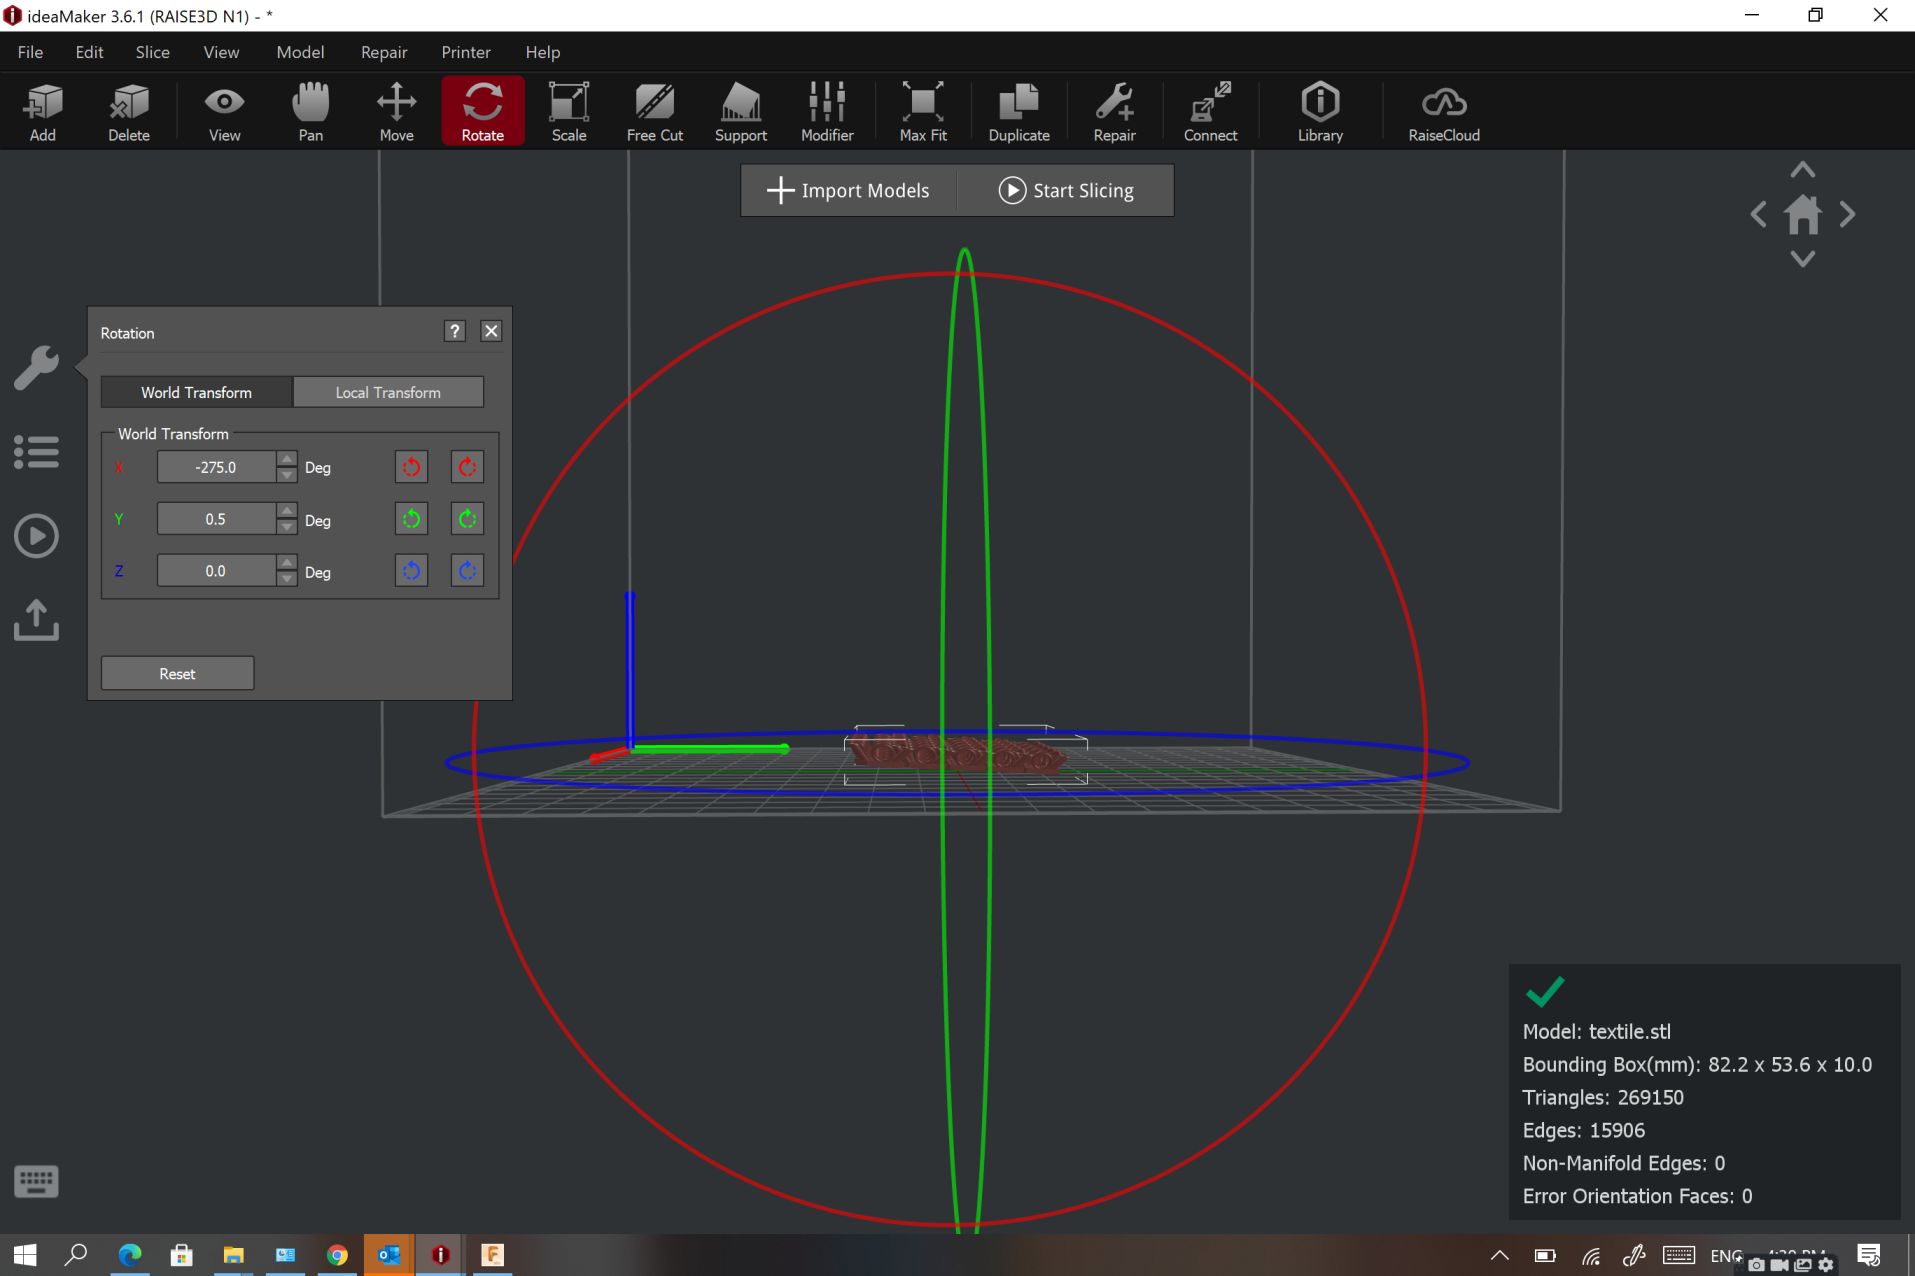
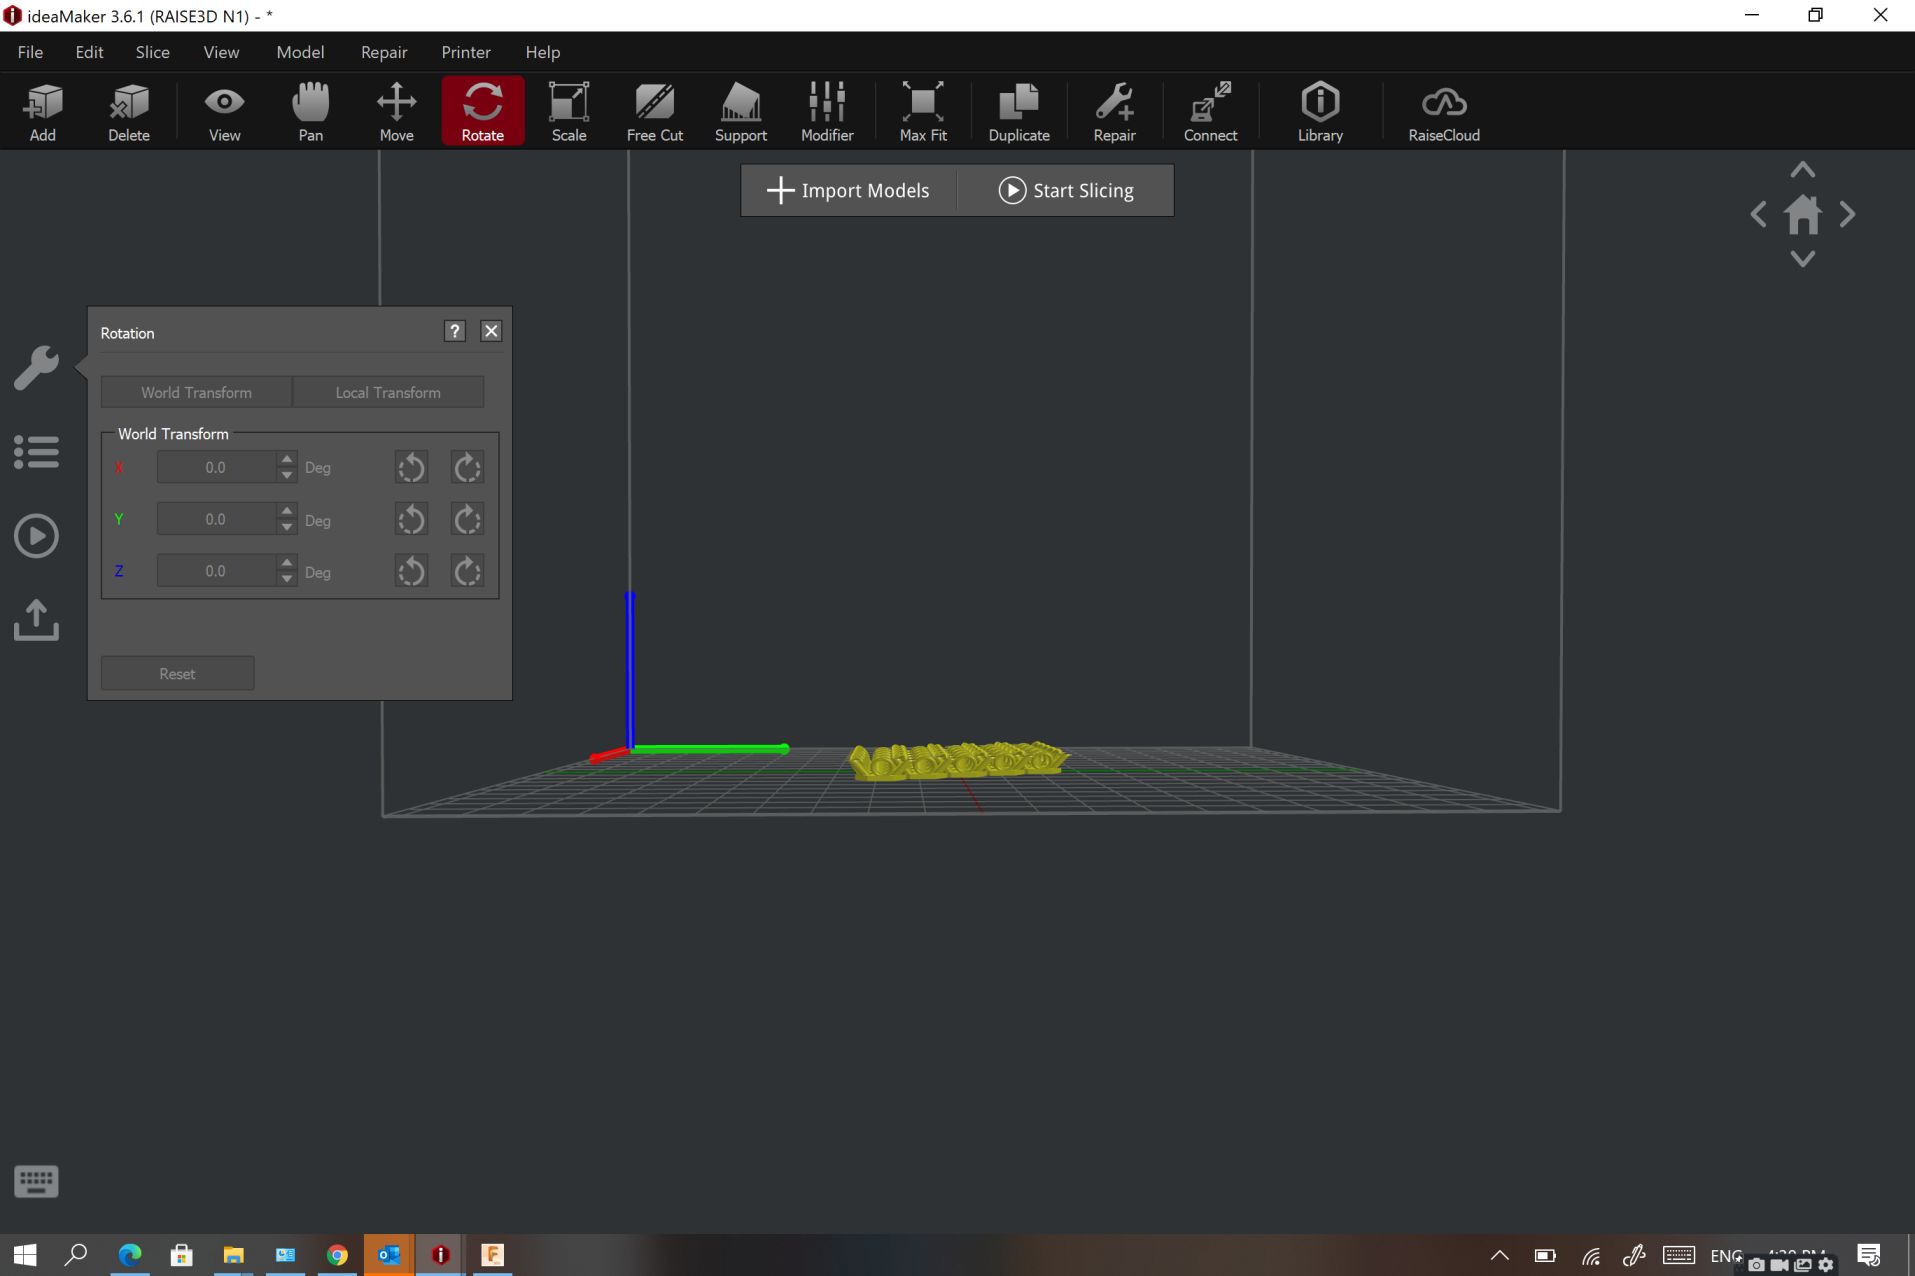
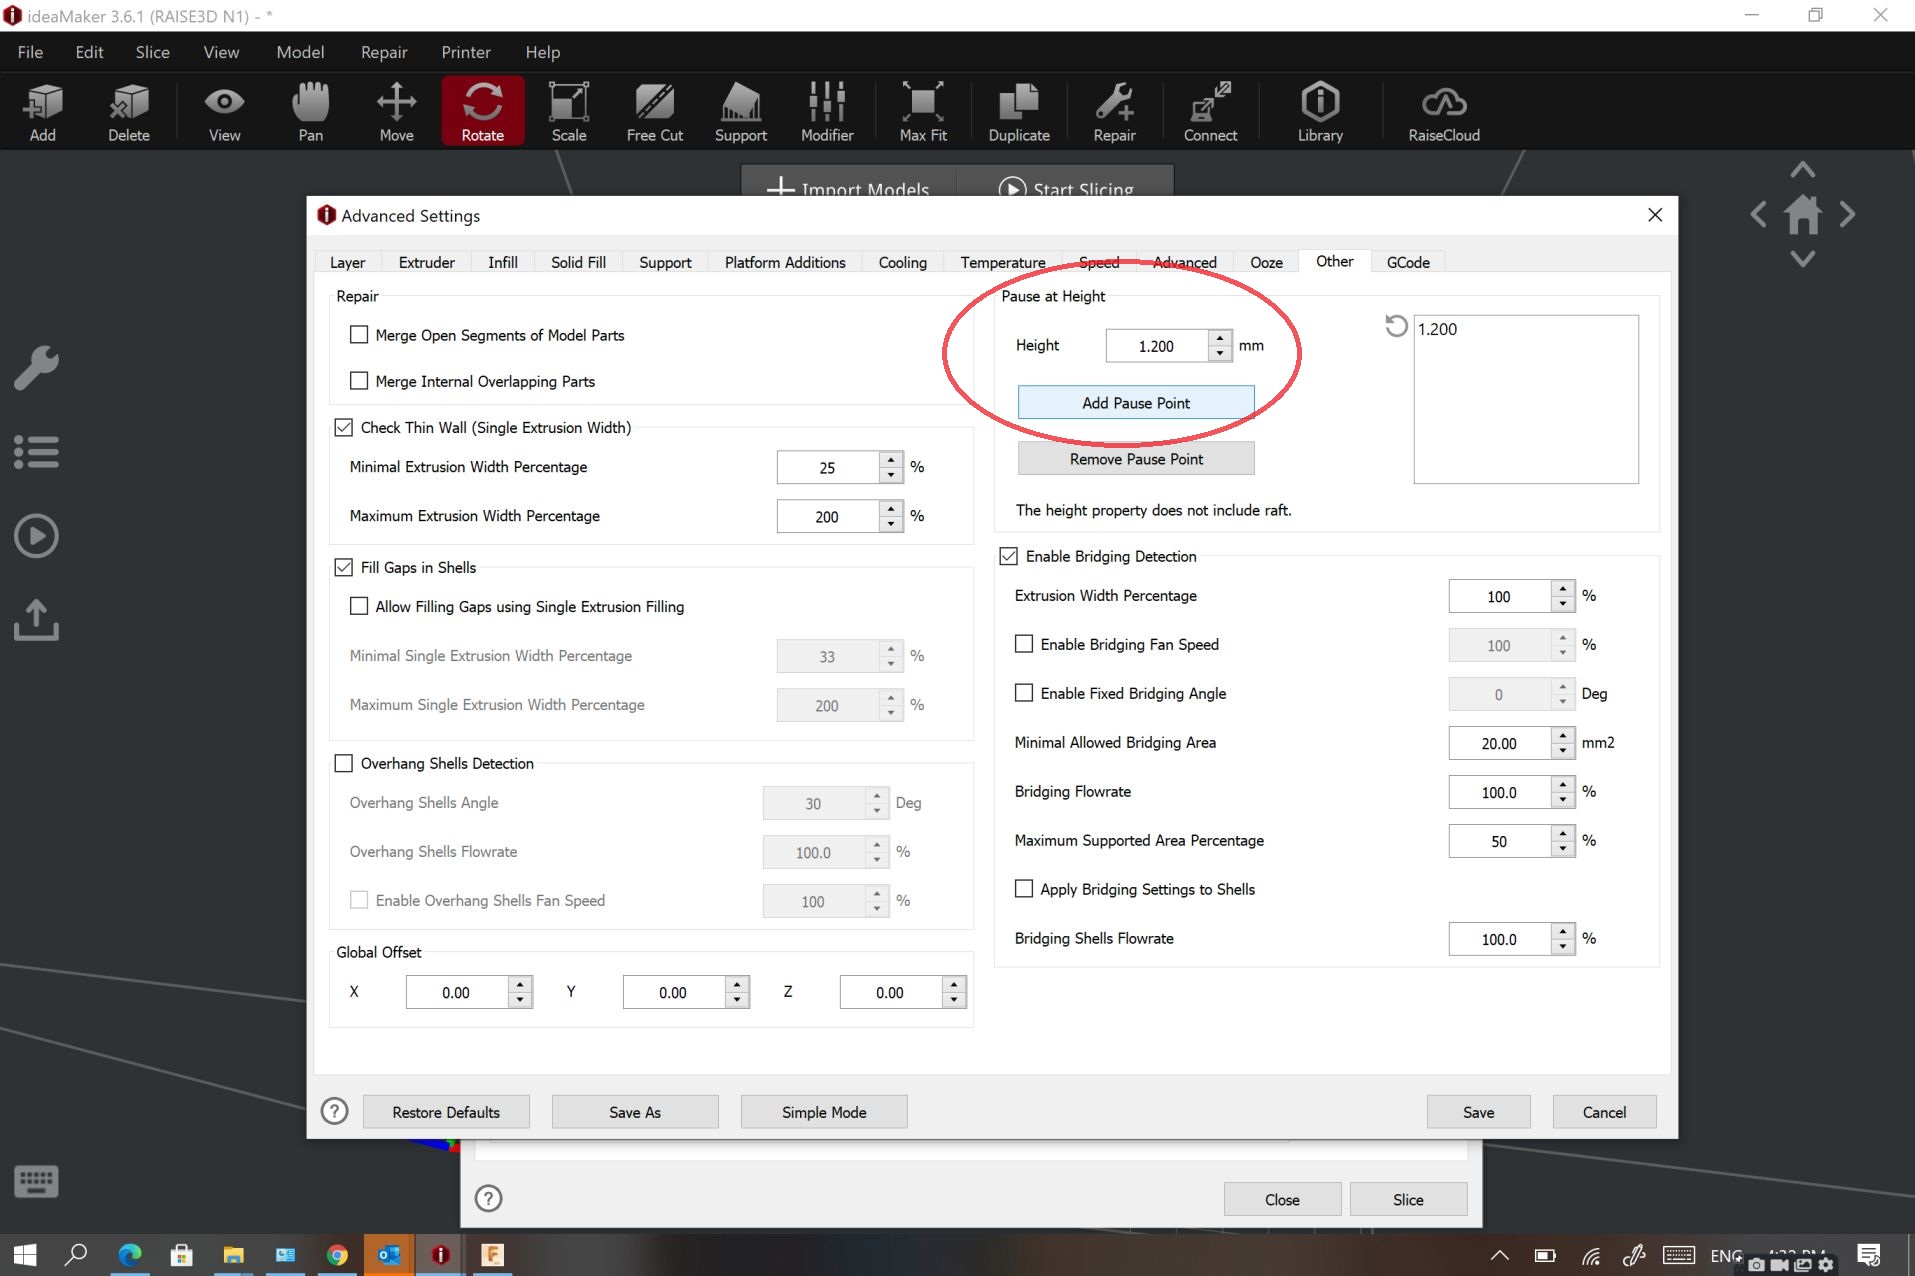
Now itis time to set some parametres
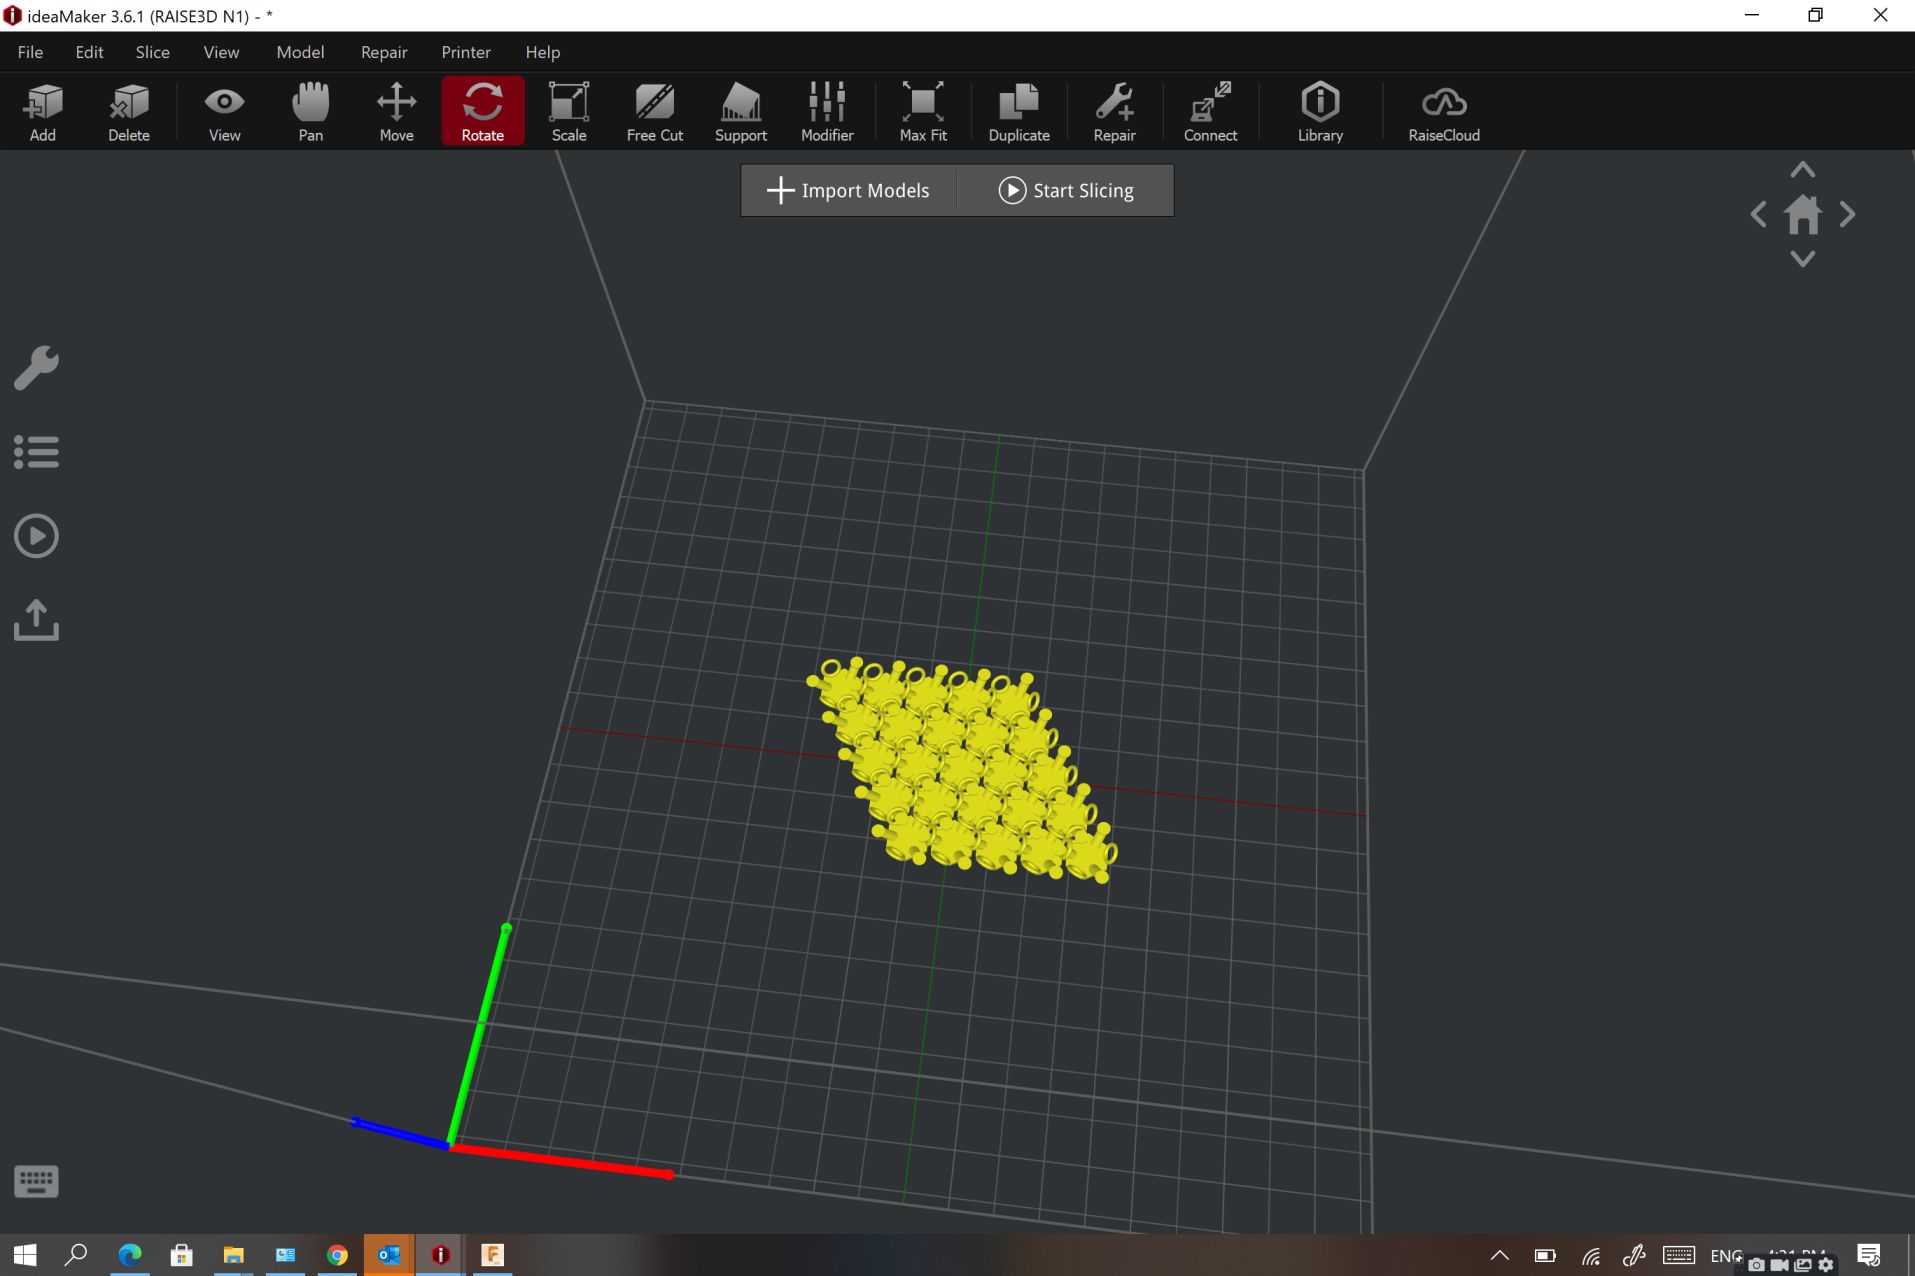
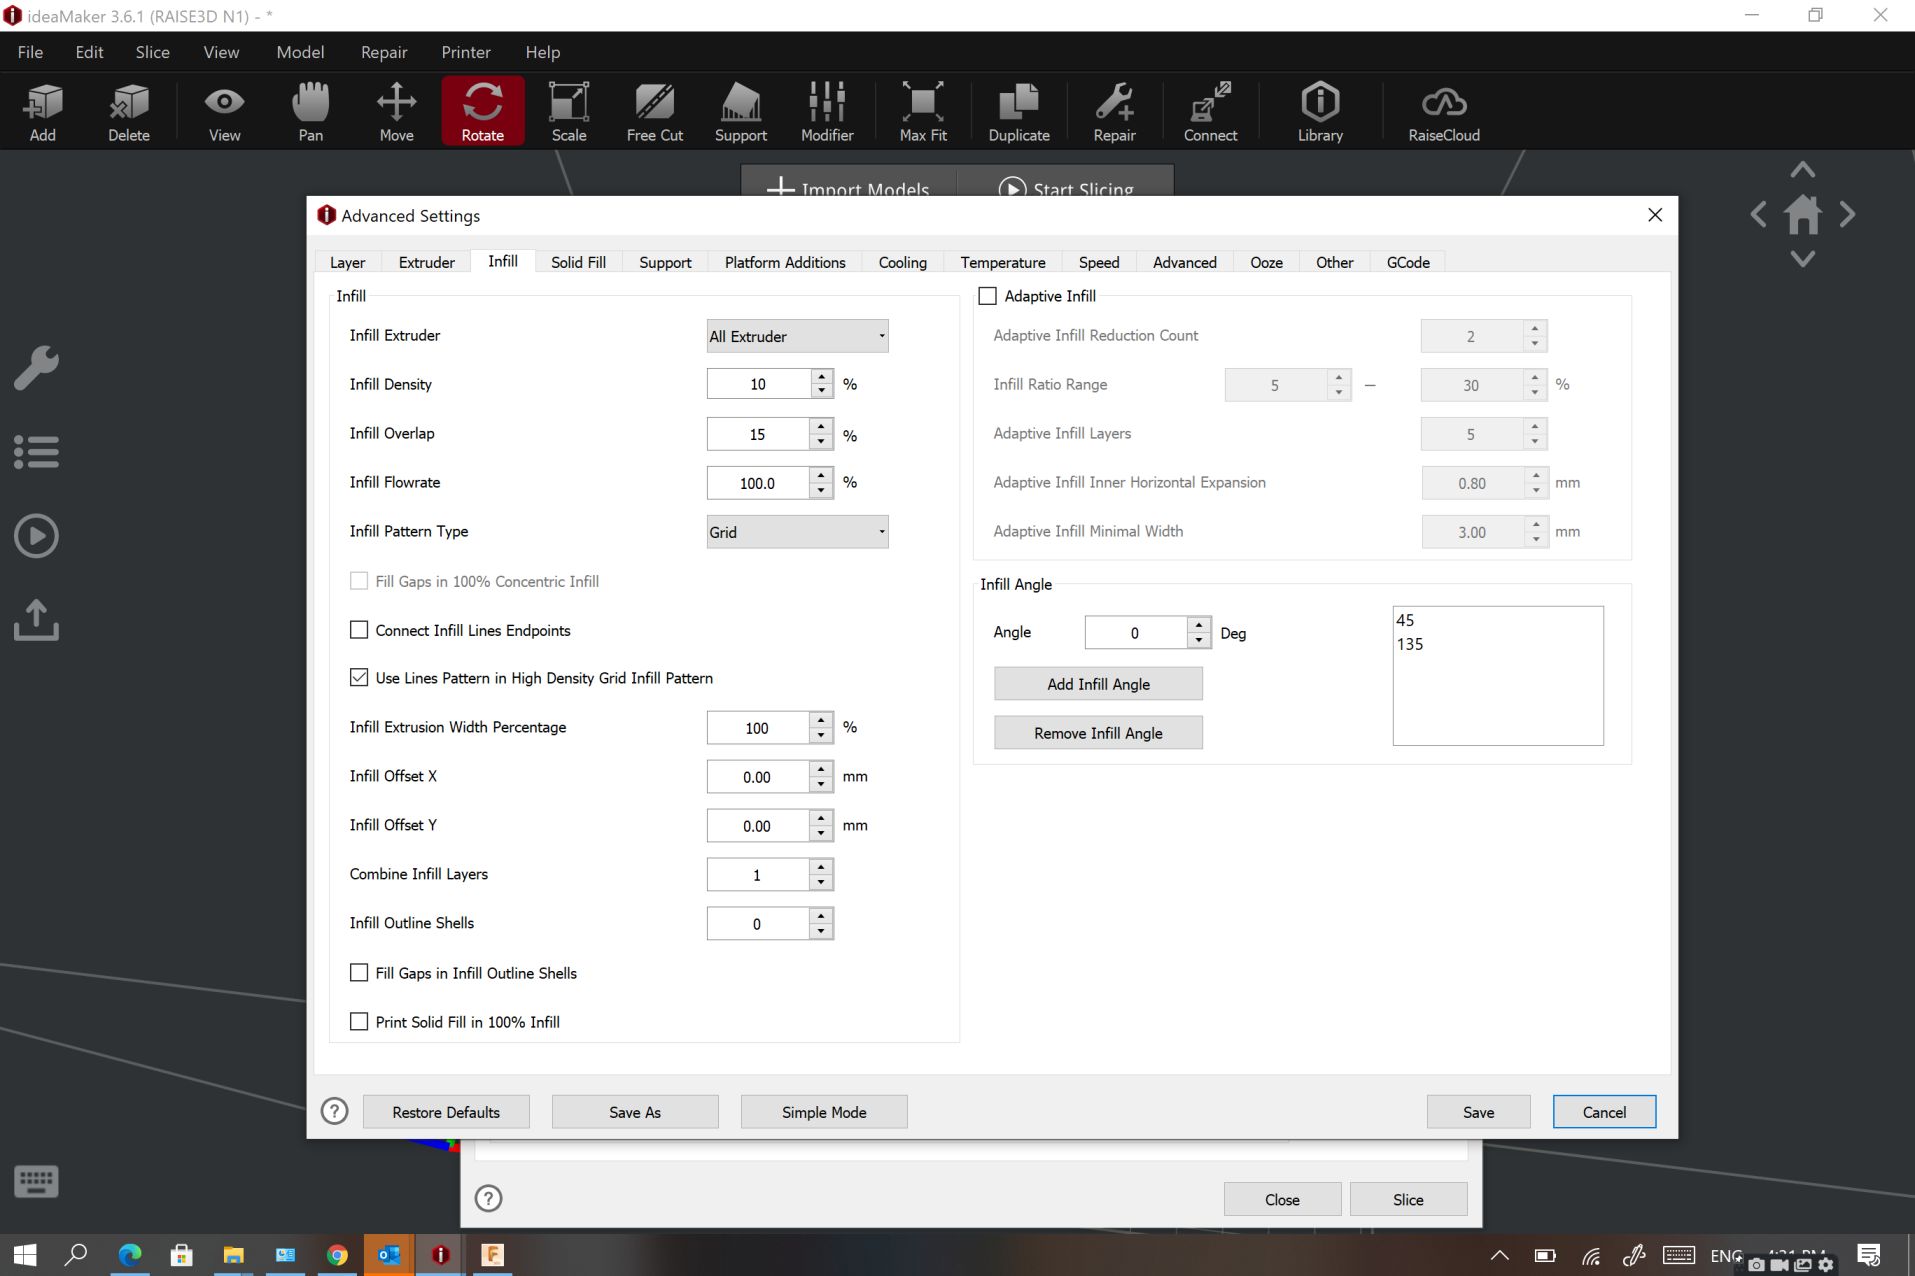
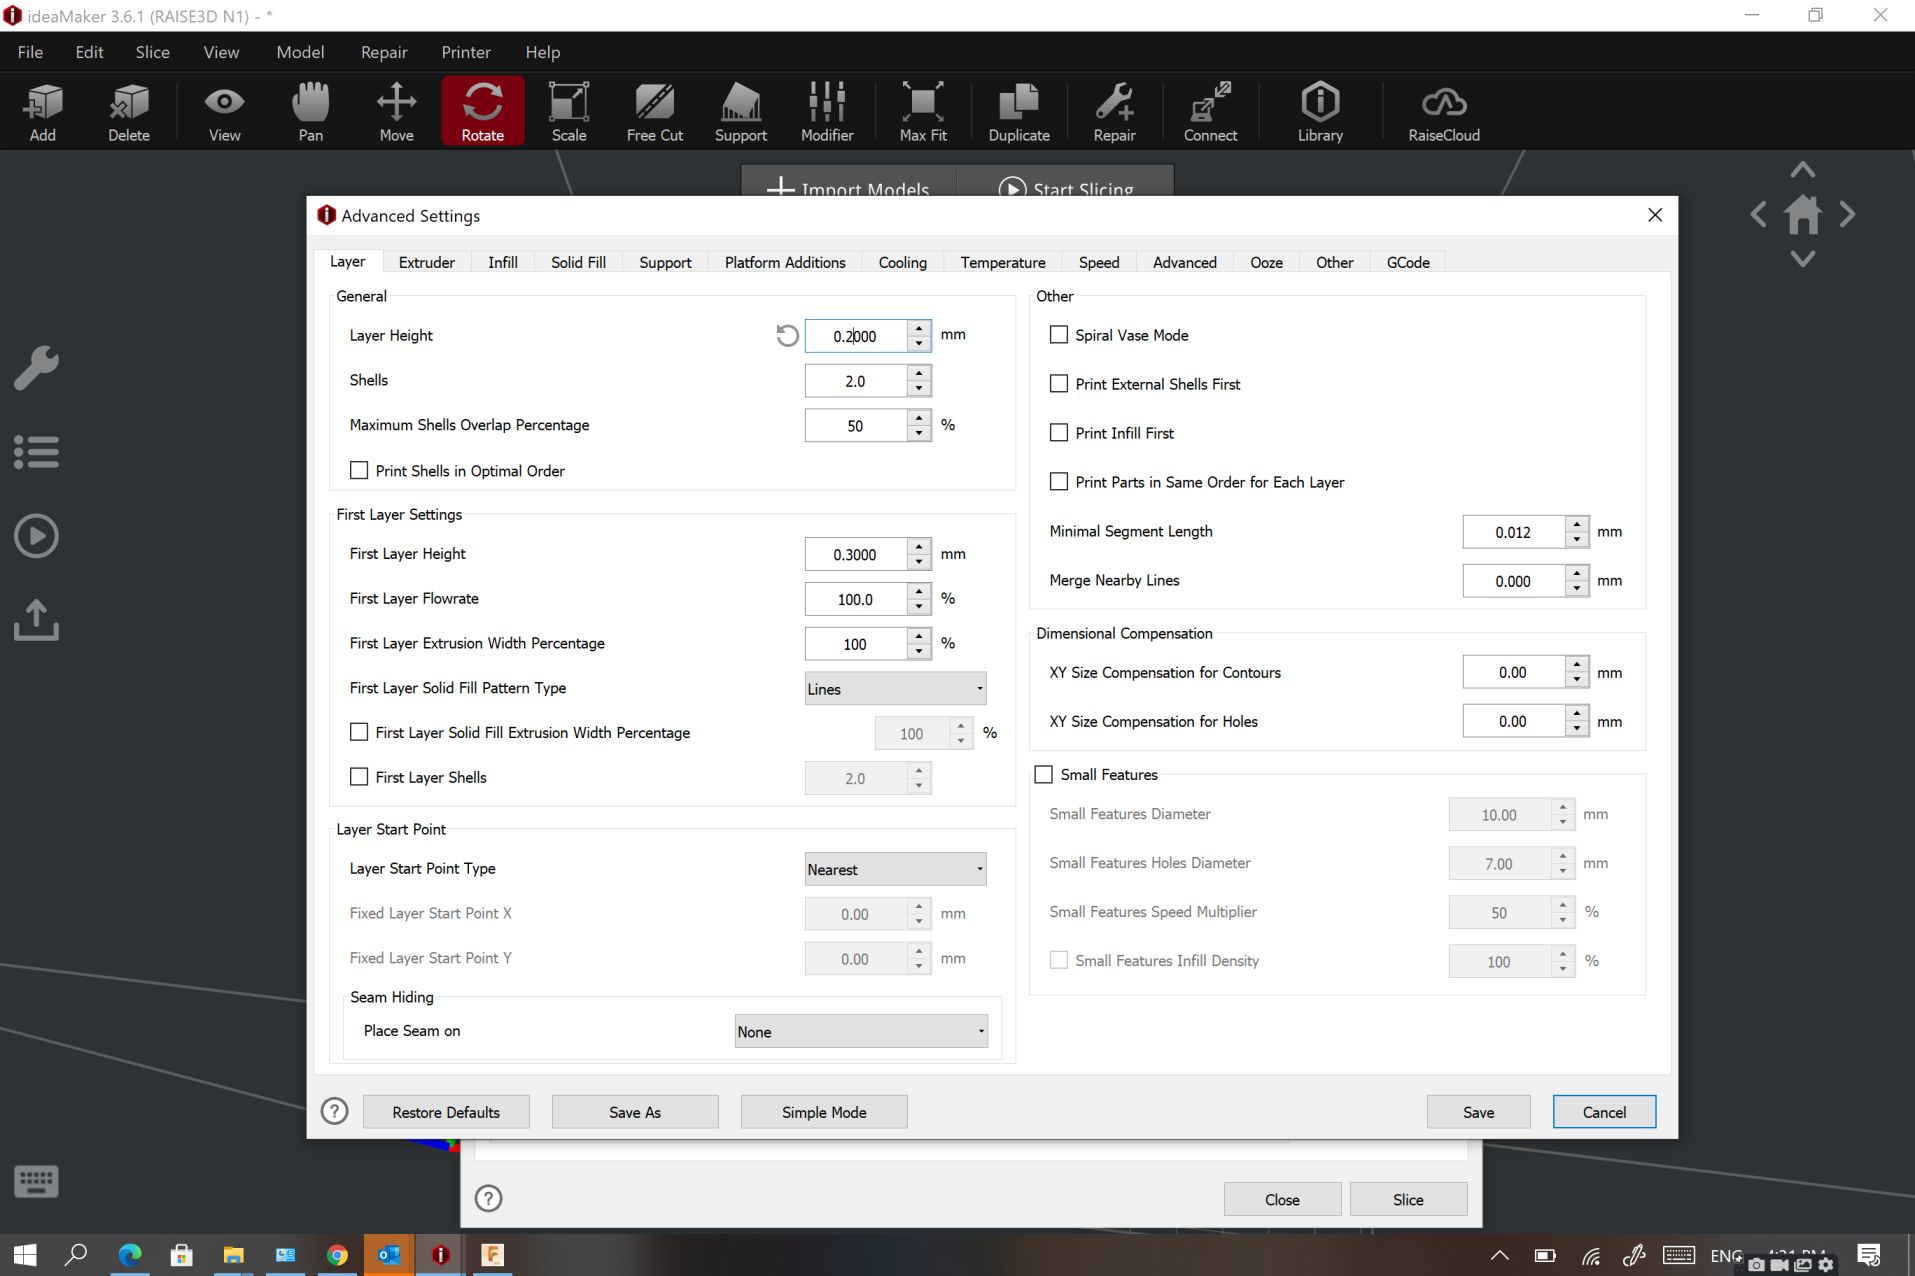
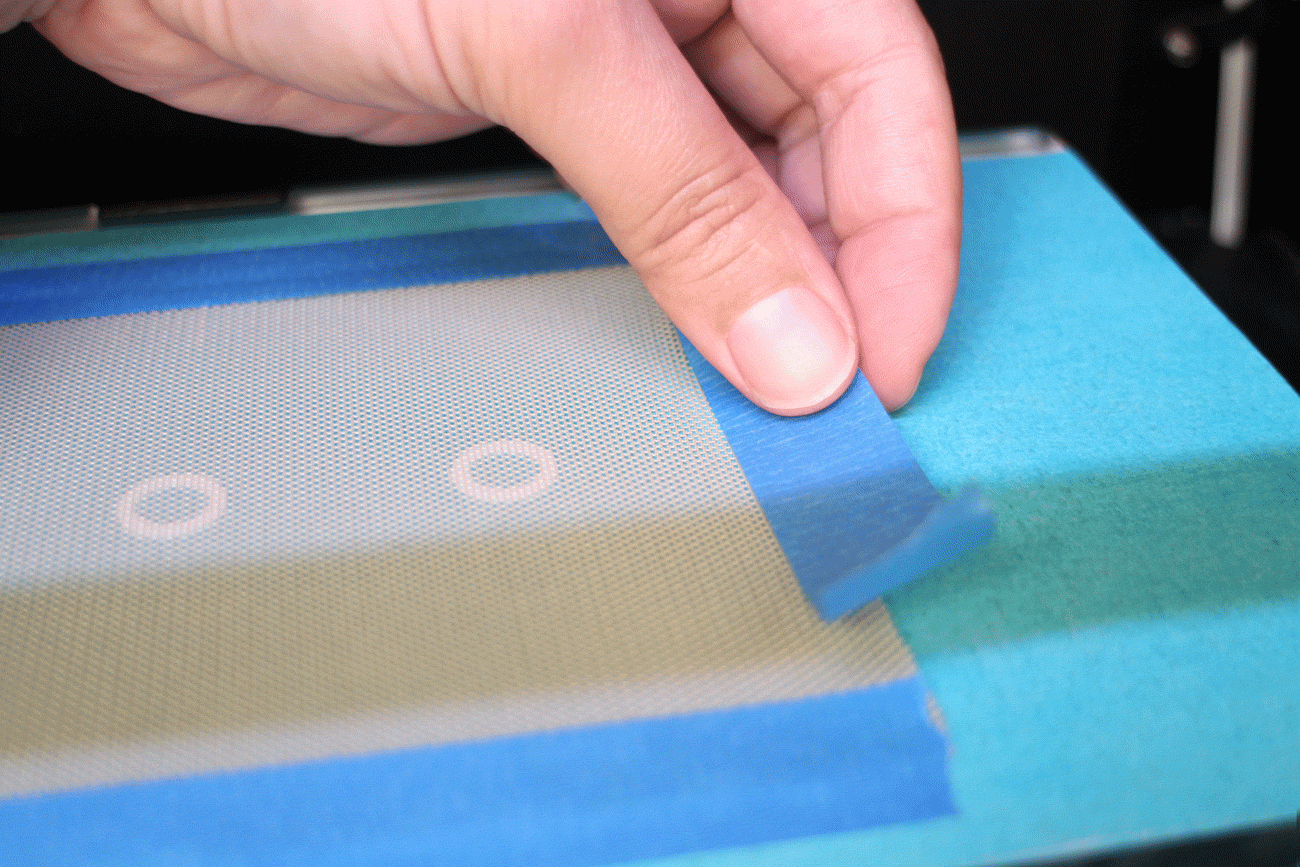
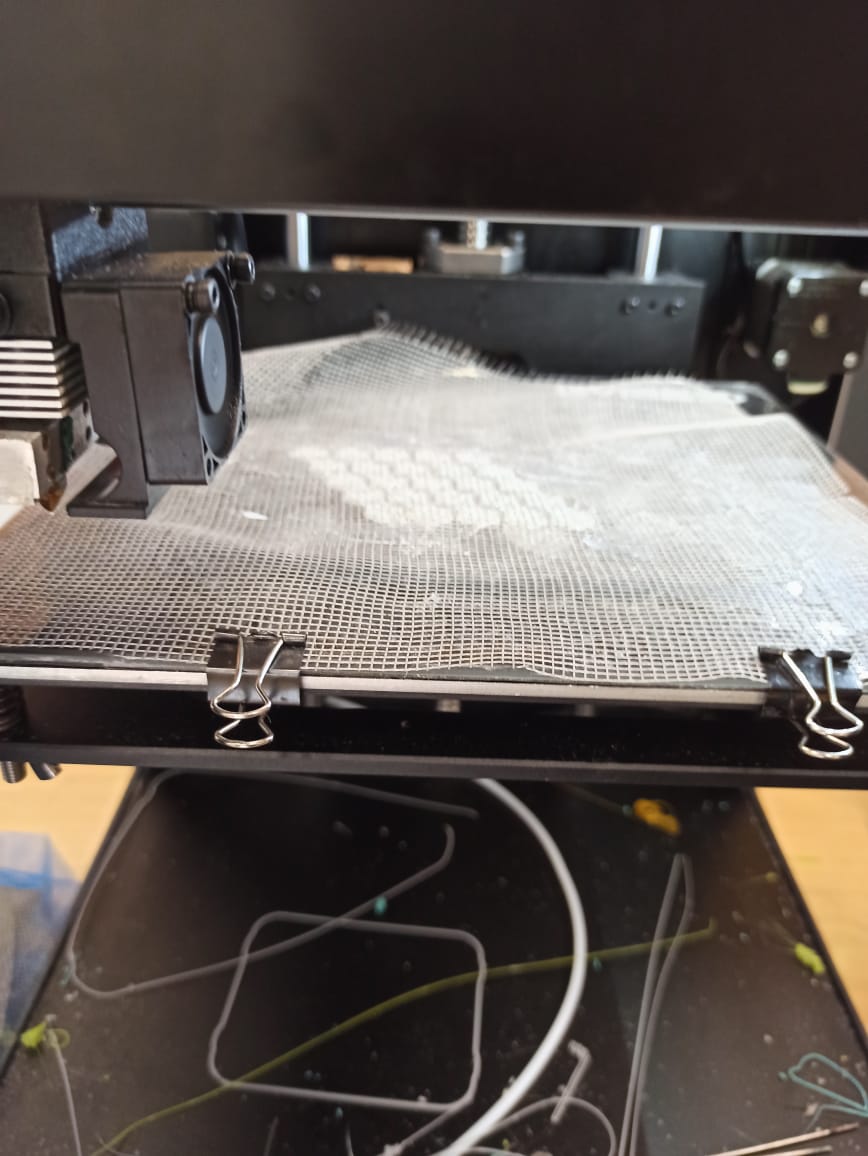
Smoothen your fabric over the print bed making sure that there are no creases or wrinkles. To make sure that your fabric sticks to the print bed, you can use double-sided tape or alternatively use clothespin clips to hold the fabric down from the edges of the print bed. So the trick here is to set a specific layer height when the Raise 3D should stop or pause automatically then we need to fix the fiber on which it should continues the printing , I n my case i choose to stop the printer at 1.2mm as showing on the picture


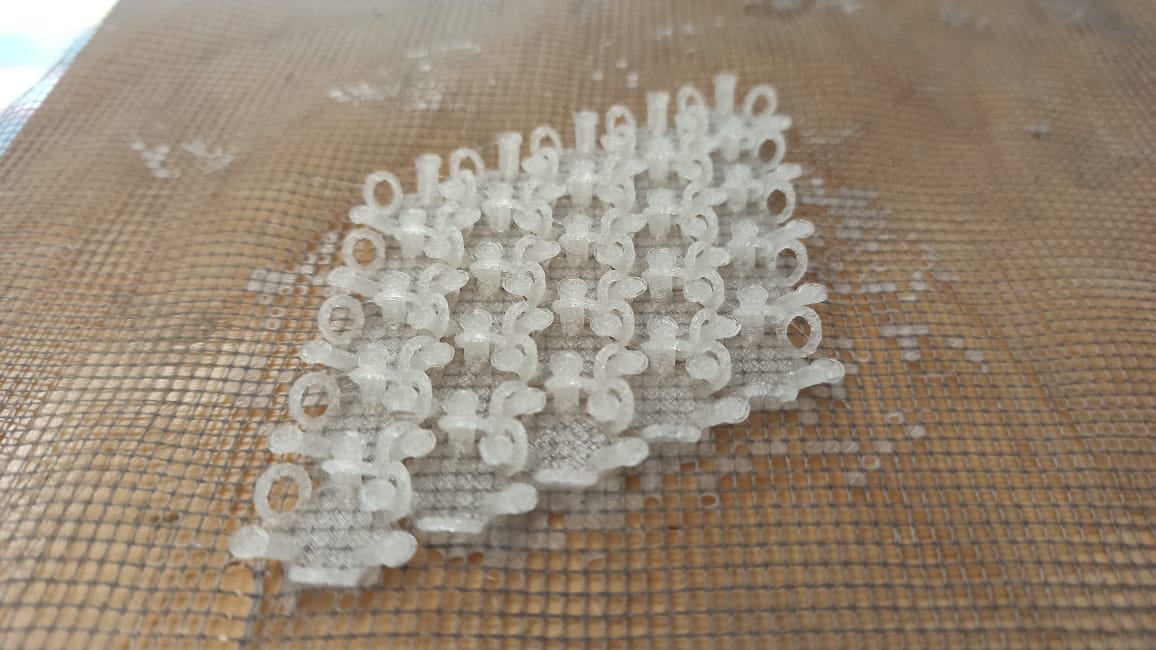
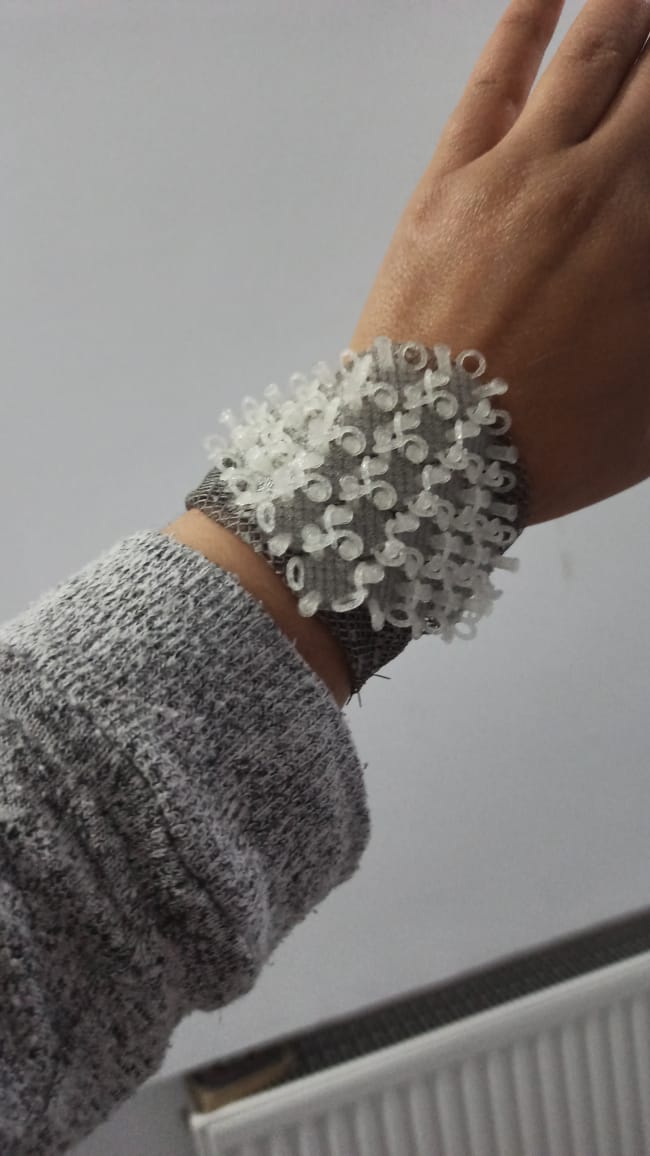
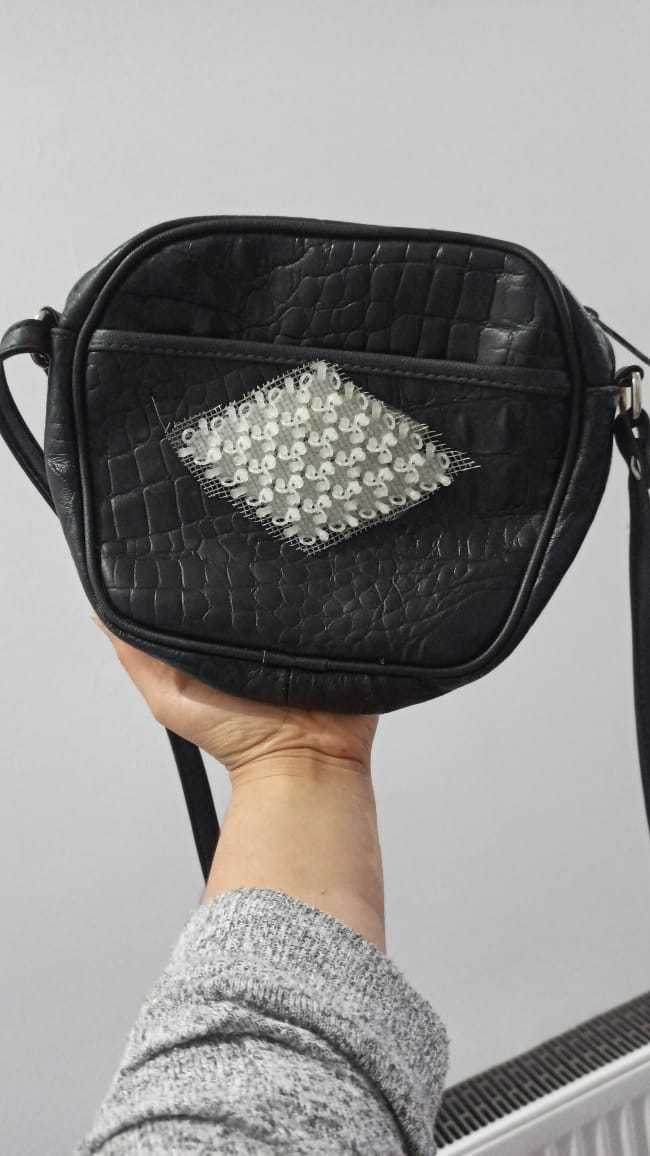
my printed piece is quiet flexible so i have different options to use it as showing below
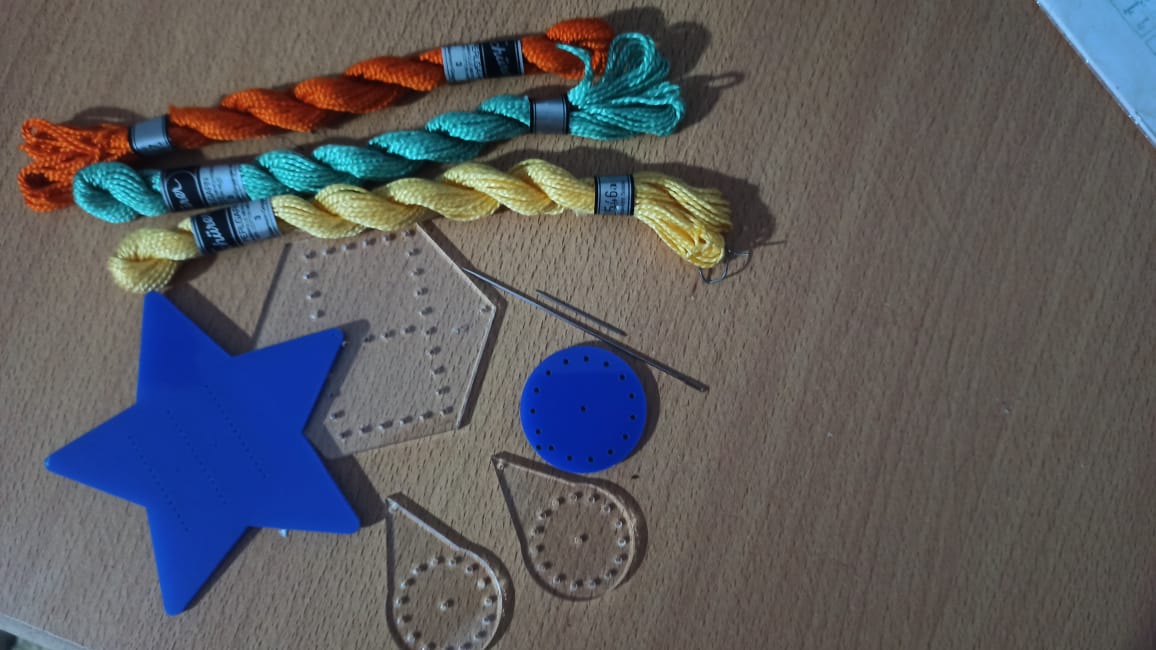
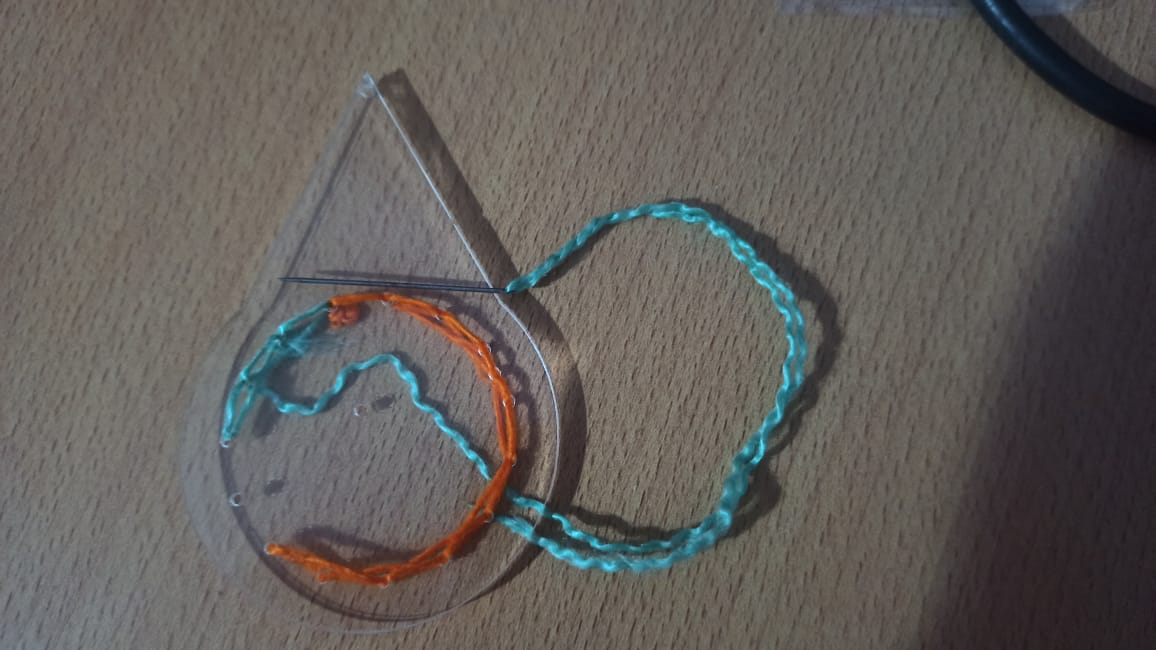
Embroidery on Plexilass
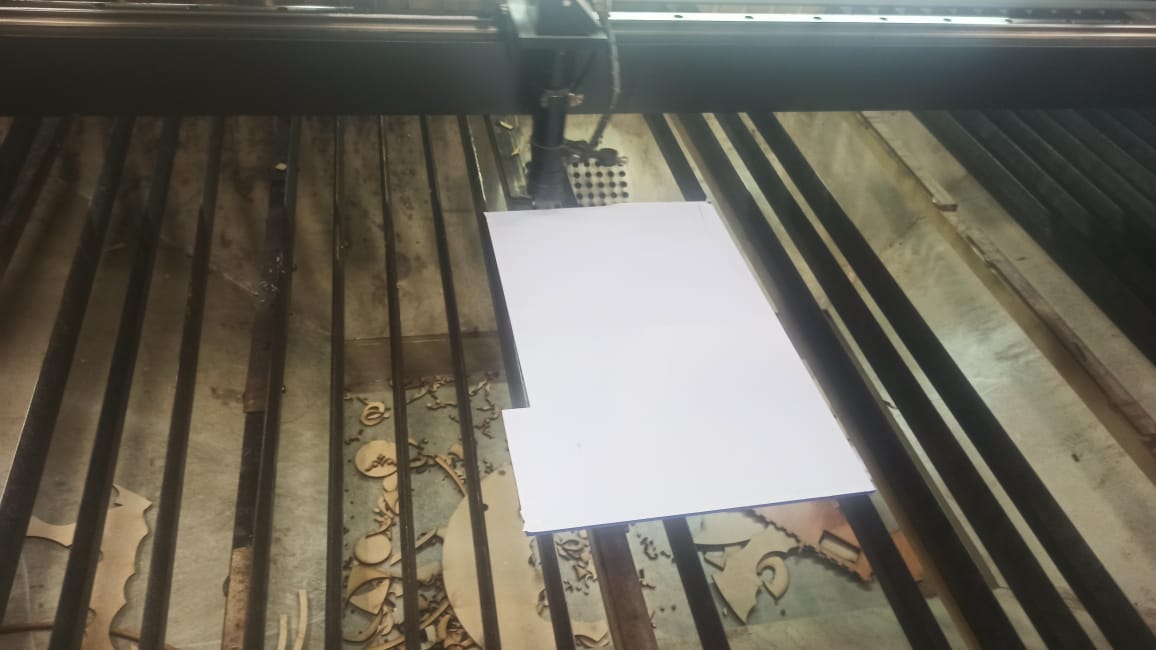
I want to make earaccessory and other deoration pieces using a laser cutter , on these plexiglass pieces i will draw patterns of wanted shapes, then cut it after that I will manually embroider them.
Start with desiging on fusion 360 following these steps
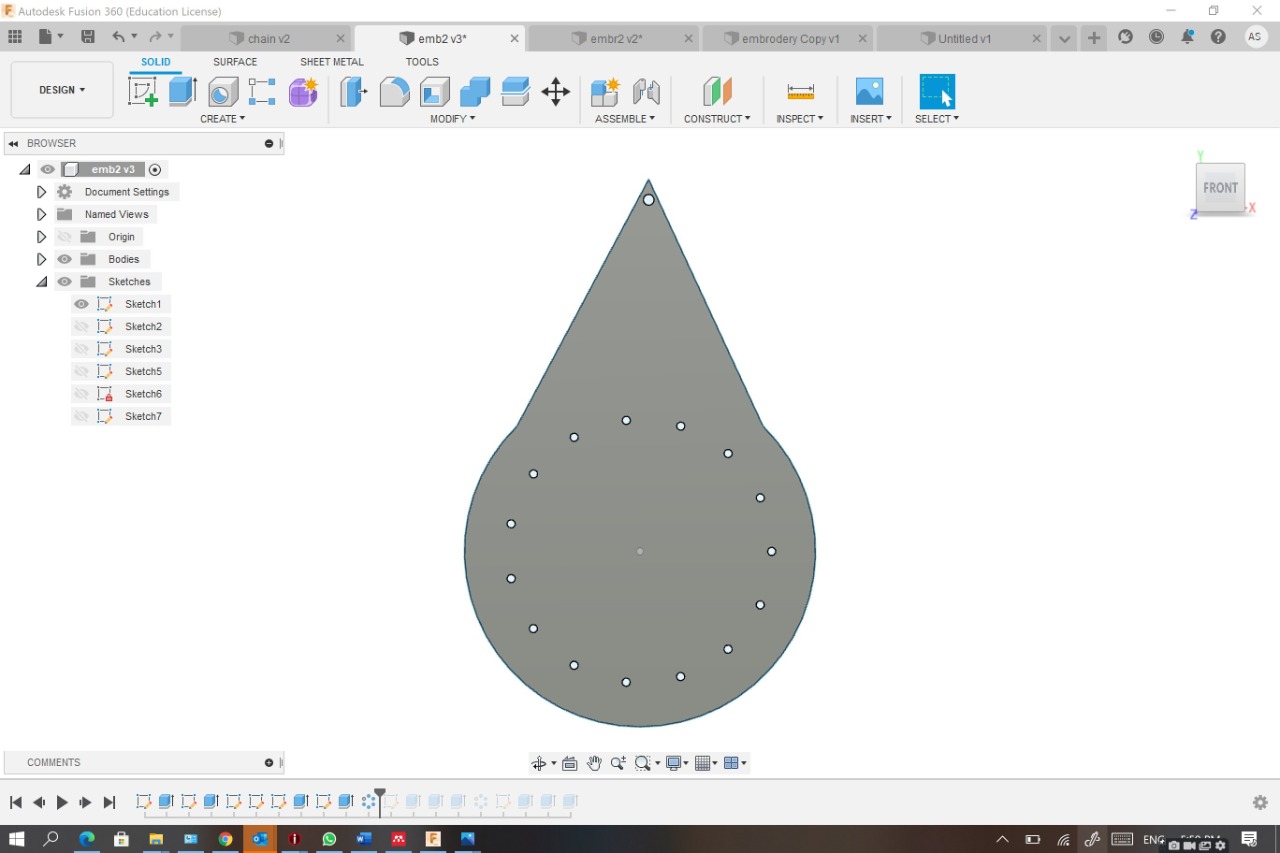
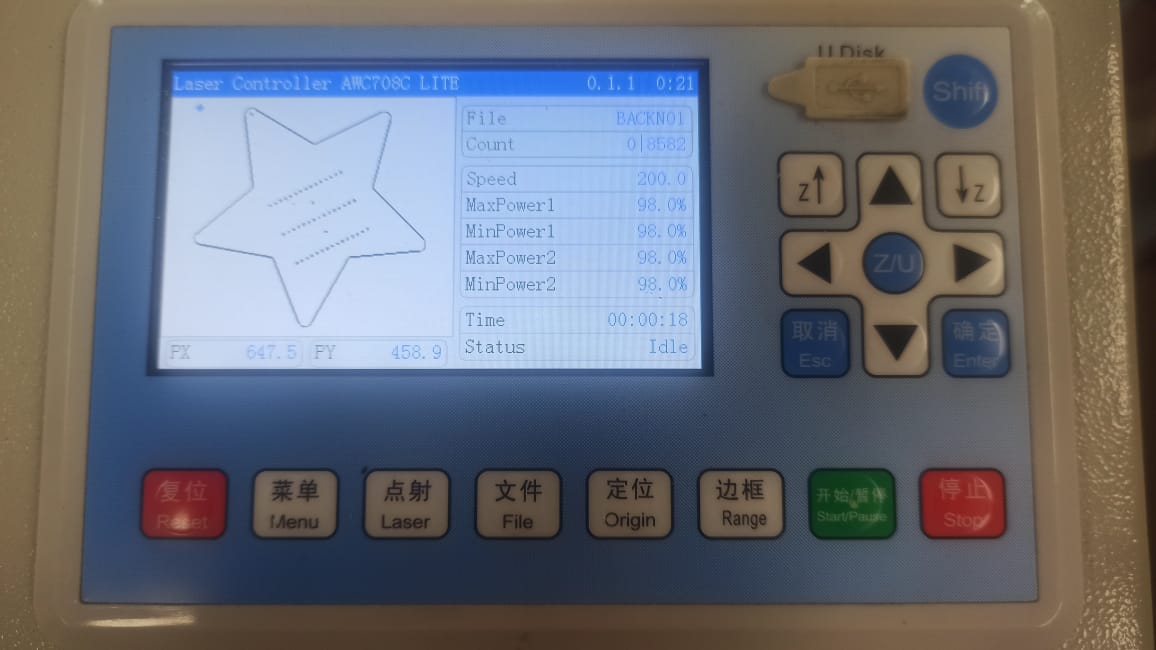
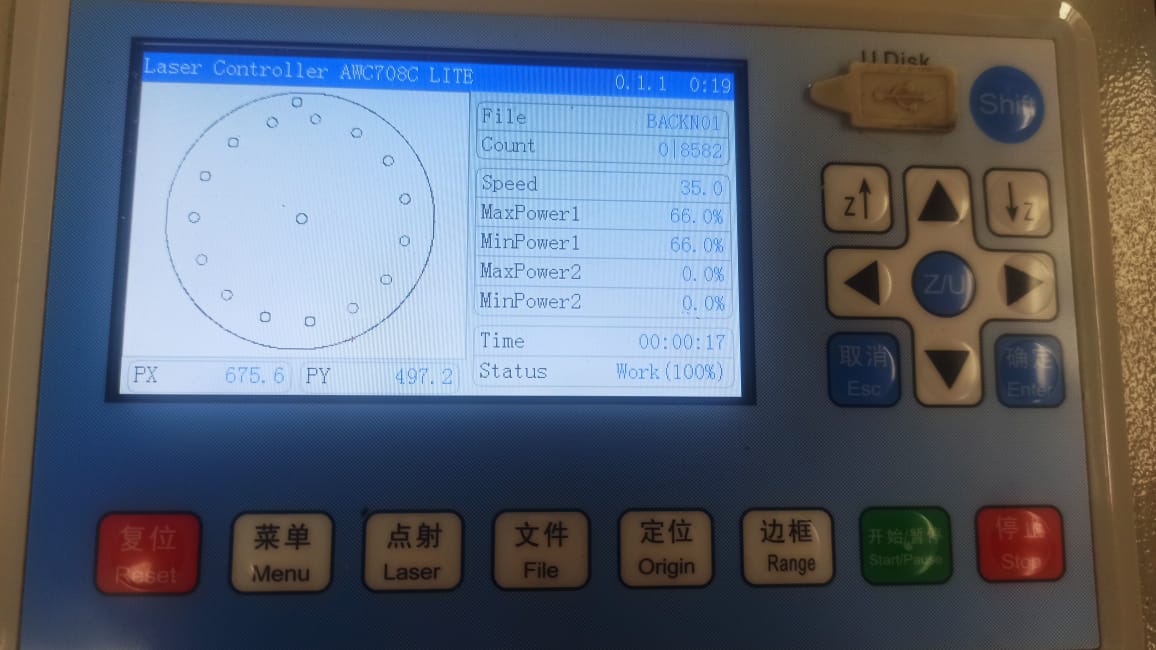
So every time started by i start by new sketch and draw the shape i want then extrude it then i make a hole of 2mm (needle size) and use a circular or regular pattern to get a piece of perforated plexiglass
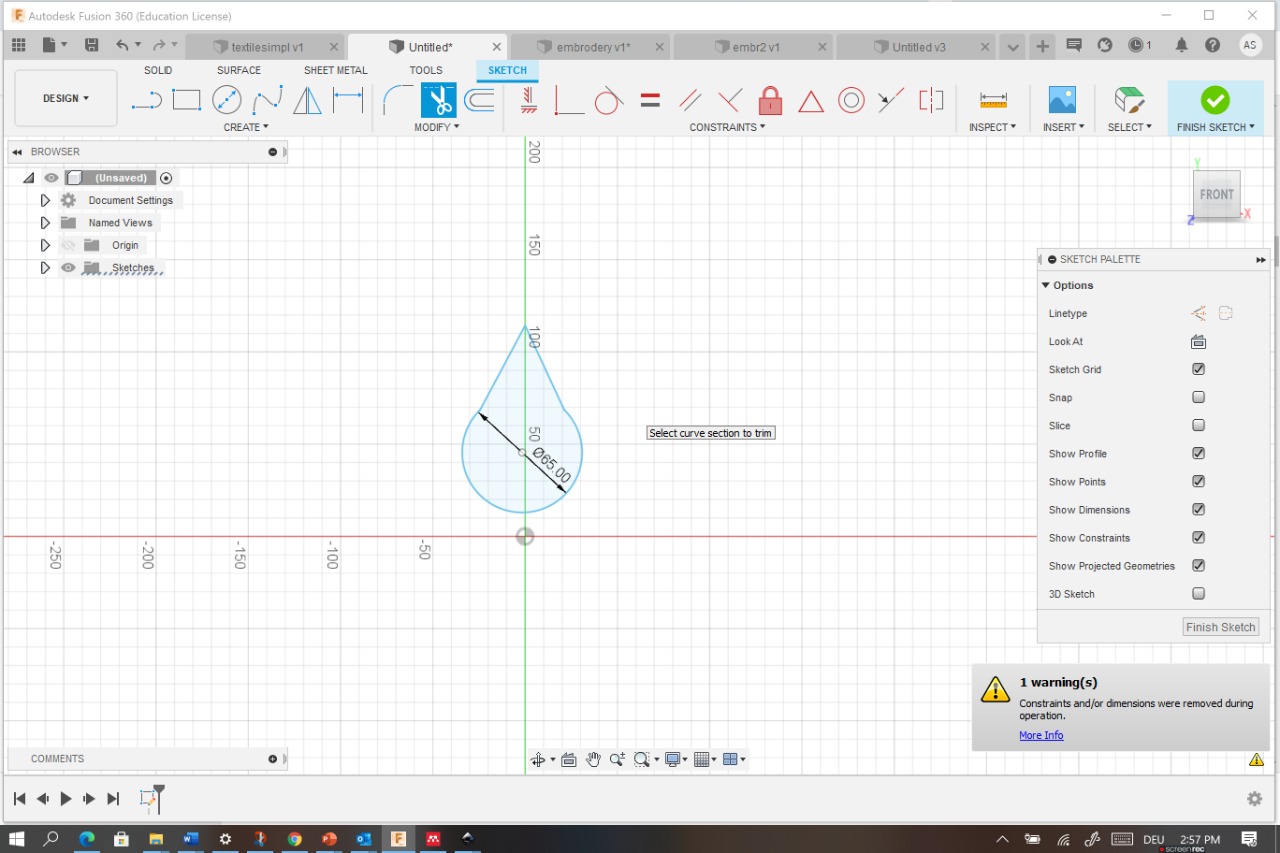
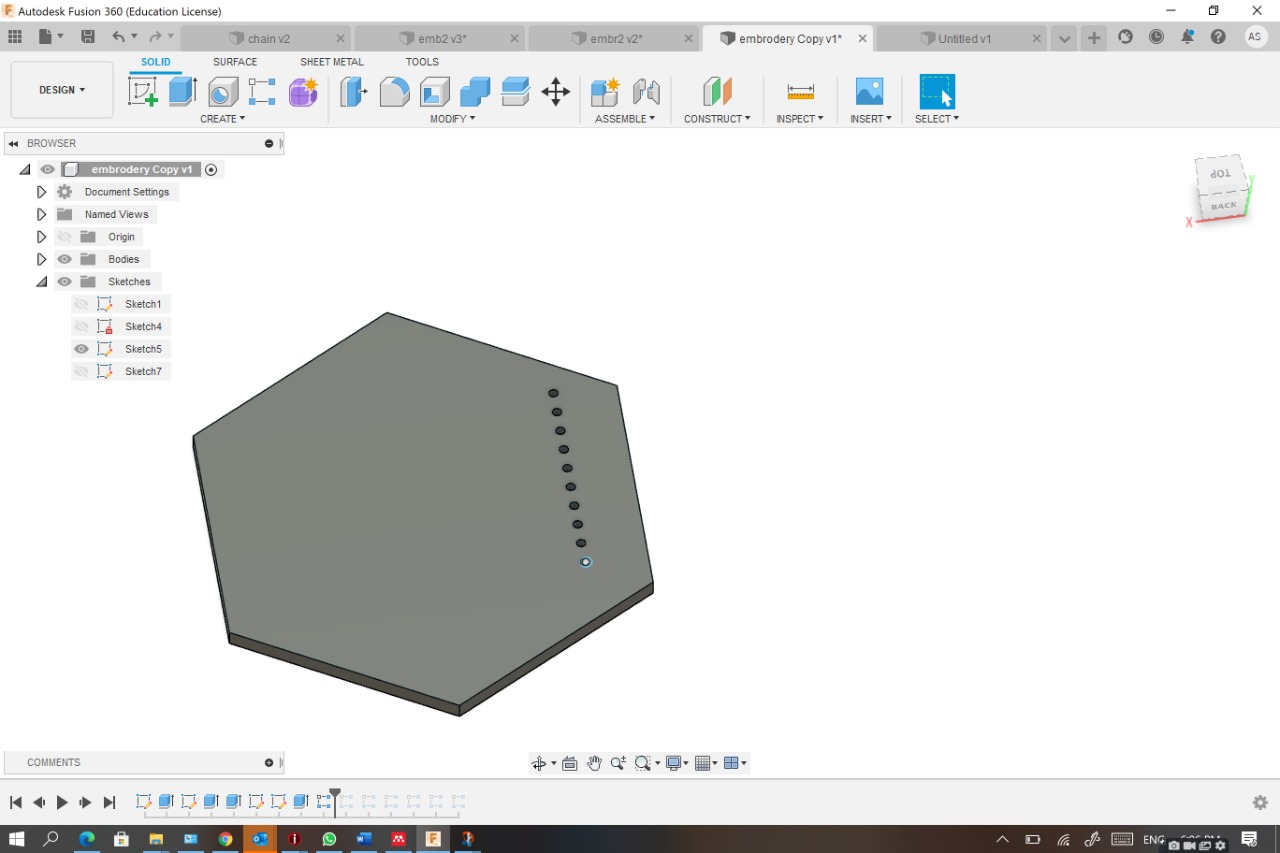

After finishing the design ,i saved the different pieces as dxf files so i can cut it using the laser cutter
the parametres
speed 35mm/s
Max power 66%
Min power 66%
Nowit is time for the hand embroidery
I used two different needle sizes (0.1 and 0.2 mm)and i choose a suitable thread
I really enjoyed this part !

Check my Chain fusion file
Check my first embroidery file
Check my Second embroidery file
Check my Third embroidery file