18.Mechanical design
This week is kinda of exception because we had to work as a team , in fact we need to help each other to build a machine but we still required to document our individual work
group assignment * design a machine that includes mechanism+actuation+automation * build the mechanical parts and operate it manually * document the group project and your individual contribution
Machine design
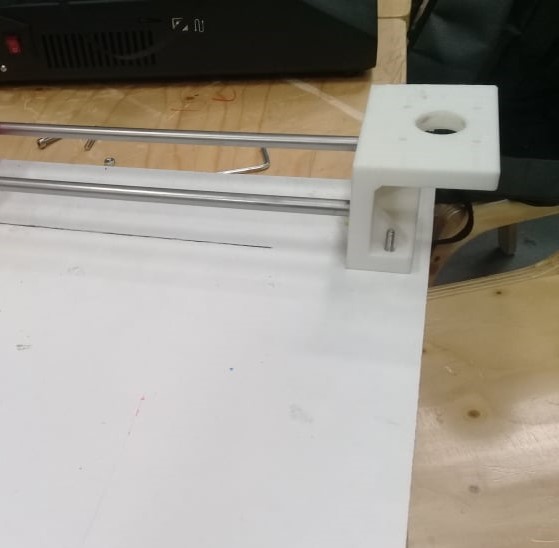
Since we don’t have a vinyl cutter in our fab lab , we decided to make one :)
We tried to work together so that every one take a part in this project
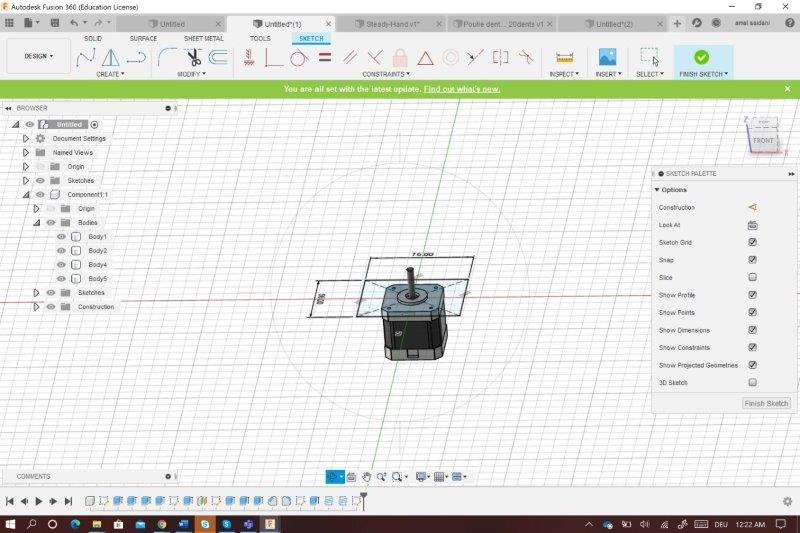
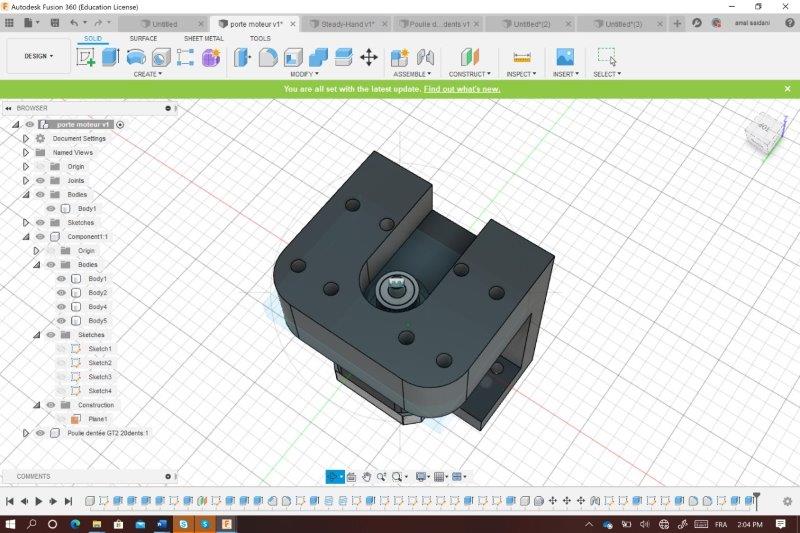
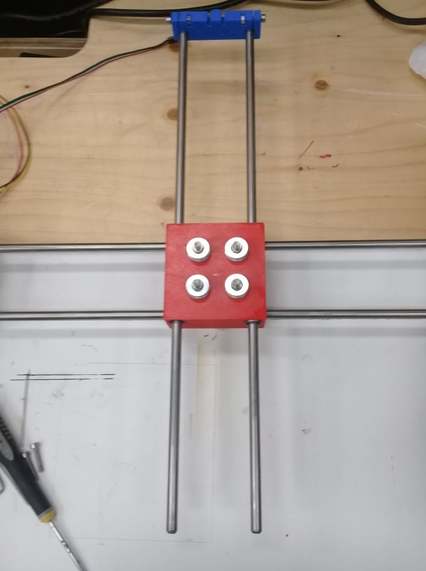
For me i designed the stepper motor holder for the sides
First i downloaded my stepper motor nema 17 fusion library and i exported it to my fusion file where i was designing
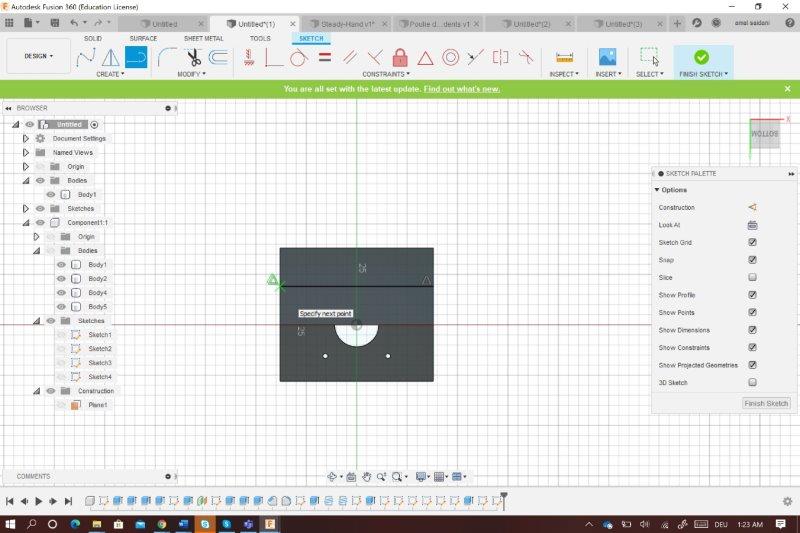
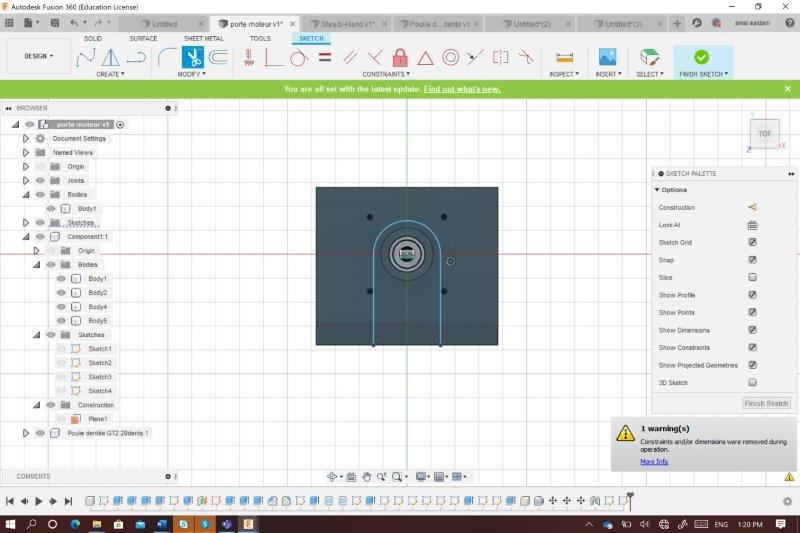
I choose the front plane to create a sketch rectangle and i had to design a circle inside this rectangle where the motor axle will pass throw
Also i designed other center circles around the axle which what i will fix the motor using screws

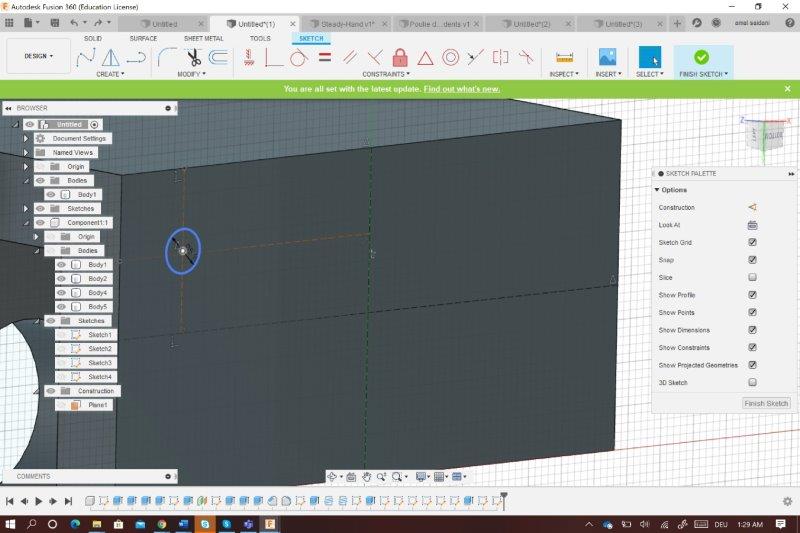
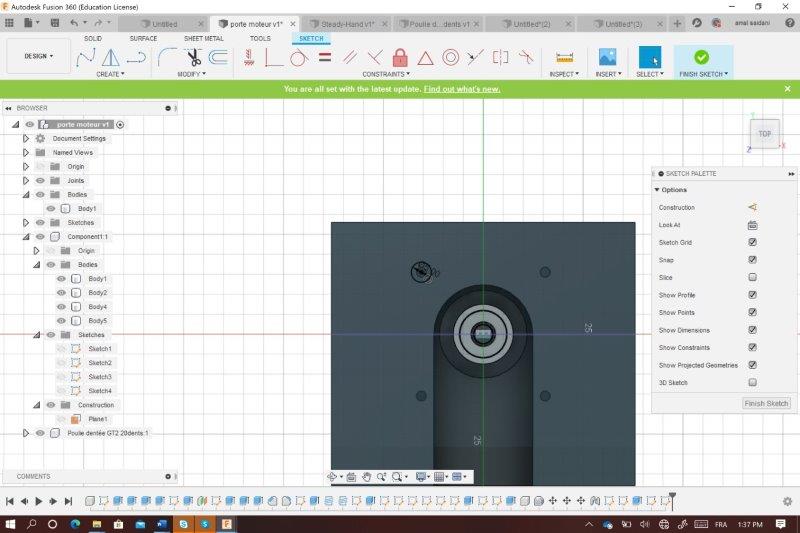
I created a new sketch and i used lines to define the second part as showing bellow

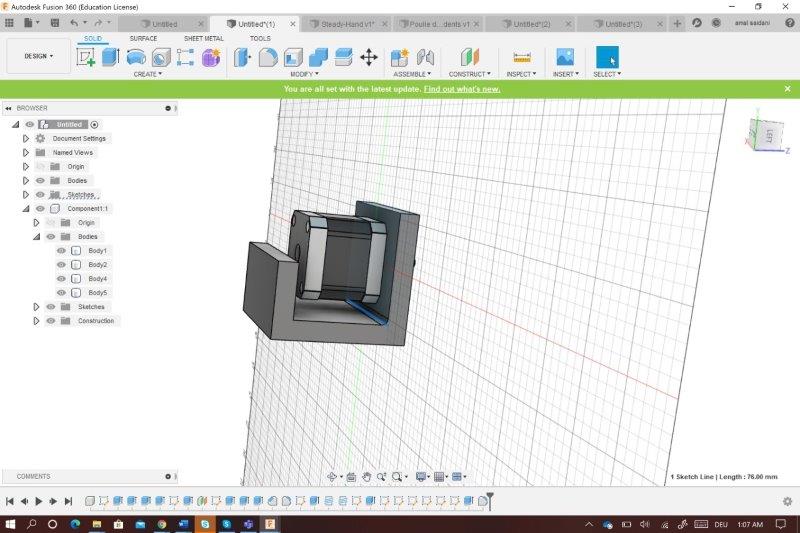
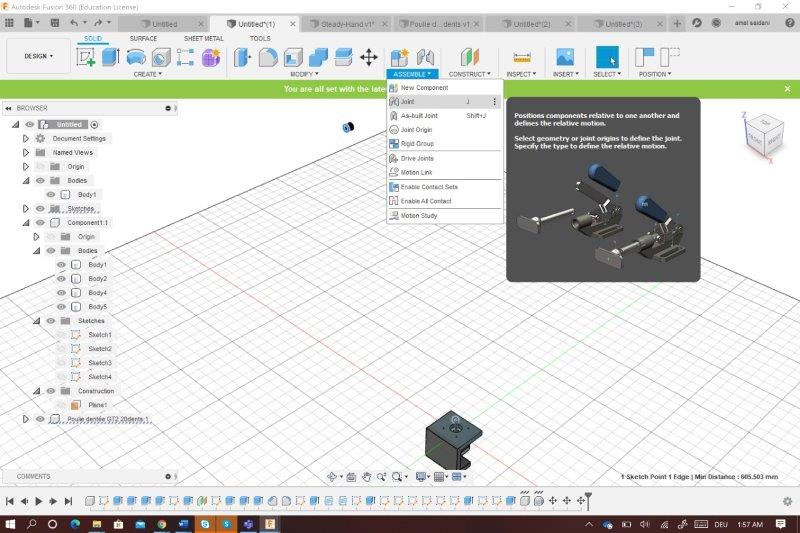
Now it’s time to insert the toothed pulley so i downloaded it’s library as before and i used the joint option to put it exactly on the hole wich i designed before
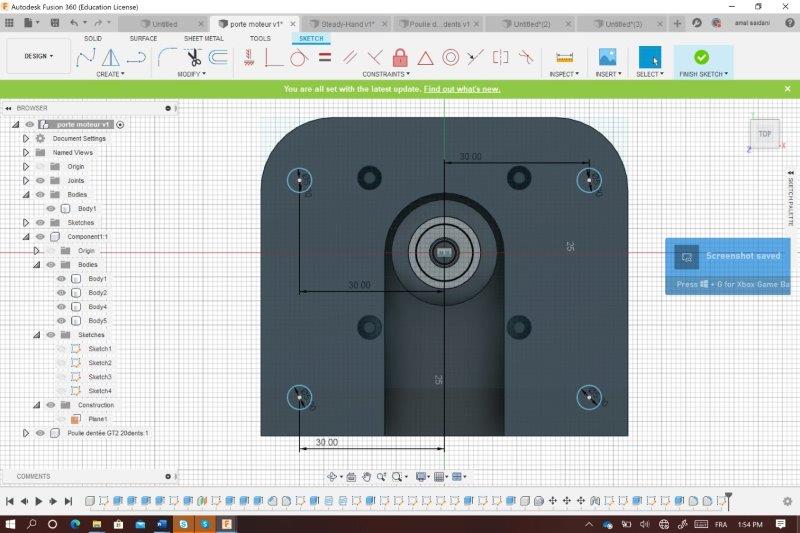
I don’t have to forget that the belt will cross around the motor That ‘s why i designed this kind of _U_letter form and i extruded it to have the final design

Here you can download the fusion file
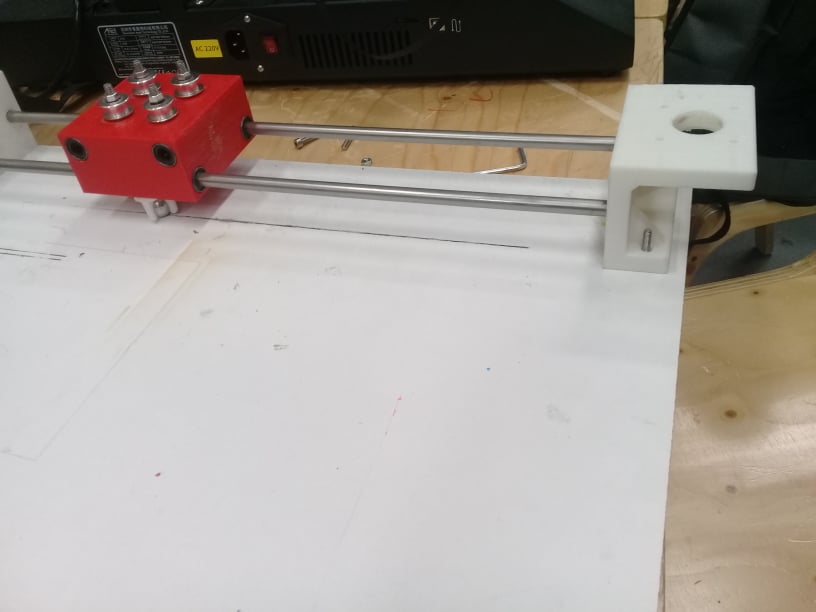
Manufacturing
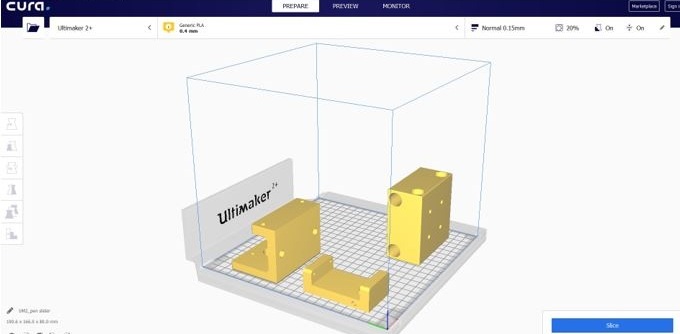
3D priting
We used Ultimaker2 to print some pieces and Raised3D N1 for the other pieces
Asembly
Since we devided the work while designing the fusion file , we did the other tasks together , i mean the assembly , the electronics and programming
for the assembly i tried to help by fixing the motor holder which i designed
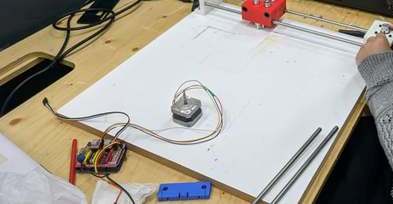
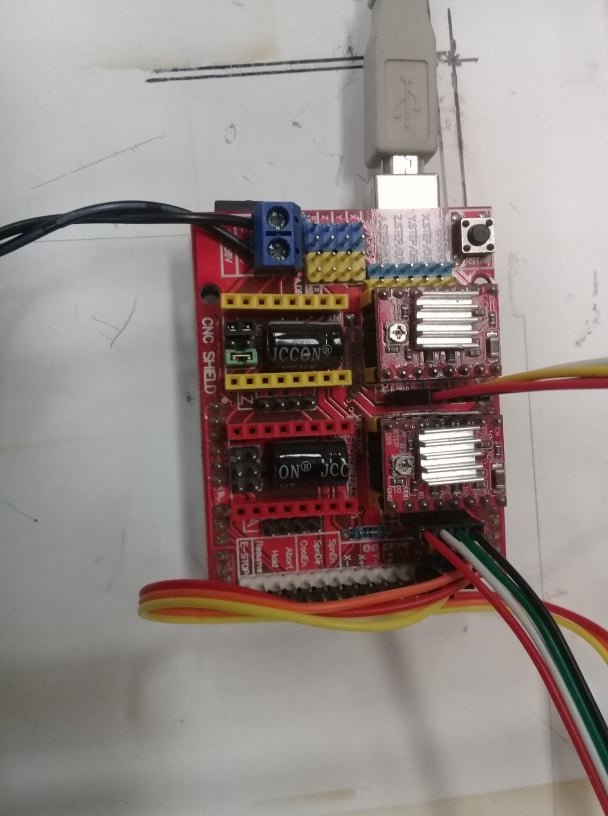
Electronics
We used an arduino Uno and a cnc shield .the CNC shield will be mounted on the Arduino.
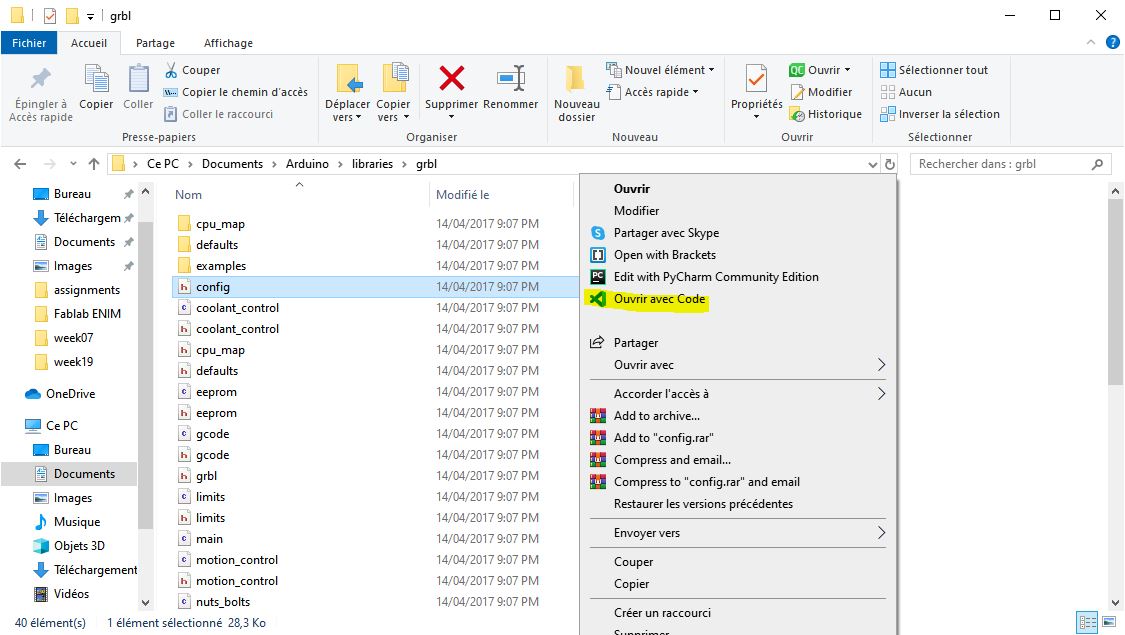
Software
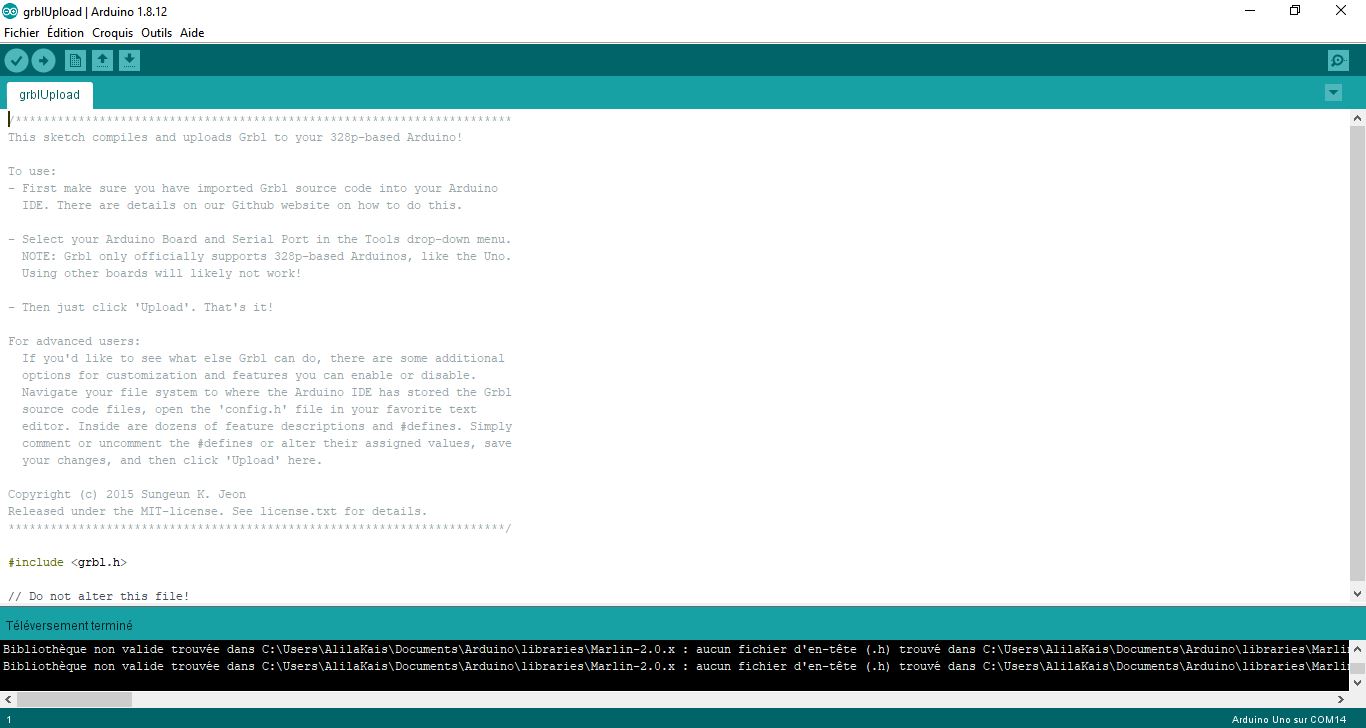
The software we used is GRBL which is an open source software to control CNC. For this project We used CoreXY system so the first step we ve done is to change in -config.h- in grbl folder
Then we uploaded the code to the arduino
Tests
For the tests We used LaserGRBL
Check the videos