16.Molding and casting
This week is about molding and casting. It seems a quite interesting topic , especially because we are going to make something by our hande wich is really amazing for me .
Group Assignment:
- Review the safety data sheets for each of your molding and casting materials, then make and compare test casts with each of them.
Here it is the link
Individual Assignment:
- Design a 3D mold around the stock and tooling that you’ll be using, machine it, and use it to cast parts from it.
Before starting dealing with design and the whole process , i think it is necessary to learn about some terms
What is a Molding ?
Molding is the process of manufacturing by shaping pliable raw material using a rigid frame or model called a pattern. A mold is a hollowed-out block that is filled with a liquid like plastic, glass, metal, or ceramic raw materials. The liquid hardens or sets inside the mold, adopting its shape. A mold is the counterpart to a cast. The manufacturer who makes the molds is called the mold maker. A release agent is typically used to make removal of the hardened/set substance from the mold easier.Typical uses for molded plastics include molded furniture, molded household goods, molded cases, and structural materials.
What are the different types of Molding ?
Injection Molding
Injection molding is used for creating high-quality three-dimensional objects, that can be commercially reproduced. The molding process begins by melting plastic in a hopper. Then the plastic is injected into a tightly closed, chilled mold. The plastic quickly takes the shape of the surrounding mold. Once it has completely set, the mold is opened and the plastic object is released. Yogurt pots, butter tubs, toys and bottle caps are made using this process.
Compression Molding
The most labor-intensive type of molding process is compression molding. Therefore, it is only used for large-scale production purposes, and not for mass production. For example, boat hulls and car tires are made using this method. Molten plastic is poured into a mold. Then a second mold is pressed into it. This squeezes the plastic into the desired shape before being left to cool and removed from the mold.
Blow Molding
Blow molding is a process used for making piping and milk bottles. Plastic is heated until molten. Then it is injected into a cold mold. The mold has a tube set within it, which has a particular shape when inflated. So, while the plastic is molten, air is blown into the tube and the plastic is formed around the tubing. It is then left to cool and removed from the mold.

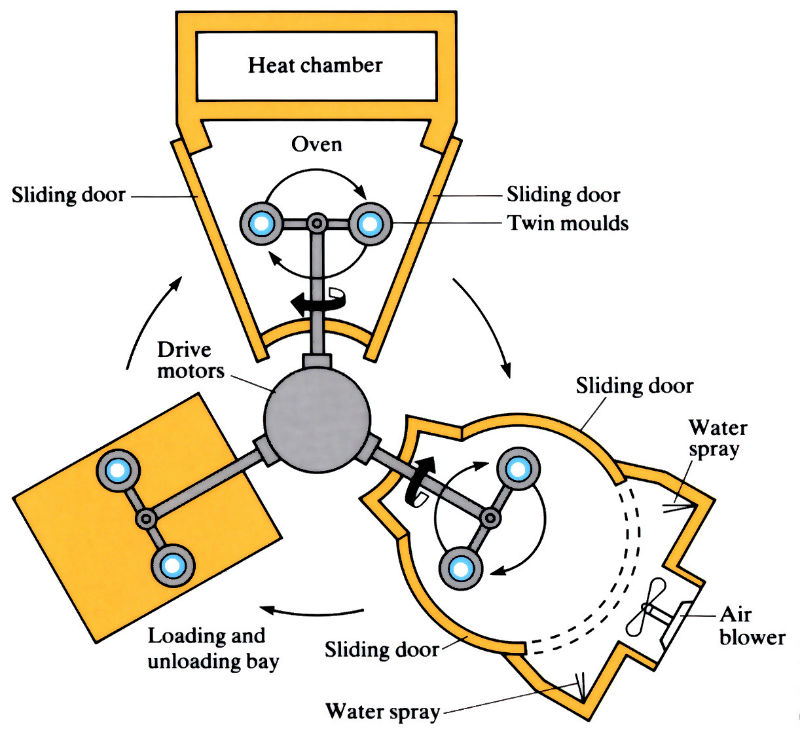
Rotational Molding
Toys, shipping drums, storage tanks and items of consumer furniture are made using rotational molding. Each object is made by coating a mold from the inside. A mold is held in place between two mechanical arms. Then, the arms rotate the mold constantly at the same level, while molten plastic is placed inside. As it turns, the plastic coats the inside of the mold to create a new hollow, plastic object.
What is a Casting?
It is a manufacturing process in which a liquid material is usually poured into a mold, which contains a hollow cavity of the desired shape, and then allowed to solidify. The solidified part is also known as a casting, which is ejected or broken out of the mold to complete the process. Casting materials are usually metals or various cold setting materials that cure after mixing two or more components together; examples are epoxy, concrete, plaster and clay. Casting is most often used for making complex shapes that would be otherwise difficult or uneconomical to make by other methods.
Individual assignment
Design
Fusion 360
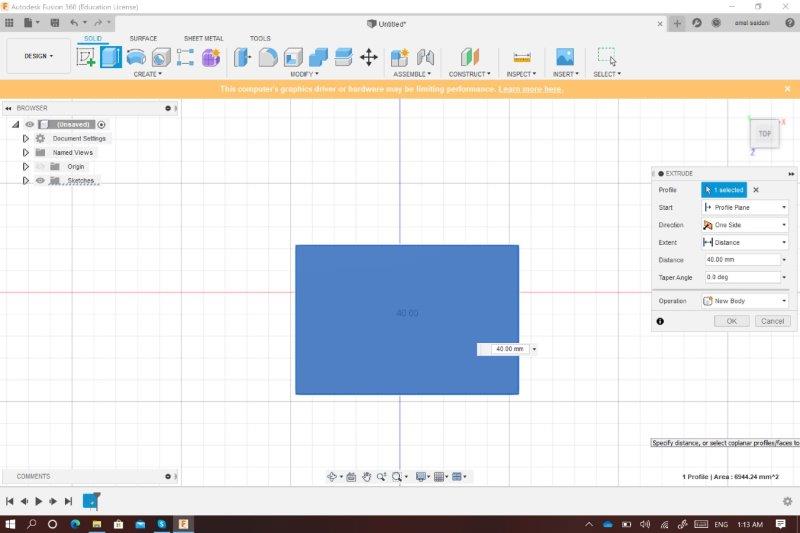
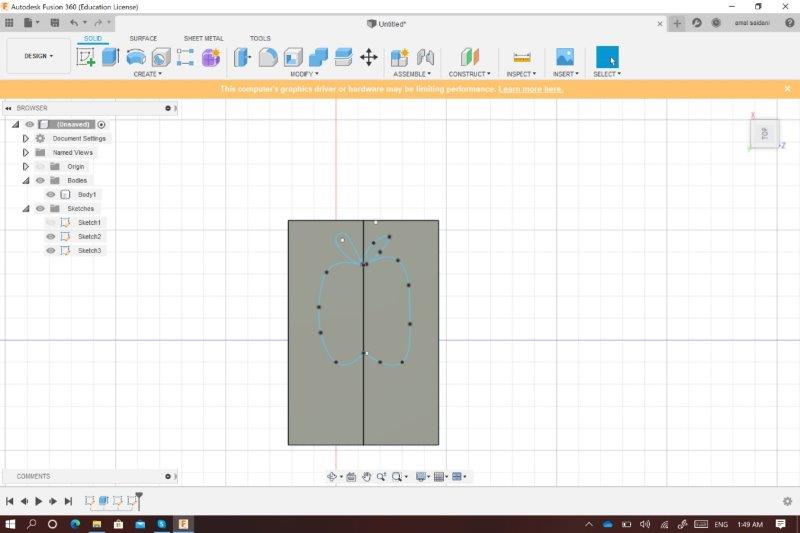
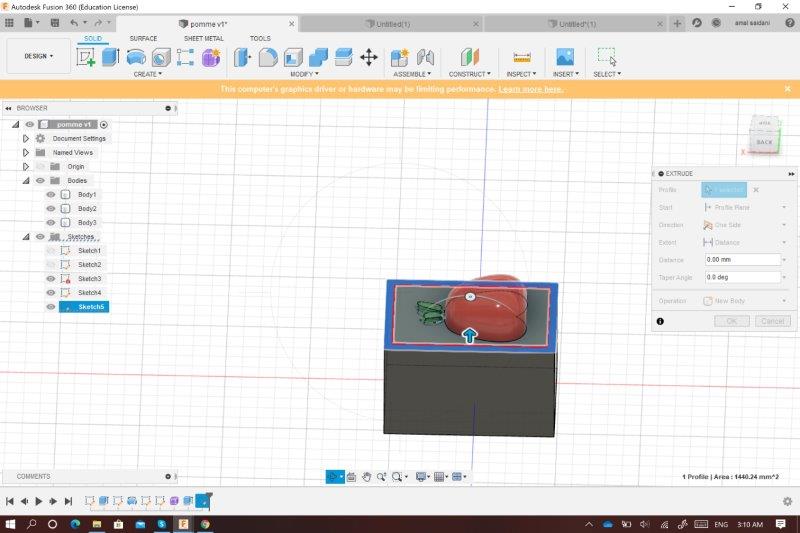
I decided to make somrthing double sided but i didn’t have any idea about what will i design ,so i started by creating a stock where i will include my design using a rectangle sketch and i extruded it .Then i used the fit point spline to draw something and here what i’ve got
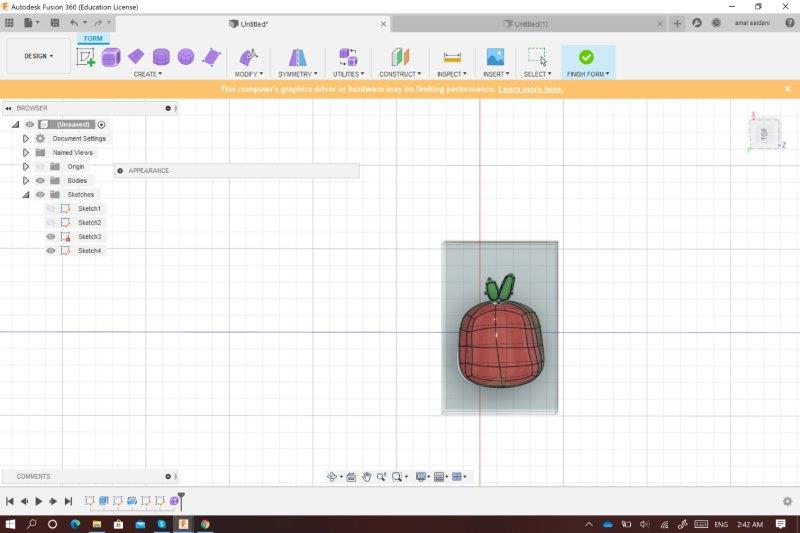
I used the create form feature to fill in the apple faces and edges and honestly i need to say that it wasn’t as so easy but fortunately i did it well . I changed my apple colour using the appearance so it can looks fresher :)

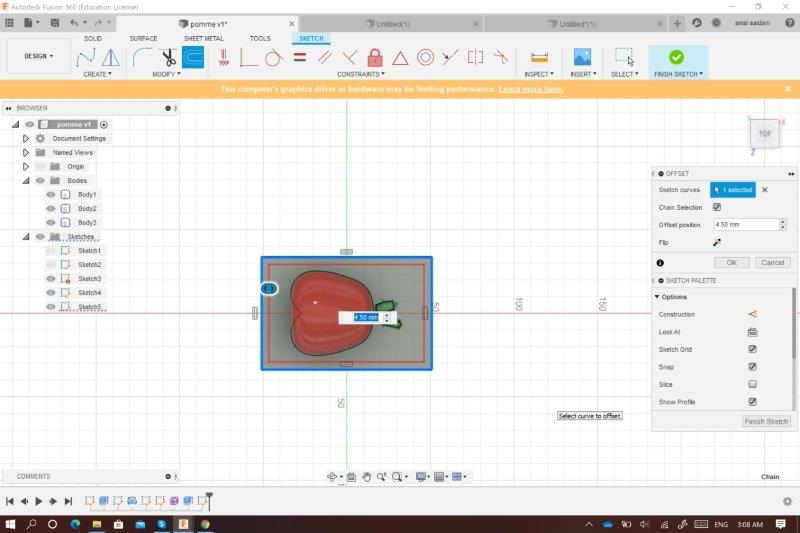
I designed the stock walls using the _offset_option and i extruded these walls to cover the mold height correctly
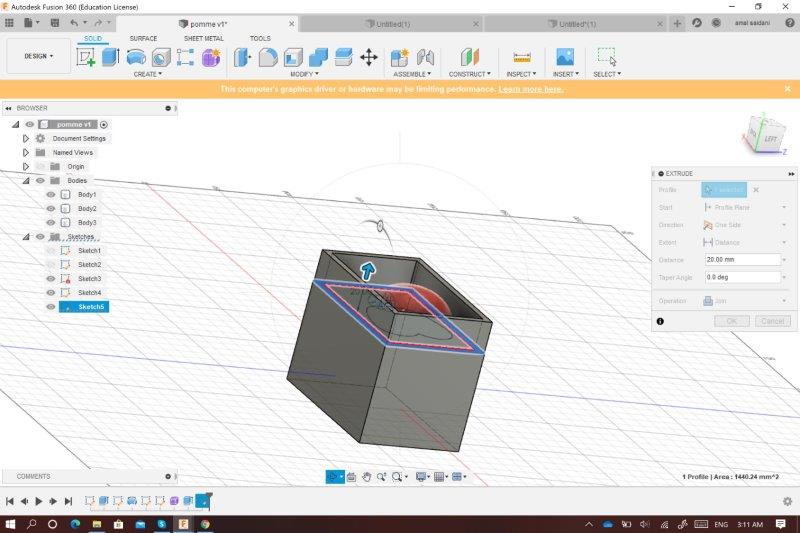
As it was a double sided design , i decided to make Key registration points for lining up sides of multiple part molds and holding them then i used move copy option to create a copy from one side to have the second side . Well i think i completed the design step and now i need tomove to another step wich is the manufacture
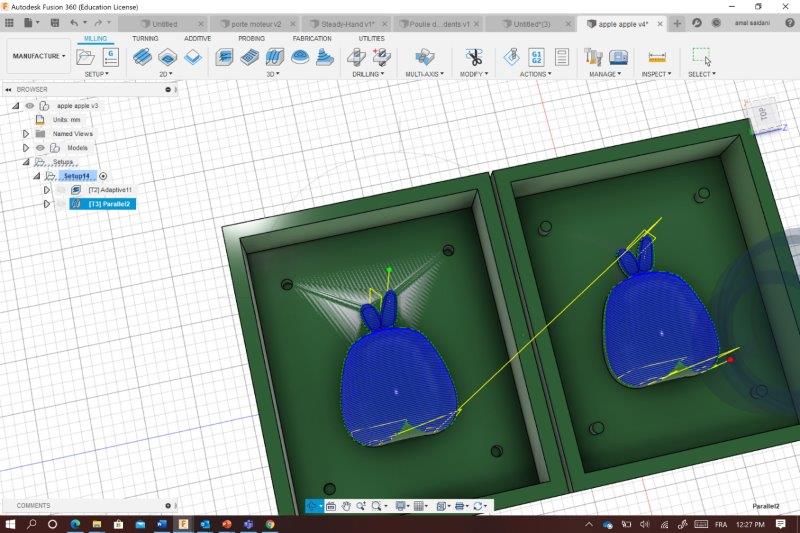
Generating the toolpaths
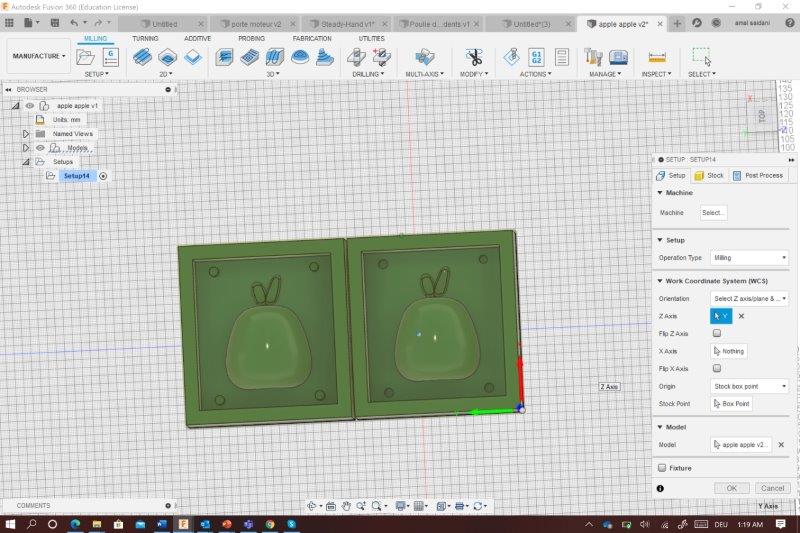
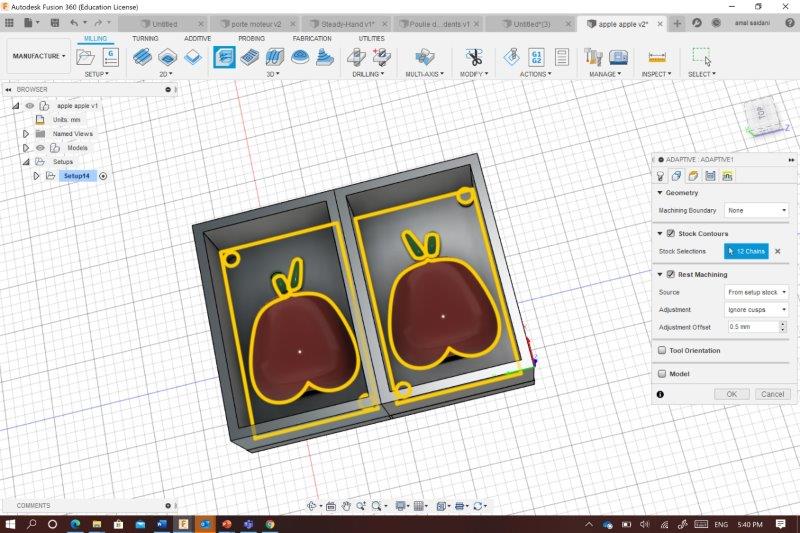
to create toolpaths ,i crated a new setup and i started ajusting my parametres . First i fixed the X,Y,Z axes and the origin . Then i selected the model and it’s geometry as showing bellow .
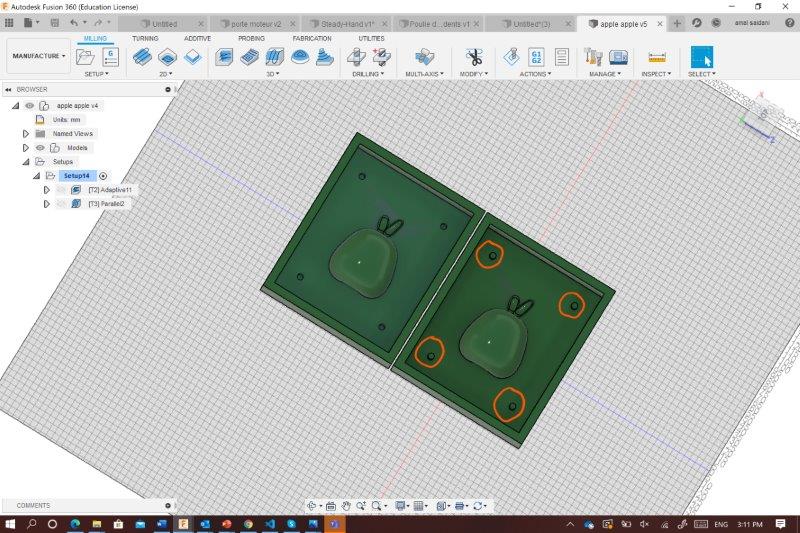
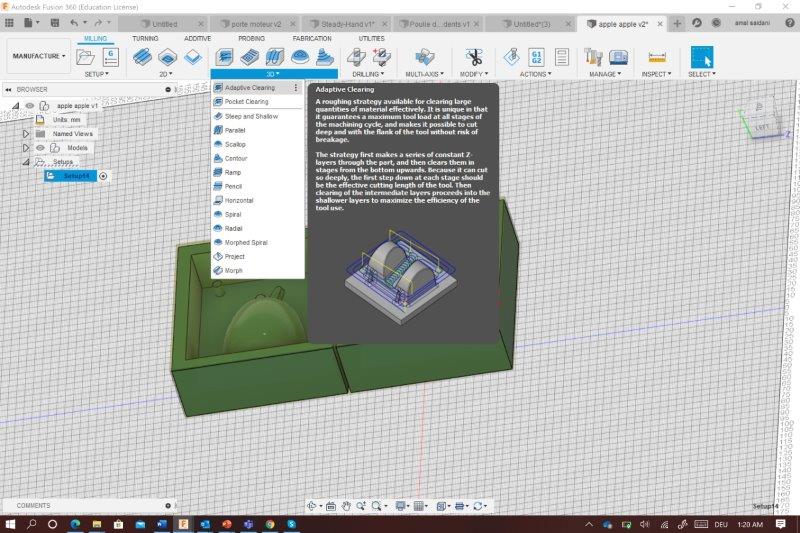
To define the rough cut i used the adaptive clearing option and i choose the right tool(6mm diametre) as showing bellow
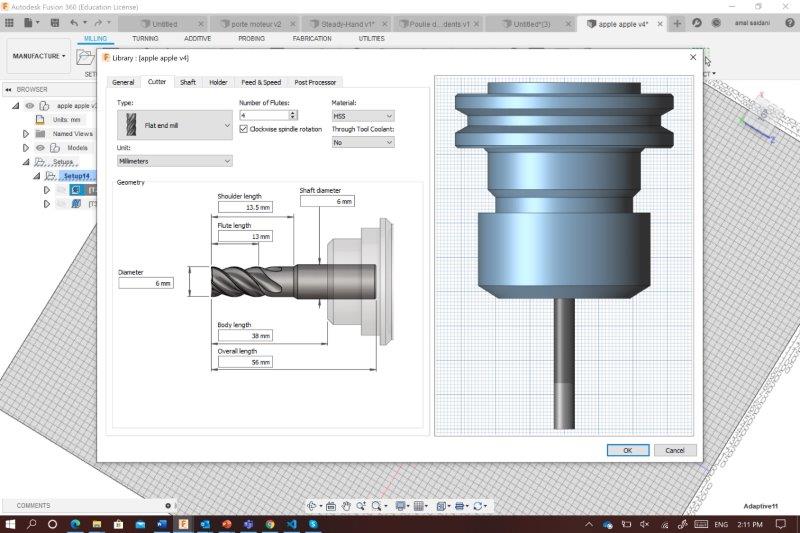
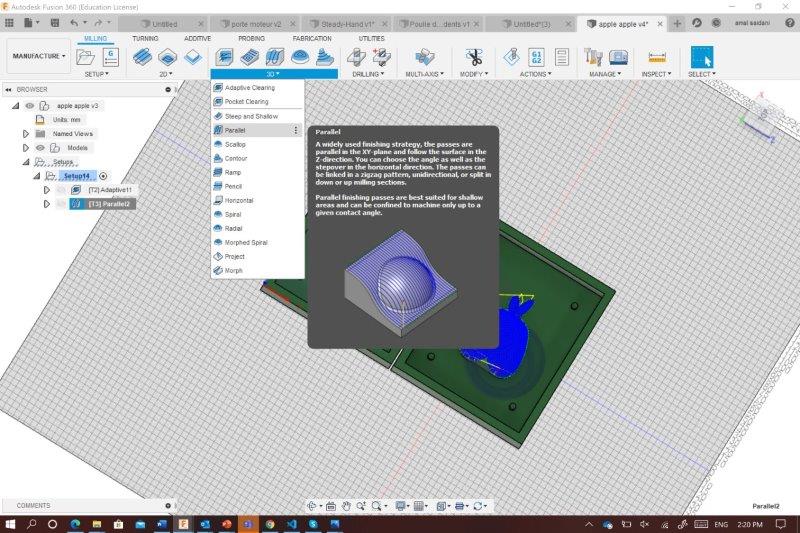
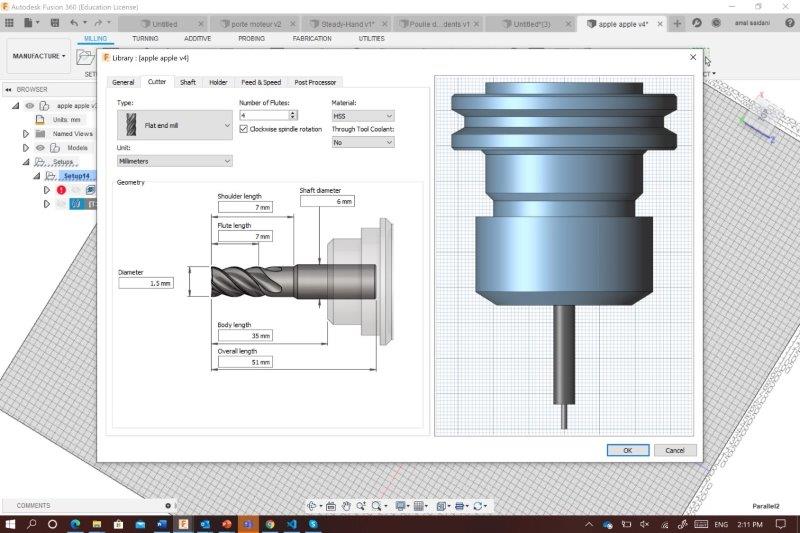
For the finishing i needed to deal with the parallel option and i had to use a smaller tool that’s why i choose a 1.5 diameter one
Almost done :)
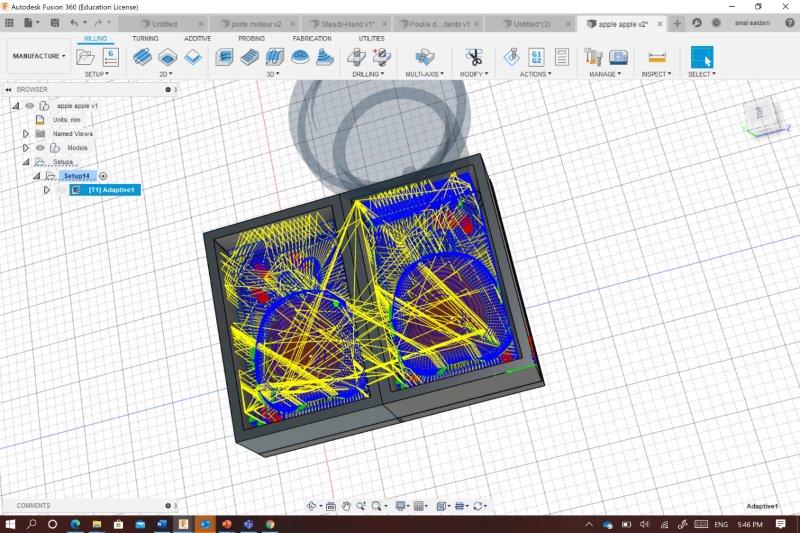
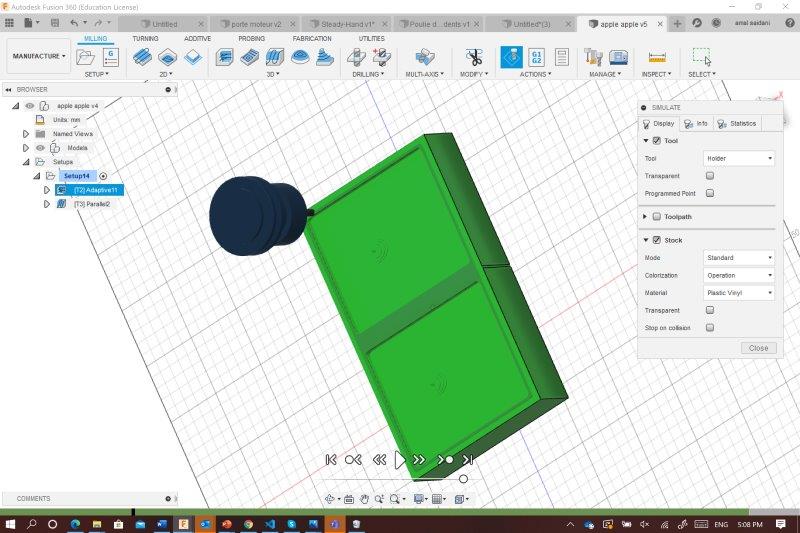
I decided to simulate the whole setup to see if every thing is going well with the tools and the parametres and yeahhh!!! every thing was working perfectly
Here you can download the fusion file
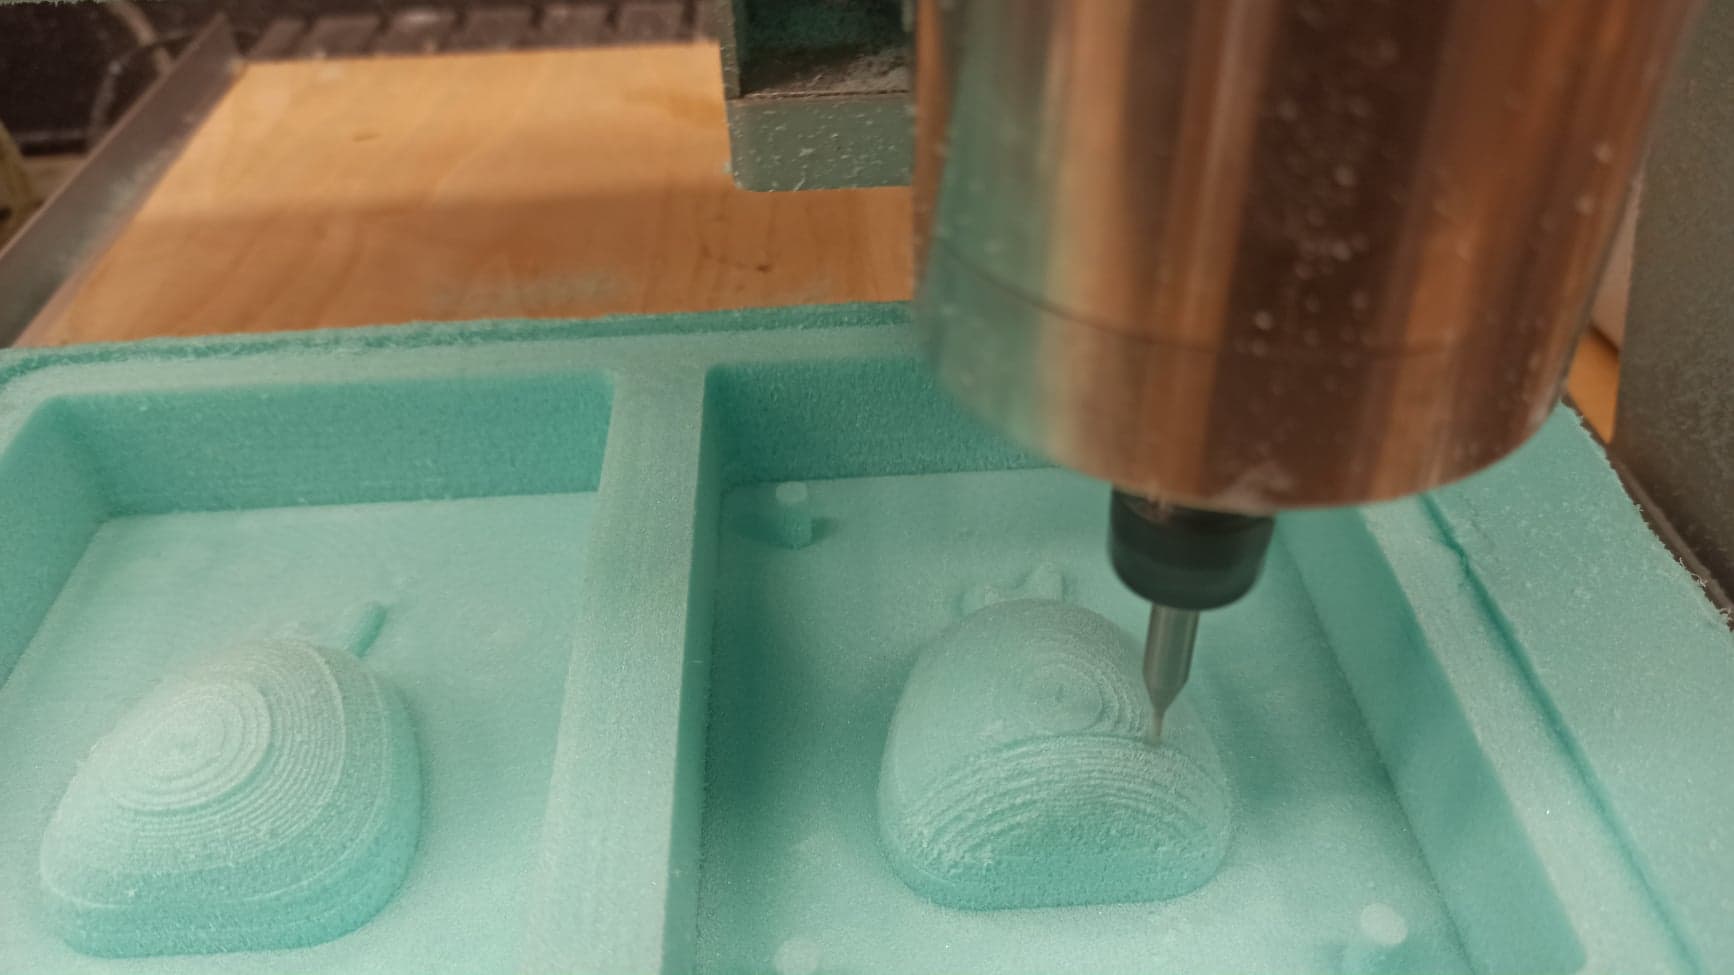
Milling
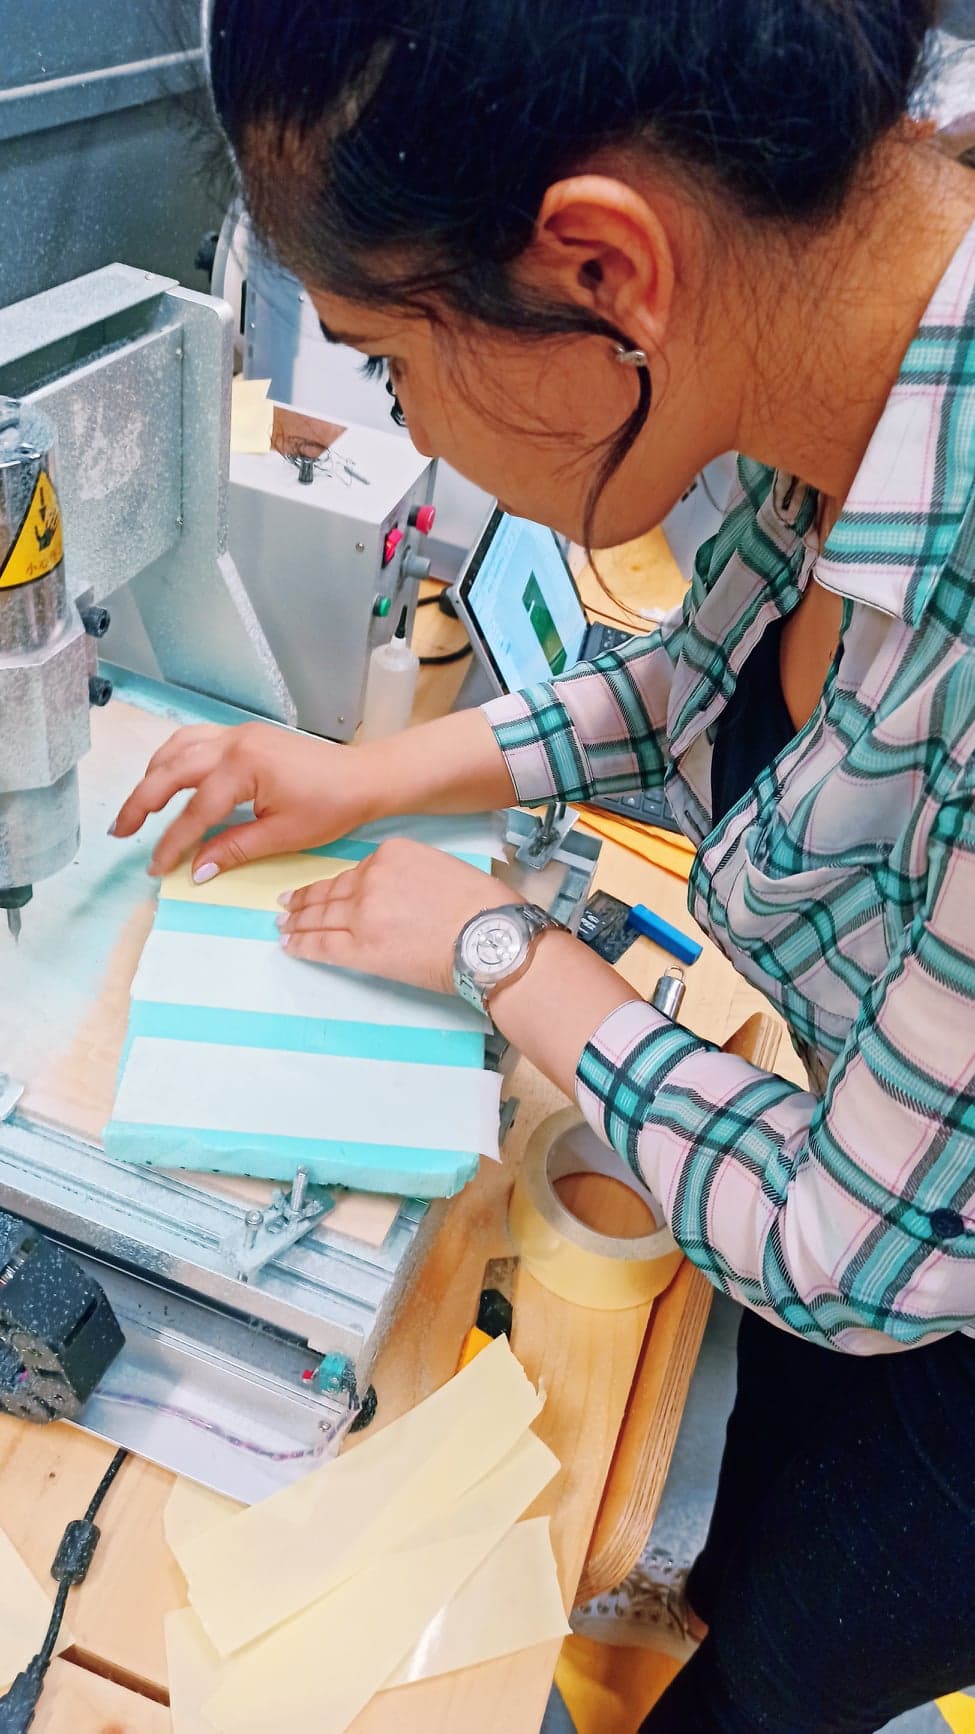
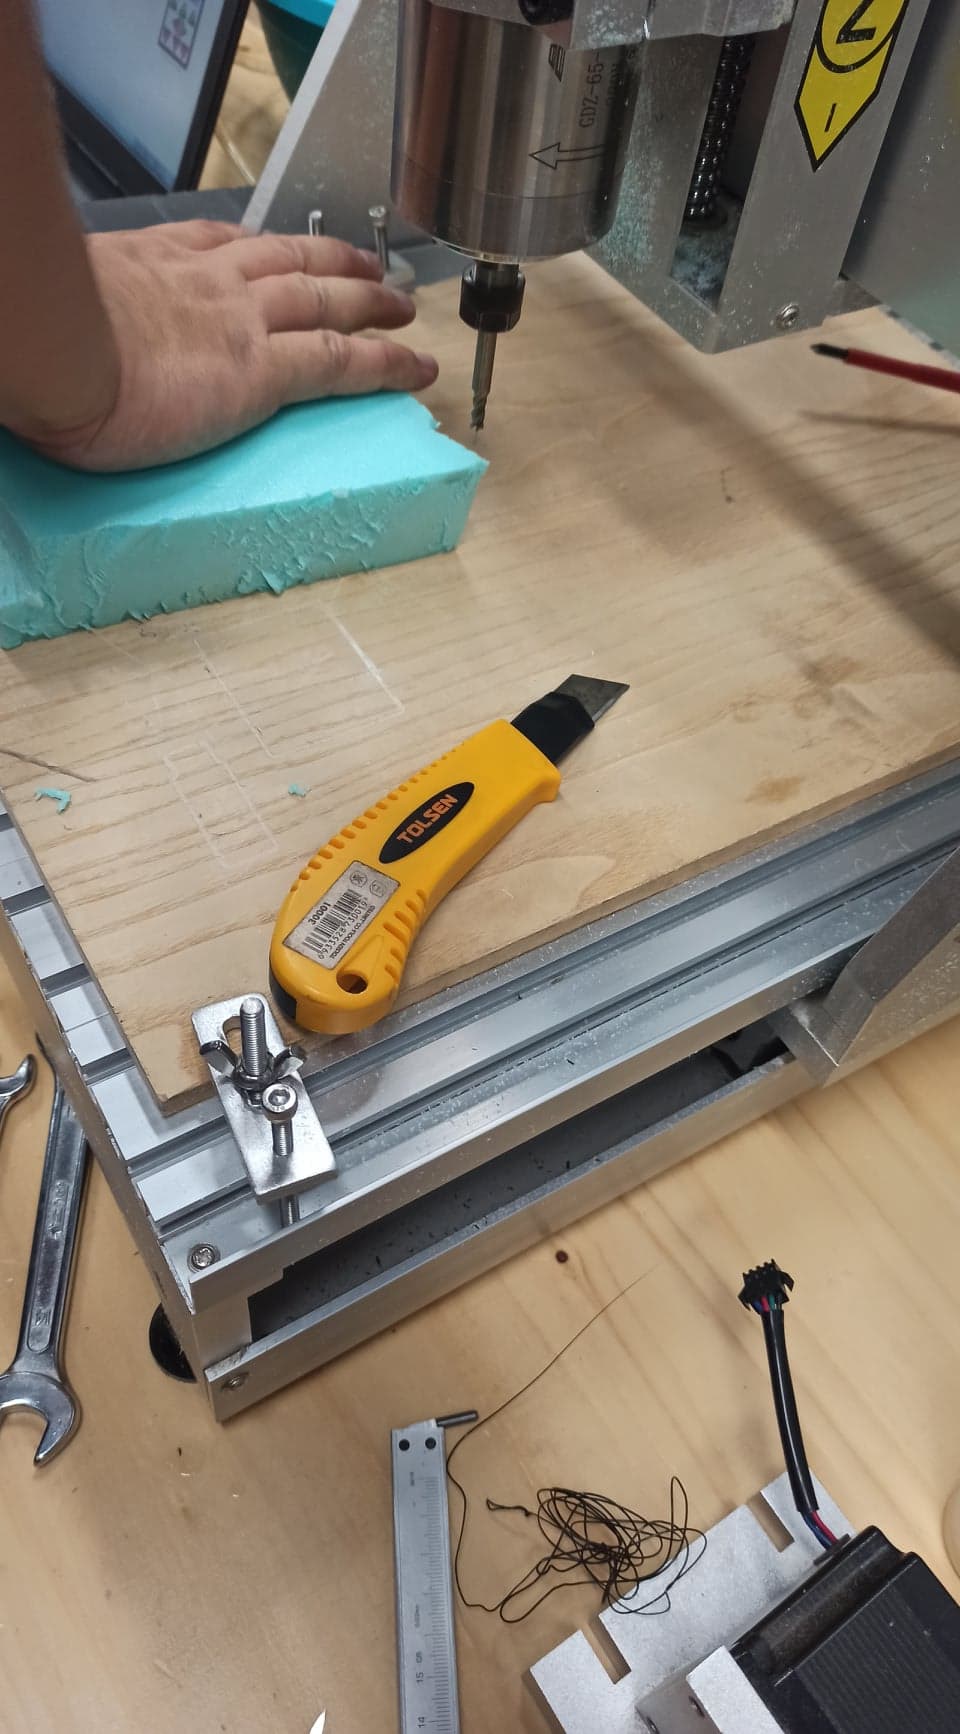
First i cutted a (23*14cm) rigid foam piece and i fixed it on the cnc machine table using two sided tape . I had to push it down to make sure it sticks well so to not move while the milling process.
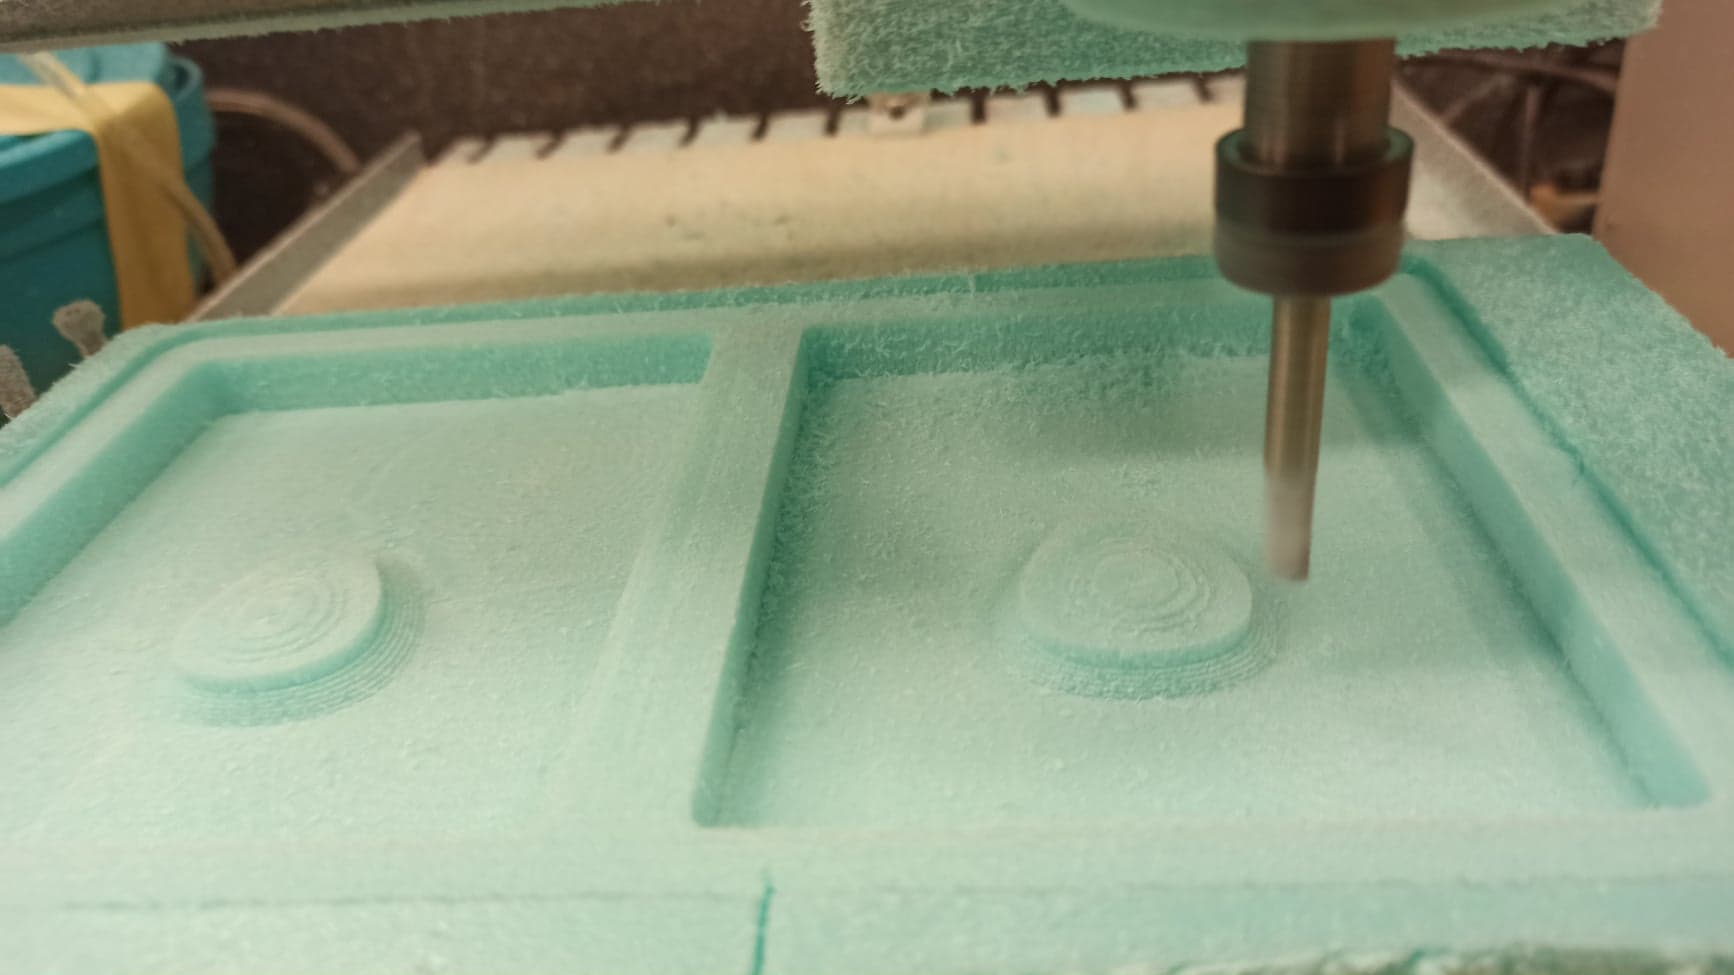
After that i I generated my first G-code for the rough cut and here we go !
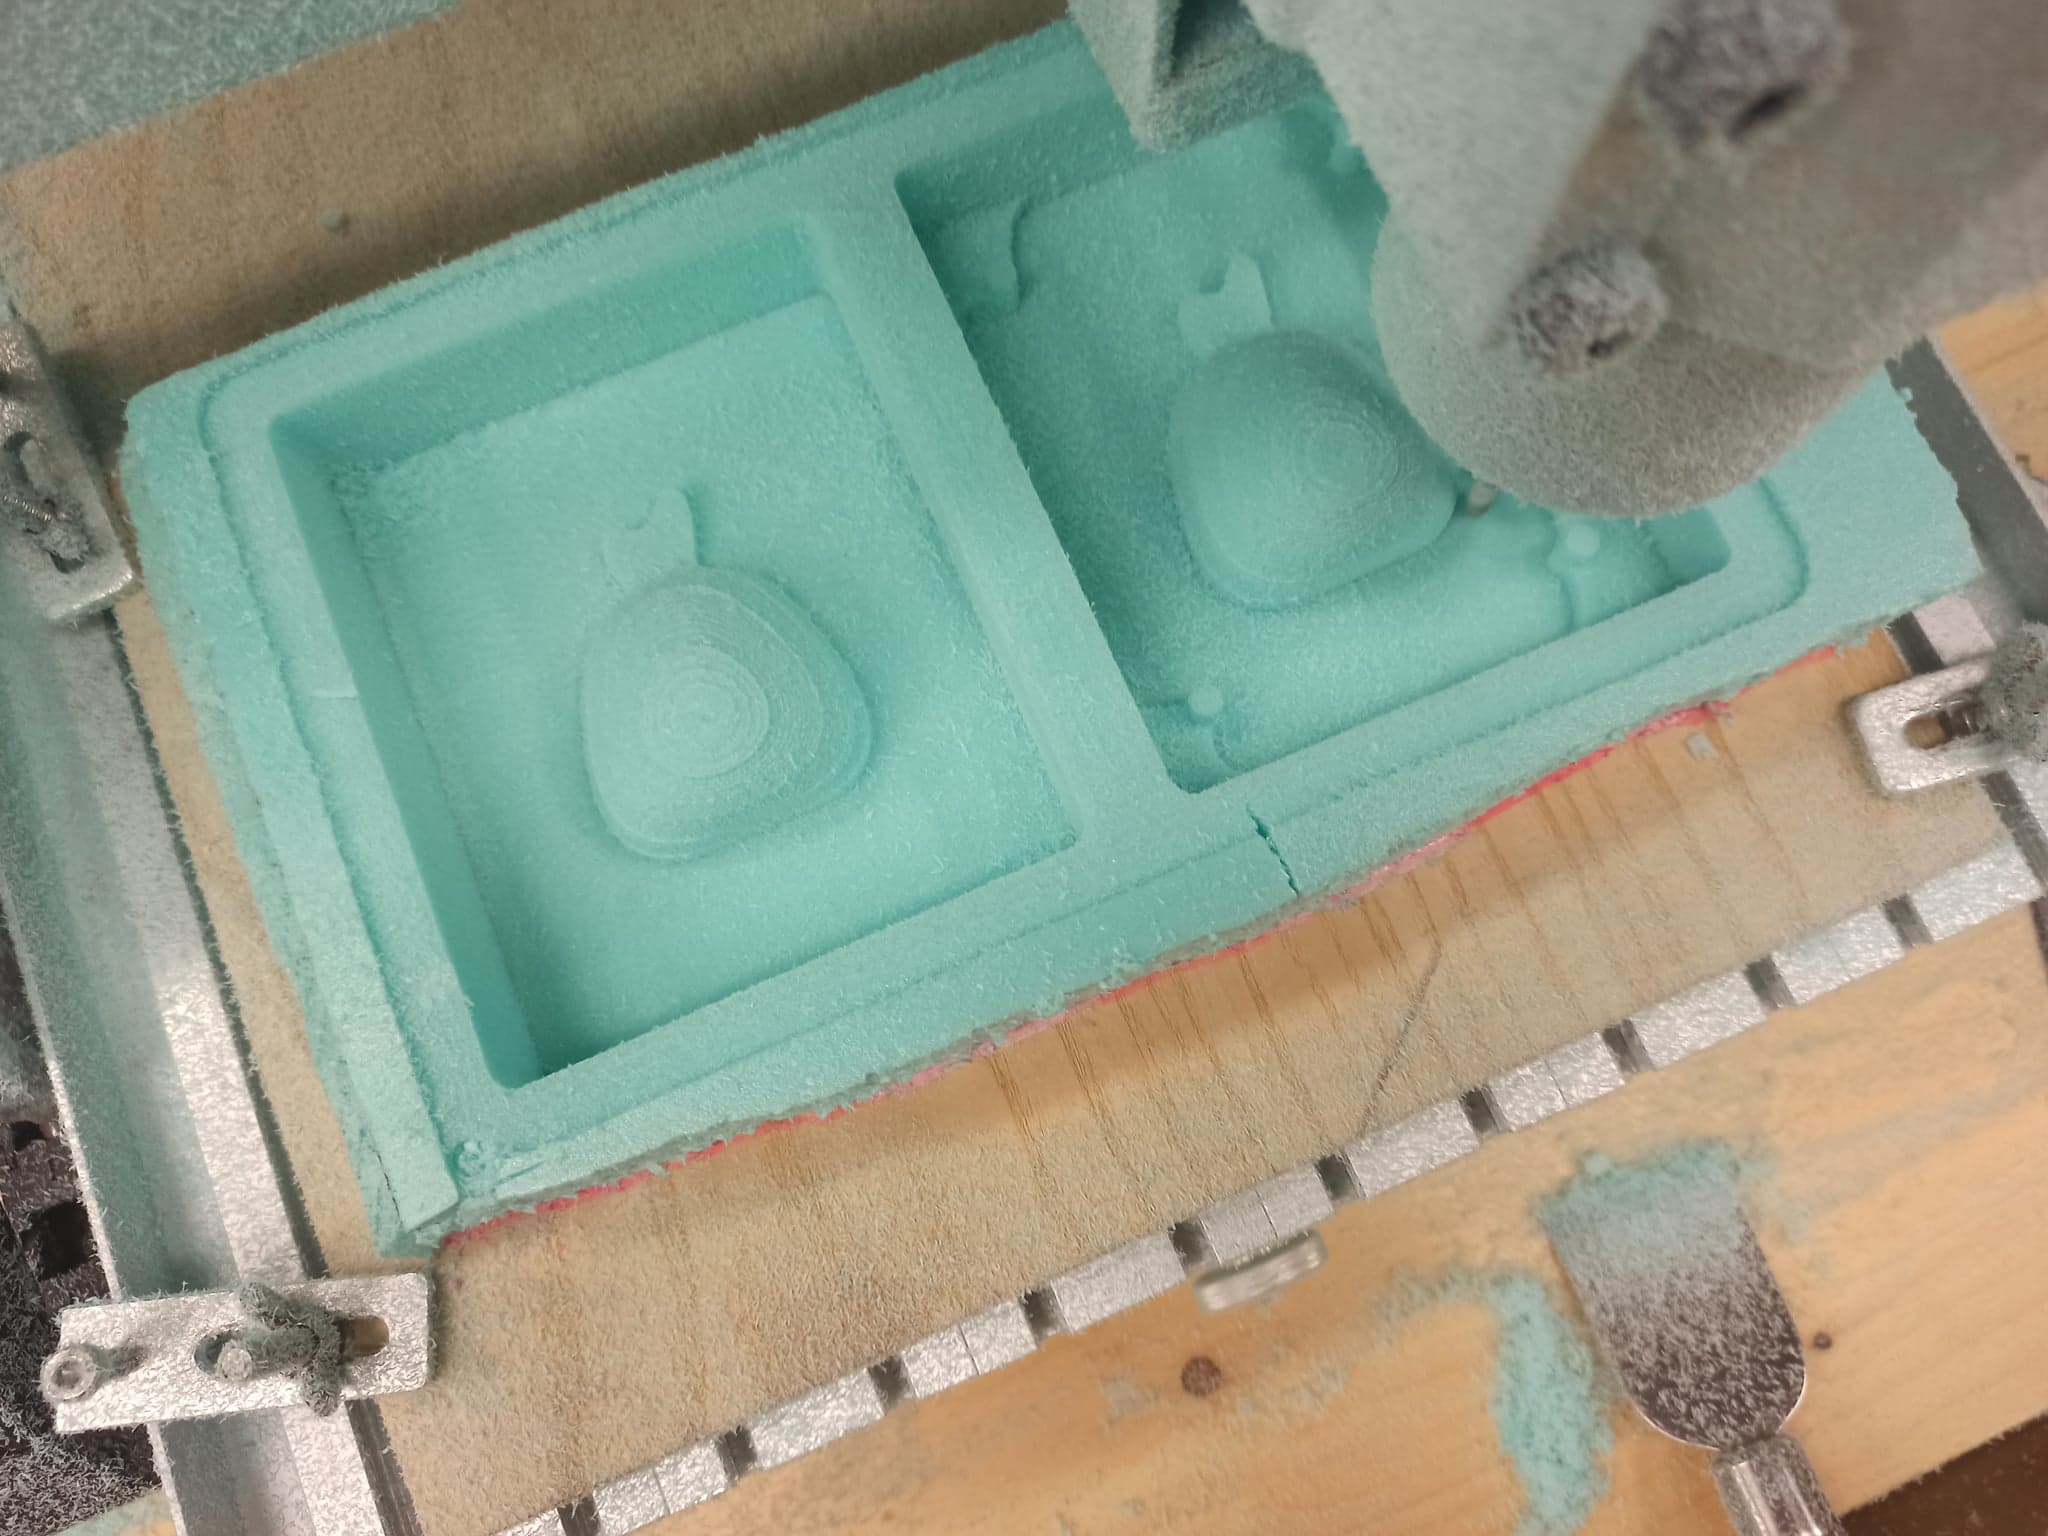
After the rough cut it’s time to move to the finishing I conserved my x, y position and i just set the Z origin , Not to forget the tool changeing ! it seems like i m having my final mould and really it looks nice enough :)

Mold making
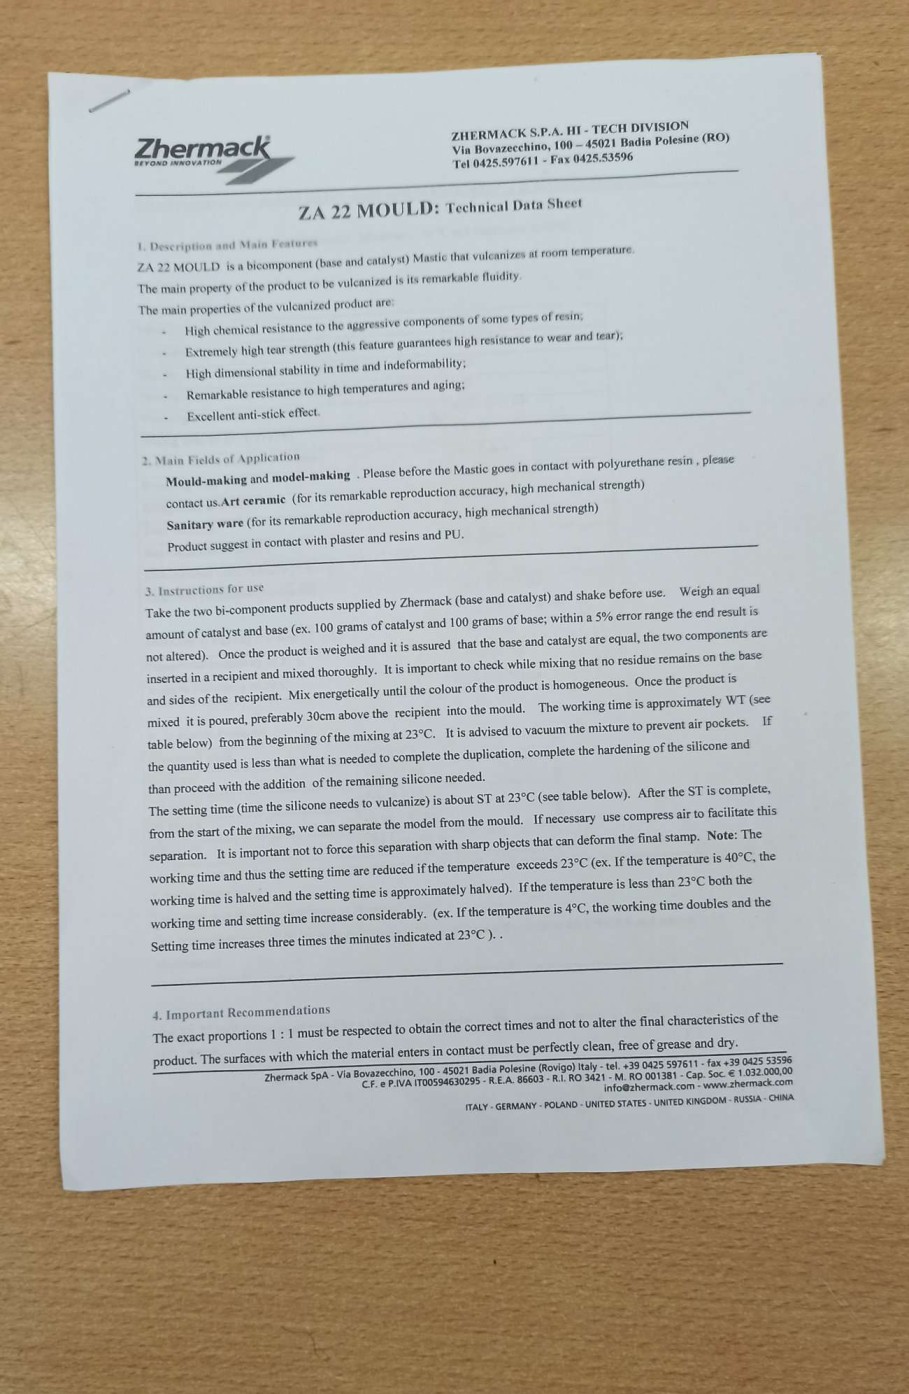
To make the mold,it is crucial to follow the instructions and parameters shown in materials’ datasheet. Mixing ratios, pot life, curing time,
environmental conditions, and of course, mechanical, chemical and foodsafe properties are explained on them.
Along the working process, there are several rules that we must follow as wearing gloves, masks and protecting glasses, as well as a clean area to work on.
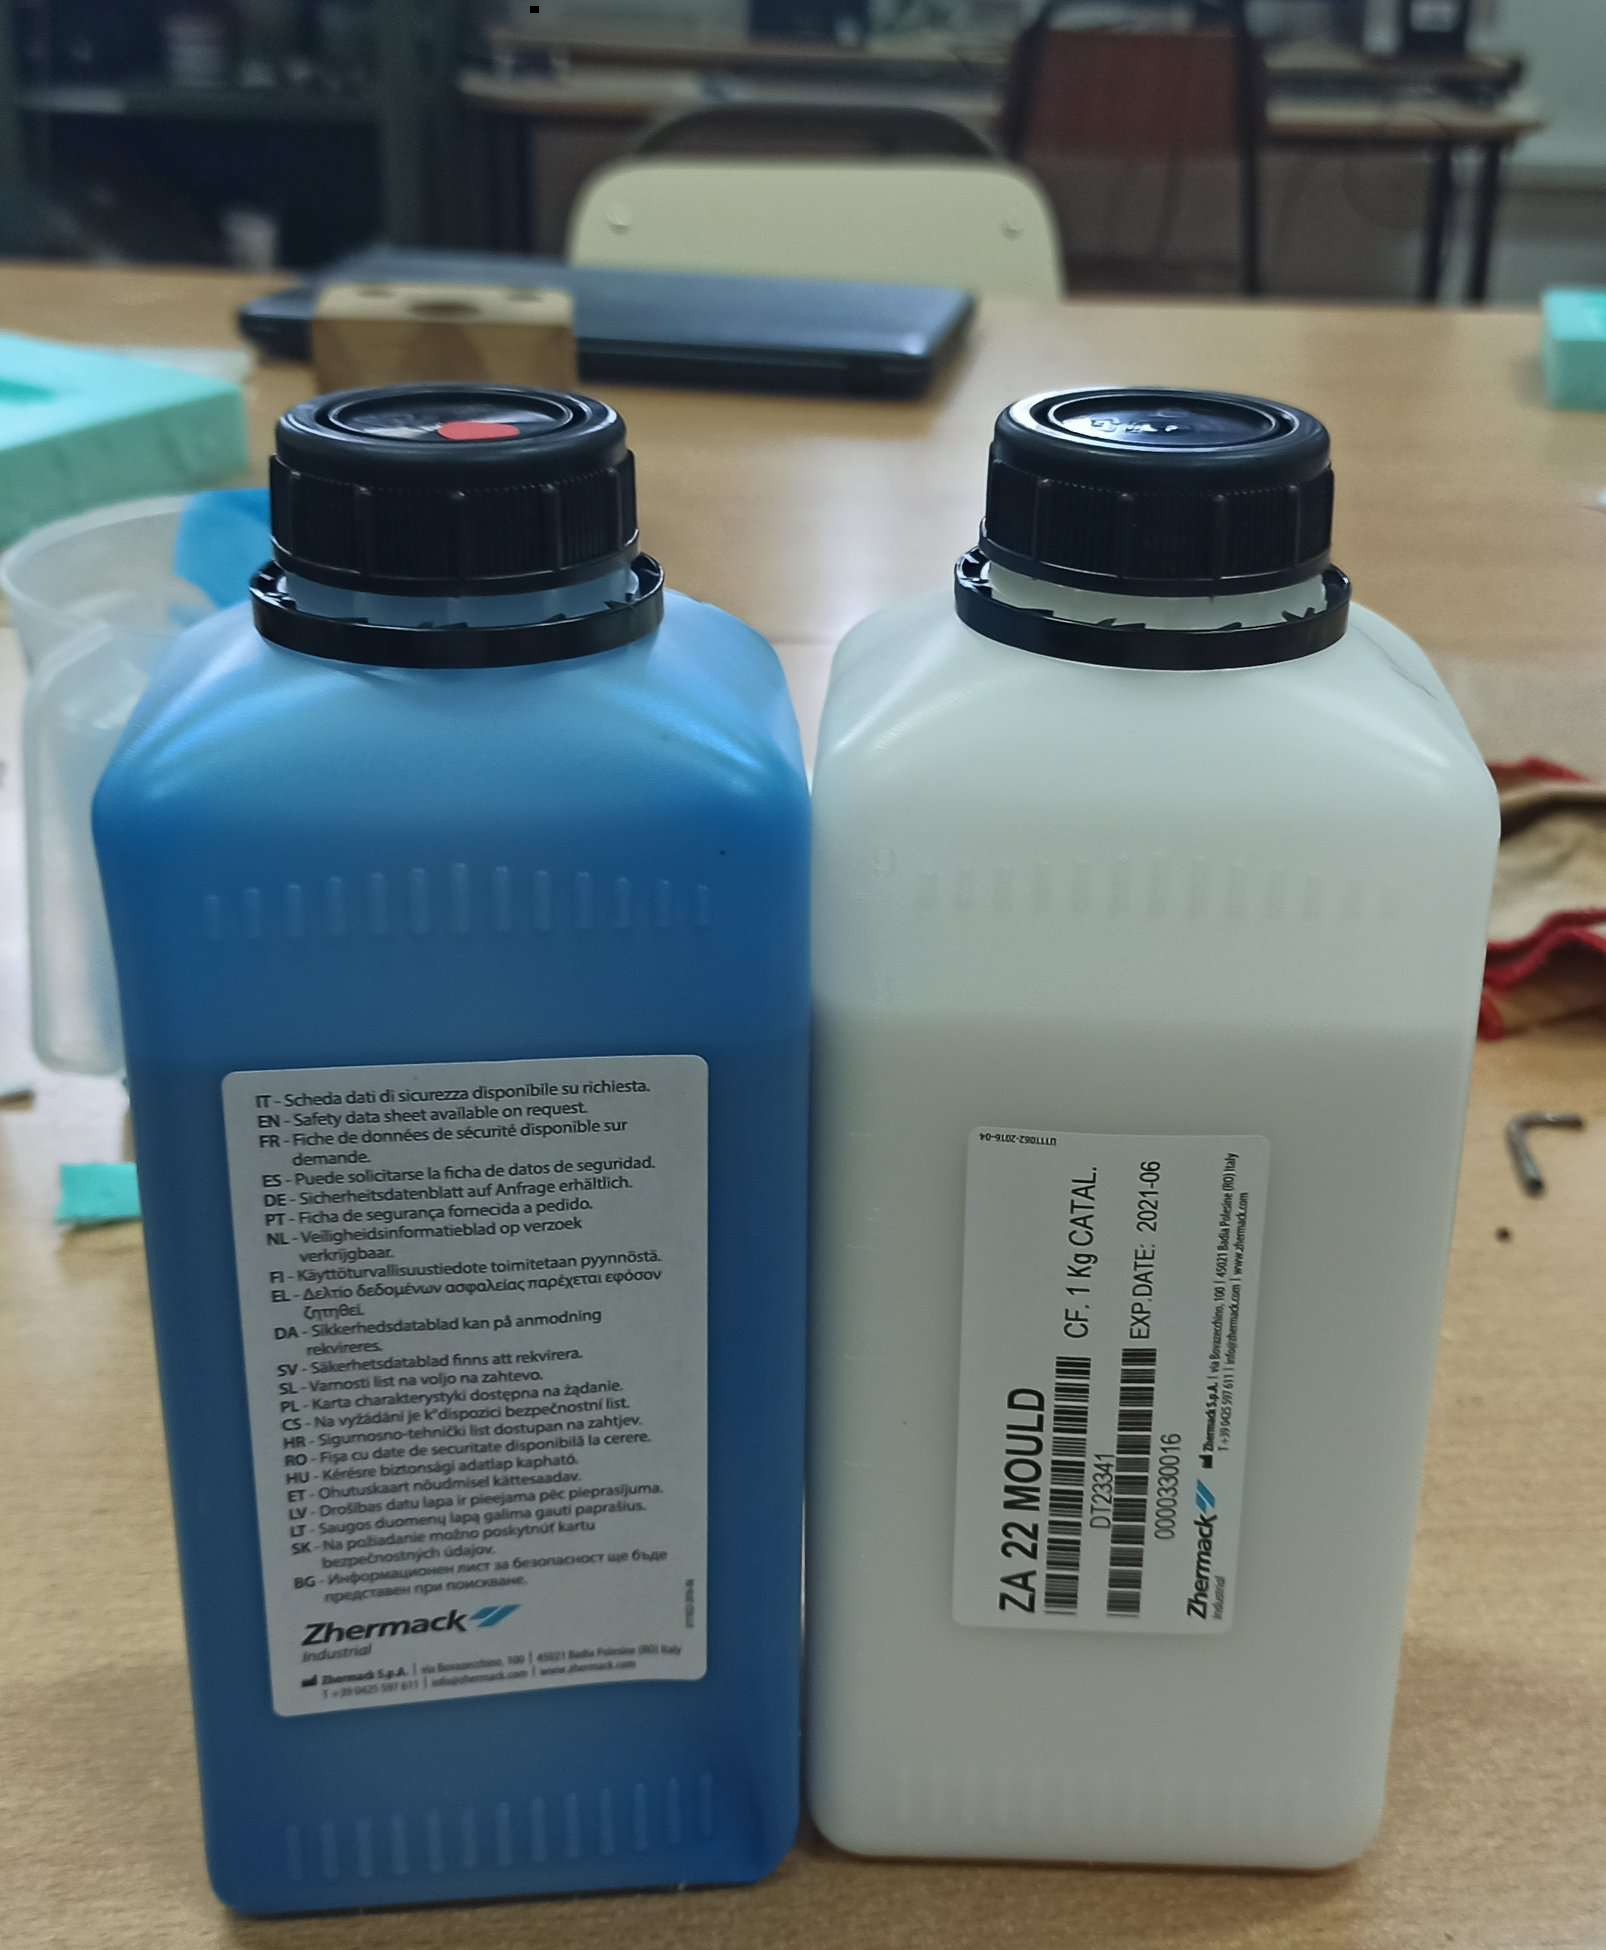
First i had to shake the two bi_componenet (Base and catalyst) a little bit before the use ,
then i had to measure similar amount from each one within 5% error range .
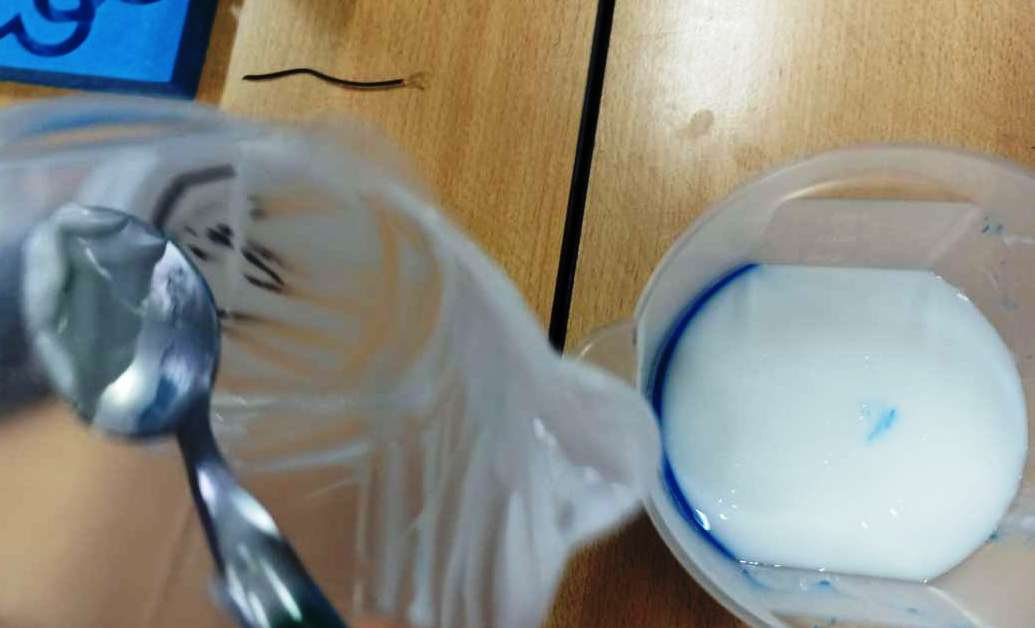
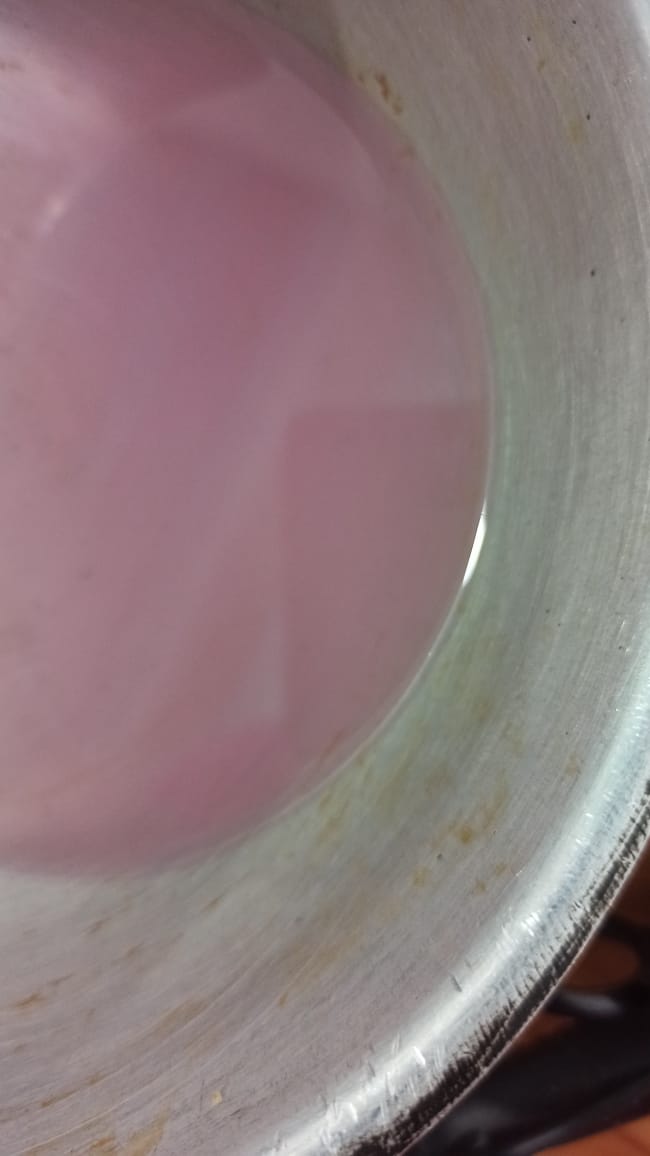
Once ti checked that the catalyst and the base are equal, i puted them in one recipient and i mixed thoroughly. It is important to check while mixing that no residue remains on the base and sides of the recipient.
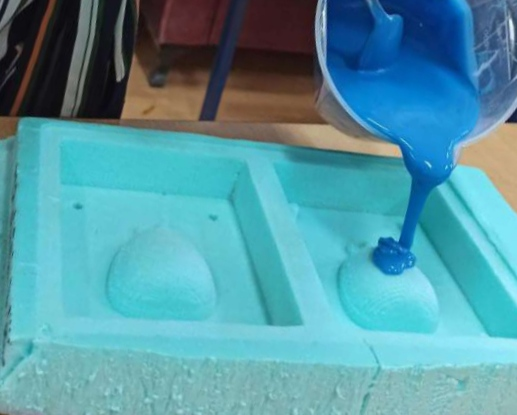
Mix energetically until the colour of the product is homogeneous. Once the product is mixed without making air bubbles ,
it is poured, preferably 30cm above the recipient into the mould.
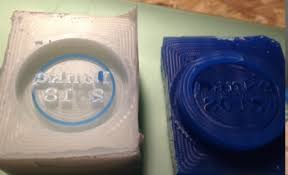
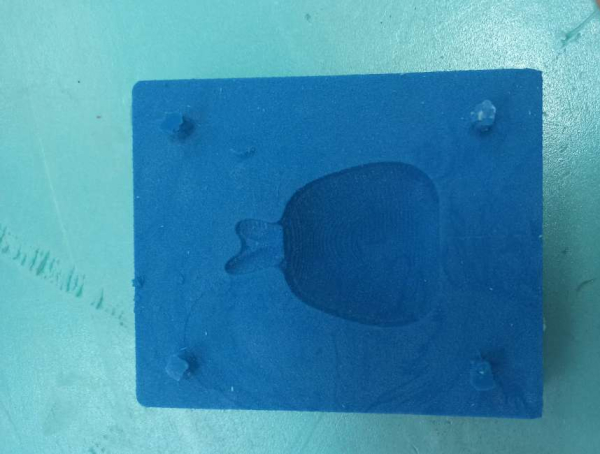
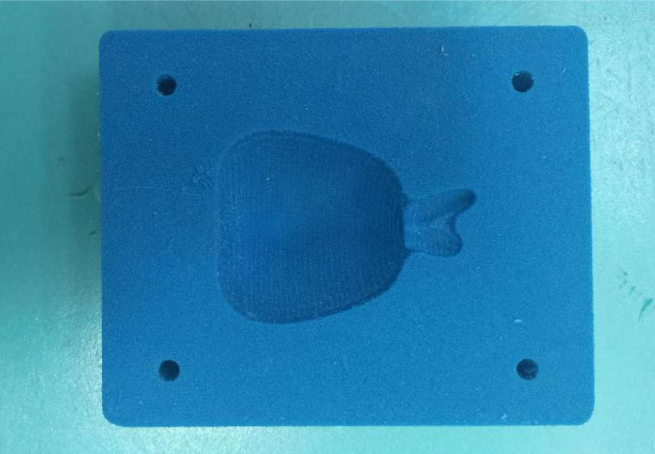
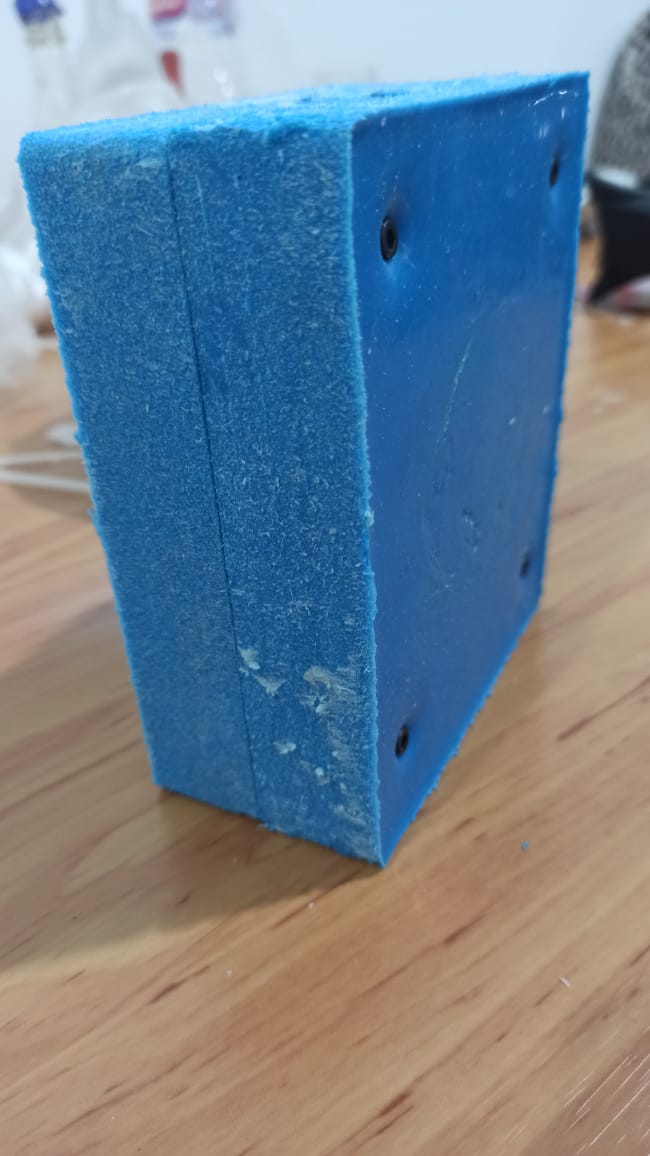
To have a good and a coherent mold i had to wait an hour before removing it
so after waiting such duration and following all the instructions i can say that i found a gooud result
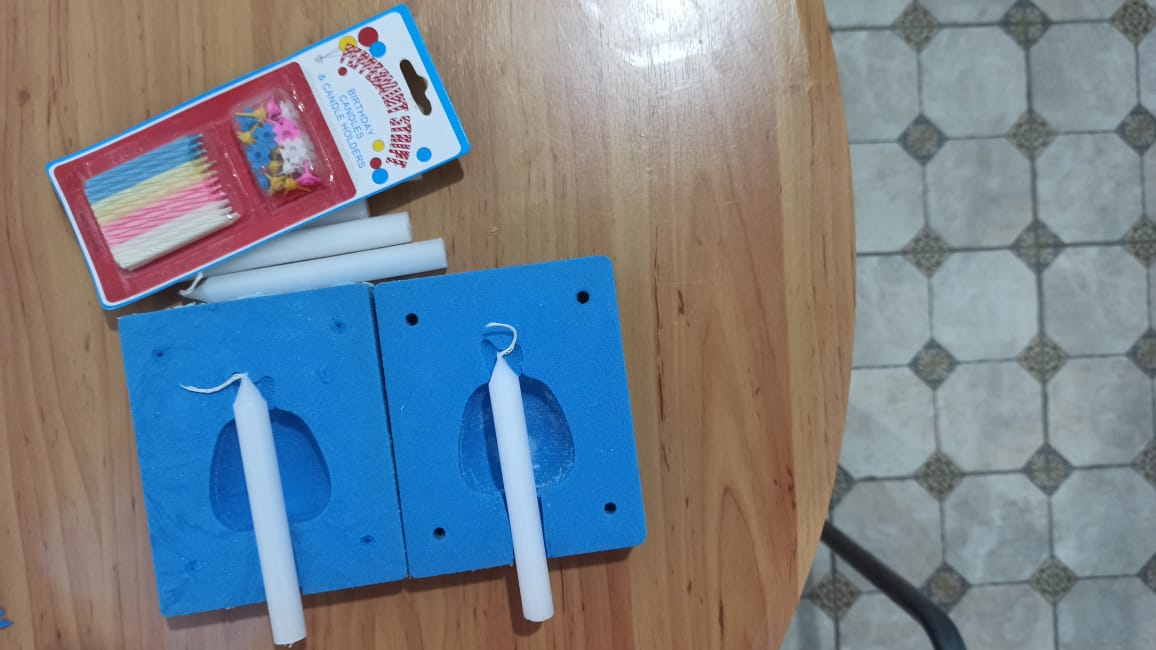
Now it is time to have a real 3D apple , for that i used white and colored wax to mix it together so i can have a nice colour
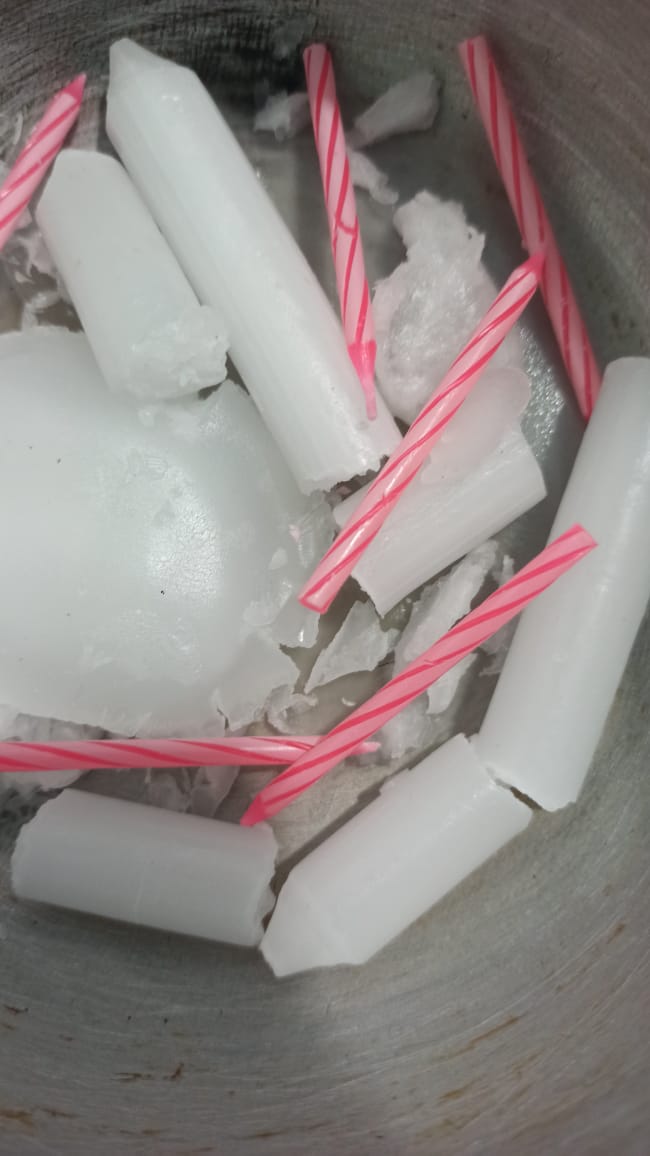
it took around 5min heating to get this nice wax liquid
i used screws to fix the two mold parts together
Then i slowly poured the liquid inside the mold throw the top whole as showing on the picture

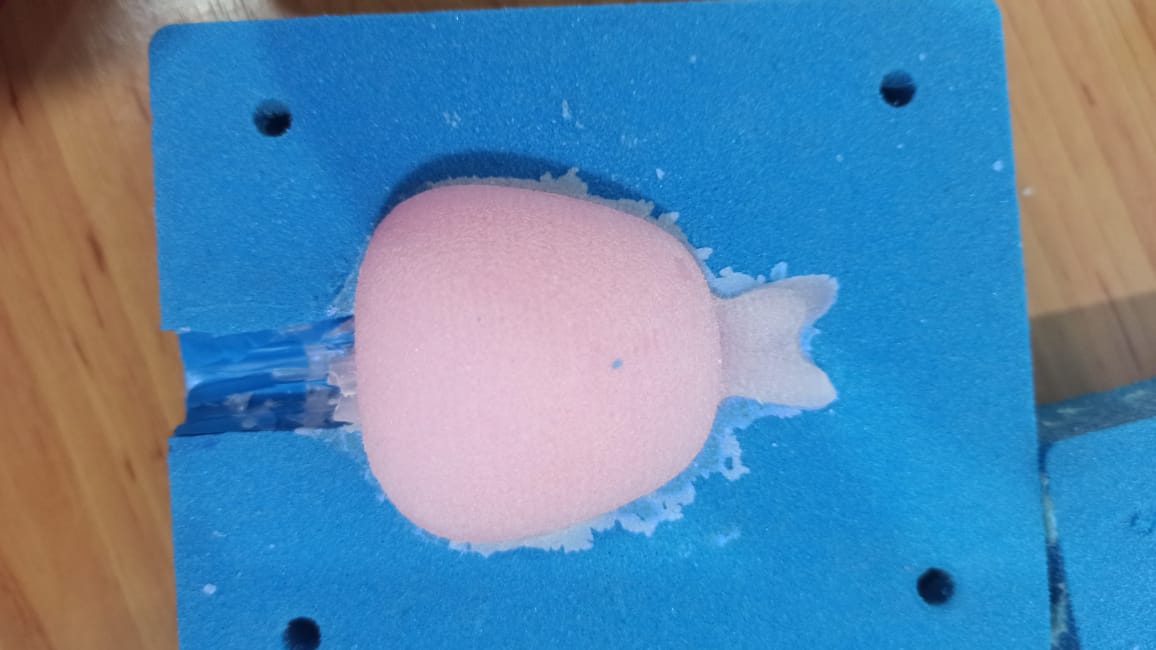
I crossed my fingers and really i wasn’t sure about the result , i was afraid that the two parts of the apples don’t stick together well
but after around one hour i found a fabilous apple inside the mold , it was like a magic and i m so happy with my result
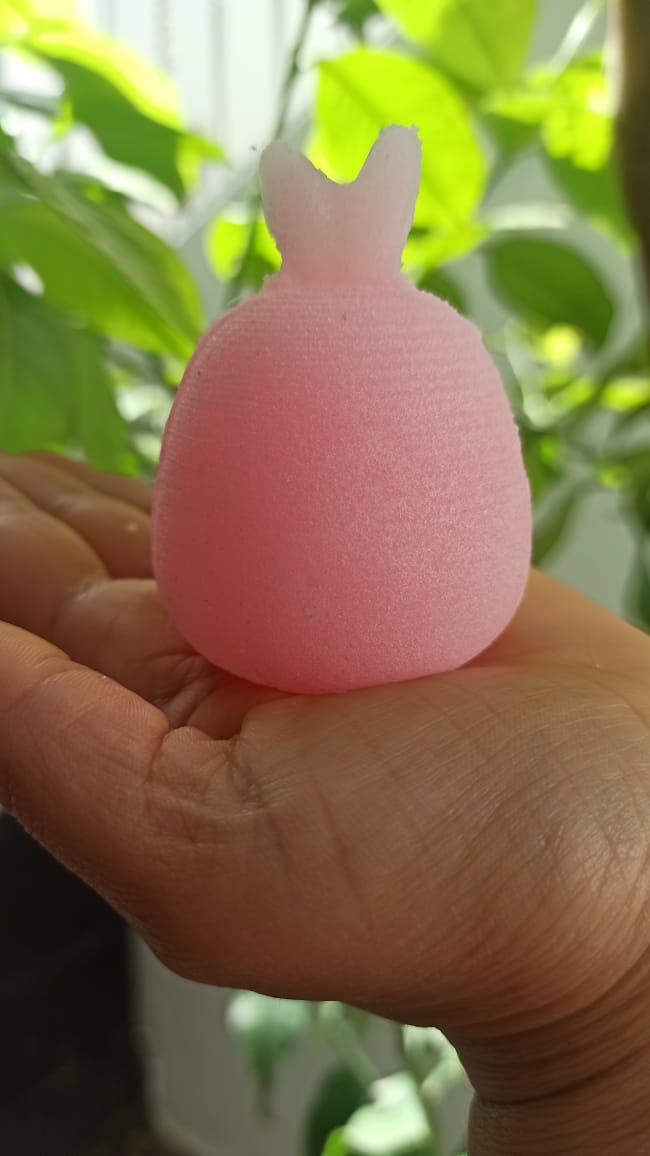
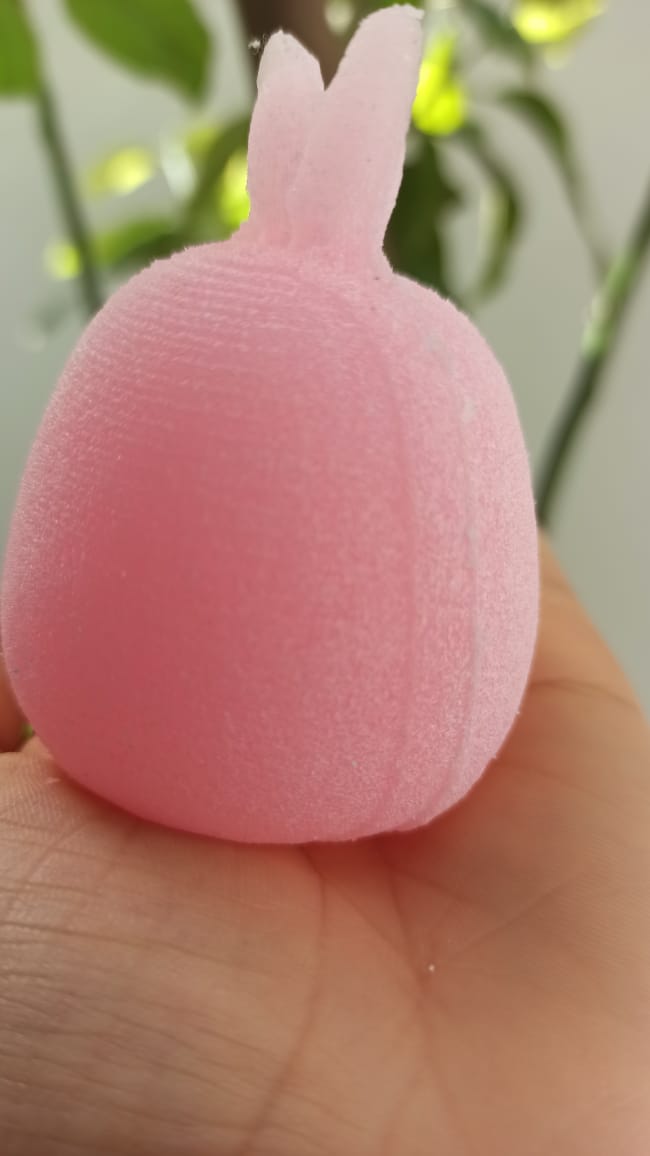
To play a little bit with it i tried to use a light source to see if it can gives something !

It is just amazing !!!!!