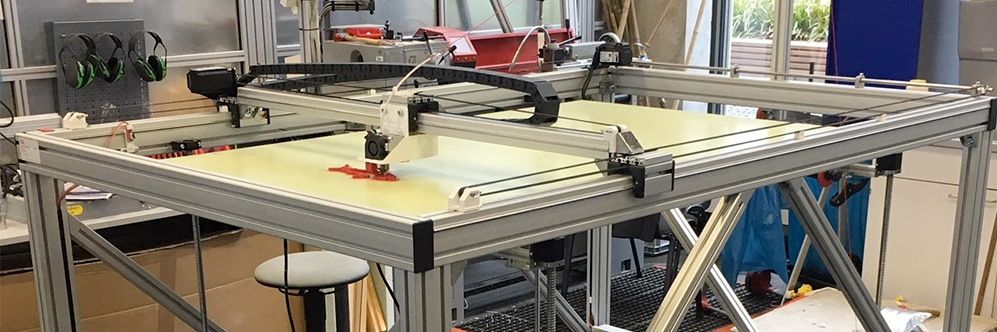
Big 3D-Printer
With a maximum volume of 150 x 90 x80 cm
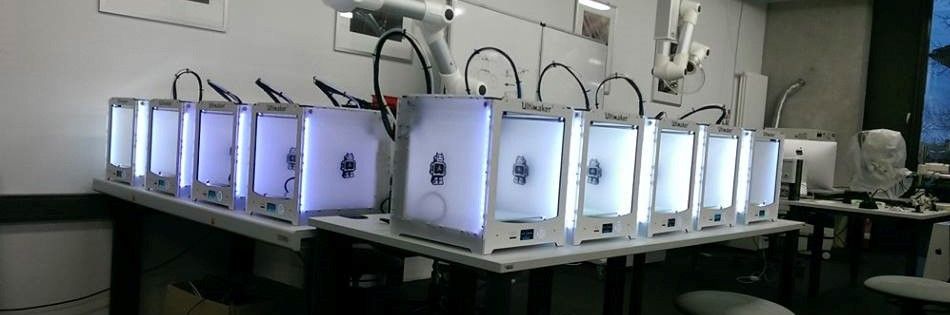
Some of our Ultimaker
We´ve got more than 25 3D-Printer of diffrent types
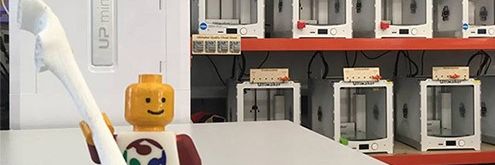
Greeting
Our best employee in HRW FabLab
Assignment 16:
Wildcard Week
Task:
- Design and produce something with a digital fabrication process (incorporating computer-aided design and manufacturing) not covered in another assignment, documenting the requirements that your assignment meets, and including everything necessary to reproduce it. Possibilities include (but are not limited to) composites, textiles, biotechnology, robotics, and cooking.actuate and automate your machine
Work
digital embroidery
In this part of the assignment I wanted to develop my own digital embroidery process and produce my own individual embroidered clothes. Therefore I wanted to use our brother embroidery machine.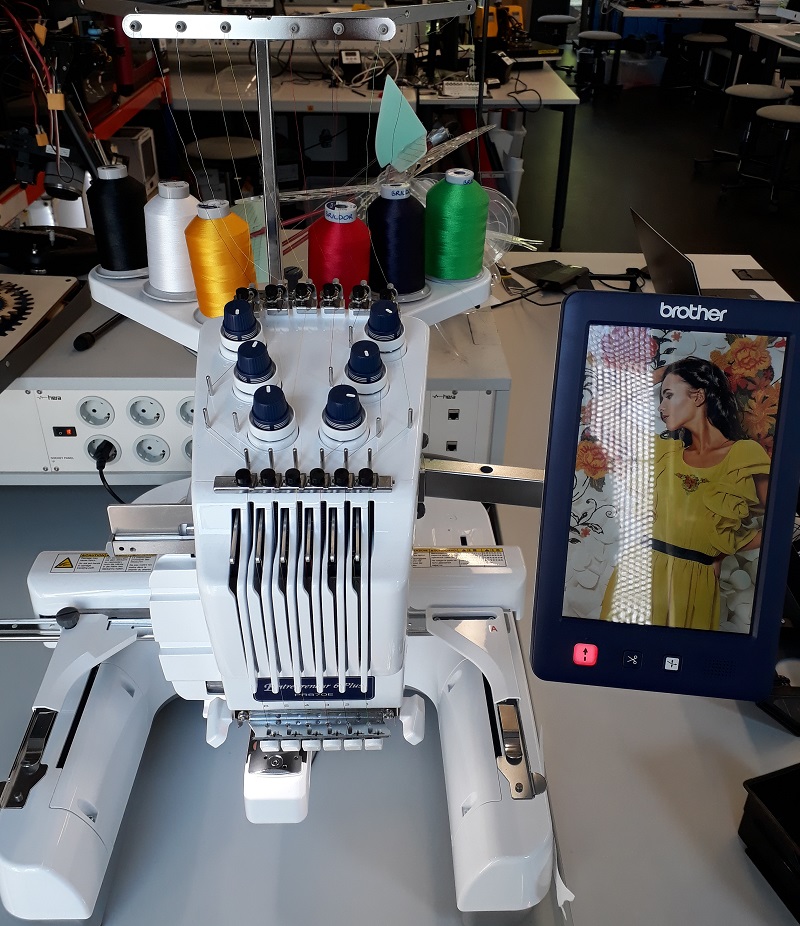
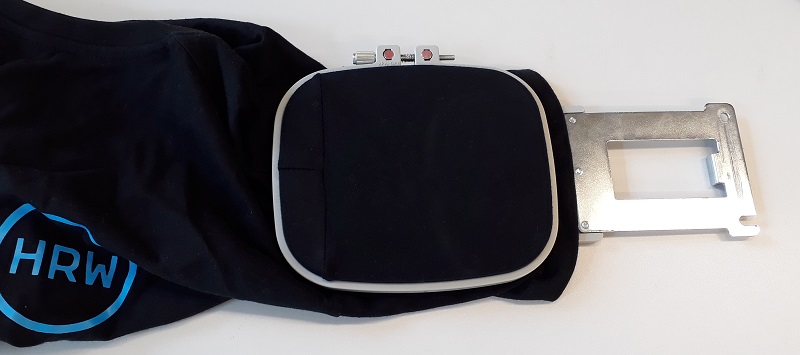
The first step is to span the clothing in the frame. There are four different sizes and you have to try which one is the best for you. Sometimes you only can use a small one but then your embroidery is small too. So you cant place it everywhere you like to.
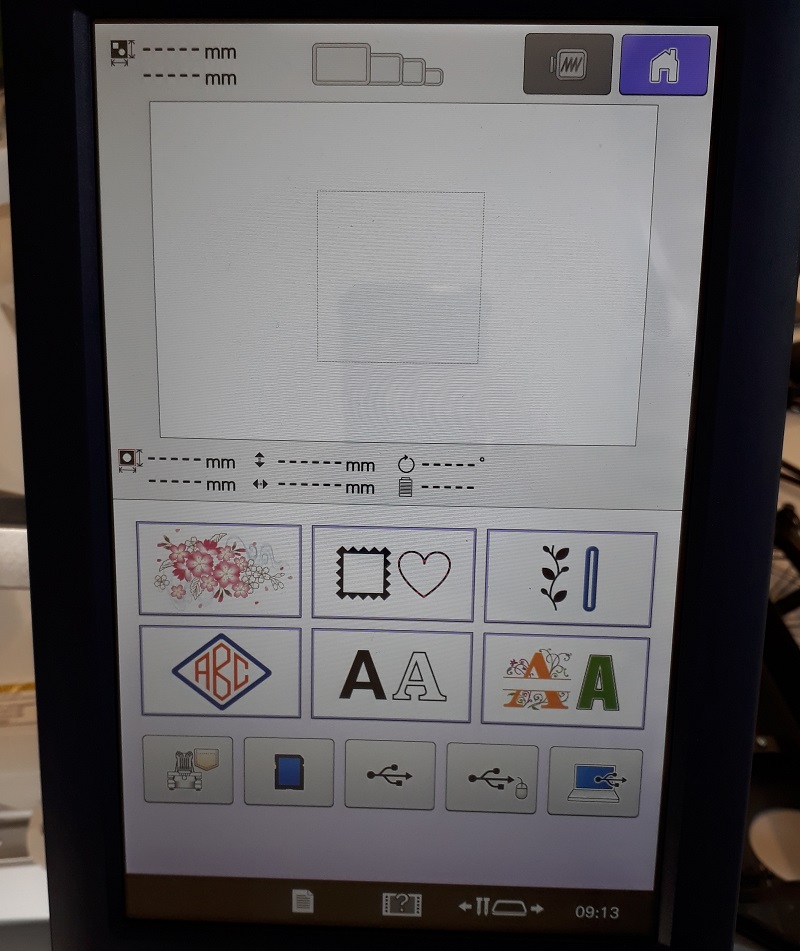
The Brother PR670E I used has a included touchscreen where you can chose some preinstalled designs and add some writings. For the first try I wanted to embroider my name at my Fab-shirt.
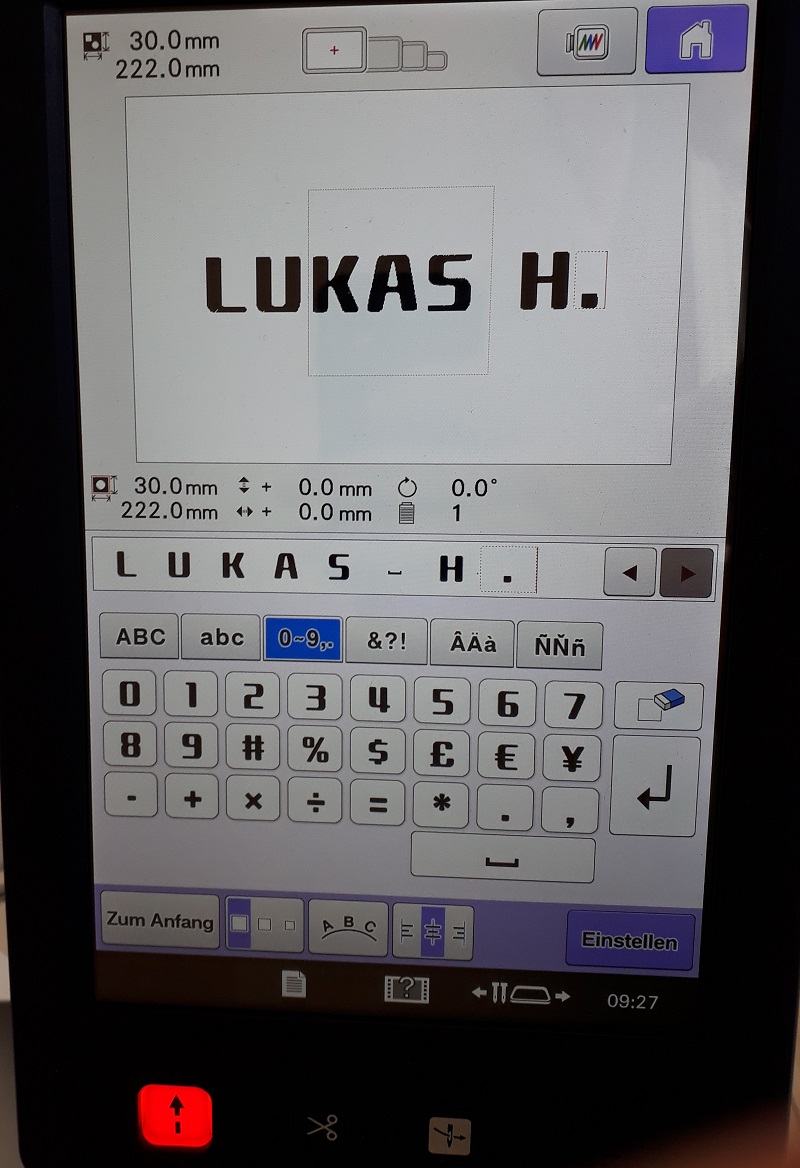
After designing the letters you have to define the settings like color, size and direction. The next and final step is to start the job. Now the machine works itself. You can adjust the speed manually but the rest works automatic.
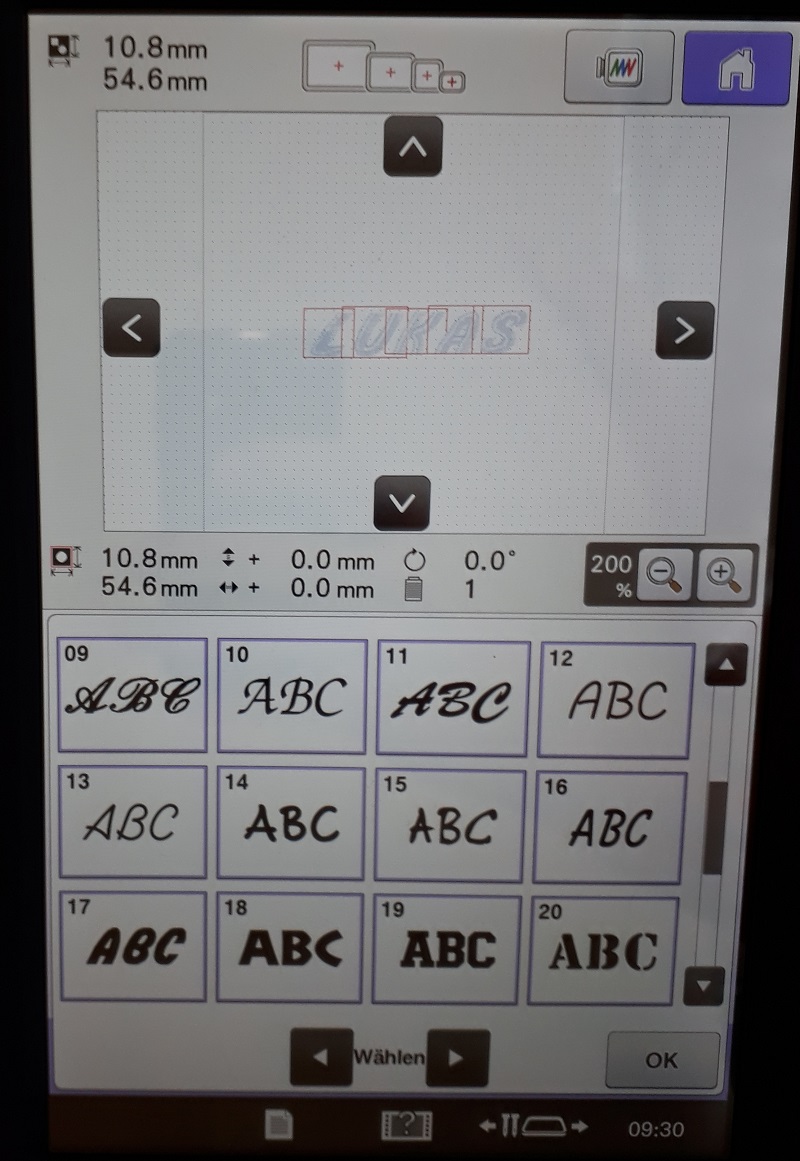
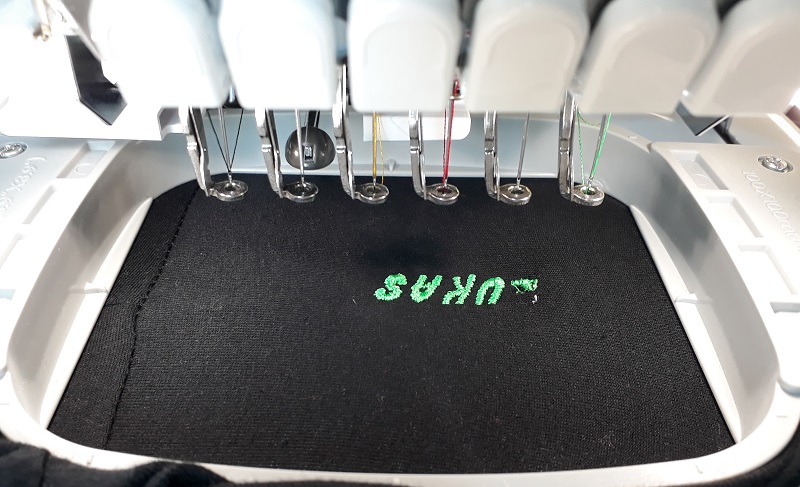
As you see I had some trouble with the “L”. That’s because one thread wasn´t correct spanned so I had to insert a new one and adjust the pre-strain. At the touchscreen you can chose small tutorials how to use the machine. That was quite useful in that situation.
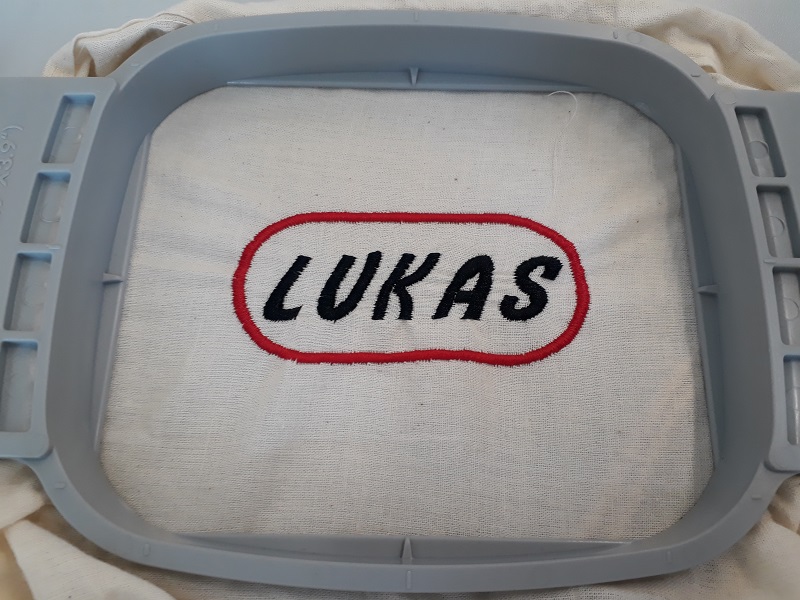
After the first try I also designed a name sticker with to colors. Here you only have to define the single colors. That result looks very good, isn´t it?
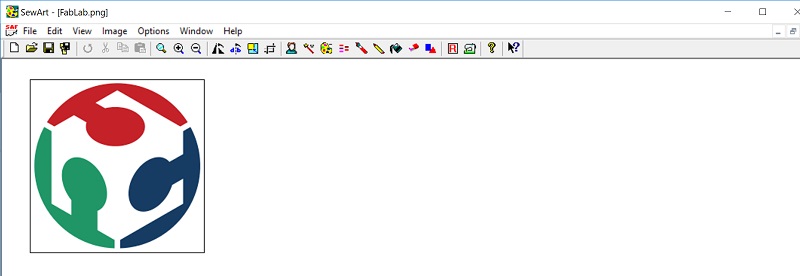
But now I wanted to design my own design, not the preinstalled designs. Therefor you need external software which is normally quite expensive. After hours of research I found one working software which allows a 30days trial I could use. The software was “SewArt” and you can download it here.
Here you can insert all normal datafiles of pictures like .jpg, .png, .etc. I chose the fablab-logo but you can also design something by yourself with paint, photoshop or inkskape.
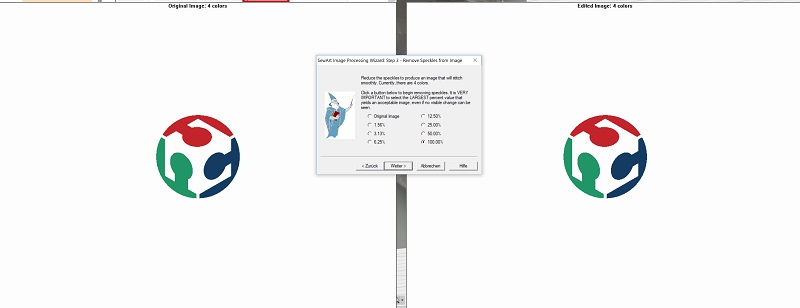
The next step is to resize the image of a useful size like 60 x 60 mm. Not you can start the “image wizard”- function. That function help you to reduce the number of colors step by step. The FabLab logo has only 4 colors from the beginning (inkl. The white background) but when you use a more complex image you have to reduce the colors to get plain areas of one color. Otherwise you have to use hundreds of different threads with the right color. SO the wizard helps you through the single steps.
Now you can start the stich mode where the program converts your file into a embroidery file. You can chose one color for transparent. That will be your background of your clothes. Here you also see which colors are necessary and hot many stiches are made.

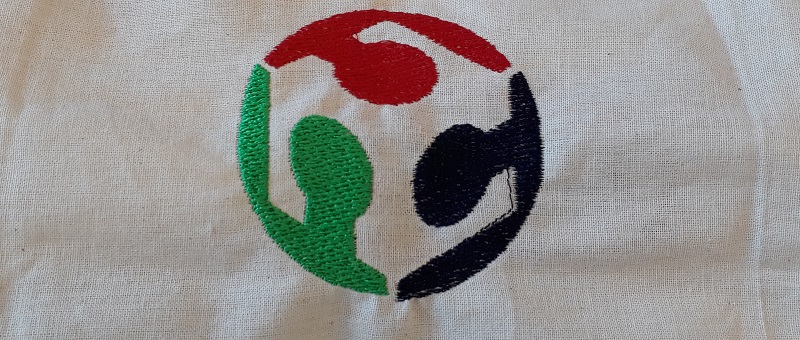
The final step is to save the embroidery file and send it via cable or USB-stick to the embroidery machine. Here you can open the file and start the process. There is no additional process steps needed. See here the final result:
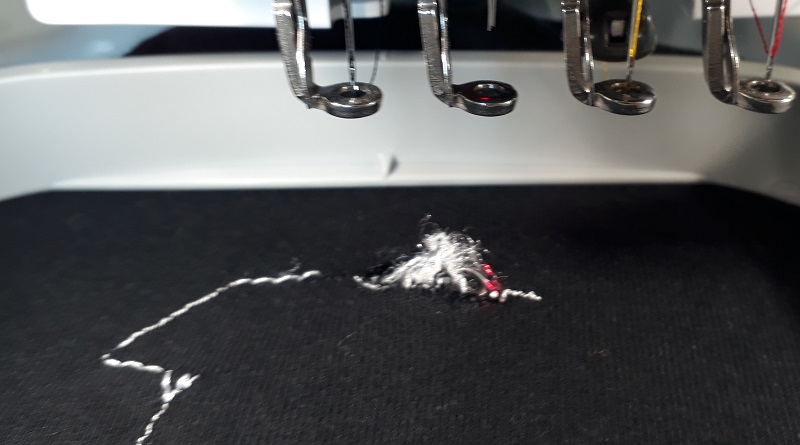
Finally I wanted to embroider the logo of my favorite NFL team - the falcons – at my shirt. During the embroidery process the needle broke and cutted a hole in my shirt. Didn´t found the reason why the needle broke. After installing a new one the machine works well again.
Individual cooking
How to make your own individual chocolate santa
Additional to the broidering machine I wanted to use our thermoforming machine to develop my own chocolate Lukas. See our Formech 300XQ machine below.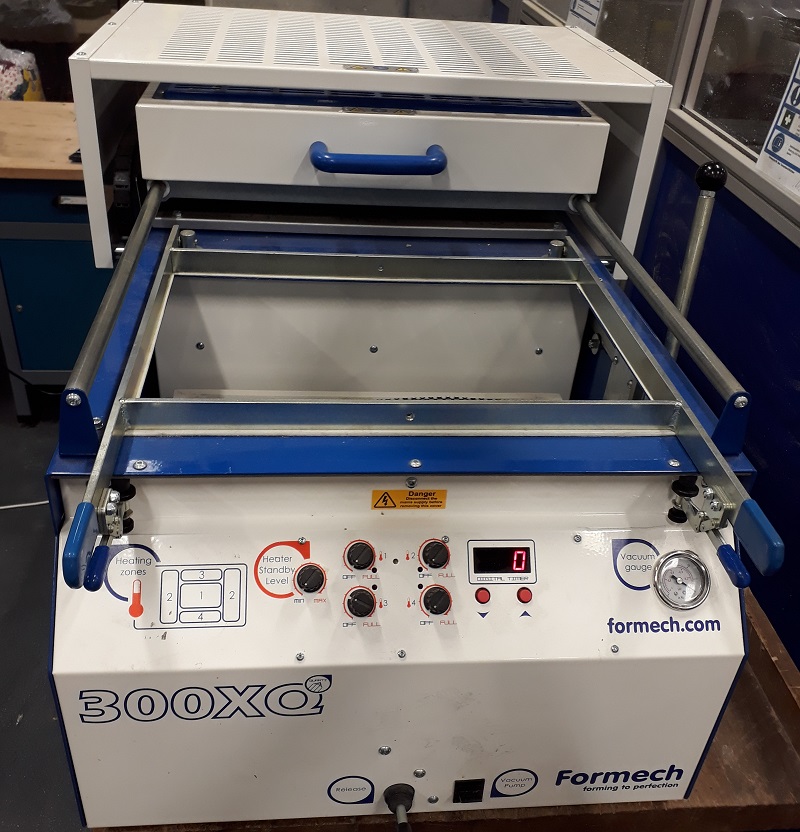
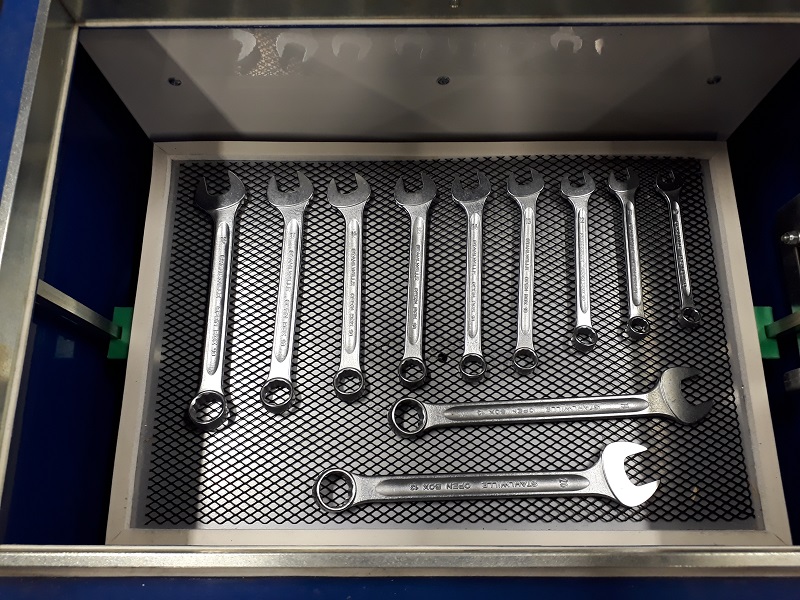
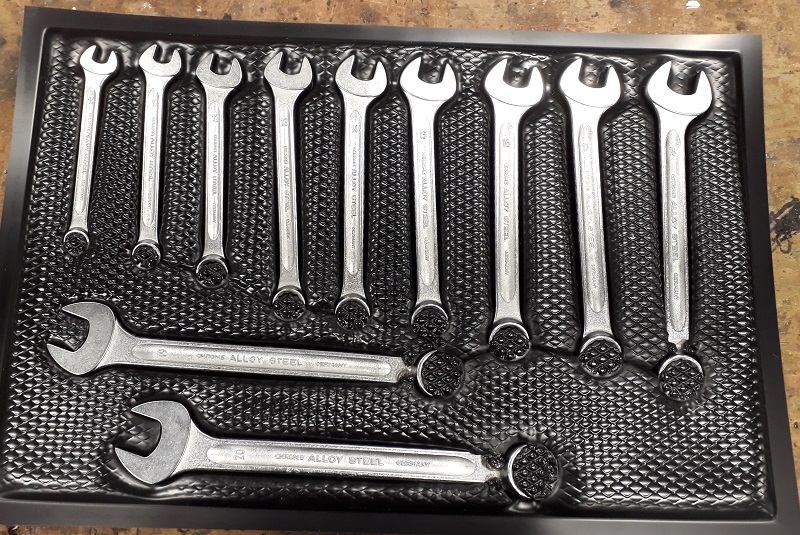
Before I started the process I collected some experience in using the machine to find out what is possible. Because I didn´t find any name of the material we have got to deep drawing, I had to experiment with the temperature to get the best results. So I started to cup some fork spanner so learn more about the process. First I had to place the object(s) I wanted to cup at the bed. Then I had to span the deep drawing material in the machine and start the heater. I took a look every few seconds until the material began to flow and droop. Then I pushed the objects from underneath in the dep drawing material and started the vacuum pump. After a few seconds the process finished.

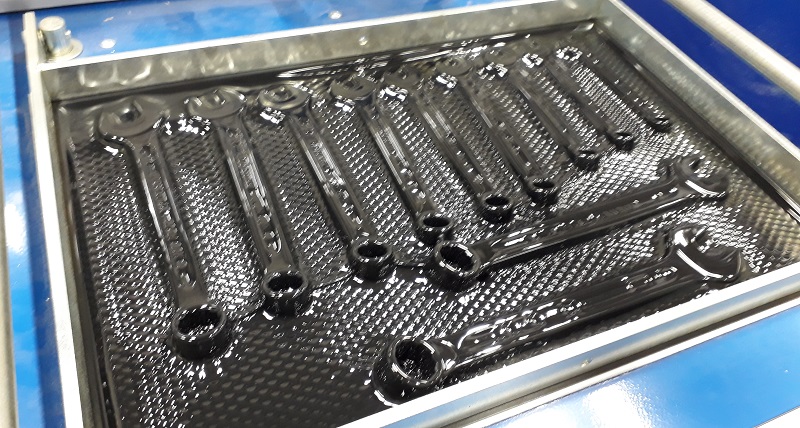
See here the finished result.
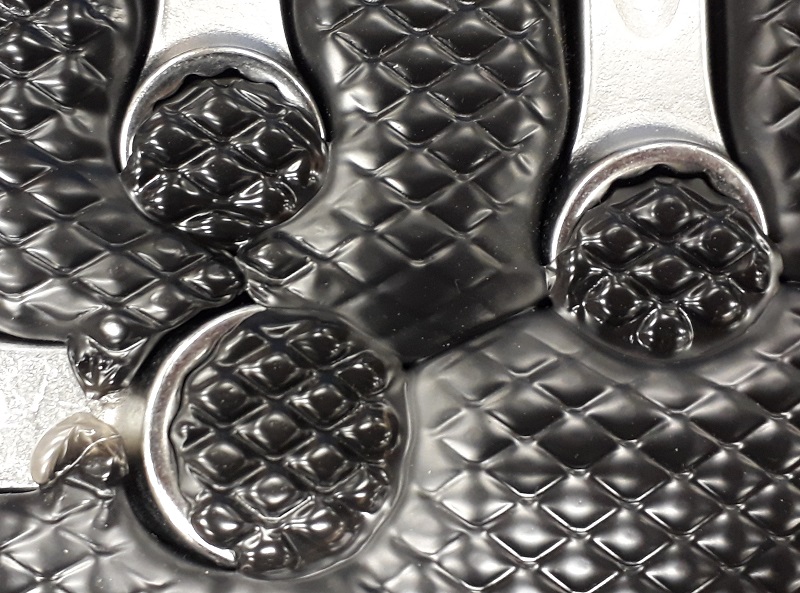
As you see the vacuum was to strong, so the one ends of the fork spanner gets backed in so I destroyed the form during removing the fork spanner. Badly there is no option to control the vacuum pump so it is quite difficult to cup forms like that.

In the next step I tried to build a form by hand with a heating wire and some PE-foam. The form works well, but see the result of the thermoforming process below.


As you see the deep drawing material was to hot for the PE foam so its melted under the foil and backed together with it. So a milled form out of this material won´t be a good material to cup.

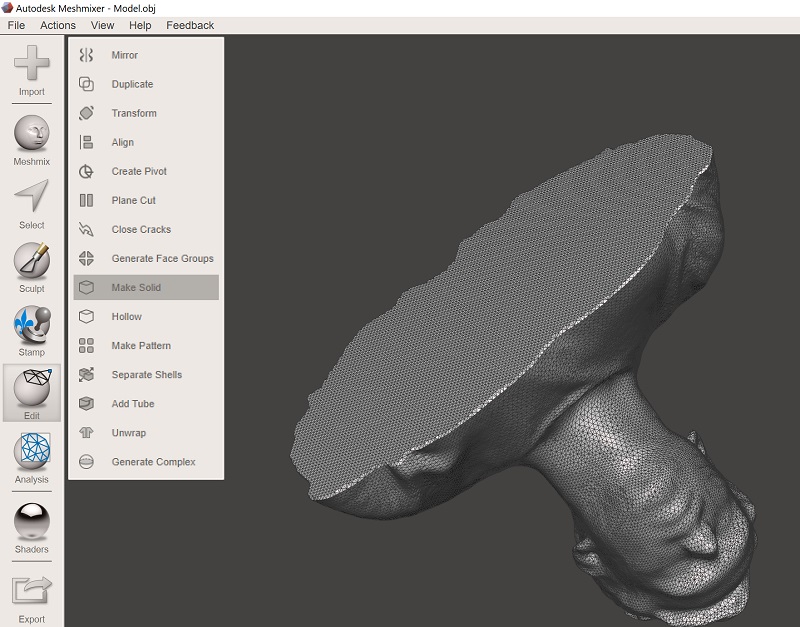
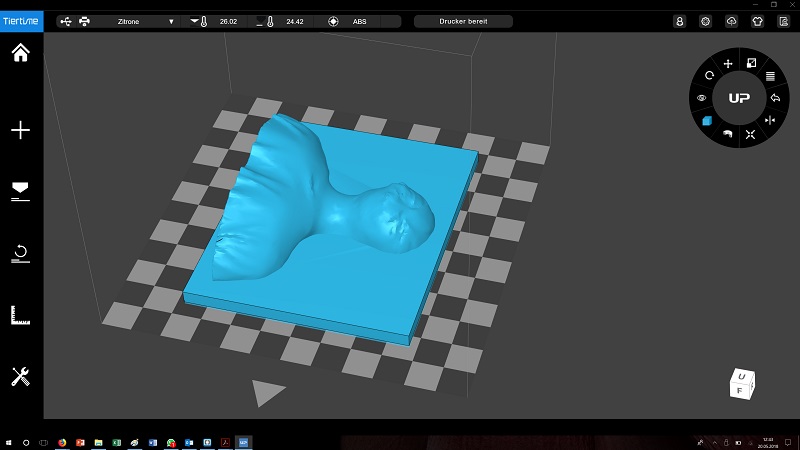
After doing some tests with 3d printed forms I started my chocolate Lukas process. First a college scanned my with our iSence scanner and I imported the .obj file into Meshmixer. Here I had to fix some scanning fails and make it a useful model.
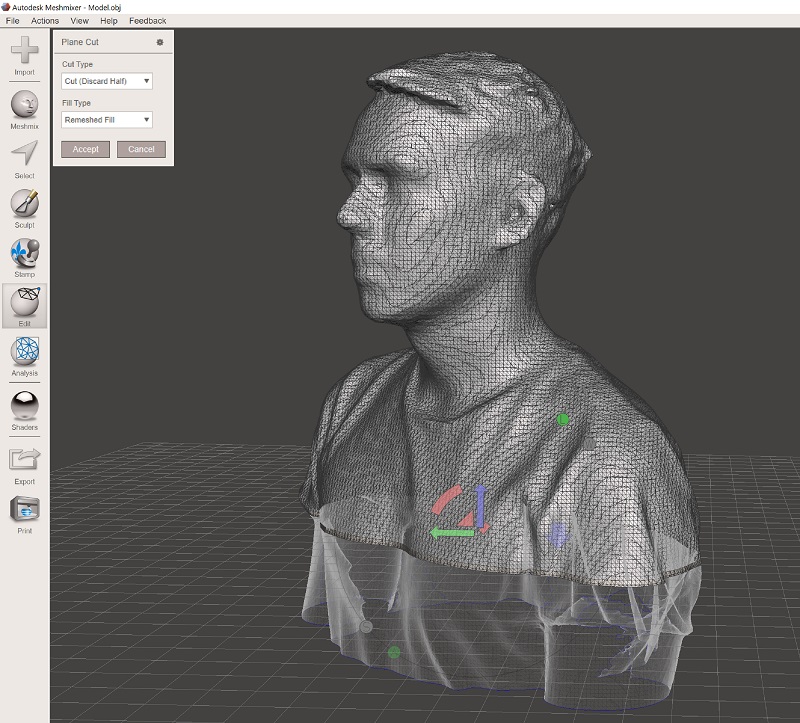
After generating a plane cut, I made the model solid. In the next step I insert the mesh into Fusion 360.
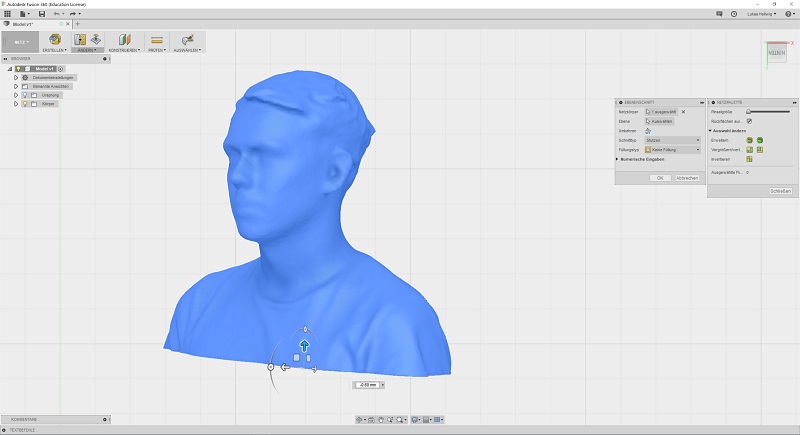
In Fusion 360 I was editing the position and the scale for the next step.
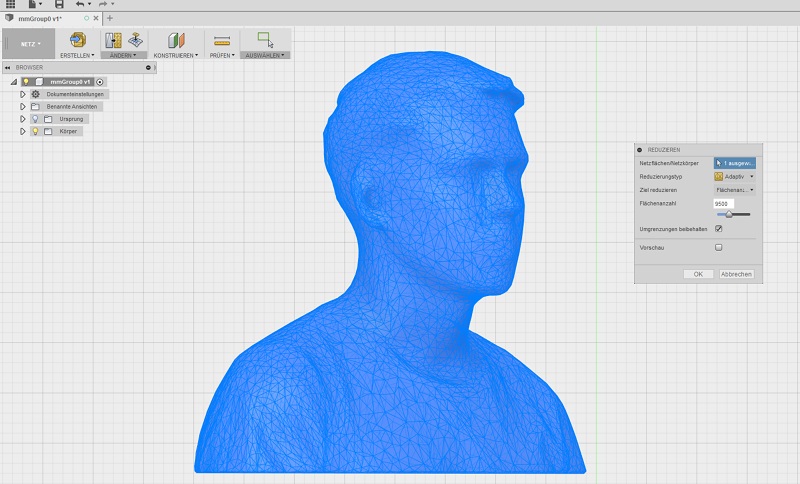
Because I need two shells of my head, I need to cut the model and add a foundation at each site. Therefor I had to convert the mesh into a model. Fusion only is able to handle up to 10.000 surfaces so I had to reduce the resolution. Fusion has a “reduce” function in it. See the step below.
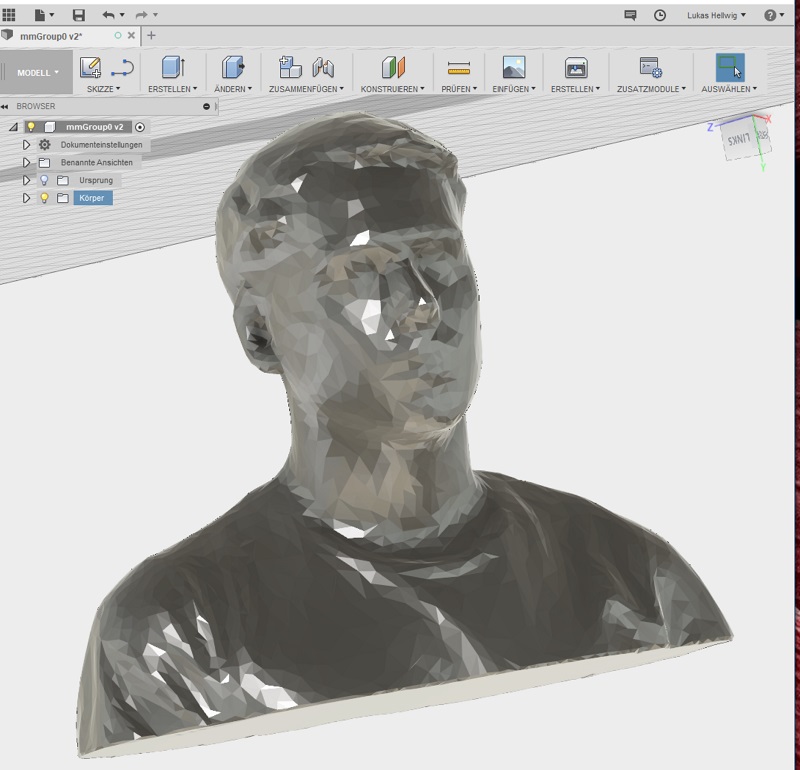
As you see the resolution of the model is clearly more bad but I like the style so it is not a problem for me.
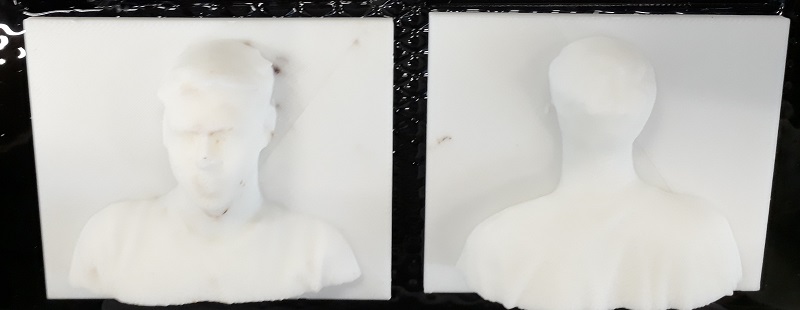
After cutting the the model into two halfs and add the foundation I printed it in our Up mini printer.
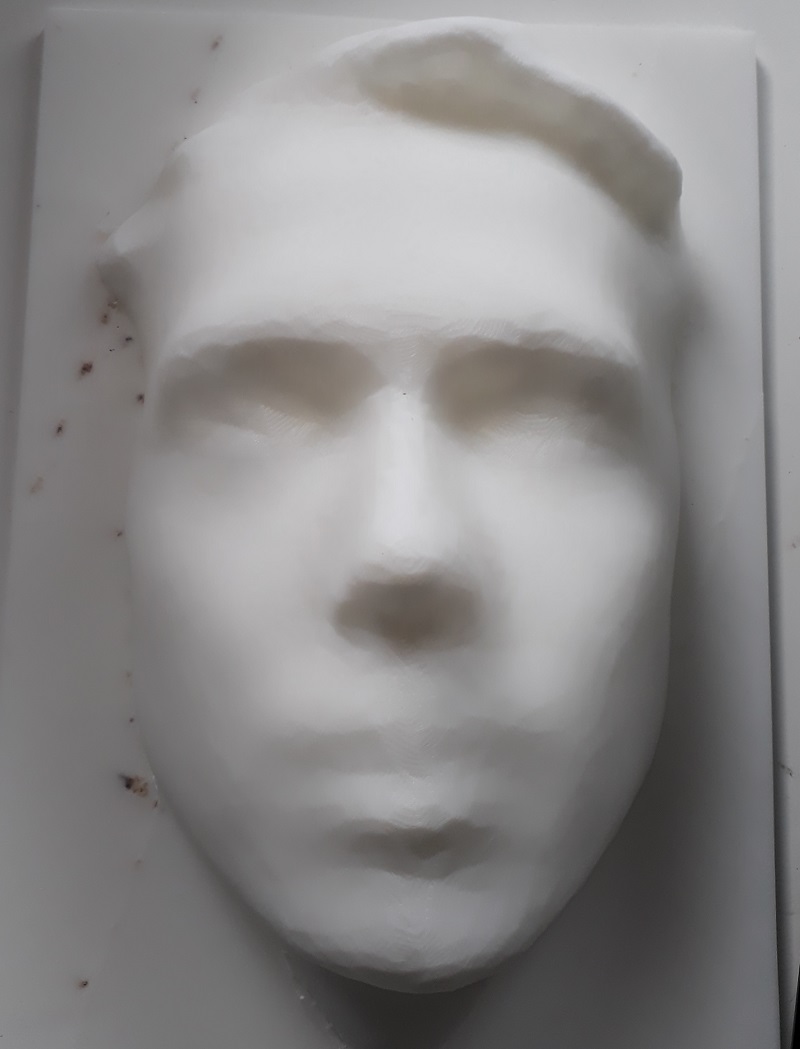
See here the finished prints.
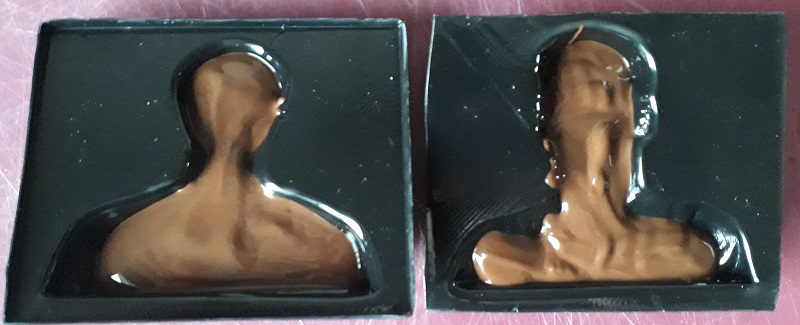
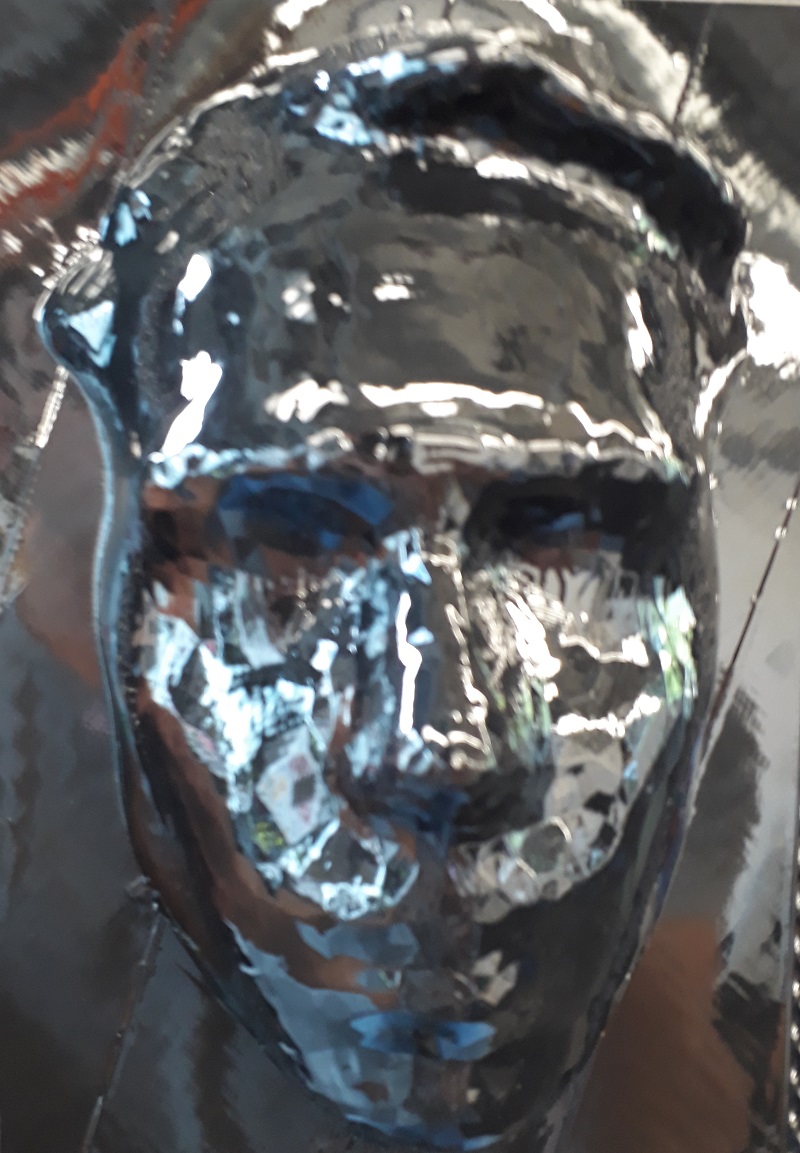
Here are the cupped forms. At the inside the details are quite fine.

The two forms fitting perfectly together. So let´s start the chocolate making process. I warmed some normal chocolate and added some coconut fat to get more flowing chocolate.

See here the filled forms. After putting it together, I fixed it with tape and rotate it for a while. Then I putted it into the freezer and turned it every few minutes.
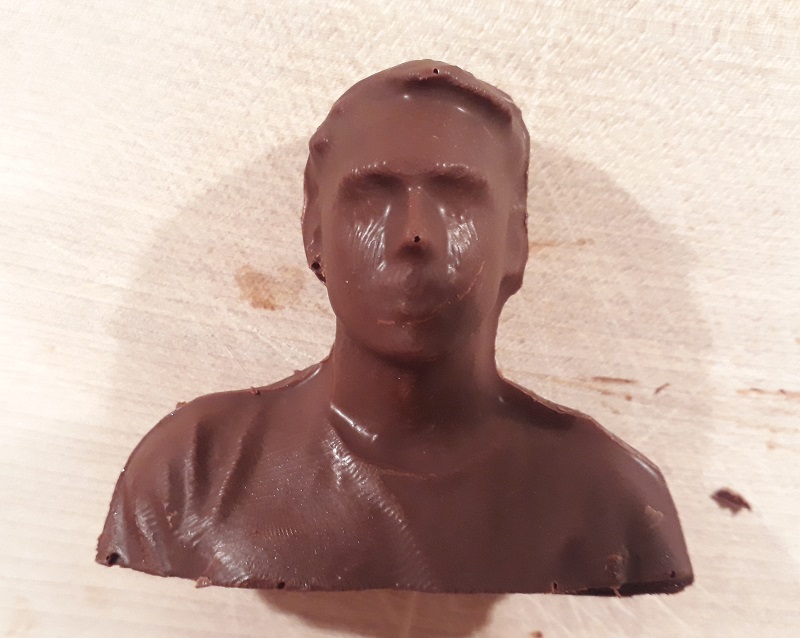
See here the final result. I think that’s works great.
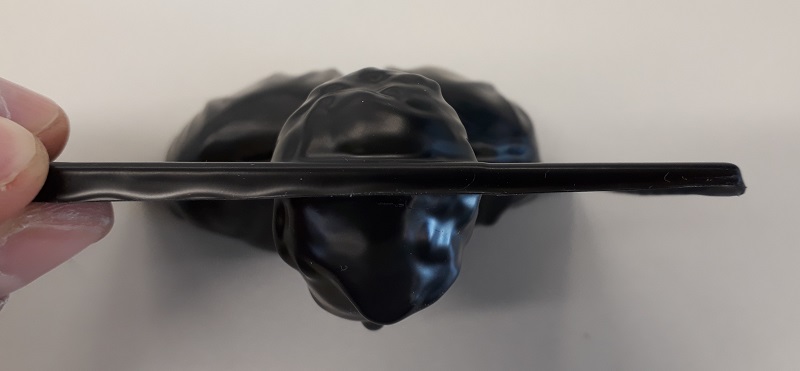
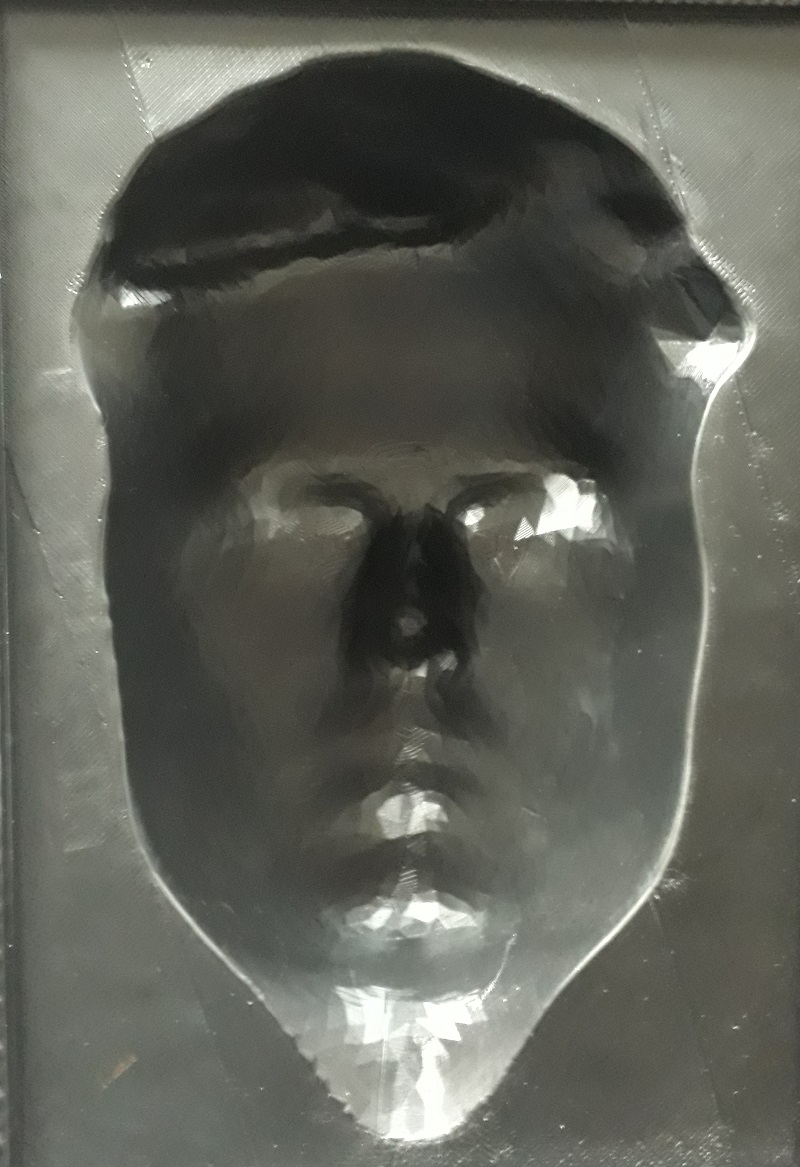
Because I liked the deep drawing machine that much, I produce my own Lukas- mask. I will use it at the next Poker game 😊.
Downloads
| Chocolate Lukas Data | download |
| Embroidering Data | download |
