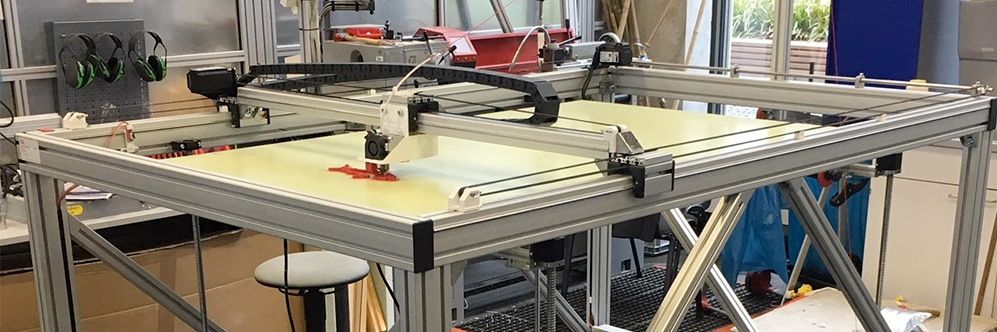
Big 3D-Printer
With a maximum volume of 150 x 90 x80 cm
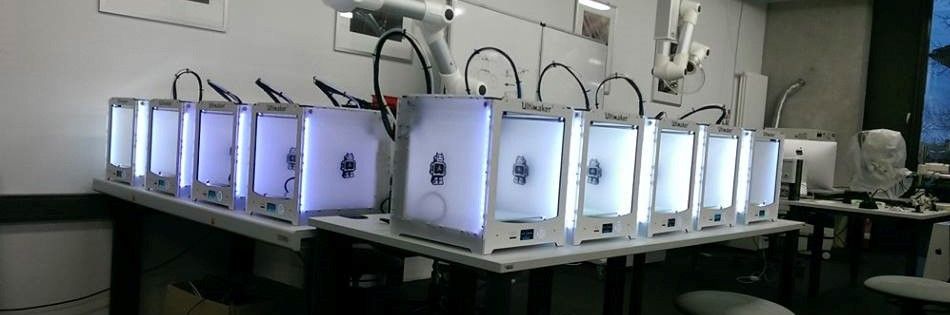
Some of our Ultimaker
We´ve got more than 25 3D-Printer of diffrent types
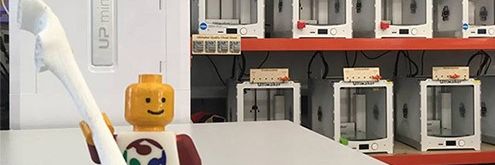
Greeting
Our best employee in HRW FabLab
Assignment 1:
principles and practices, project management
Task:
-Build a personal site describing you and your final project.-Plan and sketch a potential semester project and add it to your website.
-Upload it to the class archive. Work through a git tutorial.
Work
In my studies there was an short introduction in designing and editing websites. That was years ago, so i have to learn the state of the art and learn the basics again.For the programming I used the open source platform Brackets of Adobe. After testing a few diffrent tools I liked Brackets most of it. It is compatible with all standart prgramming languages and allows various add-ons to make the work more easy. So for example it is possible to install the add-on "Beautify" witch automaticly formats the code to make it more easy to read.
Also Brackets notices missing code and make suggestion. The best feature of Brackets is in my opinion the live-preview. So you can directly see what your site will look like by coding. (Thats only available with the Crome browser. Download it here)
That´s a great help for me as an noob at website designing.
For the design of my website I used the open source Framework Bootstrap. With this toolkit it is possible to create responsive website very quickly. At w3schools.com there is a huge collection of tutorials, references and examples. It includes diffent elements and the associated code.
I started to create a personal frame for my content witch I would like to copy for all my different sub-pages. I took a look at the archiev of the last year and noticed allways the same content on each students website, so i decided to transfer it to my frame. That includes the following elements:
- navigation bar
- start page
- about me page
- pages for the assignments, mostly in a drop-down menue
- pages to describe the development of the final project
- page with the contact dates
- the creative commons licence
 <!DOCTYPE html>
 <html>

    <head >

        <title>PageTitle<title>

    </head>

    <body>

        <h1>Hello</h1>

        <p>This is my first paragraph.</p>

 </body>

 </html>
First of all I added the bootstrap frame. here is the css document and the skripts included that will be needed for the other bootstrap drafts. You can find it here.The first content i added was the navigation bar. Bootstrap offers various drafts. I choose one I liked and copied it into my html code. After that I had to edit the draft to get my personal fitting navigation bar. It incudes the points below in addition of a Link to the offical FabAcademy-Homepage.
After that I added a carousel, becouse it makes the page more dynamic and professionel and is a great possibility to add a lot of pictures without waisting space. I had some problems to make my page responsive. But after some corrections it works well. So now you can see the final product here around. Hope you like it.

Find the finished code of the frame of my website below:
<!DOCTYPE html>
<html lang="en">

<head>
    <title>Assingnment 1</title>
    <meta charset="utf-8">
    <meta name="viewport" content="width=device-width, initial-scale=1">
    <link rel="stylesheet" href="https://maxcdn.bootstrapcdn.com/bootstrap/3.3.7/css/bootstrap.min.css">
    <script src="https://ajax.googleapis.com/ajax/libs/jquery/3.2.1/jquery.min.js"></script>
    <script src="https://maxcdn.bootstrapcdn.com/bootstrap/3.3.7/js/bootstrap.min.js"></script>
</head>

<body>

    <nav class="navbar navbar-inverse">
        <div class="container-fluid">
            <div class="navbar-header">
                <a class="navbar-brand" href="index.html">Lukas Hellwig</a>
            </div>
        <div>
                <ul class="nav navbar-nav">
                    <li> <a class="" href="aboutme.html">About Me</a></li>

                    <li class="dropdown">
                        <a class="dropdown-toggle" data-toggle="dropdown" href="#">Assignment
          <span class="caret"></span></a>
                         <ul class="dropdown-menu">
                            <li><a href="week1.html">01. project management</a></li>
                            <li><a href="week2.html">02. computer-aided desig</a></li>
                           <li><a href="week3.html">03. computer-controlled cutting</a></li>
                            <li><a href="week4.html">04. electronics production</a></li>
                            <li><a href="week5.html">05. 3D scanning and printing</a></li>
                            <li><a href="week6.html">06. electronics design</a></li>
                            <li><a href="week7.html">07. computer-controlled machining</a></li>
                            <li><a href="week8.html">08. embedded programming</a></li>
                            <li><a href="week9.html">09. molding and casting</a></li>
                            <li><a href="week10.html">10. input devices</a></li>
                            <li><a href="week11.html">11. output devices</a></li>
                            <li><a href="week12.html">12. interface and application programming</a></li>
                            <li><a href="week13.html">13. networking and communications</a></li>
                            <li><a href="week14.html">14. mechanical design</a></li>
                            <li><a href="week15.html">15. machine design</a></li>
                            <li><a href="week16.html">16. wildcard week</a></li>
                            <li><a href="week17.html">17. applications and implications</a></li>
                            <li><a href="week18.html">18. invention, intellectual property, and income</a></li>
                        </ul>
                    </li>

                    <li class="dropdown">
                        <a class="dropdown-toggle" data-toggle="dropdown" href="#">Final Projekt
          <span class="caret"></span></a>
                        <ul class="dropdown-menu">
                            <li><a href="fp_idea.html">Idea</a></li>
                            <li><a href="fp_concept.html">Concept</a></li>
                            <li><a href="fp_hardware.html">Hardware</a></li>
                            <li><a href="fp_software.html">Software</a></li>
                            <li><a href="fp_finish.html">Complete </a></li>
                        </ul>
                    </li>
                    <ul class="nav navbar-nav">
                        <li> <a class="" href="contact.html">Contact</a></li>
                        <li> <a class="" href="http://fabacademy.org/"><img width="110" src="fab-academy.jpg" alt="fabacademy logo" class="img-rounded pull-right"></a></li>
                    </ul>
                </ul>
            </div>
        </div>
    </nav>
    <div class="container">
        <! begin of the slide implementation>
        <div id="myCarousel" class="carousel slide" data-ride="carousel">
            <!-- Indicators -->
            <ol class="carousel-indicators">
                <li data-target="#myCarousel" data-slide-to="0" class="active"></li>
                <li data-target="#myCarousel" data-slide-to="1"></li>
                <li data-target="#myCarousel" data-slide-to="2"></li>
            </ol>

            <!-- one singe picture -->
            <div class="carousel-inner">

                <div class="item active">
                    <img src="drucker.jpg" alt="Big 3D-Printer" style="width:100%;">
                    <div class="carousel-caption">
                        <h3>Big 3D-Printer</h3>
                        <p>With a maximum volume of 150 x 90 x80 cm</p>
                    </div>
                </div>

                <div class="item">
                    <img src="drucker3.jpg" alt="3D-Printer" style="width:100%;">
                    <div class="carousel-caption">
                        <h3>Some of our Ultimaker</h3>
                        <p>We´ve got more than 25 3D-Printer of diffrent types</p>
                    </div>
                </div>

                <div class="item">
                    <img src="drucker2.jpg" alt="Employee" style="width:100%;">
                    <div class="carousel-caption">
                        <h3>Greeting</h3>
                        <p>Our best employee in HRW FabLab</p>
                    </div>
                </div>
            </div>

            <!-- control of the slide -->
            <a class="left carousel-control" href="#myCarousel" data-slide="prev">
      <span class="glyphicon glyphicon-chevron-left"></span>
      <span class="sr-only">Previous</span>
    </a>
            <a class="right carousel-control" href="#myCarousel" data-slide="next">
      <span class="glyphicon glyphicon-chevron-right"></span>
      <span class="sr-only">Next</span>
    </a>
        </div>


        <div class="jumbotron">
            <h2>Assignment 1:<br></h2>
            <h3> <u>principles and practices, project management </u></h3><br>
            <h4>Task:</h4>


            <h3>Downloads</h3>
            <table class="table table-striped">
                <tr>
                    <td>Website template (zip)</td>

                    <td>
                        <a href="week1/webtemplate.zip">download</a>
                    </td>
                </tr>


            </table>


        </div>

    </div>
    <a rel="license" href="http://creativecommons.org/licenses/by-nc-sa/4.0/"><img alt="Creative Commons Lizenzvertrag" style="border-width:0" src="https://i.creativecommons.org/l/by-nc-sa/4.0/88x31.png" /></a><br />Dieses Werk ist lizenziert unter einer <a rel="license" href="http://creativecommons.org/licenses/by-nc-sa/4.0/">Creative Commons Namensnennung - Nicht-kommerziell - Weitergabe unter gleichen Bedingungen 4.0 International Lizenz</a>.
</body>

</html> Git/Gitlab
My knowledge about informatics and software-development was quite rudimentary. So i never had worked with Git or Gitlab before. Thats the reason why I had to start with the basics:Git is a system to control software-development-projects and manage different versions. Additinal it is possible to work with diffrent developers on the same project without loosing input and editions. With GitLab you can host several git repositories and collaborate online with different developers. Also it contains various management and bug tracking functions.
Install Git/GitLab
First I have to say that i´m working on a Windows computer with windows 10. As i learned some commands are different between the single operation systems.
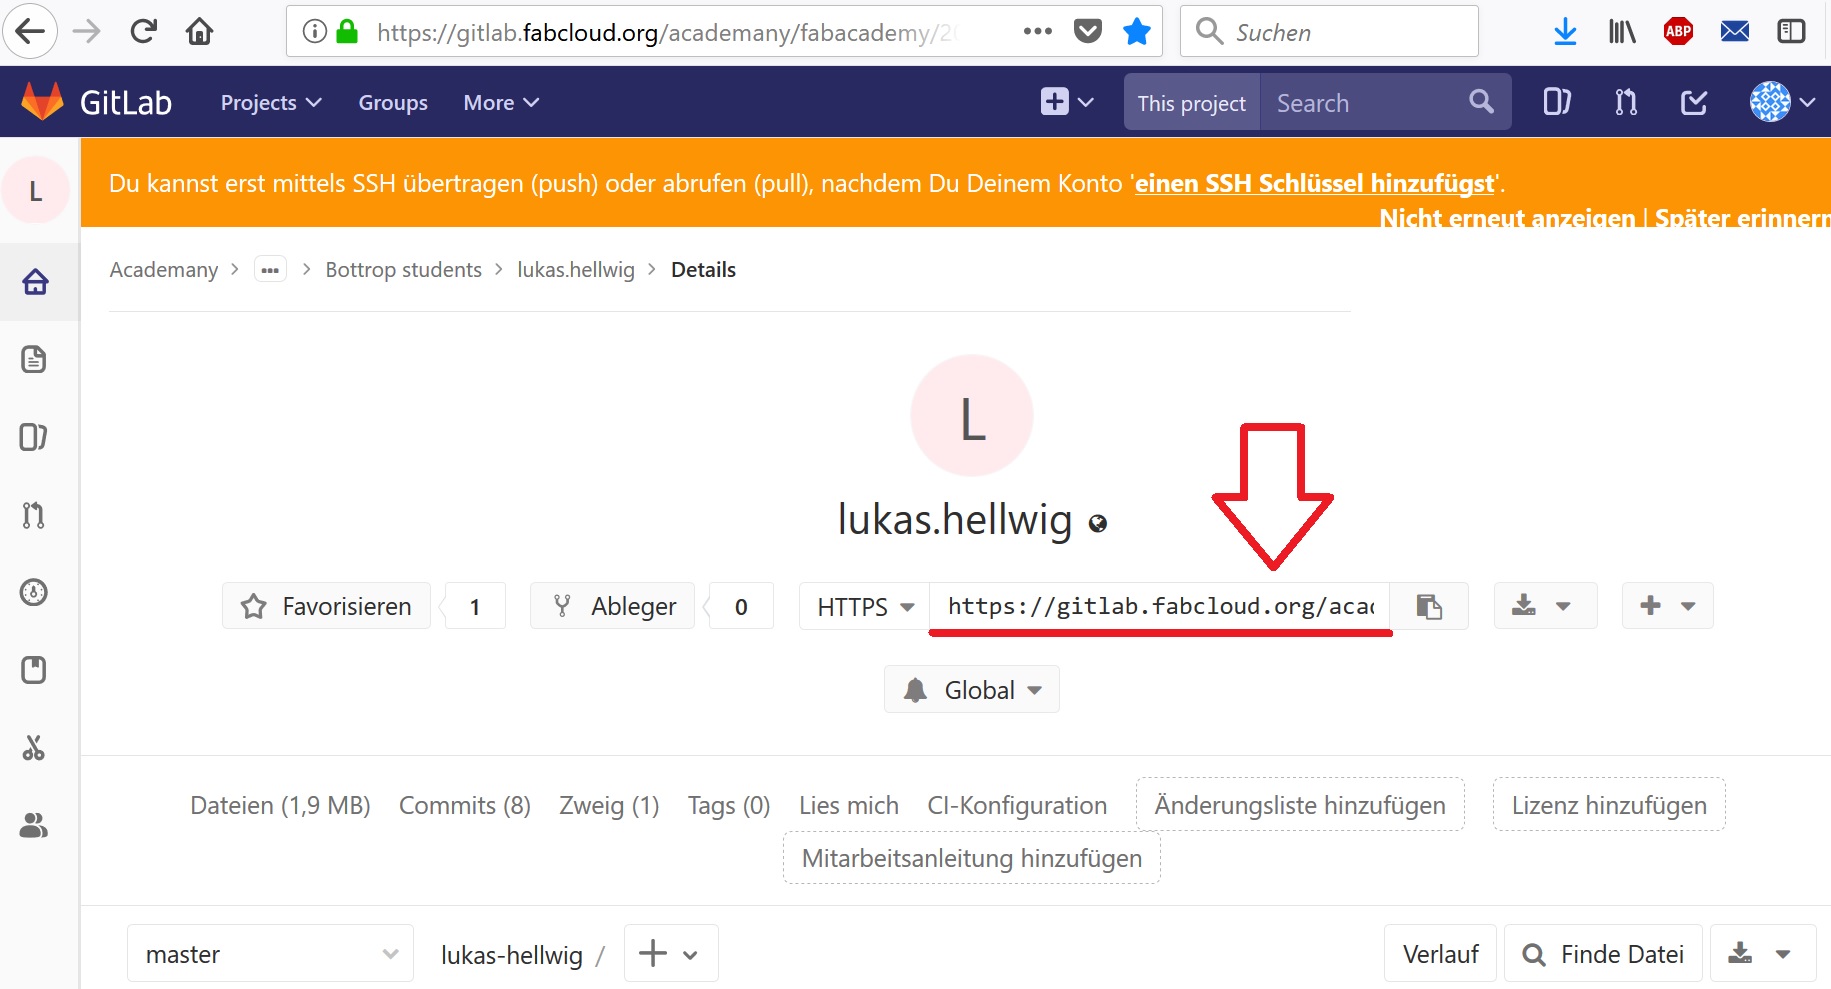
At first I used the link which i get from the offical fabacademy IT to log in at GitLab. There I found the necessary link to the preassembled online repository. See the picture below:
The next step is to open the command window. Therefore click at the windows symbol in the left corner of you desktop and type "cmd" and press "enter".
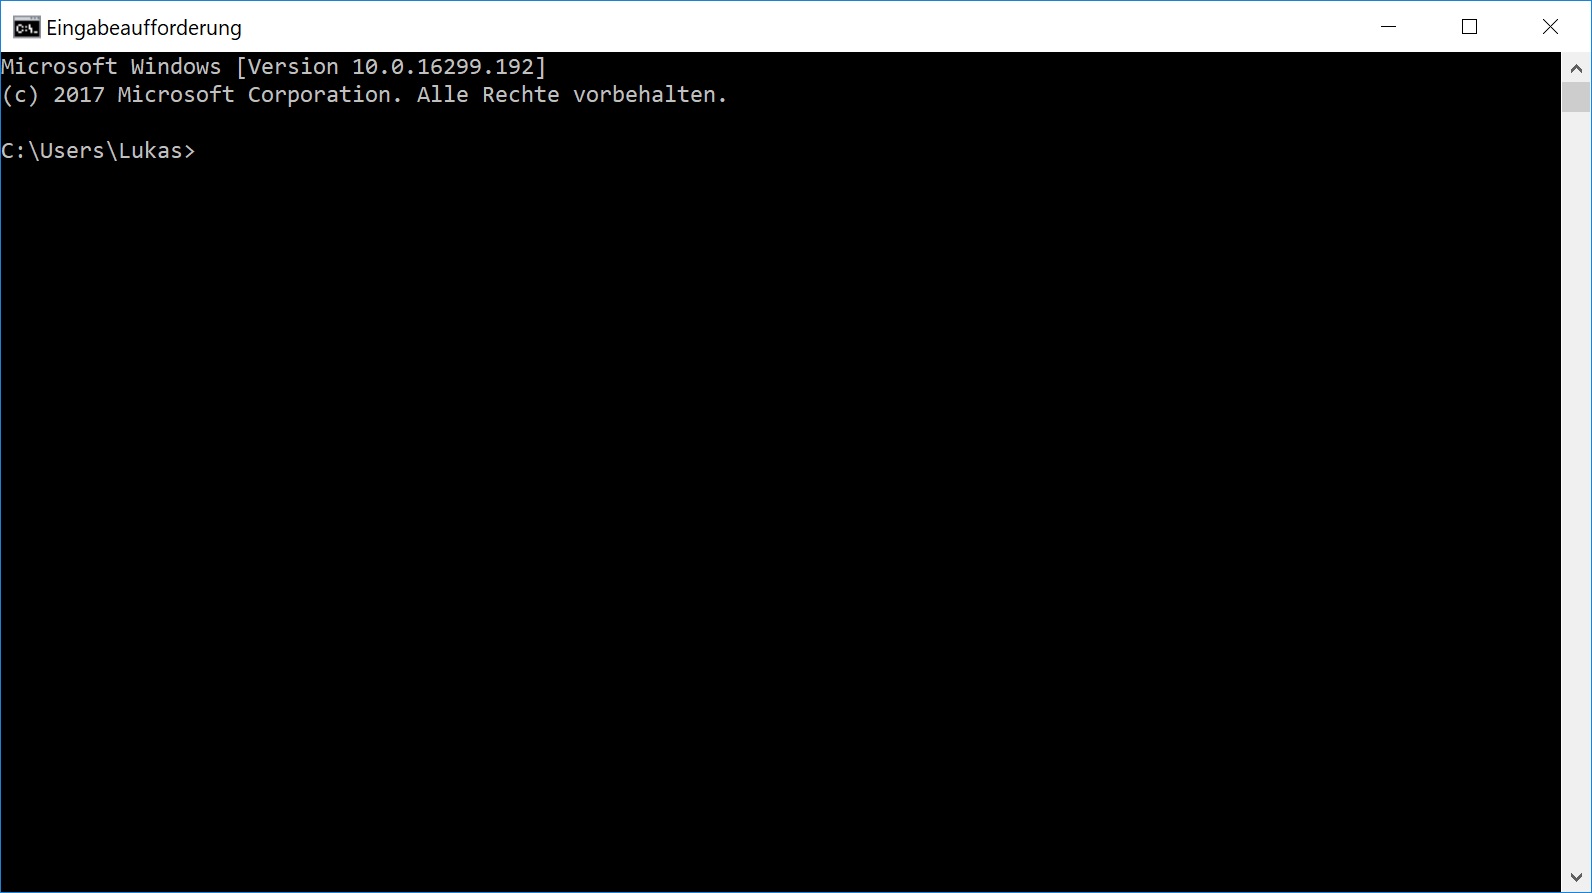
After this the command-windows opens. There you have to work with the following commands.
first you have to navigate to the folder you would like to place your local repository. With the command dir there is a list of all files and folders generatet which are in your aktual folder. With cd *foldername* you can navigate to another folder. With cd ../ you go to the next higher folder. So you can navigate to your choosen folder for your local repository. With the TAB-key you can automaticaly complete single commands.
Now you need to do a local copy of the online repository. The right command for this is: git clone *online link of the repository*. Now you have a new folder with a git repository in it. Because I did some prework I copied my finished files and added it to the new folder. The next step is to add the new files to the git repository. therefore you have to use the cmd again. With the command git add *filename* you can add single files. With git add ./*you can add all new files to the repository. You can not only add new files, you also can edit files so you have to commit them. To commit the single versions you have to commit the added files with git commit -m*commit message*. The last step is to push your local changes to the online repository. The command you need for this is git push. The first time you try to push your repository you will be asked for your login. Here you have to insert your GitLab-login. After you have done alle the single steps right you should get the followin message:

Some additinal input
With git status you can see the actual status of your repository. So for example how many file have been changed.
I found an addon for brackets to manage the git-process with. See the interface below:
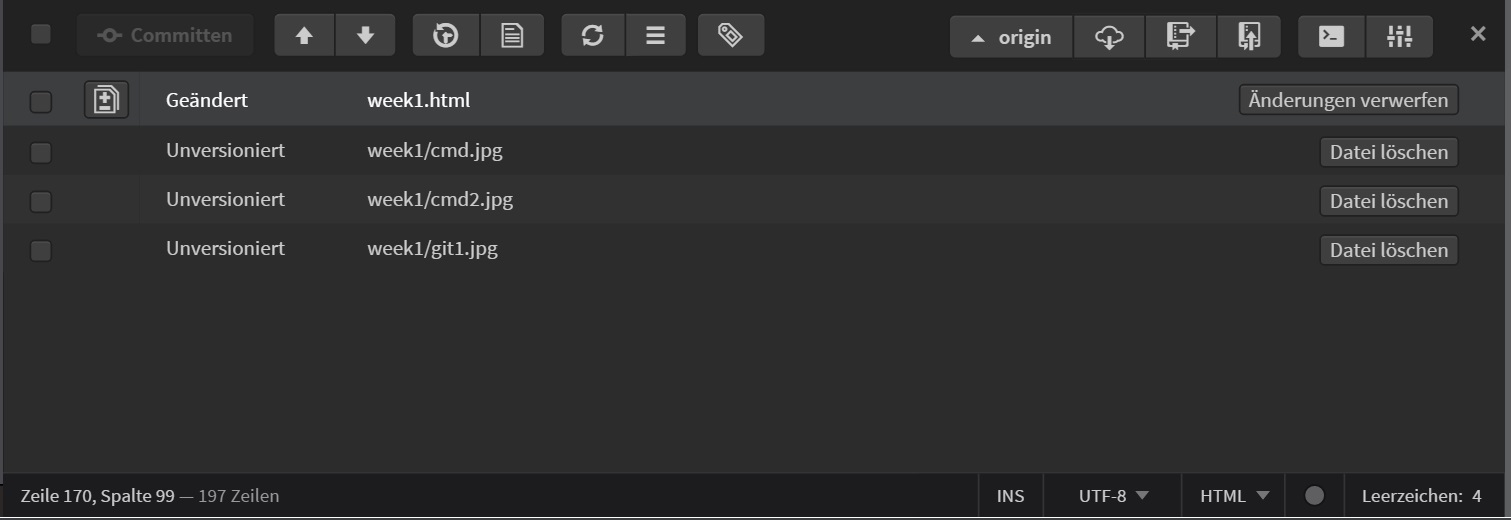
Here brackets notice all done changes and have buttons for all the push, commit and pull commands. So you dont need the cmd anymore and it is more userfriendly. So I decided to work with this tool for the next weeks.
Downloads
| Website template (zip) | download |
