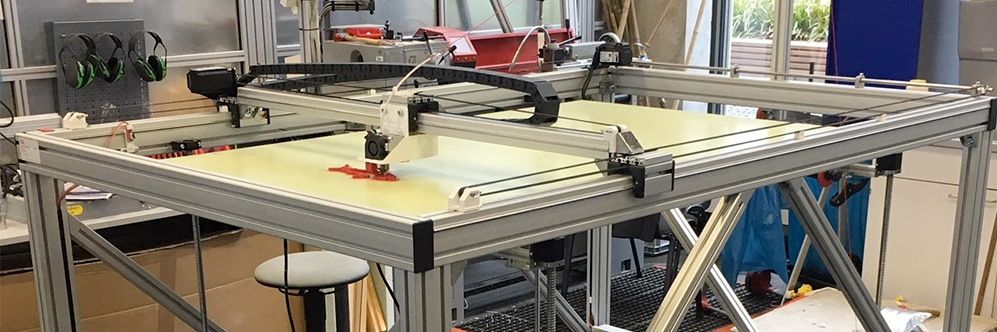
Big 3D-Printer
With a maximum volume of 150 x 90 x80 cm
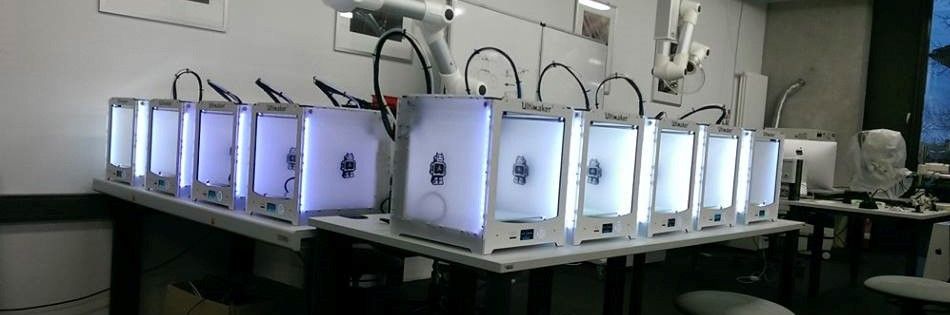
Some of our Ultimaker
We´ve got more than 25 3D-Printer of diffrent types

Greeting
Our best employee in HRW FabLab
Assignment 14:
Mechanical Design
Group-Task:
- design a machine that includes mechanism+actuation+automation
- build the mechanical parts and operate it manually
- document the group project and your individual contribution
Work
You find the complete documentation at our Group-Site
Our Idea for our machine building weeks was a scara-robot. See a professional one in the video below.
In the first step we decided not to build one with a fill 360 degree working space to avoid singularity and make the programming workload acceptable. So we chose a design with two axis near to each other so get the biggest working space. We tried different layouts and find out what is the best one for our machine.
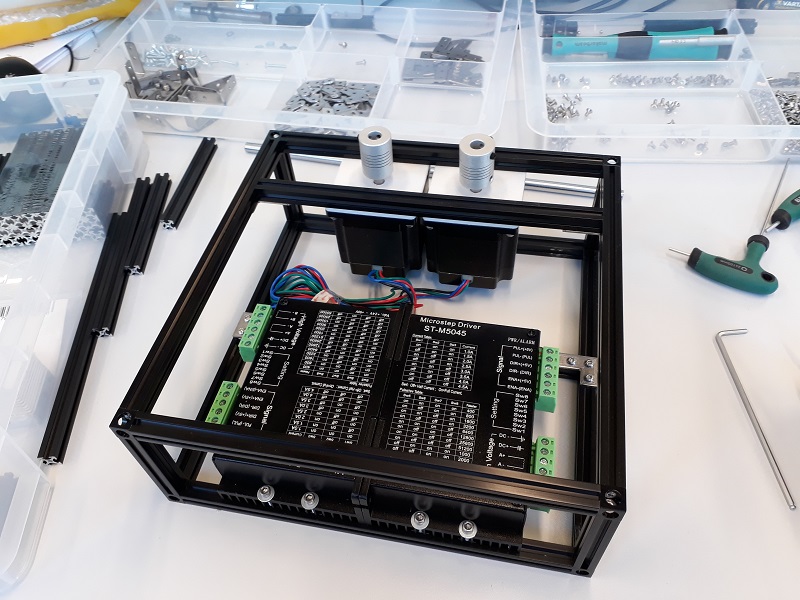
My main part was to design the frame for the motors and the workings space and make sure to get the options to add the electronic parts. We decided to make our machine scaleable so I had to plan with big motors.
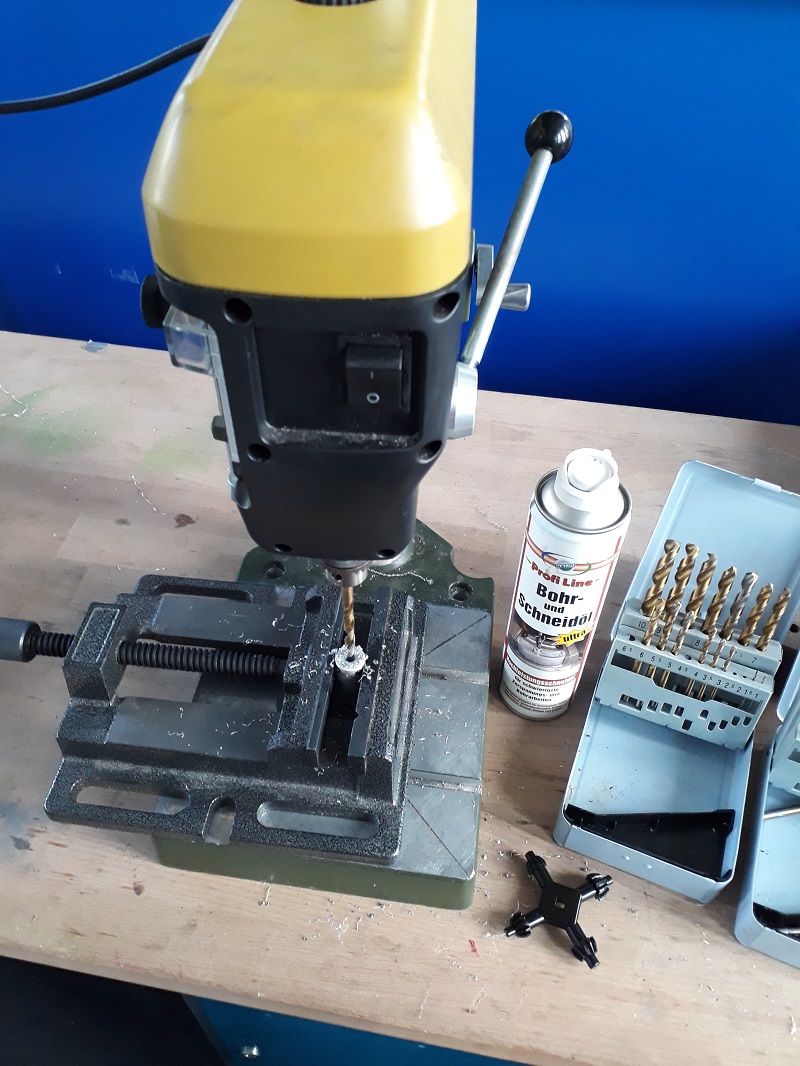
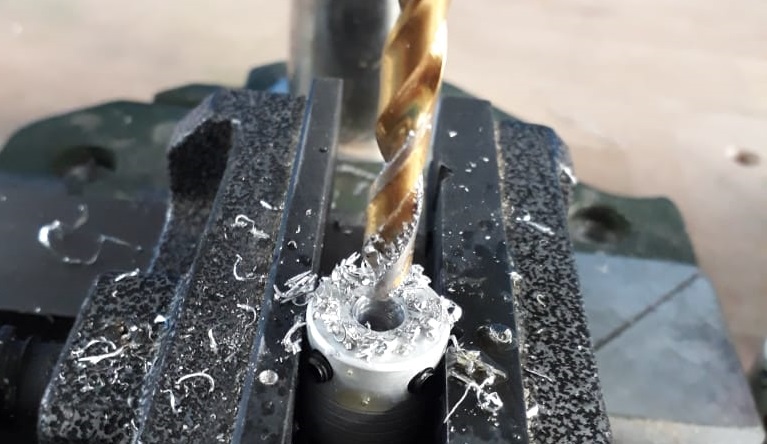
The first step was to extend the motor shaft because it wont be long enough for our design. So I had to add a clutch for a extended shaft. Therefor I had to drill new holes to make the new shaft fit.
As you see we added also in this week our electronic parts. That’s because we wanted to avoid a lot of additional work for make the frame fitting for this parts. For the frame I used makerbeam because they are stable enough to handle also the big forces of our motors and are flexible enough to make changes.
I had to design a adapter for our motor to make them fit to the makerbeams. See the download below in the download selection.
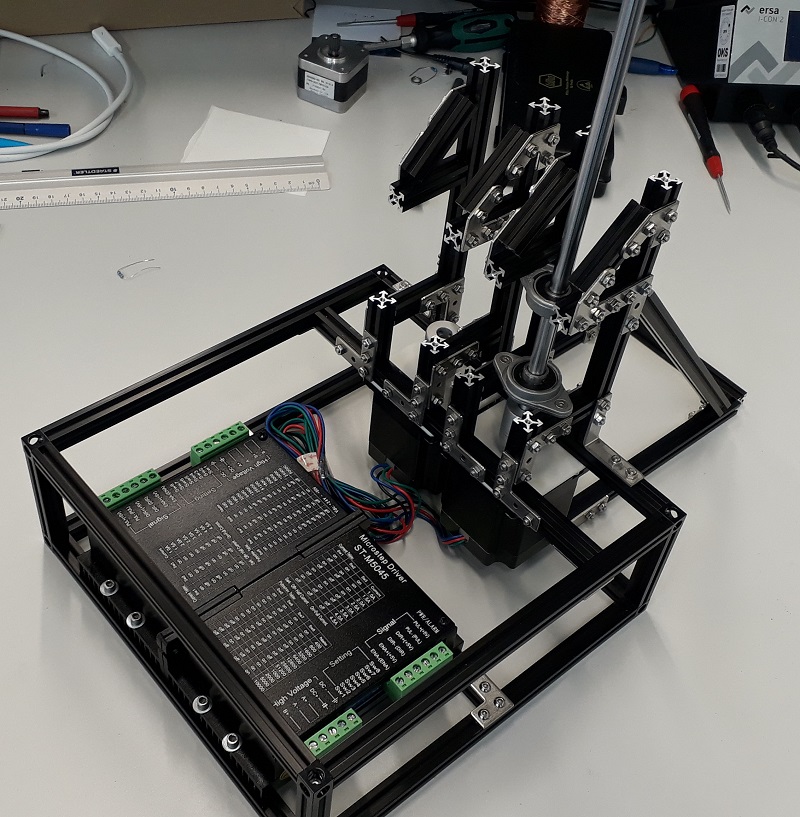
Because we wanted to use large arms I decided to build a design with a double seated shaft. So the torque of the large arms doesn´t lay at the motor shaft. I added two ball bearings for each shaft. I had to do some postwork th the ball bearings because the 2€ ones weren´t that centric we need to have. But after some small hits with the hammer the shaft turns smoothly and round.
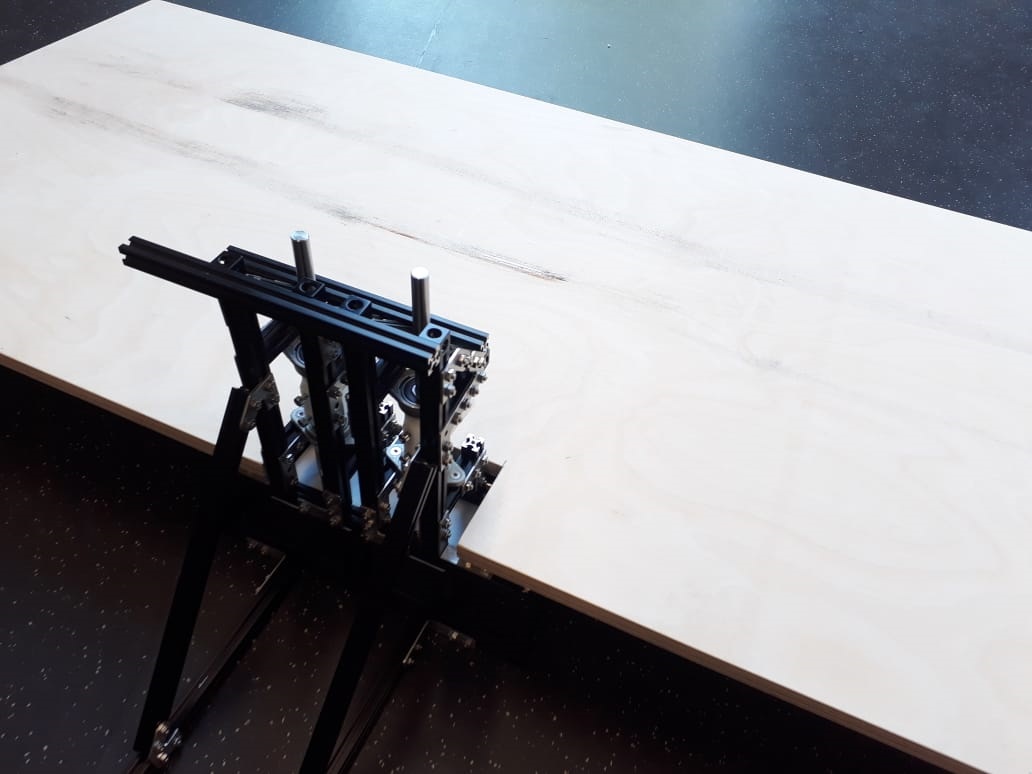
The next step was to build the fitting working space. Therefor I used the rests og our “make something big” week and cut it into the right form. See the result below
As you see I also added some hardening to make the frame string enough four our 1Nm motors.
Finally I designed some holdings for our end-switches and the Arduino board (Thingiverse) we used in the first step. I also designt a holding for our voltage connection. Find them in the download selection below.
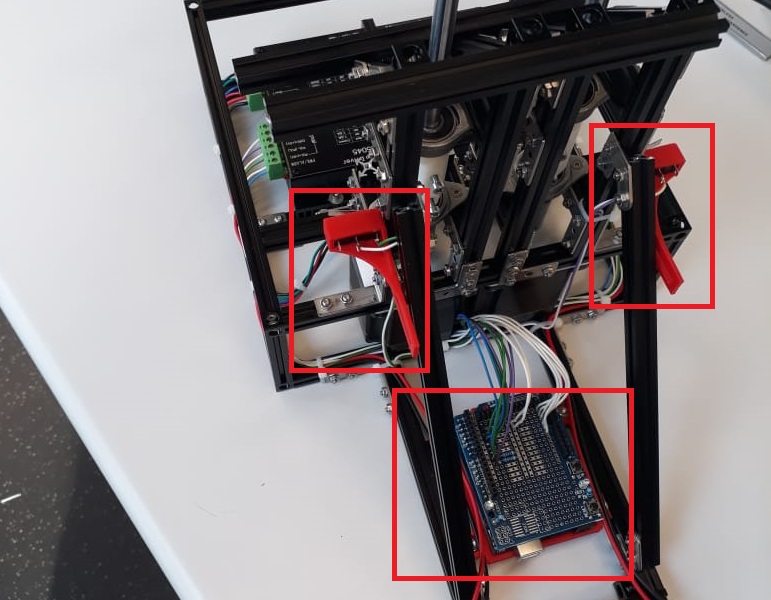
After the first electric tests we noticed, that our clutches weren´t the best solution because they weren´t strong enough against torque so the arms starts to swing after a few steps. So I designed also strong and fixed clutches ( find under downloads).
Downloads
| 3D parts files | download |
