(Milling) Moulding and Casting
In which I design a 3D mold of the Holdable Heart, machine it, and cast parts from it.
I make believe.
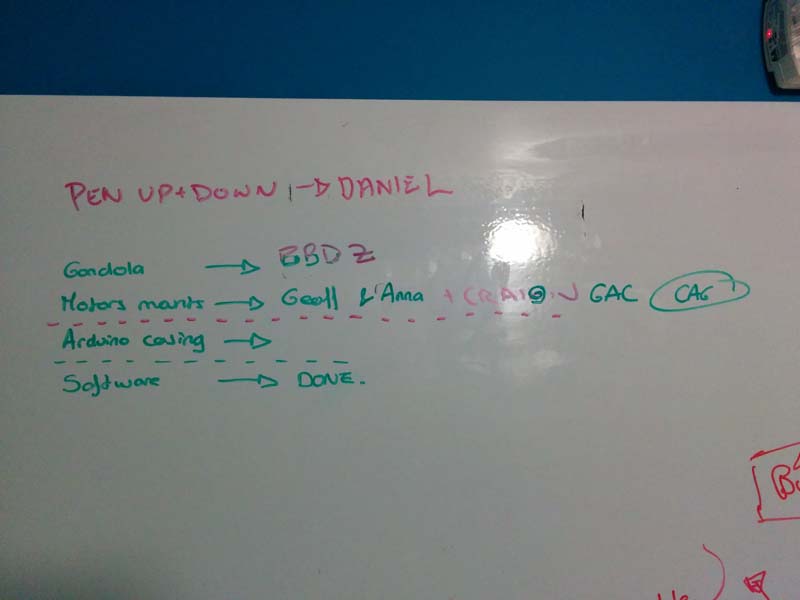
Make a machine, including the end effector, build the passive parts and operate it manually. Document the group project and your individual contribution.
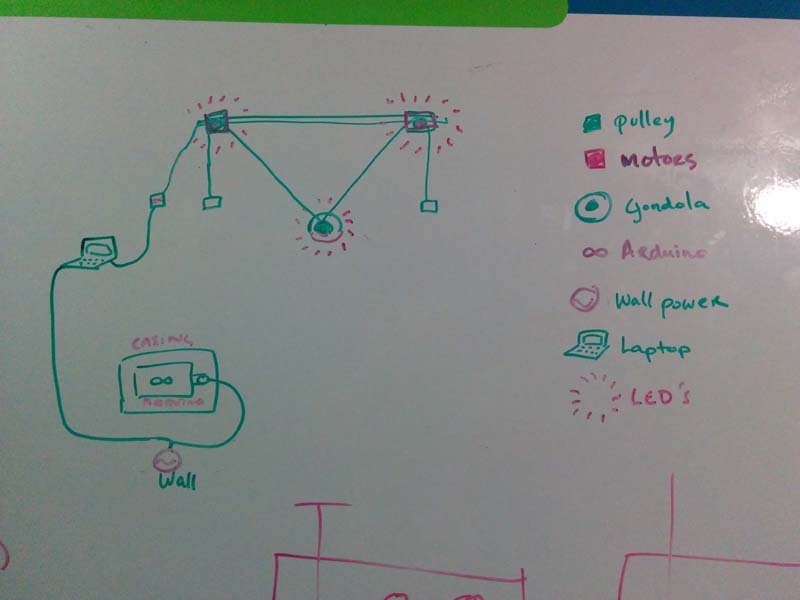
Final Project Mechanical Diagram (Adobe Illustrator)
Motor Mount Design Files can be found on the Scribbly Bear Team Website
For this week's assignment, you can read about our group project for the Scribbly-Bear.
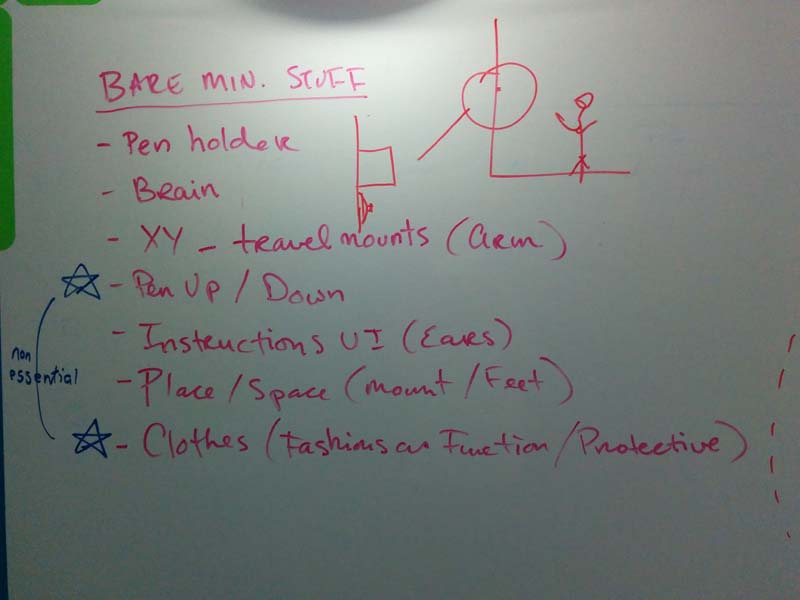
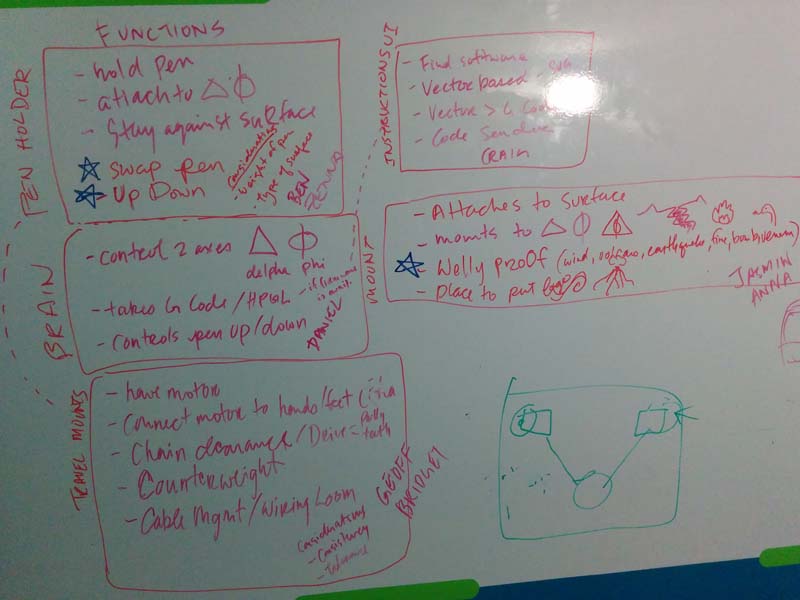
I facilitated the brainstorm to come up with the minimum required parts to make the Scribbly-bear work and the key functions and considerations. This is an important part of a group project to make sure everyone is designing the same thing.
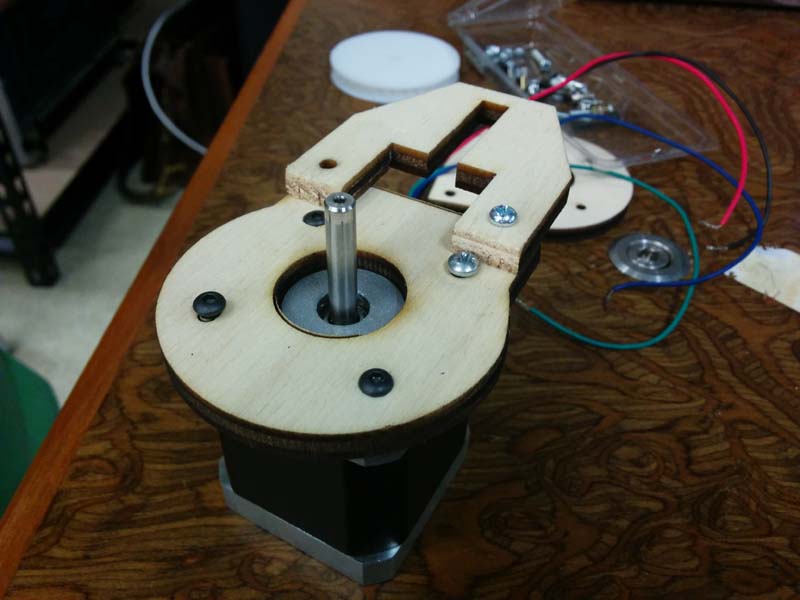
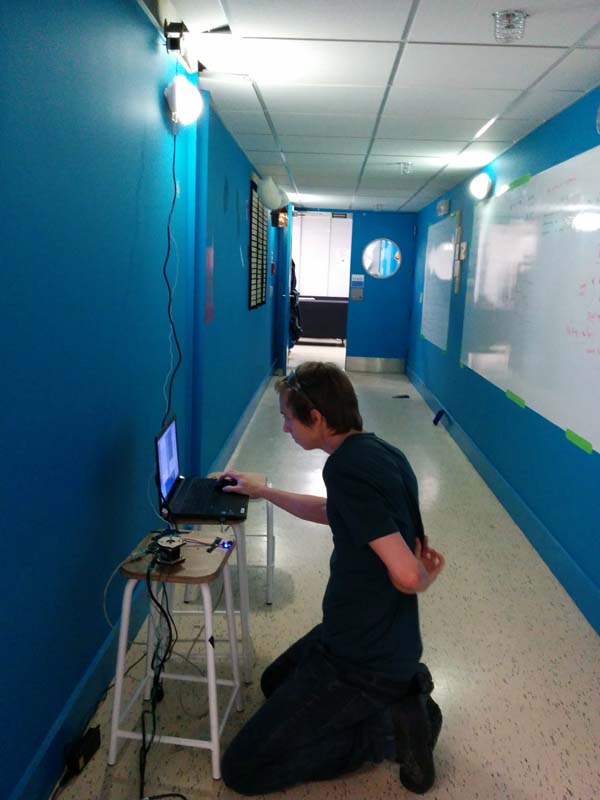
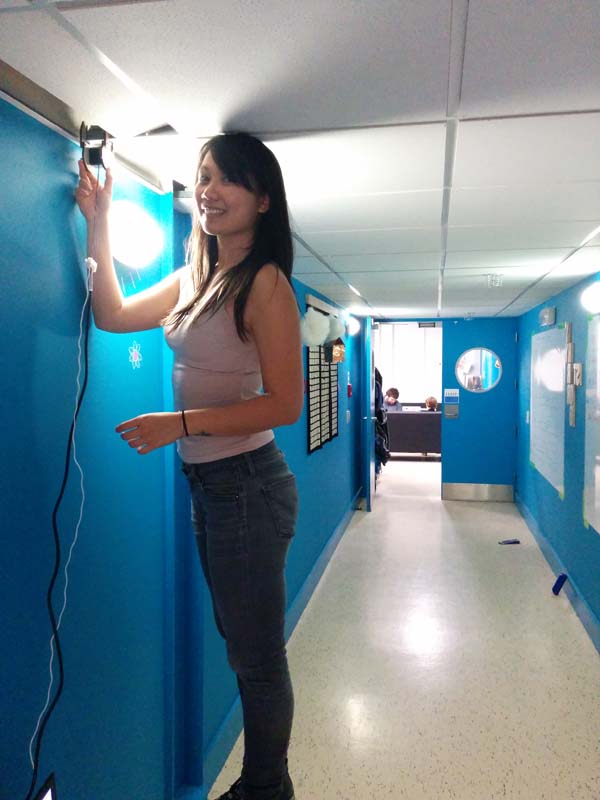
I worked with Craig on designing the motor mount system. We had decided to use the blue wall in the hallway because there are ceiling rafters that we could mount the motors to, and we could get neon chalk markers that are erasable with a bit of water (or spit).
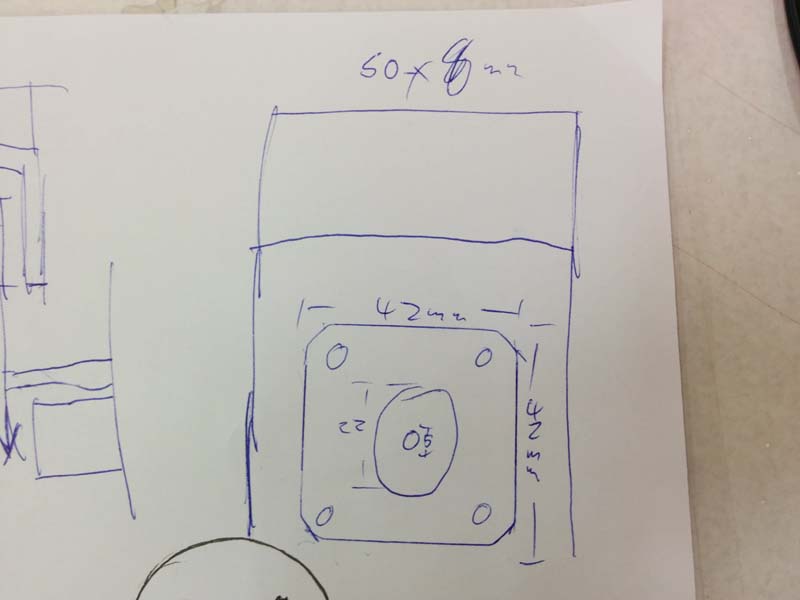
My responsibility was to design the part of the mount that attaches to the motor itself. Because this part of the design would stay consistent even if we changed surfaces, I decided to design in Adobe Illustrator.
To get the dimensions of the motor, I looked up the datasheet.
First I had to adjust height of the mount to fit with Craig's part of the mount which would attach the motor to the ceiling rafter.
Then I had to adjust the width of the mount to give clearance to Anna and Geoff's pulley wheel and the ball chain.
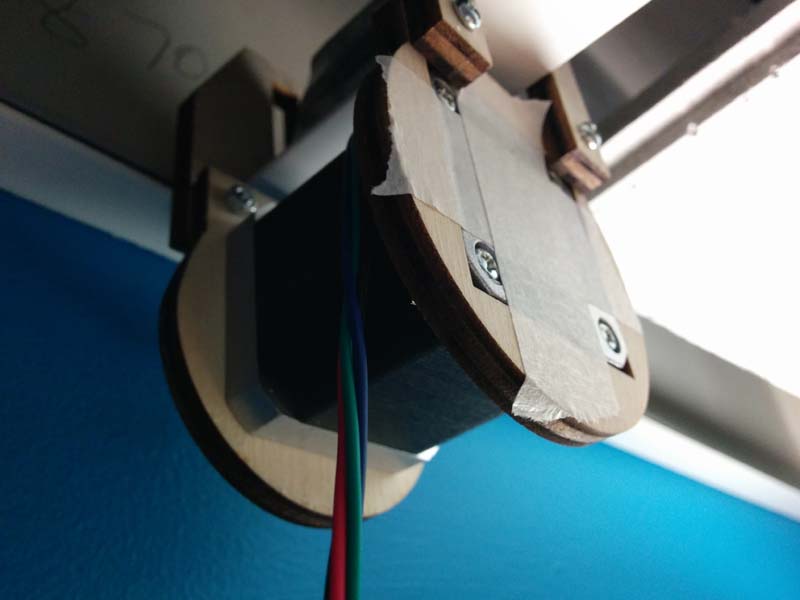
When testing the motor mounts with the travel mounts and gondola, we found that the Motormounts were not snug enough, so we laser cut small pieces of 4mm ply wood and wrapped it in layers of duct tape to get a snug fit. These makeshift wedges helped stablize the motor mounts.

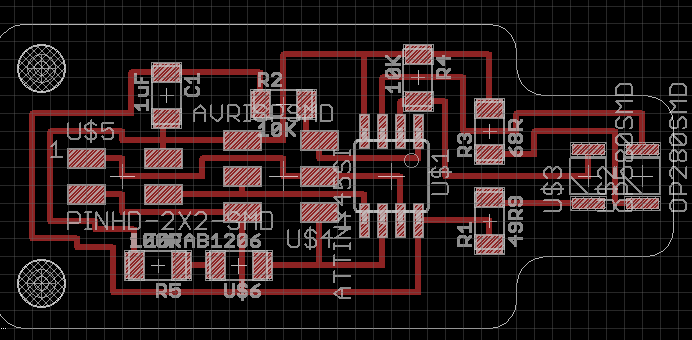
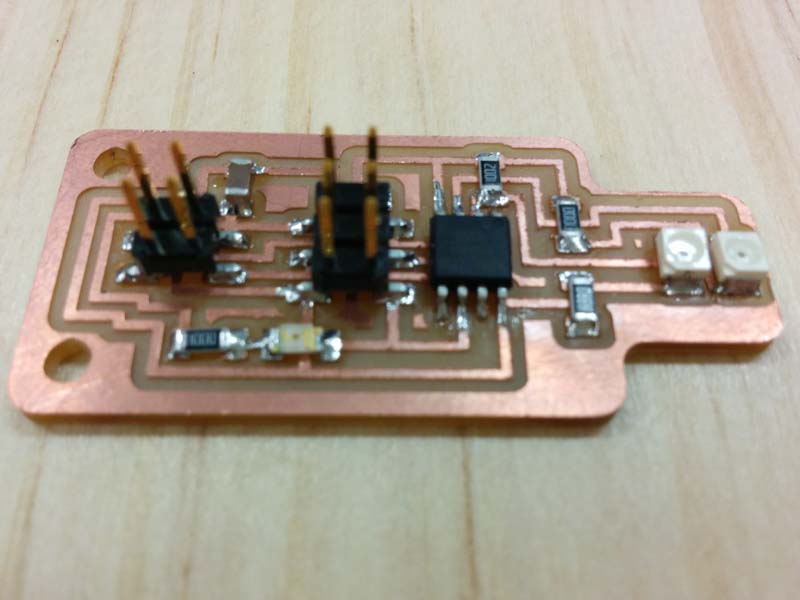
Daniel designed a reflective sensor that goes on the wench so it detects the painted part of the wench. I fabricated a second one. It works.
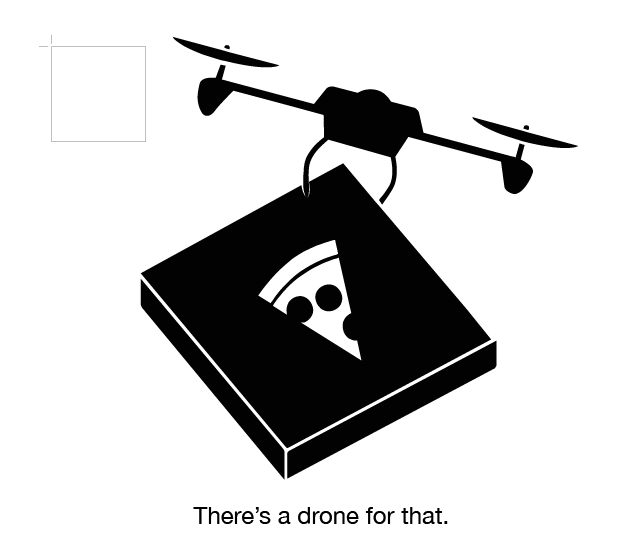
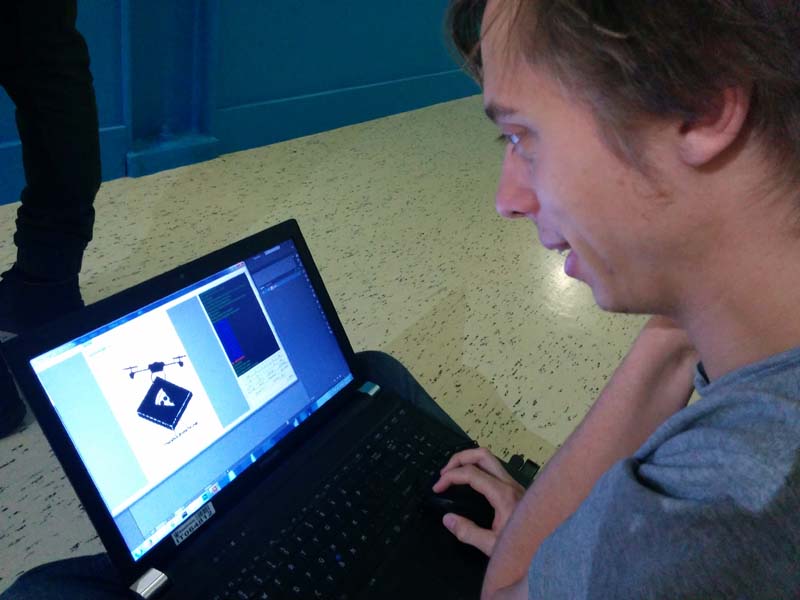
We needed an image to test the G Code, so I used Adobe Illustrator to create a SVG file that included a 100mm x 100mm square to test the Scribby-bot's accuracy, and I downloaded a vector icon from The Noun Project.
You can download all the files for the Scribbly-bro on the Scribbly-bro project page.
