Beginner's Guide to ISP Production
In which I learn all about troubleshooting circuit boards.
I make believe.
Read a microcontroller data sheet, program your board to do something, with as many different programming languages and programming environments as possible.
This week’s assignment was to program my modified Hello Echo Circuit board and Fab ISP by getting the button to interact with the LED. I had to spend several weeks on this assignment because I had to create a second ISP (could not program the first one, could not figure out what was wrong with it - see Week 4), and also redesign my version of the Hello Echo board (I mis-placed the 6-pin header).
Before getting too deep into it, I wanted to share an analogy that Craig used to help me wrap my head around electronics design.
For this week's assignment, we will be working on the upper layers of the cake. It assumes that the physical layers have been assembled, the physical components know what they're going to be used for and now we're writing instructions to tell those components what to do.
I followed Anna's tutorial on programming with the Arduino IDE and downloaded the Arduino IDE software for my Macbook and the ATTINY zip files. I was able to get the ATTINY hardware files to show up in the Arduino IDE.
NOTE: The ATTINY library doesn’t work with newer versions of Arduino. The version that worked for me was v.0.1.03
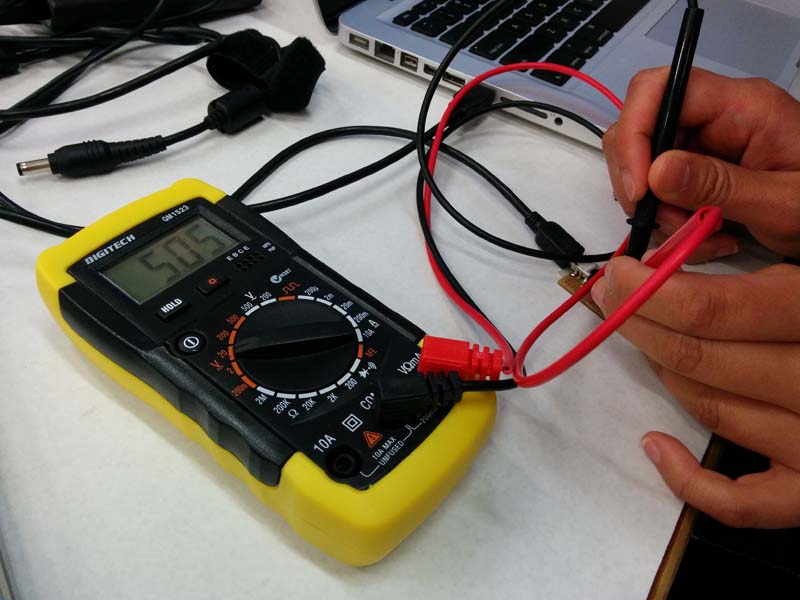
Are both the board and ISP connected to power?
This was a funny rookie mistake I made. I thought I only needed to power the board, and that the ISP would magically get power from the board. This is obviously not true.
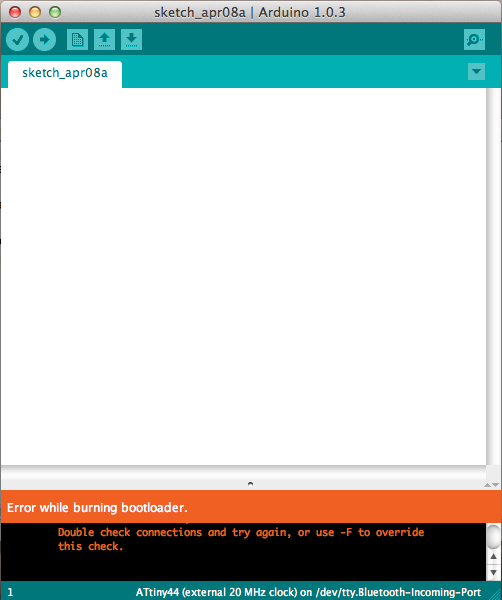
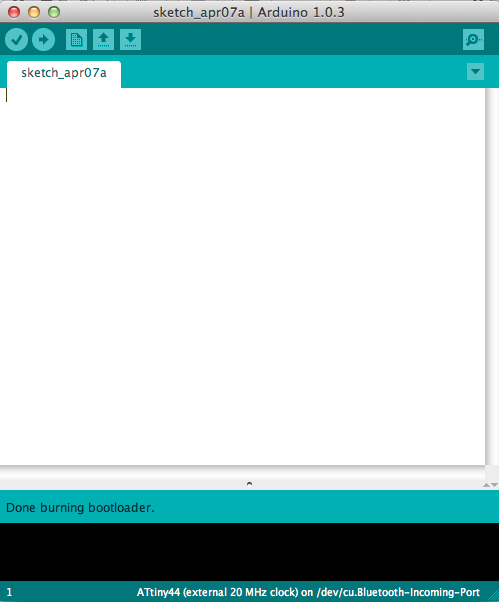
Following the tutorial, I tried to “Burn Bootloader” and received this message:
avrdude: stk500v2_command(): command failed
avrdude: stk500v2_program_enable(): bad AVRISPmkII connection status: Unknown status 0x00
avrdude: initialization failed, rc=-1
Double check connections and try again, or use -F to override
this check.
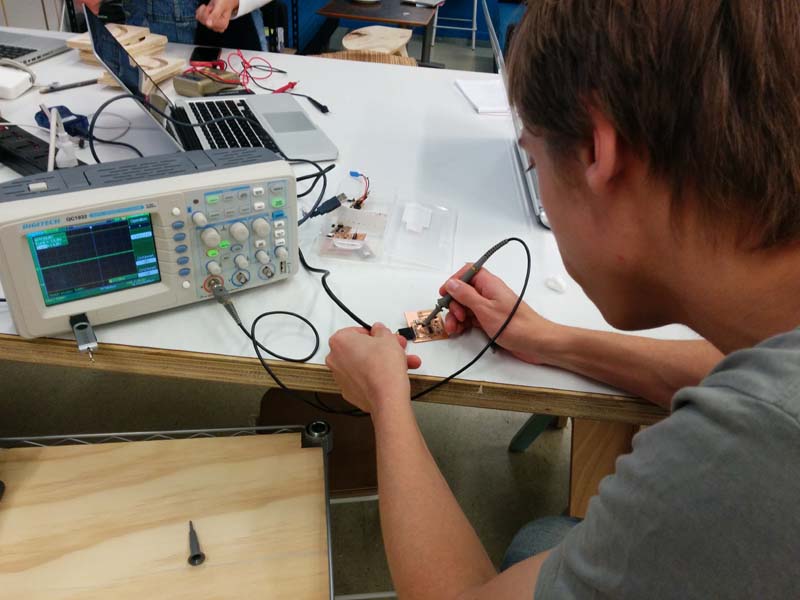
All the ways you can test the Hello Echo board
Board 2
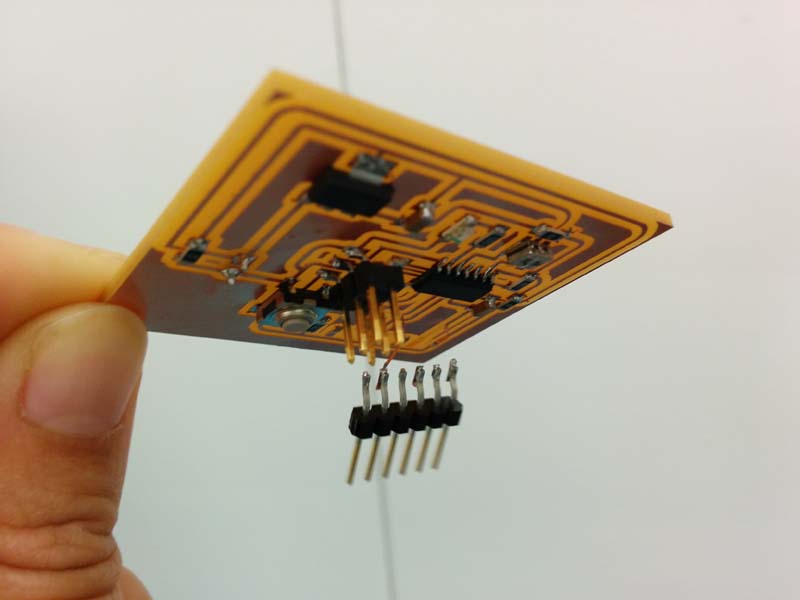
I decided to build a new Hello Echo board from scratch. And then I broke it because I didn't know to put hot glue on the sides of the 6 pin header to reinforce it. (_ _)
Milling and stuffing the board the second time took less than an hour. That was nice.
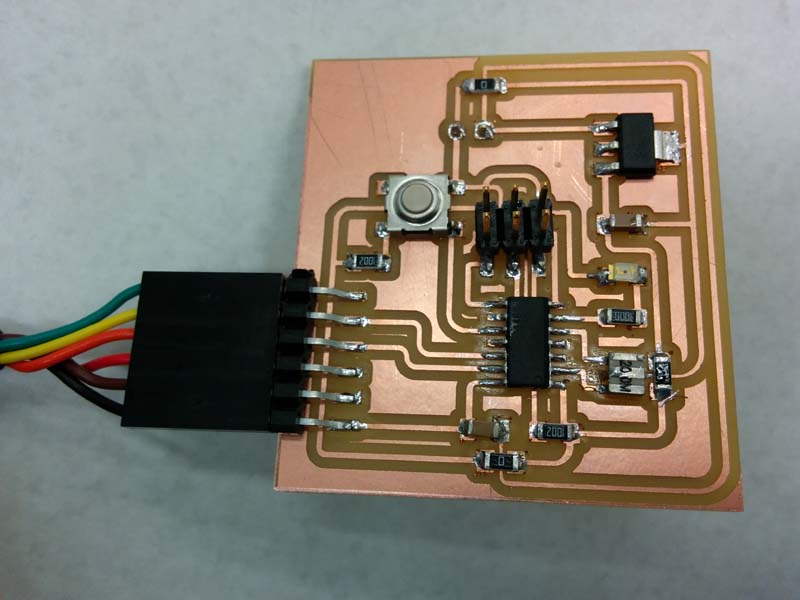
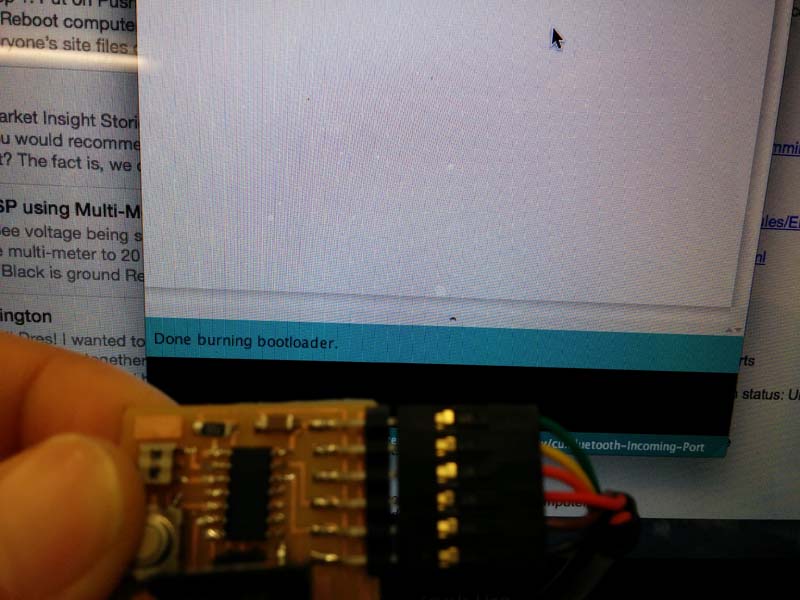
This time, I went through all the previous testing steps to make sure my board was electronically sound before I plugged it in. When I did, I was able to burn bootloader, so I started programming.
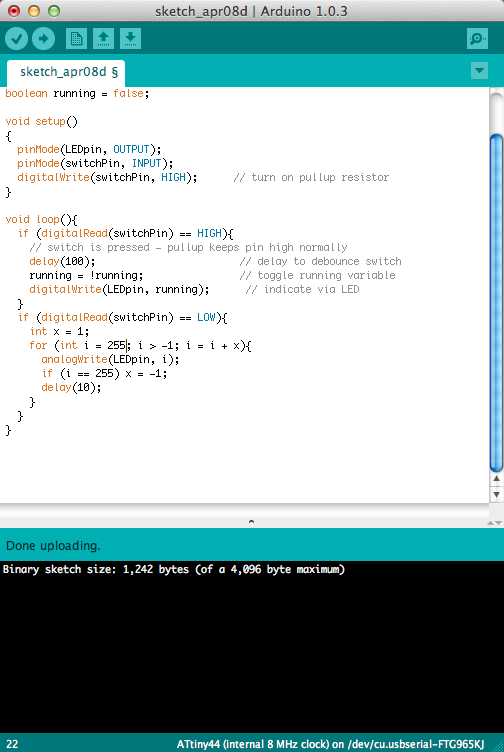
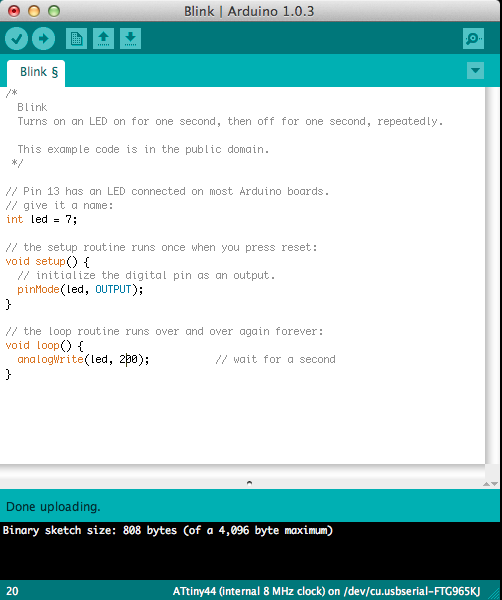
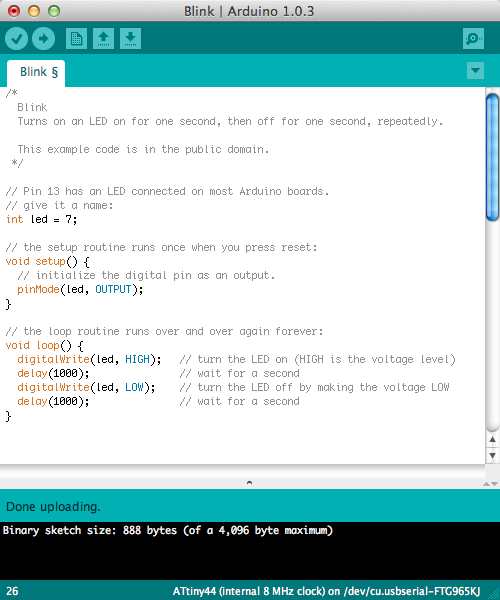
The first step to take when programming a board is to read the data sheet of the microcontroller, in this case the ATTiny44, and look at the pinout diagram. This tells you what number pin the LED is attached to, which you would need to declare in the code in ARduino IDE.
Craig gave me a challenge to program the board to blink continuously, and when I push the button, the light would fade. I used the Arduino Reference Library to find example code for controlling the button, to get the LED to blink and to get the LED to fade.
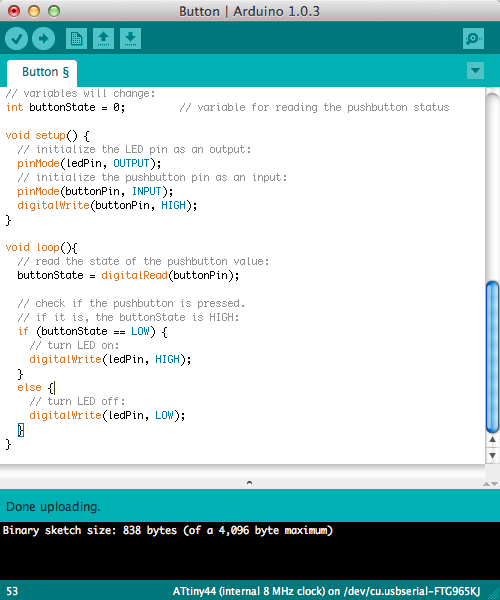
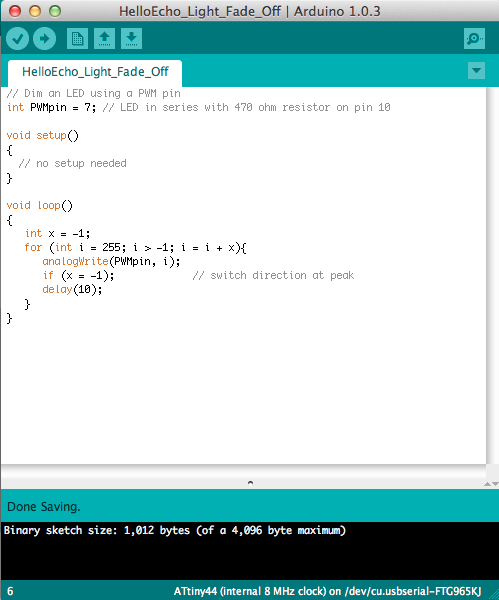
Once I had found all these examples and got them to work on the Hello Echo board, I put them together into one piece of code.