From Doodle to Digital
In which I face my fear of Adobe Illustrator and turn a sketch into digital art.
I make believe.
Design, make, and document a press-fit construction kit.
Meditating Rabbit Vinyl Sticker and Pressfit Kit (Adobe Illustrator)
This week's assignment was full of excitement, including my first dumpster dive and a fire in the laser cutter. Read on if you dare...
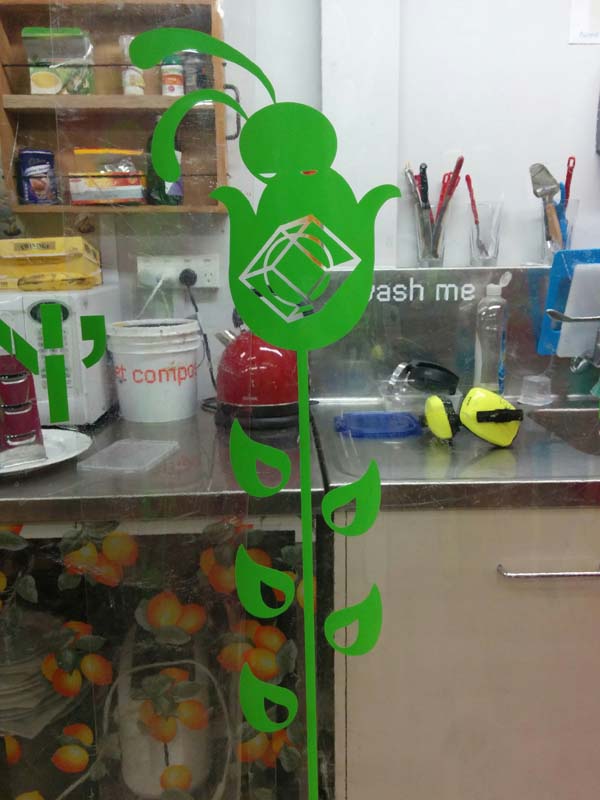
Wendy came up with a fun class project to design vinyl stickers for a new bioplastic curtain that is going up in the kitchen area of Fab Lab Wellington. The following is my sticker design.
I designed a character that represented how I felt as a Fab Academy student. The character is a rabbit that is sitting meditatively in a flower, with a glowing sphere embedded in a cube in its belly.
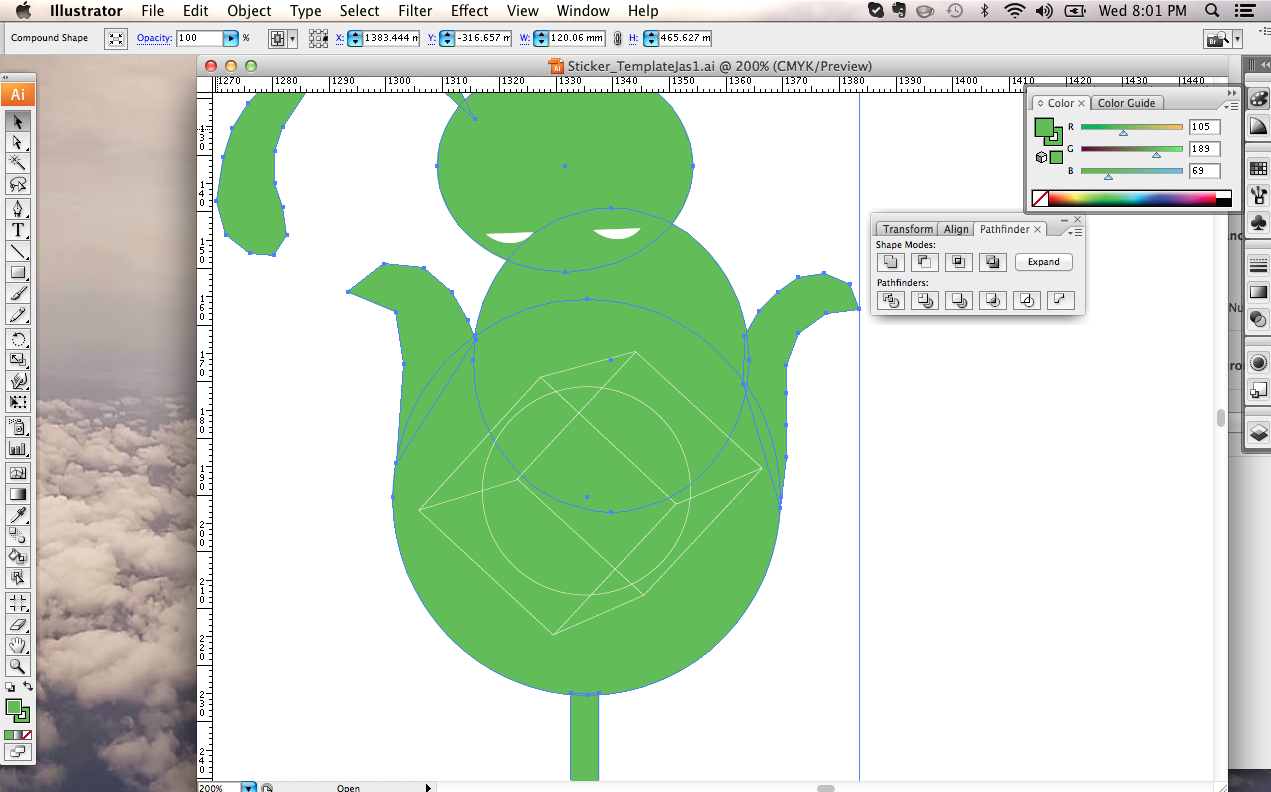
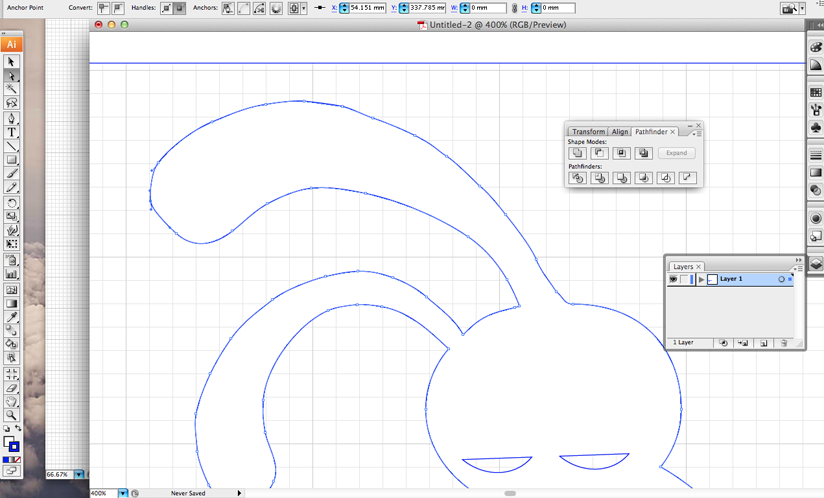
I used CS3 Illustrator. Wendy provided us with a template that came with instructions and an existing style guide. Using the style guide, I created the character using the Eliptical tool and the Pen tool.
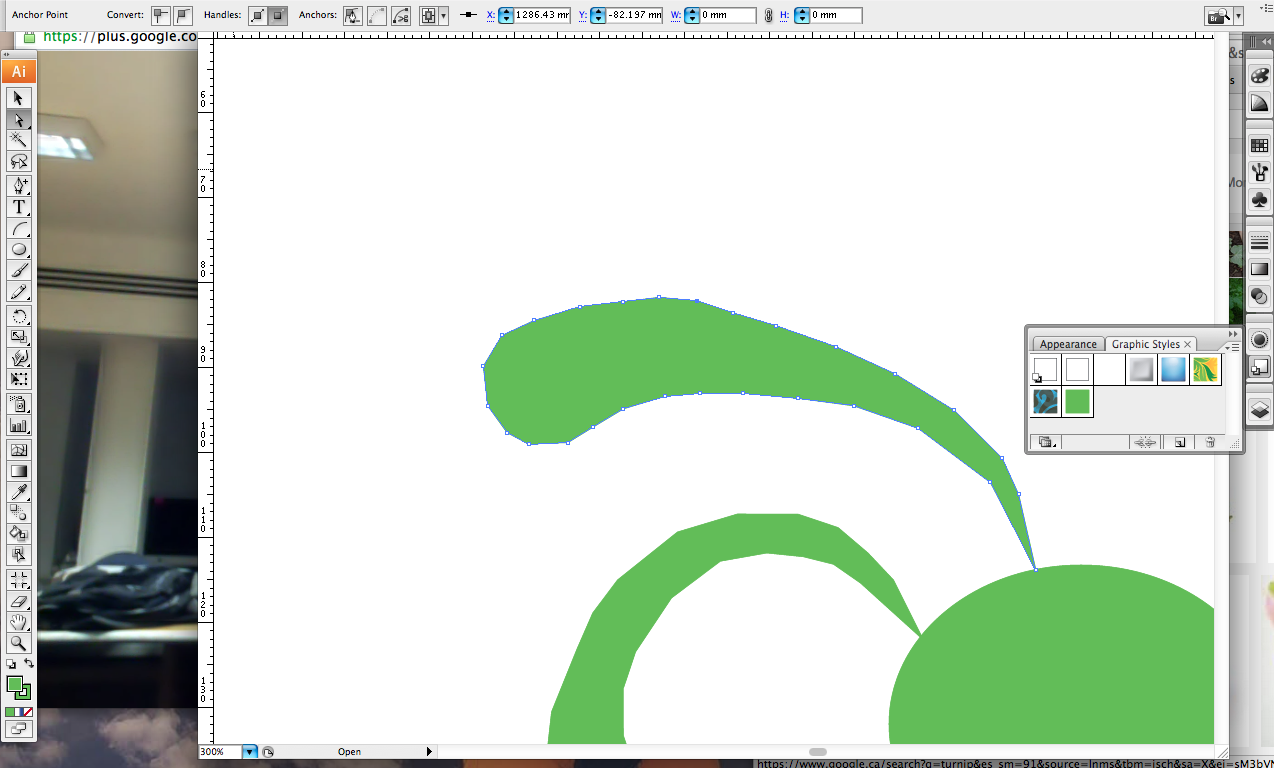
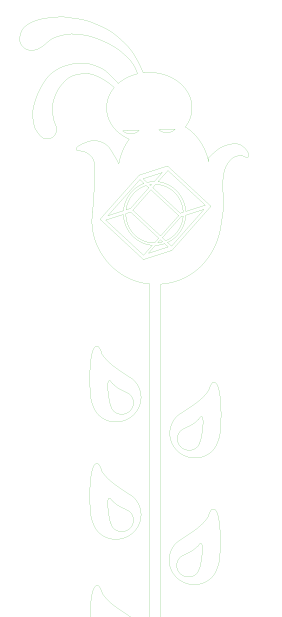
Wendy sent me a tutorial on how to create the leaves, which was created with the Eliptical tool to create a circle, and then the Star tool to create a triangle. I then used the Pen+ tool to add new anchor points, and transformed the points from square to round in order to create the curl of the leaf. I then used Shape Modes>Add to Shape function to merge the two shapes of the leaf together.
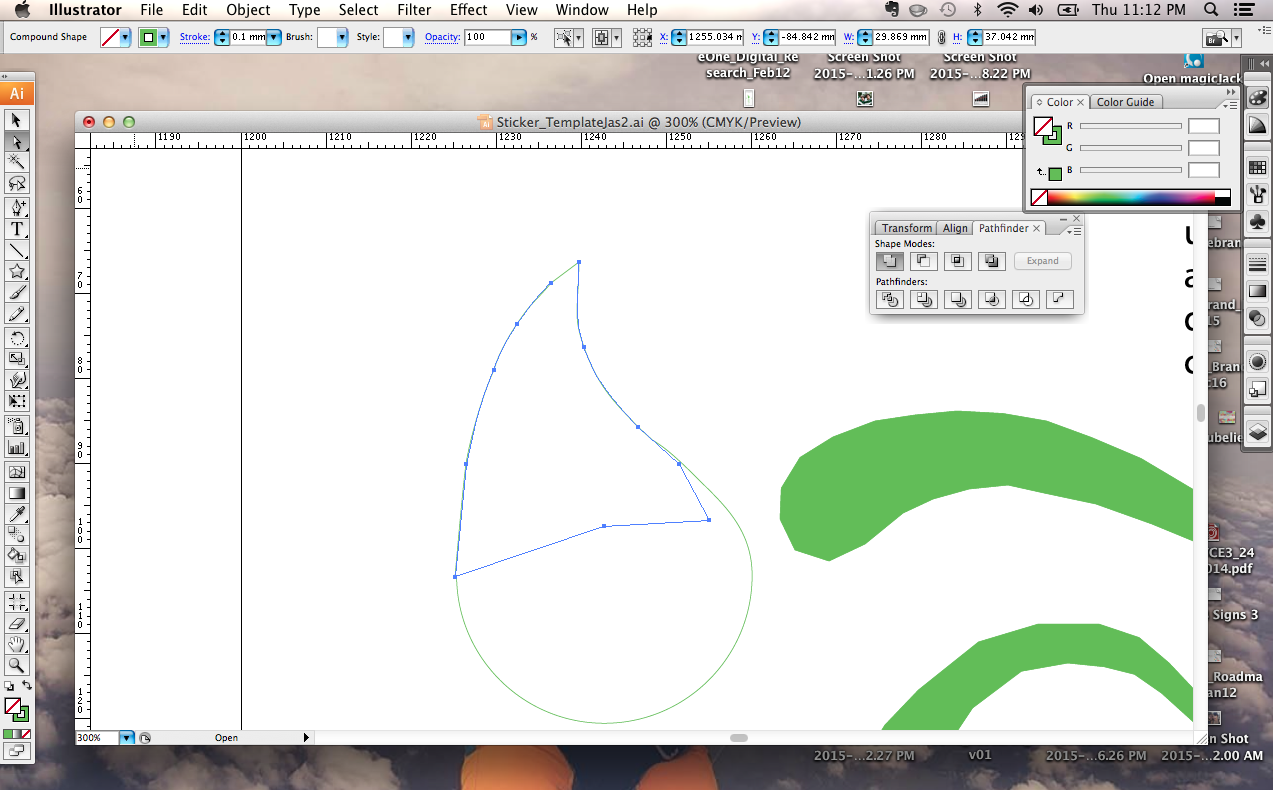
To create all 6 leaves, I took the original leaf and used the Transform>Reflect tool, and clicked Copy.
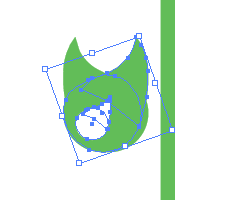
I created the 3D sphere inside a cube design first using lines, and then I used the pen tool to add new anchor points, deleted extra lines and joined the resulting lines. The effect is quite nice on vinyl.
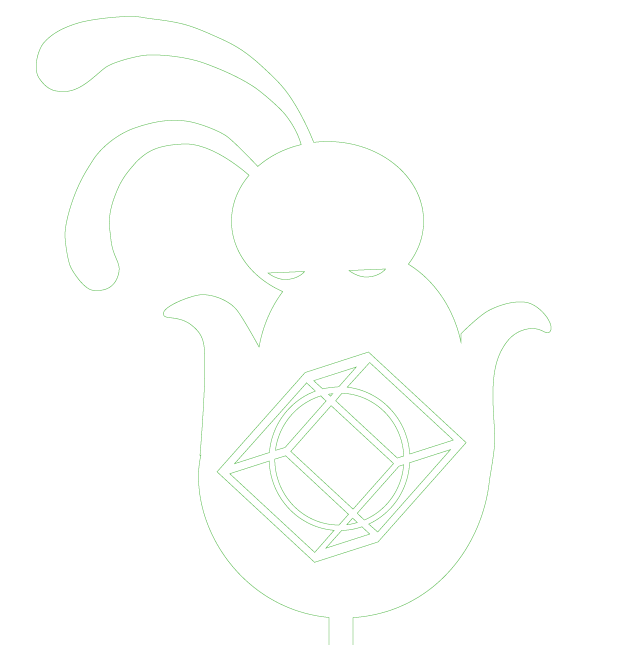
To polish everything off, I used the Smooth tool (which is hidden under the Pencil tool!!!). This is what the final sticker design looks like:
We cut all the stickers out in on the Roland CAMM1 and transfered them on the plastic divider in the kitchen.
For this part of the assignment, I decided to expand on the vinyl sticker design: meditating rabbit contemplating the contraditory nature of its existence as an organic being that was fabricated by a machine.
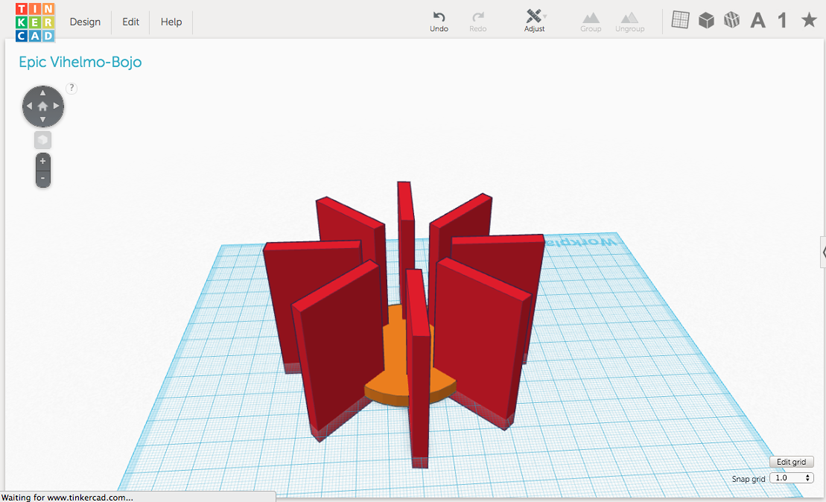
It's a pretty simple design, but it was difficult for me imagine how many petals I should use for the flower, so I used TinkerCAD to help lay it out. (Download the"STL file")
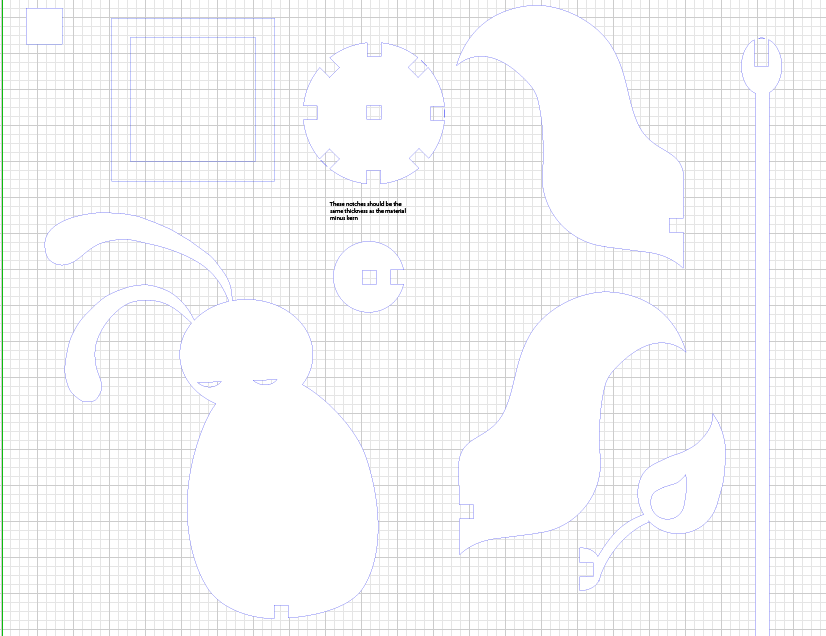
Before I hit the "Makerspace" in Toronto, I wanted to prepare my illustrator files for a first test. I took the illustration of the rabbit and added a 10 mm x 10 mm joining notches, which I figured would be easy to scale based on the depth of the material.
When I arrived at the Makerspace, I realized they didn't have any cardboard. In true Maker-Spirit, I went to the dumpster behind the McDonald's next door and found a stash of fresh, dry and neatly folded cardboard boxes.

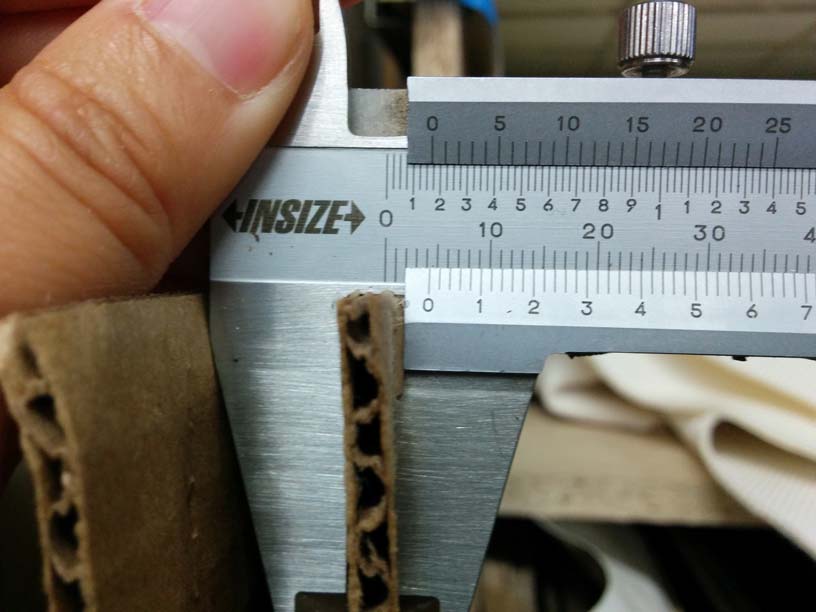
First thing I did was measure the depth of the cardboard in order to scale the 10 mm x 10 mm notches that were in my Illustrator template. After reading some instructions on "how to use a caliper", I determined that the cardboard had a depth of 4.3 mm, which meant I had to scale the shapes in my template by 43%. (Download the "SVG files")
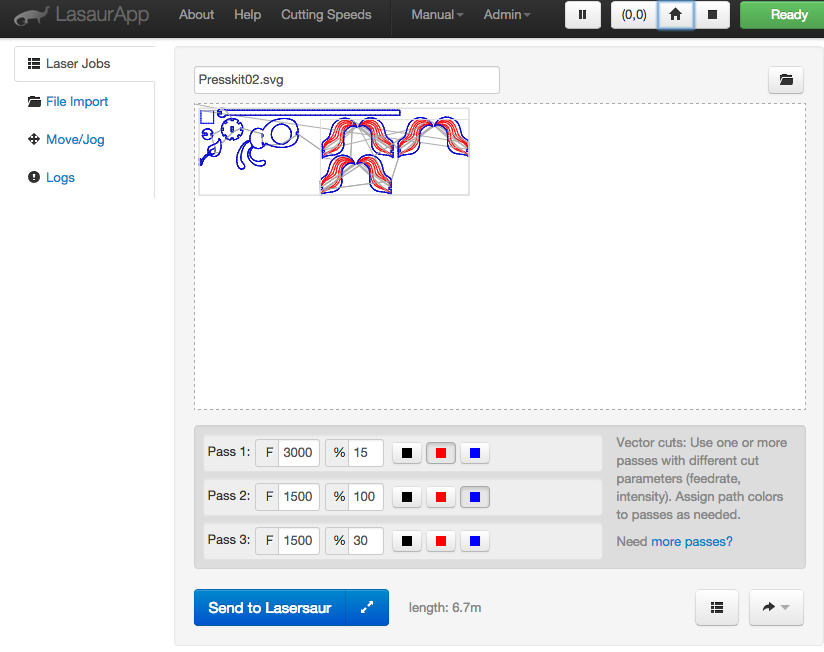
Next, I prepared the laser cutter. The Makerspace I'm using has a Lasersaur with a 100 watt carbon dioxide laser and 2' x 4' bed. After ensuring that the fan and compressor were on, I placed the first sheet of cardboard in the bed. Then I sent an SVG file of my template to the LasaurApp, a web app that allows me to upload files to the laser cutter, and set the cutting speeds.
I printed out a kerf test as well as test of my initial shapes. The difference between the inside of the test box and the outside of the test box was 0.05 mm, which meant the kerf was 0.1 mm. Not surprisingly, the joining notches were too big because I had yet to apply the kerf.
Over the next few hours, I refined the join notches between 0.5 - 1 mm across a variety of the shapes in order to test the tolerance.
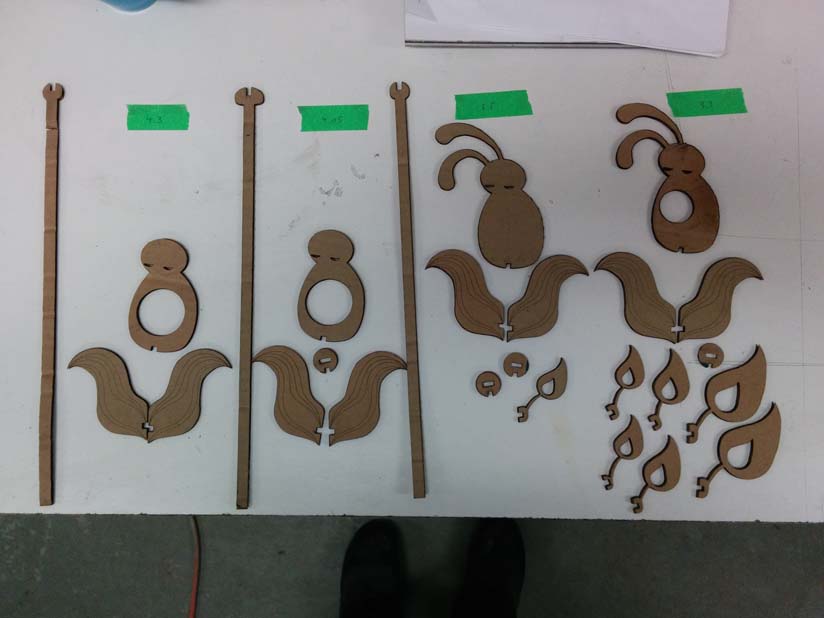
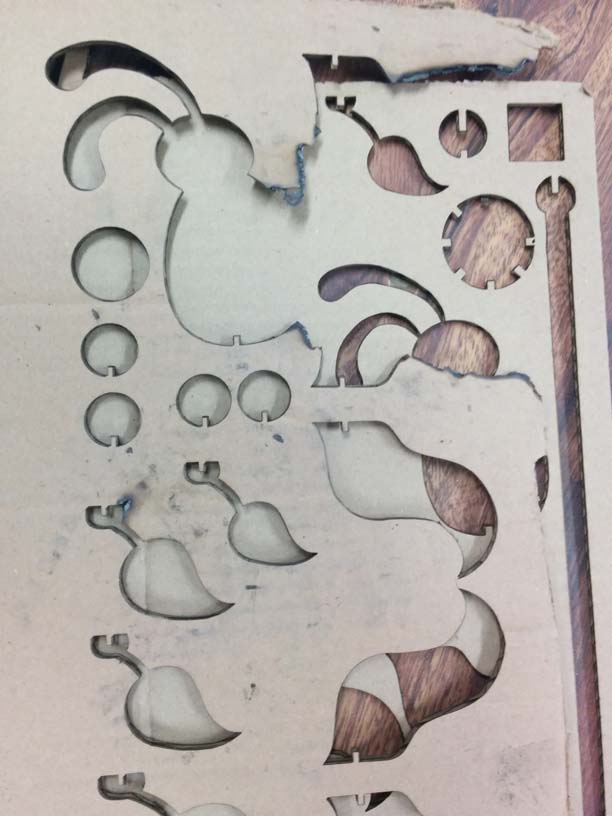
I realized that the ears of the bunny looked good in 2D, but were too tapered for cardboard. They ripped off when I tried to pop the shape out of the cardboard. Same with the stems. I spent some time reinforcing the structure, while still maintaining the delicate aesthetic of the design.
My mom stopped by at the Makerspace to see how I was doing. I showed her how the laser cutter worked as I was printing out one of my tests. She asked me, "If you have a laser burning cardboard in there, why doesn't it catch on fire?"
"Oh mom, it's technology!" I replied.
Five minutes later, one of my tests caught on fire. There were 4 other people at the Makerspace, but I was the only one who was trained on the laser cutter, so they all looked to me to do something. I immediately shut down the machine, but the fire continued to eat up my design under the lid.
My biggest worry was that if I opened the lid and exposed the fire to more oxygen, the whole machine would explode. I seriously thought this. I was hesitant to spray the laser cutter with the fire extinguisher, which would have sucked because I wouldn't have been able to finish this assignment.
I hesitated for a moment and then opened the lid and grabbed the burning pieces of cardboard and stomped them out on the concrete floor.
It turned out that while the external fan was on, I hadn't turned the internal fan on inside the laser cutter. Lesson learned!
It had occurred to me to take a photo of the fire as part of my documentation, but I felt like that would have been impolite to my fellow lab mates who were allowing me to use their machines for Fab Academy.
I was nervous starting up the machine again, but fortunately, it worked for the next 6 hours. Why 6 hours? I soon discovered that I had completely missed the point of the assignment.
I had made plans to meet with my working group at Fab Lab Wellington to share our press kits. I really look forward to these weekly meetings because it's inspiring to see what my fellow Fab Academics are doing, and they always have good ideas on how I can improve my designs.
This was when I found out that I had misunderstood the assignment. Apparently, we had to make a presskit made of shapes that could be joined together to create a freeform structure.
I was really annoyed because I had become very attached to my rabbit, after we had been through hell fire and back together. Wendy came online and suggested that I could satisfy the requirements of the assignment if I added join noches to the leaves, and create a base for my flower where the leaves could "grow".
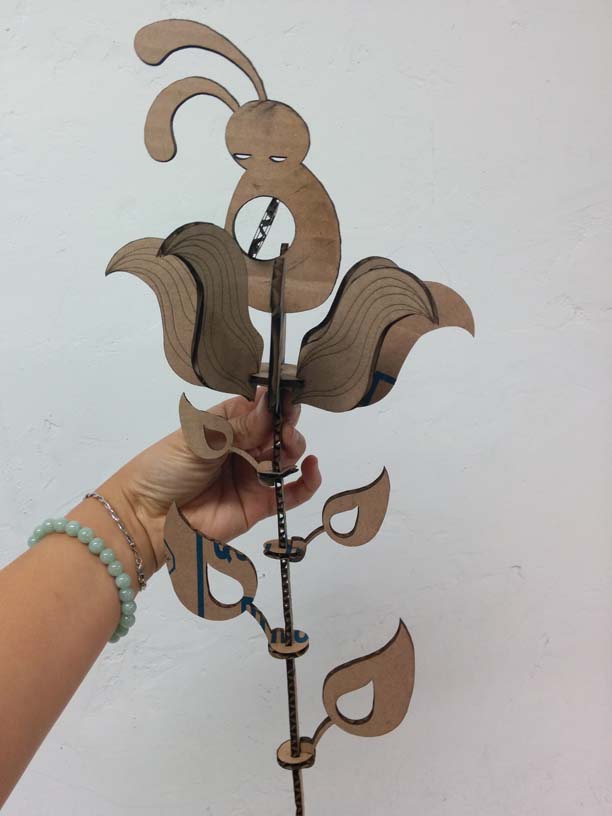
I sketched out this new idea and immediately started testing this design. A revelation came that I could actually extend each petal into a stem and base, creating one elegant and strong support for the rabbit.

Because I had already perfected the size of the join notch for this cardboard, this next iteration fit perfectly and I quickly went into production.
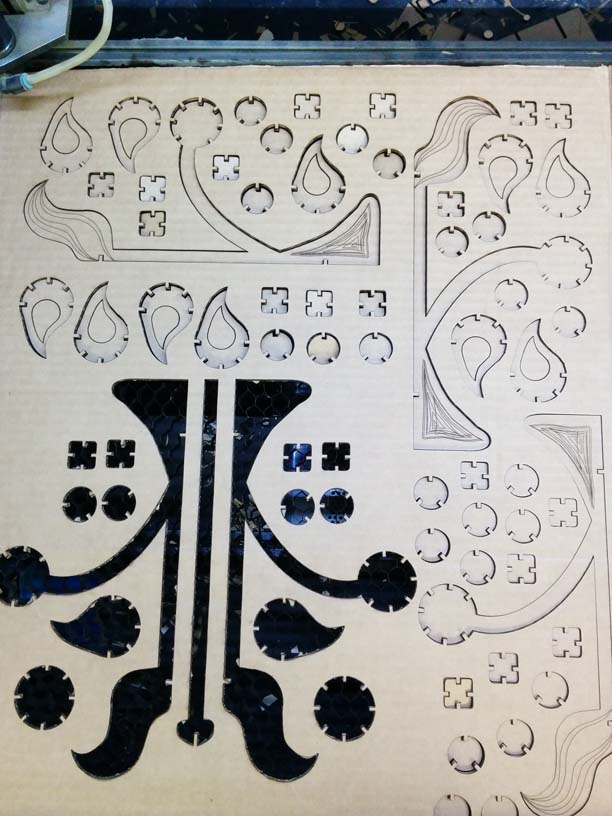
One of the most inefficient aspects of this process is having to re-layout the pieces based on each piece of cardboard, but after a few hours, I had finished printing all the pieces.
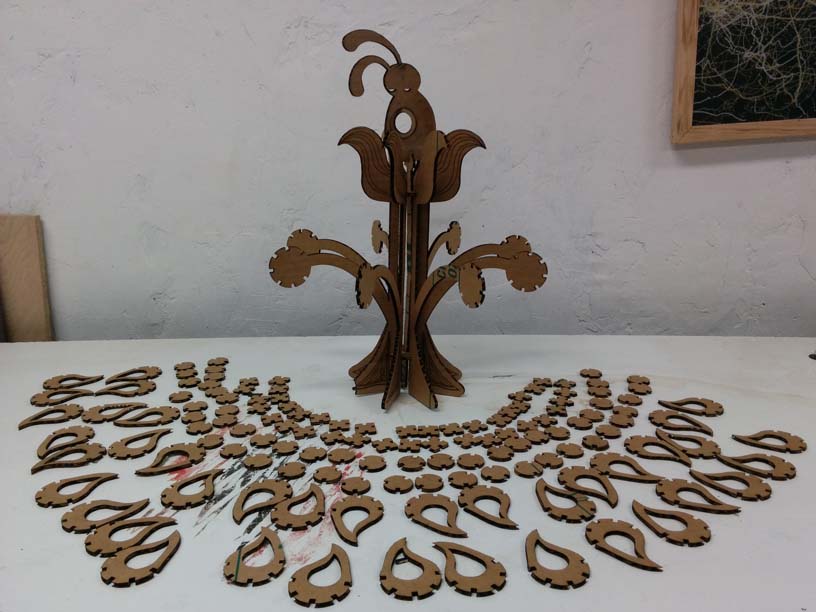
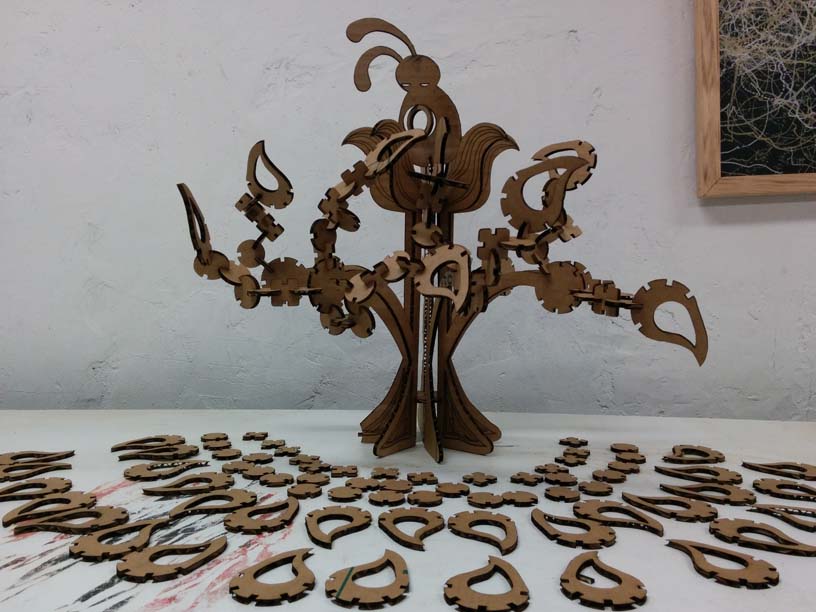
And the flower I had first designed had evolved into a modular bonzai tree. It's very relaxing to construct the branches, and I can imagine creating leaves of varying sizes and shapes, blossoms and even tiny creatures (birds or insects) that could live in the bonzai.
Other ideas include different animals and different flowers. I will most likely revisit this project again, potentially cutting it from coloured plastic, which would mean (as my dad kindly advised me) I would have to round out the edges of the leaves and petals beause they are quite sharp.
Moral of the story is: laser fires can happen. And that sometimes the constraints of a project can lead to its most creative and surprising innovations.
