In case of laser fire, hit the big red button
The week when I sent a laser cutter on fire in front of my mom.
I make believe.
Design and 3D print an object (small, few cm) that could not be made subtractively. 3D scan an object.
Small 3D Lotus Flower (STL)
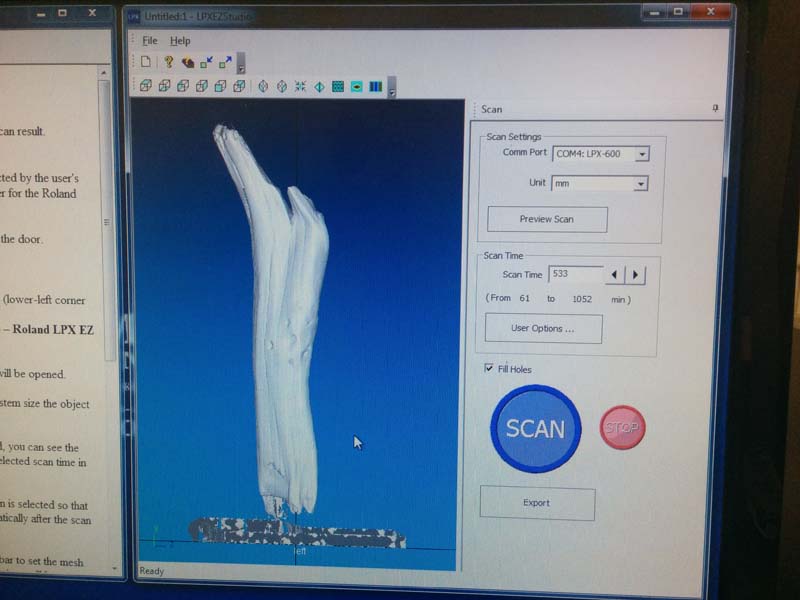
Large NZ Driftwood Scan (STL)
This week’s assignment is a challenge for anyone who doesn’t have a lot of experience with 3D design software. To compensate, I decided to stay modest in my assignment goals and decided to design a 3D lotus flower.
Attempt 01 : "Download File"
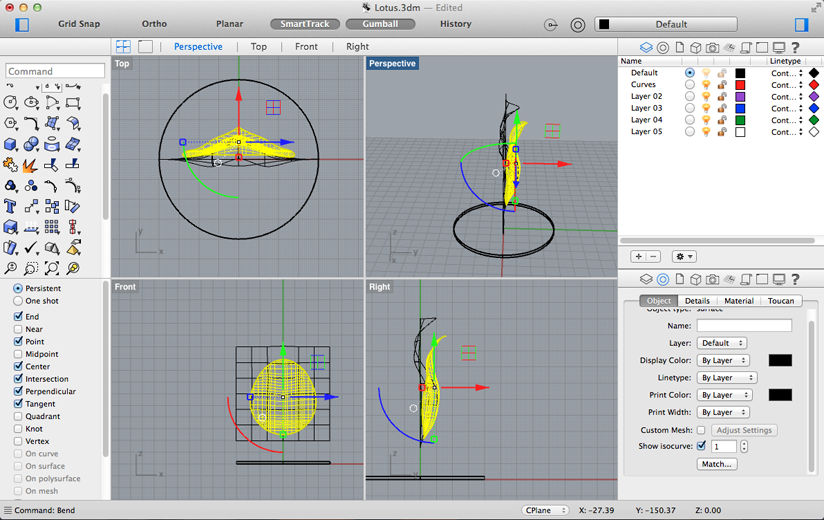
I started with following "a very old YouTube tutorial" on how to design a rose in Rhino. This was a much older version of Rhino for Windows (I’m on Mac), so it wasn’t straight forward. However, it helped me discover the more “organic”, freeform design capabilities of the software, which I found very appealing and will definitely revisit again in the future.
When I was done designing the flower, I exported the STL to TinkerCAD just to see what the file would look like. It looked decayed, but I could not tell what was wrong in Rhino. I called for help on "Fab Lab Wellington's G+ Page.
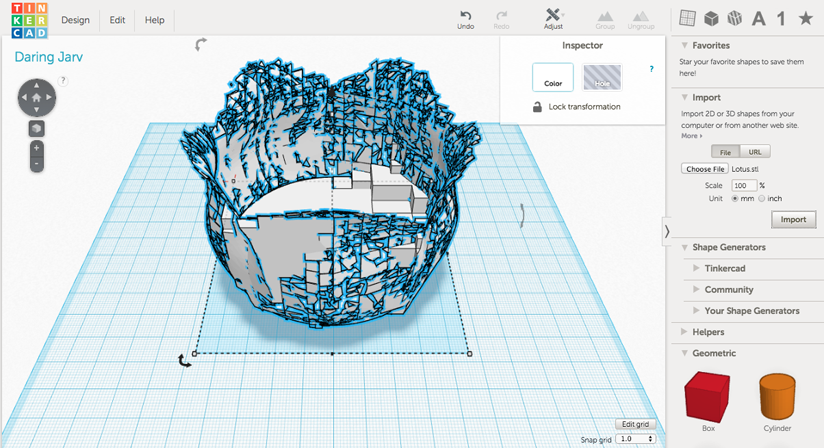
Thanks to "Craig" and "Ben", we identified the problems and they taught me how to fix them in Rhino. They also recommended that I diagnose and repair my models on "Netfabb" instead of TinkerCAD.
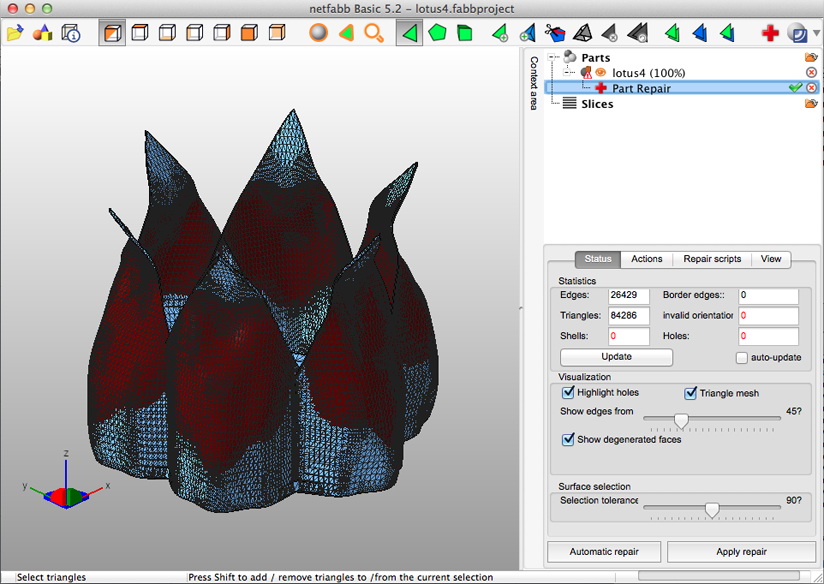
Problem #1 : Too Thin
Attempt 01 looked decayed in TinkerCAD and Netfabb because I had created the flower with meshes, not a surfaces. Only surfaces or polysurfaces can have density. Fortunately, I could use the Mesh to Surface conversion functionality and did not have to redesign the petal.
Once I had converted the mesh into a surface, I was able to use the Extrude command to increase its depth by 1-1.5.
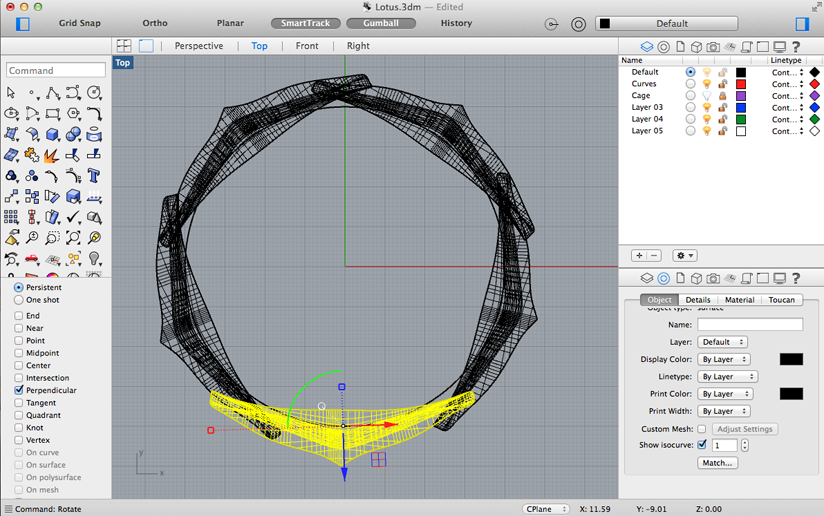
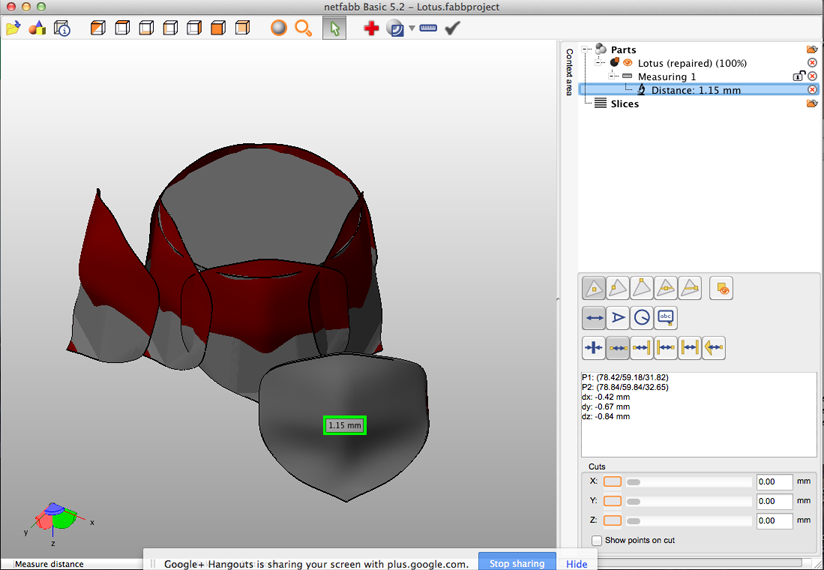
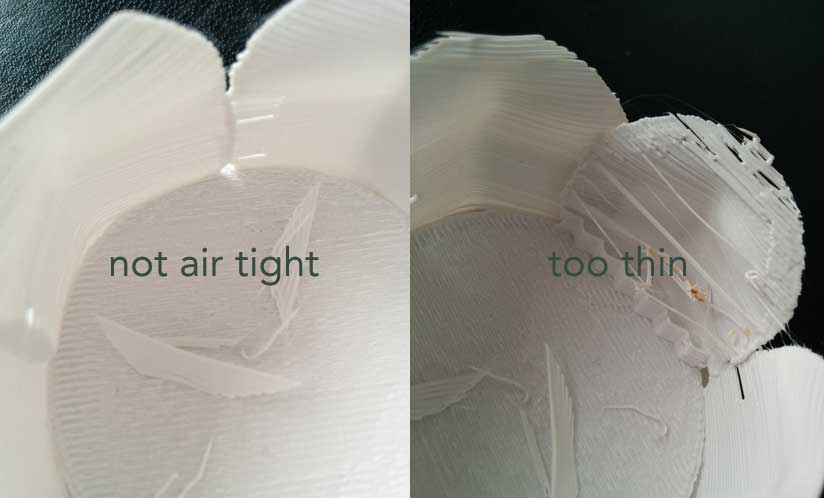
Problem #2 : Not Air Tight
This can be partially fixed with the "Boolean Union command", which is kind of a “magic” button for Rhino (similar to "Content Aware Fill" on Photoshop). This helped merge the petals and the base together.
I re-exported the Attempt 01 to Netfabb, there were still small gaps between the petal and the cylinder, but it was printable. I wanted to fix this in Rhino, but could not undo the Boolean Union which merged the petals and the base together. I also tried Boolean Split, but that has a complete different functionality than what I needed (it separates out parts at the intersection, similar to the Split command). Working on this alone in Toronto, away from my home Lab, meant that I had hit a dead end with Attempt 01.
I decided to start again with my design, this time with proper workflow and applying the lessons I learned from Attempt 01:
FINAL OUTPUT : "Download File">
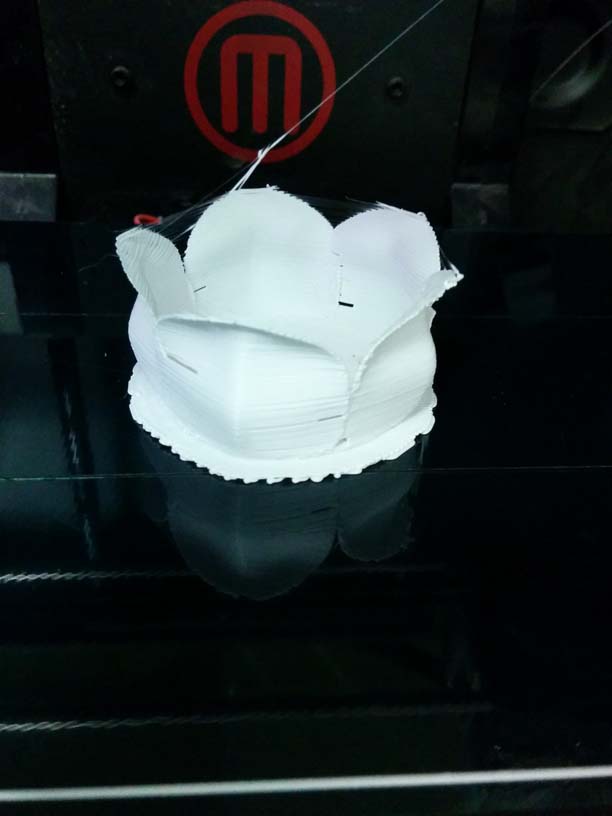
I only had one day left of my Toronto Makerspace membership, so I decided to scale Attempt 01 down to about 2.5 cm diameter x 1.5 cm height. I knew that the walls would be too thin at this scale, and that this model was still not airtight.
I decided to use the Makerbot Replicator 2 with ABS plastic because the PLA machine was already in use by another Makerspace member.
I made sure that the temperature was 125*C, which is appropriate for ABS. I used the Makerbot online app to send the STL file to the machine.
Even though I did not get the result that I wanted, I did learn a lot about 3D modelling workflow, Rhino and Netfabb. I’ll be back in Fab Lab Wellington on March 9, and will be able to get some second opinions about Attempt 02, and print it.
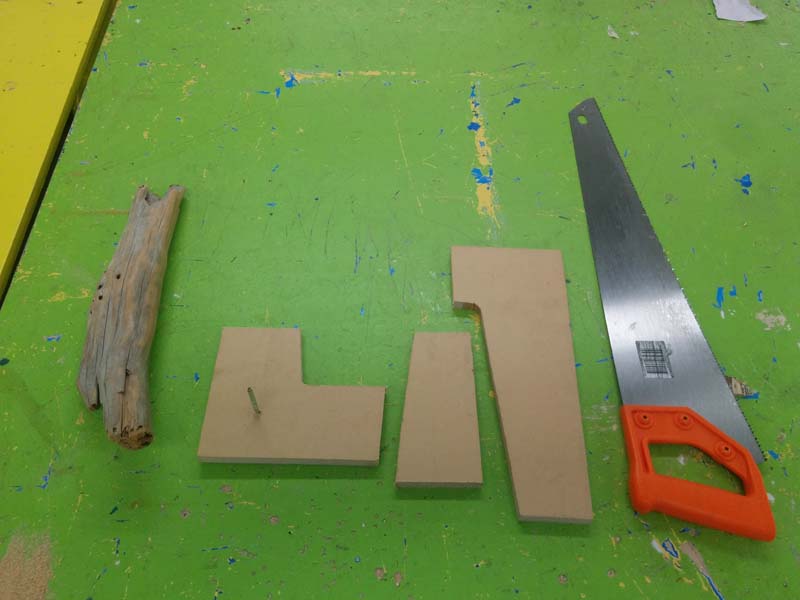
I decided to scan a piece of driftwood I found on Maraka Beach just 30 minutes outside of Wellington City. My partner and I are nomads and try not to own too much stuff. By digitizing this piece of driftwood, I feel like I can perserve it and potentially create something new out of it one day - when we decide to build a home together.
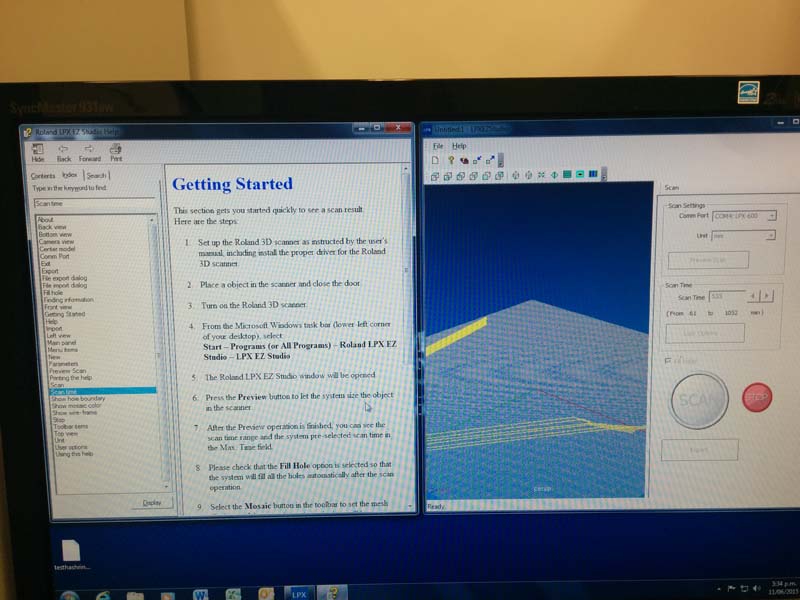
For the scanning, I decided to use the Roland - which I call the 3D microwave. It's so easy, you literally put something in and press a button and let it cook overnight.
I had to prep the driftwood by building a stand for it, by screwing one end of it into a piece of plywood, which I sawed into a size that would fit into the scanner.
I opened the software and followed the Read Me instructions. The default scan time was 120 minutes, but I bumped it up to about 8 hours.
The scan turned out really nice. It needs a bit of tidying and I'm looking forward to manipulating the form for future 3D printing experiments.