(Milling) Moulding and Casting
In which I design a 3D mold of the Holdable Heart, machine it, and cast parts from it.
I make believe.
Design and make a 3D mold (~ft2), and produce a fiber composite part in it.
This week, we went to Carbofibre, where they specialize in infusion composites. They produce primarily boats (sail boats, kayaks, etc.) and car parts (fenders, doors, etc.).
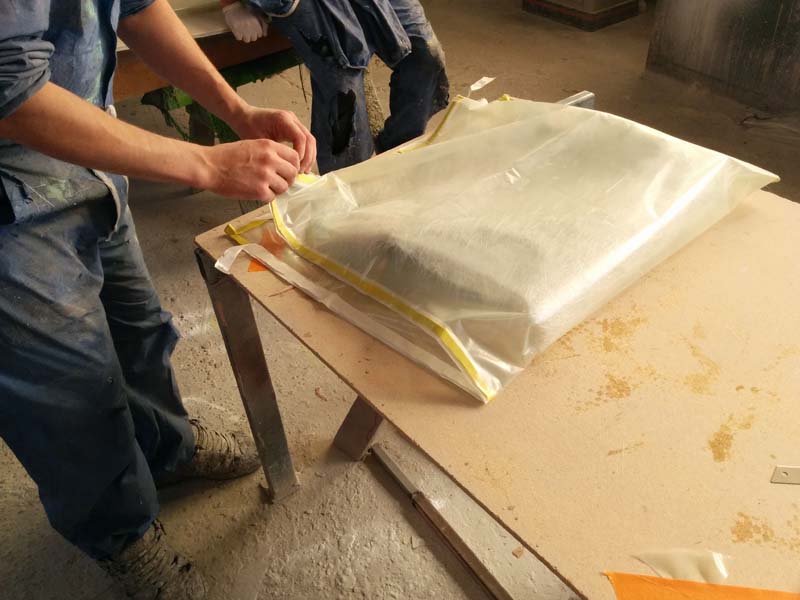
It was really interesting watching their technique in applying the layers of polyester carbon fibre and setting up the infusion process. They used a thick bristle brush to edge the fibre into tight corners, and cut up pieces of fibre on the fly as they layered them.
In one example, they showed us how to use Airtac, a spray-on adhesive to lay out the sheets of fibre - varying 45* angles. There were a total of 4 layers of carbon fibre, mesh and peel ply.
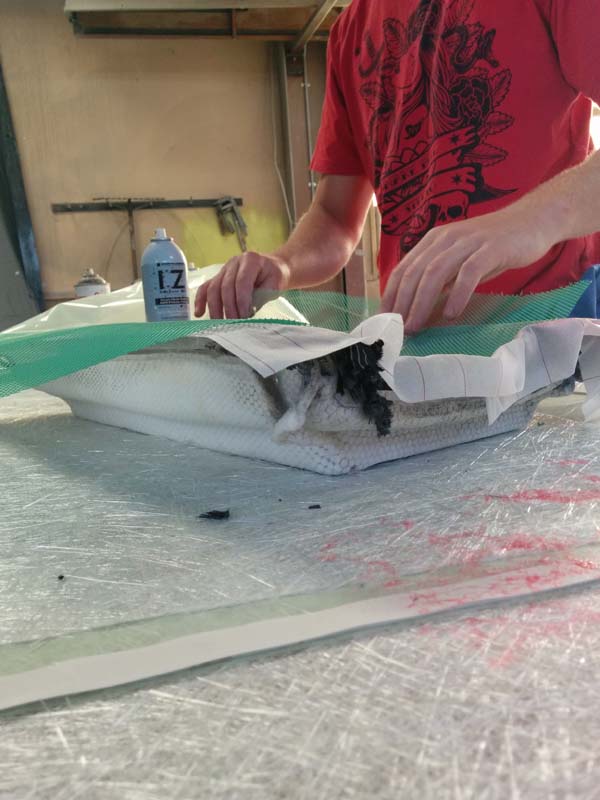
They built a breaker with mesh and peel ply to prevent the resin from overflowing to the underside of the mould.
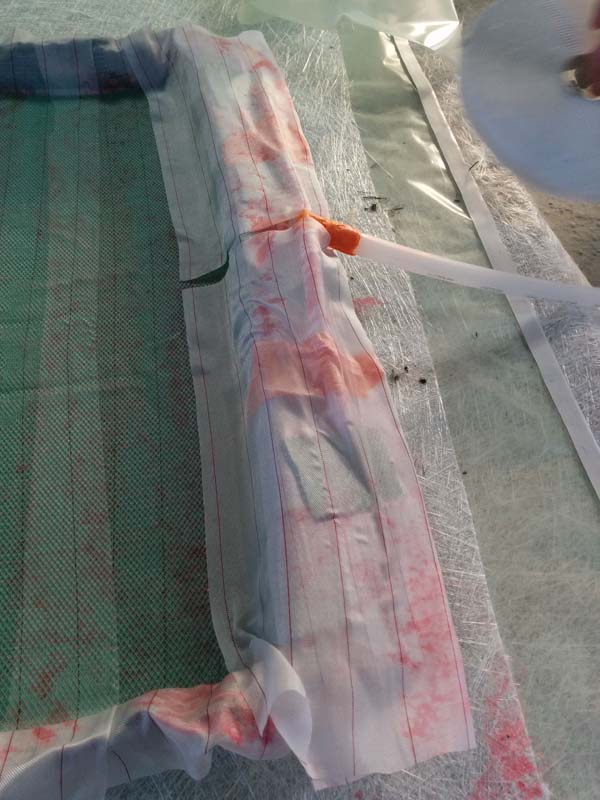
They enclosed the mould in a water-tight plastic bag using vacuum tape along the edges.
A resin feed was taped into the plastic bag sitting just over the mould.
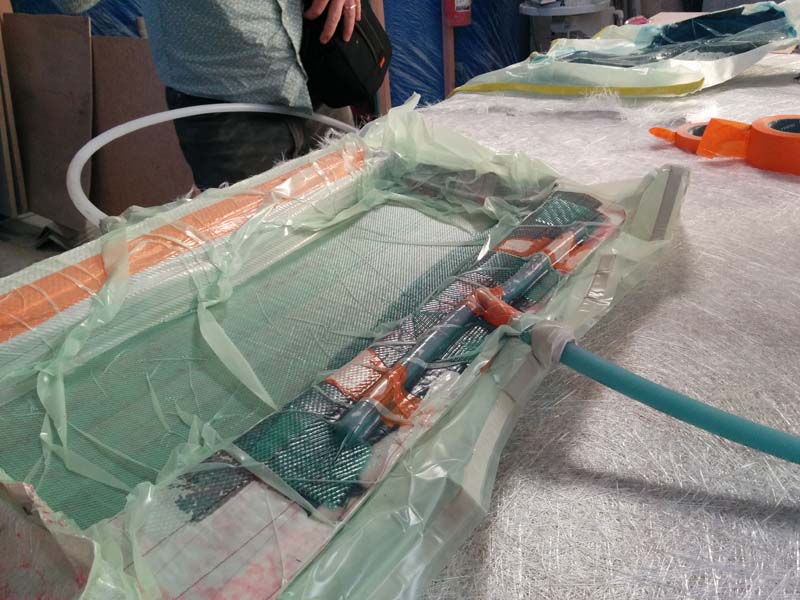
First they sucked all the air out, taking care to work out all the air bubbles that get caught in corners.
Then they turned on resin and it started to infuse the mould with resin.
Back at the lab, we decided to do a dry-run of our process using an existing mould (a replacement part for the Shopbot) and Smoothcast as the resin (the bio-resin hadn’t arrived yet).
Here's all the gear you should have prepped before starting the composites process:

The dry run was a good idea because we learned a lot about the workflow:
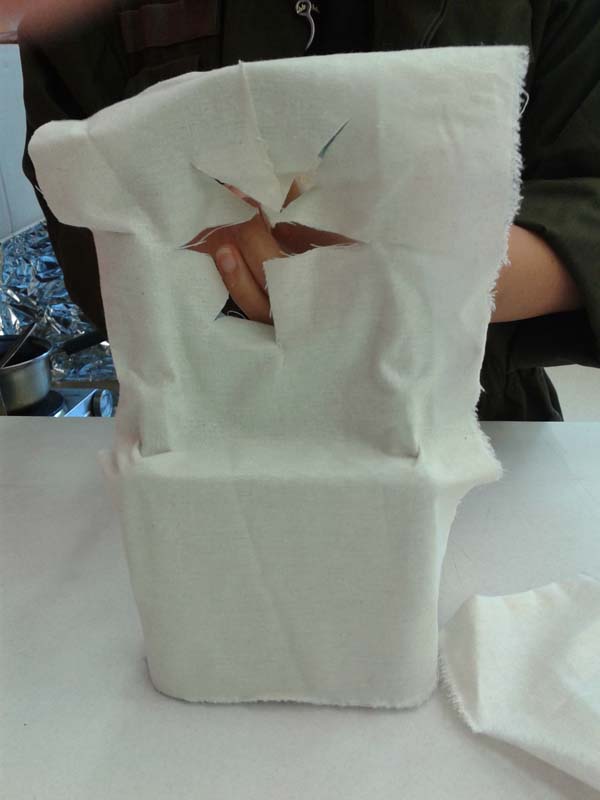
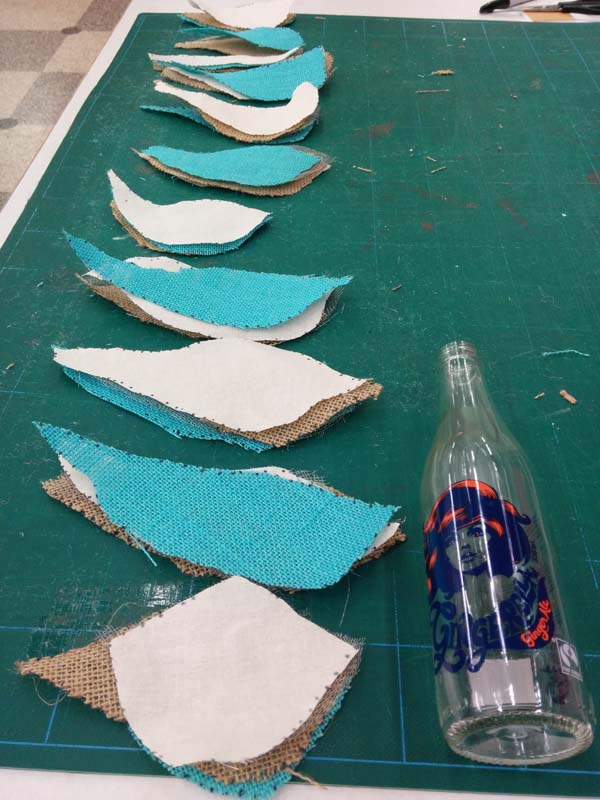
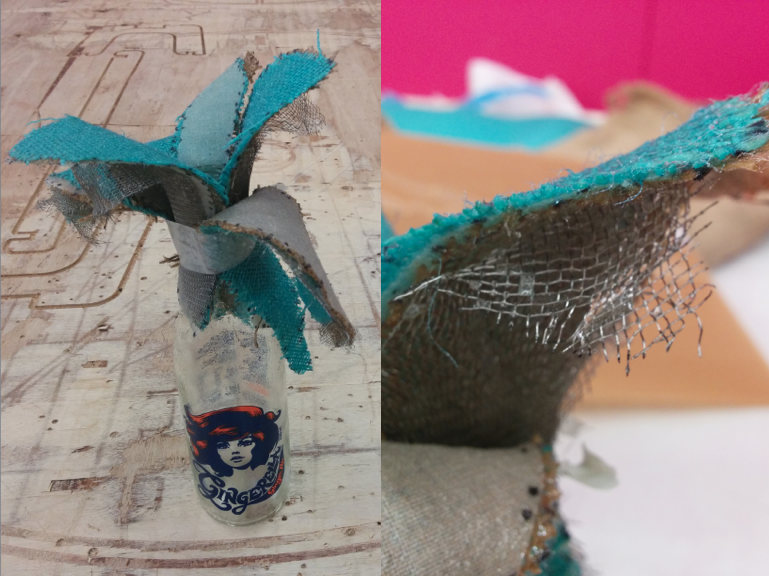
I bought some wire mesh and wanted to try moulding a flower over a glass bottle with Flexicast as it was drying. So far, I've learned that jupe, linen and hemp is very heavy and weighs down the wire mesh. And that the wire mesh doesn't want to merge with the fabrics, so right now, I've left them curing for a few hours to see if it will help them adhere better.
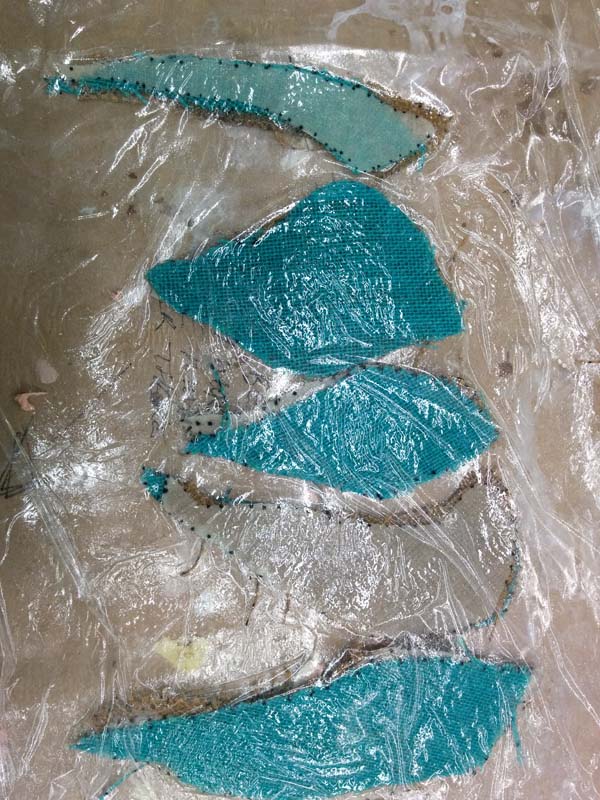
The wire mesh did not adhere to the jupe, even after the resin had cured. It might have worked better if I had left the materials flat and compressed, rather than trying to mould it into the shape I wanted and hoping it would cure in that free formed shape. The result looks pretty, and the wire mesh did provide some structure to the jupe, but was otherwise a bit of a failure.
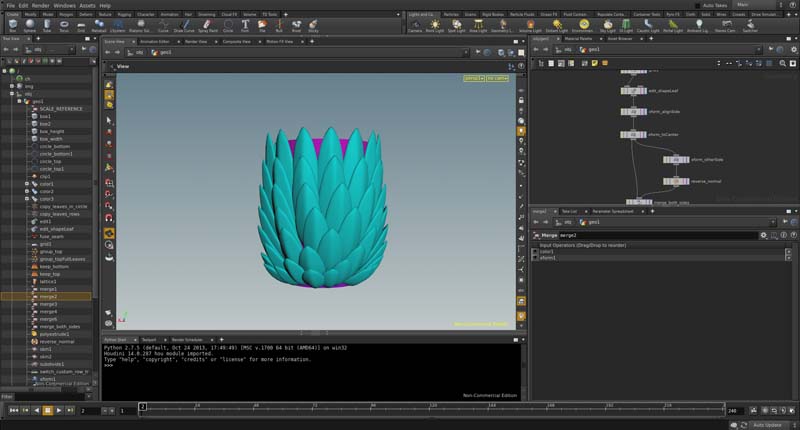
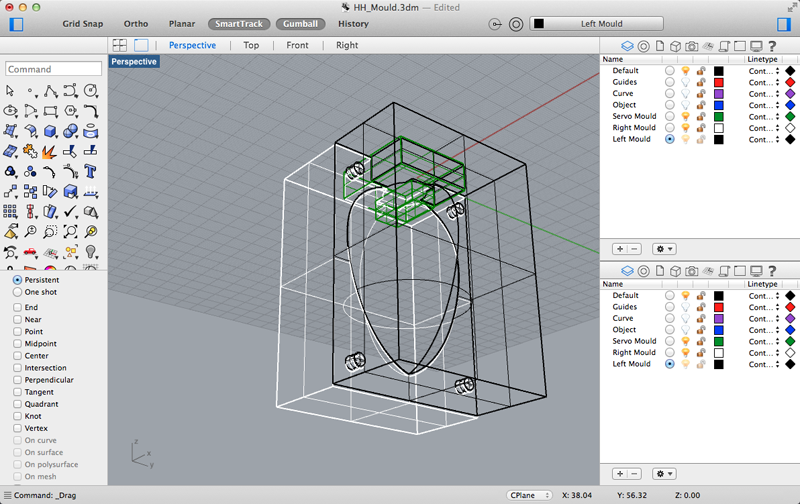
I’ve started working on a 3D model for my final project, from which I will create a composite part.
I would like this part to be transparent because the object sitting inside it will have LED lights. This is the reason why I chose to work with polyester chiffon rather than the linen and burlap which was provided.
I chose chiffon as the material for my Final Project because I wanted to create a holder for the holdable heart that was transparent like a lampshade.
I wanted to test two things with the chiffon: colour, transparency and texture.
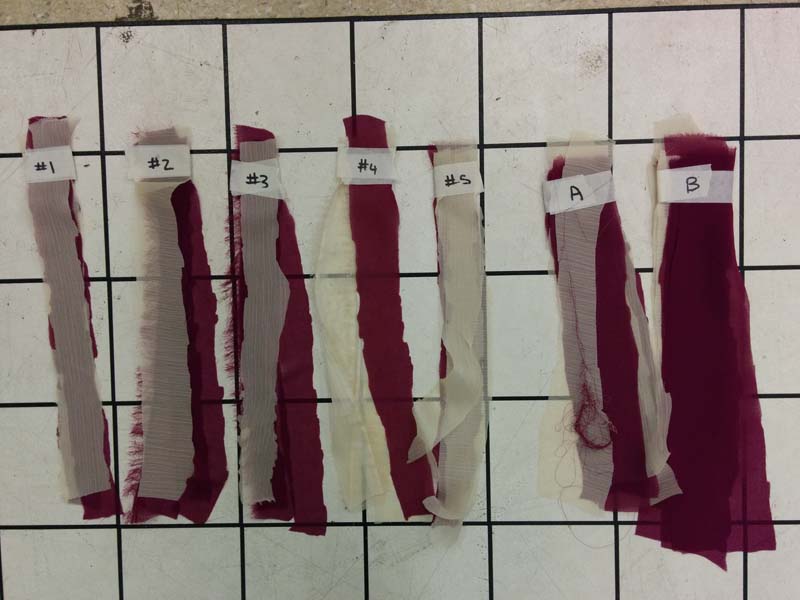
Colour: I liked the colour I chose when it was dry, but I forgot that the resin would make the material wet forever and ever. The result was a horrible blood-purple colour that was not at all what I wanted. However, I did discover that the lighter colour fabric looked quite nice and was easier to infuse with resin. I'll most likely use this fabric and paint it to the colour that I want.
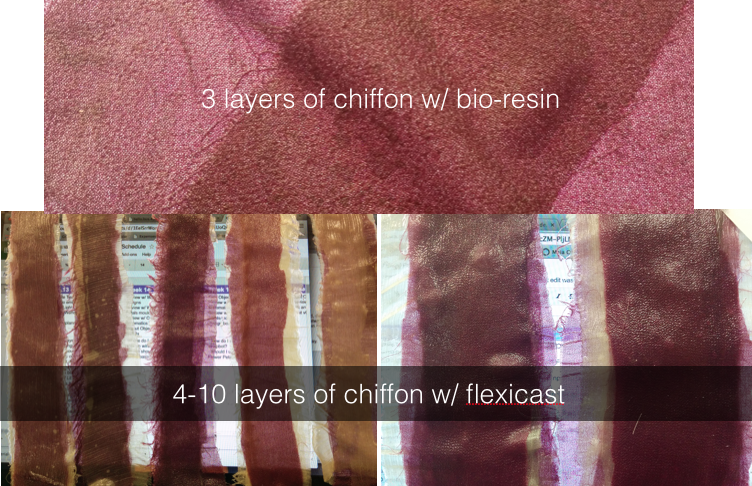
Transparency: 8-10 layers of fabric were not transparent at all, so the holder would have to be quite delicate.
Texture: I thought Flexicast would give the holder a really nice warm feeling, but it actually felt quite cold and clammy, and it smells awful. The bio-resin gave the chiffon an almost paper-like texture and didn't smell too much.
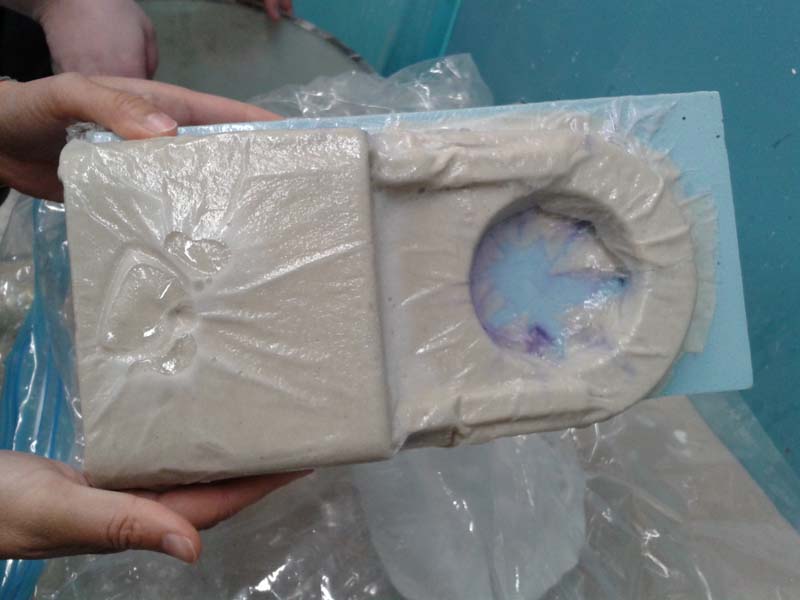
For my final project, I had to design a 3 part mould to cast in silicone. There would be 2 parts forming the shape of the object, and the third would be a plug at the top that would allow me to hot-glue a servo motor to the end of it to be embedded within the Silicone. You can read more about how this mould was used in my Final Project
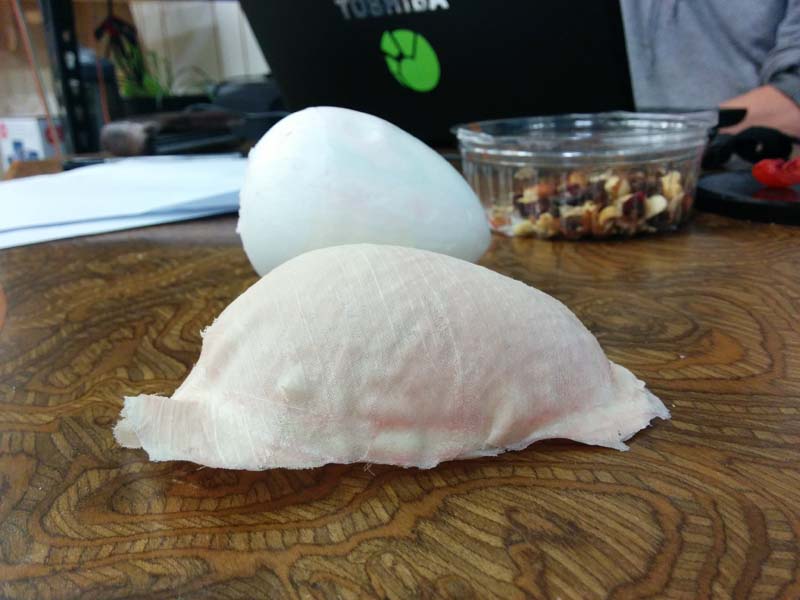
I decided to use this mould for my composites assignment, by creating a hollow composite egg using the left over chiffon from my materials test and PVA (non toxic, so I didn't have to go to the resin room).
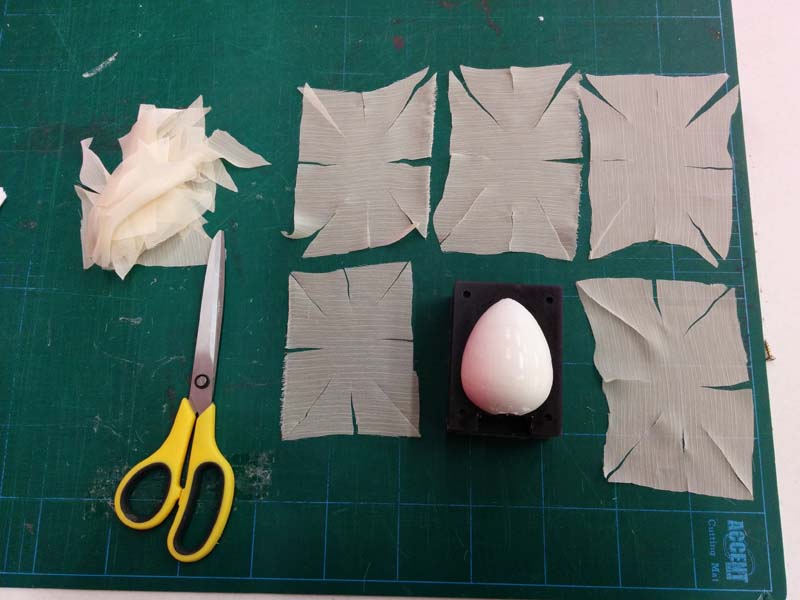
In order to create a composite that could wrap around the Holdable Heart, I used Easycast to cast the positive of the heart so that I could composite over it.
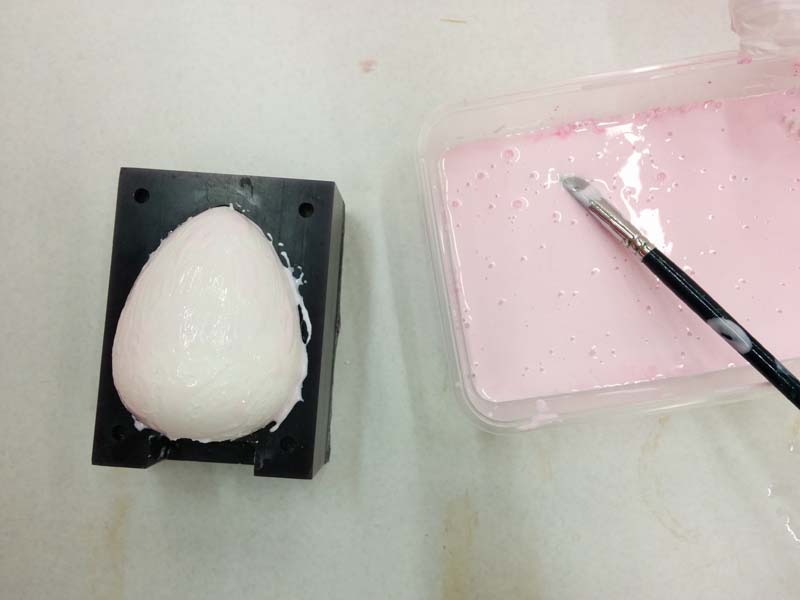
I watered down the PVA just a little (it's pink because of some left over dye from my final project and used a paint brush to infuse the PVA into the chiffon, layer by layer.
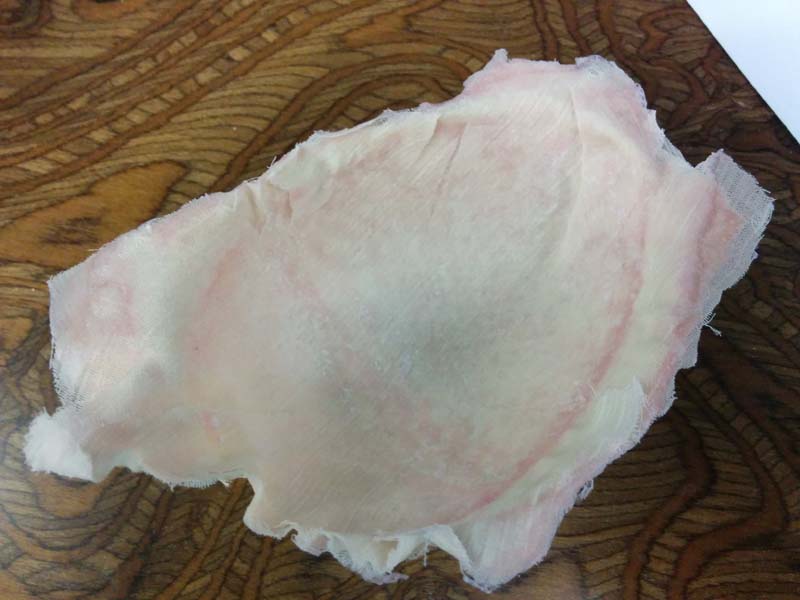
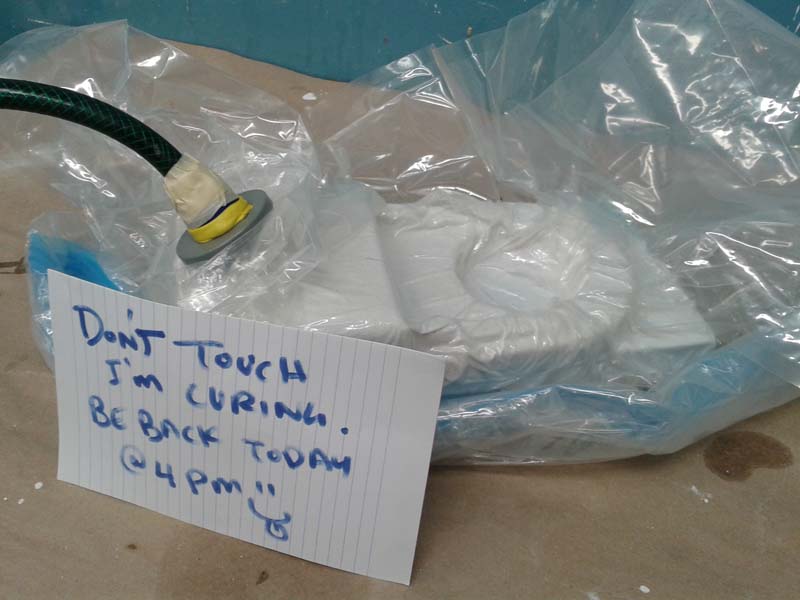
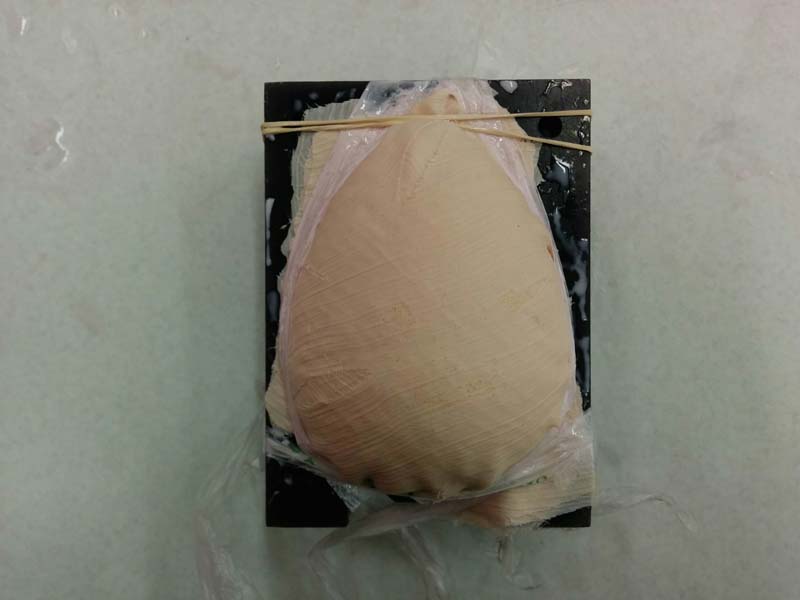
I trimmed off chiffon that was hanging off the side of the mould, and Wendy helped me use rubber bands and plastic bags to press the fabric tight against my mould to cure.
When I demoulded the next day, I discovered that the PVA had dripped from the top of the Easycast mould, and made a small pool inside the wax mould. This caused a reaction with the Easycast, making it really squishy.
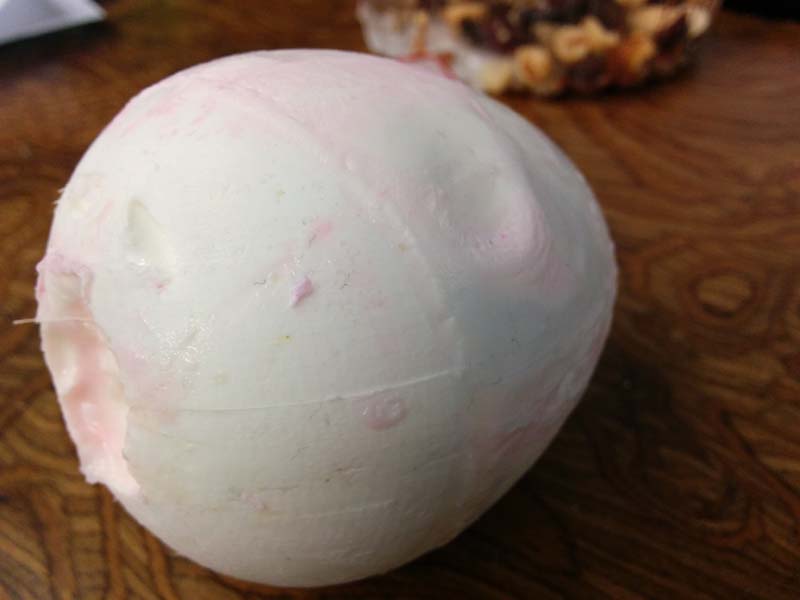
The composite itself was really nice. There was a rougher and slightly wrinklier finish on the outside and a smoother finish on the inside.