3D Scanning and Printing
In which I printed my very first 3D scanned object.
I make believe.
Design a 3D mold, machine it, and cast parts from it.
This week's "Moulding and Casting" assignment sounds simple enough until you start having to think of the object you want to make as a positive and negative. I found it a bit confusing having to mill an object and then mould it and then cast it, but it makes sense if you want to make a unique design from scratch, rather than replicating an existing object.
For this assignment, I wanted to create a mould for my Final Project,
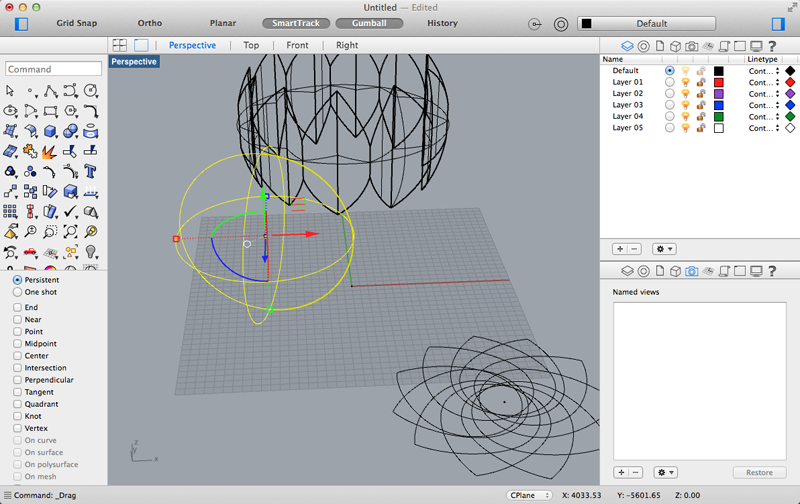
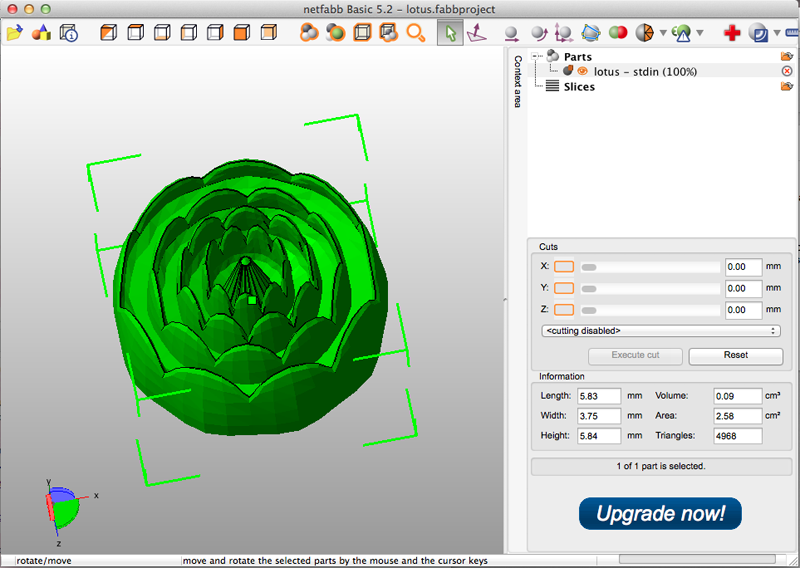
To accomplish this, I tried to extend on the 3D design of a lotus I modelled in Rhino in Week 05. In that design, the lotus was a bowl, but for my Final Project, I would need it to be a solid shape.
First, I tried to model it in Rhino, but it was difficult to create a complex pattern without Grasshopper, and I was unable to turn all these petal surfaces into a solid object that could be milled.
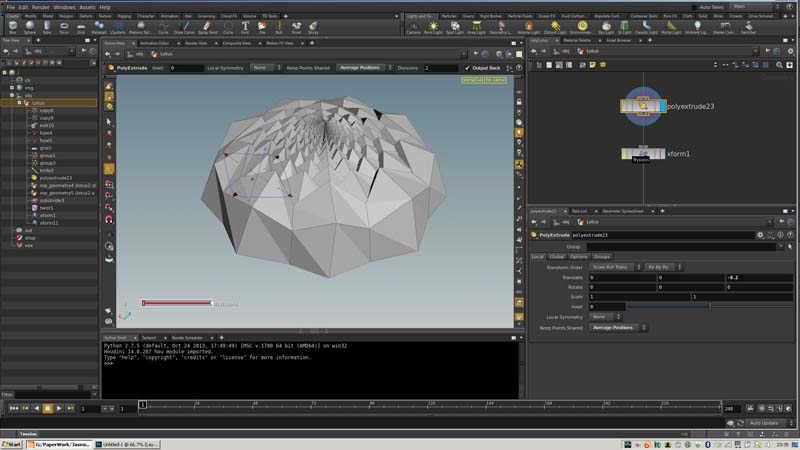
So I try a new 3D tool called Houdini. This tool was recommended to me by my partner who is a VFX artist at Weta Digital. He uses Houdini to create FX shots for films and there is a free non-commercial version for Mac that I was able to download and use.
Houdini is based on procedural modelling, which is similar to (or the same as) parametric modelling - using parameters and relationships to create geometry rather than creating individual shapes and surfaces. It was significantly more intuitive to use than Rhino. Even though I didn’t have any previous experience using this software, I was able to create the shape that I wanted (with the guidance of my partner) that was airtight (passed Netfabb).
Unfortunately, Houdini does not work on my Macbook Pro because I need to install a new graphics card. I will definitely look into this because it’s such a fun tool. I would probably only use it to create organic shapes, and continue to use Rhino to create mechanical parts.
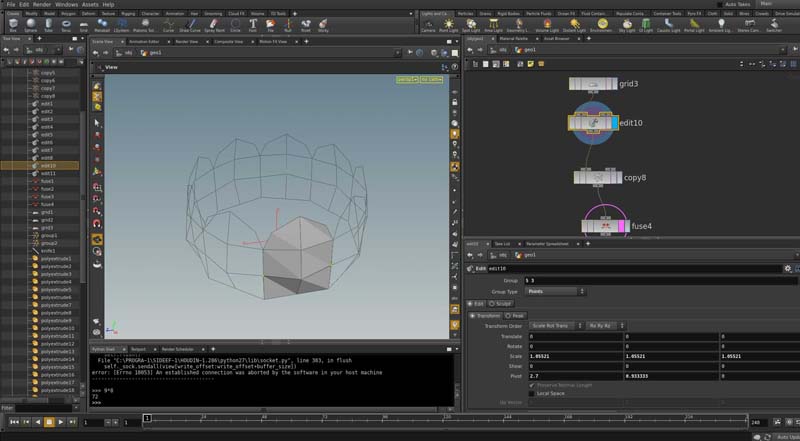
How to create a 3D Flower in Houdini
After every step, I would group unshared edges to ensure ensure geometry is airtight. This additional step paid off when I checked the final object in Netfab and found that it was pretty much ready to print.
I showed my model to Wendy, and realized that I had unconsciously limited the aesthetic of my design based on some inaccurate assumptions I made about the MDX. While it’s true that I have to consider the diameter of the drill bit and the shaft, as well as the drill-able length of the bit, I didn’t necessarily have to provide that amount of spacing between each layer of petals or individual petals. The MDZ is capable of fine engraving using a 1/32” bit. With this size bit, I would be limited to 3.2 mm width cut and 15 mm depth cut.
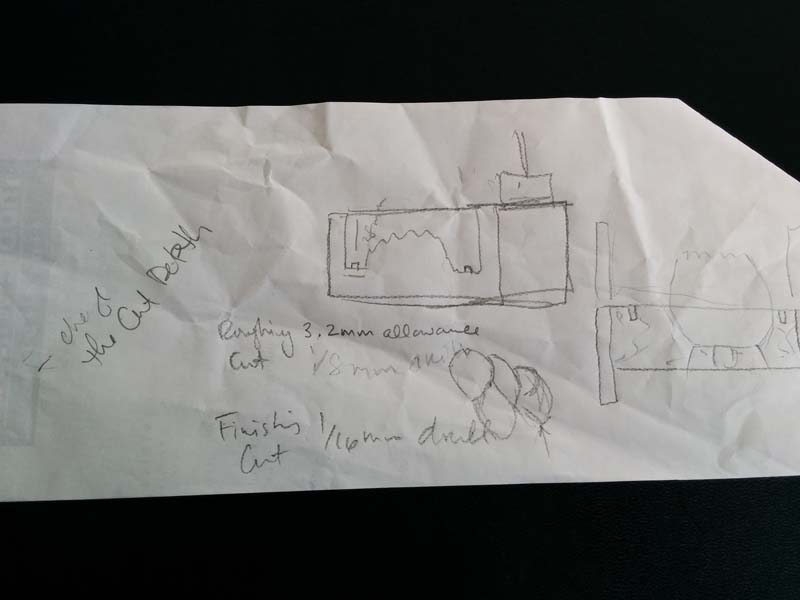
She showed me in SRP how I could set-up my design so that I would use a 1/8” bit for roughing, and 1/32” for engraving. She also gave me some advice on how to construct the platform (leaving room to re-set the Z axis when I change bits) and to leave enough room for the locator points.
I went back into Houdini and adjusted the model to remove the spacing between the layers of petals and individual petals. The effect looked more like a mandala which I really liked.
I tried to import the object into Rhino to build the base of the wax mould, and I had to convert the mesh that was exported from Houdini into a NURBS polysurface by watching this
So I tried to build the base in Netfabb, but found out that I couldn’t merge the objects without paying $299 for a non-commercial license.
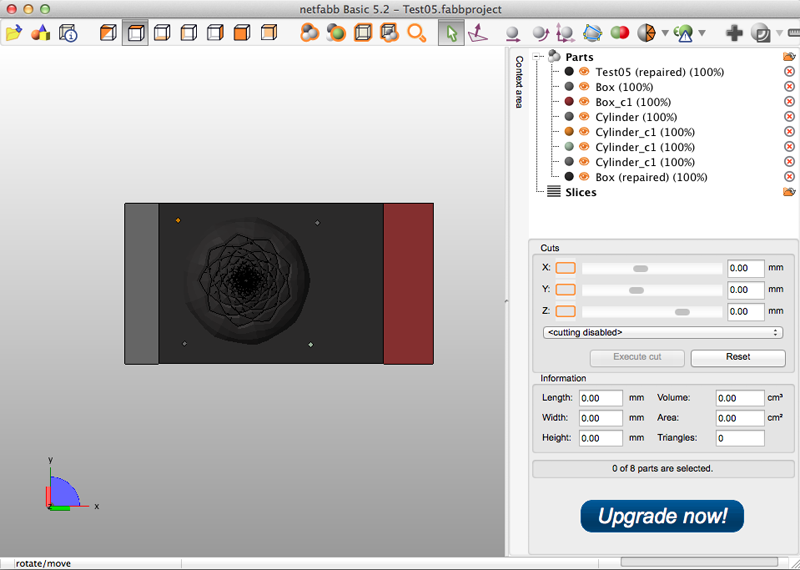
I also tried to build the base in 123D Design, but it gave me a warning that the objects I was merging had too many faces. I tried to merge them anyway, and it crashed. I merged all the primitives of the base and left the object in embedded in the base for now.
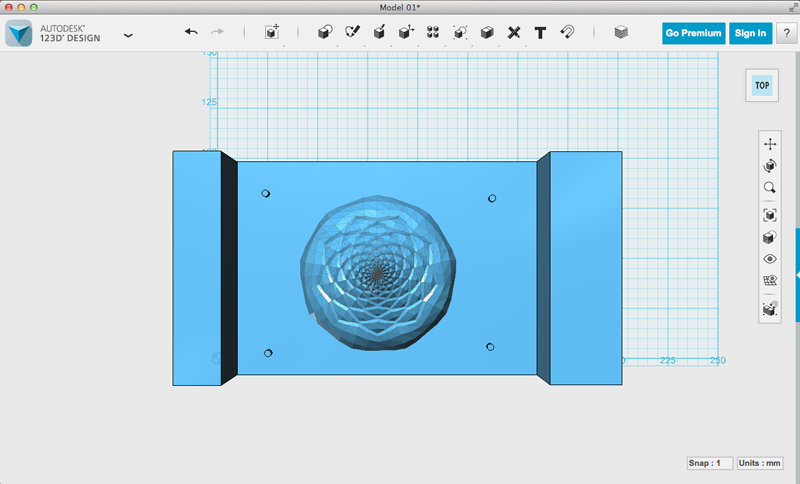
Finally, I went back into Houdini and designed the base as an extrusion to my object. This ensures that it is a closed, water-tight object, but it is very difficult to be precise in measurements in Houdini. I would not recommend using Houdini if you want to create something with precise measurements. But anyway, it did work after much tweaking.
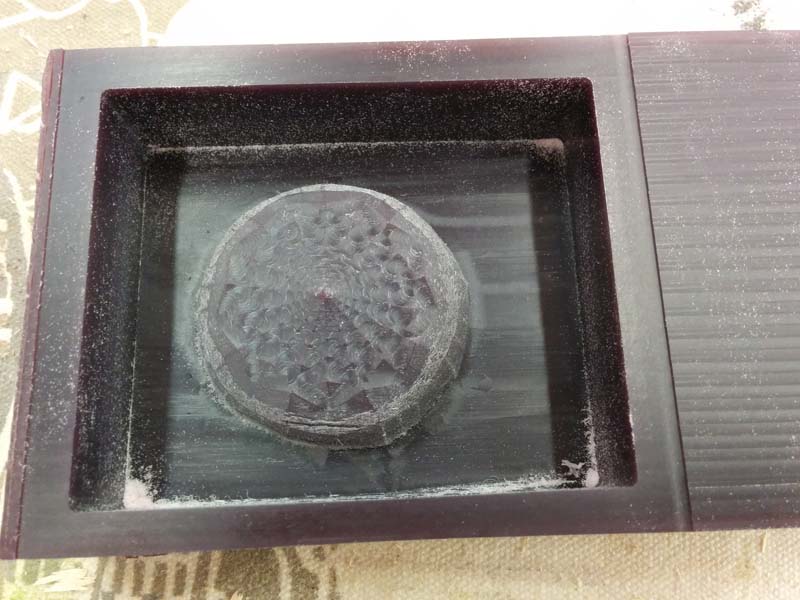
How to Create a Machinable Wax Mold
How to set-up on SRP
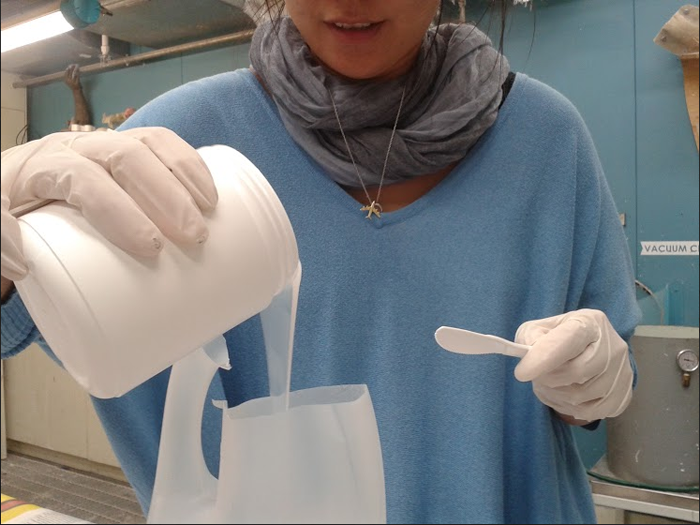
Before opening up a jar of toxic materials, here's a checklist to stay safe:
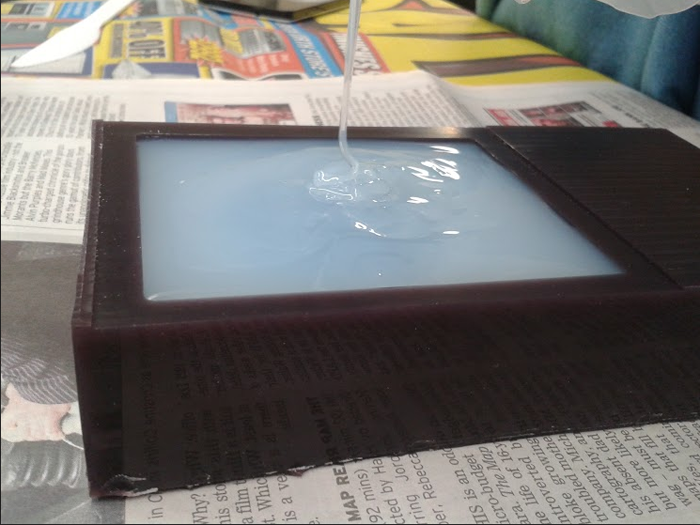
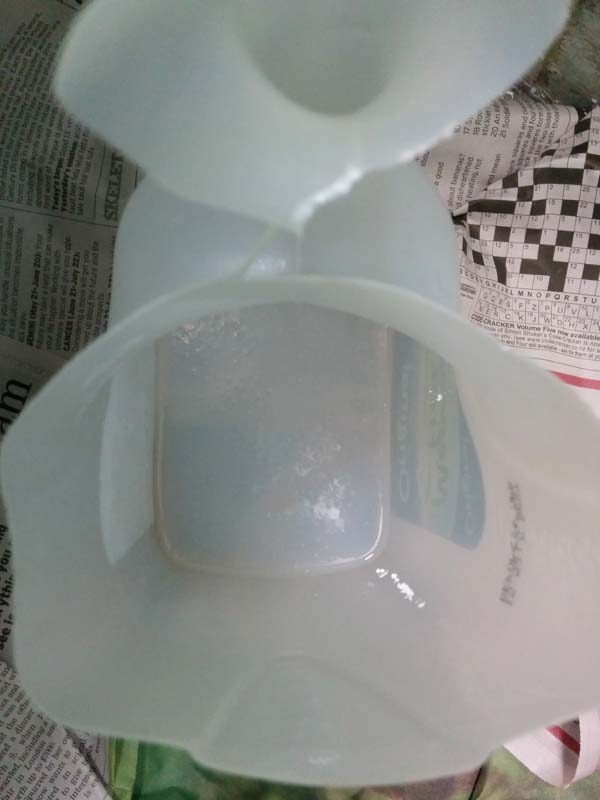
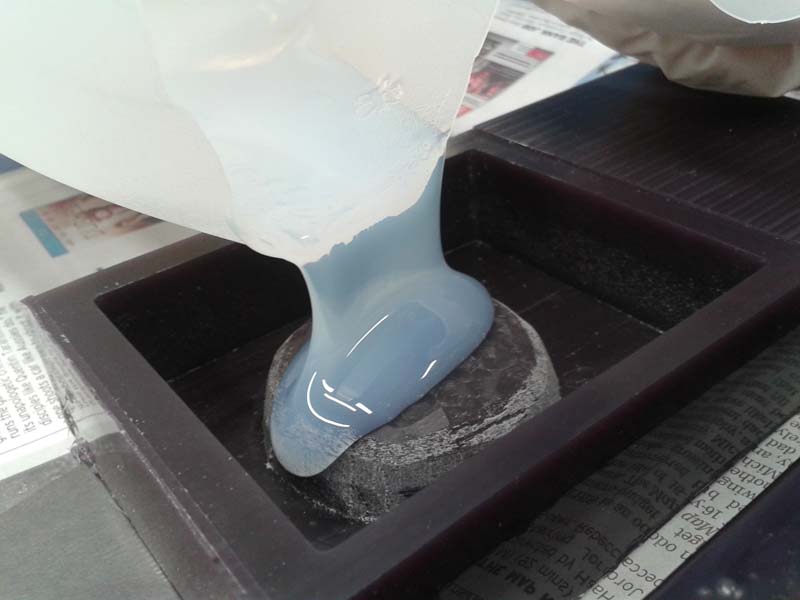
A couple of things you should think about before casting: