Week 17: WildCard Week - Soft Robotics
For this week, I chose to learn about soft robotics because I want to understand this topic very well, as it is connected to my university graduation project.
Since there is a week for molding and casting, I already had the fundamentals of working with silicone, which encouraged me to choose this topic for my wildcard week.
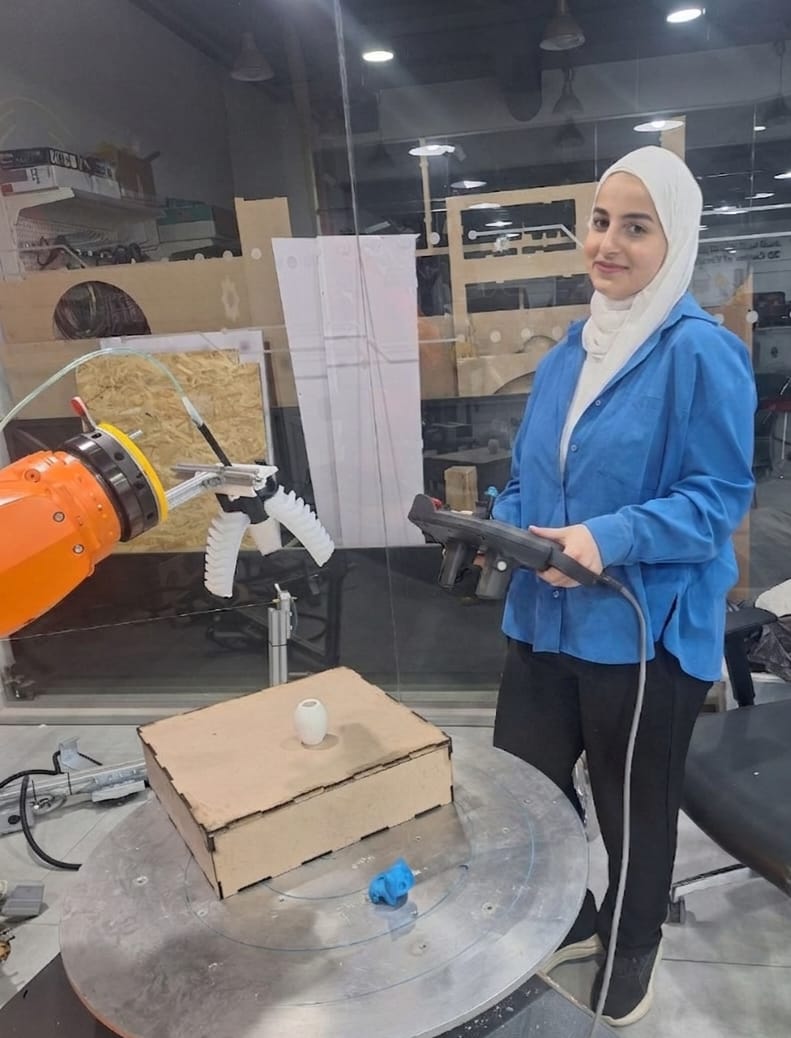
Heroshot
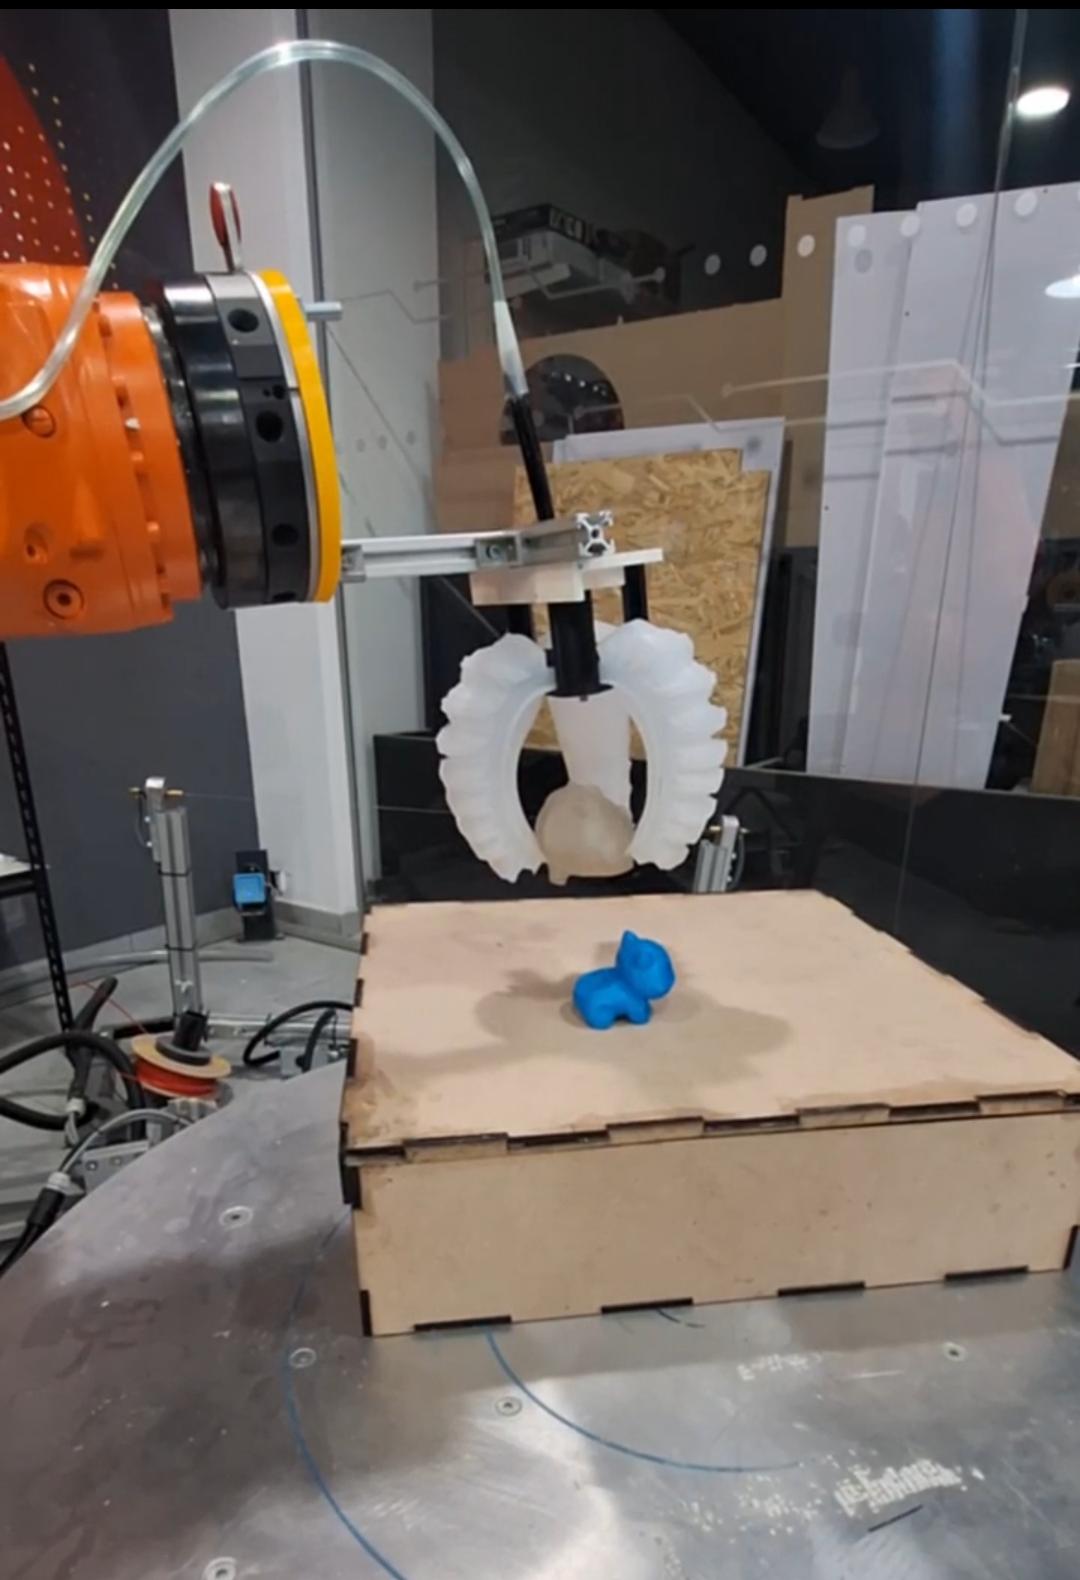
Soft Robotics Gripper
Idea
Since my university graduation project is related to soft robotics grippers, I will make a prototype with 3 fingers.
Here is an image of the idea:
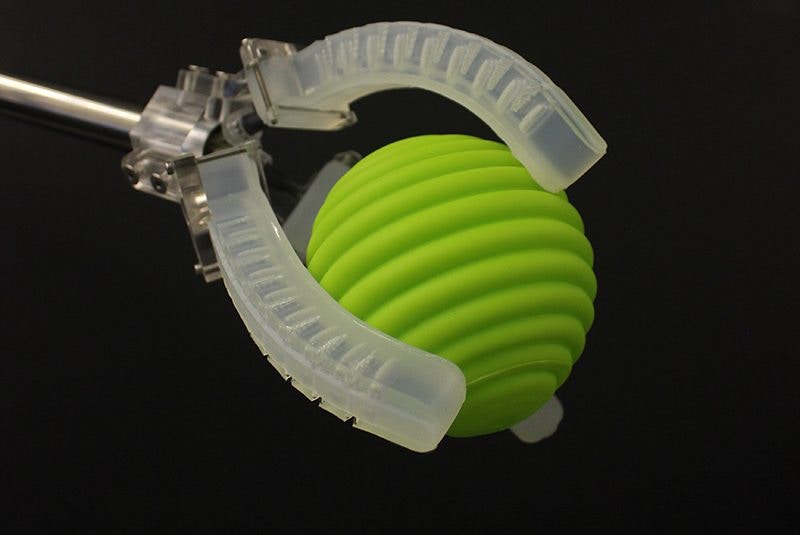
The gripper will be used to pick up small objects, and built from two parts: the fingers and the handler.
Fingers
The fingers will be made from silicone (Dragon Skin 10 Medium), and I will use a mold to cast them.
Design
My colleagues and I designed the finger to meet the requirements of our graduation project.
We used Creo Parametric to model the finger.
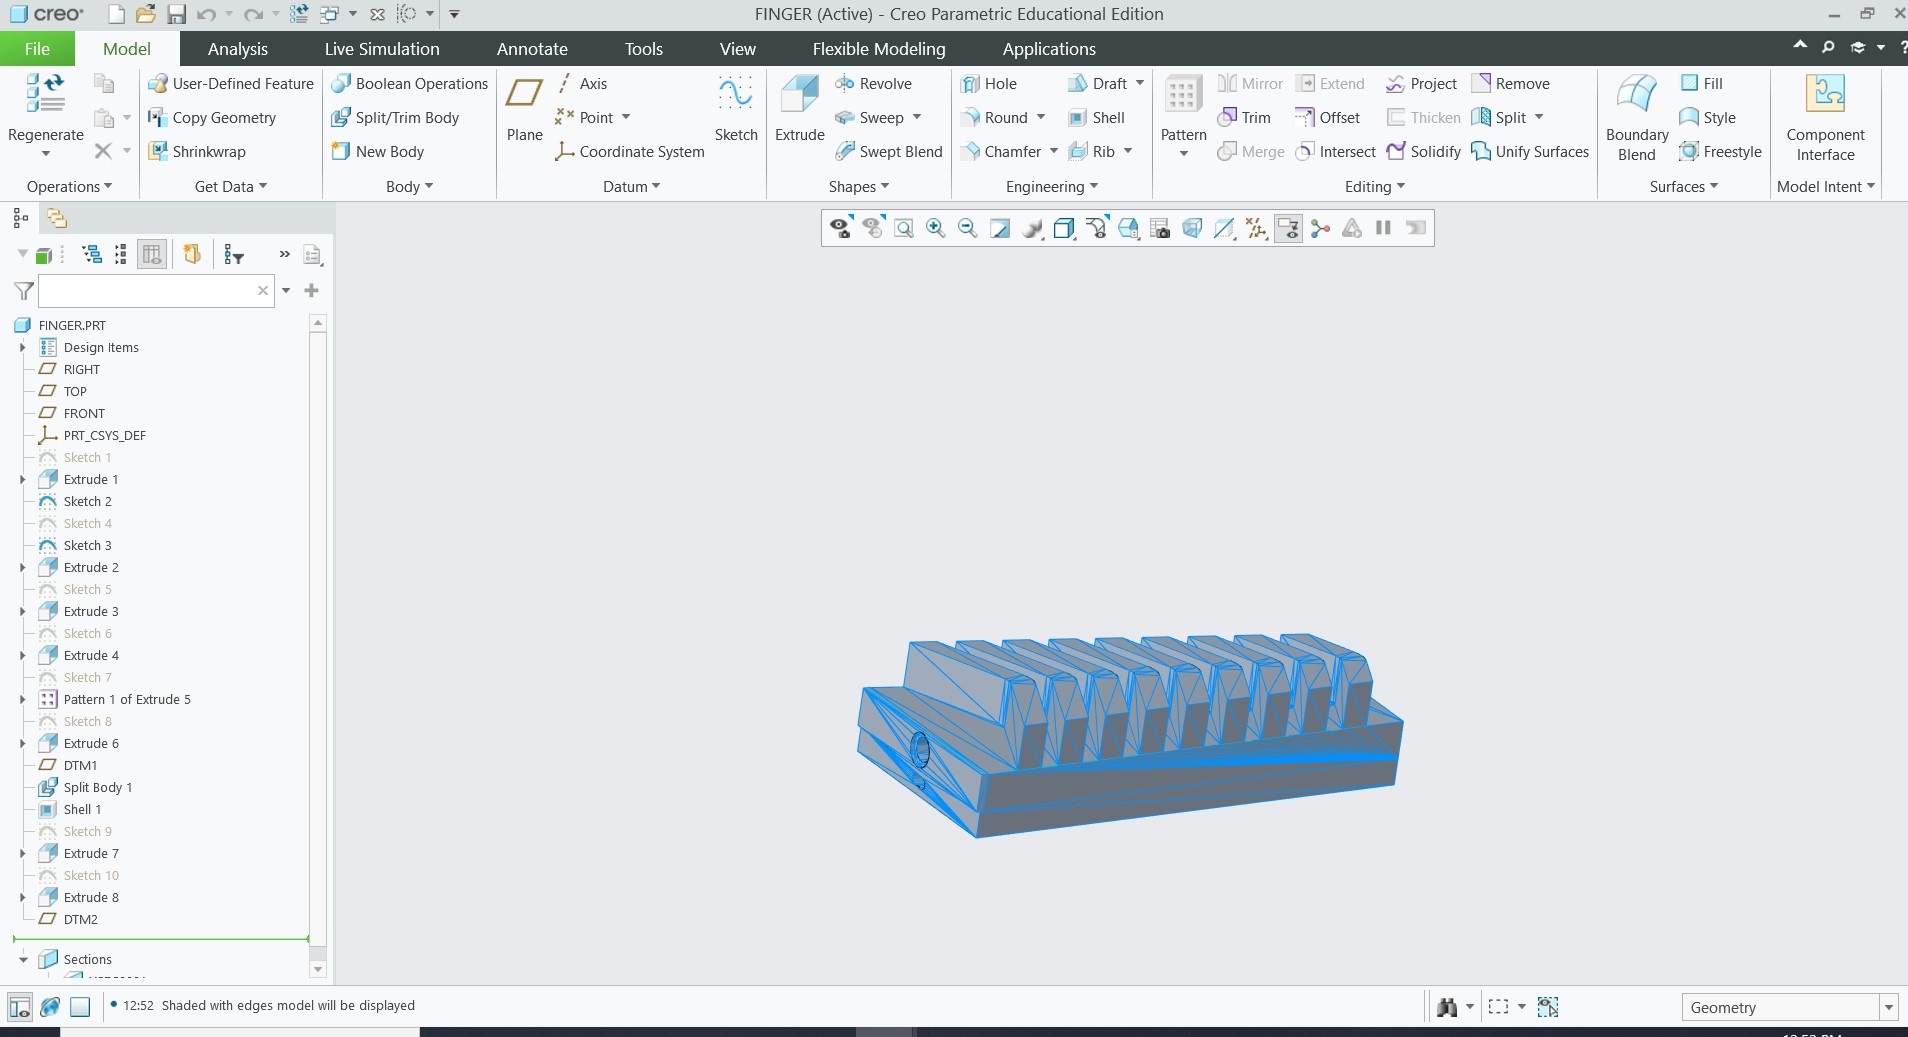
Here are the design files:
Finger Mold
To make the mold, I had to split the finger into two parts to make the casting process doable.
I had to make two versions of the finger mold since the first version failed; you can see the details below.
Version 1
- Make the mold from 4 parts instead of 2.
- Print the top and bottom mold parts from TPU instead of PLA.
- Print the wall parts from PLA to hold everything together.
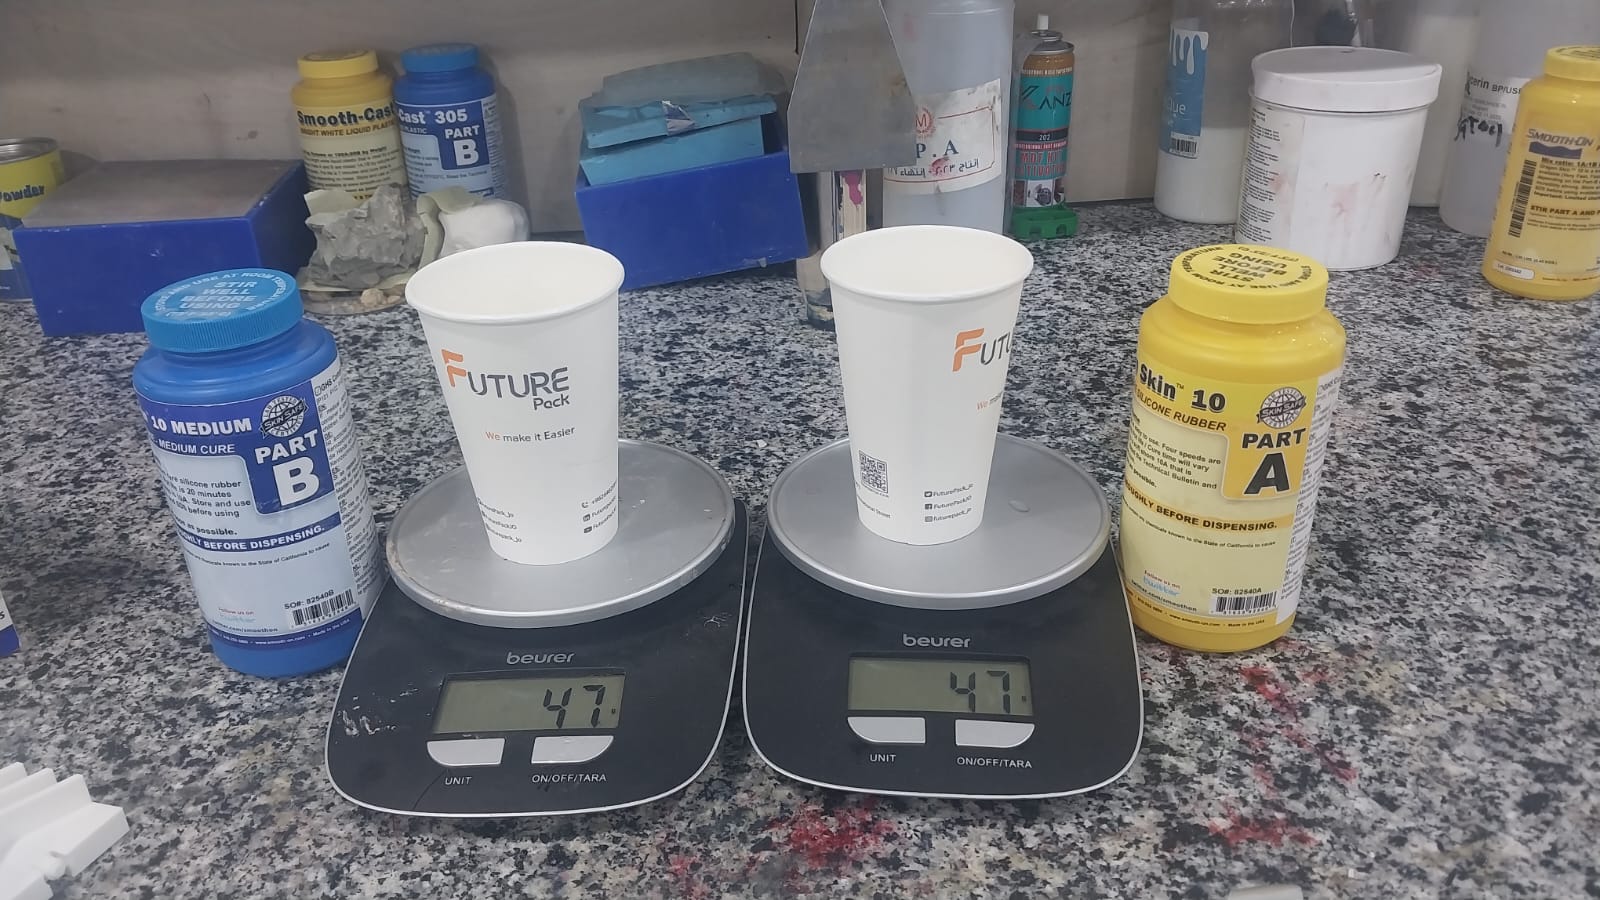
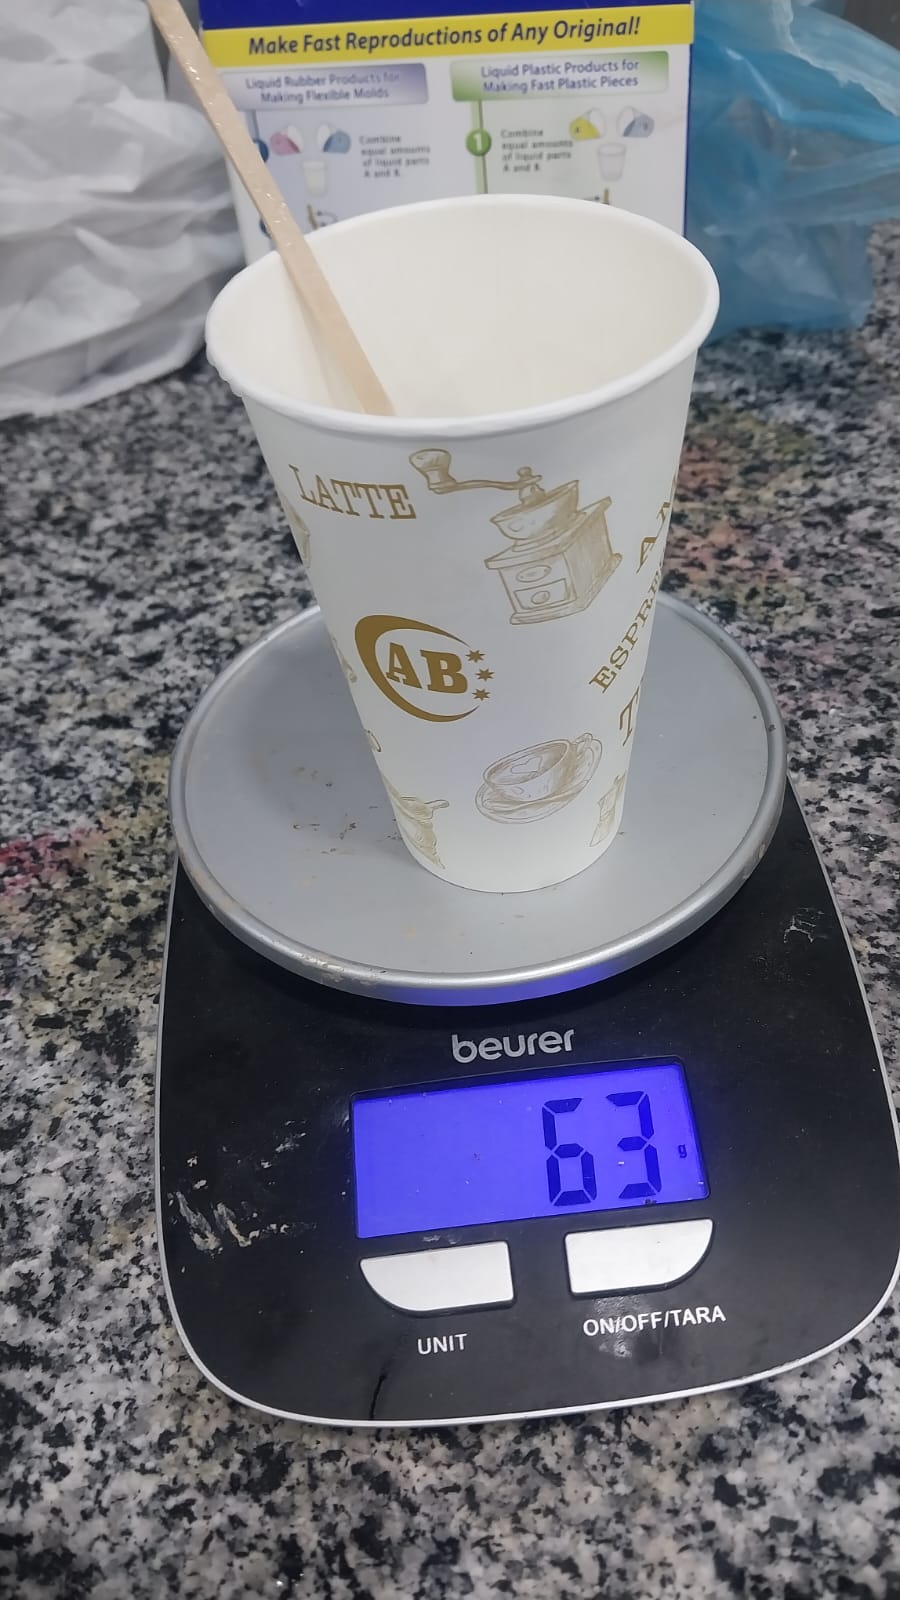
- Mixing the silicone: I mixed the silicone according to the instructions on the data sheet, which call for a 1:1 ratio of part A and part B, with 32 g for each part.
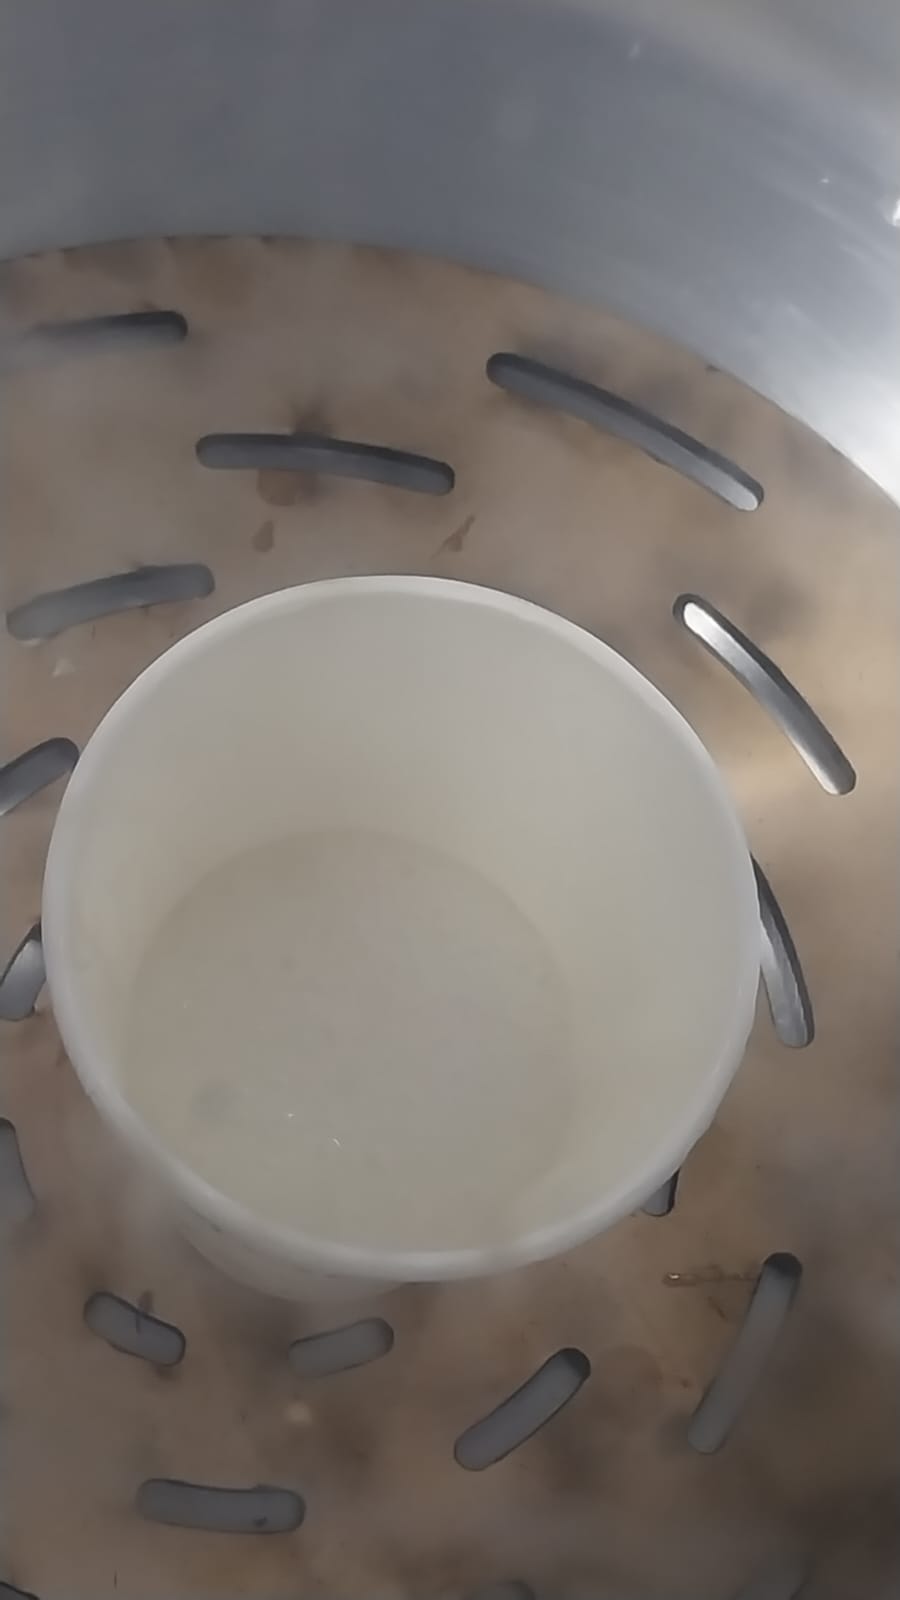
- Degassing the silicone: I put the mixed silicone in a vacuum chamber to remove any air bubbles that may have formed during mixing.
- Pouring the silicone: I poured the degassed silicone into the mold, making sure to fill all the cavities, avoid creating new air bubbles, and remove any excess silicone.
- Curing: I left the silicone to cure for 5 hours, as per the instructions on the data sheet.
- Demolding: After the curing time, I carefully removed the finger from the mold. The second version of the mold was designed to be easily disassembled, which made the demolding process much smoother than the first version.
- Joining the two parts of the finger: I used Dragon skin 10 silicone to join the two parts of the finger together. I applied a thin layer of silicone to the edges of both parts and pressed them together, then let it cure for 5 hours.
- Removing flash: I removed any excess silicone that had cured around the edges of the finger.
Top Mold Design
Designing the top mold was a bit challenging, so unfortunately, I had to make two versions since the first version had some issues.
The first version was designed to consist of two parts to ensure that the gap is properly aligned.
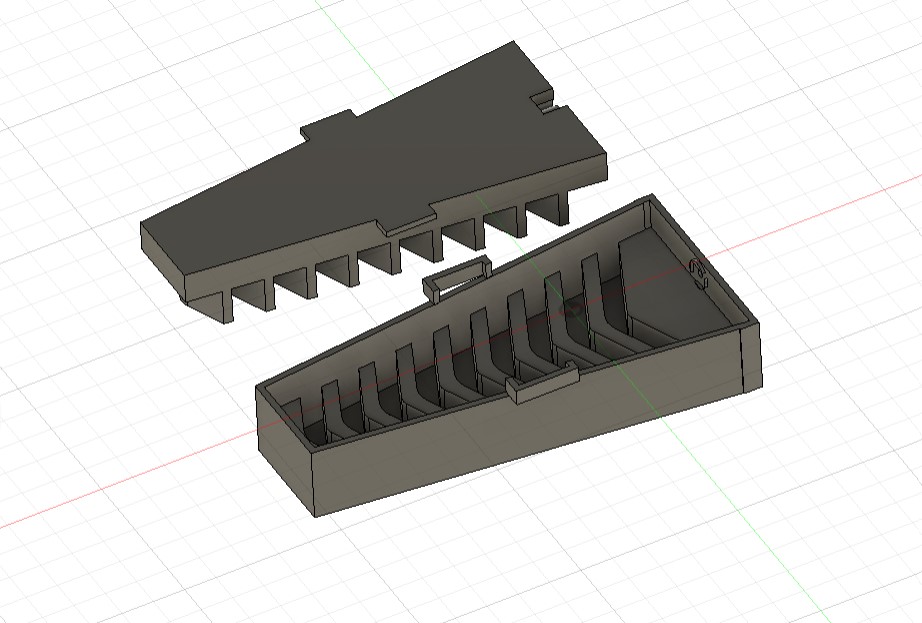
Here are the design files:
Bottom Mold Design
The bottom mold design was easier than the top mold design since it is a simple box with the same shape as the bottom part of the finger.
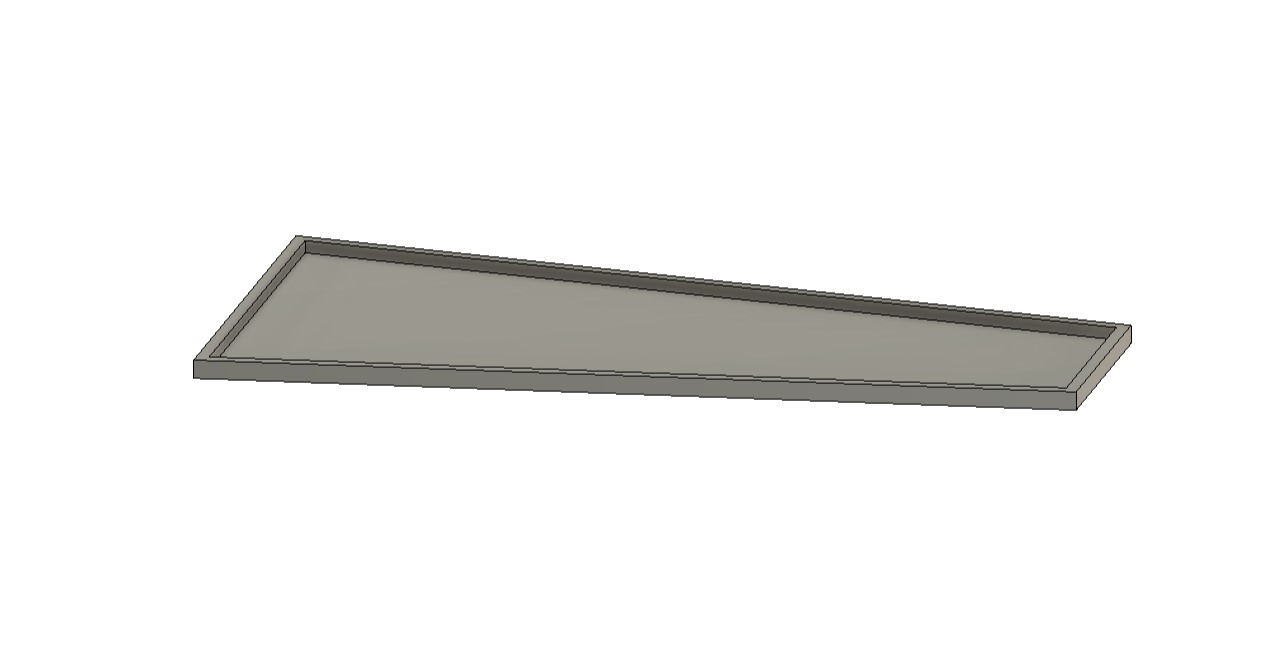
Here are the stl file for the bottom mold design: Bottom Mold STL
Printing
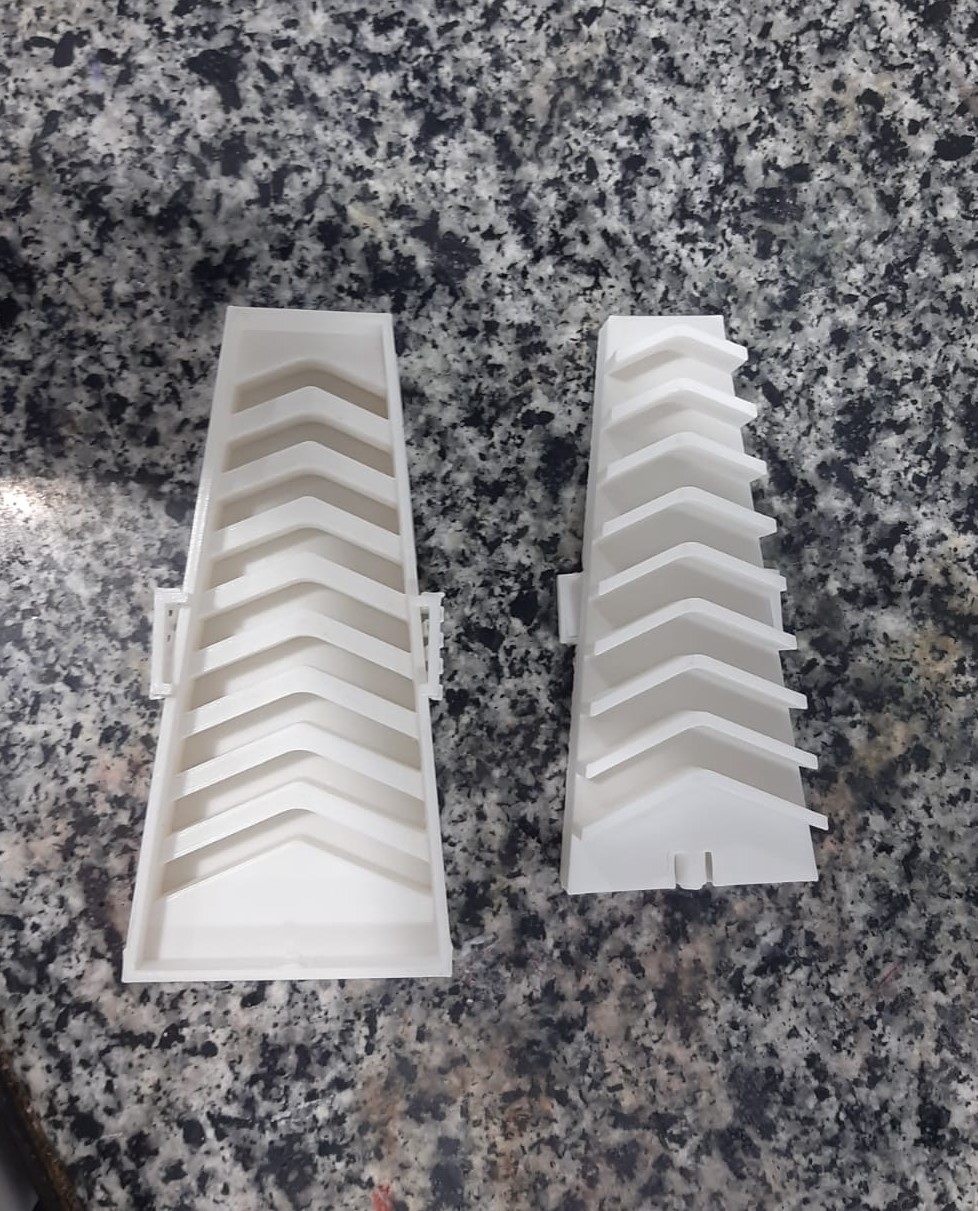
I printed the first version of the top mold using PLA material on an Original Prusa i3 printer.
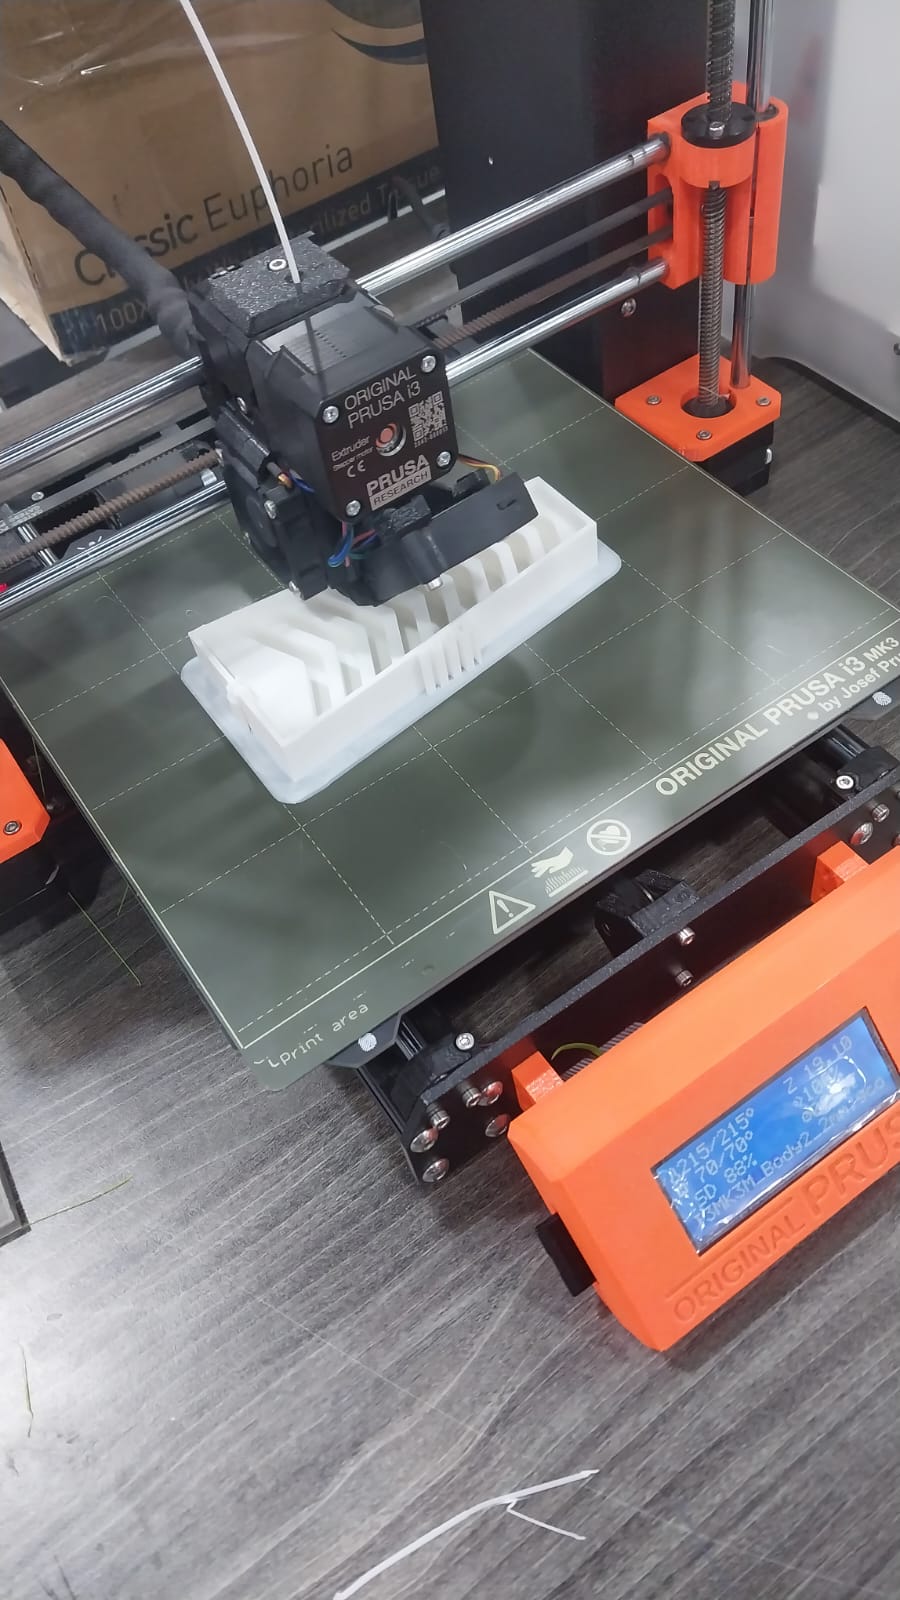
Here is the mold after printing:
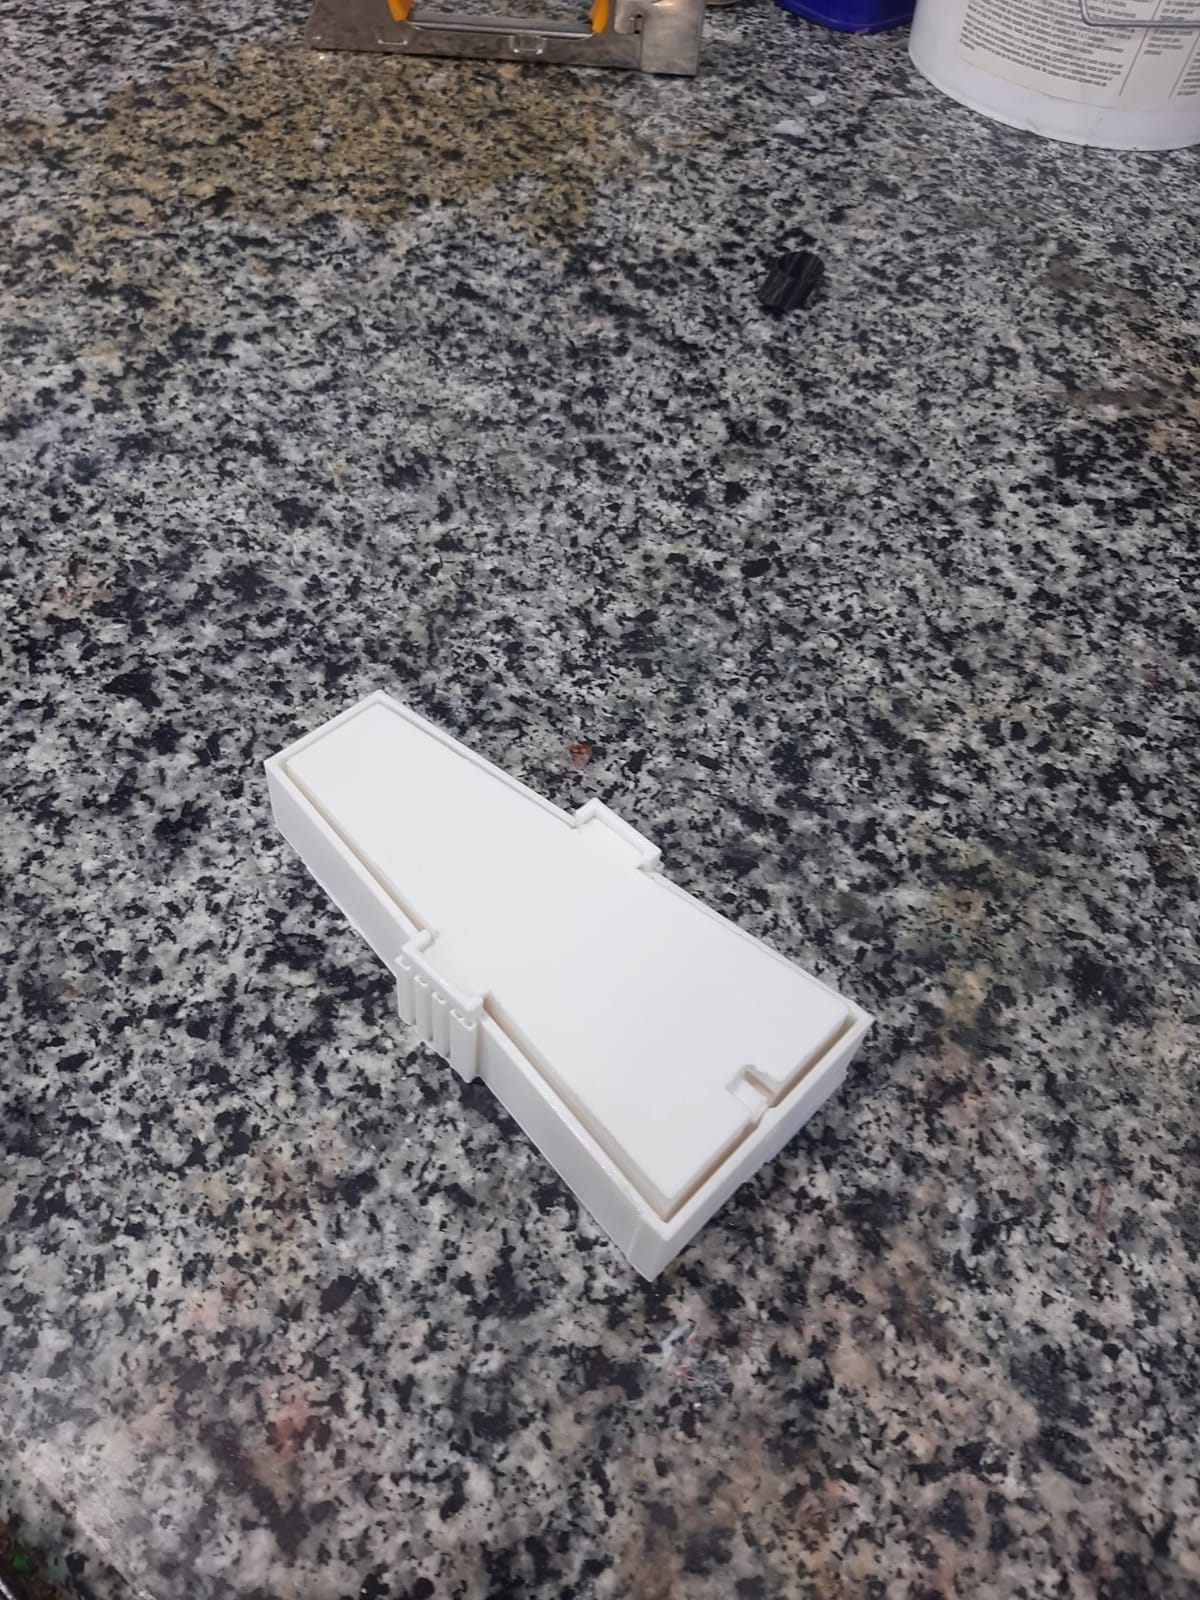
Casting
I used Dragon Skin 10 silicone to cast the finger, and I used a vacuum chamber to remove air bubbles from the silicone.
Dragon Skin 10 Medium:
It has a 20-minute pot life and a 5-hour cure time.
Here is the data sheet for Dragon Skin 10:
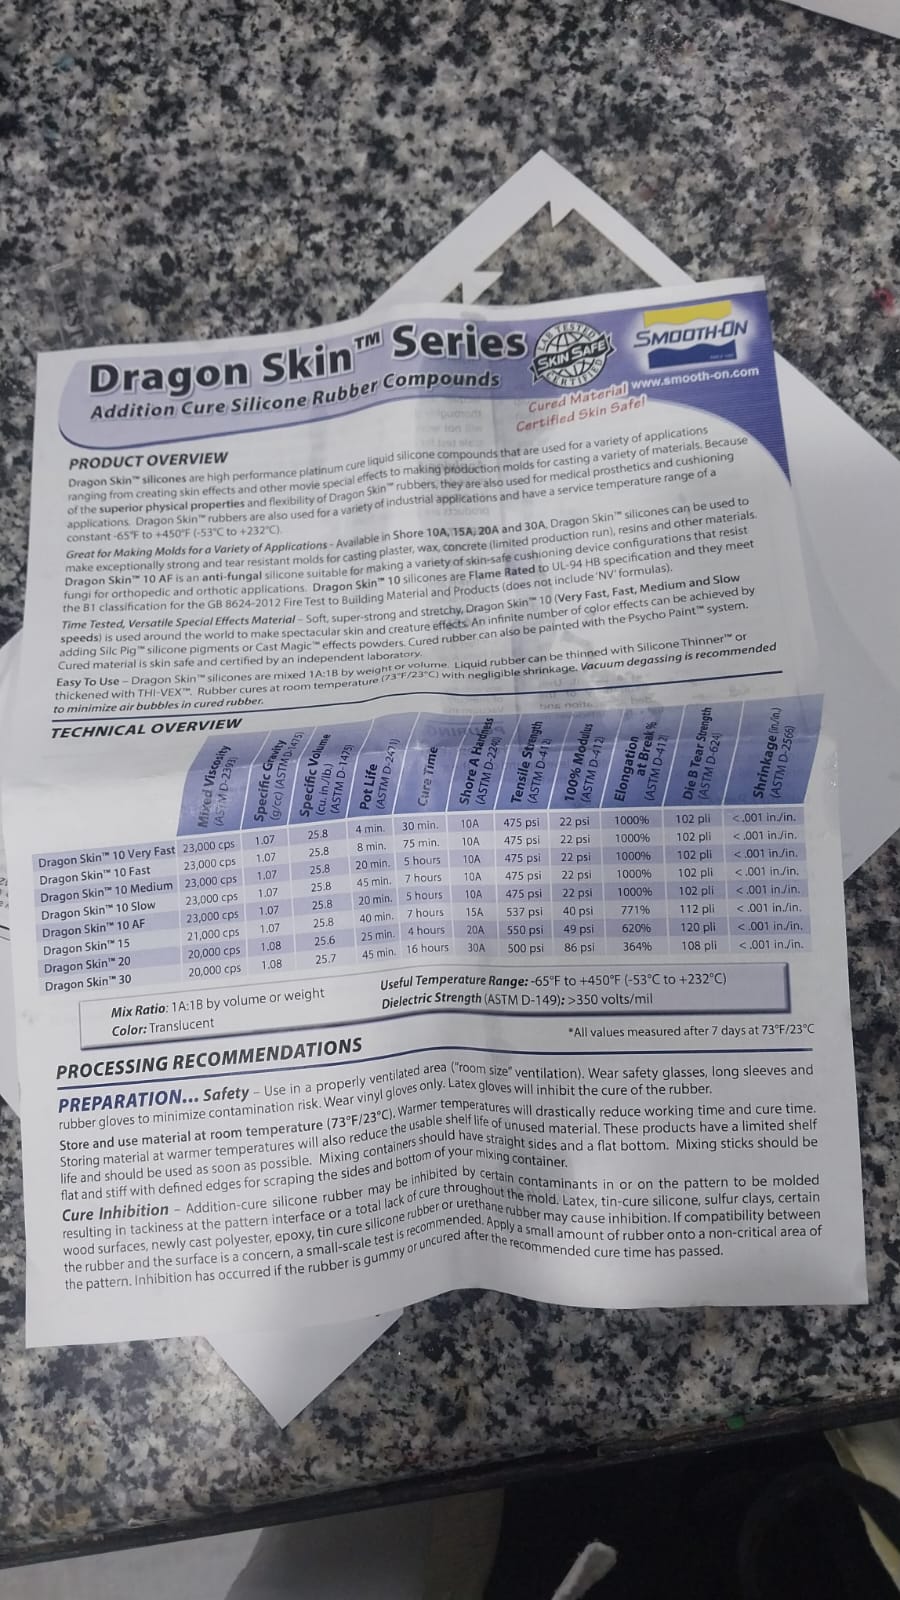
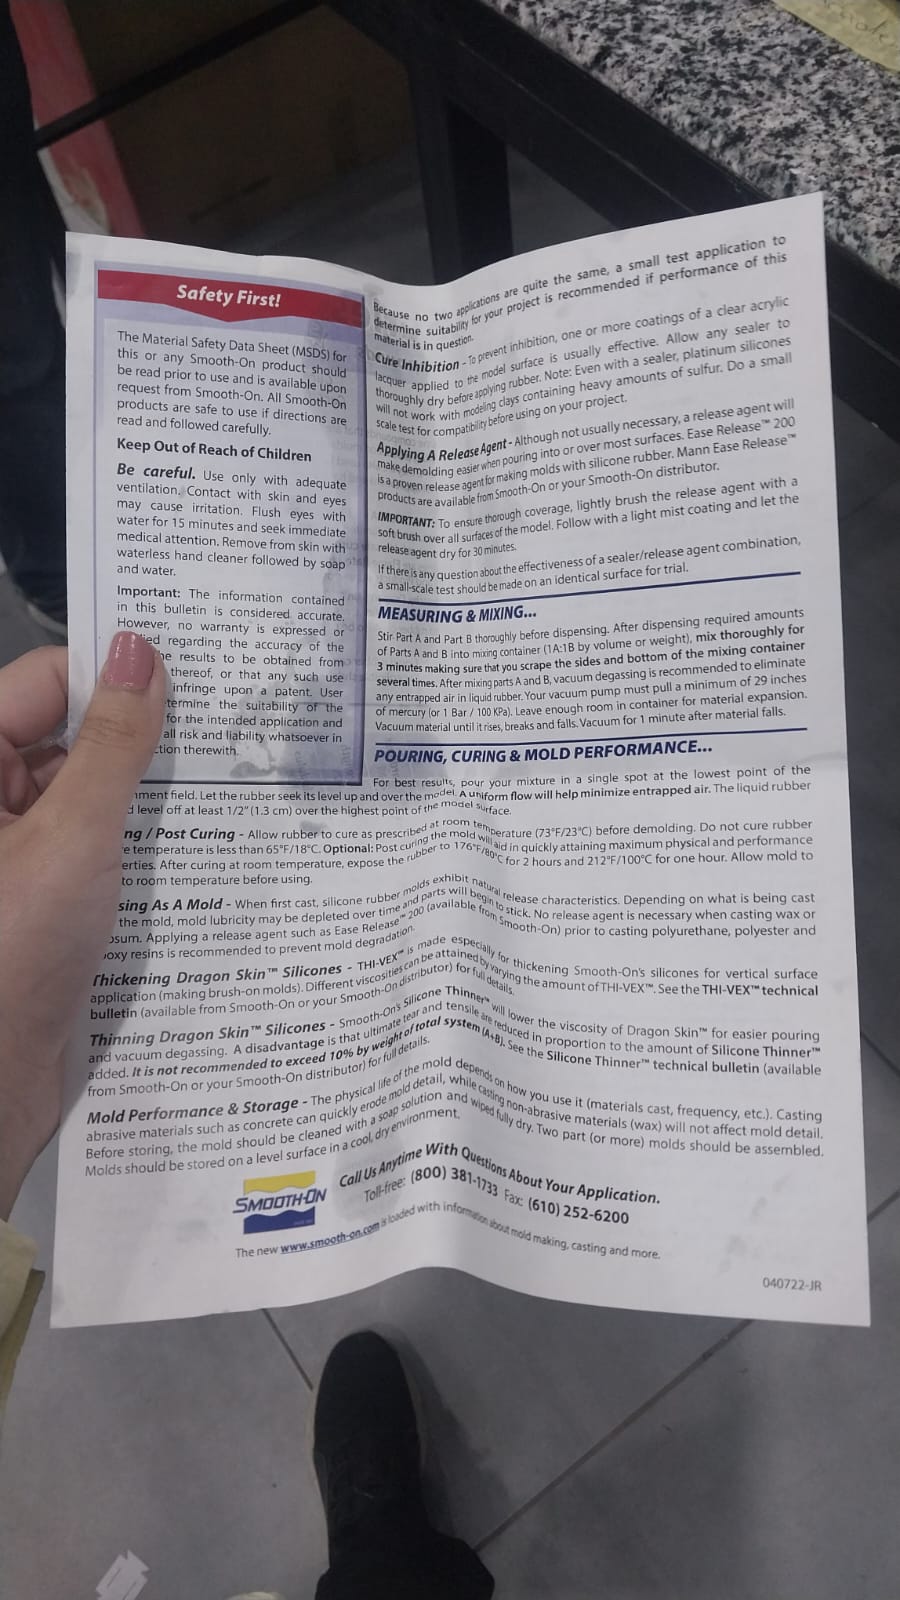
Here is a digital copy of the data sheet: Dragon Skin 10 Datasheet
Here are some photos of the casting process:
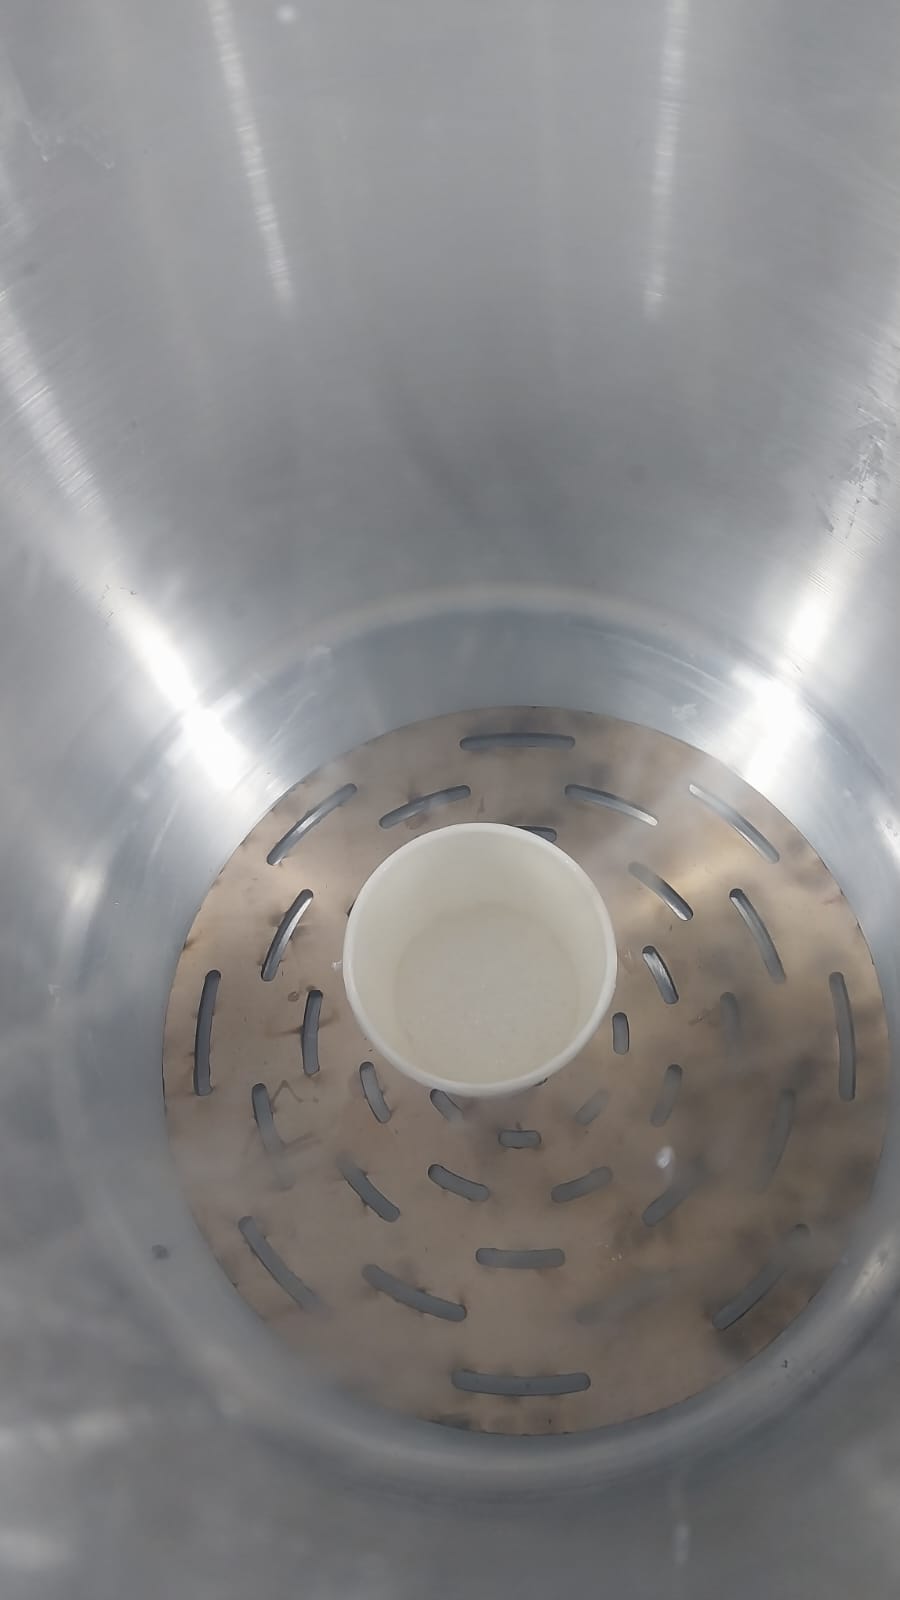
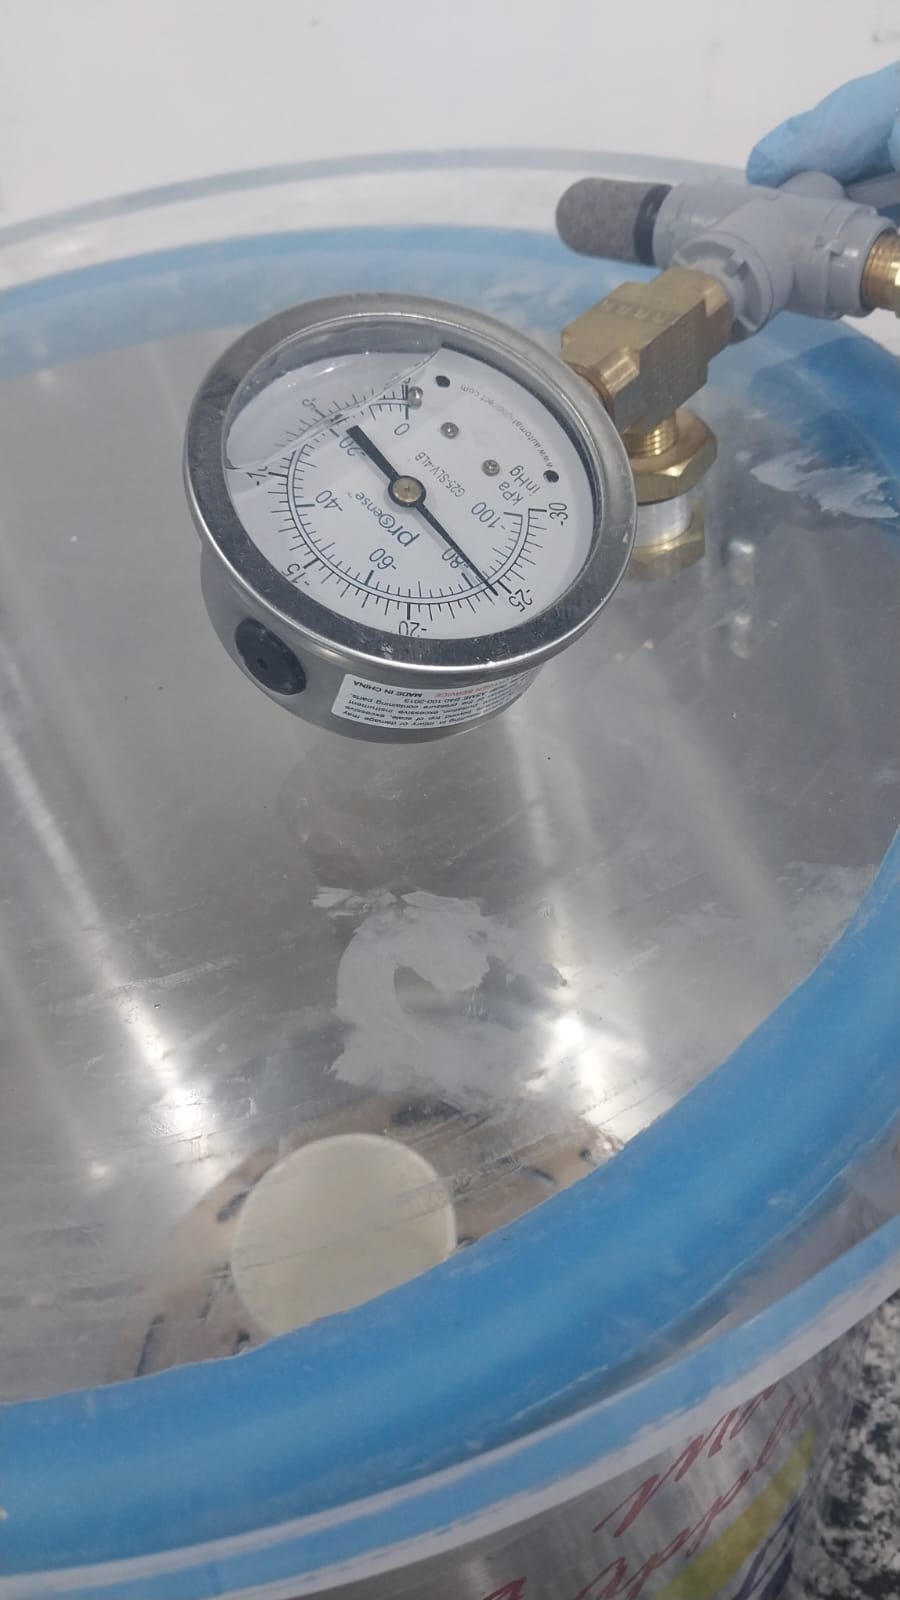
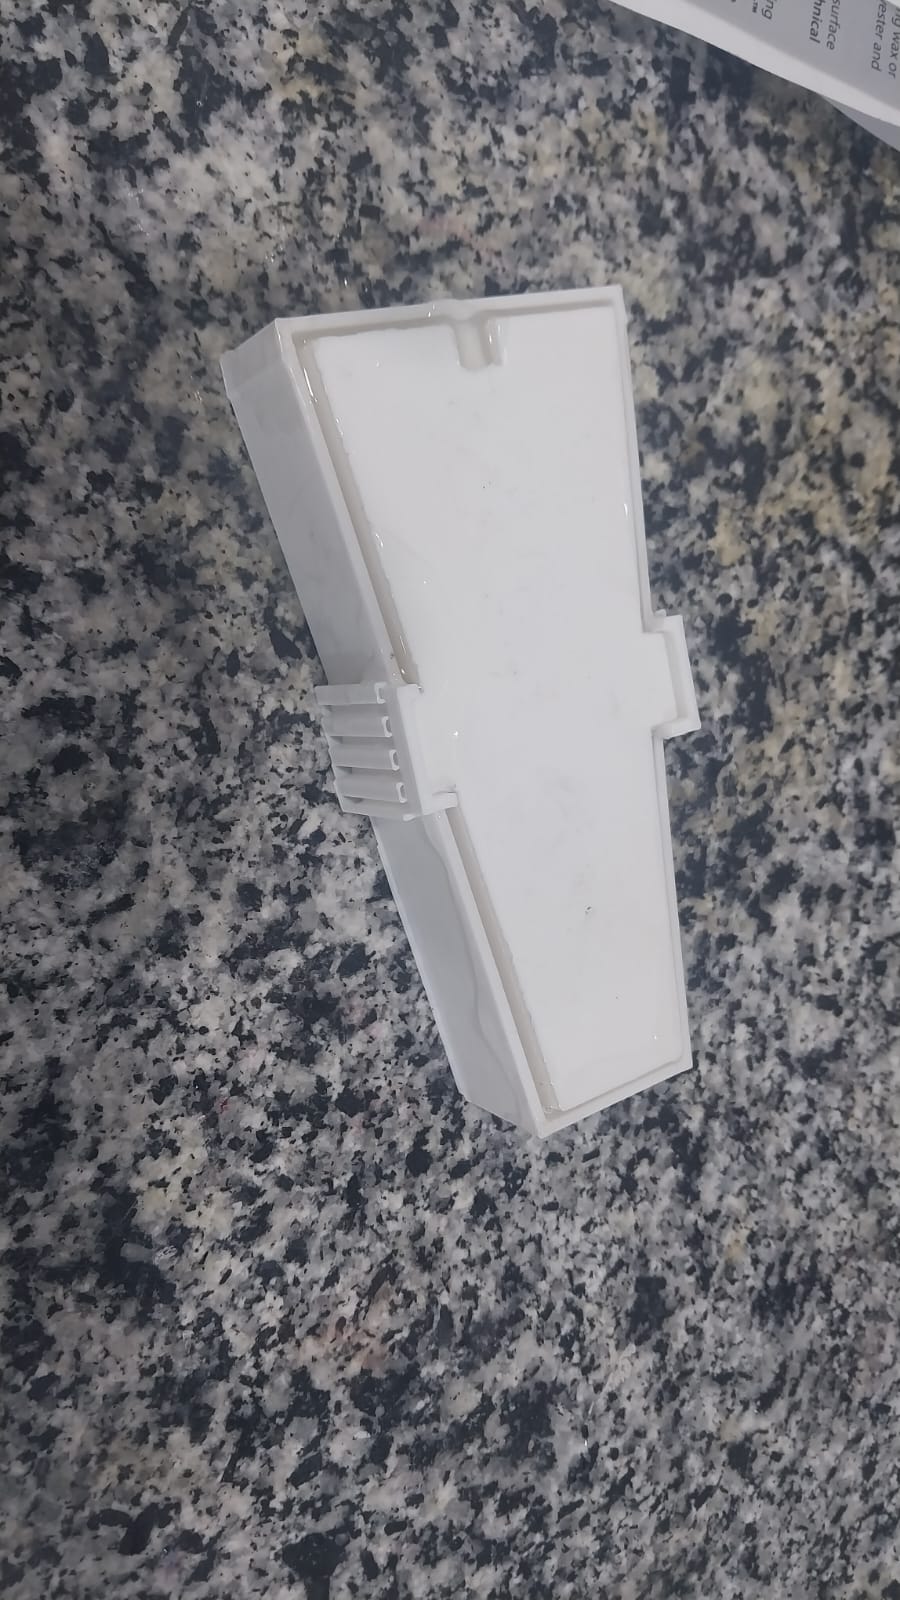
After 5 hours, I tried to remove the finger from the mold, but unfortunately, I couldn't. So I had to break the mold to get the finger out.
Version 2
After the first version failed, I redesigned the top mold by changing these points:
Top Mold Design
The top mold design was changed to consist of 4 parts to ensure that the mold can be removed easily after casting.
Here is the design of the second version of the top mold using Fusion 360:
Here is the final design of the second version of the top mold:
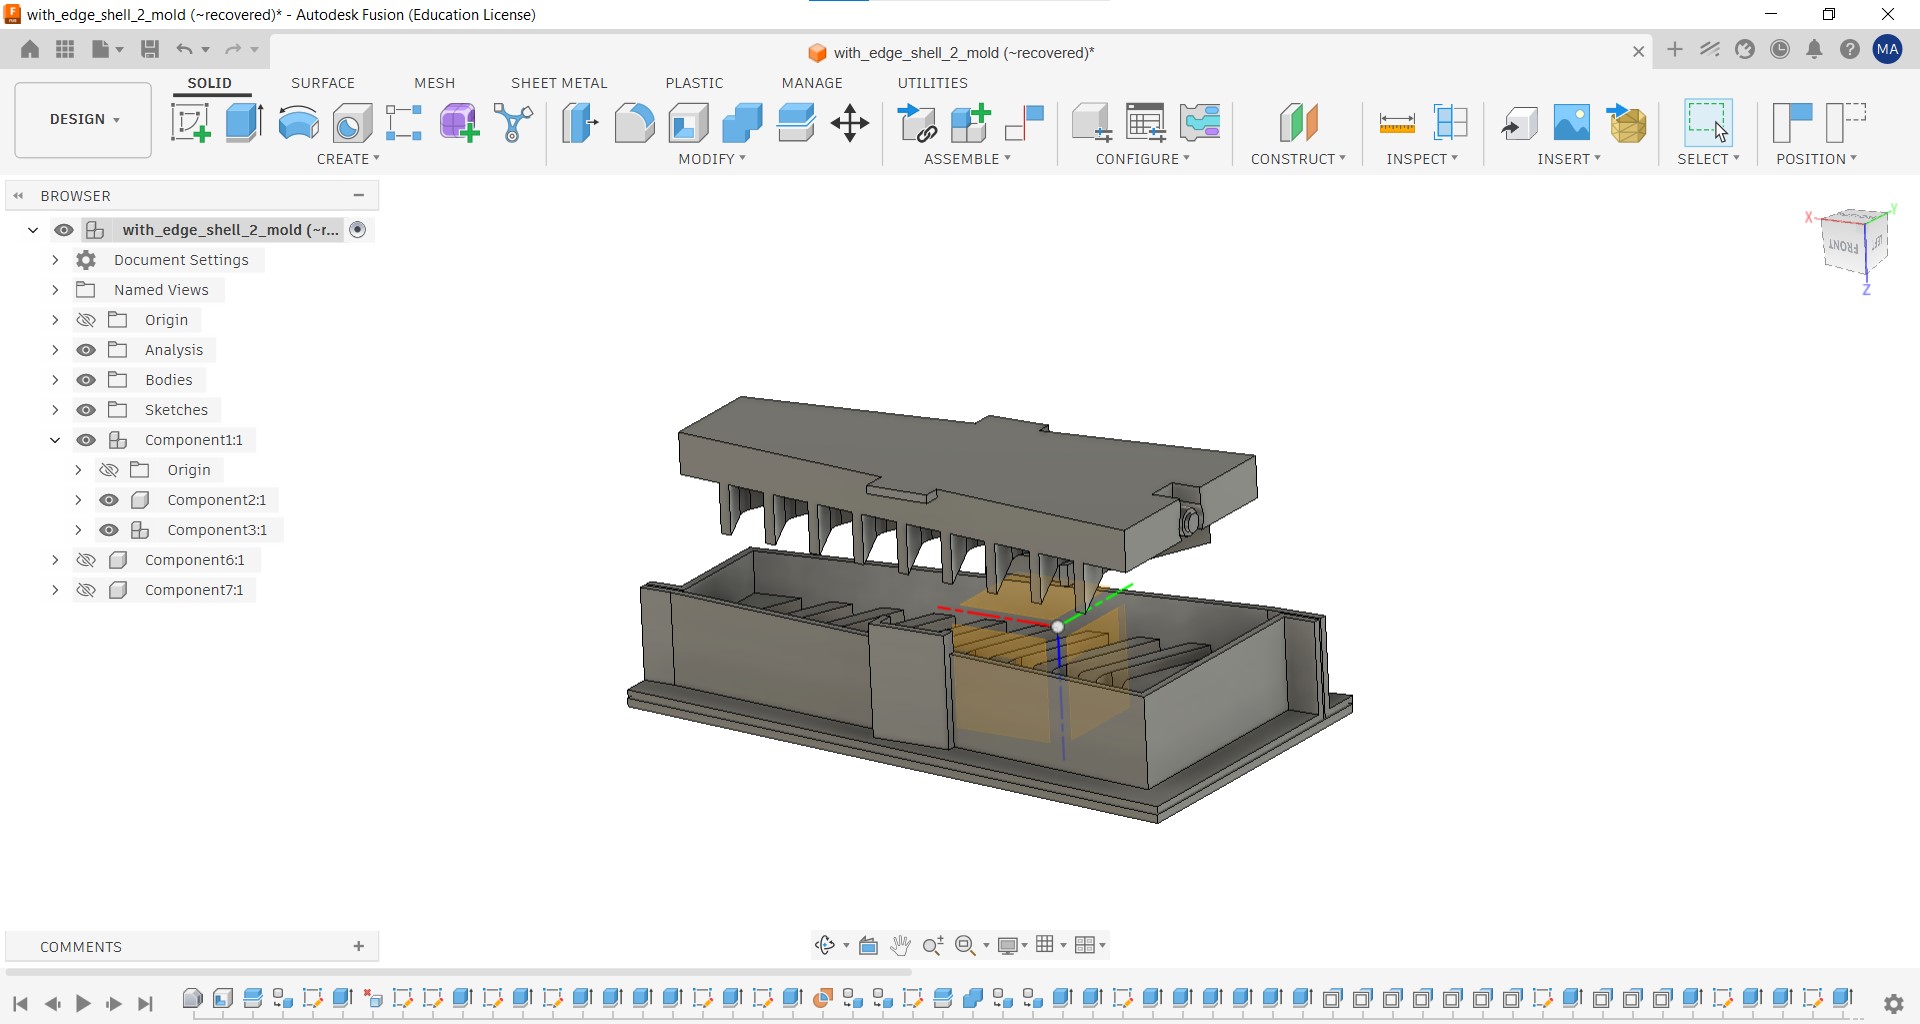
Here are the design files:
Bottom Mold Design
The bottom mold design was the same as the first version.
Here is the STL file for the bottom mold design: Bottom Mold STL
For the Fusion 360 file, it is the same as the top one: Bottom Mold Fusion 360
Printing
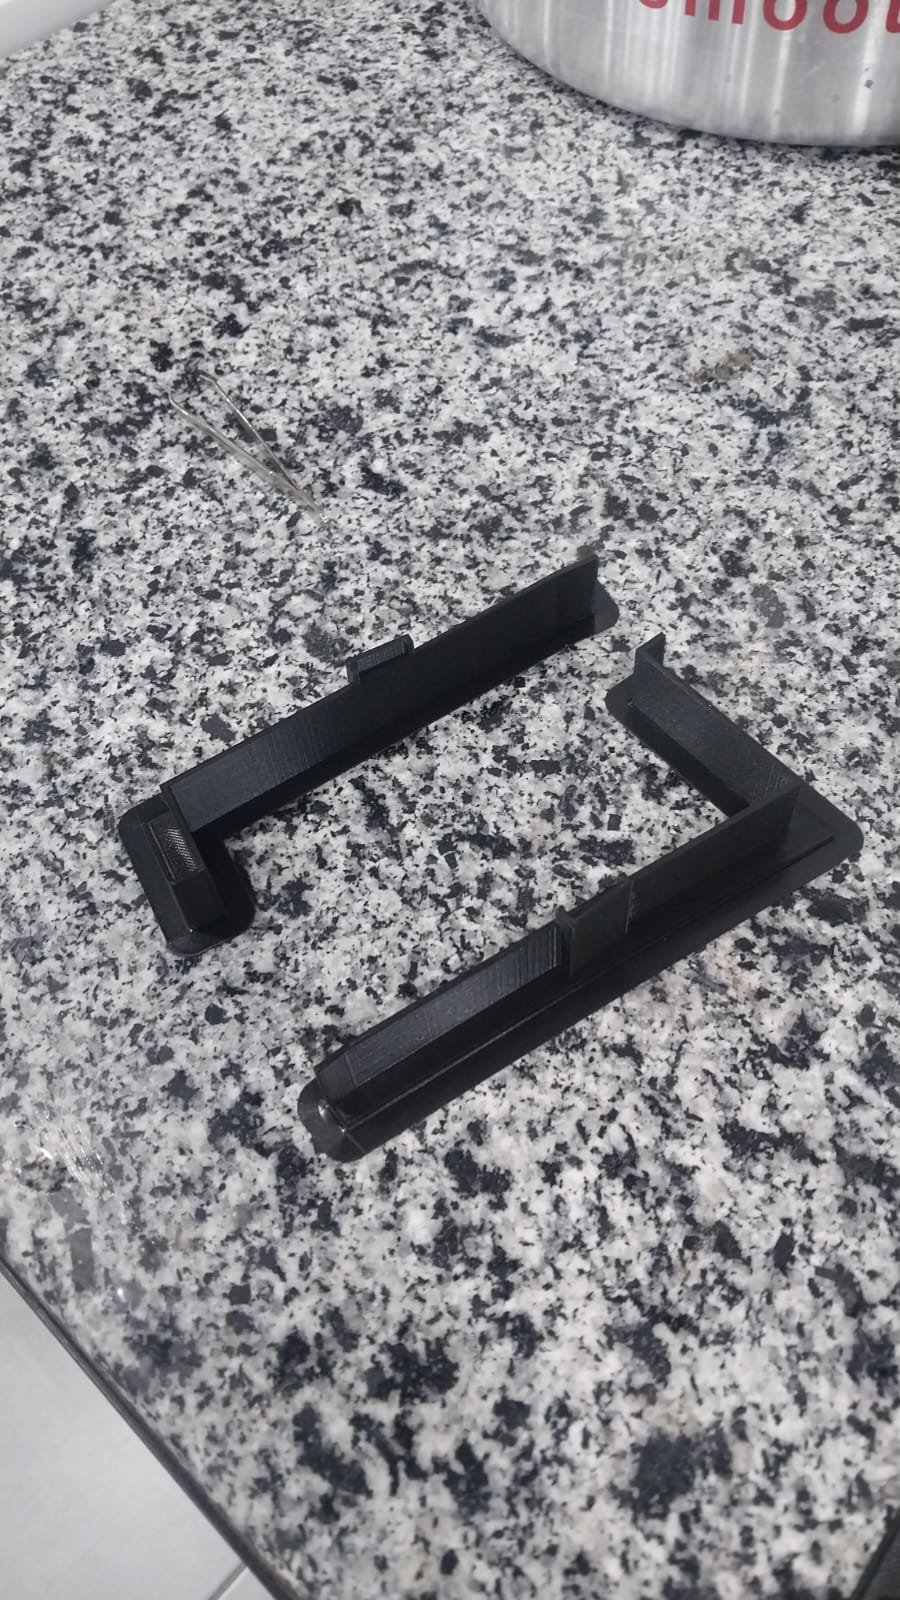
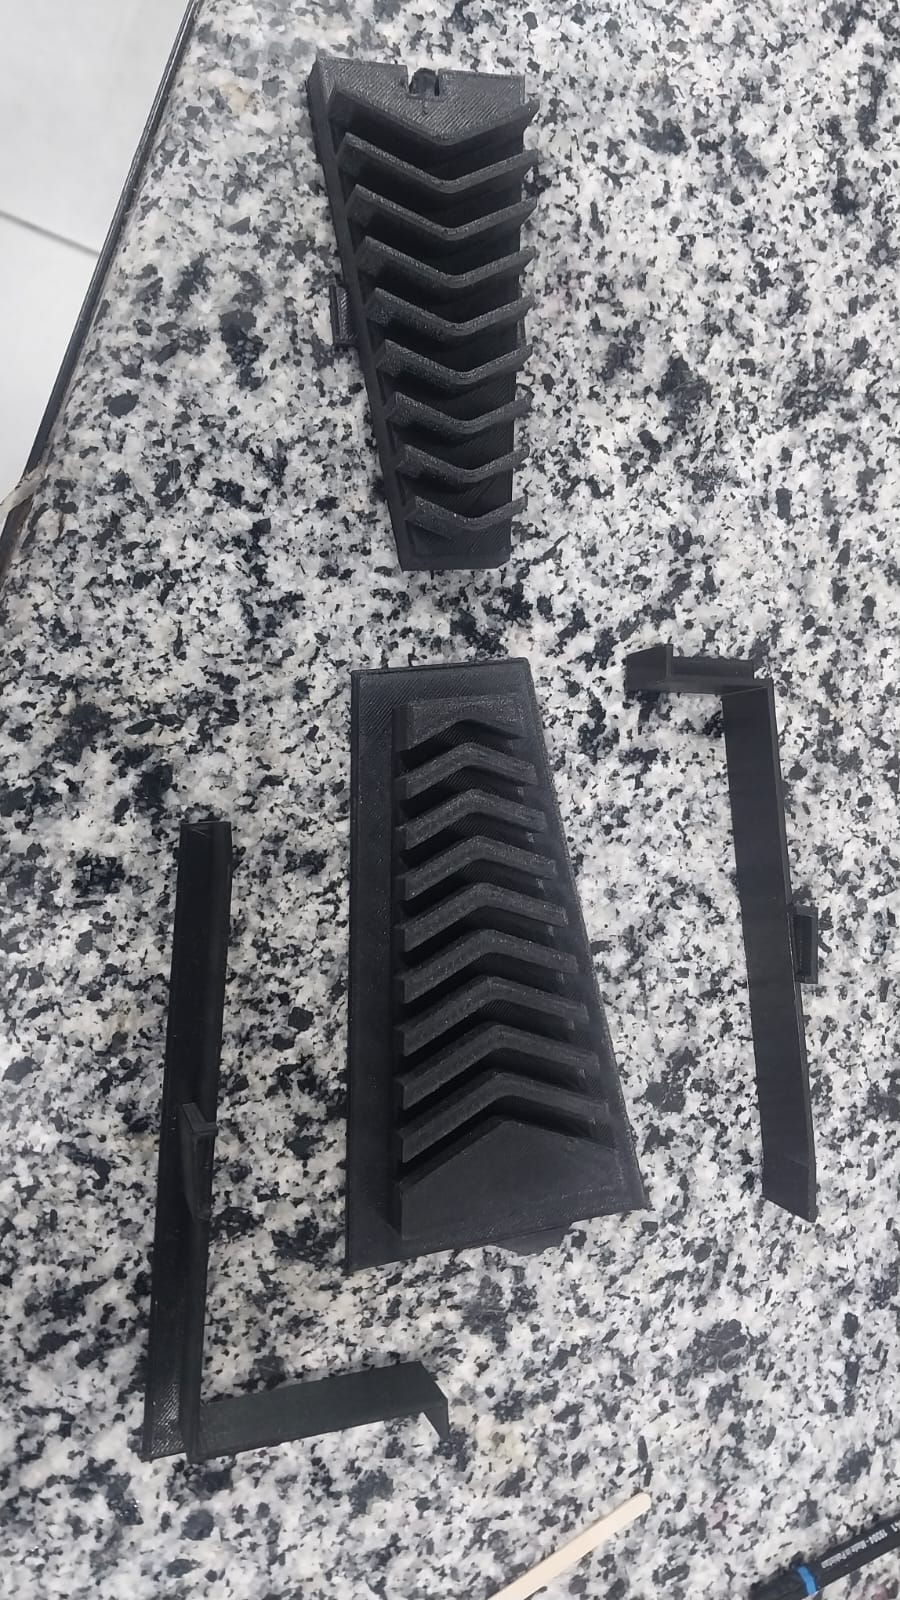
I printed the top and bottom parts of the second version of the top mold using TPU material on a Whitbox 2 printer, and printed the walls using PLA on an Ultimaker S5 printer. The bottom mold was also printed from PLA.
Here are the slicing files:
Here is the final result:
Casting
I used Dragon Skin 10 silicone to cast the finger, and I used a vacuum chamber to remove the air bubbles from the silicone.
Note: The pot life for Dragon Skin 10 is 20 minutes, and the cure time is 5 hours, so I had to work fast to pour the silicone into the mold before it started to cure.
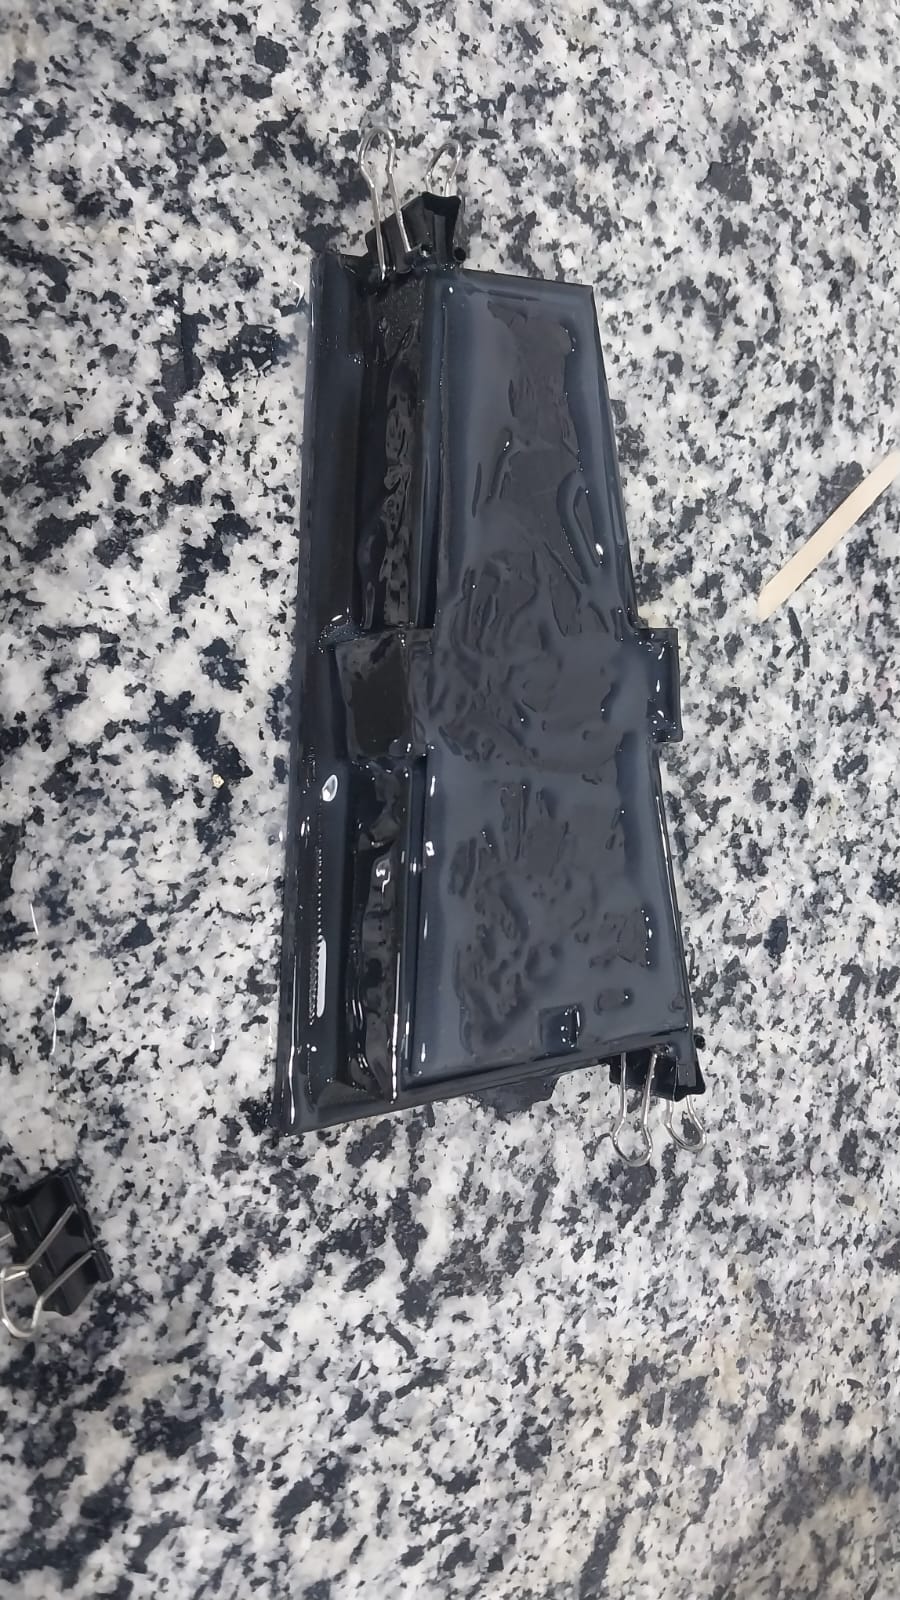
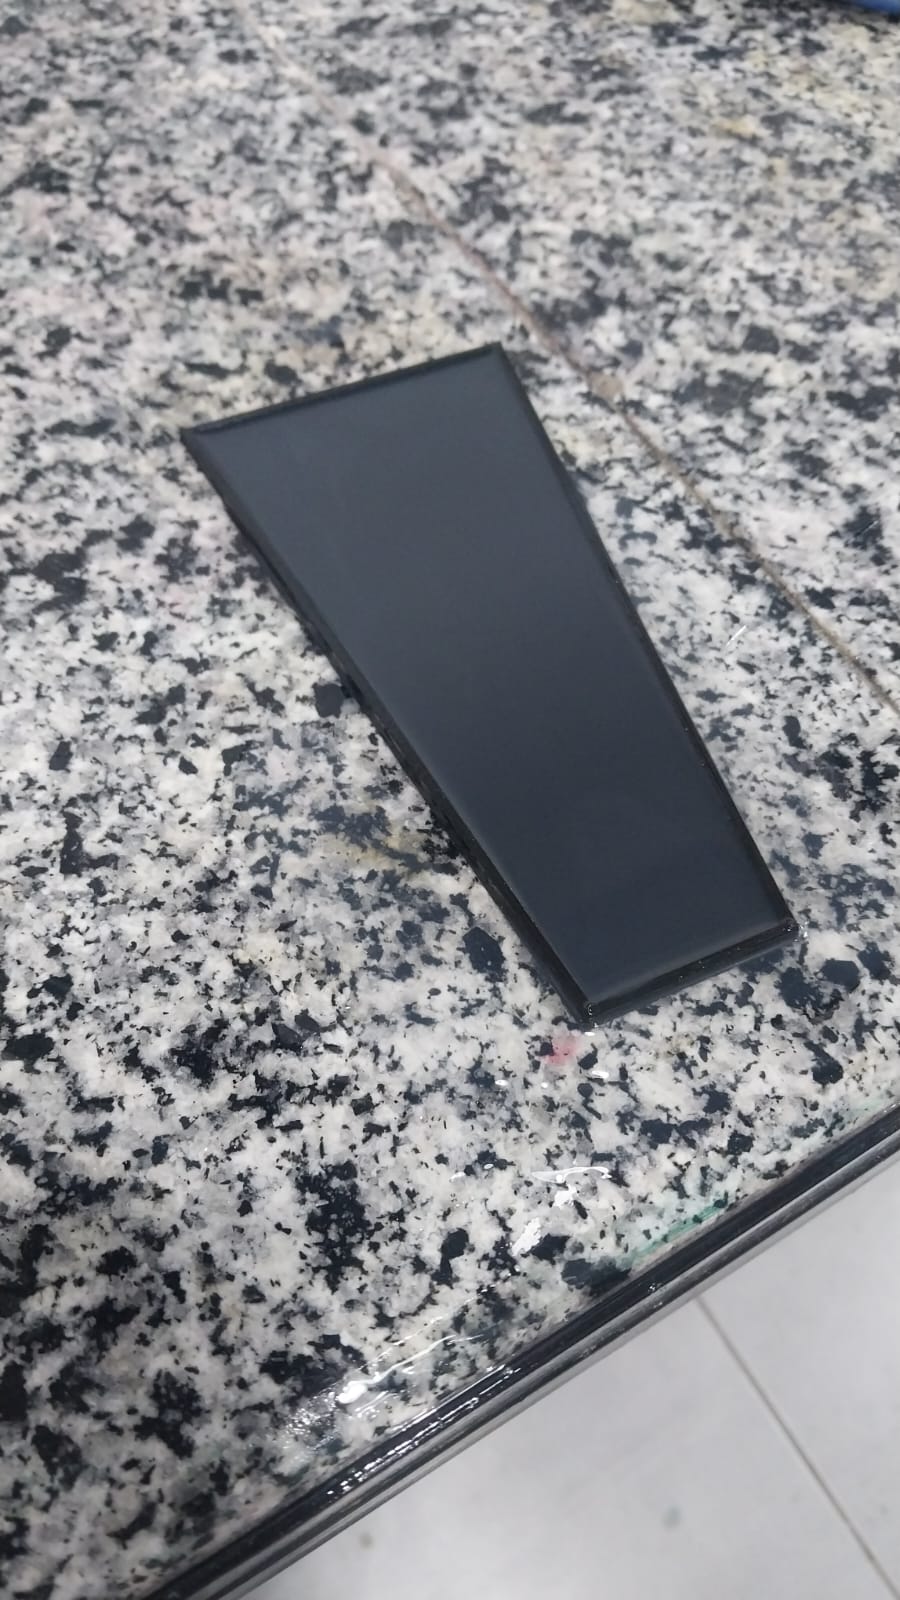
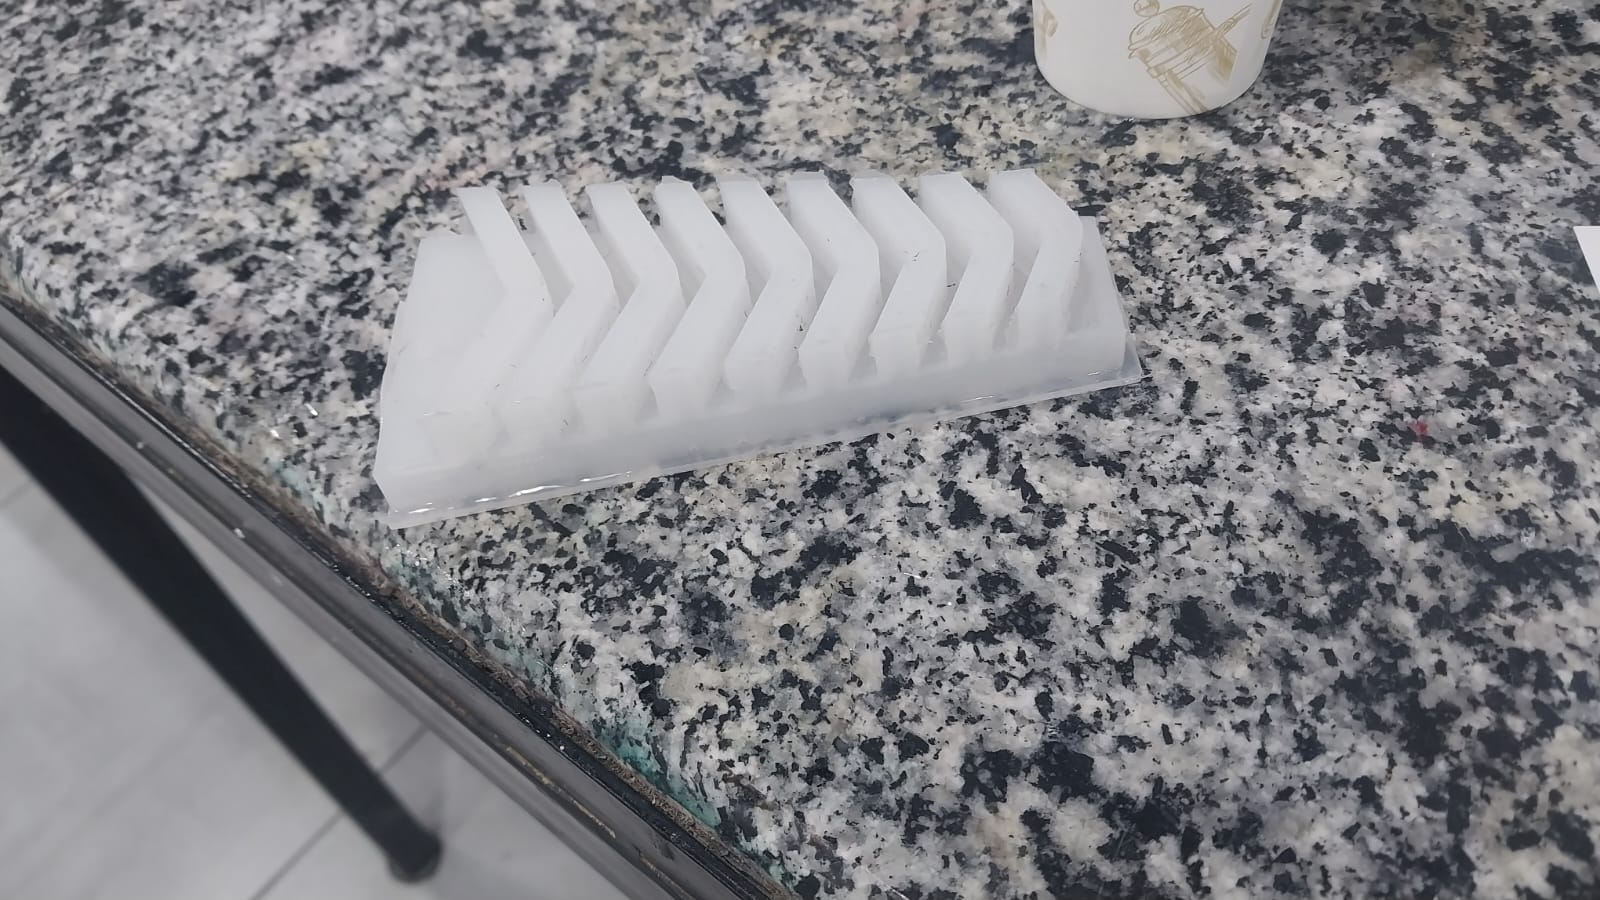
Here are the steps of the casting process:
Testing
After the finger was demolded, I tested its flexibility and durability by bending it and applying pressure to it. The finger bent easily without any tearing or damage, and it returned to its original shape after being released.
After testing, I cast two more fingers so that I could make the gripper.
Handler
The handler was made from PLA using 3D printing.
Handler Design
I designed the handler using Fusion 360, and I made sure the design was compatible with the fingers and could hold them securely.
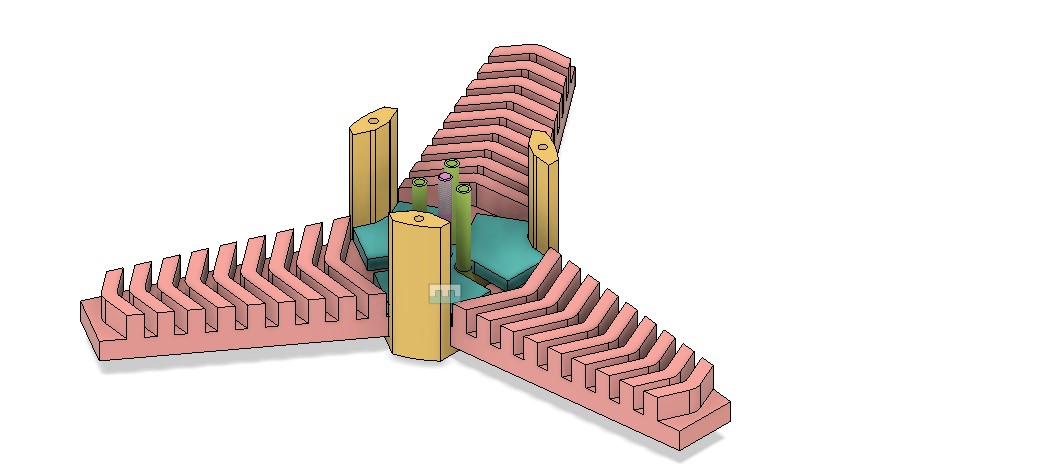
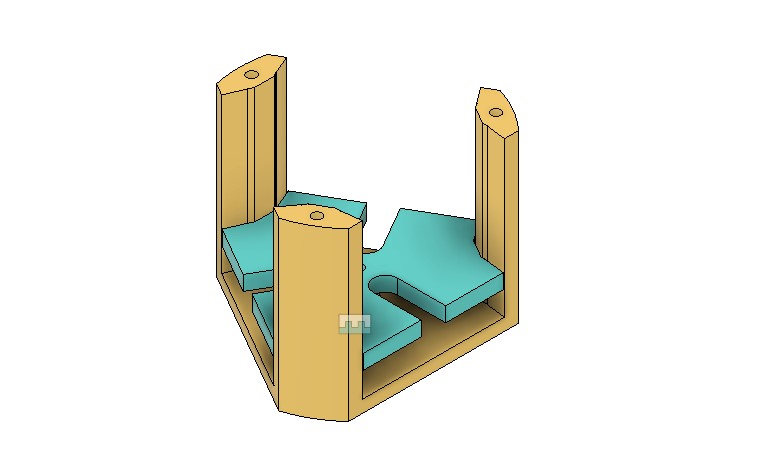
Here are the design files:
Handler Printing
I printed the handler using PLA on an Ultimaker S5 printer.
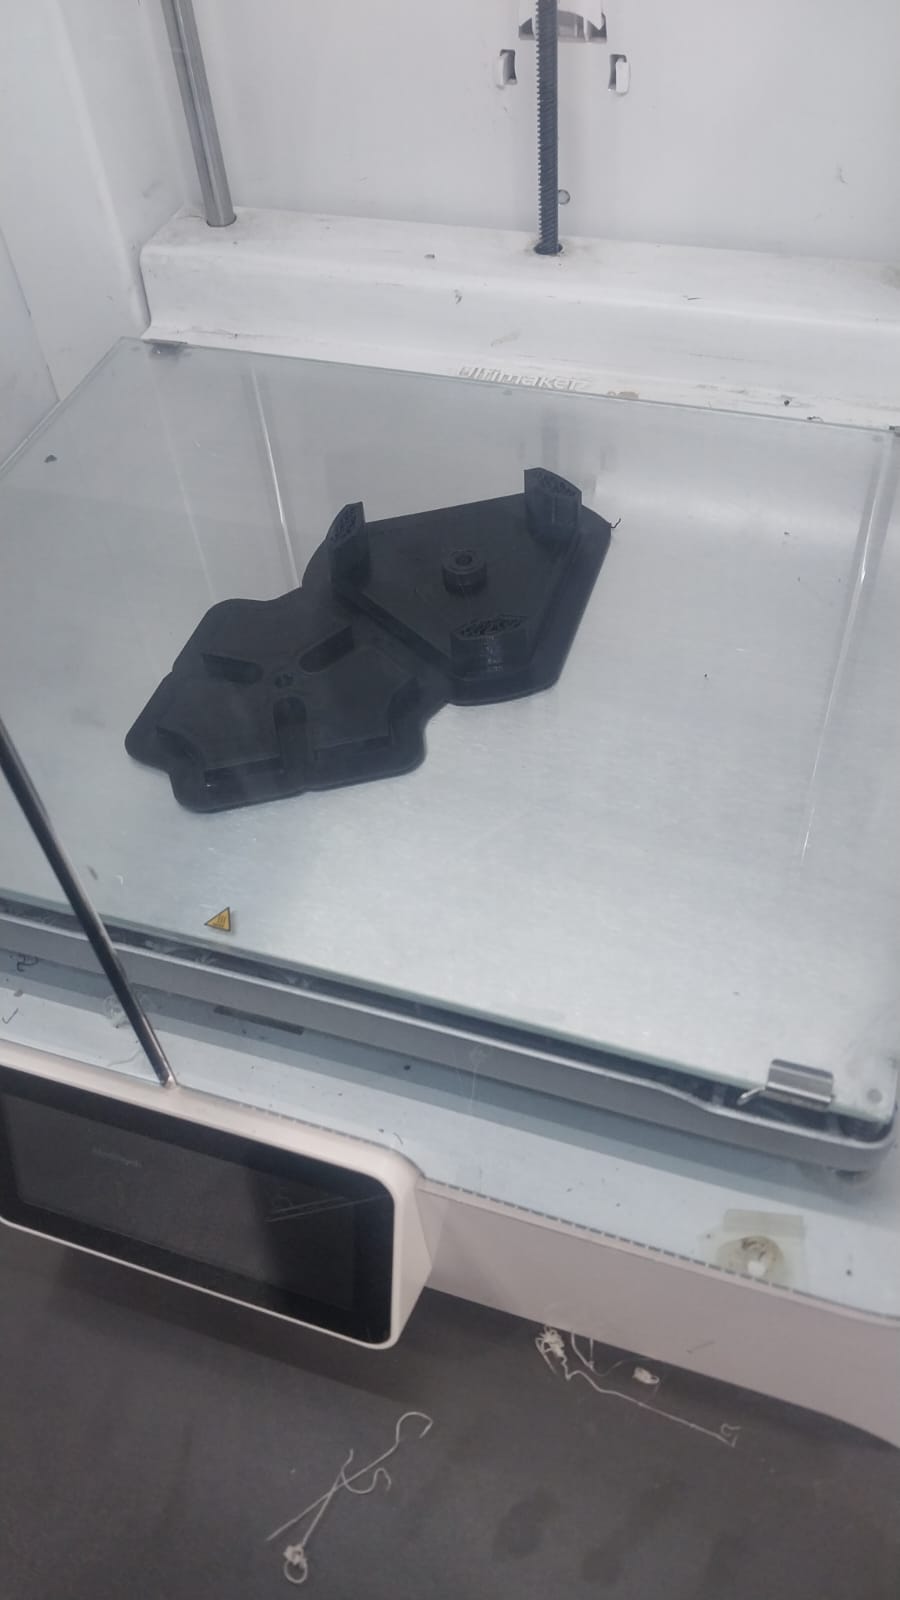
Here is the slicing file:
Gripper Assembly
After printing the handler and casting the fingers, I assembled the gripper by attaching the fingers to the handler with screws and nuts.
Gripper Testing
I tested the gripper by picking up objects, and it was able to pick them up successfully without any issues.
Gripper Attached to KUKA Robot
After testing the gripper, I attached it to a KUKA robot arm to see how it performed in a robotic application.
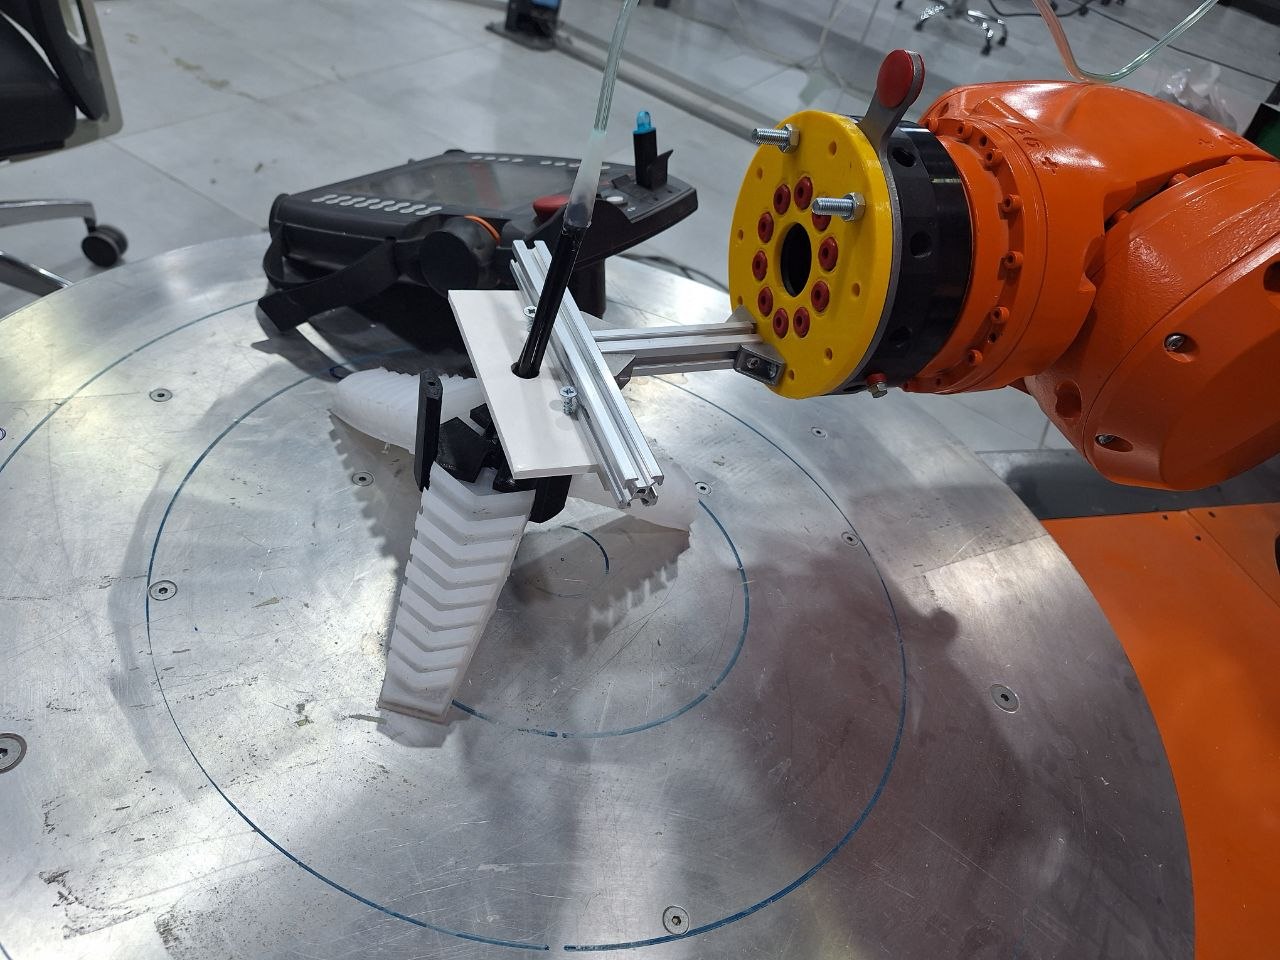
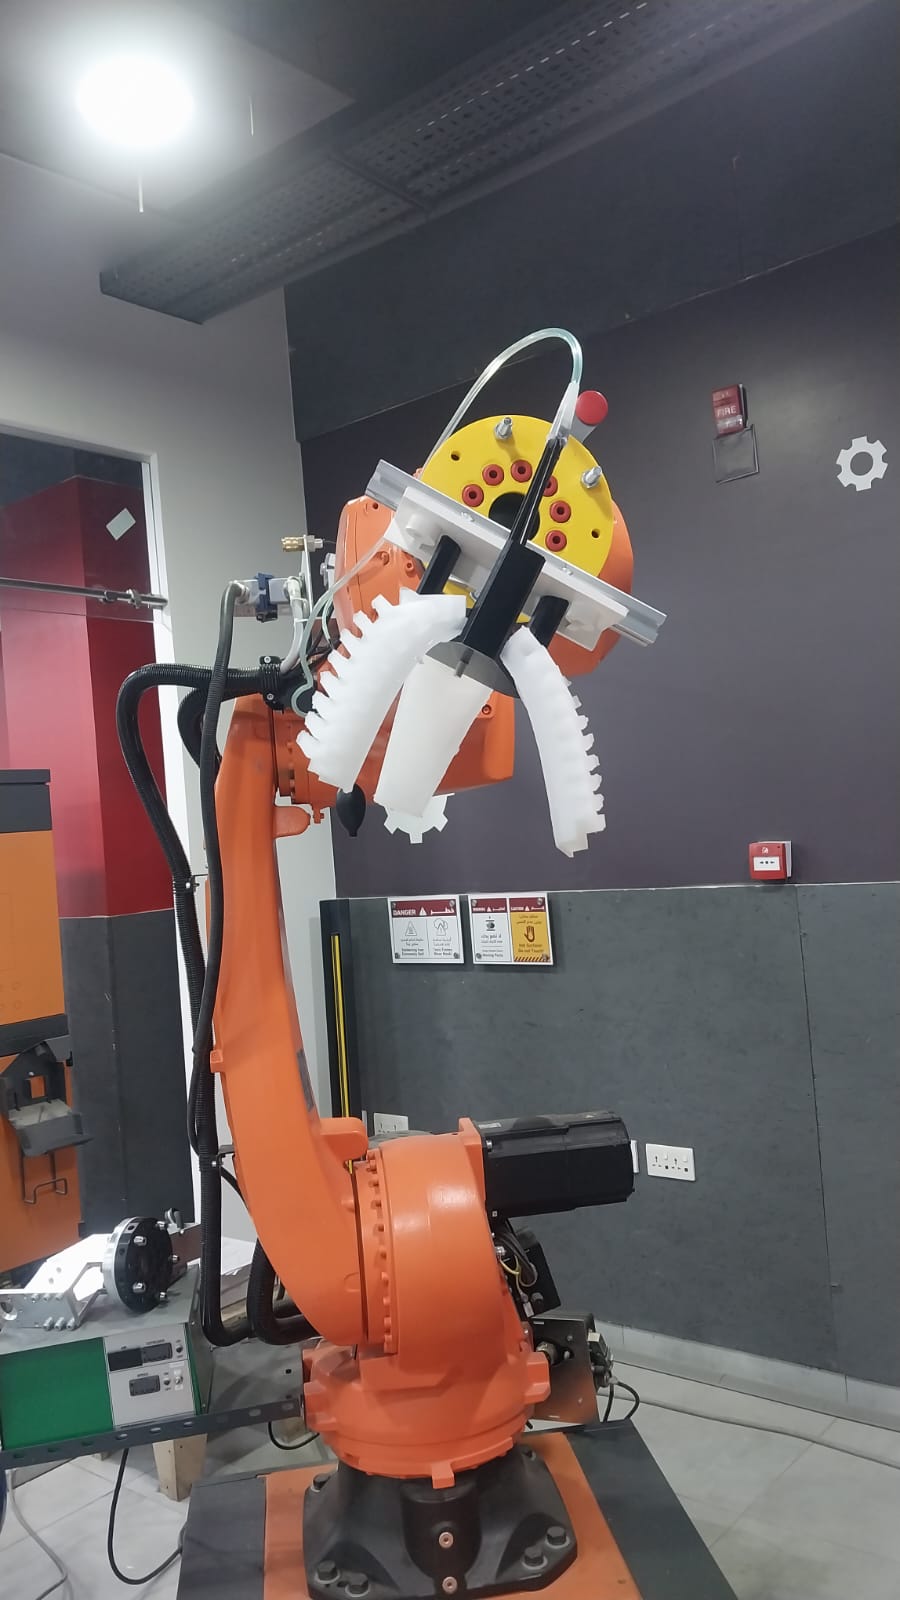
The gripper was able to pick up objects successfully when attached to the KUKA robot arm, demonstrating its functionality in a robotic application.
I tried to write a program for the KUKA robot to control the gripper. Since my colleague chose KUKA for his wildcard week, I attended the class with him, which helped me a lot with this part.
Here is the program:
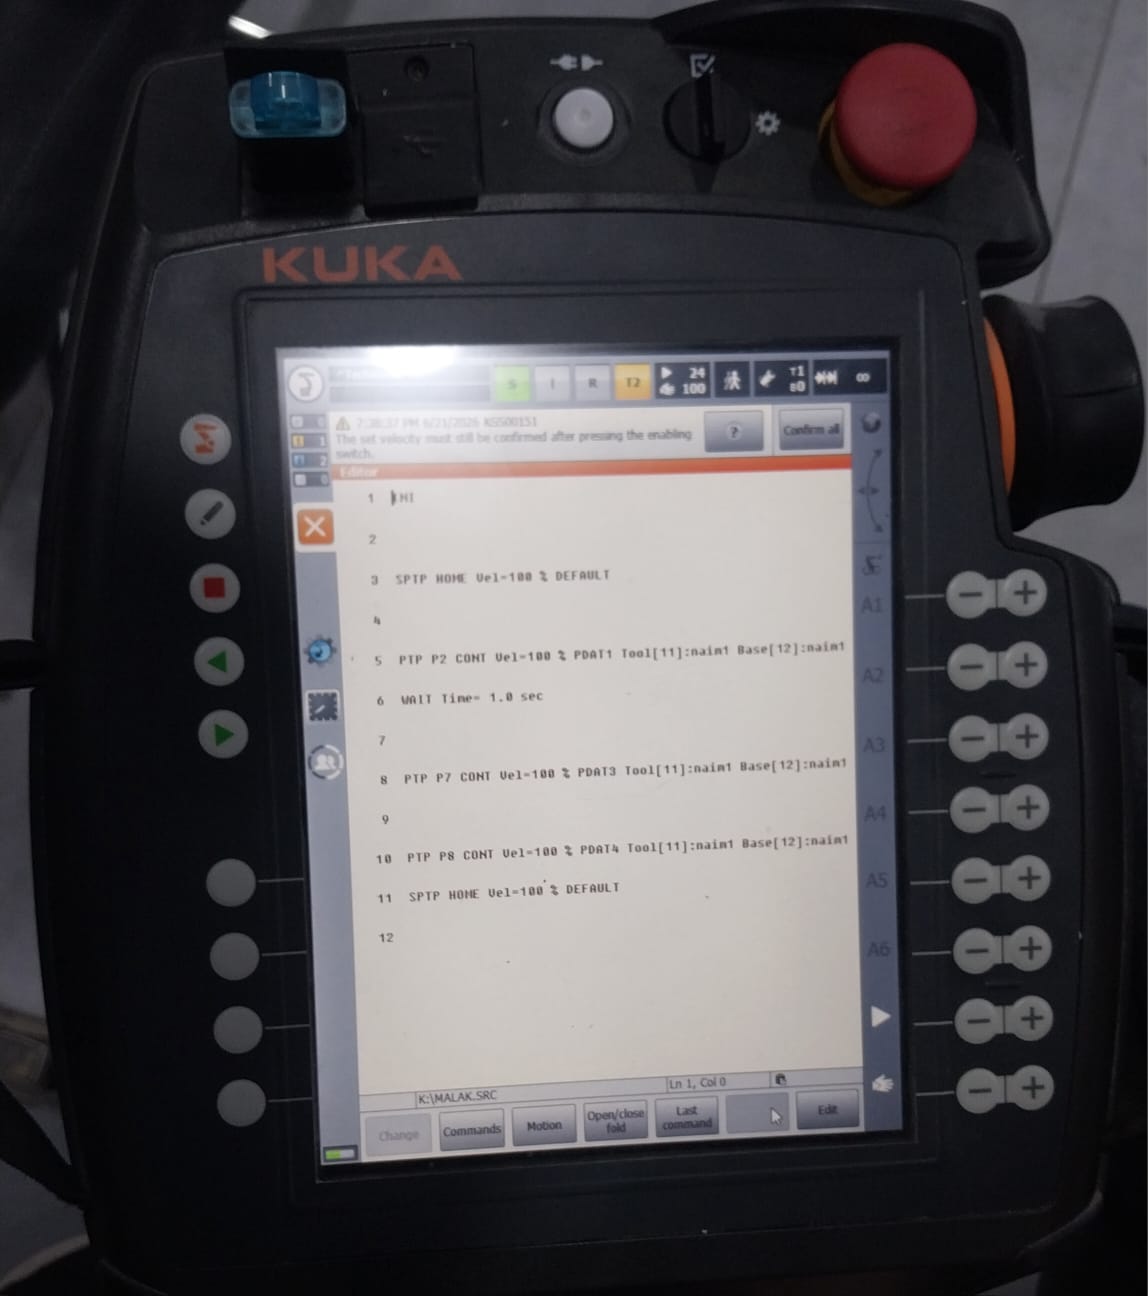
You can download the program from here: KUKA Program
Note: You can find more details about the KUKA robot and how to work with it in my colleague's documentation: Wild Card Week - Kuka Robotic Arm.
Conclusion
In conclusion, this week was a great opportunity for me to learn about soft robotics and to apply the skills I have learned throughout the Fab Academy course to create a functional soft robotic gripper. The process of designing, printing, casting, and testing the gripper was challenging but rewarding, and I am proud of the final result.
As this is my last assignment for the Fab Academy before I shift my full focus to my final project, I would like to thank my instructors and colleague for their support and guidance throughout the course. I have learned a lot about digital fabrication, design, and prototyping, and I am excited to apply these skills in my future projects.