Week 11: Networking & Communication
Group Assignment
For this assignment, we explored different wired communication protocols such as UART, I2C and compared between them.
Here is the full group assignment documentation: Group Assignment Documentation
Individual Assignment
For this assignment, I tried different types of networking and communication protocols including Bluetooth, Wi-Fi.
I will try this protocols to choose the best one for my final project.
Testing Communication Protocols
For this assignment, I used the Xiao Seeed ESP32C3 board to test different communication protocols.
Bluetooth
For Bluetooth testing, I first learned about how to use Bluetooth with the Xiao Seeed ESP32C3.
Here is my conversation with Gemini to learn more about Bluetooth in Xiao Seeed ESP32C3: Gemini.
Simple Test To Understand BLE
Before diving into complex Bluetooth implementations, I wanted to understand the basics of BLE communication.So I will do a small test to communicate with esp32c3 using BLE.
I will use the Arduino IDE and the BLE library used in the example on the seeed studio.
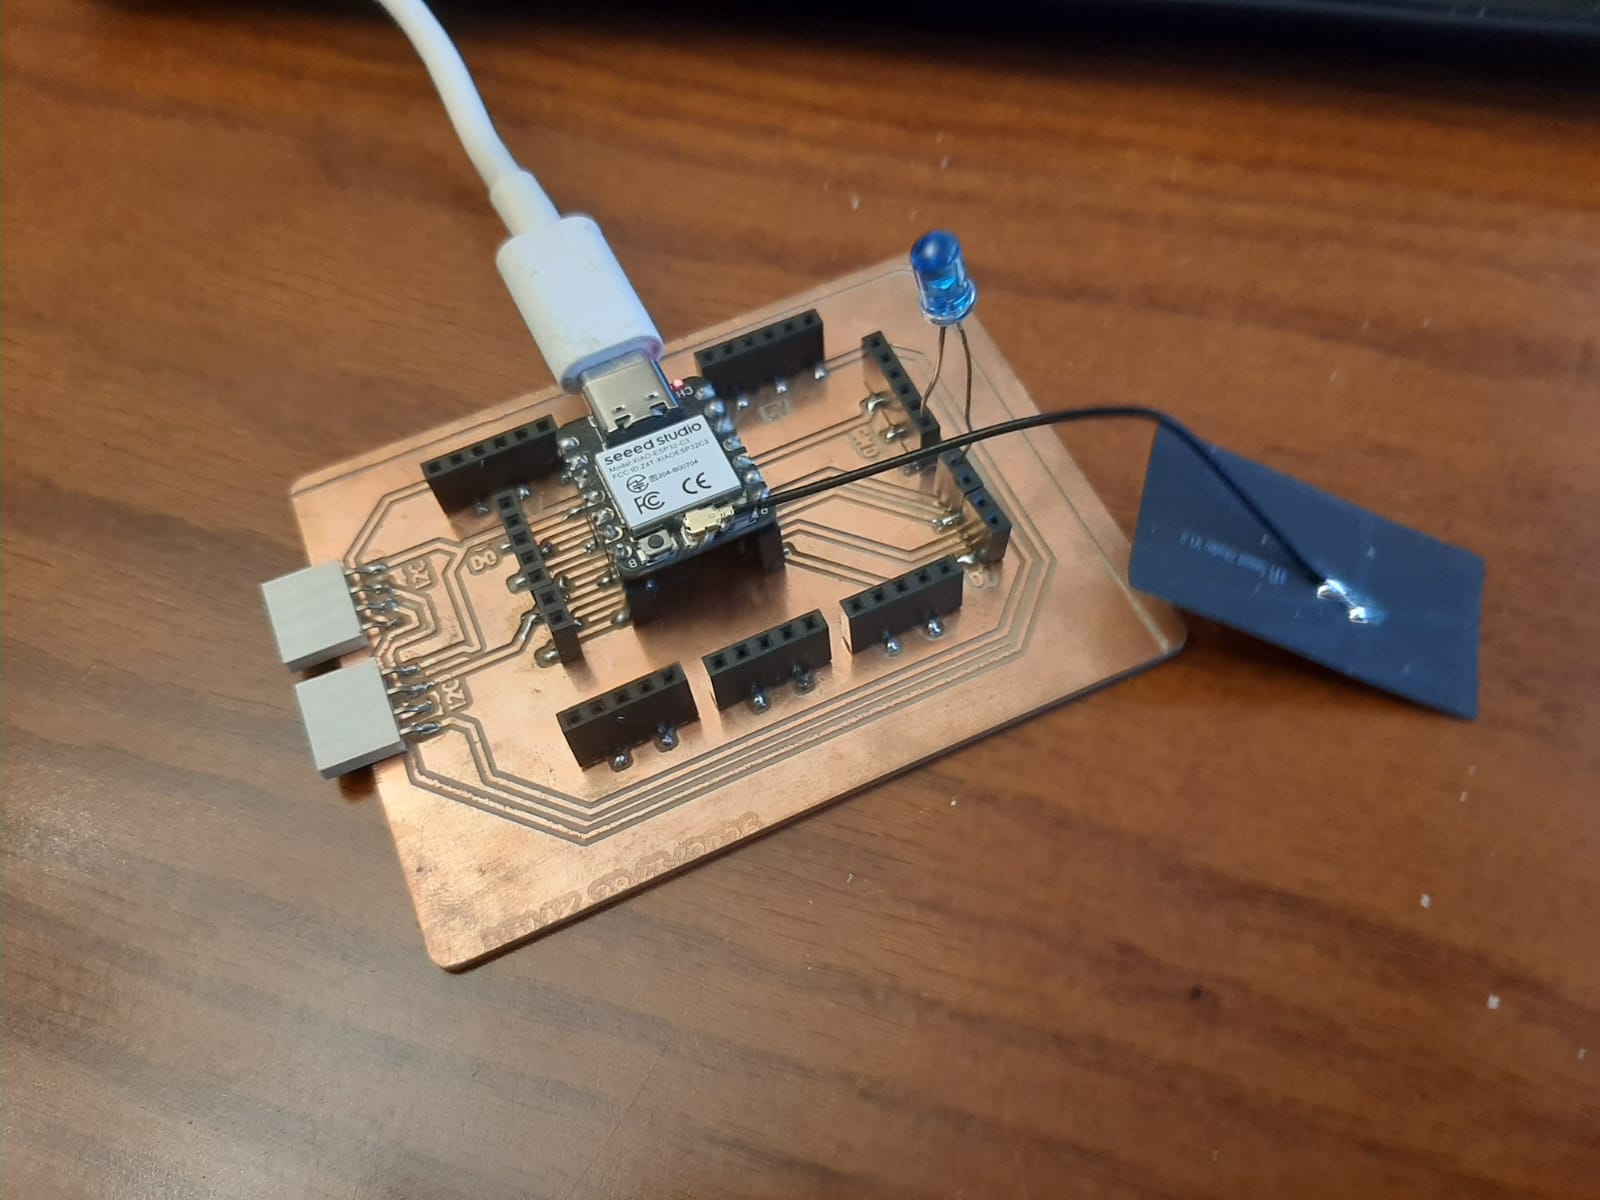
For this test I will create a simple BLE server and client to test the communication. By connecting an LED to the esp32c3 and controlling it from a smartphone to turn it on and off.
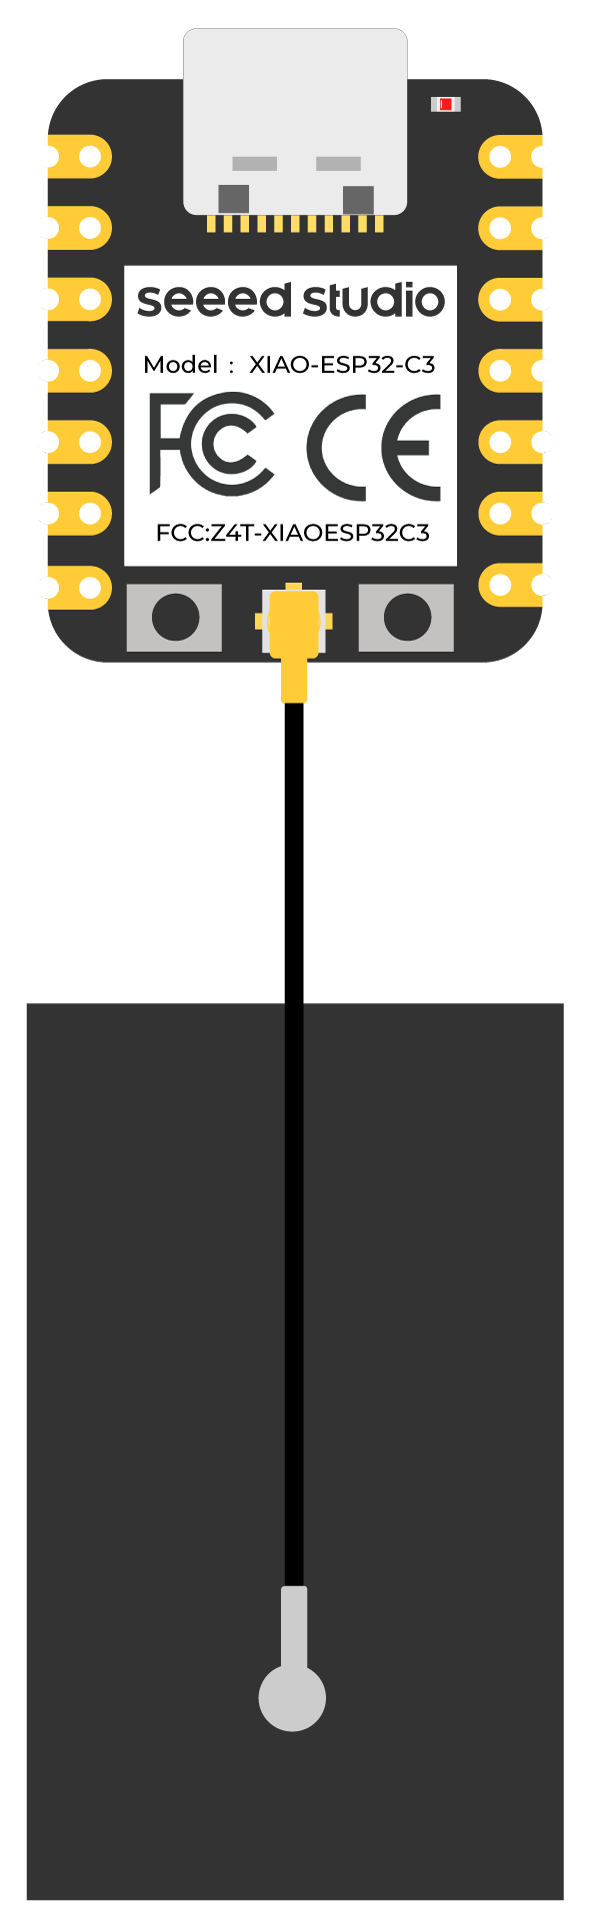
Here is the board I will use with an LED connected to pin 10:
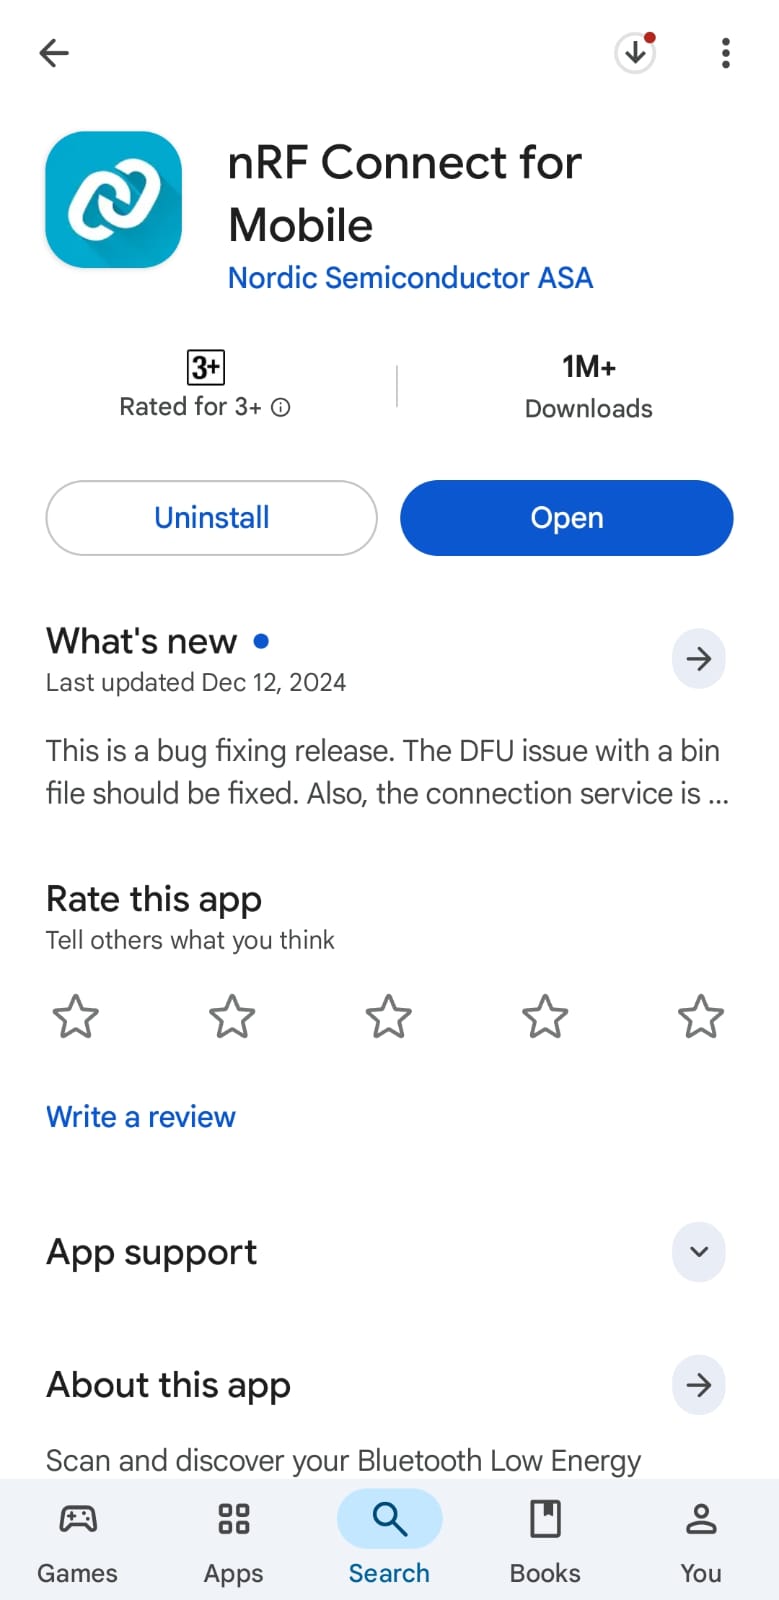
Here is the application I will use to test the Bluetooth communication:
Here is the code I will use to test the Bluetooth communication:
#include <BLEDevice.h>
#include <BLEUtils.h>
#include <BLEServer.h>

#define SERVICE_UUID        "4fafc201-1fb5-459e-8fcc-c5c9c331914b"
#define CHARACTERISTIC_UUID "beb5483e-36e1-4688-b7f5-ea07361b26a8"

#define LED_PIN 10      // <-- Change this to your LED pin

class MyCallbacks : public BLECharacteristicCallbacks {
  void onWrite(BLECharacteristic *pCharacteristic) {

    std::string value = pCharacteristic->getValue();

    if (value.length() > 0) {

      String command = "";

      for (int i = 0; i < value.length(); i++)
        command += value[i];

      Serial.print("Received: ");
      Serial.println(command);

      if (command == "ON") {
        digitalWrite(LED_PIN, HIGH);
        Serial.println("LED ON");
      }
      else if (command == "OFF") {
        digitalWrite(LED_PIN, LOW);
        Serial.println("LED OFF");
      }
    }
  }
};

void setup() {

  Serial.begin(115200);

  pinMode(LED_PIN, OUTPUT);
  digitalWrite(LED_PIN, LOW);

  BLEDevice::init("MyESP32");

  BLEServer *pServer = BLEDevice::createServer();

  BLEService *pService = pServer->createService(SERVICE_UUID);

  BLECharacteristic *pCharacteristic = pService->createCharacteristic(
      CHARACTERISTIC_UUID,
      BLECharacteristic::PROPERTY_READ |
      BLECharacteristic::PROPERTY_WRITE
  );

  pCharacteristic->setCallbacks(new MyCallbacks());

  pCharacteristic->setValue("Ready");

  pService->start();

  BLEAdvertising *pAdvertising = pServer->getAdvertising();
  pAdvertising->start();

  Serial.println("BLE Ready");
}

void loop() {
  delay(100);
}
You can download the code from here.
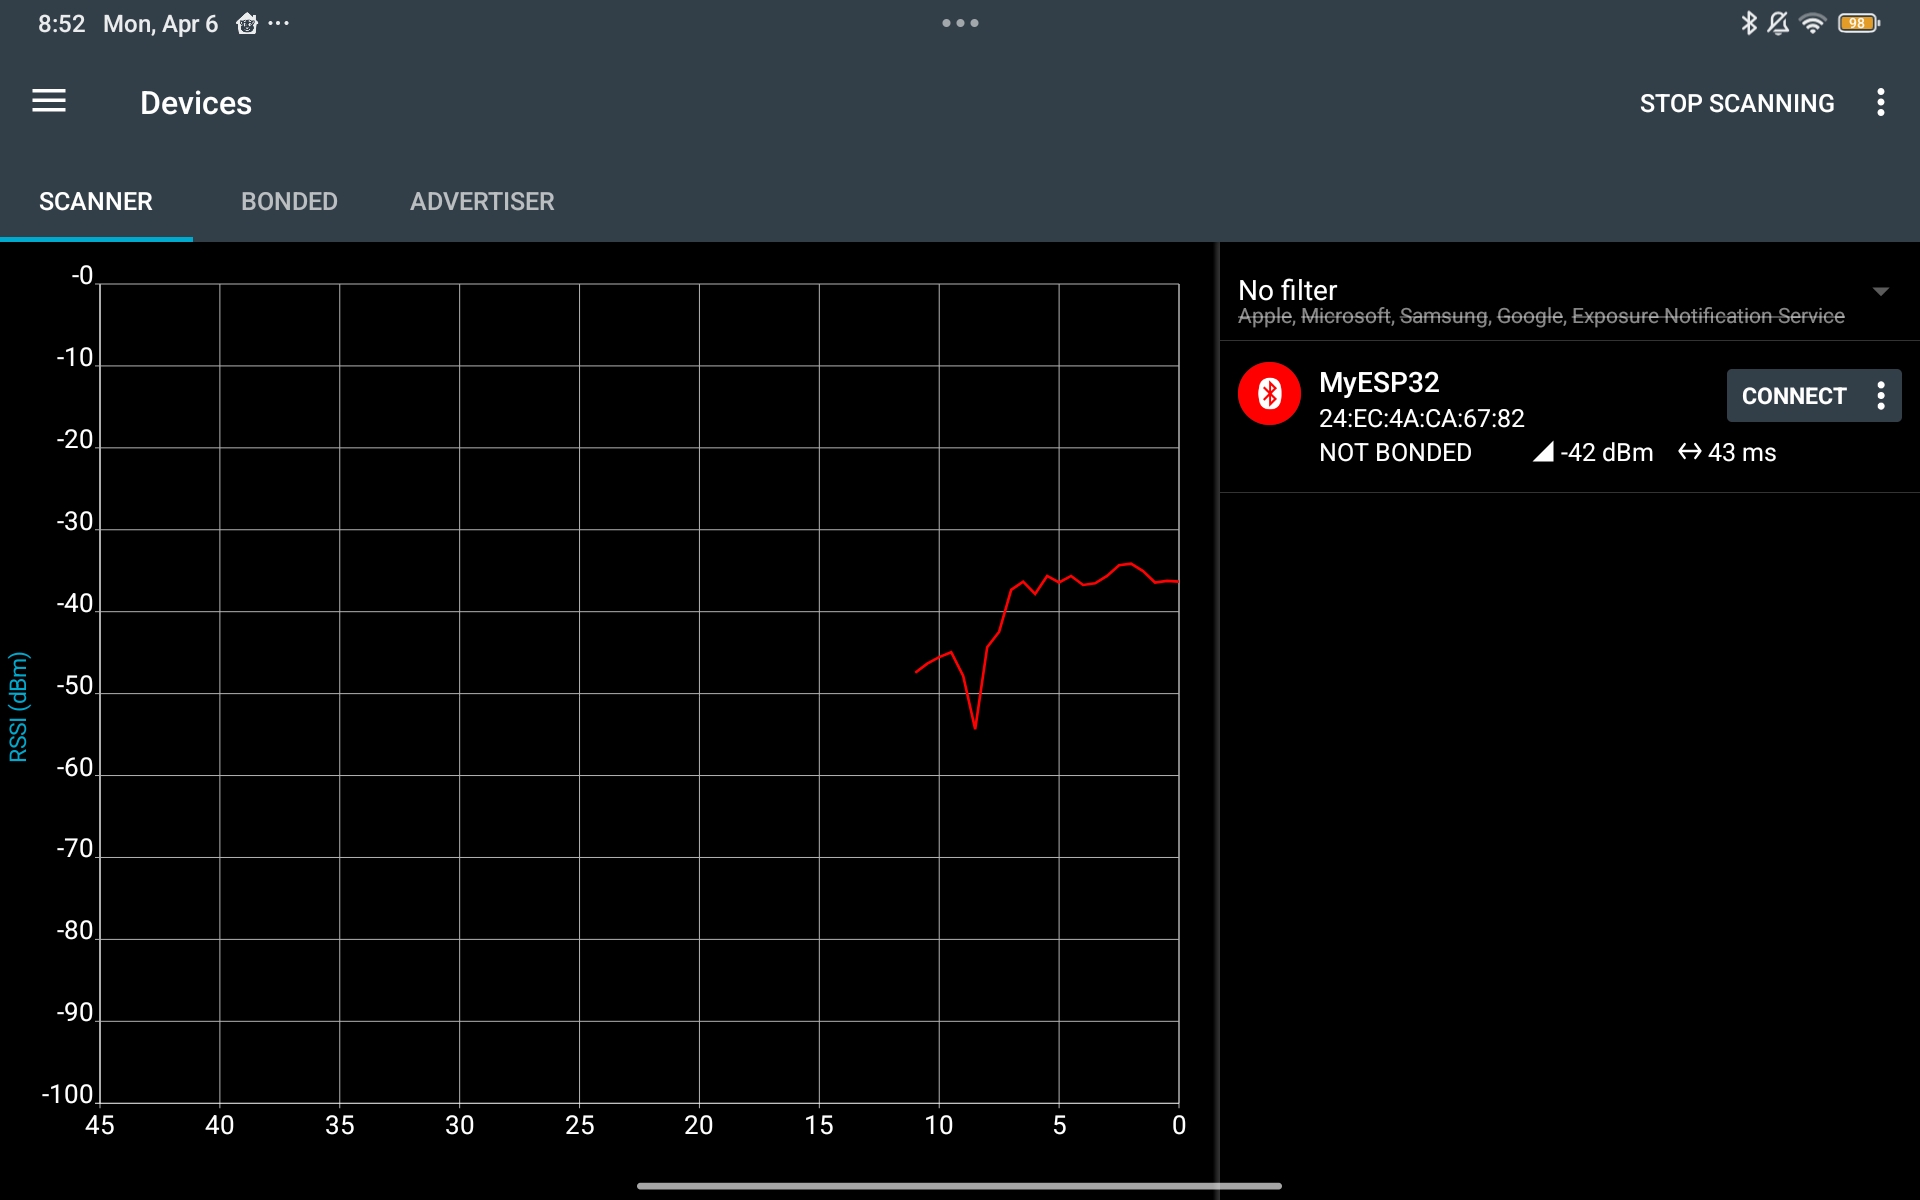
After uploading the code to the board, I can see the device named "MyESP32" in the nRF Connect app. I can connect to it and send "ON" or "OFF" commands to control the LED.
Here is a video that shows how to send data and control the LED:
Basic Bluetooth Connection
To start I follow the documentation and examples provided by the seeed studio.
                #include <BLEDevice.h>
#include <BLEUtils.h>
#include <BLEServer.h>

// See the following for generating UUIDs:
// https://www.uuidgenerator.net/

#define SERVICE_UUID        "4fafc201-1fb5-459e-8fcc-c5c9c331914b"
#define CHARACTERISTIC_UUID "beb5483e-36e1-4688-b7f5-ea07361b26a8"


class MyCallbacks: public BLECharacteristicCallbacks {
    void onWrite(BLECharacteristic *pCharacteristic) {
      std::string value = pCharacteristic->getValue();

      if (value.length() > 0) {
        Serial.println("*********");
        Serial.print("New value: ");
        for (int i = 0; i < value.length(); i++)
          Serial.print(value[i]);

        Serial.println();
        Serial.println("*********");
      }
    }
};

void setup() {
  Serial.begin(115200);

  BLEDevice::init("MyESP32");
  BLEServer *pServer = BLEDevice::createServer();

  BLEService *pService = pServer->createService(SERVICE_UUID);

  BLECharacteristic *pCharacteristic = pService->createCharacteristic(
                                         CHARACTERISTIC_UUID,
                                         BLECharacteristic::PROPERTY_READ |
                                         BLECharacteristic::PROPERTY_WRITE
                                       );

  pCharacteristic->setCallbacks(new MyCallbacks());

  pCharacteristic->setValue("Hello World");
  pService->start();

  BLEAdvertising *pAdvertising = pServer->getAdvertising();
  pAdvertising->start();
}

void loop() {
  // put your main code here, to run repeatedly:
  delay(2000);
}
You can download the code from here.
Setup App
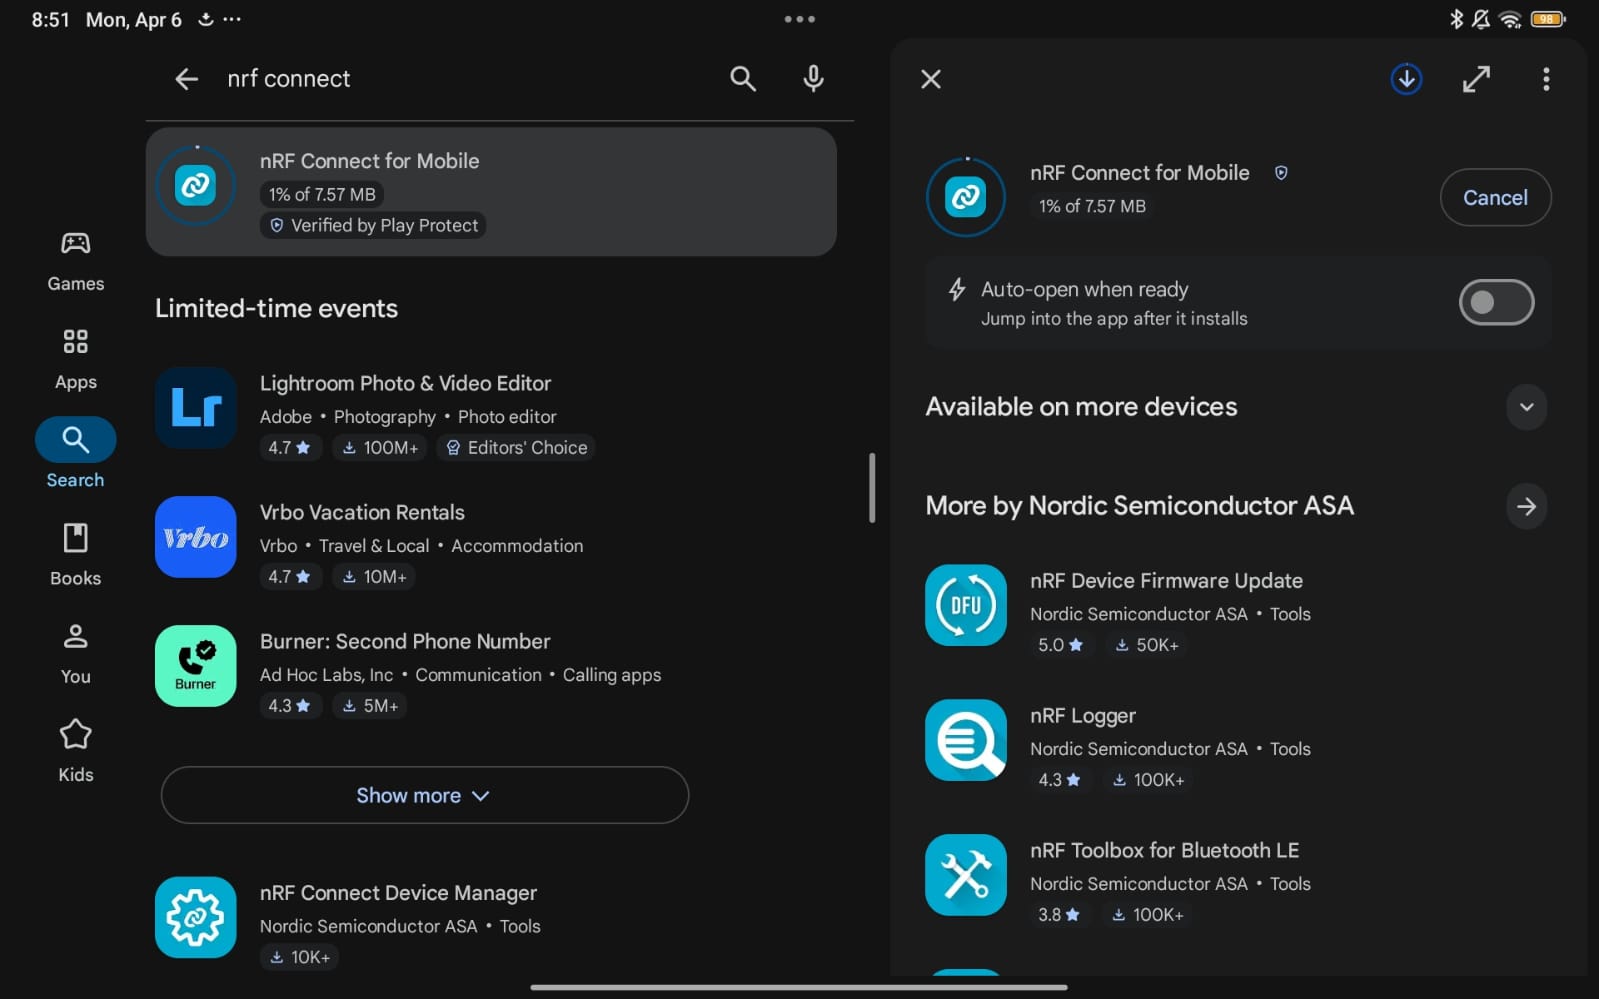
To test the Bluetooth connection, I used the nRF Connect app on my Tablet, which allows you to connect to BLE devices and read/write characteristics.
Here are the steps to use the nRF Connect app:
- Open the nRF Connect app and scan for devices. You should see your ESP32 device listed (in my case, it is named "MyESP32").
- Tap on your device to connect to it. Once connected, you will see the services and characteristics that your ESP32 is advertising.
- Find the characteristic with the UUID "beb5483e-36e1-4688-b7f5-ea07361b26a8". This is the characteristic that we set up in our code to read and write data.
- Here is a video that shows how to send data
Results
After sending data from the nRF Connect app, I can see the new value printed in the Serial Monitor of the Arduino IDE, which confirms that the Bluetooth communication is working correctly.
Wifi
Next I will try to connect my Seeed Studio board to the WiFi network.
I will test the approach I want to implement in my final project that will detect when a specific device is connected to the network and then send notifications and data for this specific device.
Here are the steps I took to achieve this:
Connect to wifi:
To connect to wifi, I used the following code which you could download for here:
#include  <WiFi.h>

const char* ssid = "YOUR_WIFI_NAME";
const char* password = "YOUR_WIFI_PASSWORD";

void setup()
{
    Serial.begin(115200);

    WiFi.begin(ssid, password);

    Serial.print("Connecting");

    while (WiFi.status() != WL_CONNECTED)
    {
        delay(500);
        Serial.print(".");
    }

    Serial.println("\nConnected!");
    Serial.print("ESP32 IP: ");
    Serial.println(WiFi.localIP());
}

void loop()
{
}
💡 Note: Don't forget to replace the wifi name and password with your wifi credentials.Network Scan Test:
To test if devices respond on the network, I used the following code which you could download for here:
#include <WiFi.h>

const char* ssid = "YOUR_WIFI";
const char* password = "YOUR_PASSWORD";

void setup()
{
    Serial.begin(115200);

    WiFi.begin(ssid, password);

    while (WiFi.status() != WL_CONNECTED)
    {
        delay(500);
        Serial.print(".");
    }

    Serial.println("\nConnected!");
    Serial.println(WiFi.localIP());

    scanNetwork();
}

void scanNetwork()
{
    IPAddress local = WiFi.localIP();

    for (int i = 1; i < 255; i++)
    {
        IPAddress testIP(local[0], local[1], local[2], i);

        WiFiClient client;

        Serial.print("Checking: ");
        Serial.println(testIP);

        if (client.connect(testIP, 80))
        {
            Serial.print("Device found: ");
            Serial.println(testIP);

            client.stop();
        }

        delay(50);
    }
}

void loop()
{
}
💡 Note: This code will scan the local network for devices that have port 80 open, which is usually the case for devices that have a web server running. You can modify the port number to scan for different types of devices , and don't forget to replace the wifi name and password with your wifi credentials.After running the code, I can see the IP addresses of the devices that are connected to the same network and have port 80 open, which confirms that the WiFi communication is working correctly.
Detect Device:
To detect a specific device on the network by relying on MAC address since ip address changes you have to know its MAC address which you could find in the device's settings, I used the following code which you could download for here:
#include <WiFi.h>
#include "esp_wifi.h"

const char* ssid = "YOUR_WIFI";
const char* password = "YOUR_PASSWORD";

uint8_t targetMAC[6] = {
  0x77,
  0xF9,
  0x4E,
  0x3D,
  0x77,
  0xB2
}; // your mac

bool phoneDetected = false;
unsigned long lastSeen = 0;

void sniffer(void* buf, wifi_promiscuous_pkt_type_t type)
{
    wifi_promiscuous_pkt_t *pkt =
        (wifi_promiscuous_pkt_t*)buf;

    uint8_t *payload = pkt->payload;

    uint8_t *srcMAC = payload + 10;

    bool match = true;

    for (int i = 0; i < 6; i++)
    {
        if (srcMAC[i] != targetMAC[i])
        {
            match = false;
            break;
        }
    }

    if (match)
    {
        lastSeen = millis();

        if (!phoneDetected)
        {
            phoneDetected = true;

            Serial.println("====================");
            Serial.println("PHONE DETECTED!");
            Serial.println("====================");
        }

        Serial.print("Packet from target MAC -> ");

        for (int i = 0; i < 6; i++)
        {
            if (srcMAC[i] < 16)
                Serial.print("0");

            Serial.print(srcMAC[i], HEX);

            if (i < 5)
                Serial.print(":");
        }

        Serial.println();
    }
}

void setup()
{
    Serial.begin(115200);

    WiFi.mode(WIFI_STA);

    WiFi.begin(ssid, password);

    while (WiFi.status() != WL_CONNECTED)
    {
        delay(500);
        Serial.print(".");
    }

    Serial.println("\nConnected!");
    Serial.print("ESP32 IP: ");
    Serial.println(WiFi.localIP());

    esp_wifi_set_promiscuous(true);

    esp_wifi_set_promiscuous_rx_cb(&sniffer);

    Serial.println("Promiscuous sniffing started...");
}

void loop()
{
    if (phoneDetected && millis() - lastSeen > 20000)
    {
        phoneDetected = false;

        Serial.println("====================");
        Serial.println("PHONE OFFLINE");
        Serial.println("====================");
    }

    delay(1000);
}
💡 Note: Don't forget to replace the wifi name and password with your wifi credentials.The code concept basically works as follows: The ESP32 connects to the Wi-Fi network and starts listening to all nearby Wi-Fi activity. Whenever any device sends data through the network, the ESP32 reads the packet and checks the MAC address of the sender. The code compares this MAC address with the saved MAC address of the target phone. If they match, the ESP32 knows that the phone is connected and active on the Wi-Fi network. The ESP32 also keeps checking for new packets from the phone, and if no packets are received for some time, it considers the phone disconnected or offline.
Here is the code output:
Connect Telegram Bot:
Since I don't have an open port on my device that I could use to send notifications to my phone, I will use a Telegram bot to send notifications when a specific device is detected on the network. I followed these steps:
- Create a new Telegram bot using the BotFather.
- Get the bot token and store it in your code.
- Find your chat ID on Telegram.
- Download the UniversalTelegramBot library.
- Modify the code to send a message to the Telegram bot when a device is detected.
You could download the code here.
#include <WiFi.h>
#include <WiFiClientSecure.h>
#include <UniversalTelegramBot.h>

const char* ssid = "YOUR_WIFI";
const char* password = "YOUR_PASSWORD";

#define BOT_TOKEN "YOUR_BOT_TOKEN"
#define CHAT_ID "YOUR_CHAT_ID"

WiFiClientSecure client;
UniversalTelegramBot bot(BOT_TOKEN, client);

void setup()
{
    Serial.begin(115200);

    WiFi.begin(ssid, password);

    while (WiFi.status() != WL_CONNECTED)
    {
        delay(500);
        Serial.print(".");
    }

    Serial.println("\nConnected!");

    client.setInsecure();

    bot.sendMessage(CHAT_ID, "ESP32 Connected!", "");
}

void loop()
{
}
💡 Note: Don't forget to replace the wifi name and password with your wifi credentials, and also replace the bot token and chat id with your bot token and chat id.After running the code, I received a message on my Telegram account from my bot that says "ESP32 Connected!", which confirms that the ESP32 is able to send messages to the Telegram bot successfully.
- Create a new Telegram bot using the BotFather.
Final Result
- When the ESP32 starts, it connects to the Wi-Fi network and sends a message to the Telegram bot that says "ESP32 Sniffer Started!"
- When the target phone connects to the Wi-Fi network, the ESP32 detects it and sends a message to the Telegram bot that says "Malak's phone connected to Wi-Fi!"
- If the phone disconnects from the Wi-Fi network for more than 20 seconds, the ESP32 detects it and sends a message to the Telegram bot that says "Malak's phone disconnected from Wi-Fi!"
Here is the final code.you could download it here.
                          #include
#include <WiFiClientSecure.h>
#include <UniversalTelegramBot.h>
#include "esp_wifi.h"

const char* ssid = "YOUR_WIFI";
const char* password = "YOUR_PASSWORD";

// Telegram
#define BOT_TOKEN "YOUR_BOT_TOKEN"
#define CHAT_ID "YOUR_CHAT_ID"

WiFiClientSecure client;
UniversalTelegramBot bot(BOT_TOKEN, client);

// Target phone MAC
uint8_t targetMAC[6] = {
  0x77,
  0xF9,
  0x4E,
  0x3D,
  0x77,
  0xB2
};

bool phoneDetected = false;

bool sendOnlineMessage = false;
bool sendOfflineMessage = false;

unsigned long lastSeen = 0;

void sniffer(void* buf, wifi_promiscuous_pkt_type_t type)
{
    wifi_promiscuous_pkt_t *pkt =
        (wifi_promiscuous_pkt_t*)buf;

    uint8_t *payload = pkt->payload;

    uint8_t *srcMAC = payload + 10;

    bool match = true;

    for (int i = 0; i < 6; i++)
    {
        if (srcMAC[i] != targetMAC[i])
        {
            match = false;
            break;
        }
    }

    if (match)
    {
        lastSeen = millis();

        if (!phoneDetected)
        {
            phoneDetected = true;

            Serial.println("====================");
            Serial.println("PHONE DETECTED!");
            Serial.println("====================");

            sendOnlineMessage = true;
        }

        Serial.print("Packet from target MAC -> ");

        for (int i = 0; i < 6; i++)
        {
            if (srcMAC[i] < 16)
                Serial.print("0");

            Serial.print(srcMAC[i], HEX);

            if (i < 5)
                Serial.print(":");
        }

        Serial.println();
    }
}

void setup()
{
    Serial.begin(115200);

    WiFi.mode(WIFI_STA);

    WiFi.begin(ssid, password);

    while (WiFi.status() != WL_CONNECTED)
    {
        delay(500);
        Serial.print(".");
    }

    Serial.println("\nConnected!");
    Serial.print("ESP32 IP: ");
    Serial.println(WiFi.localIP());

    client.setInsecure();

    delay(3000);

    bot.sendMessage(CHAT_ID, "ESP32 Sniffer Started!", "");

    esp_wifi_set_promiscuous(true);

    esp_wifi_set_promiscuous_rx_cb(&sniffer);

    Serial.println("Promiscuous sniffing started...");
}

void loop()
{
    // Send online notification safely outside sniffer
    if (sendOnlineMessage)
    {
        sendOnlineMessage = false;

        bot.sendMessage(
            CHAT_ID,
            "Malak's phone connected to WiFi!",
            ""
        );
    }

    // Detect offline state
    if (phoneDetected && millis() - lastSeen > 20000)
    {
        phoneDetected = false;

        Serial.println("====================");
        Serial.println("PHONE OFFLINE");
        Serial.println("====================");

        sendOfflineMessage = true;
    }

    // Send offline notification safely
    if (sendOfflineMessage)
    {
        sendOfflineMessage = false;

        bot.sendMessage(
            CHAT_ID,
            "Malak's phone disconnected from WiFi!",
            ""
        );
    }

    delay(1000);
}
After running the code, I can see the following sequence of events:
Conclusion
After trying both Bluetooth and Wi-Fi communication protocols, I found that Wi-Fi is more suitable for my final project due to its range and reliability, and it allows detection and sending notifications without requiring any user interaction.