Week 14 - Molding and Casting
Designing and milling a reusable Delrin mold.
Assignments
Group Assignment
- Review the safety data sheets for each molding and casting material.
- Make and compare test casts with each material.
- Compare mold making processes.
Individual Assignment
- Design a mold around the stock and tooling available.
- Machine the mold and use it to cast a part.
Group Assignment - Safety Sheets and Test Casts
For the group assignment, we reviewed the safety data sheets for the molding and casting materials before using them. This was important because casting materials are not all the same. Some materials can give off fumes, some can heat up while curing, some need gloves, and some need better ventilation.
We looked at things like PPE, ventilation, skin contact, eye protection, mixing ratios, cure time, and cleanup. The big thing was making sure we knew what we were using before mixing anything. I learned that even if a material looks simple, you still need to check the safety information first.
For the test casts, we compared how different molding and casting materials behaved. We looked at how easy they were to mix, how fast they cured, how many bubbles showed up, how flexible or hard they were after curing, and how well they picked up detail from the mold.
Some materials were easier to pour but took longer to cure. Some captured details better but were more sensitive to bubbles. The test casts helped us understand that the material choice matters depending on what kind of final part we want.
Group Assignment - Comparing Mold Making Processes
We also compared different mold making processes. The main processes we talked about were using a soft mold, like silicone, compared to machining a hard reusable mold. A soft mold is good for copying shapes and making parts with undercuts, but it takes time to make and can wear out.
A hard mold, like the Delrin mold I made, is different. It can be reused and cleaned easily, but the design has to be simpler because the CNC tool has to physically reach the areas it cuts. That means sharp inside corners, deep details, and undercuts can be a problem.
The group testing helped me understand why mold design depends on the process. If I am making a flexible silicone mold, I can design different shapes than I can with a hard CNC-machined mold. For my project, a hard Delrin mold made sense because I wanted a reusable ice mold and I wanted to machine it on the Makera Carvera.
The biggest lesson from the group assignment was that molding and casting starts with safety and process choice. You have to know the material, read the SDS, use the right PPE, and pick the mold process that matches the part.
Individual Assignment - Delrin Cross Mold
Designing the Mold
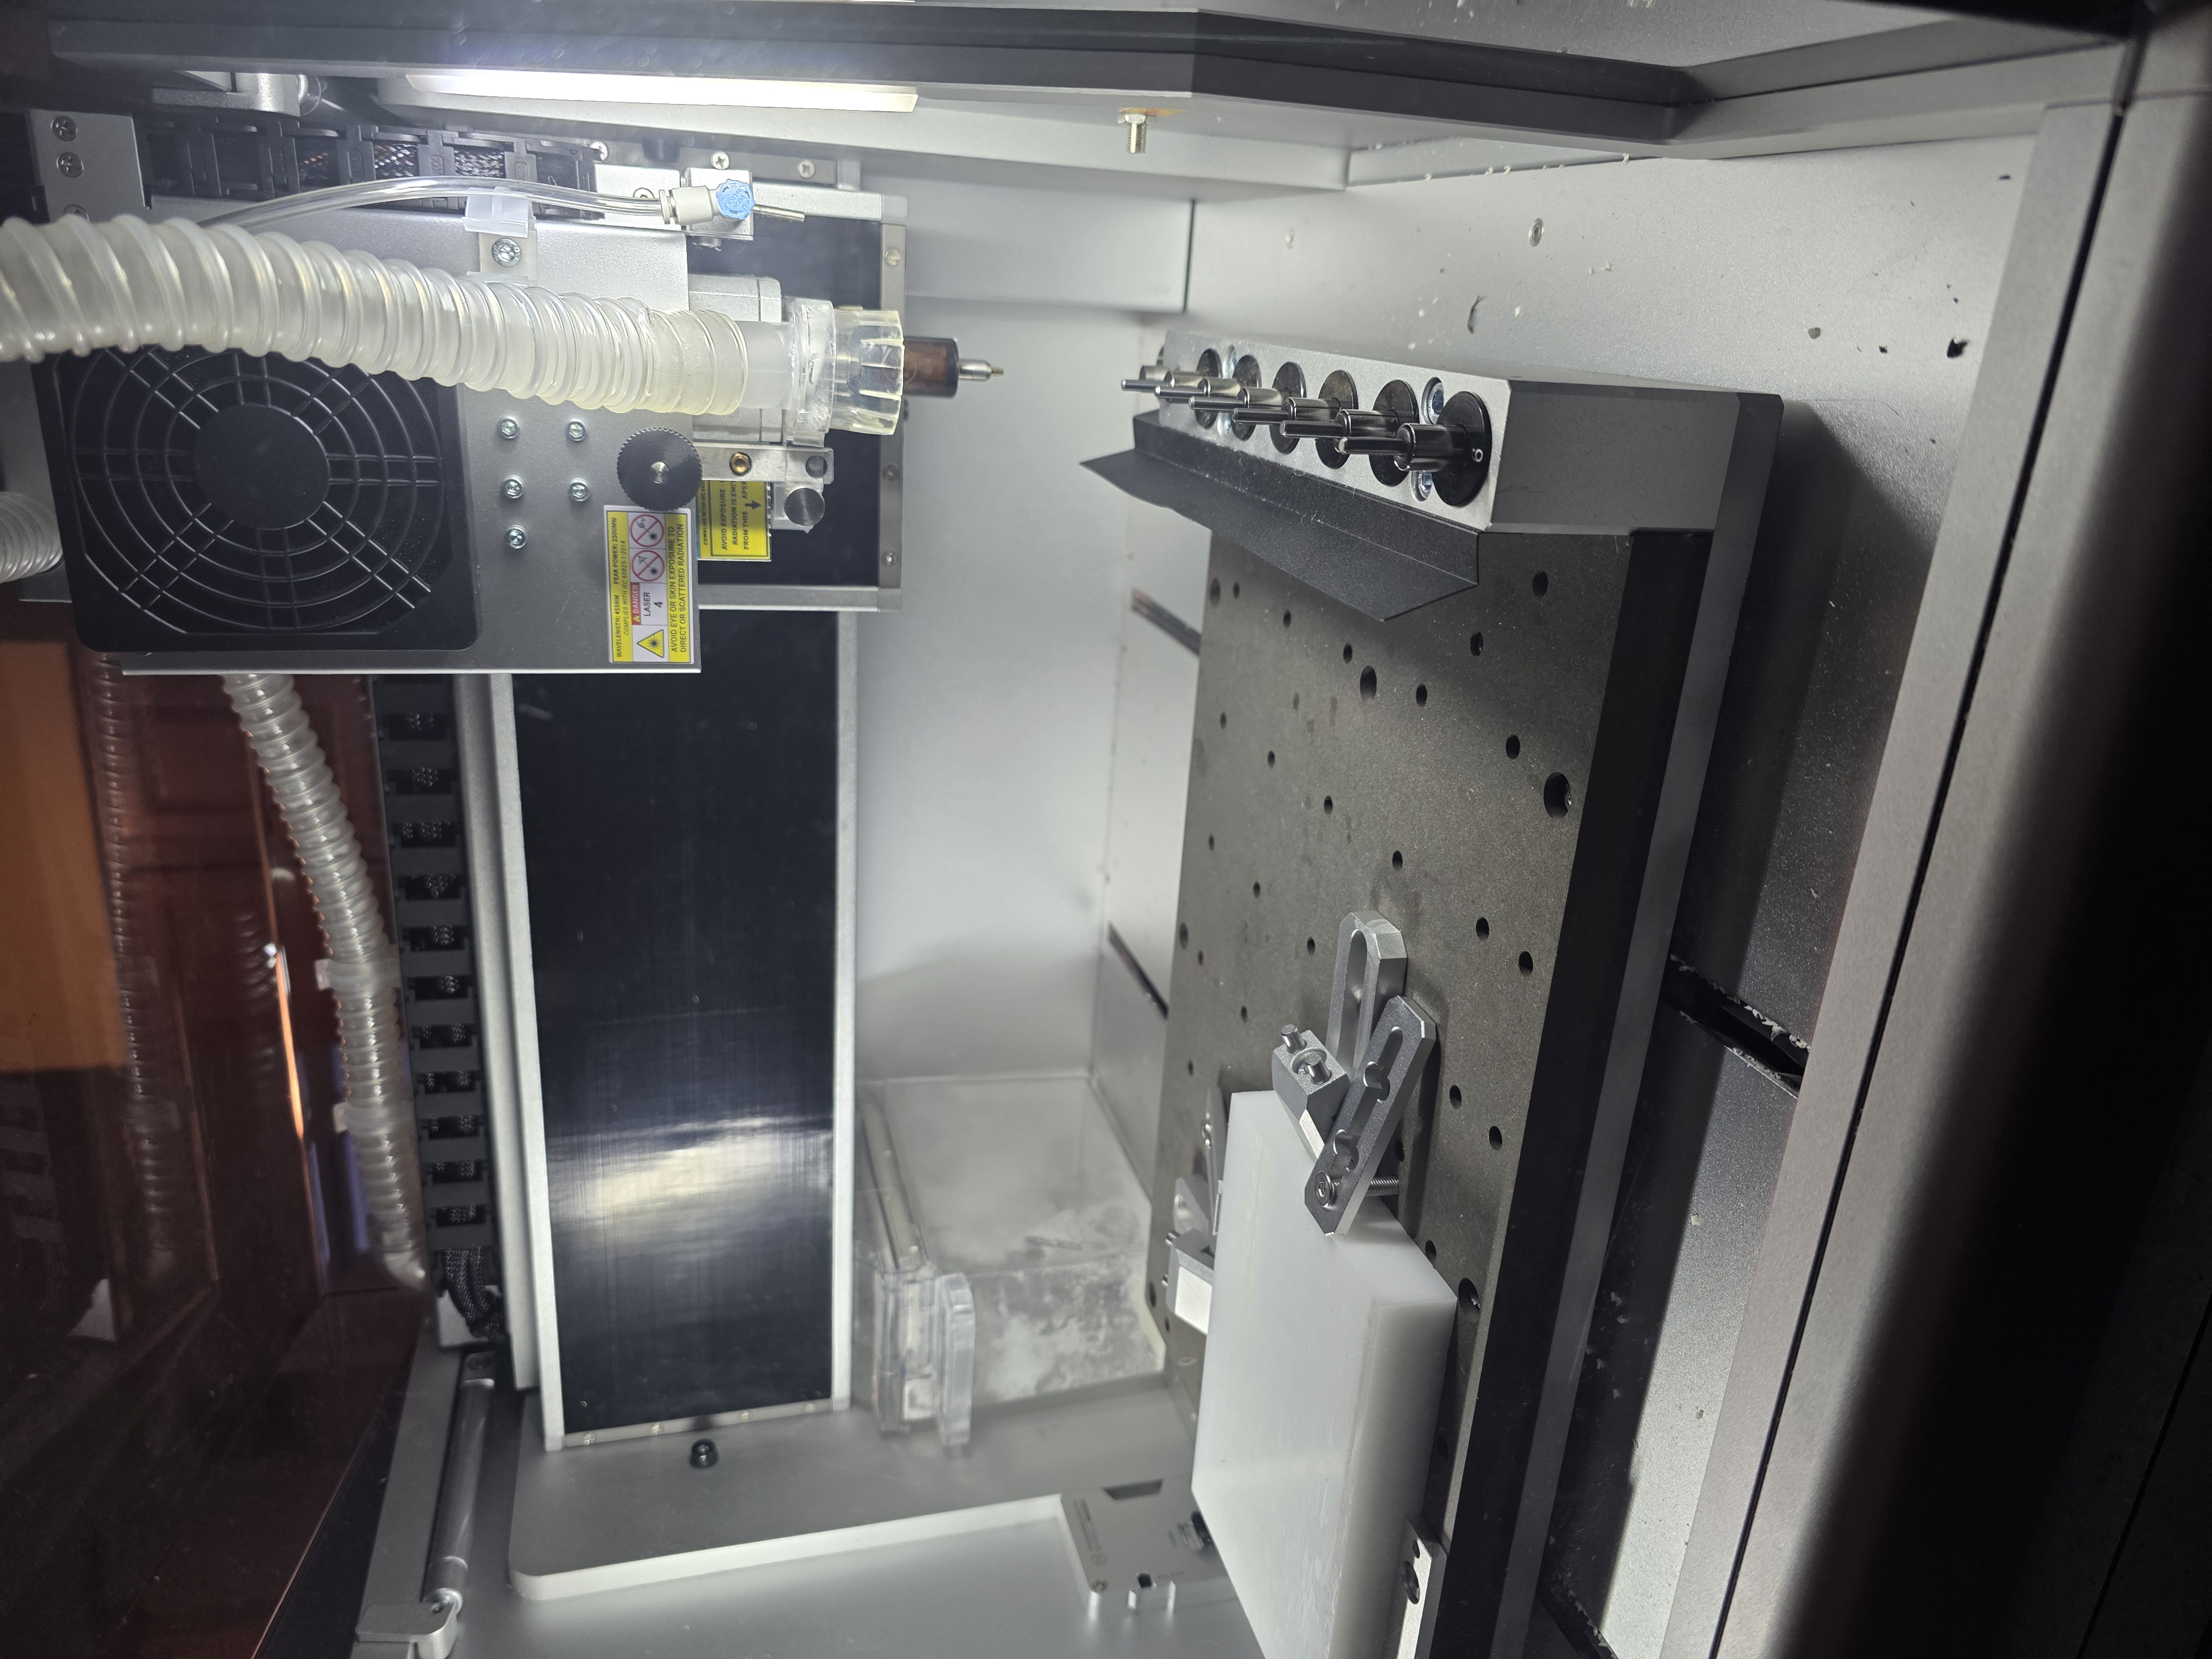
For Week 14, the assignment was molding and casting. I wanted to create a reusable mold that could be machined on the Makera Carvera CNC machine. My final idea was to make a cross-shaped ice cube mold using a block of Delrin.
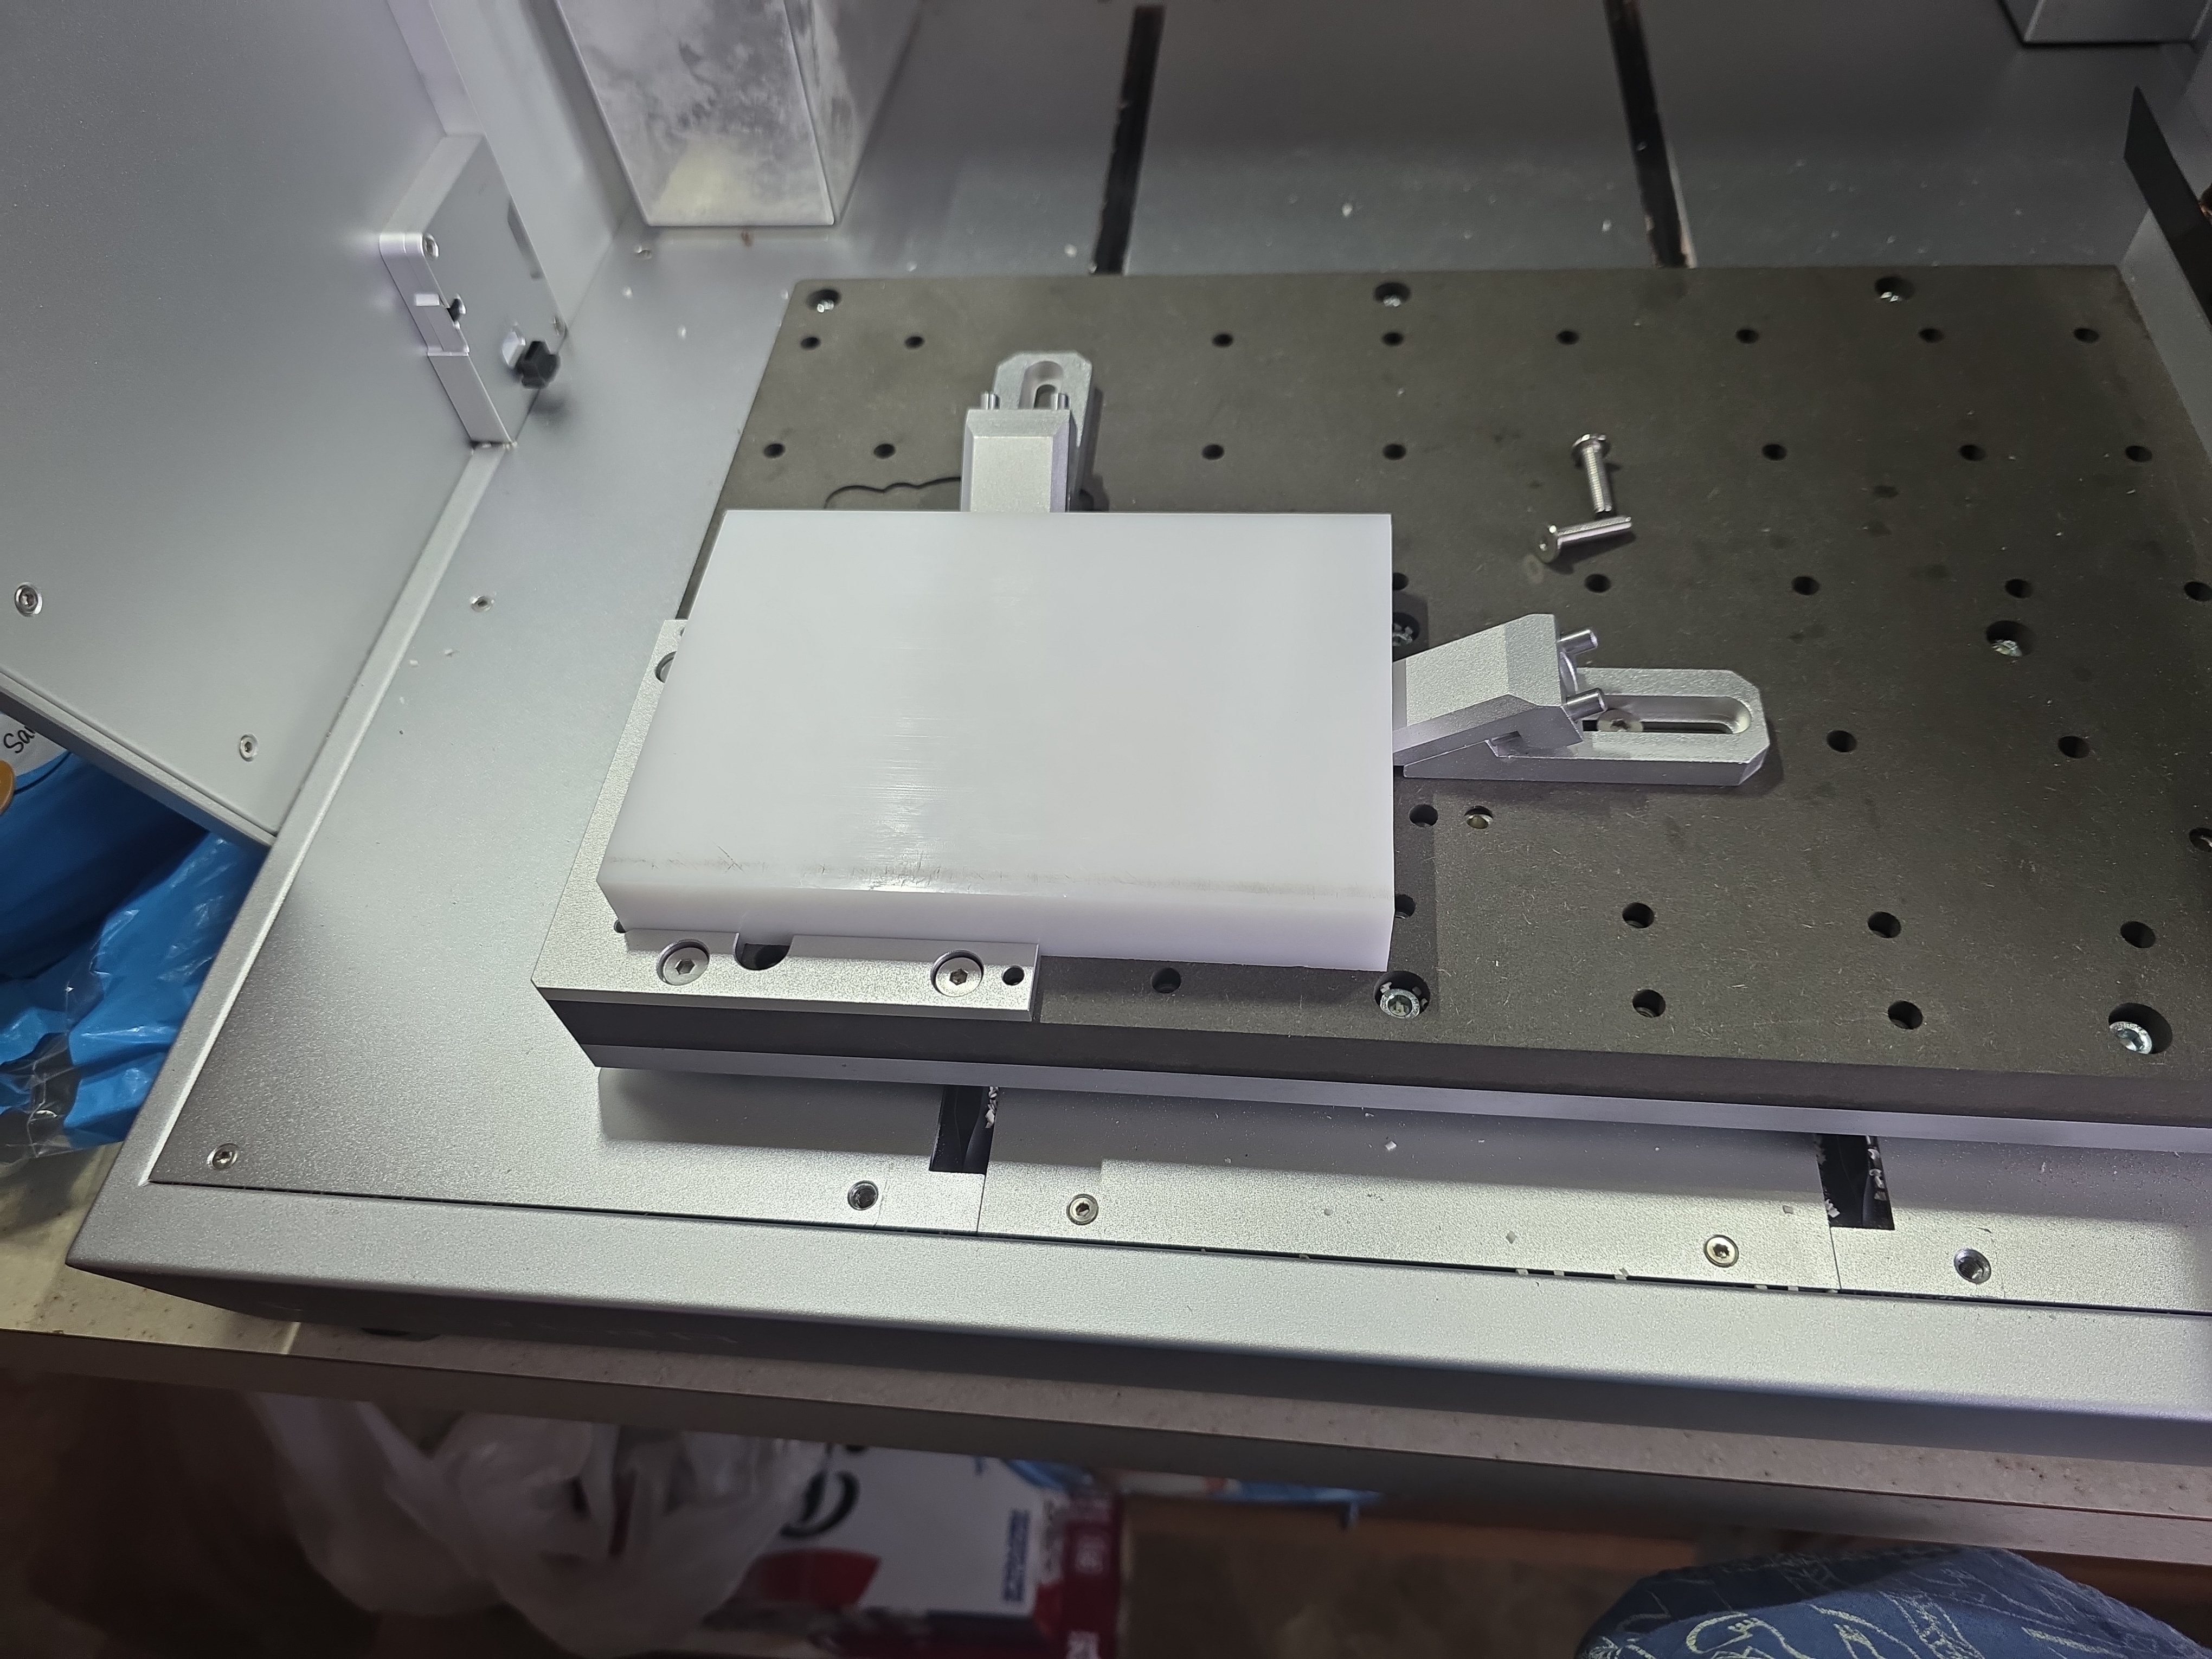
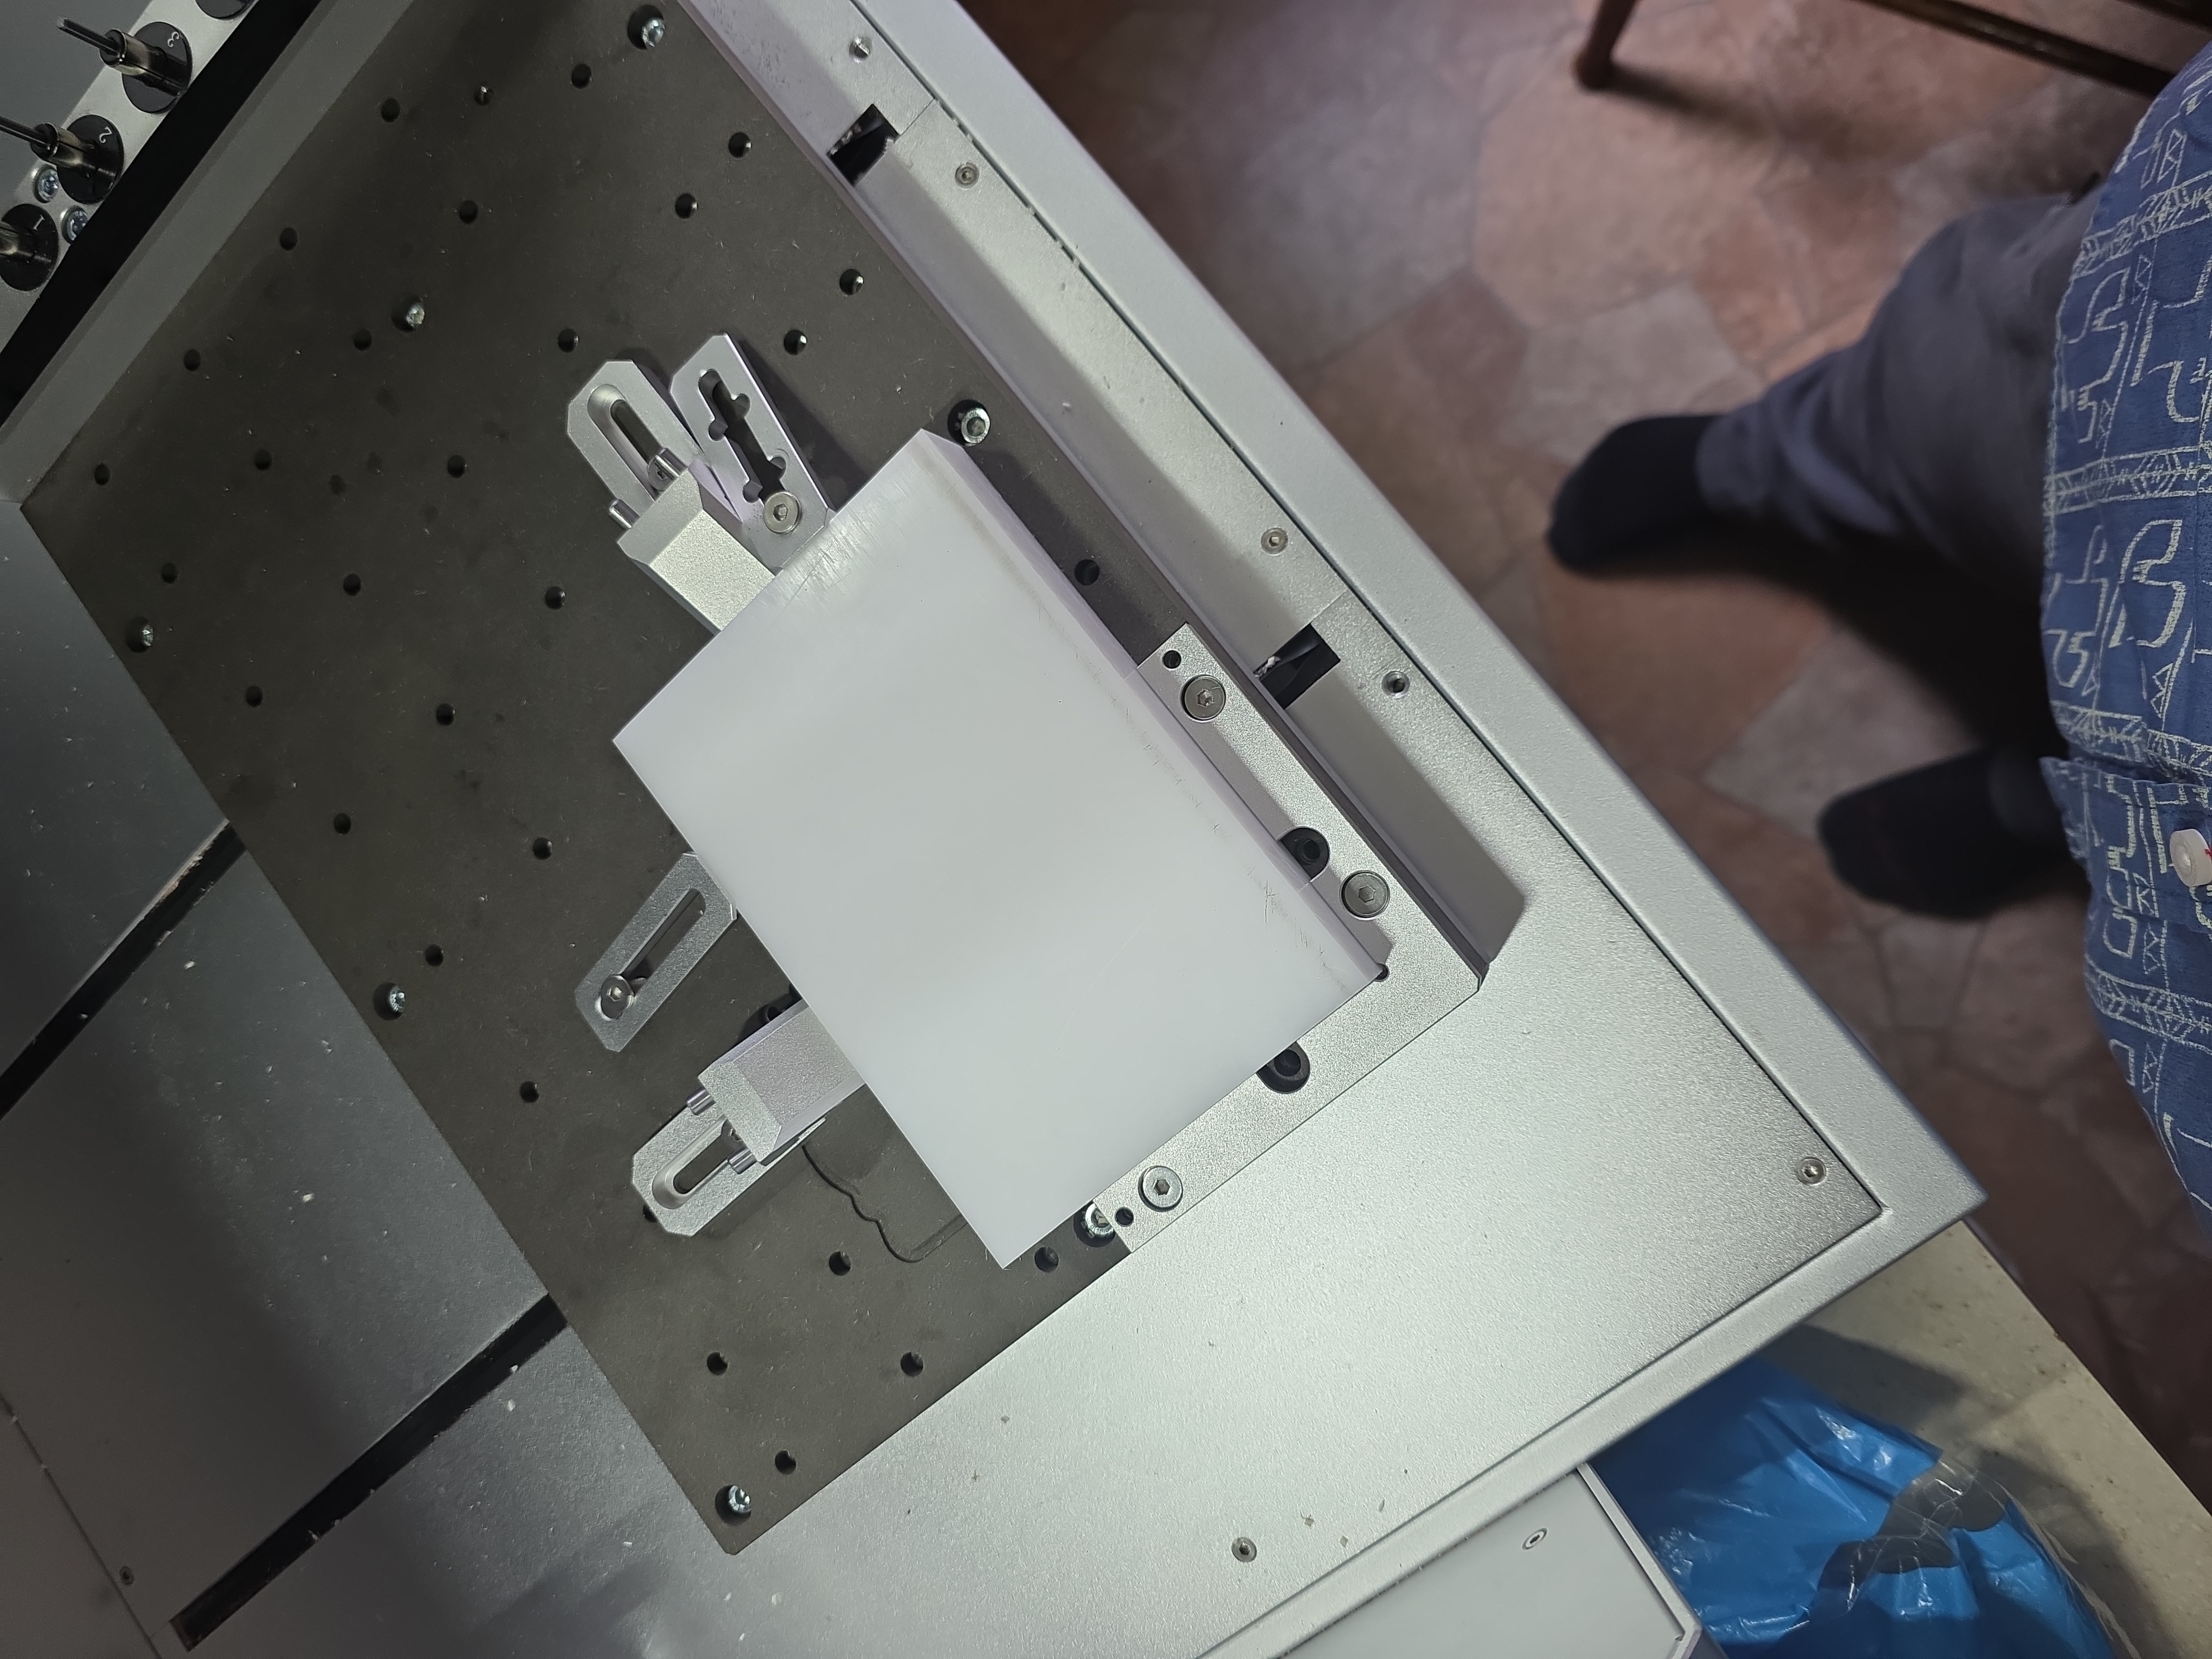
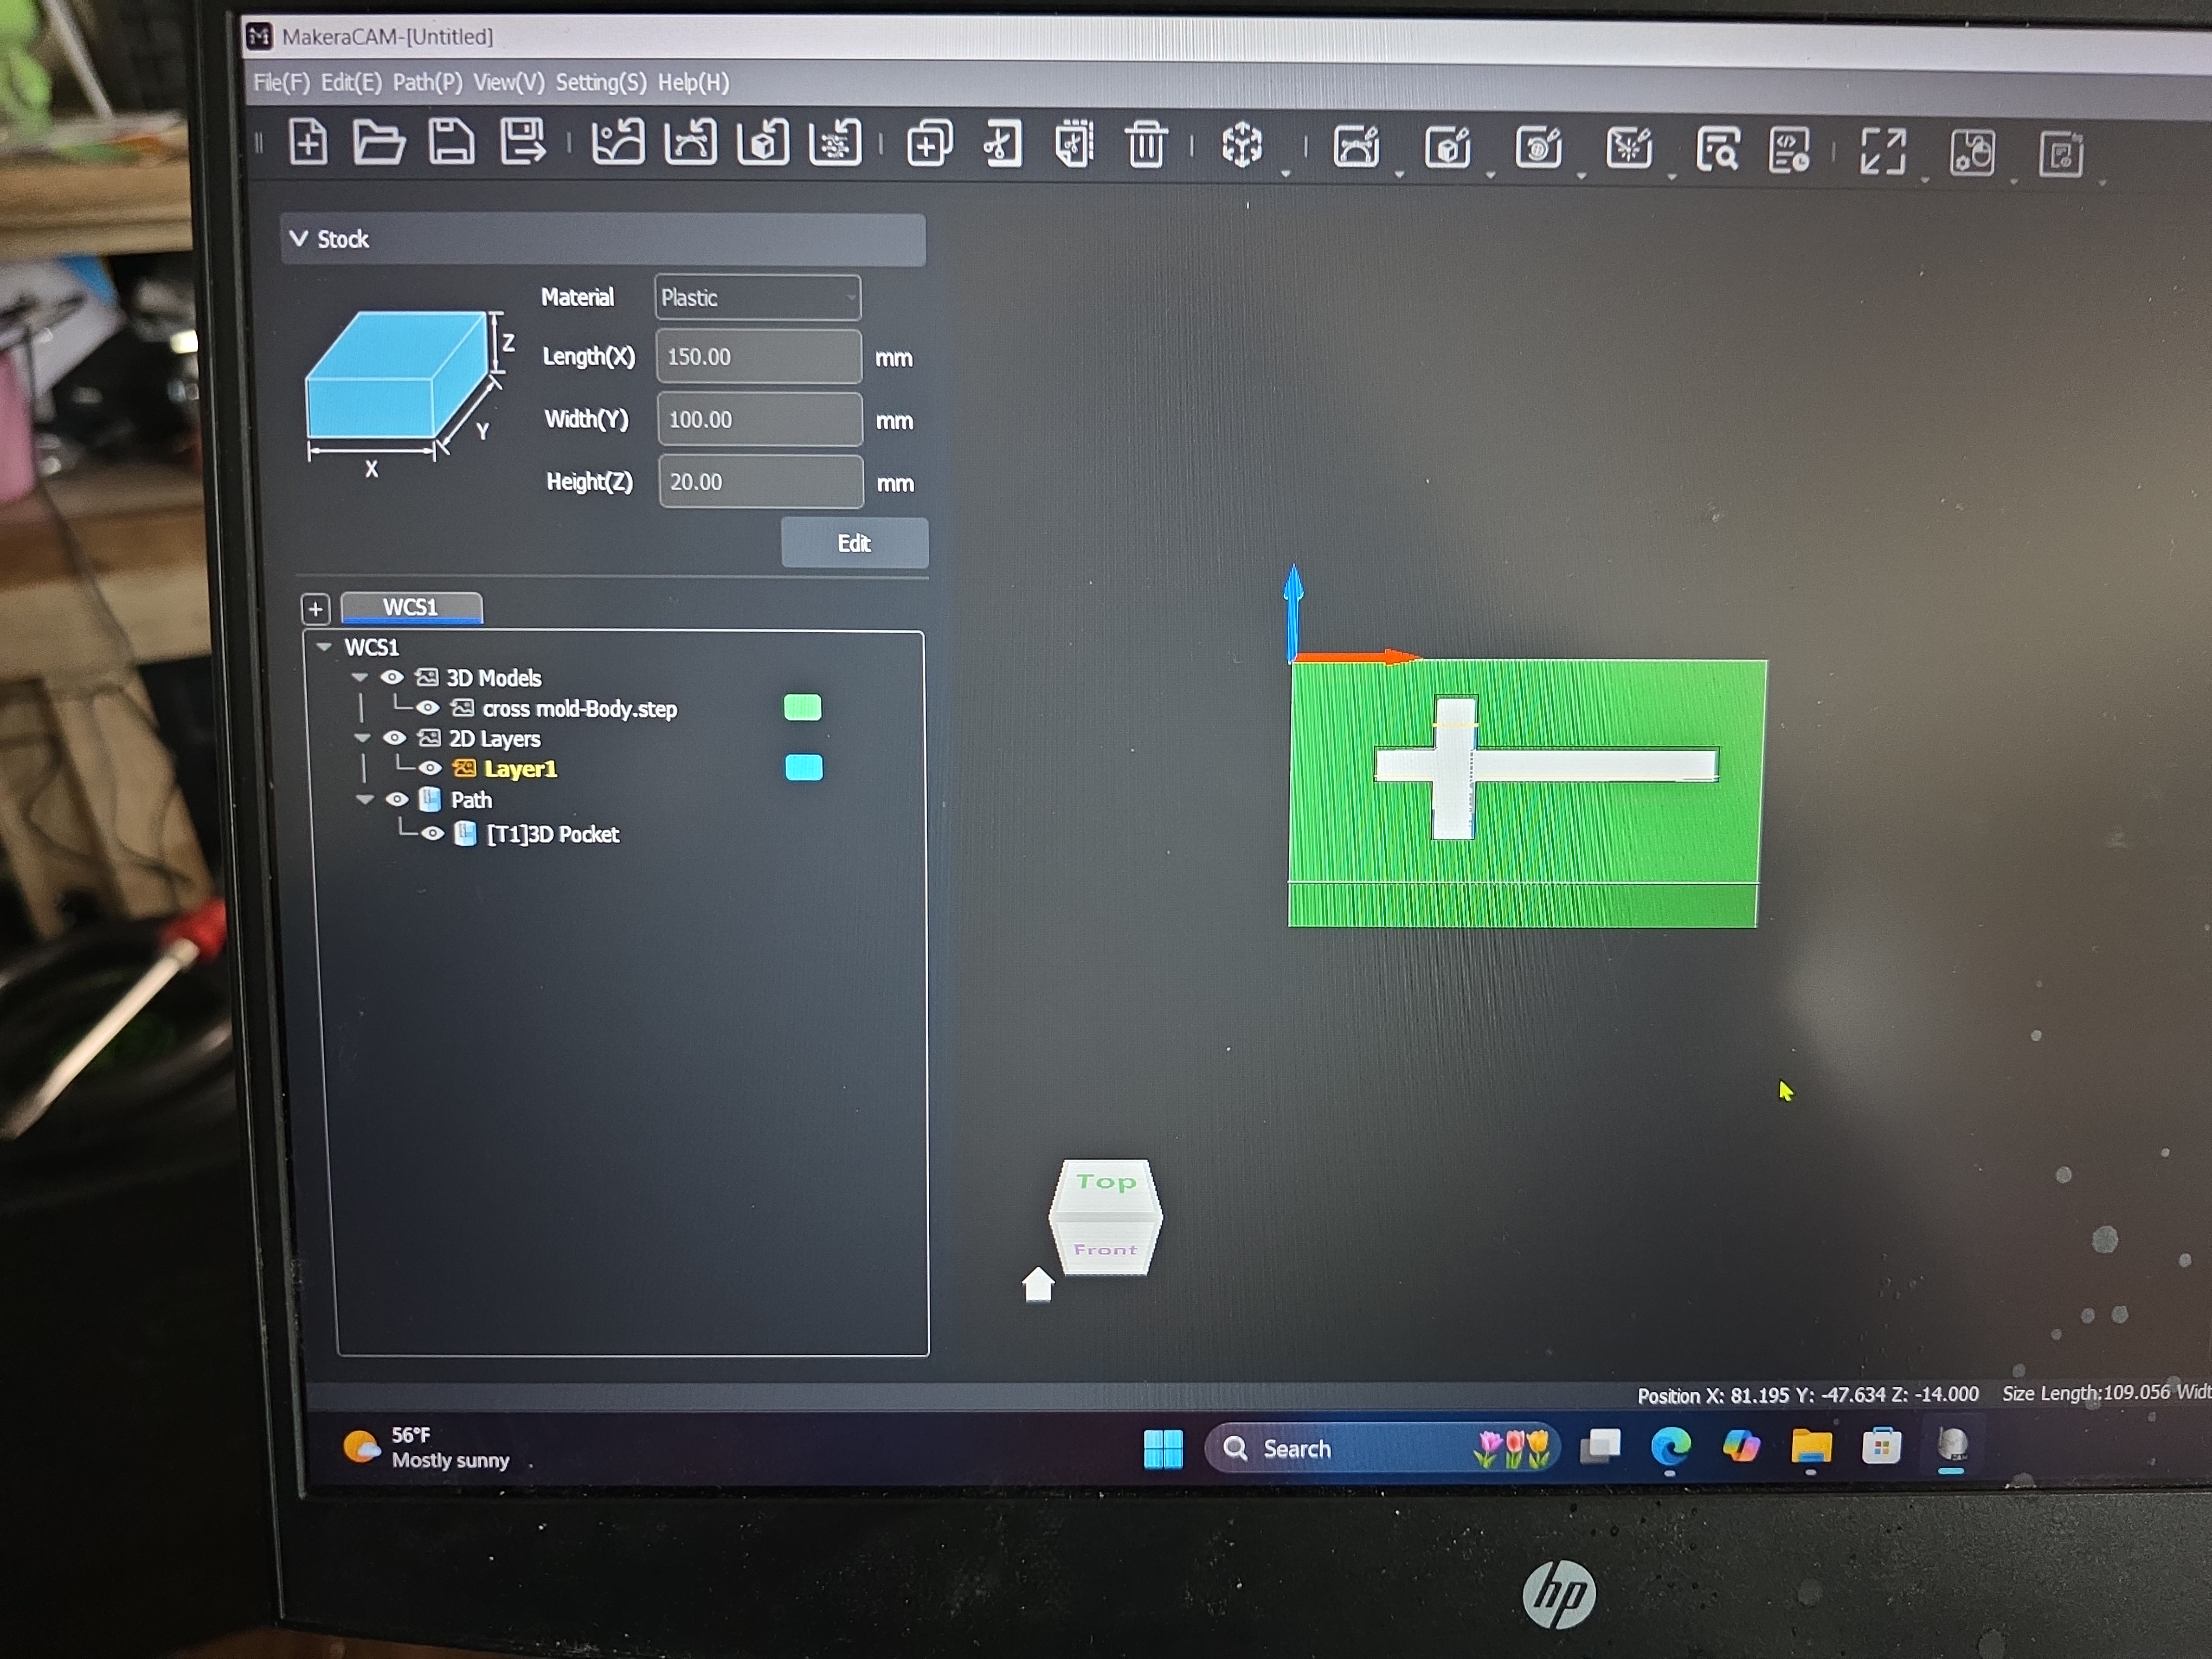
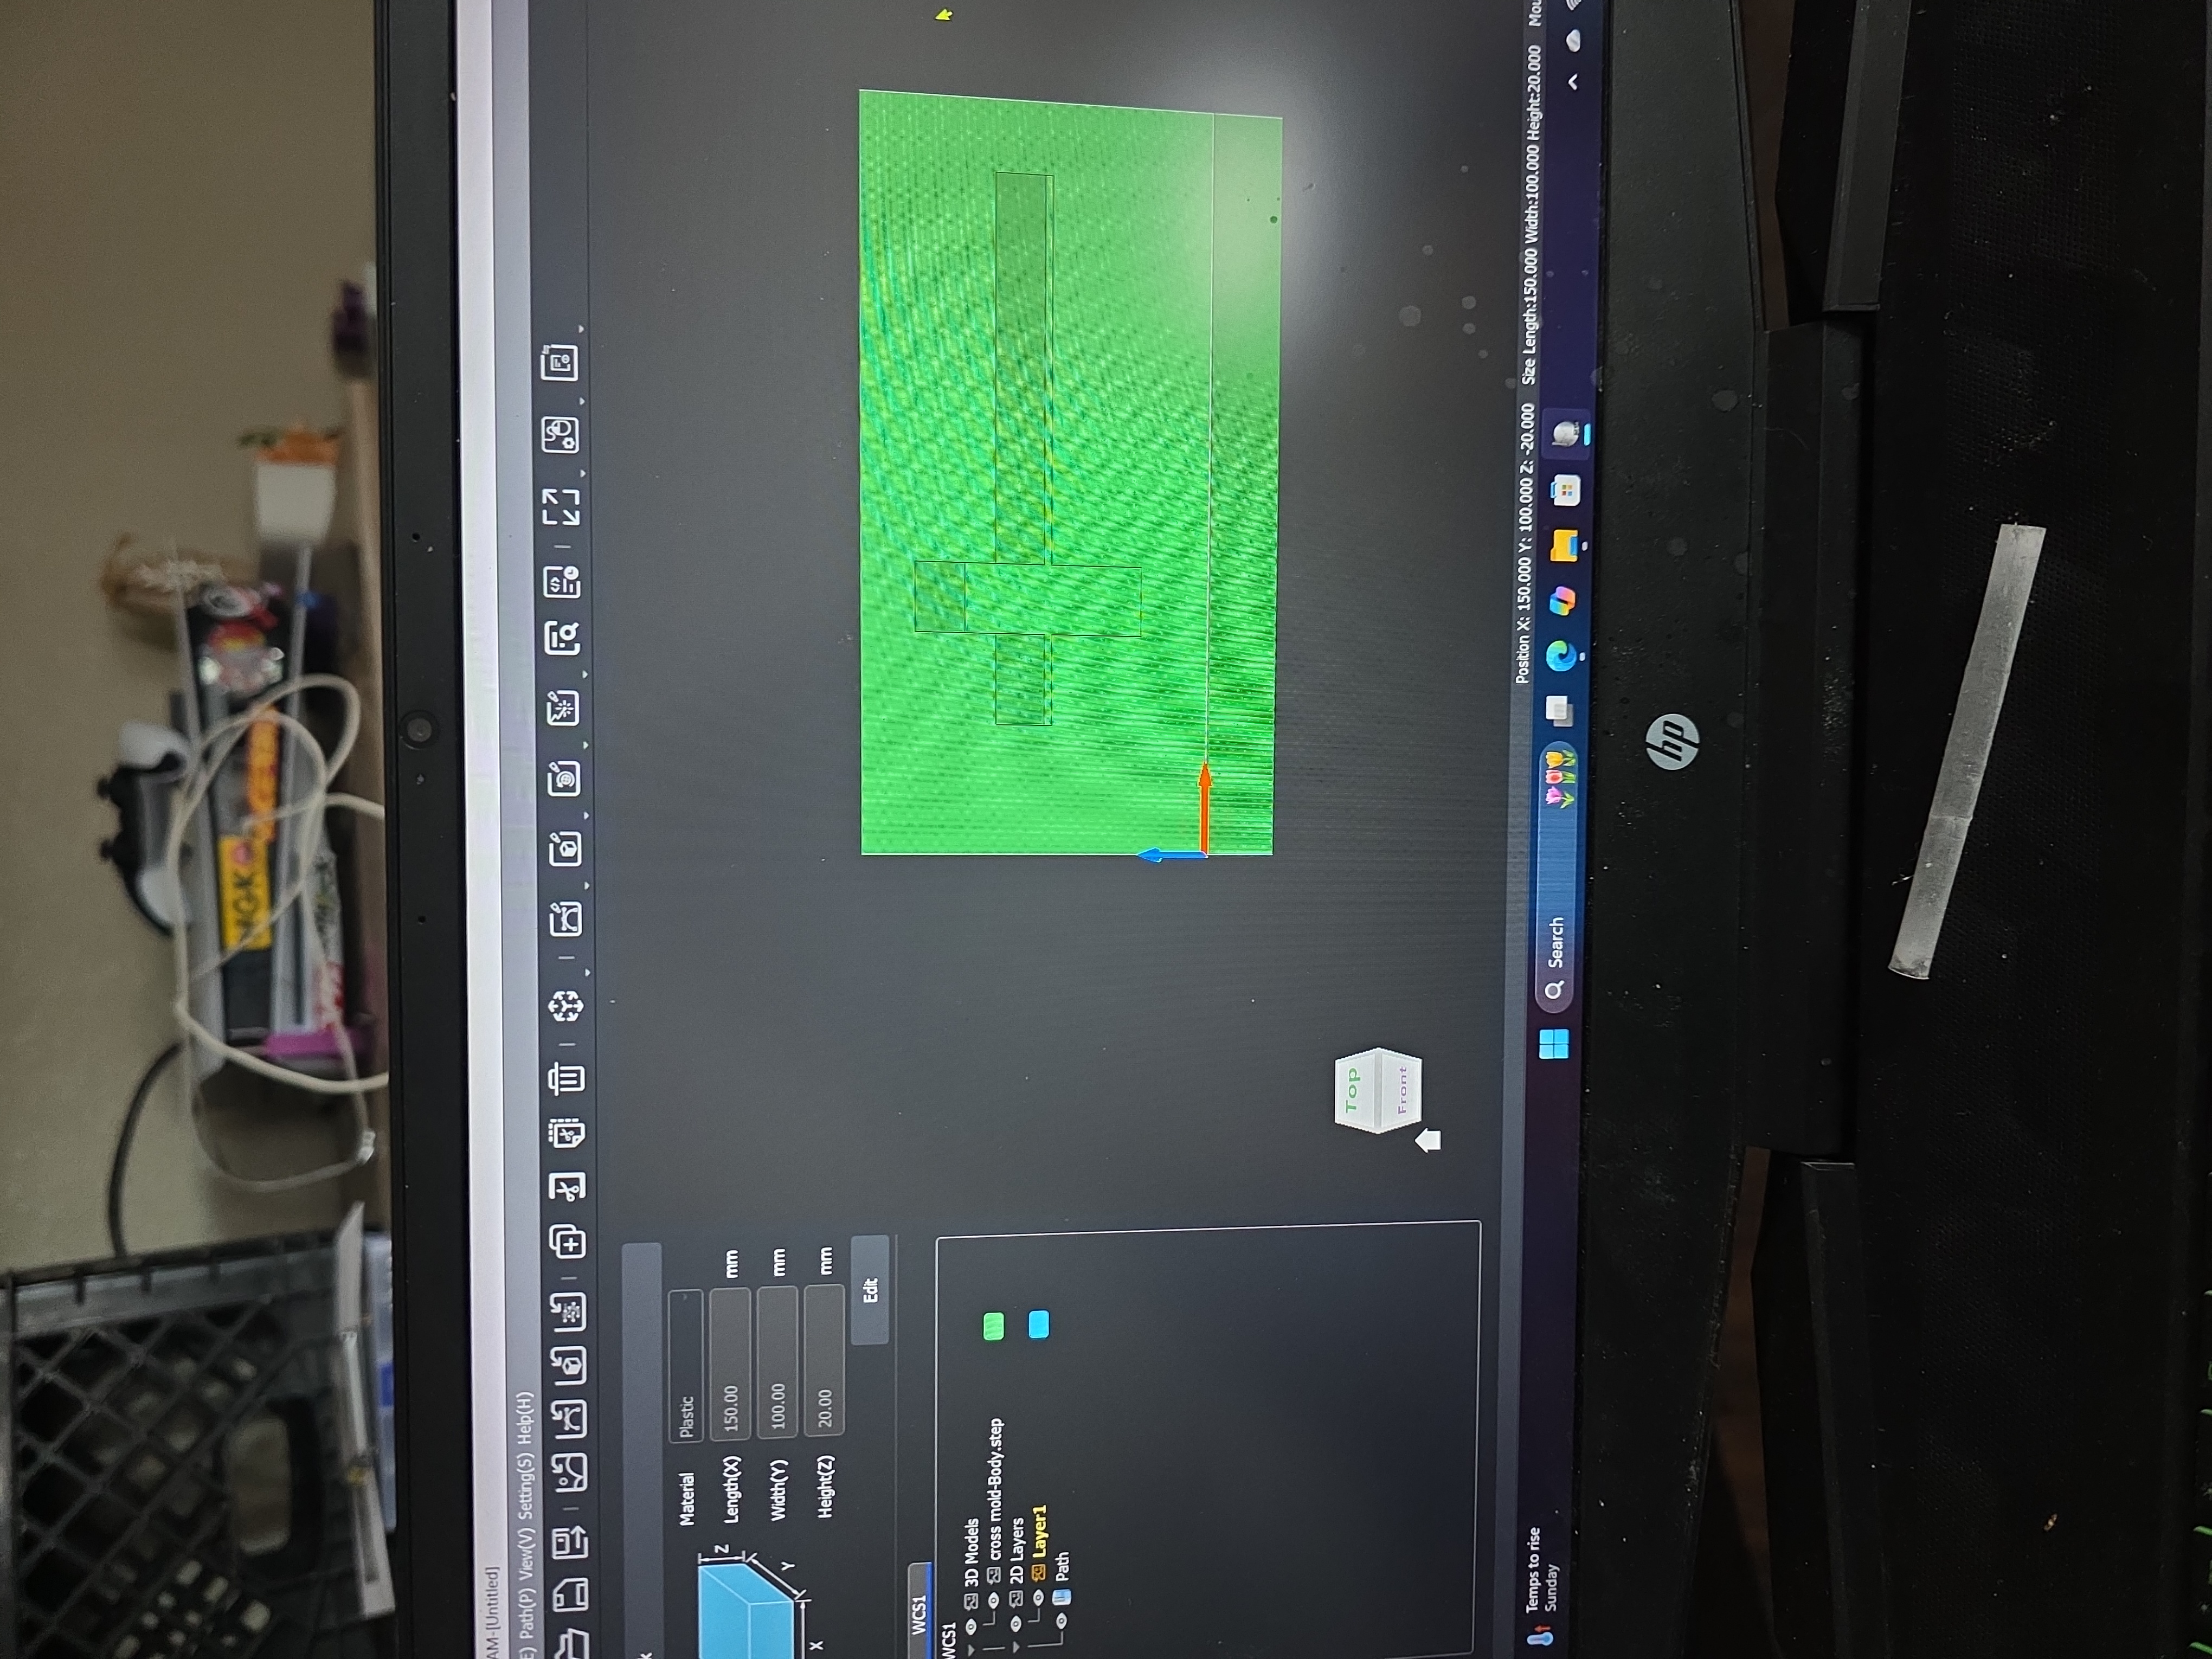
The Delrin block I used was approximately 20 mm thick and measured about 150 mm by 100 mm.
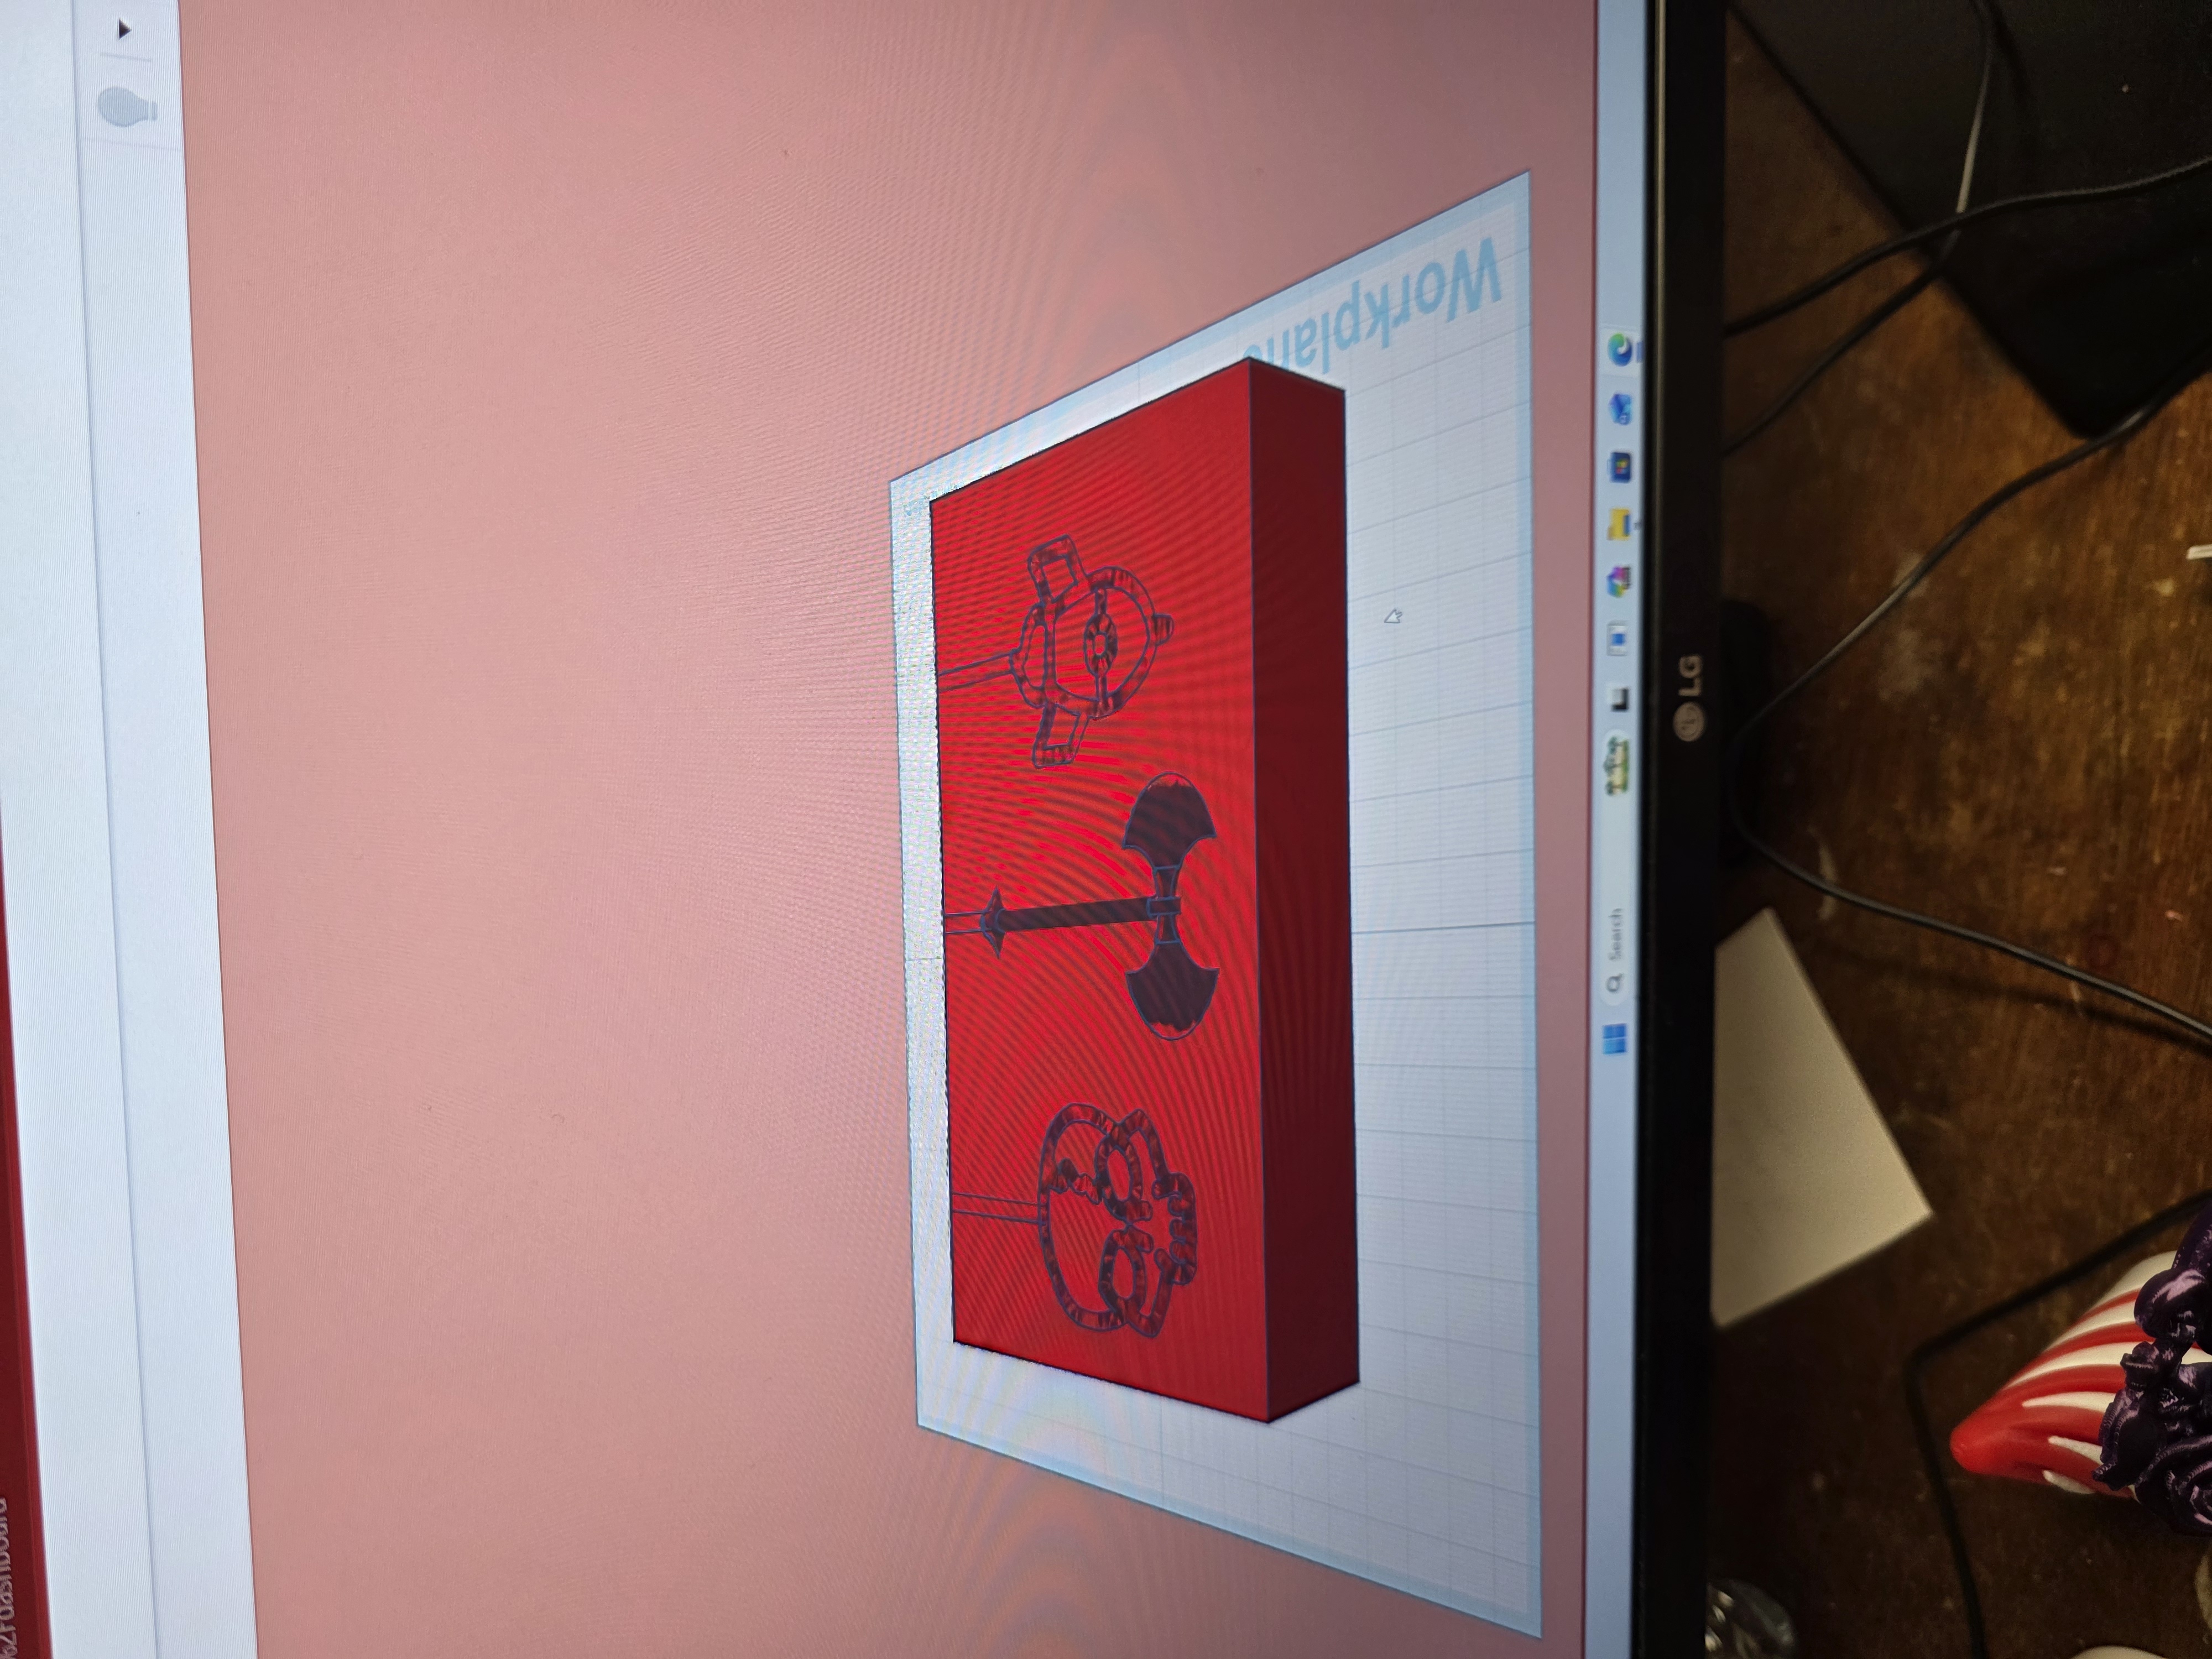
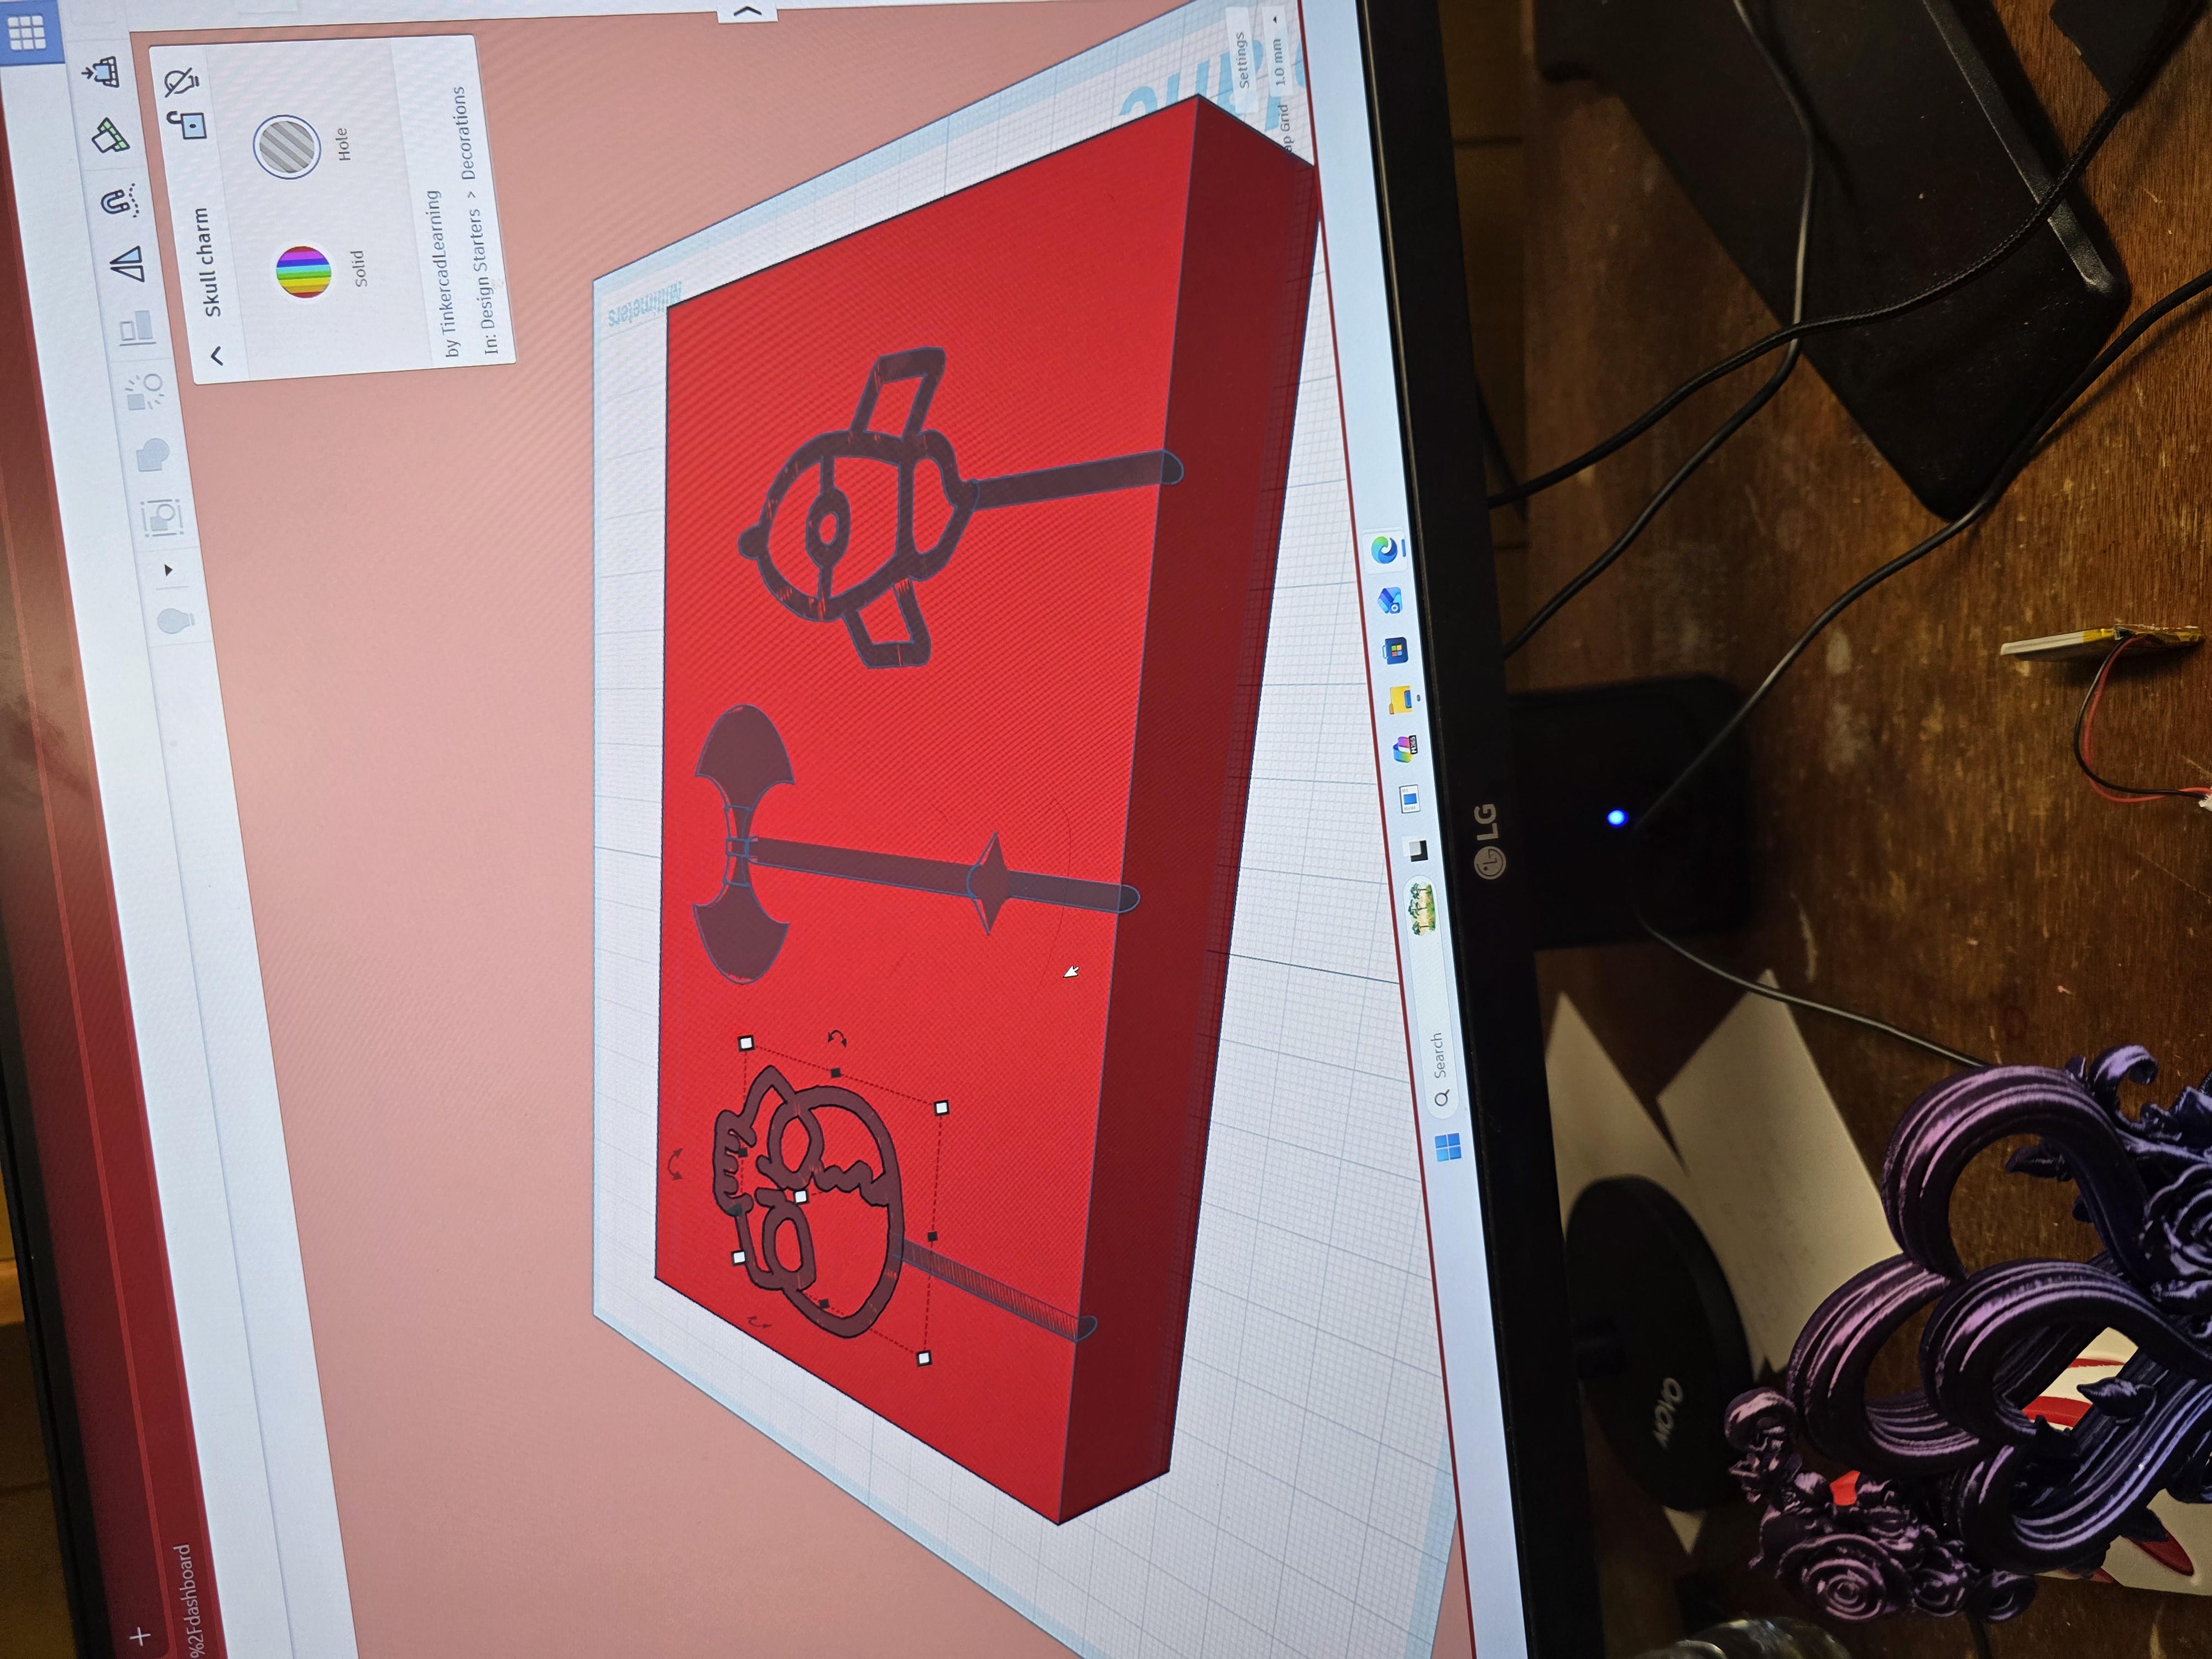
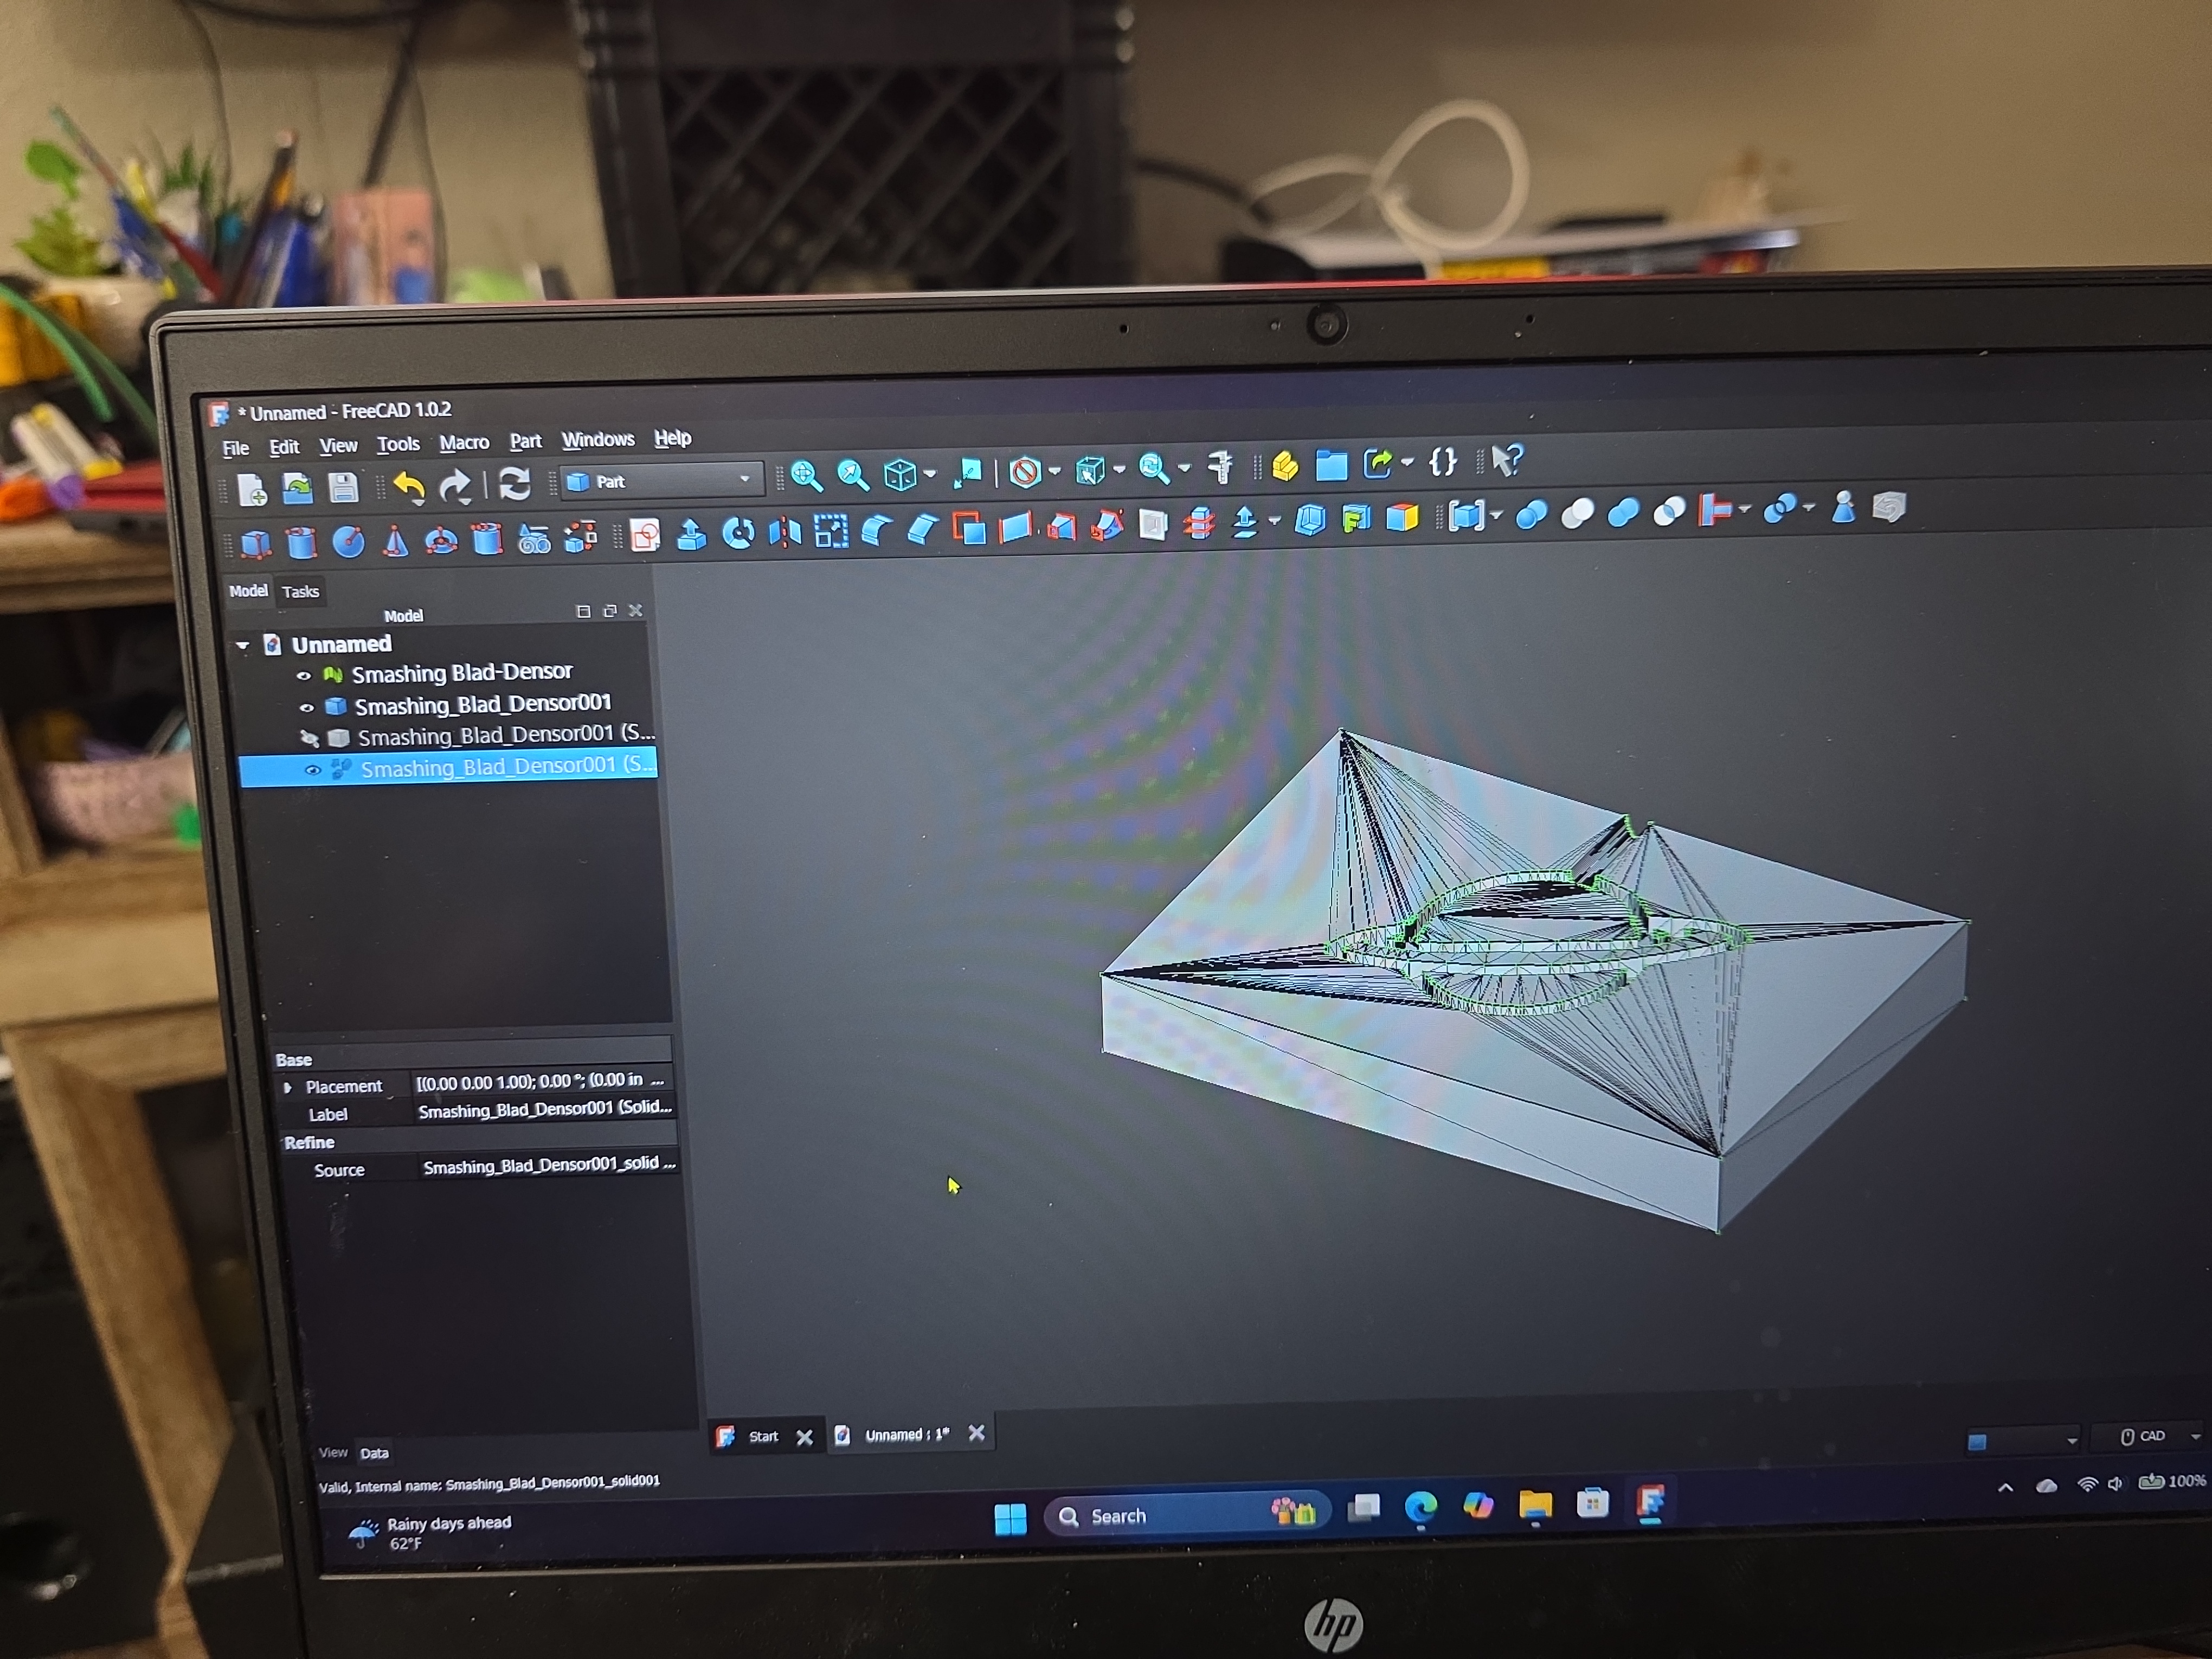
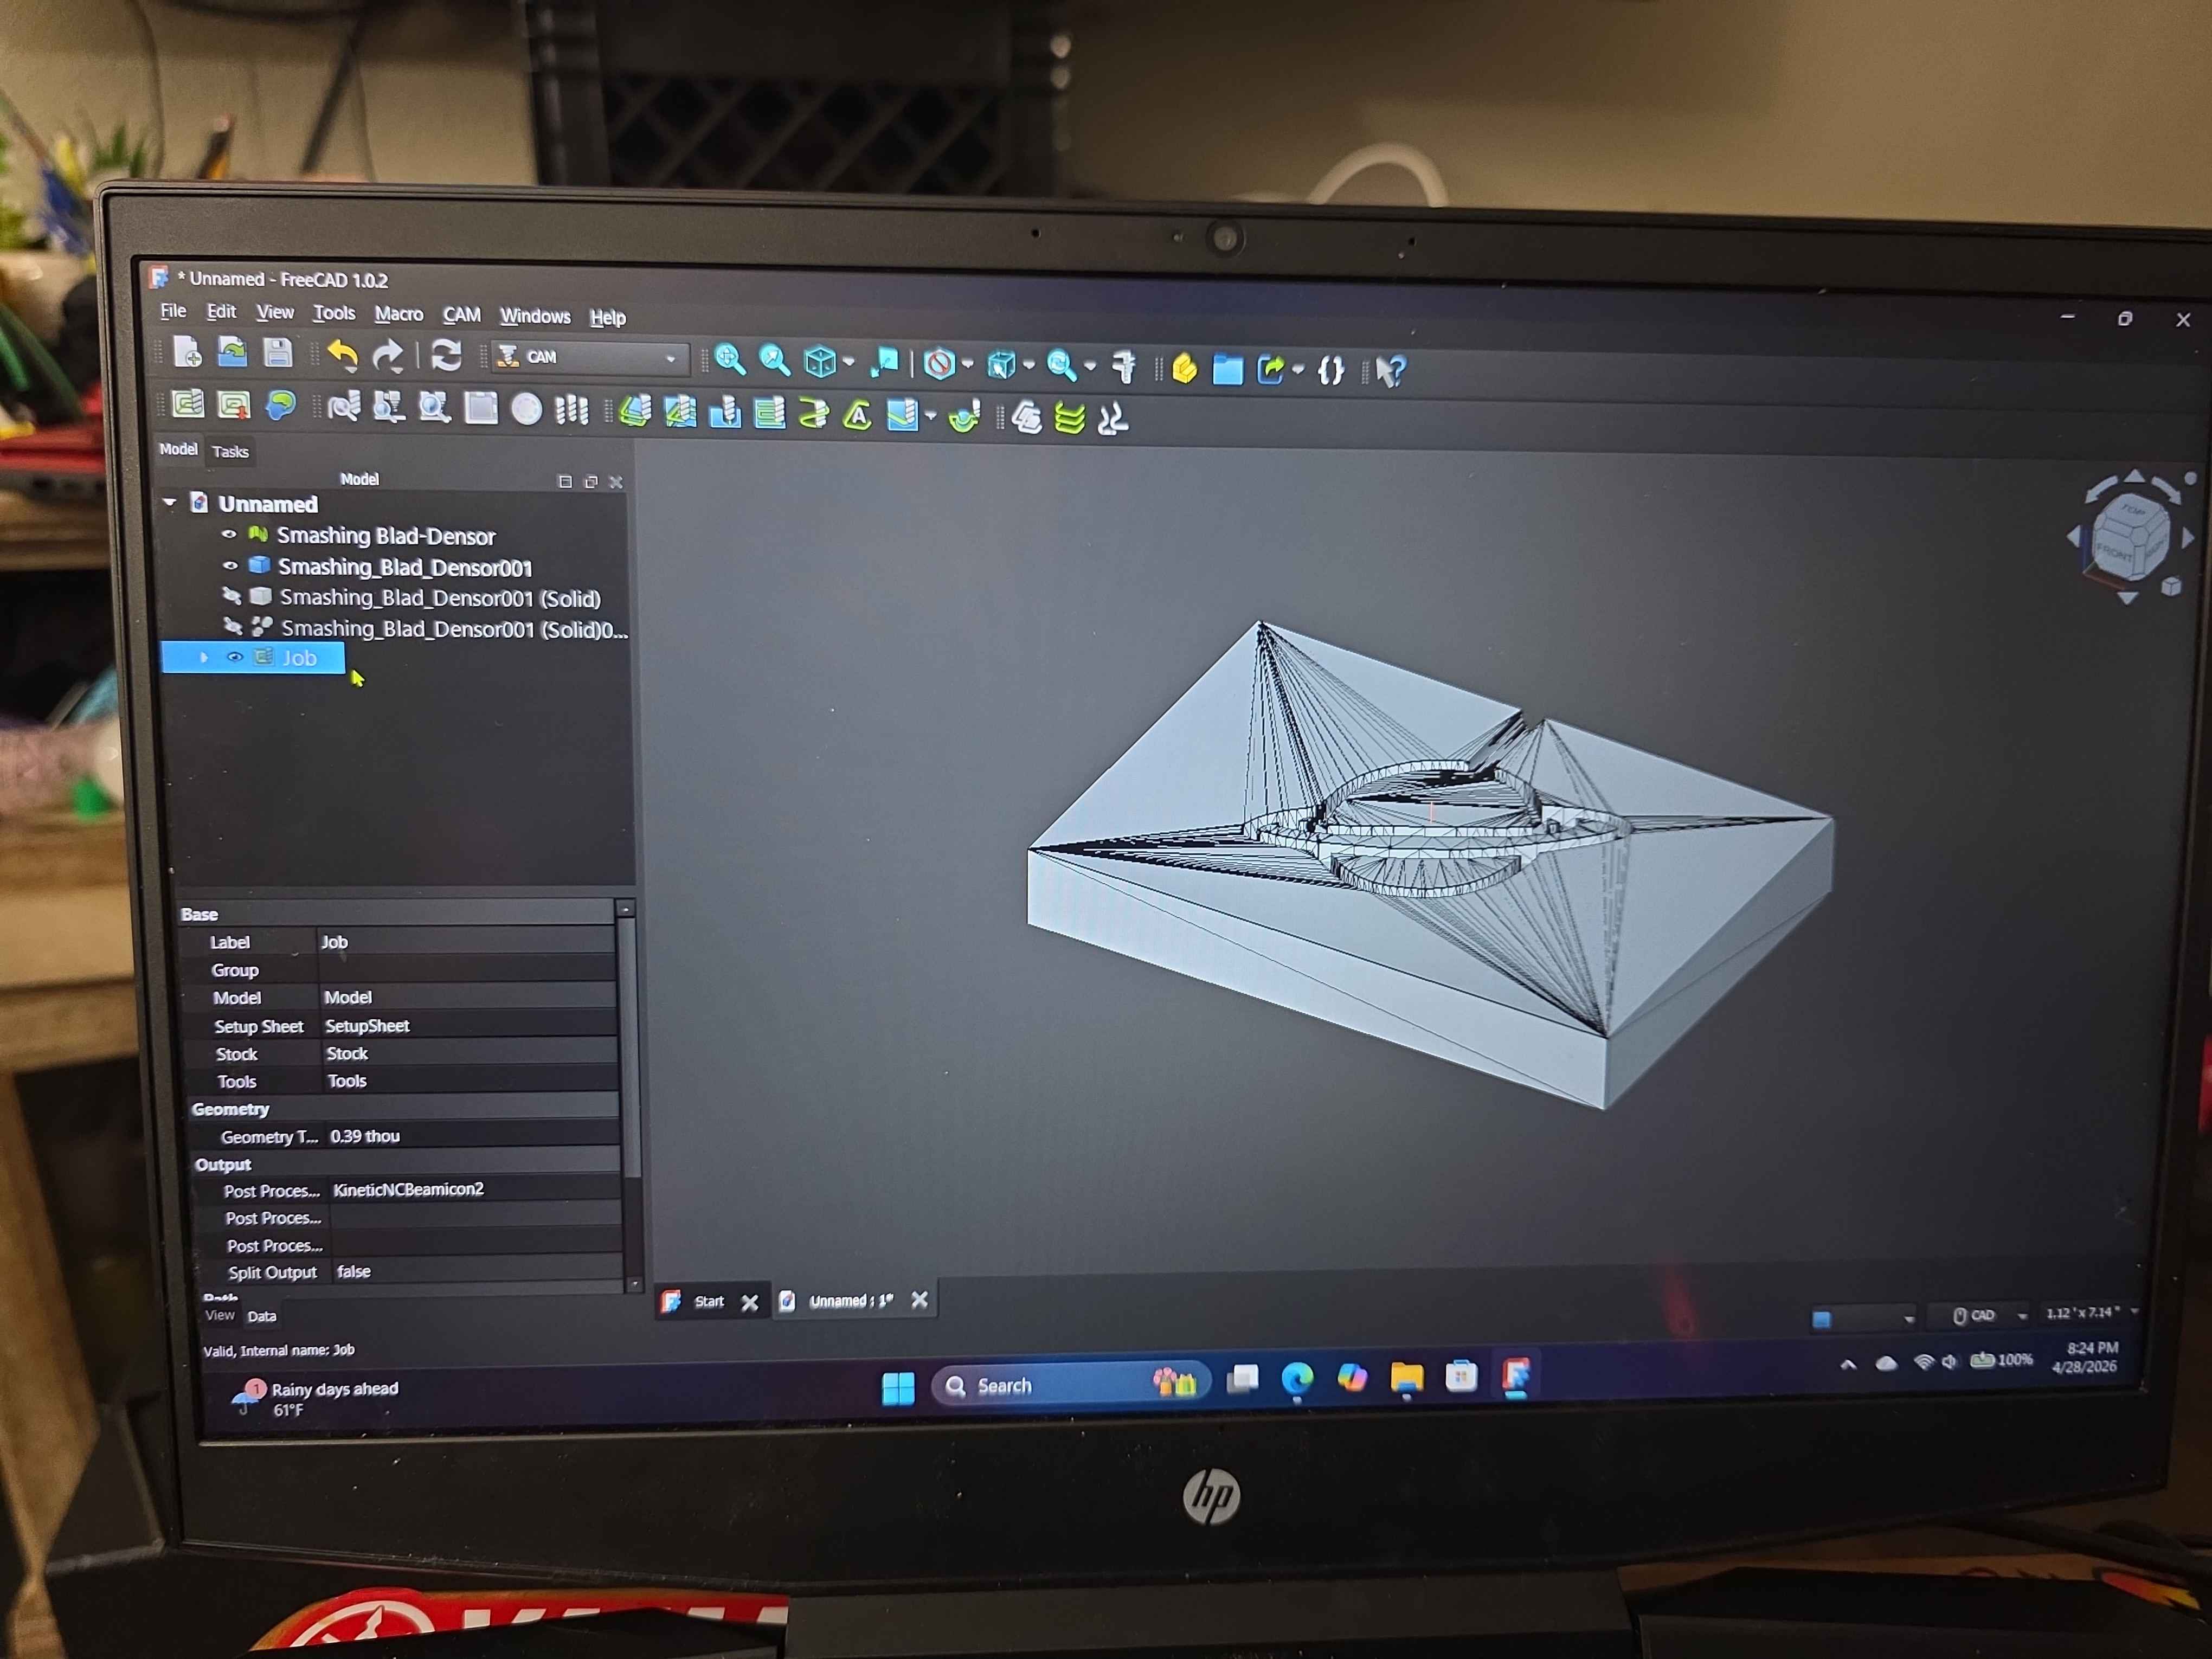
At first, I wanted to make a much more detailed mold design. I tried several ideas including a rocket, skull, axe, and other complicated shapes. I started some of these designs in Tinkercad, but I kept running into problems when moving the files into the CAM software.
The models would either fail to import correctly or turn into strange triangle shapes that did not machine properly.
Fixing the Design
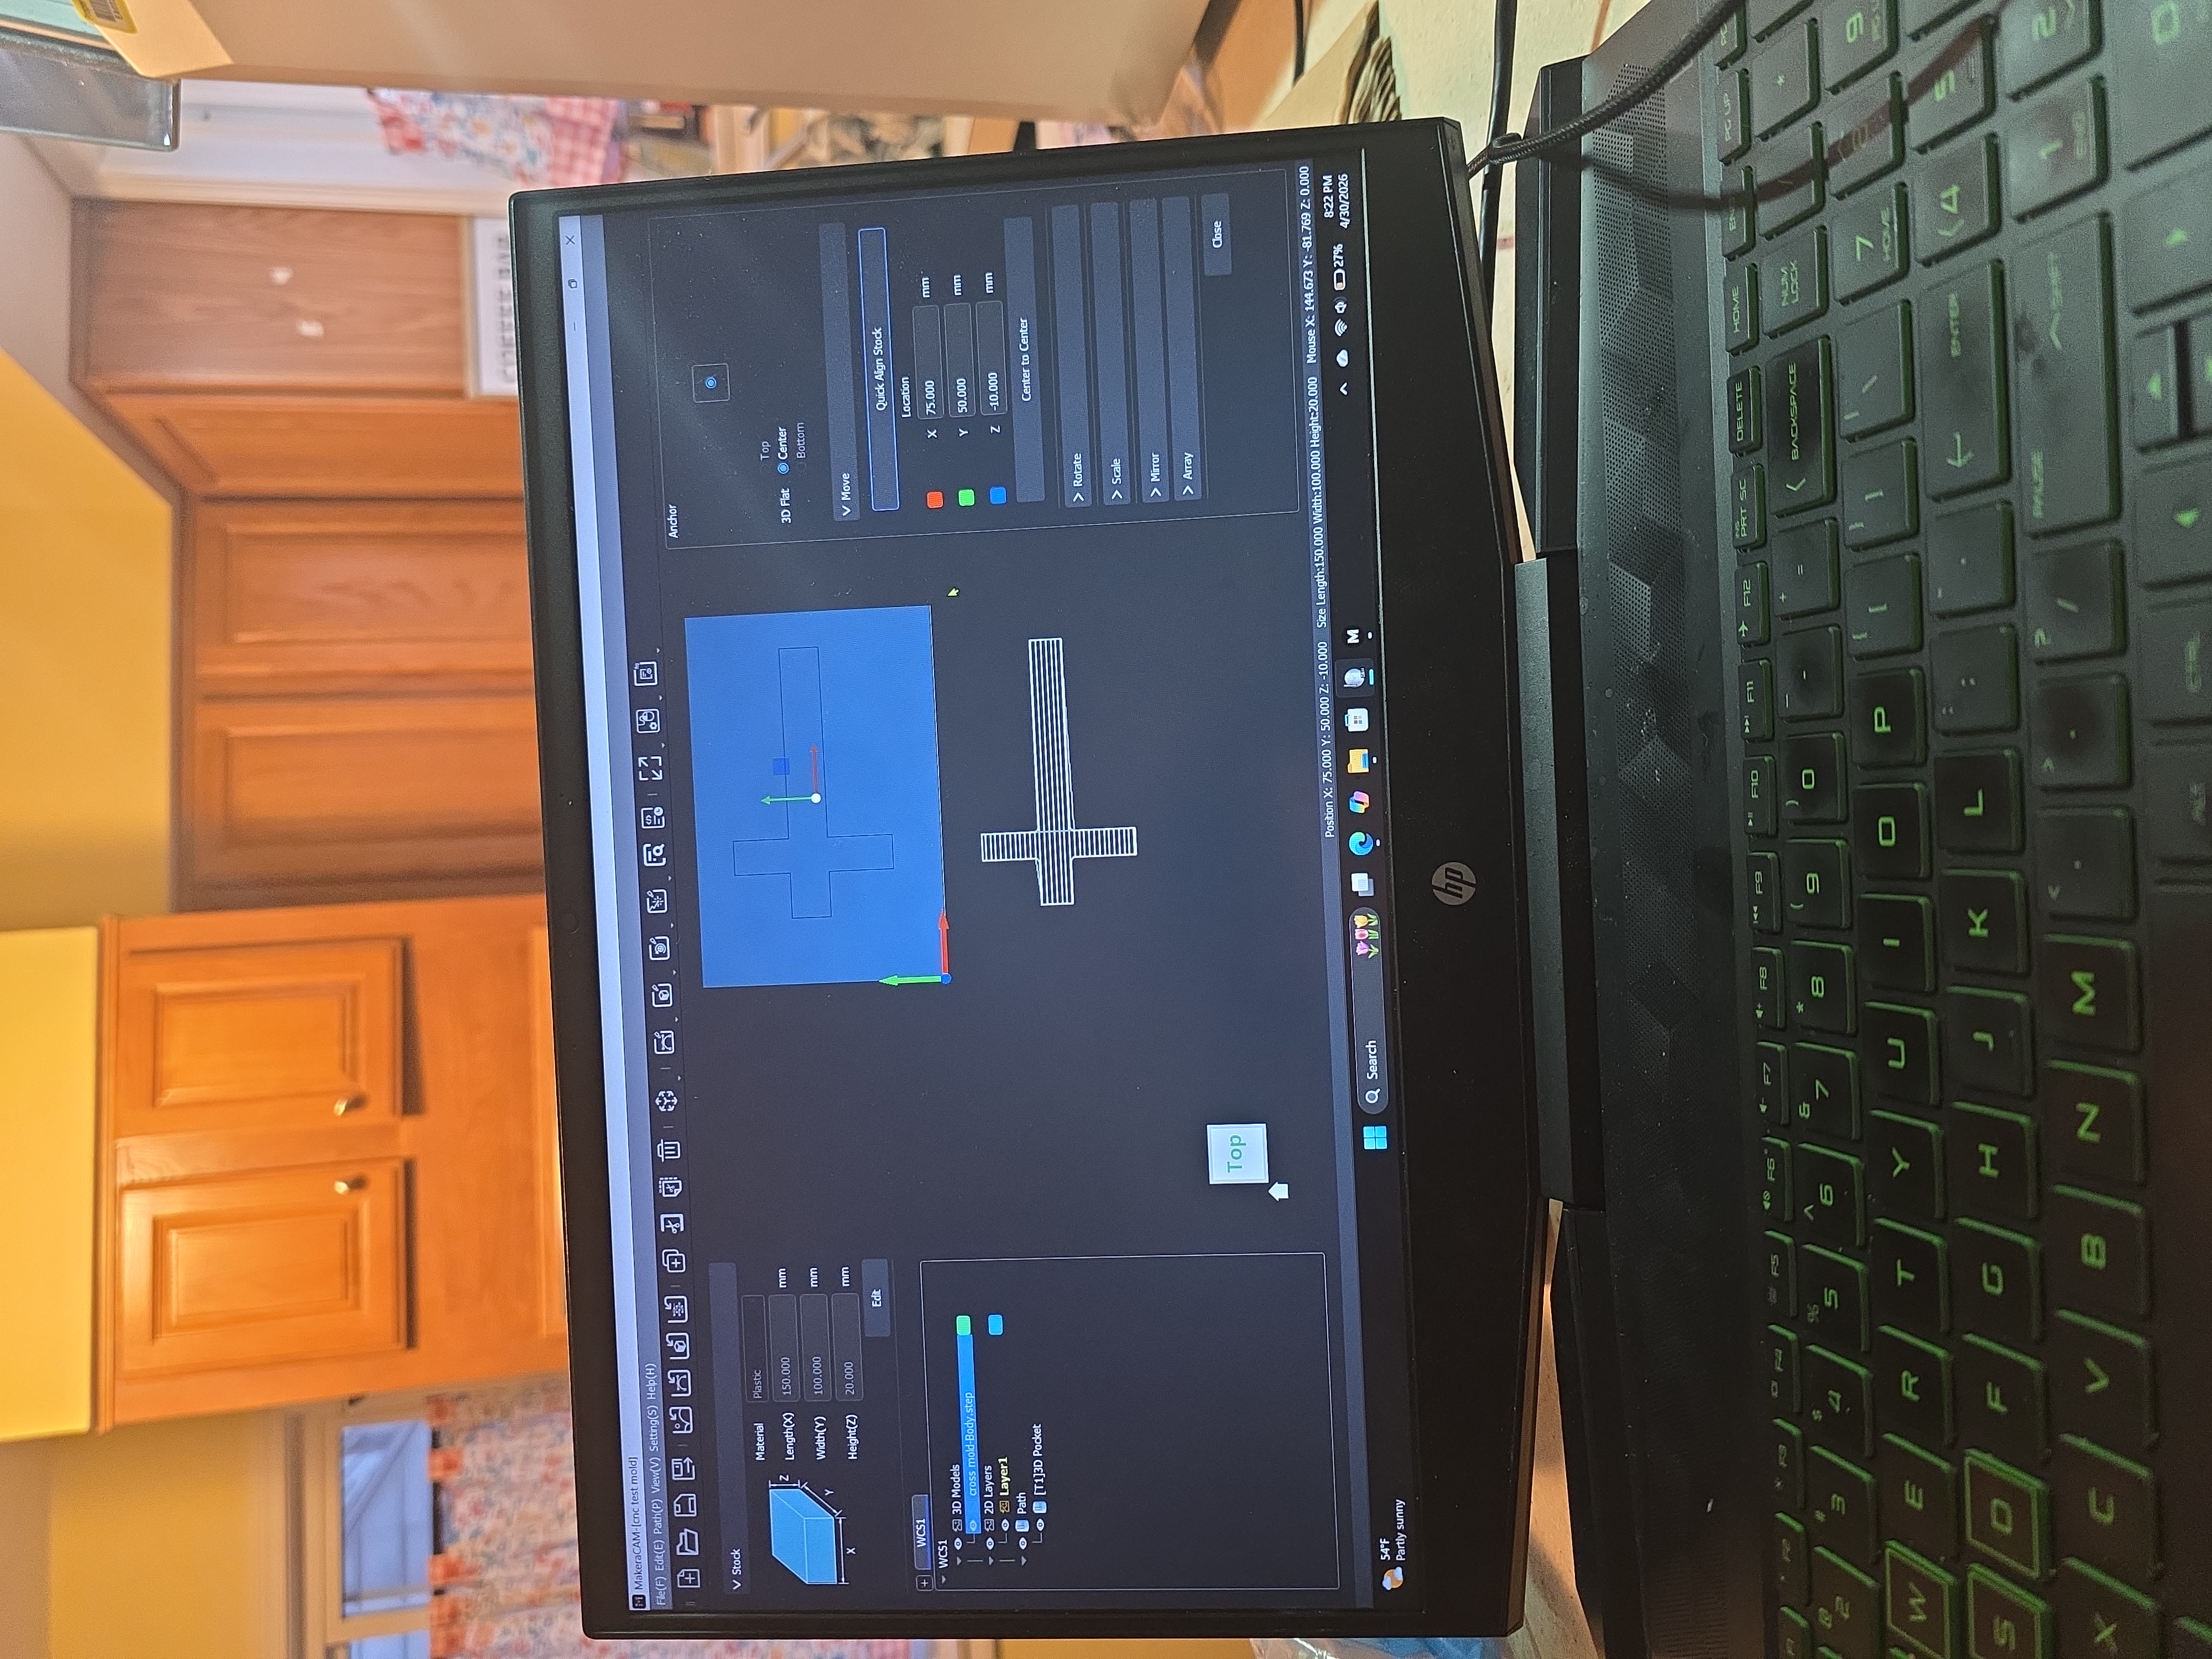
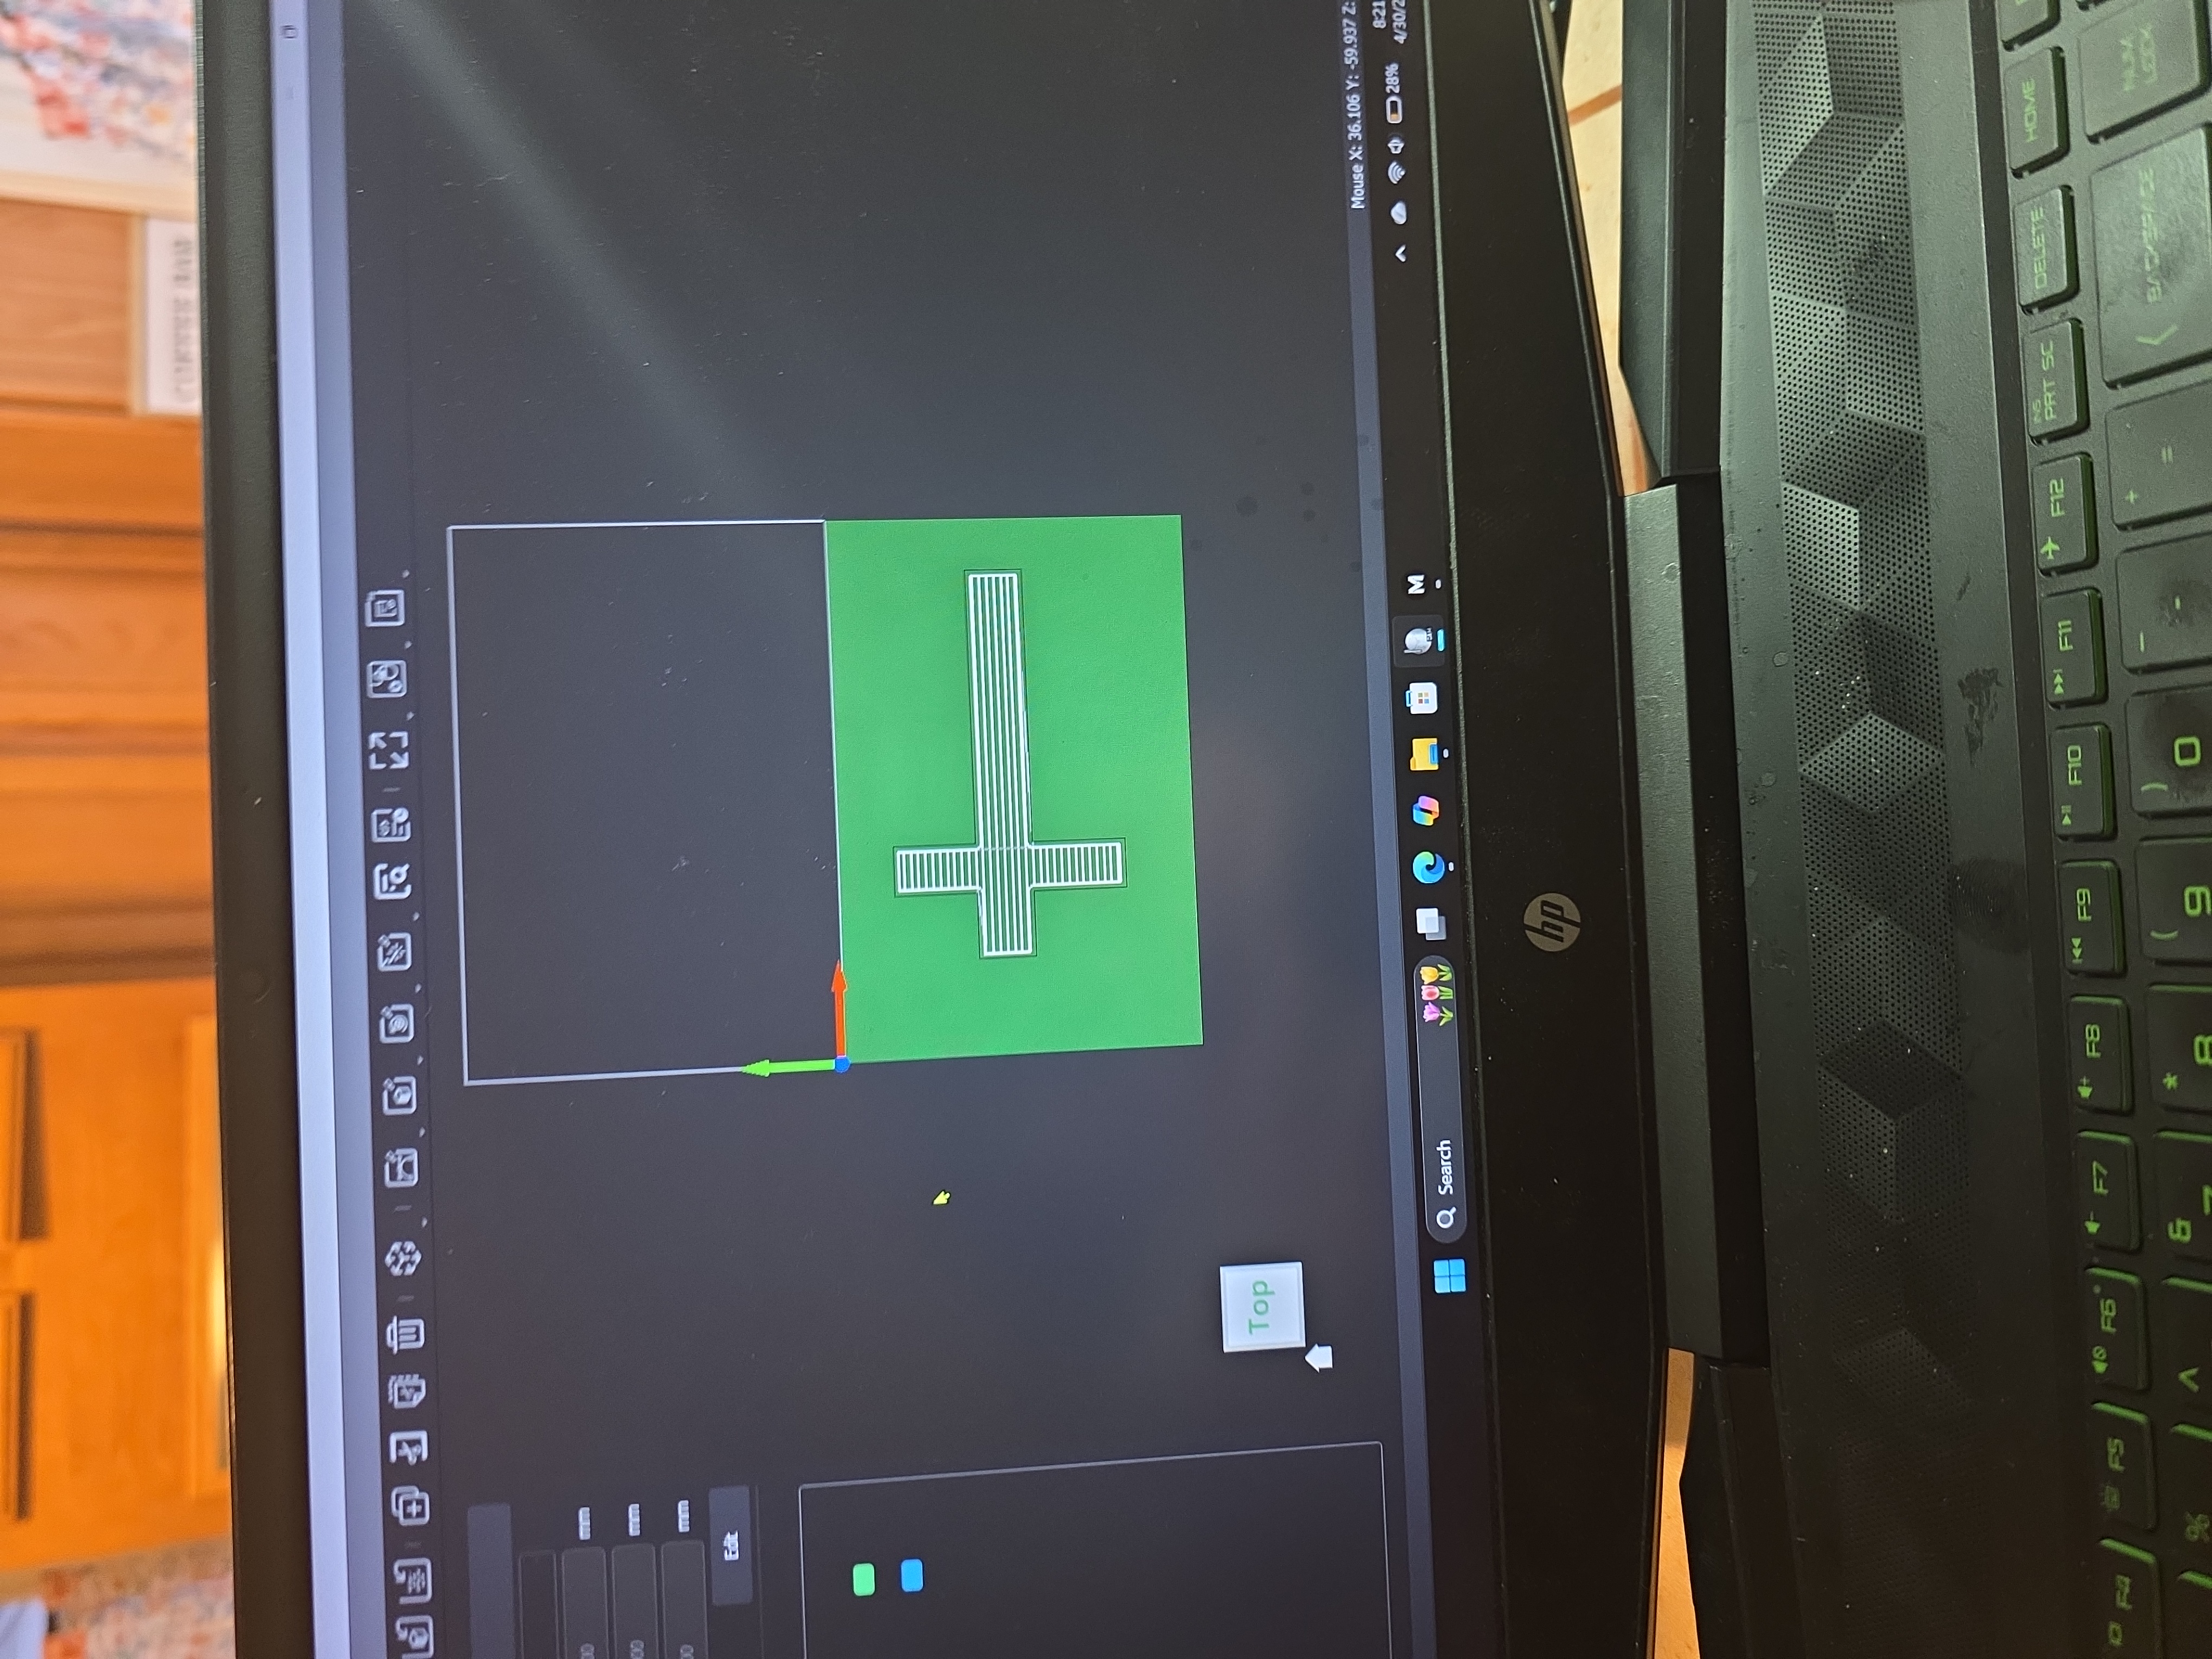
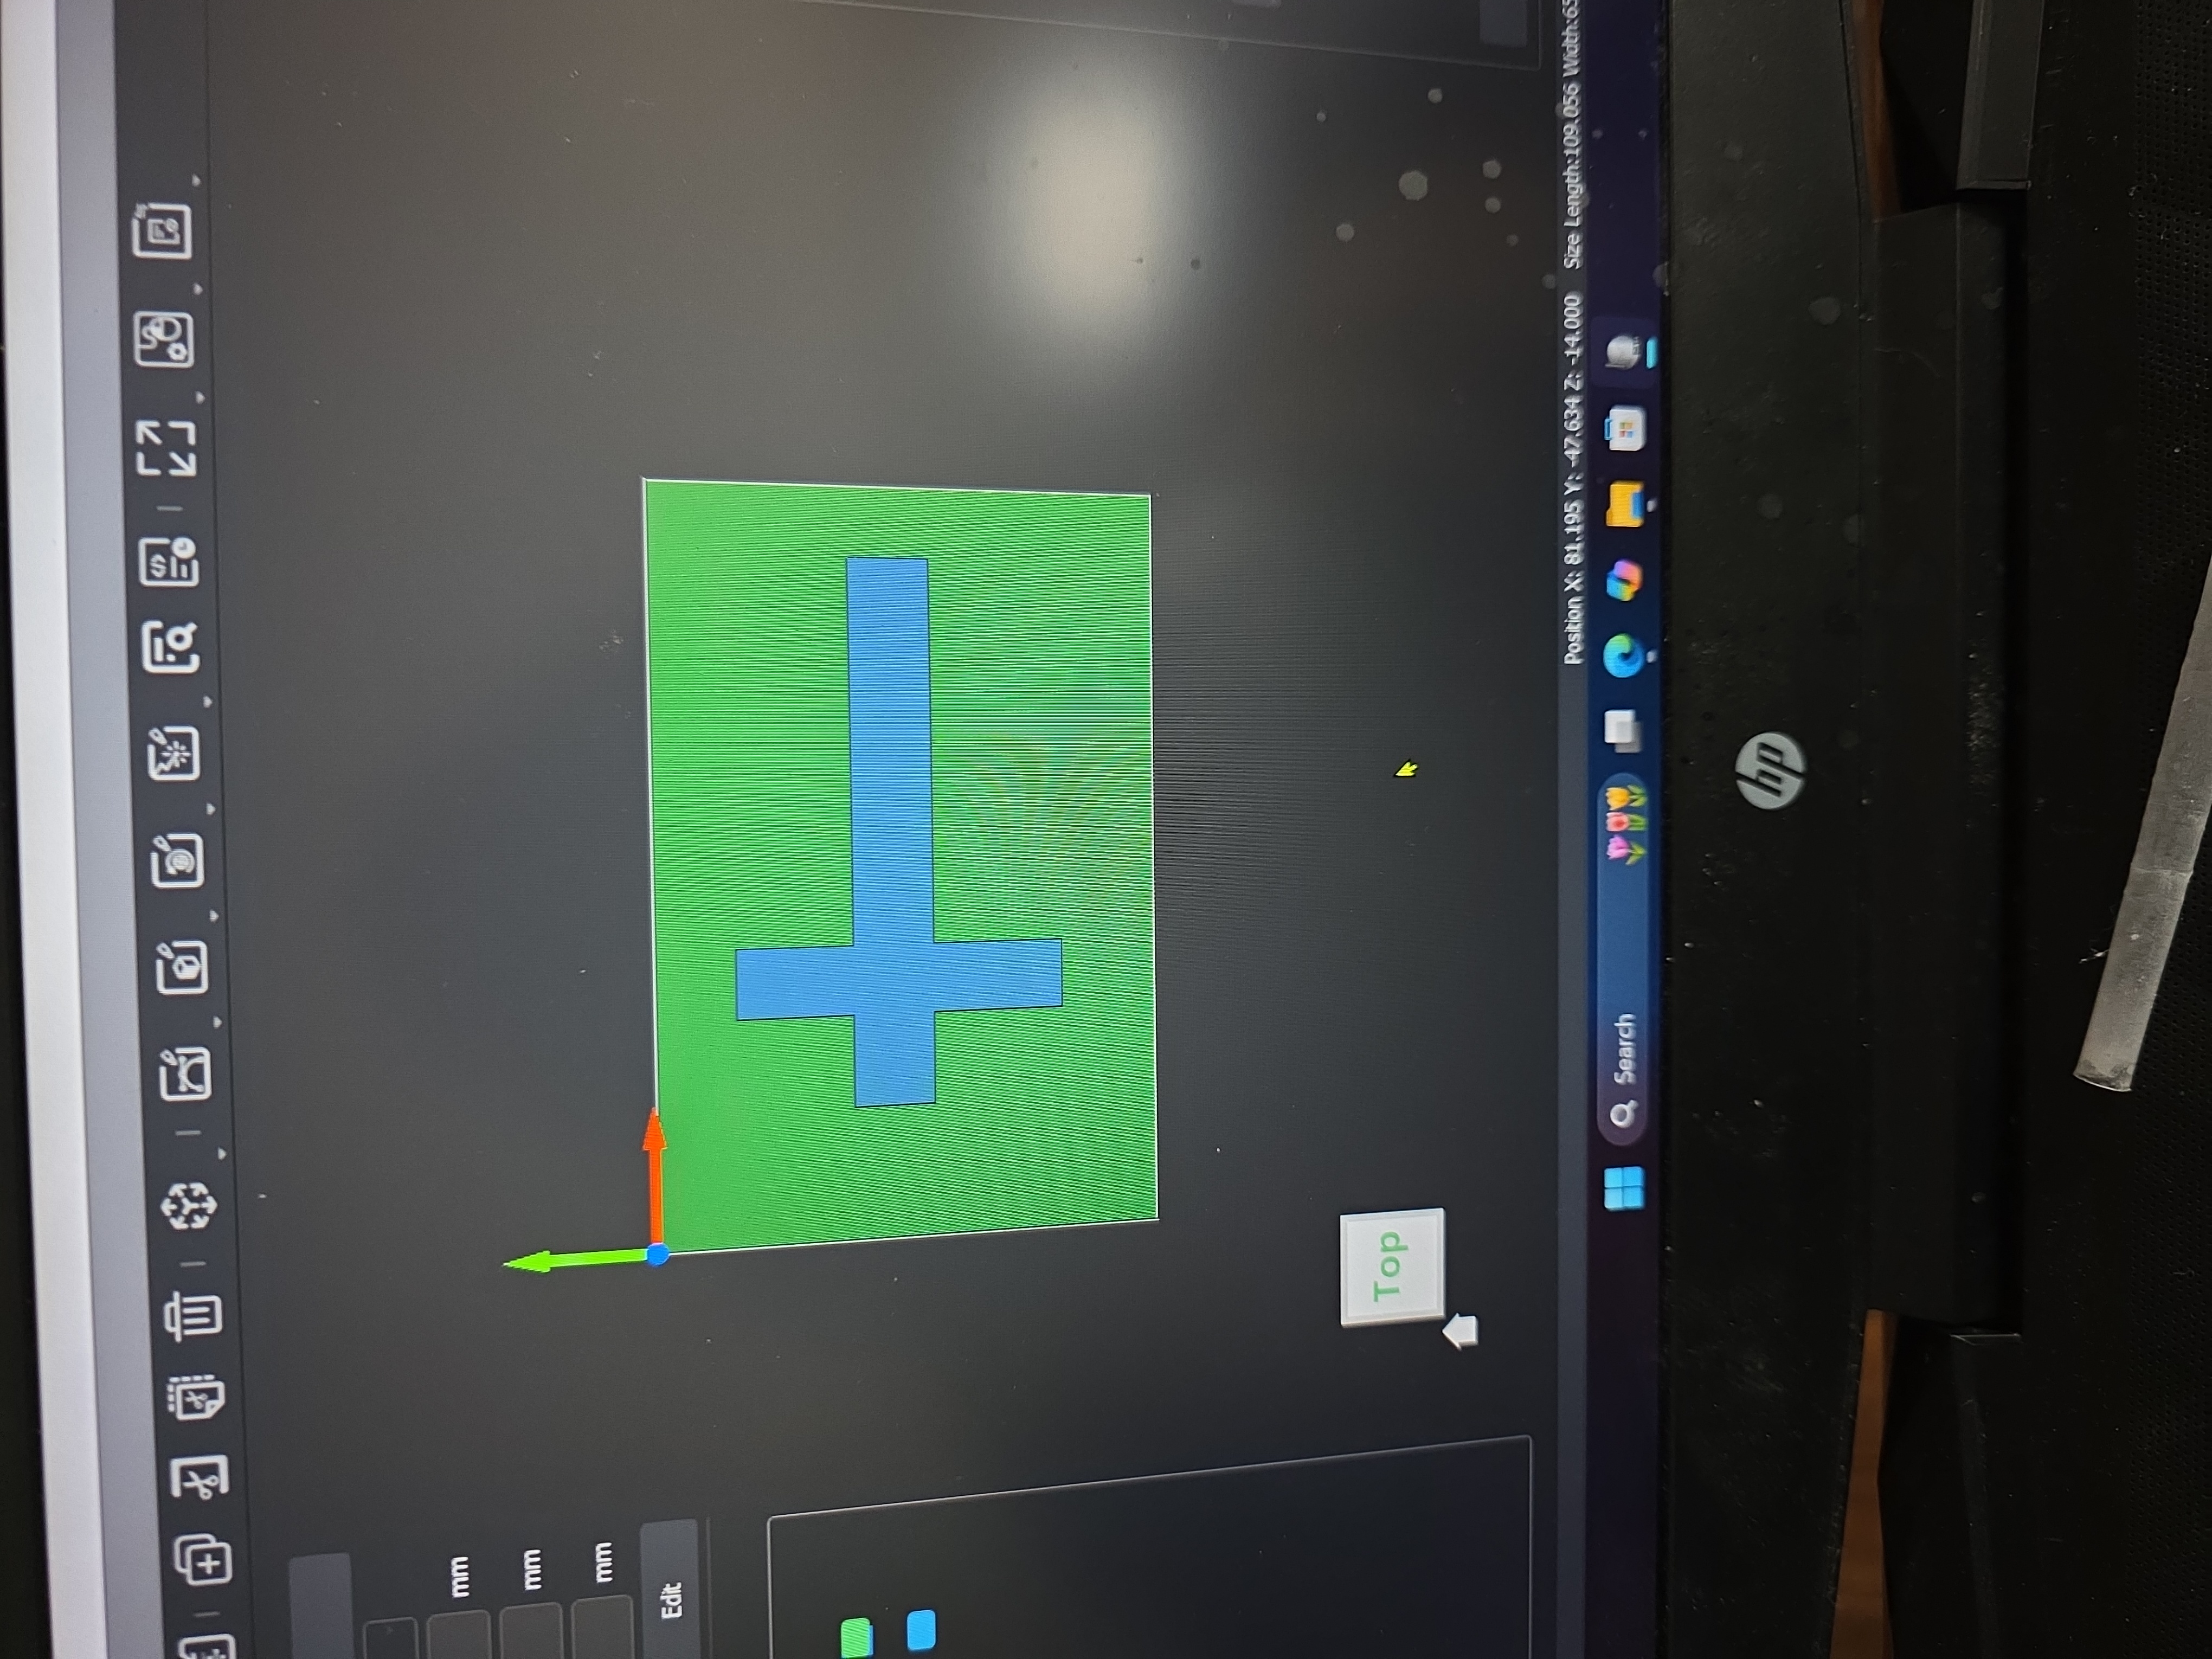
After fighting with the more detailed designs, I decided to simplify the project and create a cleaner shape that would be easier to design and machine. I switched to a simple cross shape and rebuilt the design in FreeCAD instead of Tinkercad.
This fixed many of the problems because the file worked much better with the CAM software and the toolpaths became easier to control.
The biggest issue with the earlier designs was that they were too complicated for the workflow I was using. Once the imported model turned into a collection of triangles, it became difficult to tell what the CNC machine was actually going to cut.
To fix this, I simplified the mold design, rebuilt it in FreeCAD, and focused on creating one clean pocket for the cross shape.
Machining on the Makera Carvera
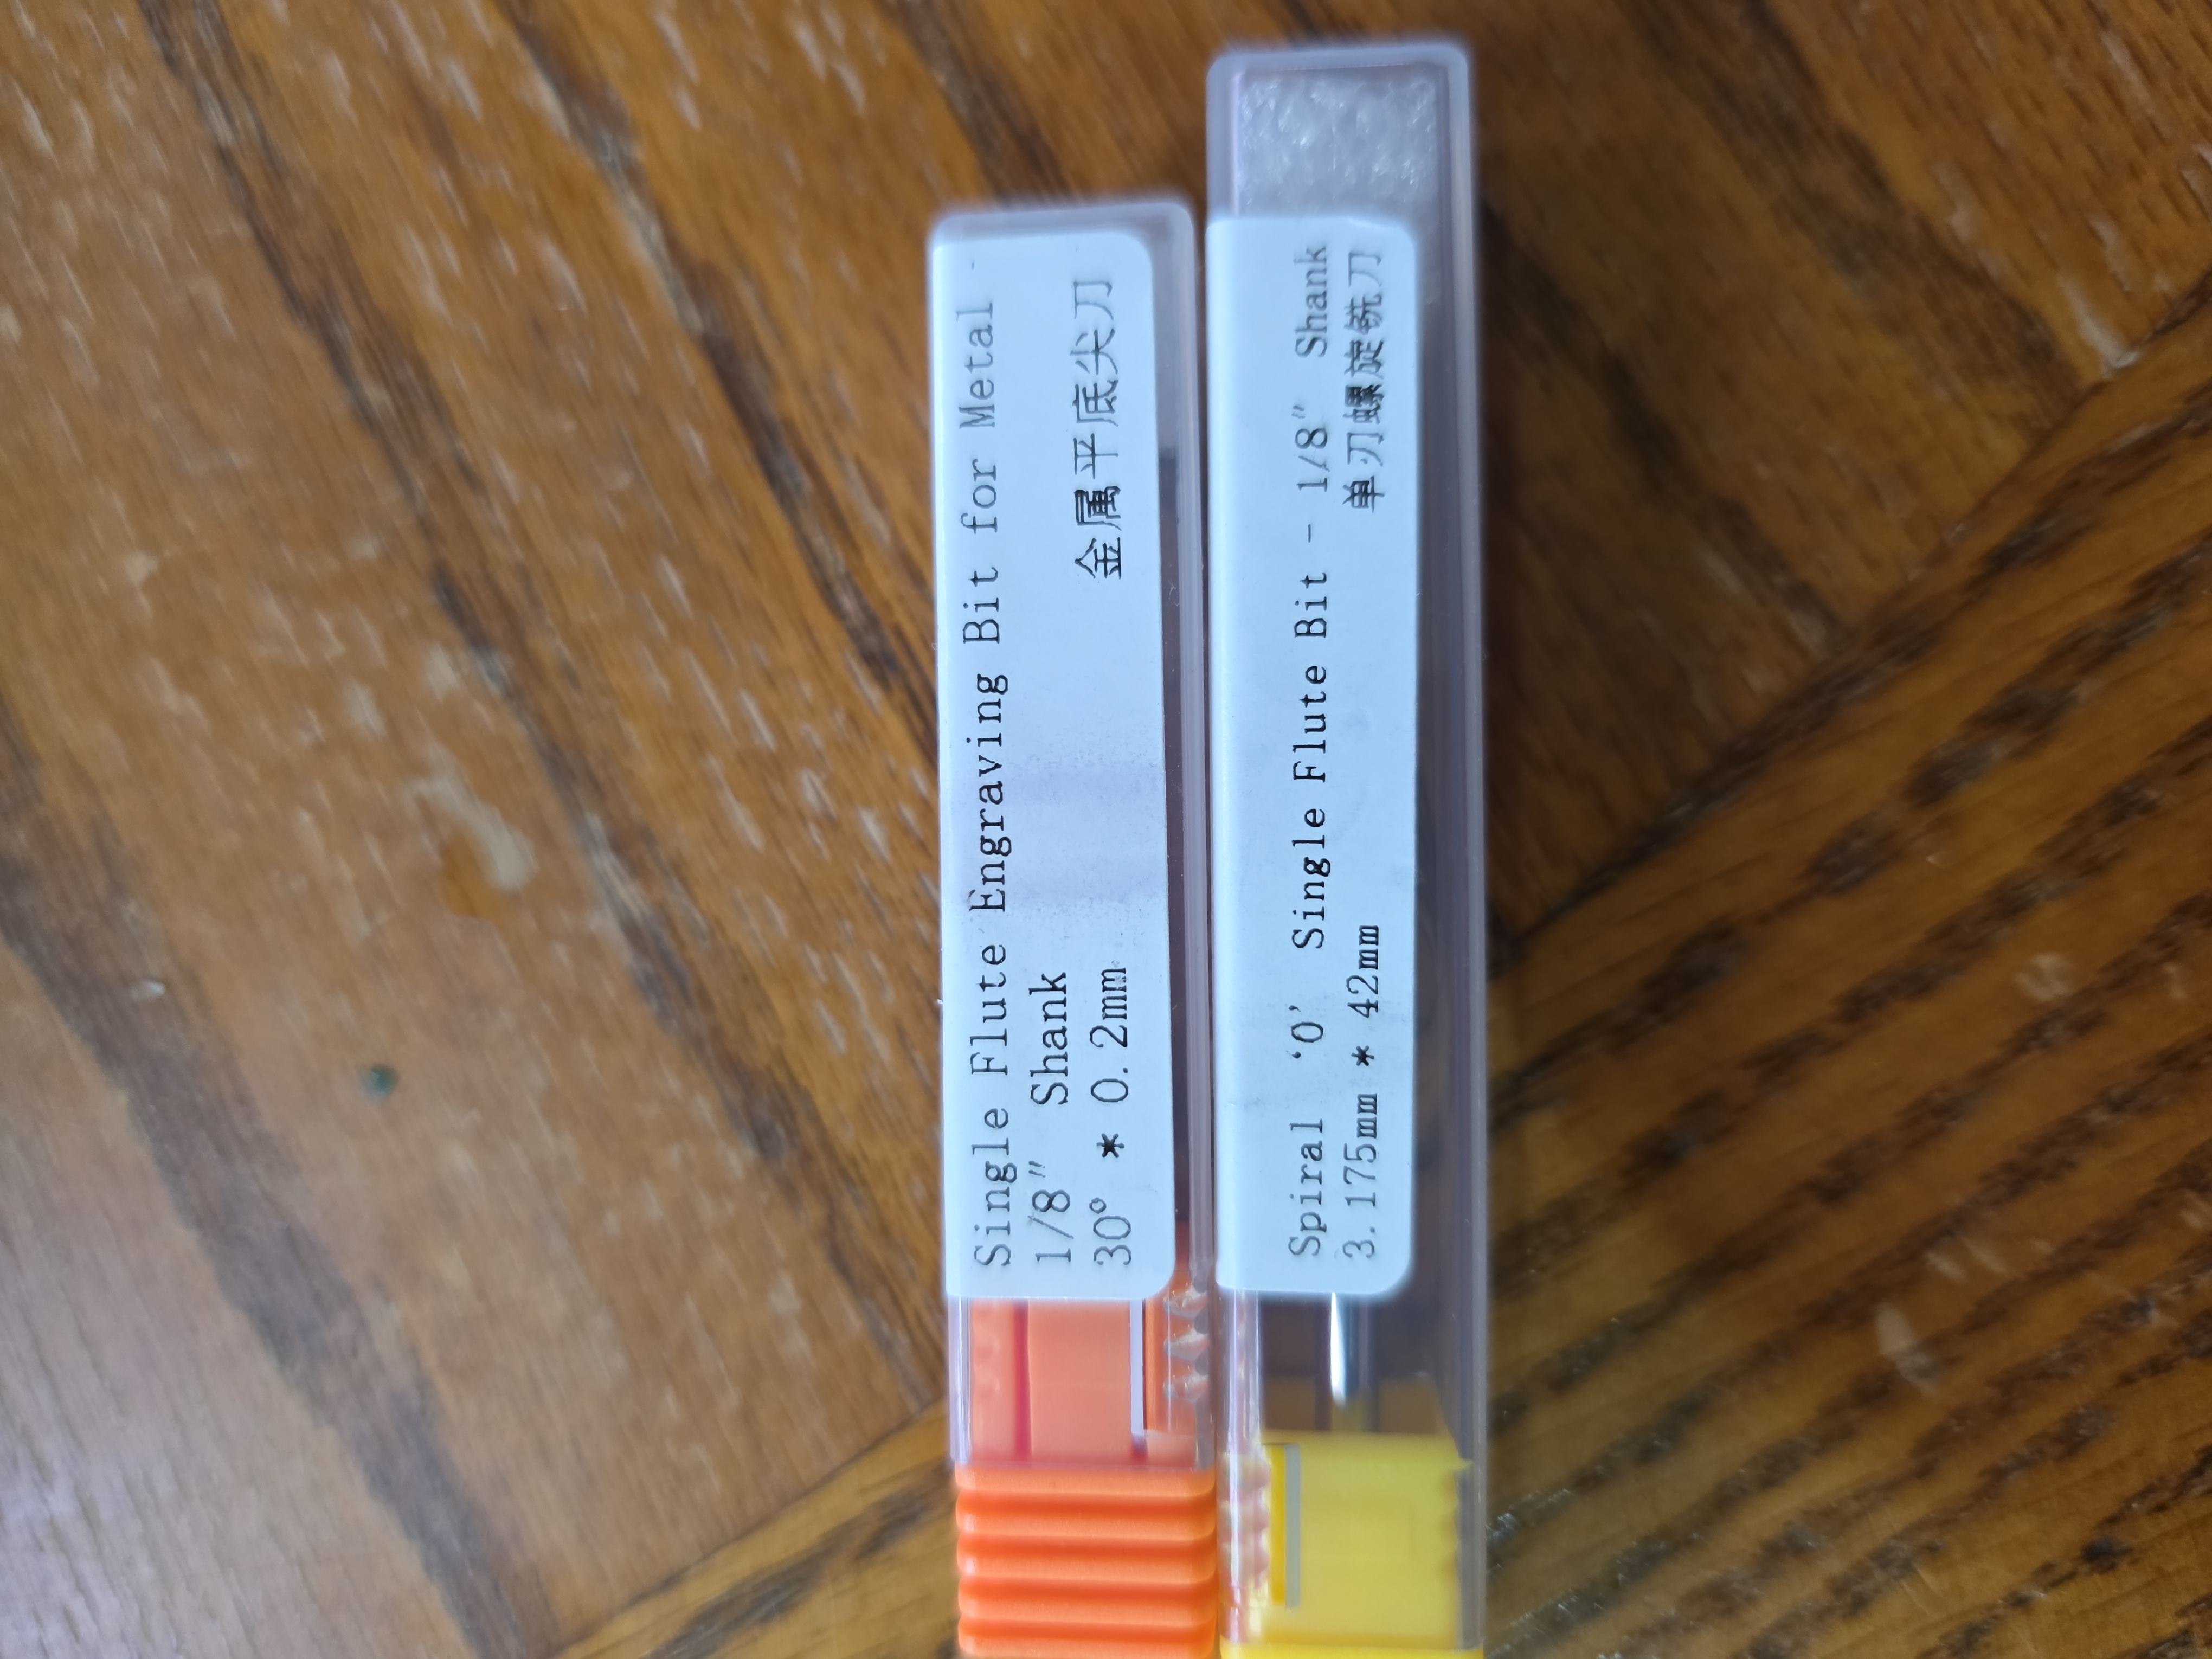
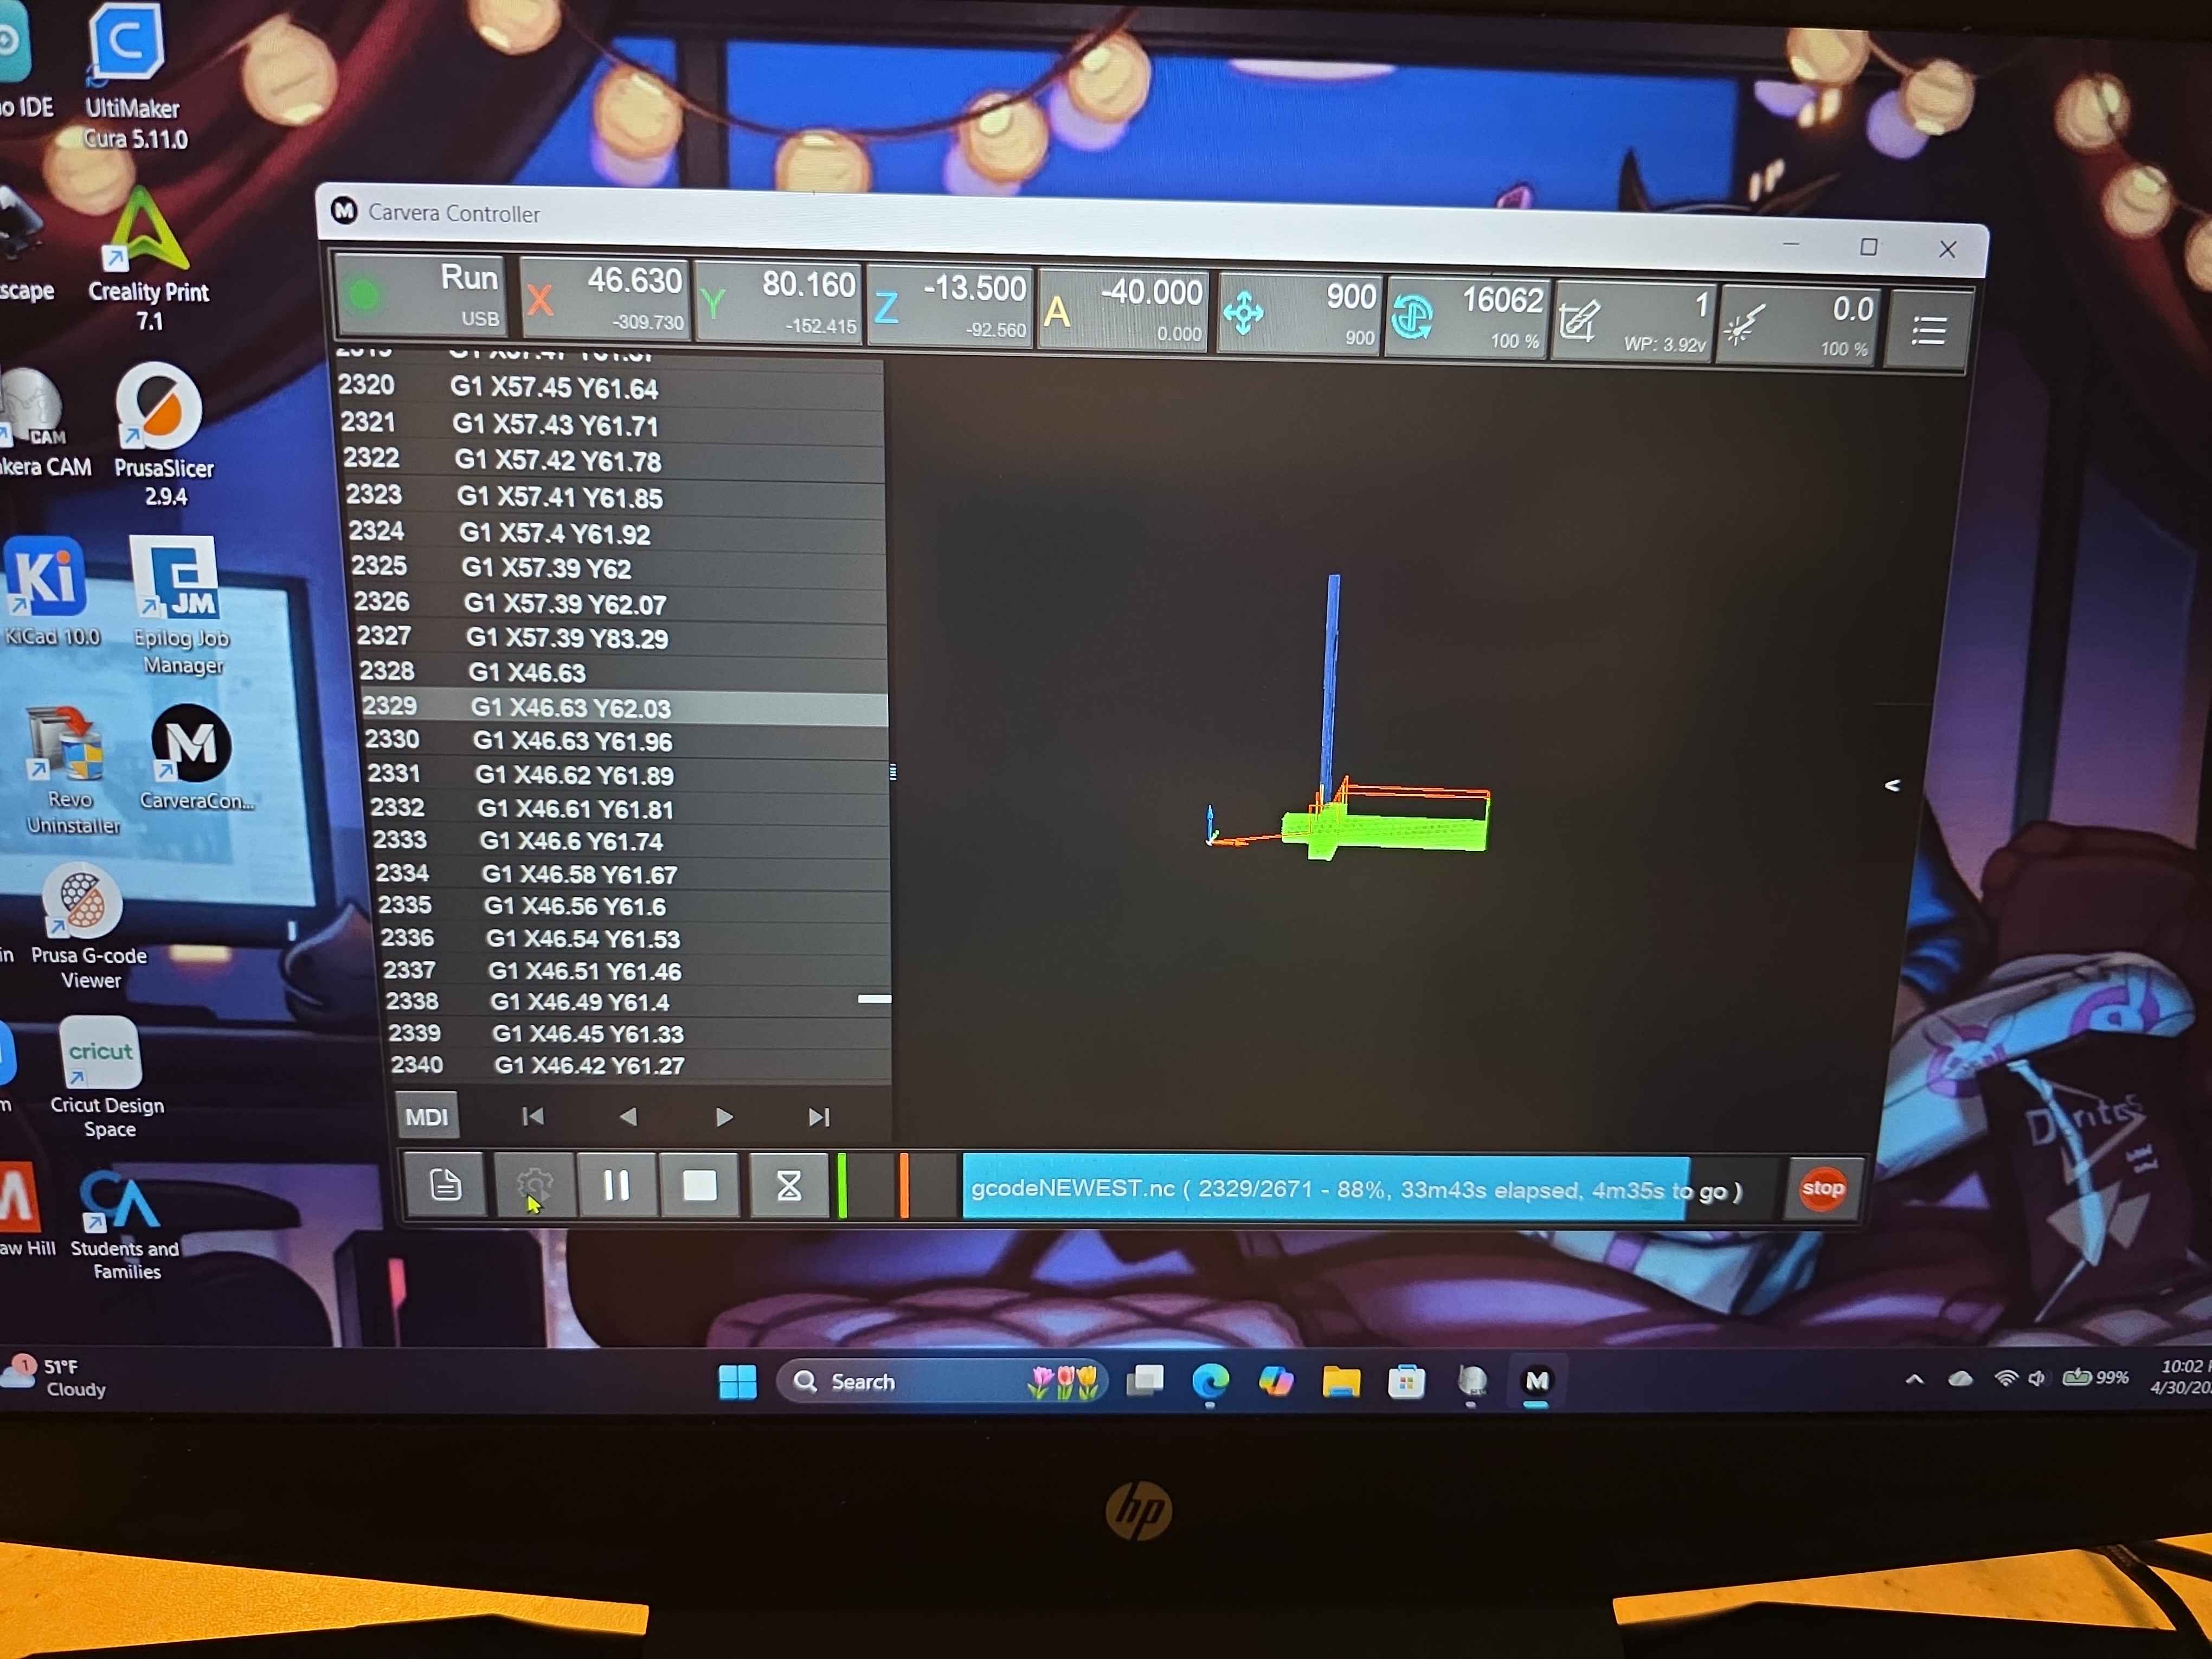
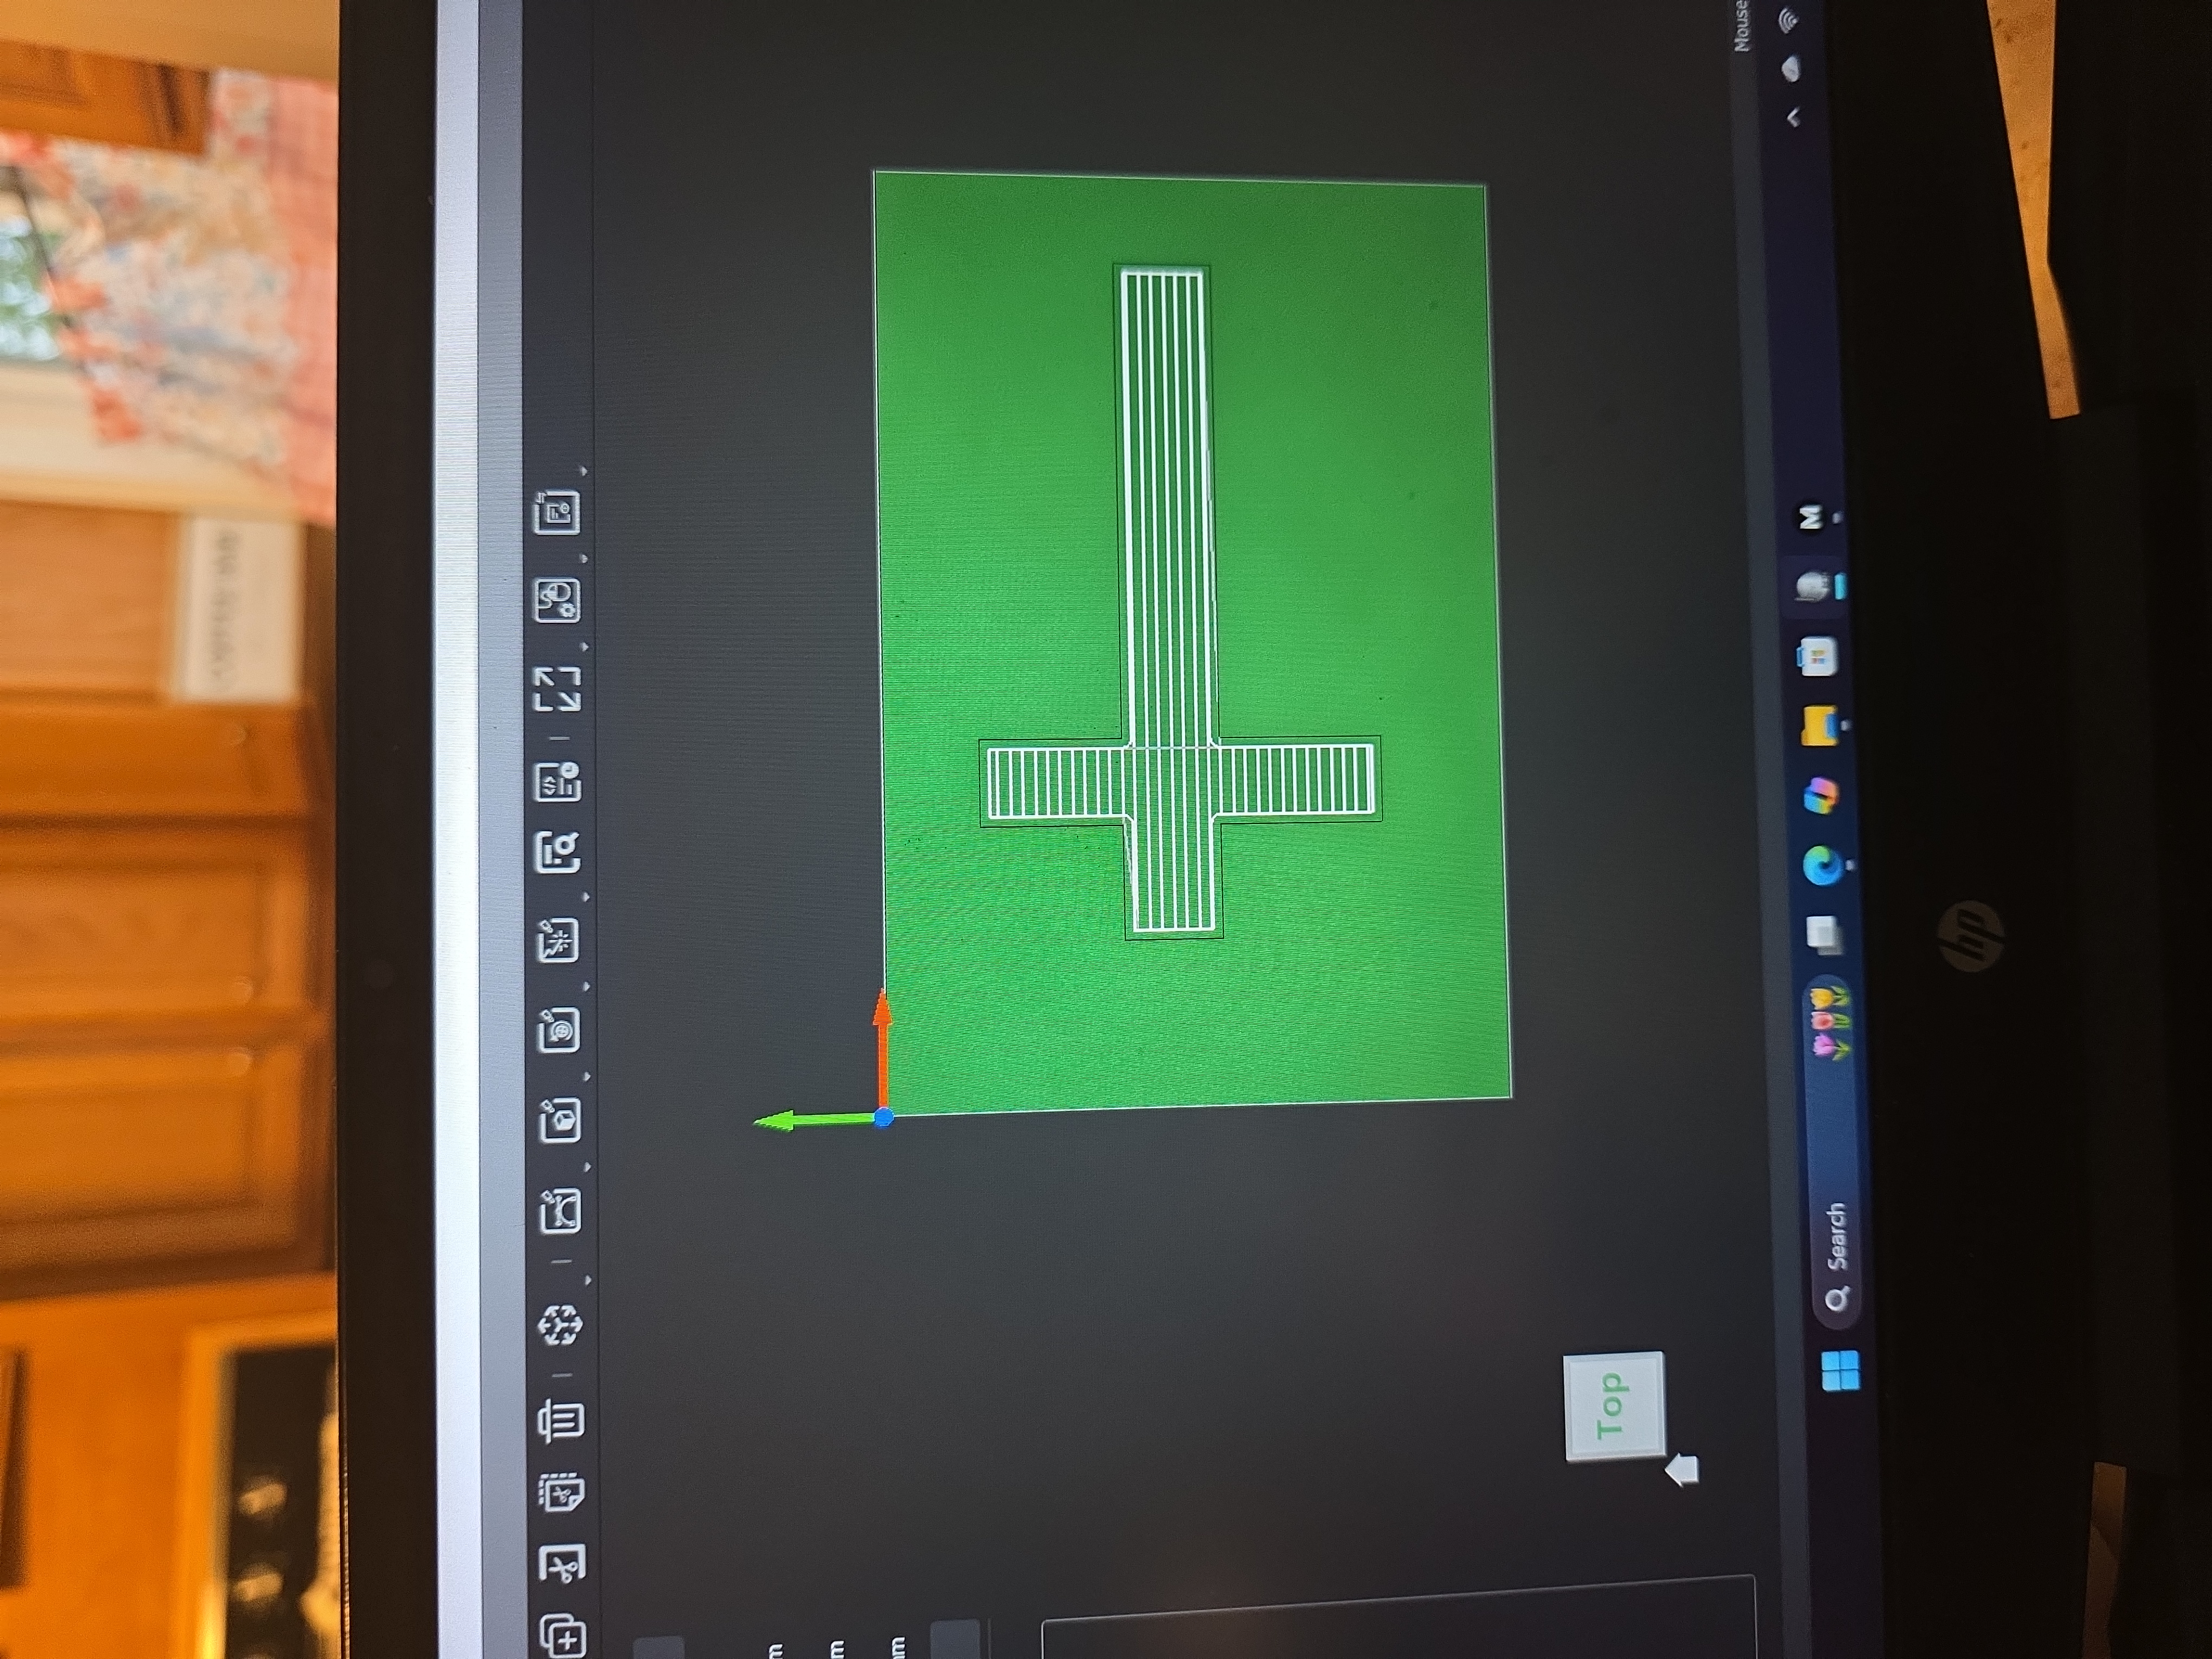
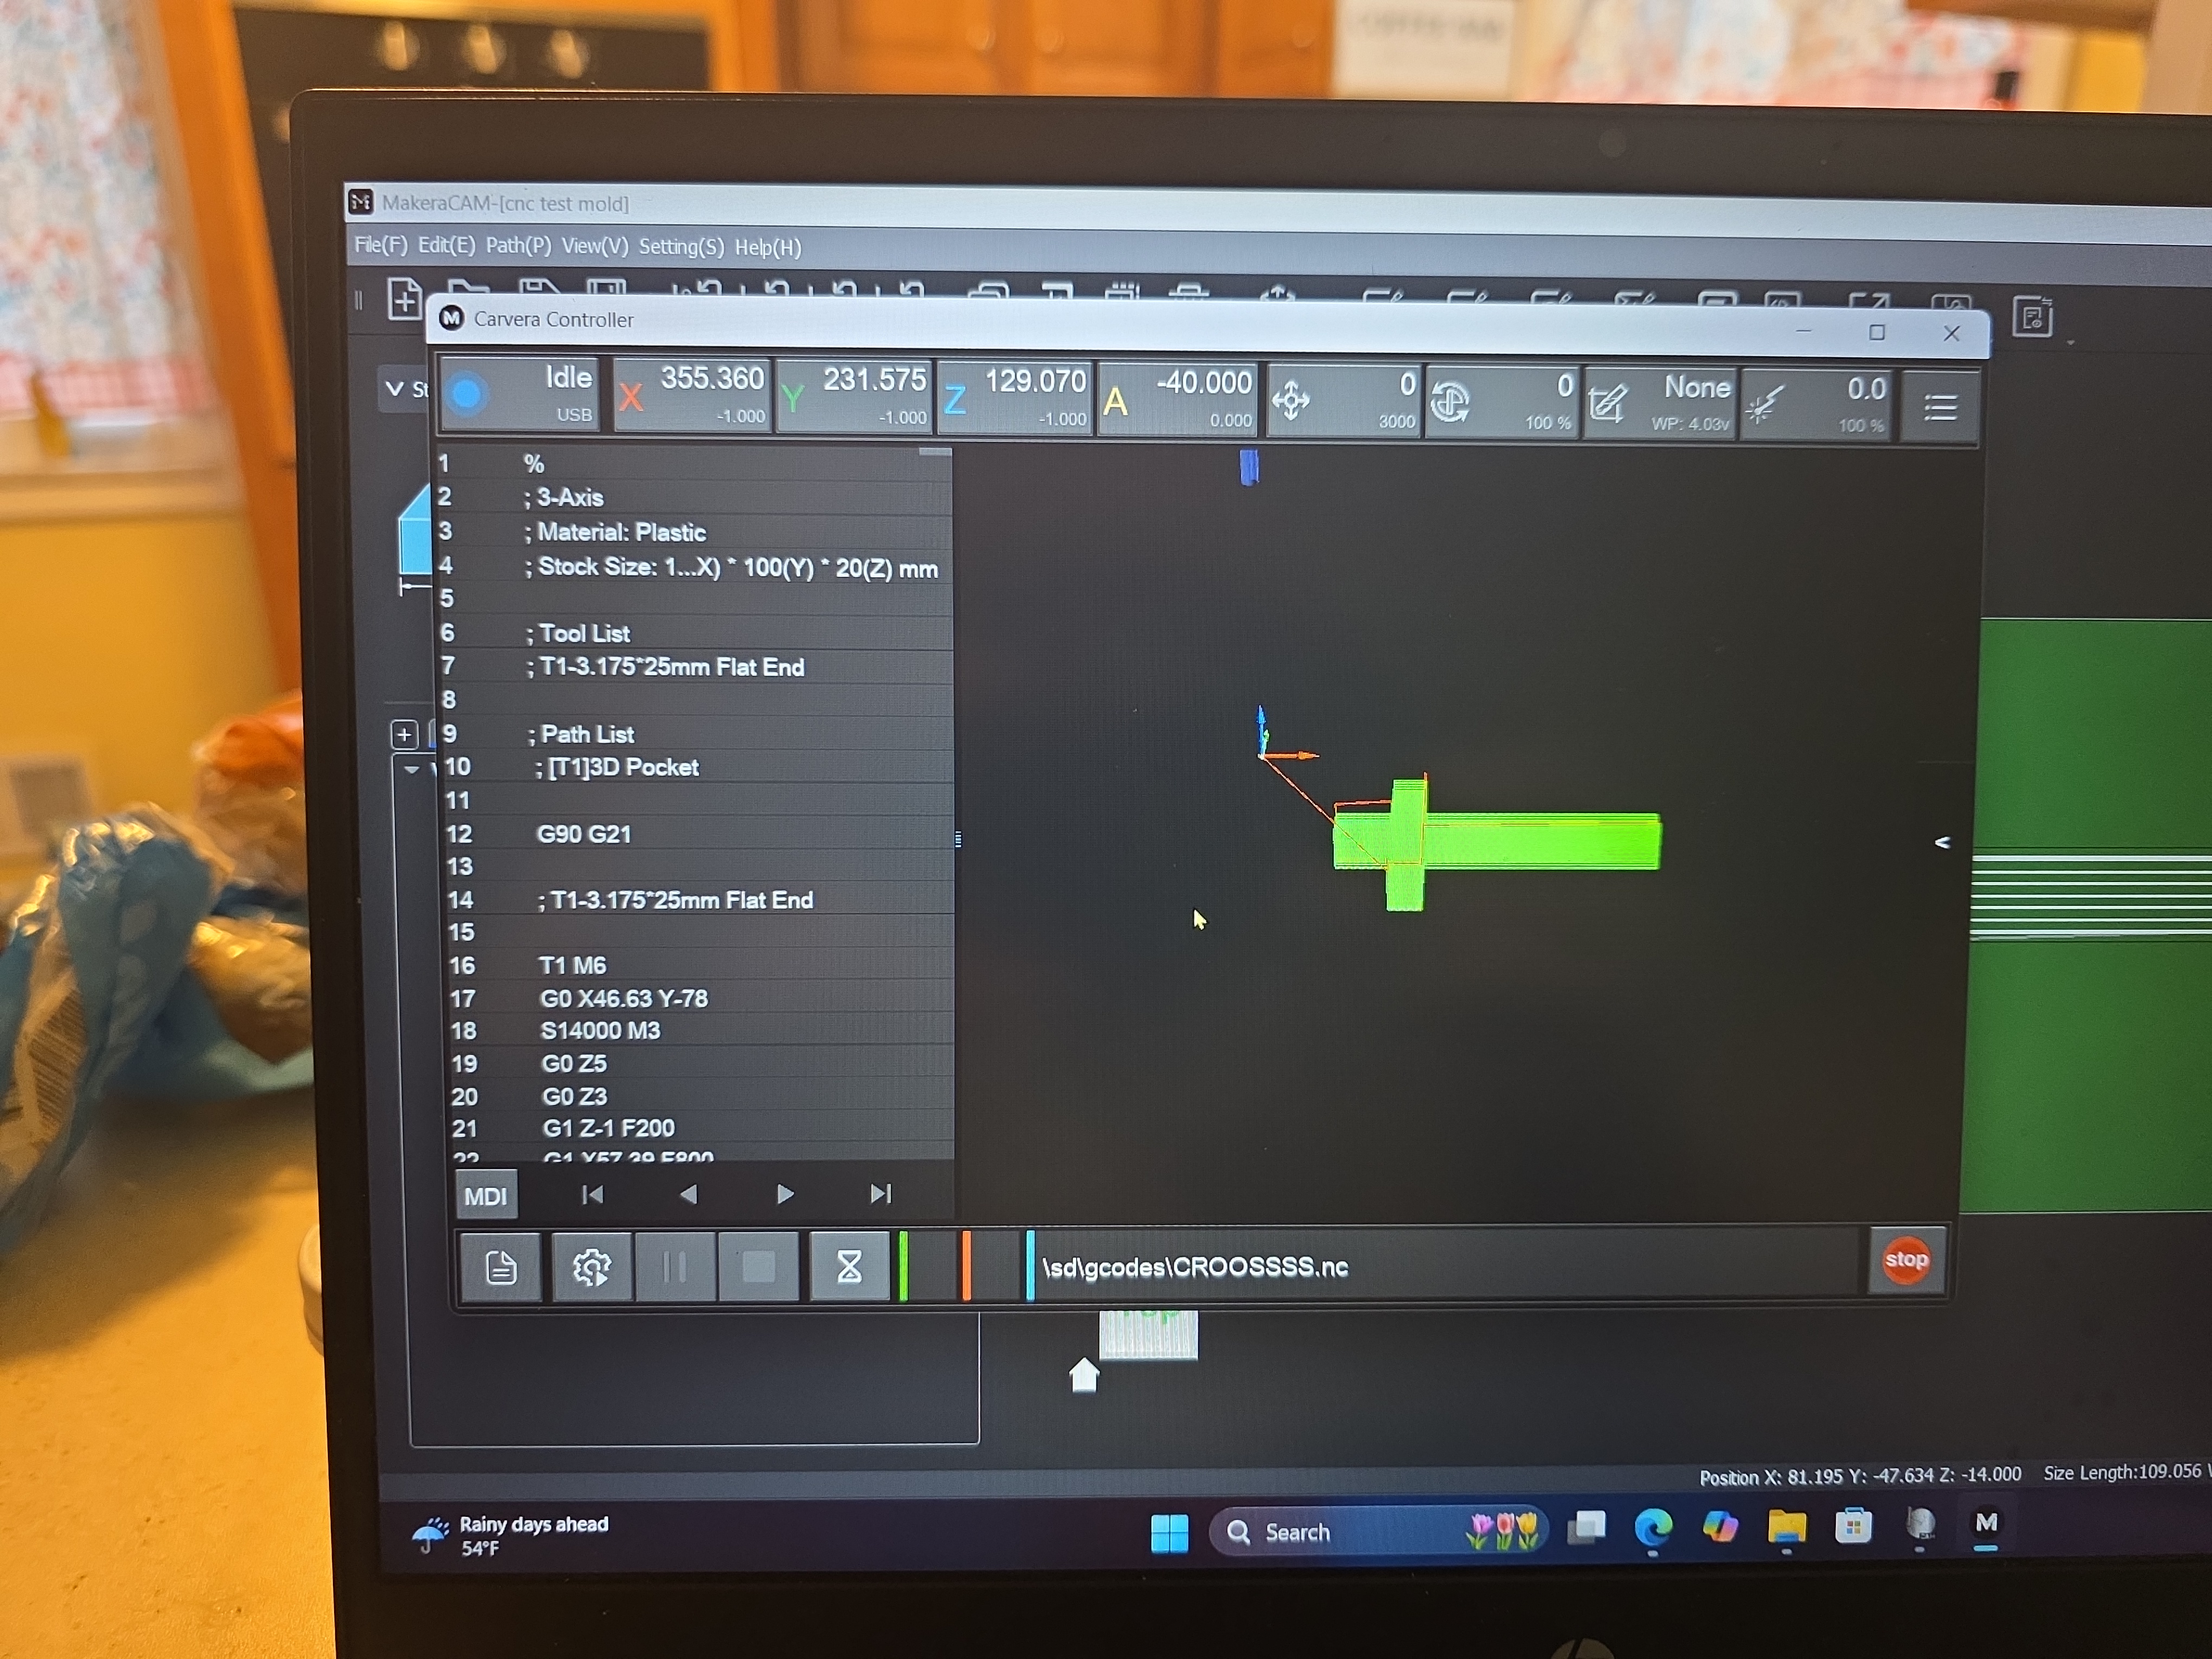
Once the new design was ready, I used the Makera Carvera CNC machine to mill the mold out of the Delrin block. For the cutting tool, I used a long flat end mill because I needed the bottom of the mold pocket to remain smooth and flat.
I chose the flat end mill because this was not a detailed 3D sculpture anymore. I needed a clean pocket with a flat bottom, and the simple cross shape worked better with that toolpath strategy.



Final Mold Result
After the machining was complete, the cross mold came out successfully in one piece. This was a huge improvement compared to the earlier failed designs.
The final cross shape was much cleaner, and the Delrin worked well as a mold material because it machined smoothly and released the casting easily.
This project was frustrating at first because the rocket, skull, and axe designs kept failing. Simplifying the design into a cross shape made the entire process work much better.
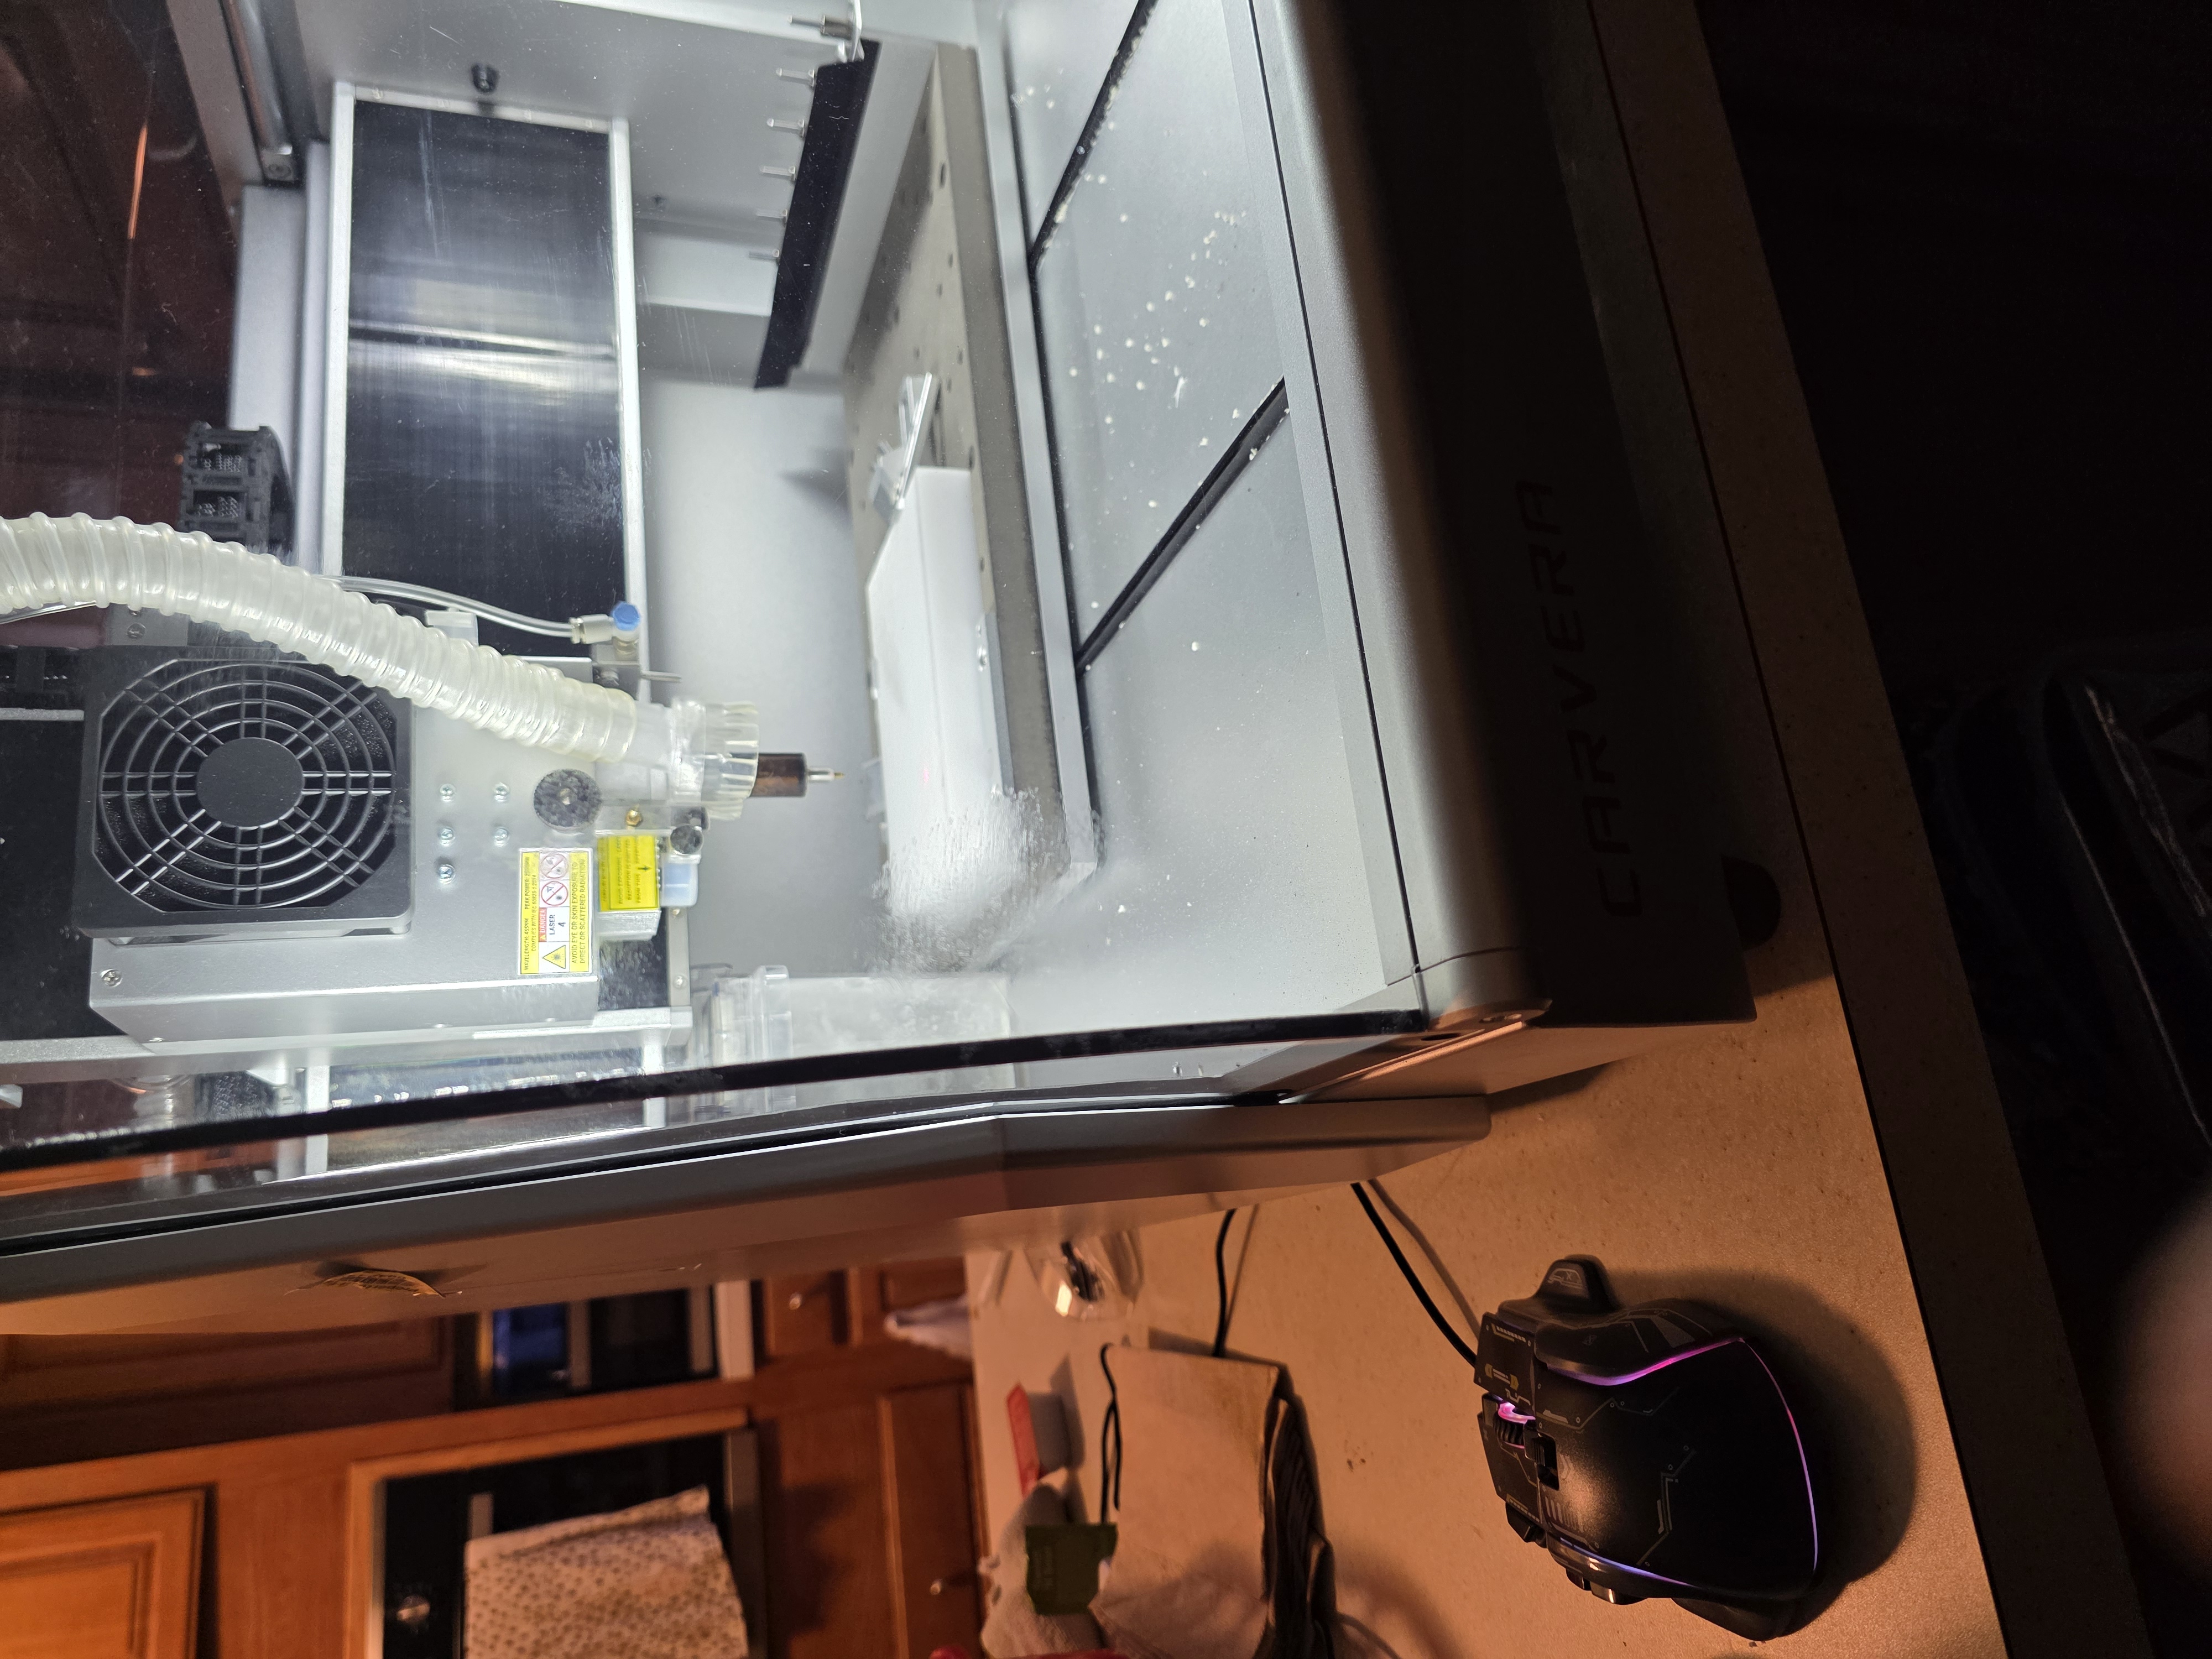
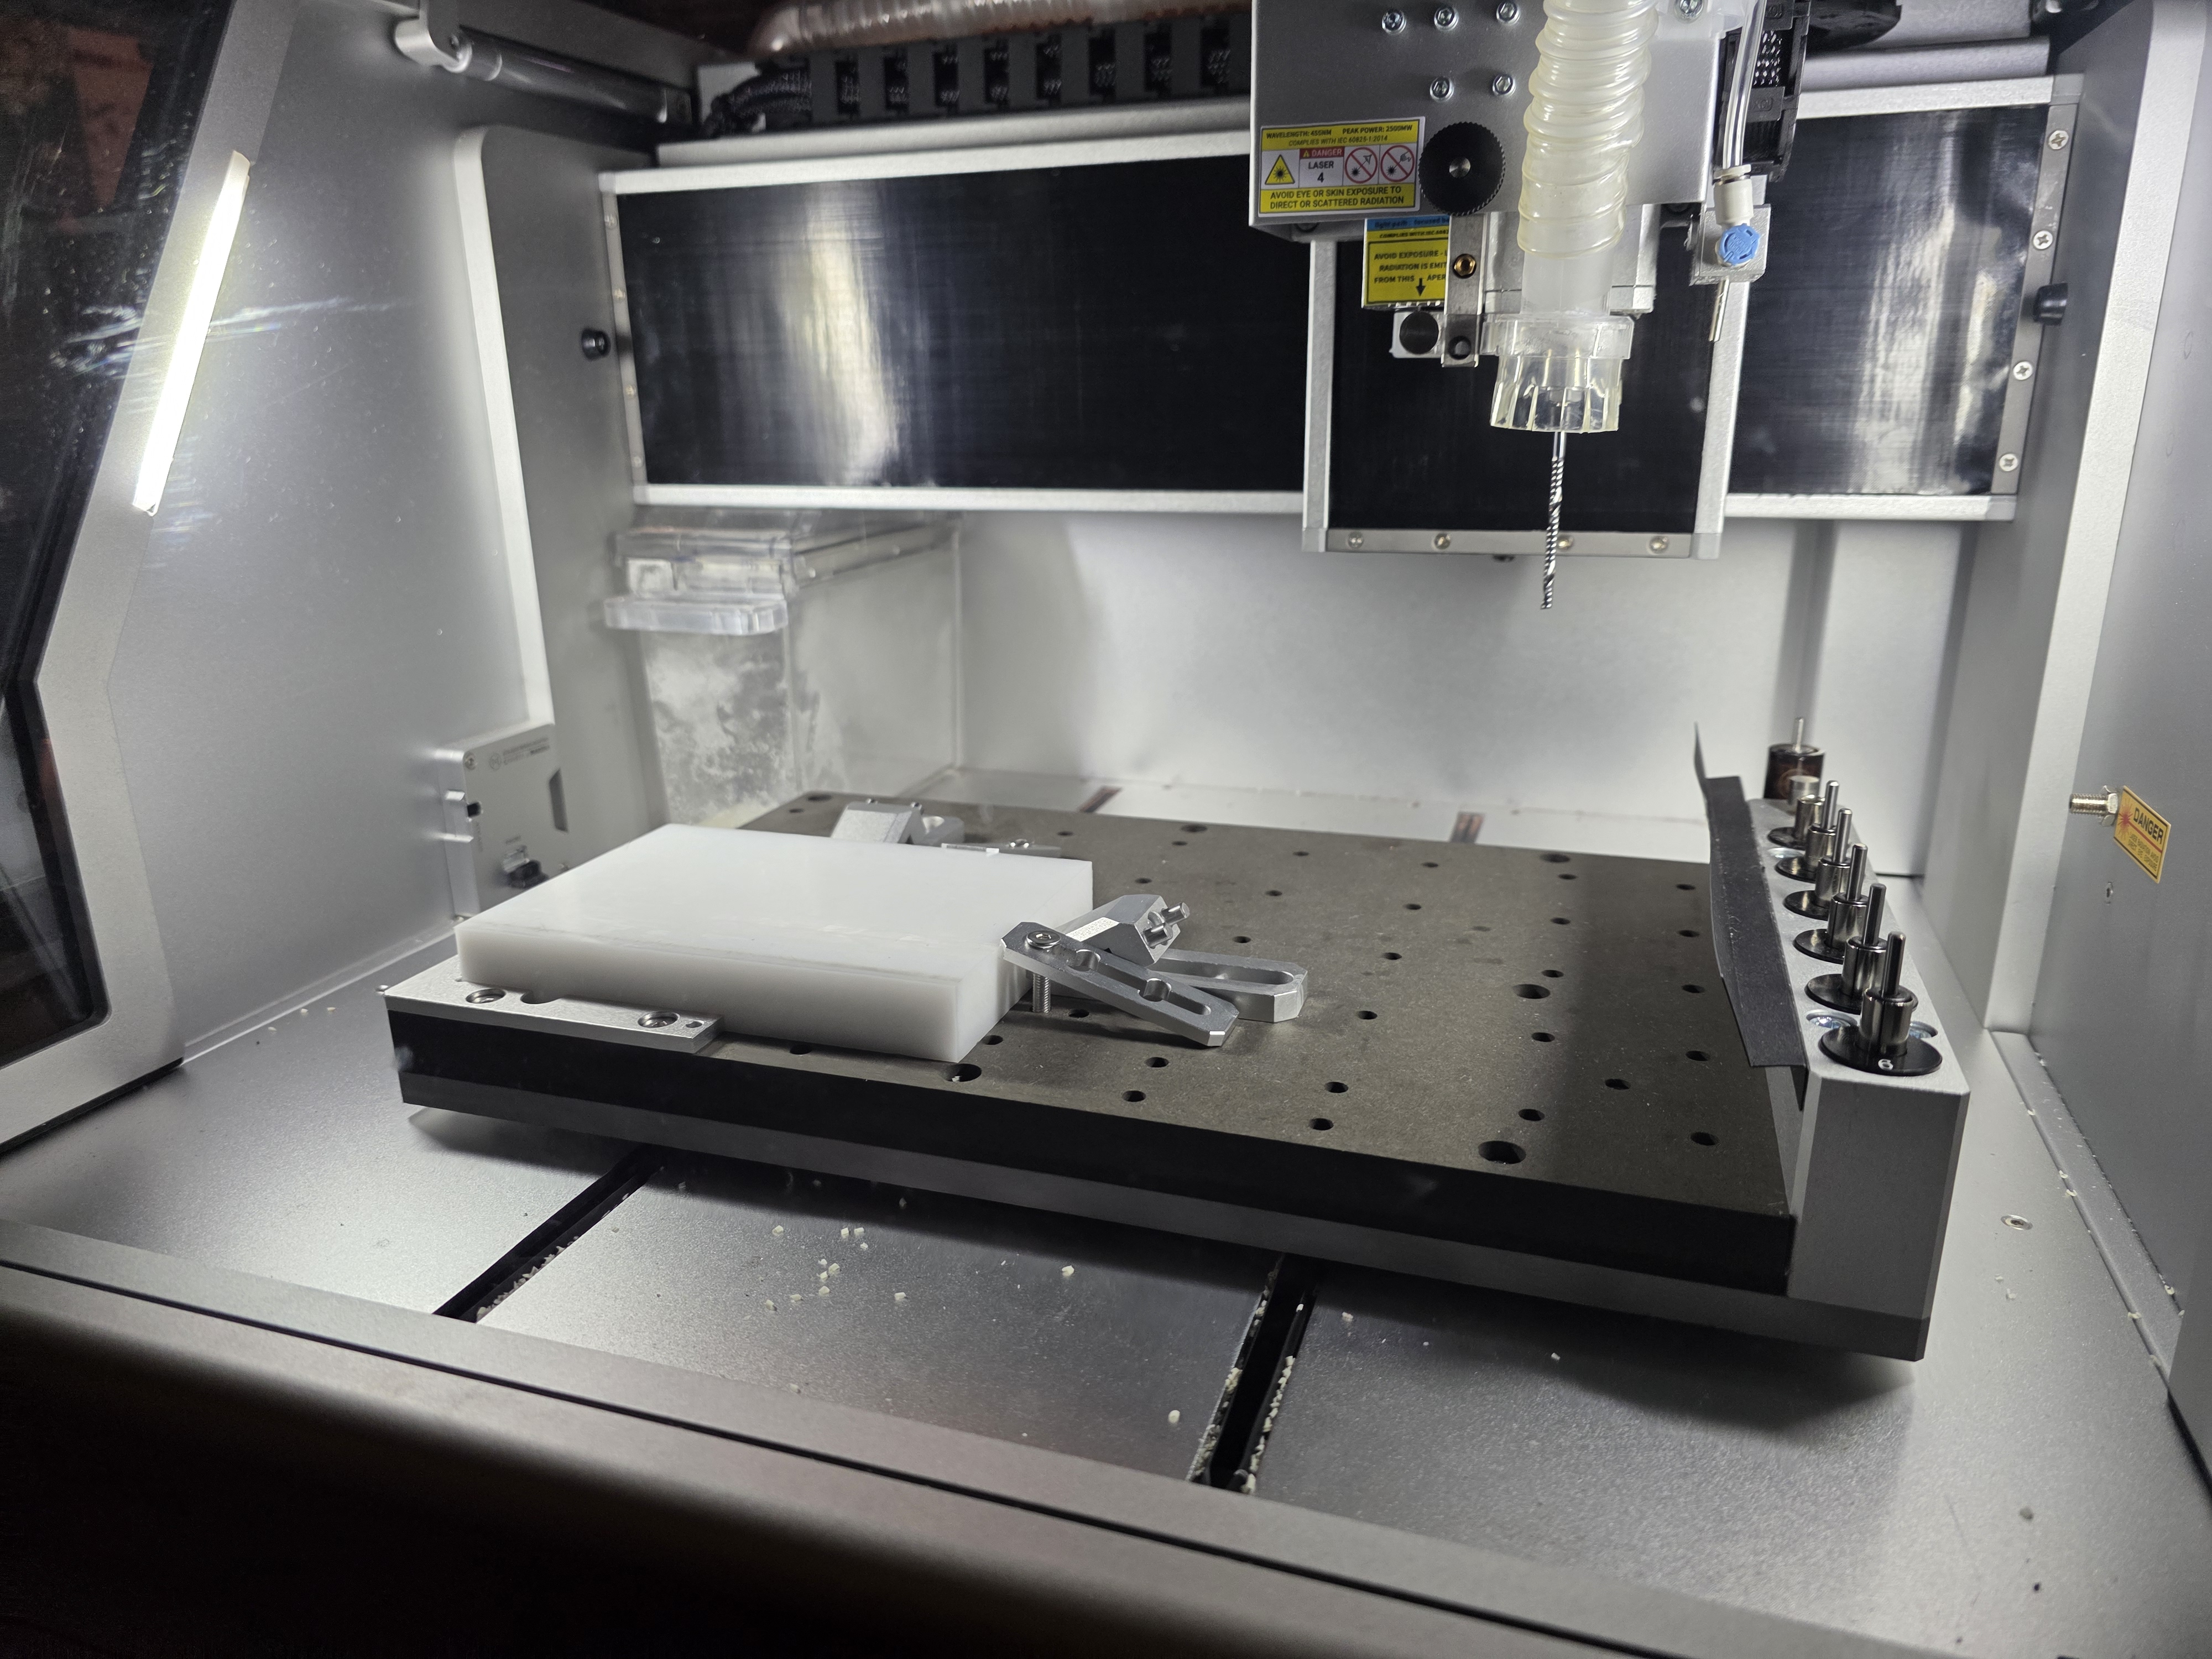
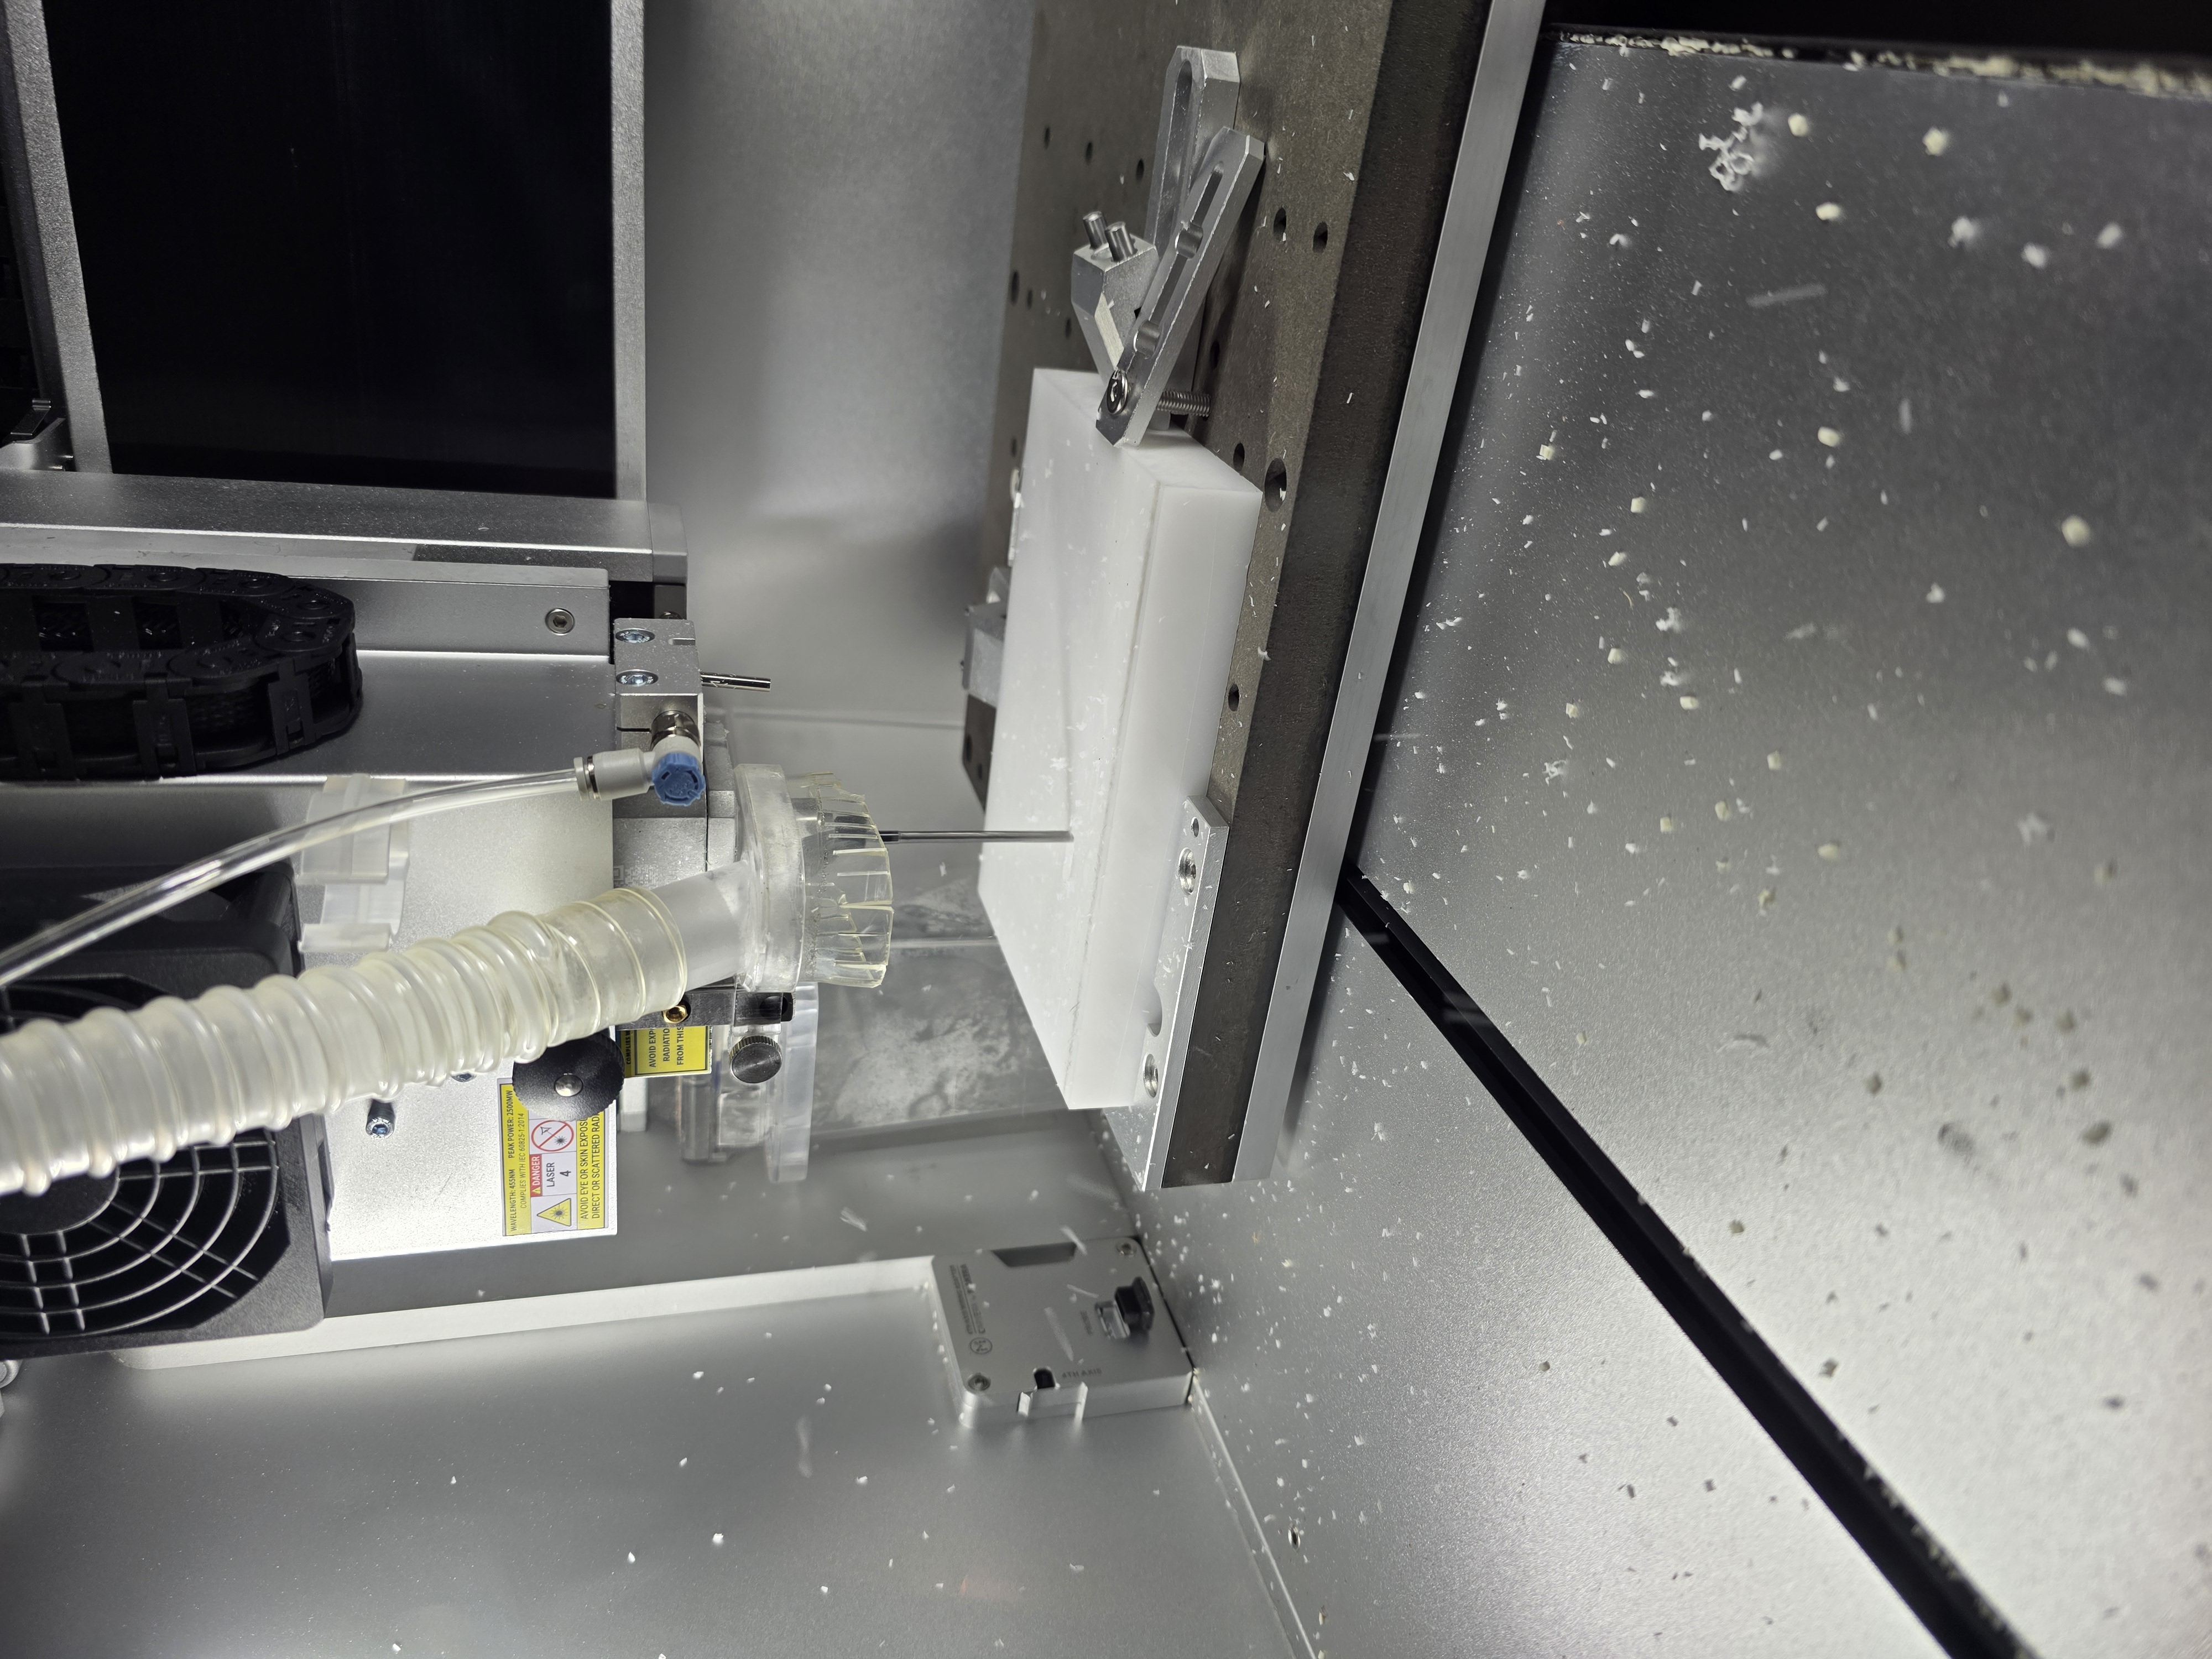
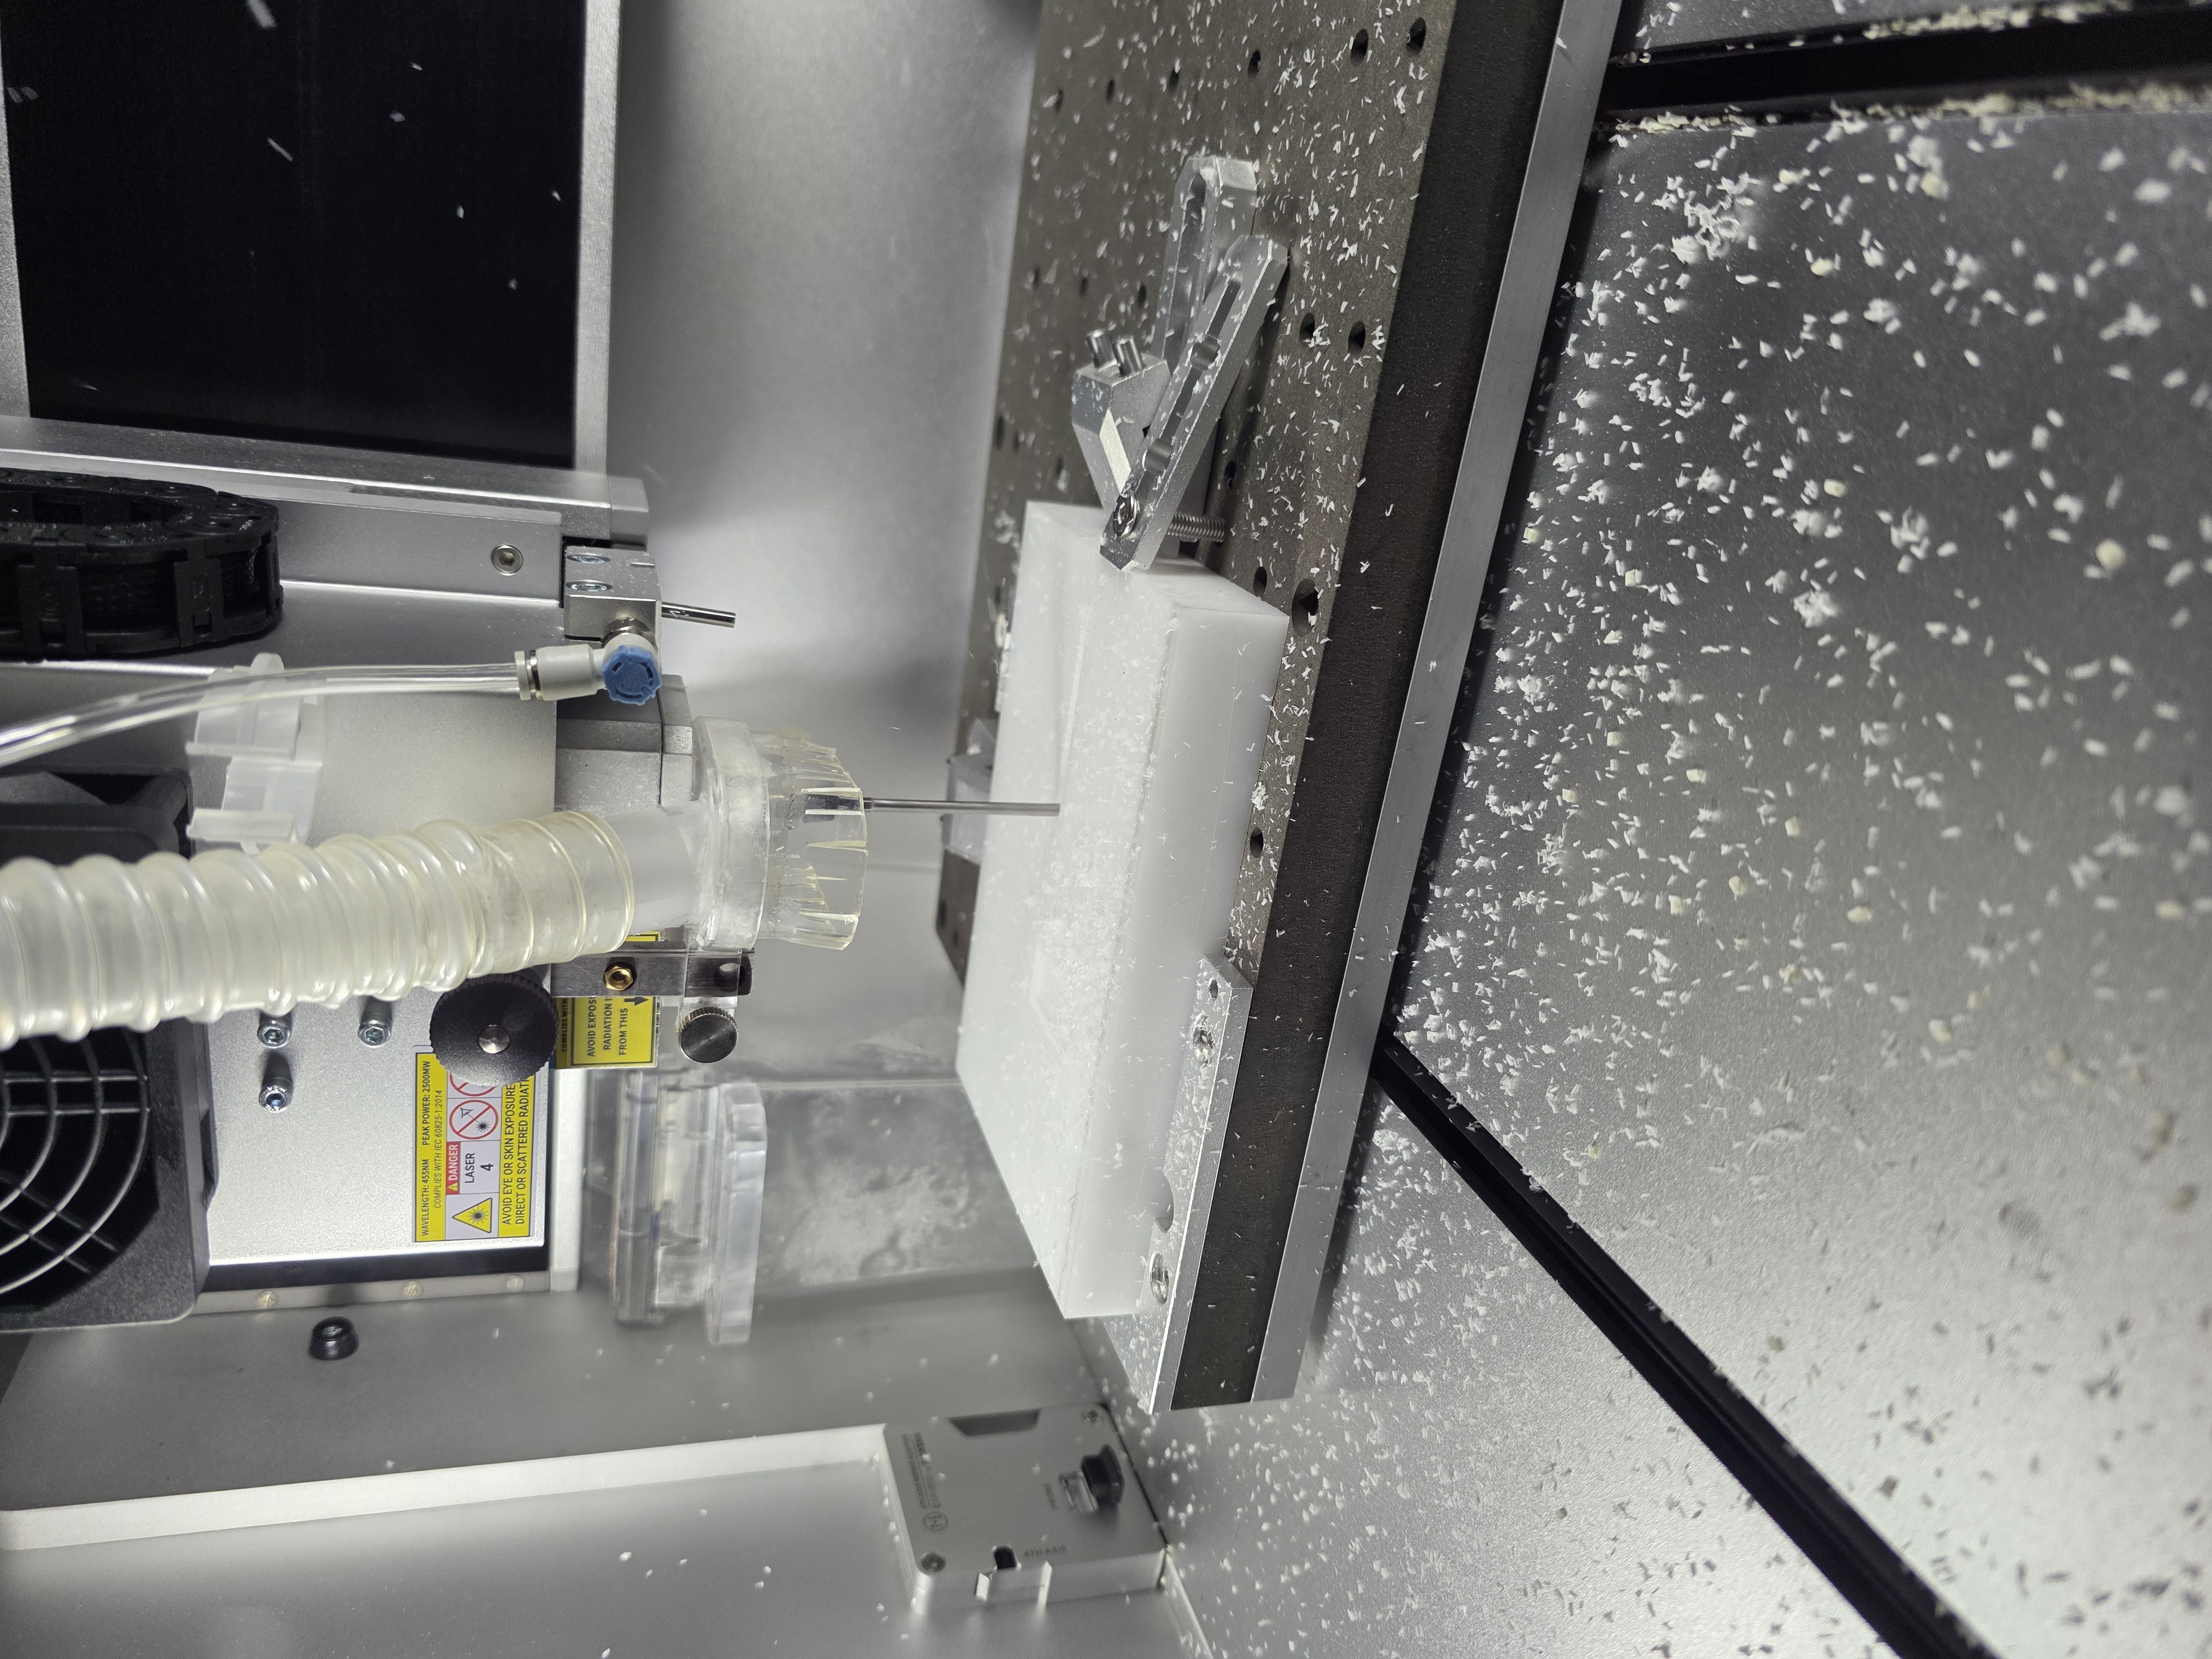

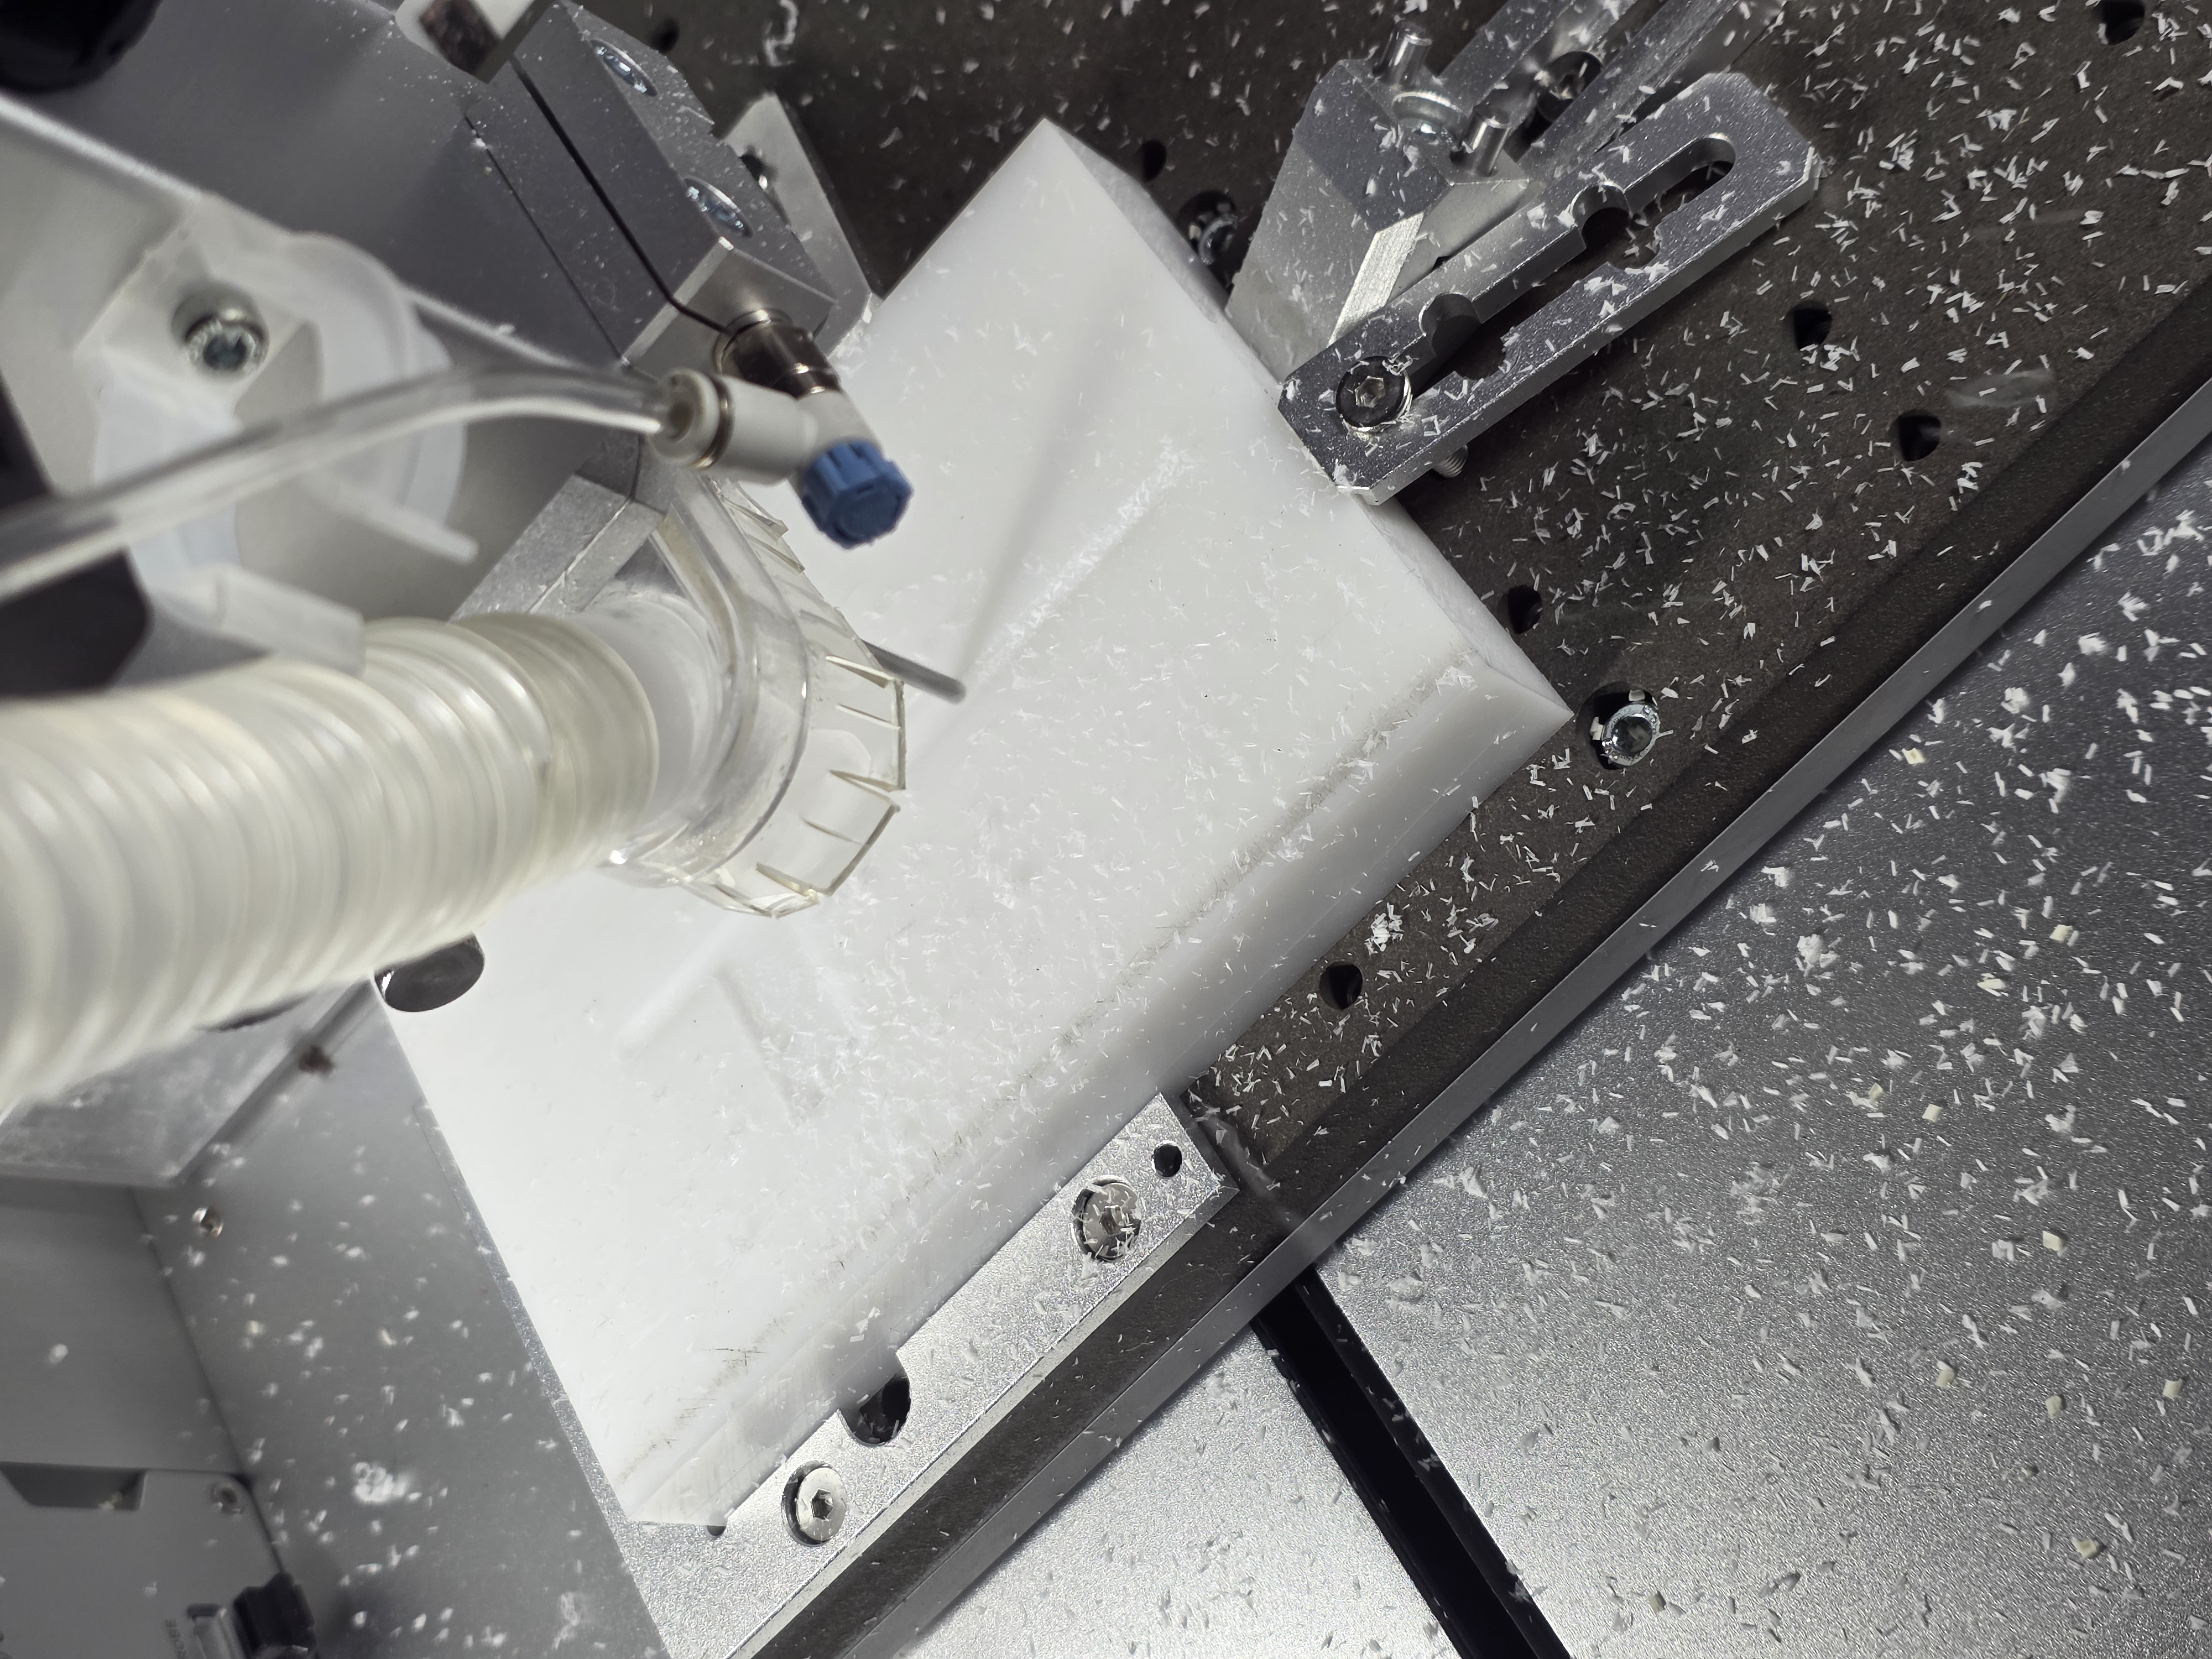
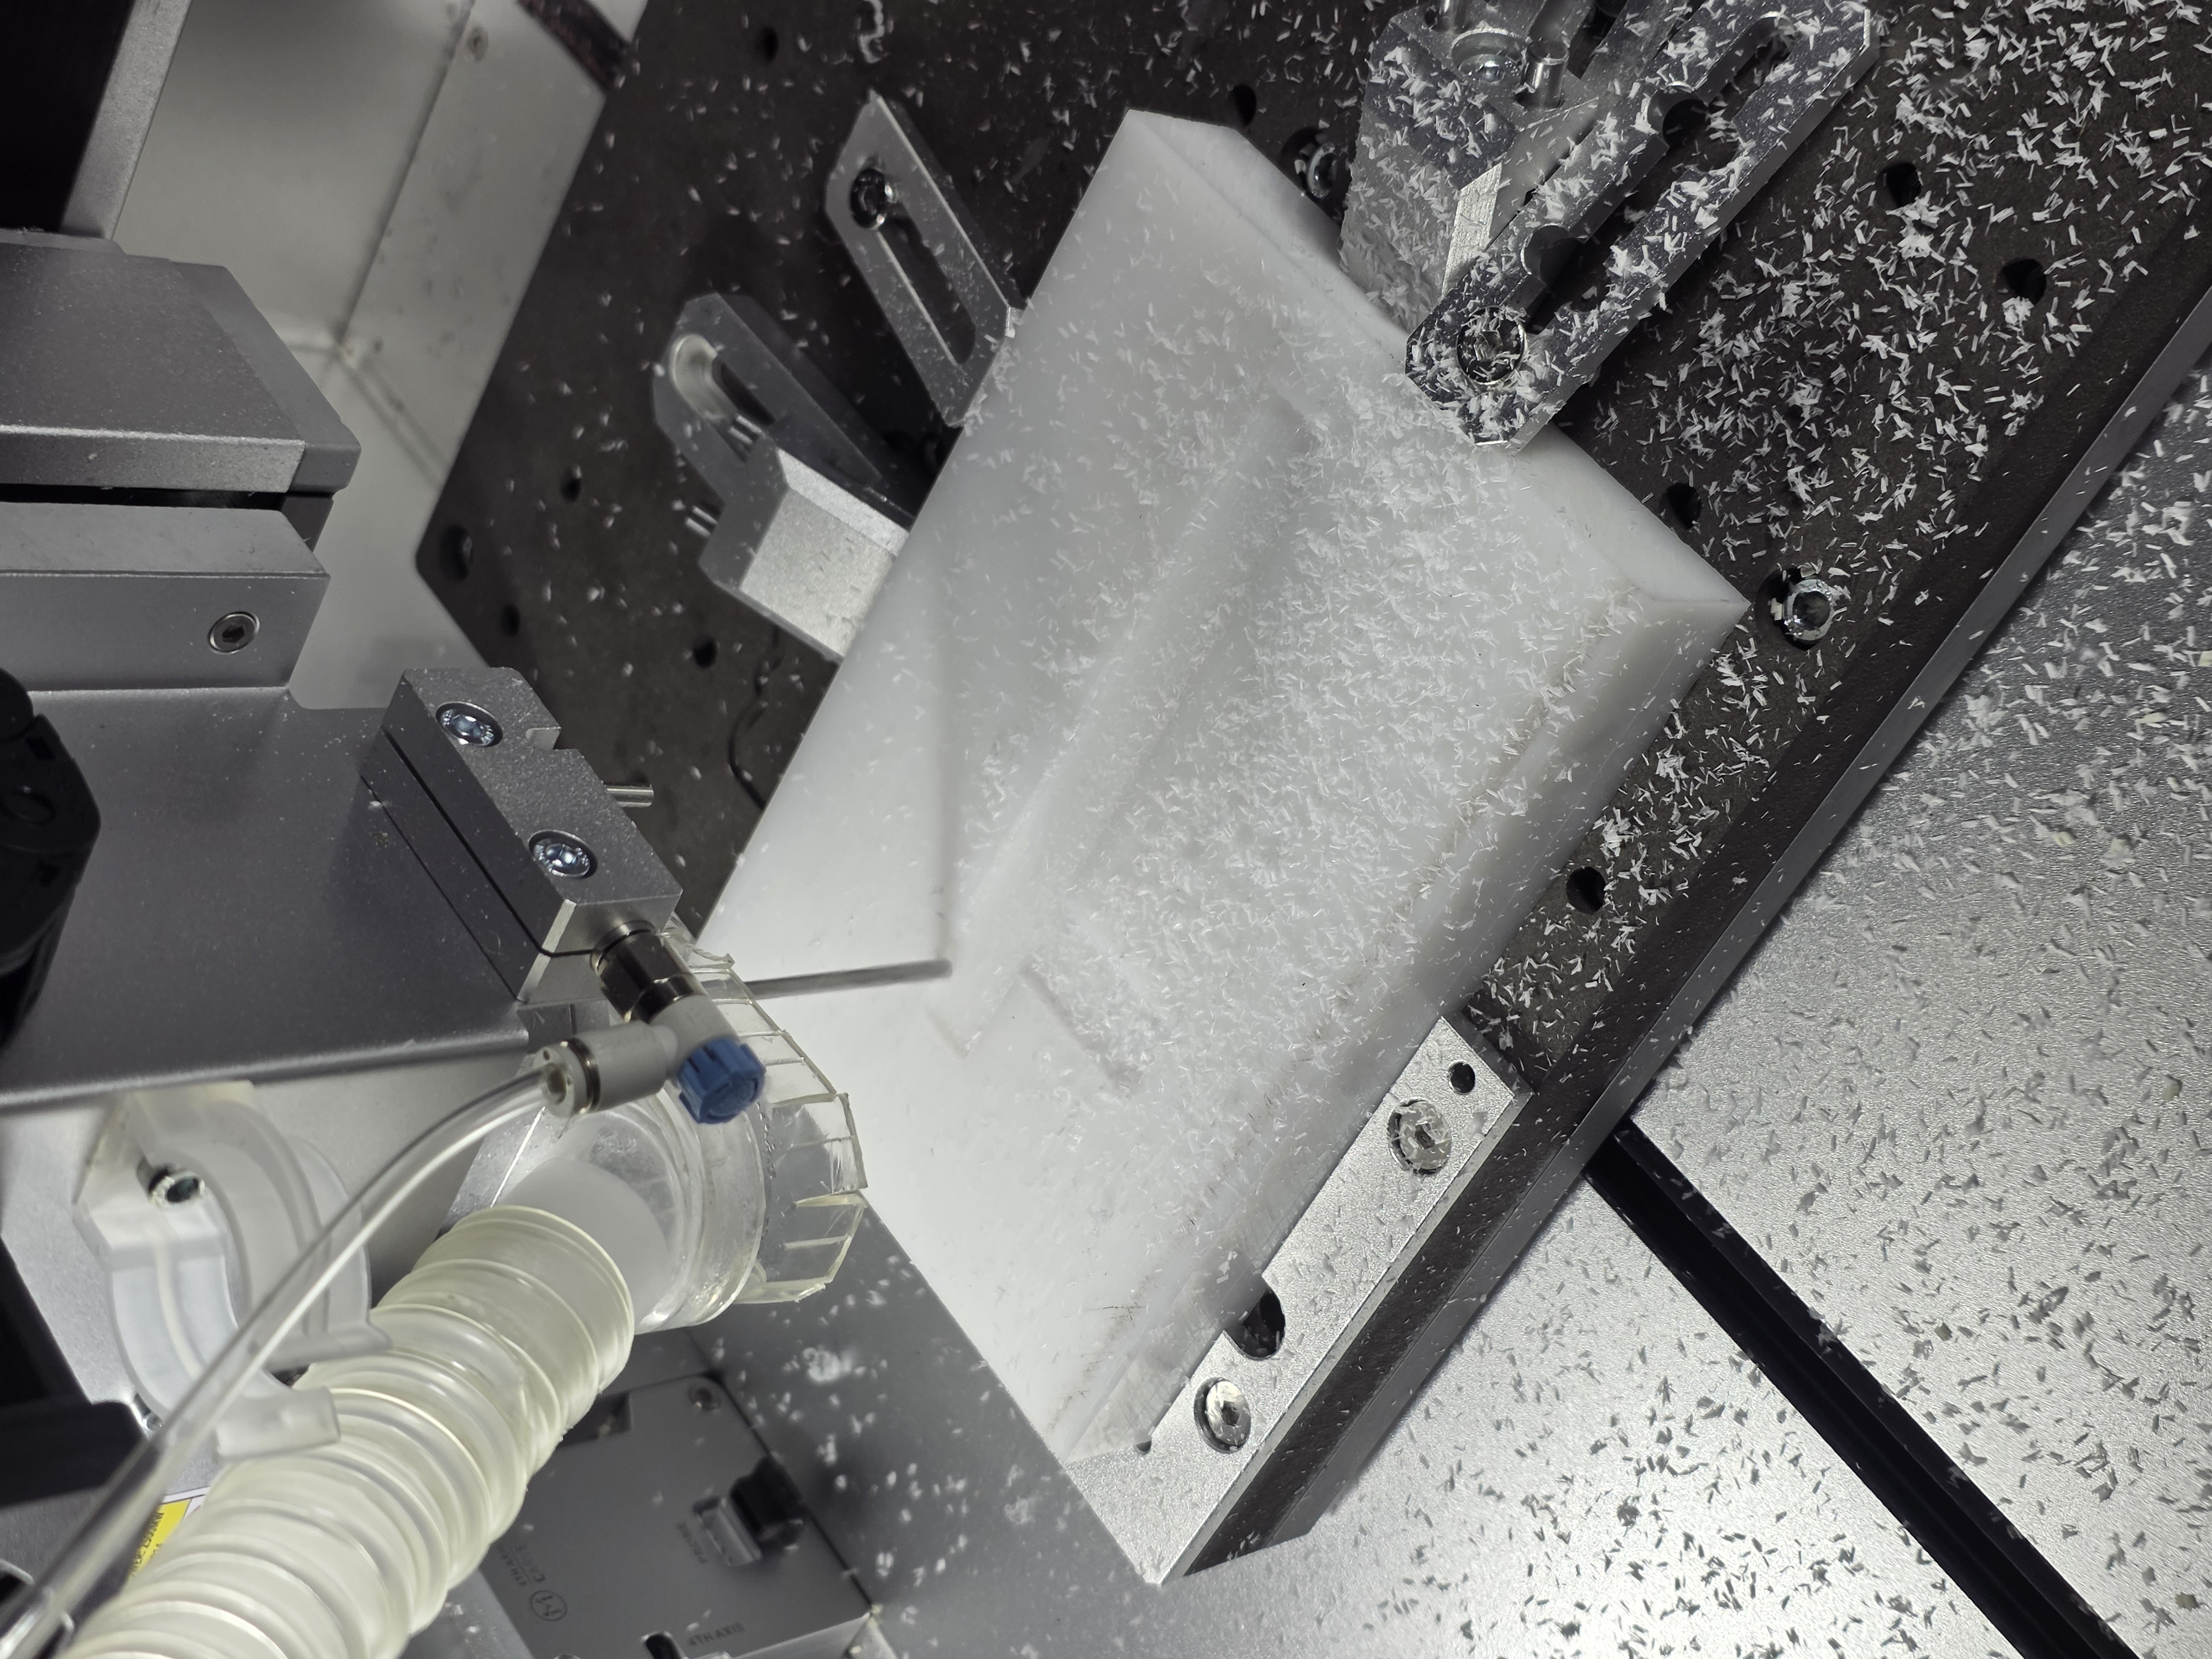
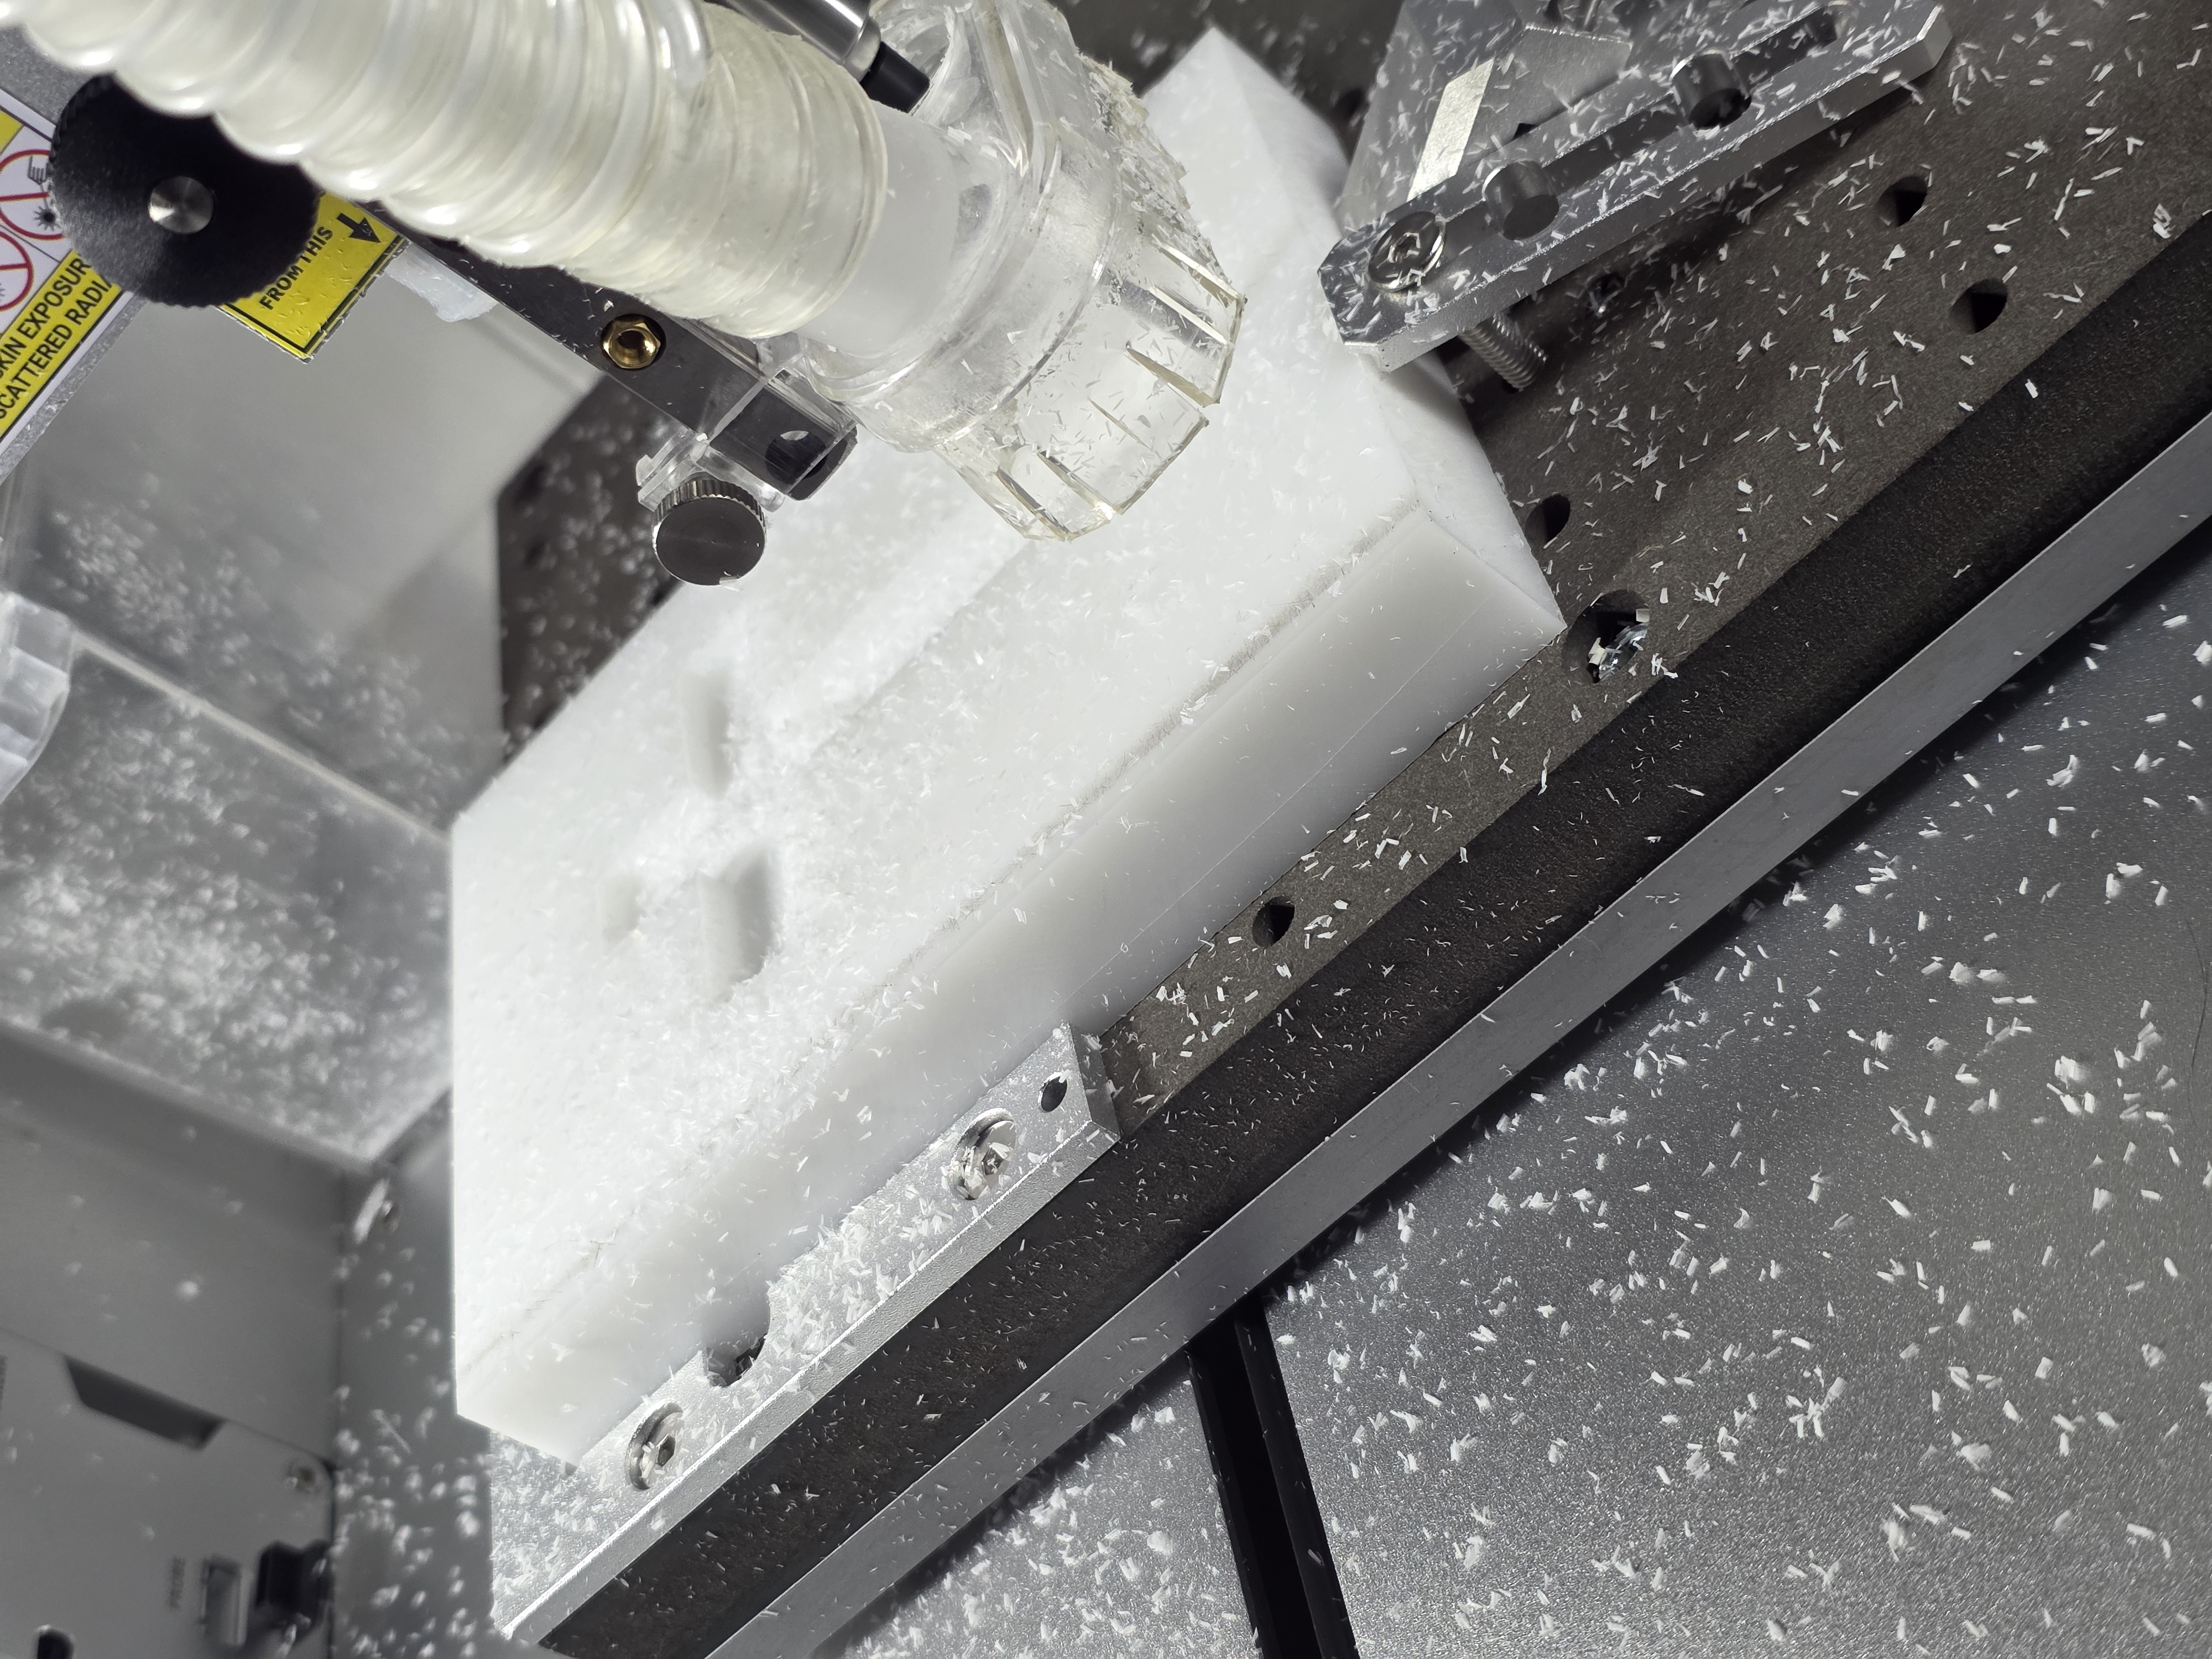
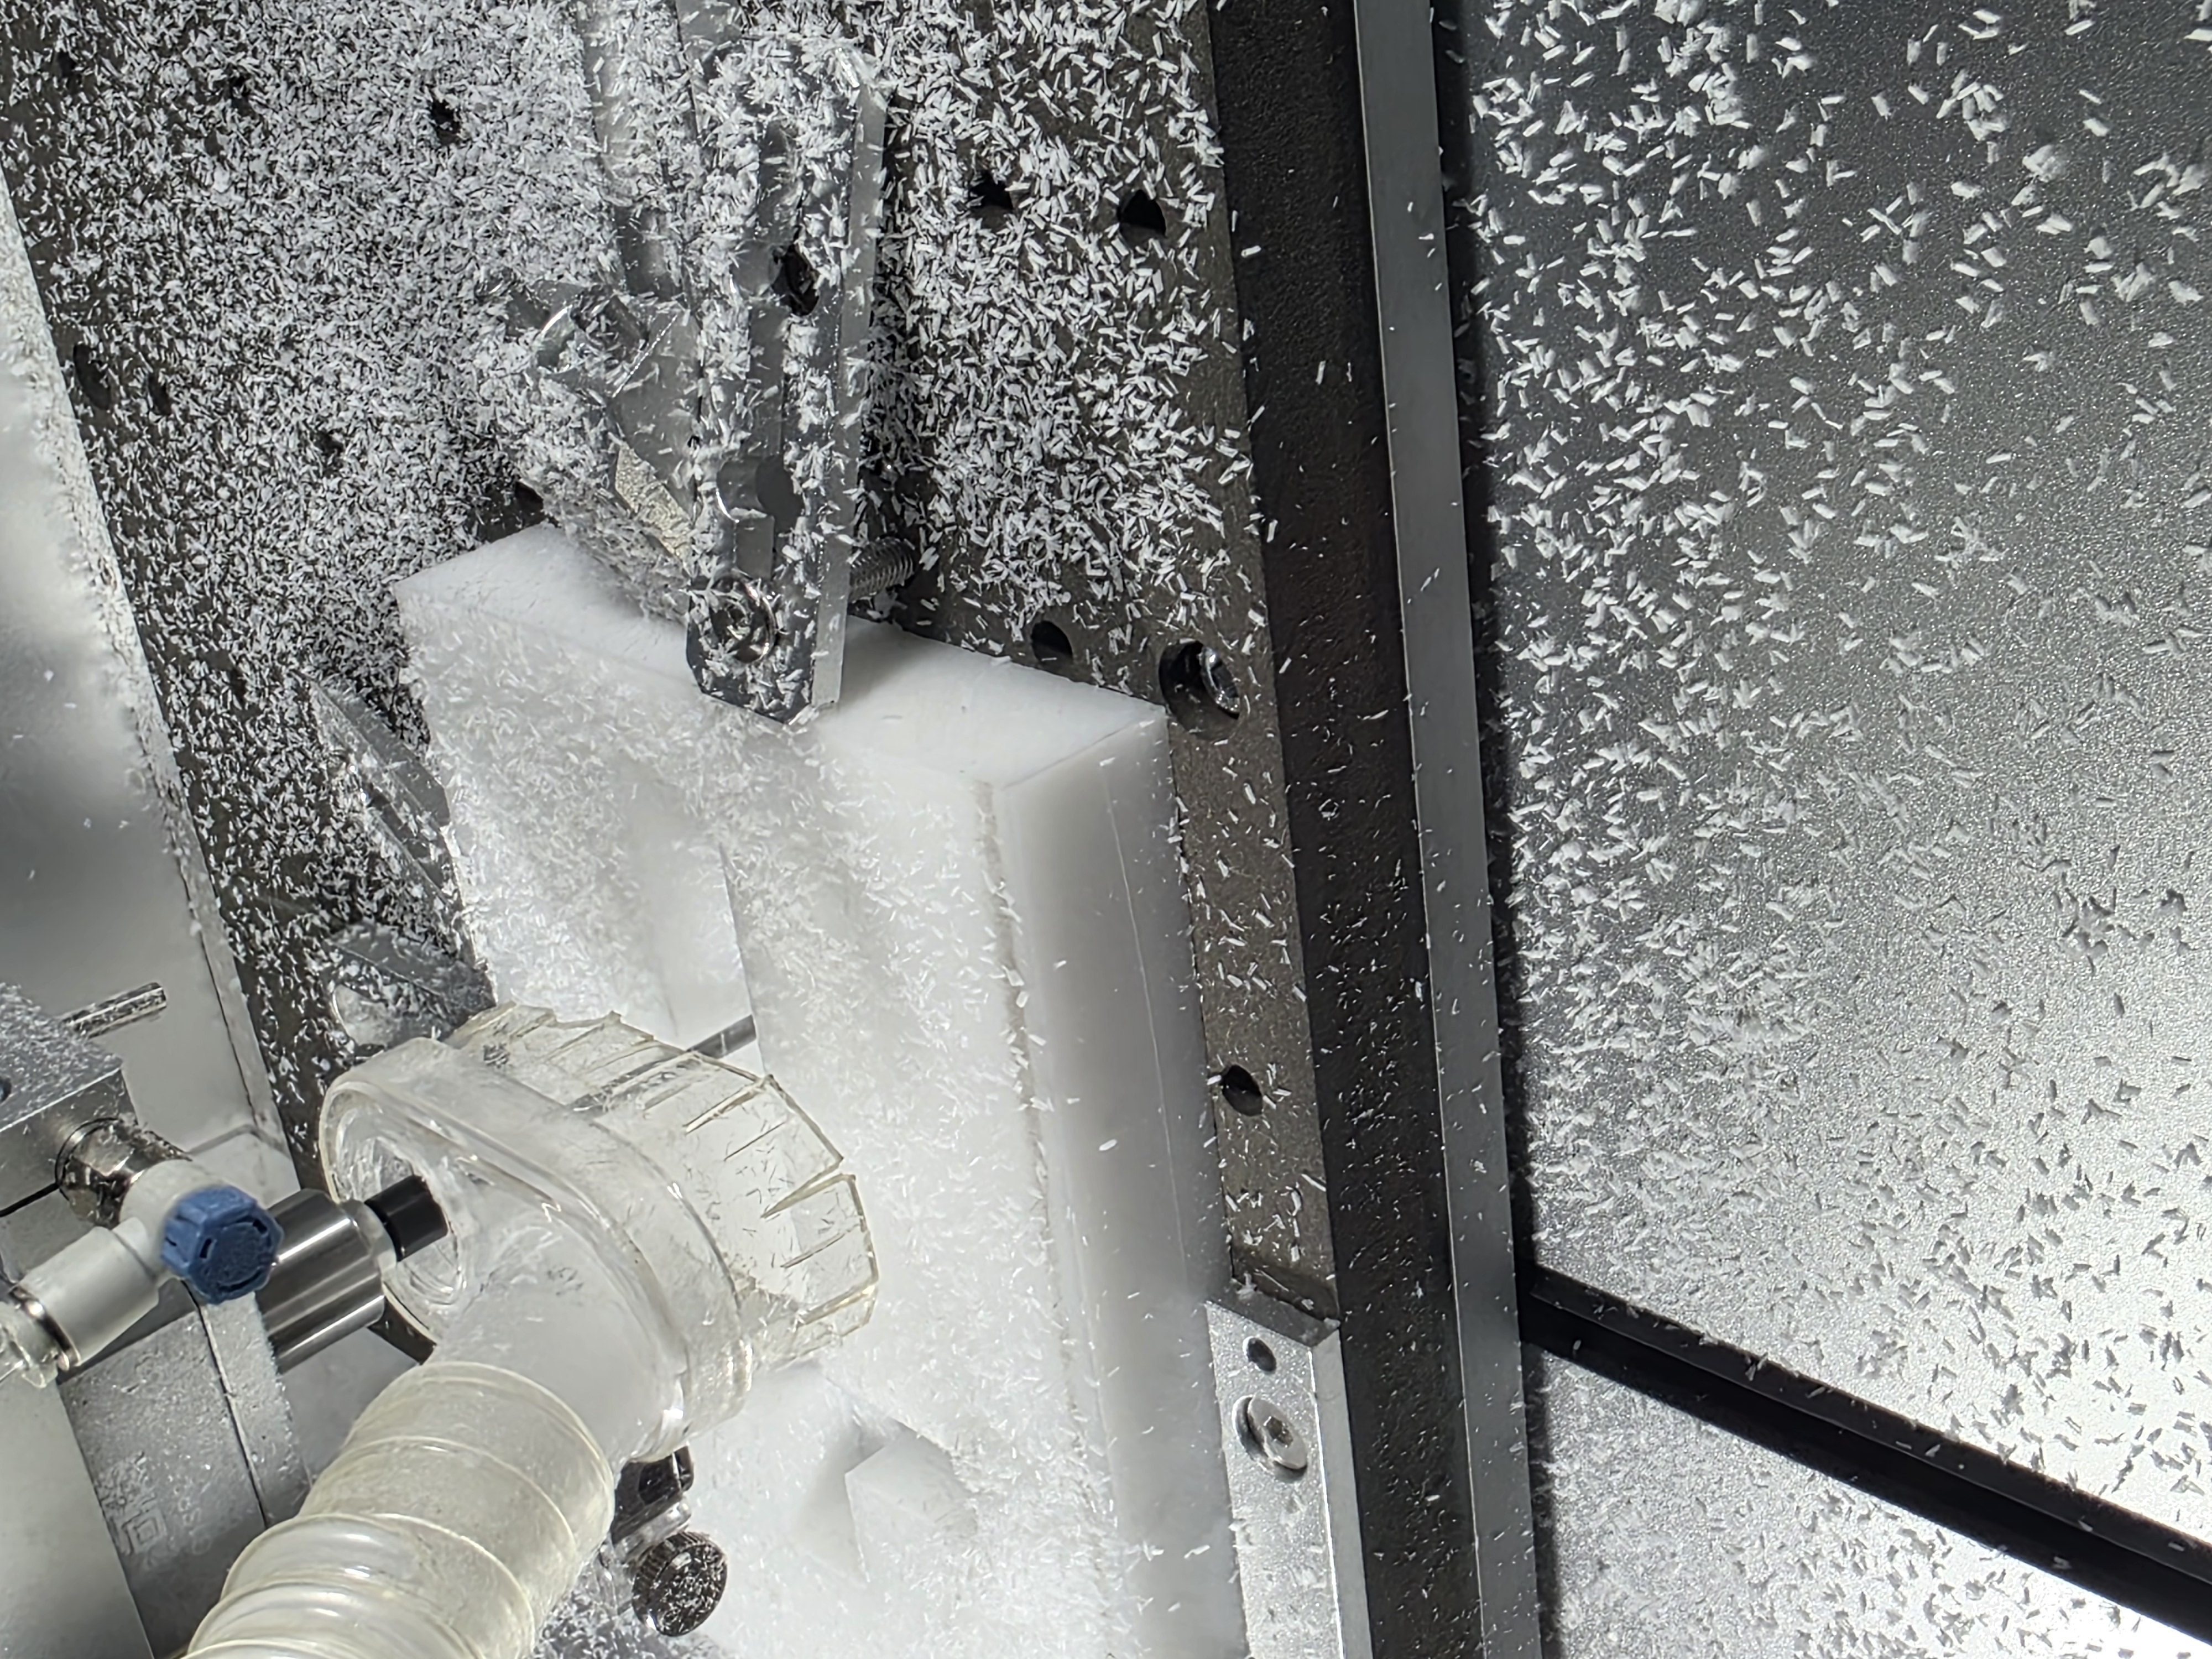
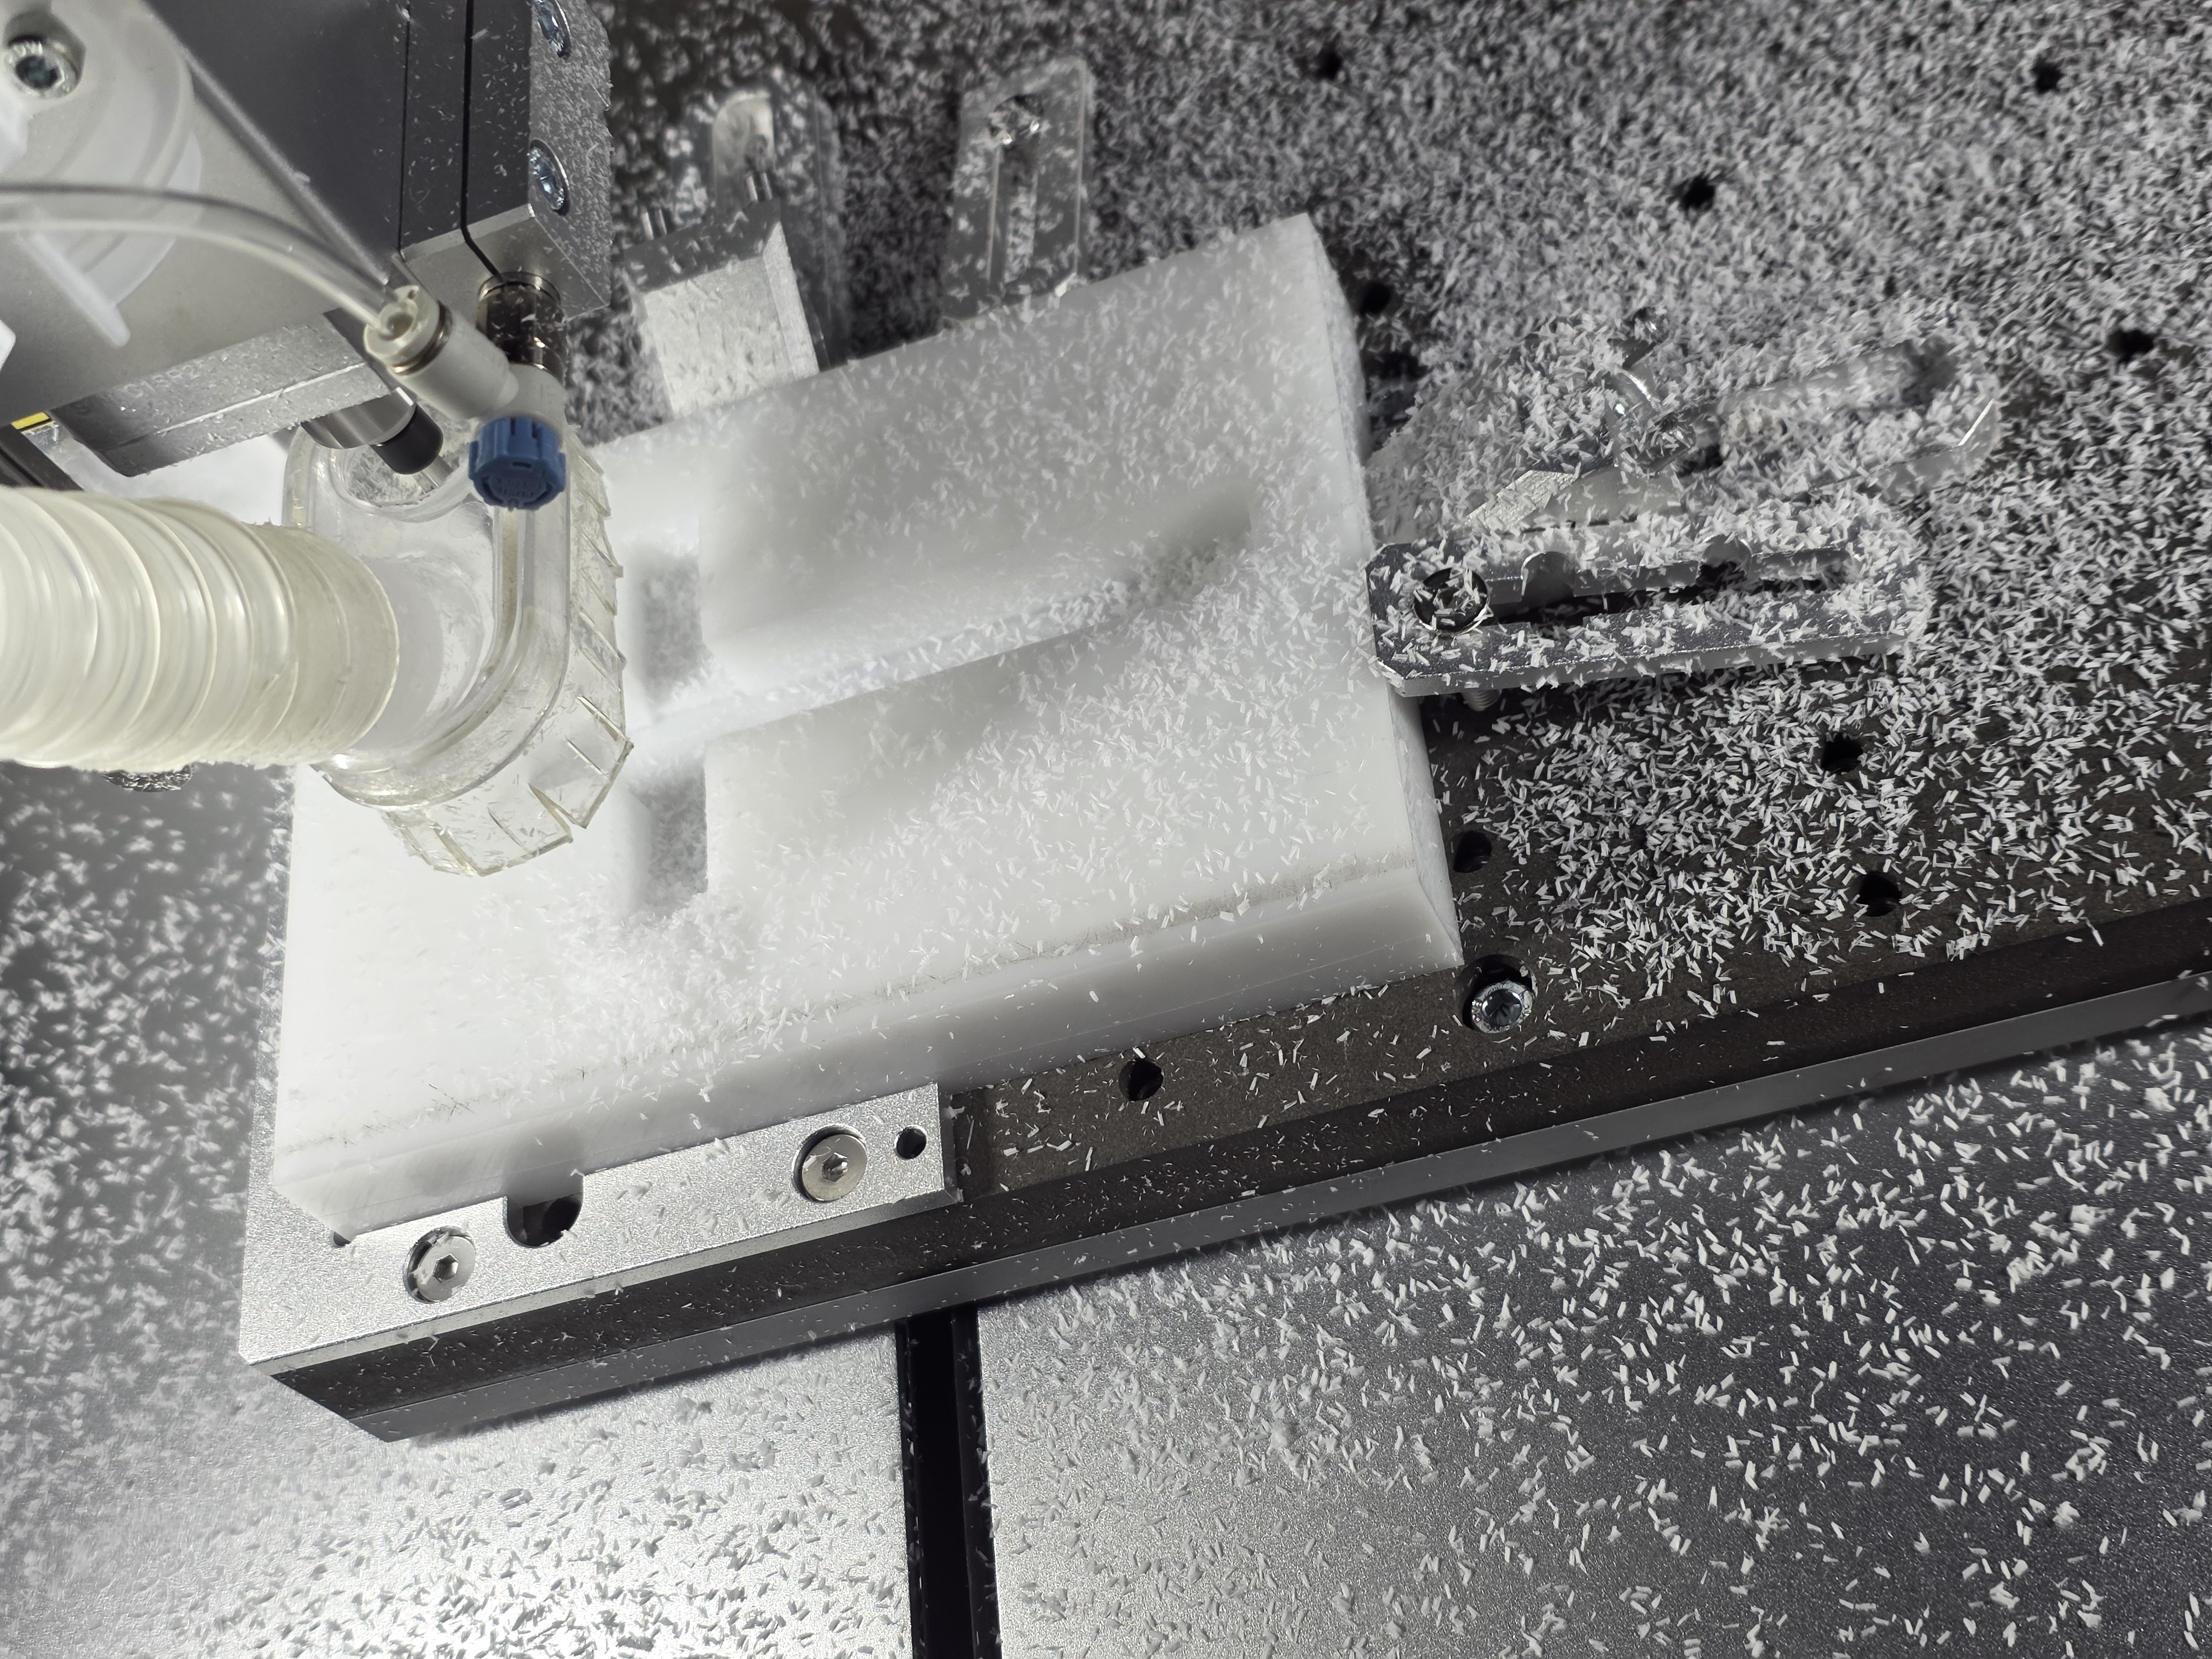
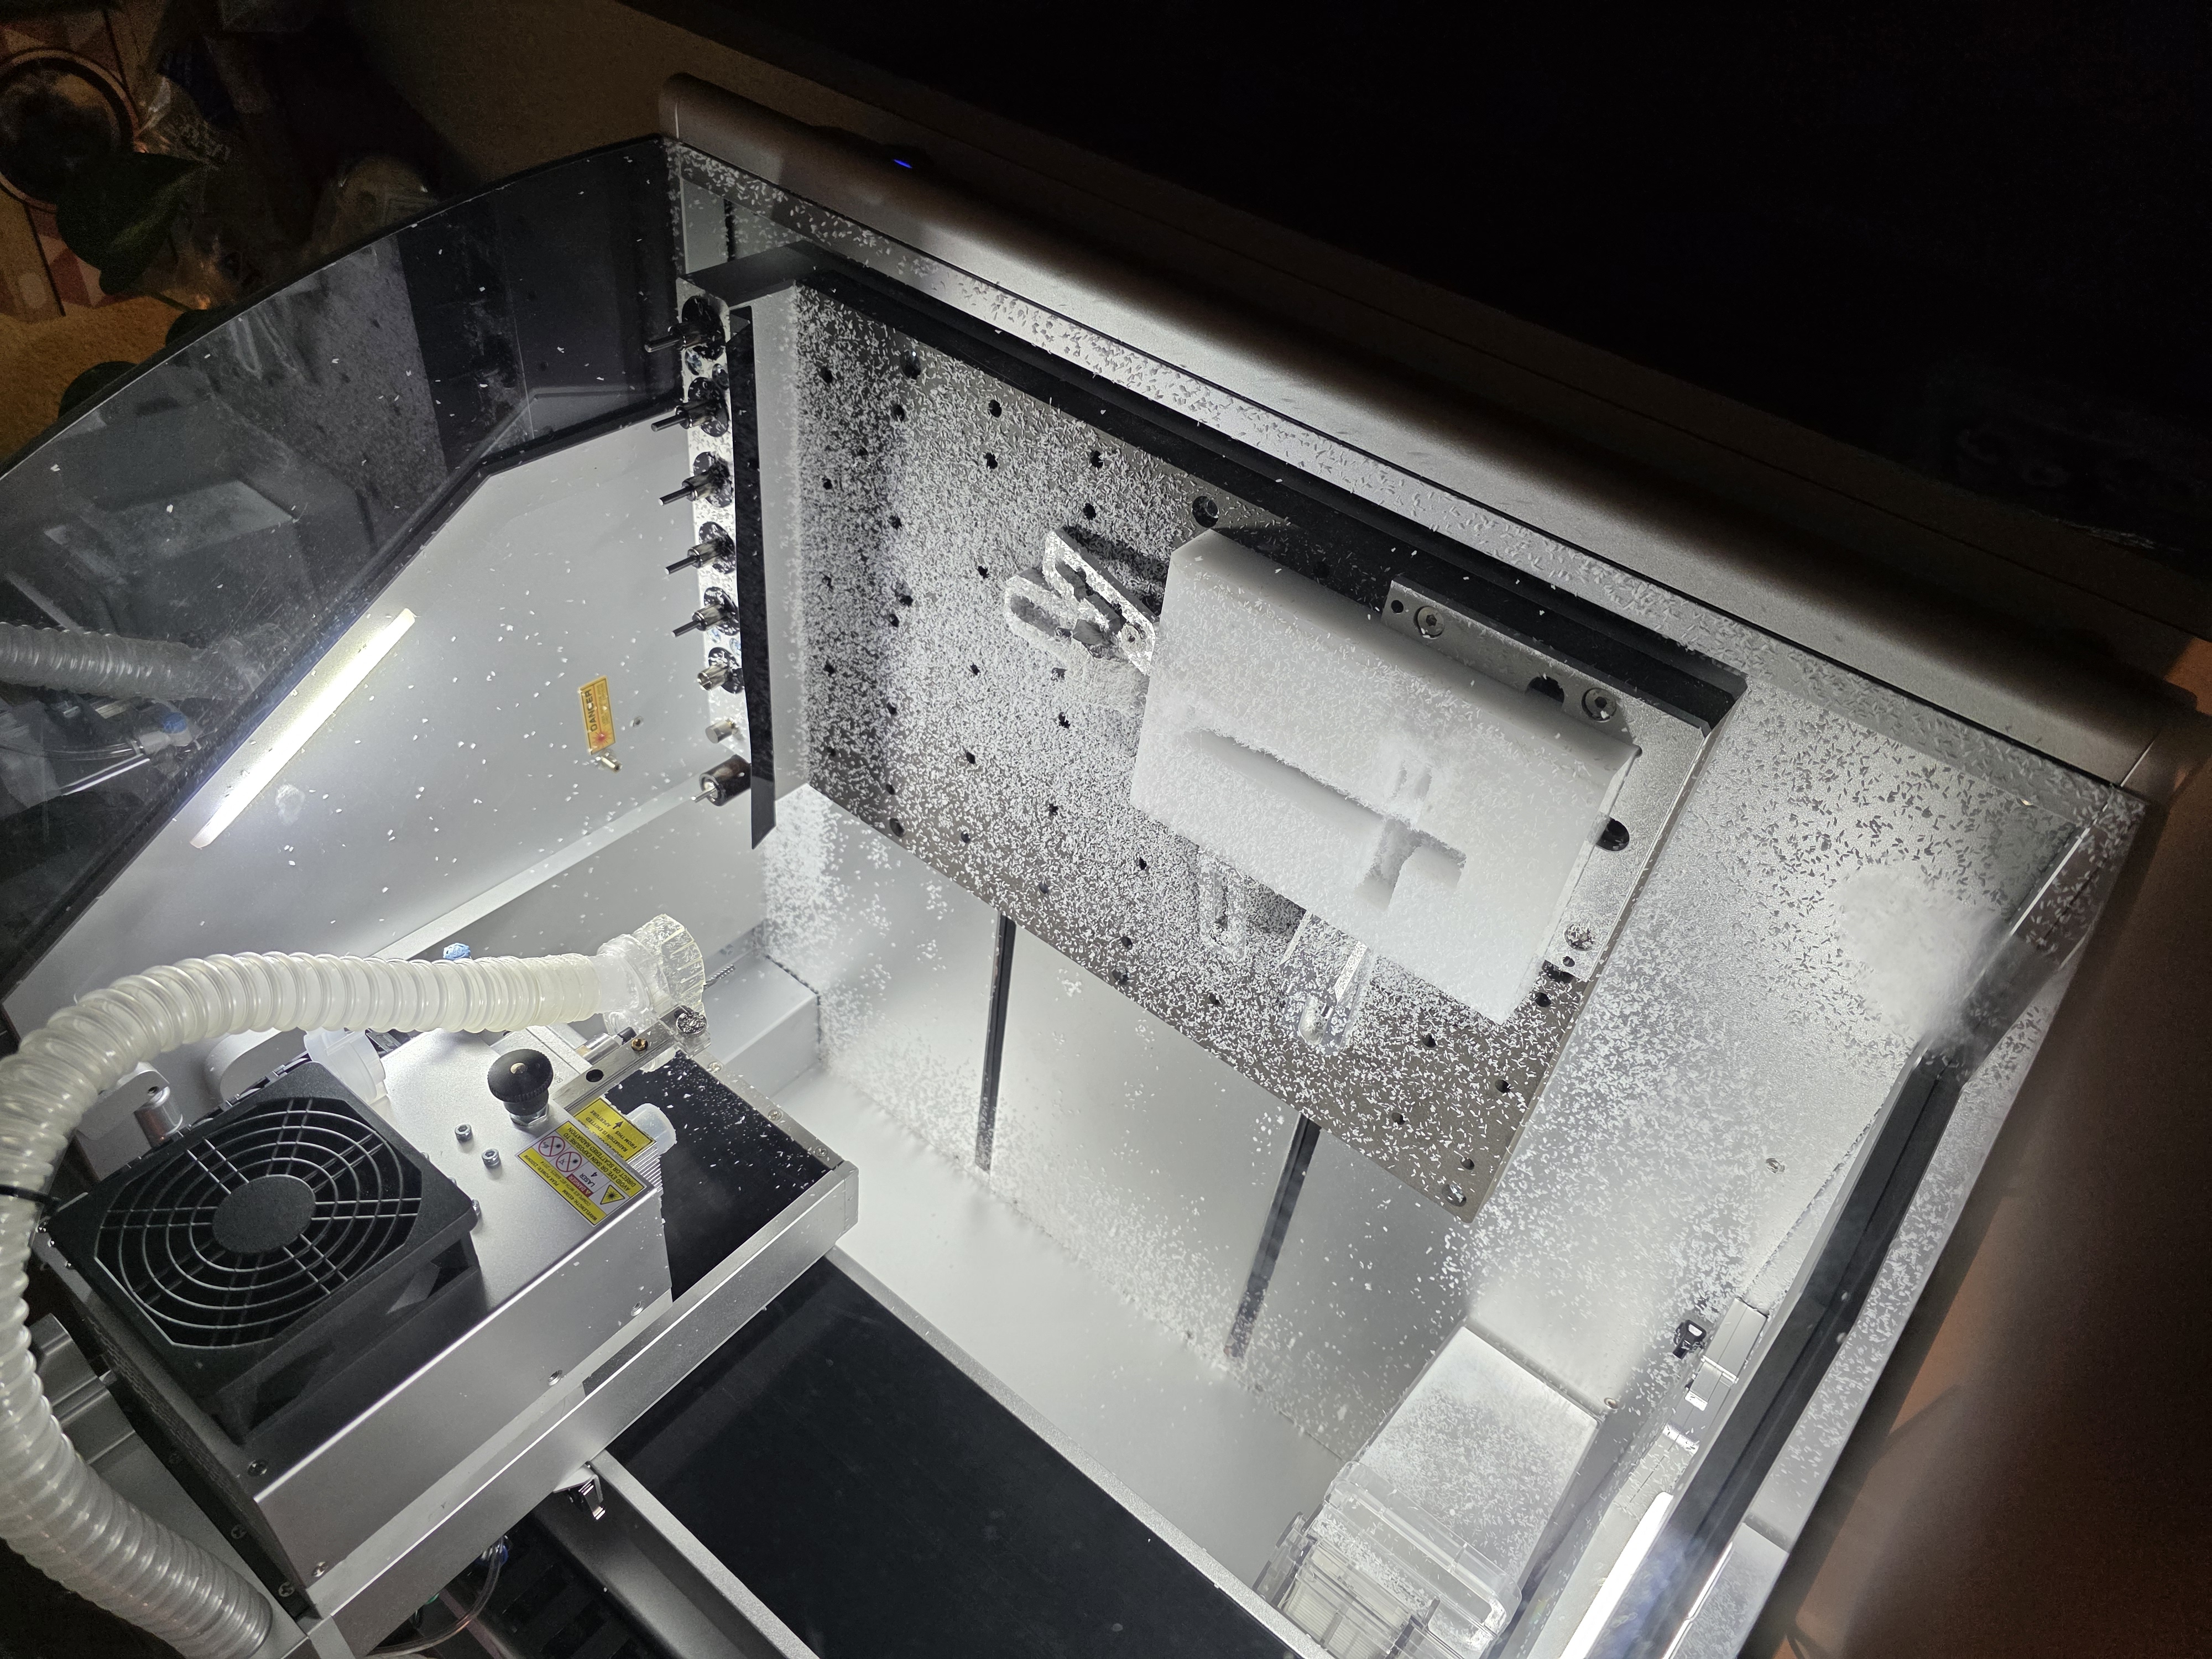
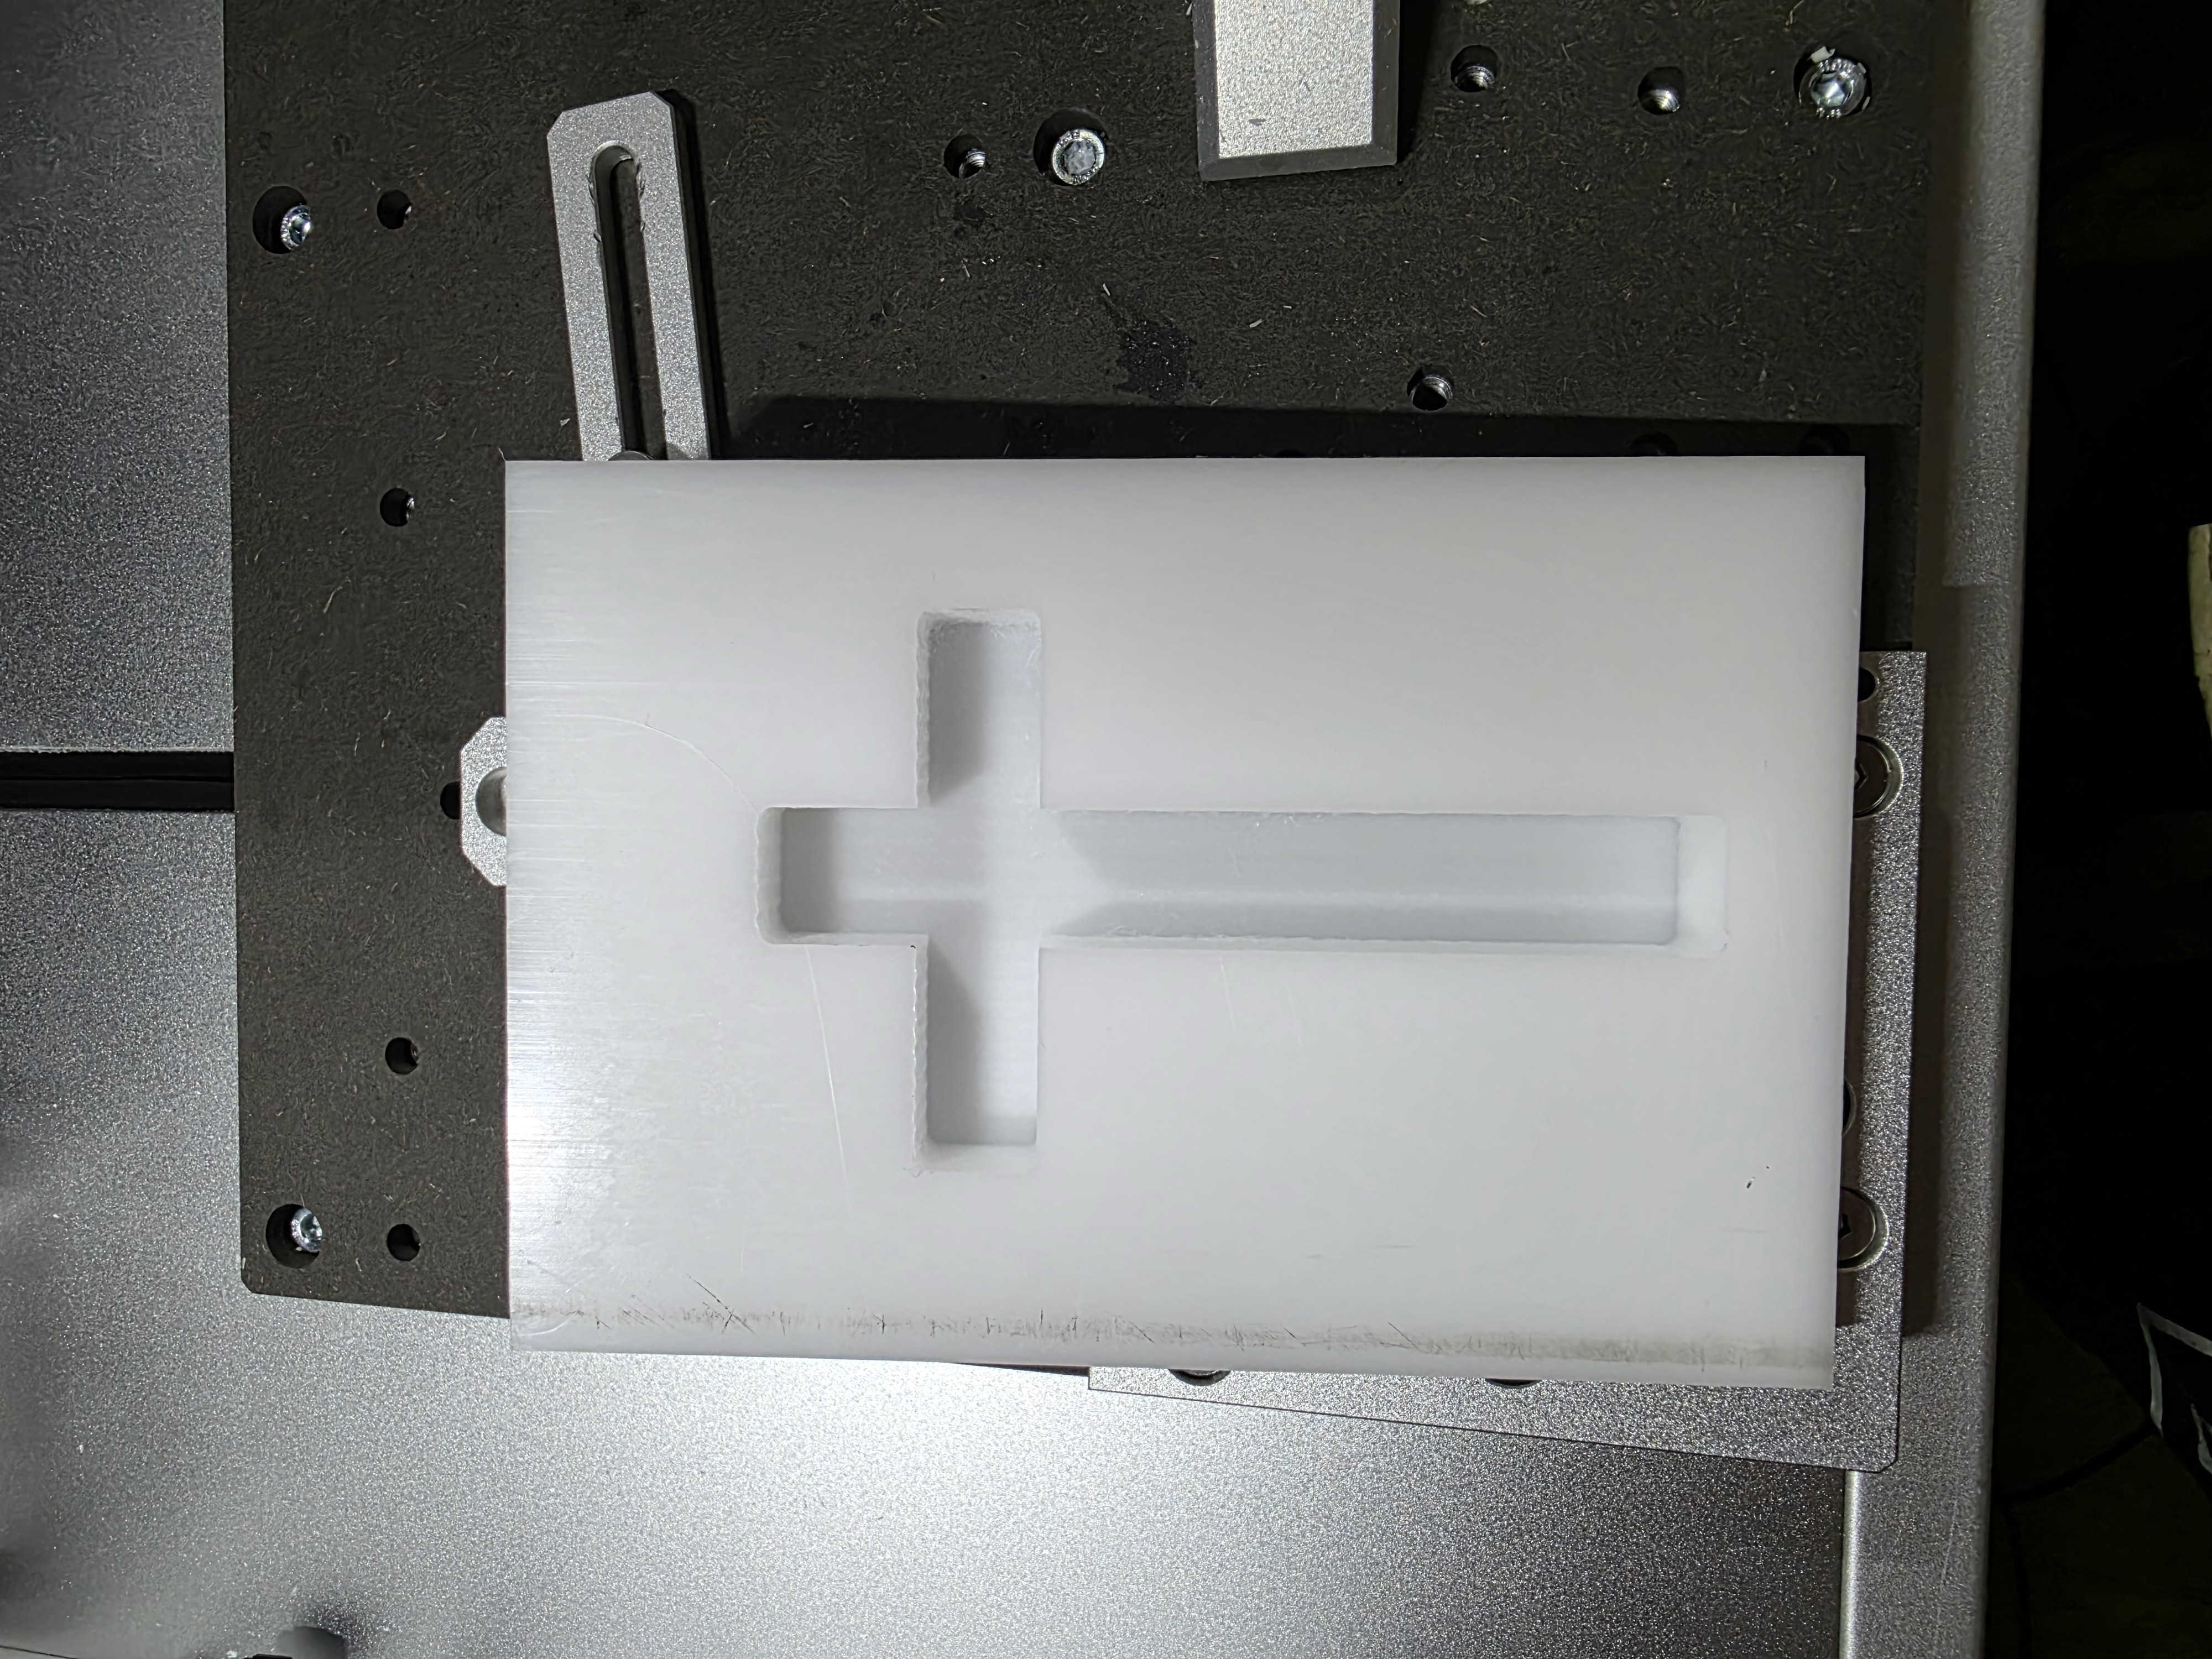
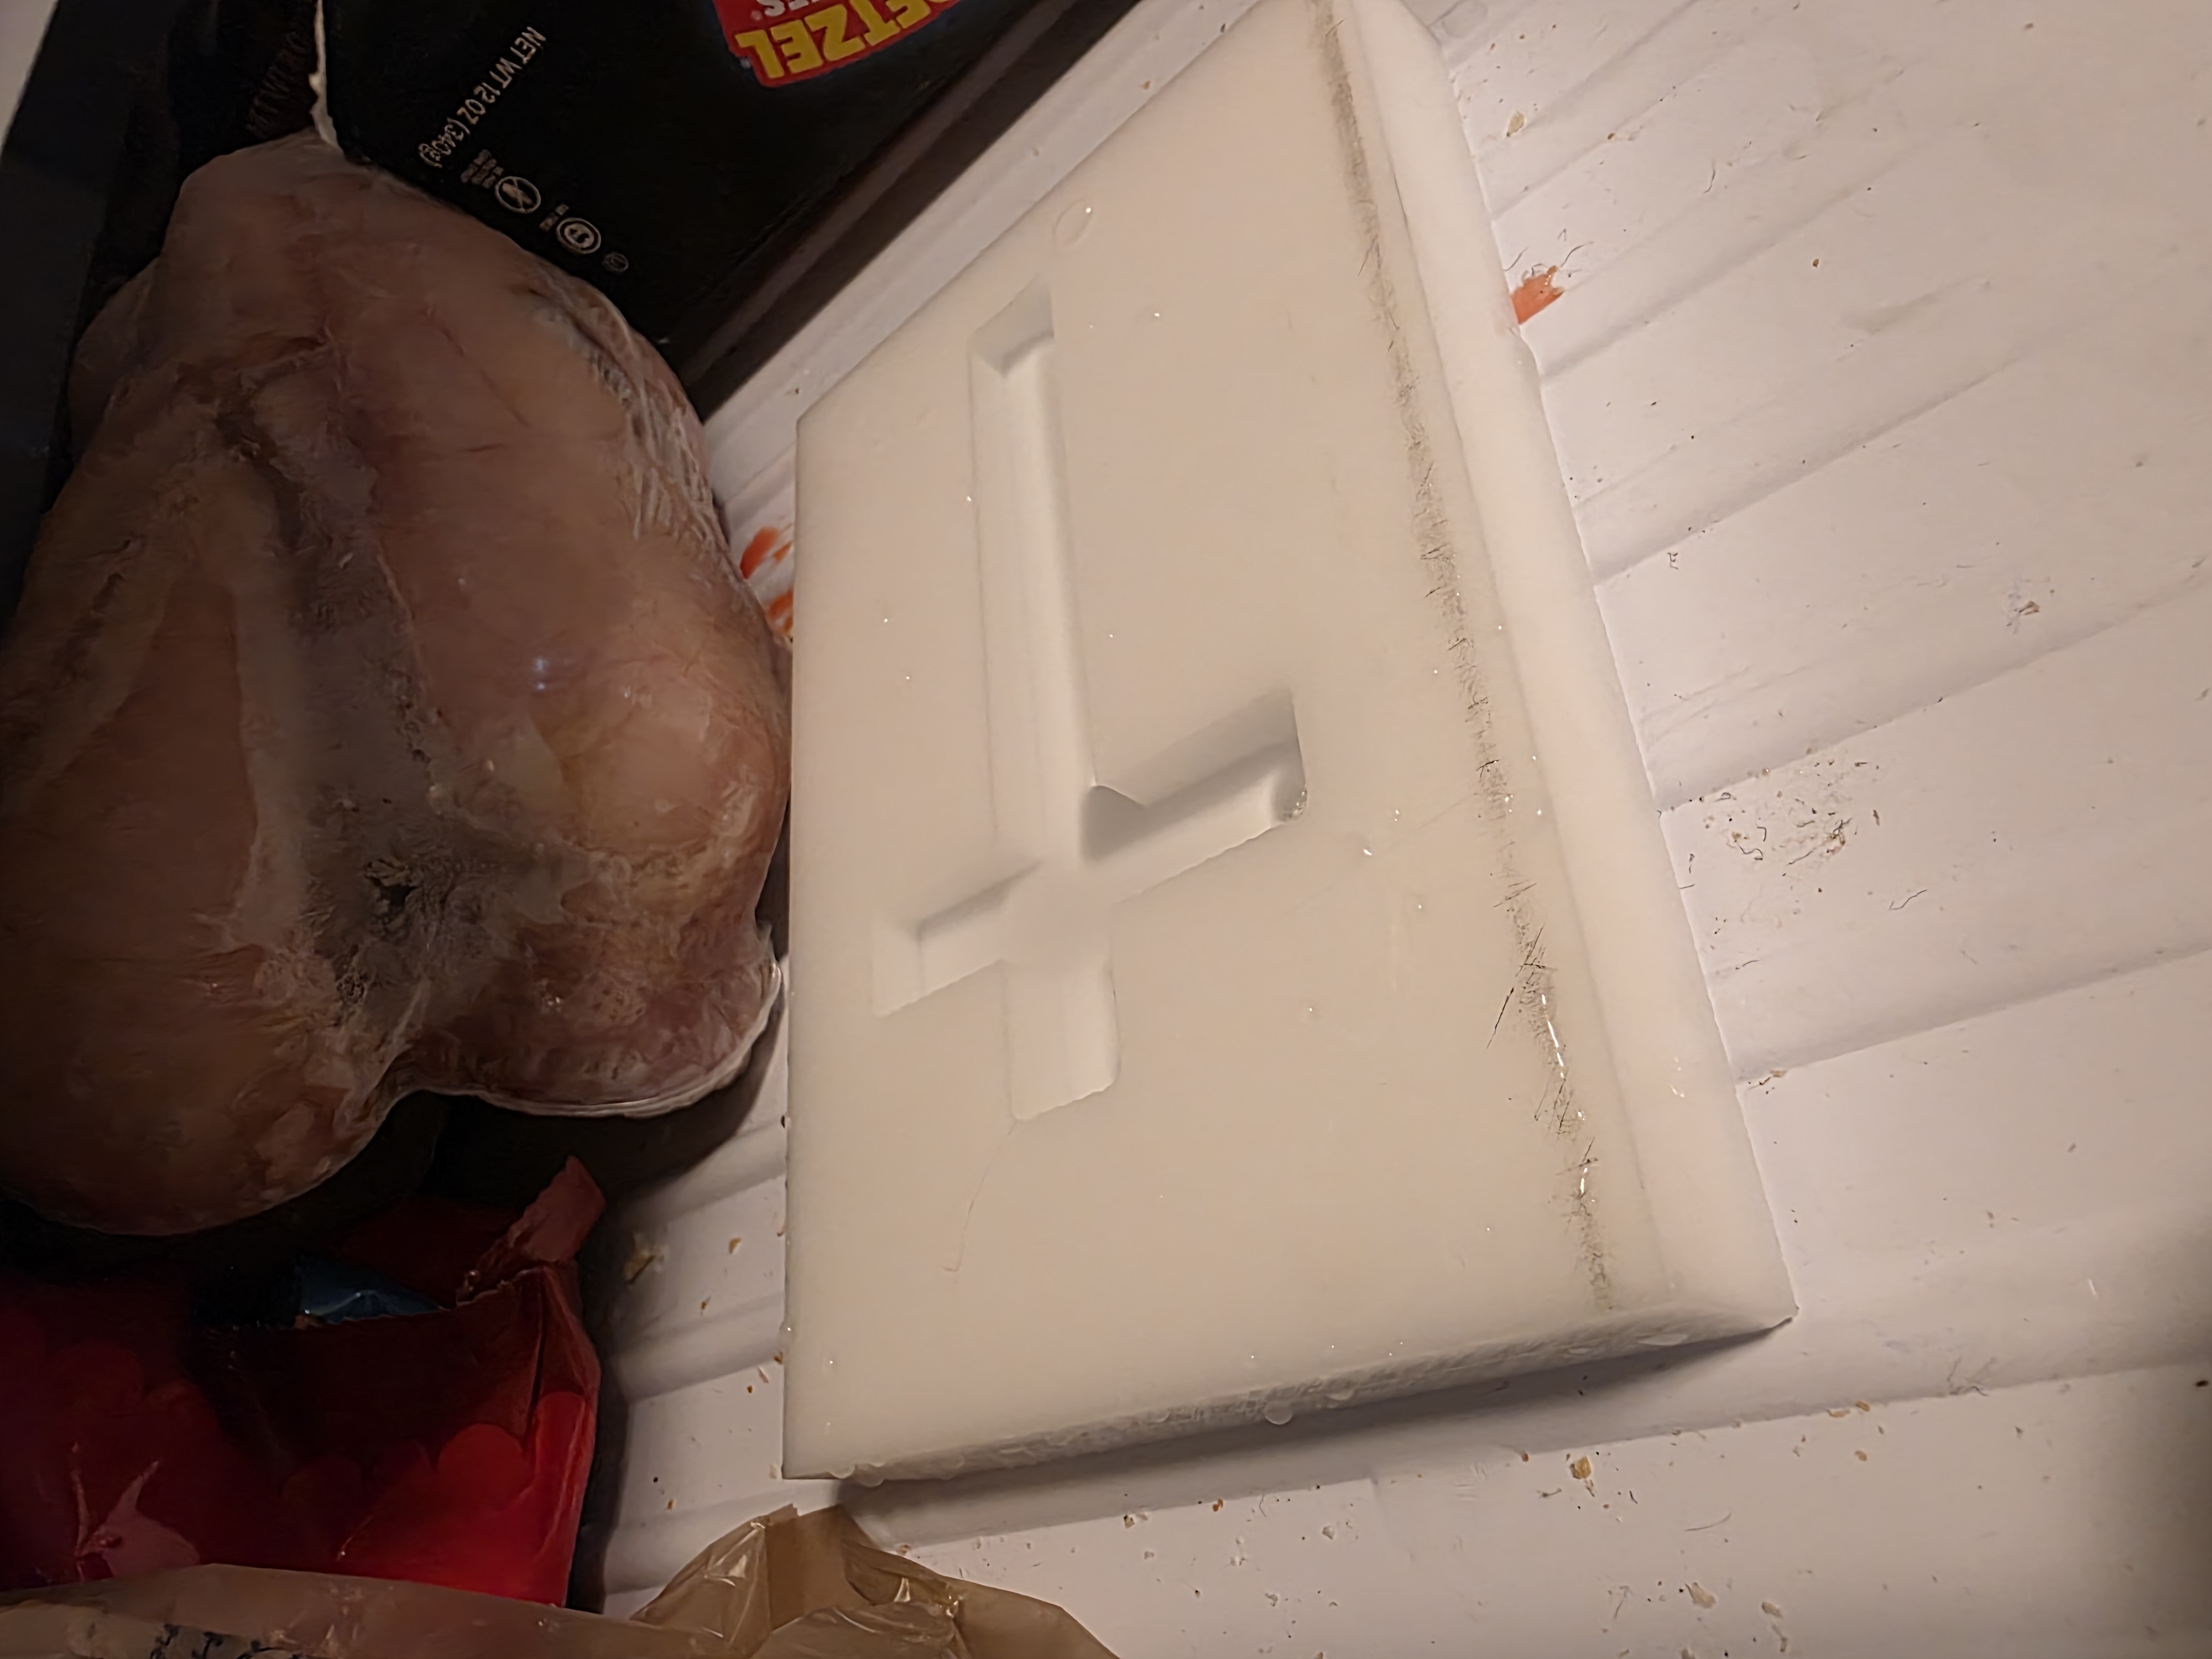
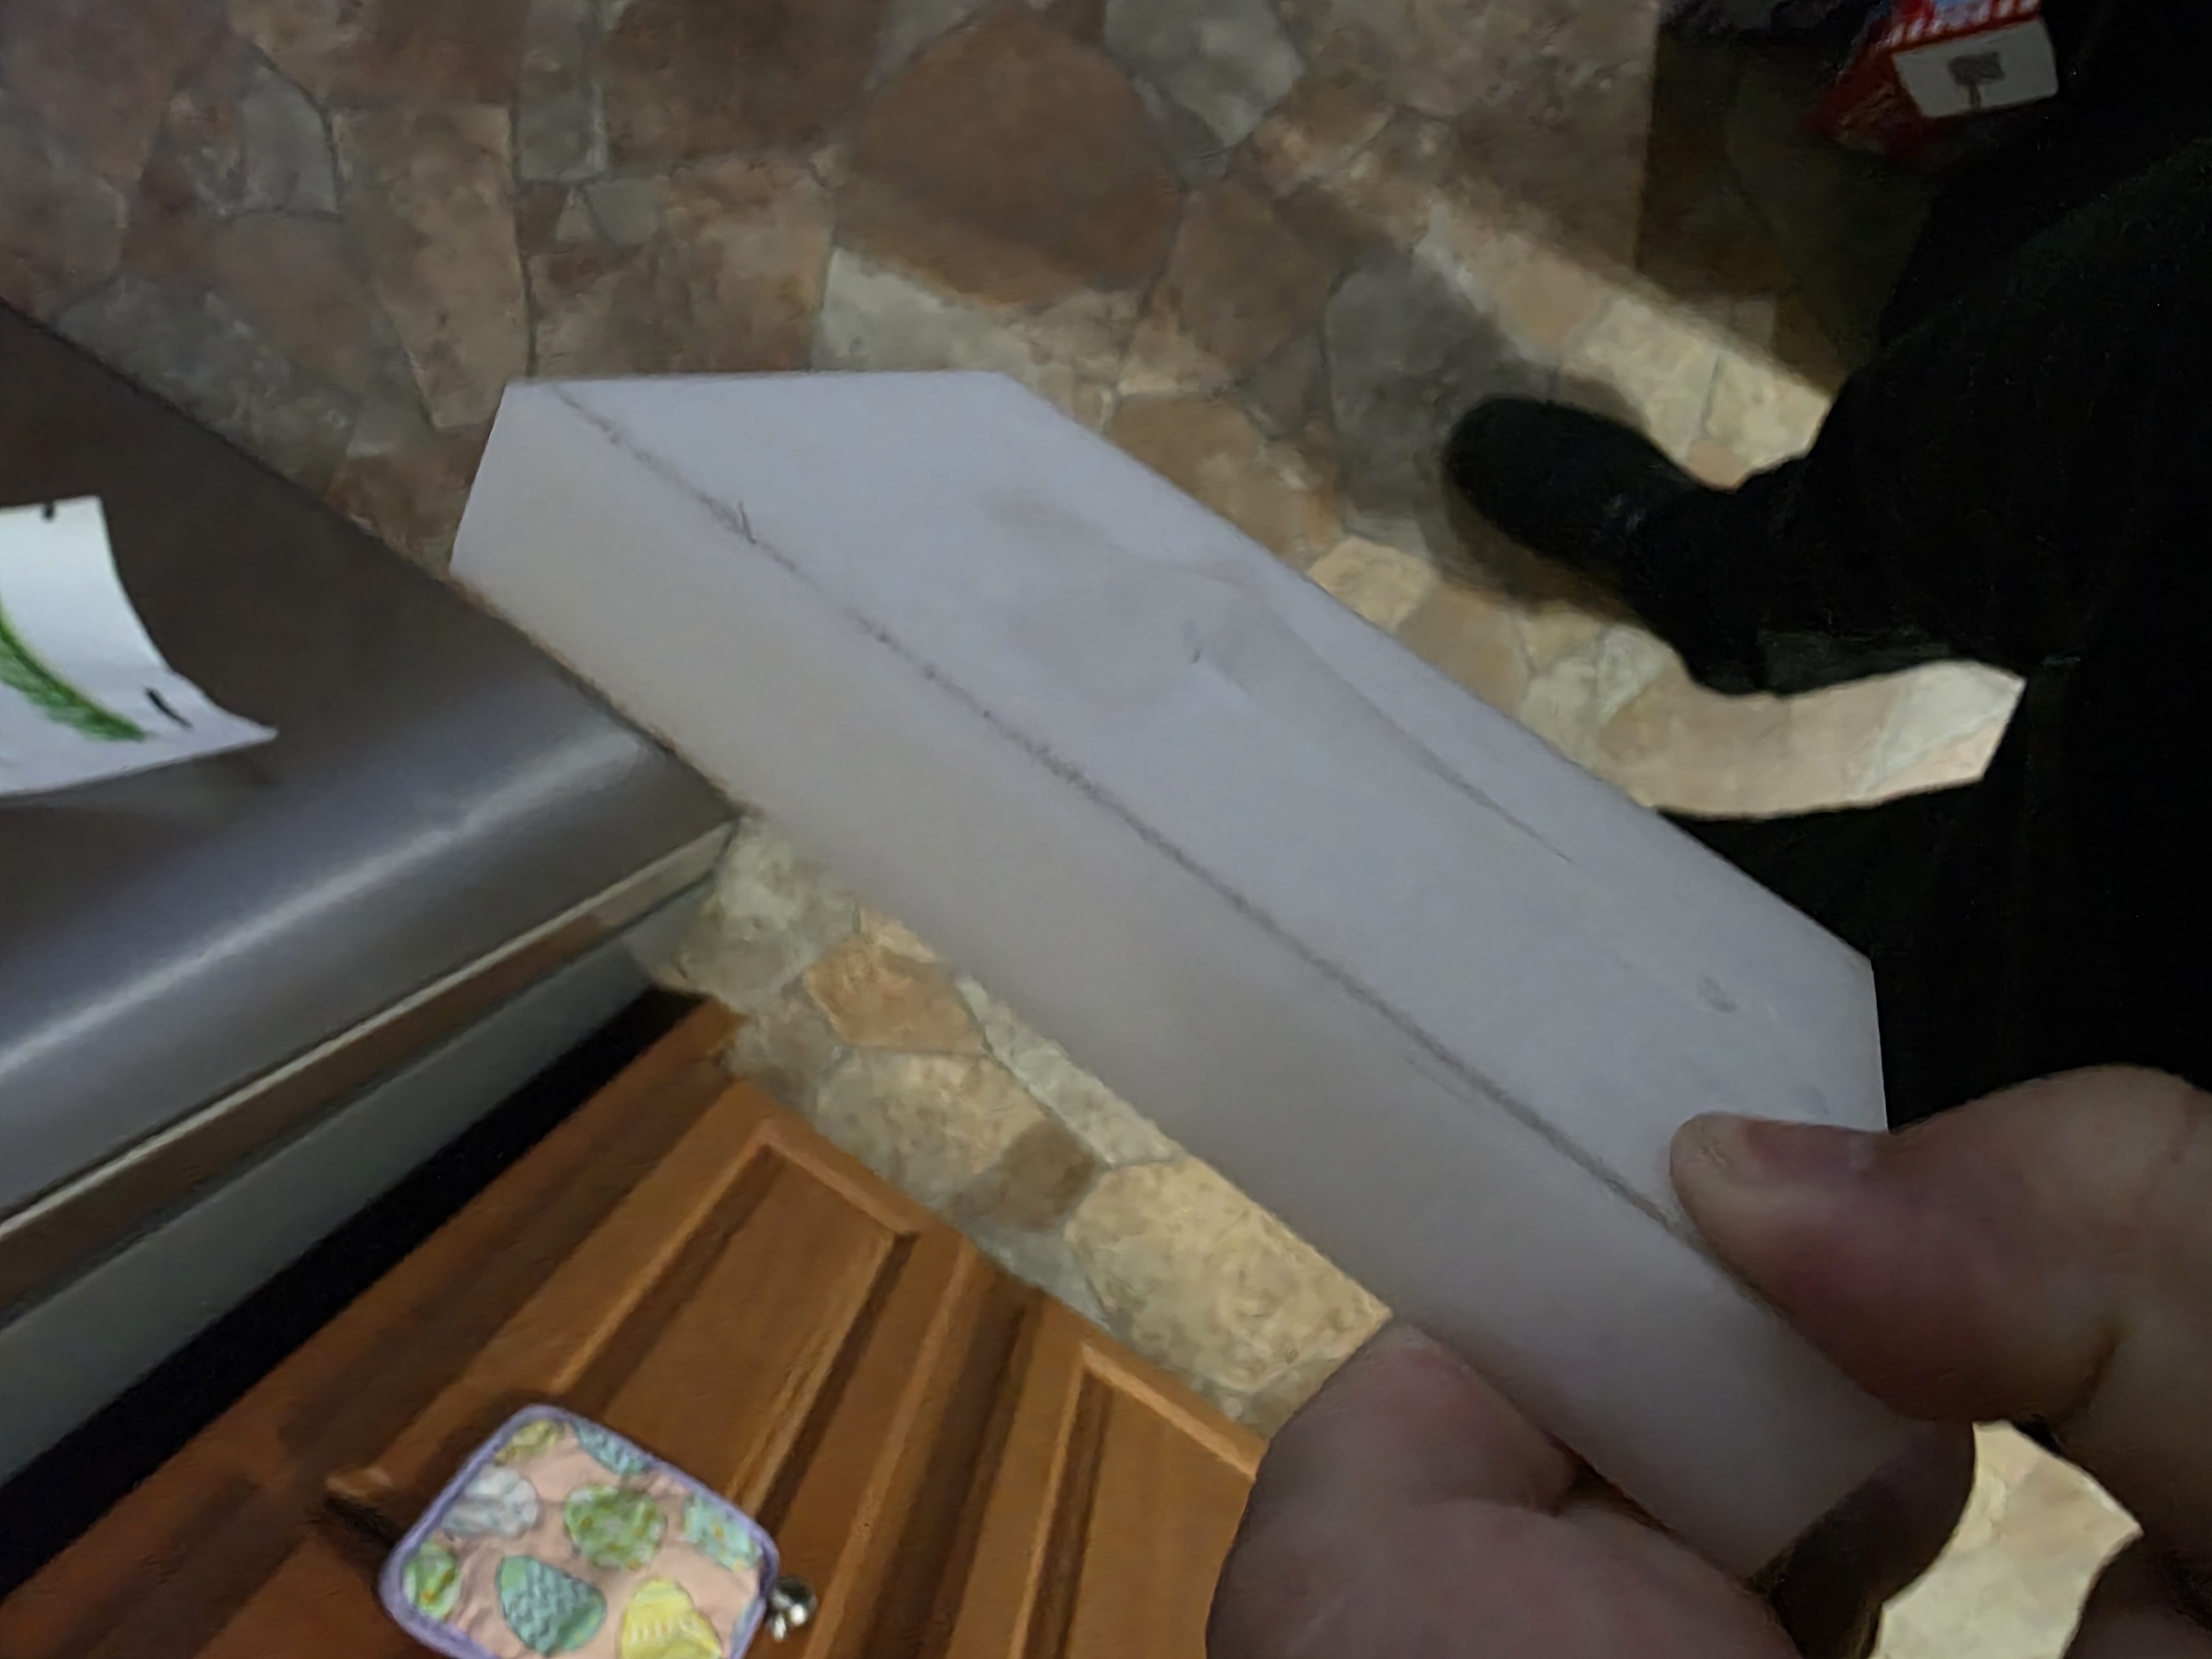
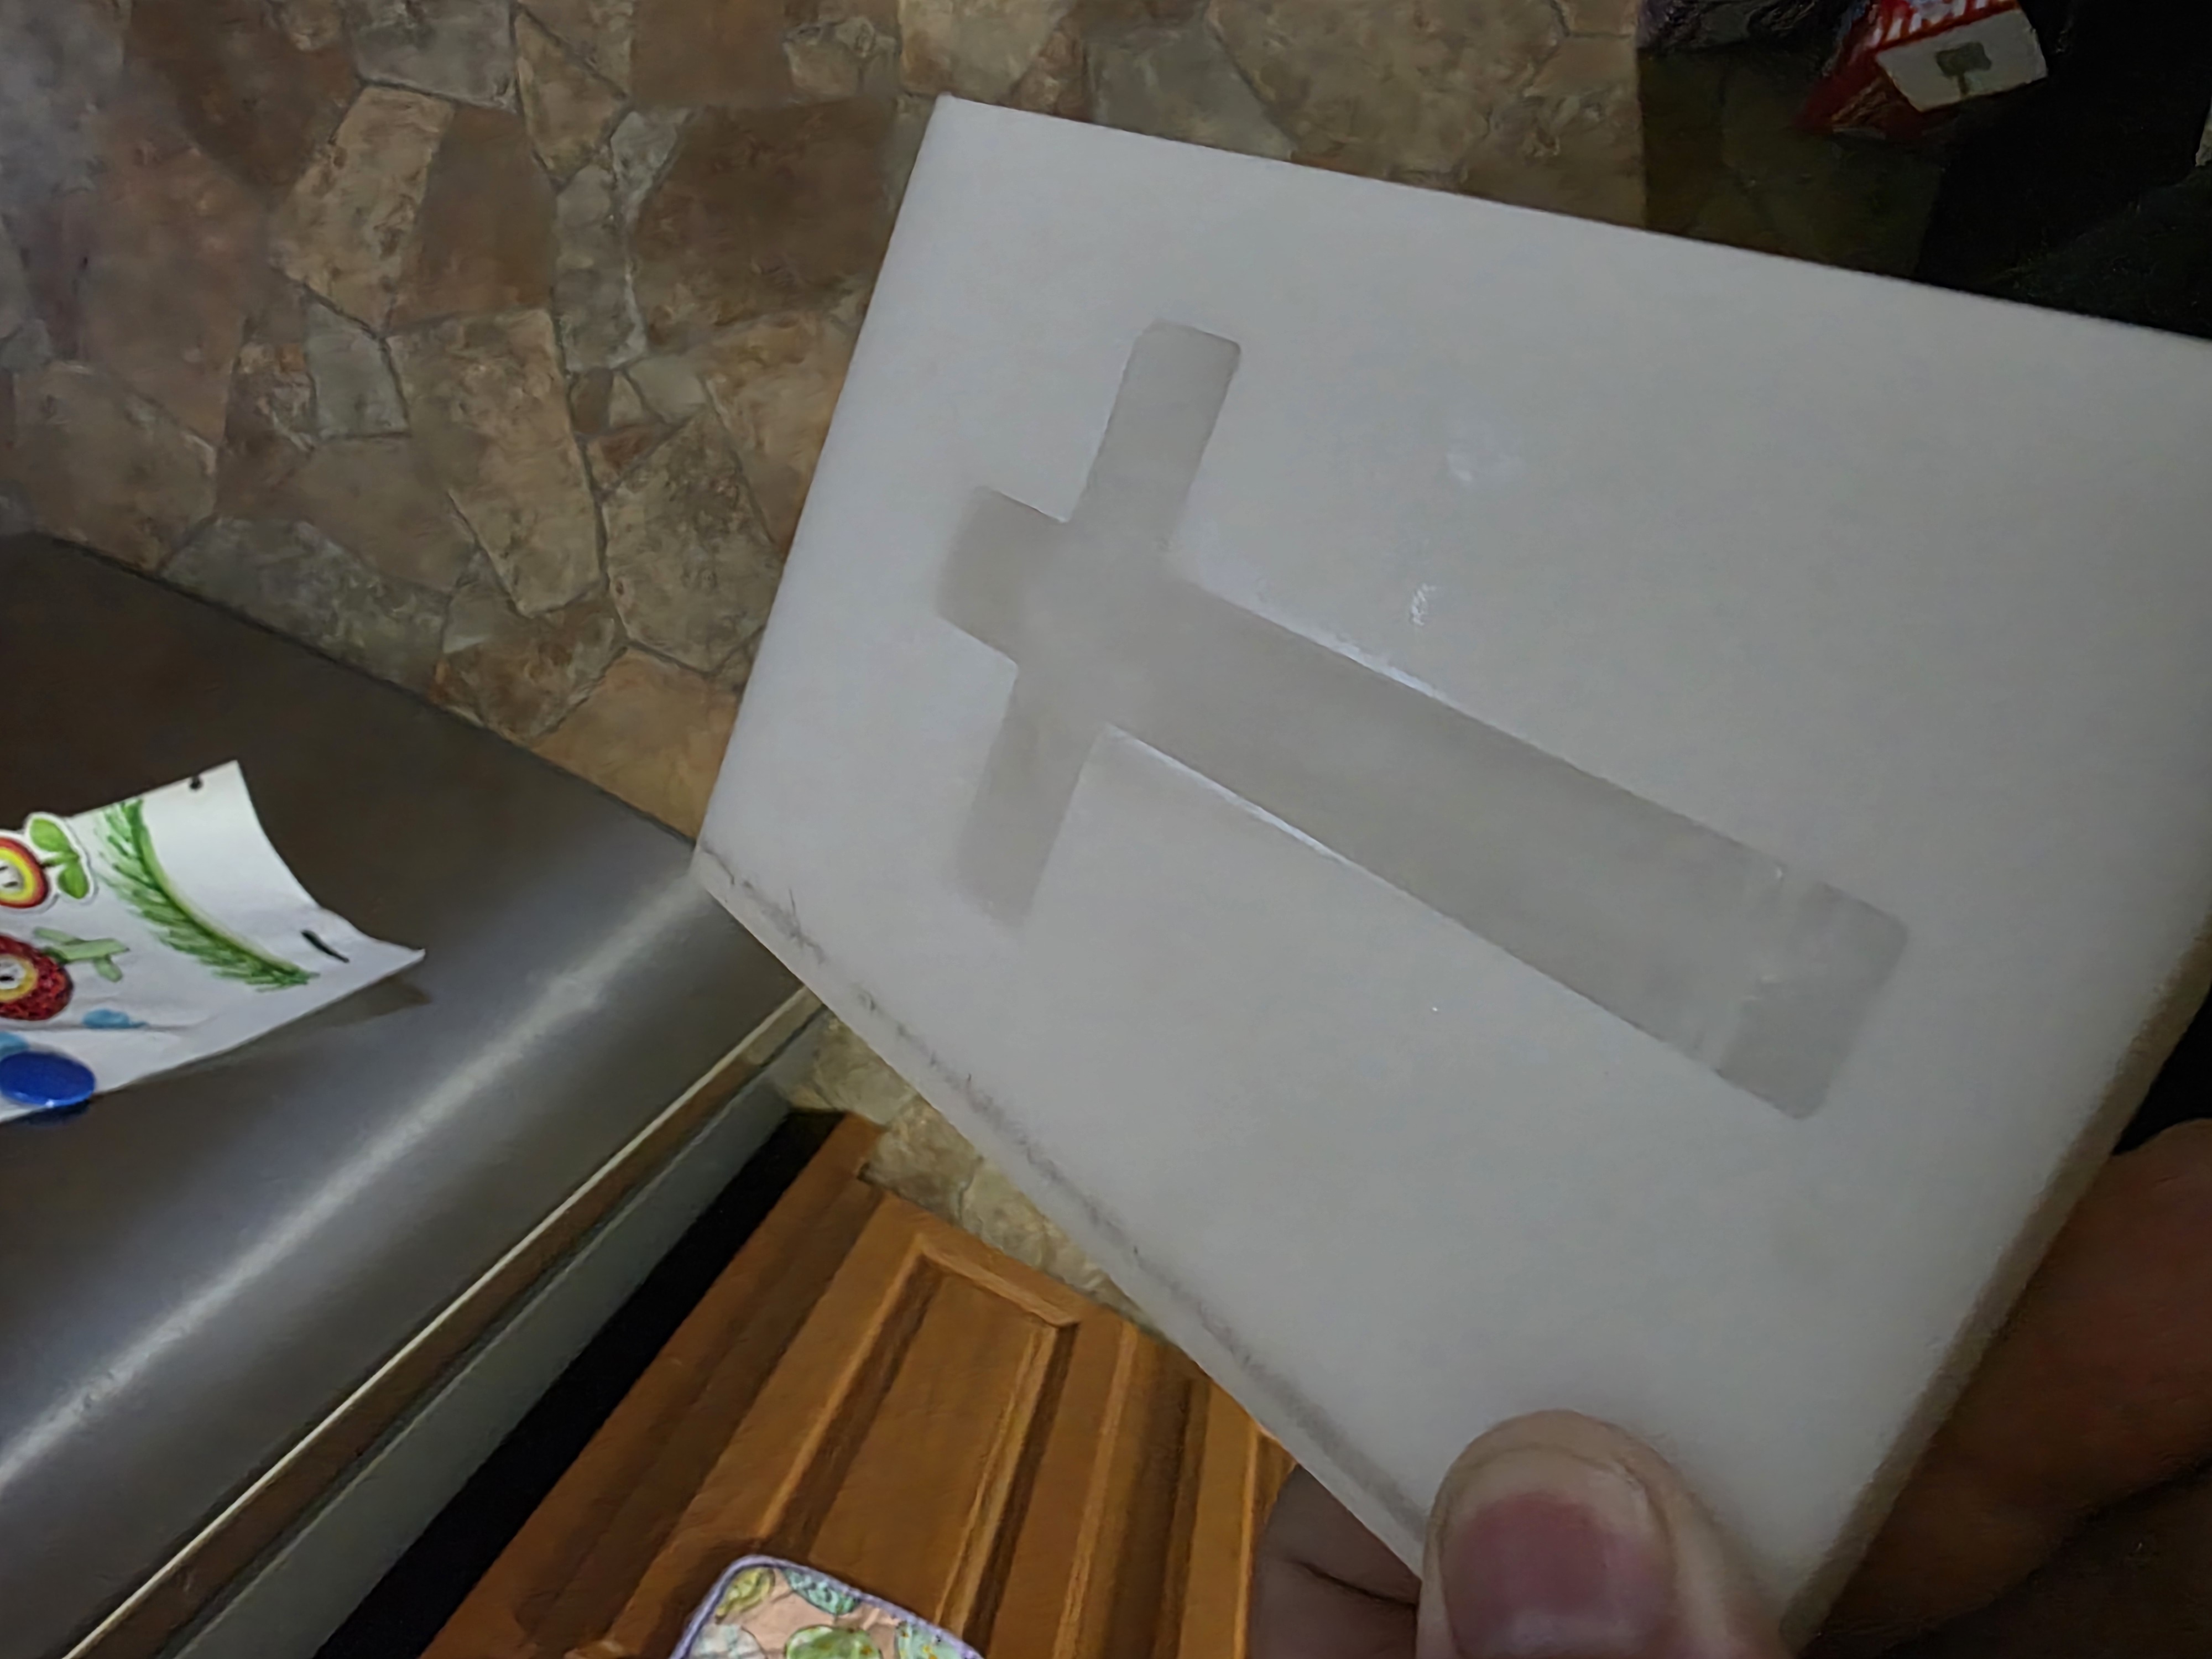
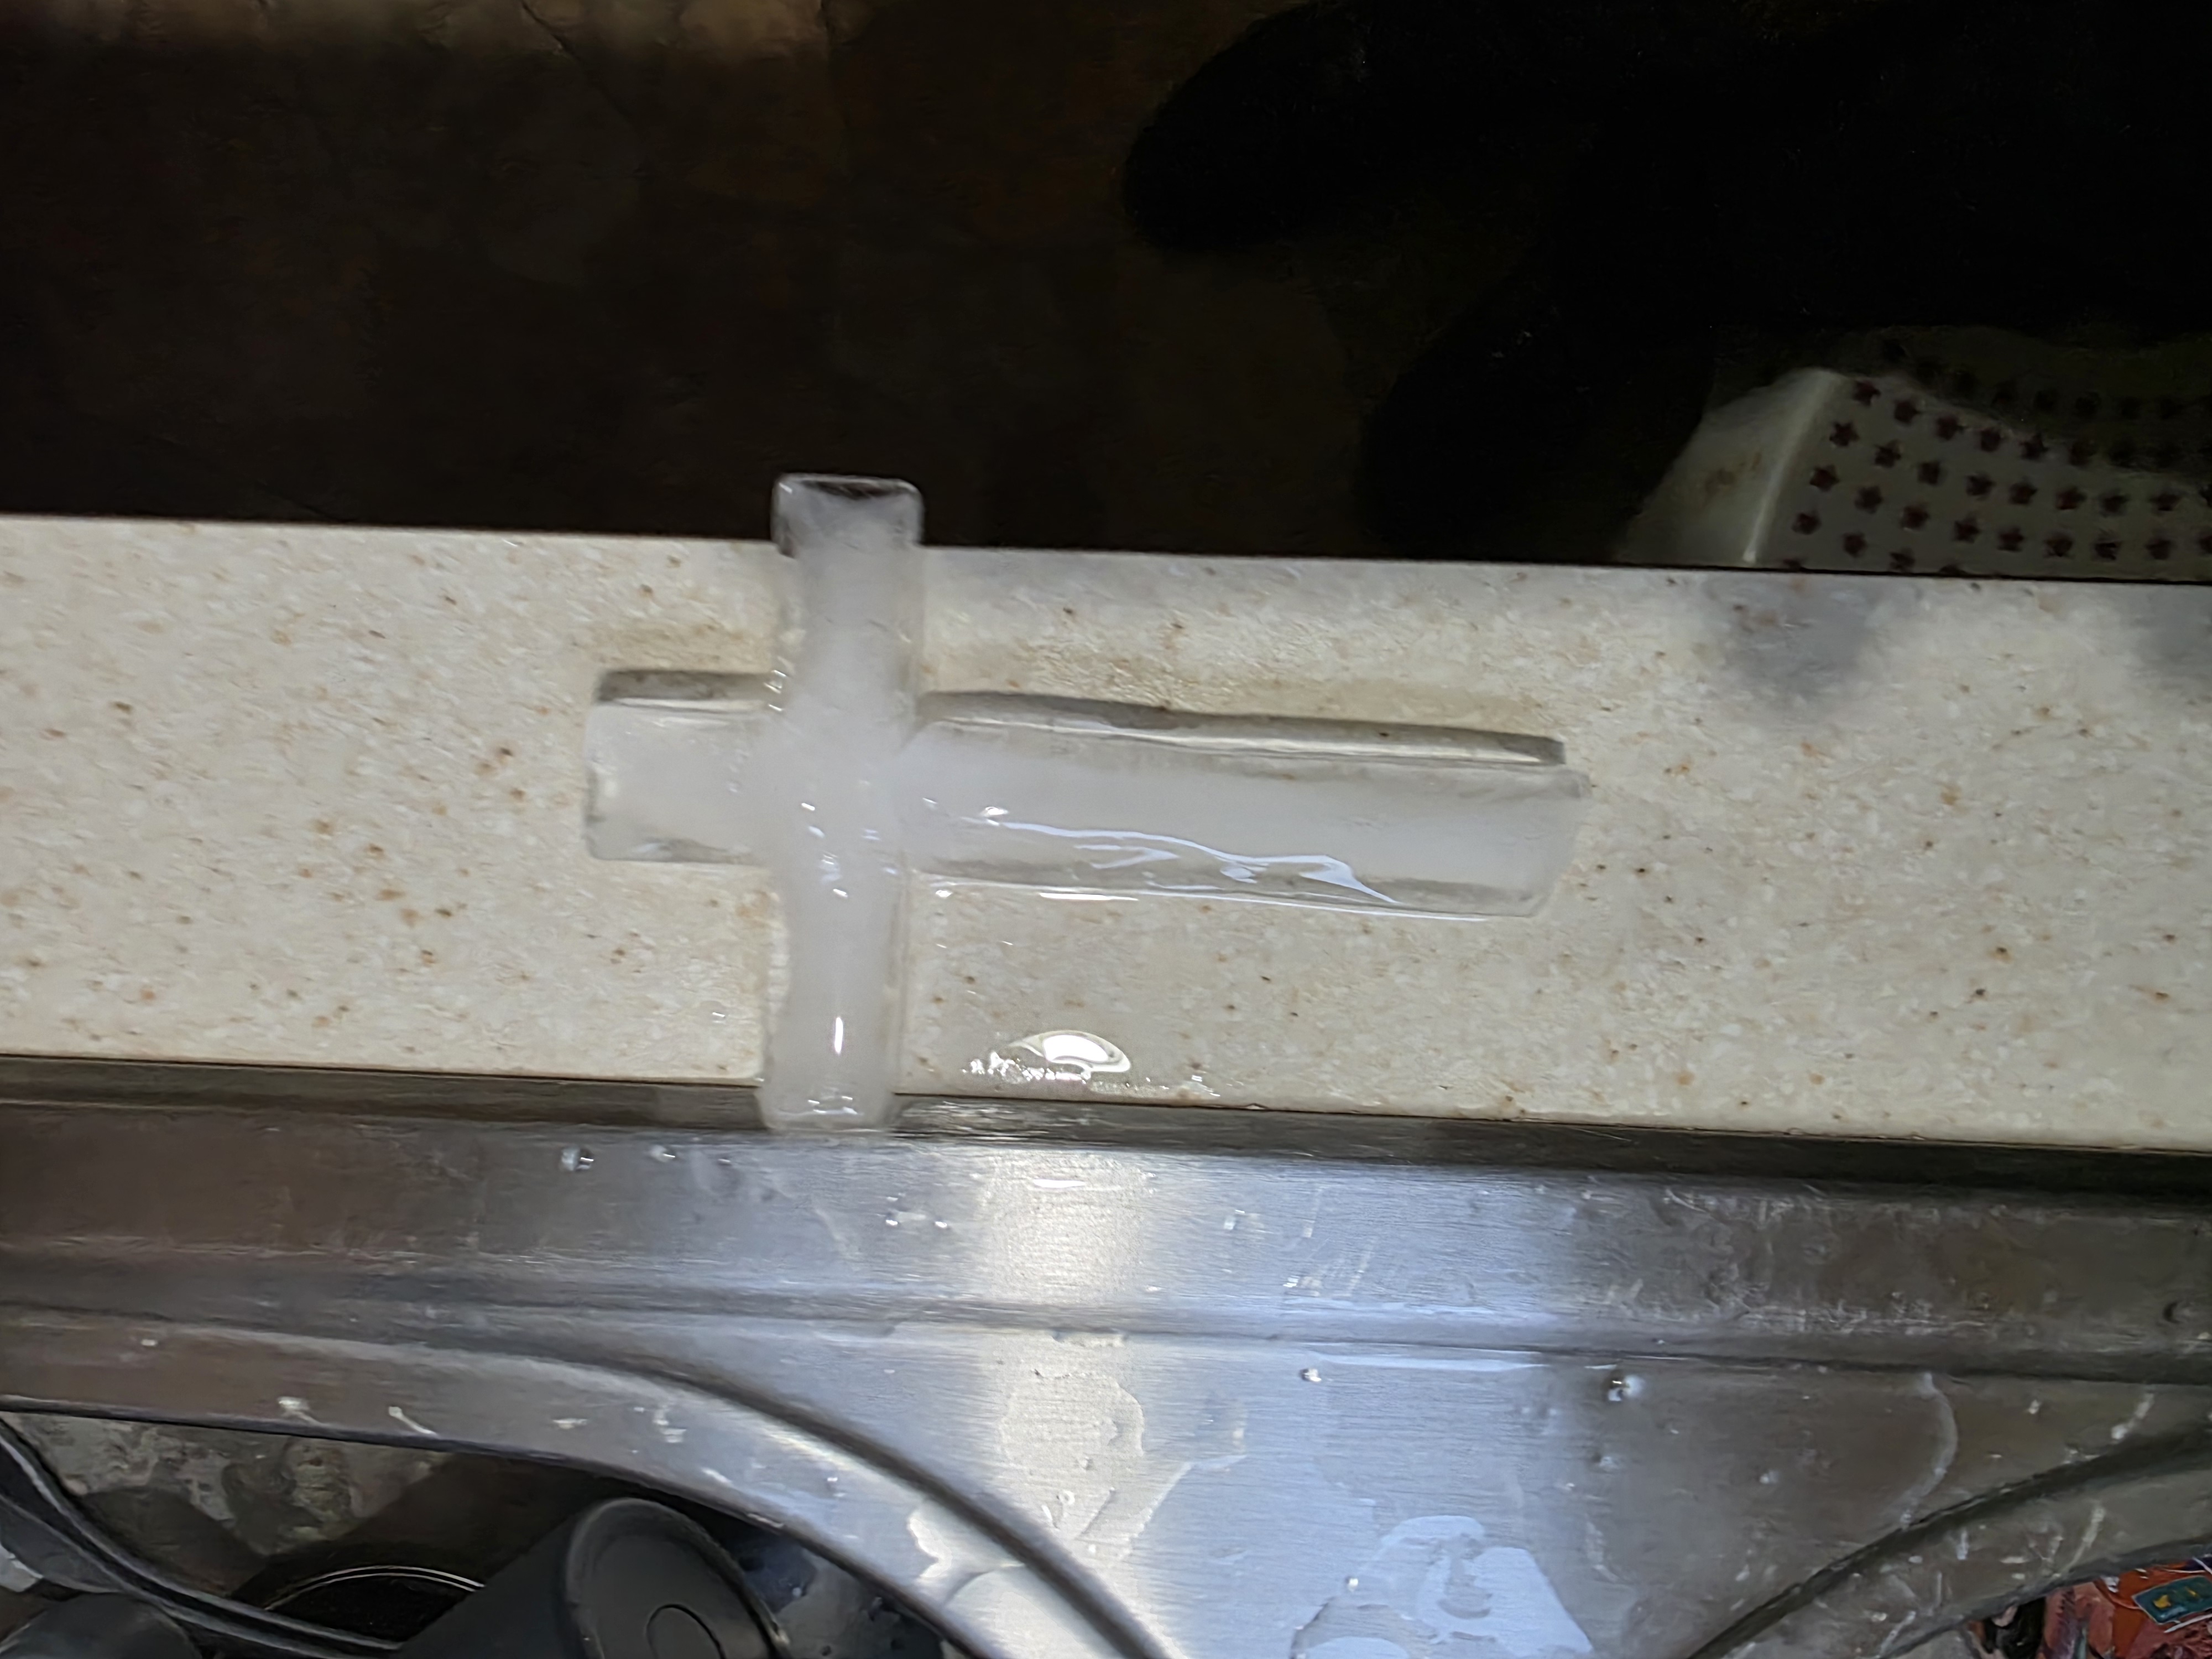
The cross ice cube finally came out successfully with help from my daughter because dad was getting frustrated during the process. This reminded me that fabrication takes patience, testing, and sometimes a second set of hands.
What Went Wrong
- The original rocket, skull, and axe designs were too complex.
- Some files did not transfer correctly from Tinkercad to CAM.
- The CAM software created strange triangle geometry.
- The early designs were difficult to toolpath and machine.
- The project had to be simplified for the CNC process to work.
What Fixed the Problem
- I simplified the design into a cross shape.
- I rebuilt the model in FreeCAD.
- I used a 20 mm thick Delrin block.
- I used the Makera Carvera CNC machine.
- I selected a long flat end mill.
- I simplified the toolpath strategy.
What I Learned
This week taught me a lot about molding, casting, CNC machining, and file preparation. I learned that the design process matters just as much as the machining process itself.
I also learned that Delrin is a good material for reusable molds because it cuts cleanly and produces a smooth finish.
The biggest lesson from this assignment was to start simple, prove that the process works, and then make designs more advanced later once the workflow is reliable.