Smart Battery Checker and Charger
My first final project idea and the start of my Fab Academy documentation.
Project Idea
For my Fab Academy final project, I decided to work on a smart battery checker and charger. I wanted to make something useful that connected to stuff I already like working on, like electronics, batteries, wiring, screens, 3D printing, and making parts myself instead of just buying a finished product.
The basic idea was to make a small desktop battery tool that could read a lithium battery, show the voltage on a screen, and eventually help with charging.
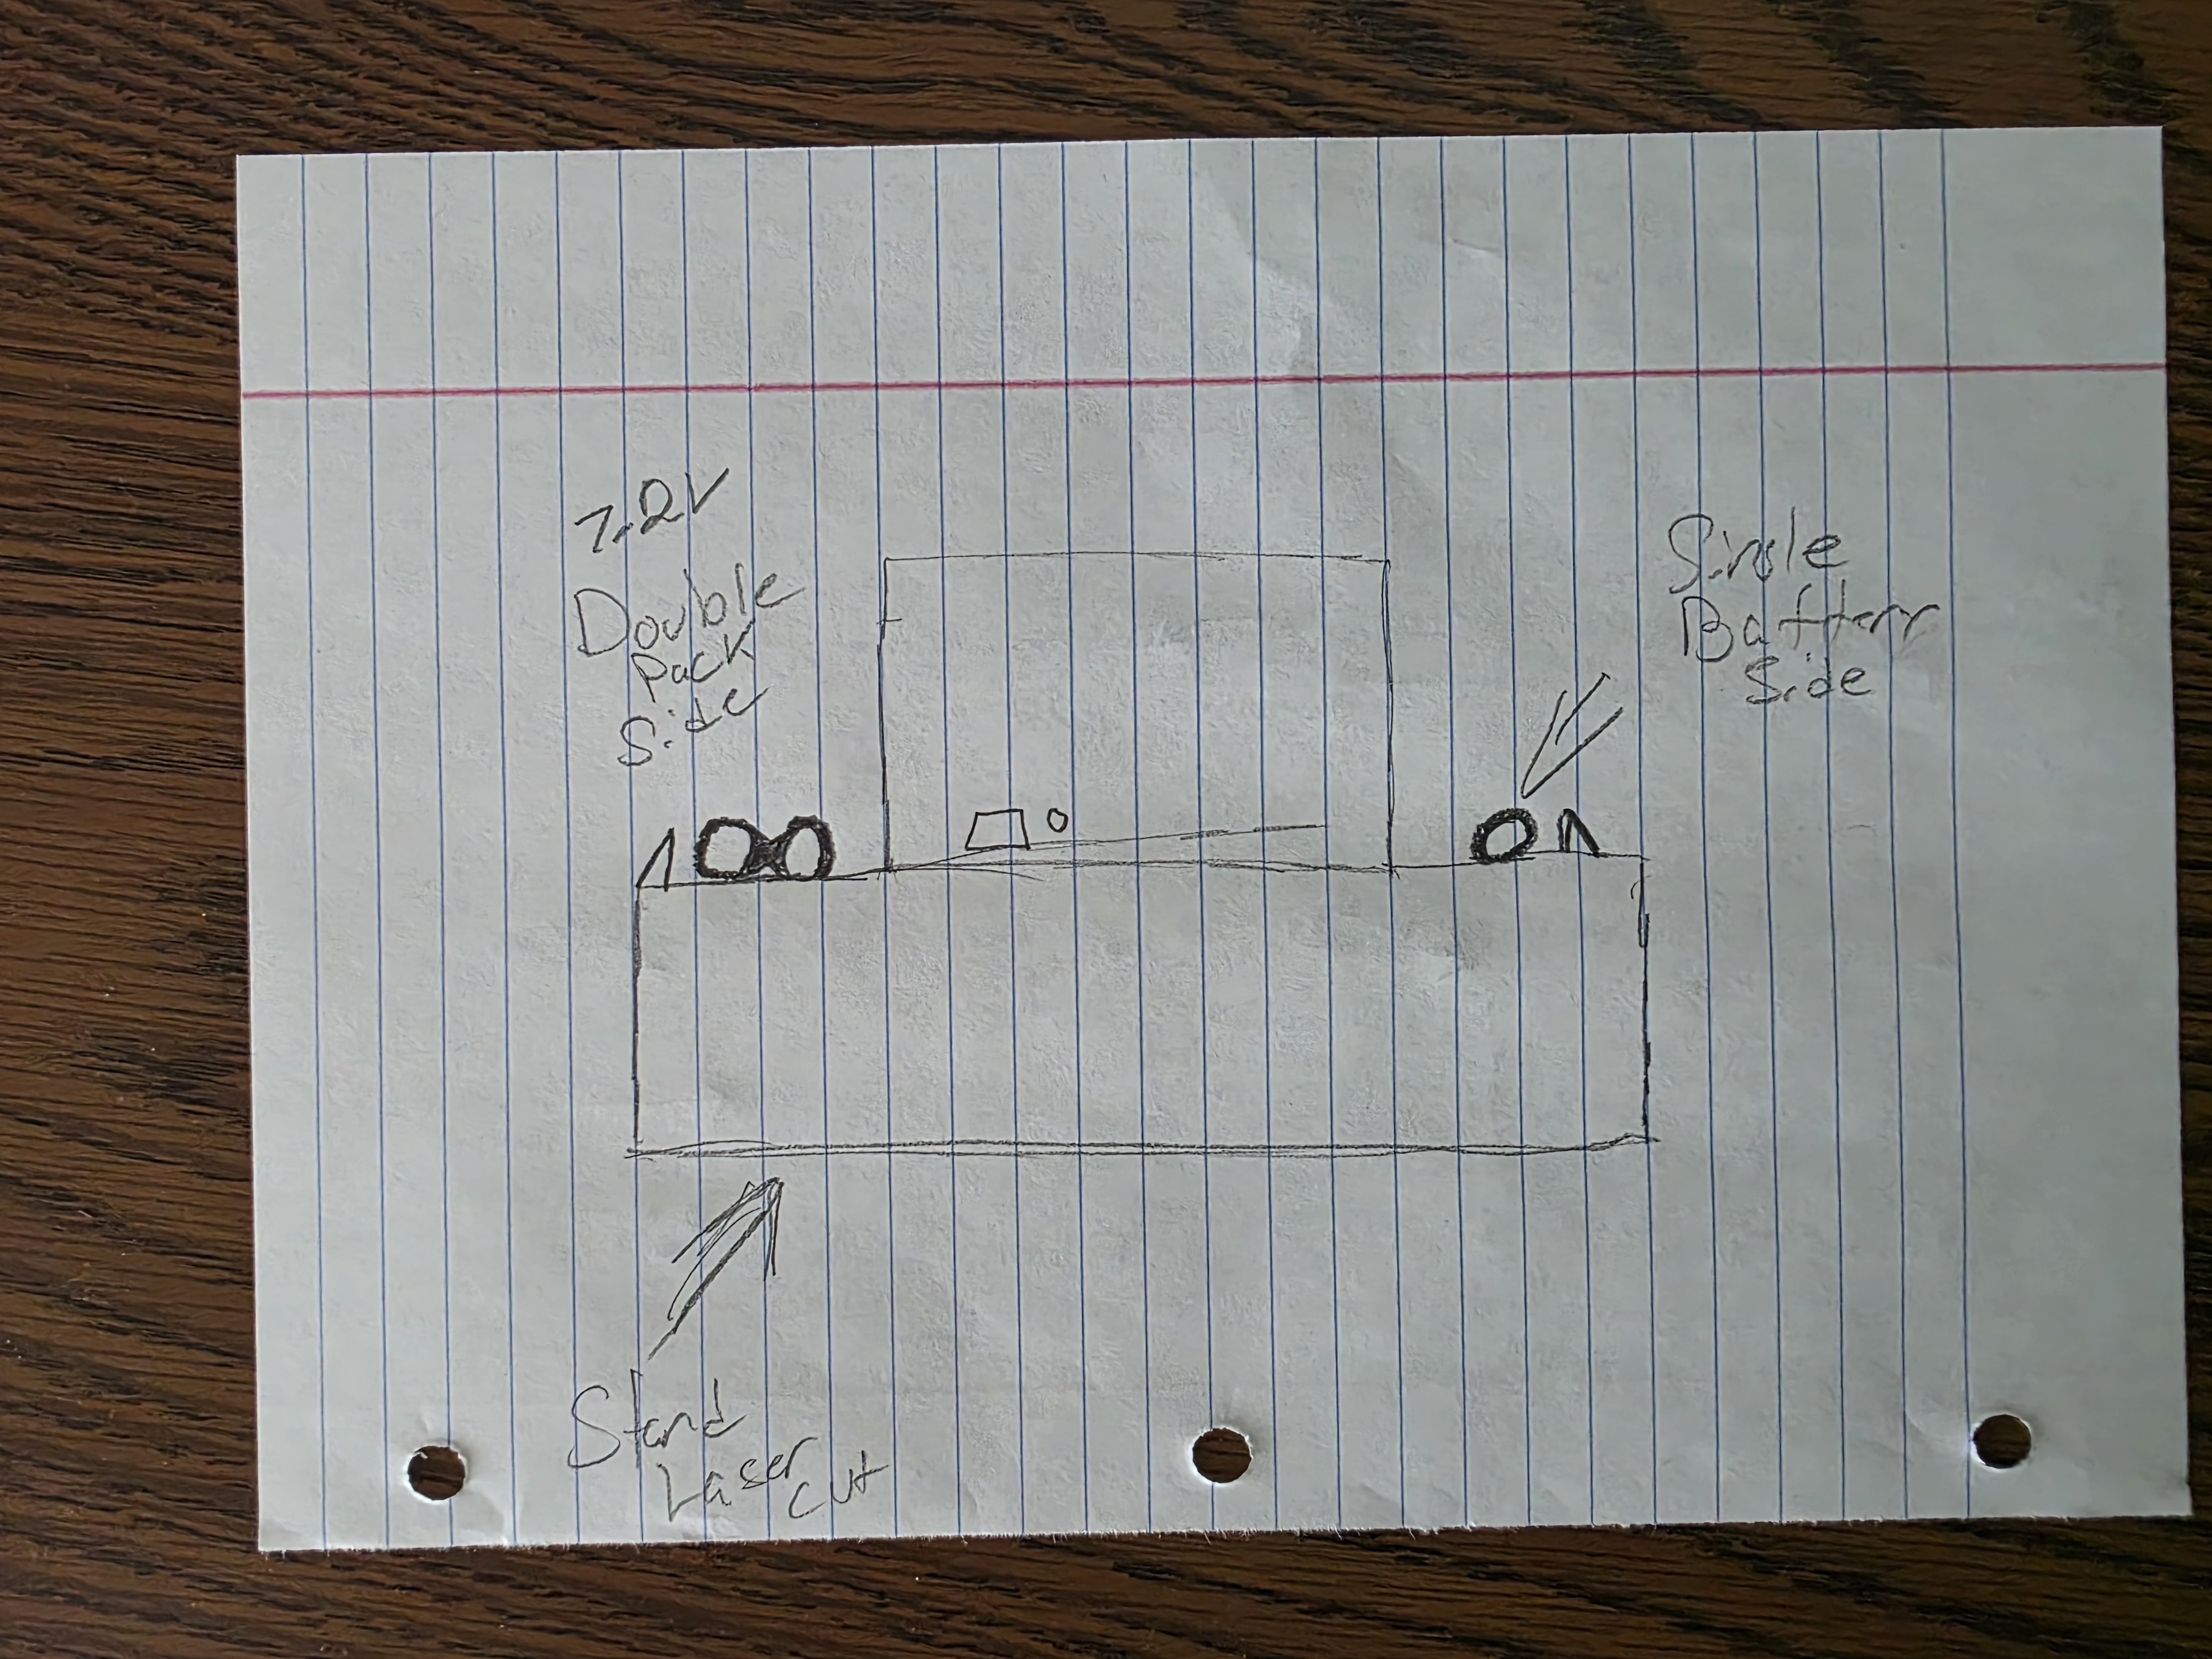
What I Wanted It To Do
My first goal was to have the device check battery voltage and show that information clearly on a display using an ESP32 touchscreen.
I also wanted the project to have real fabrication work in it including PCB design, soldering, 3D printing, and enclosure design.
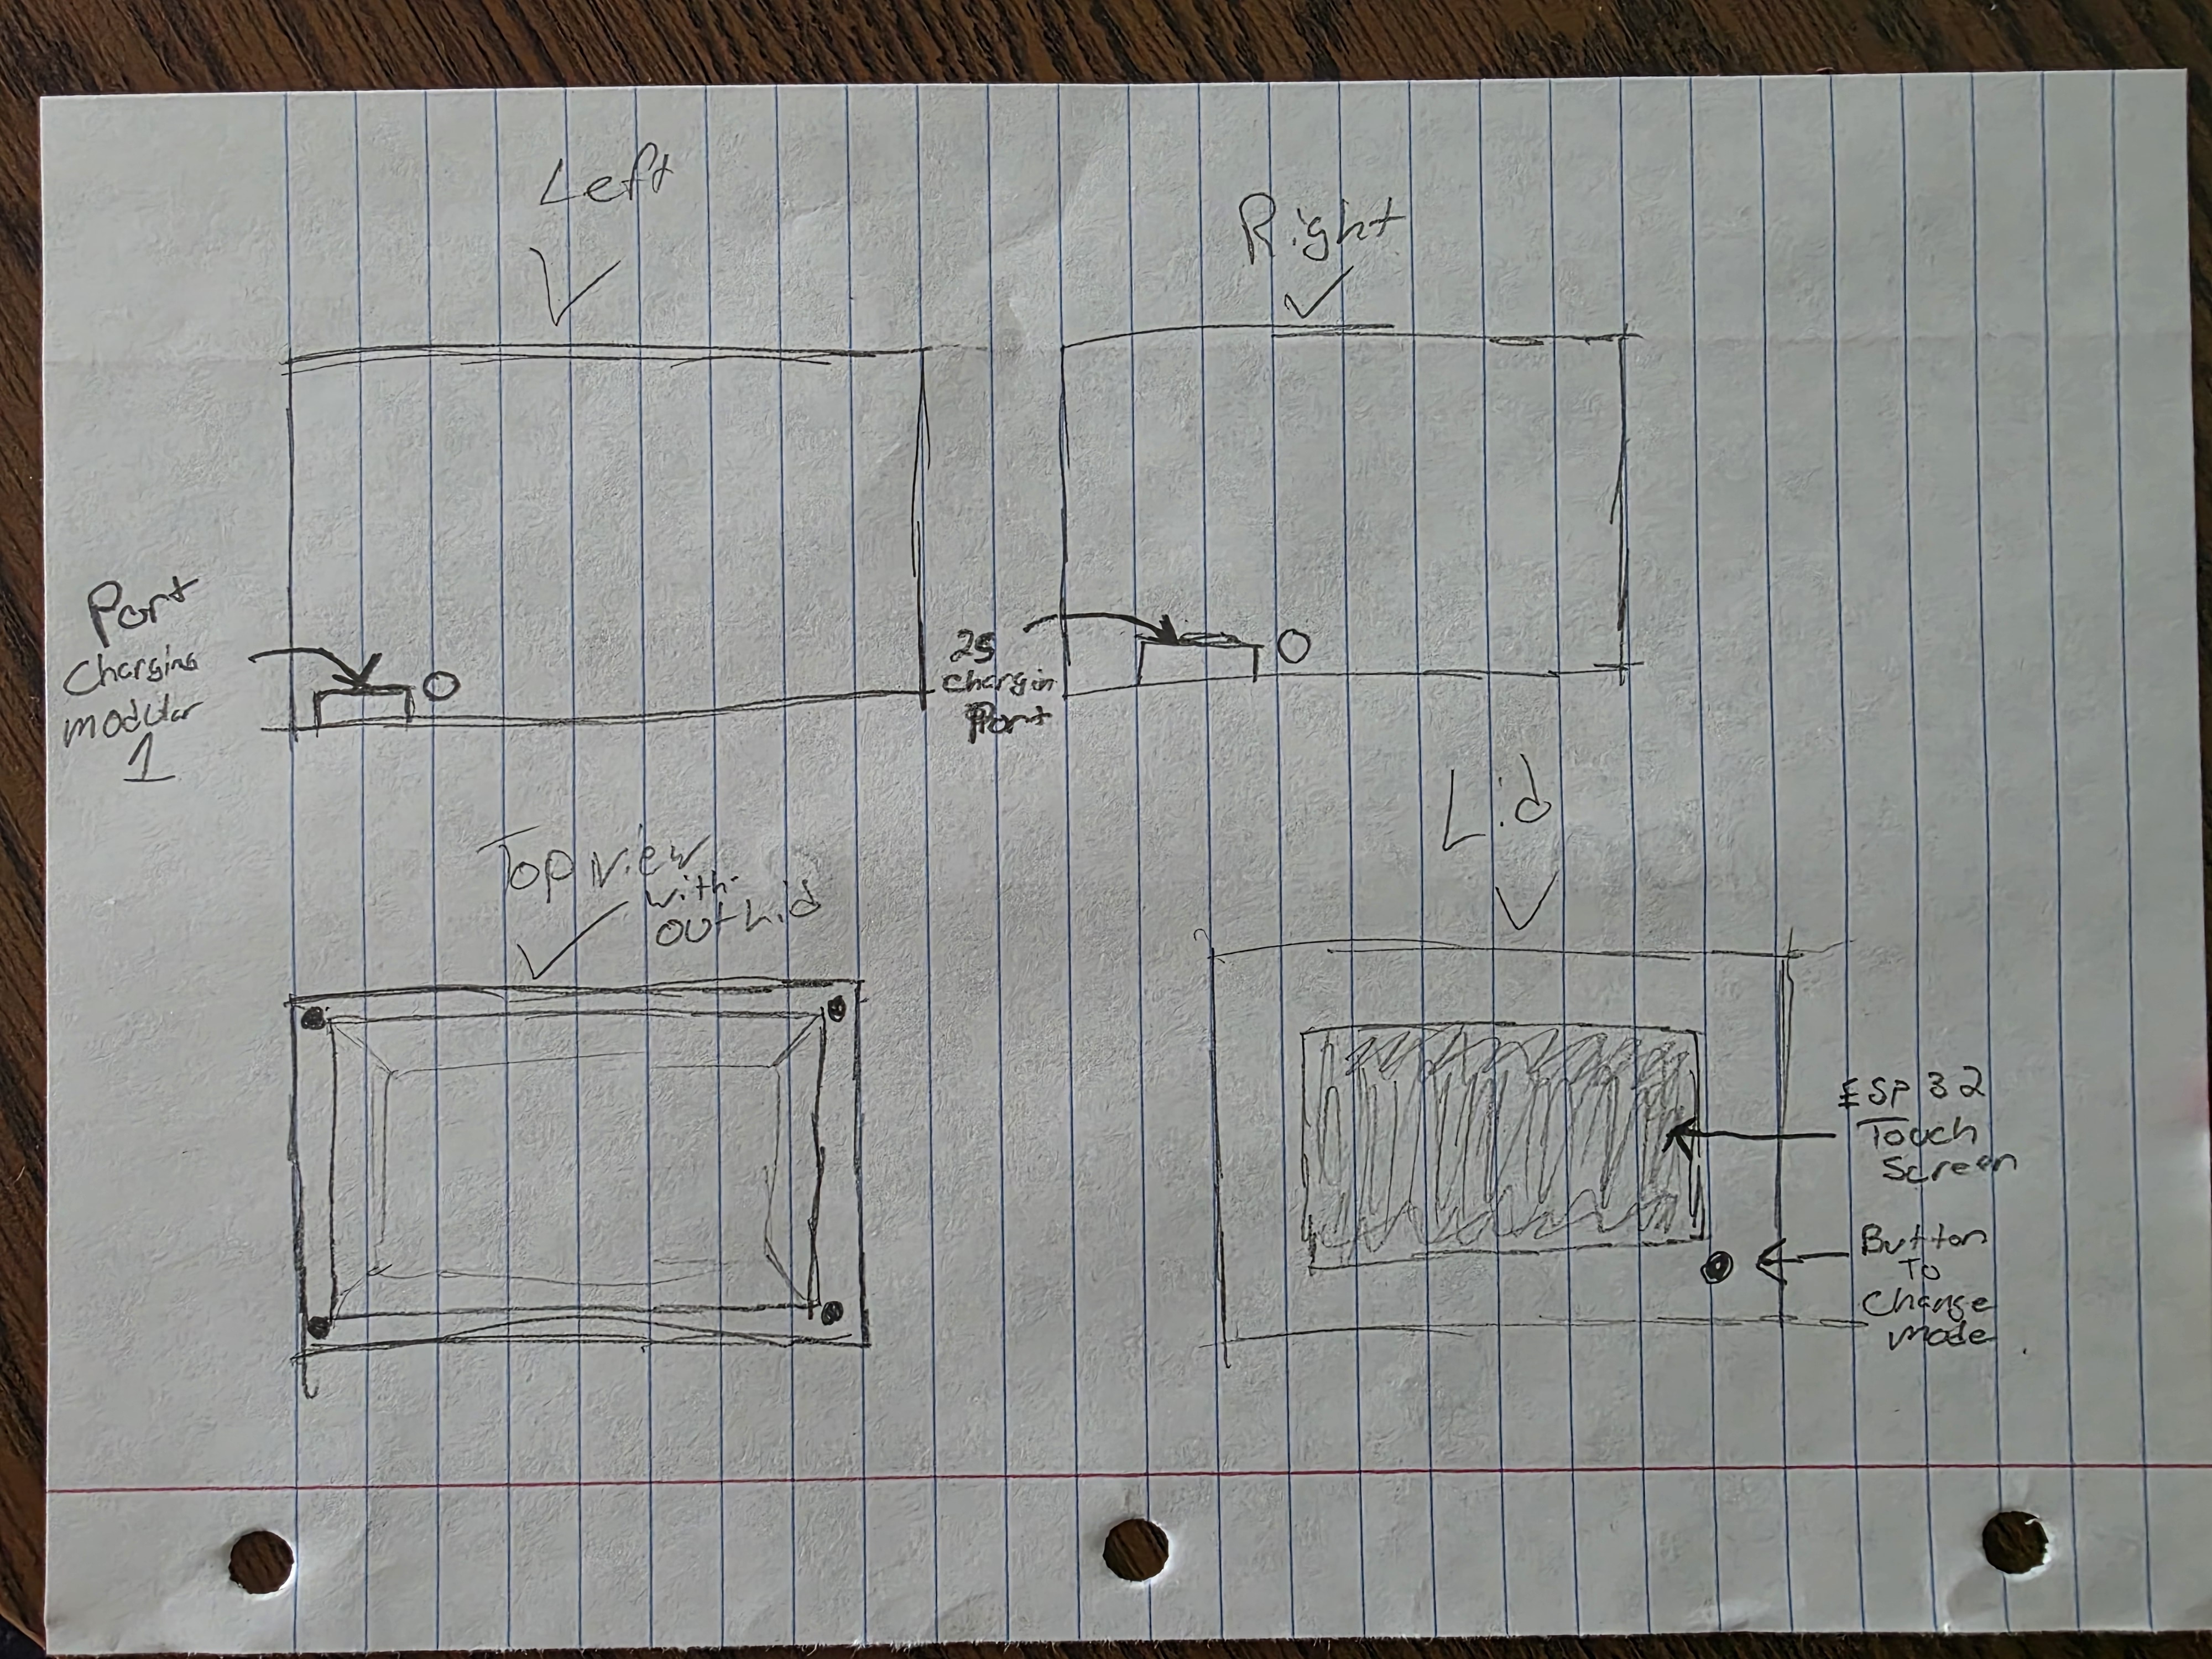
Parts I Started Looking At
Some of the parts I started testing and planning around were lithium battery charger modules, boost converters, buck converters, battery holders, wiring terminals, and an ESP32 display.
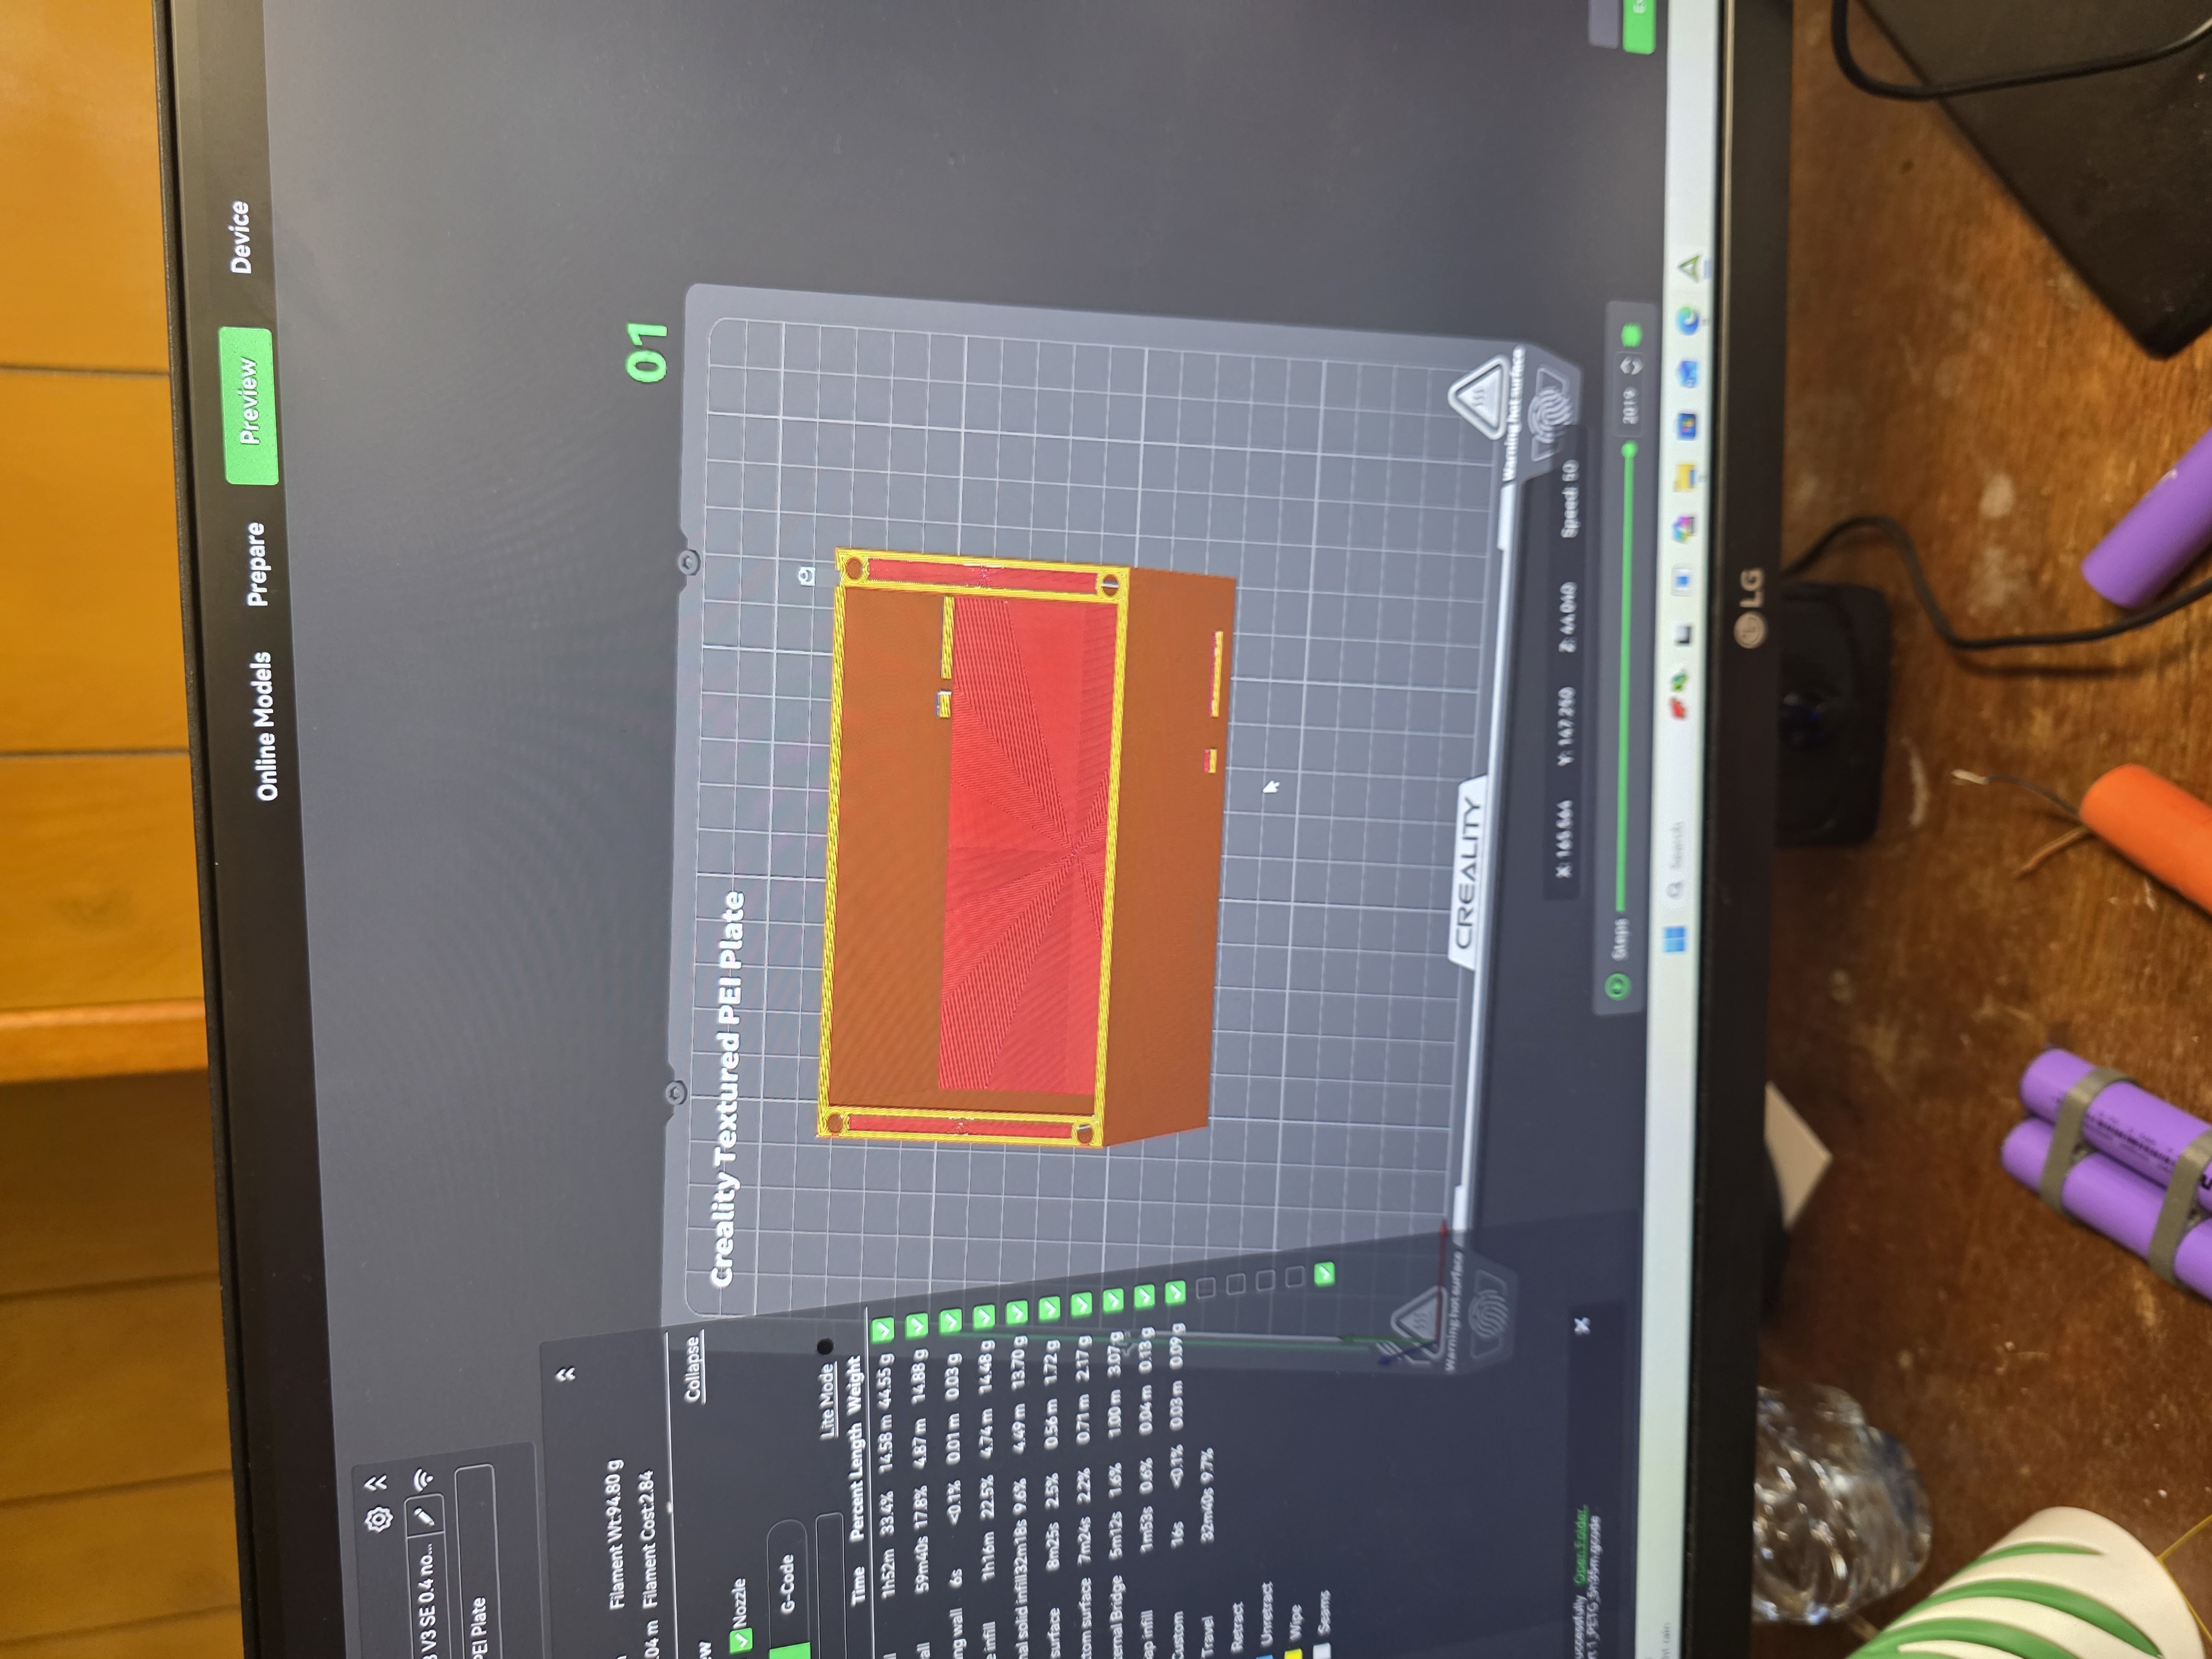
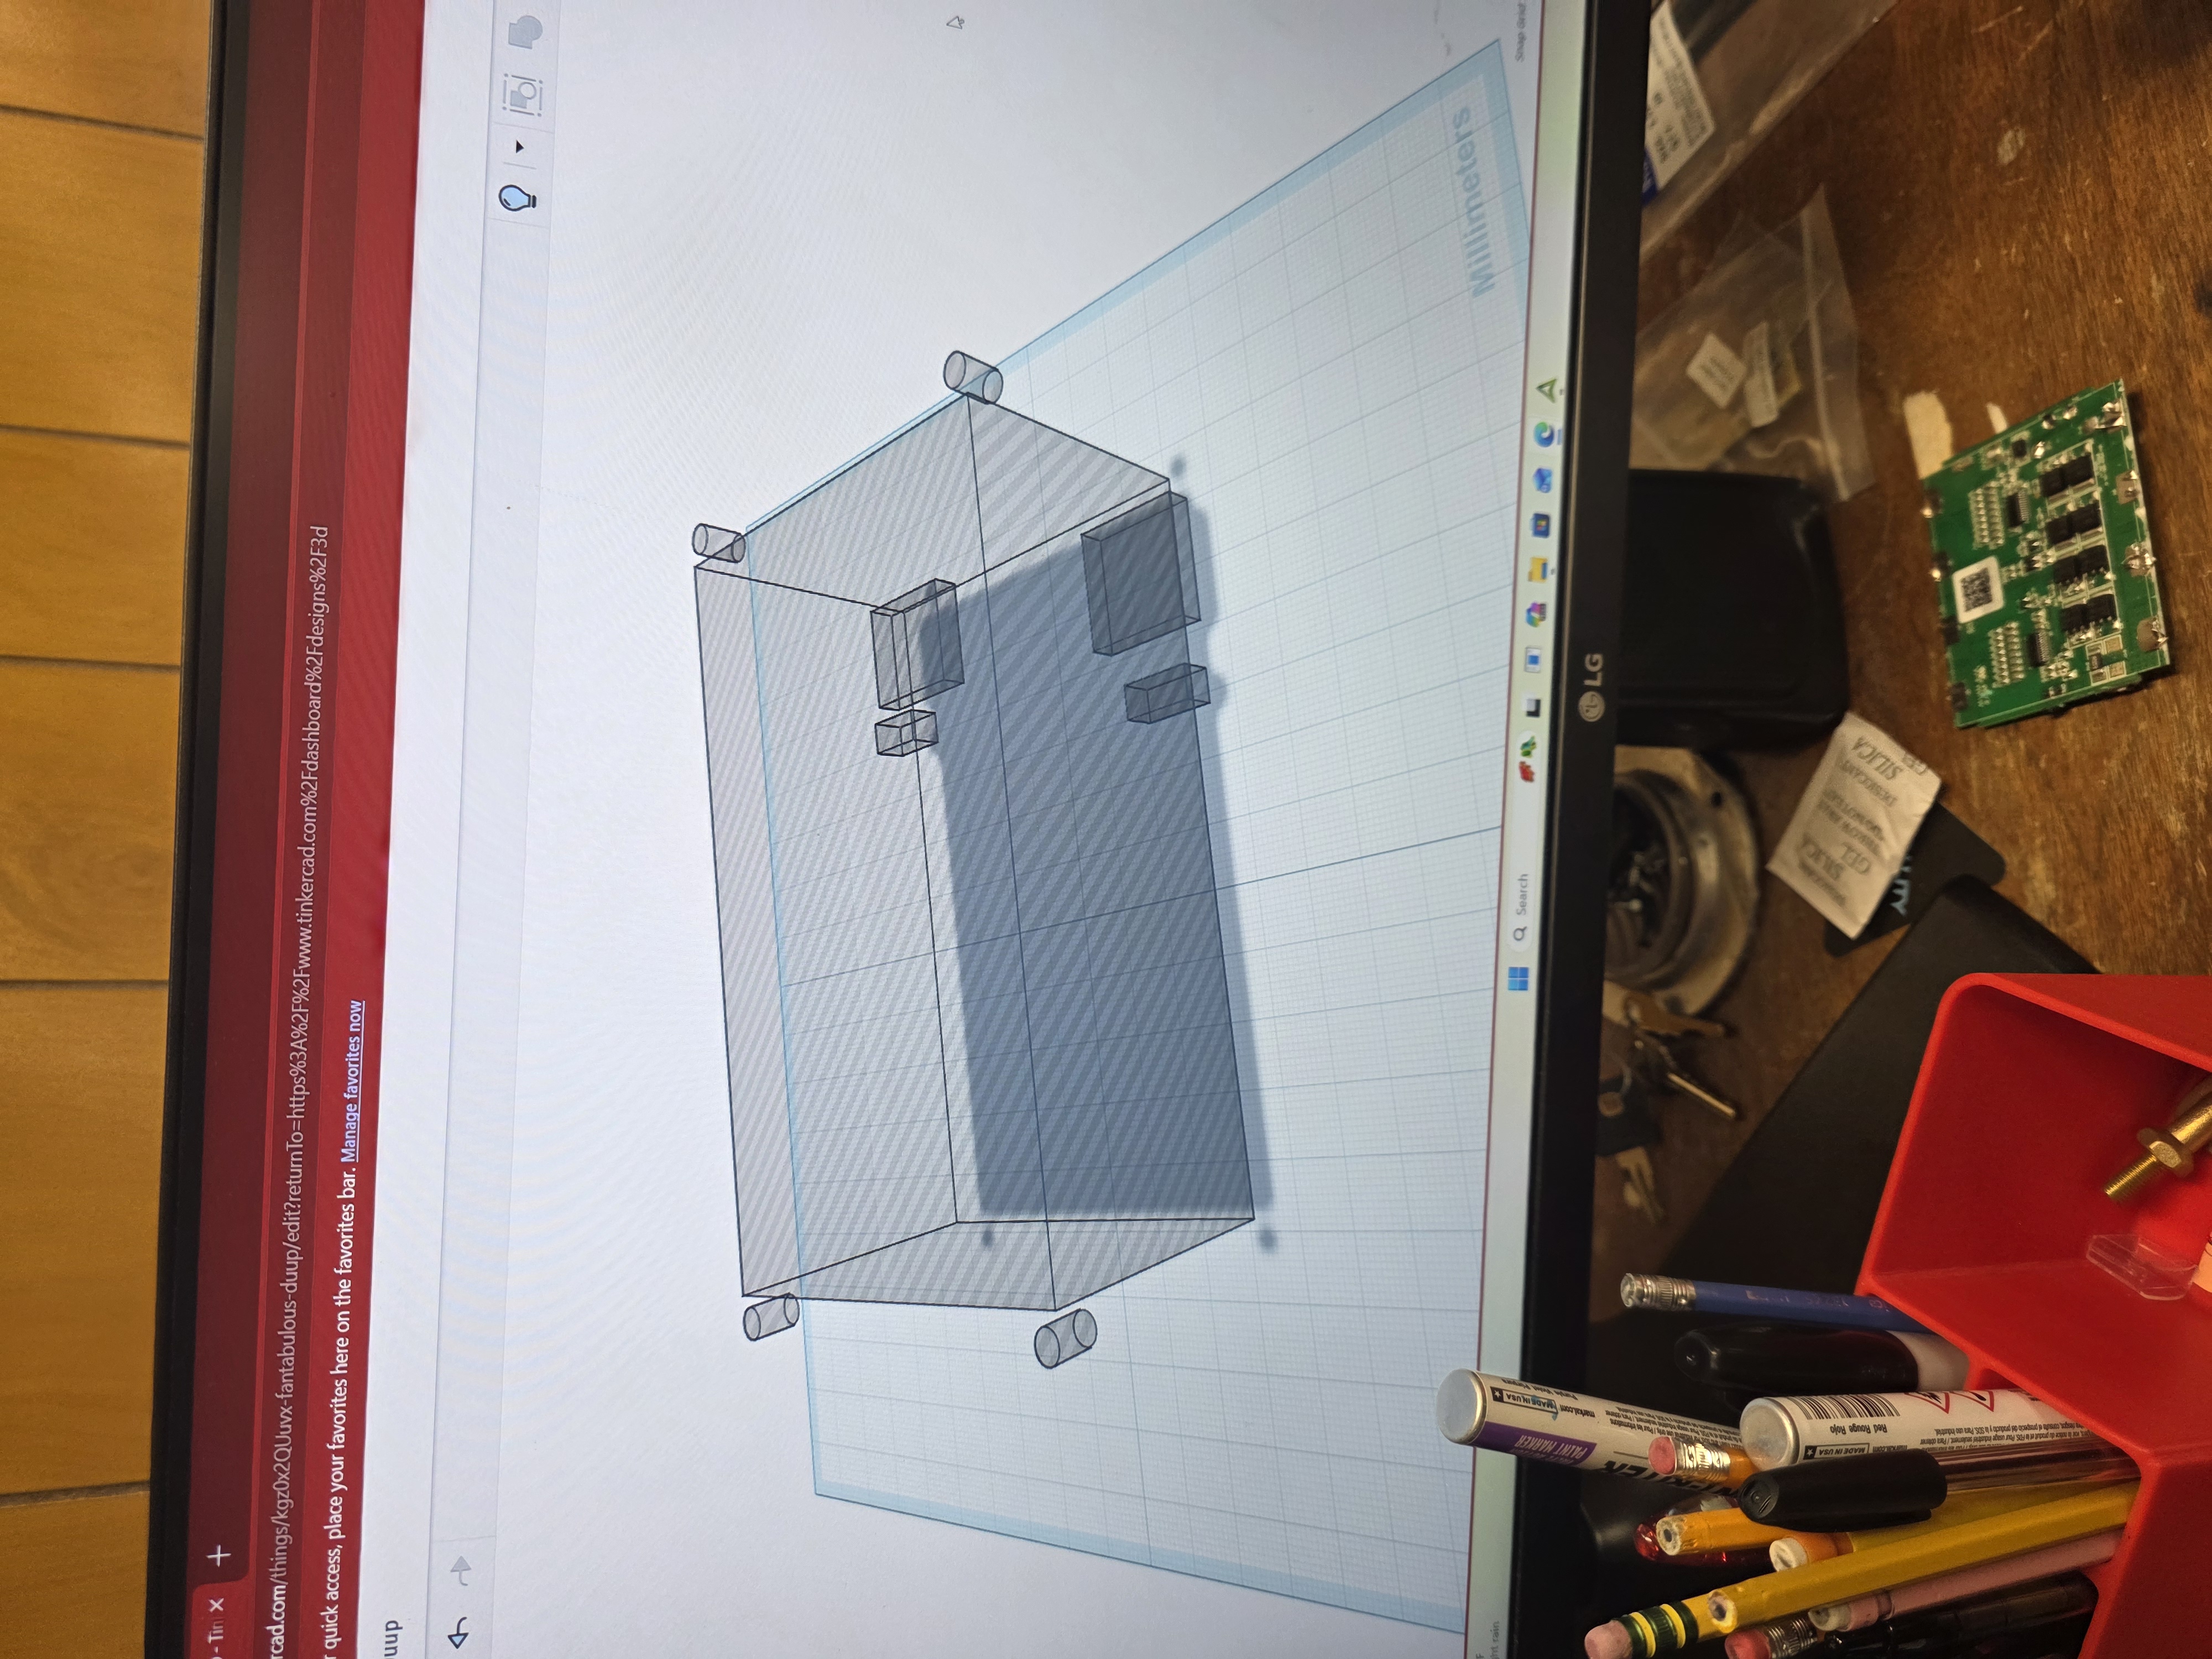
Enclosure Plan
I wanted the project to have a real enclosure instead of loose wires sitting on a desk. My plan was to design and 3D print a case with openings for the display and charging ports.
Why I Picked This Project
I picked this project because it combines electronics, coding, PCB design, CNC machining, 3D printing, and system integration all into one project.
Planned Final Project Features
- Read lithium battery voltage
- Show voltage on a screen
- Use an ESP32 display/controller
- Support lithium battery charging
- Use buck and boost converters
- Design and mill a PCB
- Solder and assemble electronics
- 3D print a custom enclosure
Learning GitLab and Documentation
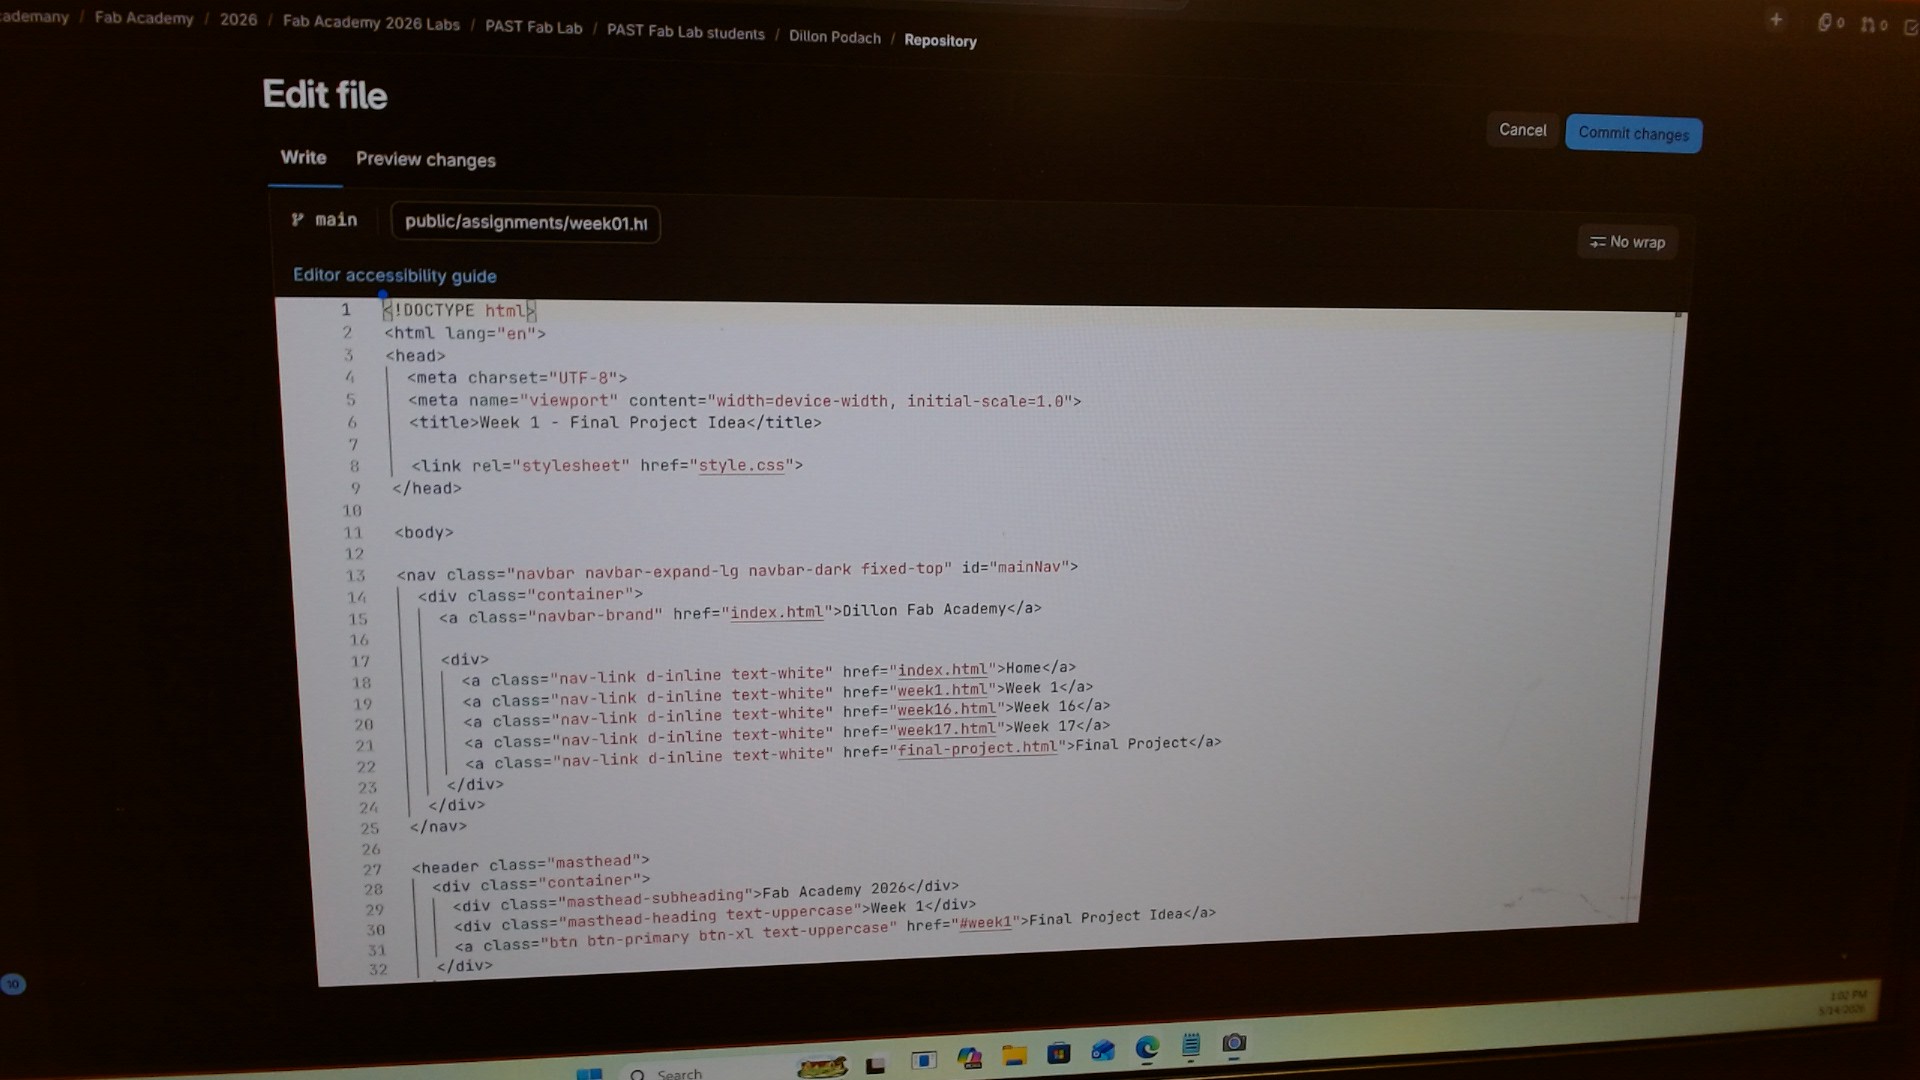
During Week 1, I also learned how my Fab Academy website works using HTML, CSS, image folders, and GitLab commits.

Uploading Pictures
I learned how to upload pictures into the images folder and link them inside HTML pages using relative paths.
<img src="../images/week1.10.jpg" width="500">
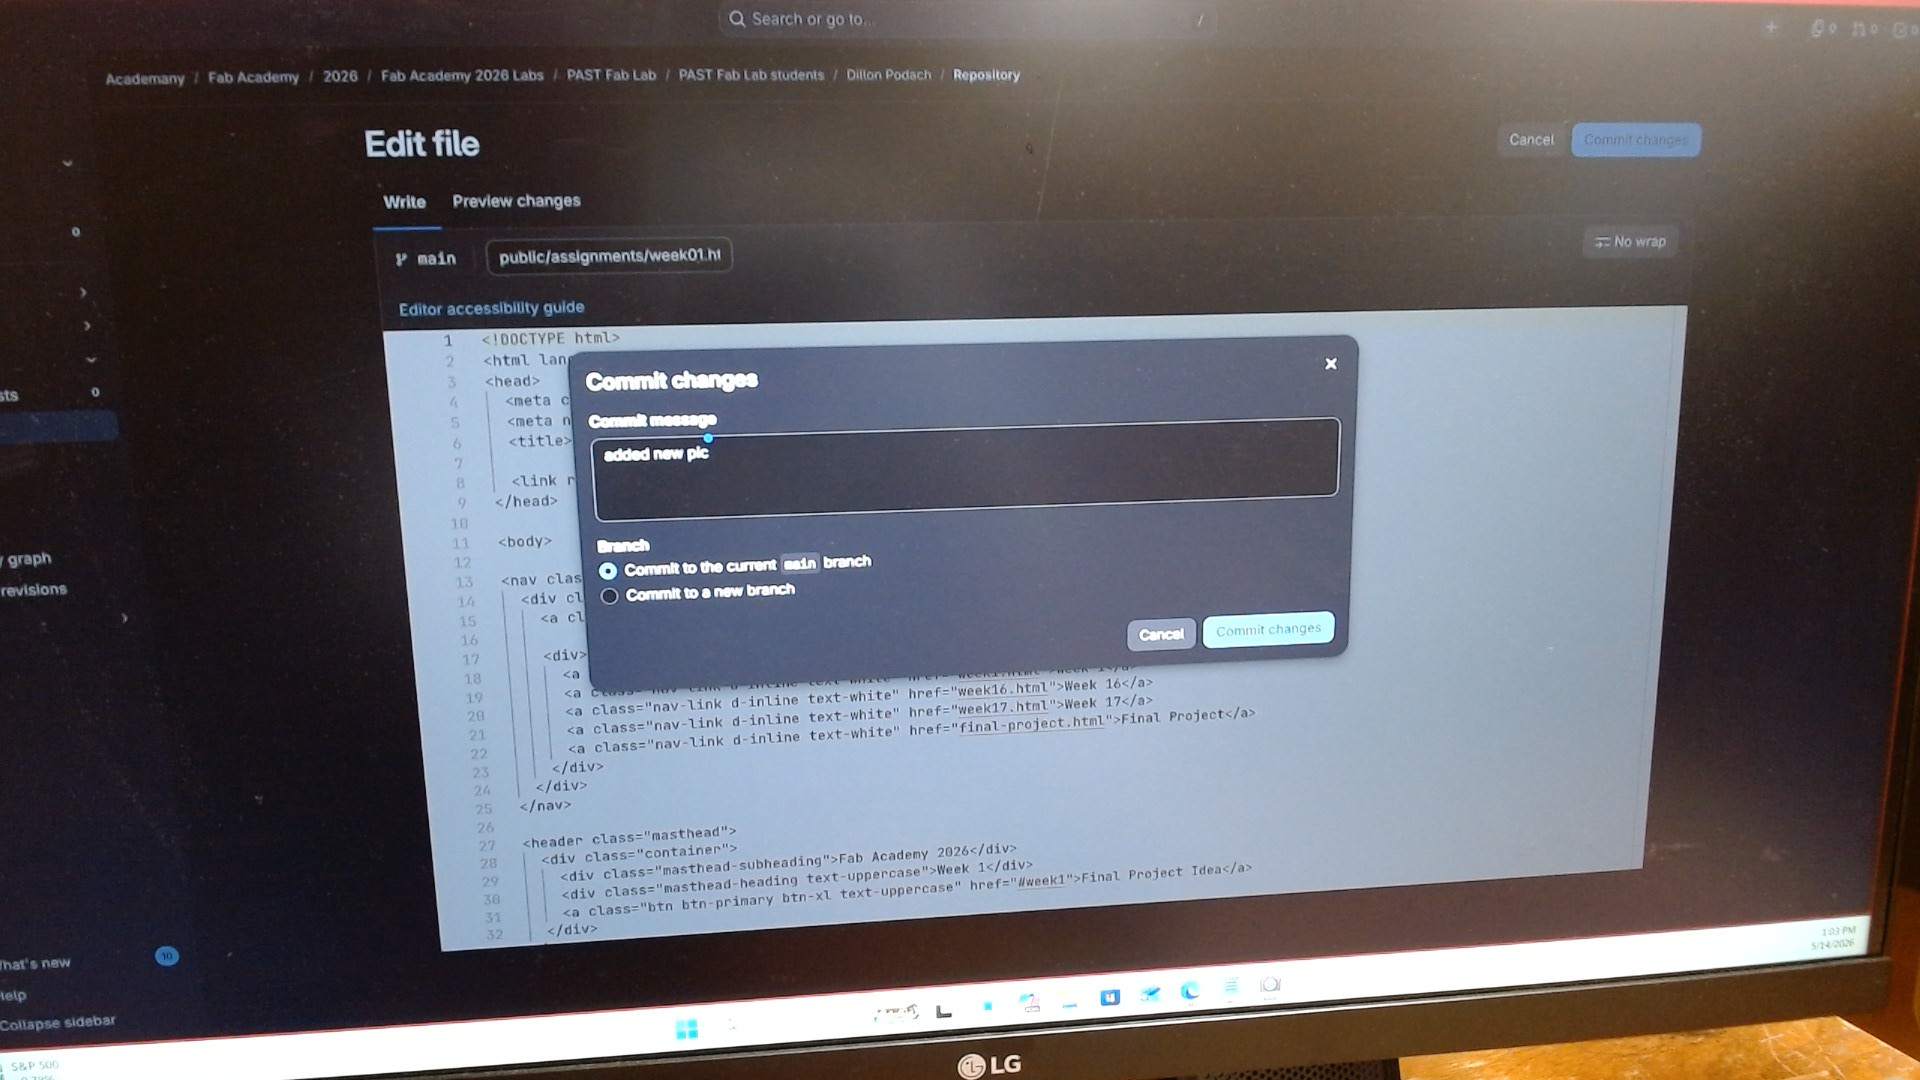
Committing Changes
I also learned how GitLab commits update the live Fab Academy website.
Fab Academy Student Agreement
Signed by committing this file in my repository,
DILLON JOSEPH PODACH