Week 5 - 3D Scanning and Printing
Testing 3D scanning, slicer problems, and 3D printer settings.
Assignments
Group Assignment
- Test the design rules for our 3D printer(s).
Individual Assignment
- 3D scan an object.
- Design and 3D print an object that could not be made subtractively.
Group Assignment - Testing 3D Printer Design Rules
For the group assignment, we tested the design rules for the 3D printers we have available in the lab. The point was to figure out what the printers can actually handle instead of just guessing and hoping the print comes out right.
We worked with different printers during the year, including machines like the Ender 3 Pro, Ender 3 V3 SE, Prusa Mini, Prusa MK4, Ultimaker S3, and the big RE3D Gigabot. They are all FDM printers, but they do not all print the exact same. Some are better for small detailed parts, some are better for large parts, and some need more tuning than others.
We tested things like overhangs, bridges, thin walls, small holes, clearance, supports, and dimensional accuracy. These tests helped us see what worked, what failed, and where the limits of the printers were.
Overhang testing showed that prints can handle some angled geometry without supports, but once the angle gets too steep, the print starts to droop or fail. Bridge testing showed that short bridges can print okay, but longer bridges start sagging because the filament is printing over open air.
We also looked at thin walls and small holes. Thin walls can fail if they are too small for the nozzle width, and holes often print smaller than they look in the CAD model. That means when designing parts, I have to think about the real printer and not just what looks good on the screen.
Clearance testing was important too. If two printed parts are supposed to move or fit together, they need enough space between them. If the clearance is too tight, the parts fuse together or will not move. If it is too loose, the part feels sloppy.
The biggest thing I learned from the group assignment is that 3D printing has rules. You can print a lot of crazy shapes, but the printer still has limits. Good 3D printing starts with designing the part for the machine you are actually using.
Individual Assignment - 3D Scanning and Printing
For Week 5, I worked on 3D scanning and 3D printing. This week showed me that scanning is not just pointing a scanner at something and getting a perfect model. The object, lighting, movement, surface detail, and scan cleanup all matter a lot.
I also tested the 3D printing side of the process. The big thing I learned was that a 3D printer needs a clean, closed model. If the scan has holes or missing geometry, the slicer will have a hard time turning it into a printable part.
First 3D Scanning Attempts
I first tried using a free phone scanning app, but the result was not usable. The scan came out messy and did not capture the object well enough to turn into a clean model.
After that, I used a Creality Ferret Pro scanner. The scanner can be handheld or mounted on a tripod, and it can connect to a computer or phone. I first tried scanning a small green army man while connected to the computer, but the scanner could not lock onto the object. It kept losing tracking and spinning out of control.
After about 10 failed attempts, I changed my setup. I connected the scanner to my phone and used a spinning stool as a simple turntable. I also switched from the small army man to an RC controller because it was larger and easier for the scanner to track.
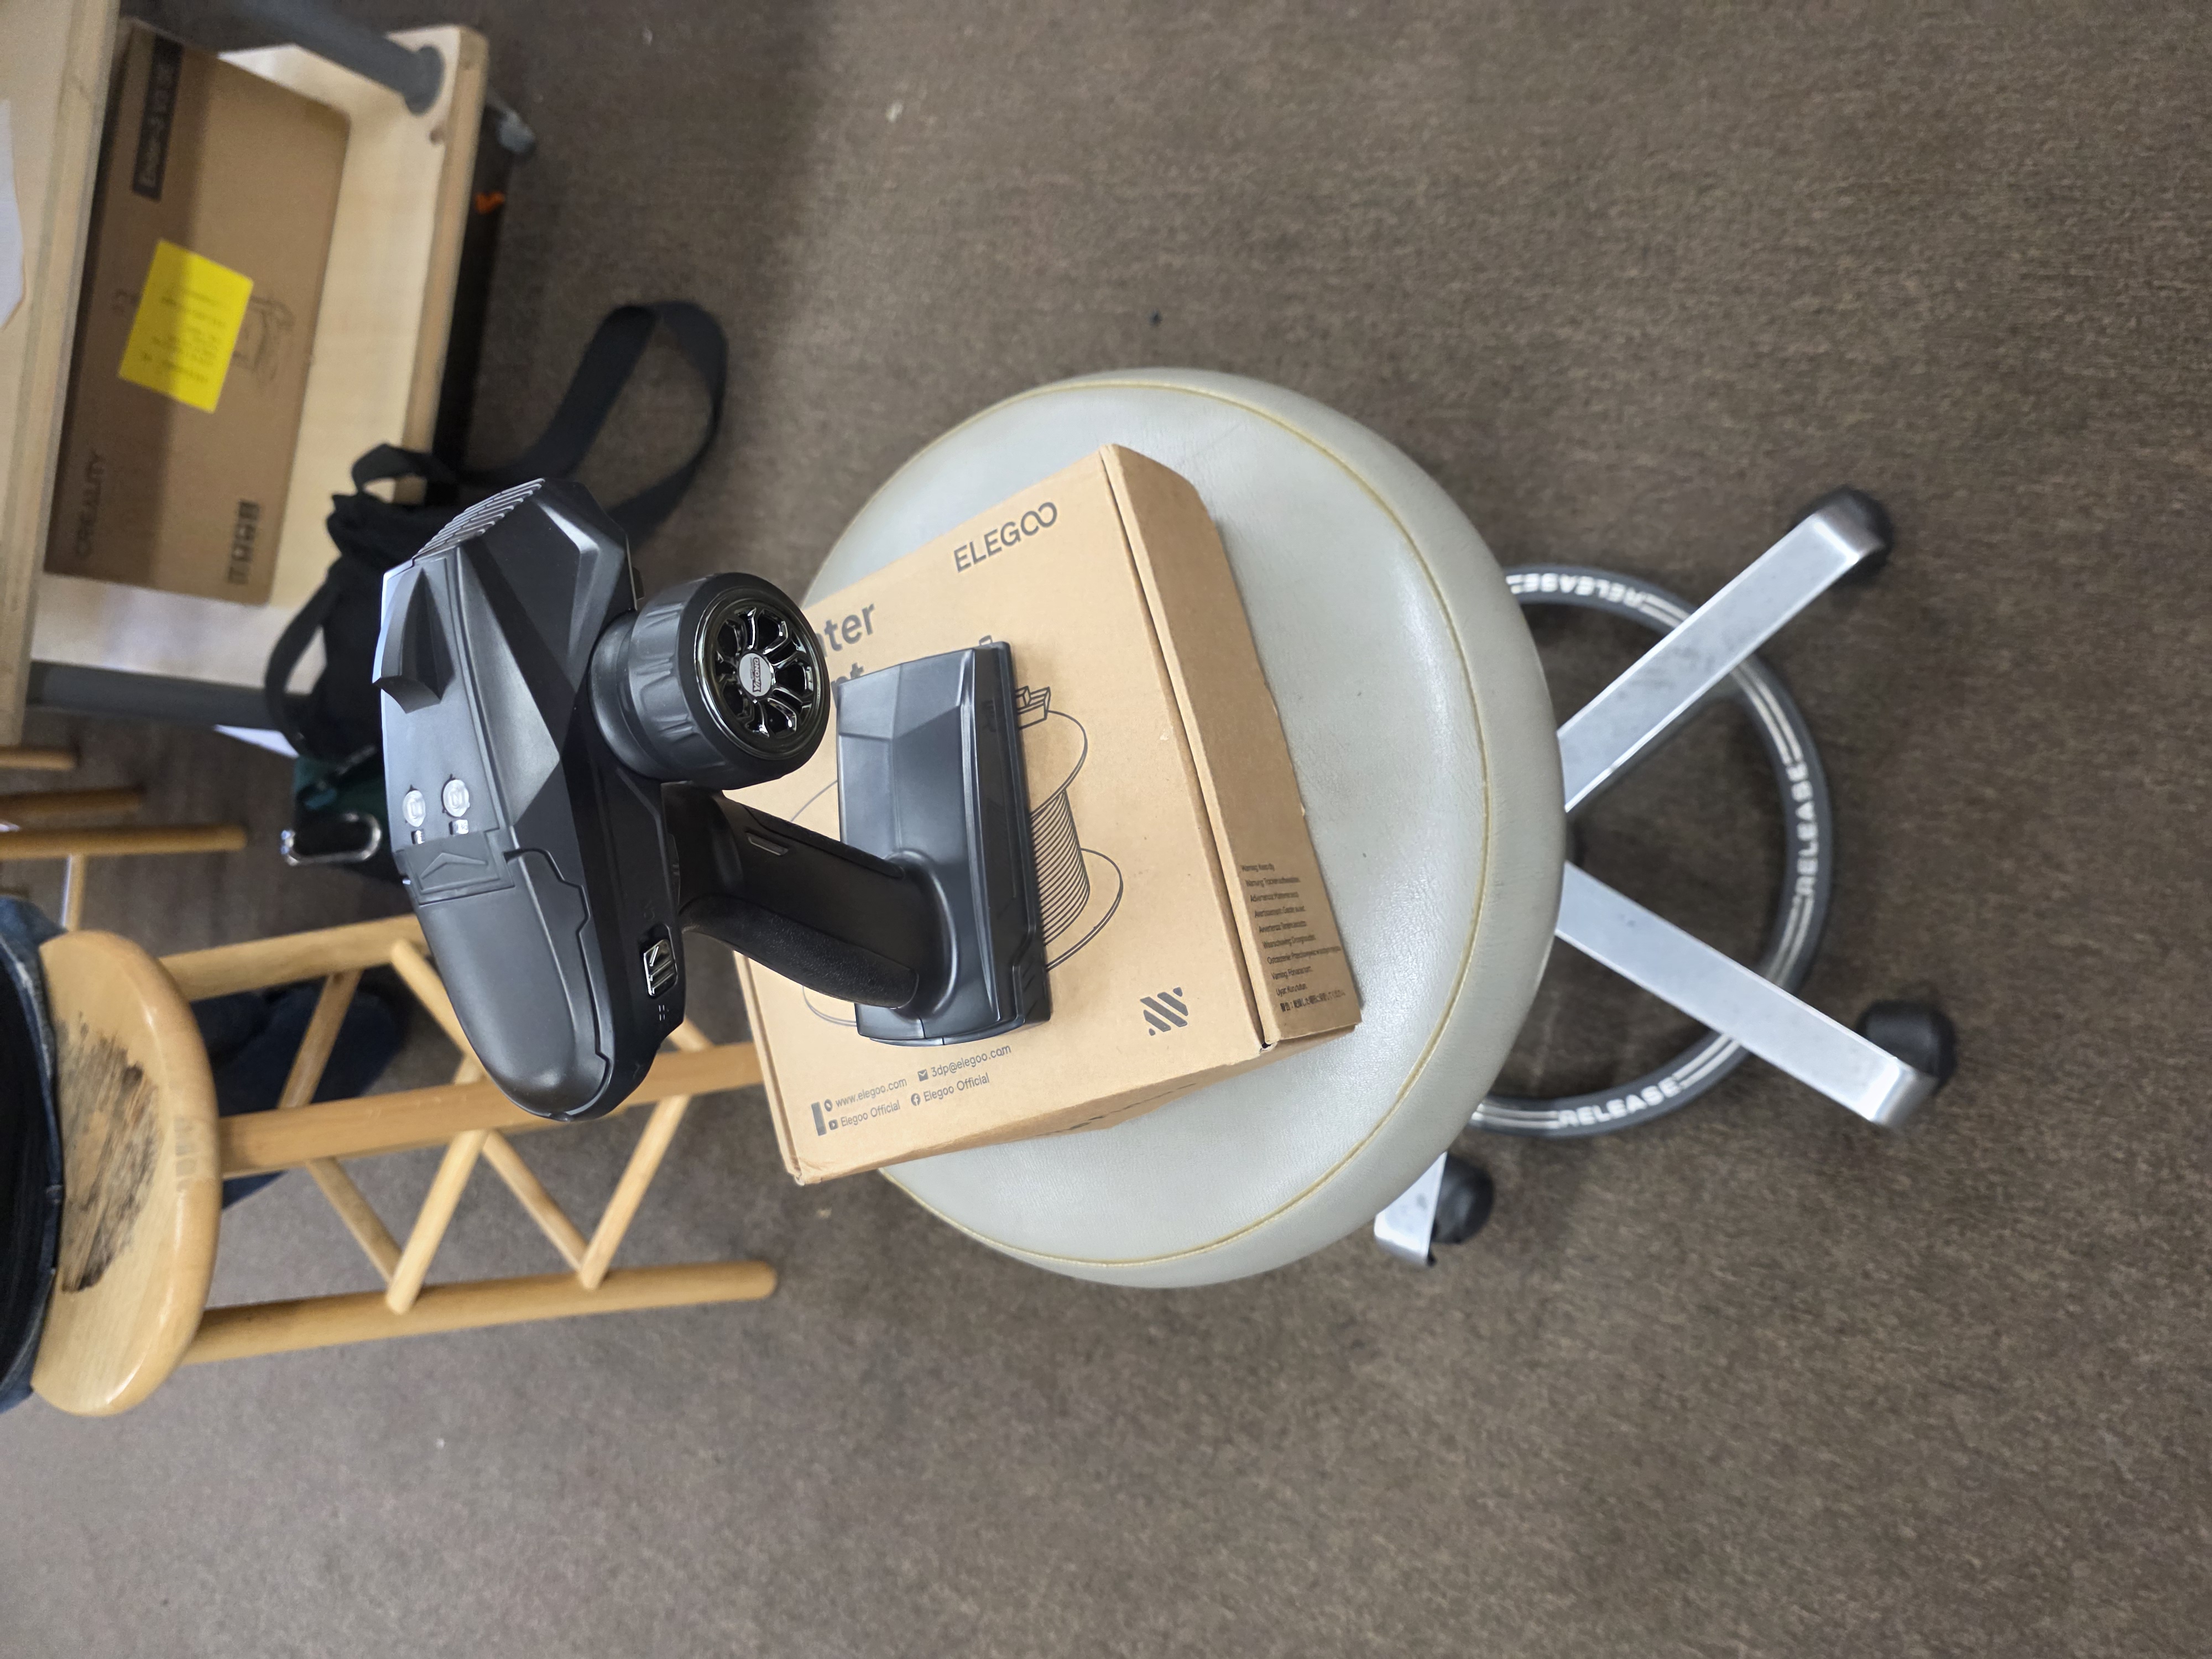
Scan Results
The RC controller worked better than the first attempts. The scanner was able to track the larger object more easily, and I got a better result than I did with the small army man.
The scan still was not perfect though. The top and sides were captured better, but the underside of the controller had missing geometry. Because of that, the model had holes and open areas in the mesh.
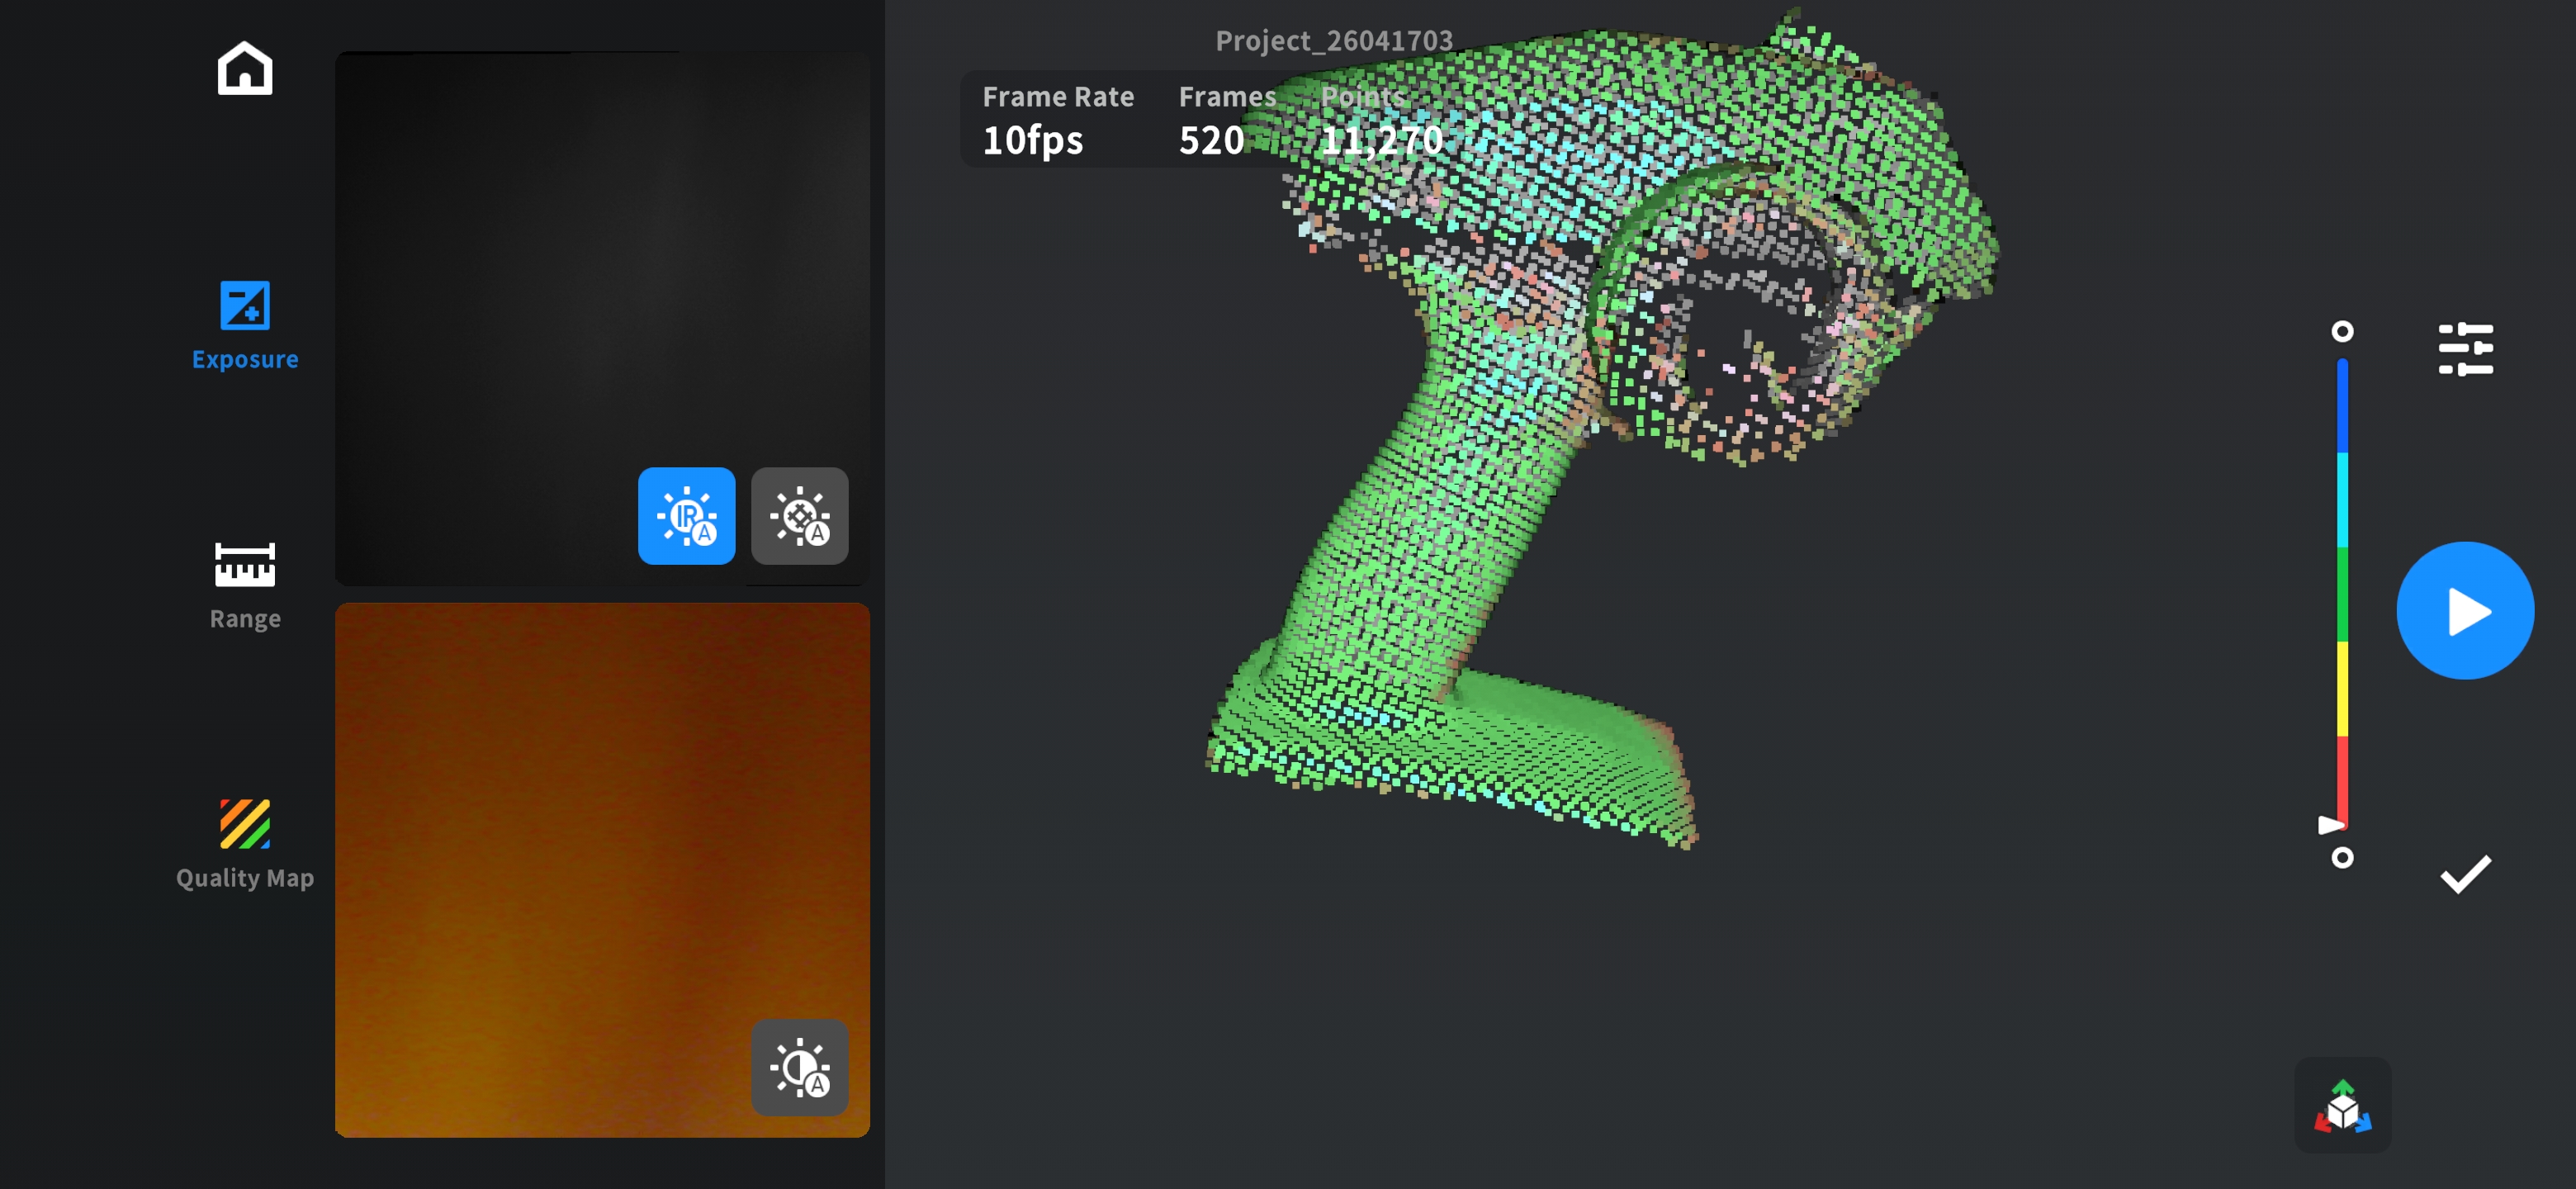
This was the final result of the first scan.
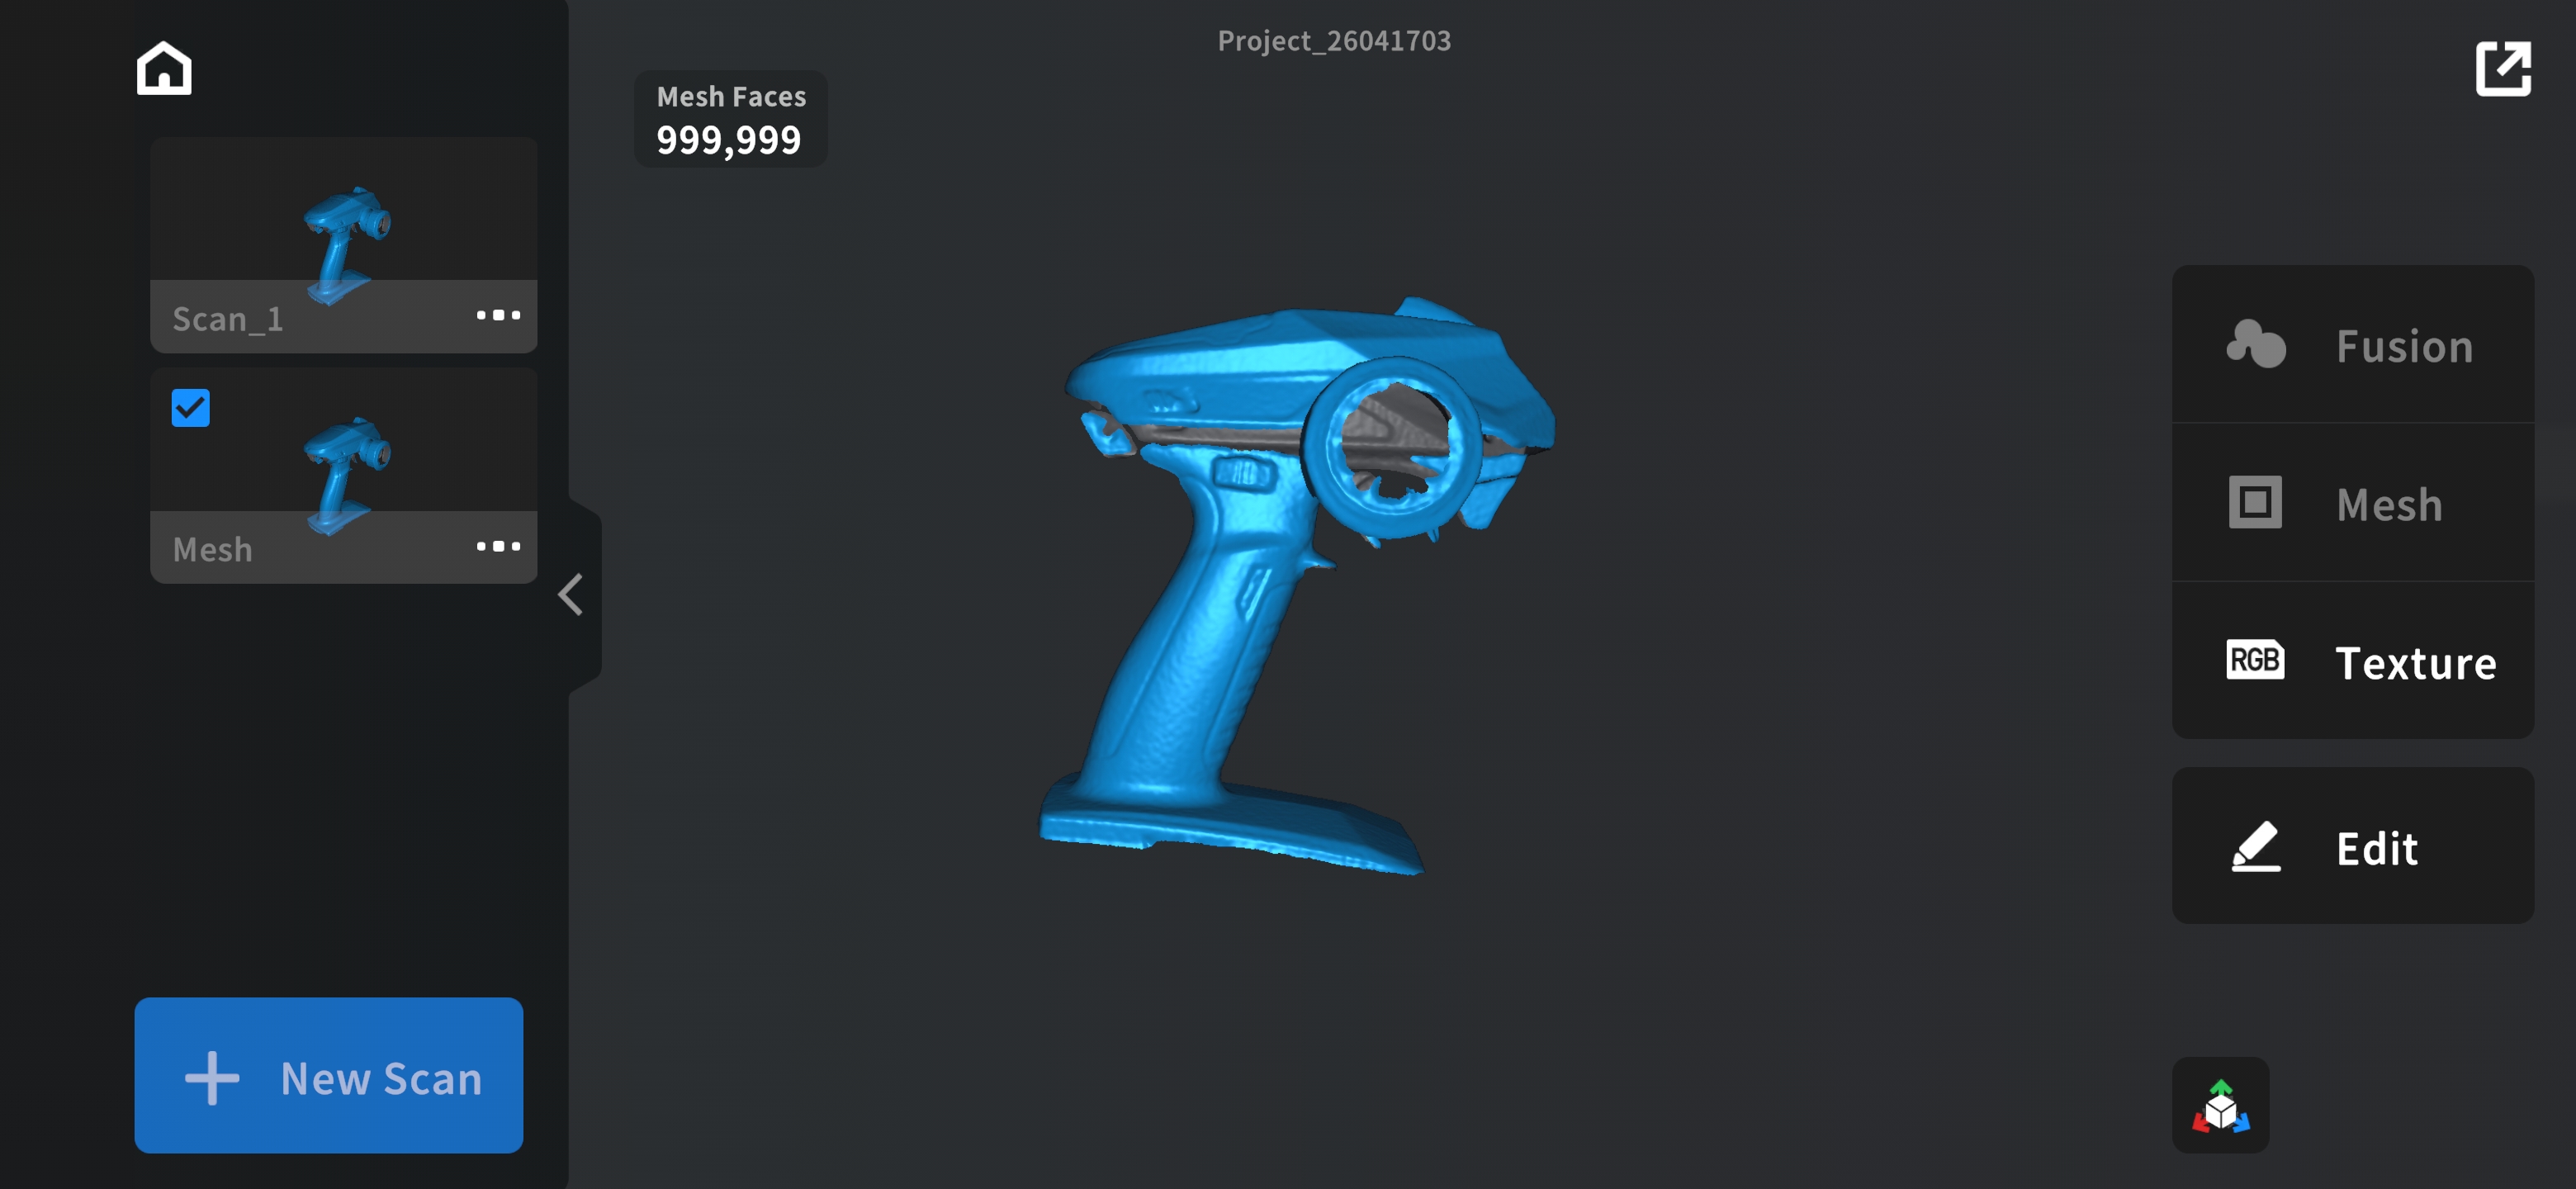
This was after I added the render and smoothed out the sides in the scanning app.
Why the 3D Scan Could Not Print Correctly
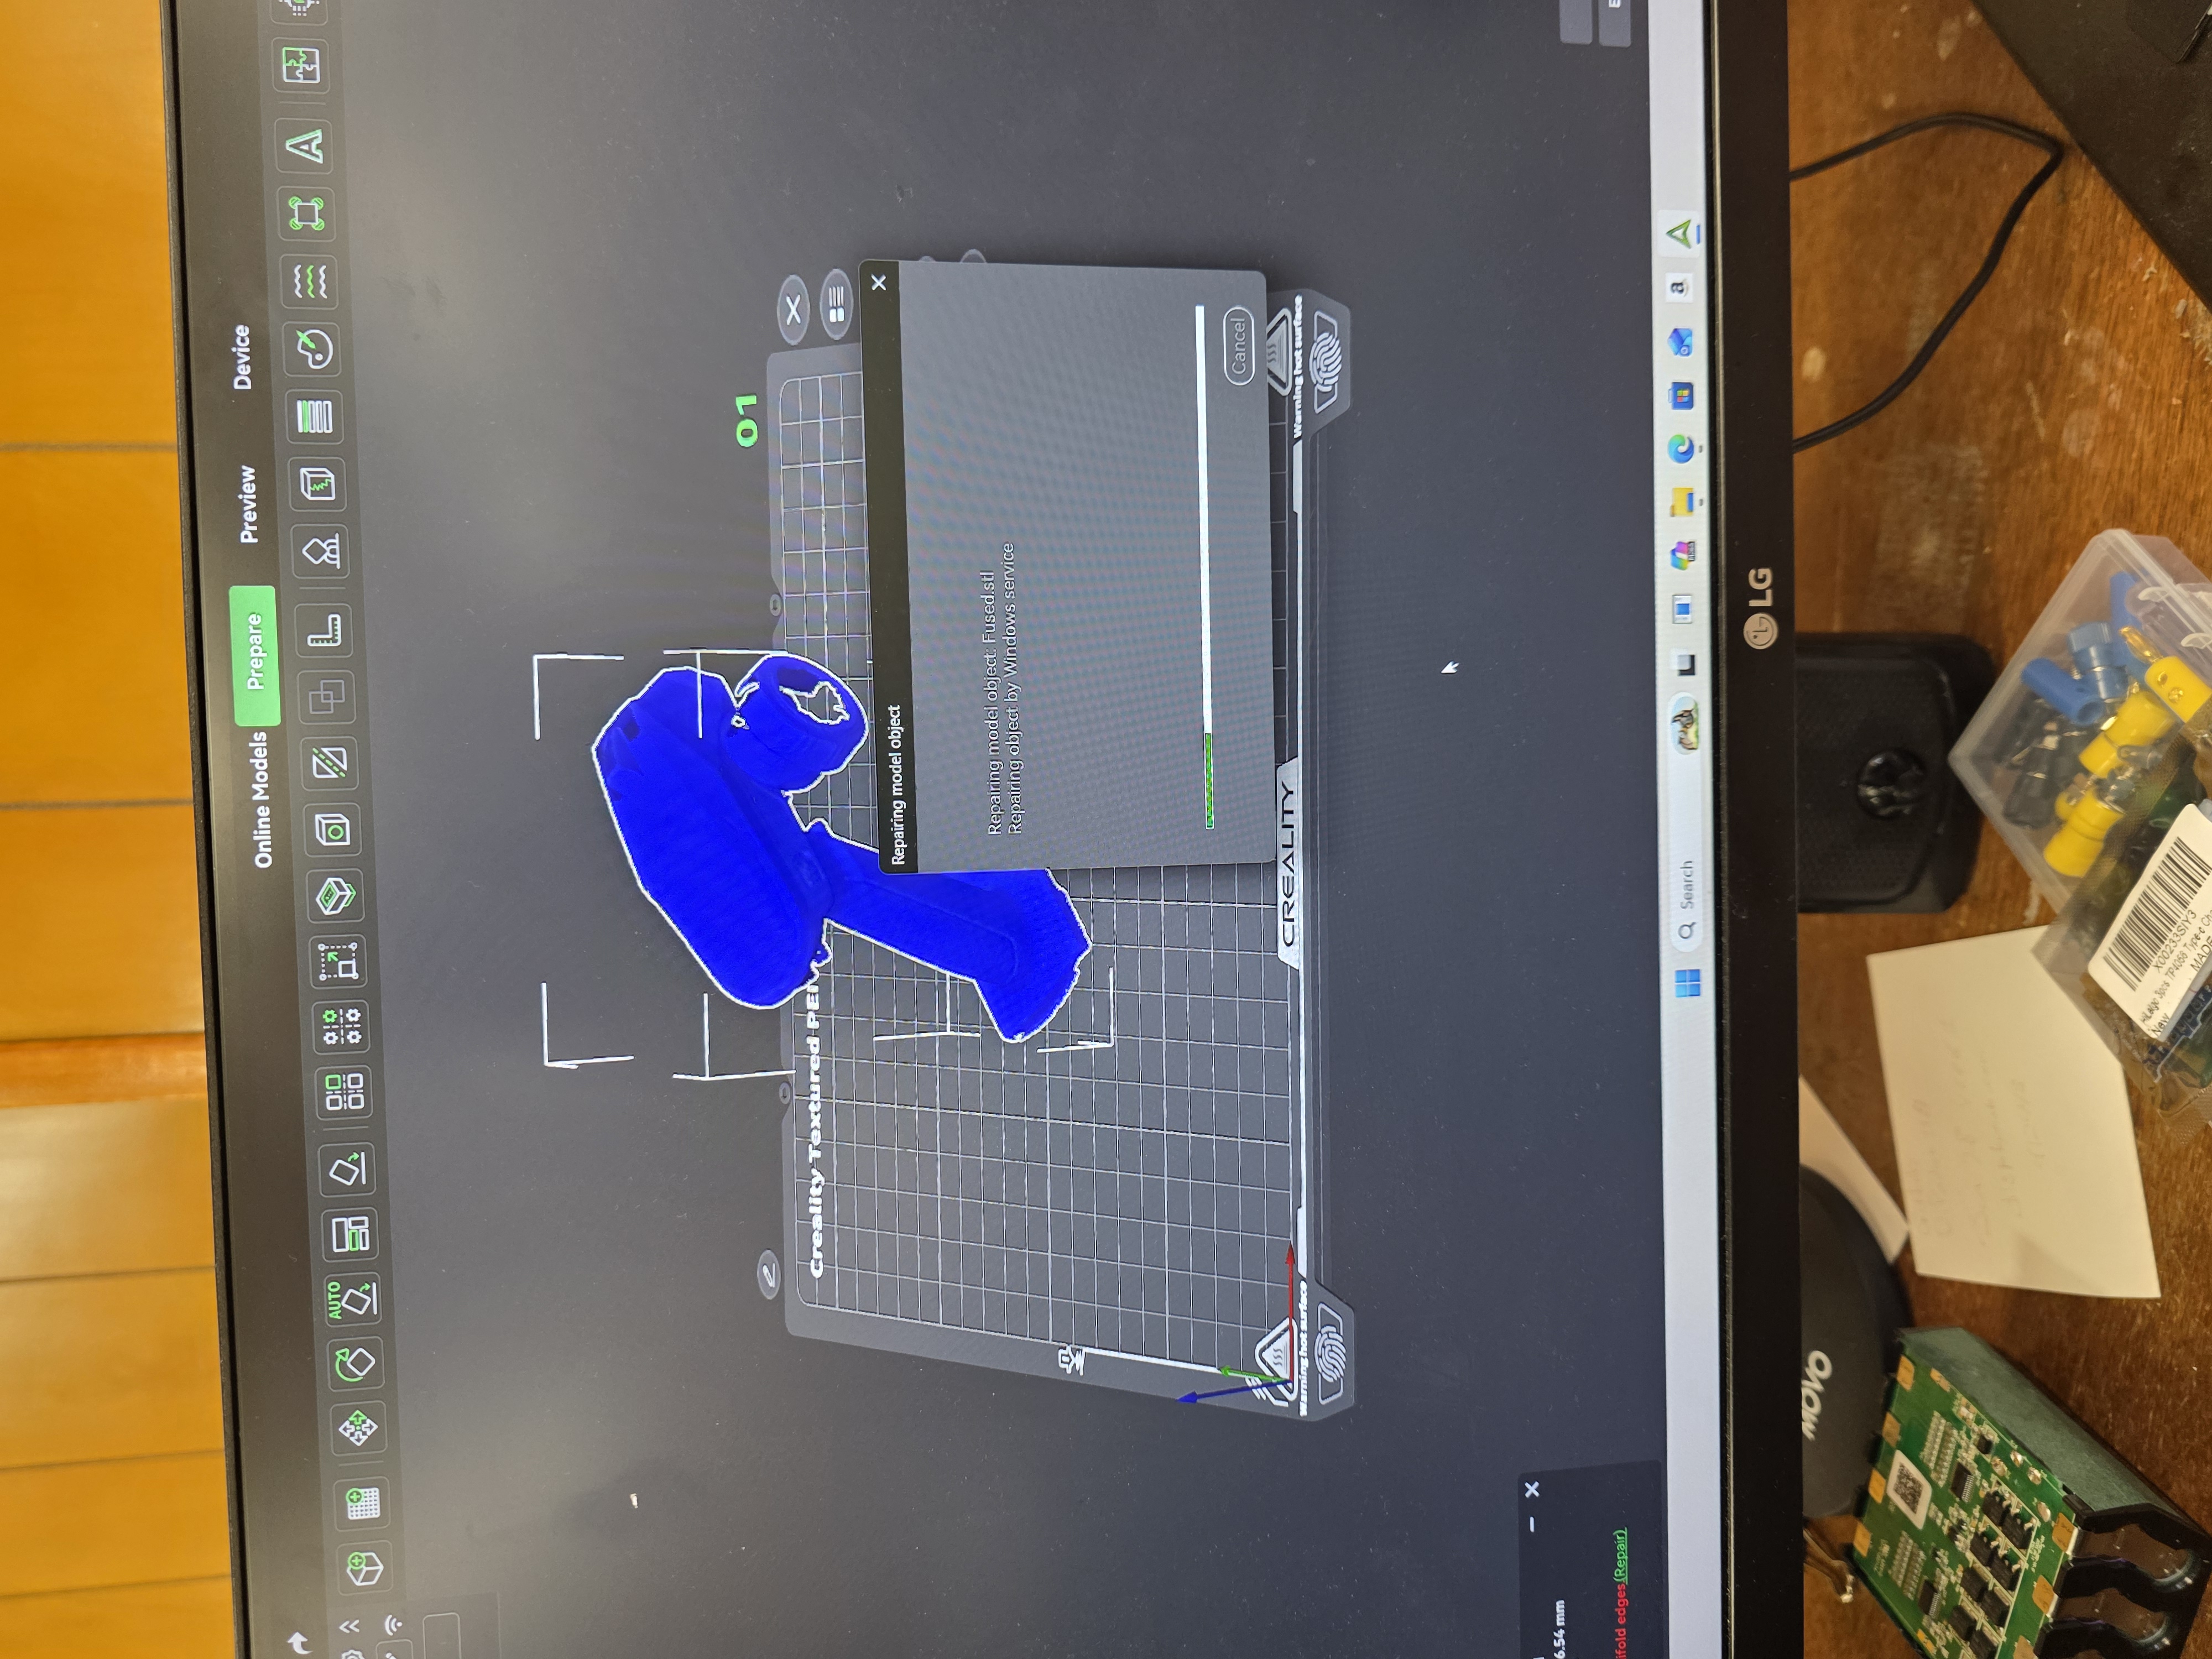
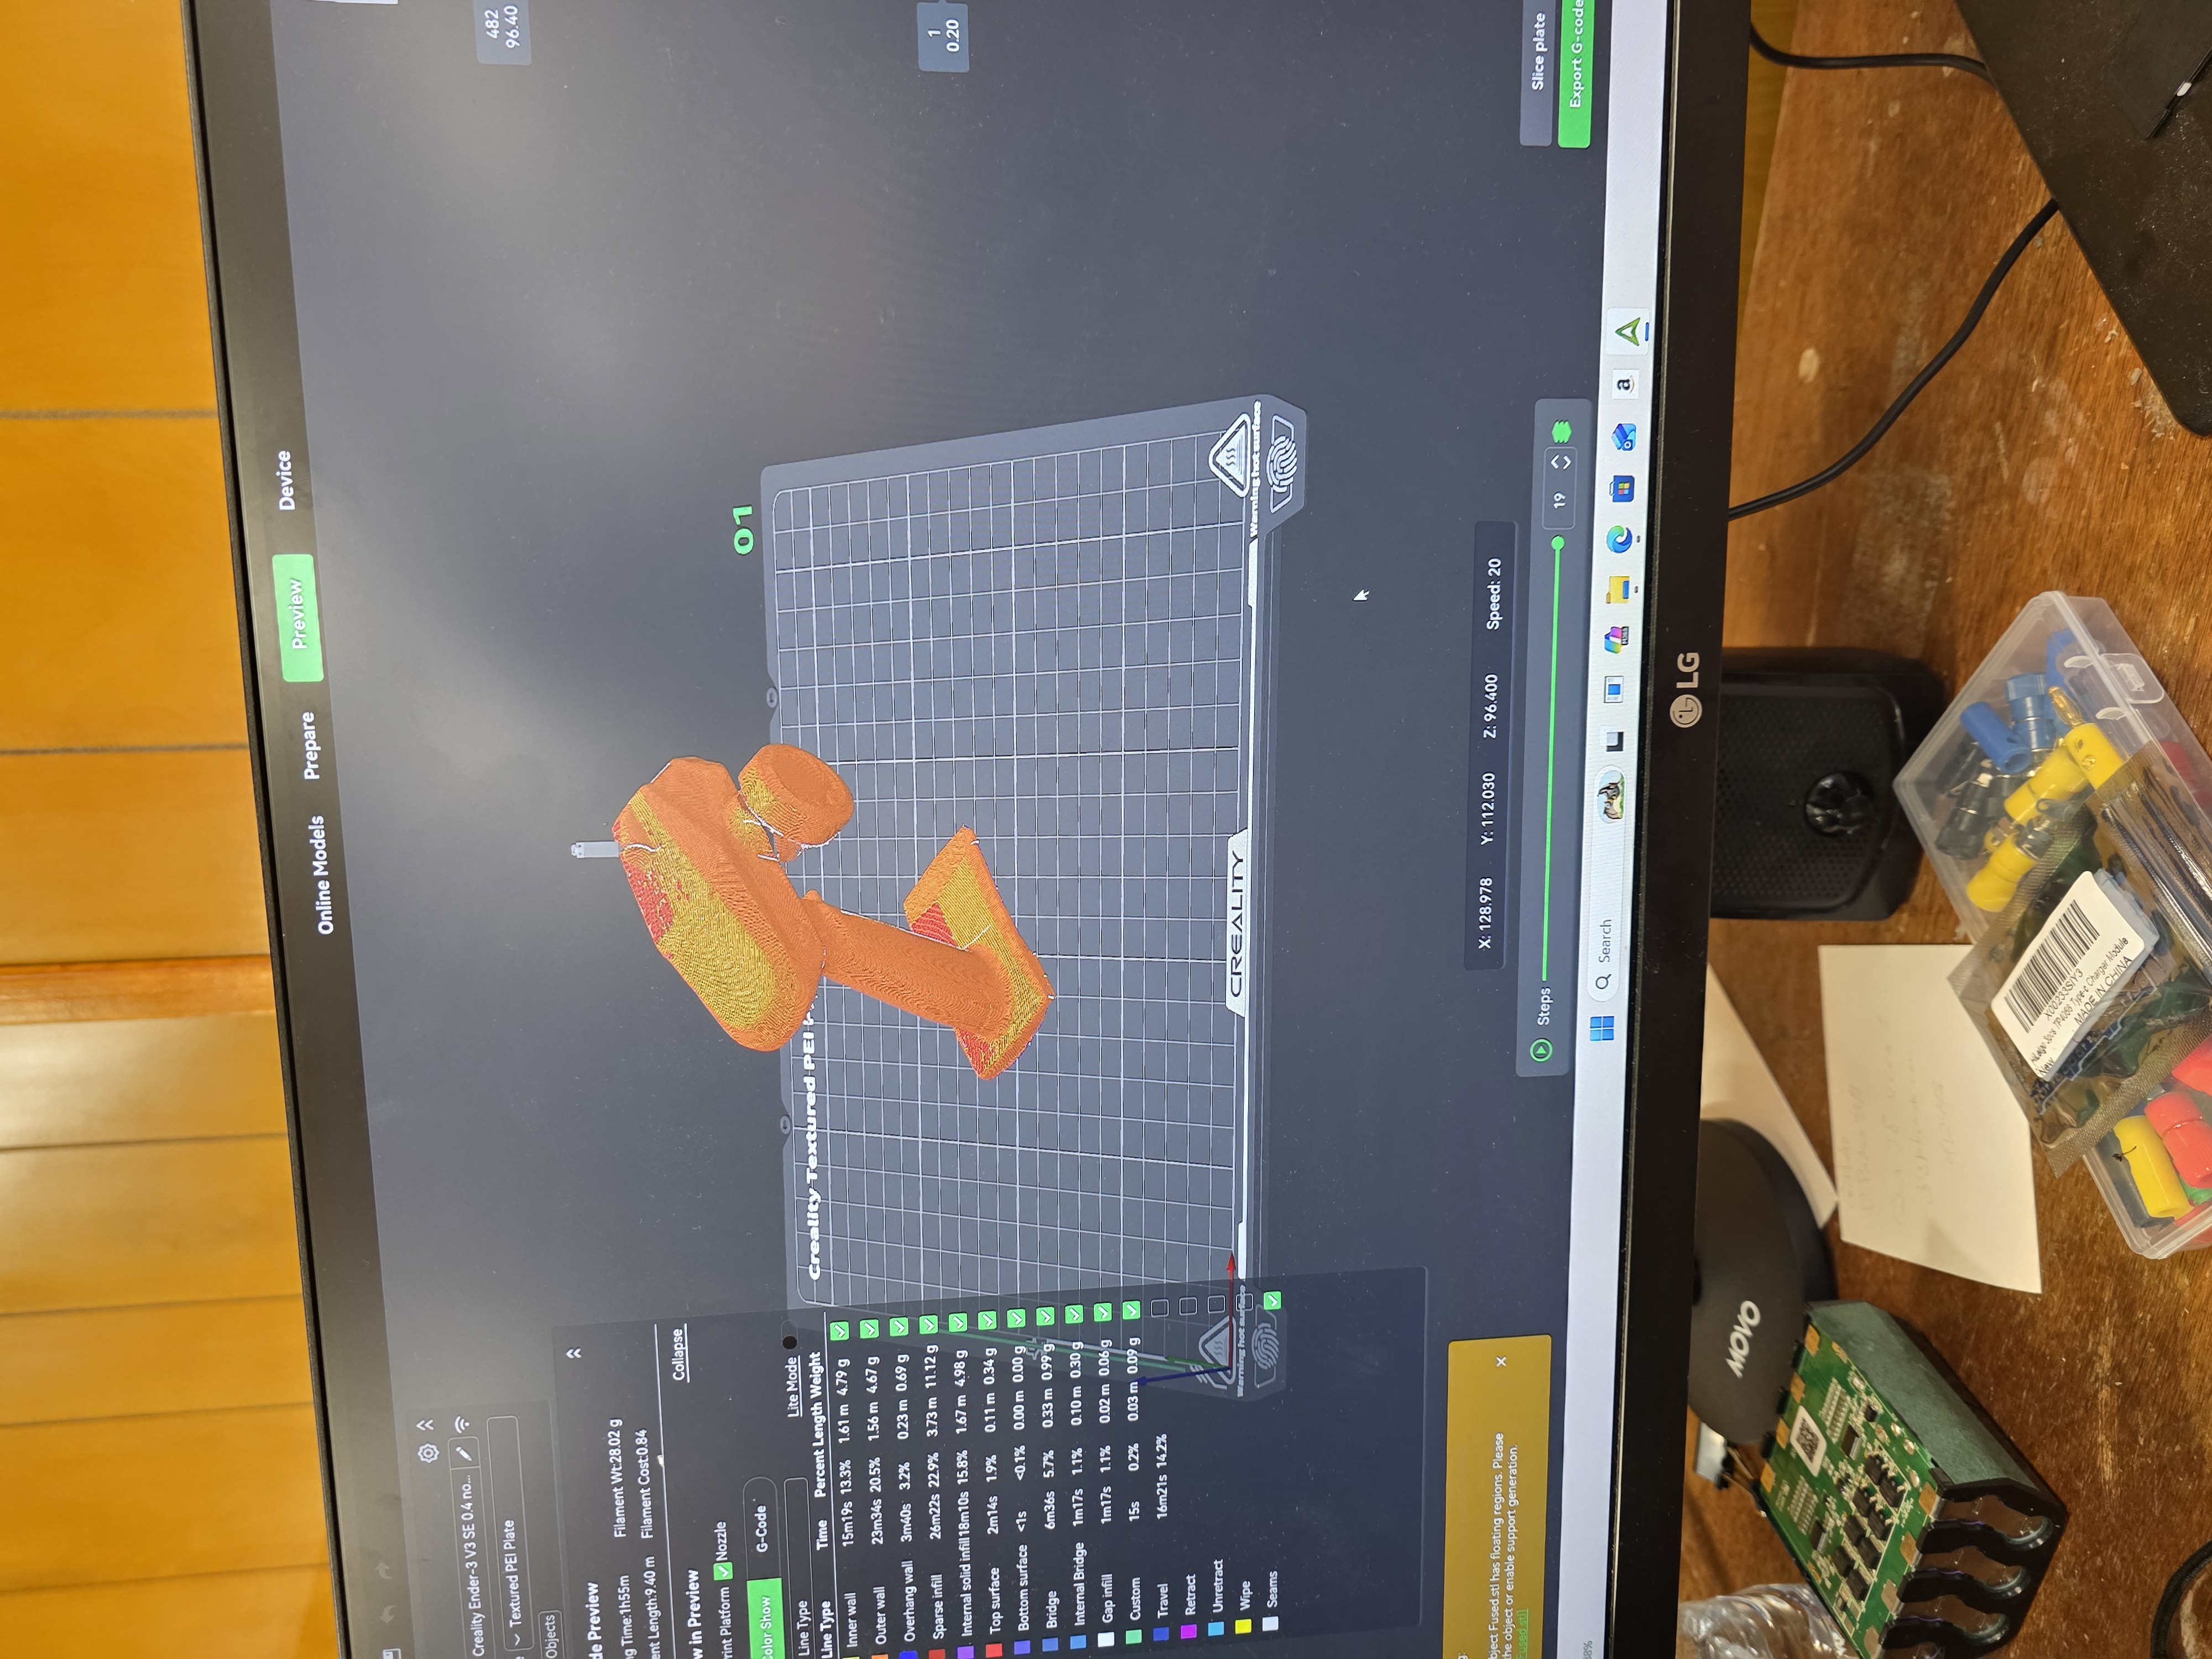
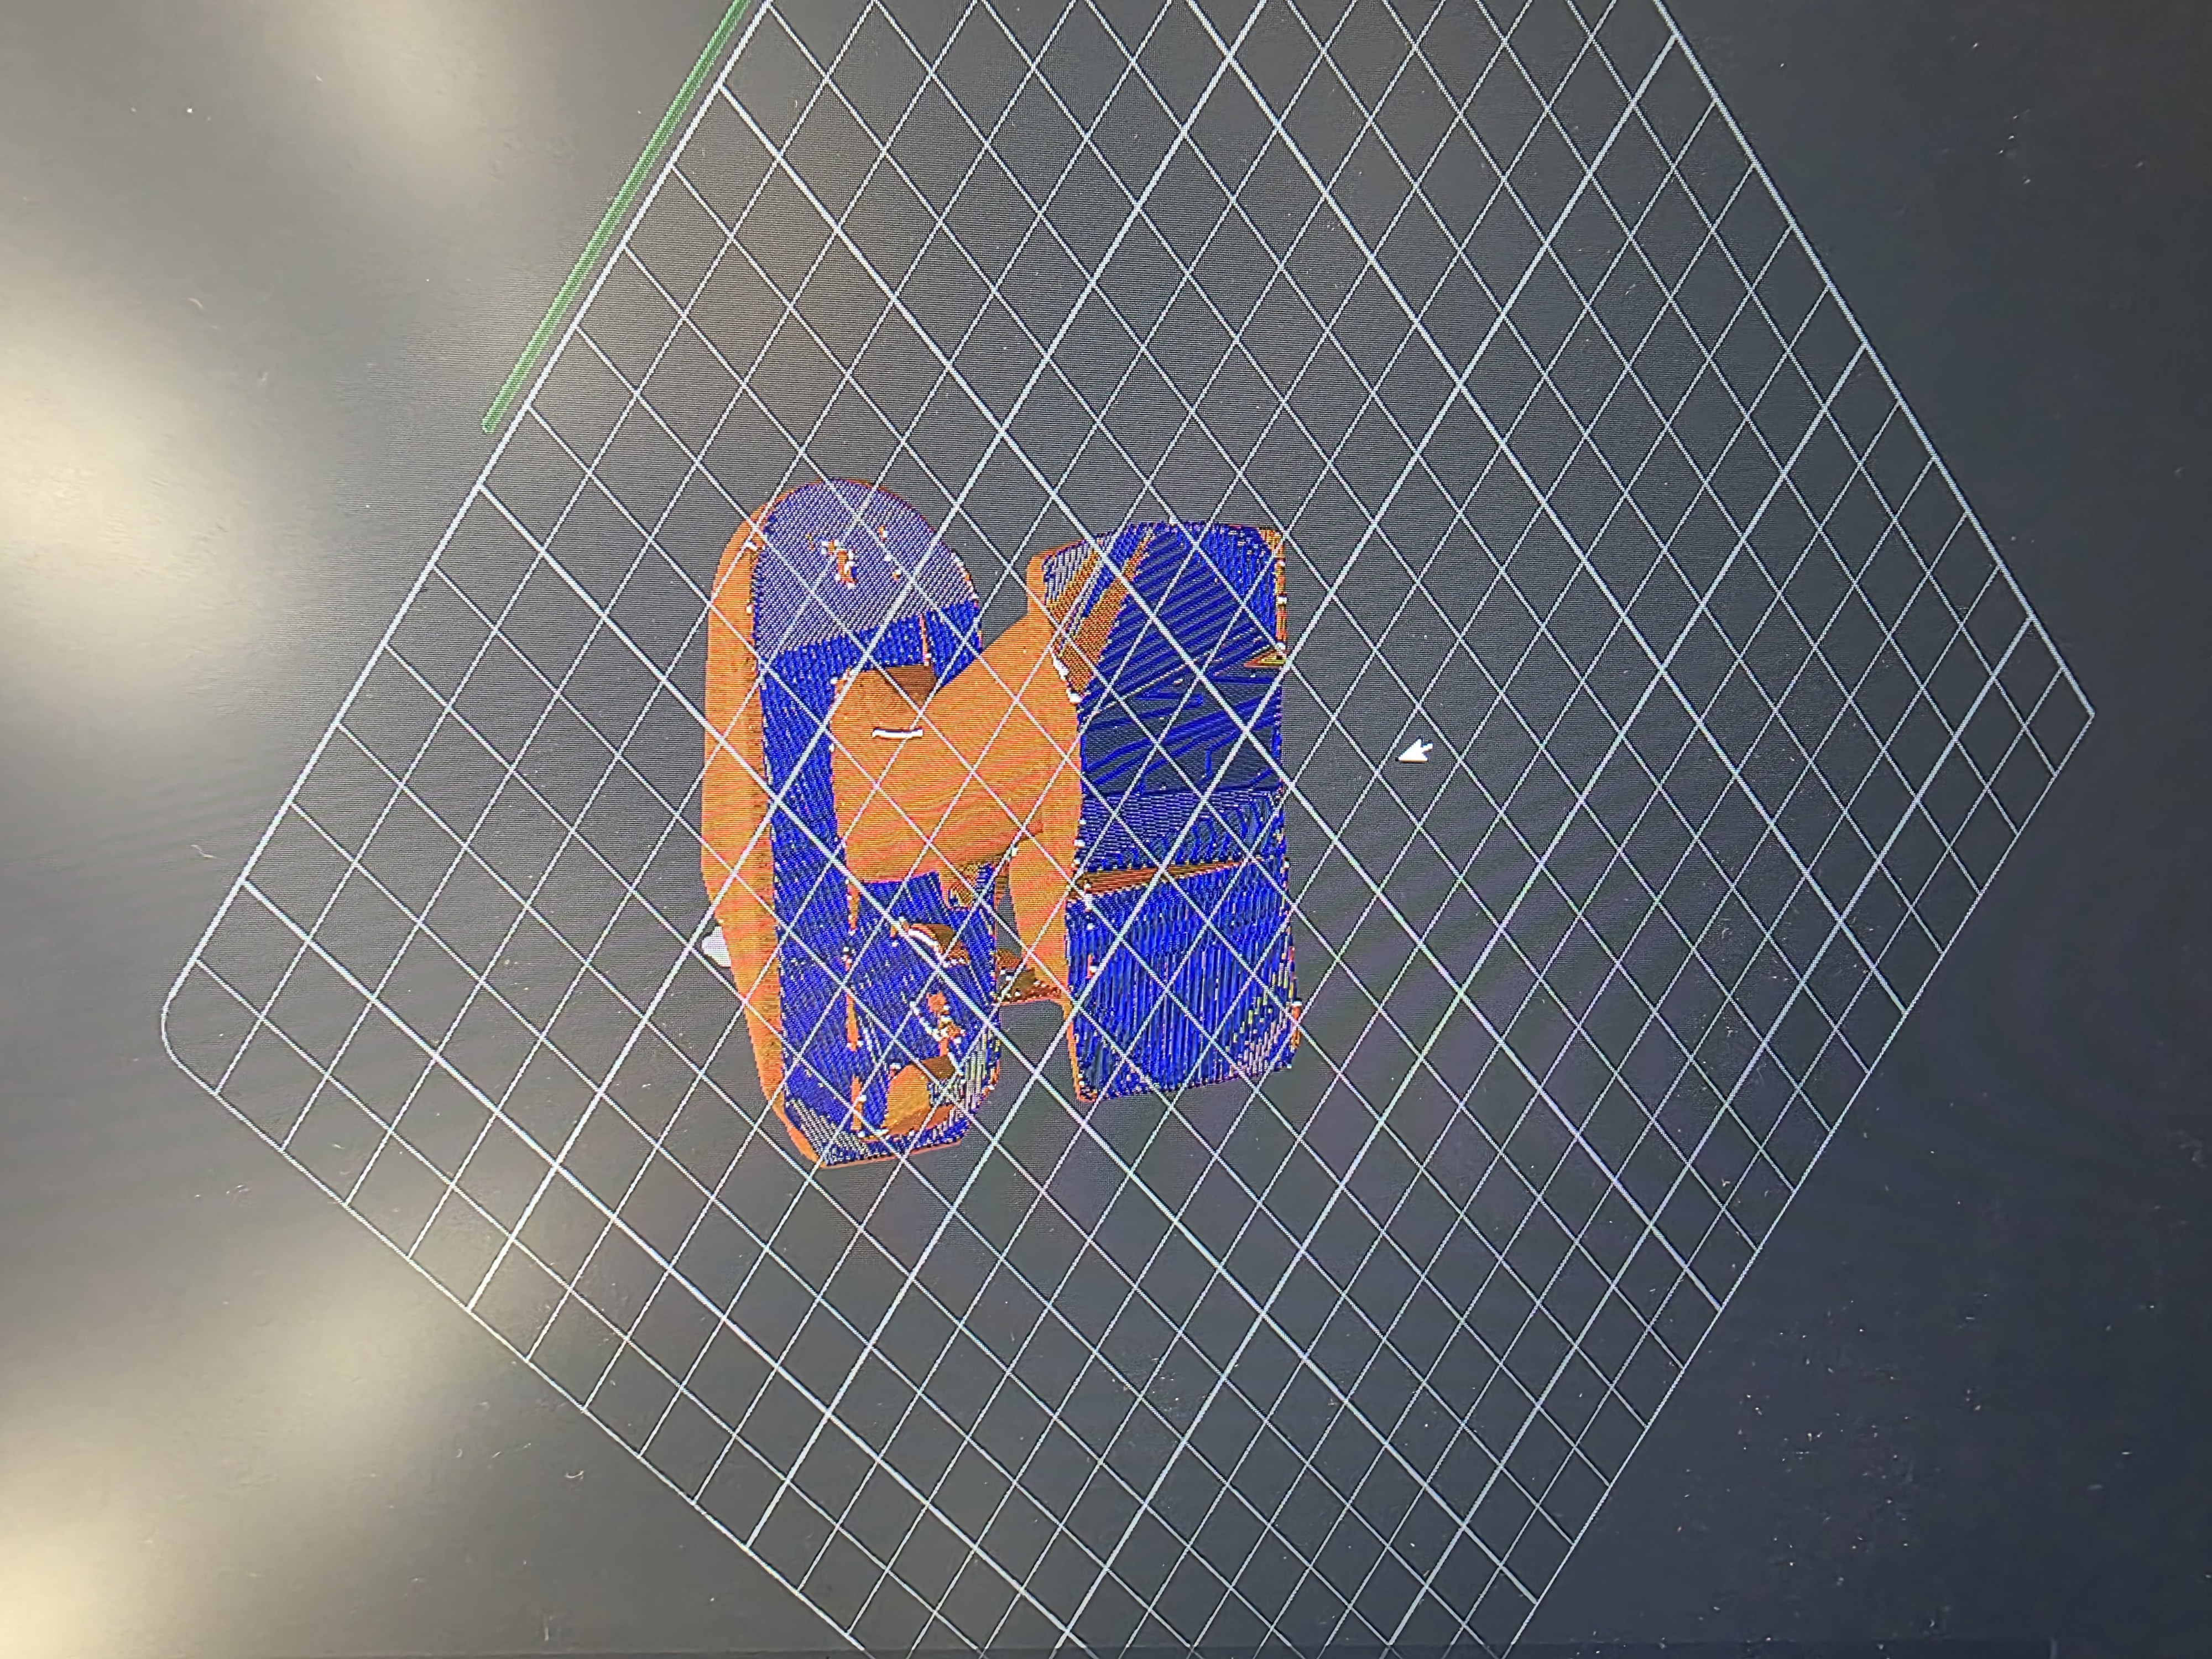
I tried to bring the scan into Creality Slicer, but the model was not fully complete. Since the bottom of the scan was missing and the mesh had holes, the slicer could not properly understand the object as a solid printable model.
A 3D printer needs a closed mesh so the slicer knows what is inside and what is outside. My scan was basically non-manifold because it had missing sections. If I tried to print it as-is, the print would probably fail because some parts would be floating, missing, or not connected correctly.
3D Printer Testing and Settings
For the 3D printing side of the assignment, I tested printer and slicer settings to understand how the machine prepares a model for printing. The main settings I looked at were layer height, infill, wall count, supports, bed temperature, nozzle temperature, and print orientation.
- Layer height controls how detailed or rough the print looks.
- Infill controls how solid the inside of the print is.
- Wall count controls the strength of the outside shell.
- Supports are needed when parts of the model hang over open space.
- Bed temperature helps the first layer stick to the print bed.
- Nozzle temperature must match the material being printed.
- Print orientation can change strength, support amount, and surface finish.
What I learned from testing the 3D printer is that the printer can only do what the model and slicer tell it to do. If the model file is broken, missing surfaces, or not watertight, the printer will not magically fix it. The problem has to be fixed in the scan or mesh before printing.
3D Printed Object
My scanned RC controller could not be printed successfully because the scan was incomplete. To still test the 3D printing process, I included a separate 3D printed object or test print for the assignment. This shows that I tested the printing workflow even though the scan itself was not ready to print.

Why This Object Could Not Be Made Subtractively
A 3D scanned object or organic-shaped model is hard to make subtractively because it can have curved surfaces, uneven geometry, undercuts, and details on multiple sides. Subtractive tools like a CNC mill remove material from a block, but they cannot easily reach every hidden surface or undercut area.
Additive manufacturing is better for this kind of shape because the printer builds the object layer by layer. This makes it possible to create complex shapes that would be difficult or impossible to cut from one solid block using normal subtractive machining.
Original Design and STL Files
The original scan files, STL files, and project files used during this assignment are included with my Fab Academy documentation files. The main thing I learned from this part is that a scan file has to be cleaned up and closed before it becomes a good printable STL.
What I Learned
- 3D scanning needs good lighting, tracking, and object detail.
- Small objects are harder to scan because the scanner can lose tracking.
- A larger object like the RC controller was easier to scan.
- A scan needs to be watertight before it will slice correctly.
- 3D printers have design rules and limits.
- Overhangs, bridges, thin walls, holes, and clearance all matter.
- Different printers behave differently even when printing similar parts.
- Additive manufacturing can make shapes that are hard to make subtractively.
Final Thoughts
This week was a good reality check. I thought scanning would be easy, but it took a lot of failed attempts before I got something usable. I also learned that printing is not just downloading a file and hitting print. The model, slicer settings, printer limits, and material all matter.
The group assignment helped me understand the design rules of the printers, and the individual assignment helped me understand how 3D scanning and 3D printing connect together. If the scan is bad, the print will probably be bad too, so the digital file has to be cleaned up before it becomes a real object.