Week 7 - Computer-Controlled Machining
Designing, milling, and assembling something big.
Assignments
Group Assignment
- Do the lab safety training.
- Test runout, alignment, fixturing, speeds, feeds, materials, and toolpaths for the CNC machine.
Individual Assignment
- Make something big using computer-controlled machining.
- Extra credit: assemble it without screws, nails, or glue.
Group Assignment - CNC Safety and Machine Testing
For the group assignment, we went over CNC safety and tested the machine setup before cutting the real project. This was important because a big CNC router is not like a small desktop machine. The bit is bigger, the material is bigger, and if something goes wrong it can get dangerous fast.
The safety training covered keeping hands away from the spindle, wearing eye protection, making sure the dust collection was working, checking that the material was secure, and never reaching into the machine while it is running. We also talked about checking the file and toolpath before cutting so the machine does not crash, cut outside the material, or cut too deep.
We tested the CNC setup by checking the material, the bit, the zero position, and the toolpath preview before starting the cut. The plywood had to be screwed down tight so it could not move during machining. Fixturing was a big deal because if the sheet moves even a little bit, the holes, slots, and outside cuts will not line up.
We also looked at alignment and zeroing. We used the touch pad sensor to set the tool height, then moved the CNC to the corner of the plywood and zeroed the X and Y position. This made sure the CNC knew where the material was before it started cutting.
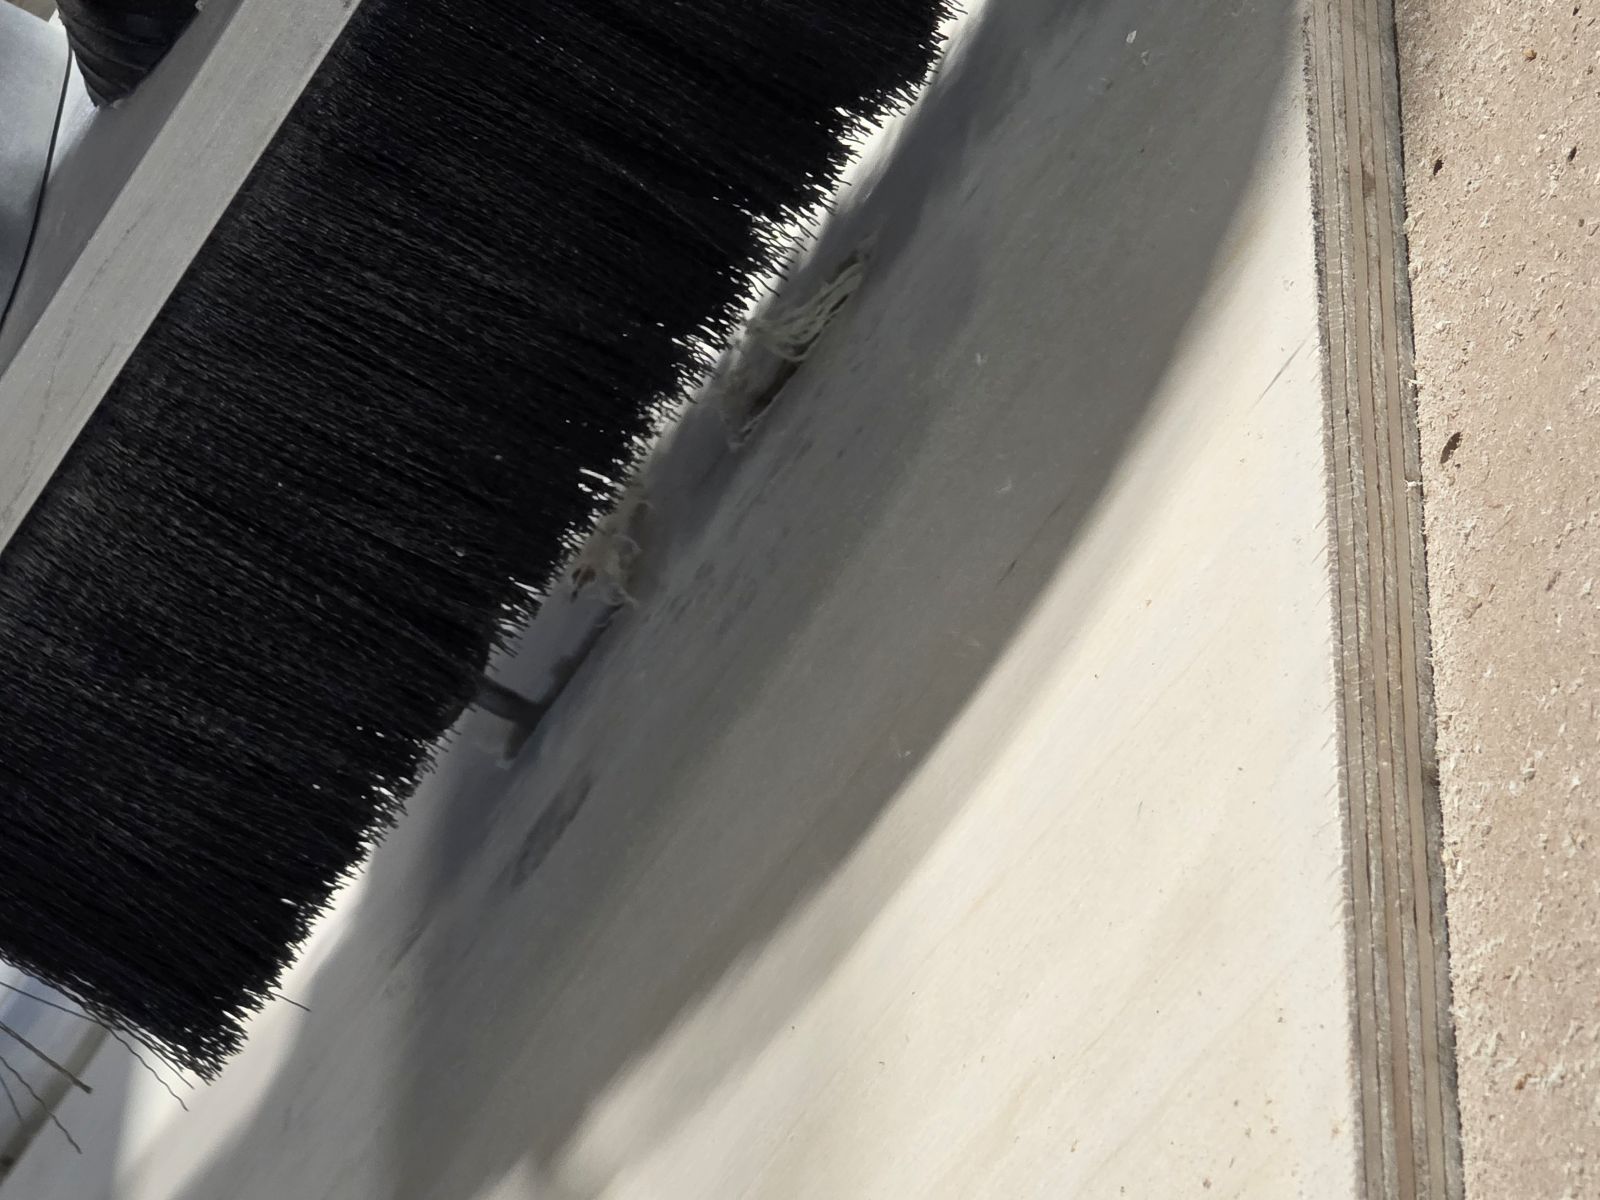
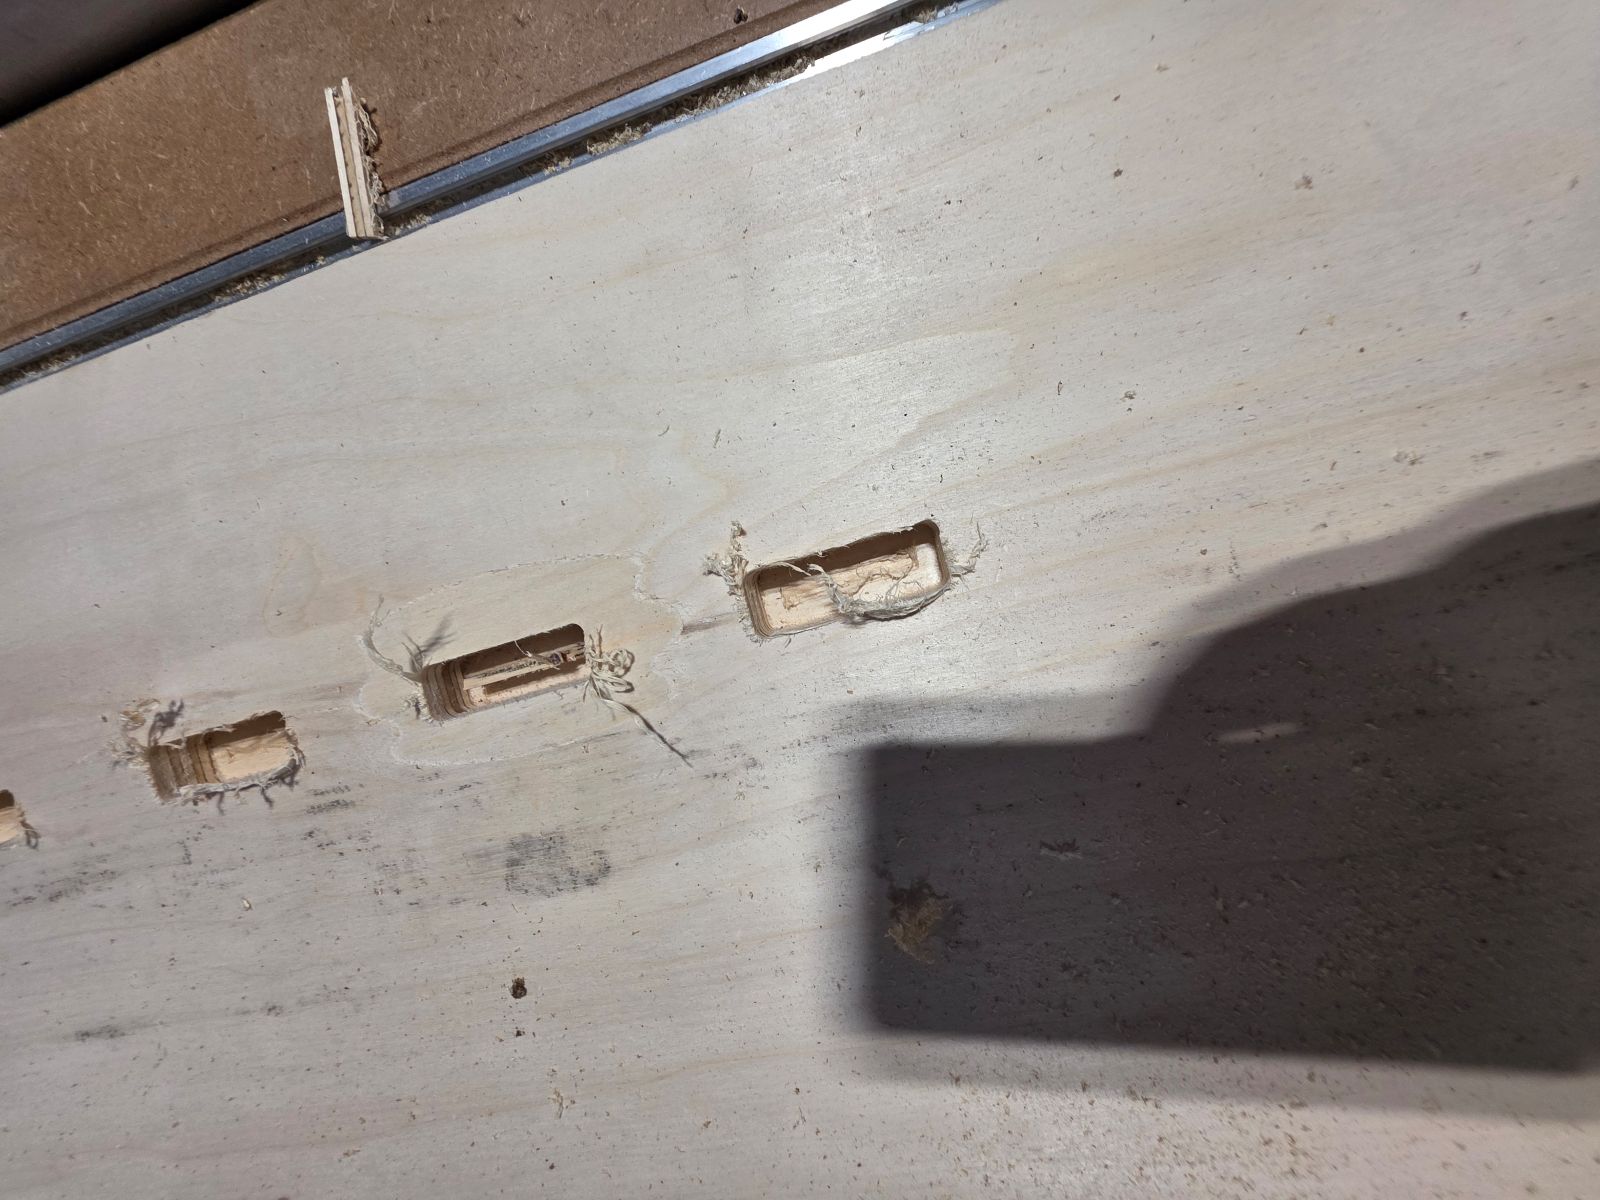
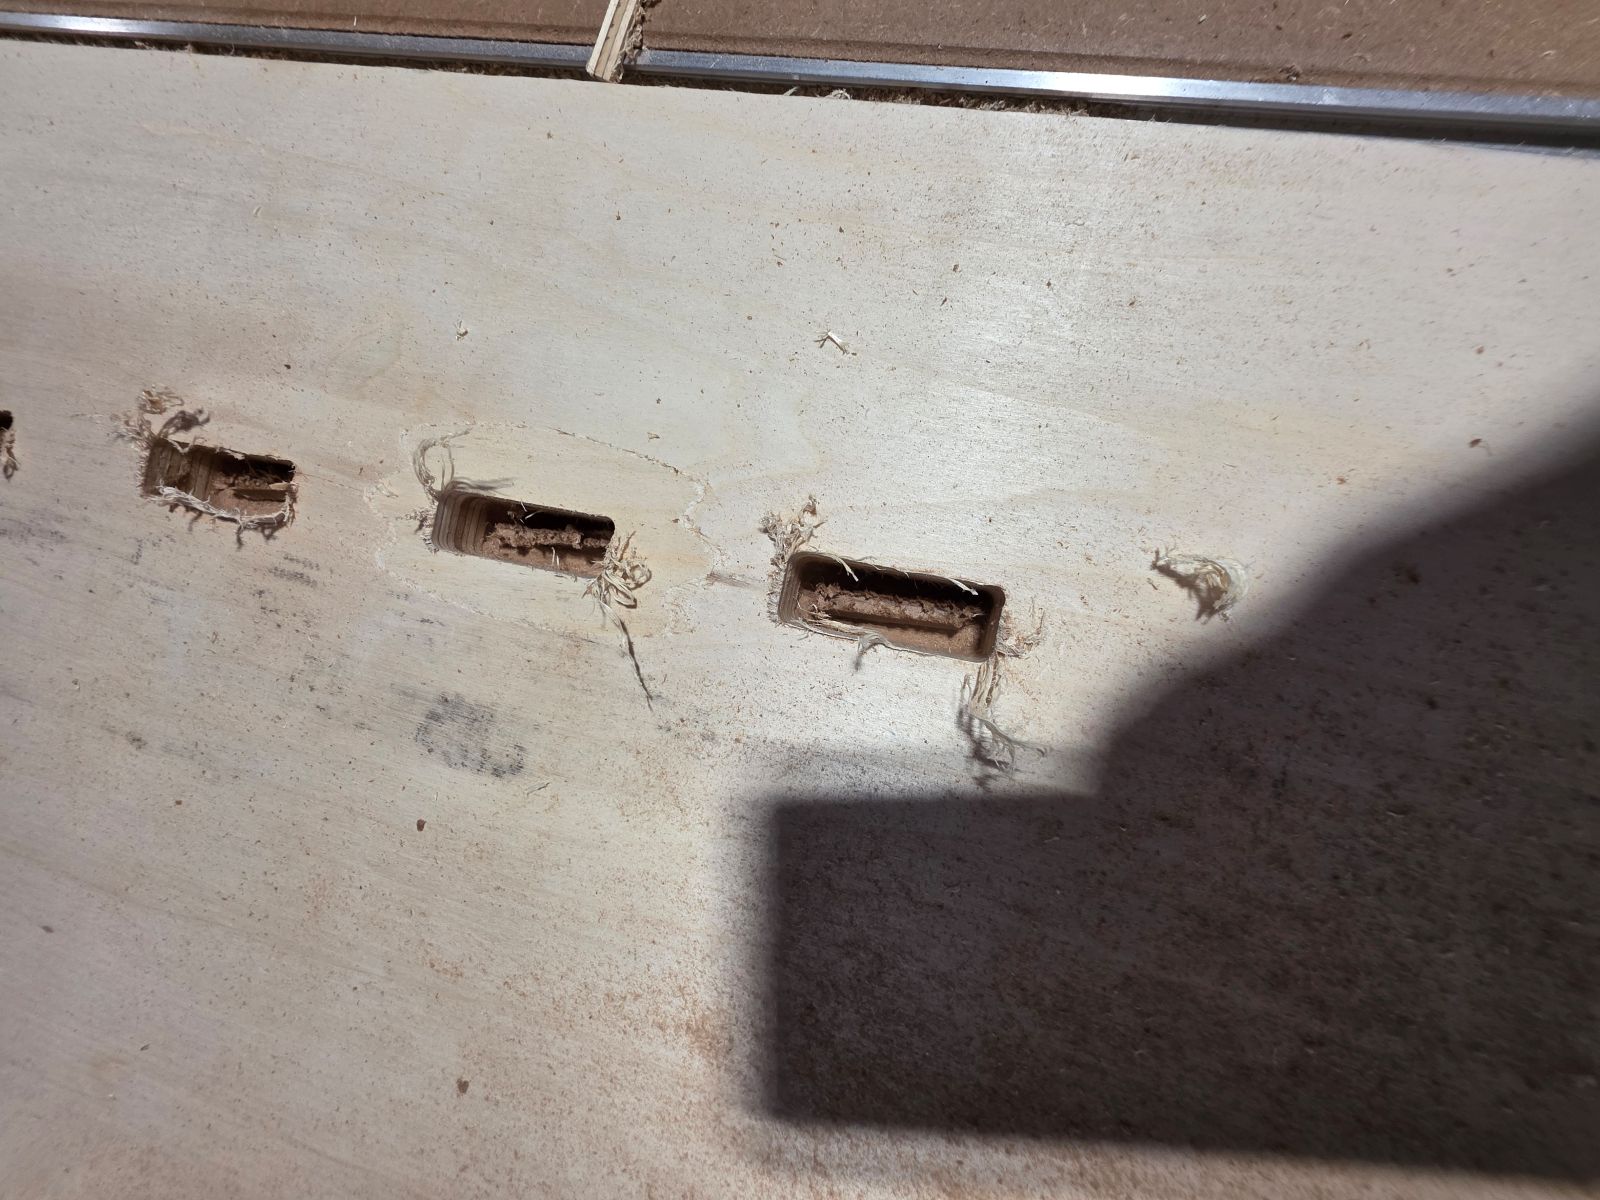
Runout and tool condition also mattered. If the bit is bent, loose, dull, or not spinning true, the cuts can come out rough or oversized. On my cut, I noticed the bit left stringy edges on the plywood, which made me think the bit may have been dull or not cutting as clean as it should. That gave me a real example of why checking the tool matters.
We tested speeds, feeds, material, and cut depth by running the first cuts and seeing how the plywood reacted. The first cut depth was set at 0.708 inch, but it did not go all the way through the 3/4 inch plywood. After seeing that, we changed the cut depth to 0.720 inch, and that worked much better.
We also tested the toolpath order. The inside holes and slots were cut first, then the outside profiles were cut second. That was the right move because if we cut the outside profile first, the parts could move and the inside holes might not cut correctly.
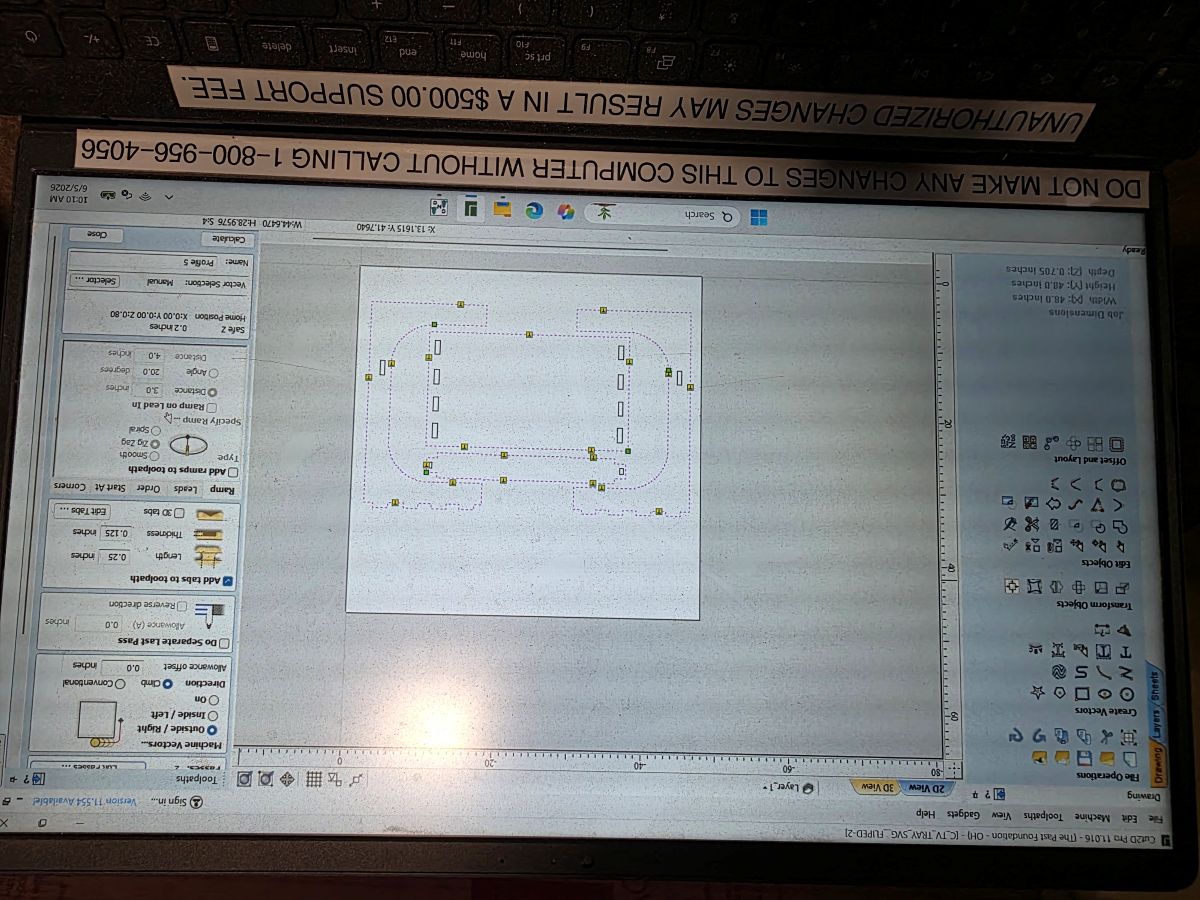
Tabs were another part of the group testing. We added tabs to the outside toolpath so the parts would stay attached to the sheet during the cut. Without tabs, the parts could shift, vibrate, or get caught by the bit.
The biggest thing I learned from the group assignment is that CNC machining is all about setup. Safety, fixturing, zeroing, bit condition, speeds, feeds, material thickness, and toolpath order all matter before the real project even starts.
Individual Assignment - Making Something Big
Assignment Goal
For this week, the individual assignment was to make something big, around meter-scale, using computer-controlled machining. The goal was to design, mill, and assemble a large object. Extra credit options included not using fasteners or glue, adding curved surfaces, and using three-axis toolpaths.
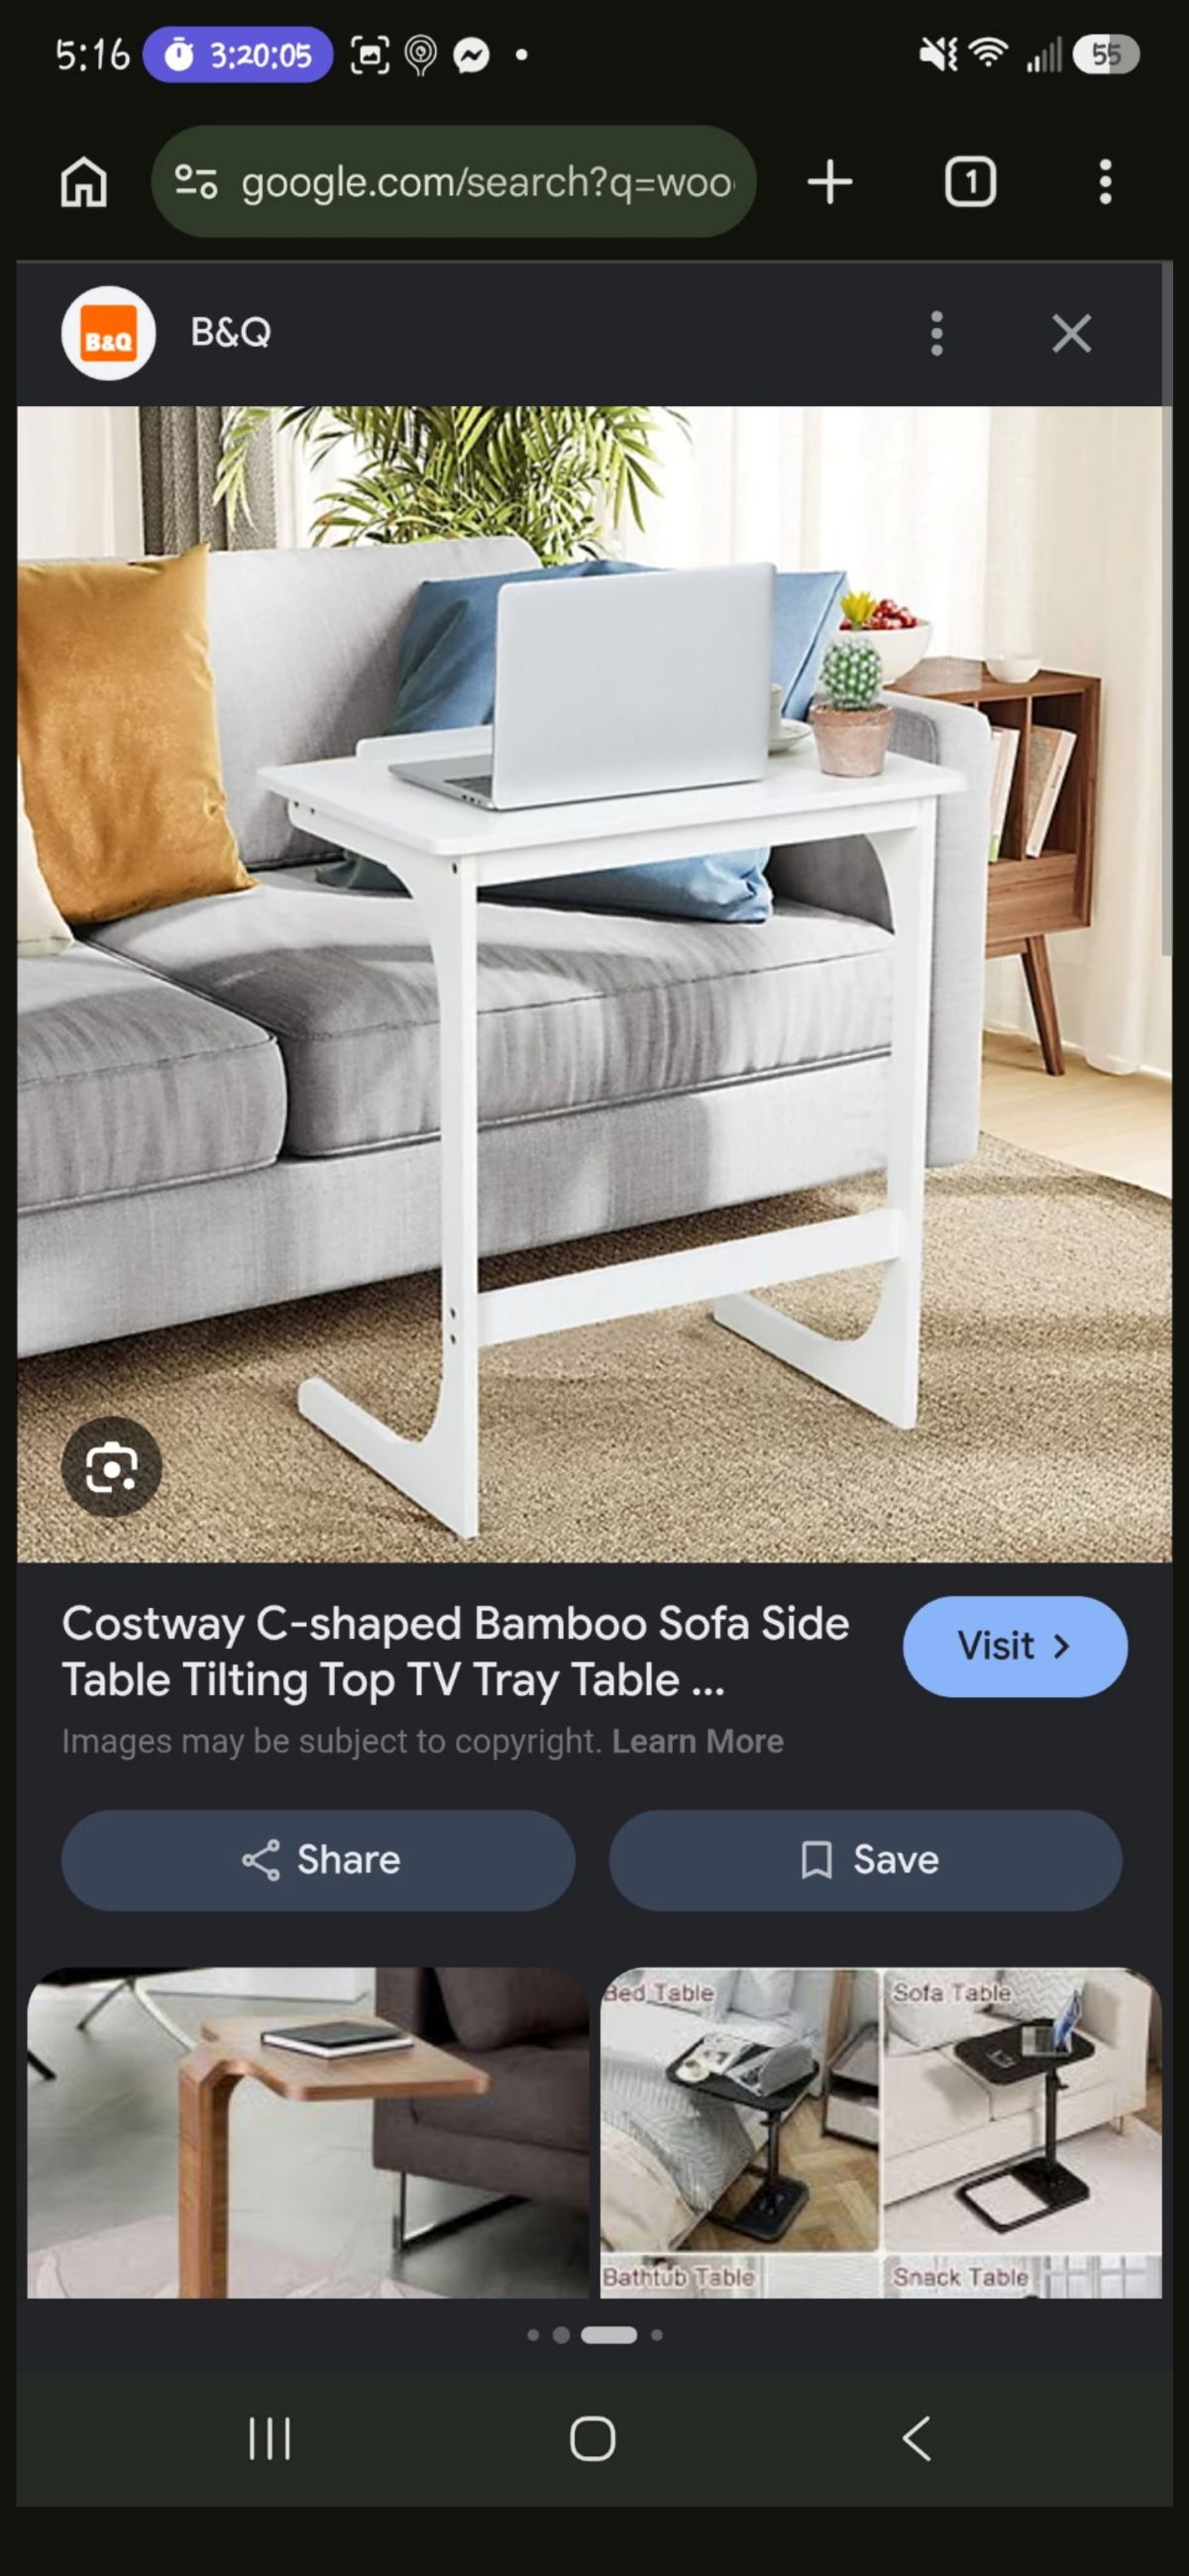
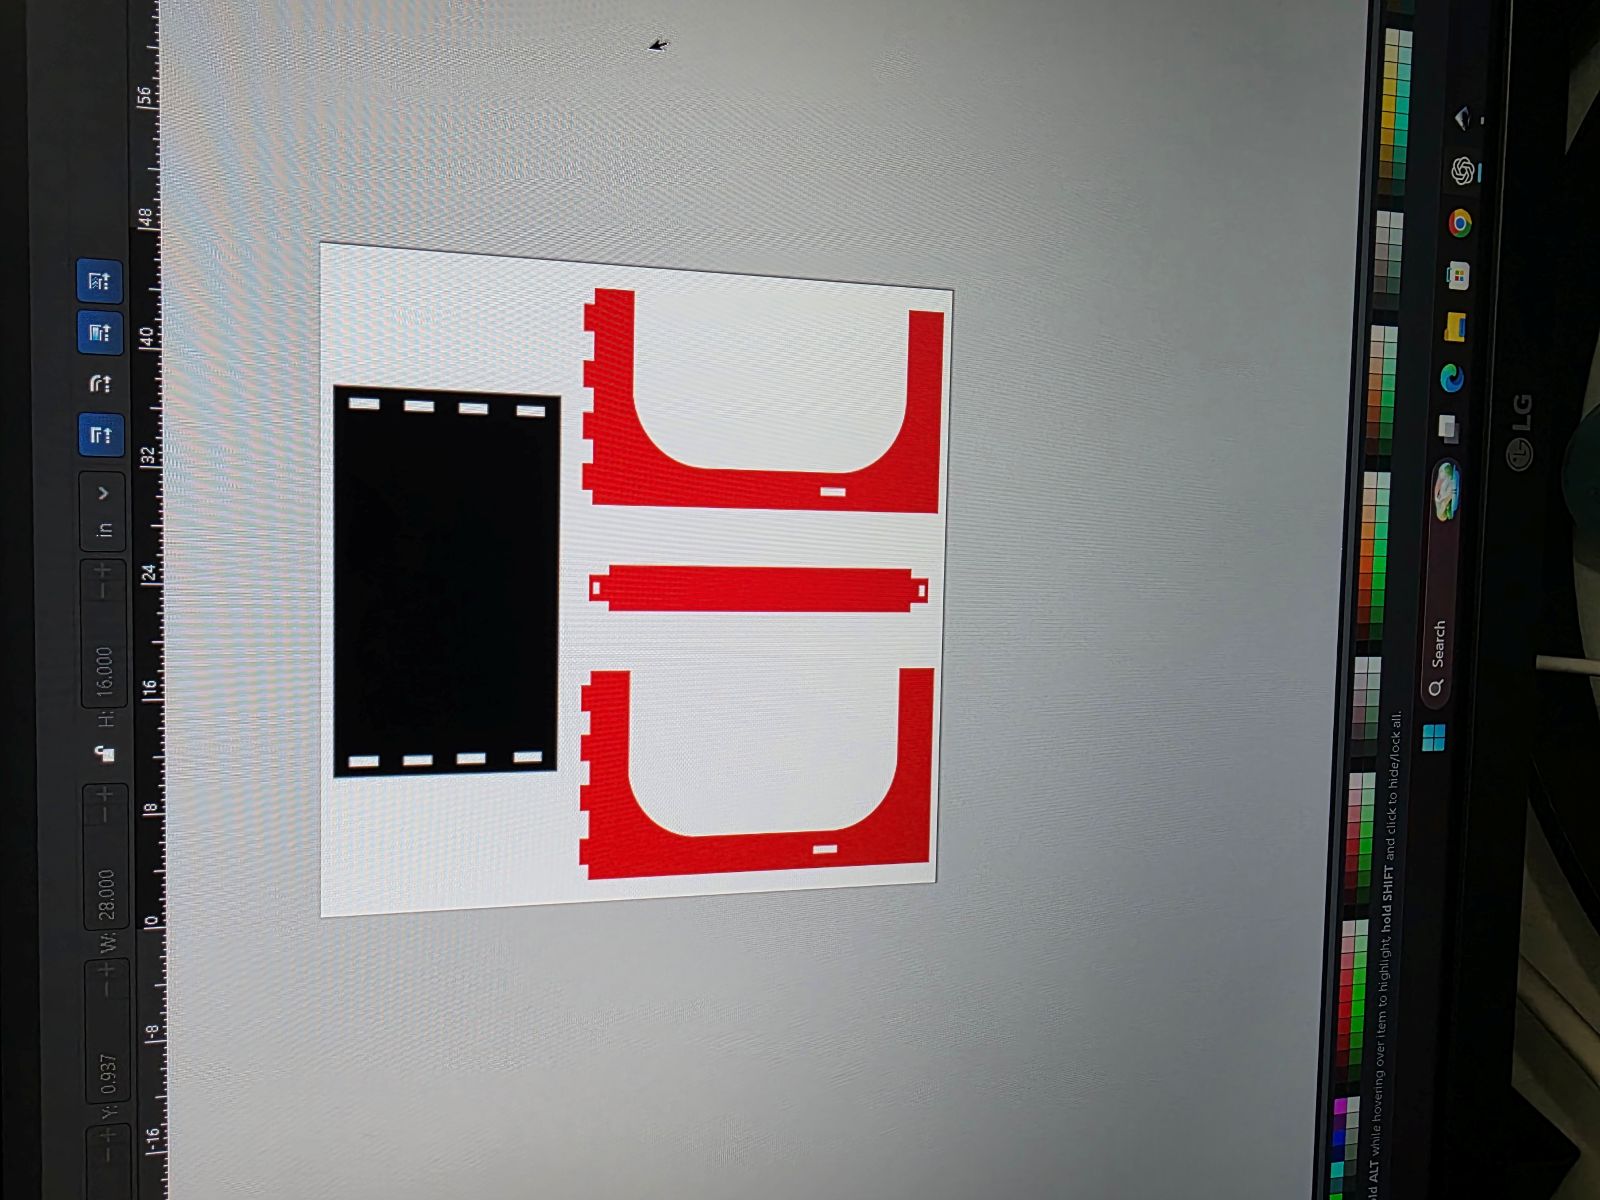
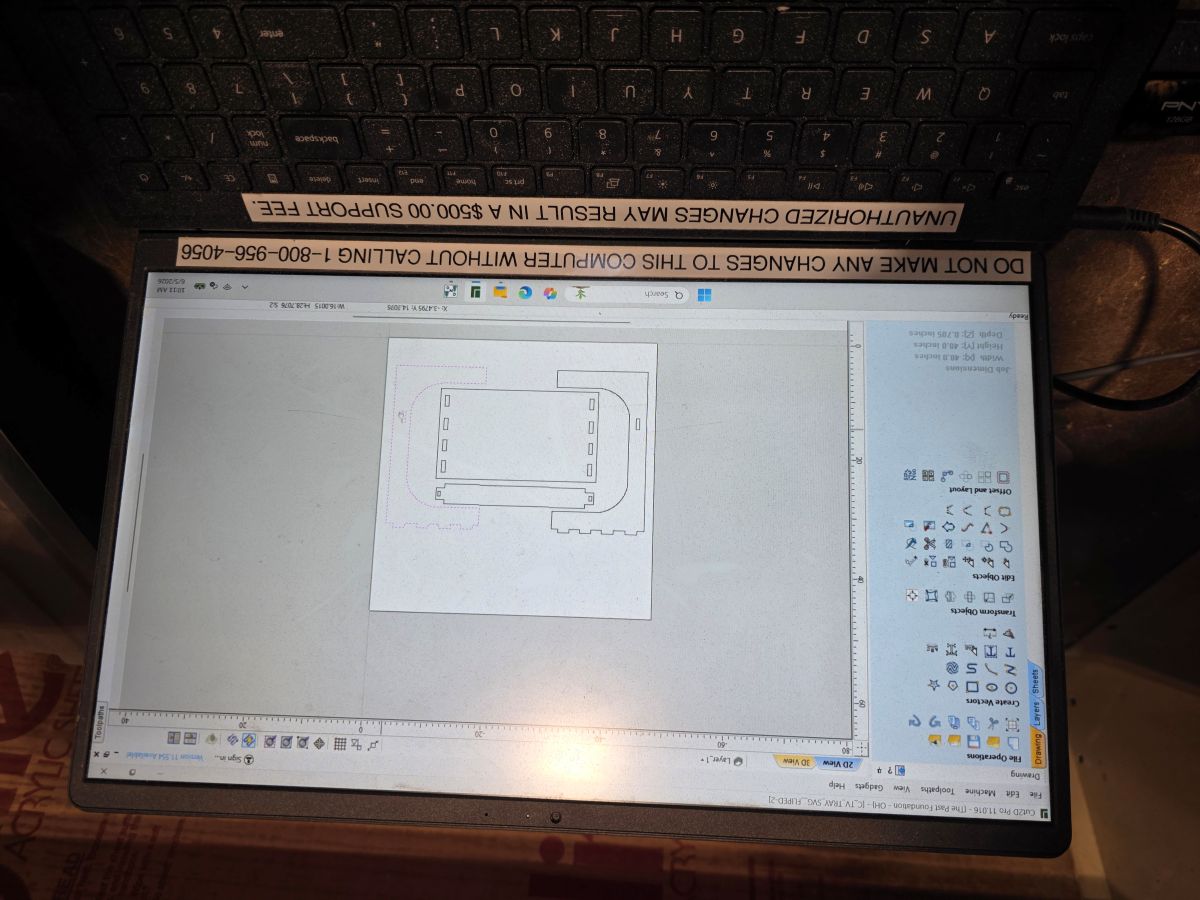
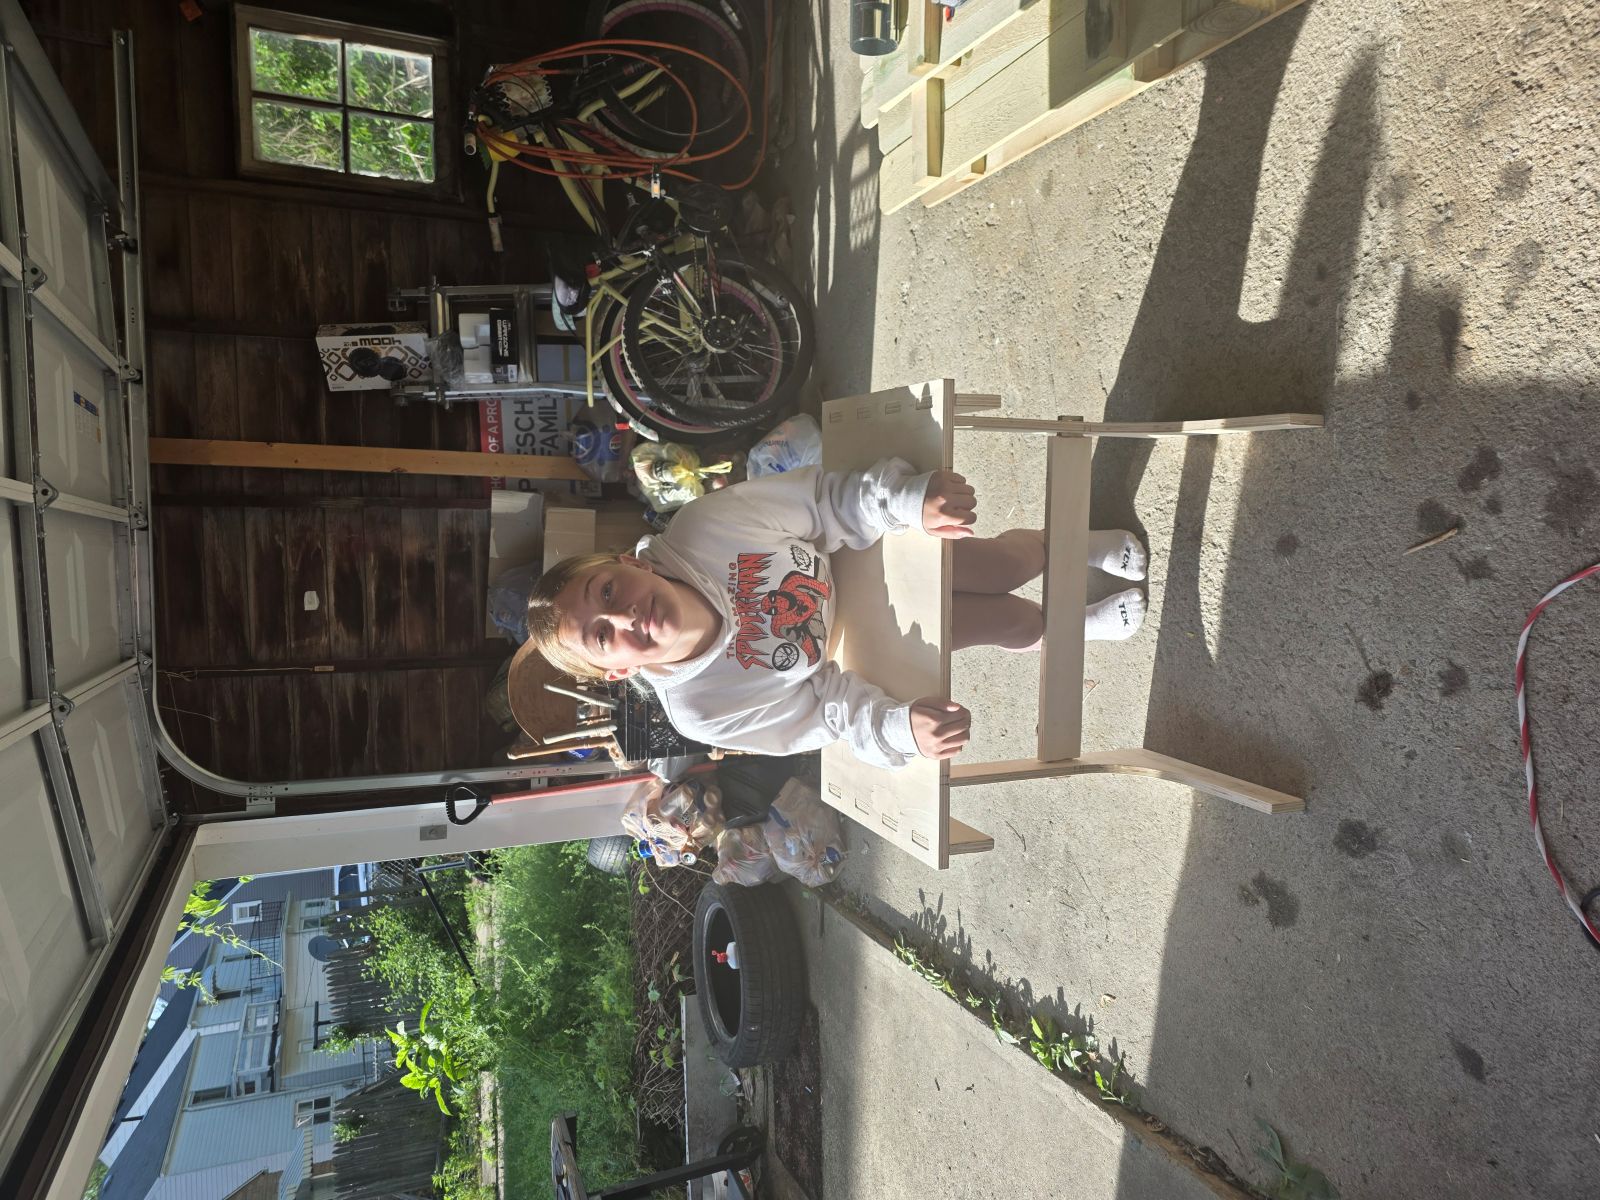
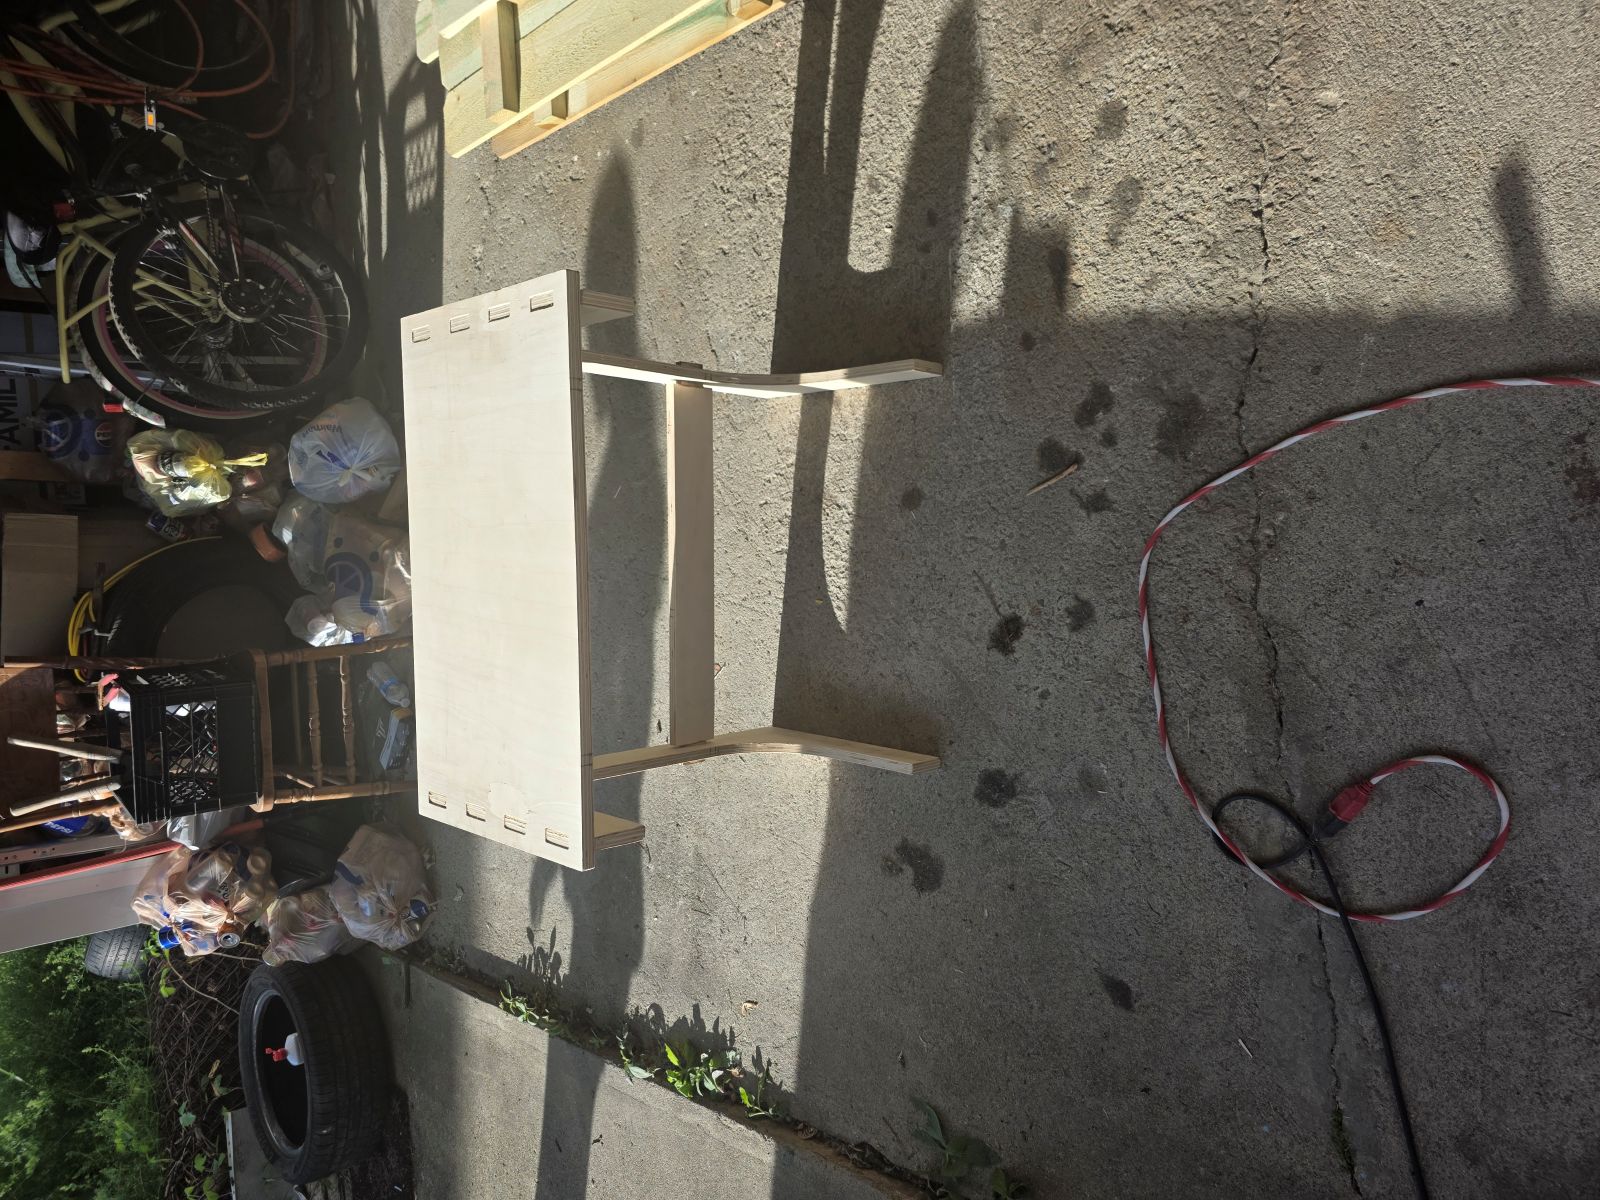
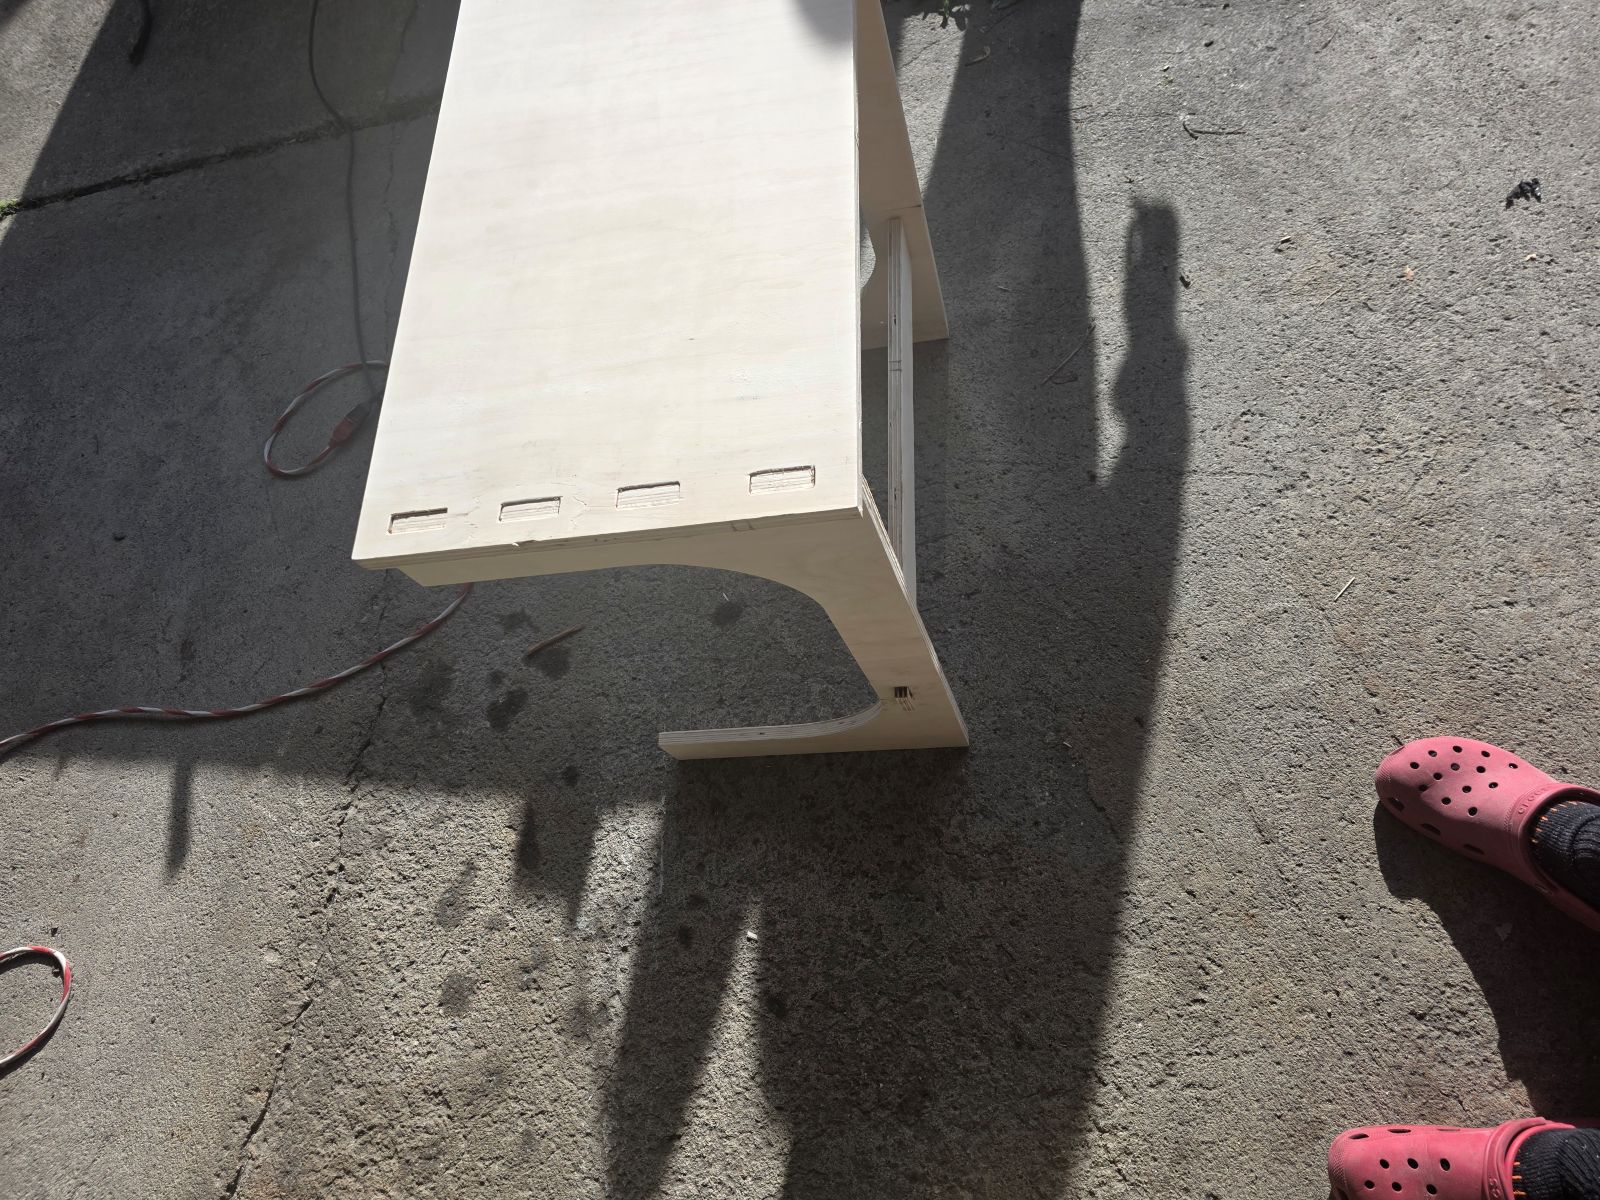
I ended up making a C-shaped TV tray / stand. I wanted it to be bigger and more useful than the old-school folding TV trays that are mostly just good for eating TV dinners. My version is more like an upgraded side table that can hold a laptop, mouse, food, tools, or whatever else I am working on.
I also did not use screws, glue, or nails to hold the main project together. The stand uses slots, tabs, tight fits, wedges, and wood dowel rods to lock everything together.
Inspiration and Starting Idea
Before I started drawing my own version, I looked at a C-shaped white table as a reference for the kind of shape I wanted. I did not want to copy it exactly, but it helped me picture the idea of a table that could slide around a chair or couch.
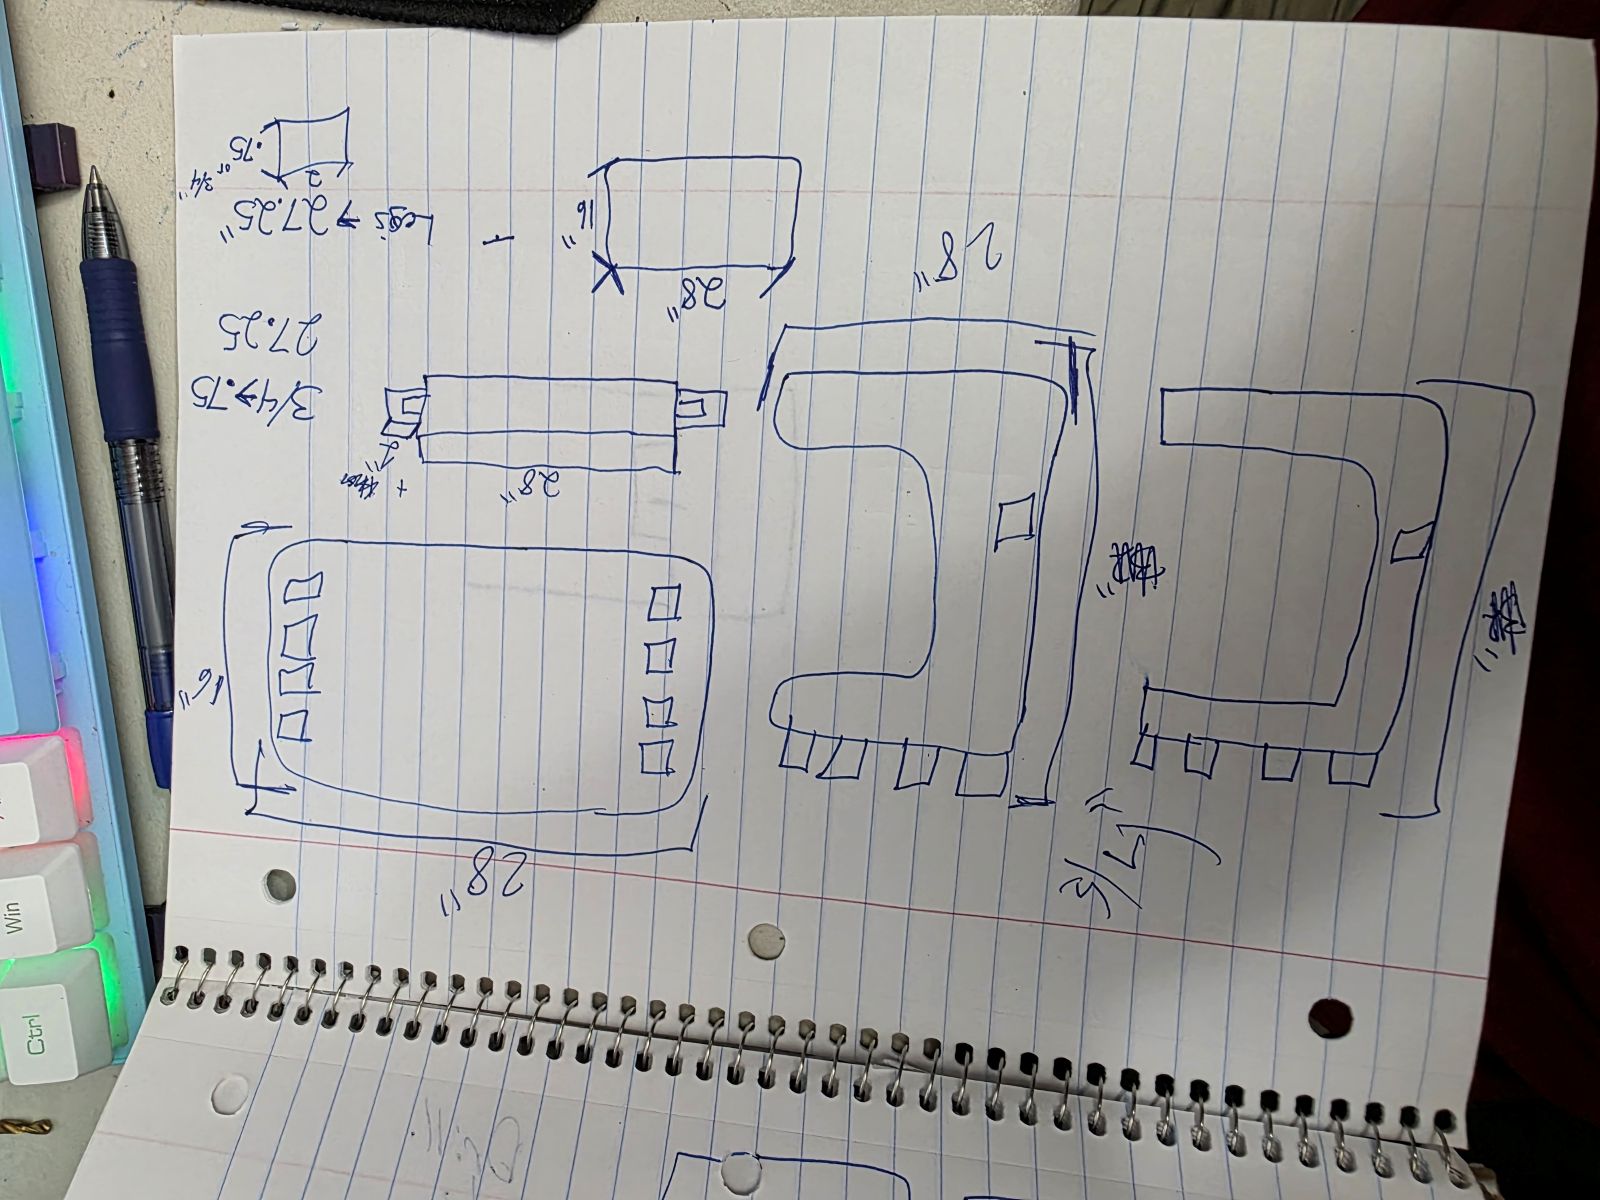
Starting With Paper and Pencil
I started this project by drawing the idea out with paper and pencil. I wanted to understand the shape before I started fighting with software. I drew the C shape, the top plate, the legs, and the center cross bar idea first.

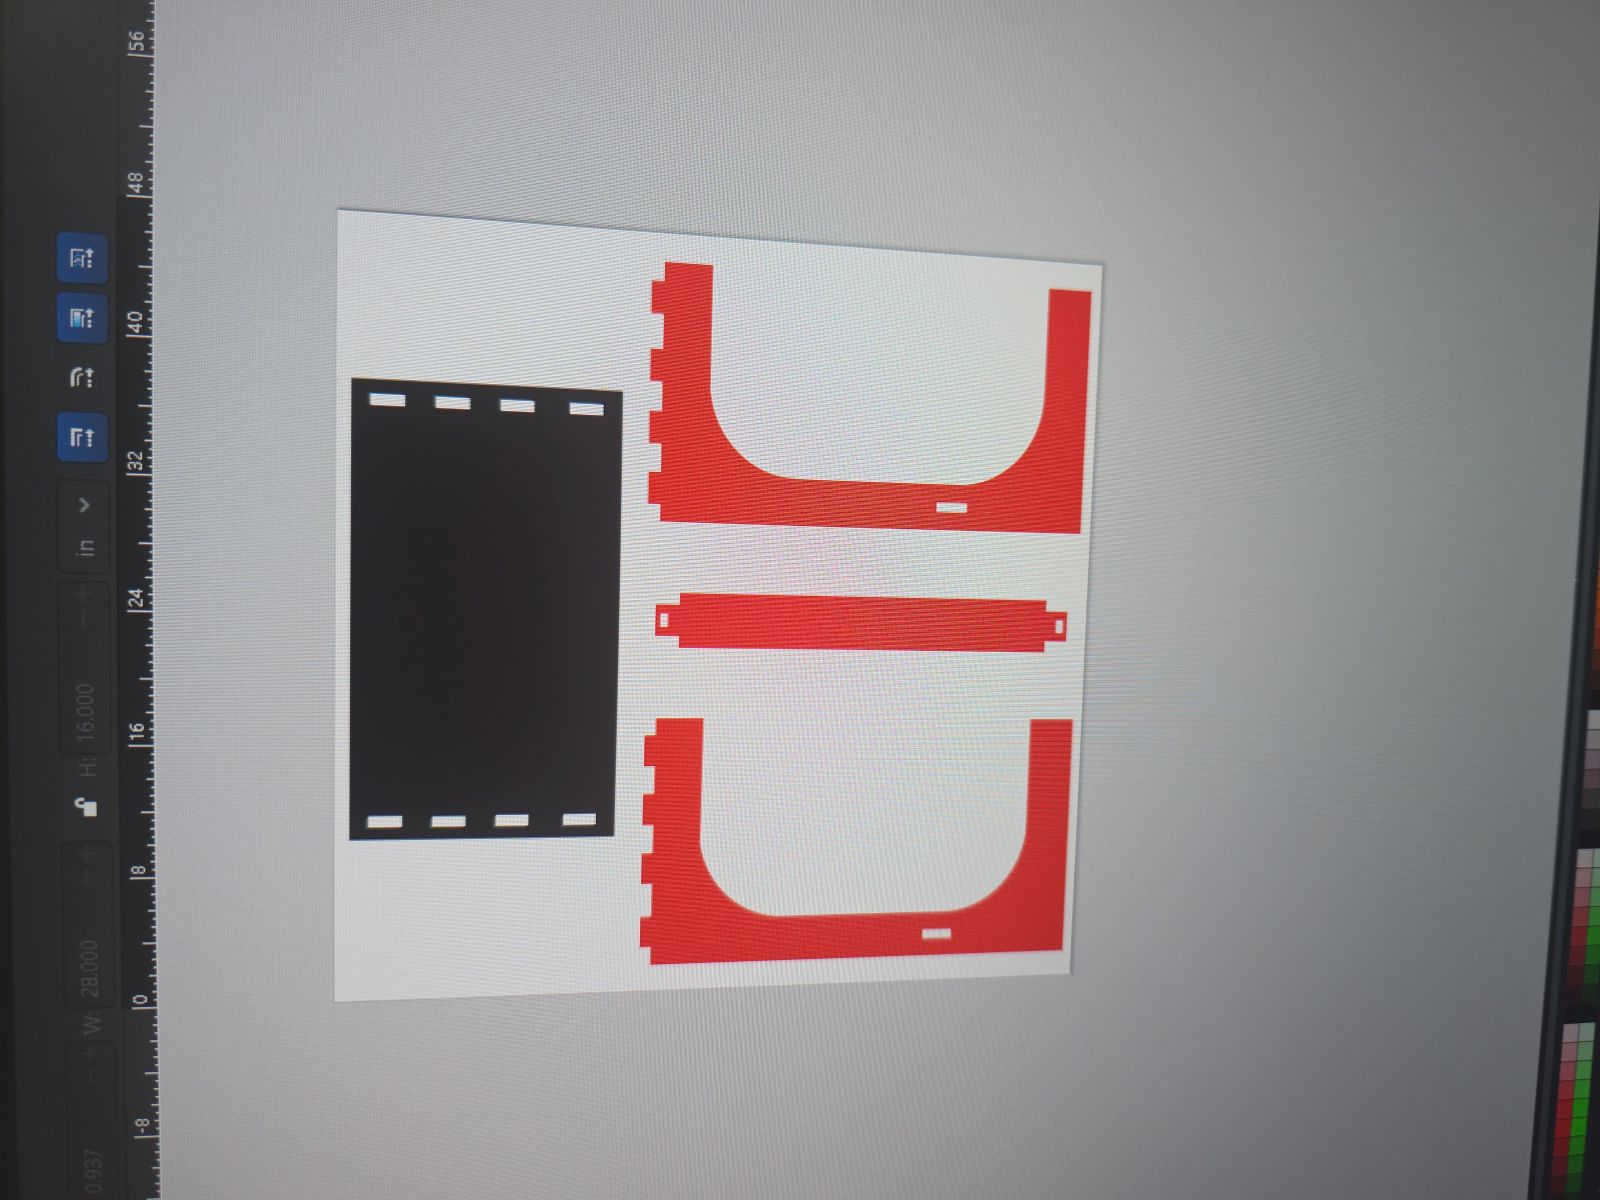
Moving Into CAD
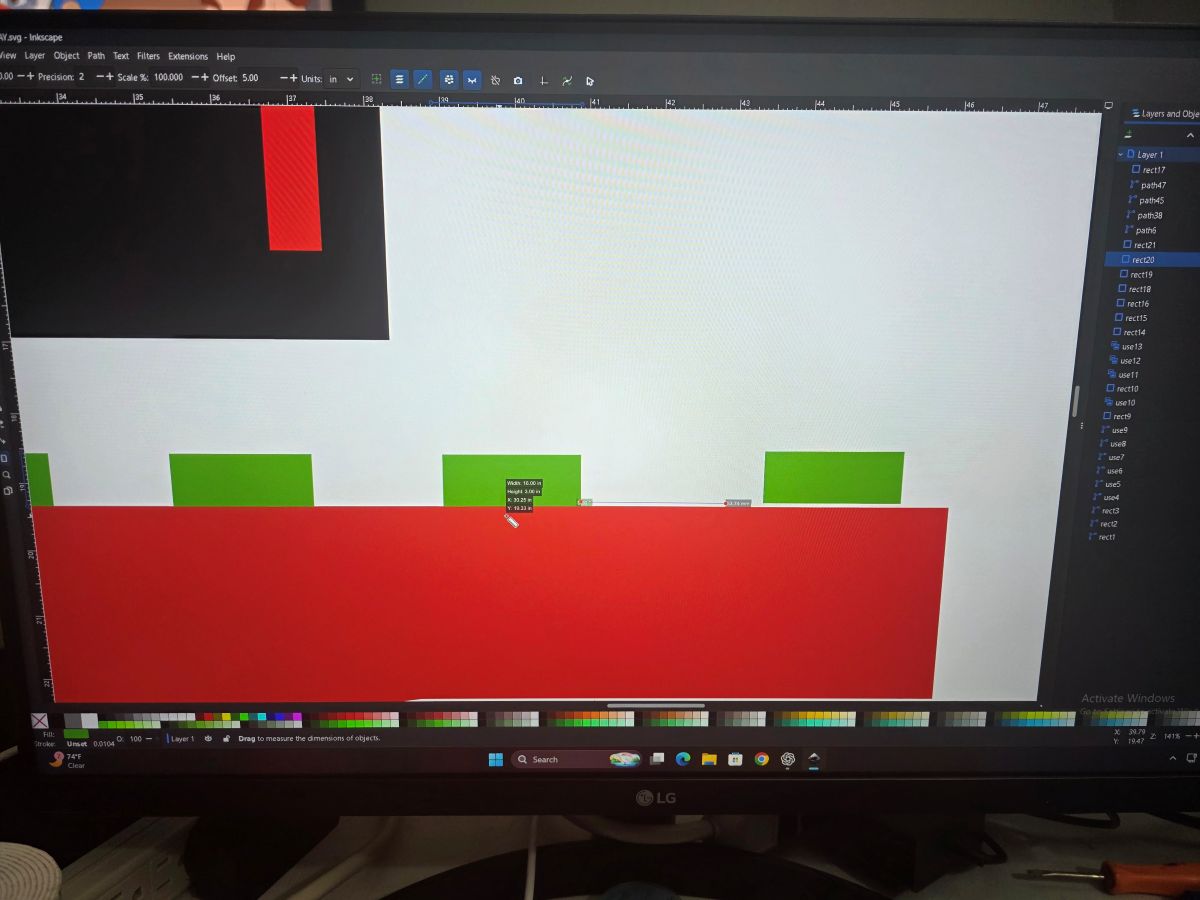
At first I tried Tinkercad because I already knew how to move around in it, but I did not like it for this project. This was more of a 2D CNC layout job, so I switched over to Inkscape. Inkscape worked better because I could draw the flat parts, make the tabs, make the holes, and export the files for the CNC software.
This part took a lot longer than I expected. I had to individually measure each gap, each ear, each tab, and each hole. Since I was not using screws or glue, the fit had to be tight enough to hold together but not so tight that it destroyed the plywood when I hammered it together.
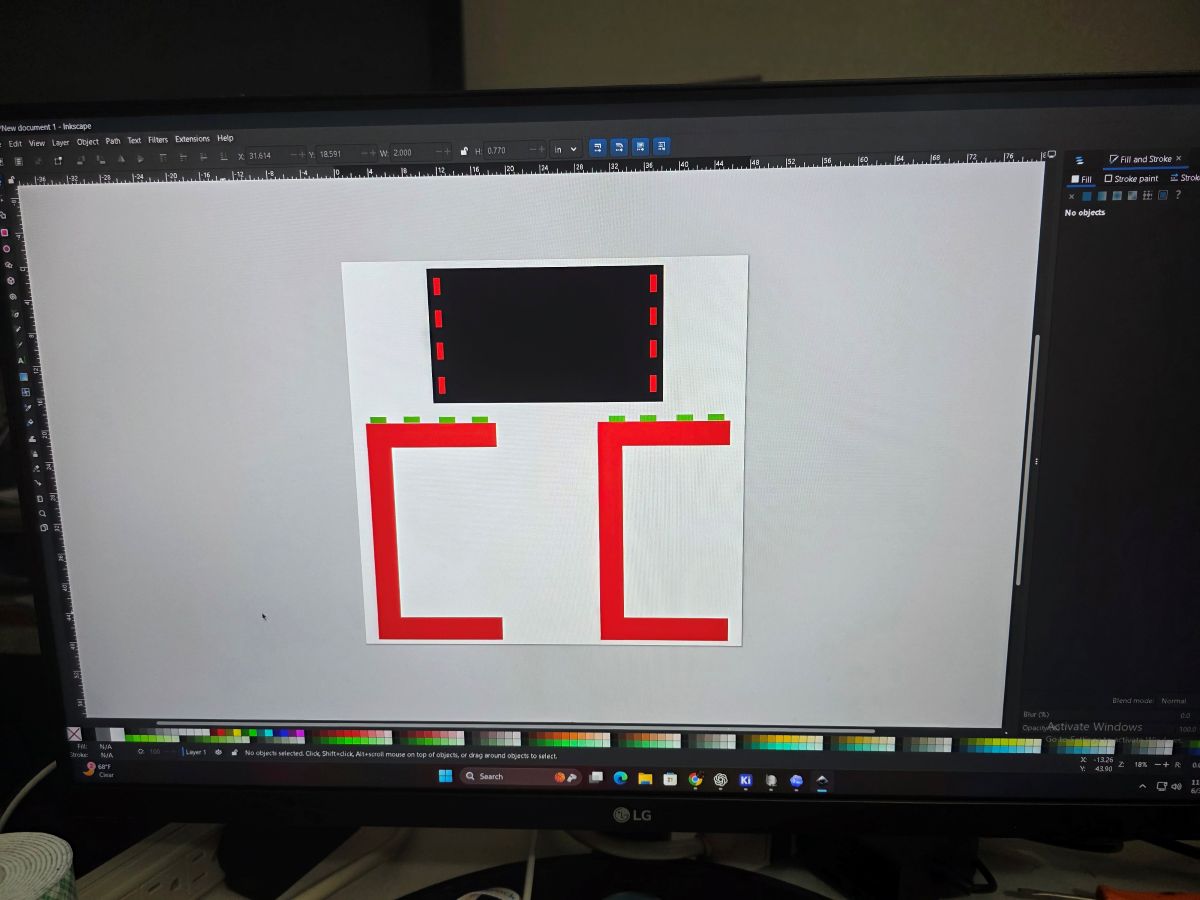
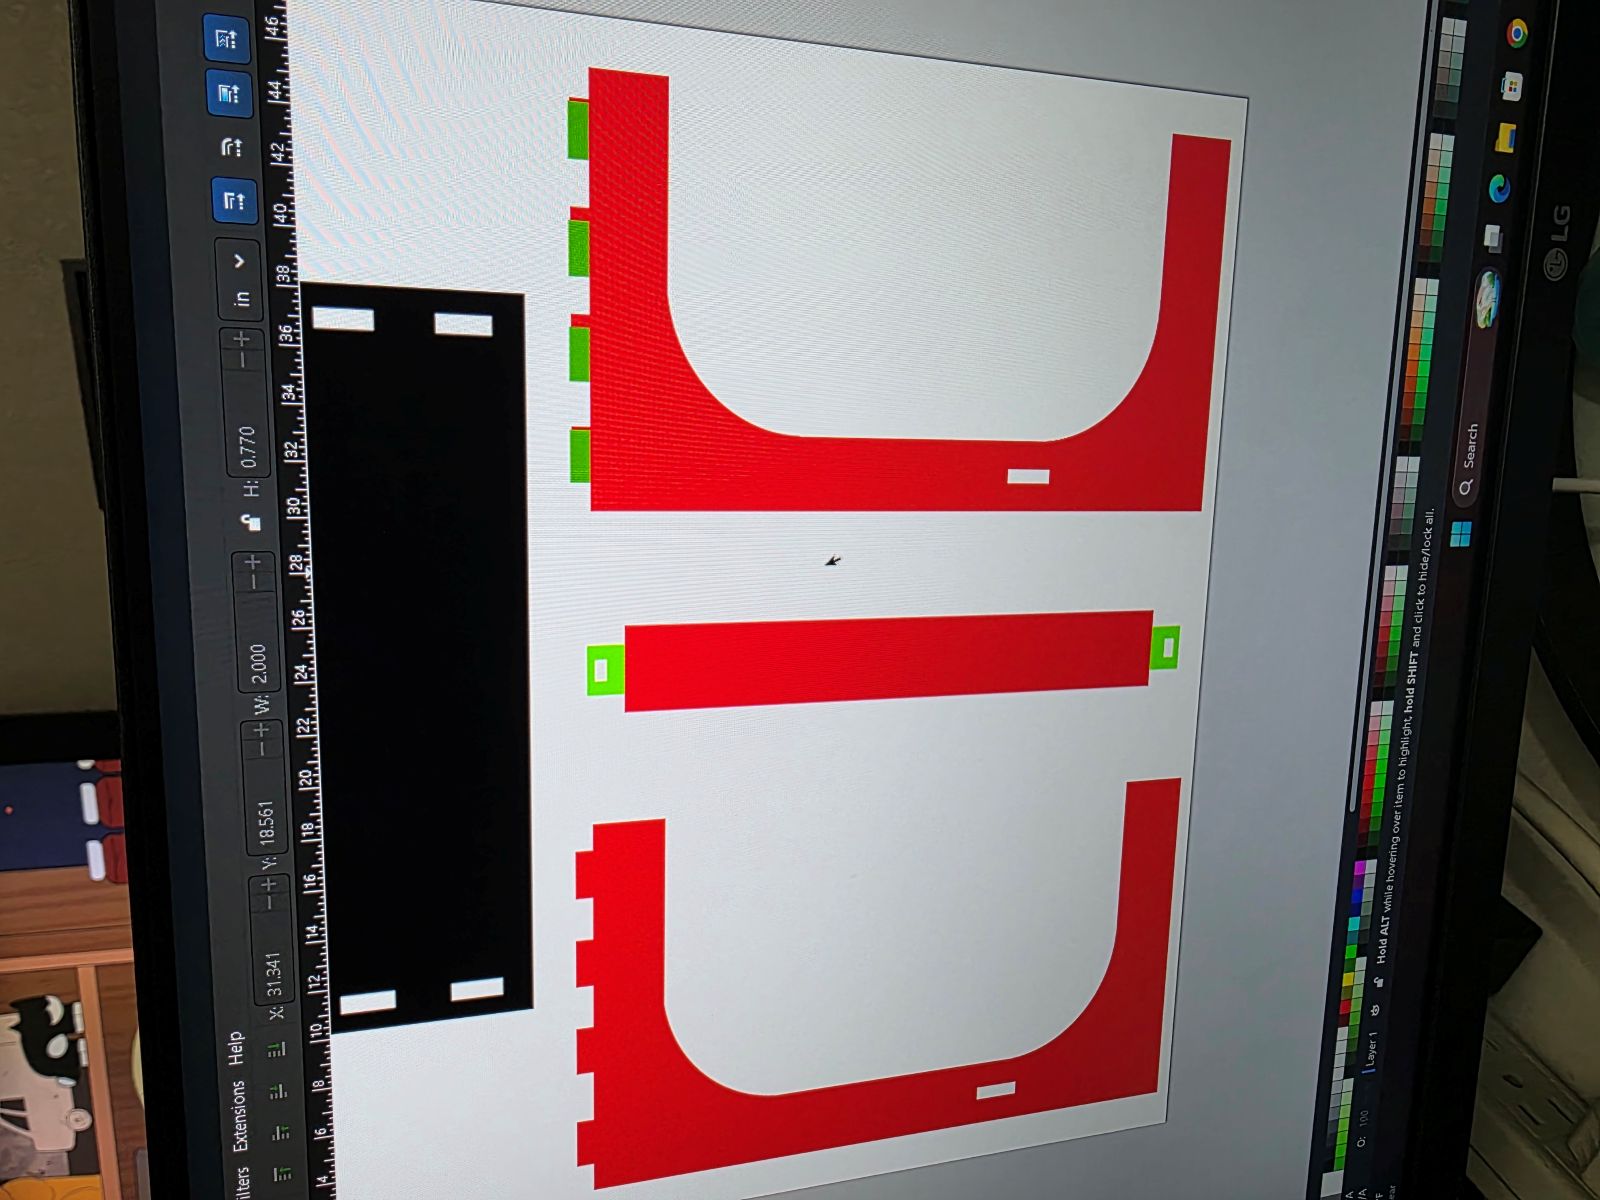
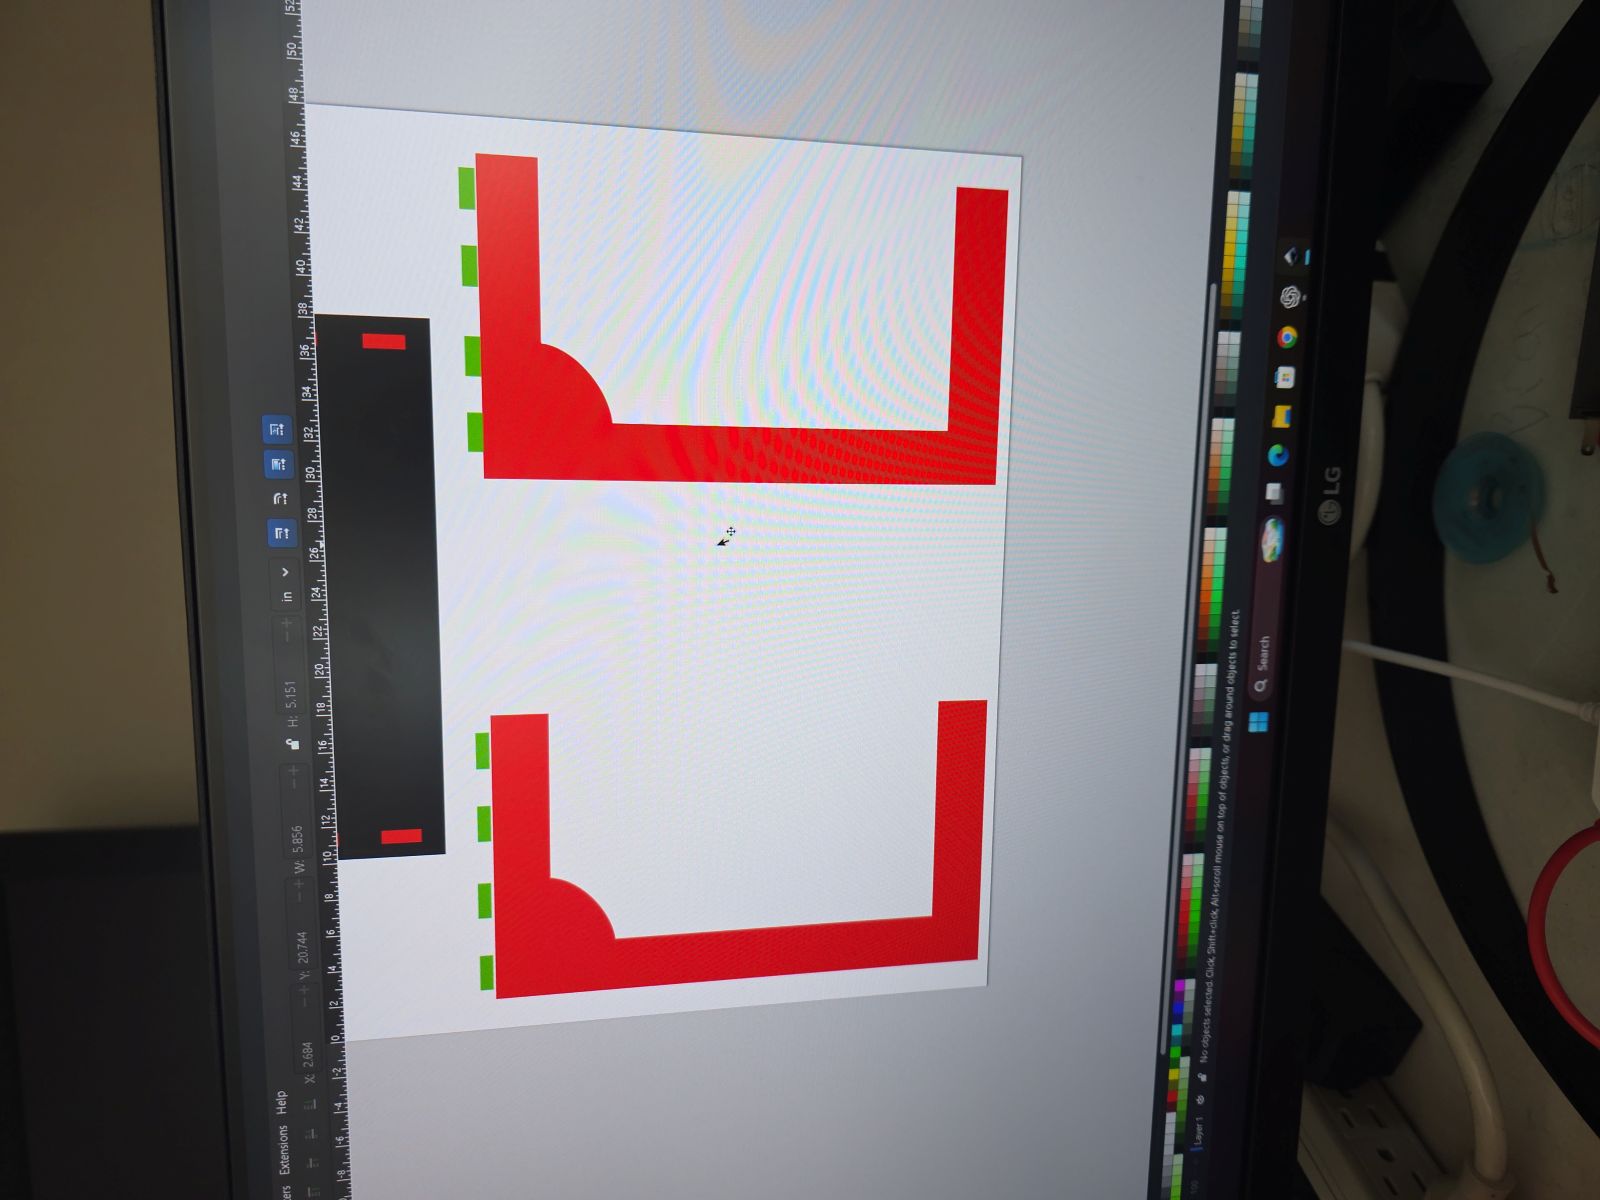
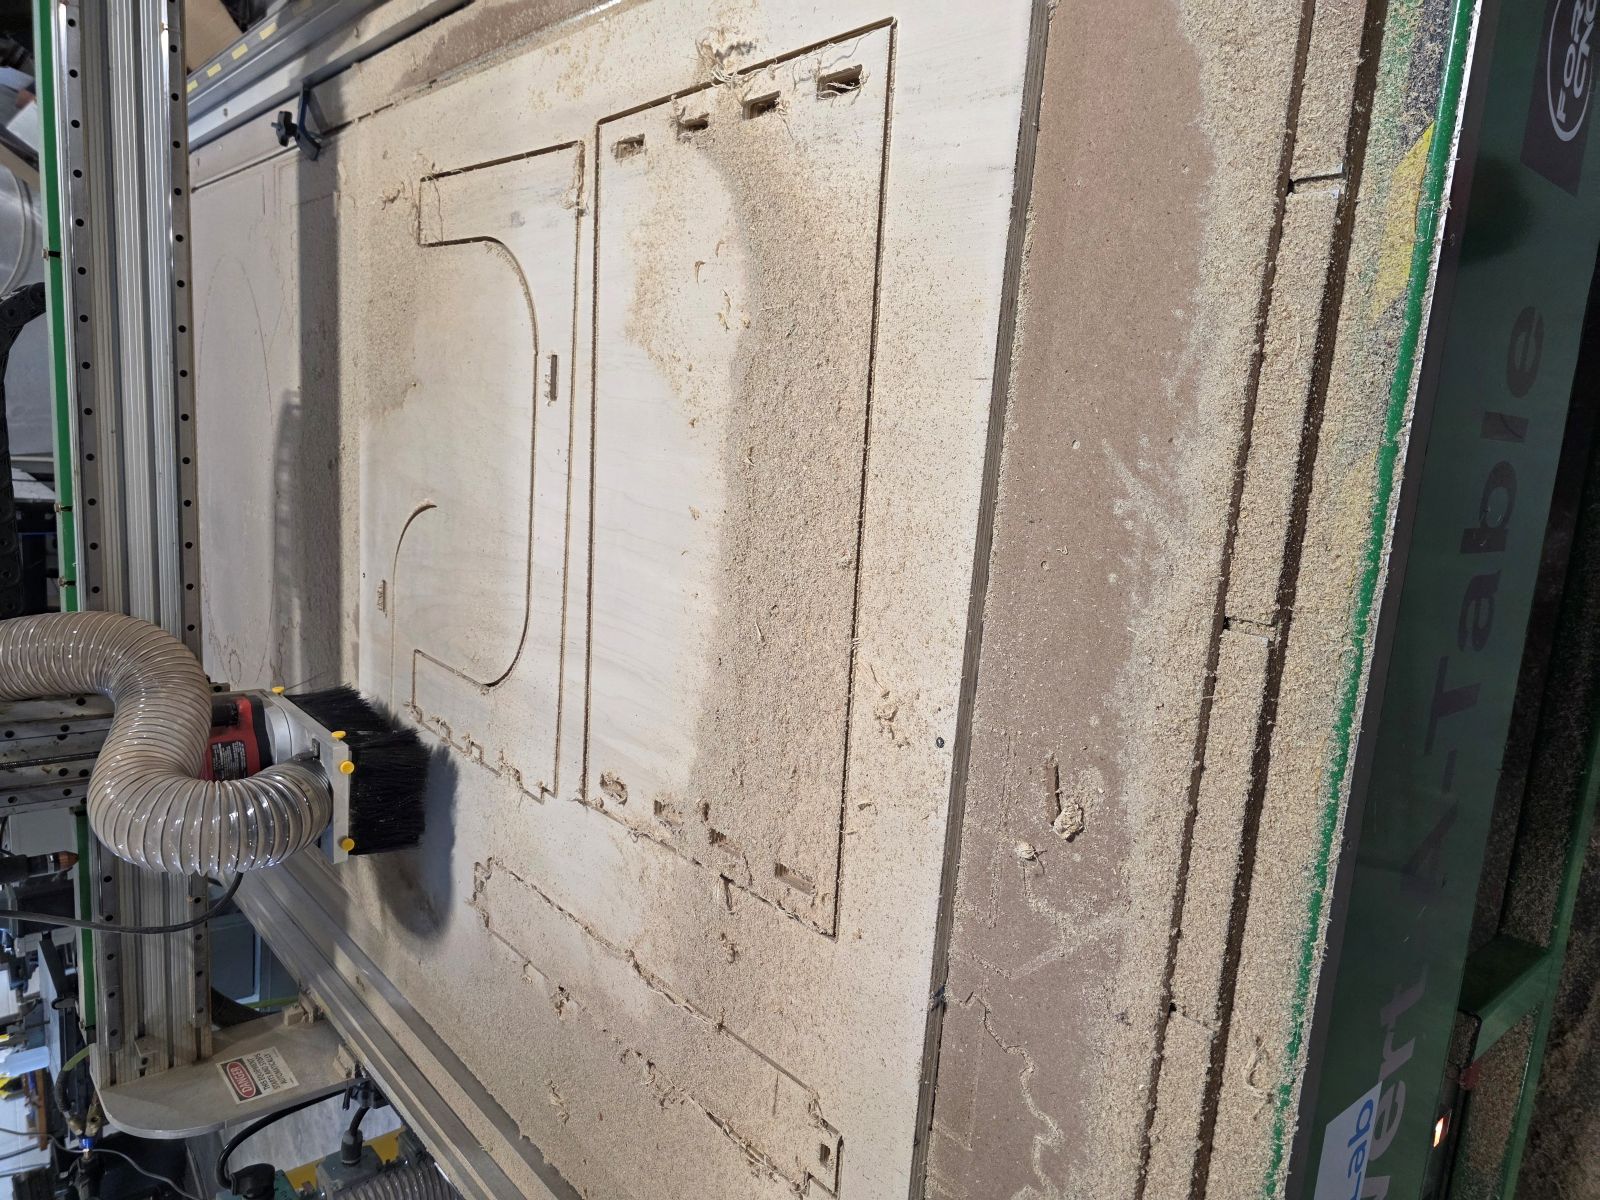
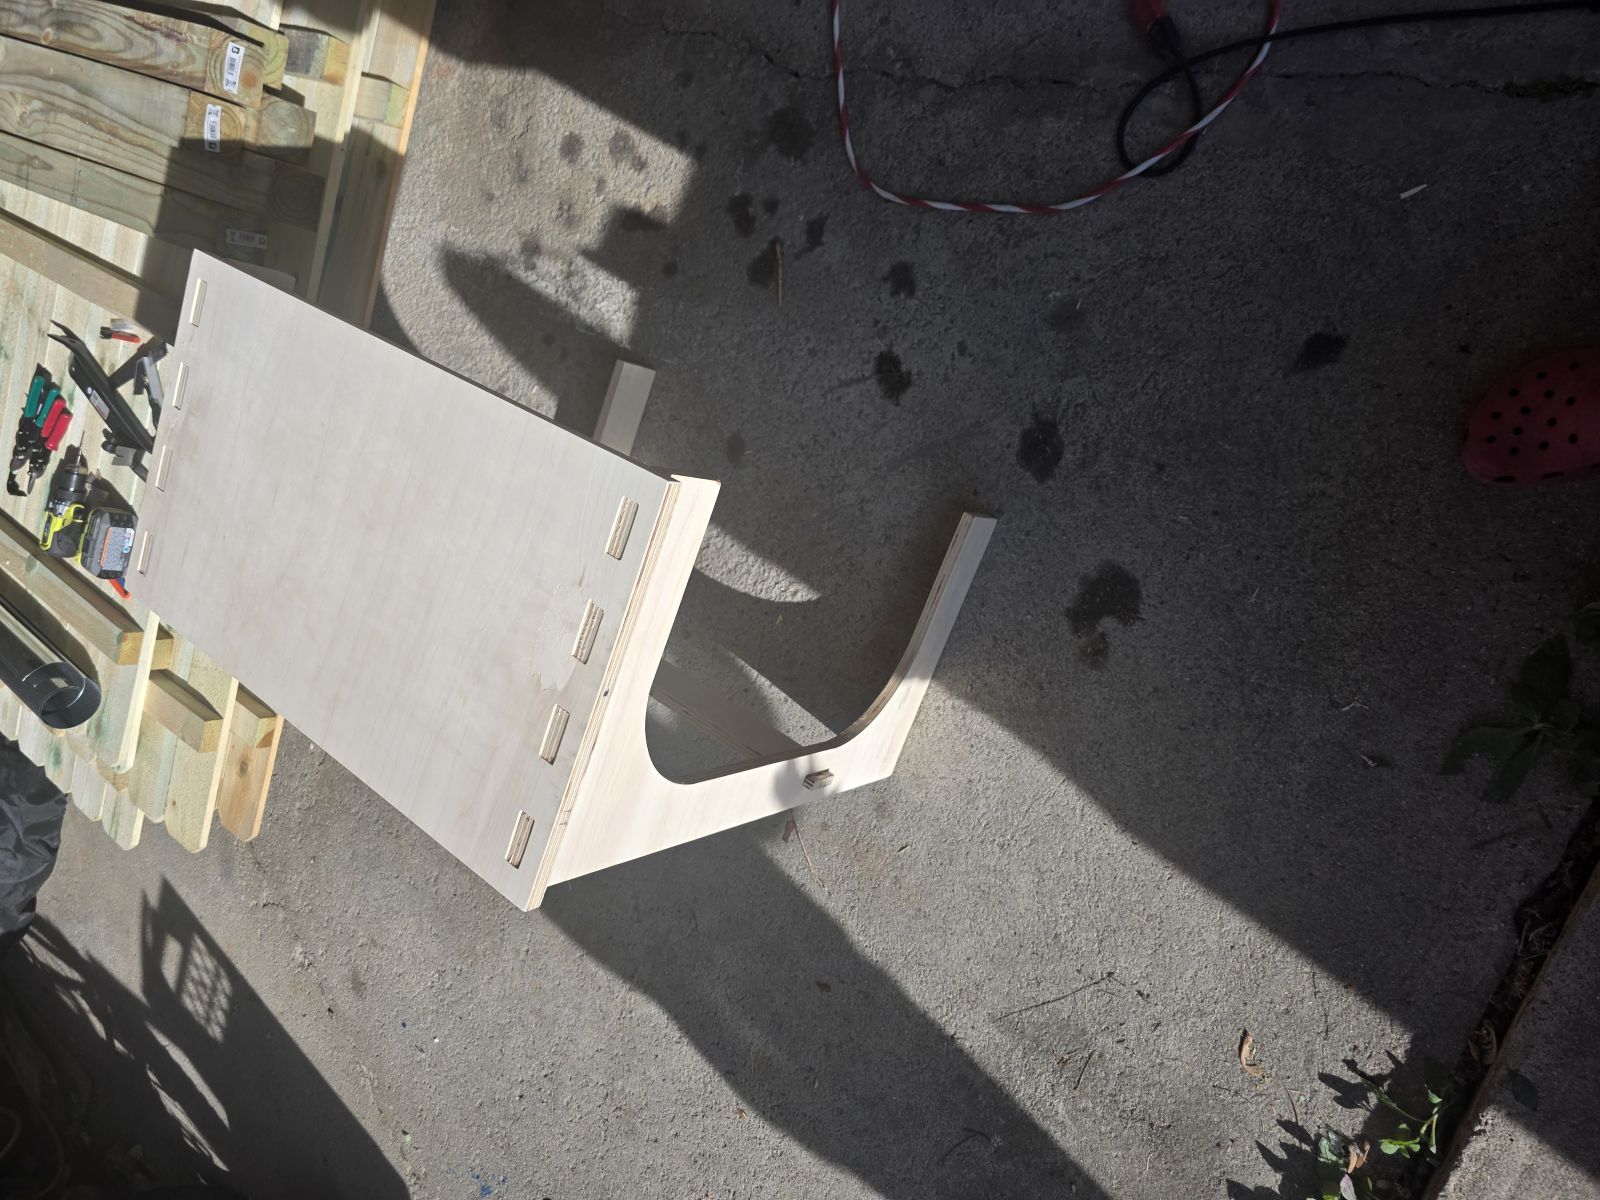
Adding the Inside Rounded Moon Curve
One thing I wanted was the inside curved C shape instead of just having square inside corners. In Inkscape, I added circles in the inside corners where I wanted the curve to be. Then I reused those circles as cutting shapes to remove the corner material. That made the corners round inward instead of outward and gave the design that moon-shaped C cutout.
This worked way better than trying to freehand the curve. The circles helped make the inside corners cleaner and more even before I cut them out of the final shape.
Exporting My Files
I made different file versions so I had options when I got to the CNC. I saved SVG, DXF, and CNC toolpath files on my thumb drive. I am glad I made multiple versions because the CNC software liked the DXF file better.
The software we used for the toolpaths was Vectric Cut2D. This let us bring in the DXF, check the layout, and make the CNC cutting paths.
Getting Access to a Big CNC
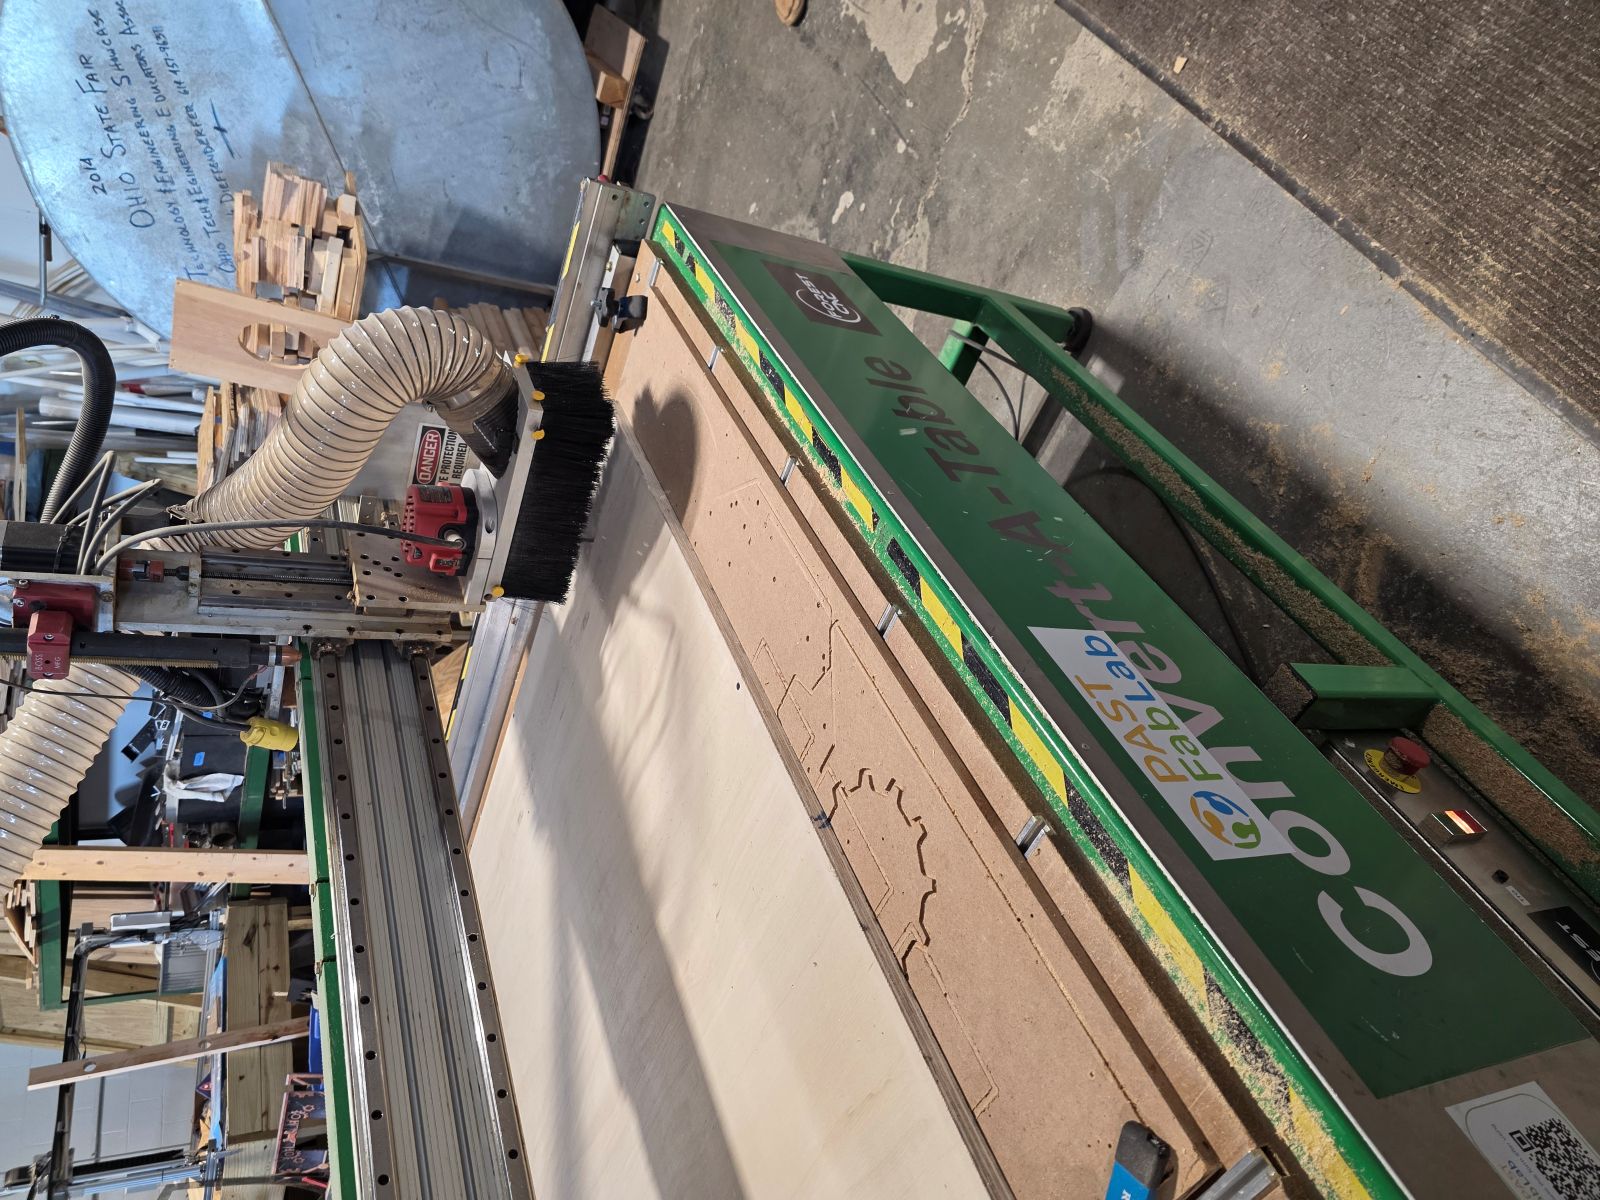
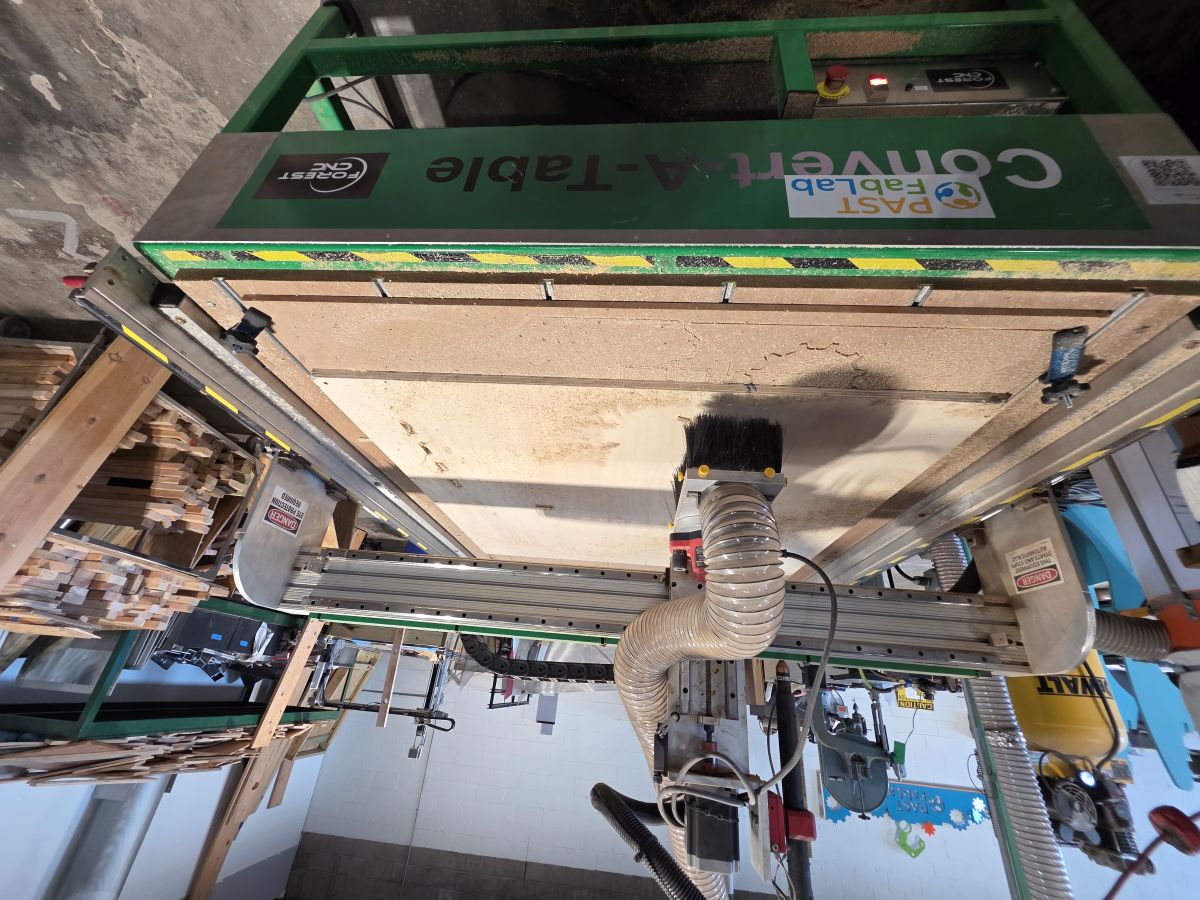
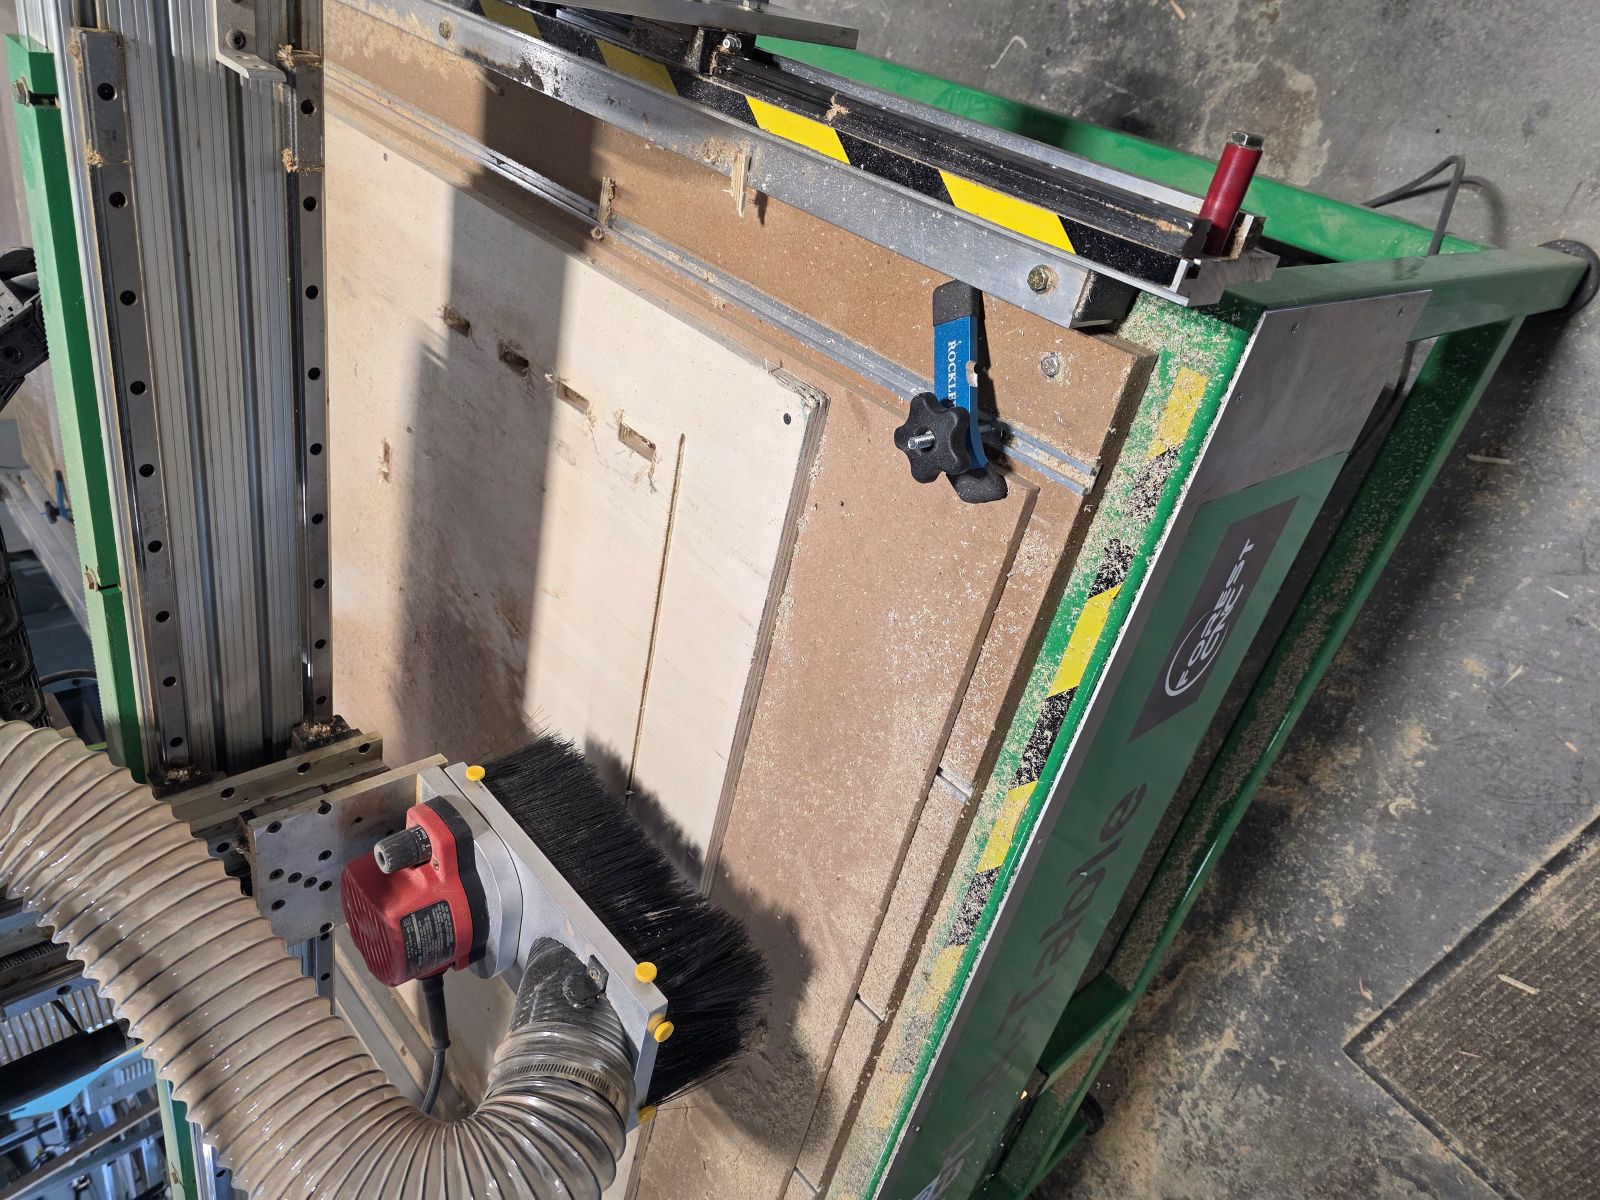
The biggest hurdle was getting access to a big enough CNC router. I did not have a large CNC table at my school, and the closer place near me wanted way too much money to cut it. So I went to Columbus to the PAST Foundation so I could use their CNC table.
Nikki helped me get set up, and then I worked with a young girl there who is going to be a senior in high school. She was super smart and showed me how their CNC workflow worked.
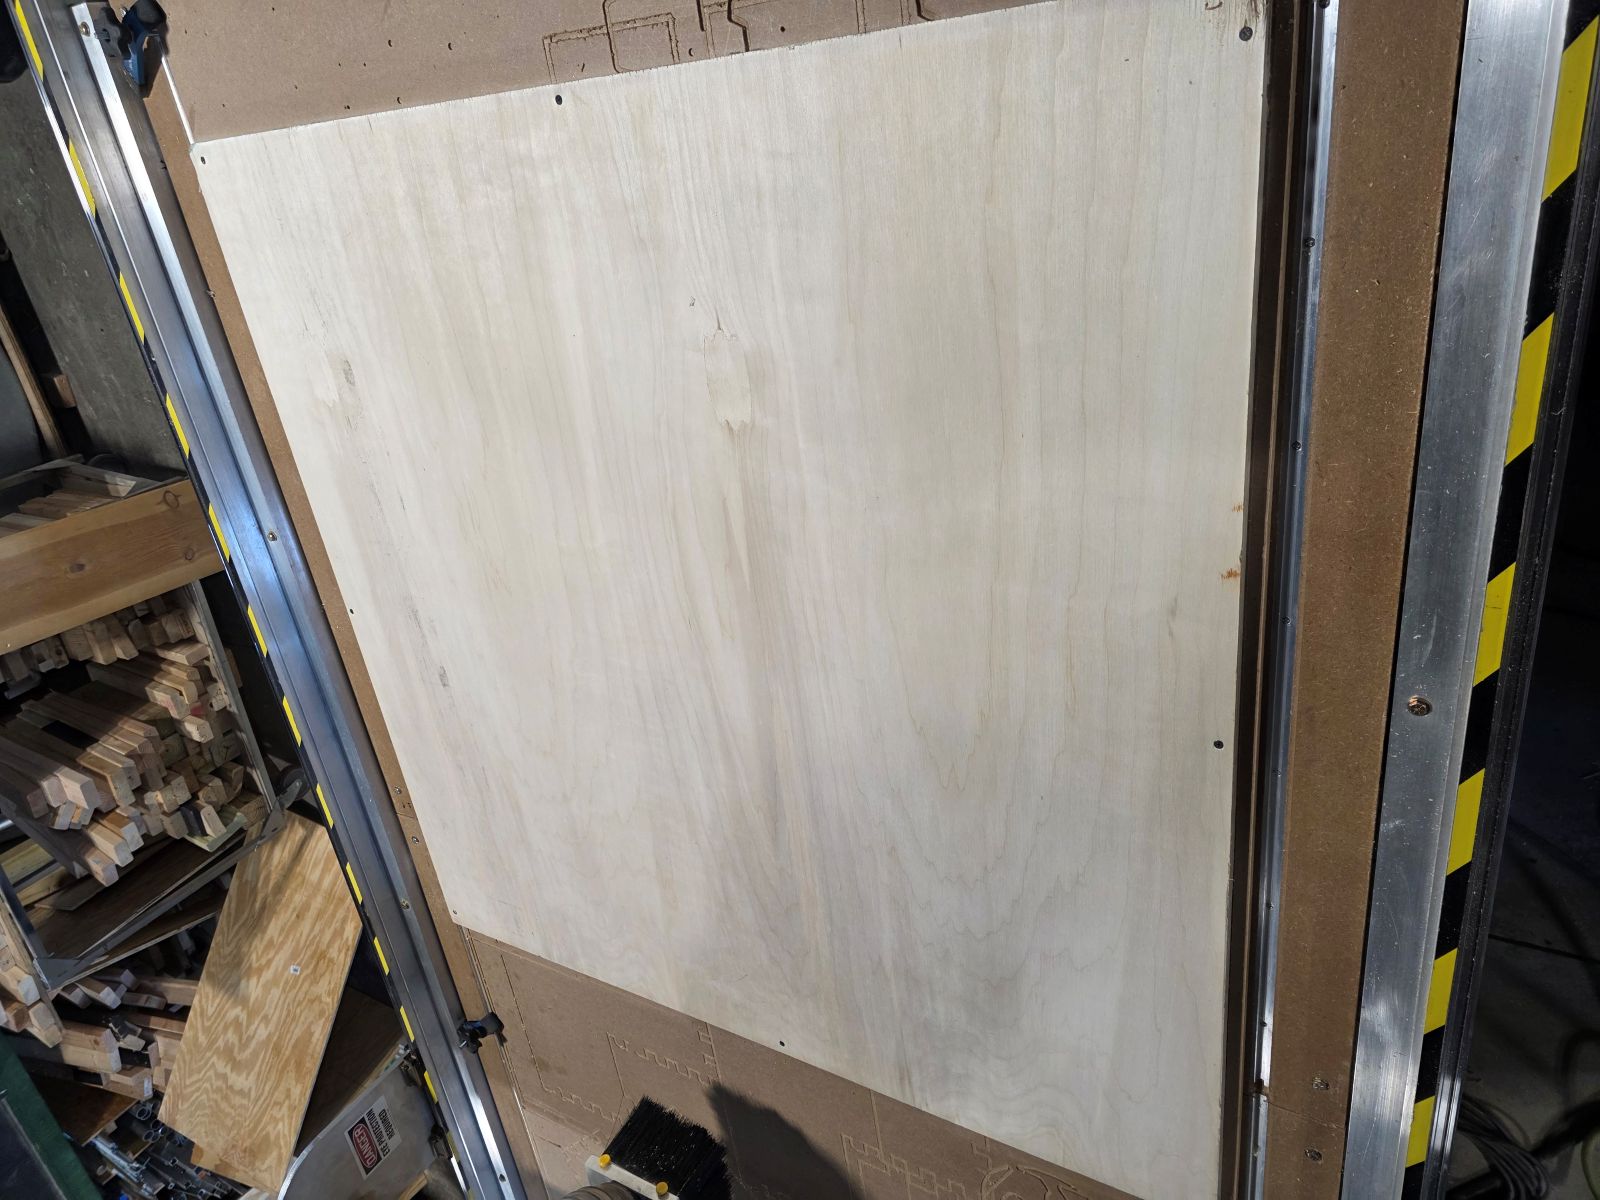
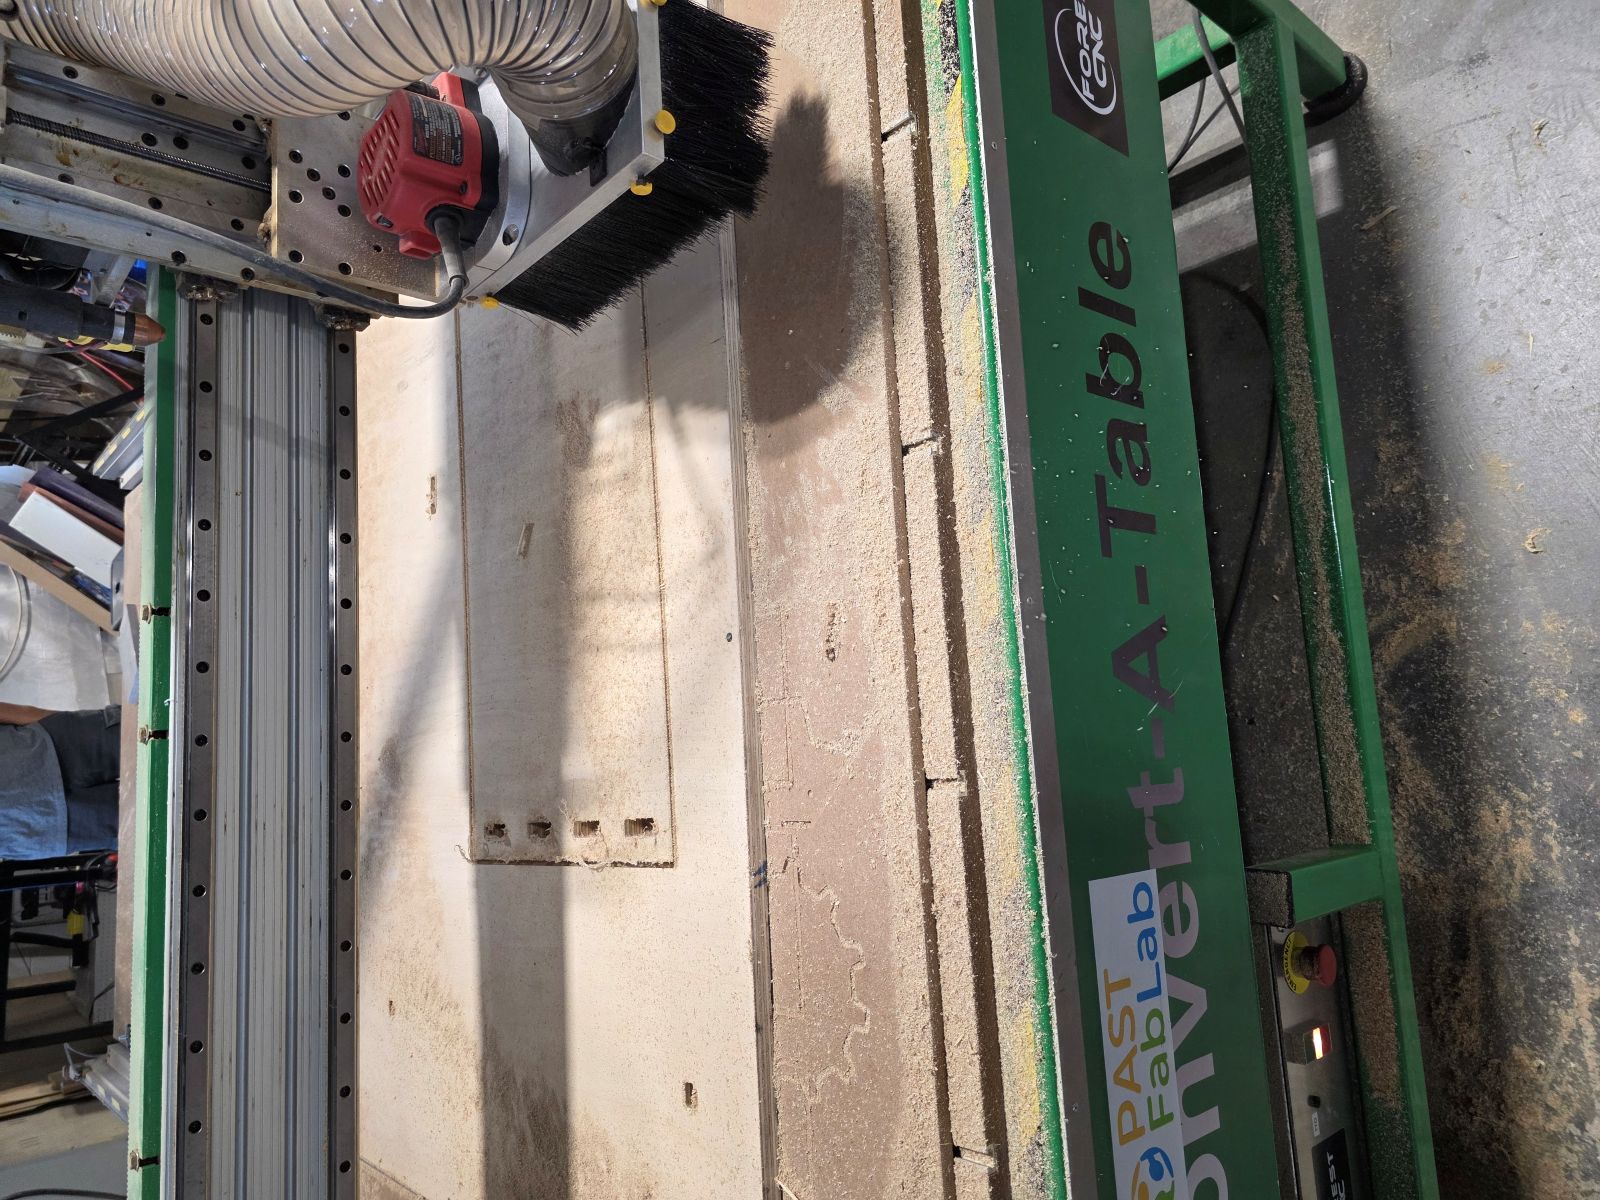
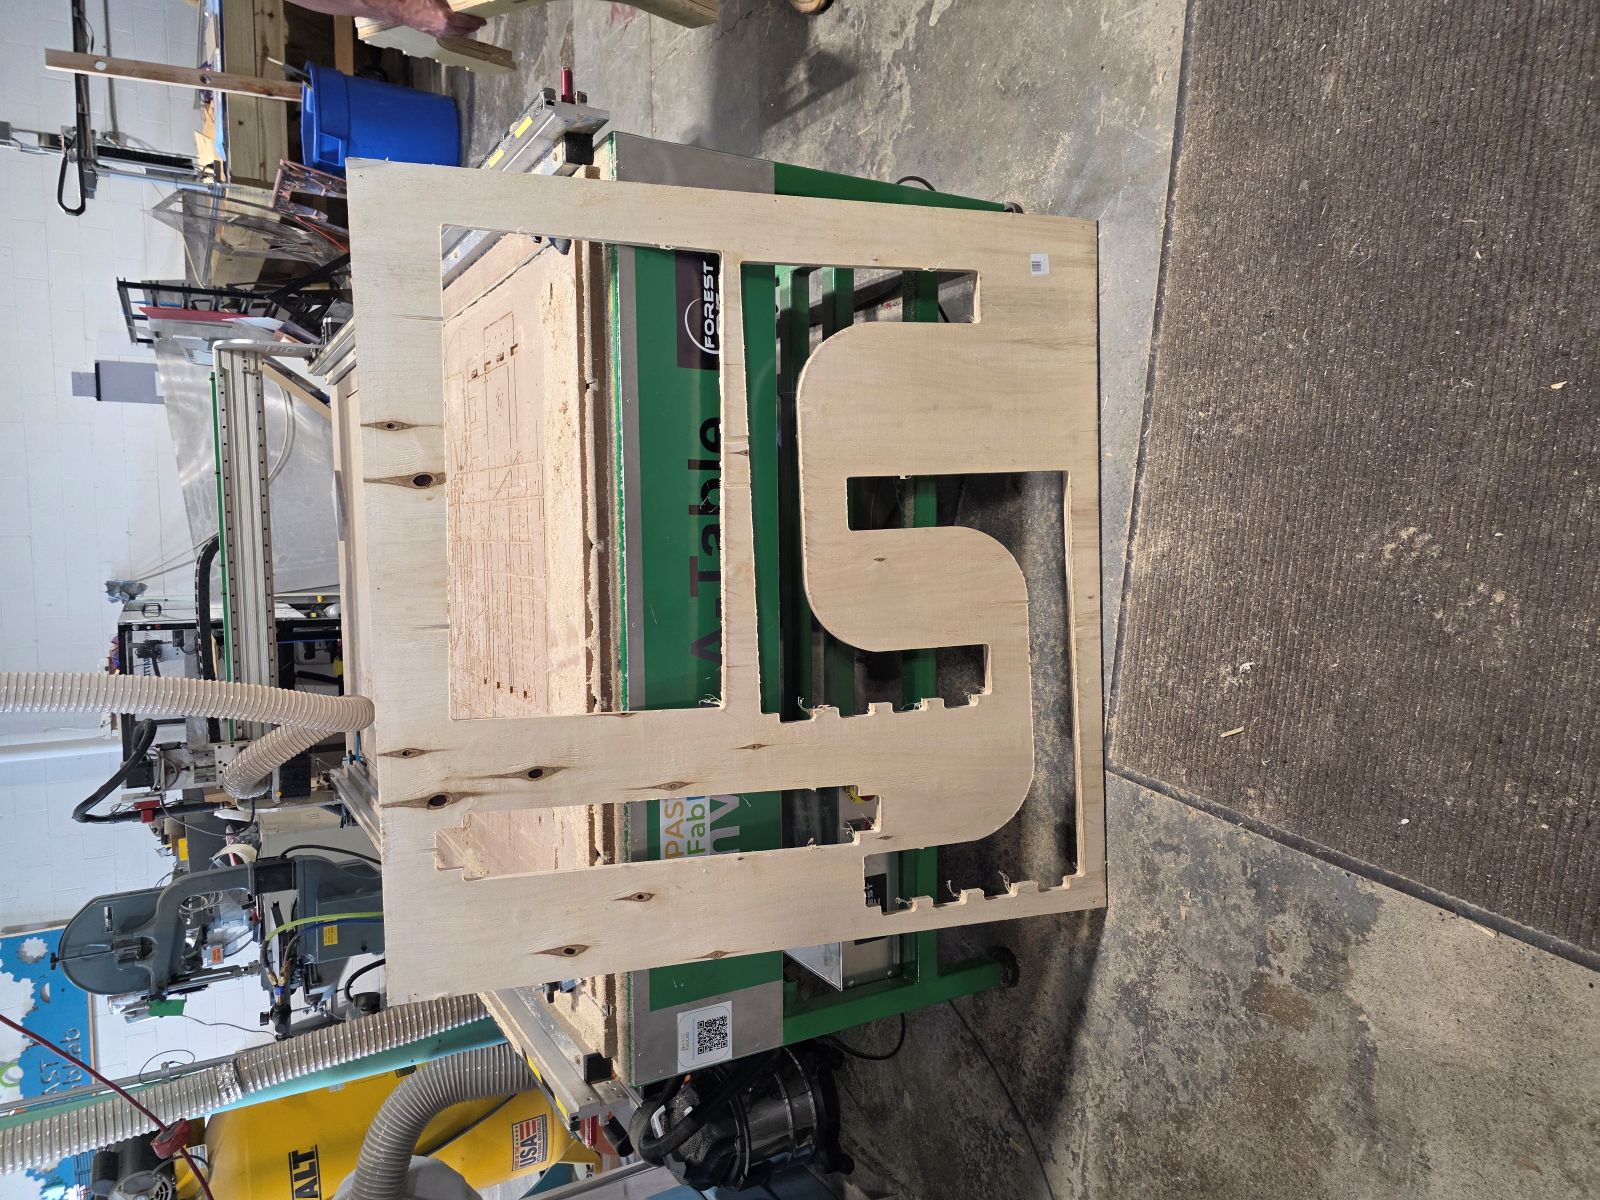
Setting Up the Plywood
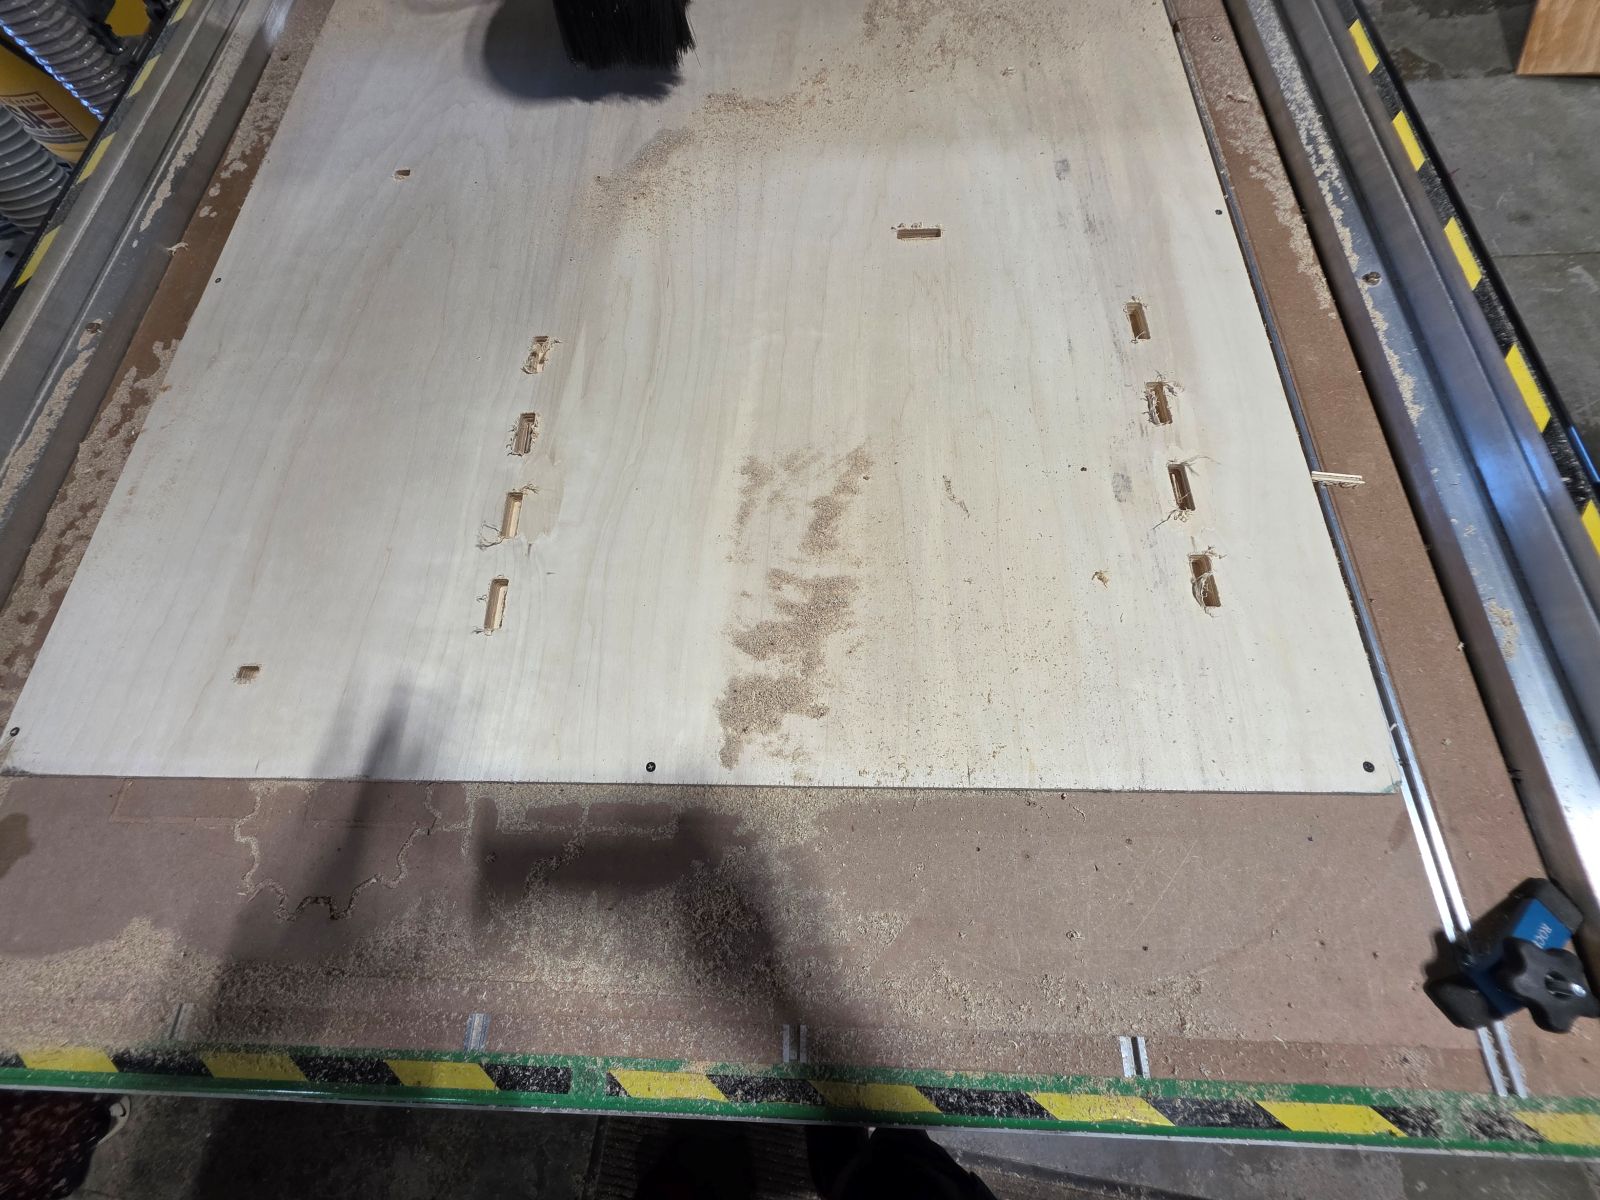
The material was a 4x4 sheet of 3/4 inch plywood. It was actually pretty nice wood. We put the plywood on the CNC table and screwed it down so it would not move while cutting.
After that, we used the little square touch pad sensor so the CNC could set the bit height. Then I manually moved the CNC over to the right corner of the plywood and zeroed it out.
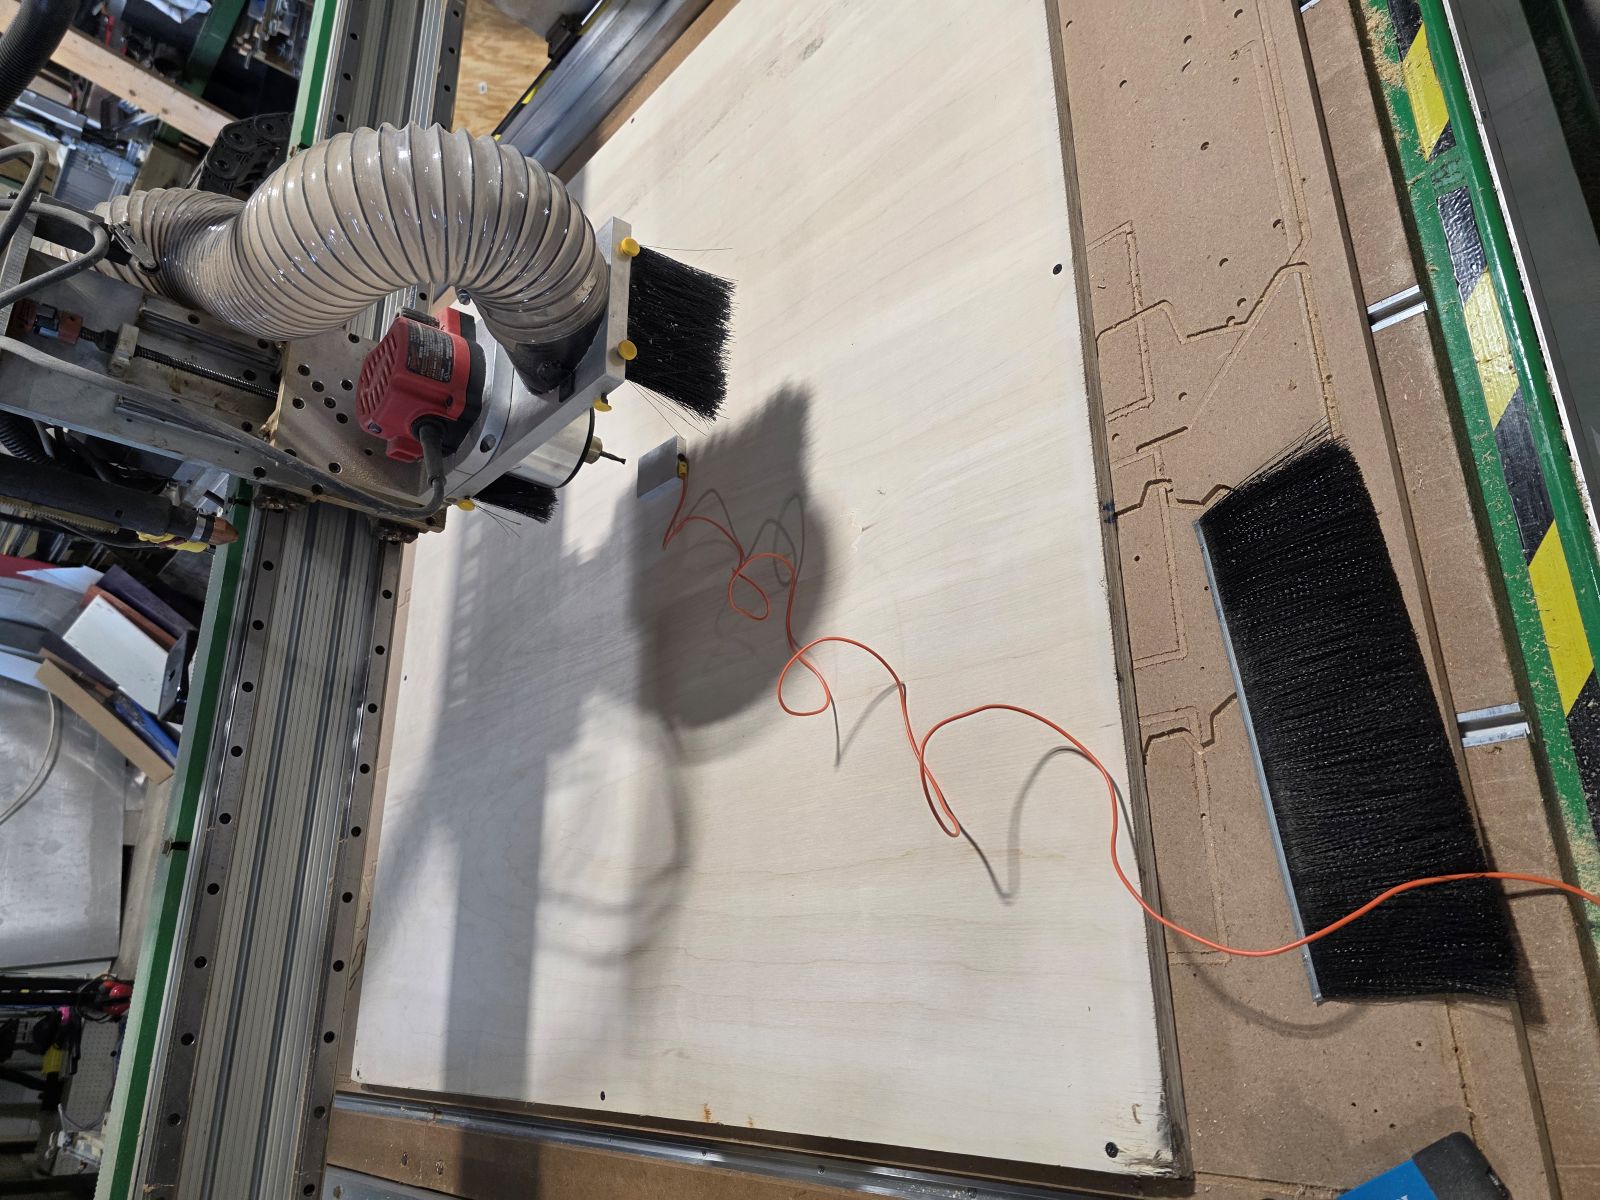
Making the Toolpaths
We made two separate toolpaths. The first toolpath cut the inside holes and slots. The second toolpath cut the outside profile of each part. We cut the holes first because if the outside was cut first, the parts could move around and mess up the hole cuts.
I also had to add tabs to the outside cuts. The tabs kept the parts connected to the plywood sheet so they would not fly up or move when the CNC finished cutting around them.
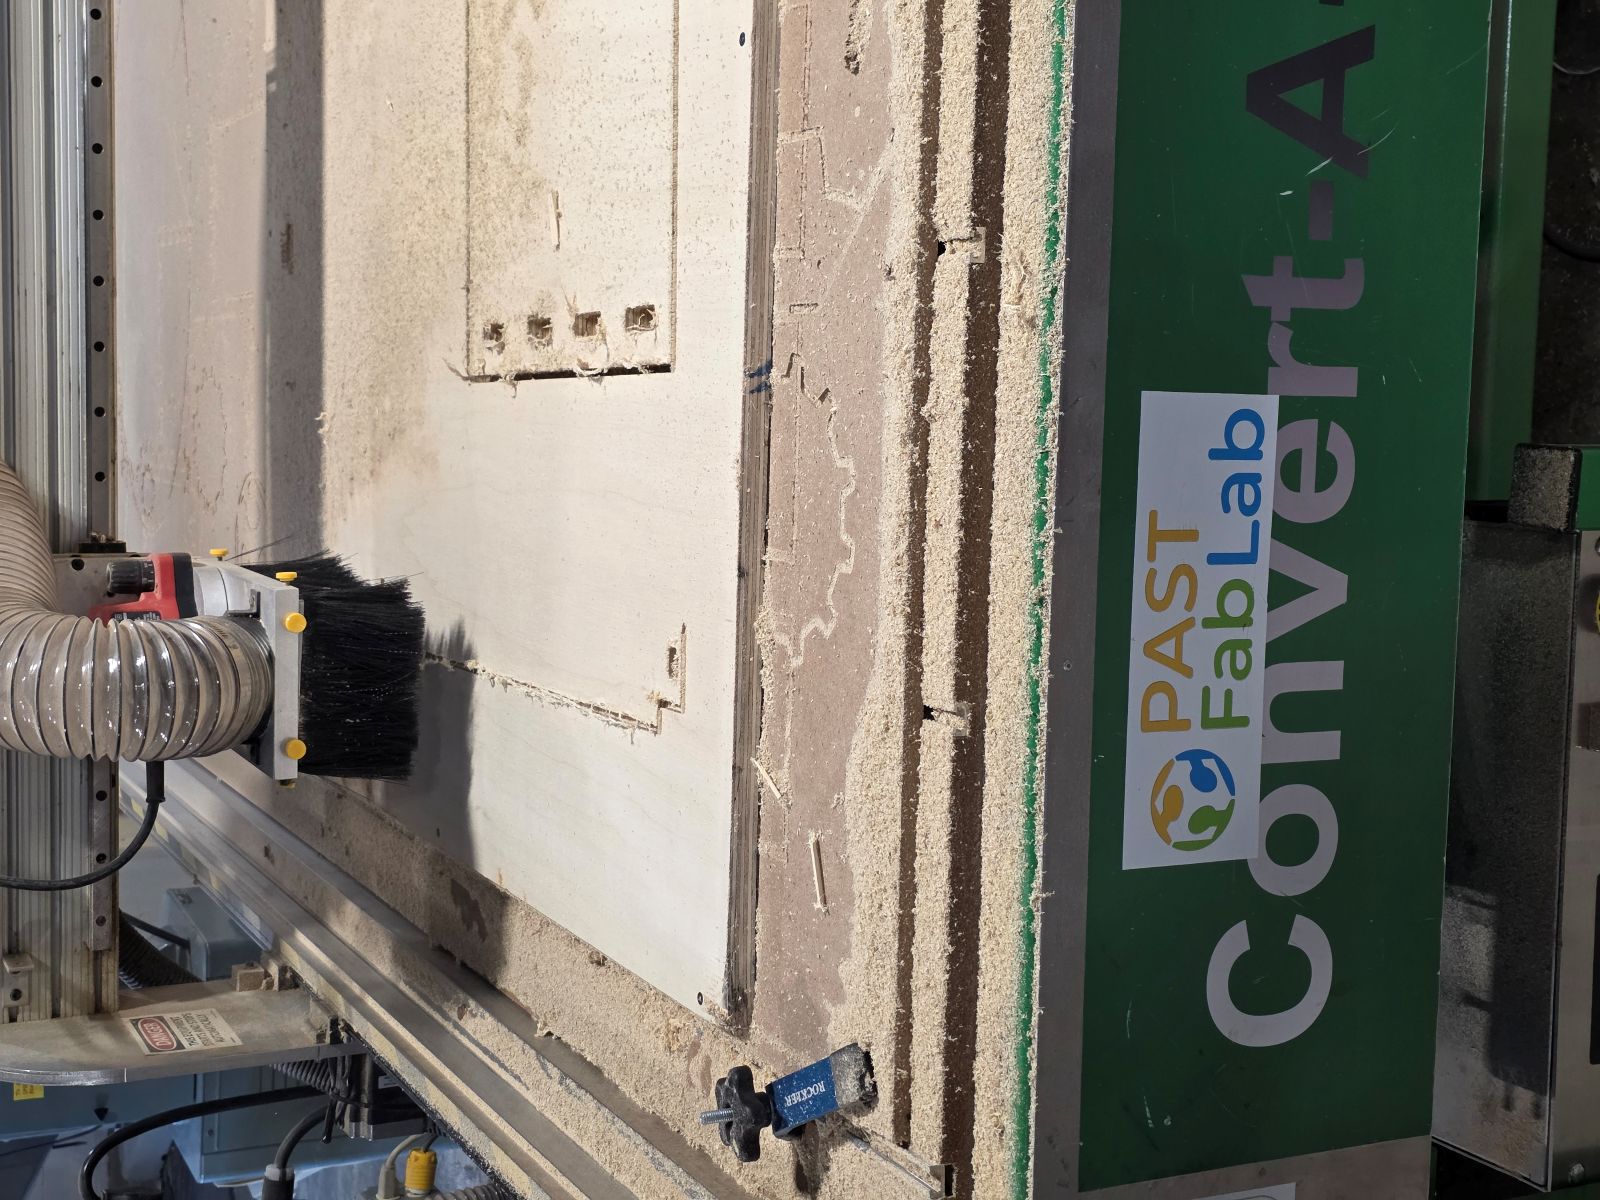
First Cut Problem
Our first cut did not go all the way through. The cut depth was set at 0.708, but that was not deep enough for the plywood. You could see the holes were cut, but they were not fully through the board.
Instead of guessing forever, we changed the cut depth to 0.720. That went all the way through and worked much better.
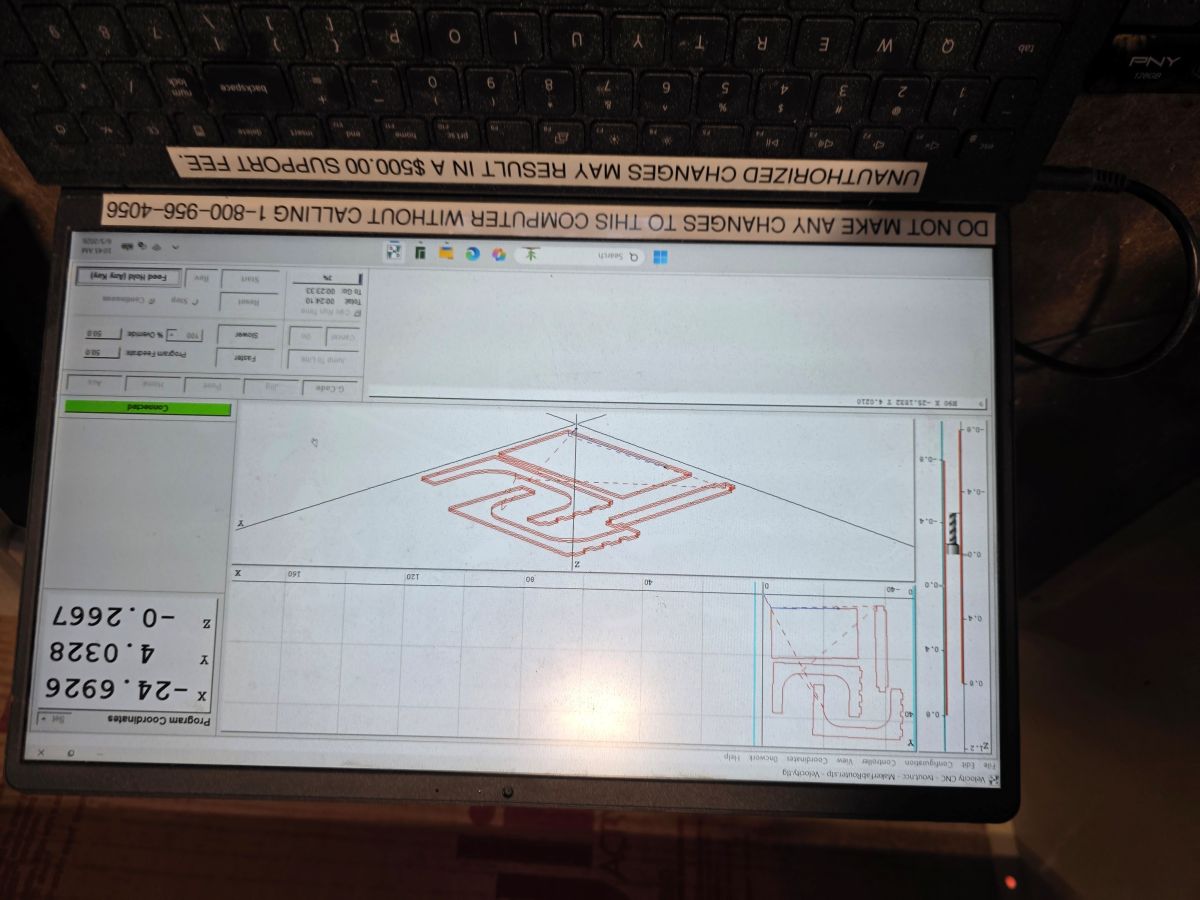
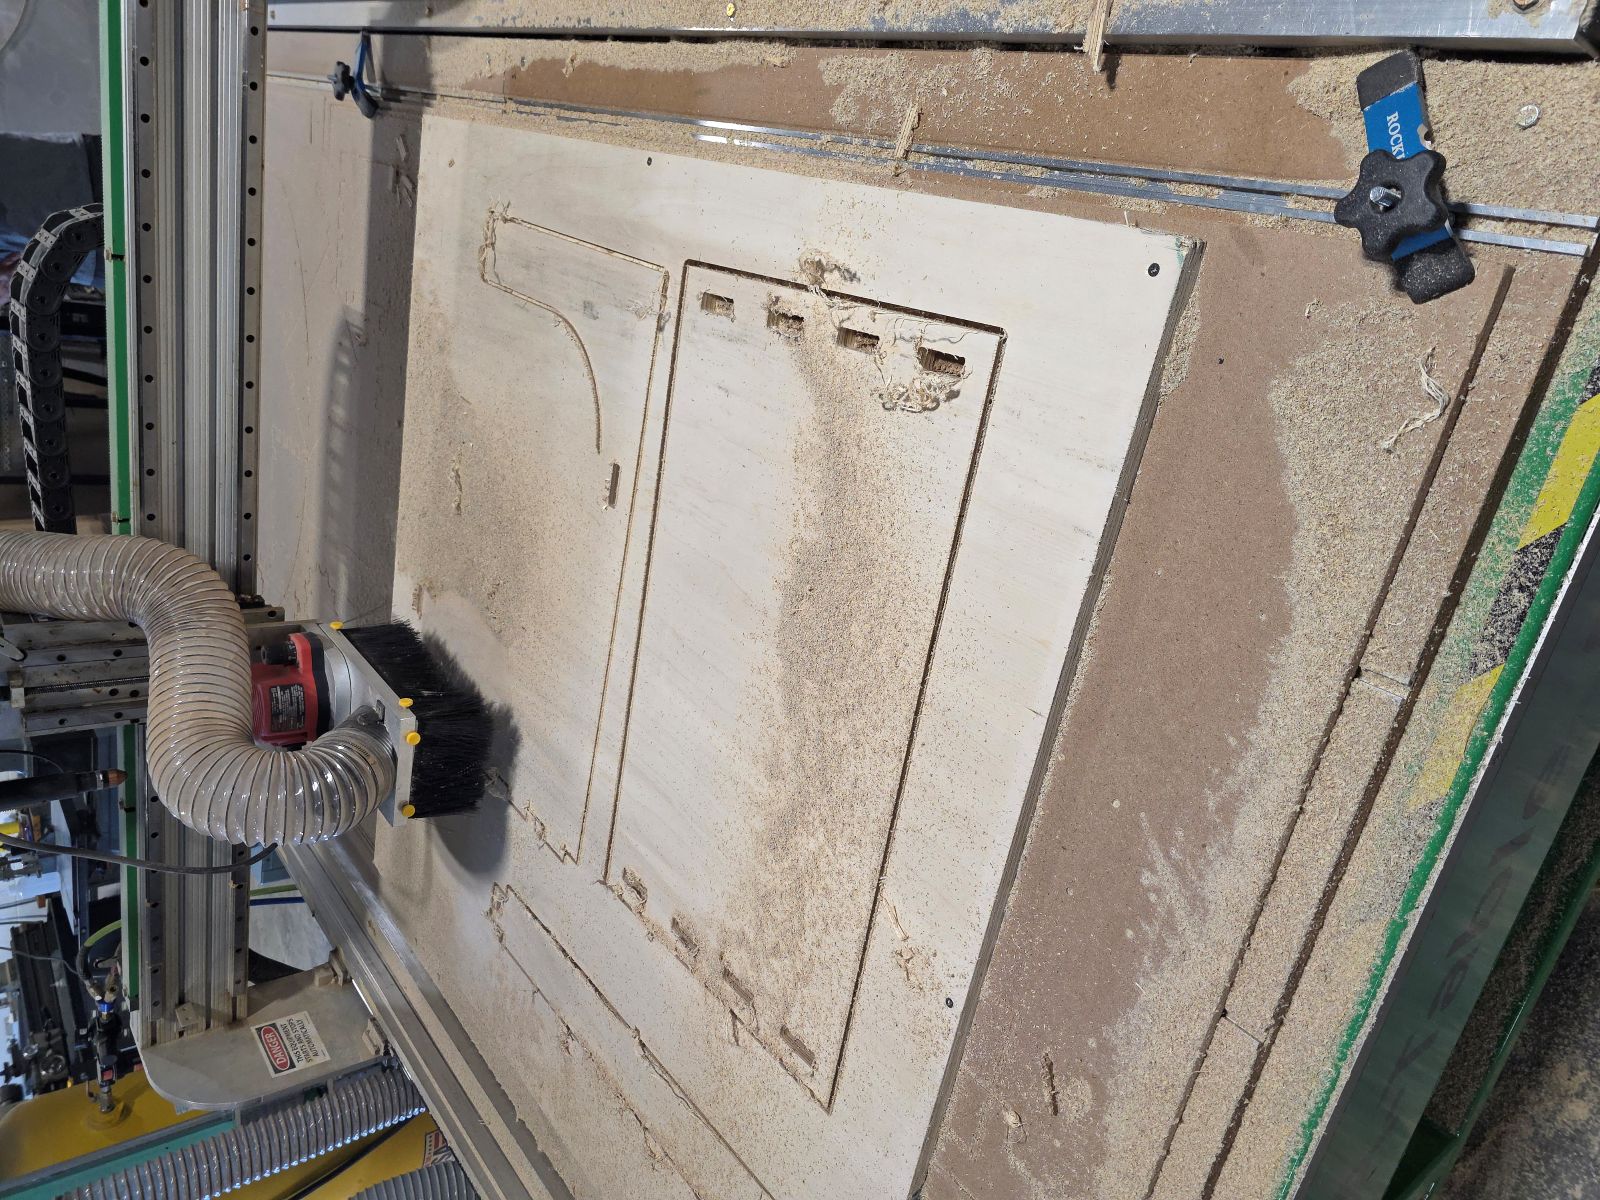
Milling the Final Parts
Once the depth was fixed, the CNC started cutting everything correctly. We used two passes for the holes and two passes for the outside cuts. The machine cut the inside holes first, then it cut the outside profiles with tabs.
This was the best part because the design finally became real. After all the measuring, drawing, exporting, and setting up, I finally got to watch the CNC table cut out my actual TV tray parts.
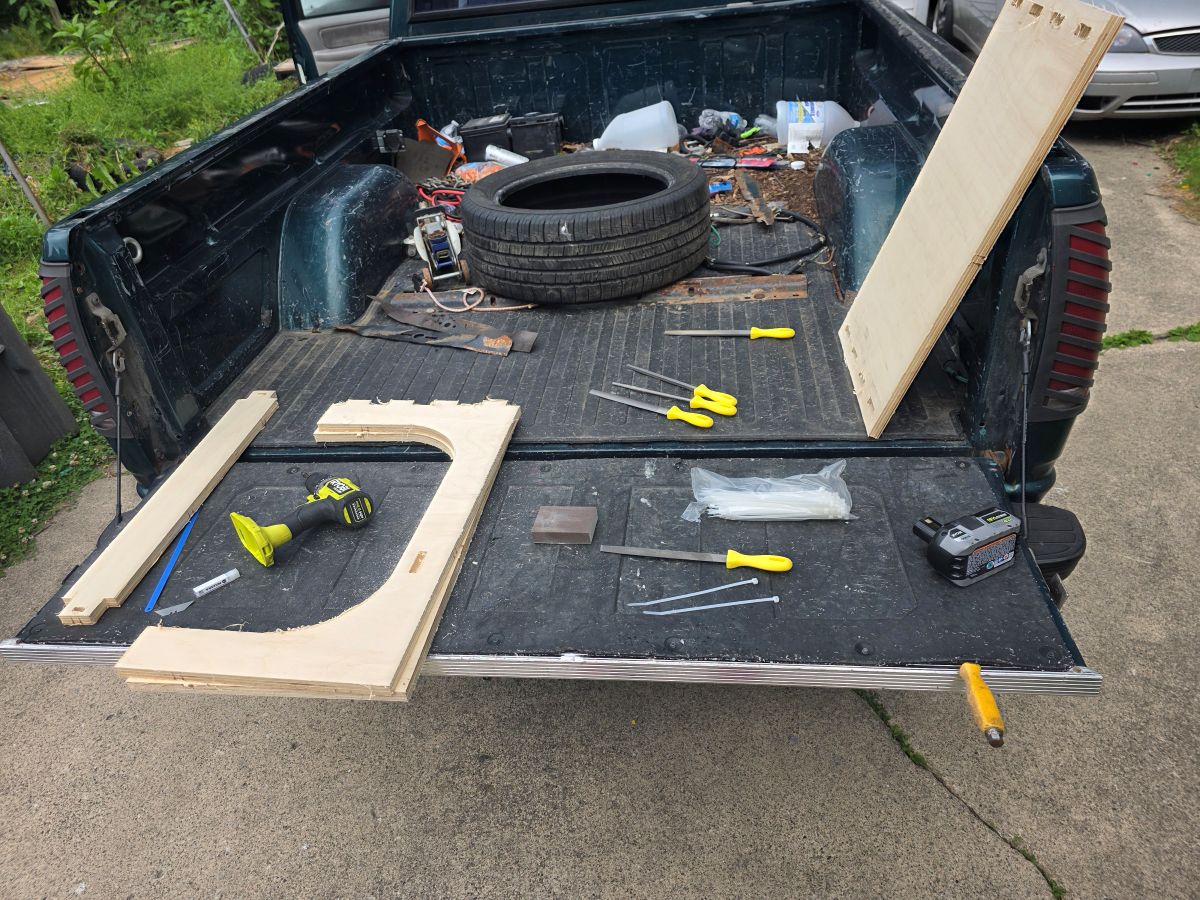
Cleaning Up the Parts
After the CNC was done, we popped the parts out, cleaned up, and I headed home. Once I got home, I started filing and sanding all the pieces.
The cut left a lot of stringy material hanging off the edges. I think the bit may have needed changed or sharpened. I used my grinder with a flap disk and that cleaned the edges up fast. I also had to hand file the inside of the holes because the CNC bit made the inside corners rounded. Since my parts needed to fit tight, I had to square and clean up those spots by hand.
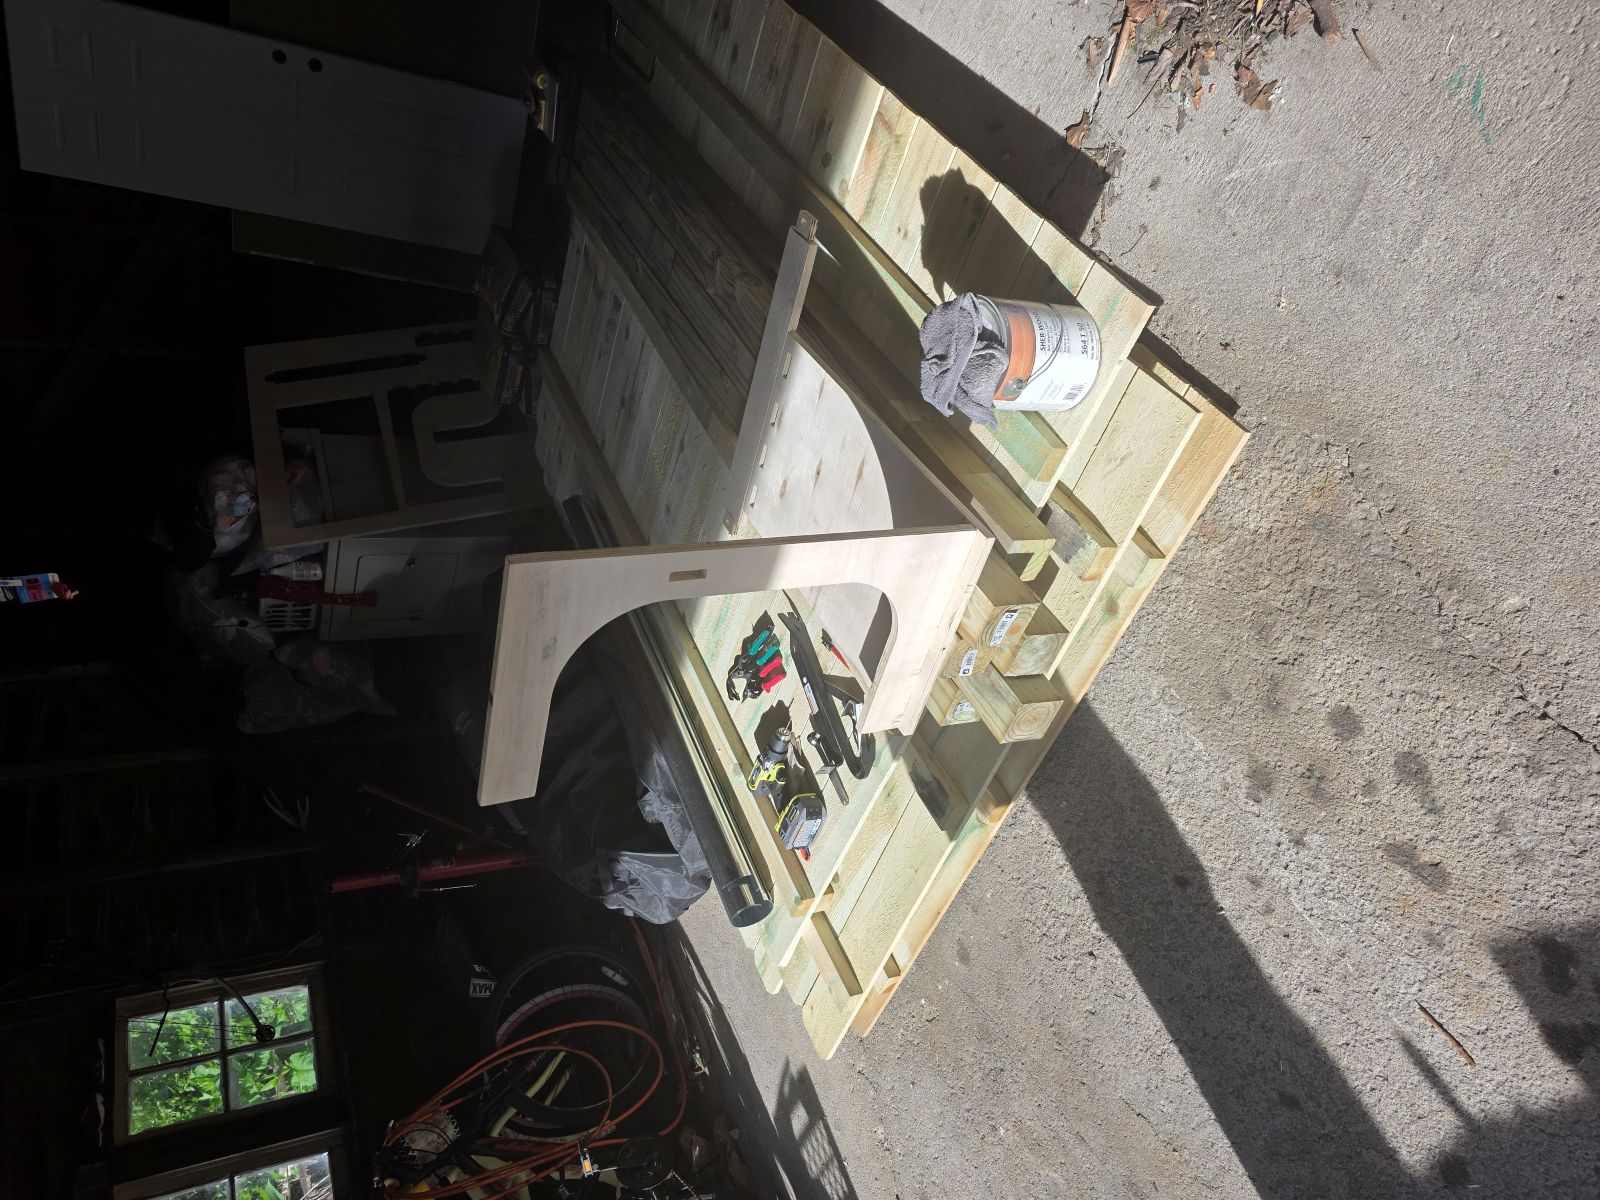
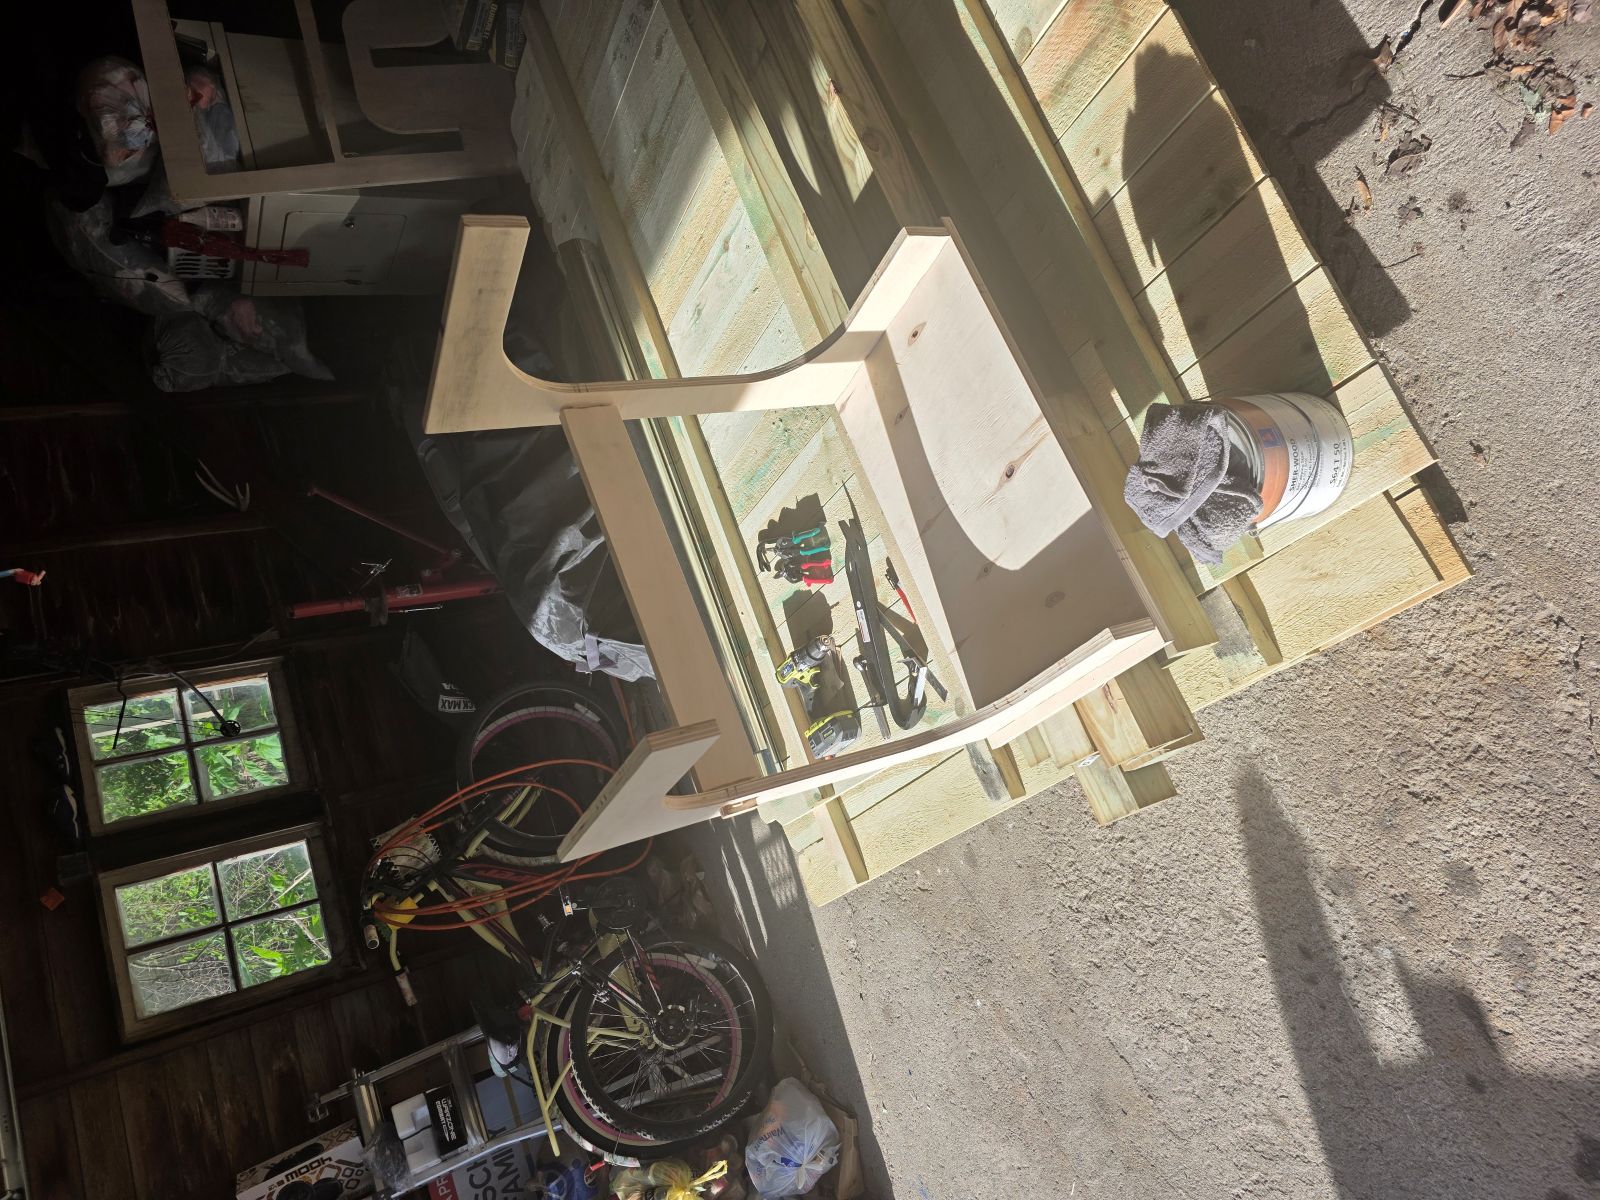
Assembly
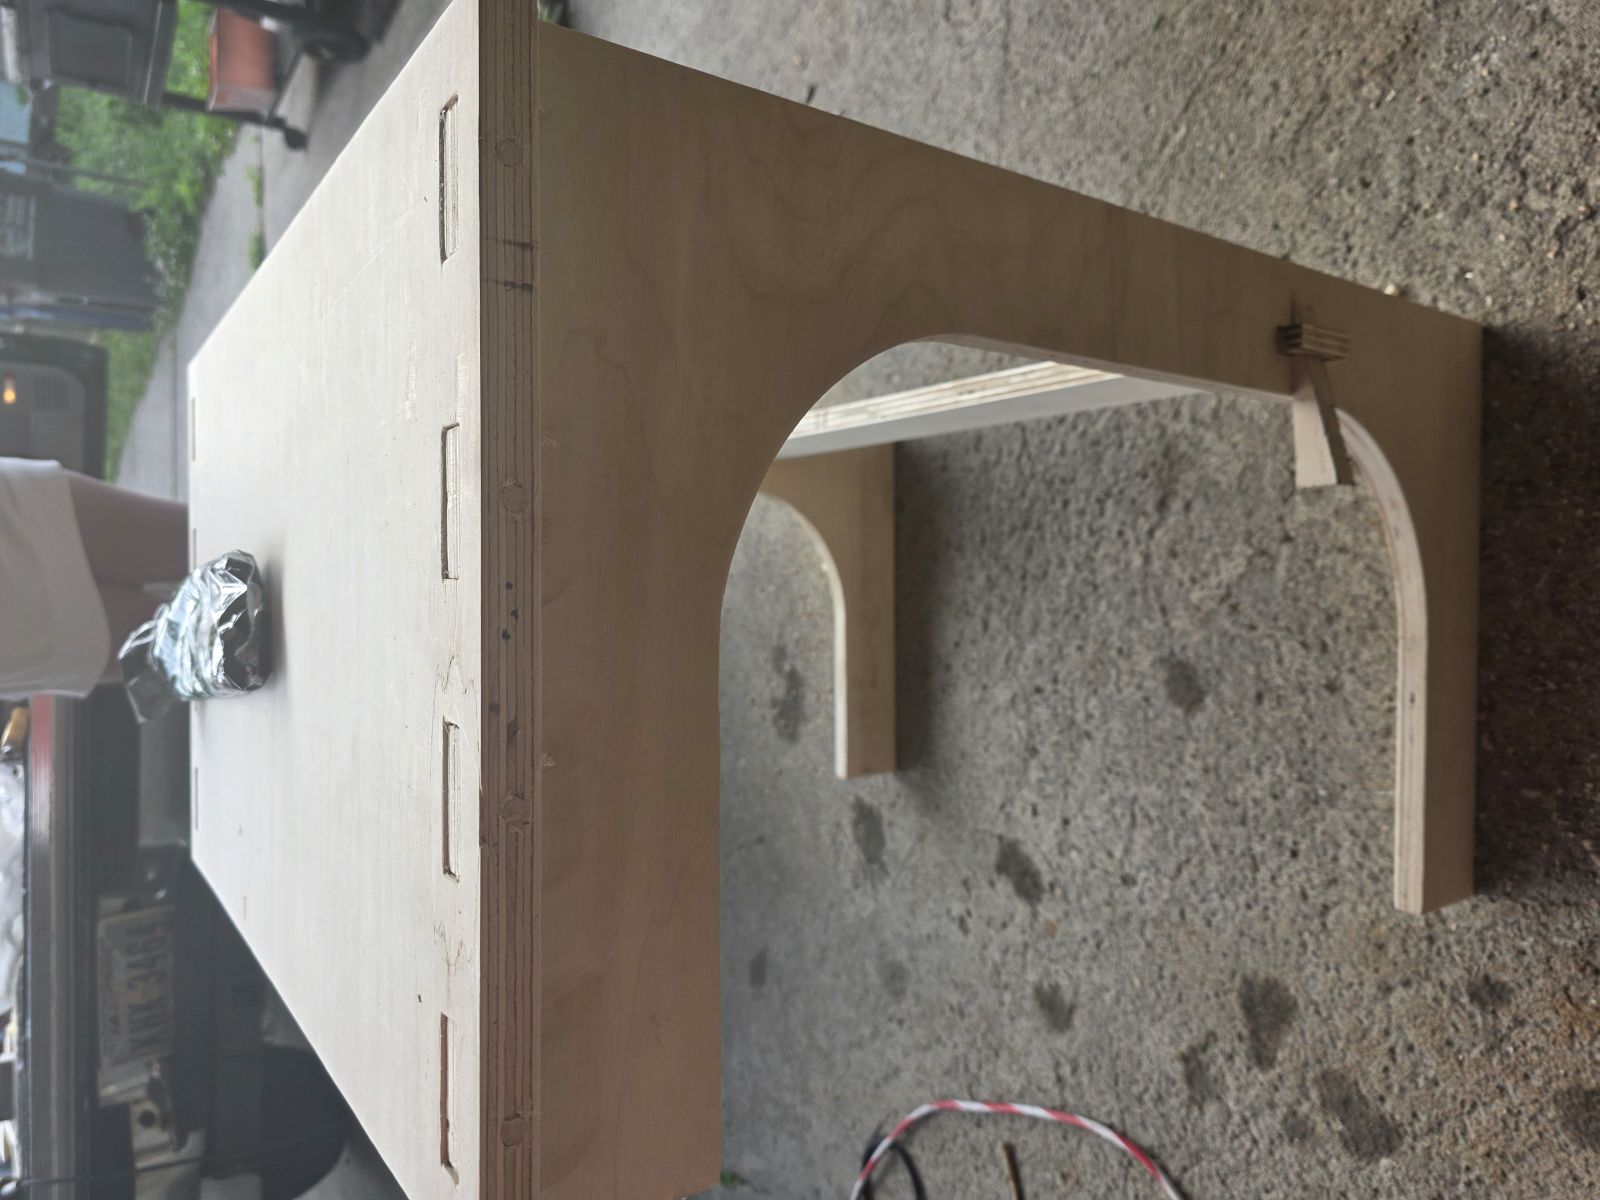
After everything was sanded and filed, the parts fit together like a glove. They were still tight, which is what I wanted, so I used a hammer to tap everything into place.
For the center cross bar down by where your feet would be, I still needed to cut two wedges. I made it so when the wedge is hammered in, it gets tighter and tighter. That worked really good and helped lock the bottom of the stand together.
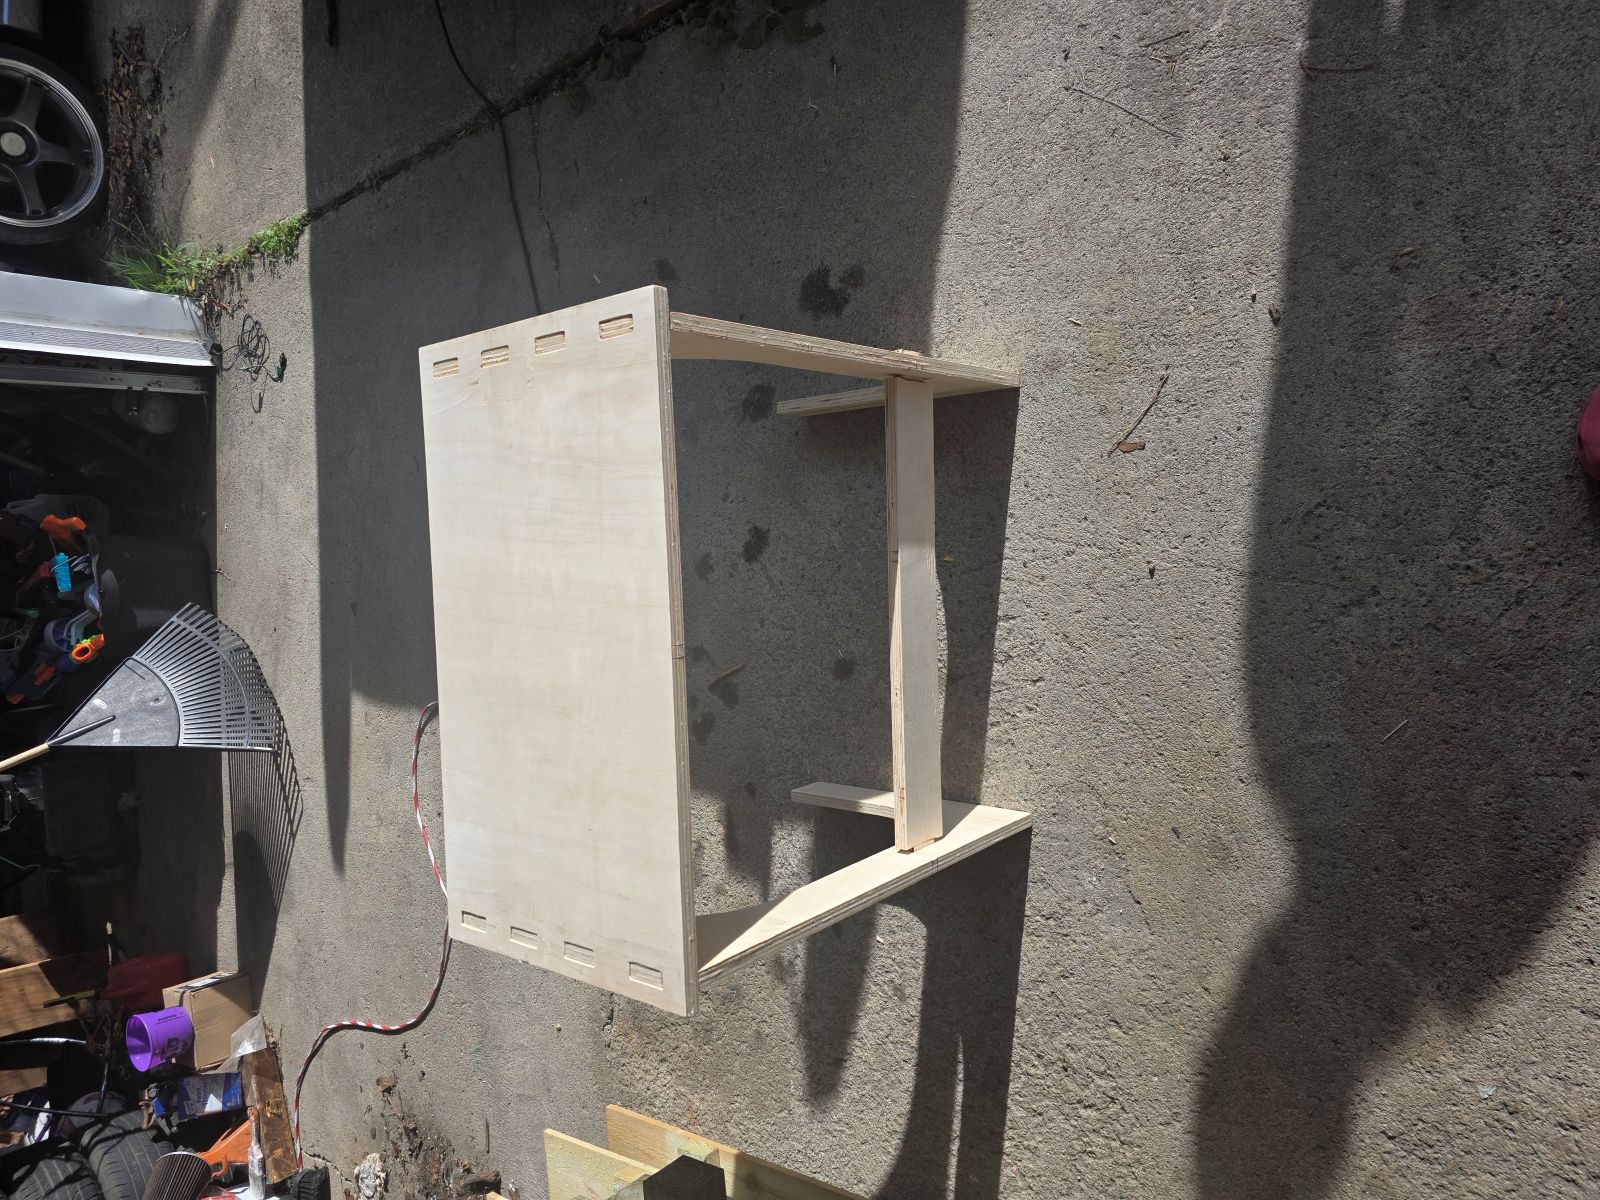
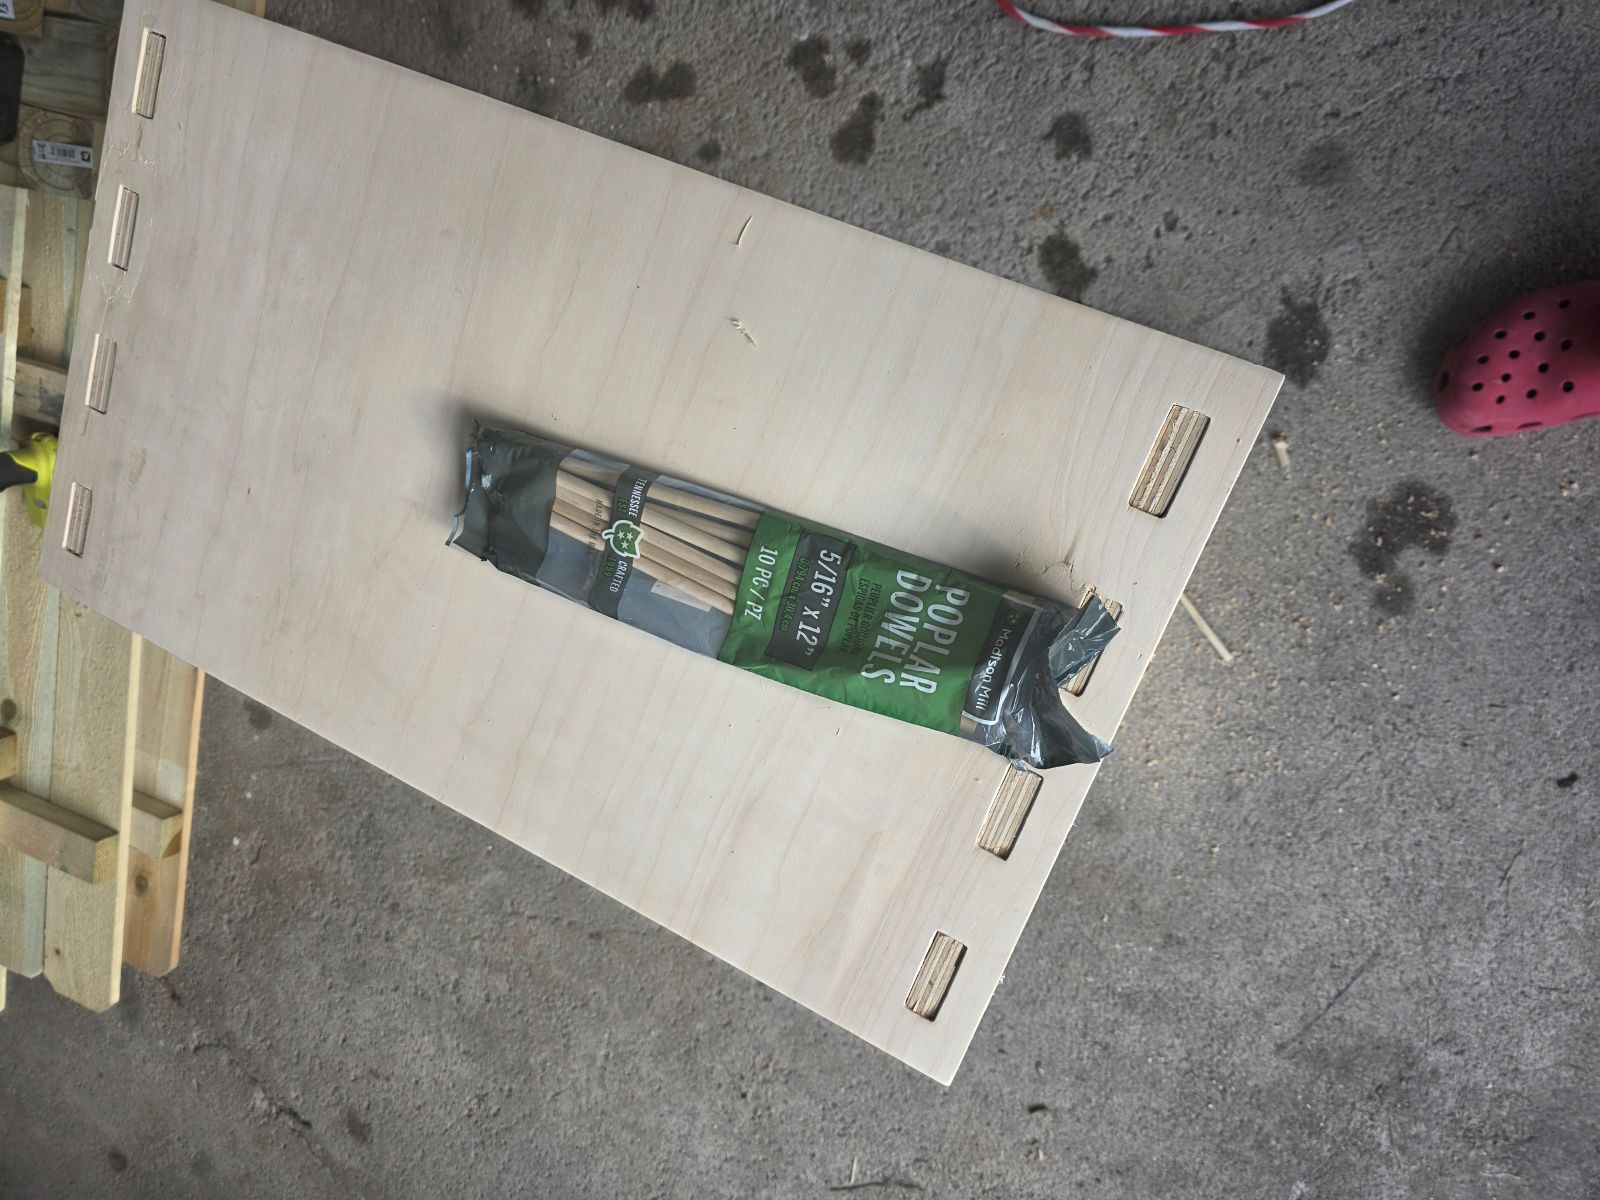
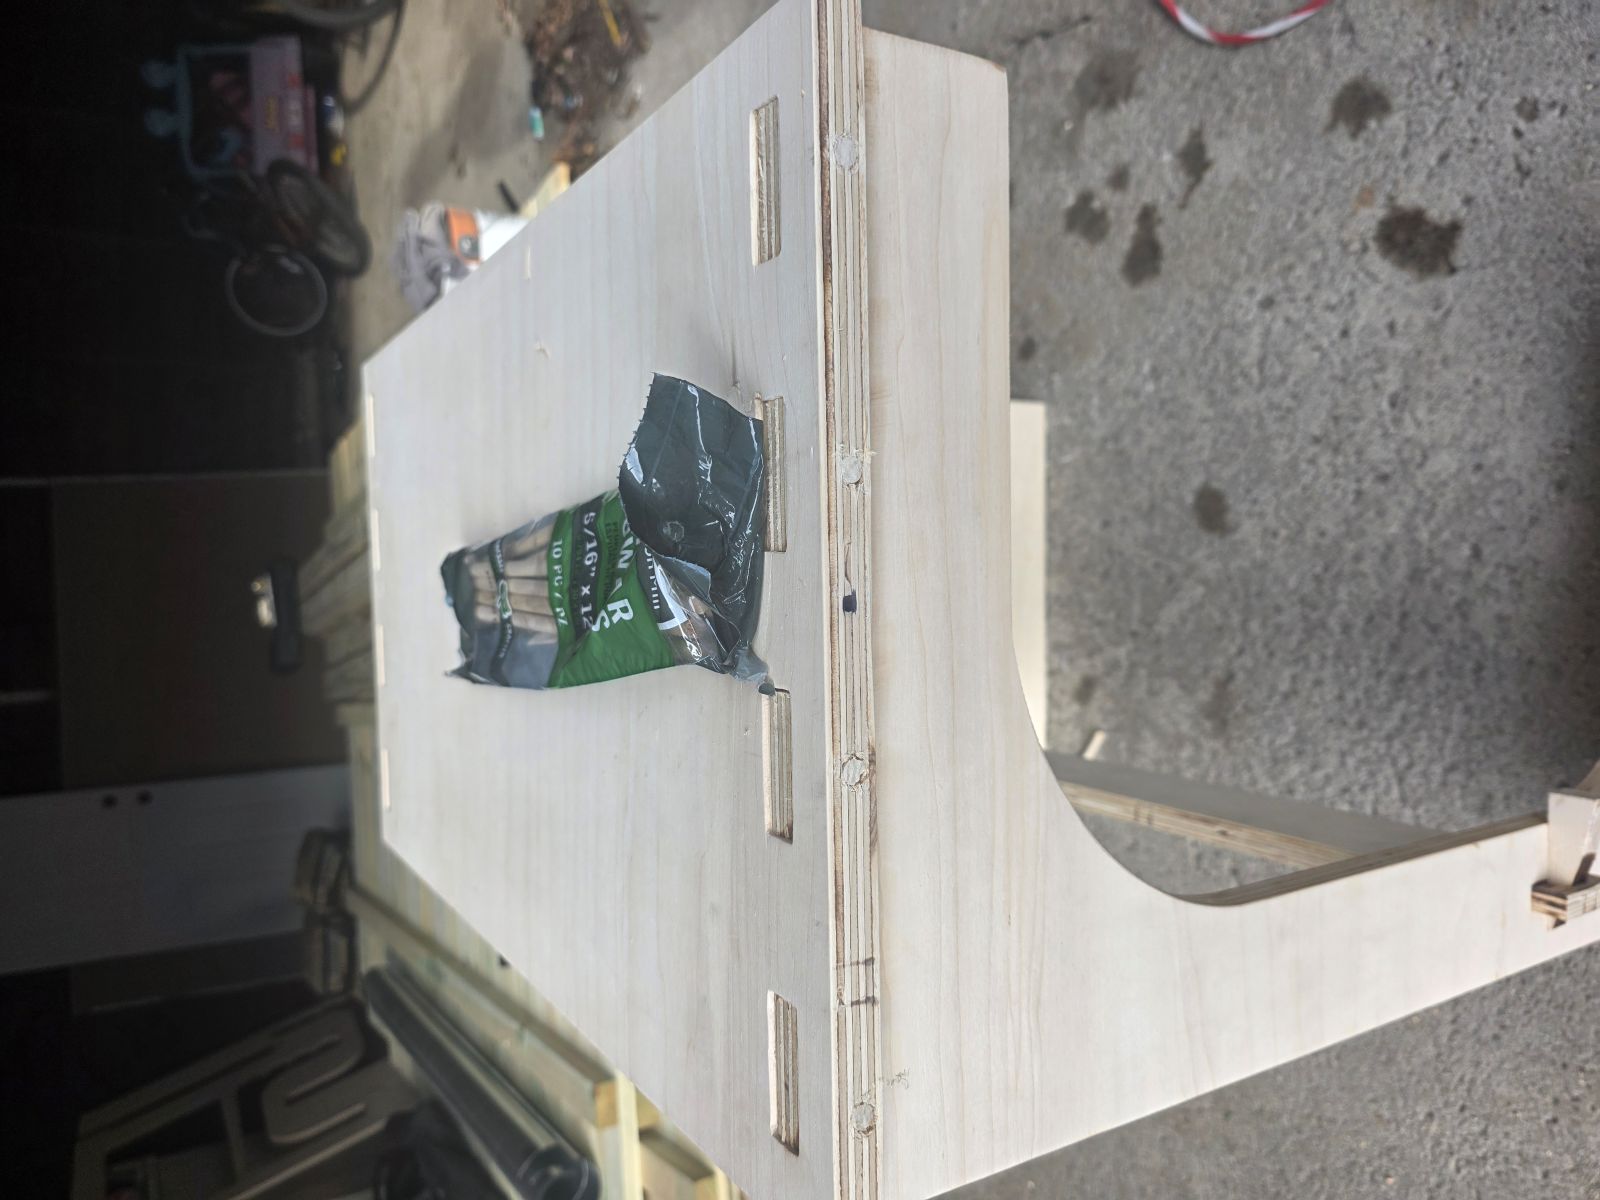
Locking the Top With Wood Rods
For the top to stay in place, I drilled four holes on each side and used wooden dowel rod. I beat the dowel rods into the drilled holes and then sawed off the extra.
There is no coming back apart now, but that is what I wanted. I wanted this thing to last. I still did not use screws, nails, or glue. It is held together with the wood parts, tight joints, wedges, and dowel rods.
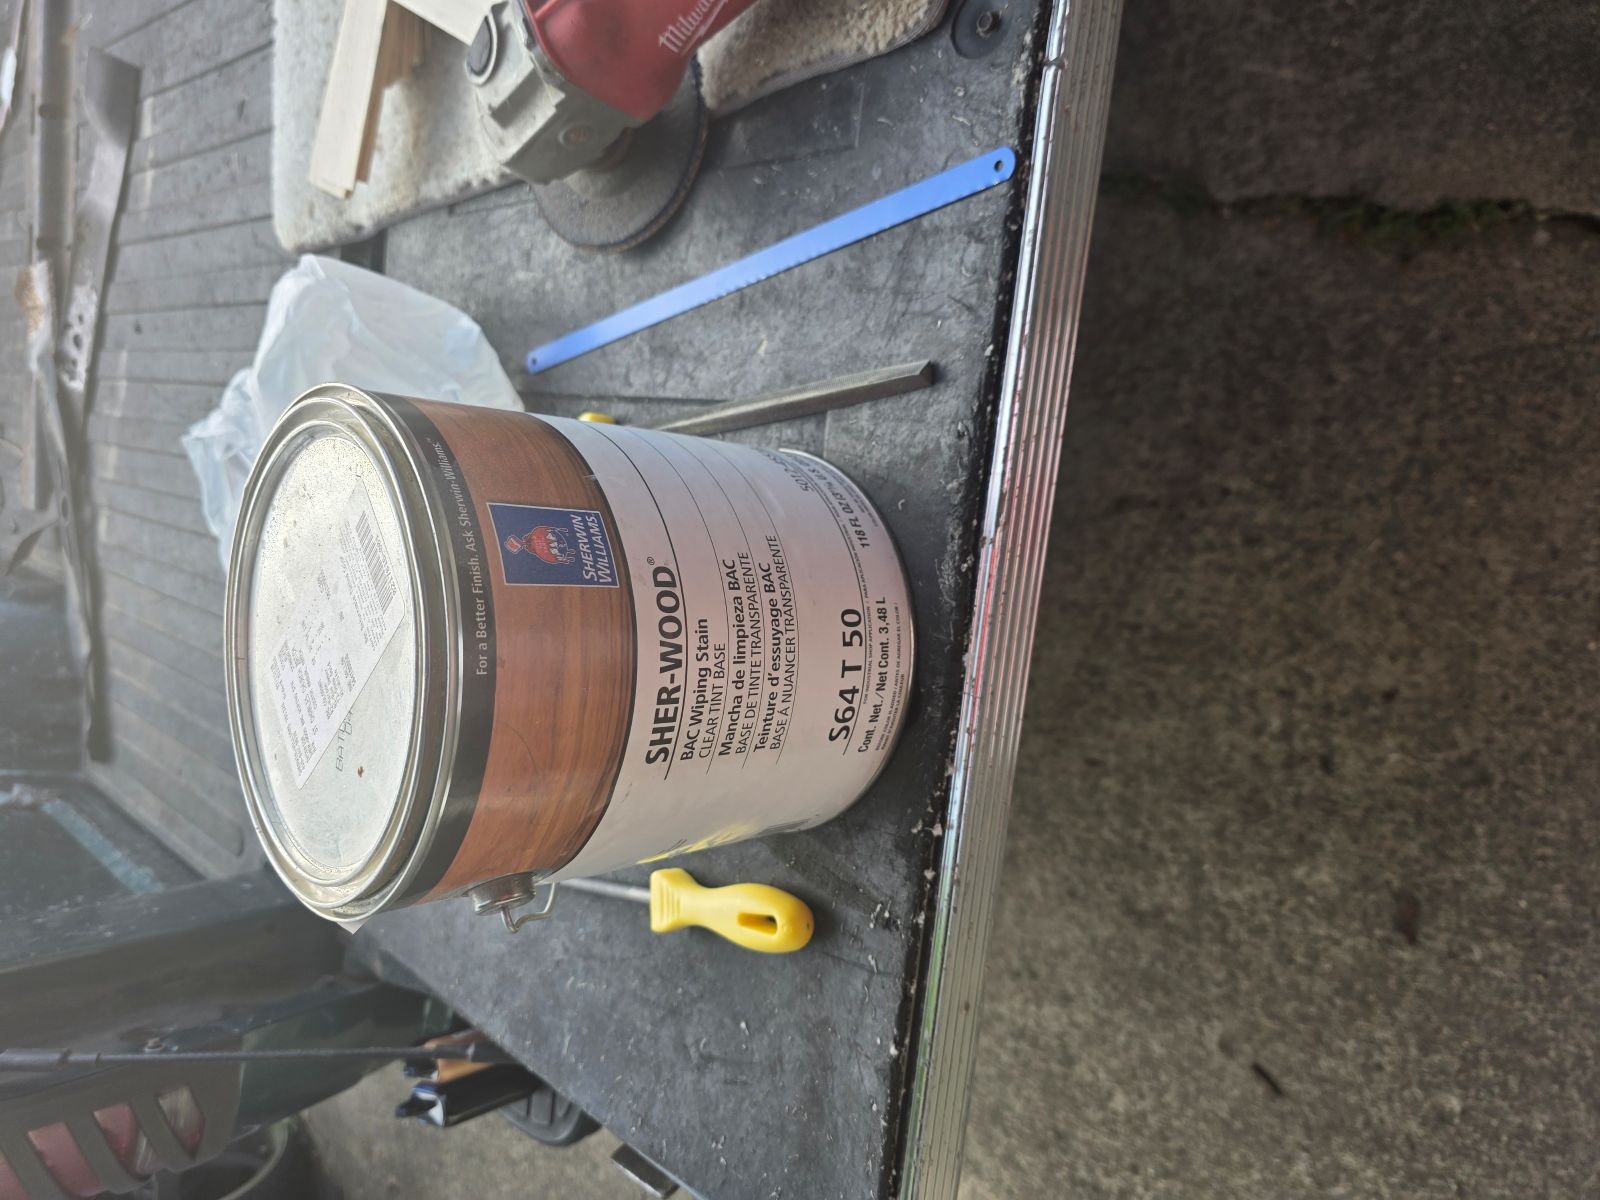
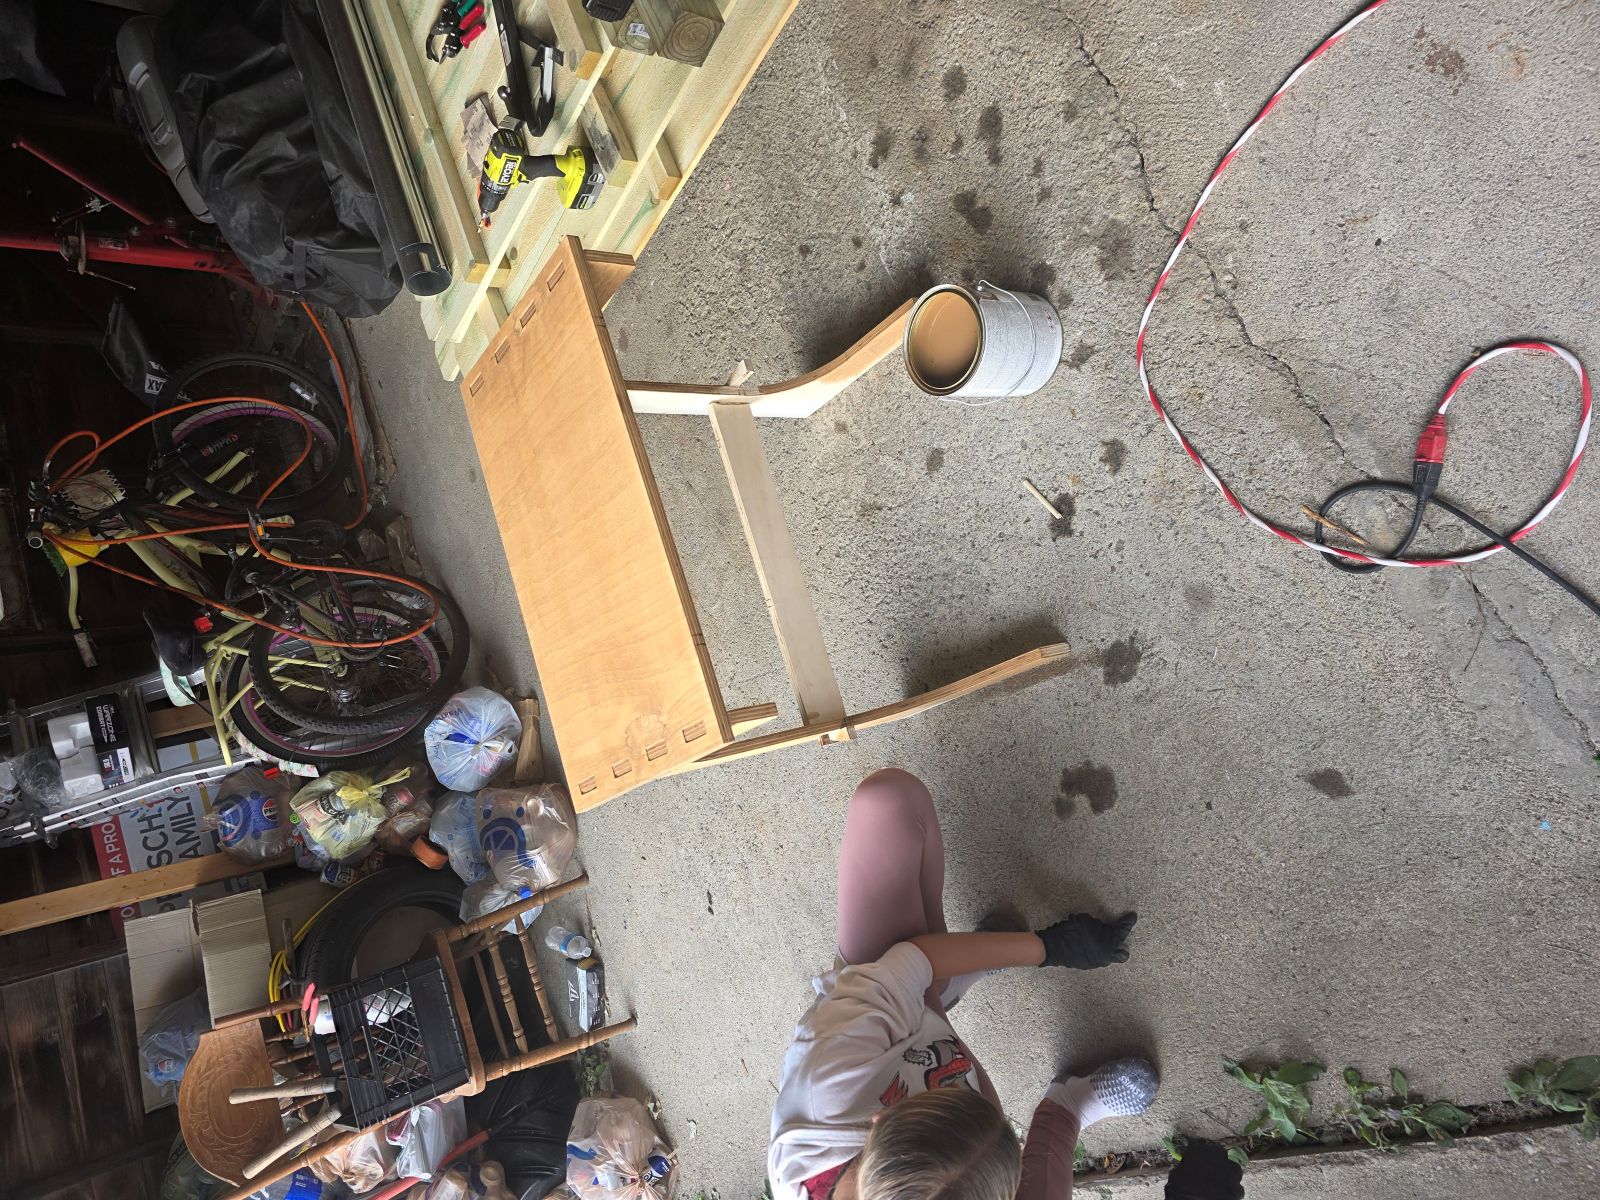
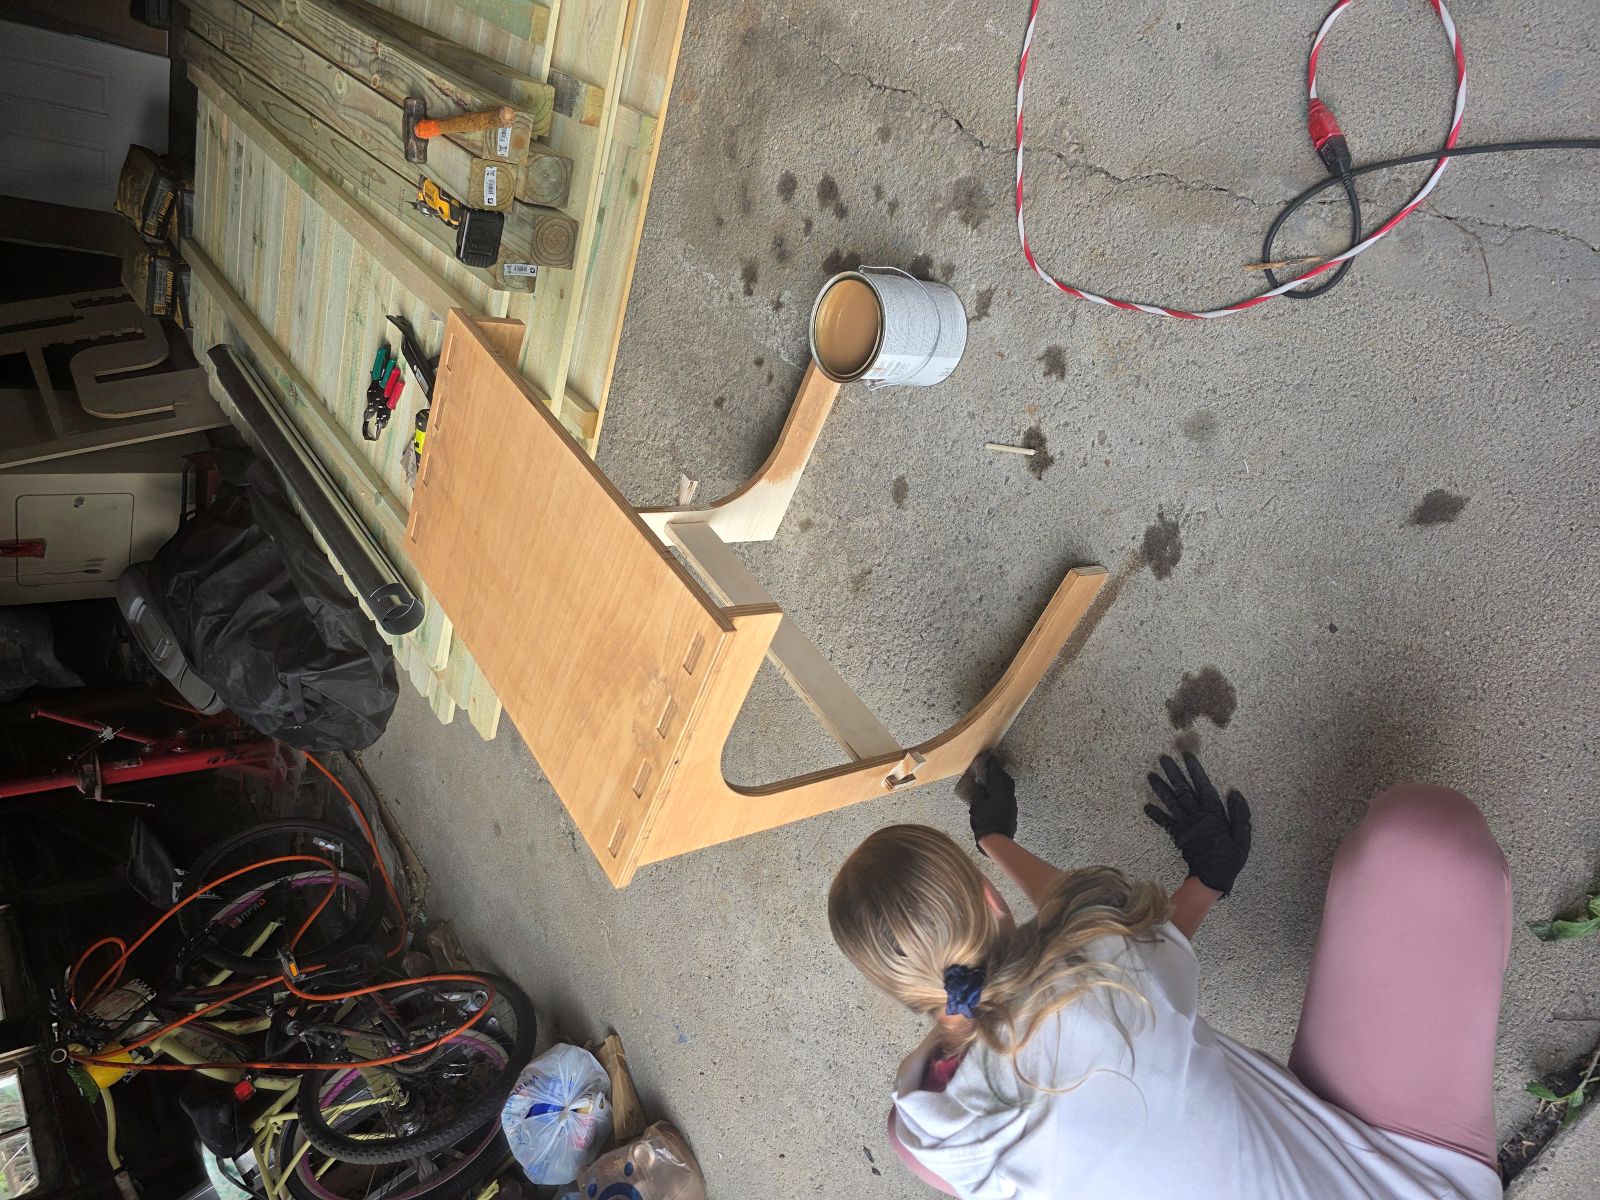
Testing and Staining
After the table was together, my daughter helped me test it to make sure it was steady. She pushed on it and helped check that it was strong. Then she wanted to help stain it, so we got to work staining the whole stand.
Now that it is dry, I kind of hate myself for using that stain because it came out looking peachy. I still have some touch-up work to do, but the table is done, it works, and I am happy that I actually made it.
What Worked
- The DXF file worked better than the SVG in the CNC software.
- Vectric Cut2D worked good for making the CNC toolpaths.
- Cutting the holes before the outside profiles was the right move.
- The tabs kept the parts from flying loose while cutting.
- The wedge system worked great and tightened the cross bar.
- The table went together without screws, nails, or glue.
Problems and Fixes
- The first cut depth of 0.708 was not deep enough.
- Changing the cut depth to 0.720 fixed the through-cut problem.
- The CNC bit left stringy edges, so I cleaned them with a flap disk.
- The inside corners were rounded from the bit, so I filed them by hand.
- The stain color dried more peachy than I wanted.
Design and Toolpath Files
During the design process I created multiple SVG, DXF, and CNC toolpath files while adjusting tabs, slots, fitment, cut depth, flipped files, and machining settings for the final C-shaped TV tray.
I first tried adding the files directly into GitLab, but the public folder became too large when I added all of the design files and CNC files. To keep the site working, I compressed my images and moved the design and machining files outside of the GitLab public folder.
All original Inkscape design files, DXF exports, SVG files, and CNC toolpaths used during this project are available here:
Week 7 CNC Design and Toolpath Files
What I Learned
This week taught me that making something big on a CNC is not just drawing a shape and hitting cut. I had to think about material thickness, bit size, cut depth, tabs, toolpath order, file types, and how the parts would actually go together after cutting.
I also learned that if I want tight press-fit wood parts, I need to plan for cleanup after the CNC. The machine can cut the basic shape, but sanding, filing, and fitting are still a big part of the final project.
This project was a lot of hoops and hurdles, but I got it done. I designed it, milled it, and assembled it into a real C-shaped TV tray that is bigger and stronger than the old folding trays.
Files Summary
- Software used: Inkscape and Vectric Cut2D
- Machine used: Large CNC router table at PAST Foundation in Columbus
- Material used: 4x4 sheet of 3/4 inch plywood
- Design files created: SVG and DXF files
- Toolpath files created: NCC files for the inside and outside cuts