Week 3 - Computer Controlled Cutting
Learning vinyl cutting and laser cutting workflows using the Cricut and Epilog laser.
Assignments
Group Assignment
- Do the lab safety training.
- Characterize the laser cutter's focus, power, speed, rate, kerf, joint clearance, and joint types.
Individual Assignment
- Cut something on the vinyl cutter.
- Design, laser cut, and document a parametric press-fit construction kit.
Group Assignment - Lab Safety Training
For the group assignment, we started with lab safety training because the laser cutter is not something you just walk up to and start using. We went over how to safely use the Epilog Fusion Edge laser cutter, how to turn on the exhaust, how to check the material, and what not to cut.
The big safety things were making sure the exhaust/ventilation was running, never leaving the laser unattended, checking that the material is safe to cut, and knowing what to do if something starts burning. We also talked about keeping the bed clean and making sure the material sits flat before cutting.
I learned that the laser cutter can be super useful, but it can also be dangerous if you do not respect it. Smoke, fire, fumes, and bad material choices can cause problems fast, so the safety training was important before doing any cutting.
Group Assignment - Laser Cutter Characterization
After safety training, we characterized the laser cutter. This means we tested the machine to understand how it actually cuts instead of just guessing settings. We looked at focus, power, speed, rate/frequency, kerf, joint clearance, and different joint types.
Focus
We checked the laser focus because the beam needs to be focused at the correct height to cut cleanly. If the focus is wrong, the cut can get wider, weaker, smoky, or not cut all the way through. Getting the focus right helps the laser make a cleaner cut with less burning.
Power, Speed, and Rate
We tested how power and speed affect the cut. Higher power puts more energy into the material, and slower speed gives the laser more time to burn through. If the power is too low or the speed is too fast, it does not cut all the way through. If the power is too high or the speed is too slow, it burns the material too much.
The rate/frequency setting also changes how the laser pulses during the cut. Different materials can need different settings, so this test helped us understand why the settings matter.
Kerf
Kerf is the material the laser burns away while cutting. Even though the line on the screen looks super thin, the laser still removes a small amount of material. That matters a lot for press-fit parts because the slots can become loose if the kerf is not accounted for.
We cut test pieces and measured how the parts fit together. This helped us figure out how tight or loose the joints were and how much clearance we needed for our material.
Joint Clearance and Joint Types
We tested different joint clearances to see what fit best. Some slots were too tight, some were too loose, and some fit just right. This helped us understand that press-fit construction depends on the material thickness, the laser kerf, and the slot size.
We also looked at different joint types like tabs and slots. For my individual project, that helped me understand how to make parts that could press together without glue.
The group work helped me see that laser cutting is not just picking a random setting and hitting print. You have to test the machine, understand the material, and design around the kerf.
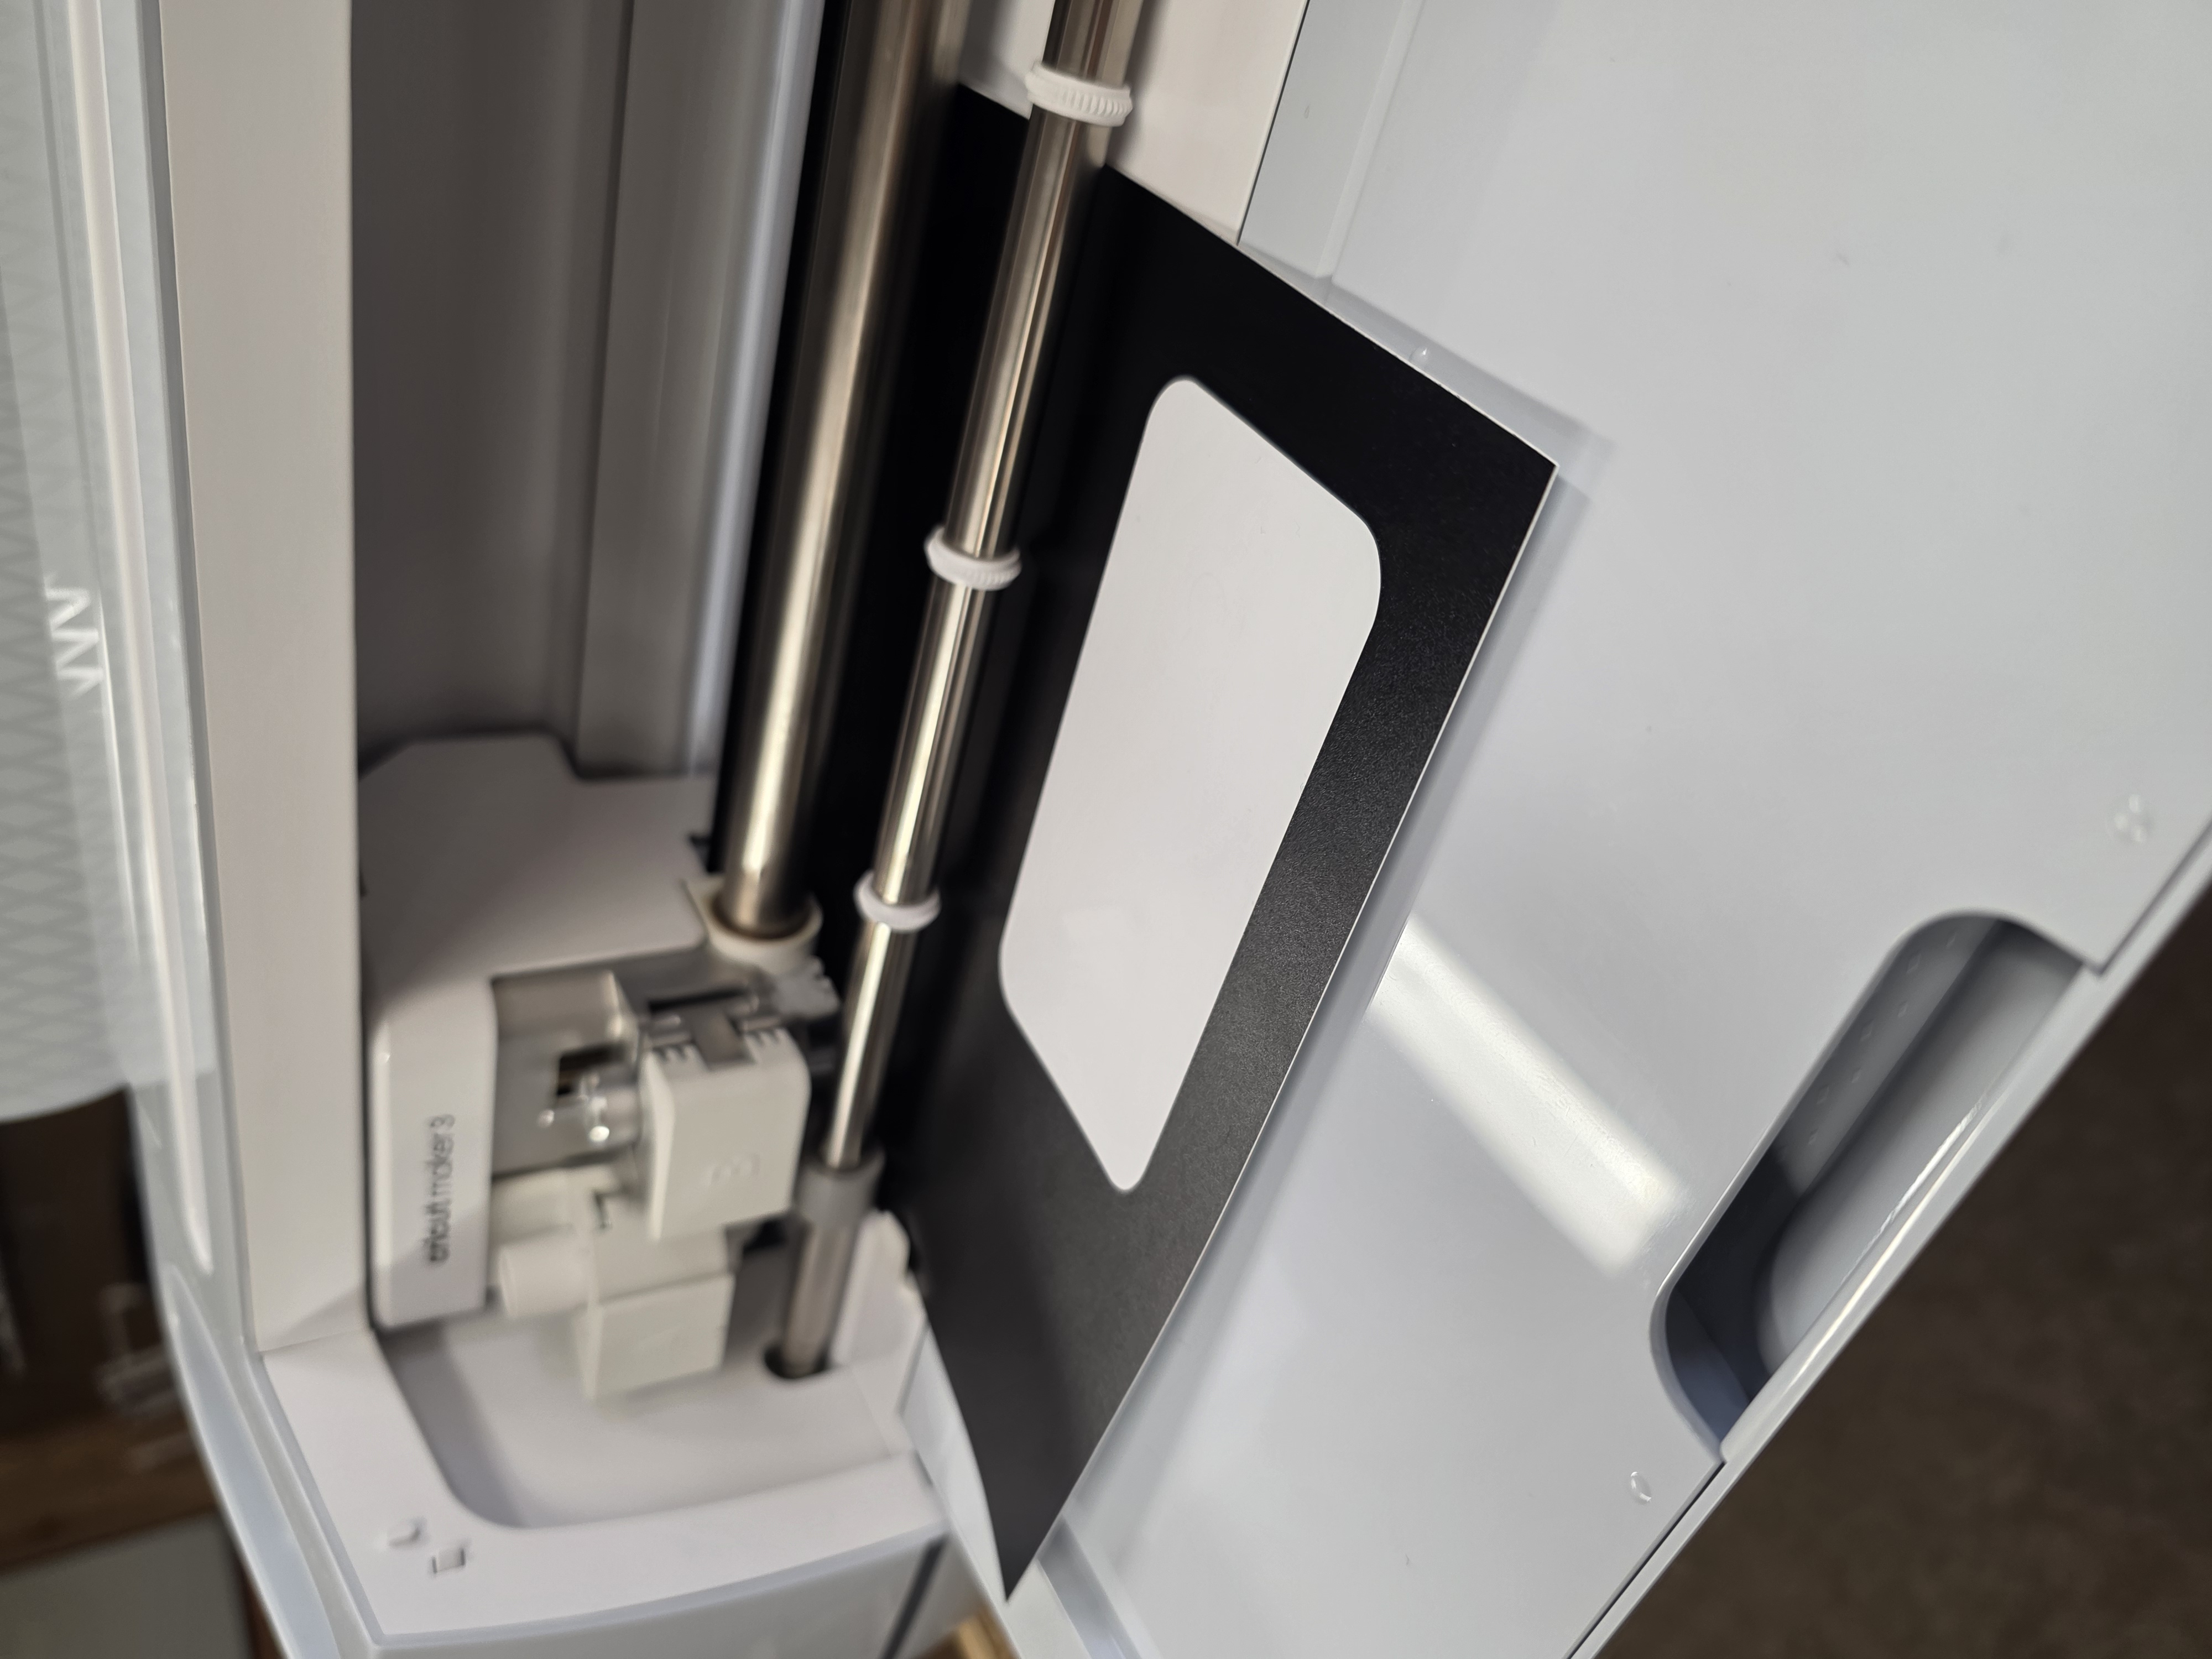
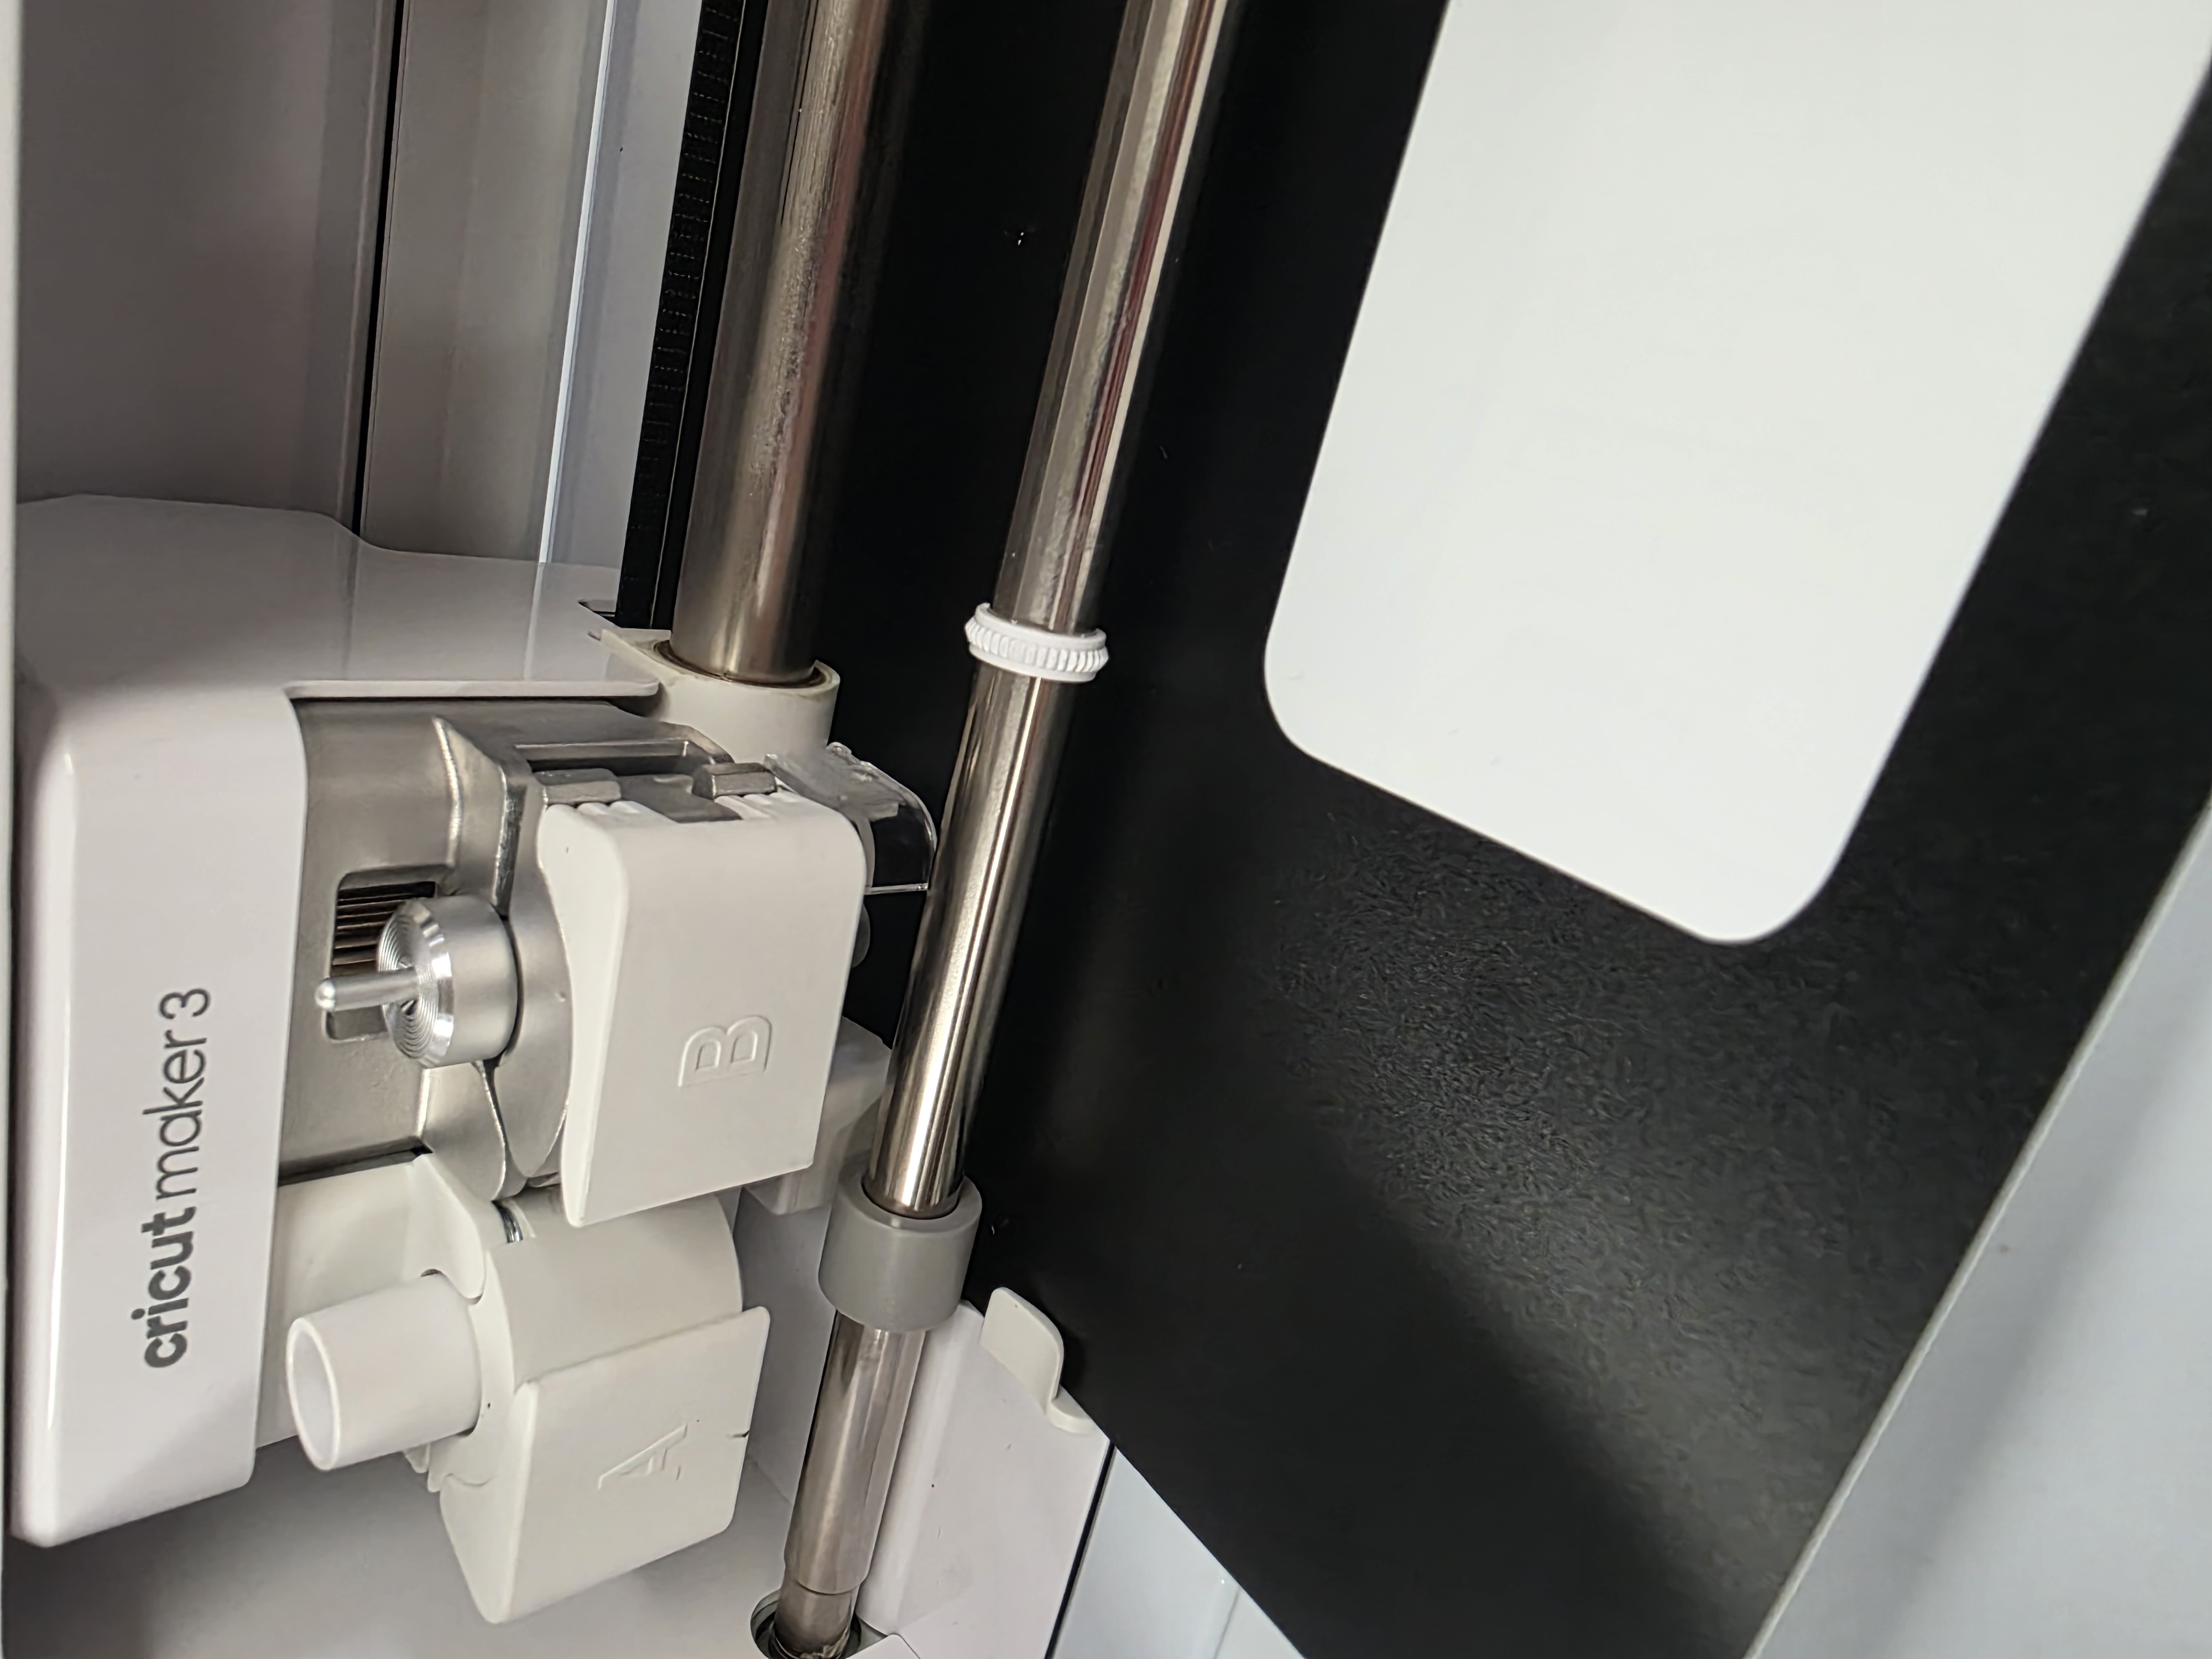
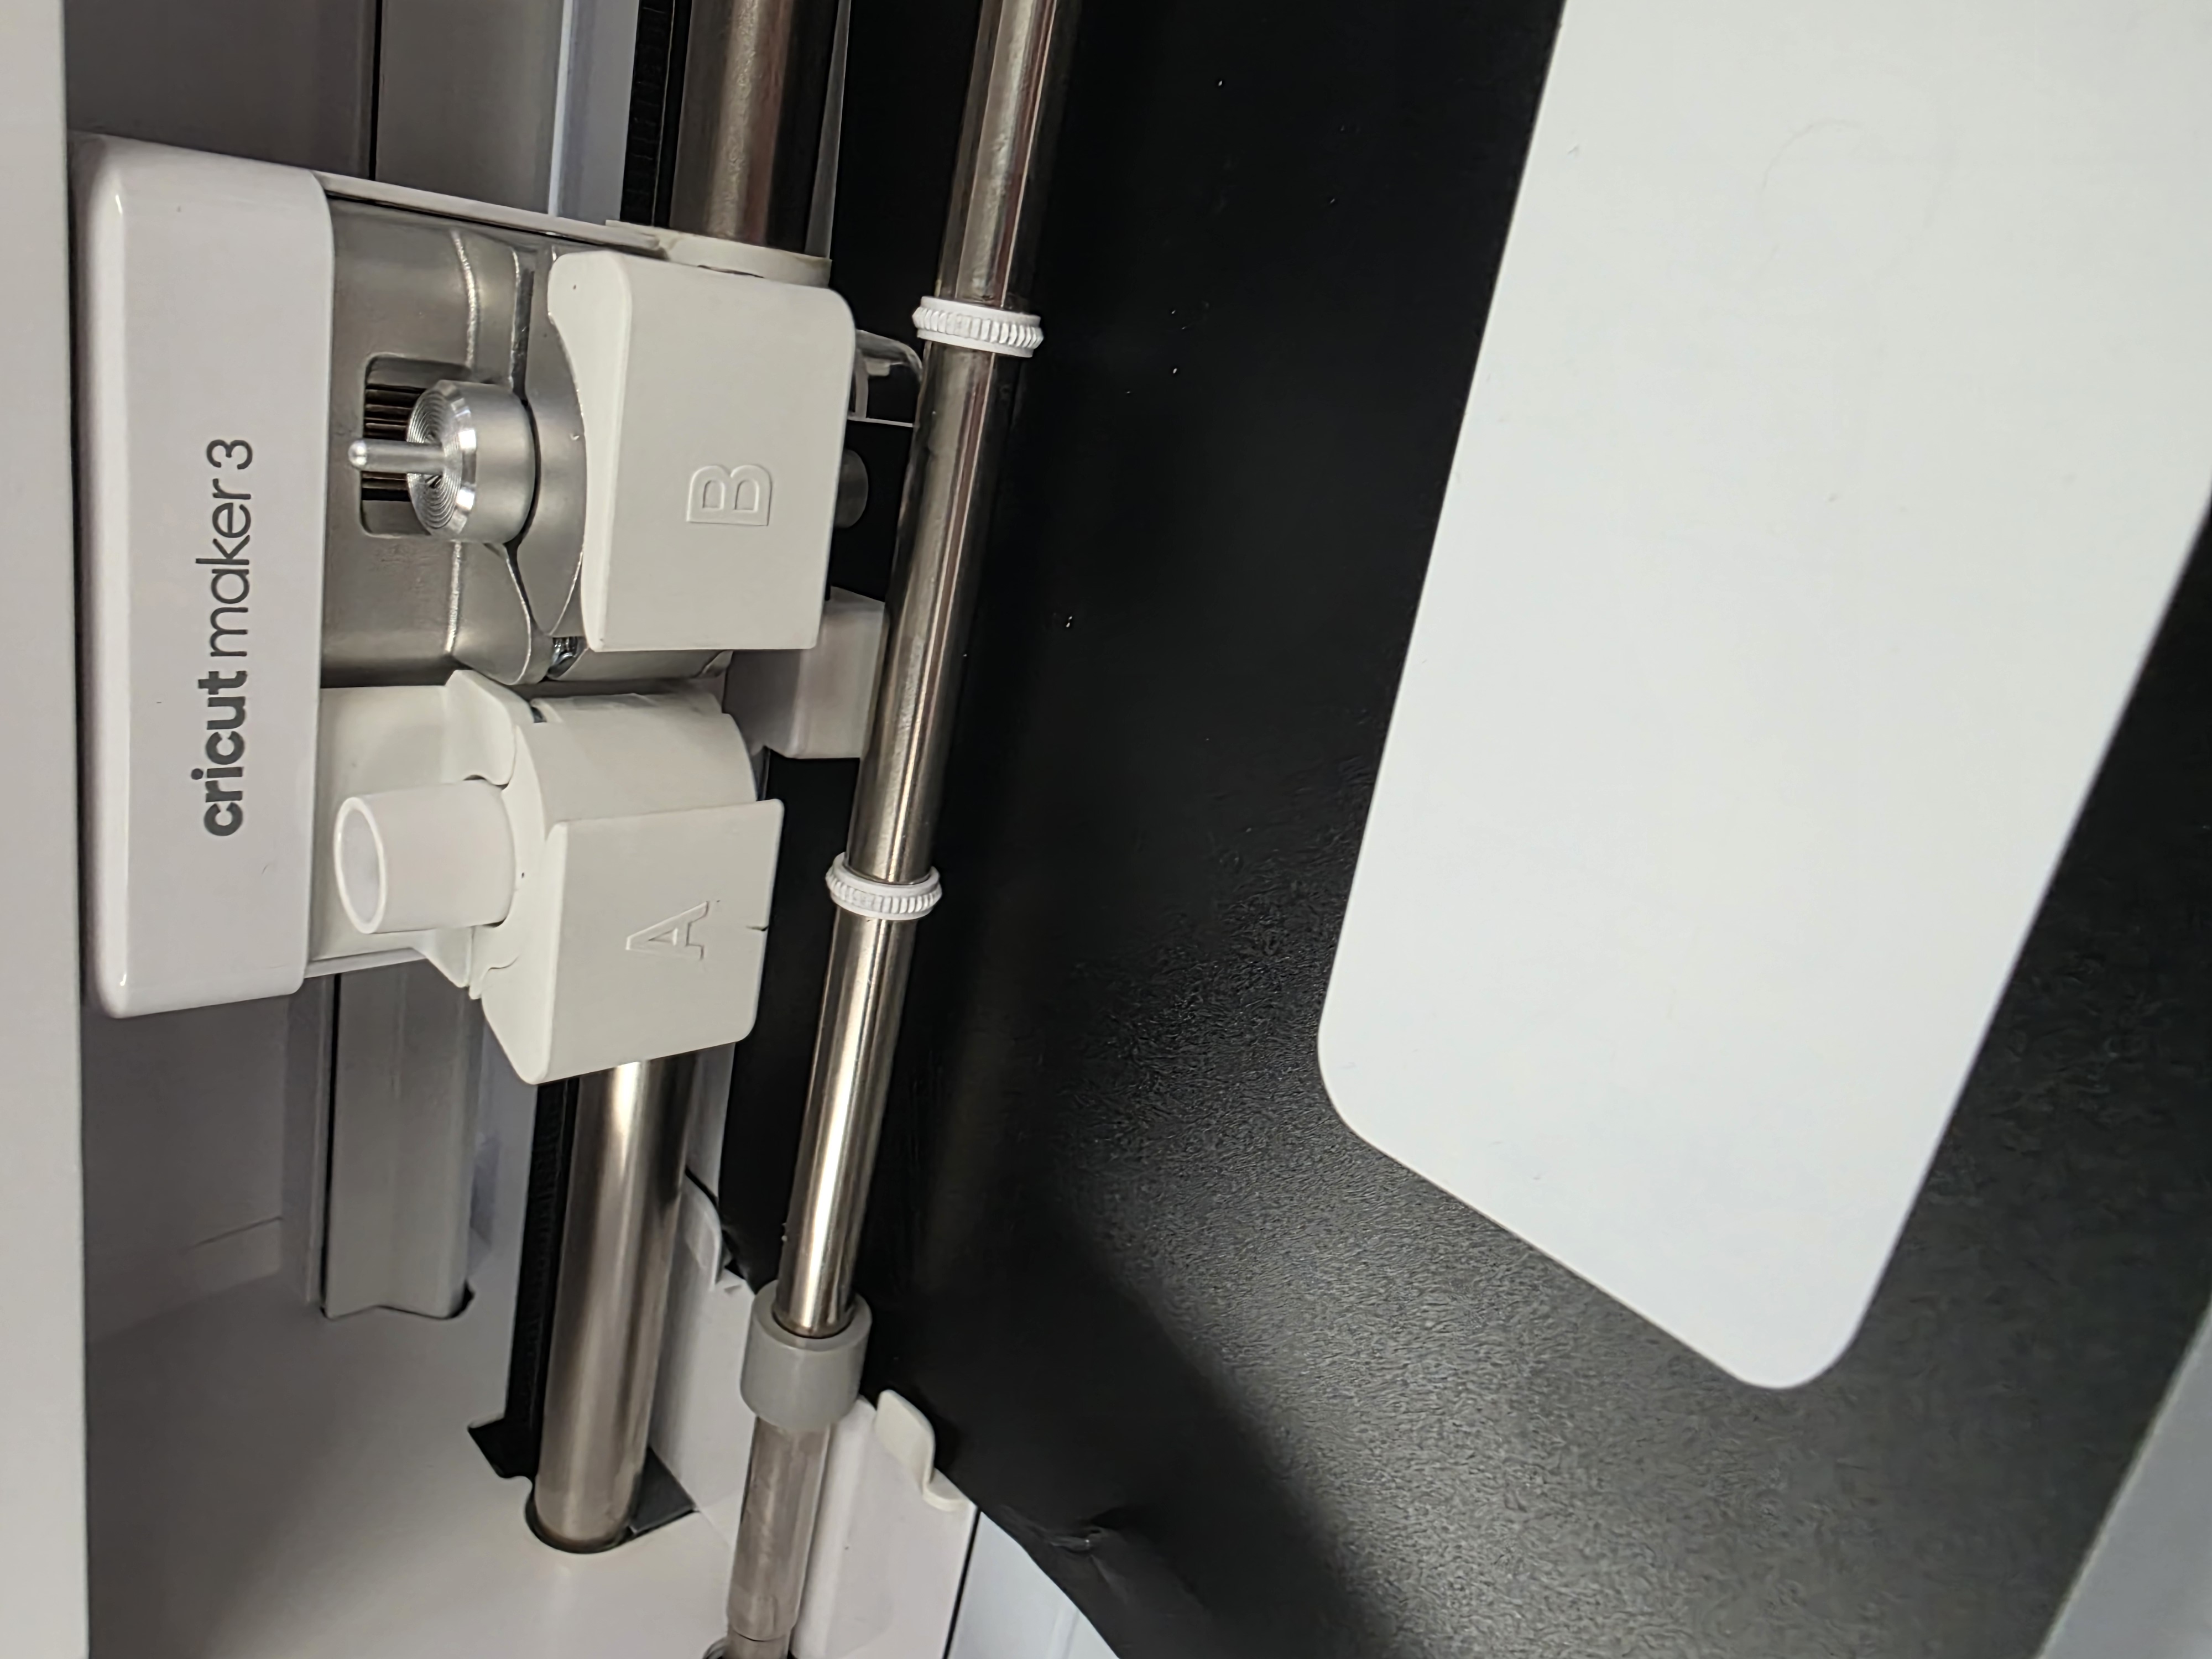
Individual Assignment - Vinyl Cutting
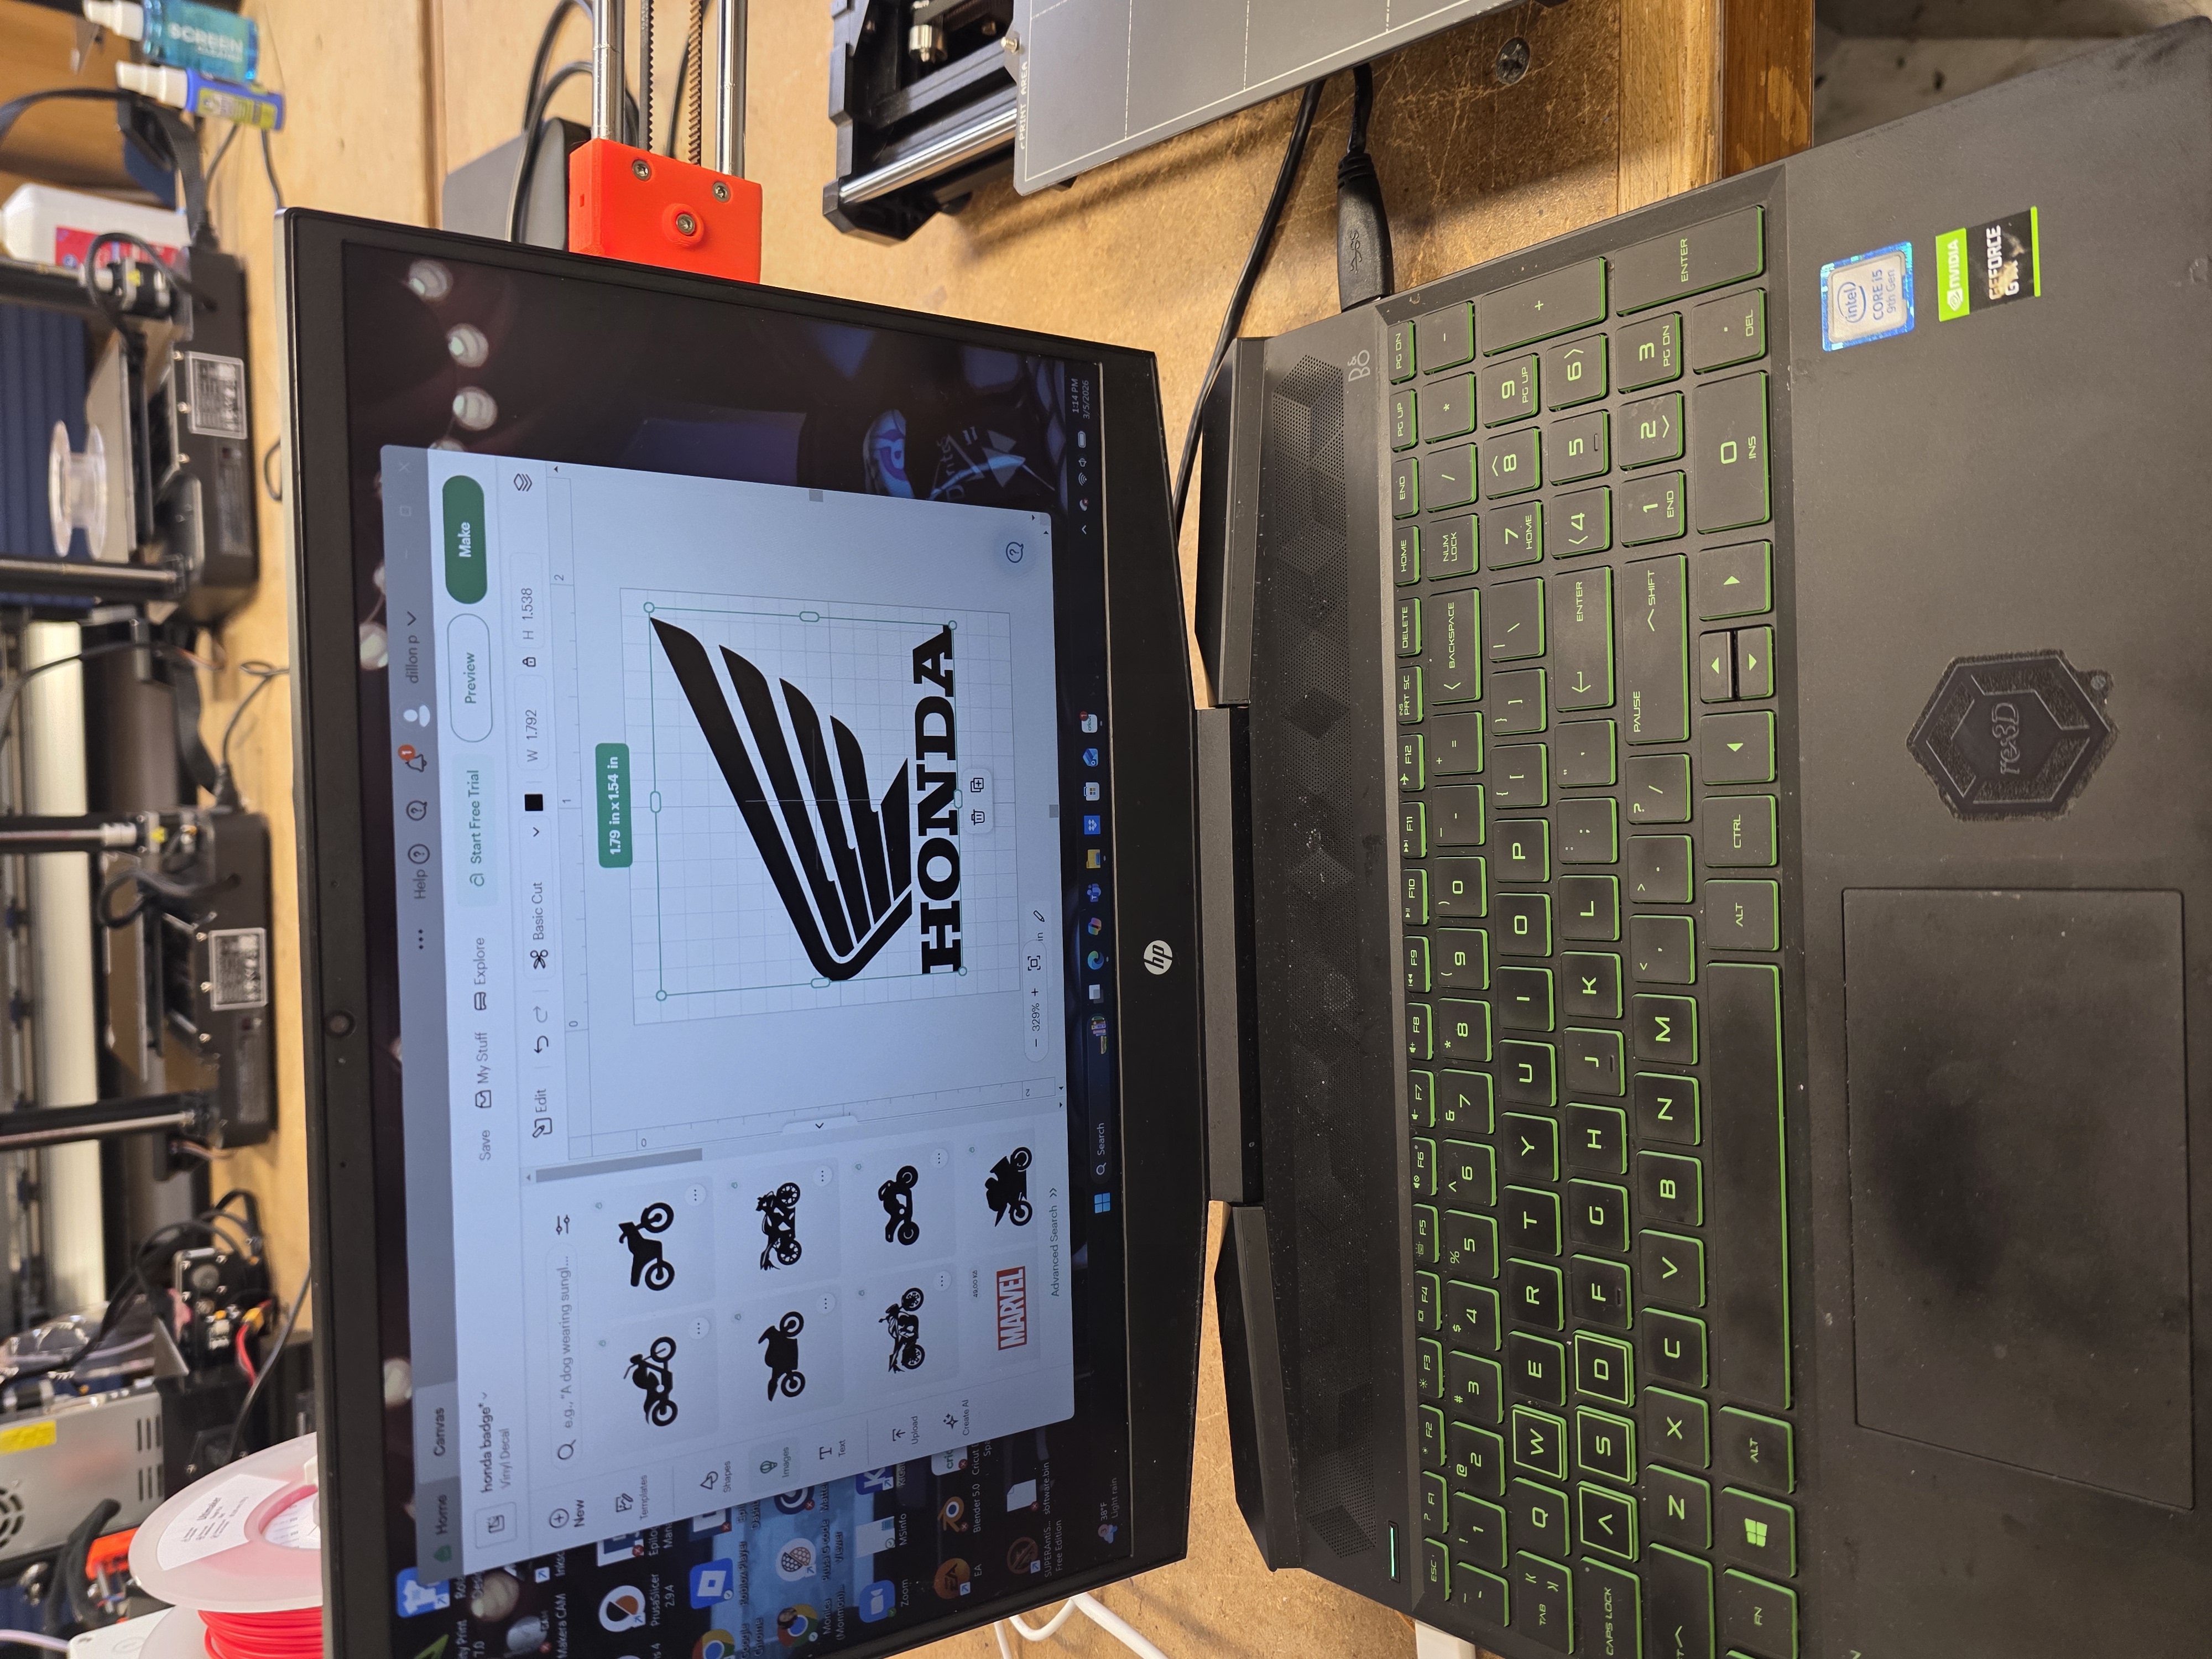
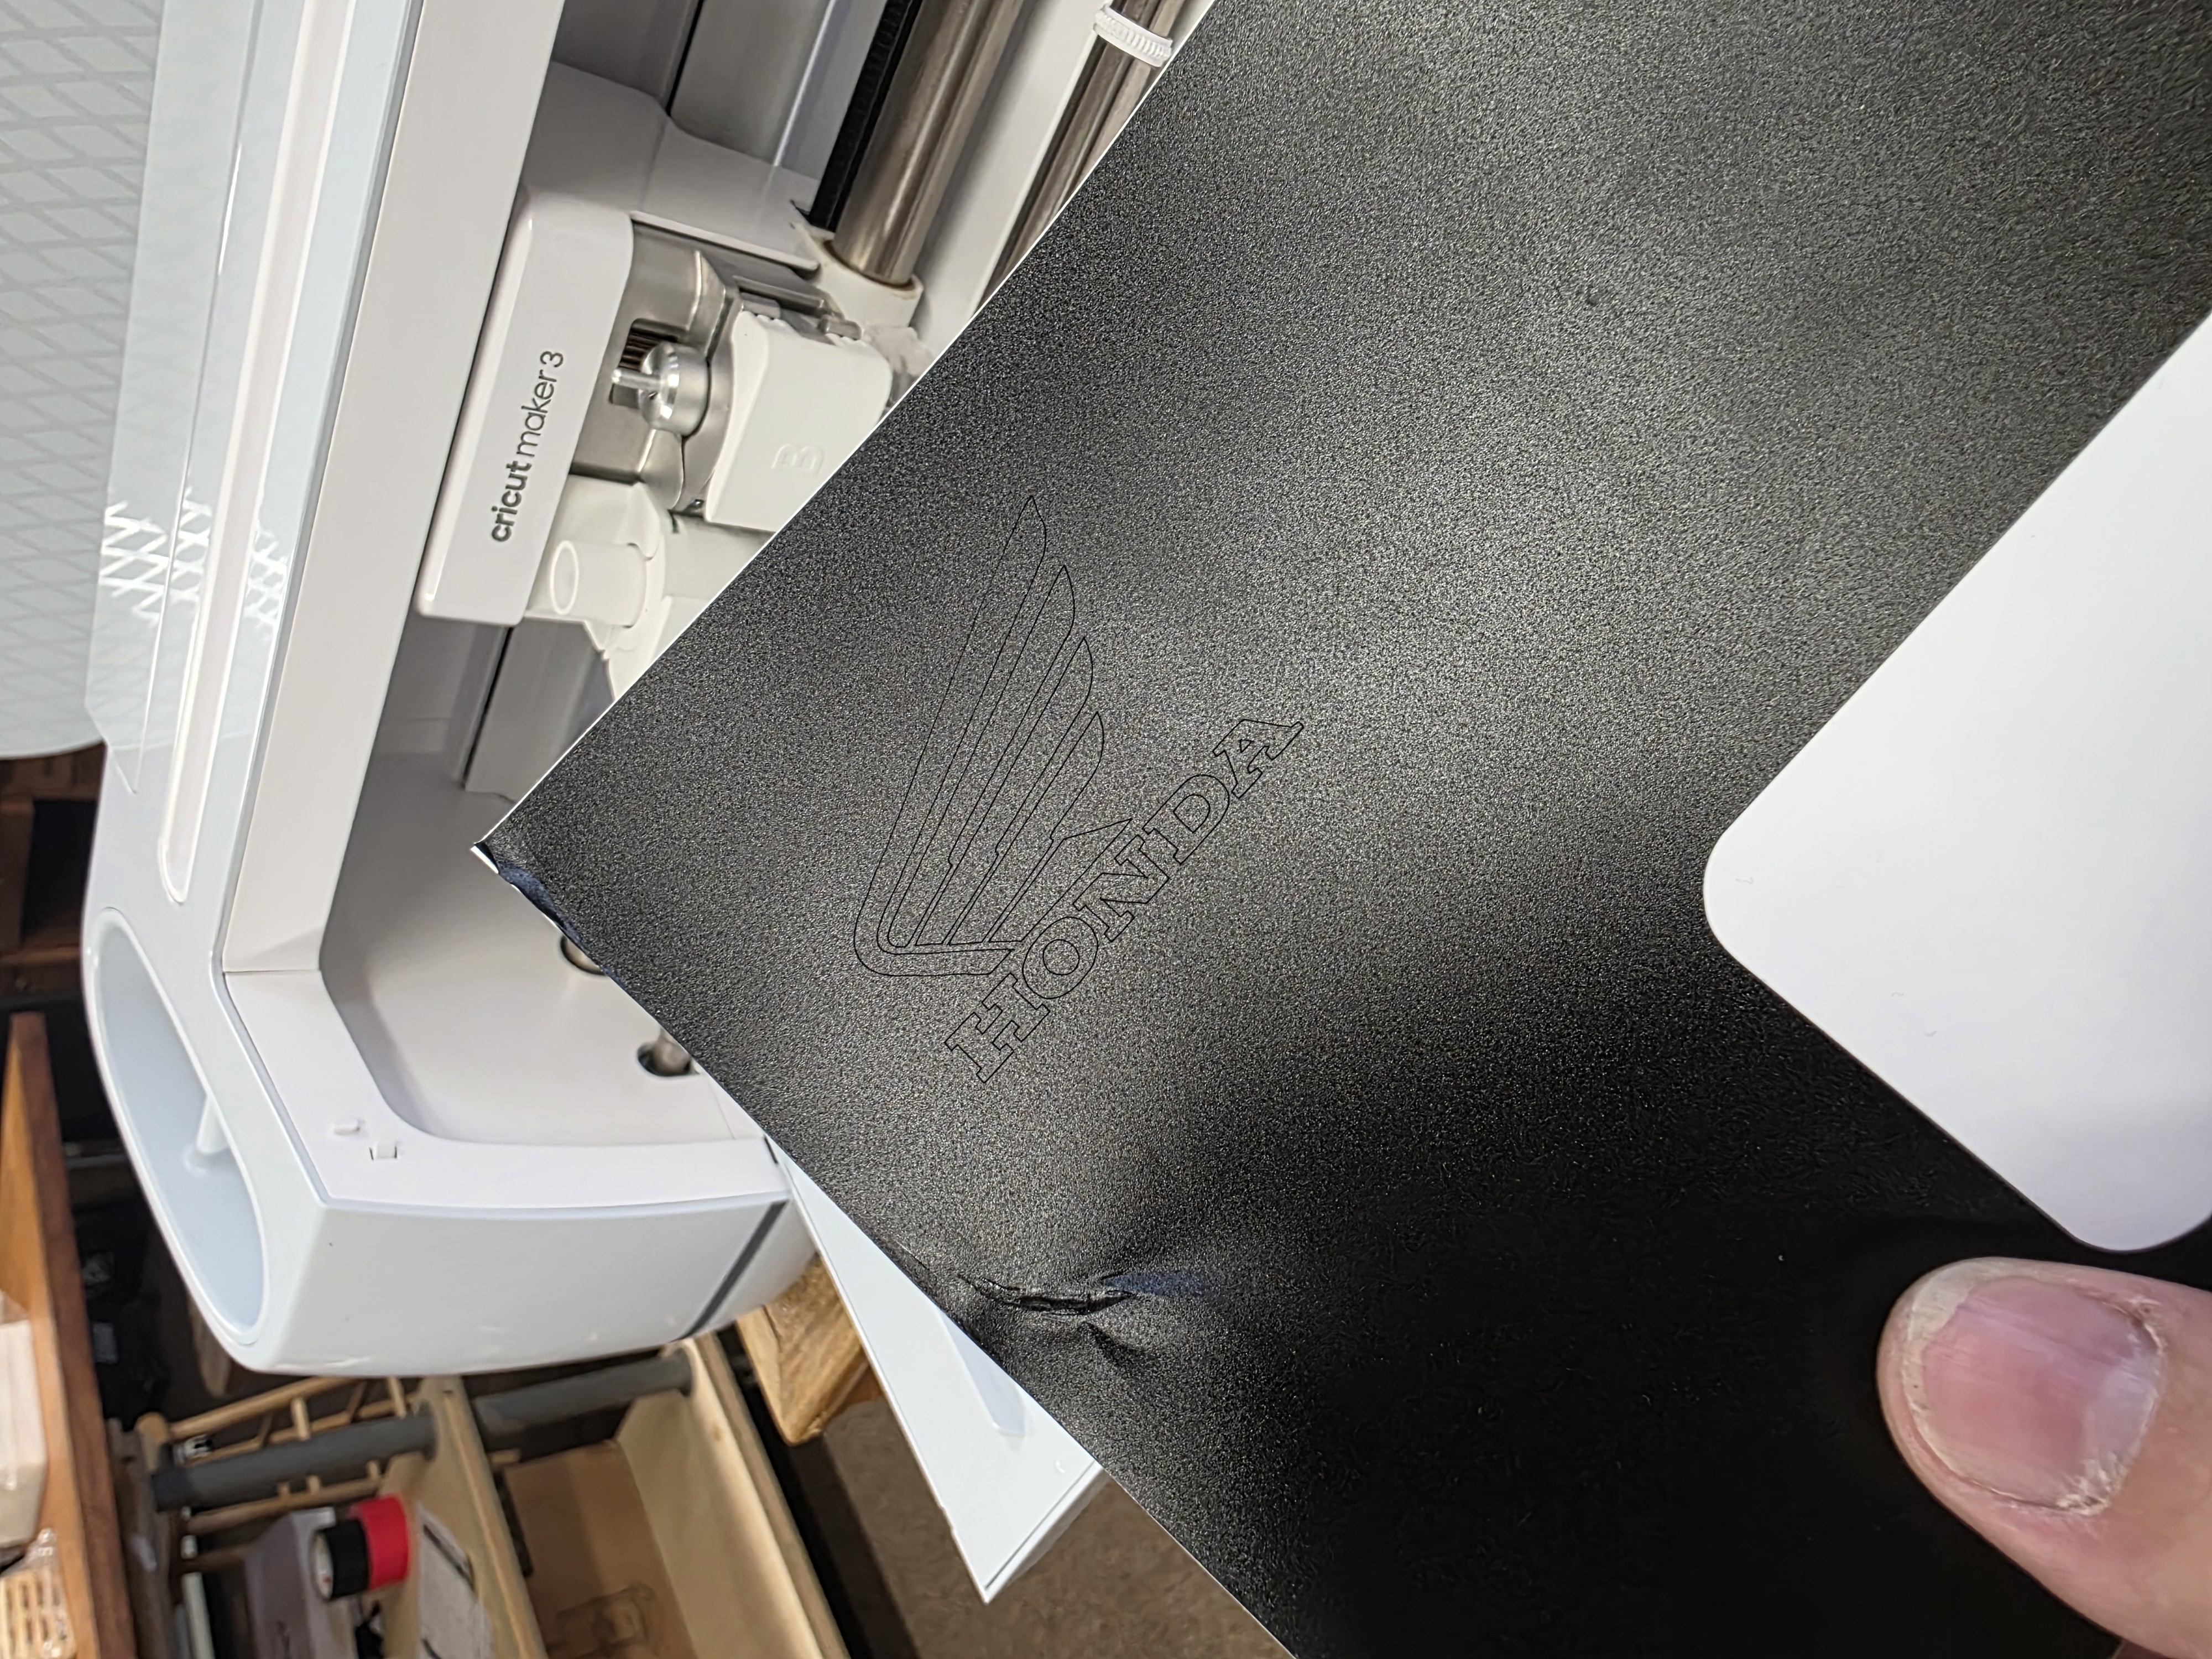
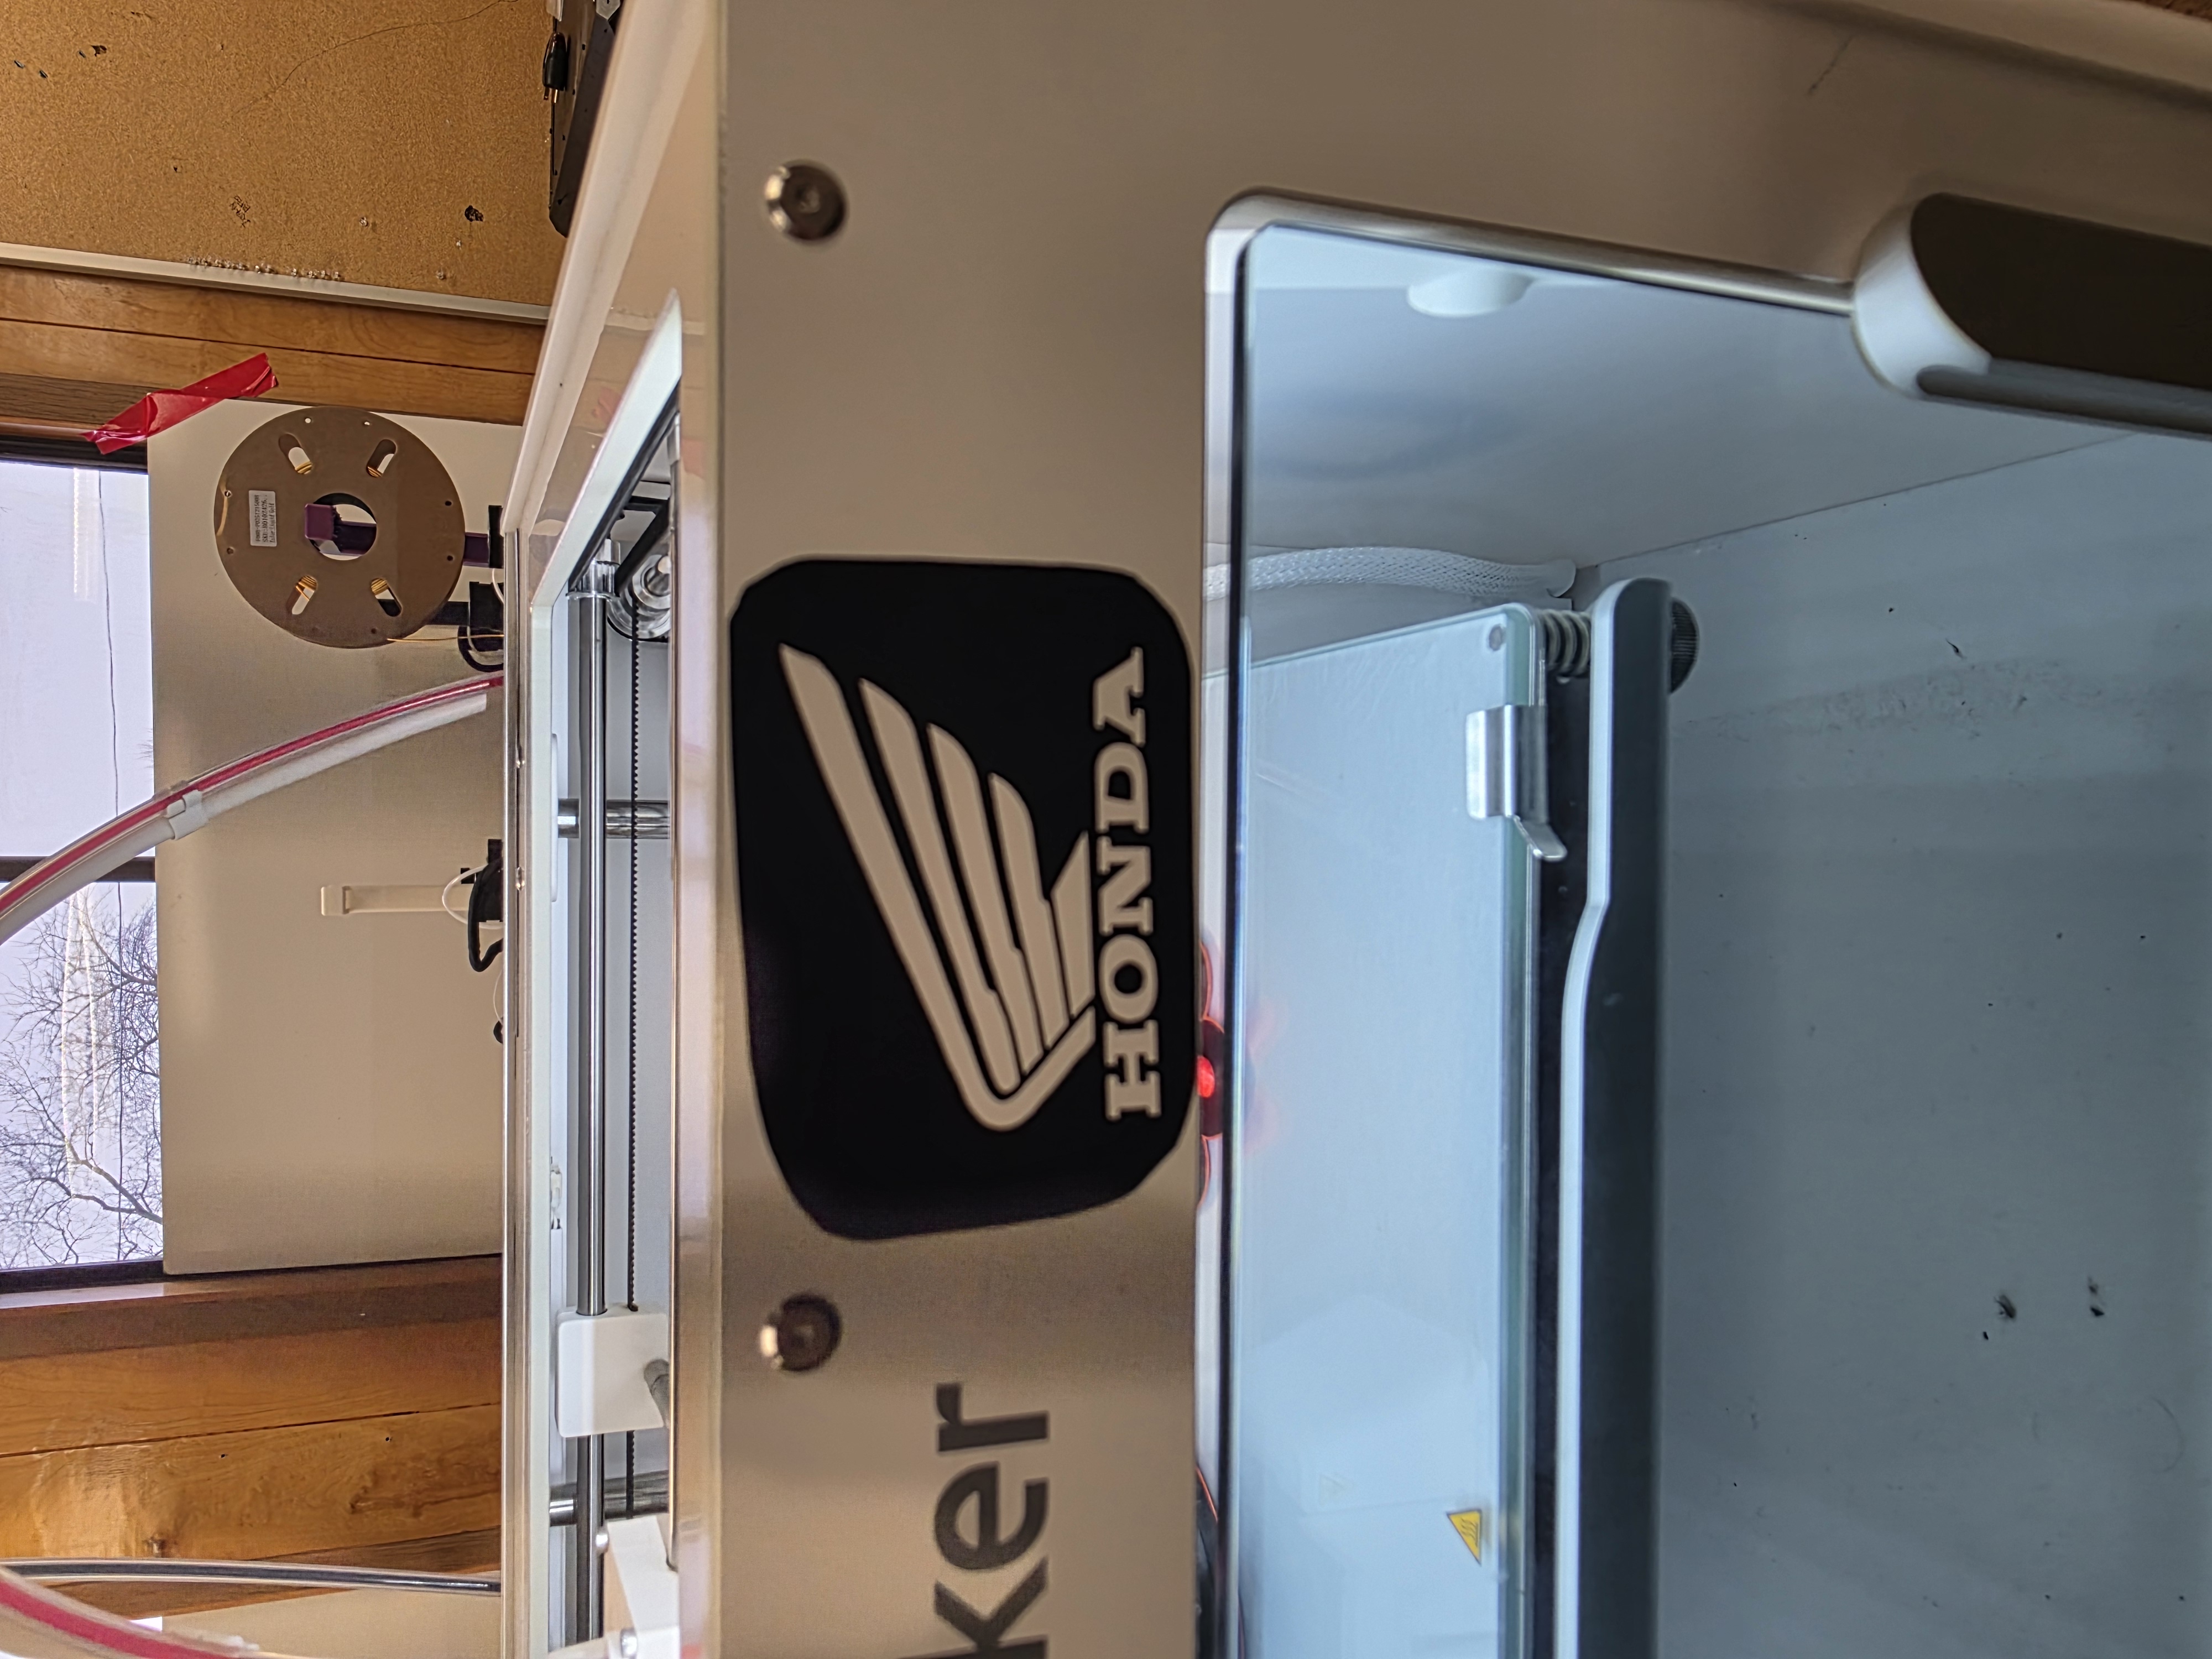
For the first part of my individual work, I used the vinyl cutter. I wanted to make something fun, so I made a Honda-themed vinyl decal with the Cricut machine.
Before cutting, I had to prepare the design correctly so the machine could follow the lines. I adjusted the size, placement, and cut settings before sending the file to the cutter.
Once the vinyl was cut, I removed the extra material by hand using a weeding tool. This part took patience because small pieces can tear or pull up if you move too fast.
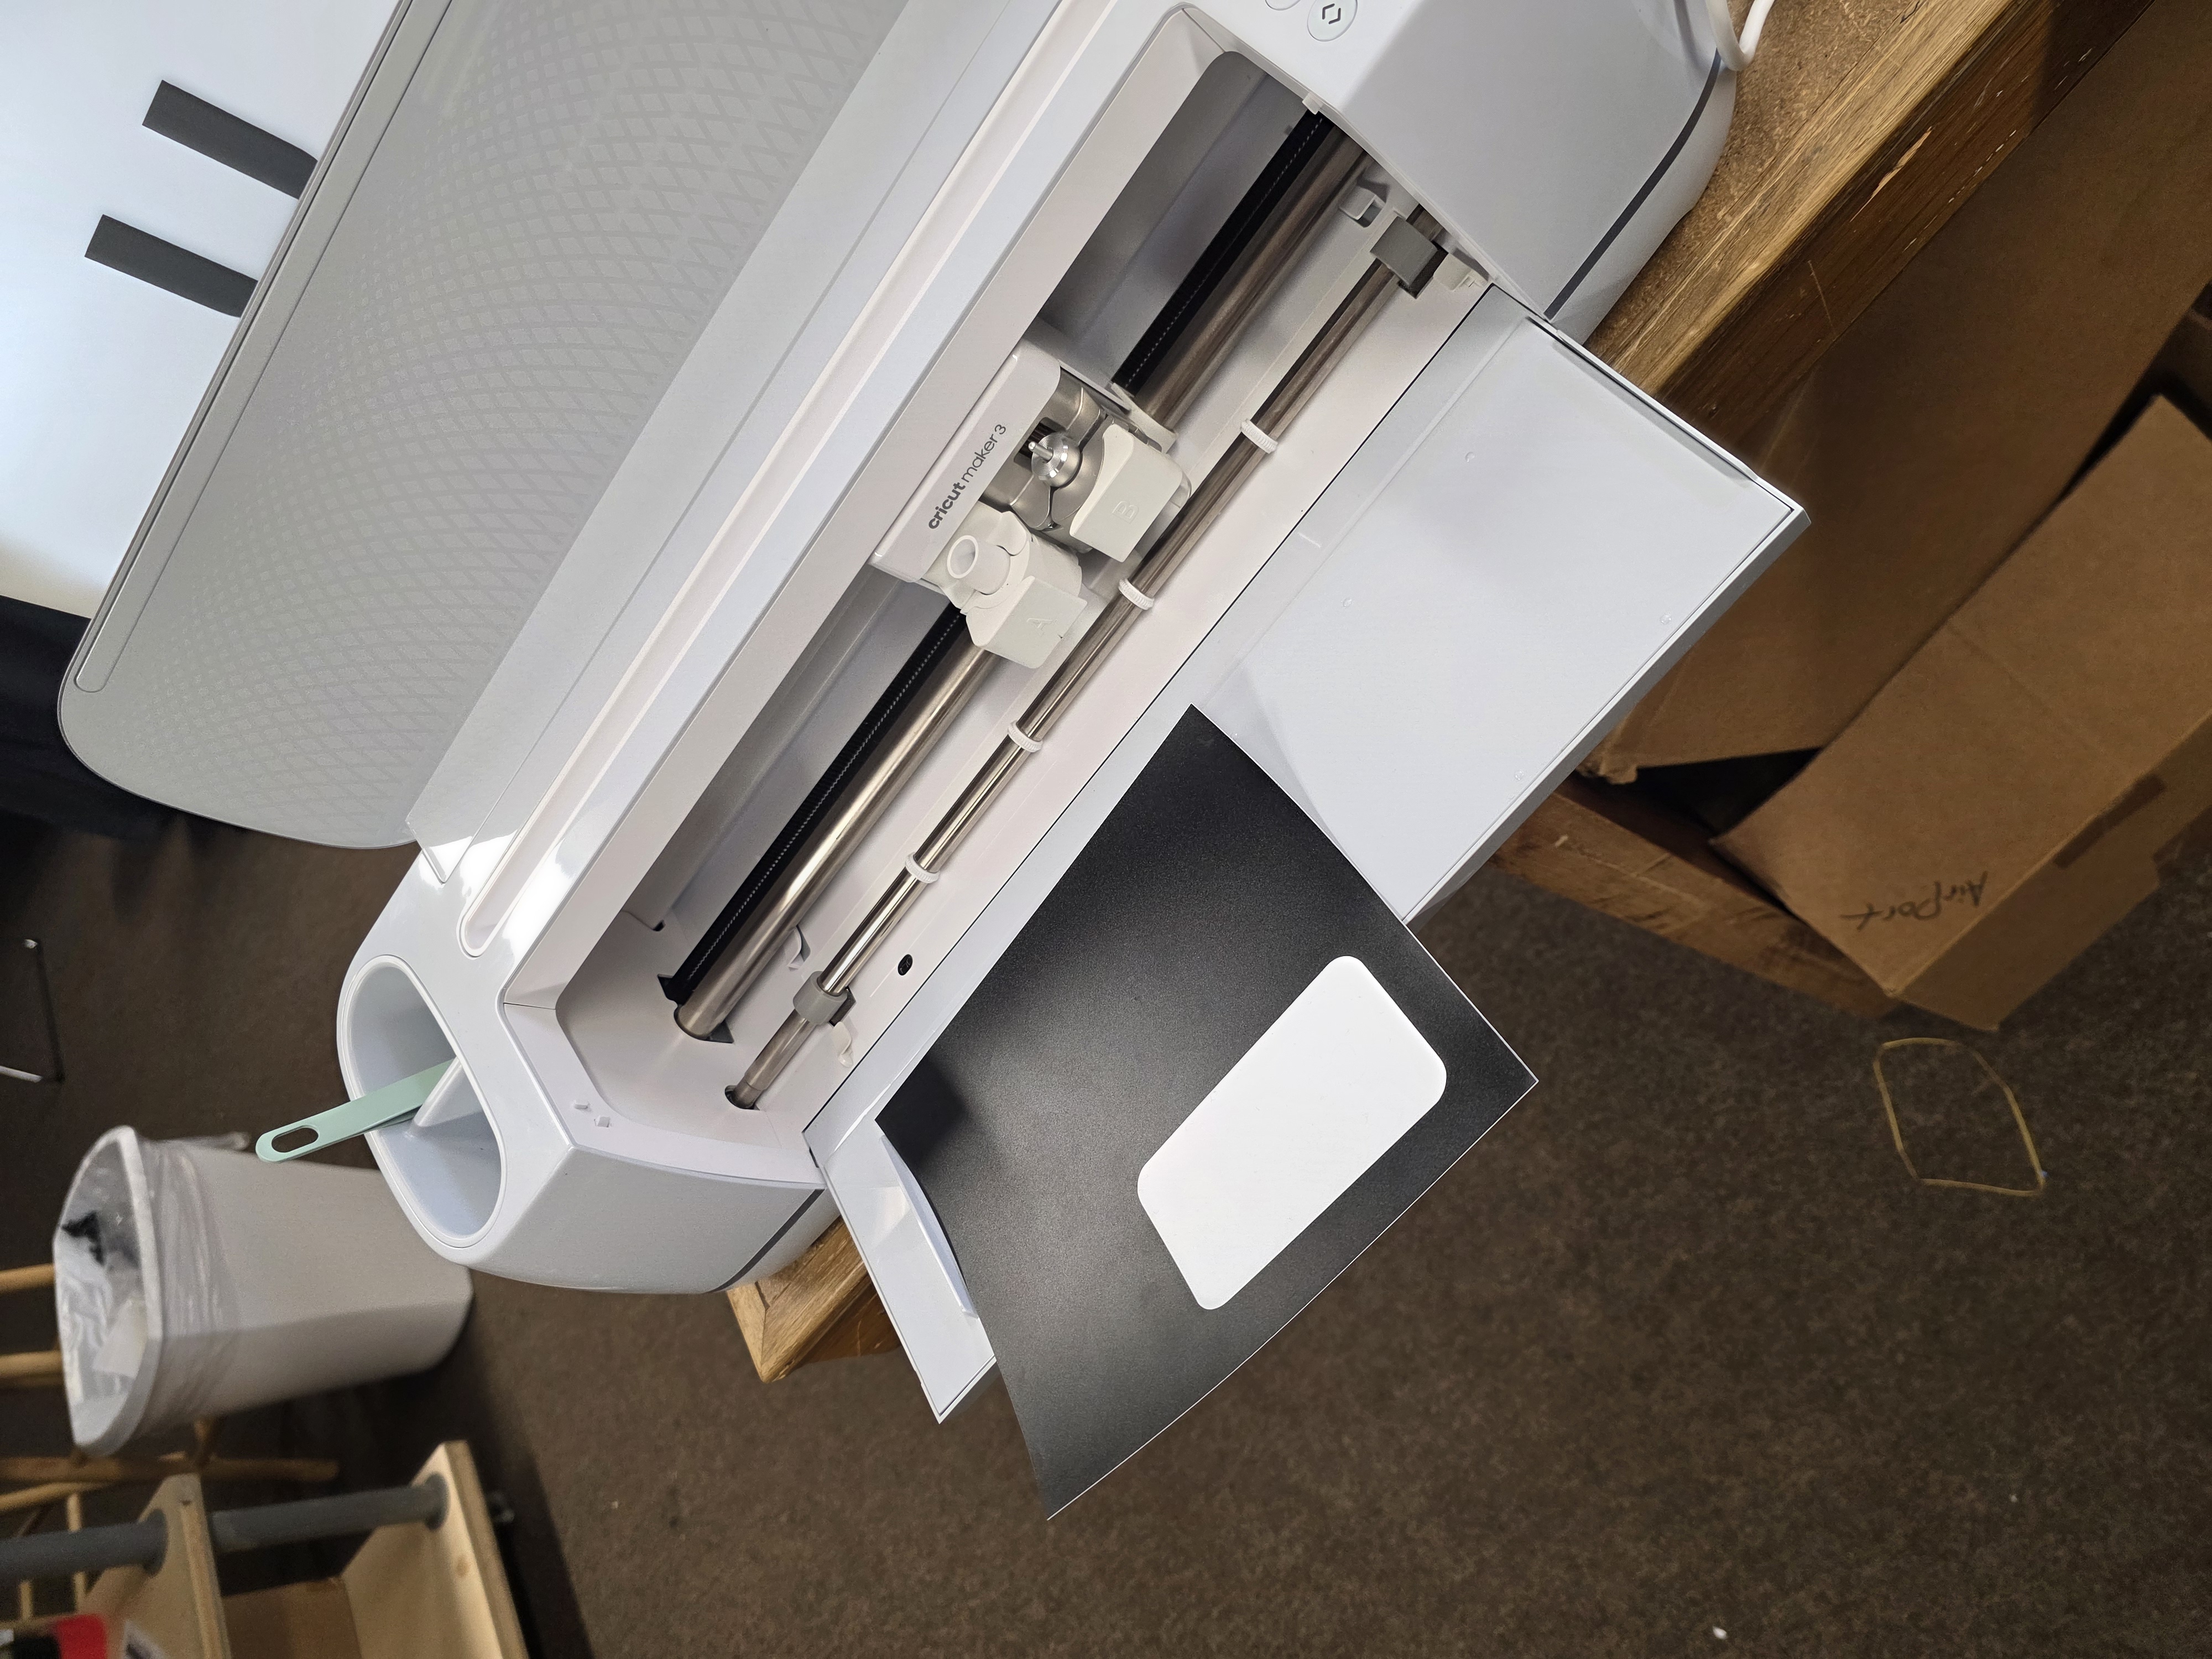
After the design was cleaned up, I used transfer tape to move the decal onto another surface. This helped me understand how vinyl graphics are layered and transferred cleanly.

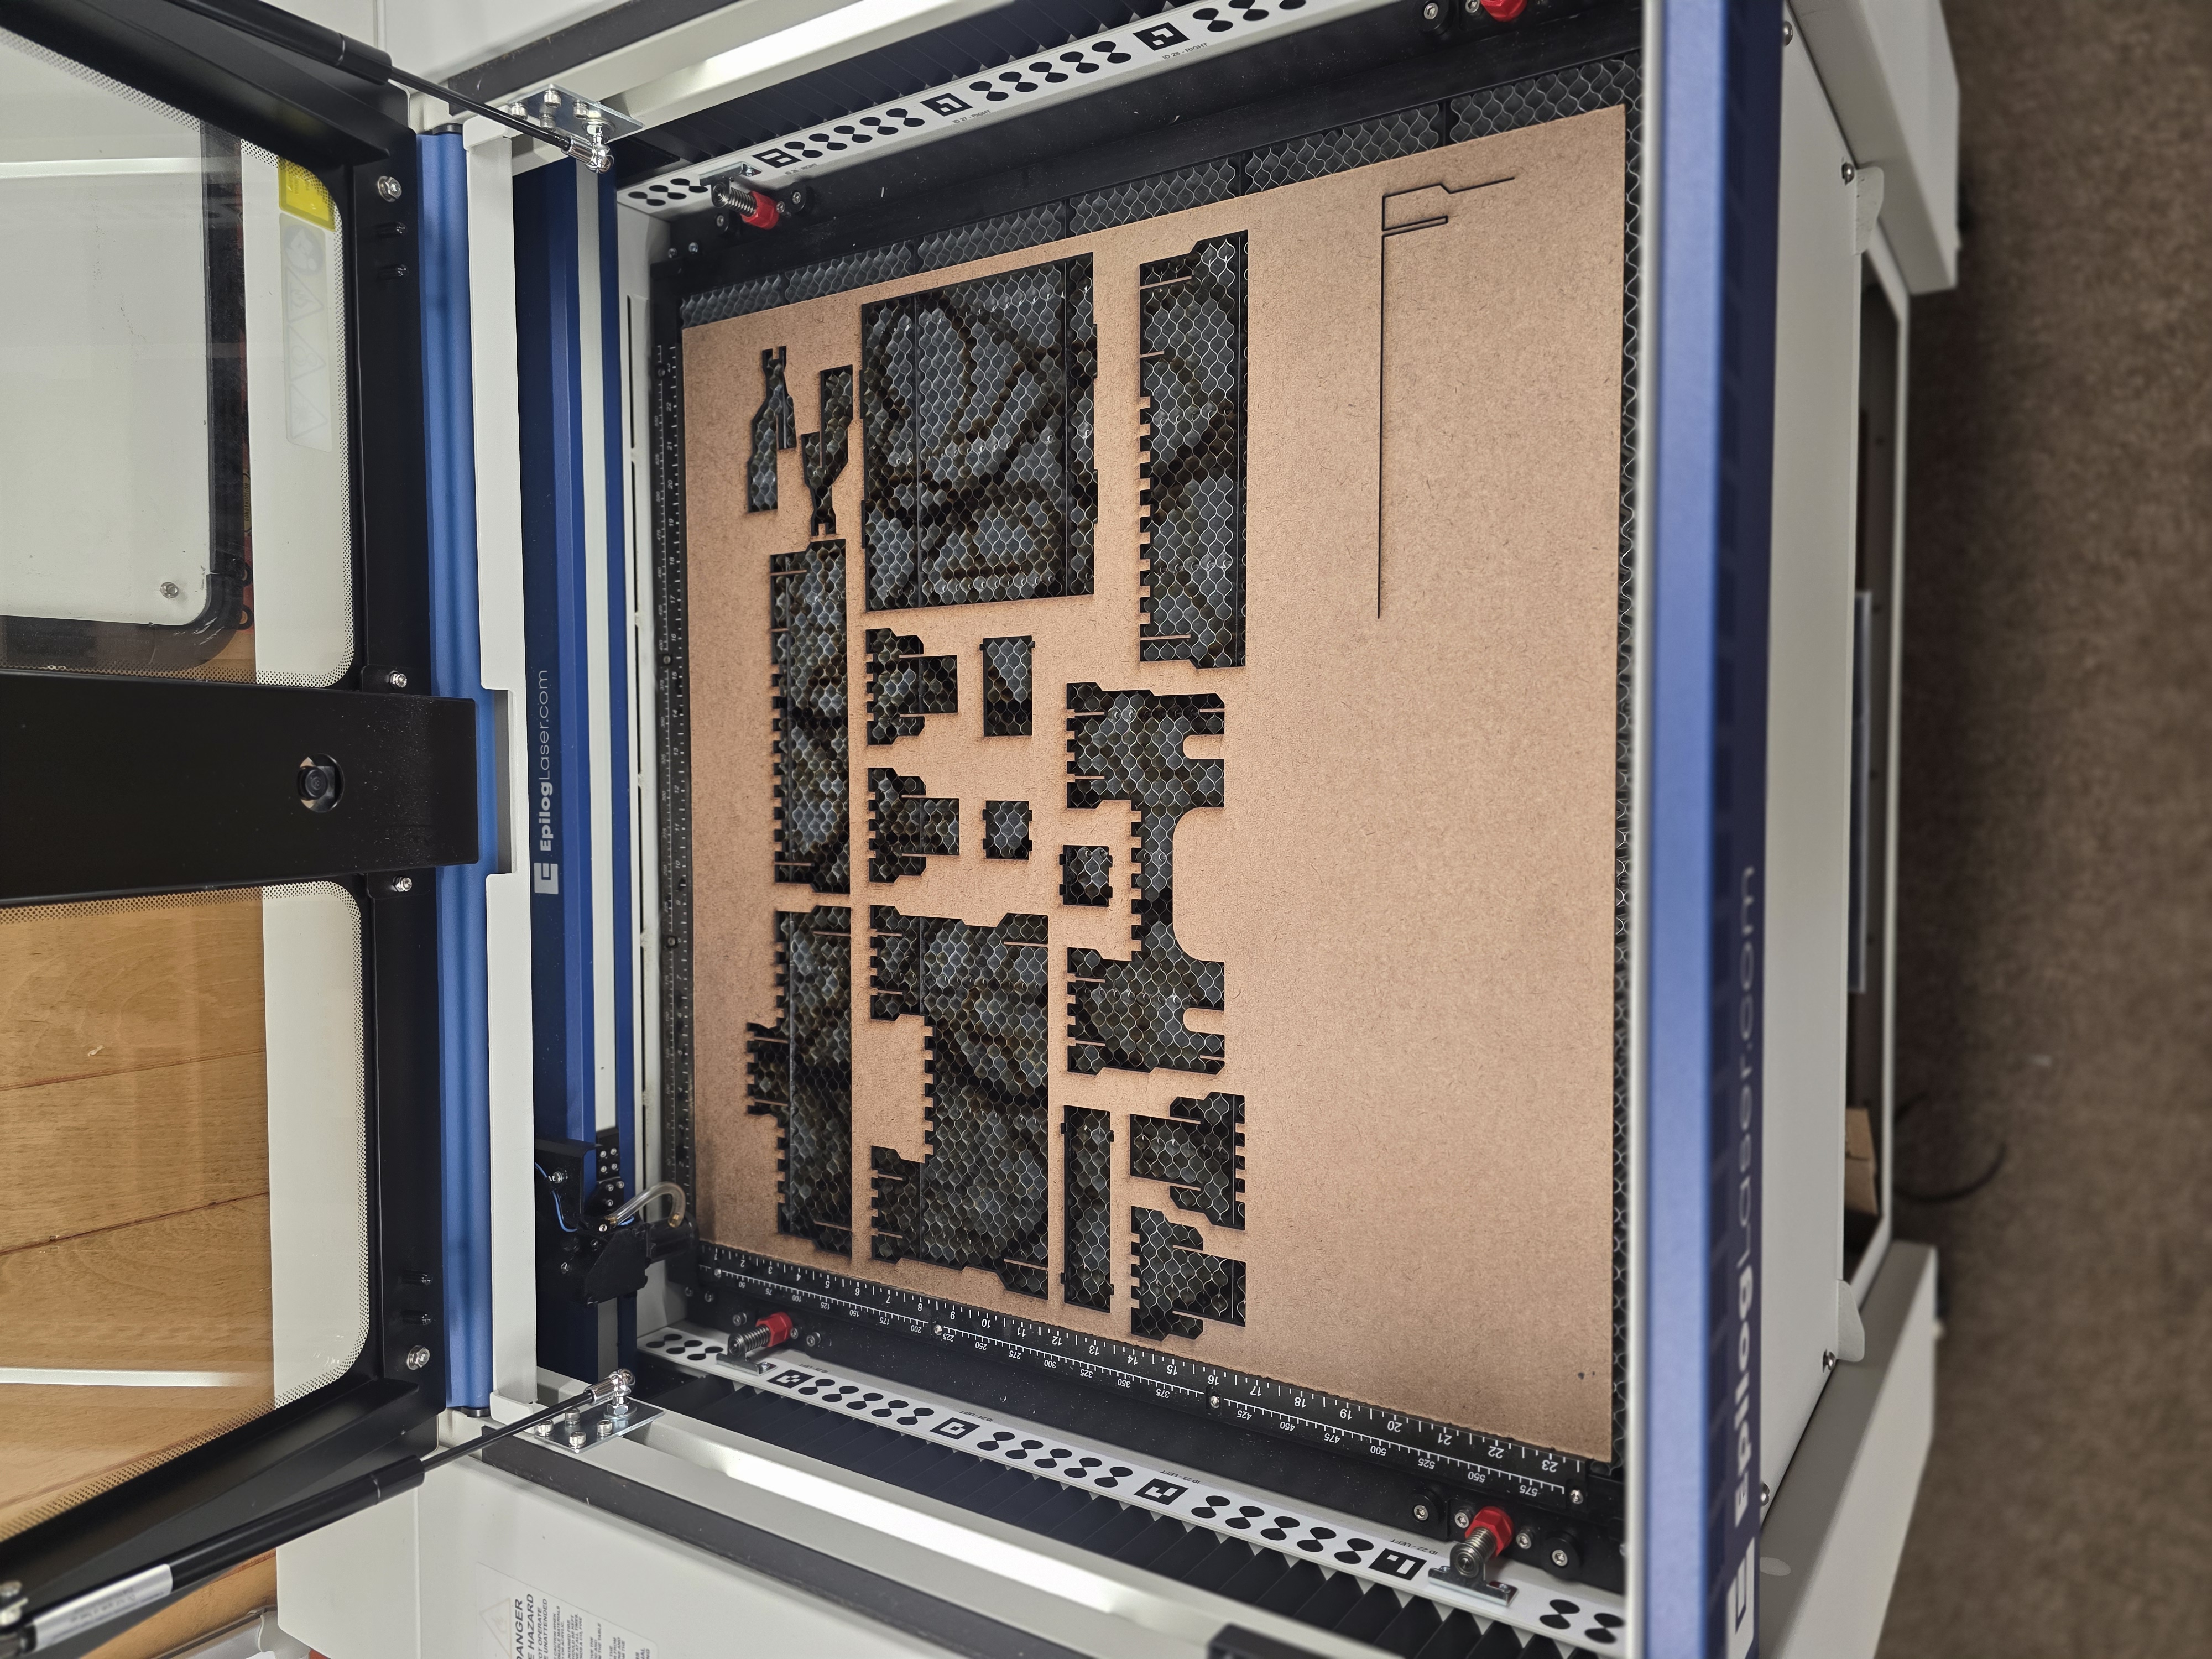
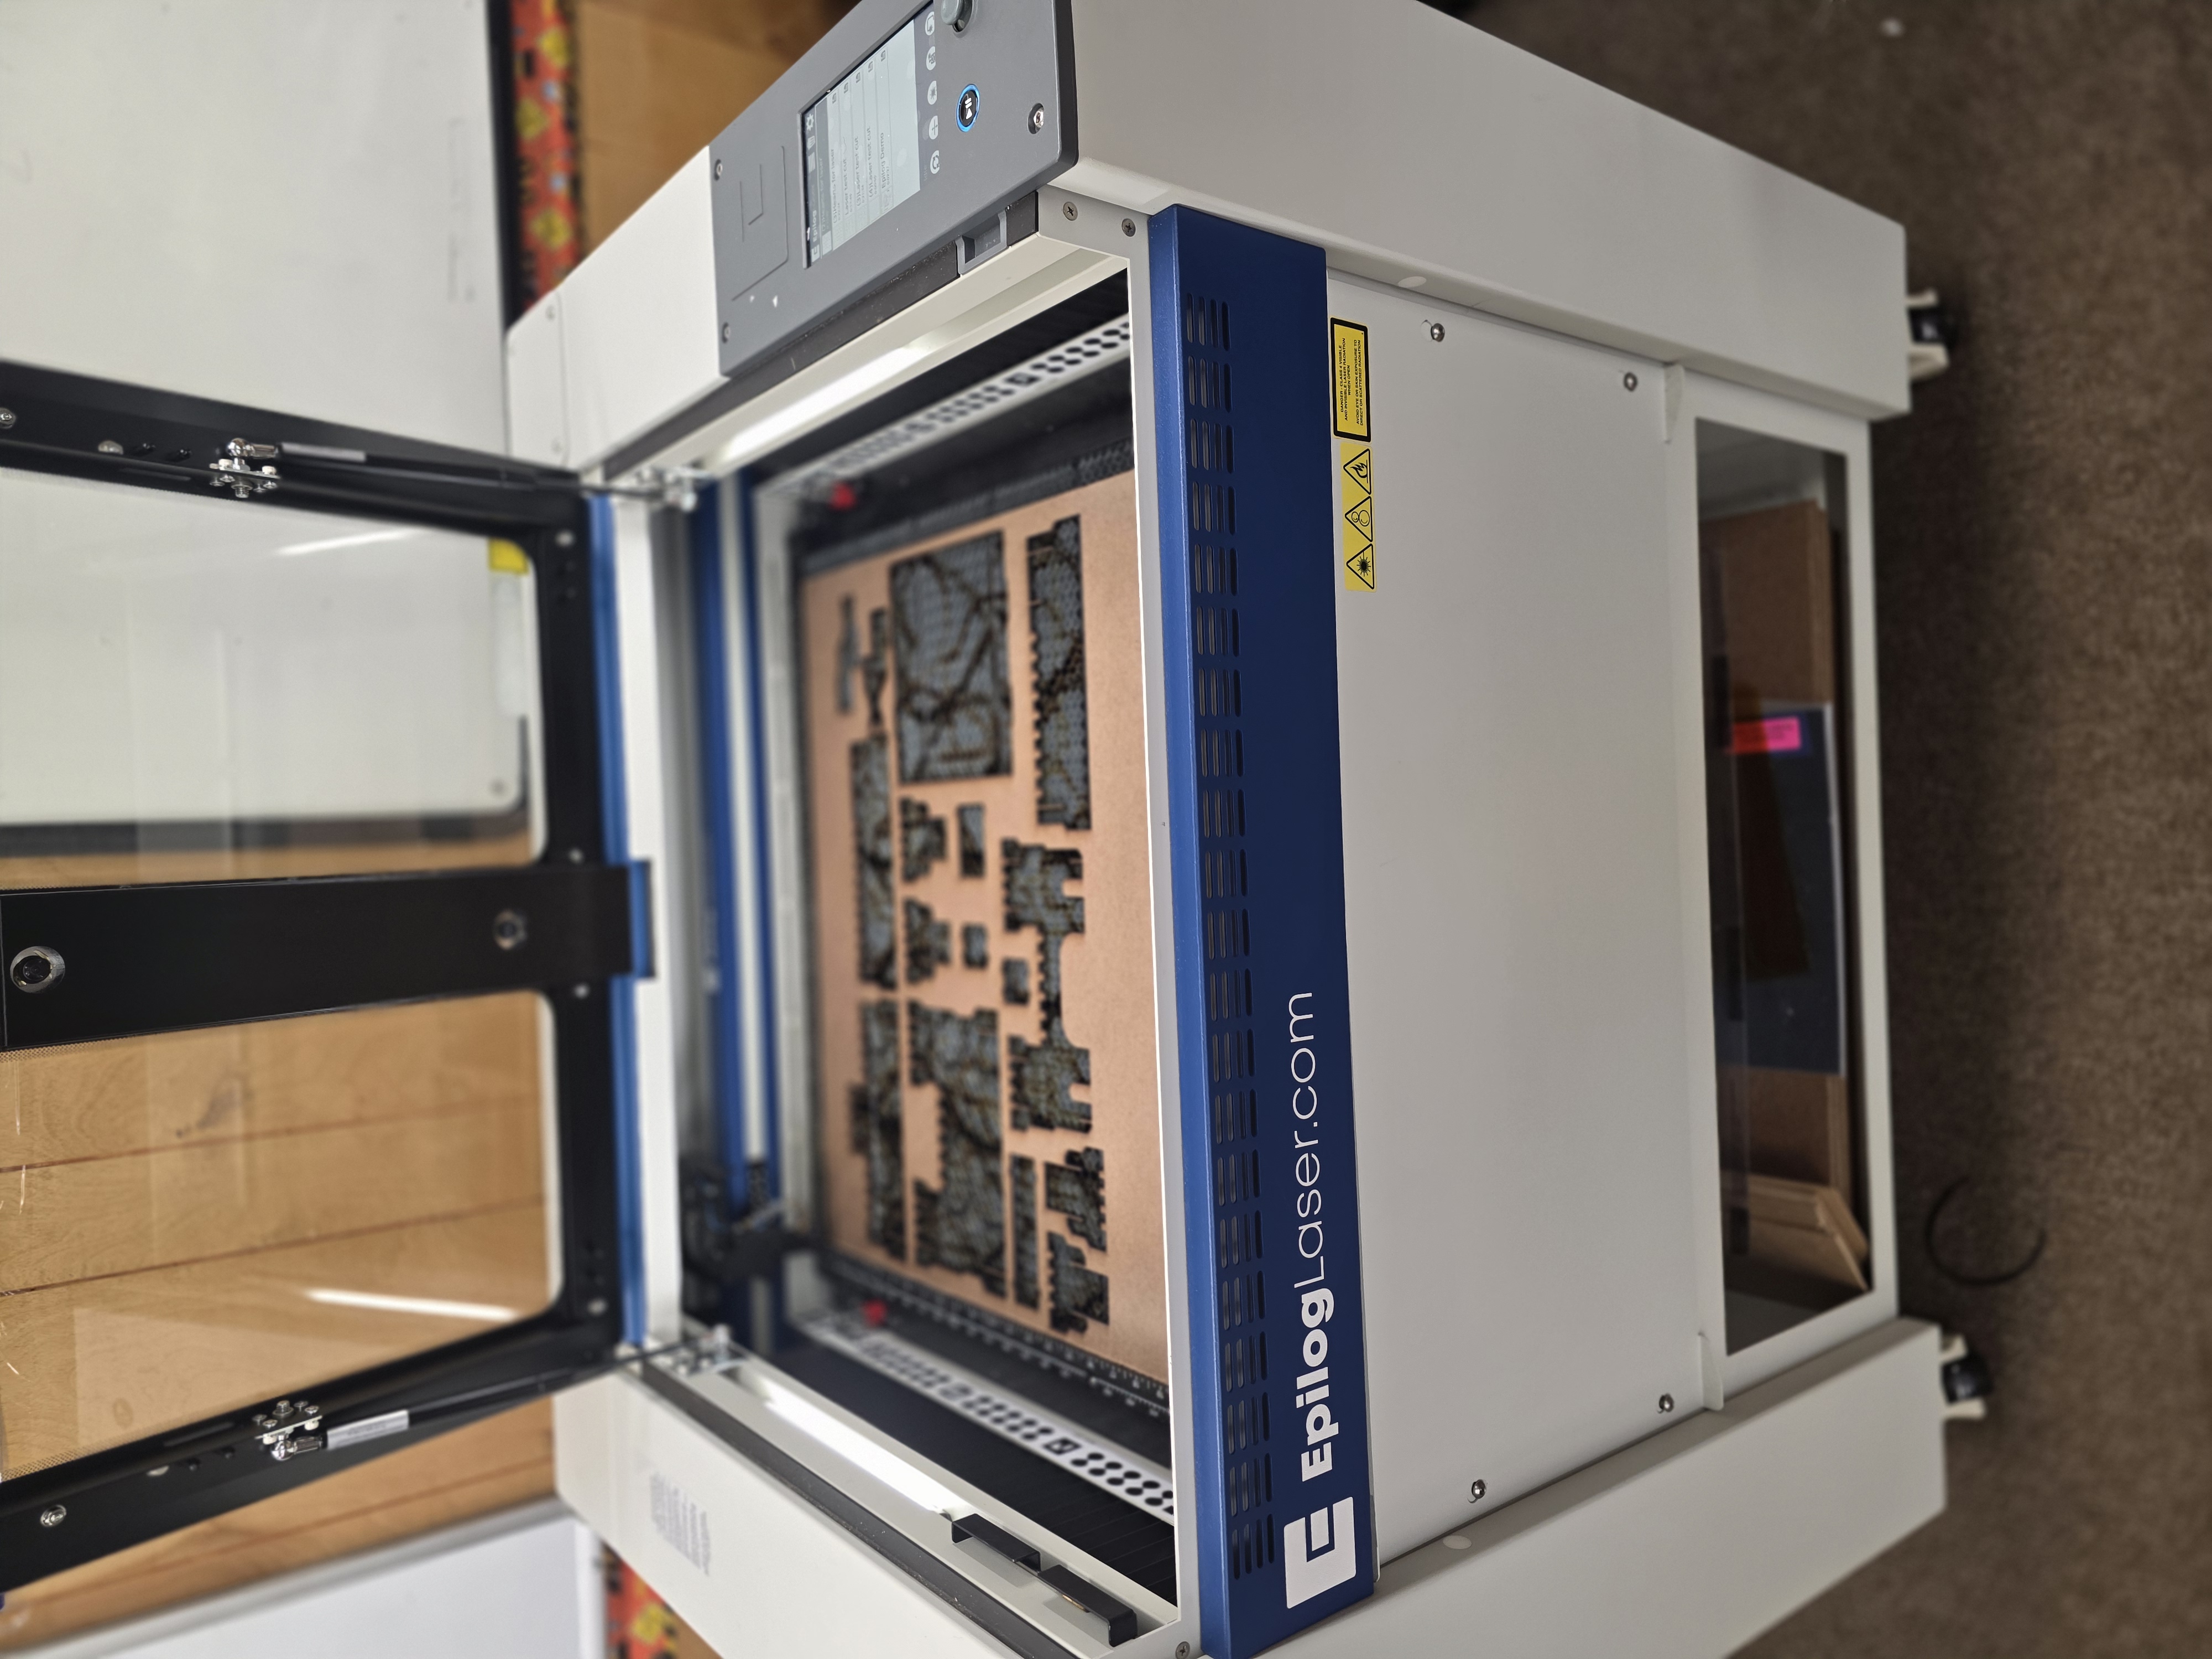
Individual Assignment - Laser Cutting
The second part of my individual assignment was laser cutting. I used the Epilog Fusion Edge laser cutter and worked on learning how vector cutting works. The group testing helped here because I had a better idea of how power, speed, focus, and kerf affect the final cut.
One thing I learned quickly is that different materials react very differently to laser settings. Too much power burns the material, while too little power does not cut all the way through.
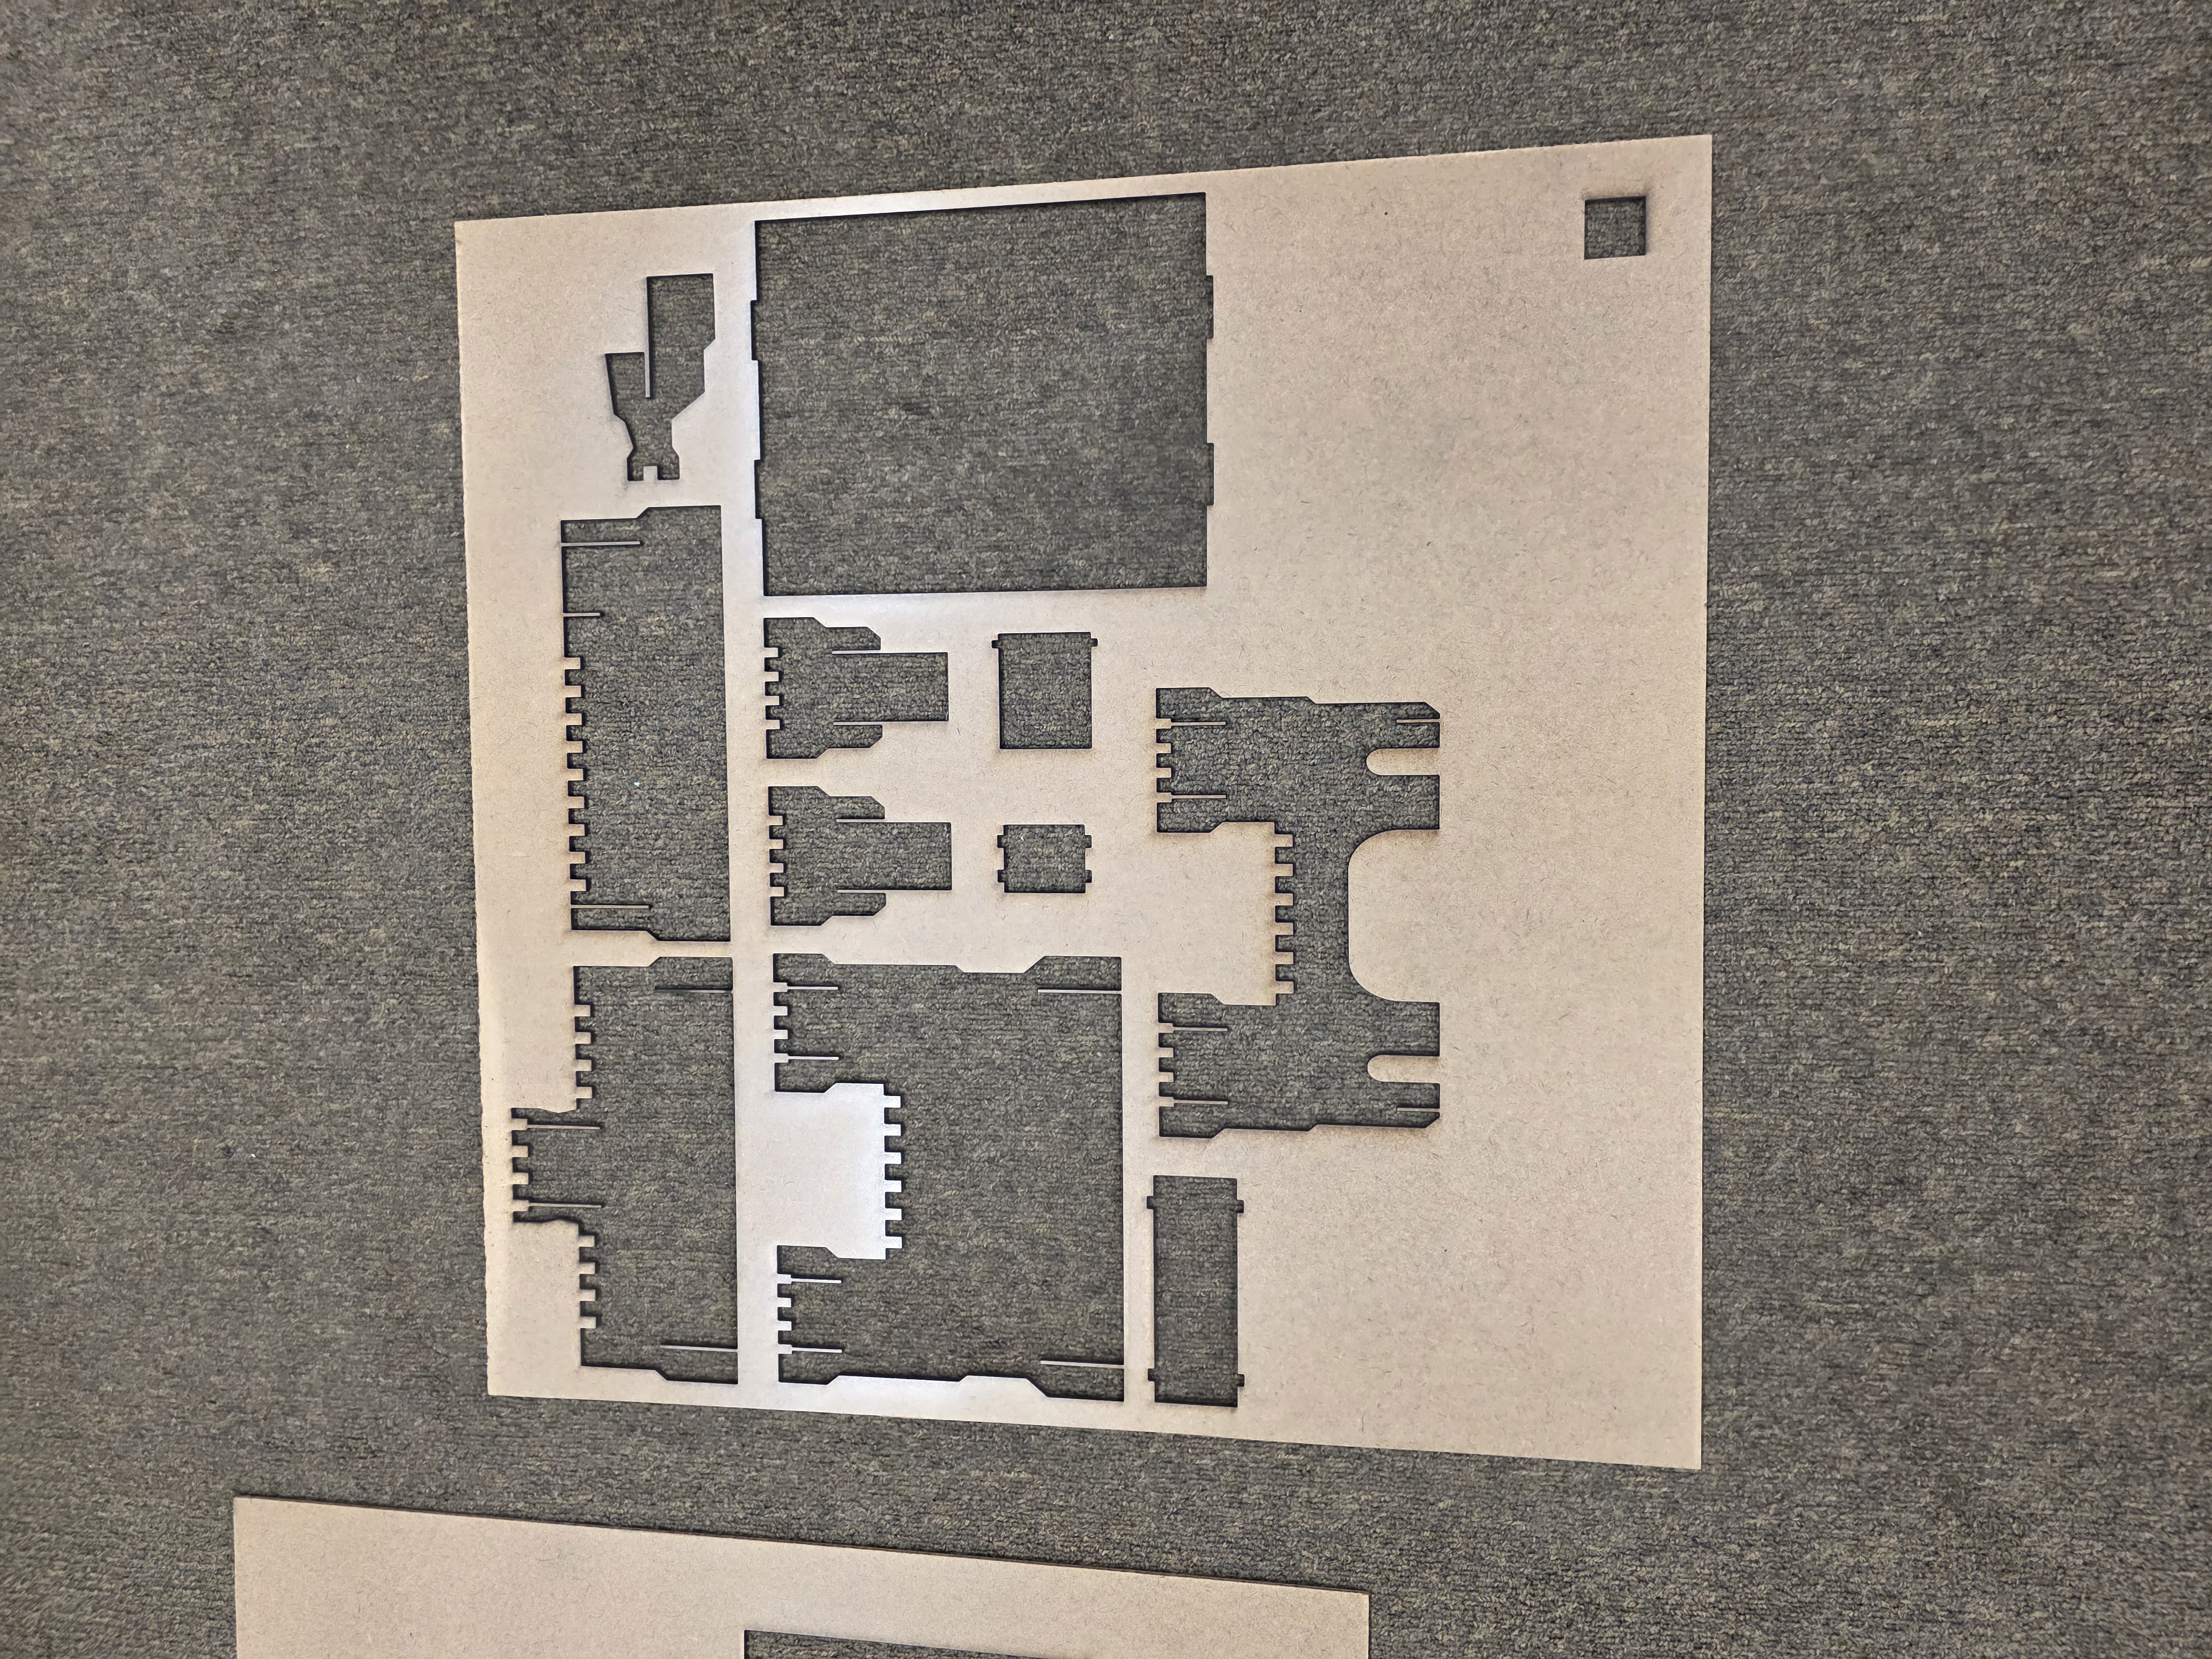
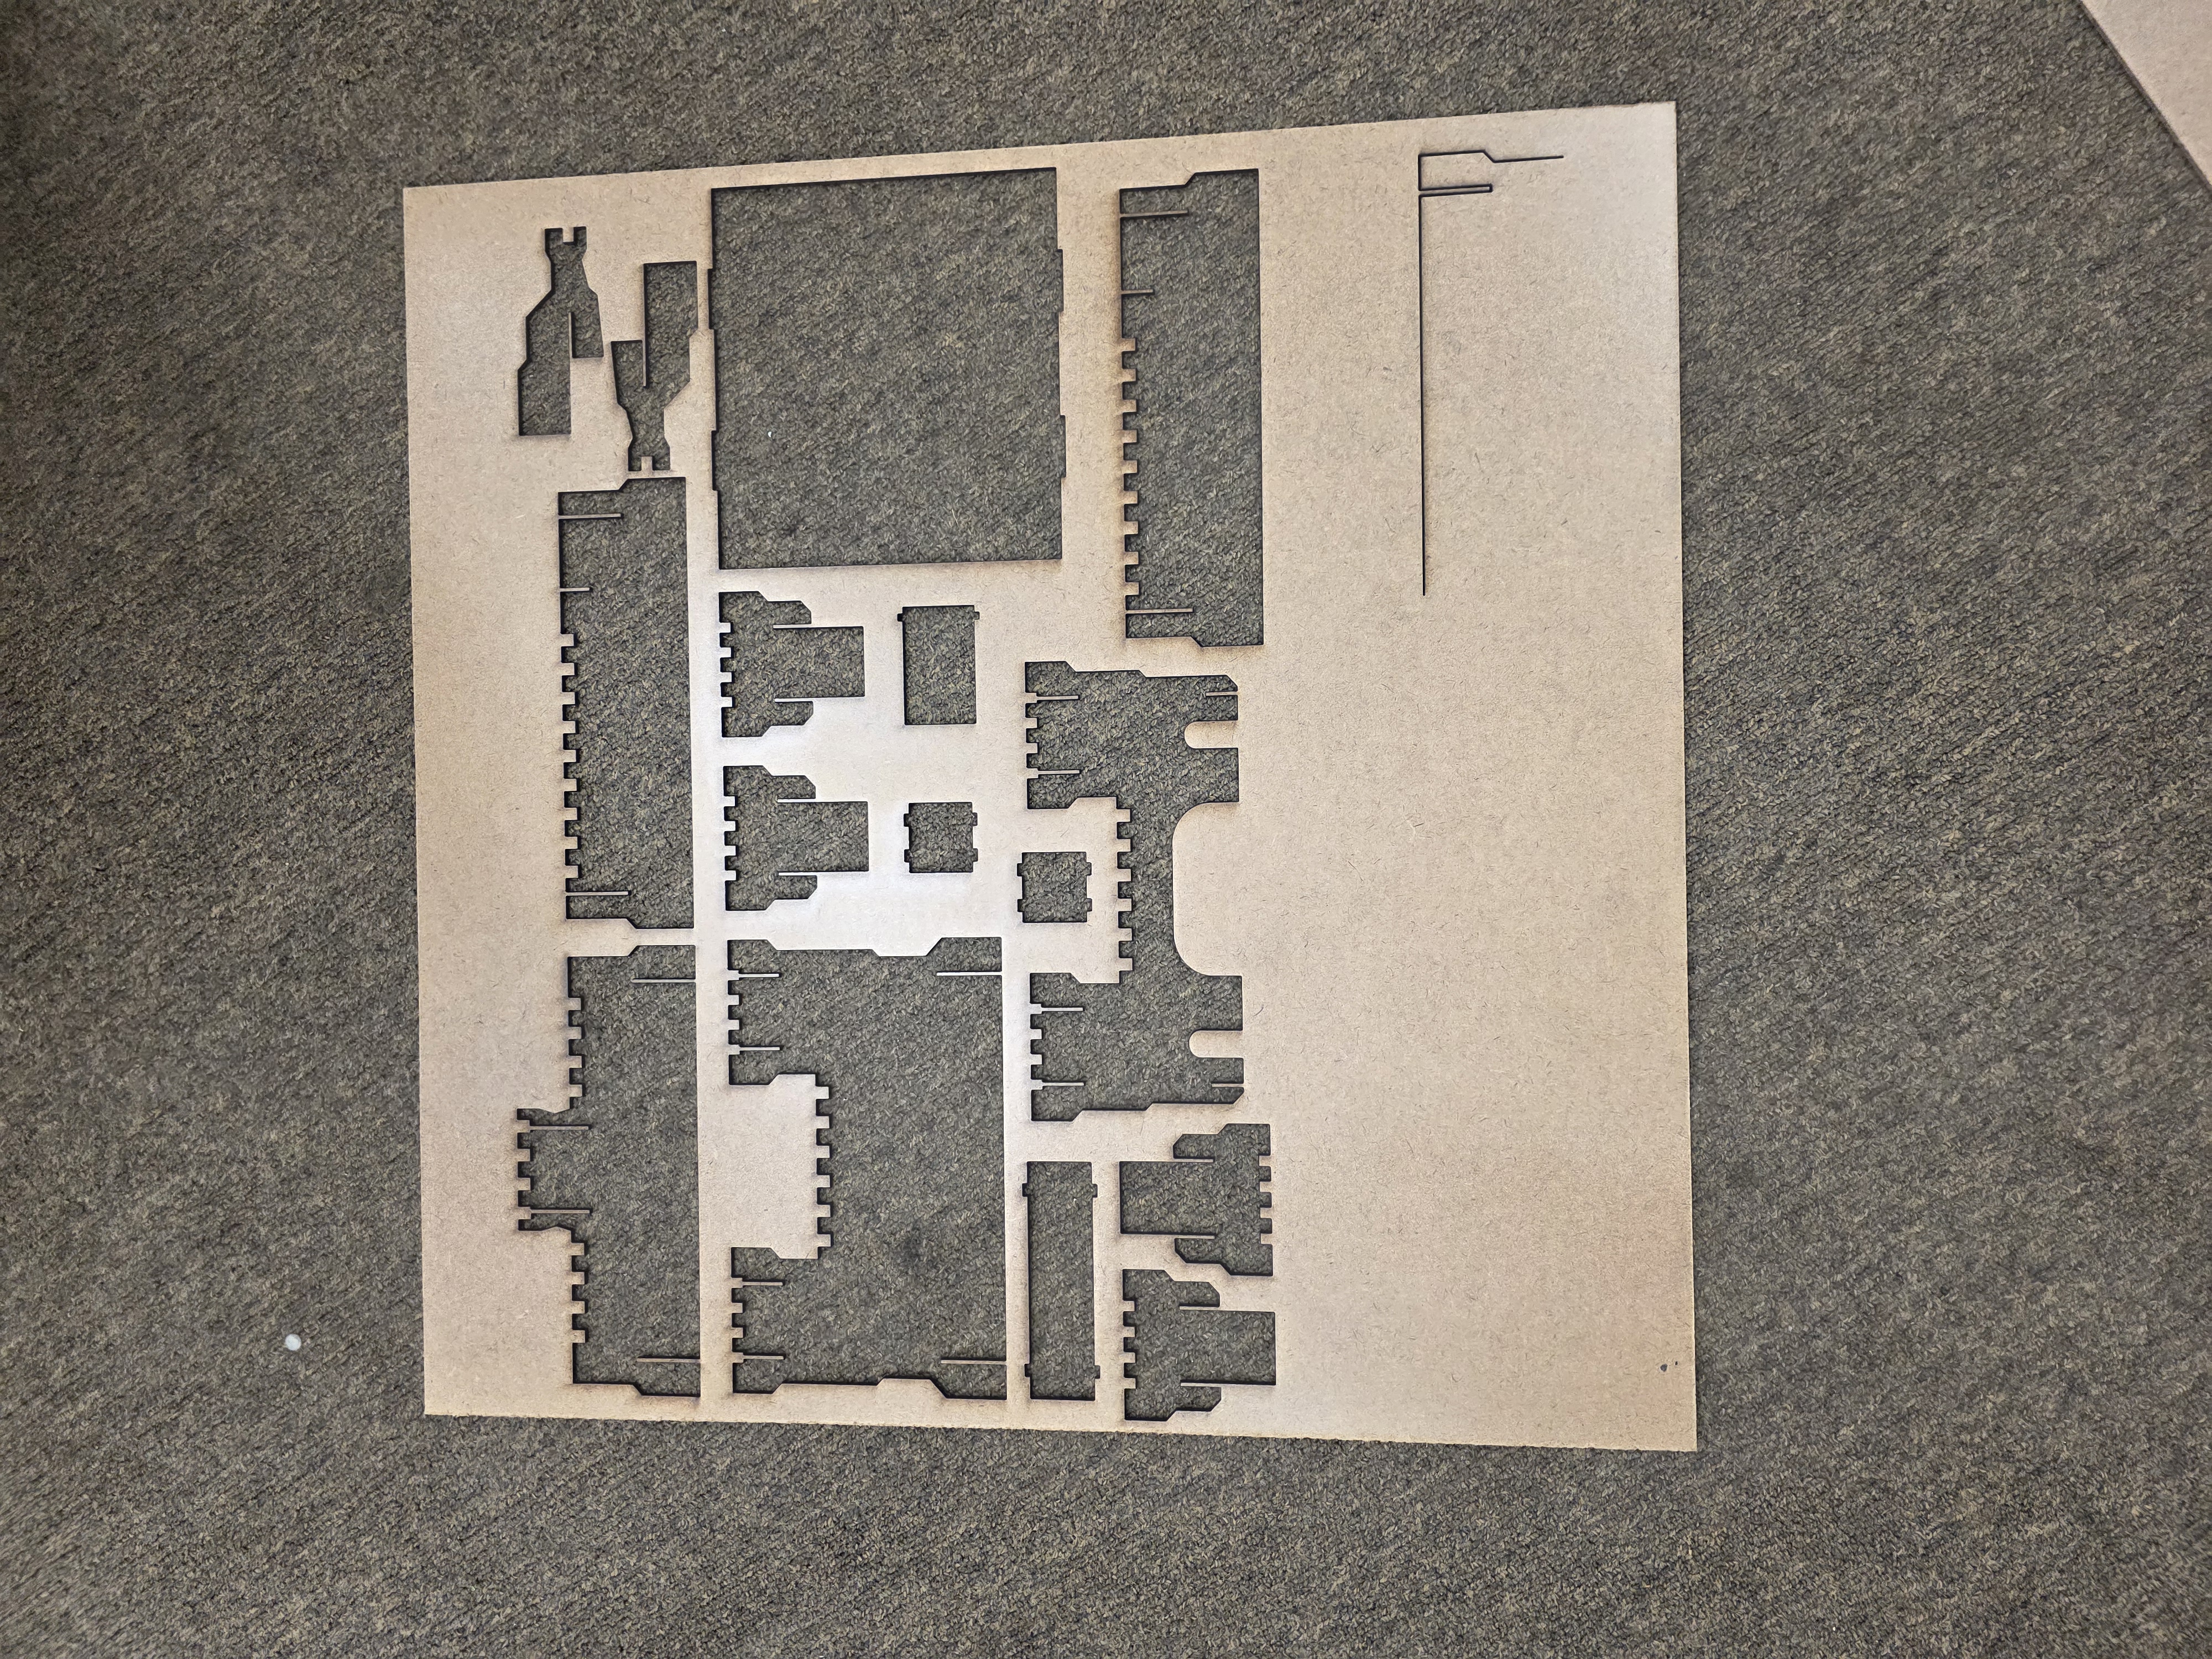
Castle Project
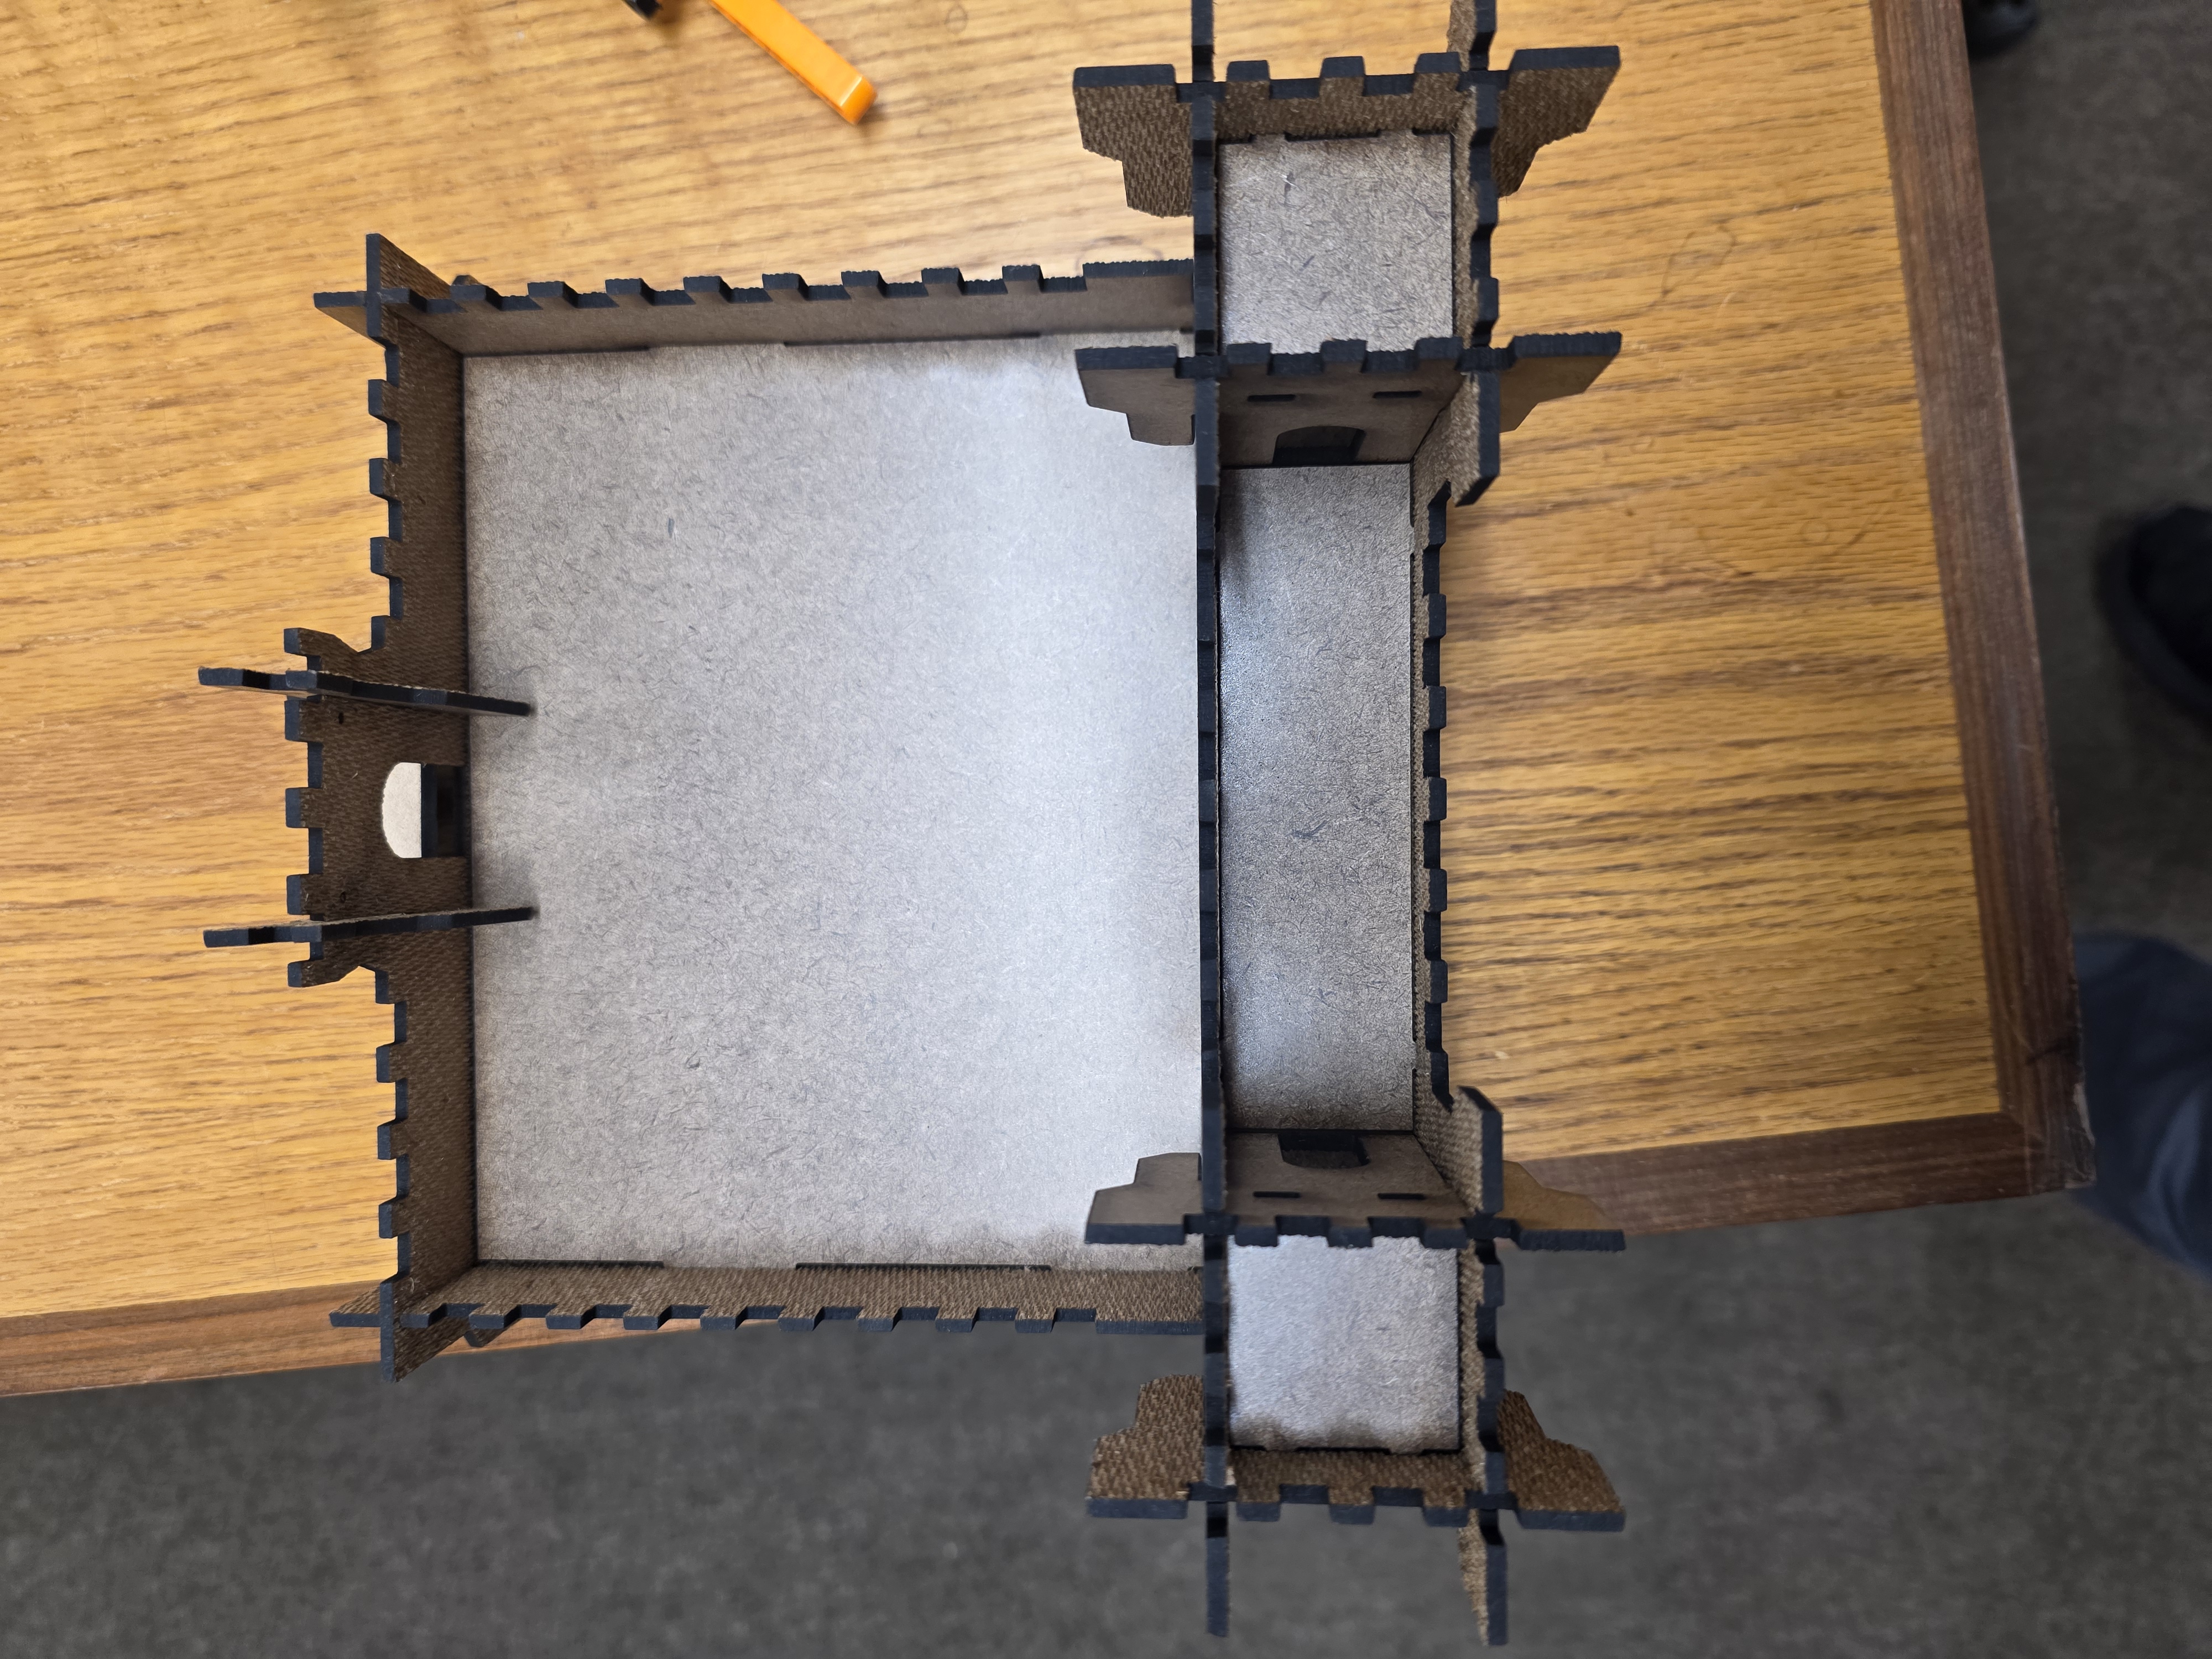
For my laser project, I made a small castle-style structure using press-fit construction. The goal was to create parts that could slot together without glue.
I designed the parts so the tabs and slots would interlock tightly. This meant I had to think about the kerf and the clearance of the slots. If the slots were too small, the parts would not go together. If the slots were too big, the parts would be loose and fall apart.
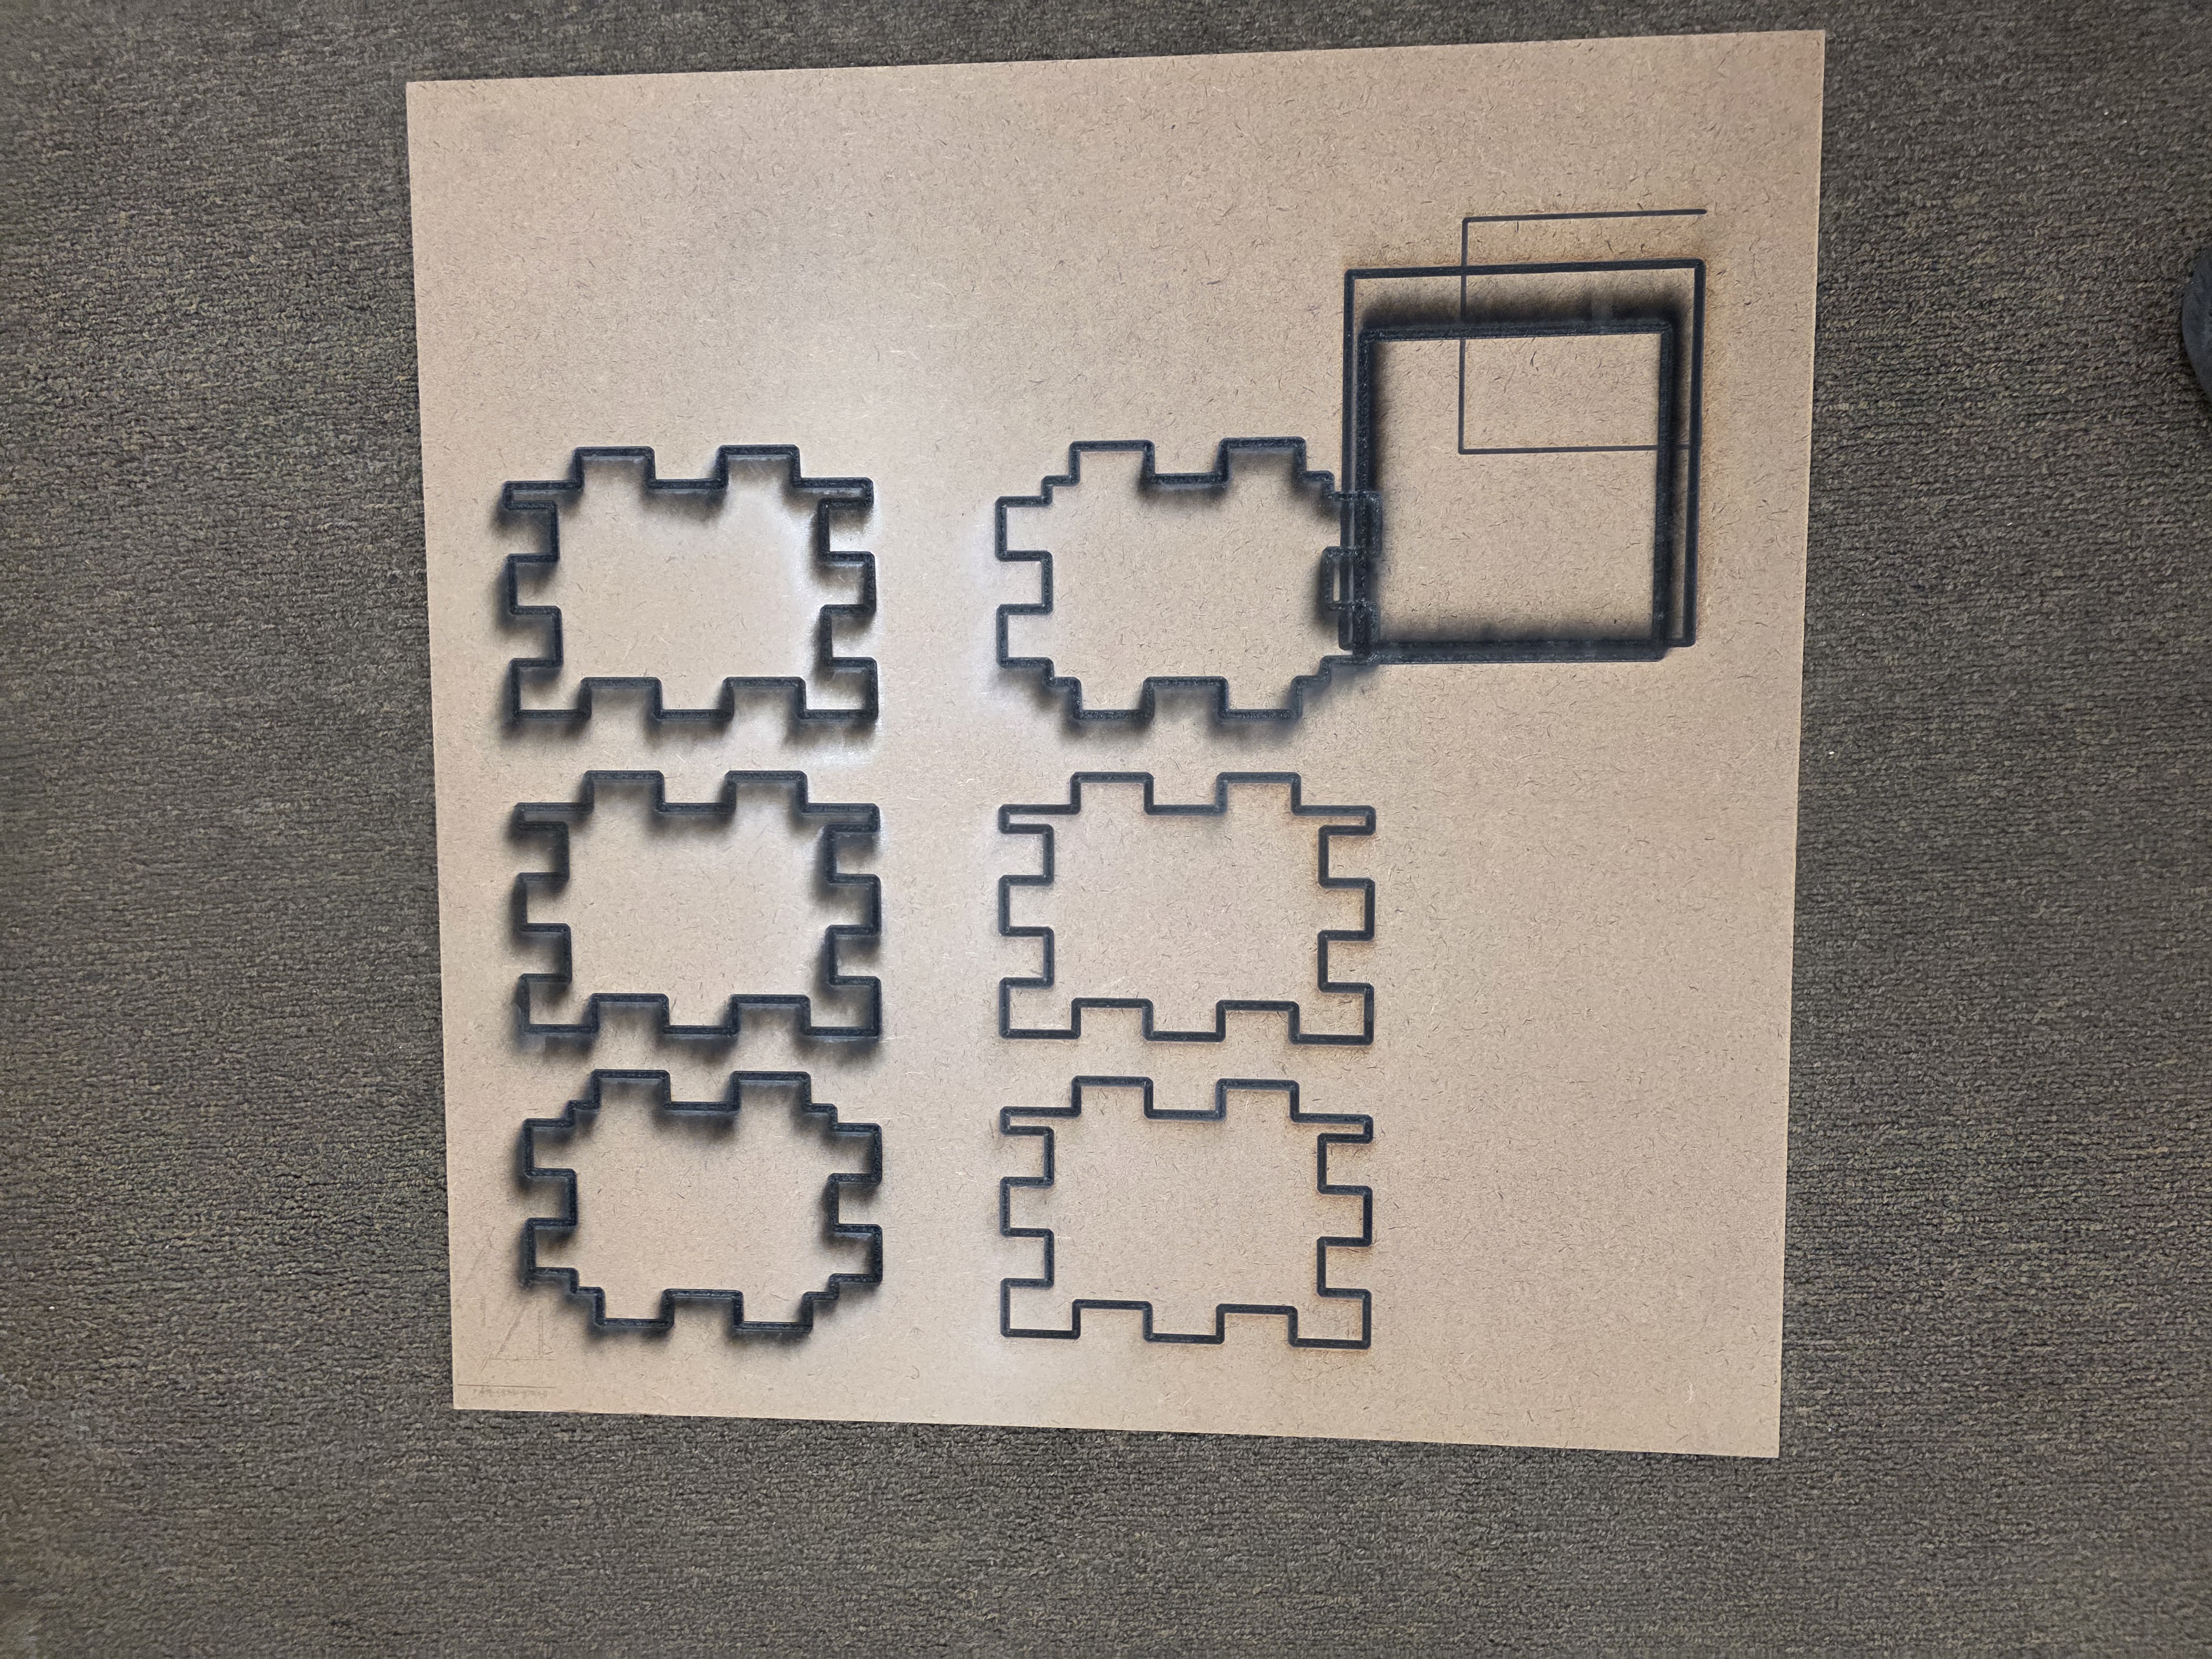
After cutting the pieces, I assembled the structure by hand. Some slots fit perfectly, while others needed small adjustments. This taught me how important tolerances are in computer-controlled cutting.

Kerf Testing and Fit
One of the most important parts of this week was understanding kerf. The laser removes a small amount of material while cutting, and that changes how tightly parts fit together.
I tested different slot sizes to see what fit best for the material I was using. Once I found the correct size, the parts locked together much better.
What I Learned
- How to safely use the laser cutter.
- Why exhaust and material safety matter.
- How vector cutting works with vinyl cutters and lasers.
- How to prepare files for cutting machines.
- How to weed and transfer vinyl decals.
- How laser focus, speed, power, and rate affect materials.
- How kerf changes part fitment.
- How press-fit construction works.
- Why tolerances matter in fabrication.
Problems I Ran Into
One challenge was dialing in the laser settings correctly. Some cuts burned too much while others did not fully cut through the material.
I also had to experiment with slot sizing because some parts were either too loose or too tight. Once I adjusted for kerf, the assembly worked much better.
Final Thoughts
This week helped me understand the difference between designing something digitally and actually fabricating it with machines. Even small design changes can completely affect how parts fit together in real life.
I also learned that computer-controlled cutting is not just pressing a button. Material setup, machine settings, tolerances, safety, and file preparation all matter if you want a clean result.