2. Computer Aided design
Assignment:
-
model (raster, vector, 2D, 3D, render, animate, simulate, ...) a possible final project
-
compress your images and videos, and post a description with your design files on your class page
2D Modeling
Introduction to GIMP
GIMP stands for GNU Image Manipulation Program. It is a raster image creation and editing software (bitmap images based on pixels).
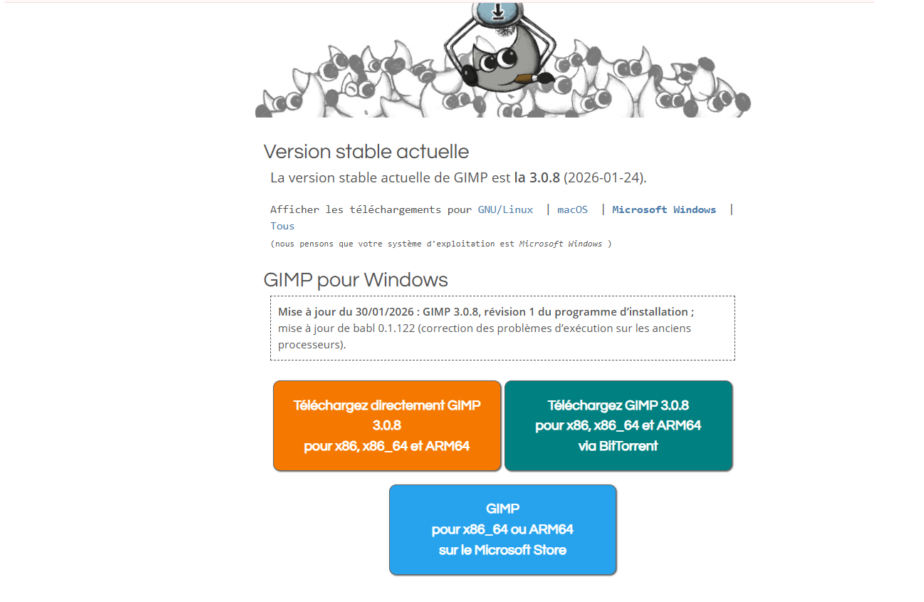
Installing GIMP
Follow the steps below to install GIMP on your computer:
- Open a web browser, Go to the official website: https://www.gimp.org, Click on Download, Download the Windows installer (.exe)
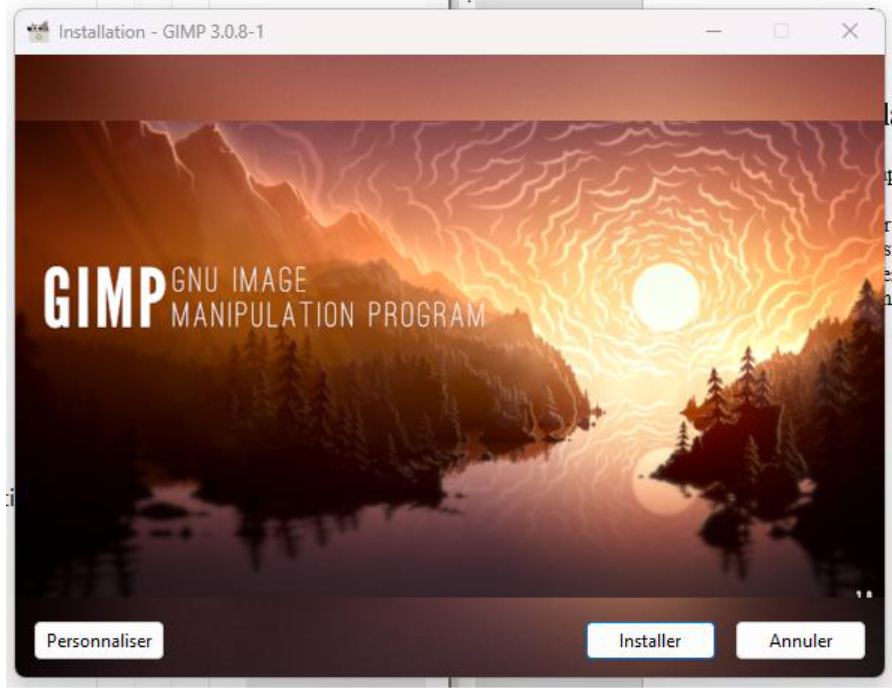
- Then, Double-click the downloaded file, Follow the installation wizard and Click Install, then Finish.
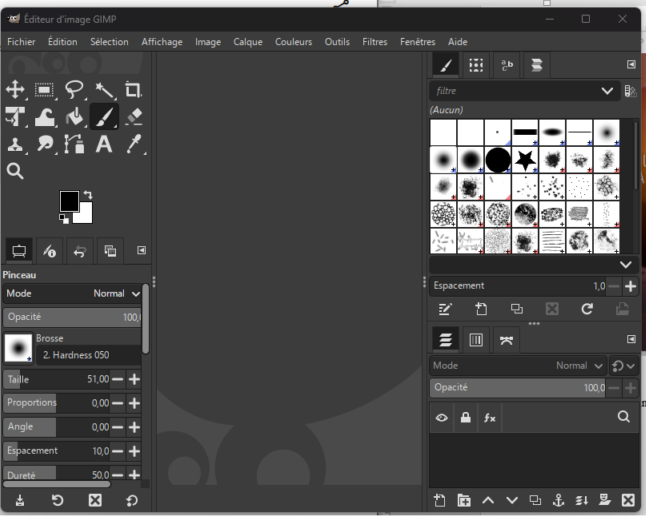
- Once the software is installed, open GIMP to access the interface.
- GIMP Documentation: https://docs.gimp.org/2.10/en/
Project: Hand-Drawn Badge Design
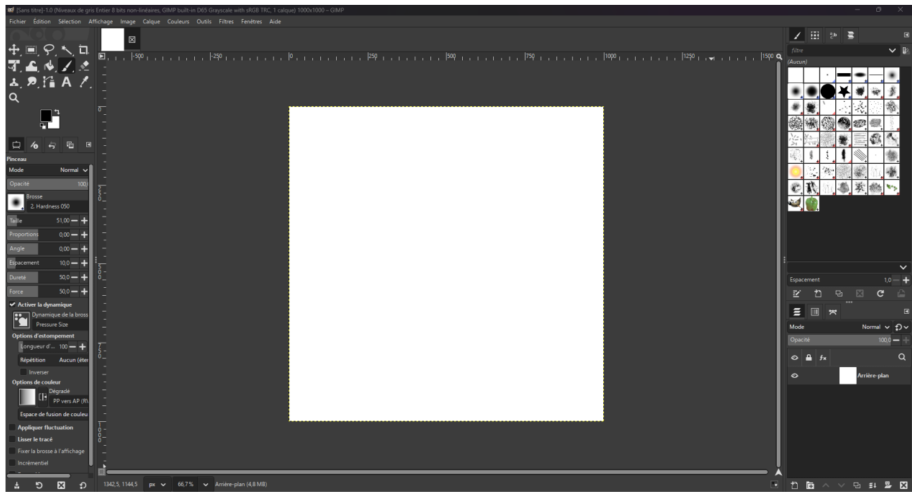
As a practical project in GIMP, we will create a simple hand-drawn badge, using basic tools available in the software.
Preparing the Workspace
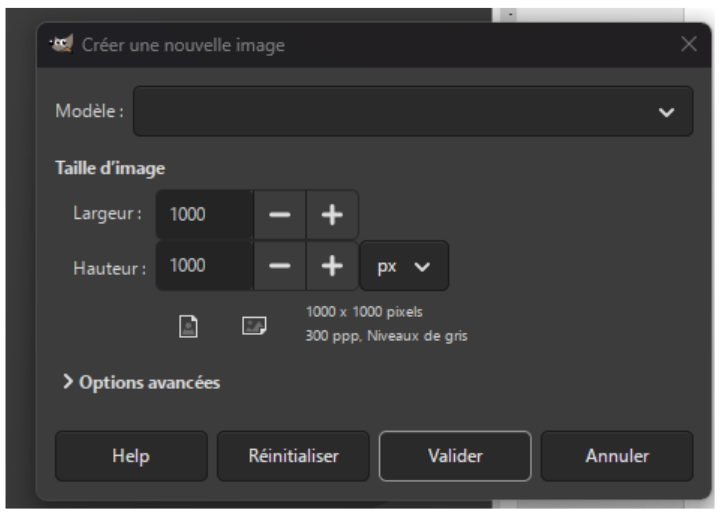
Before drawing, it is essential to properly configure the document to obtain a clean image suitable for printing or digital fabrication.
-
Open GIMP and go to File → New
-
Dimensions: Set the width and height to 1000 px to create a comfortable square format
-
Quality: In the advanced options, set the resolution to 300 dpi (ideal for printing)
-
Background: Choose a white background
Creating the Badge Shape
We will now draw the basic structure of the access badge.
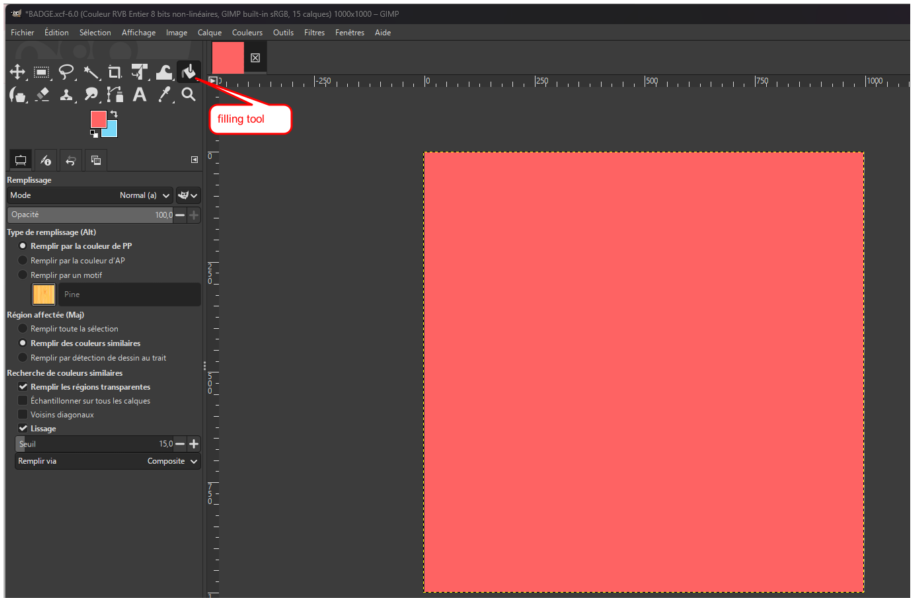
At this stage, I encountered some difficulties. Even when I selected different colors, the drawing always appeared gray. This issue was caused by the image being set to Grayscale mode.
⚠️ Important Technical Tip
If you can only use shades of gray, your image is probably in Grayscale mode.
To fix this, go to Image → Mode → RGB Color.

- After switching to RGB mode, try painting or filling the base layer again. Select the Bucket Fill Tool (paint bucket icon). Click on the layer you want to fill
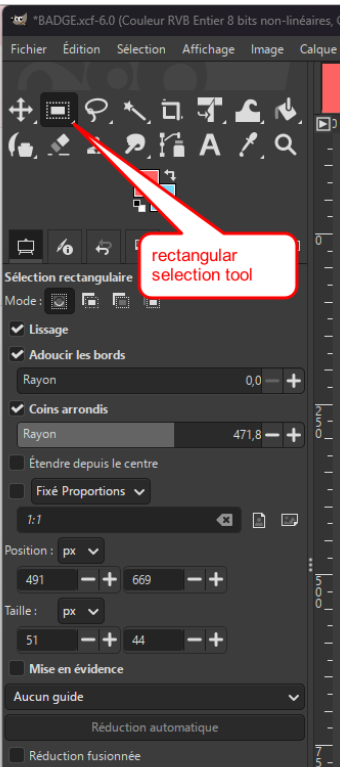
- Select the Rectangle Select Tool, In the tool options, check Rounded corners, Adjust the Radius to obtain smooth curves, typical of modern electronic devices, Draw the rectangle in the center and fill it with white

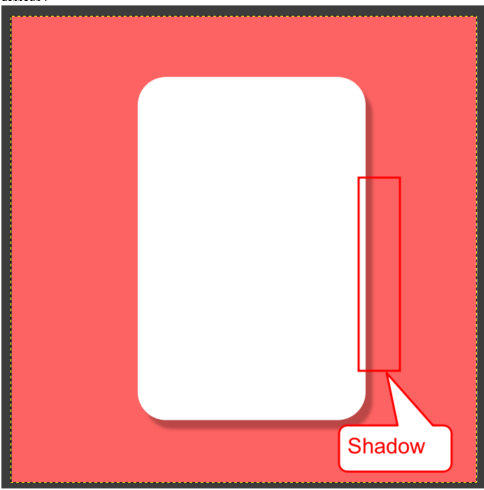
- To give a more realistic, physical look to the badge, we add shadows and details. With the shape selected, go to Filters → Light and Shadow → Drop Shadow. This immediately creates a depth effect, making the badge appear raised from the background.
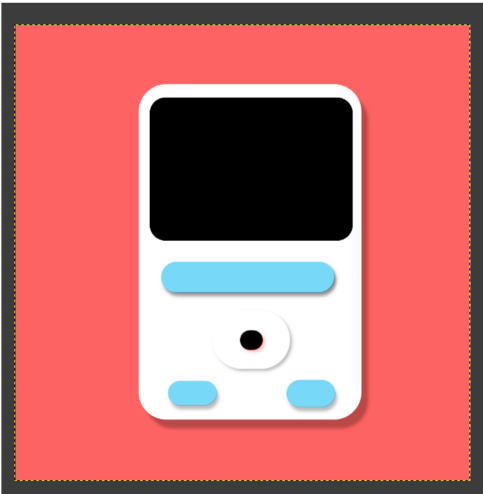
- Repeat the process with smaller rectangles to create, A screen (black), Interaction buttons (blue or red), Use the Bucket Fill Tool to change the colors of each element. use the Rectangle Select Tool and Filters → Repeat Drop Shadow until you obtain the result shown below.
Finalizing with Text
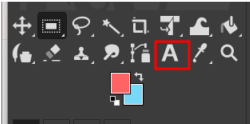
- Select the Text Tool (A icon), Click on the desired area (for example, the black screen) and type your text, such as “FAB ACADEMY” or “BADGE LOCK!”, Adjust the font and size to ensure good readability Click anywhere on the surface where you want to place the text and type it.
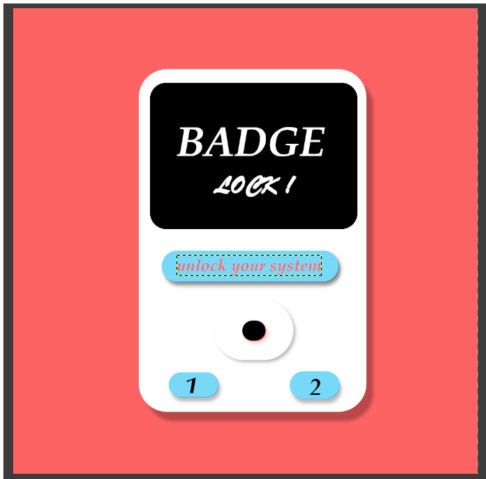
🎉 You’re done—congratulations!
-
To keep all layers and edit the project later, press Ctrl + S and save the file in .XCF format (GIMP’s native format)
-
To share your image, go to File → Export As and export it as PNG or JPG
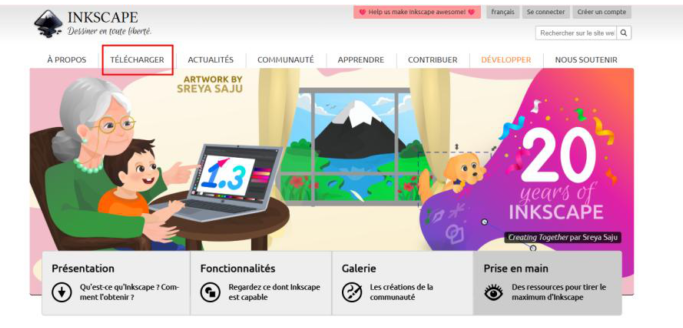
Inkscape User Tutorial
1. Introduction to Inkscape
What is Inkscape?
Inkscape is an open-source vector graphics software. Unlike raster images (pixel-based), vector drawings are based on mathematical shapes, which allows them to be resized without any loss of quality.
This makes Inkscape particularly suitable for:
-
Laser cutting
-
Vinyl cutting
-
CNC machining
-
Graphic design for digital fabrication
2. Installing Inkscape
Follow the steps below to install Inkscape:
- Open a web browser, Go to the official Inkscape website: https://inkscape.org
- Click on Installer.msi
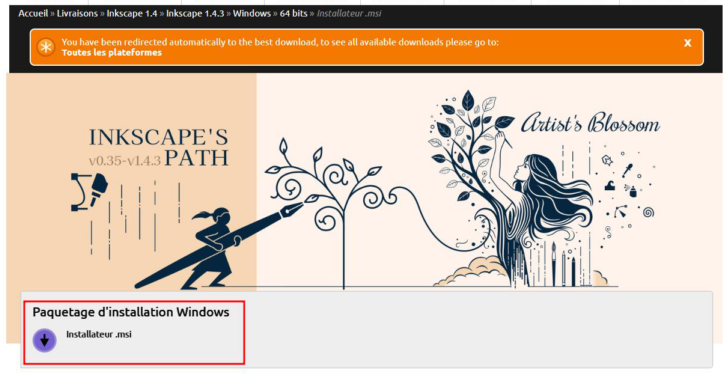
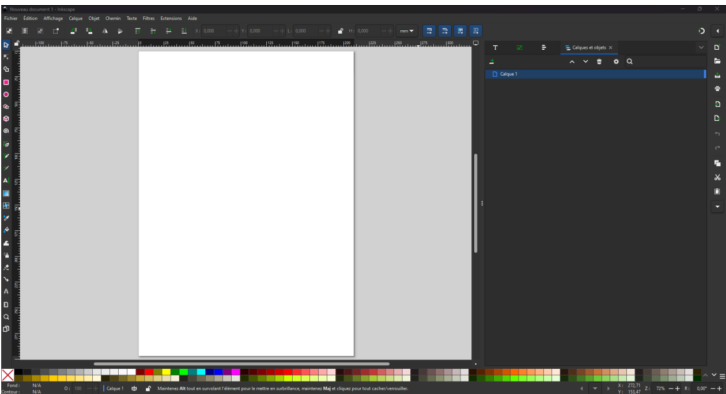
Install the software on your computer, Once installed, launch Inkscape to access the main interface.
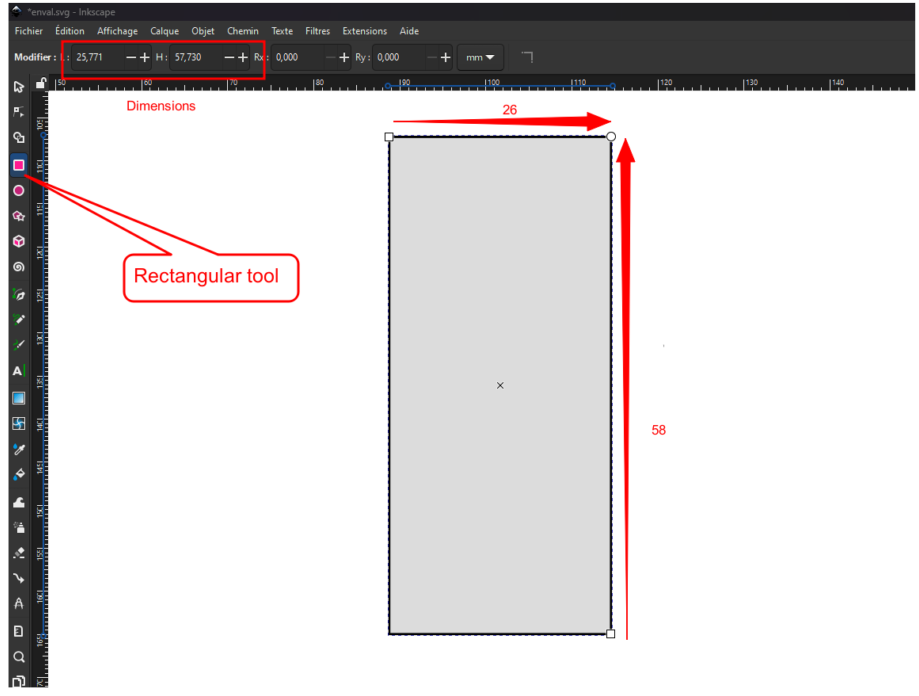
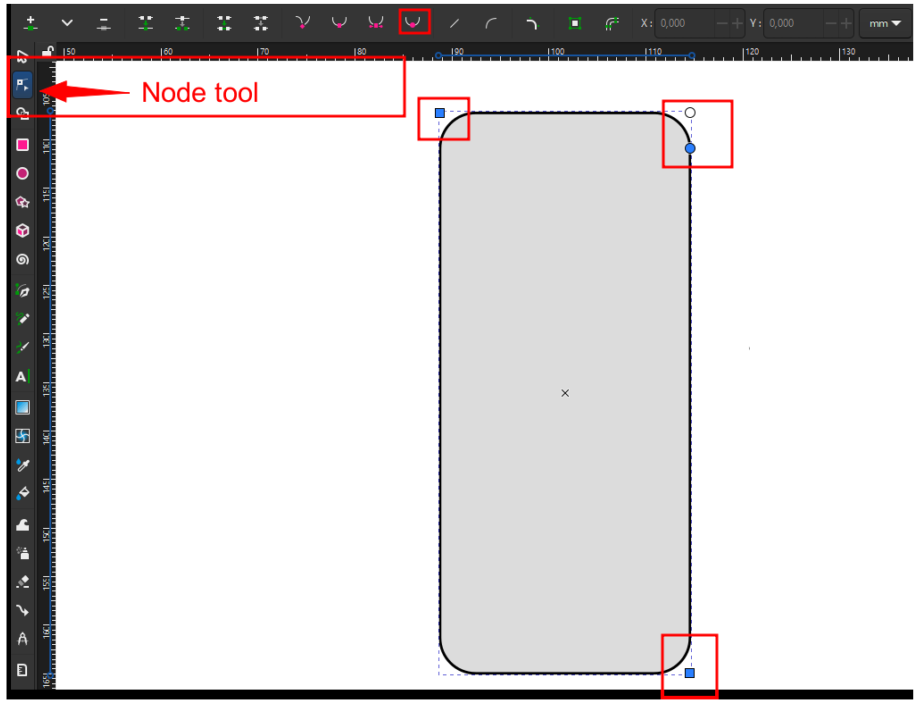
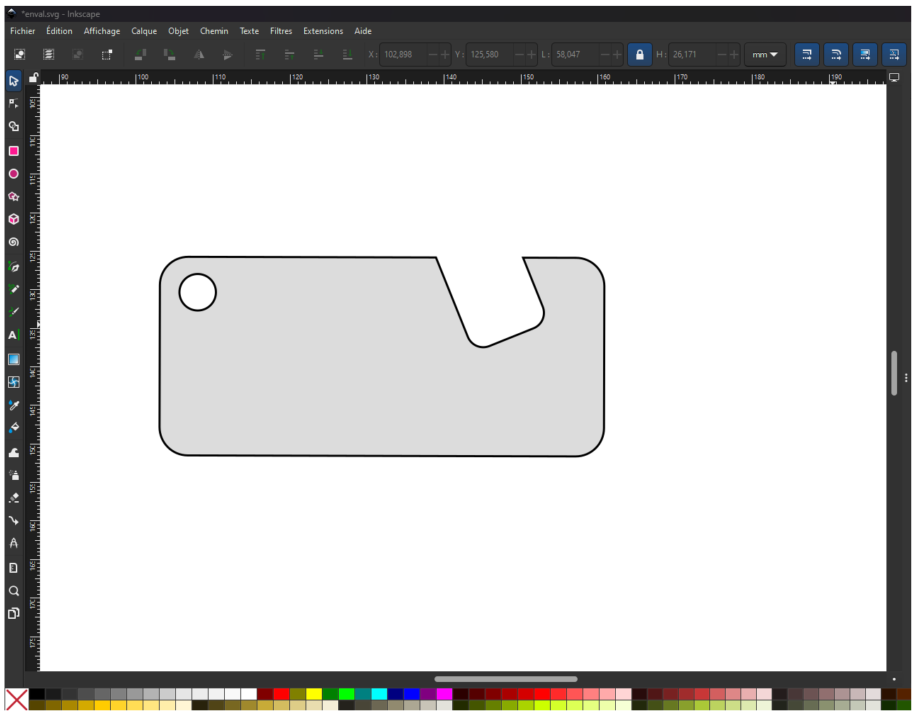
- Select the Rectangle Tool, Draw a rectangle and set its dimensions to 26 mm × 58 mm
- Select the Node Tool, Click on the rectangle to display its corner nodes, Select the corner nodes and use the circular handle to round the corners, The circular handle controls the curvature of the corners.
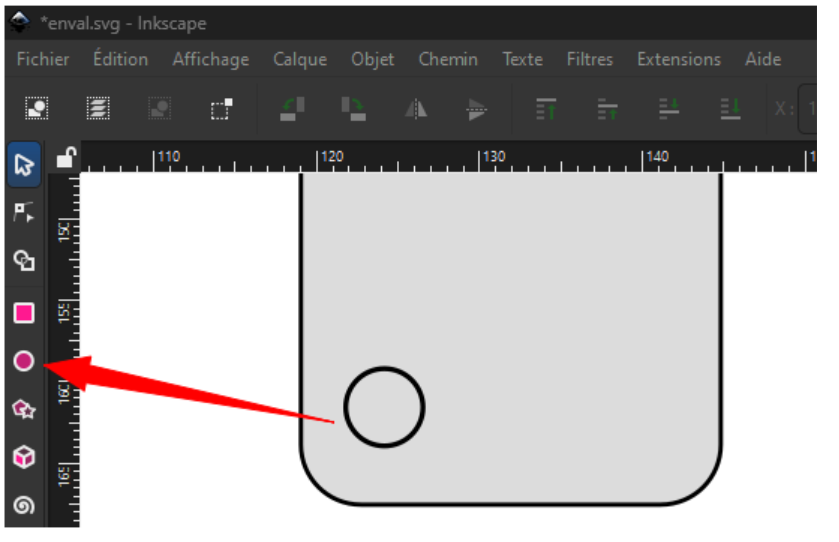
- Select the Ellipse Tool, Draw a circle near the top of the rectangle, This circle will be used as the hole for the key ring
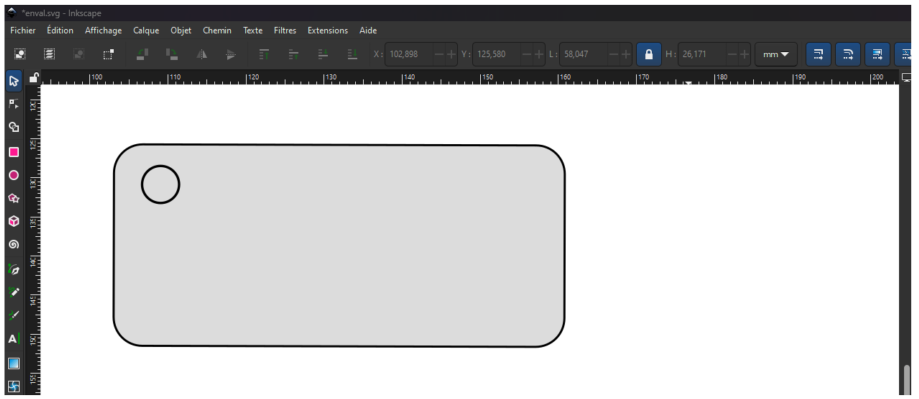
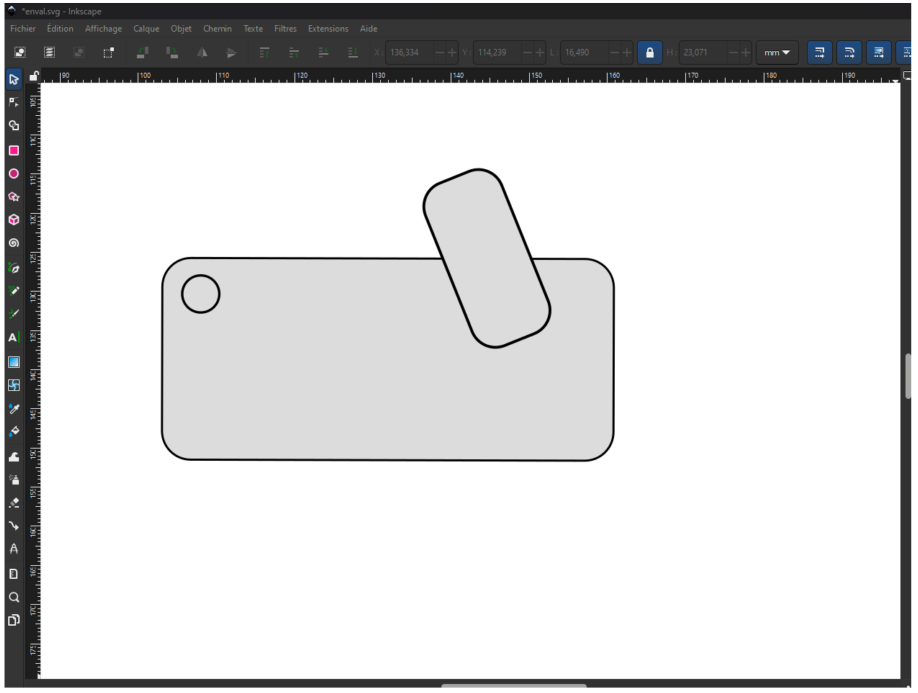
- Use the Rectangle Tool to draw a notch shape. Then Select two shapes at a time Go to Path → Difference. This operation subtracts one shape from another, creating cutouts in the design.
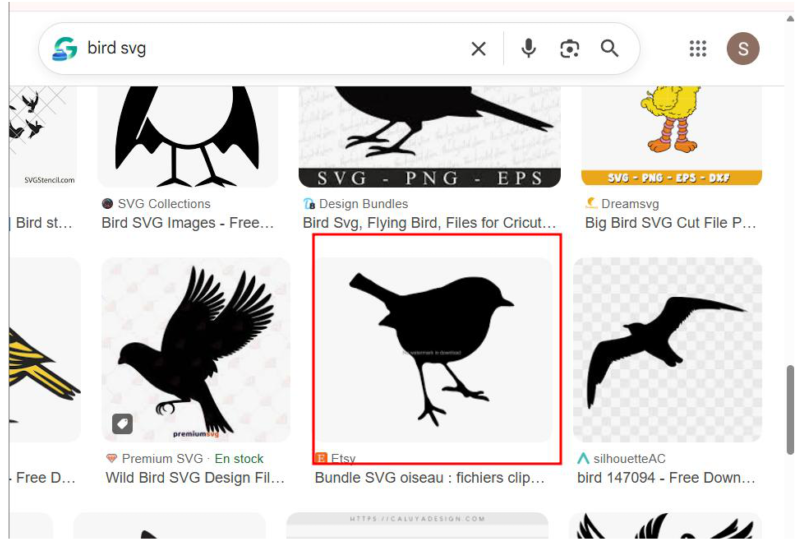
- Open your web browser, Search for the image you want to use, Copy and paste the image into your Inkscape workspace.

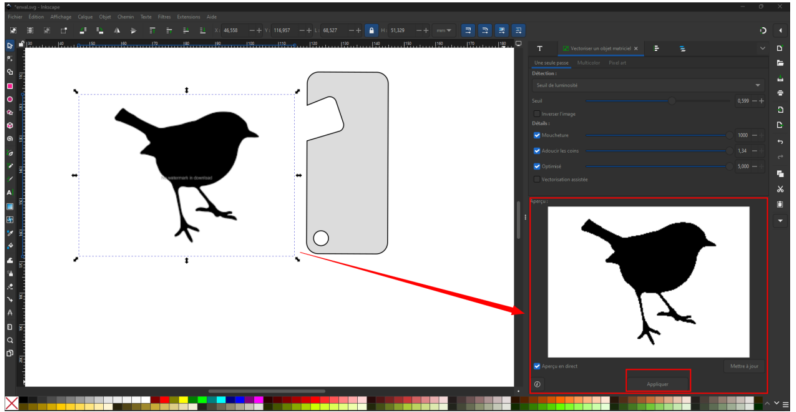
- To convert the image into vector format, Select the image Go to Path → Trace Bitmap, Click Apply, Delete the original raster image
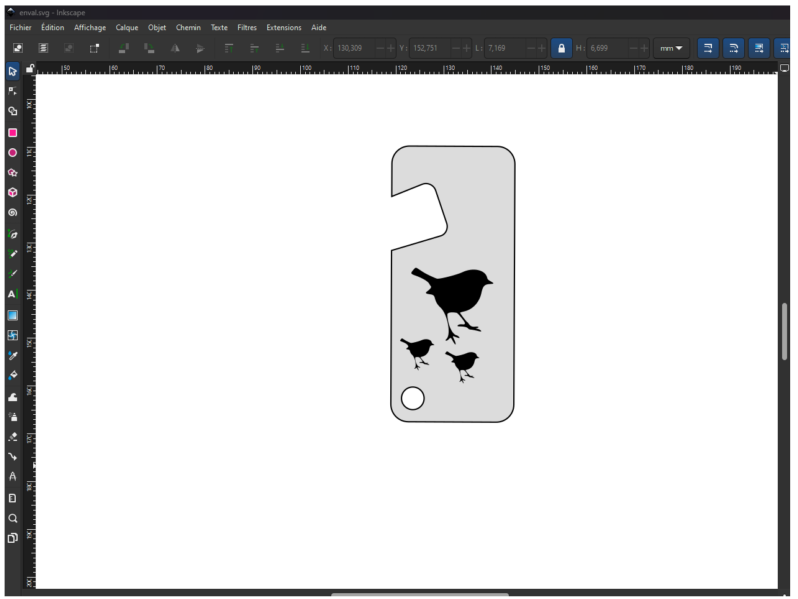
- Final Result
At the end of the process, you obtain a custom keychain with bird patterns, fully vectorized and ready for fabrication.
3D Modeling
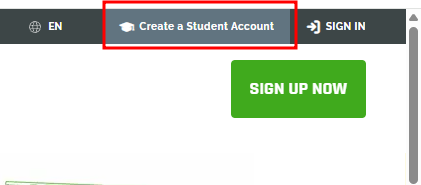
1. Creating an Onshape Account
- Go to https://www.onshape.com
- Click on “Create a Student Account”
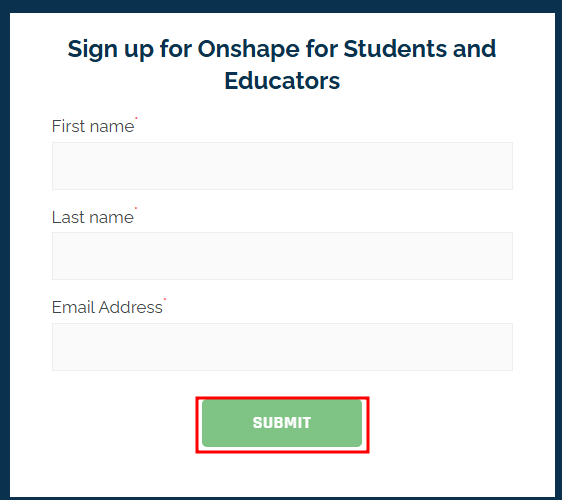
- Fill in the form (First Name, Last Name, Email)
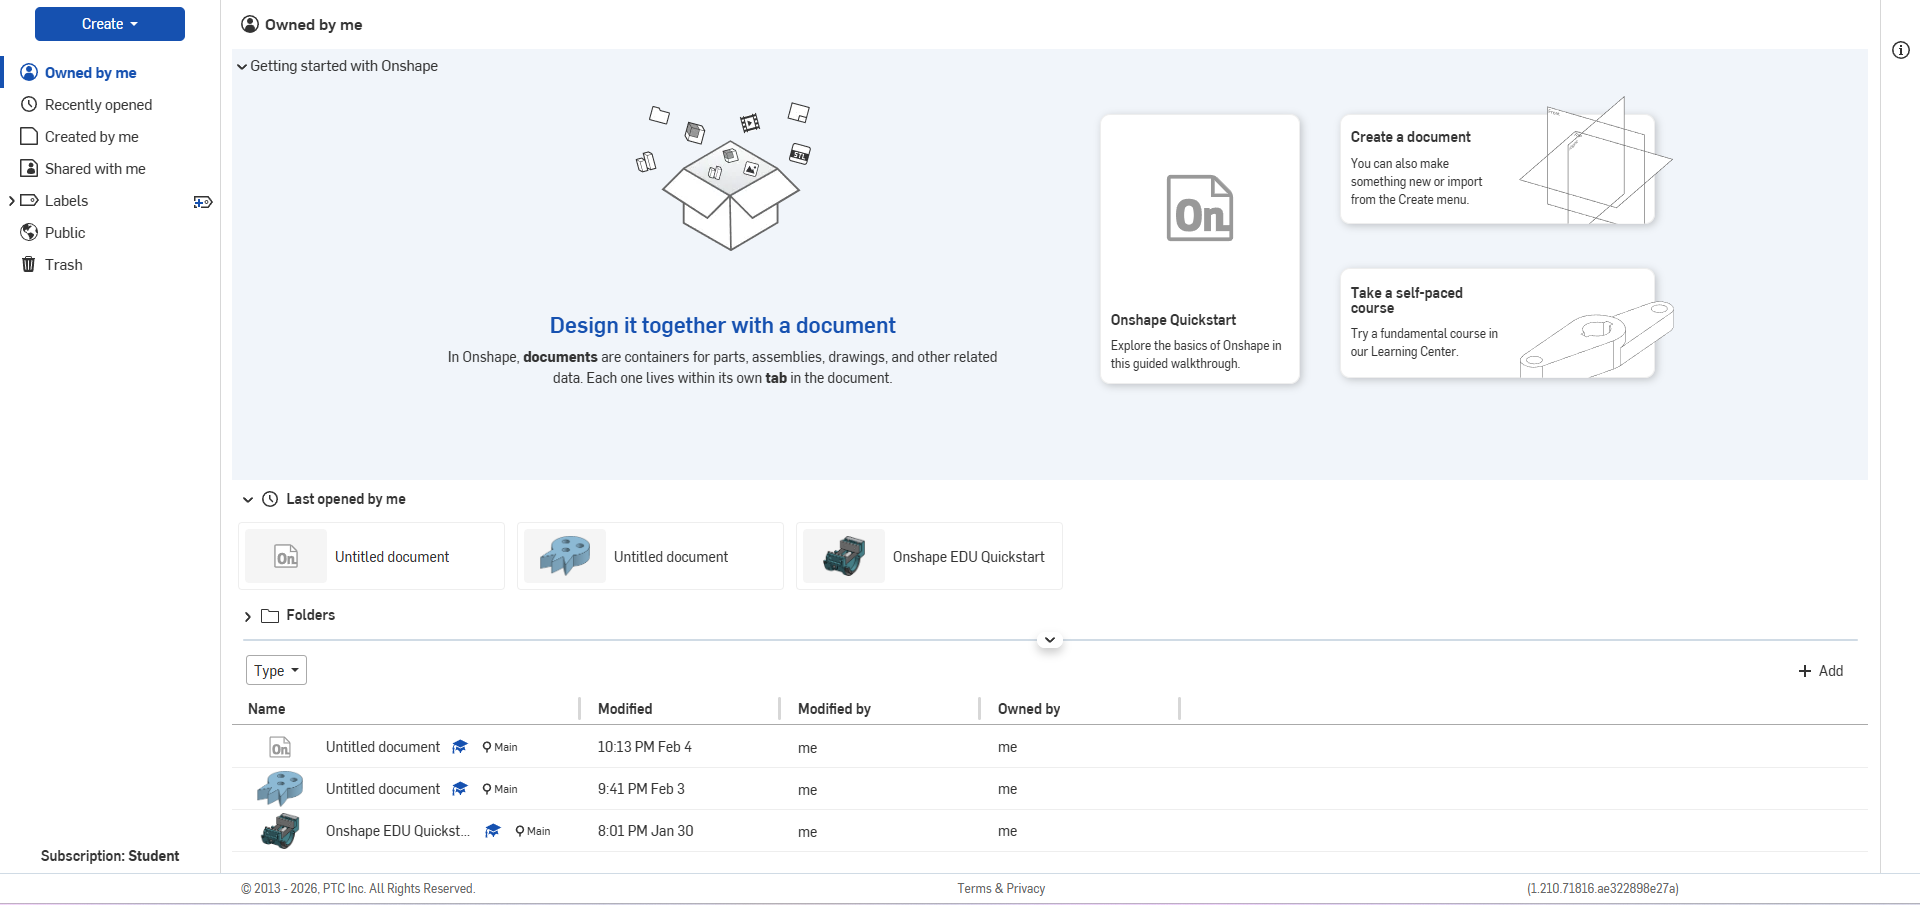
- Activate your account using the confirmation email. Set your password and log in. Once completed, you will have access to the Onshape workspace interface.
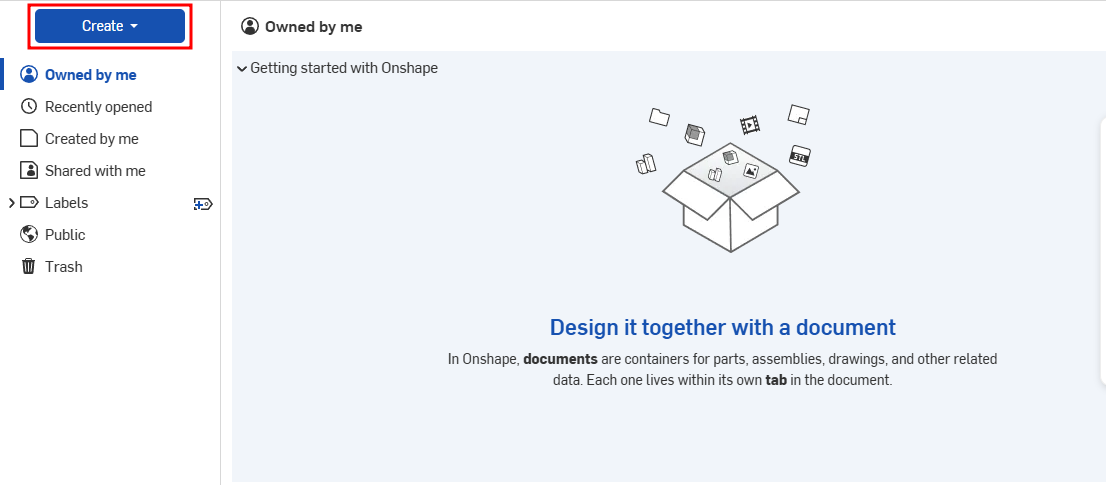
2. The Workspace Interface
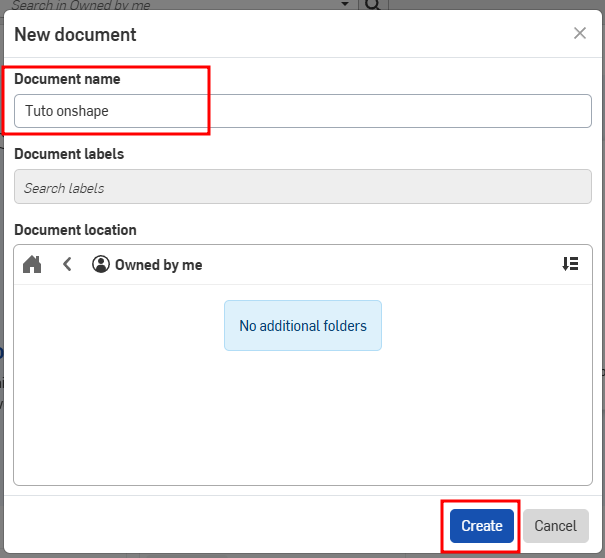
- After logging in: Click on Create → Document to open a new design workspace
- Define the name of your document, then click Create
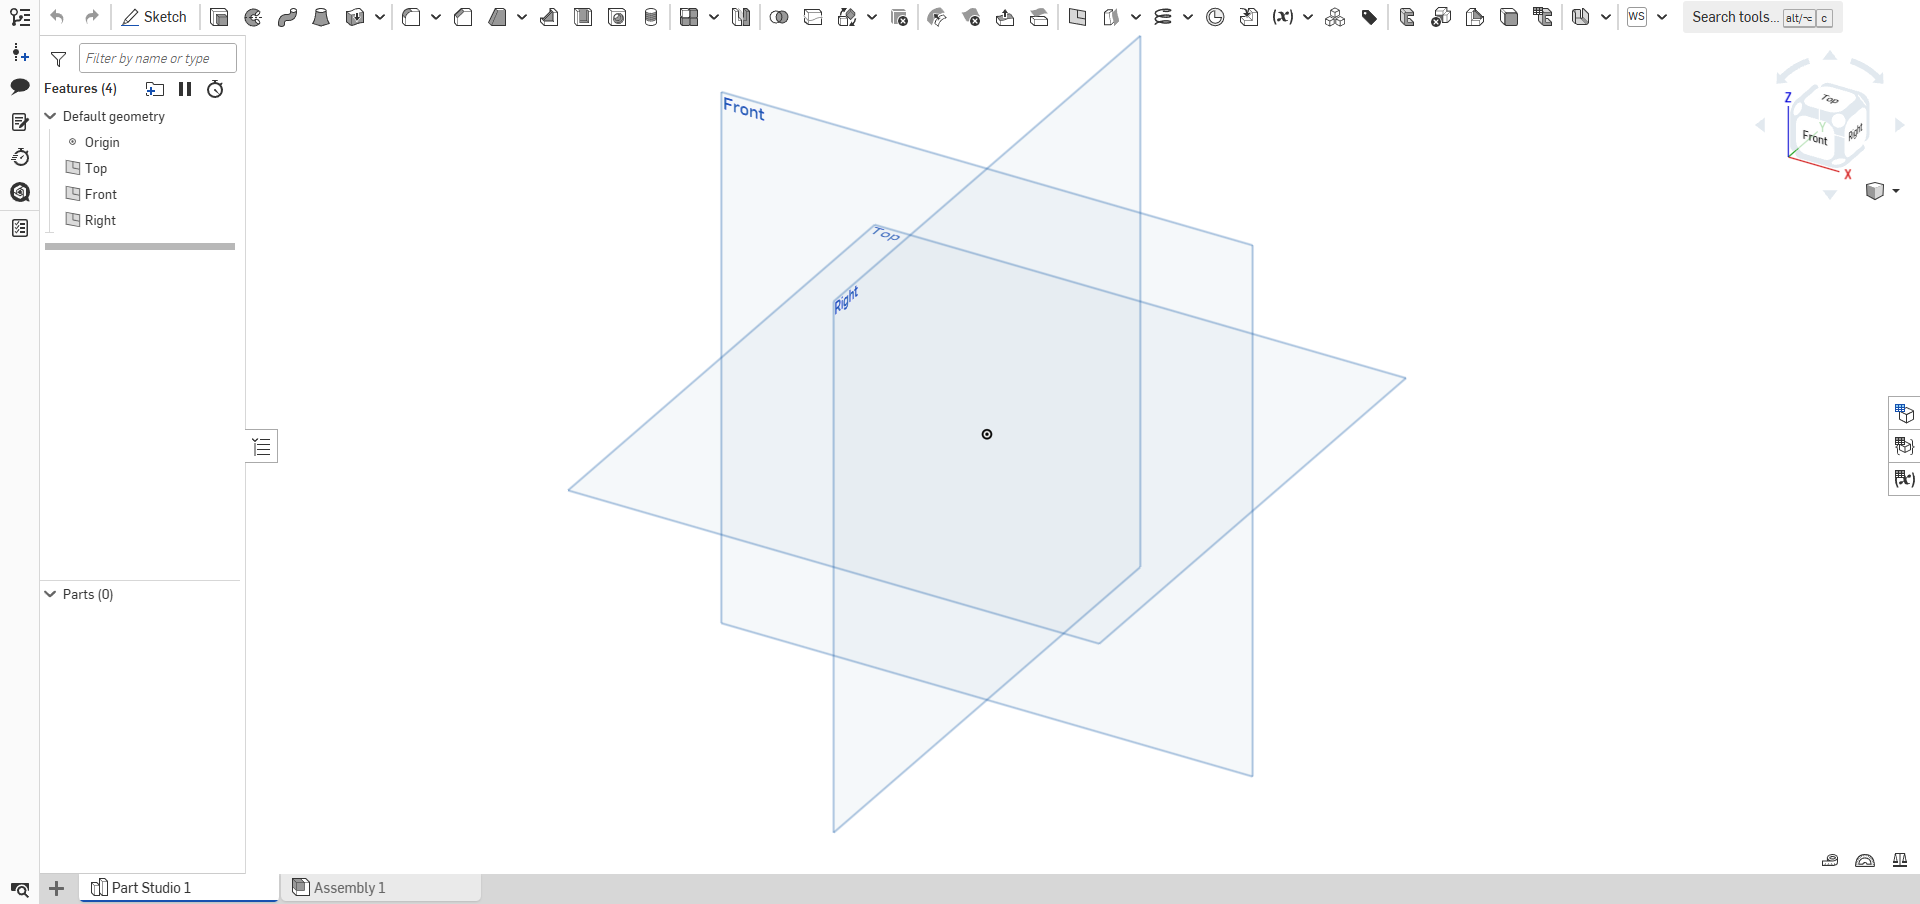
- You will see the main design interface.
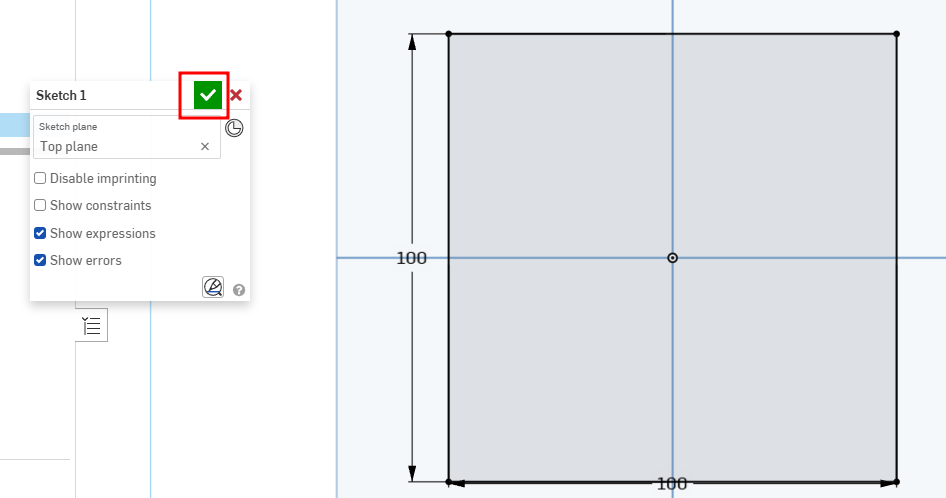
- Select a Top plane. Click on the Sketch icon in the top-left corner
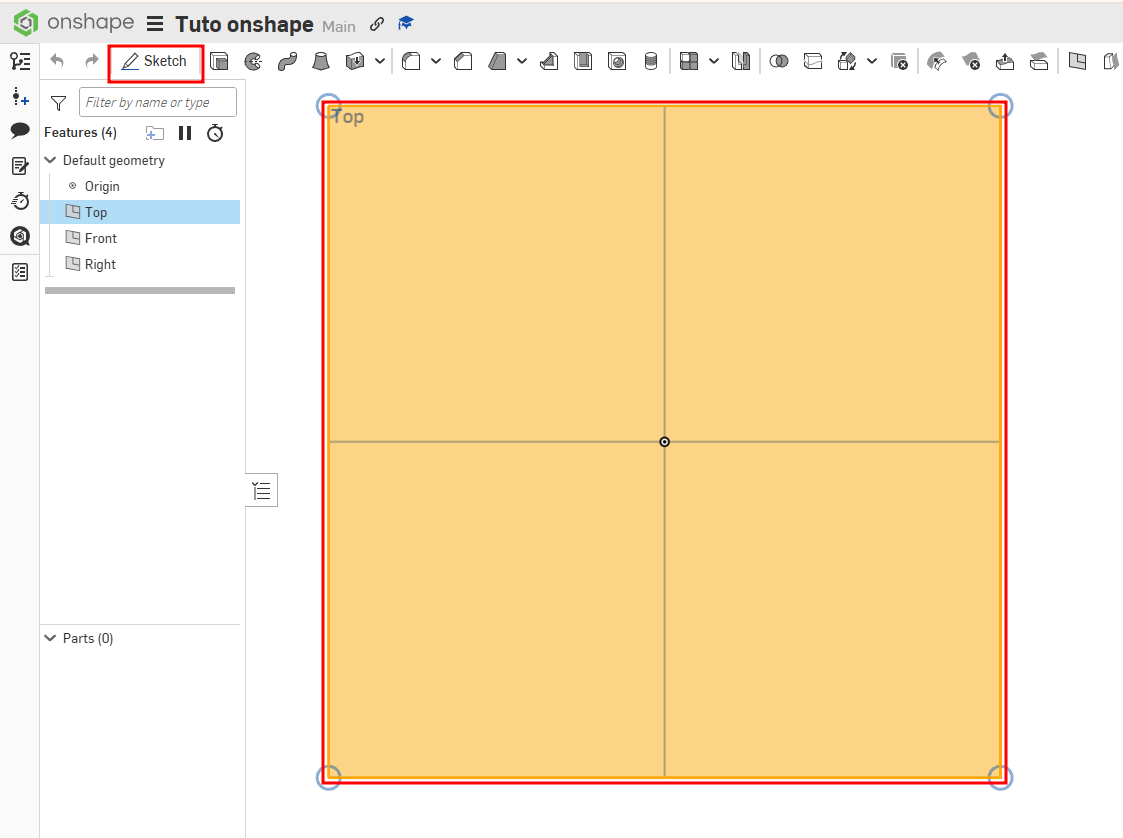
- Use the Rectangle tool to draw your sketch. For this exercise, the dimensions are 100 × 100 mm

- To validate the sketch, click the green checkmark in the left panel.
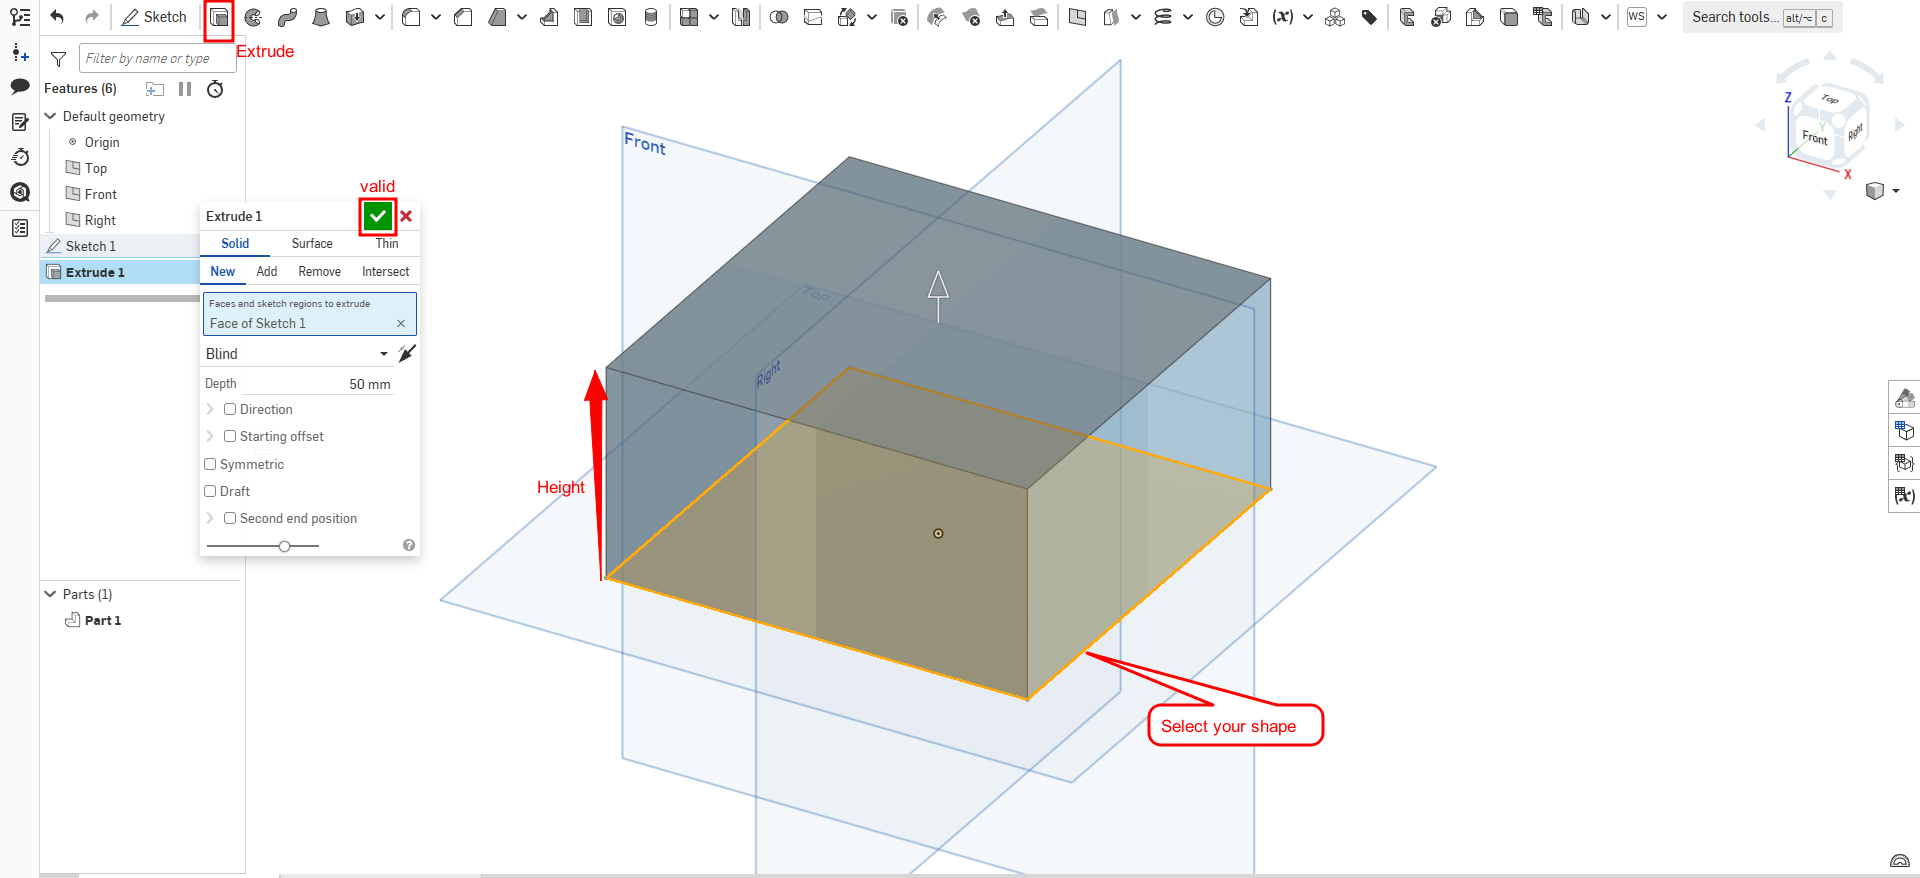
- Select your sketch Use the Extrude tool to give thickness to the shape
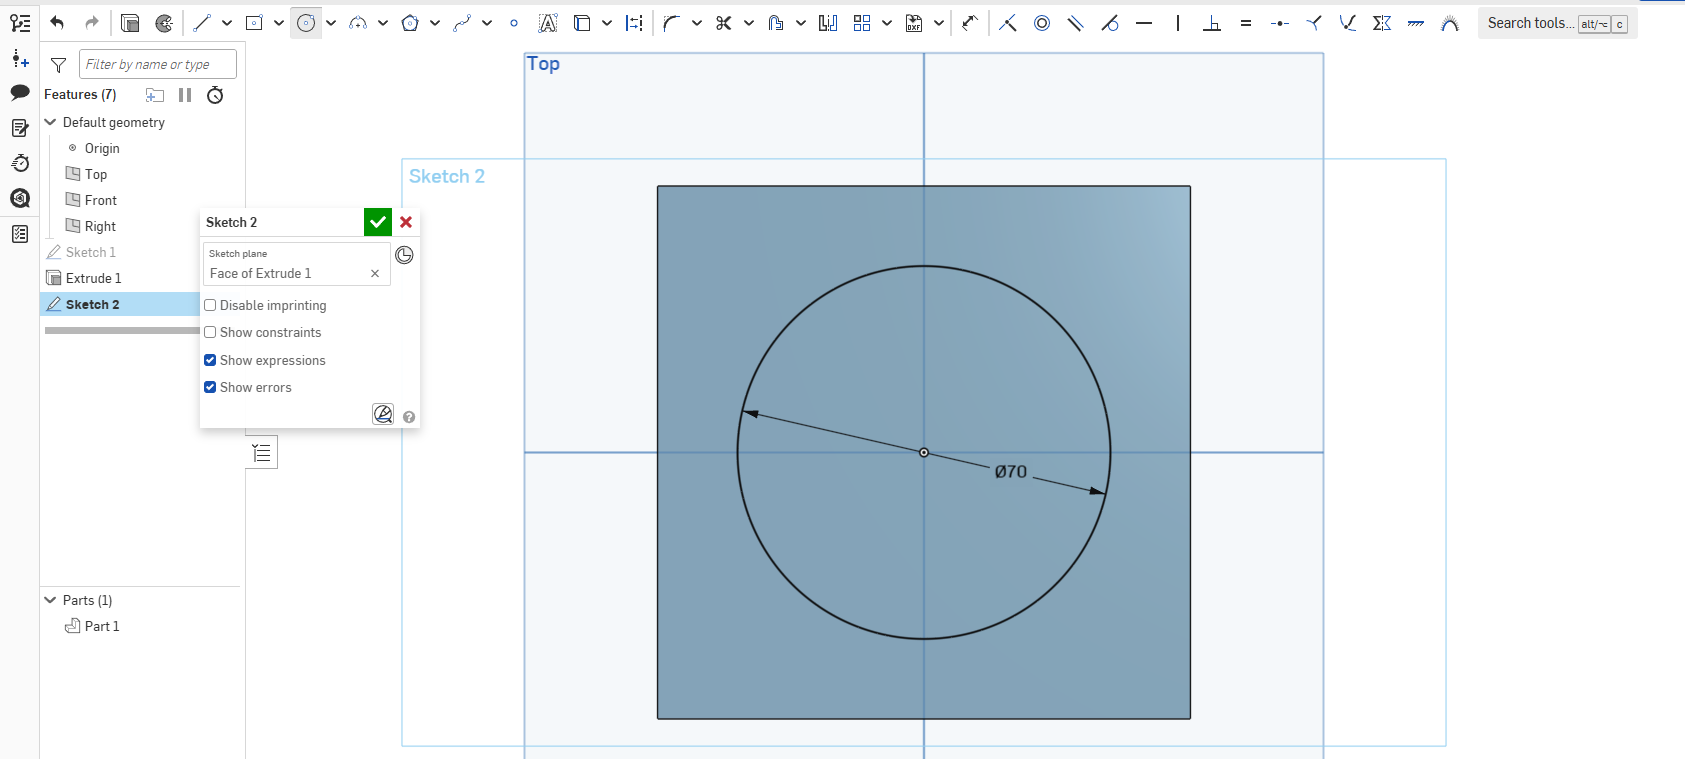
- Select the top face of the extruded shape. Create a new sketch and draw a circle with a diameter of 70 mm
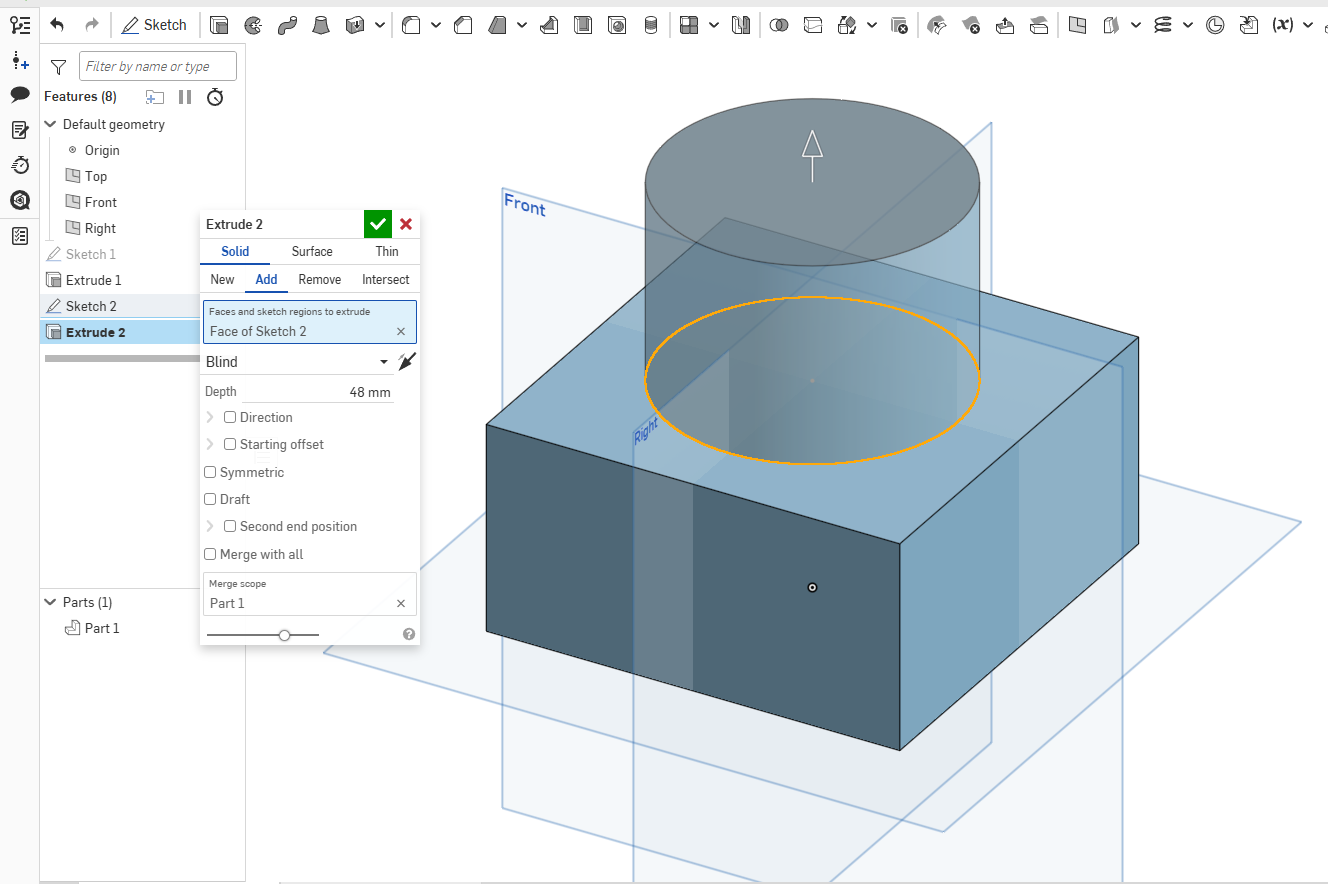
- Extrude the circle to a height of 48 mm
- Select the Fillet tool. Click on the rectangle edges. Enter a radius value of 20 mm
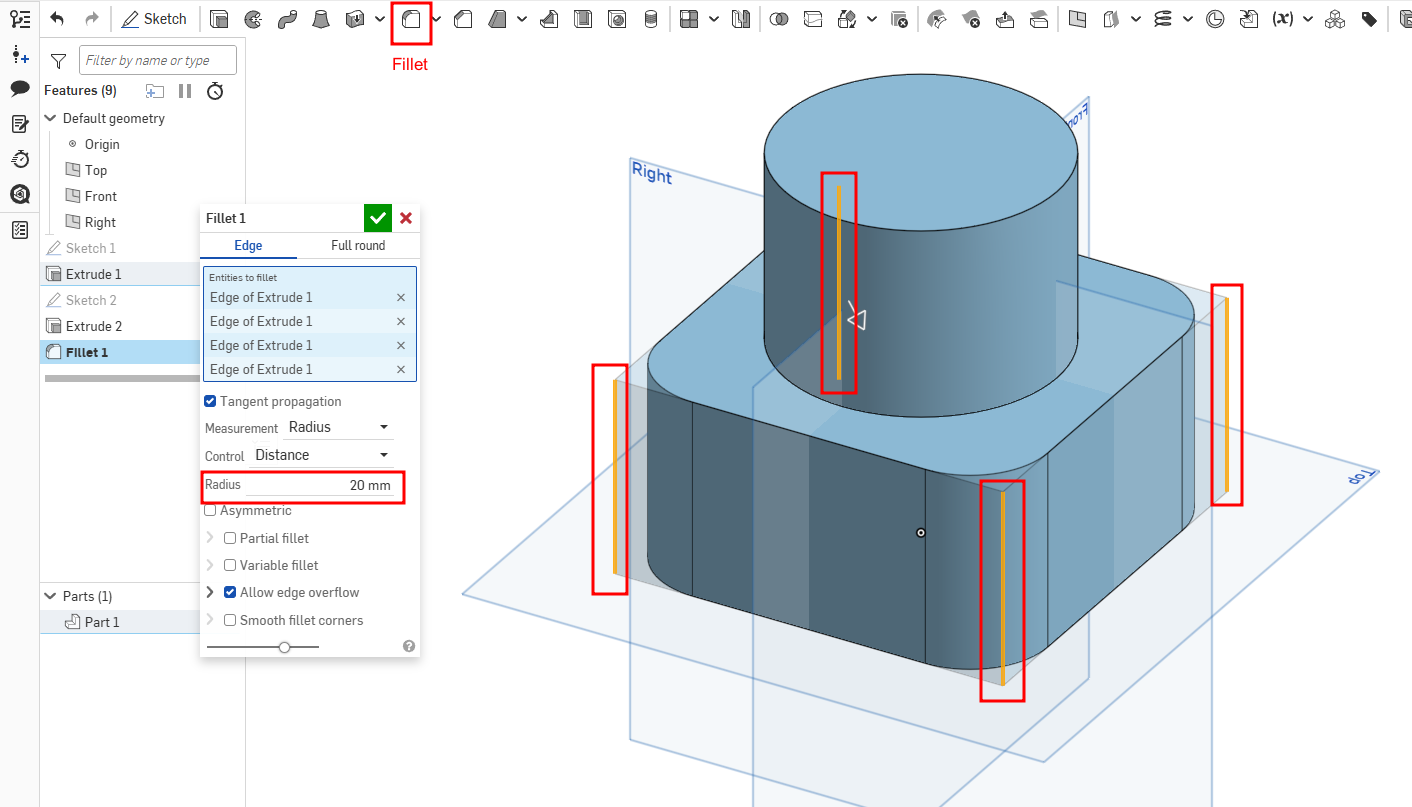
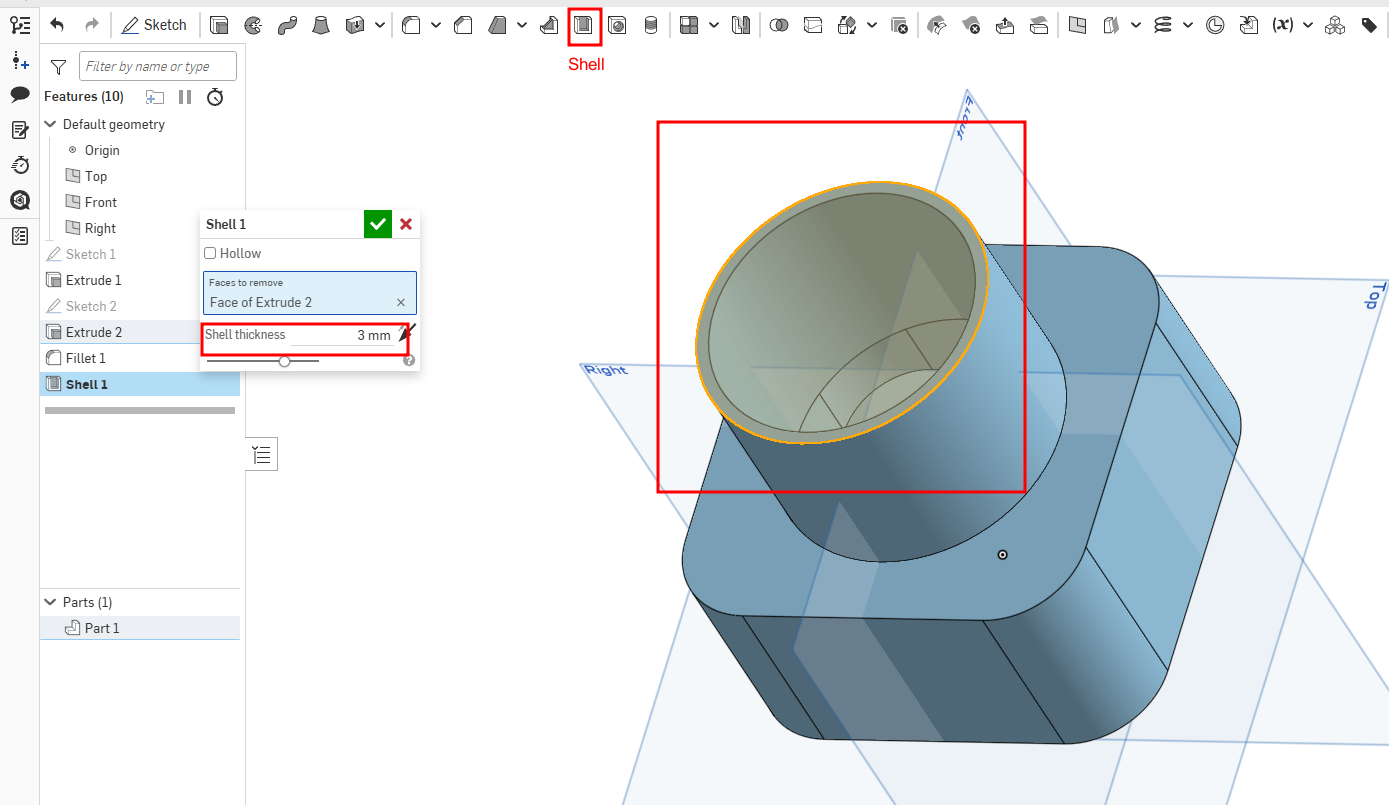
To complete the exercise: Use the Shell tool.
- Select the circular face Set the shell thickness to 3 mm. This operation hollows the part while keeping uniform wall thickness.
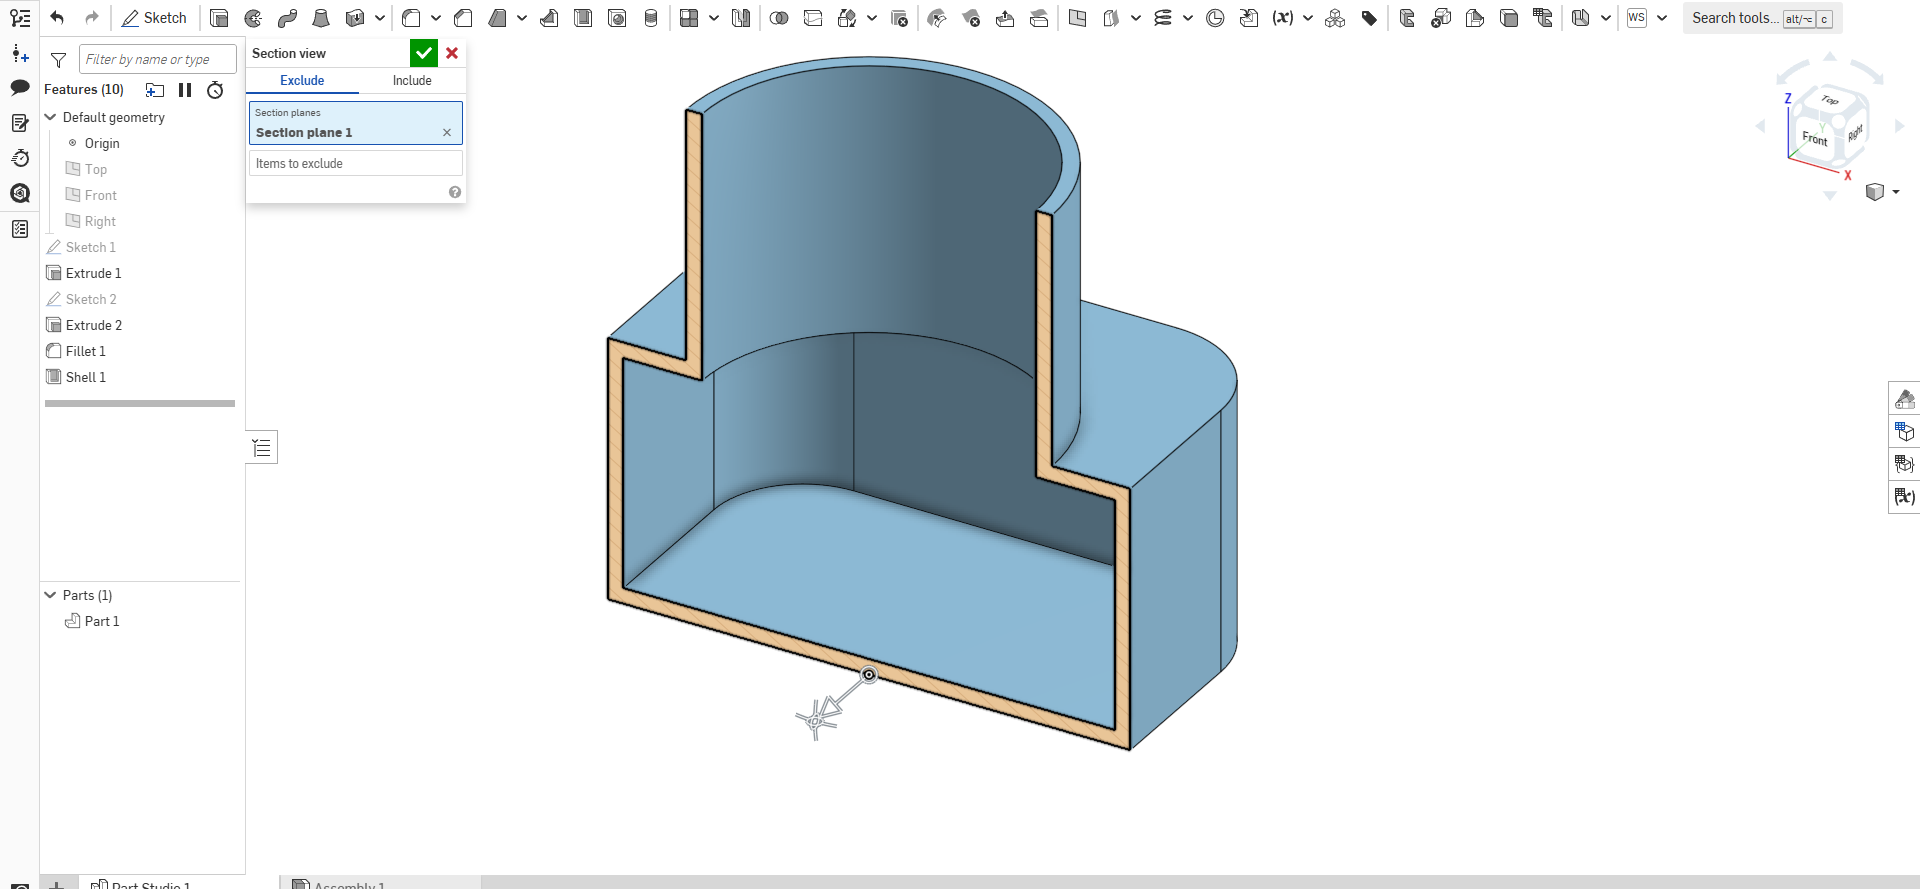
Video
Image and Video Compression
Image Compression
For compressing our images, we chose the software ImageMagick.
ImageMagick is a free, open-source software suite used for editing and manipulating digital images. It can create, edit, compose, and convert bitmap images, and it supports a wide range of file formats including JPEG, PNG, GIF, TIFF, and Ultra HDR.
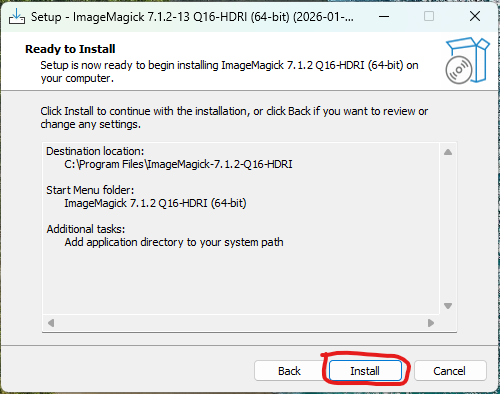
Installation
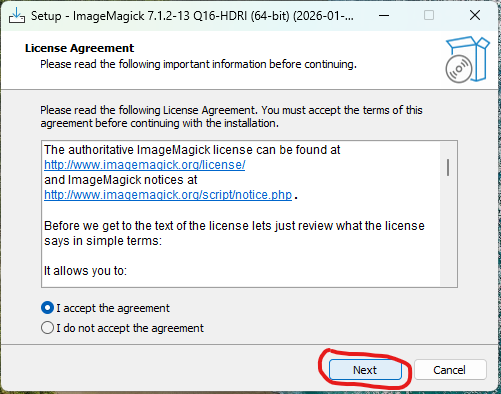
- Go to the following link: https://imagemagick.org/script/download.php#windows. Click on the Windows download option (as shown in the image below).

- Once the software is downloaded, open the installer, click Next, then Install.
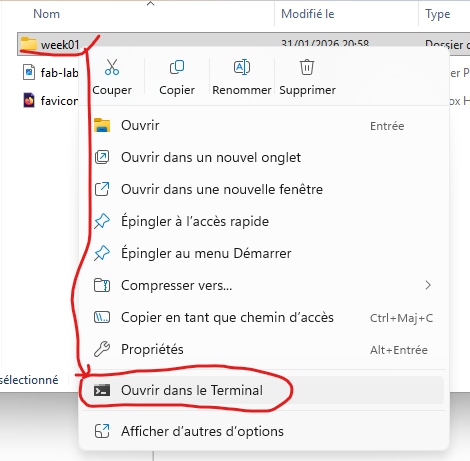
Compressing Images
- Open the folder that contains your images. Right-click inside the folder and select “Open in Terminal”.
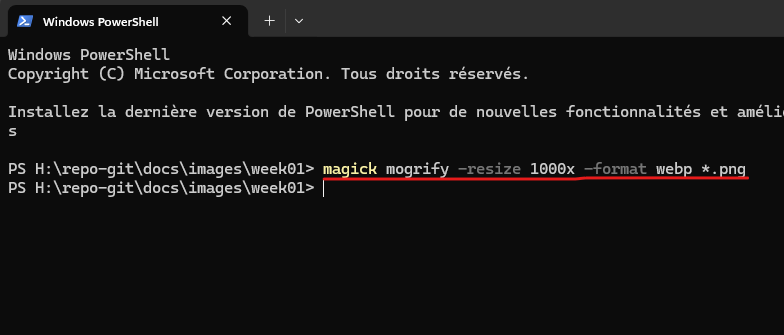
- Type the following command in the terminal to compress all images in the folder:
| Element | Role |
|---|---|
magick |
Launches ImageMagick |
mogrify |
Modifies multiple images at once |
-resize 1000x |
Resizes to 1000px width, height automatic |
-format webp |
Converts images to WebP format |
*.png |
Applies to all PNG images in the folder |
Video Compression
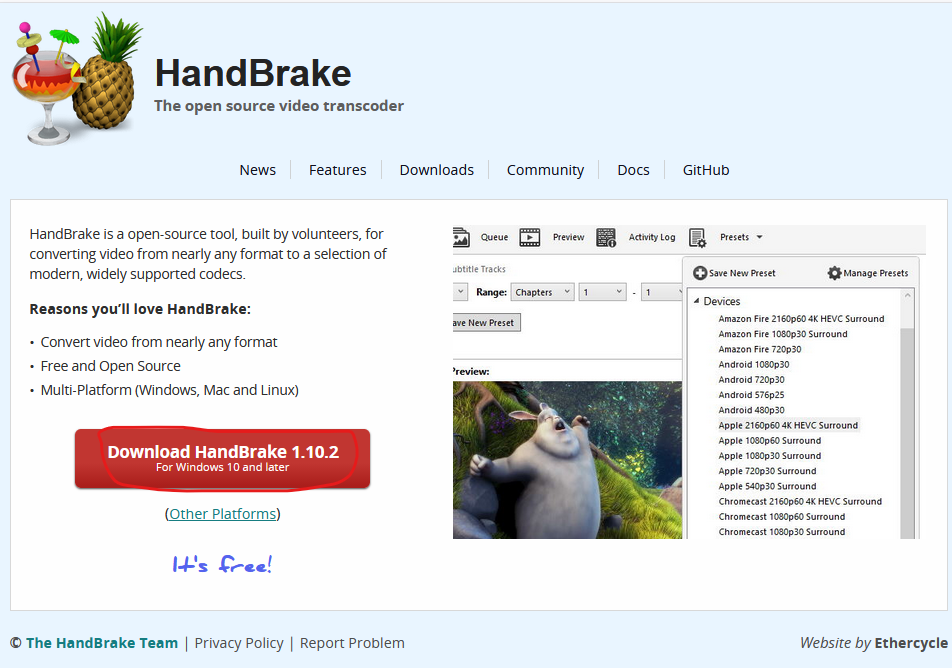
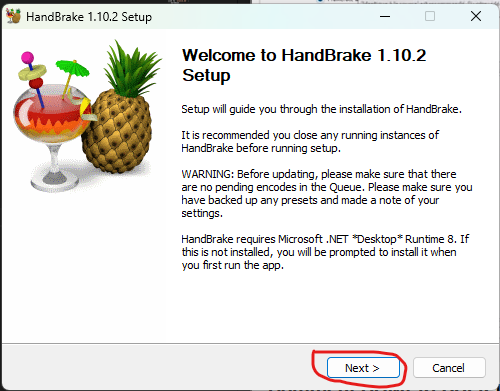
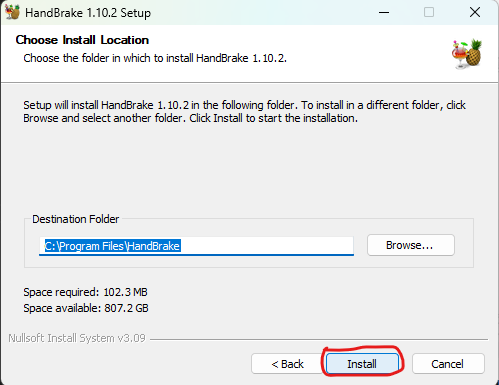
For compressing our videos, we chose HandBrake.
HandBrake is an open-source tool built by volunteers for converting video from nearly any format into modern, widely supported codecs.
Installation
- Go to https://handbrake.fr/. Click on the Windows download option (as shown in the image below).
- Once downloaded, open the installer, click Next, then Install.
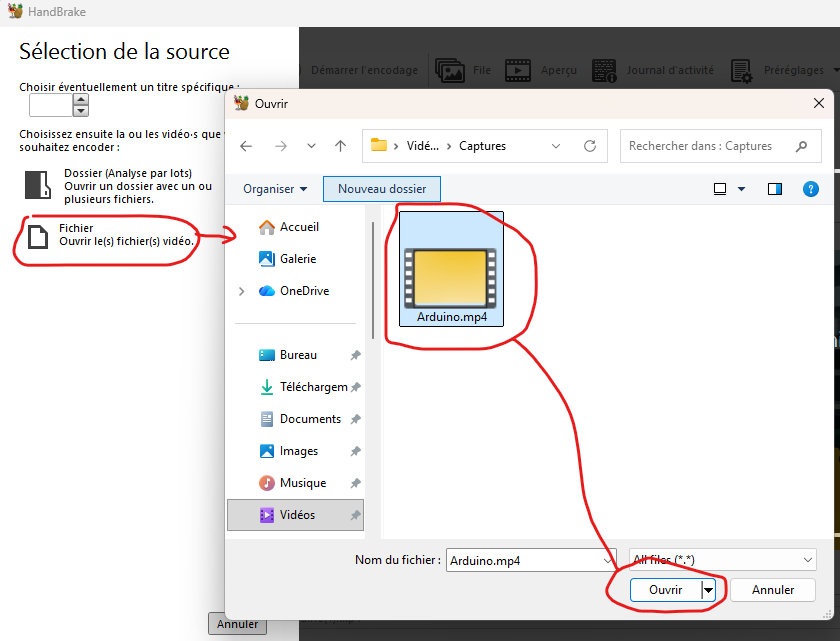
Compressing Videos
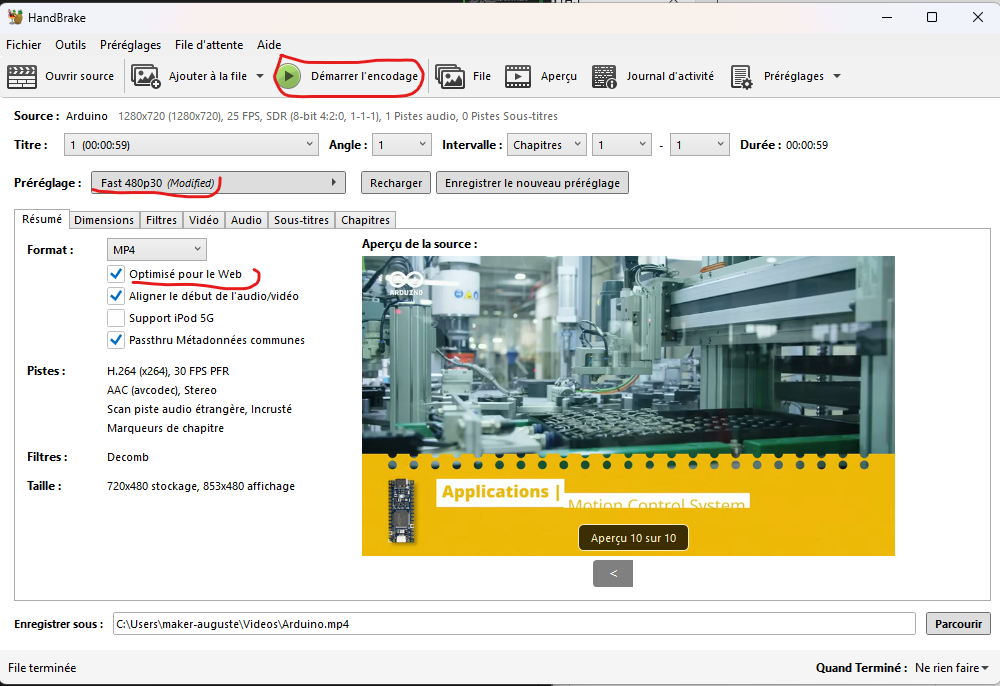
- Open the HandBrake software. Click File, select your video, then click Open (as shown in the image below).
- Choose the preset “480p30”, Enable “Web Optimized”, Click “Start Encode”. Once the process is complete, the compressed video will be saved in the output folder shown in the application.