Week 17: Wildcard Week
Week 17 Assignment:
- Design and produce something with a digital process (incorporating computer-aided design and manufacturing) not covered in another assignment, documenting the requirements that your assignment meets, and including everything necessary to reproduce it.
EMBROIDERY
Machine embroidery is the process of stitching designs onto fabric automatically using a sewing machine guided by a digital file. I have always been drawn to embroidery as a craft, so for this week’s assignment I decided to explore the automated side of it — converting a digital logo into an embroidered patch using a Brother embroidery machine and Ink/Stitch software.
The process involved more trials and errors than I expected, but each failure taught me something useful. The final result is acceptable, though I want to refine my technique further after completing my final project.
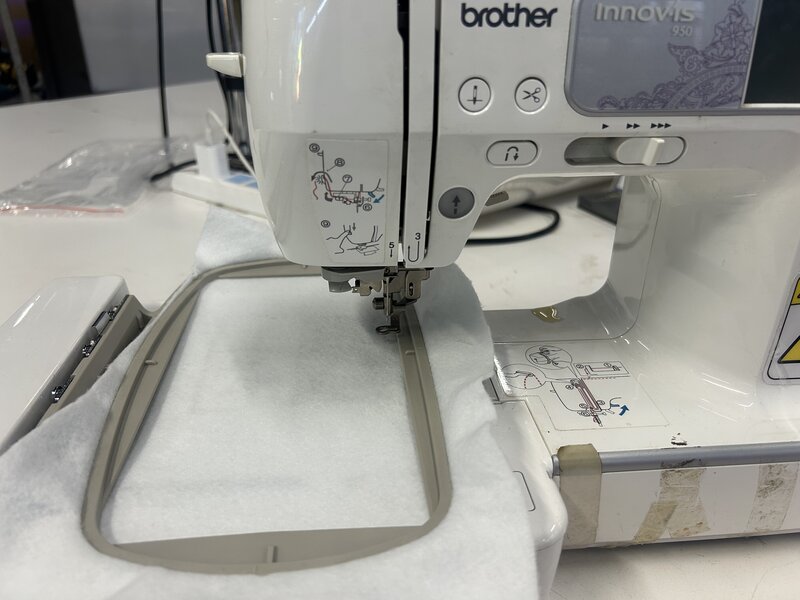
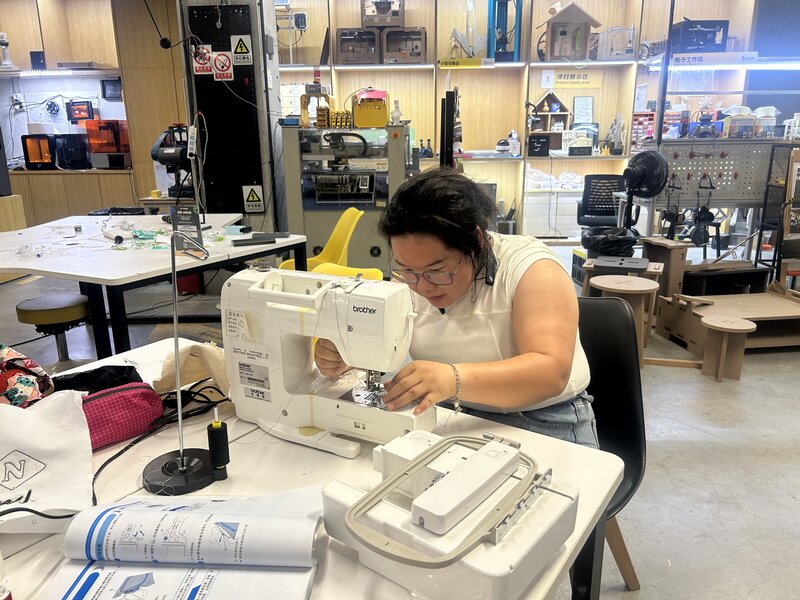
The machine I used is the Brother Innovis 950

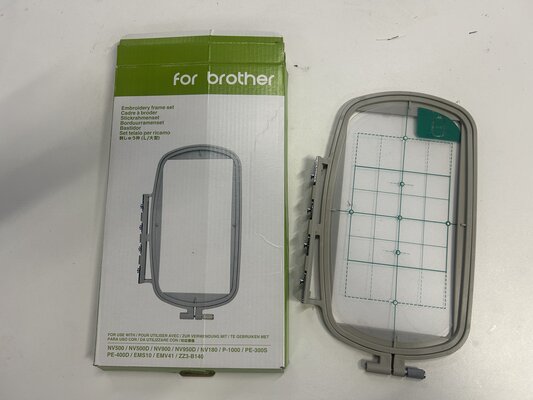
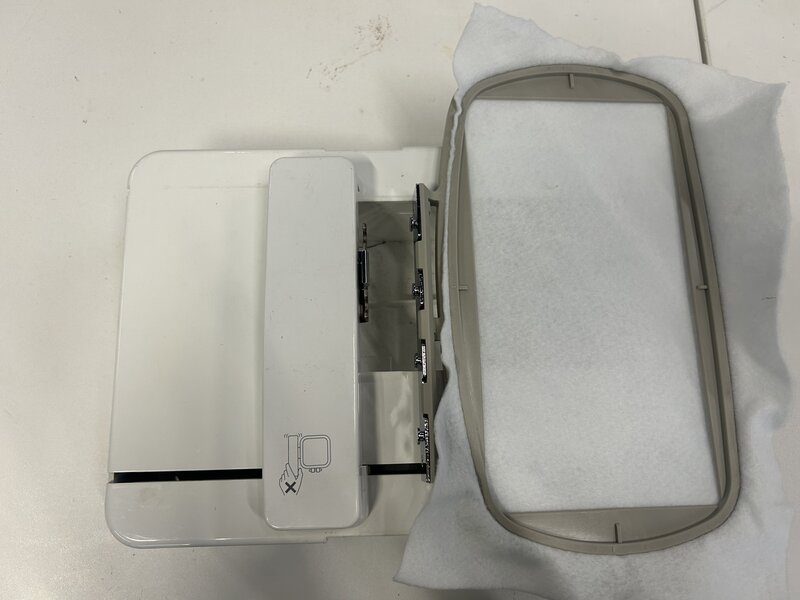
I used an embroidery hoop sized 100 x 172 mm
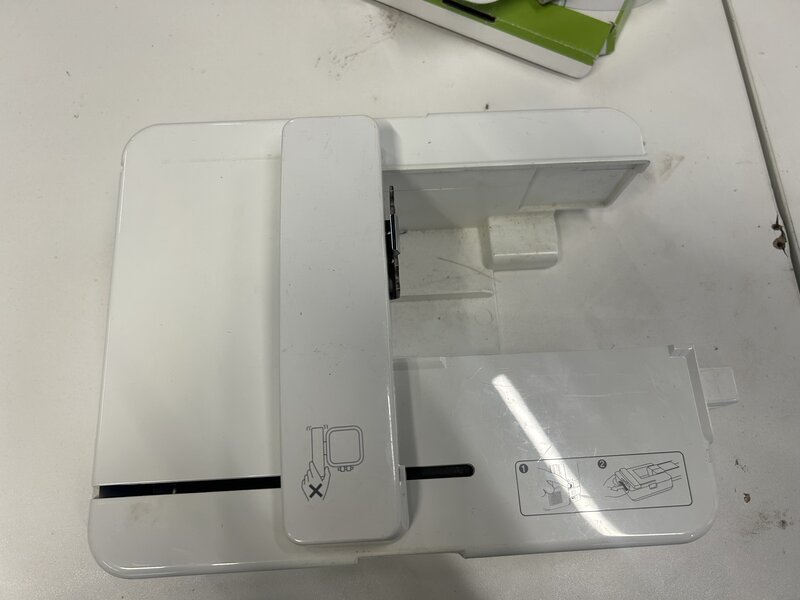
Hoop Holder
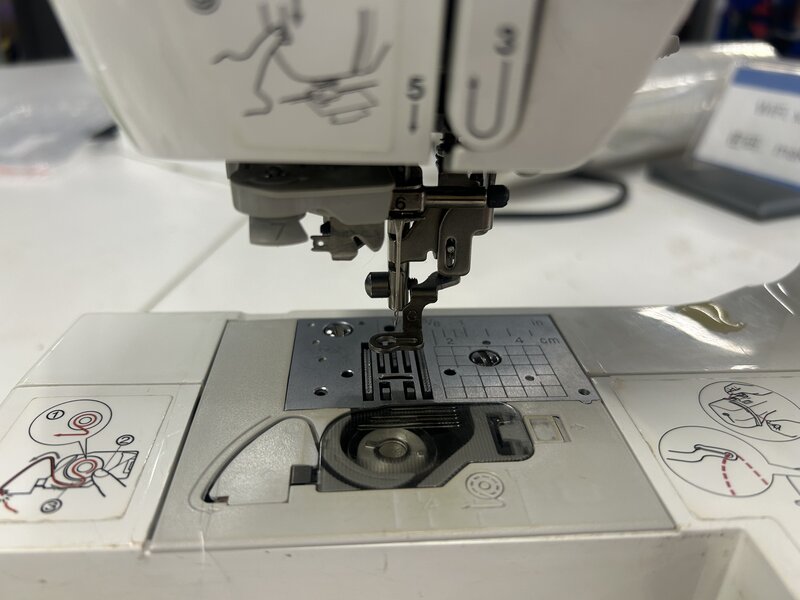
Presser foot used for automated embroidery
Thread used

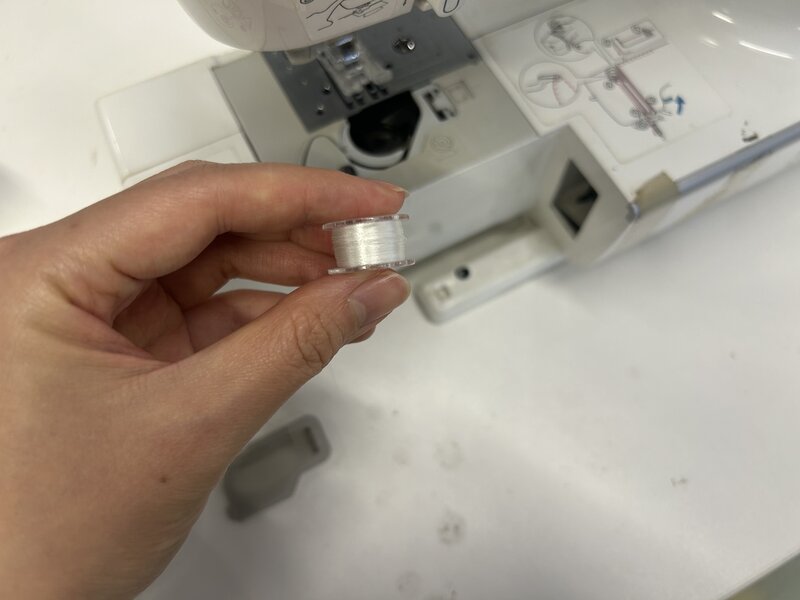
Bobbin used
Ink/Stitch
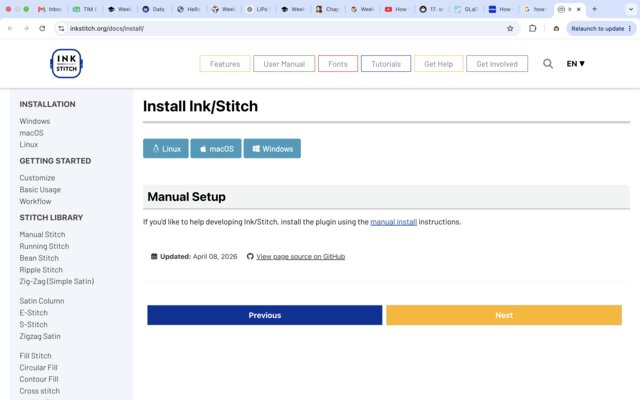
Ink/Stitch is a free, open-source embroidery extension for Inkscape that converts vector paths into machine-readable stitch files. Download it and follow the installation instructions on the Ink/Stitch website.
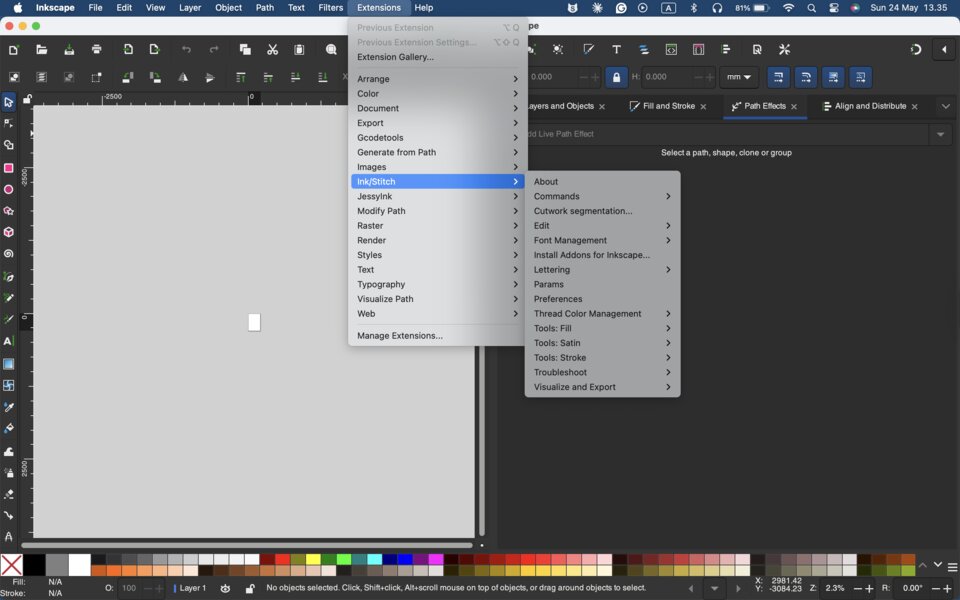
Once installation is complete, open Inkscape and you will find Ink/Stitch listed under the Extensions tab.
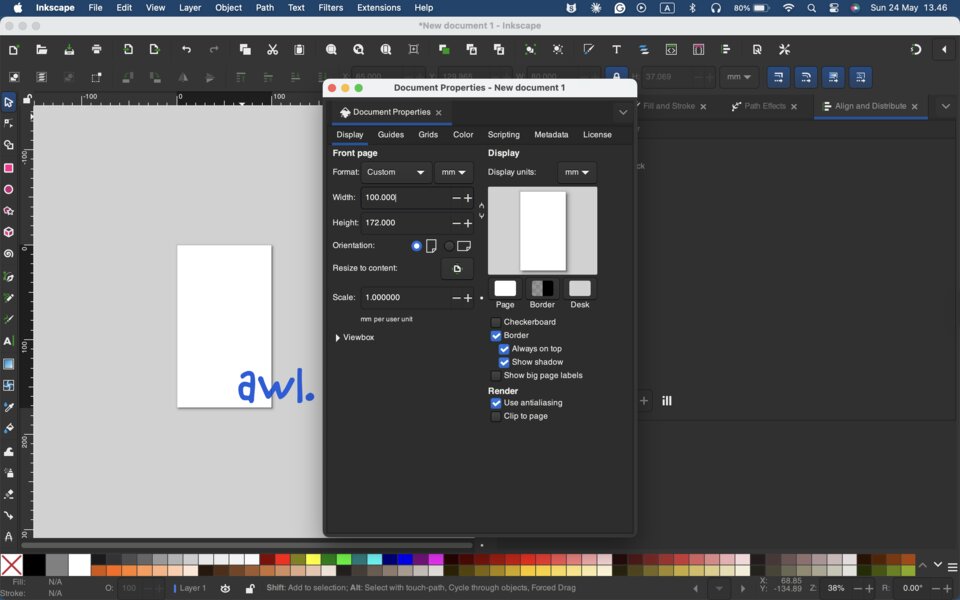
Import the AWL logo (in SVG format) into Inkscape. Then open Document Properties and set the width and height to match the hoop dimensions: 100 mm x 172 mm. This ensures the design fits within the embroidery area.
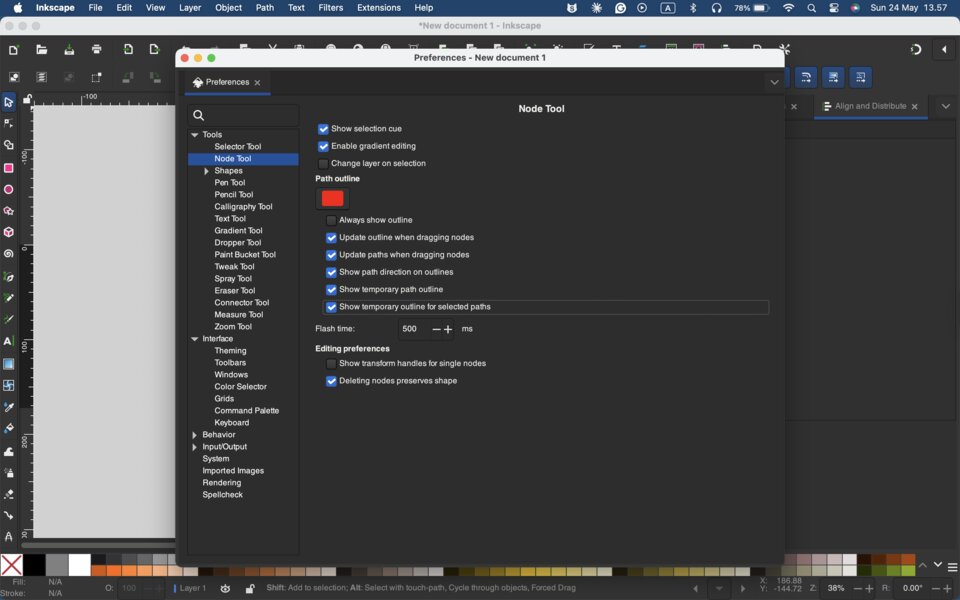
Next, open the Preferences tab and navigate to Node Tool. Enable the following two options:
- Show path direction on outlines
- Show temporary outline for selected path
These settings help you visualize the stitch direction for each path, which is important for a clean result.
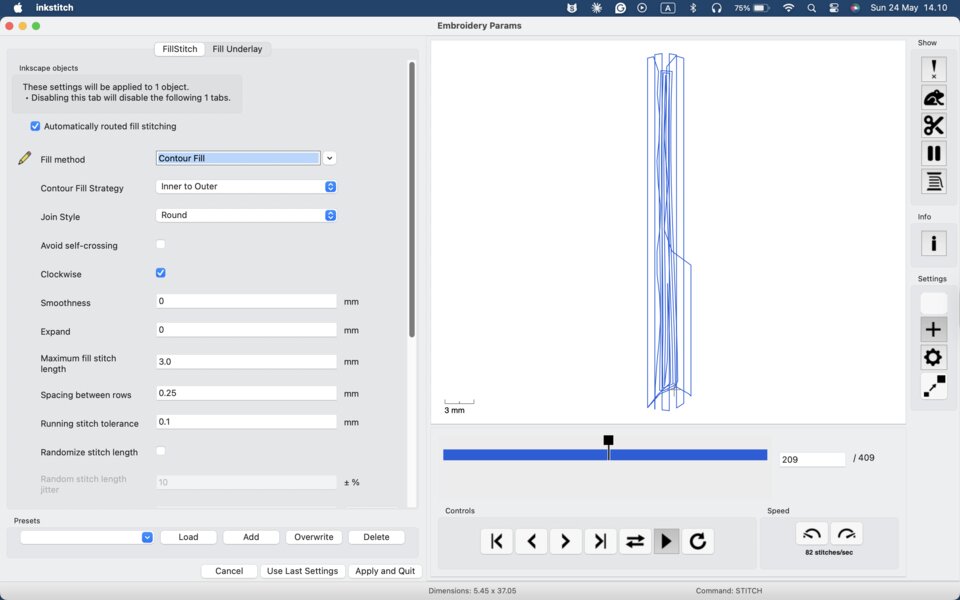
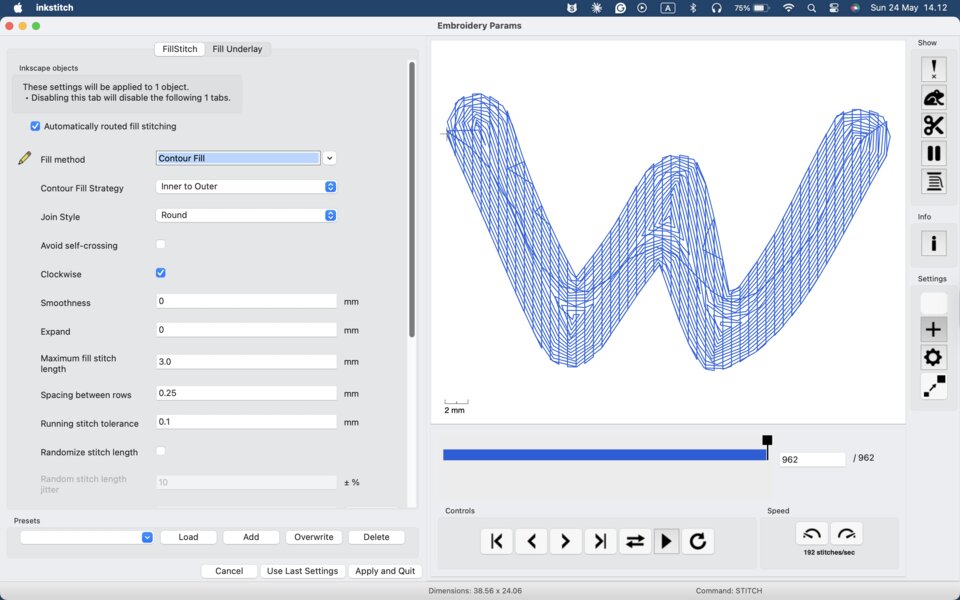
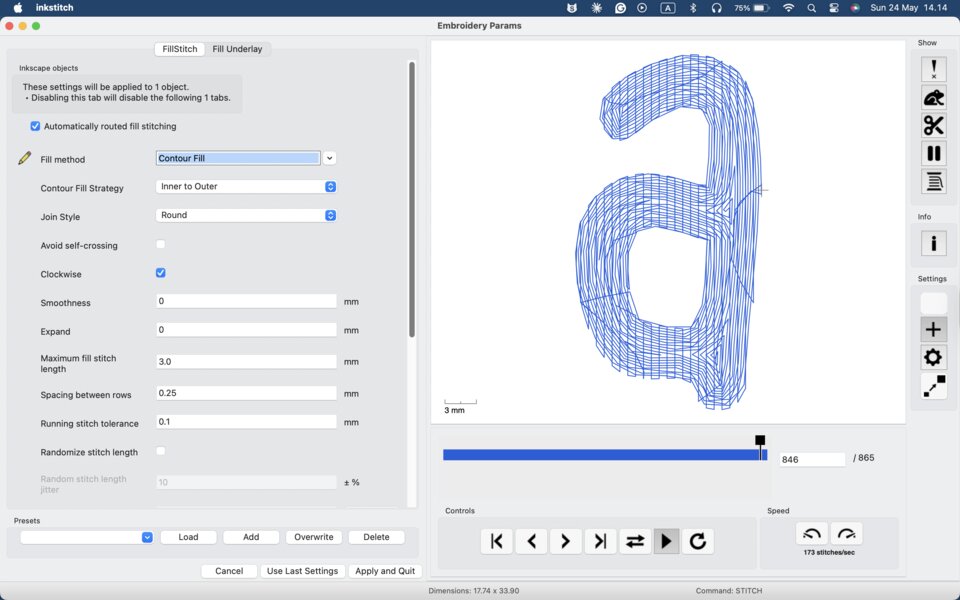
In the Layers and Objects panel, you can see the design consists of 4 separate paths: “A”, “W”, “L”, and ”.”
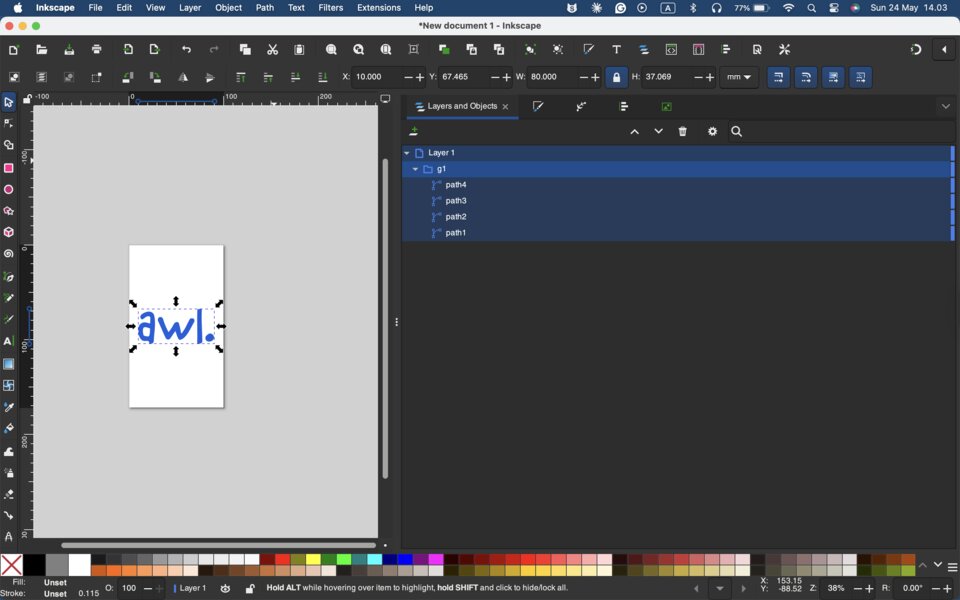
For each path, go to Extensions → Ink/Stitch → Params to configure the stitch settings.
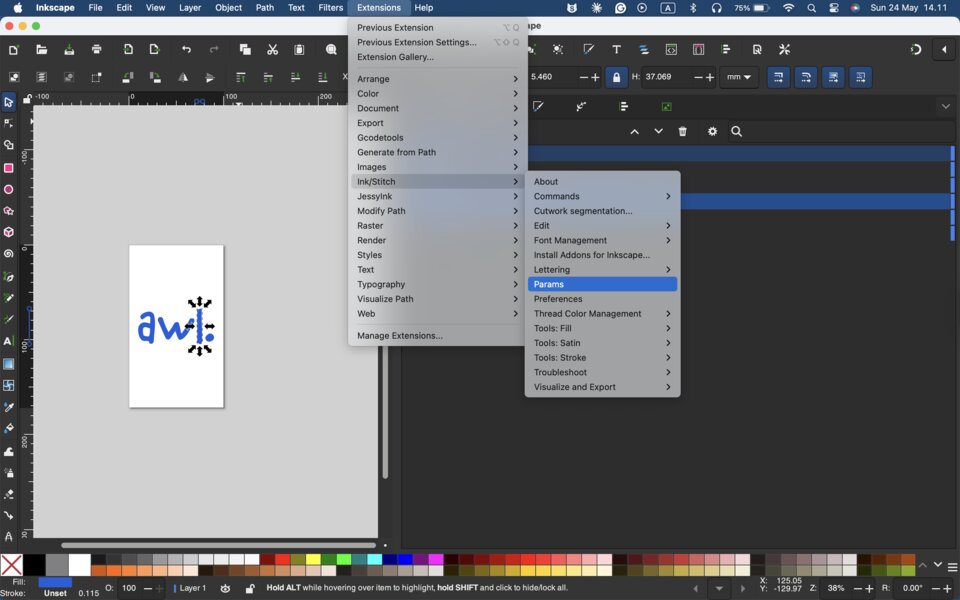
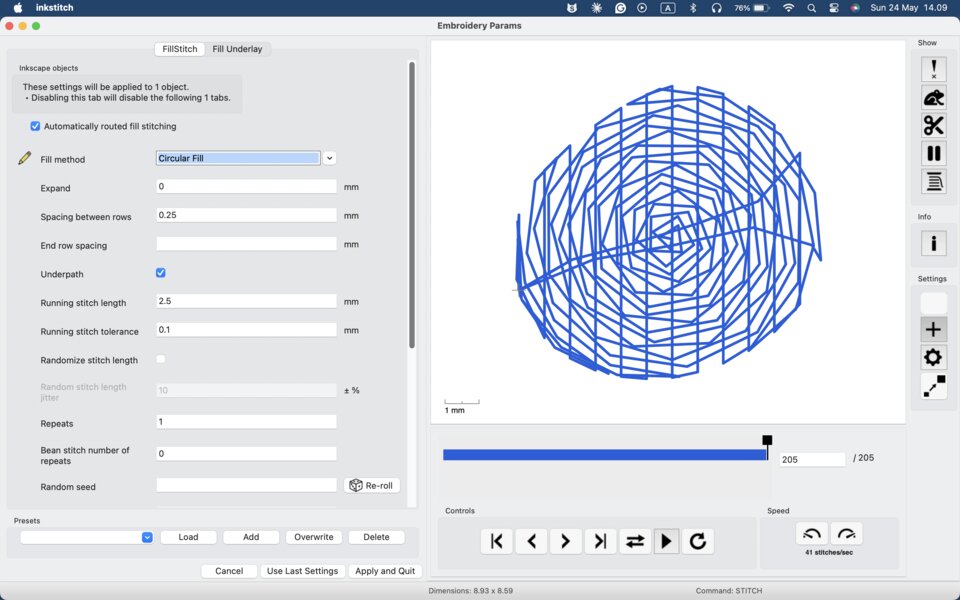
Select the appropriate fill method for each path. The fill method determines how the machine stitches across each shape.
Once all paths are configured, save the file in .pes format (Ink/Stitch: Brother Embroidery Format), then copy it to a USB drive.
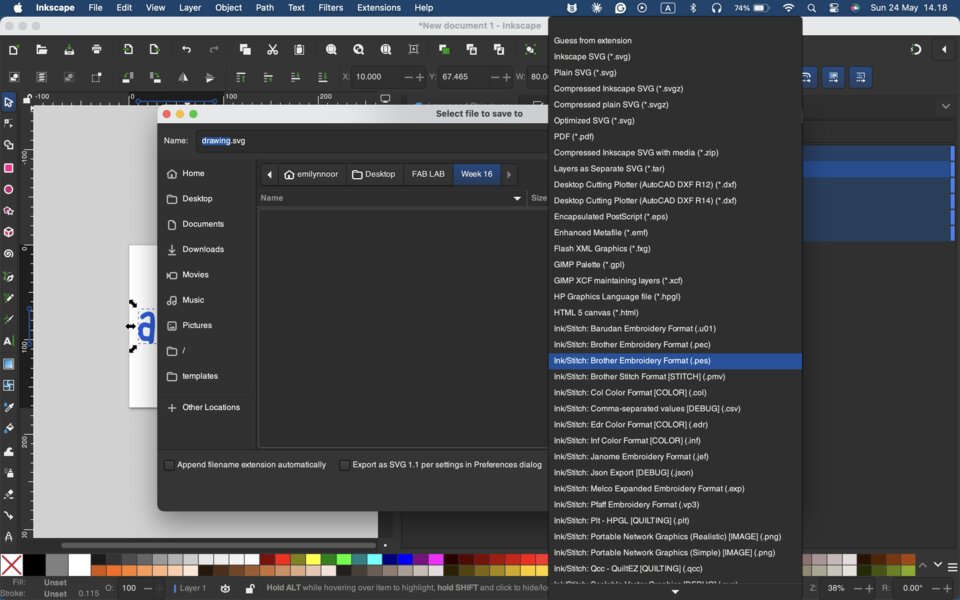
Make sure to include the file extension when saving — for example, AWL_V1.pes. Without the extension, the machine will not be able to detect the file.
Prepare the Machine
Threading the Machine
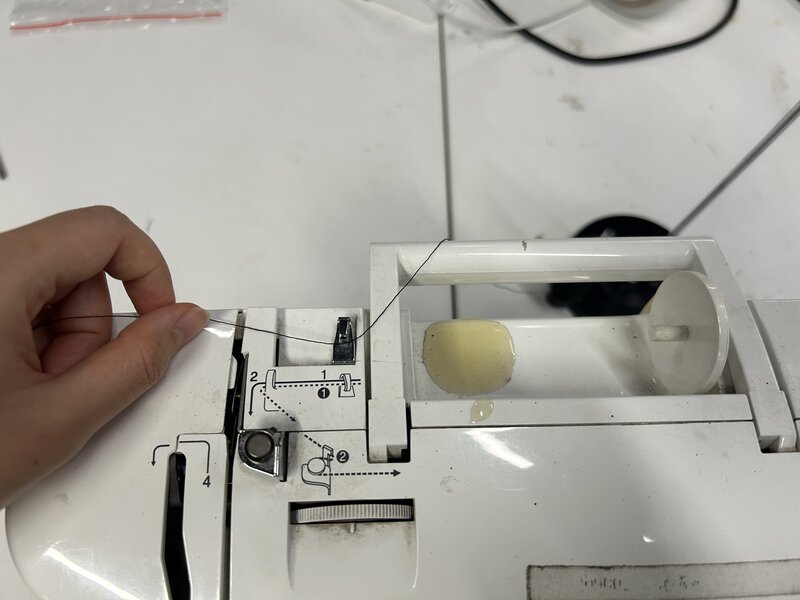
Place the thread spool on the thread holder.
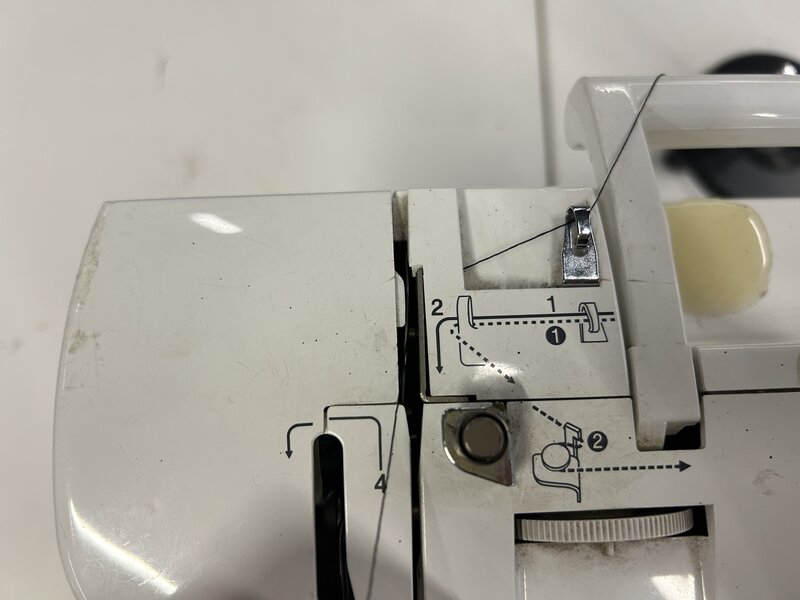
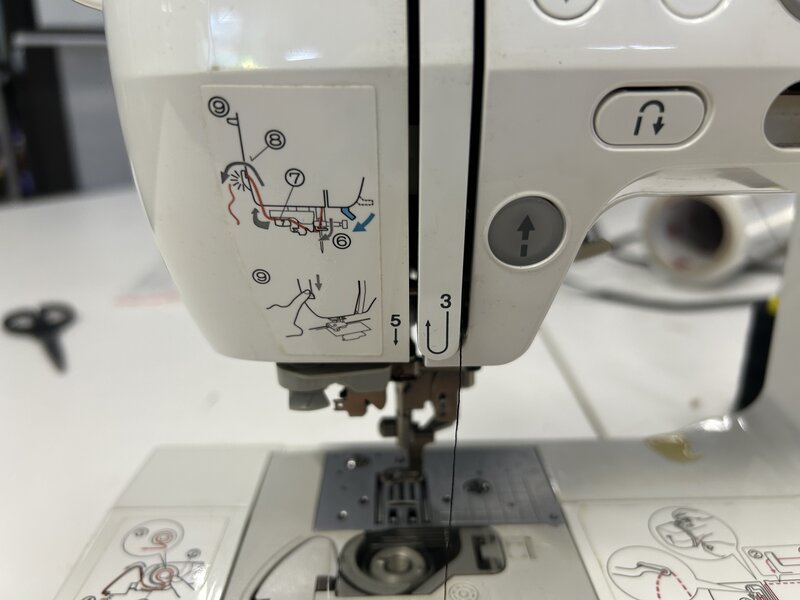
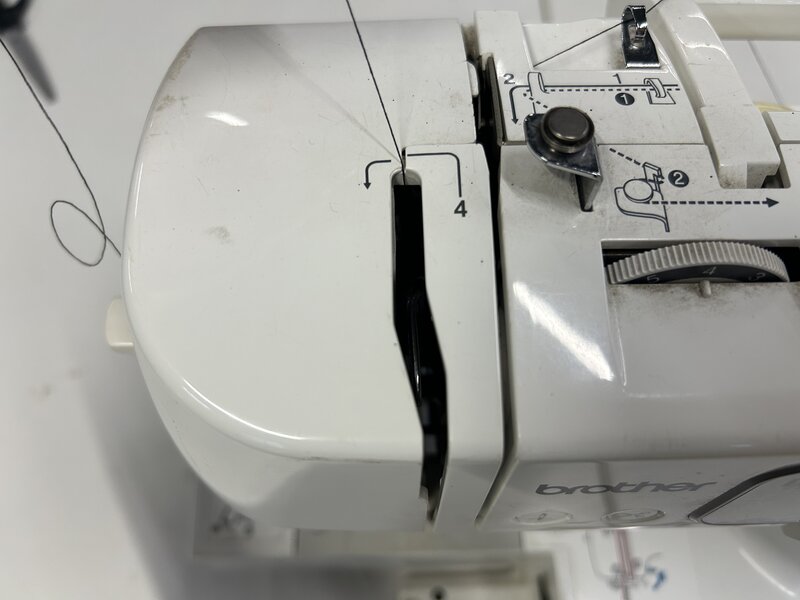
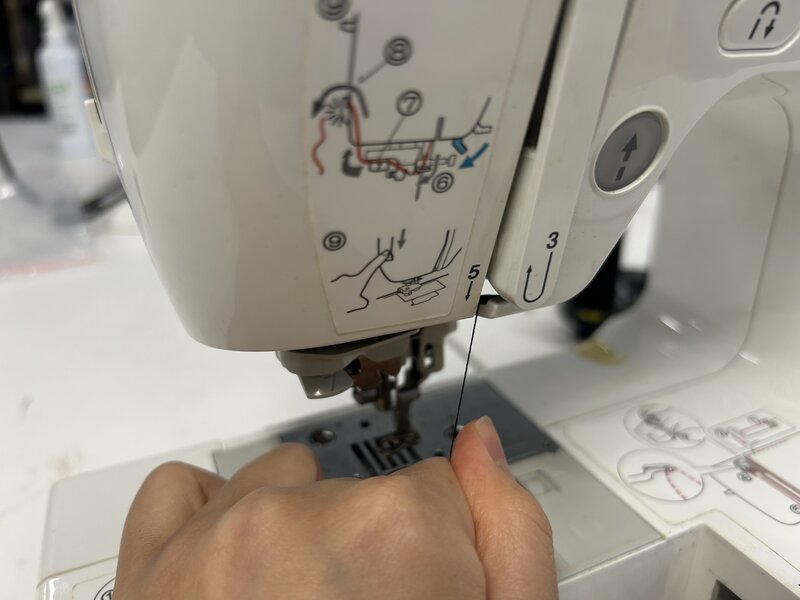
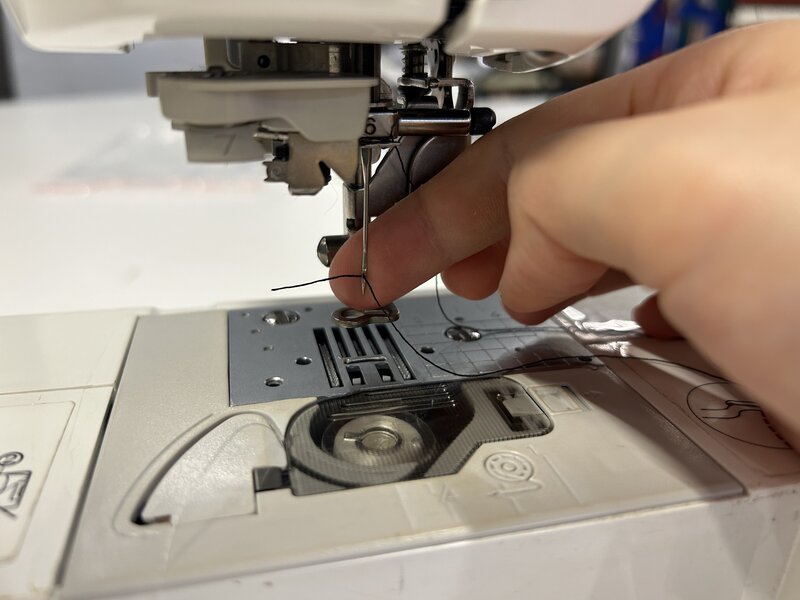
Follow the numbered threading guide printed on the machine (steps 1 through 9). Note that steps 6 to 9 are for automatic needle threading, which did not function properly on this particular machine. Complete steps 1 through 5 following the diagram, then thread the needle manually by passing the thread through the needle eye from front to back.
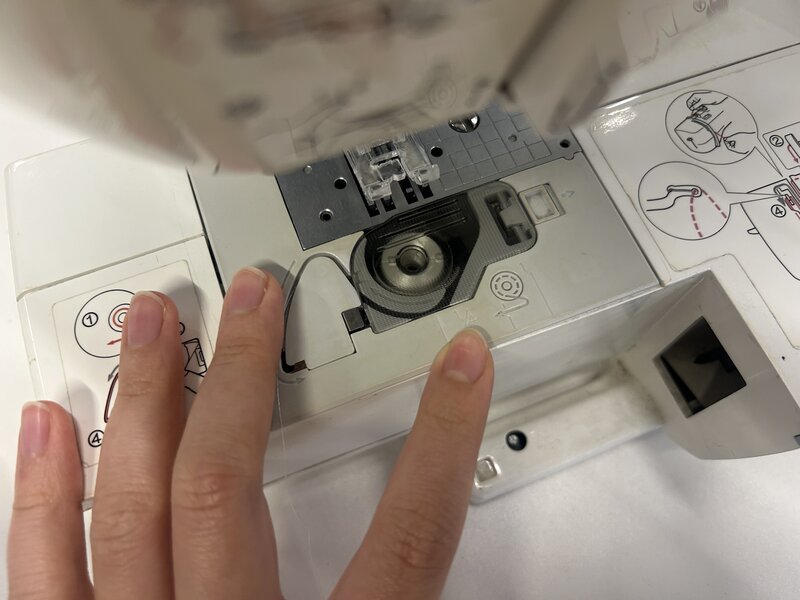
Installing the Bobbin
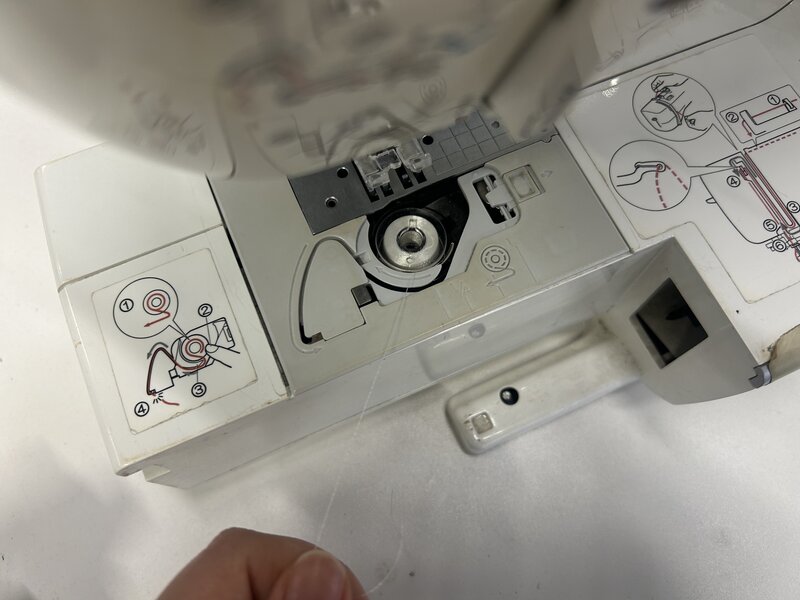
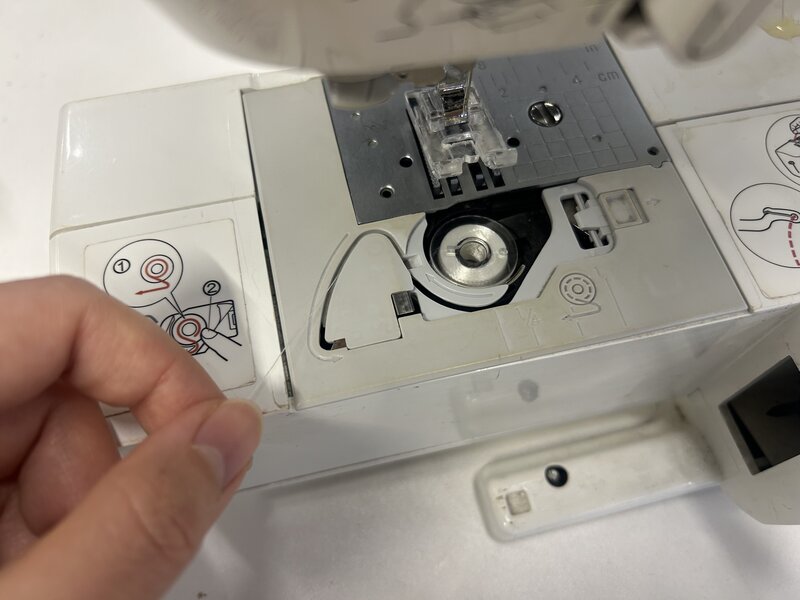
The bobbin supplies the lower thread that interlocks with the upper thread to form each stitch. To install it, open the bobbin cover on the machine bed, drop the bobbin in, and route the thread through the guides following the direction of the arrows printed inside. Close the cover securely before sewing.
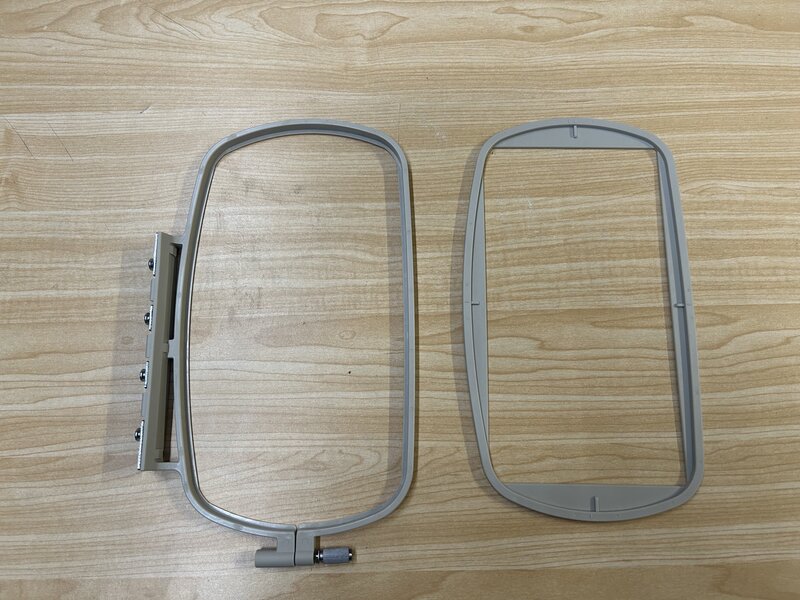
Preparing the Hoop
Proper hooping is essential for clean embroidery — if the fabric is loose or uneven, the stitches will shift and misalign.
Loosen the hoop screw and separate the two rings:
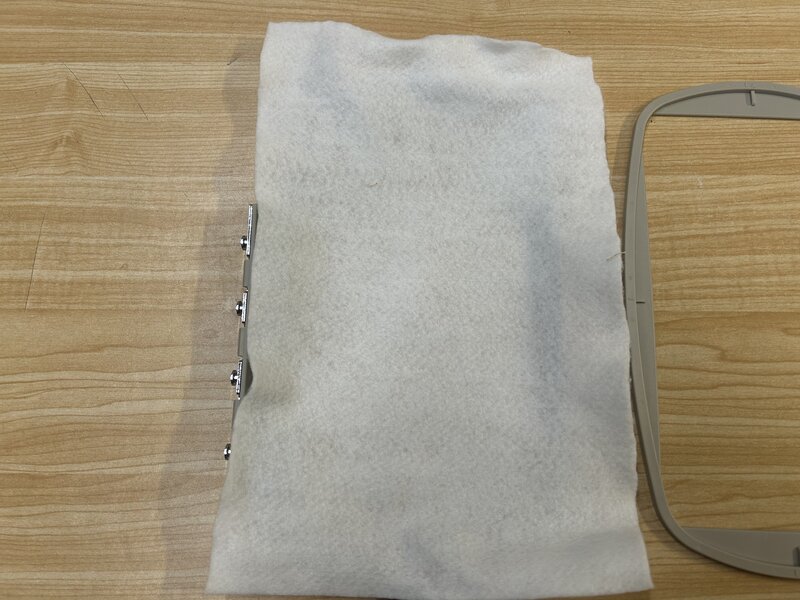
Place the fabric over the inner ring:
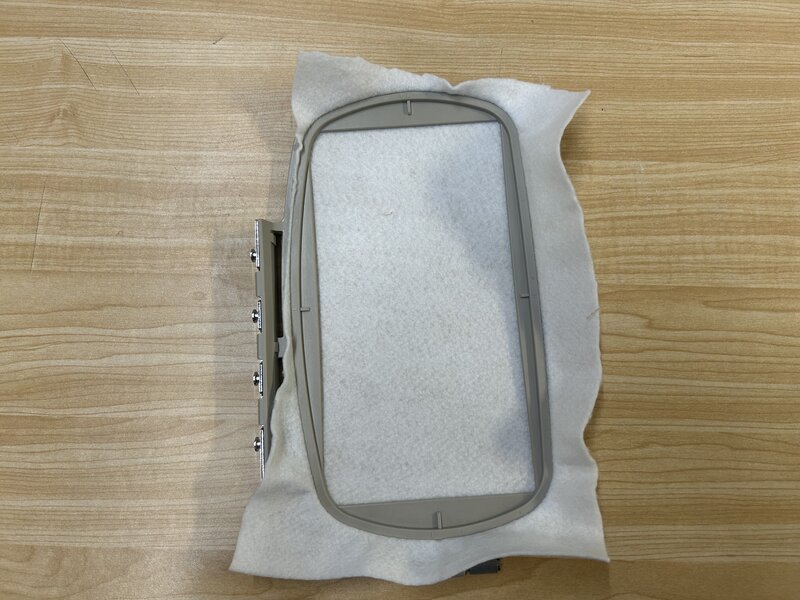
Then press the outer ring down over it. Tighten the screw firmly so the fabric is taut and flat, with no wrinkles.
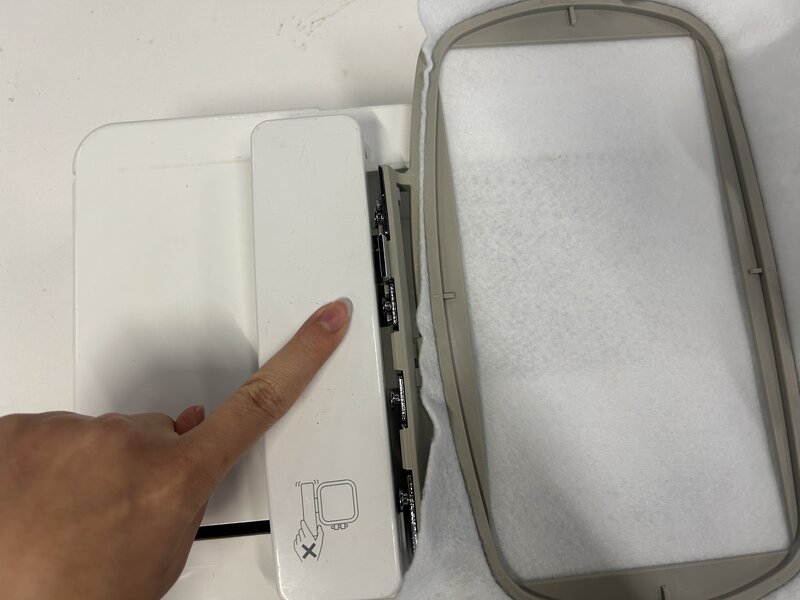
Attach the hoop to the hoop holder:
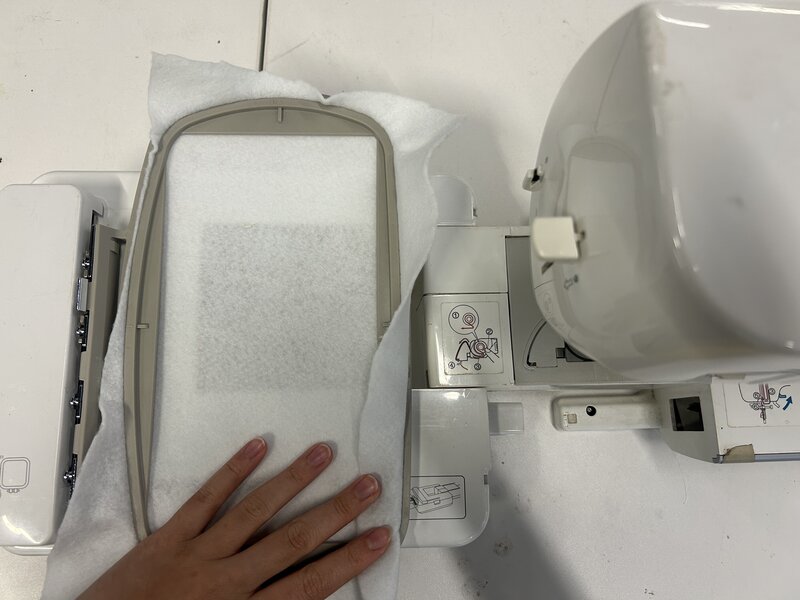
Then mount the assembly onto the machine’s embroidery arm:
Loading the File
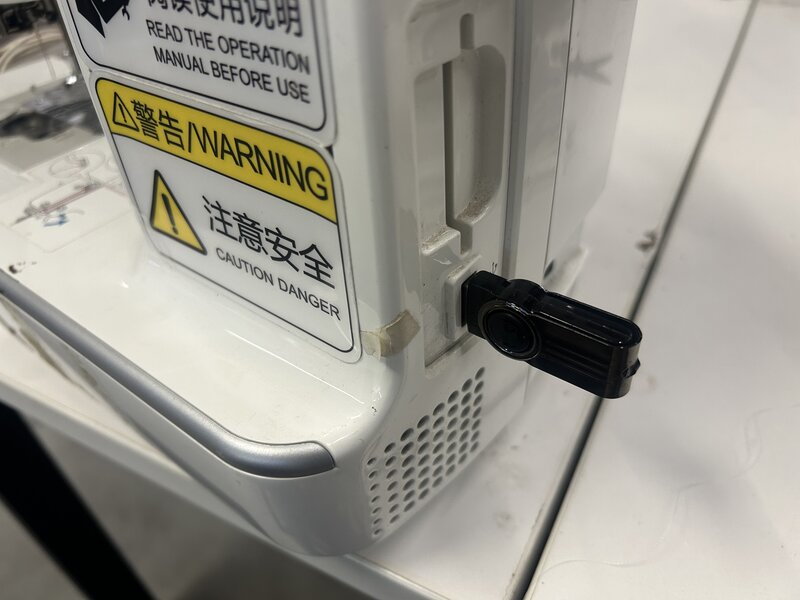
Turn the machine on using the power switch on the right side, and insert the USB drive into the USB port on the same side:
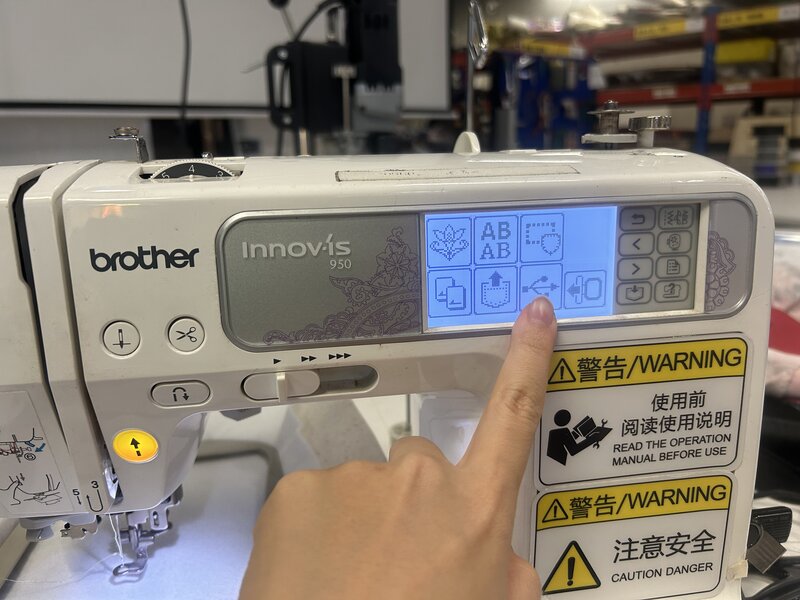
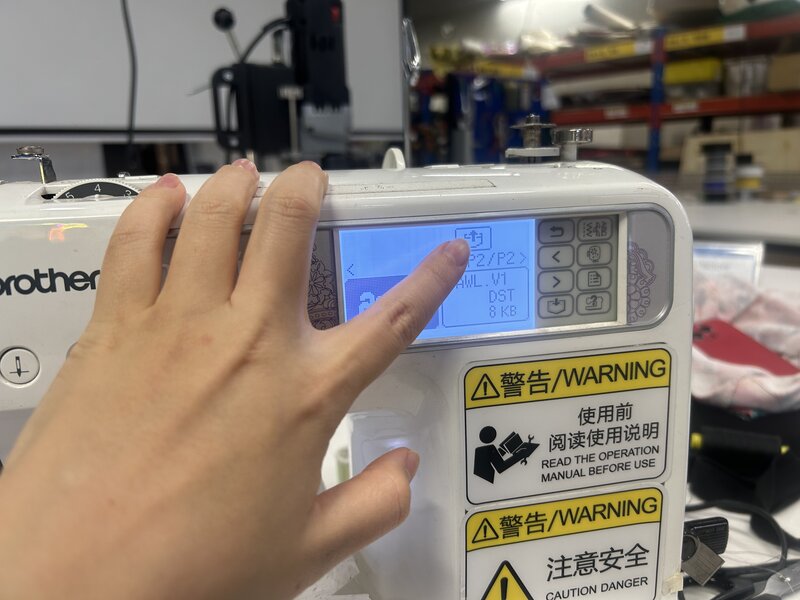
On the touchscreen, tap the USB icon to access the drive:
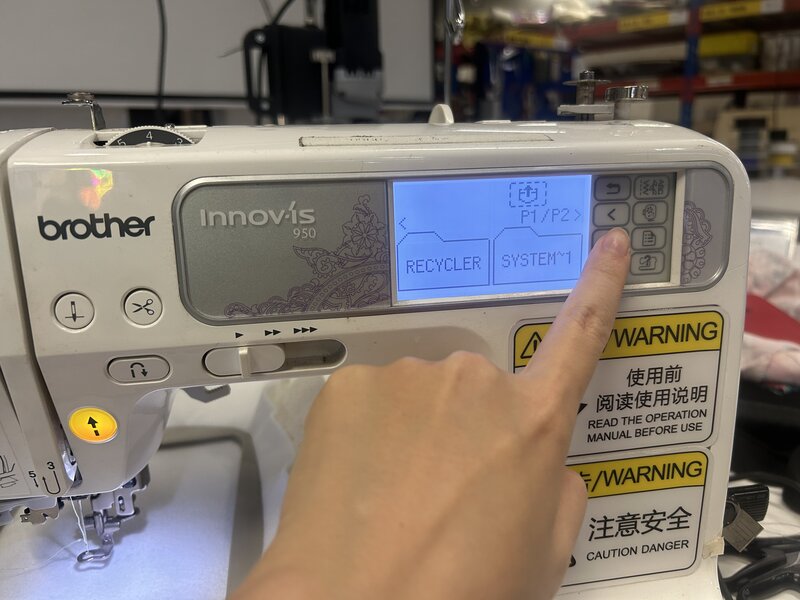
Browse to locate your file:
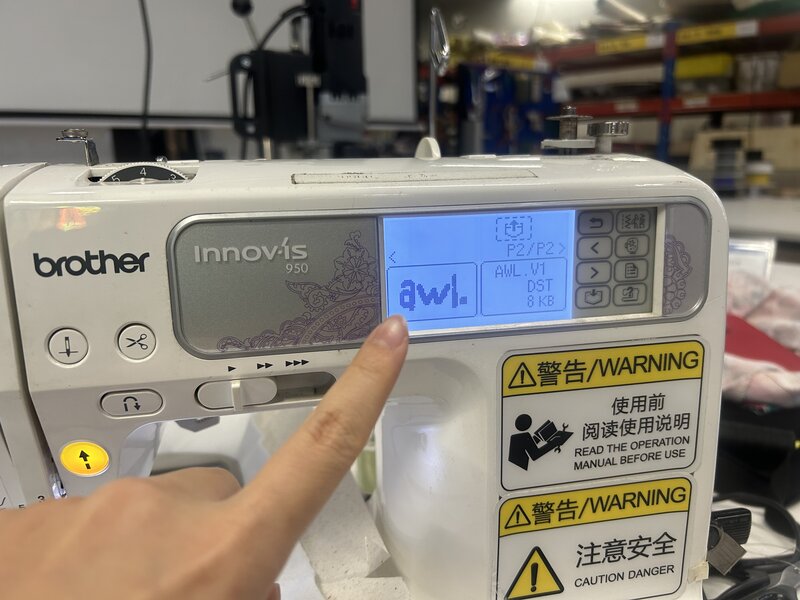
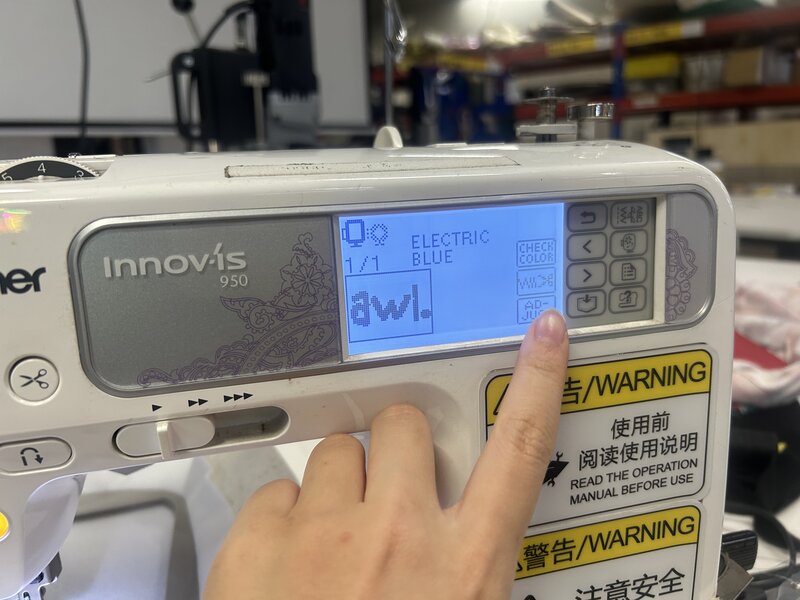
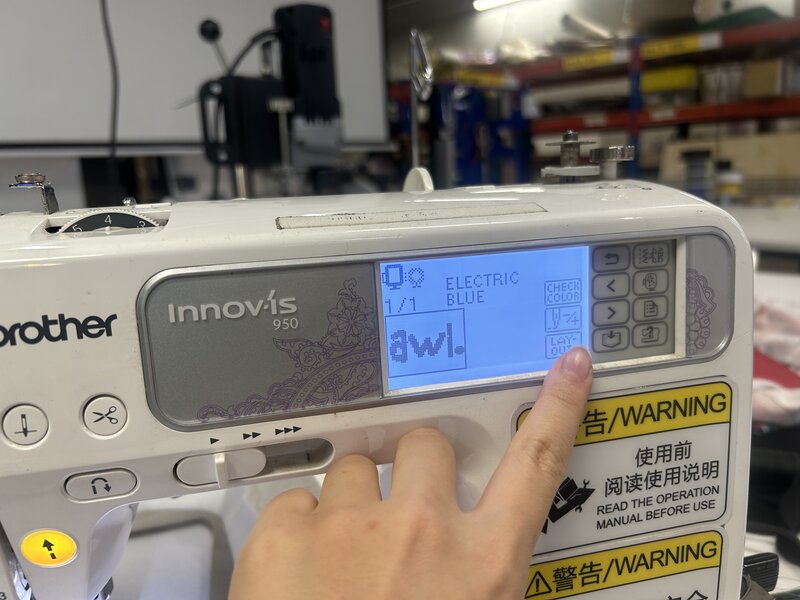
Select the file and confirm:
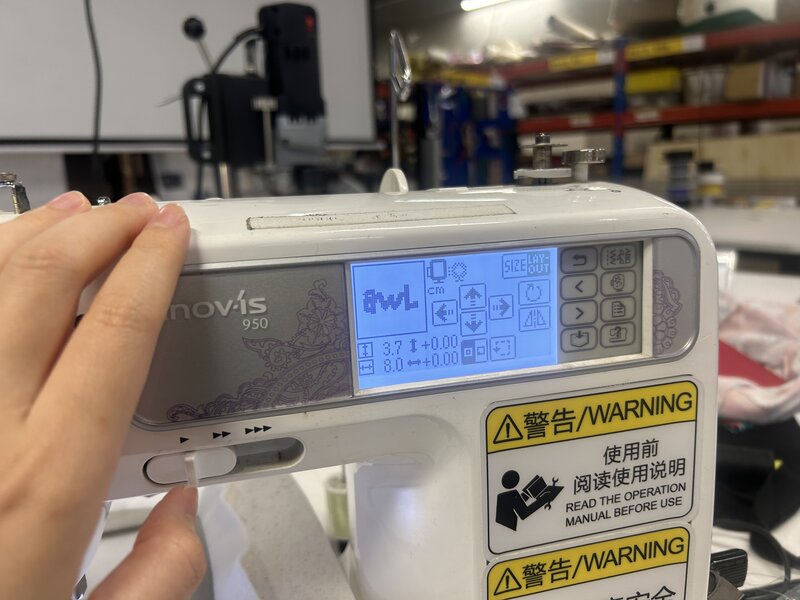
Preview the design layout on screen and adjust its position on the fabric if needed:
Use the arrow buttons to reposition the design within the hoop area:
When the layout looks correct, press the Start button to begin embroidery:
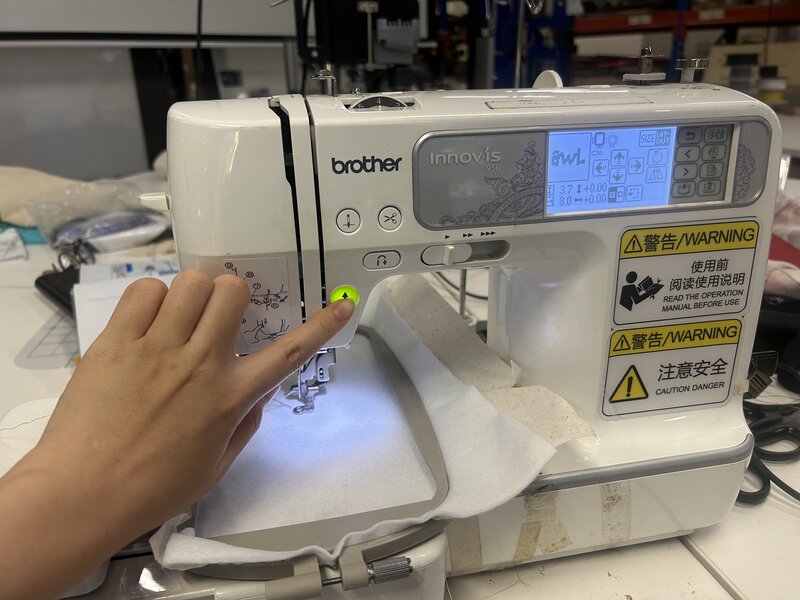
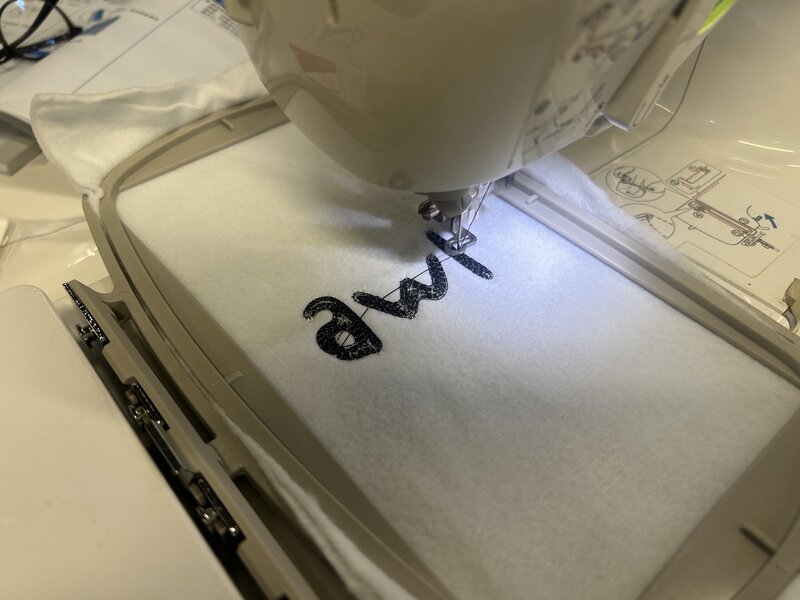
Embroidery Process
The machine will stitch the design automatically, moving the hoop in precise increments while the needle stitches each element of the design in sequence.
Occasionally the thread may tangle or bunch up — this is usually caused by tension issues or a loose thread end. If this happens, press the Start/Pause button to stop the machine, carefully remove the tangled thread, re-thread if necessary, and then press Start to resume from where it paused.
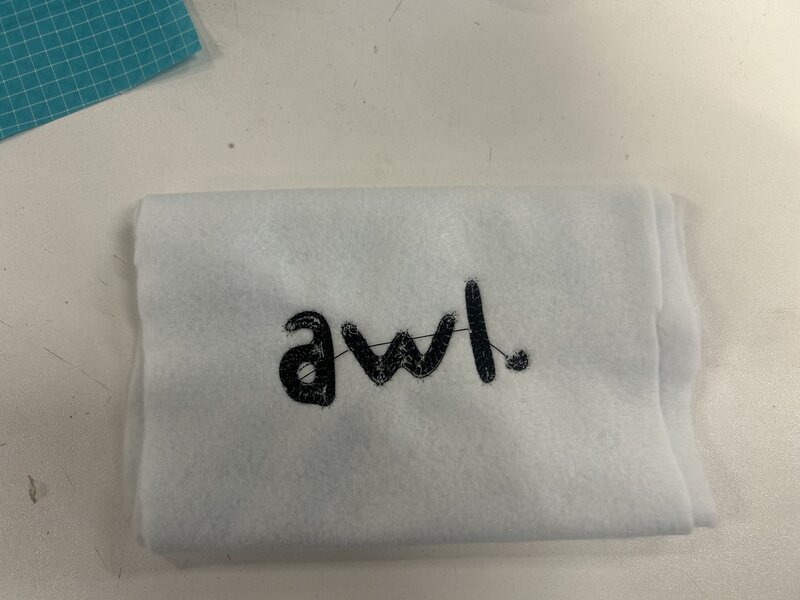
The Result
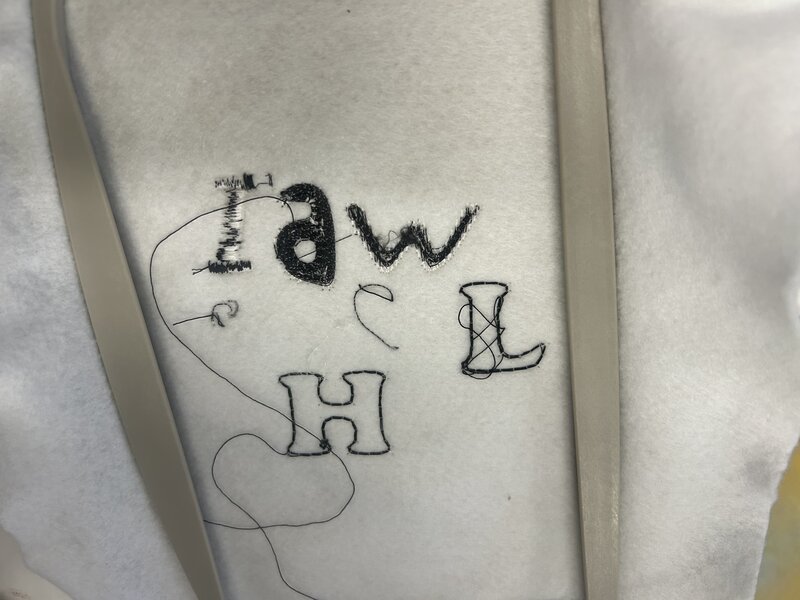
Before arriving at this result, I went through multiple failed attempts. Most failures were caused by thread tension problems — the thread would curl, bunch, or snap mid-stitch, leaving incomplete sections or messy underside stitching. Each failure helped me identify what to adjust, whether it was re-threading, changing the tension dial, or re-hooping the fabric more tightly.
Before arriving at this result, I went through multiple failed attempts. Most failures were caused by thread tension problems — the thread would curl, bunch, or snap mid-stitch, leaving incomplete sections or messy underside stitching. Each failure helped me identify what to adjust, whether it was re-threading, changing the tension dial, or re-hooping the fabric more tightly.
References & Acknowledgements
Special thanks to Dumpling (Hua Hua) for helping me learn how to use the machine.
Dumpling (Hua Hua)’s Documentation