Week 2: Computer Aided design
Week 2 Assignment:
- Model (raster, vector, 2D, 3D, render, animate, simulate,…) a possible final project
- Compress your images and videos
- Post a description with your design files on your class page
2D Design
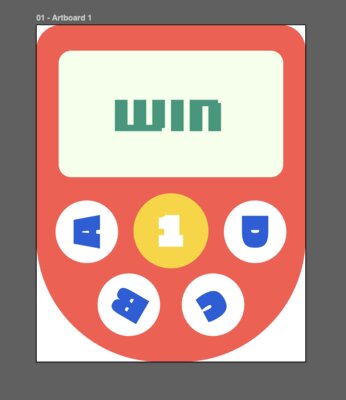
For the game console, I changed the design significantly from the first sketch, aiming to make it simpler and more portable. The shape is inspired by my first Nintendo Game Boy Pocket Red.
Raster vs Vector Graphics
Raster
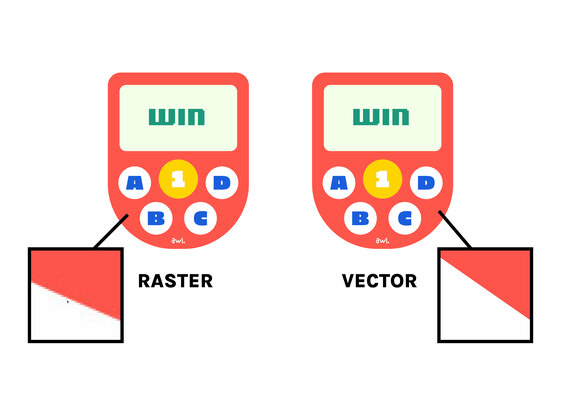
Raster graphics are made up of pixels—tiny squares of color that combine to form an image. When you zoom in on a raster image, it becomes pixelated and loses quality. However, raster images are useful for realistic visuals with complex color details, such as photographs.
Common raster formats: JPEG, PNG, and GIF
This is an example of a raster image in JPEG format:
As I zoomed in, the image became pixelated and the quality decreased
Vector
In contrast, vector graphics are made up of paths defined by mathematical equations. This allows vector images to be scaled up or down without losing quality, since they are not dependent on a fixed number of pixels. Therefore, vector images are commonly used for logos and designs that need to be resized.
Common vector formats: AI, SVG, and EPS
This is an example of a vector image in AI format:
As I zoomed in, the image did not lose its quality
Adobe Illustrator
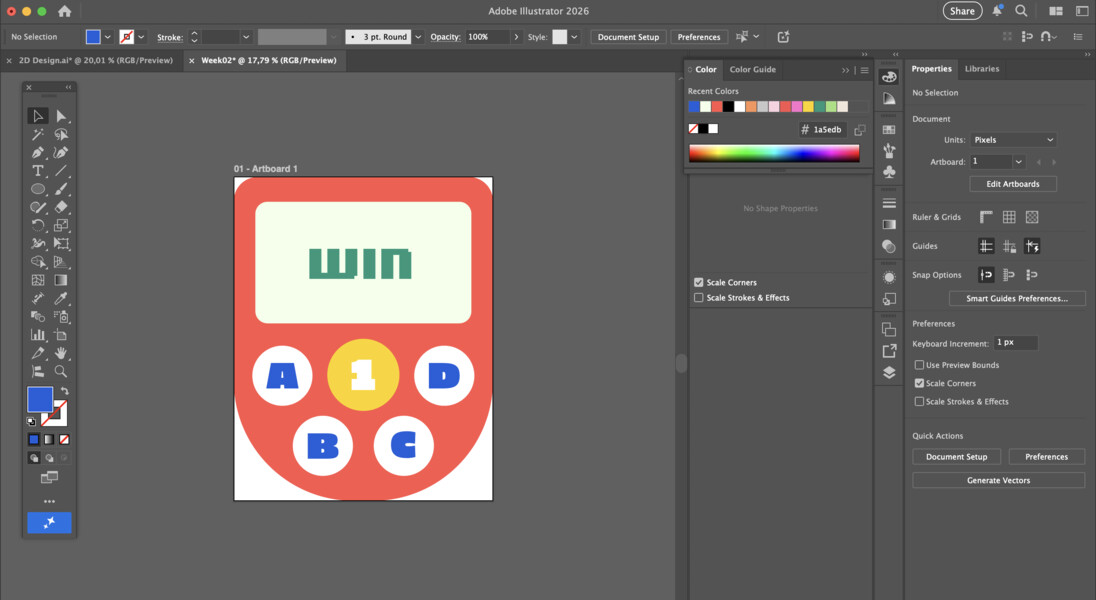
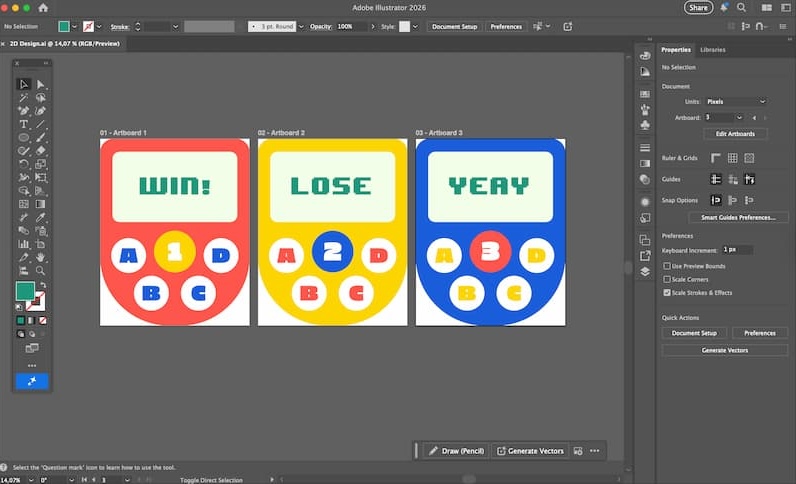
I created the 2D designs for three different game consoles and the logo using Adobe Illustrator. I chose Adobe Illustrator because it offers many functions and precise controls. Moreover, the graphics are vector-based, so they do not lose quality when scaled up.
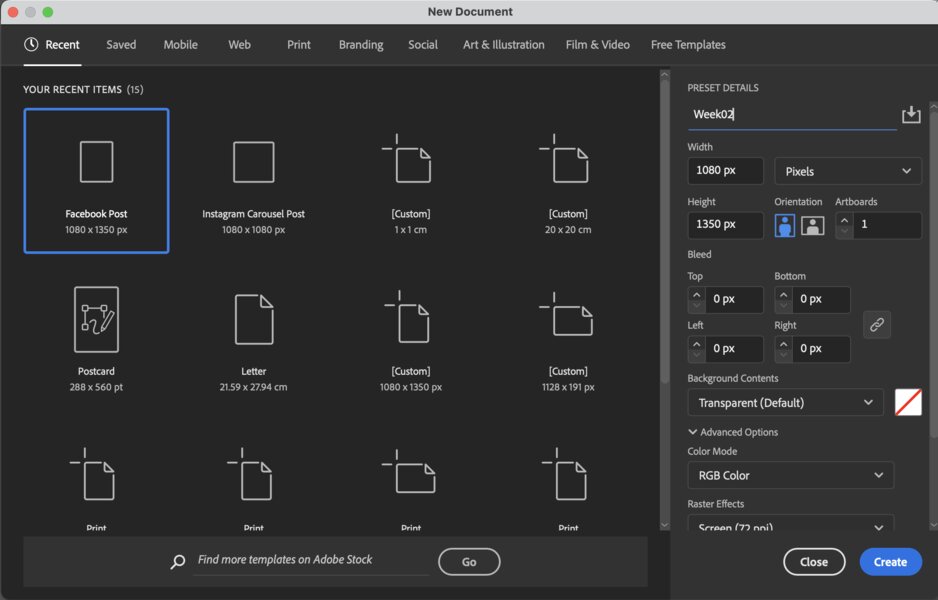
At first, I designed everything on a 1080×1350px artboard (RGB color) while simultaneously sketching the new design on paper to better visualize the shape, color, and size of the product. I incorporated vibrant colors (red-orange #fe564b, yellow #fdd400, blue #1a5edb) and many rounded shapes to make the design look fun and friendly, including rounded corners on the body and screen, as well as cylindrical buttons.
Step-by-step to create a game console using Adobe Illustrator:
-
Open Adobe Illustrator and create a new file (File -> New). Adjust the ‘Preset Details’, then click ‘Create‘
-
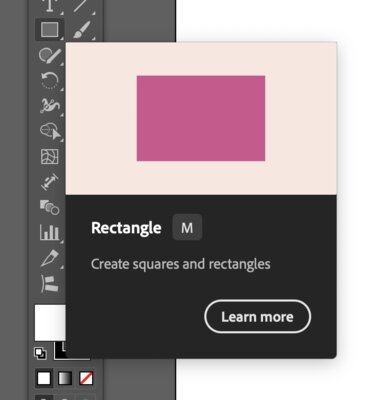
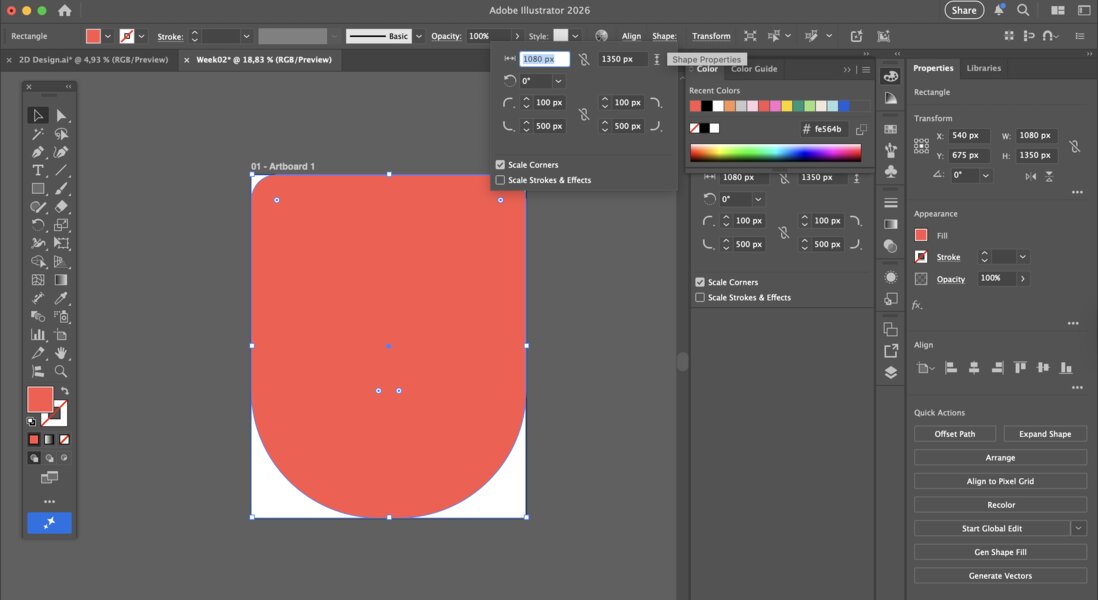
I created the base using a rectangle by selecting the ‘Rectangle Tool’ or pressing M.
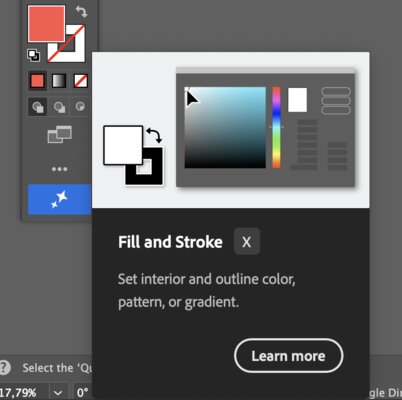
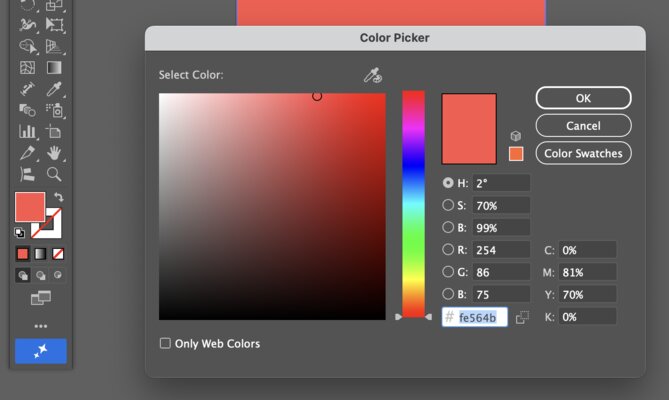
Then, I changed the color by clicking ‘Fill and Stroke’.
I changed the color to #fe564b.
I also edited the corner size (Shape Properties → Corner Type)
-
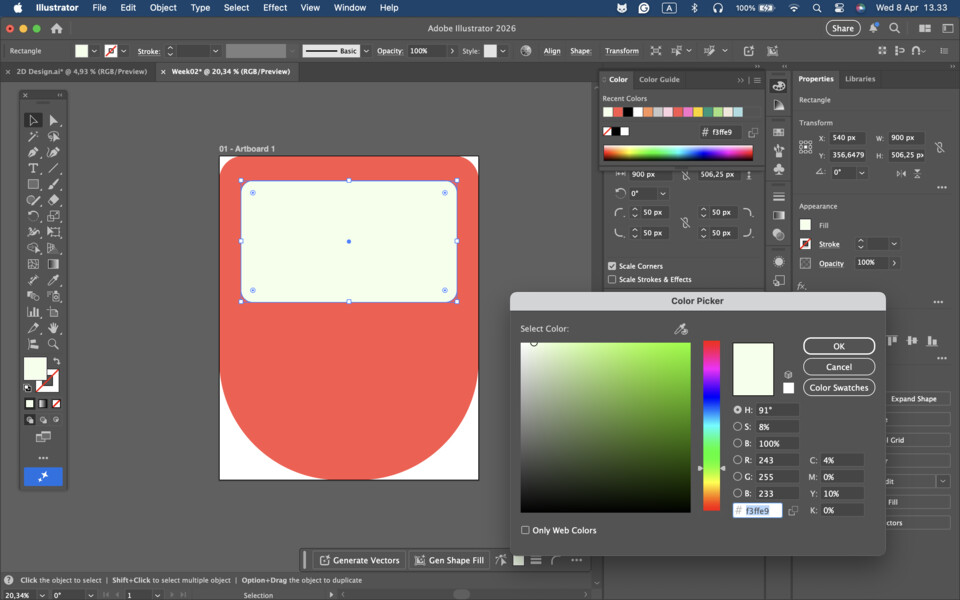
Next, I created the screen using the same method as the base. I changed the color to #f3ffe9.
-
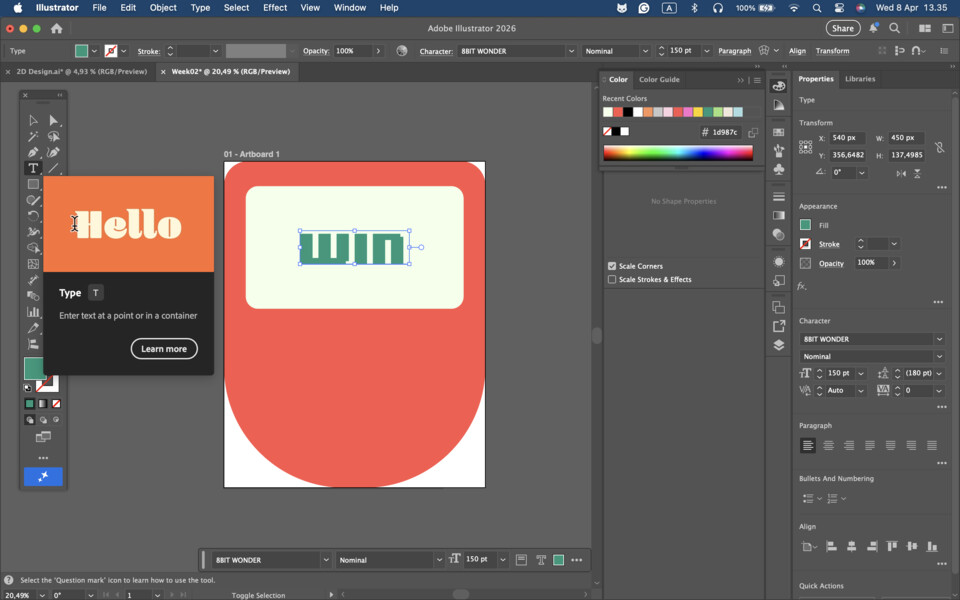
I created the text using the ‘Type Tool’, changed the color to #1d987c, and adjusted the character settings.
-
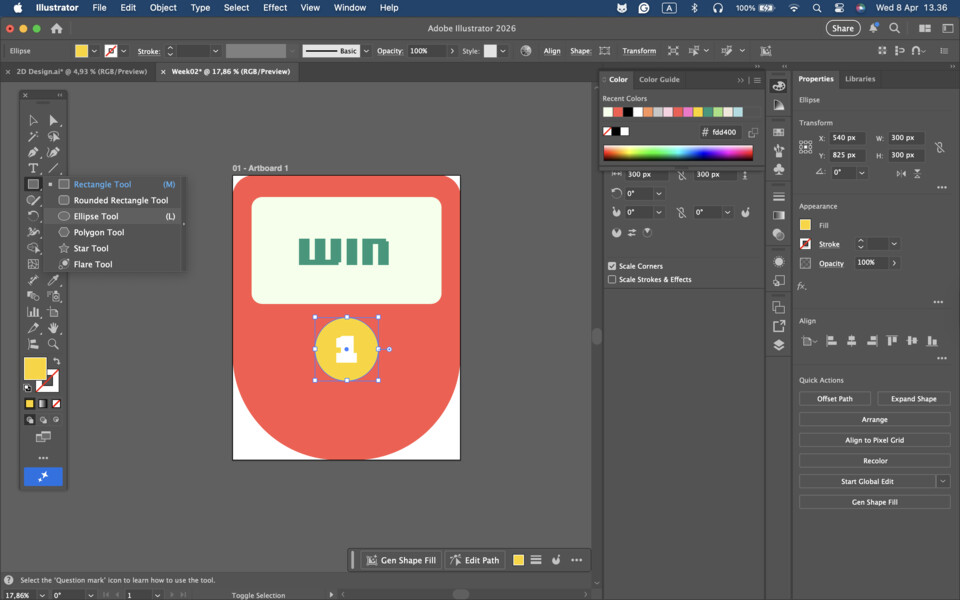
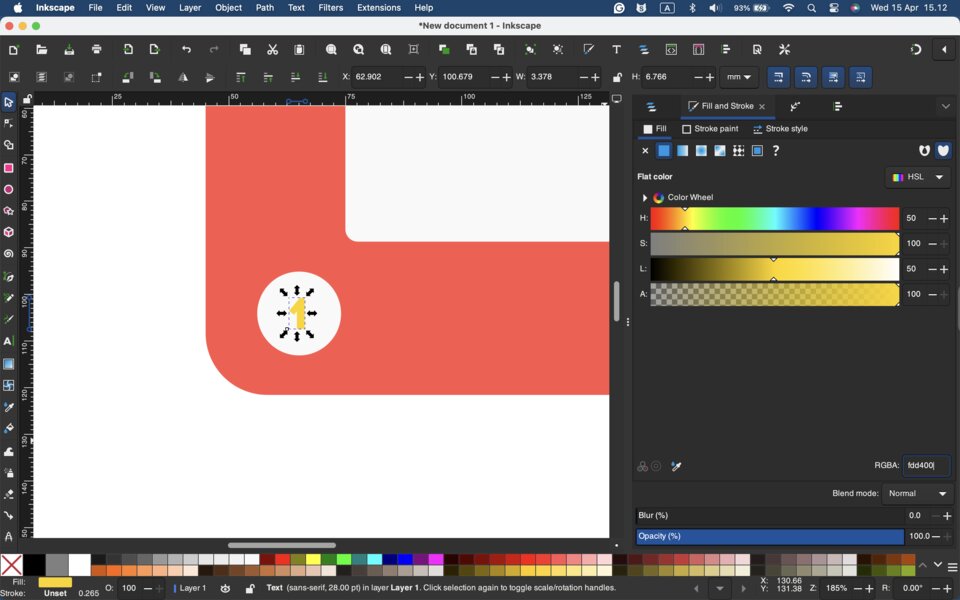
I created the first button using the ‘Ellipse Tool’ and changed its color to #fdd400. Then, I added the text “1” inside the circle.
-
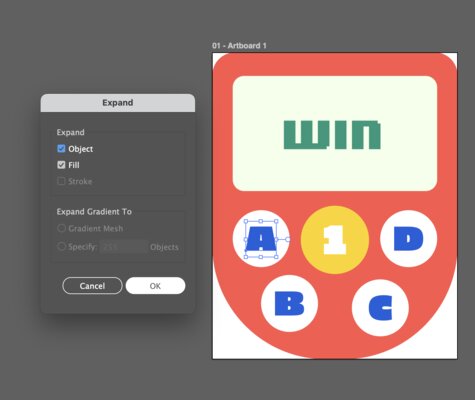
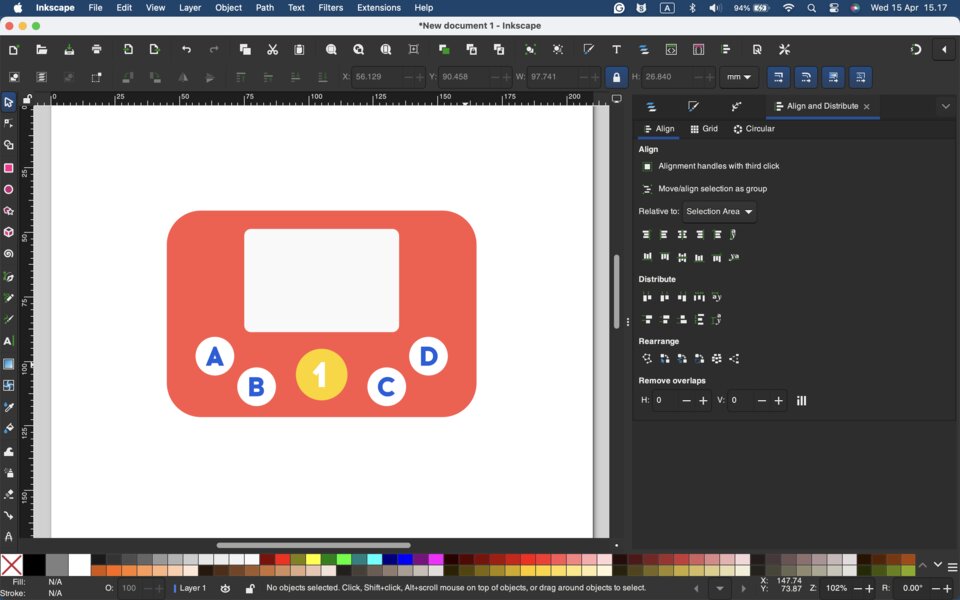
Next, I created the other buttons (A, B, C, D). Then, I expanded the text using the Expand tool (Object -> Expand).
-
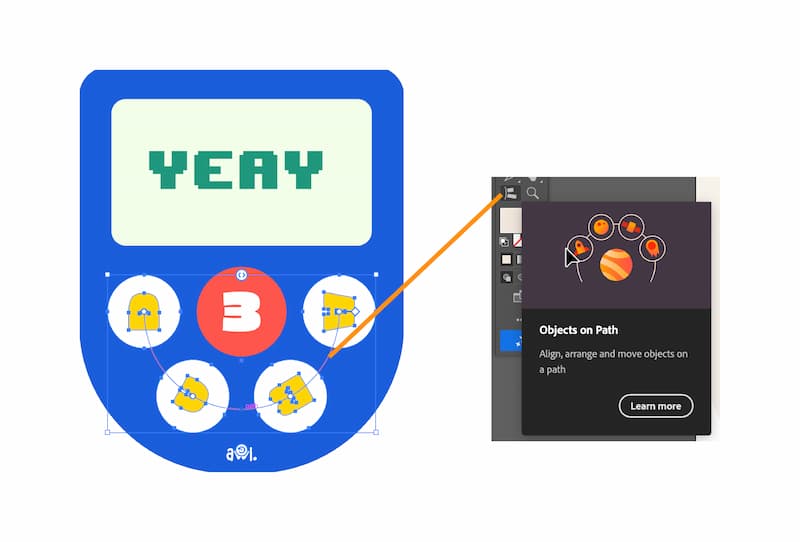
I created a half-circle path to position the A, B, C, D buttons.
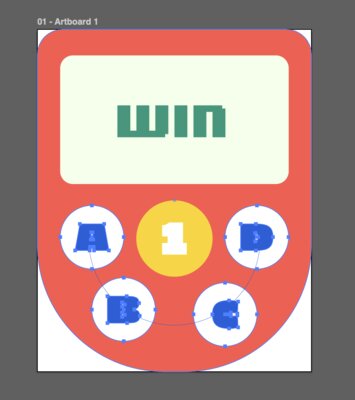
Select the A, B, C, D buttons, then click ‘Objects on Path’.

Afterwards, select the half-circle path.

The buttons will be arranged along the half-circle path.
However, the letters (A, B, C, D) may be rotated, so adjust their rotation.
Here is the final result:
-
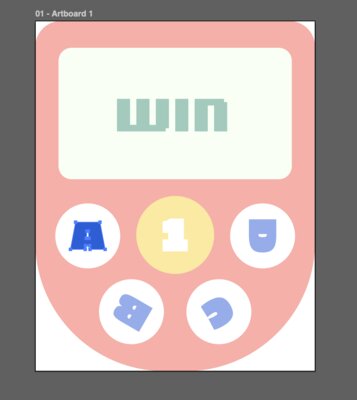
Finally, I copied the design to another artboard and changed the colors.
For the product name, I wanted to include the word “all” - since the goal is for everyone (all) to play and have fun together. I researched several name ideas, such as “all&,” “&all,” “y’all,” “forall,” and “all.” Since I haven’t satisfied with the name, I looked for alternative words with a similar meaning to “all,” and I found this on Thesaurus.com:
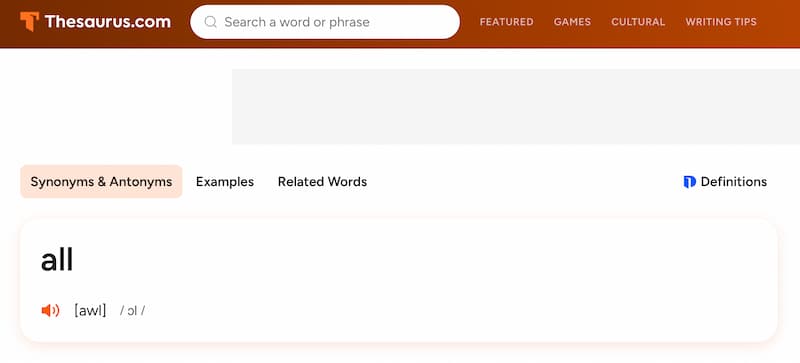
The word “all” is pronounced as “awl”. I loved the name so much, I went ahead and made the simple logo “awl.” and the tagline “play with you awl.” (Font name: Chinchilla):
![]()
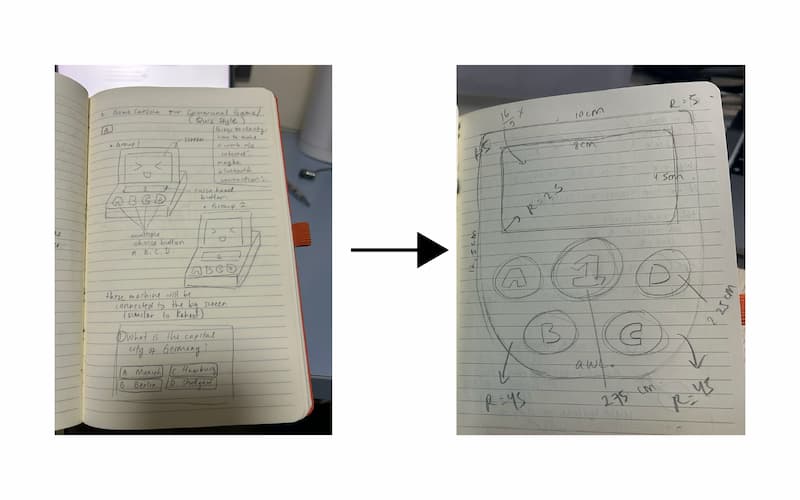
Afterwards, I adjusted the product dimensions: the body measures 100×125mm, the screen is 80×45mm (16:9), the number button (1/2/3) have a diameter of 27.5mm, the “ABCD” buttons have a diameter of 22.5mm, the top body corners have a radius of 5mm, the lower body corners have a radius of 45mm, and the screen corners have a radius of 2.5mm, as shown below:
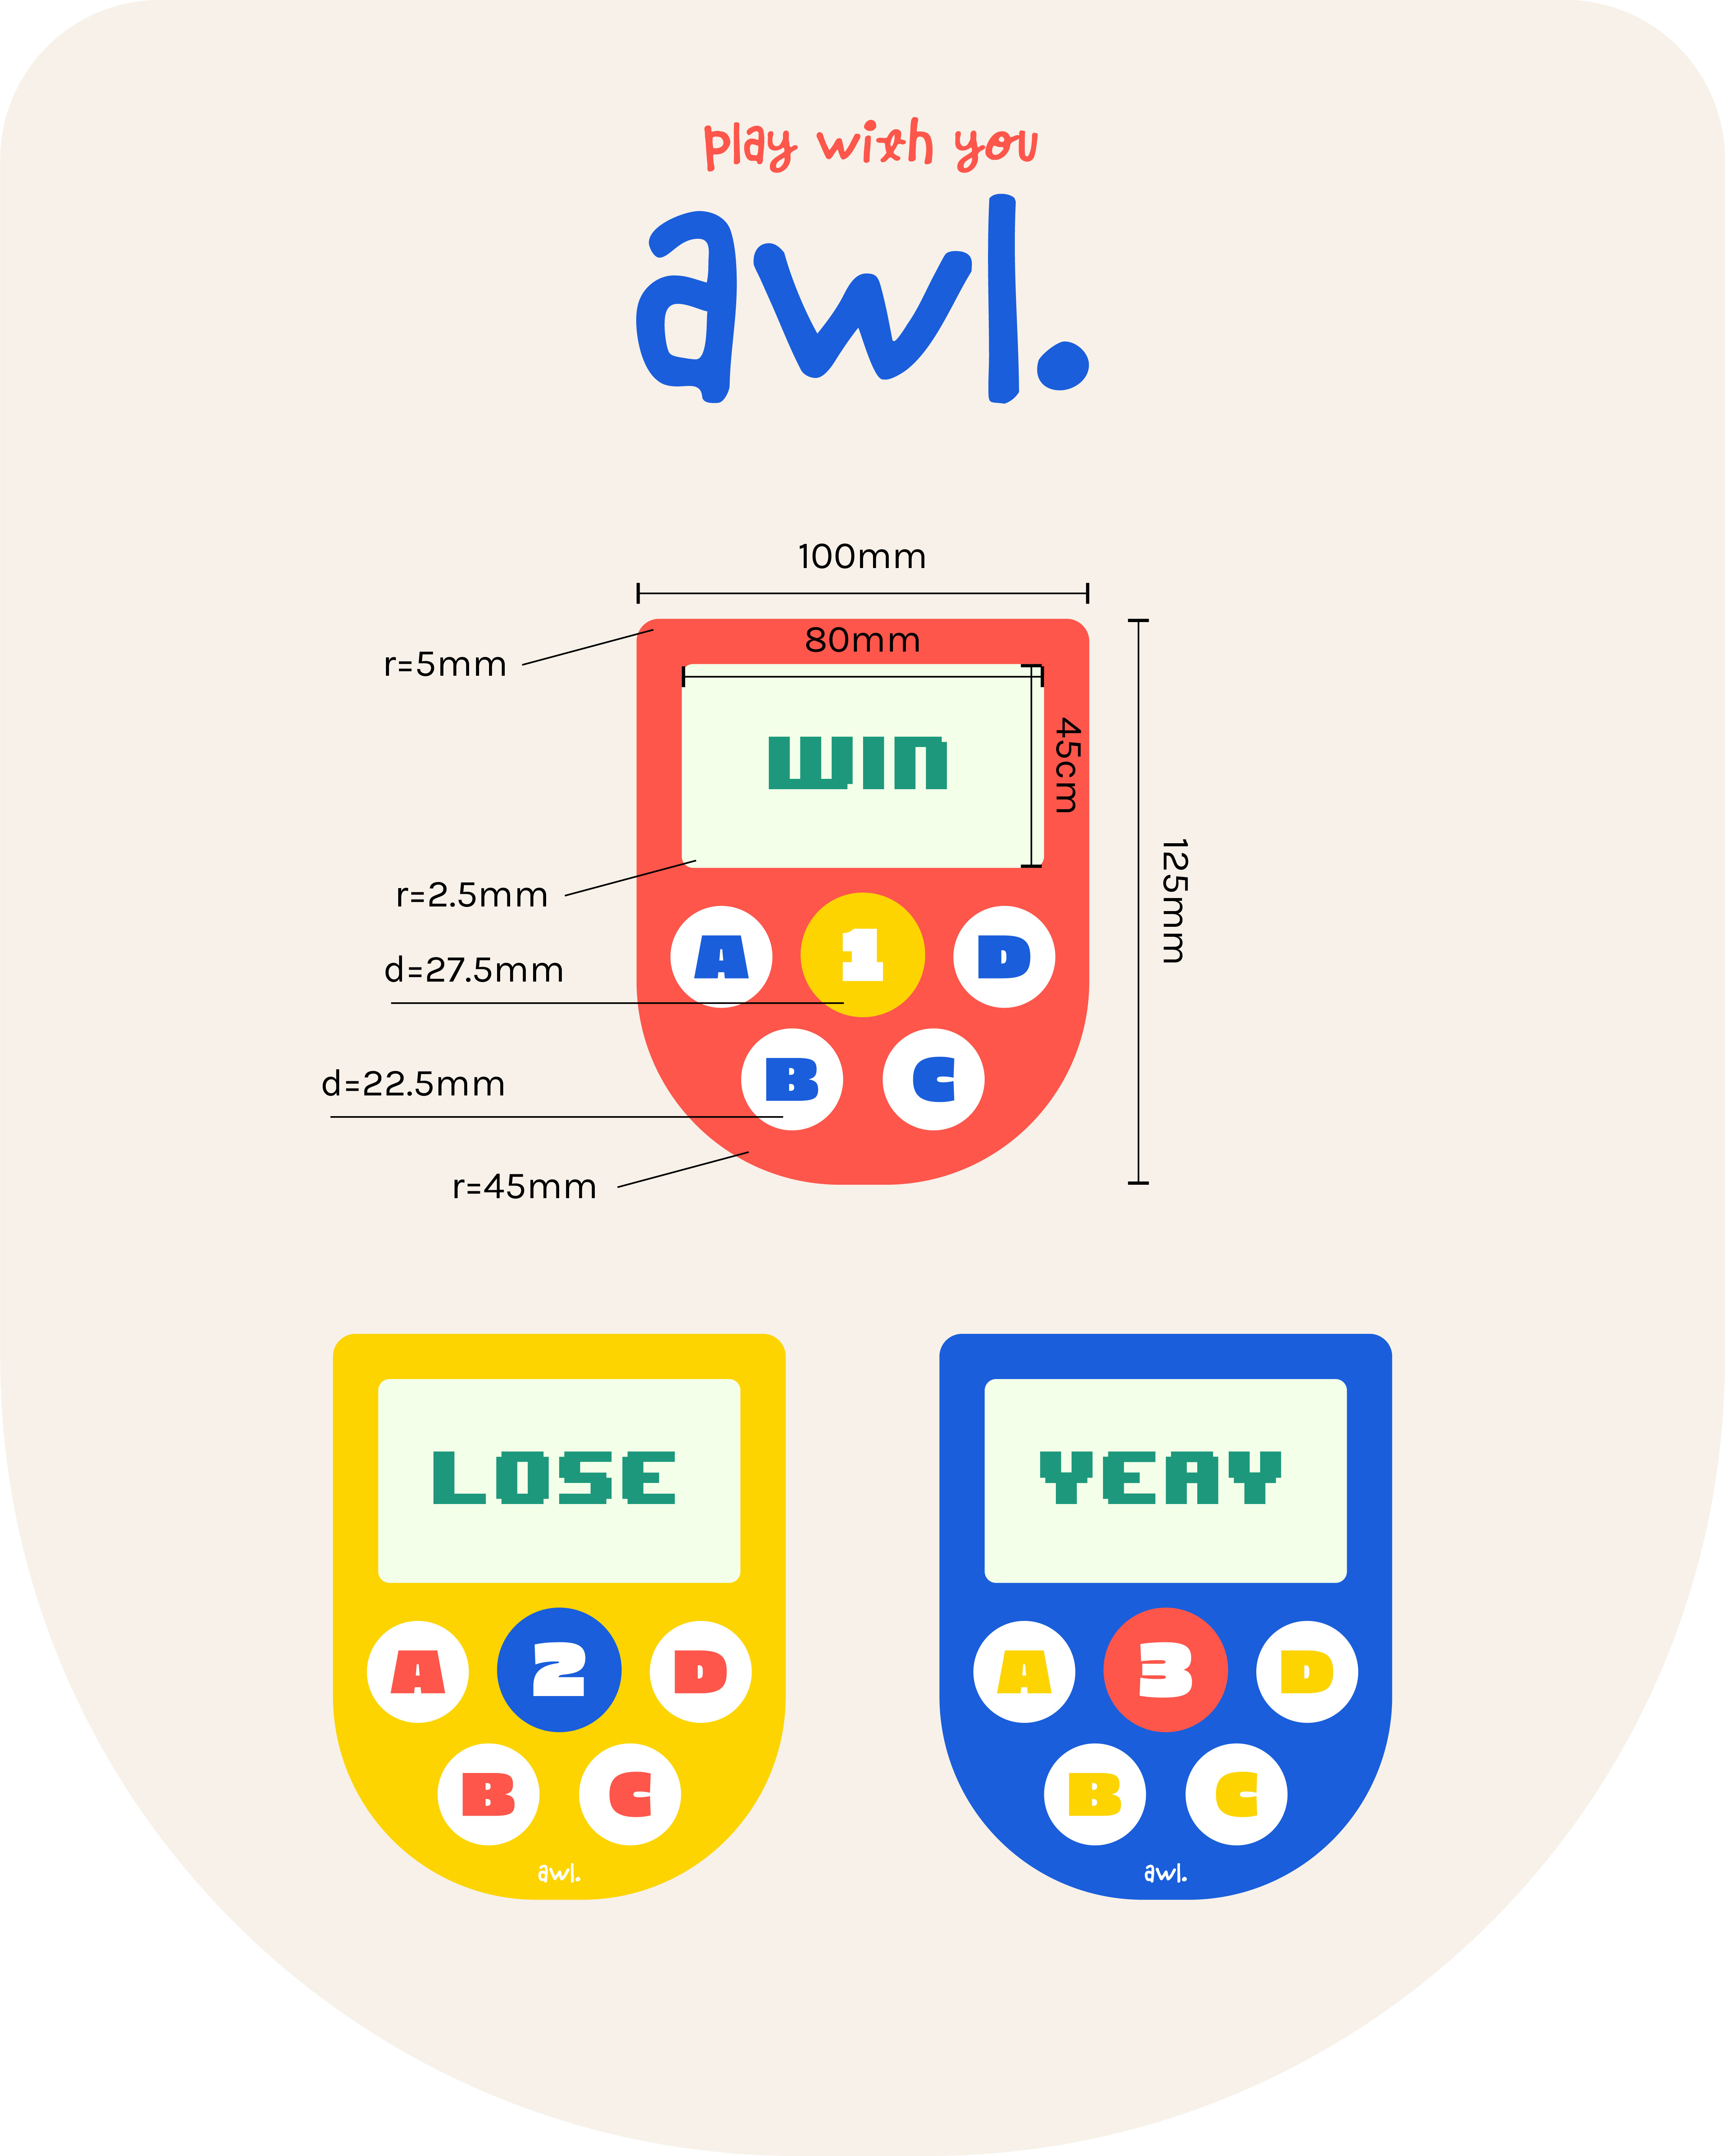
In addition, I also utilized “Objects on Path” feature on Adobe Illustrator to arrange the “ABCD” button on an arc:
Inkscape
For the second software, I used Inkscape, which is a free and open-source vector graphics editor.
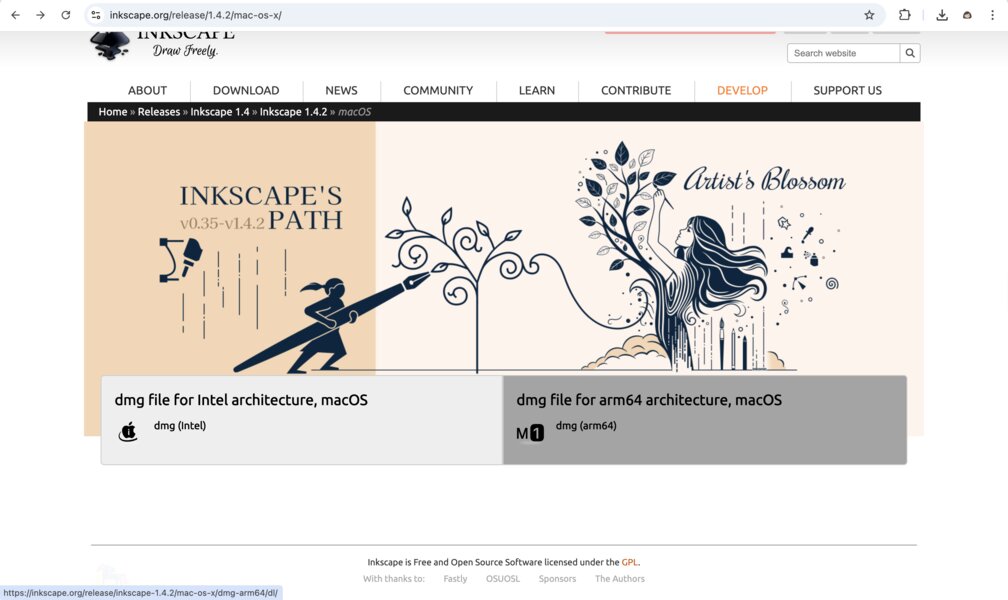
- First, I downloaded Inkscape from the Inkscape website. I selected the version for macOS.
After downloading, I installed it on my laptop by dragging the Inkscape icon into the Applications folder.
Then, I opened Inkscape and started with a blank canvas.
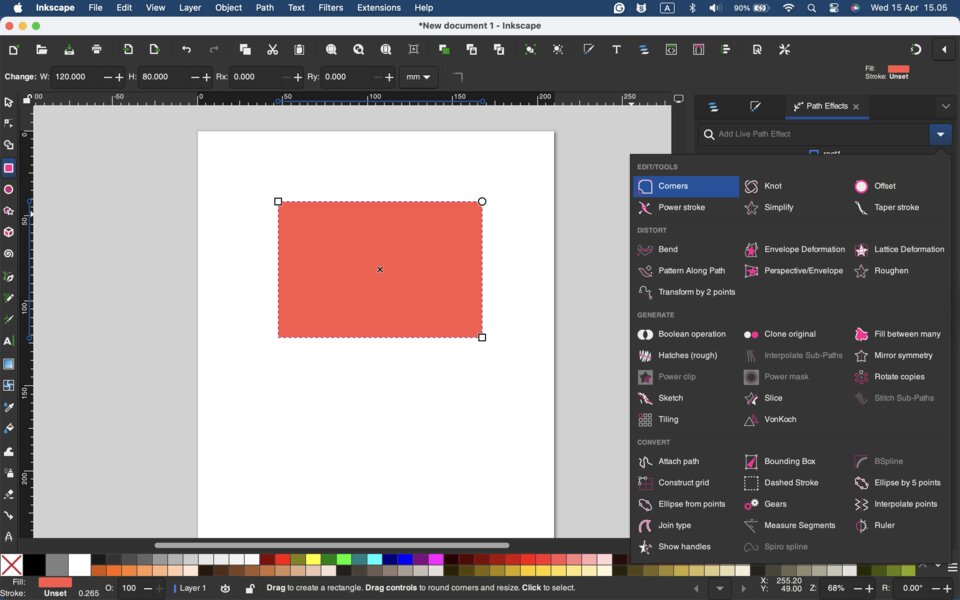
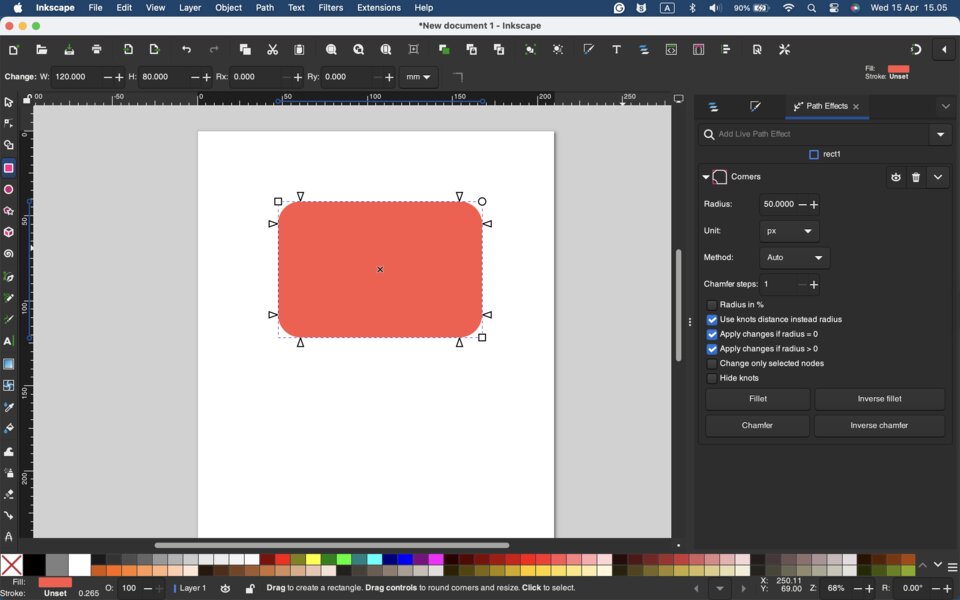
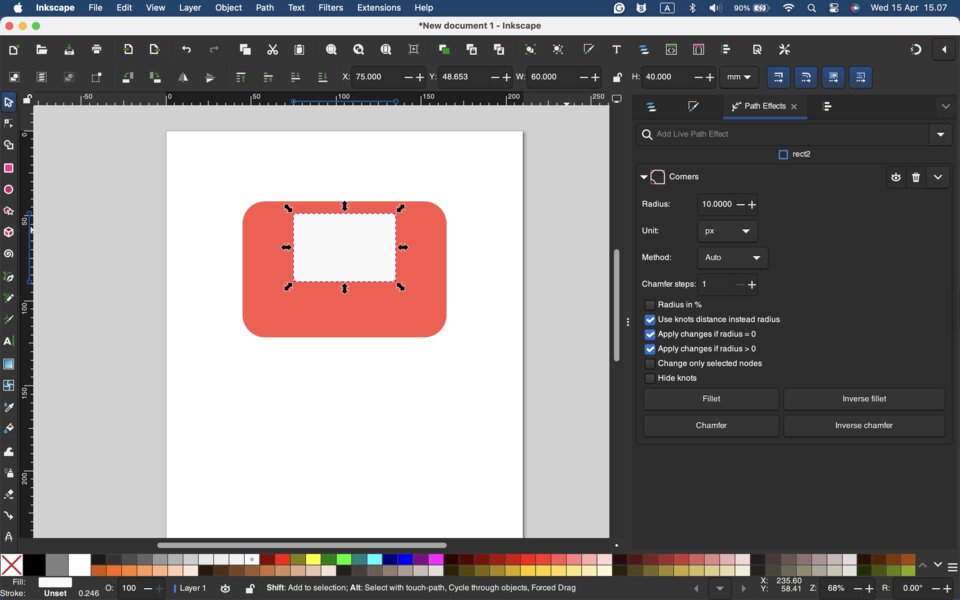
- created a rectangle using the Rectangle Tool (shortcut: R). I adjusted its size and added rounded corners (fillet).
To add a fillet: Path -> Path Effects -> Add Live Path Effect -> Corners
- Next, I created a screen using the Rectangle Tool and applied a fillet to it as well.
- I created a circle using the Ellipse/Arc Tool (shortcut: E), then added text and placed it inside the circle.
- I also created additional circles for the A/B/C/D buttons. The result is shown below:
Resize & Fillet

I applied a fillet to the rectangle and then resized it. However, the result was not ideal—the rounded corners did not automatically adjust to the new size.
3D Design
Once I completed the 2D design, I moved on to 3D modeling with OnShape and Blender.
OnShape
I like using OnShape because it is quite simple and allows for precise sizing. The only downside for me is that it requires an internet connection to access.
The process is divided into 3 parts: sketch, extrude, and add fillet.
-
Sketch -> This process is similar to how I created the 2D design in Adobe Illustrator.
-
I drew the sketch on the top plane like this:
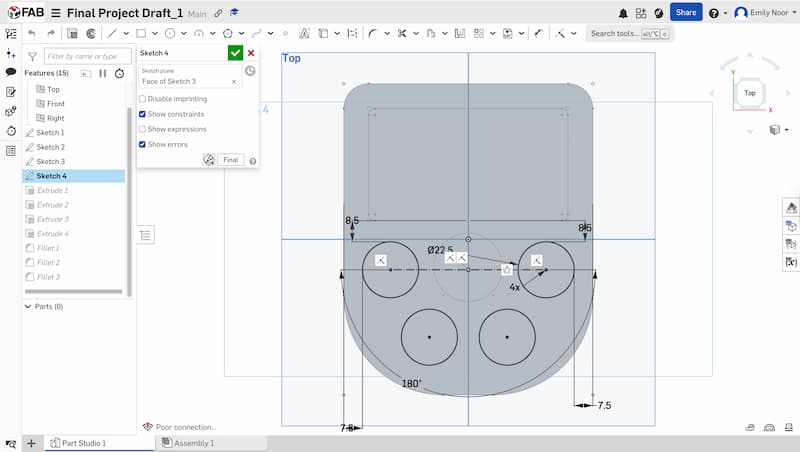
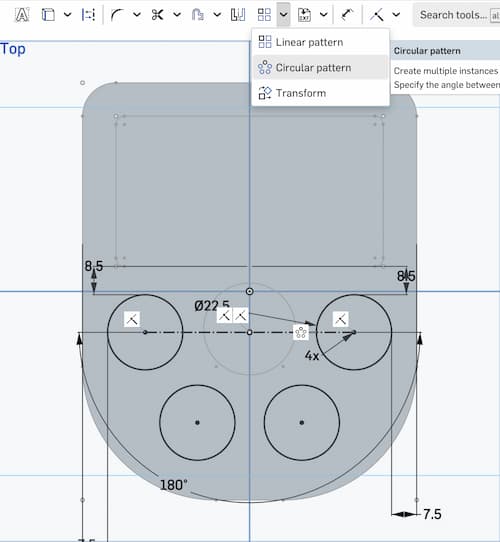
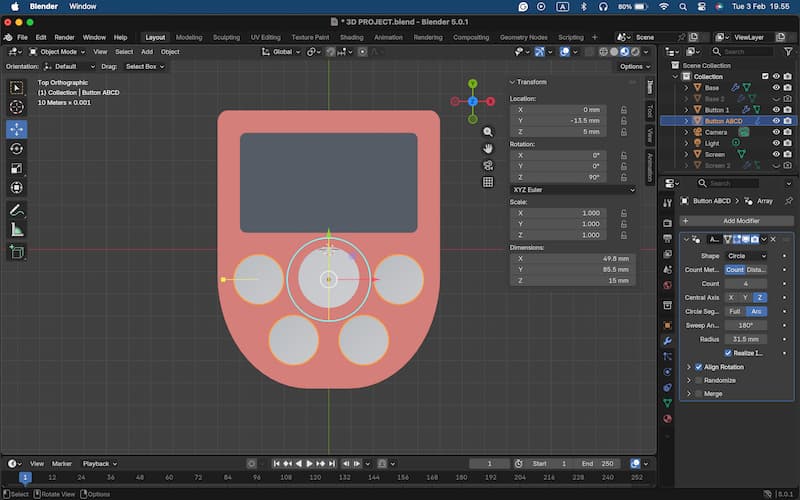
- I applied Sketch Fillet to round the corners and Circular Pattern to evenly arrange the “ABCD” buttons:

-
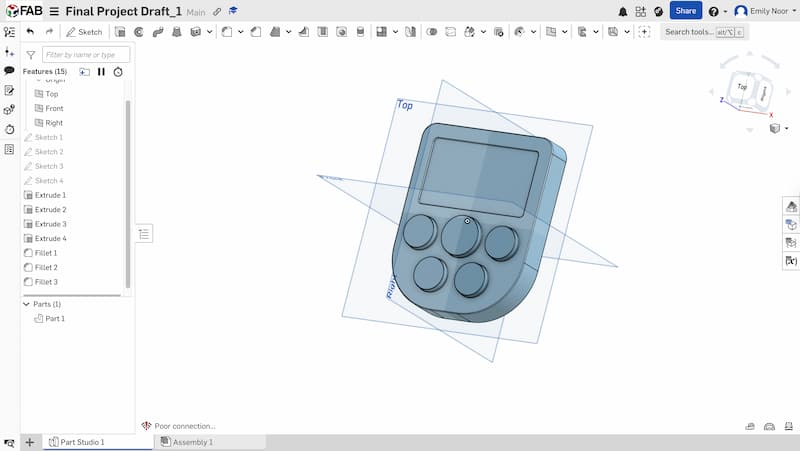
Extrude -> Unlike in the 2D design, this step adds depth to the sketch, turning it into a 3D shape. I set the body depth to 20mm, the screen lowered to 1mm, the number buttons at 5mm depth, and the “ABCD” buttons at 3.5mm depth.
-
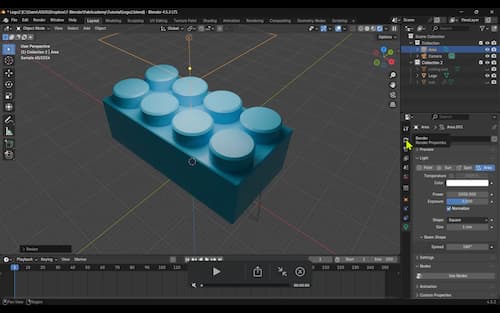
Add Fillet -> I added fillet so that the design look smoother and it will make the product more comfortable to touch. And this is the final result:
Download the 3D model:
STL File - Game Console V1 or open it with the OnShape link - Game Console_V1
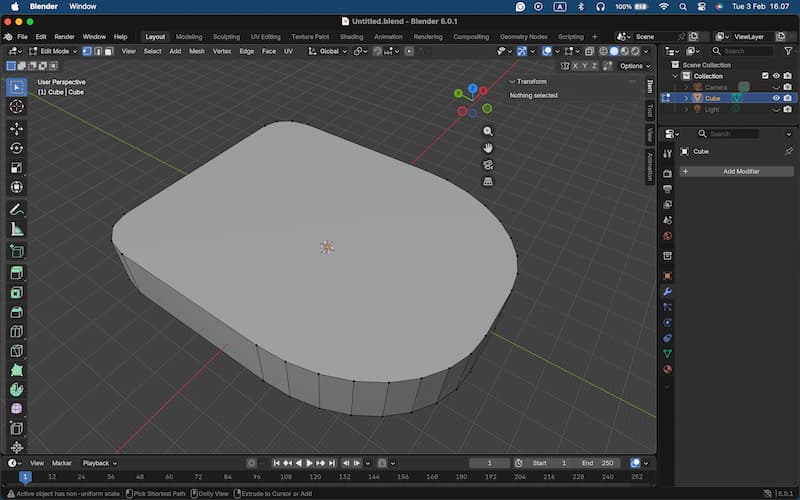
Blender
I would say that Blender is much harder and complex to use than OnShape, and achieving precise sizing is more difficult. For example, Blender does not allow precise control over the size of rounded corners in comparison to Onshape where you can precisely add the radius number.
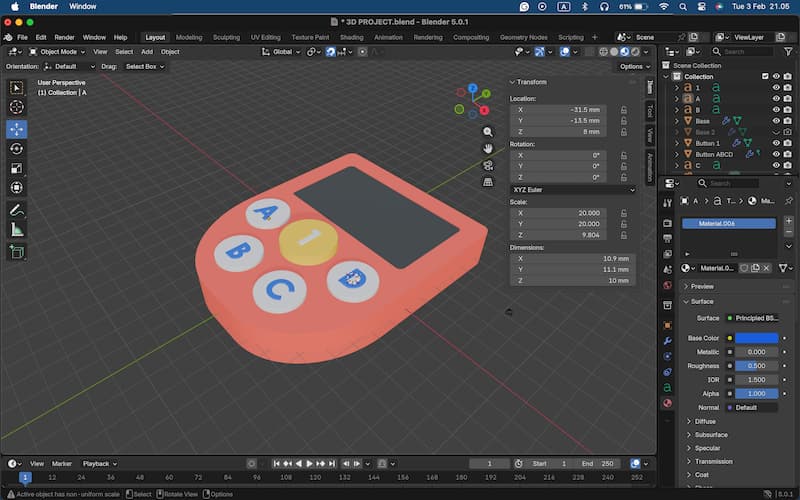
I added some colors to the onjects and used add modifiers -> Generate -> Array (Shape: Circle) to evenly arrange the “ABCD” buttons:
Next, I added text on the buttons, and parent the text to the button:
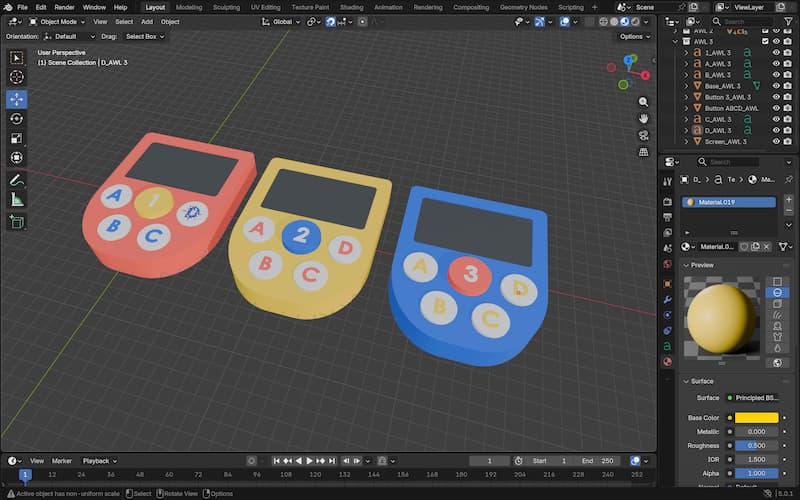
Next, I duplicated the first game console to create the other two (However, when duplicating objects in Blender, the colors remain linked to the original, so it’s important to delete or change the color afterward):
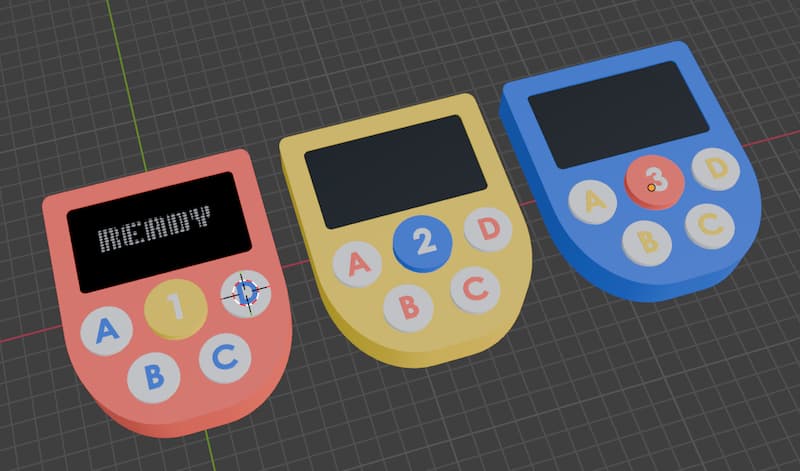
Moreover, I tried to add an image to the screen. I successfully added it to the first game console, but when I copied it to the others, it didn’t work. In addition, I wasn’t able to make the screen look like an LED screen.
Lastly, I tried making a simple animation for the press number (1/2/3) buttons:
Download the 3D model:
Big thanks to Rico and these YouTube accounts for all the Blender tips and tricks!
Rico’s Blender Tutorials:
Changing colors of copied objects
Image and Video Compression
Squoosh
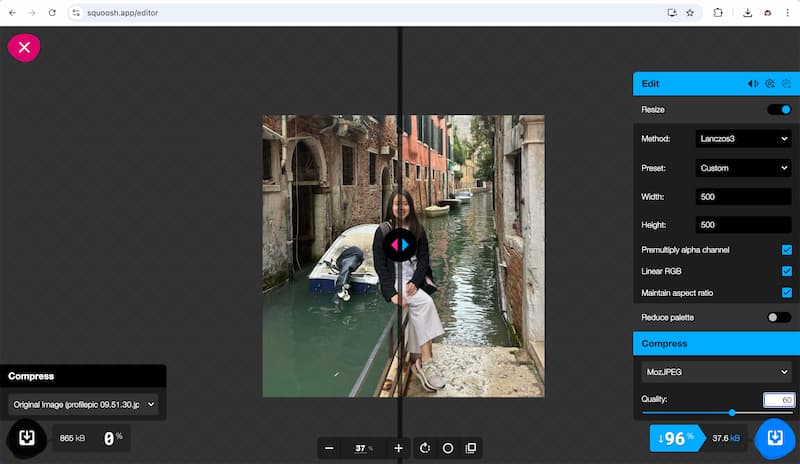
I compressed my profile picture and all the other images with Squoosh (to make it under 100kb). The process is fast and direct - you just need to upload the photo, set the settings and then download the file.
ffmpeg
Then, I compressed my video with ffmpeg. Ffmpeg is a command-line tool that converts audio or video formats.
The first step is to ask Brew to install ffmpeg on the terminal:
After it successfully installed, write:
then:
Command Explanation: Basic Command
This command takes input.mp4, re-encodes it into output.mp4
-i input.mp4 -> specifies the input file
output.mp4 -> output filename
The result: quality may change slightly, encoding settings are automatic
However, if the video is long and large in size, this command above is not enough, so I added extra command like this (with the help of ChatGPT):
ffmpeg -i input.mp4 \
  -vf "setpts=0.5*PTS,scale=360:-2,fps=15" \
  -c:v libx264 -preset veryslow \
  -b:v 250k -maxrate 250k -bufsize 500k \
  -an \
  output.mp4
Command Explanation: Process + Compress Video
-
setpts=0.5*PTSSpeeds up video to 2× speed -> Video plays twice as fast PTS = presentation timestamps -
scale=360:-2Resizes video width to 360 pixels Height = -2 -> automatically calculated while: - Preserving aspect ratio
-
Ensuring it’s divisible by 2 (important for encoding)
-
fps=15Reduces frame rate to 15 FPS (higher FPS, the video becomes smoother) Helps shrink file size -
-c:v libx264Use H.264 codec (most common video format) -
-preset veryslowControls compression efficiency-> veryslow = best compression, smallest file, but slowest encoding
-
-b:v 250k -maxrate 250k -bufsize 500k \Targets 250 kbps video bitrate maxrate limits spikes bufsize smooths bitrate variability-> very small file size, but lower quality
-
-anRemoves audio completely
(24 March 2026) Upgraded version (generated by ChatGPT)
for f in *.(mp4|MP4|mov|MOV)(N); do
  ffmpeg -i "$f" \
    -vf "setpts=0.5*PTS,scale=360:-2,fps=15" \
    -c:v libx264 -preset veryslow \
    -b:v 250k -maxrate 250k -bufsize 500k \
    -an \
    "${f%.*}.mp4"
done
Command Explanation: Batch Processing
-
for f in *.(mp4|MP4|mov|MOV)(N); doIterates over files matching:.mp4,.MP4,.mov,.MOV(N) is a zsh feature: Prevents errors if no files match -
"$f"Refers to current file Quotes handle spaces in filenames -
"${f%.*}.mp4"${f%.*} removes file extension Adds .mp4
imagemagick
(Updated on 18 Mar 2026)
While Squoosh works well for small batches of photos, it cannot convert HEIC files directly to JPG or efficiently handle large numbers of images. Therefore, I looked for another way to compress photos, and Tim suggested using ImageMagick.
Imagemagick is an open-source software suite for creating, editing, converting, and manipulating images.
How to install ImageMagick
Open your Terminal and install ImageMagick using Homebrew:
Then install Ghostscript:
Convert HEIC to JPG (resize to 400px and compress)
The following command converts HEIC, jpg, jpeg, png, webp images to jpg, resizes them to a maximum height of 400 pixels, and reduces quality to 85%:
mkdir -p output

find . -maxdepth 1 -type f \( \
  -iname "*.heic" -o -iname "*.jpg" -o -iname "*.jpeg" -o \
  -iname "*.png" -o -iname "*.webp" \
\) | while IFS= read -r f; do
  filename="$(basename "${f%.*}")"
  magick "$f" -auto-orient -resize x400\> -quality 85 "output/${filename}.jpg"
done
Command Explanation: Imagemagick
-
mkdir -p output- Creates a folder called output
- -p means: Don’t error if it already exists, create parent directories if needed
-
find . -maxdepth 1 -type f \( ... \)- . -> current directory
- -maxdepth 1 -> don’t go into subfolders
- -type f -> only files (not directories)
-
-iname "*.heic" -o -iname "*.jpg" -o -iname "*.jpeg" -o \ -iname "*.png" -o -iname "*.webp" \- -iname = case-insensitive match
-
-o = OR
-
So it matches: .heic, .jpg / .jpeg, .png, .webp
-
| while IFS= read -r f; do- IFS= -> preserves spaces in filenames
- read -r -> prevents backslash escaping issues
- f -> variable holding each filename
-> This makes it safe for weird filenames (spaces, special chars)
-
filename="$(basename "${f%.*}")"- ${f%.*} -> removes file extension
- image.png -> image
-
basename -> removes directory path
-
For example: ./photo.png -> photo
-
magick "$f" -auto-orient -resize x400\> -quality 85 "output/${filename}.jpg"magick "$f"-> Loads the input image-auto-orient-> Fixes rotation based on EXIF data, prevents sideways/upside-down images-resize x400\>-> Resize height to max 400px Important detail: x400 -> constrain height > -> only resize if image is larger-quality 85-> JPEG compression quality (0–100) - 85 = good balance: smaller file size, minimal visible loss"output/${filename}.jpg"-> Saves everything as JPEG, converts all formats to.jpg, puts them inoutput/folder