16 : Automated Embroidery<
Learning Outcomes<
What did I learn this week ?
- InkStitch :
- Convert a path into a stitchable toolpath
- Embroiding :
- Install a thread in a sewing/embroiding machine
- Refill a can
- Set and launch an automated embroidery
Assignments<
This sixteenth week's asignments are :
- Individual :
- Design and produce something with a digital process (incorporating computer-aided design and manufacturing) not covered in another assignment, documenting the requirements that your assignment meets, and including everything necessary to reproduce it.
1. Introduction<
1.1. Embroidery<
For the wildcard week, we will do computer controlled embroidery. Embroidery is a textile art that consists in "drawing with thread" (my own definition, I'm pretty sure you may find a better one elsewhere). If you never saw embroideries, here is an example I found :

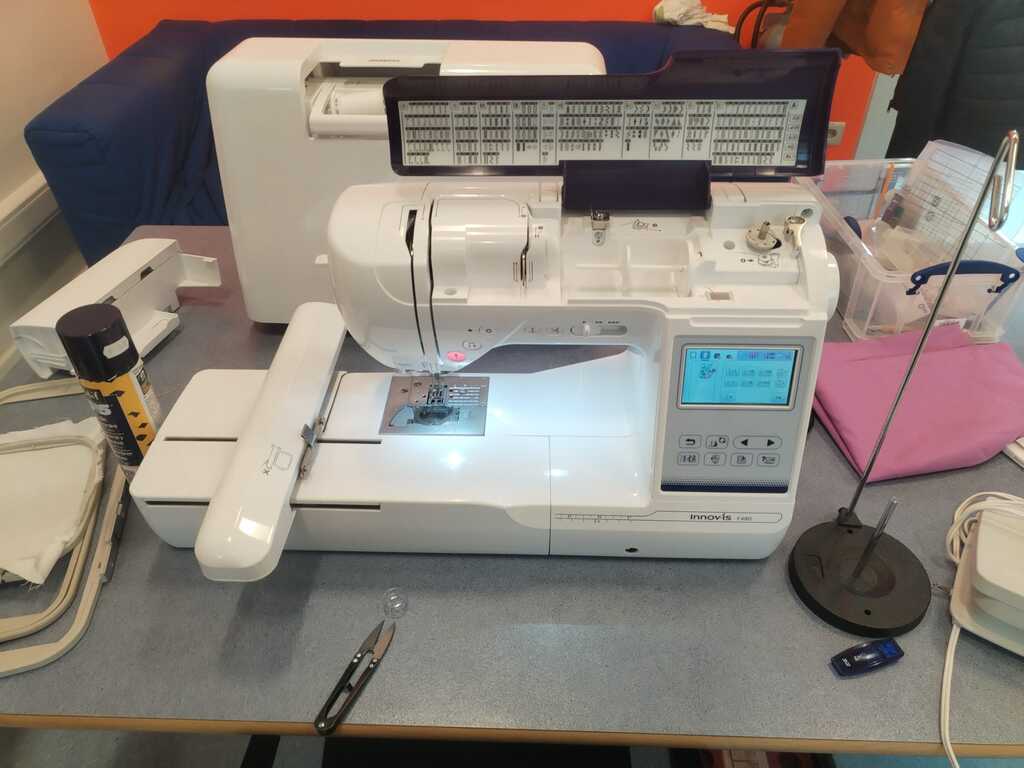
Embroideries can be made by hand but as we are FabAcademing, we will of course learn how to use a computer controlled embroidery machine. The machine of our Fab Lab is a Brother Innov-Is F480. It is quite obvious that this process was not covered in any other assignment since we never used such a machine.
Before explaining how to use it, here is a video showing how sewing machines work in general (and the one we use corresponds to the second type of the video) :
1.2. InkStitch<
To "draw", we will of course use InkScape. But pur drawings must be converted in a format the machine can understand. This is done by an Inkscape extension called InkStitch. A lot of tutorials can be found on their website and here I embed the most important video for someone who wants to start as quick as possible :
Below you may find the step I followed if you want to reproduce exactly what did :
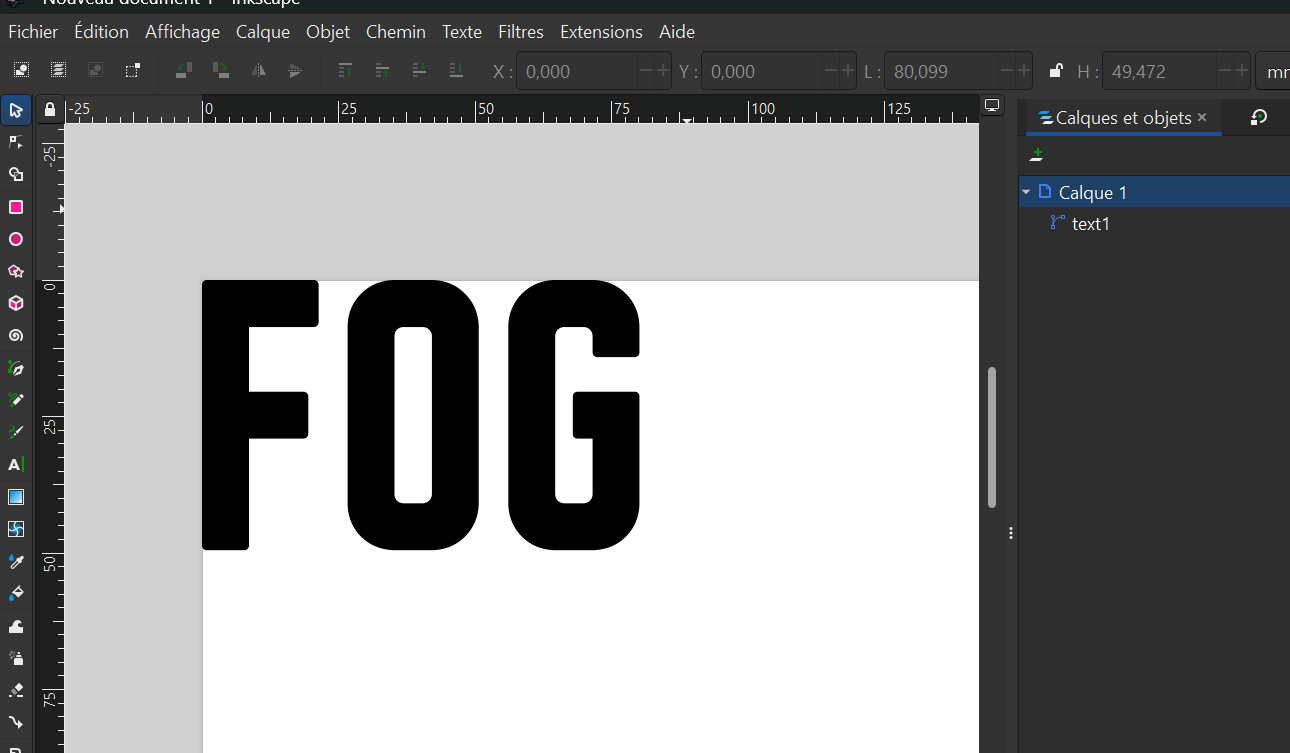
Note
The "drawing" I will stitch consists in a simple text. If you do the same, before going further, don't forget to convert it into a path by selecting Path > Object into Path. Otherwise InkStitch won't recognize any path to manipulate.
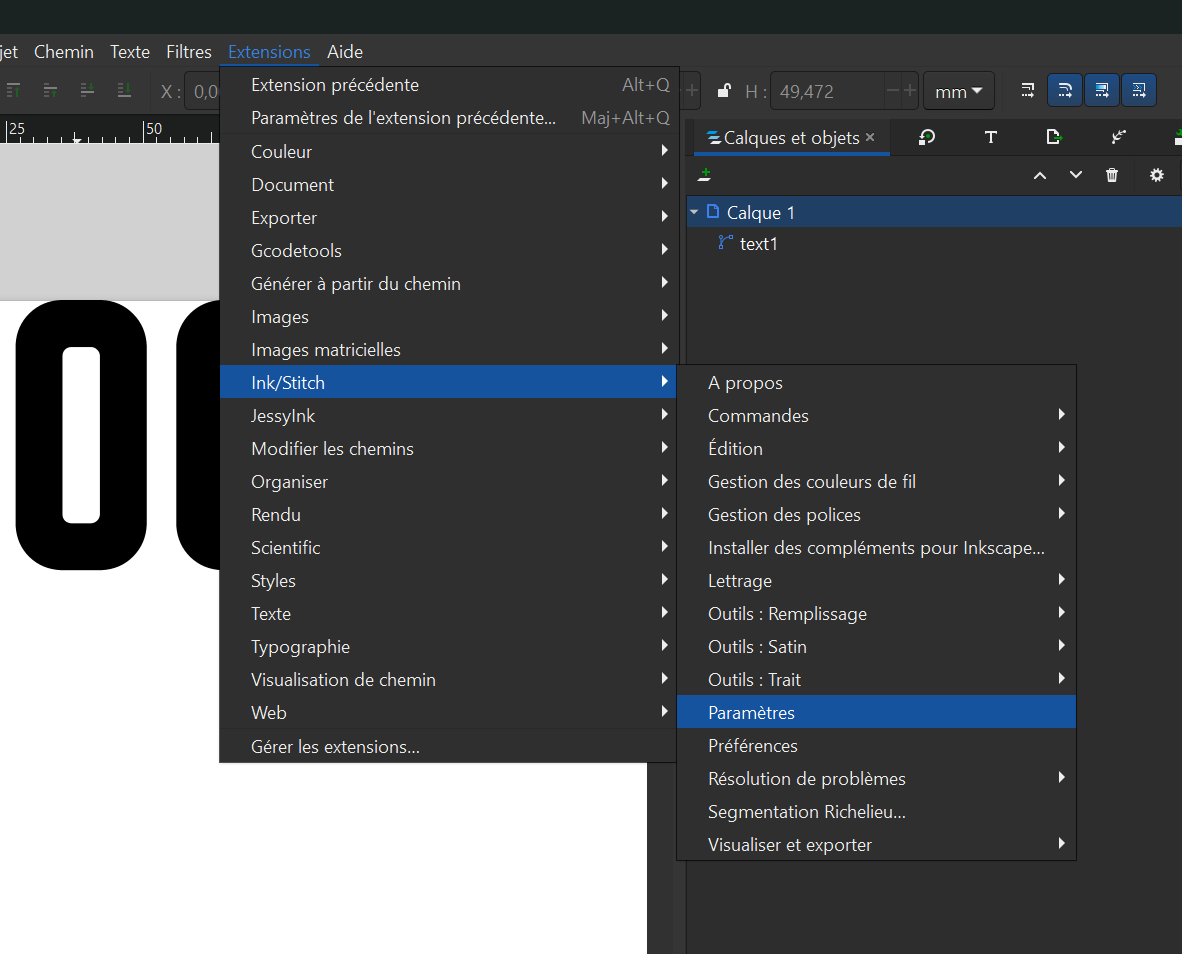
Note
If InkStitch is correctly installed, you should find it in the Extensions toolbar, and you may open the Settings window.
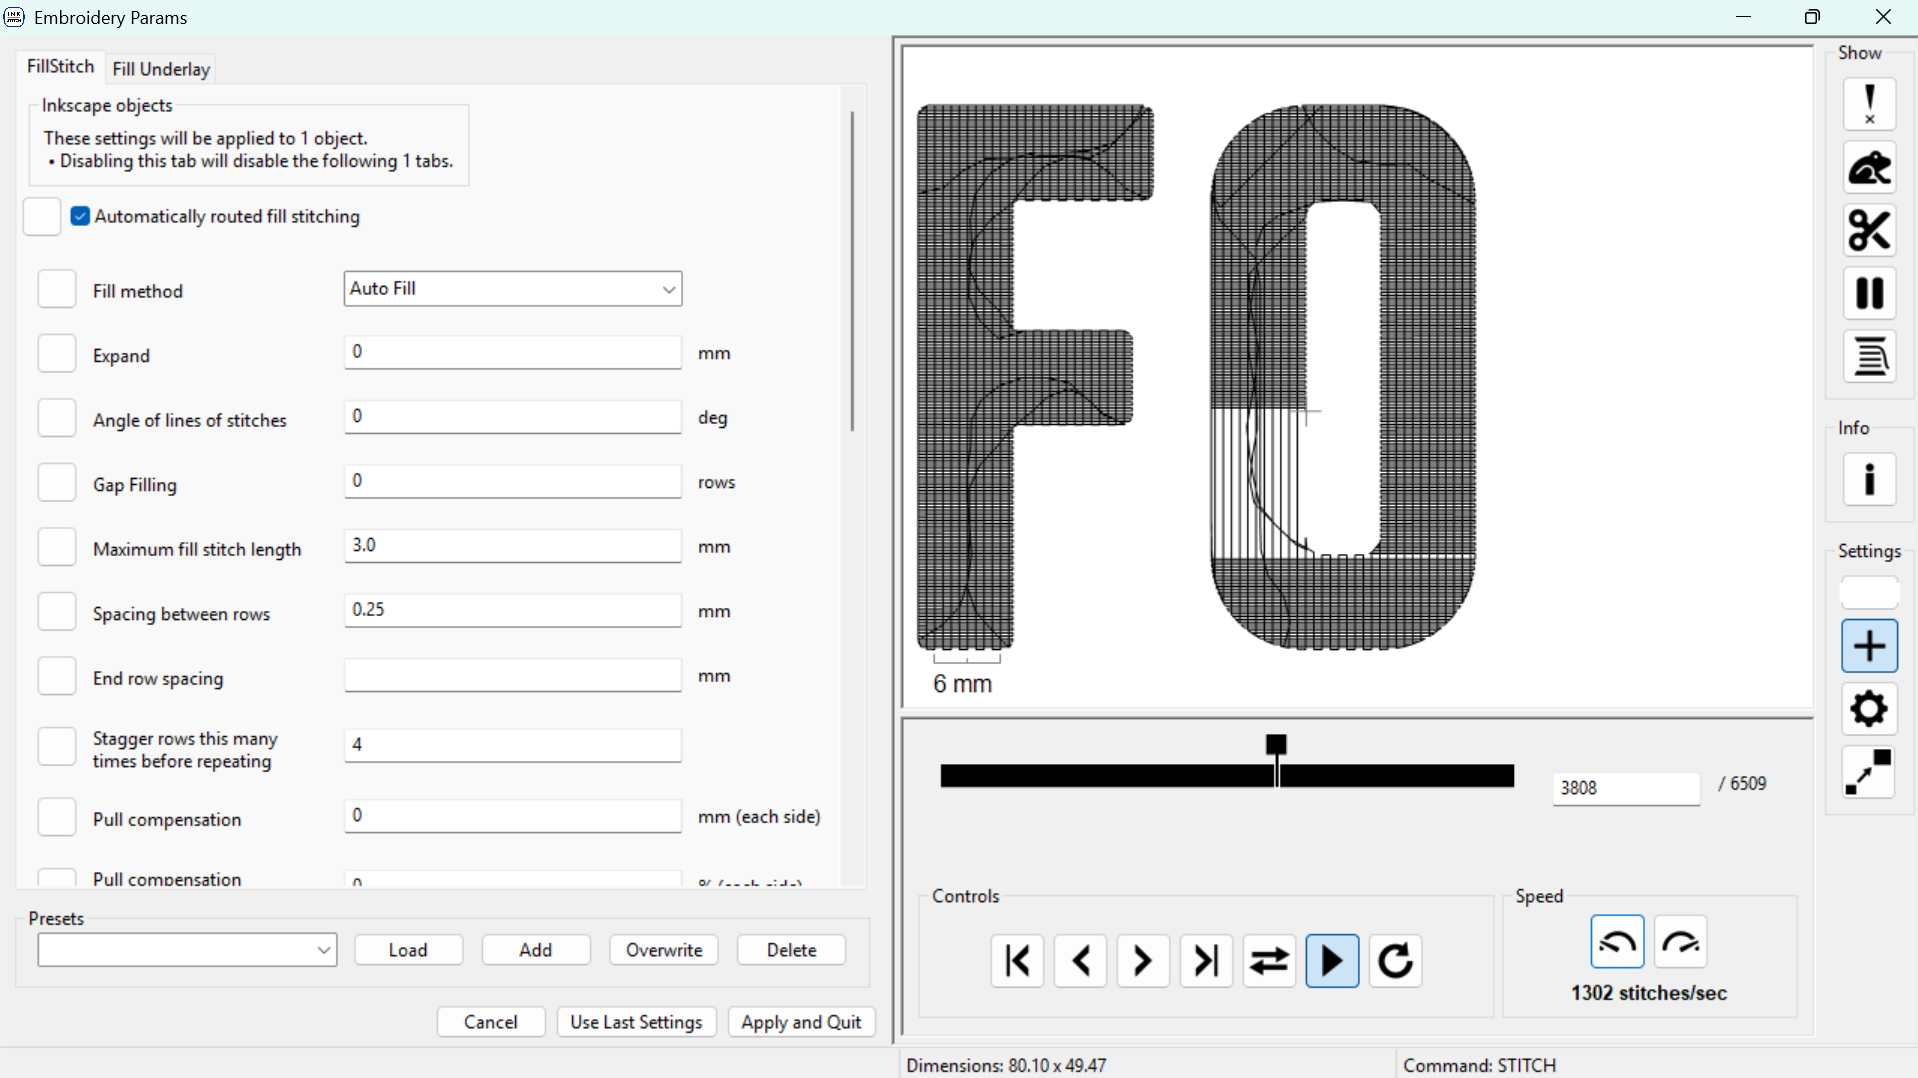
Note
A lot of customzations are possible here. The InkStitch tutorials cover them all. However this week, I'm a bit in a hurry hence I will not go into complex drawings.

Note
I only custom the filling and set it into Circular. You may now close the InkStitch window.
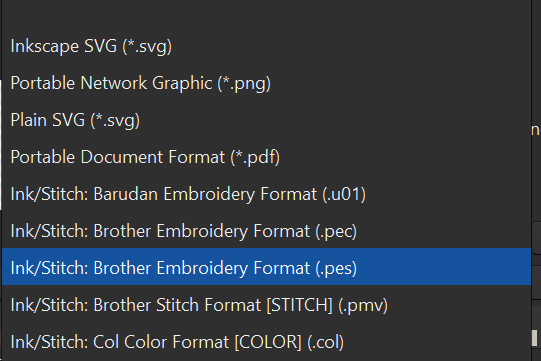
Note
I now open the export tab by selecting File>Export and with the InkStitch extension, a lot of file formats should be available. The machine we have uses the .pes format.
Click here to download the original file.
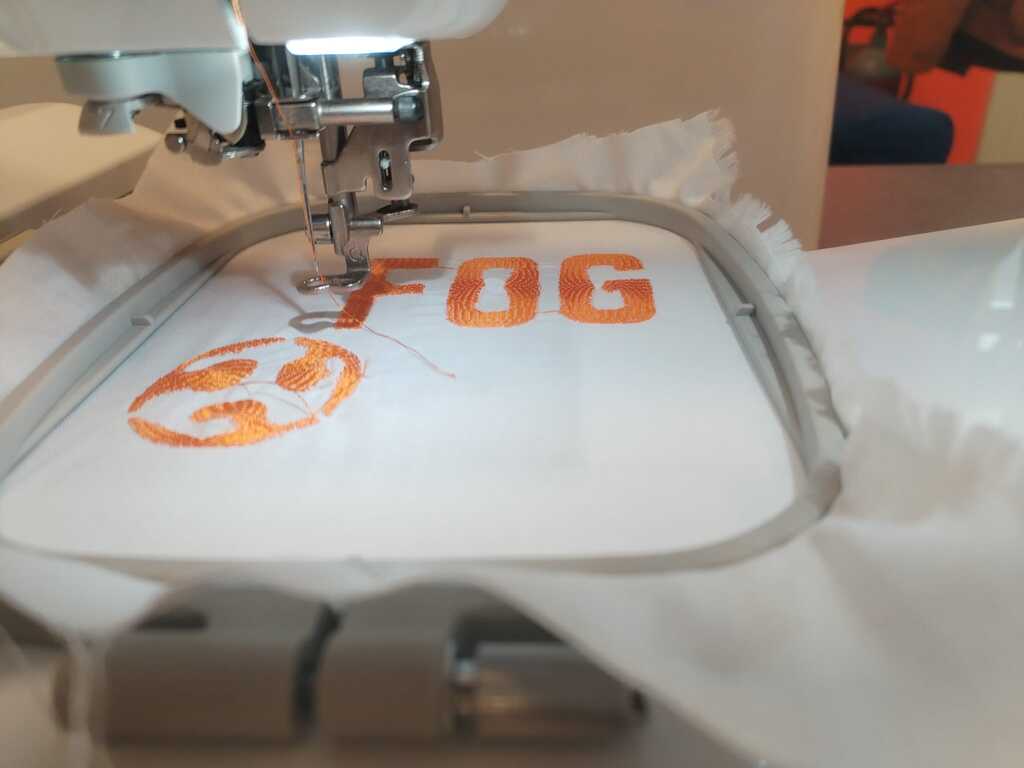
2. Let's Stitch !<
2.1. Setting Up<
Installing the support<
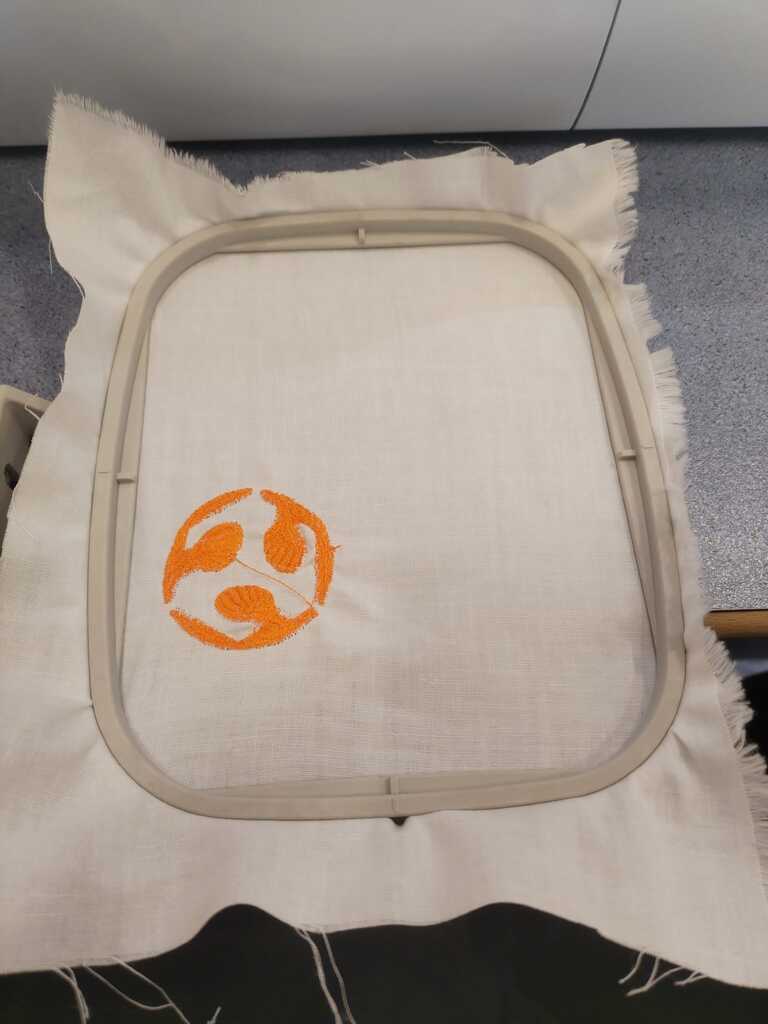
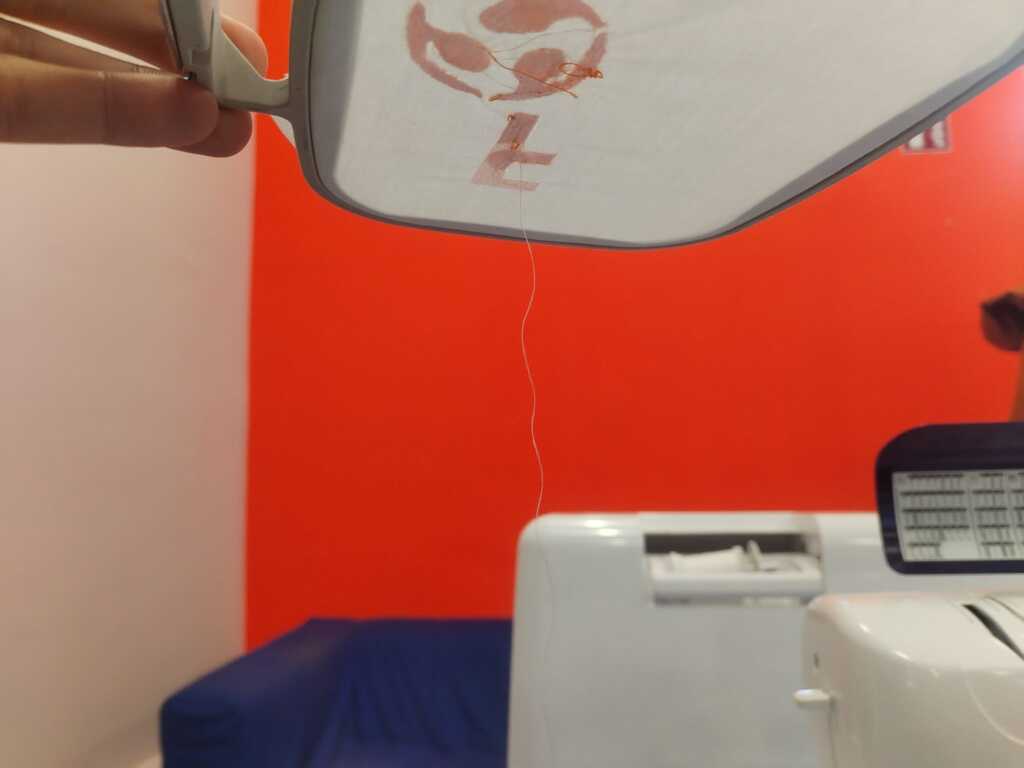
First of all, if you want to stich somethin, you need a support on which to stitch. This textile support may be installed in a plastic frame made for the machine we use.
Note
Insert the textile in the support frame, stretch it as most as possible and close the frame. The textile I use on the left already contains an embroided drawing but I will add mine.
Note
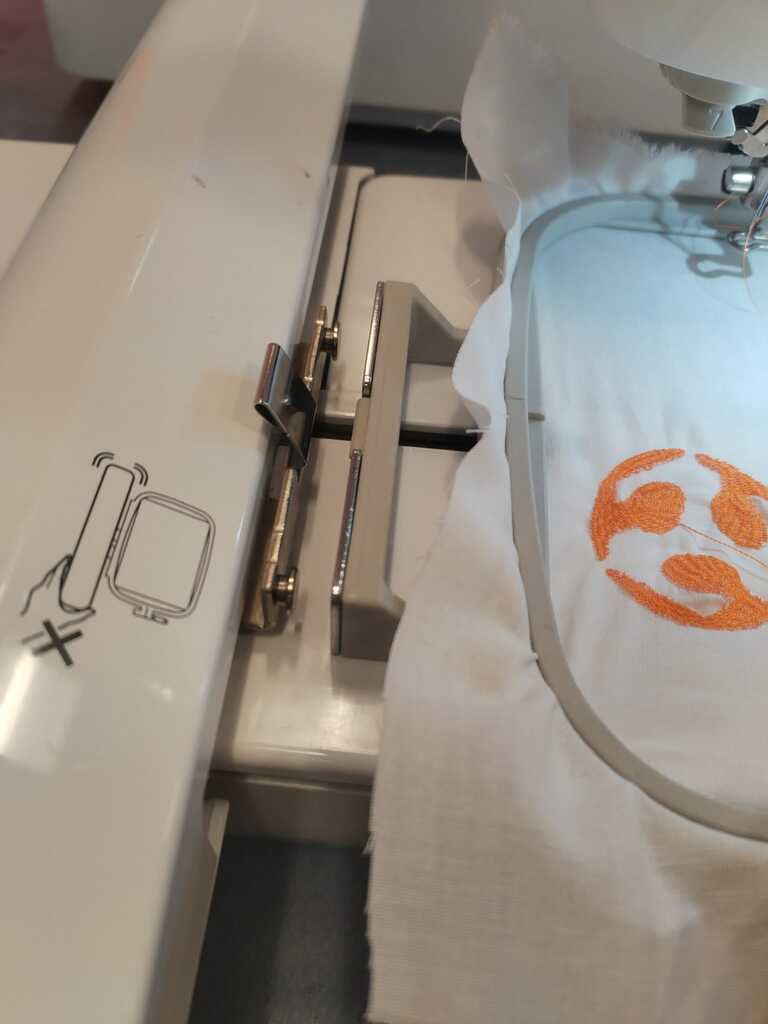
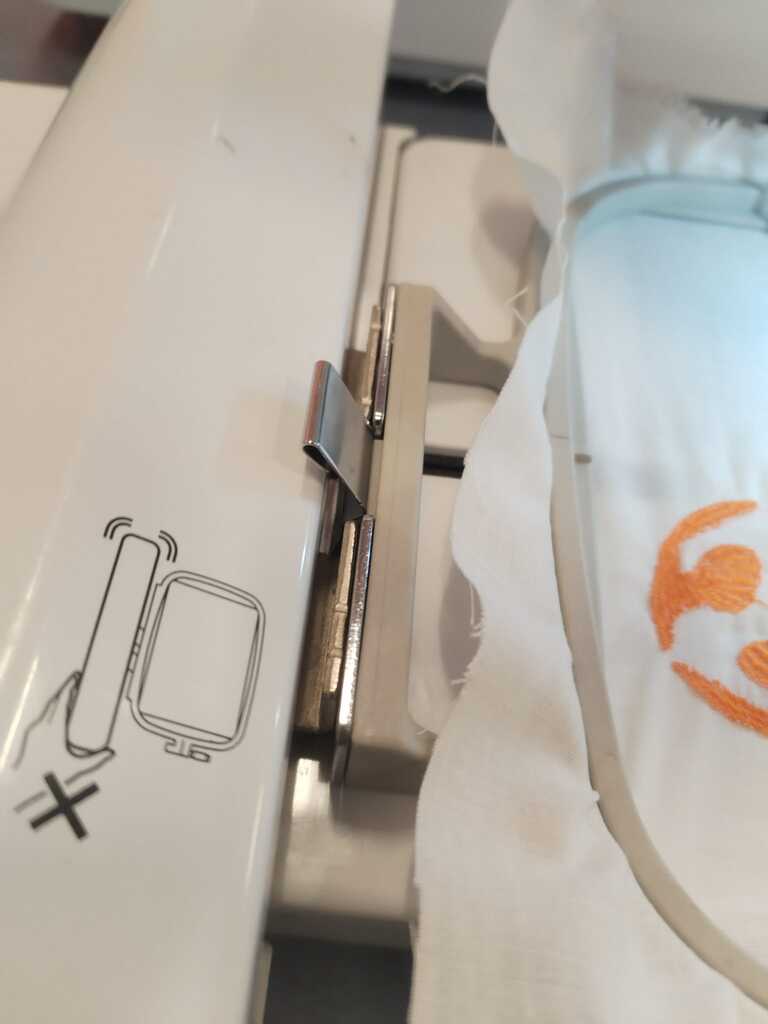
The frame has a clippable fastener that you may insert in the moving axis of the machine.
Note
Be sure that it does not move.
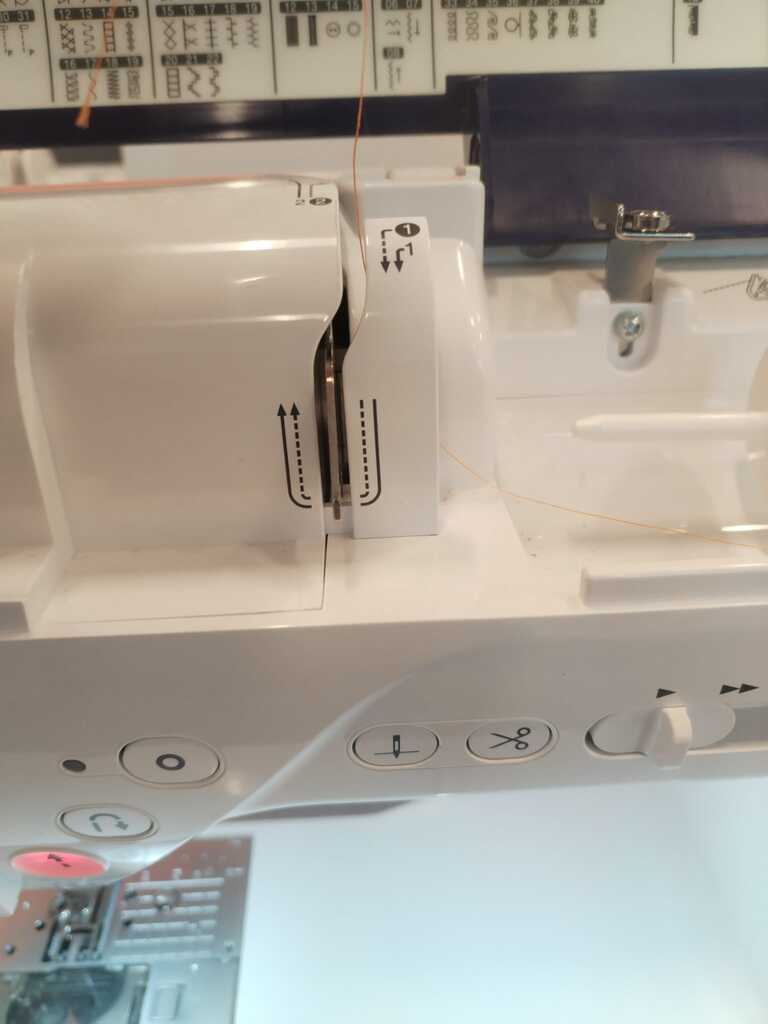
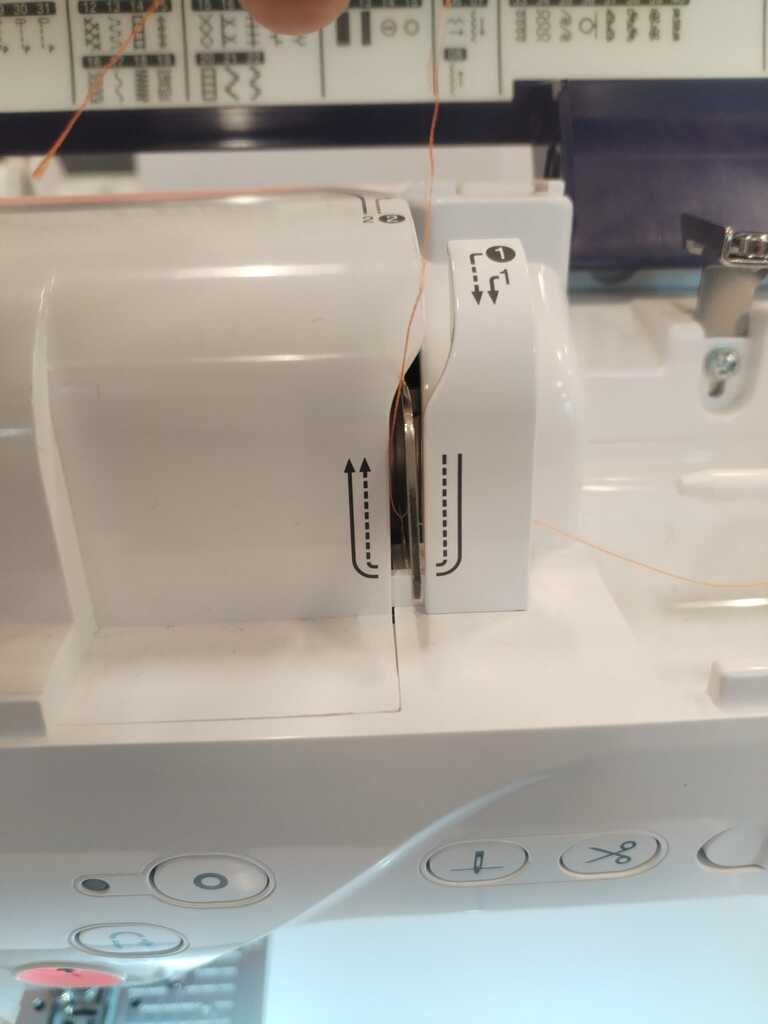
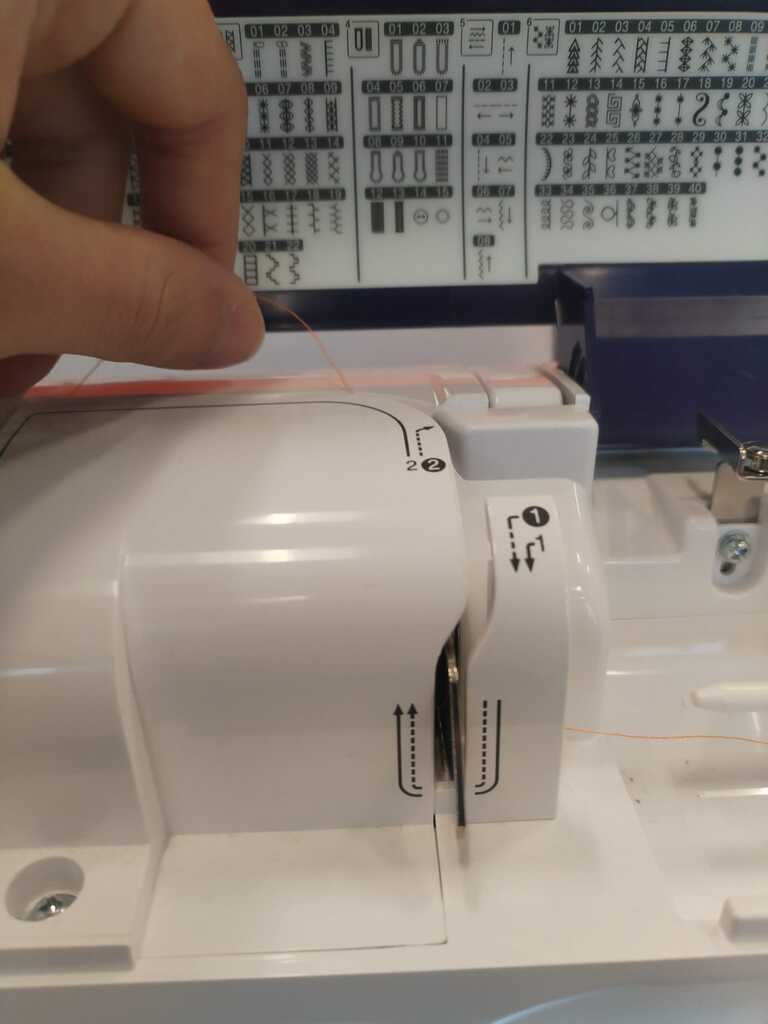
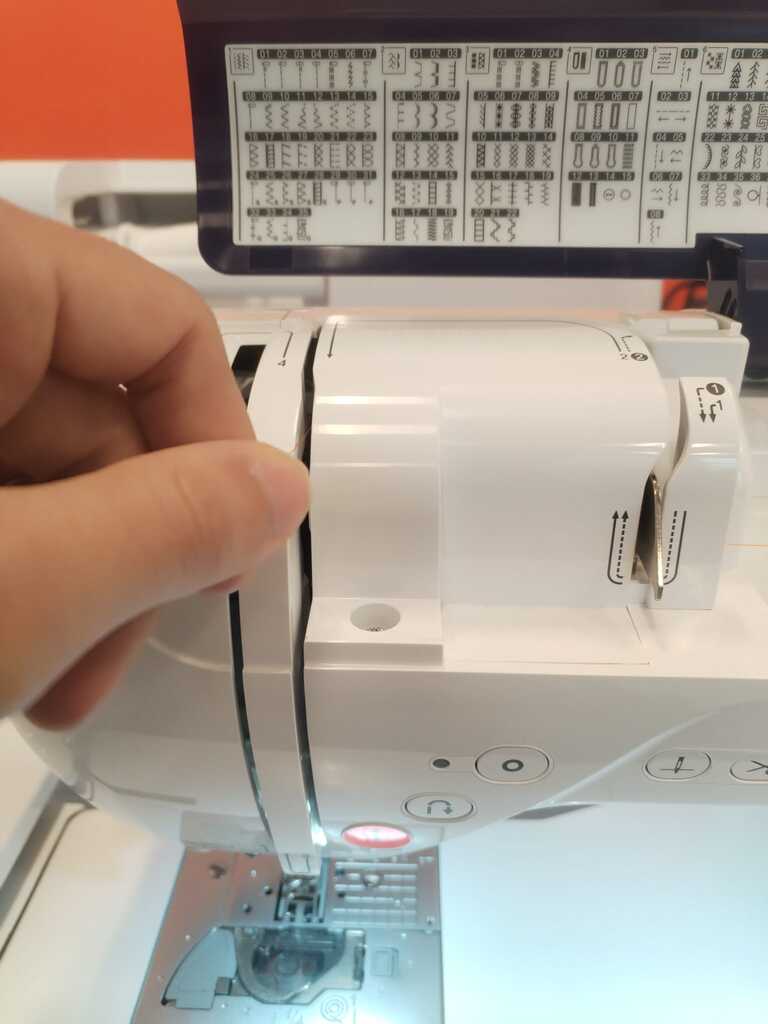
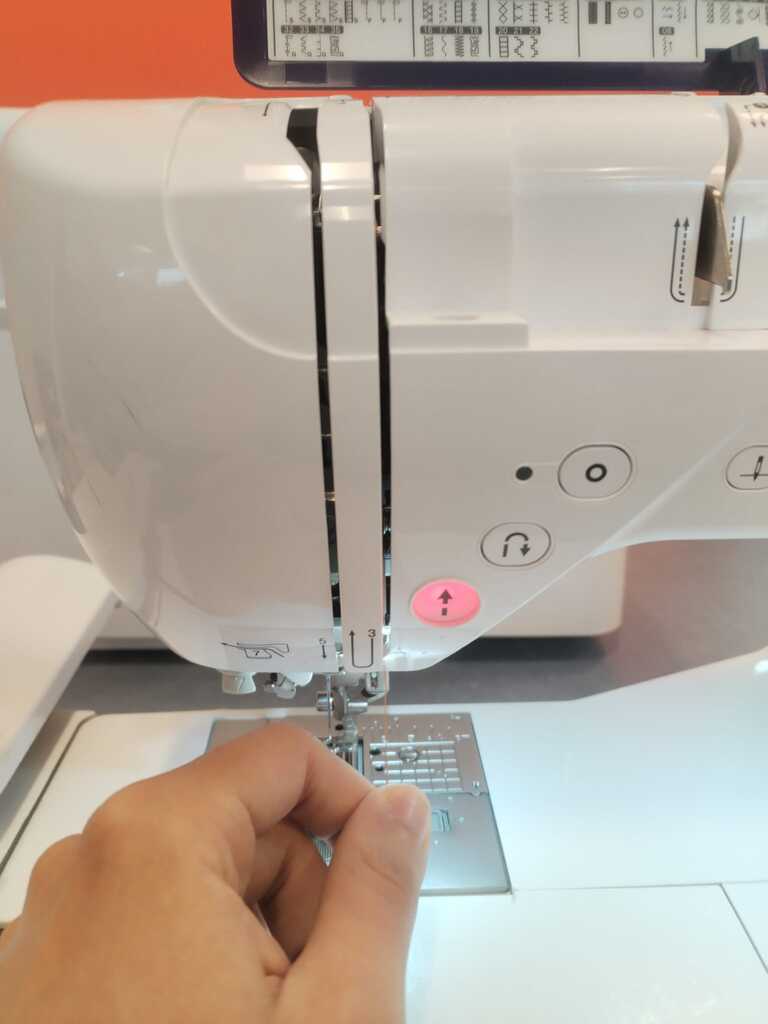
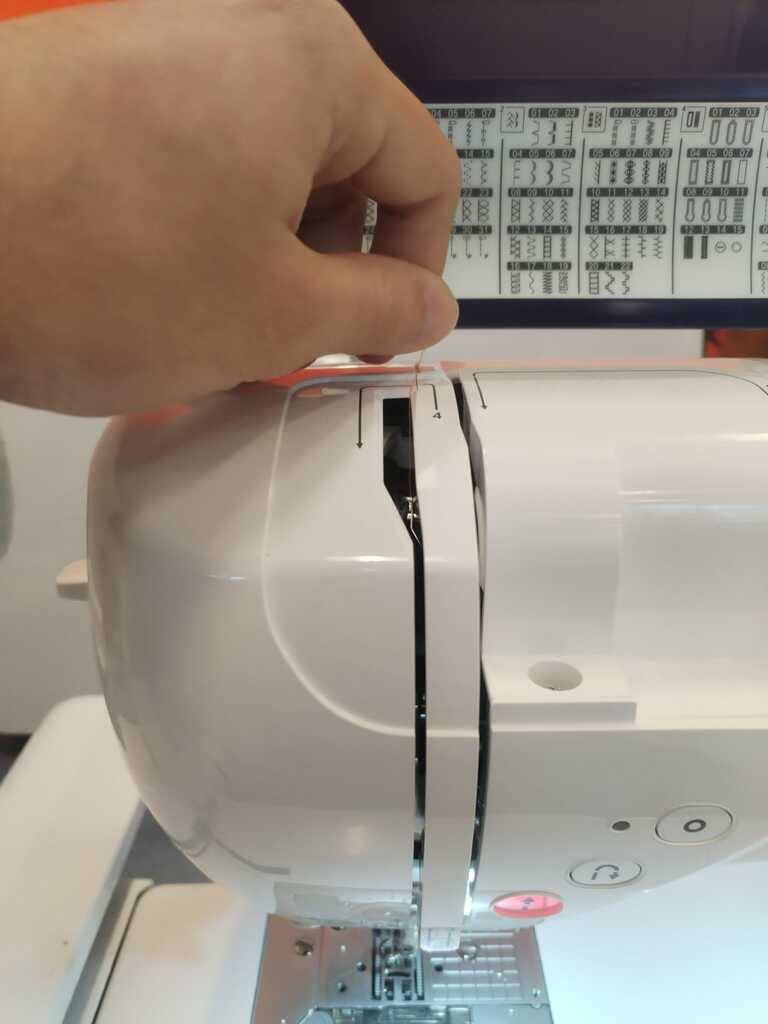
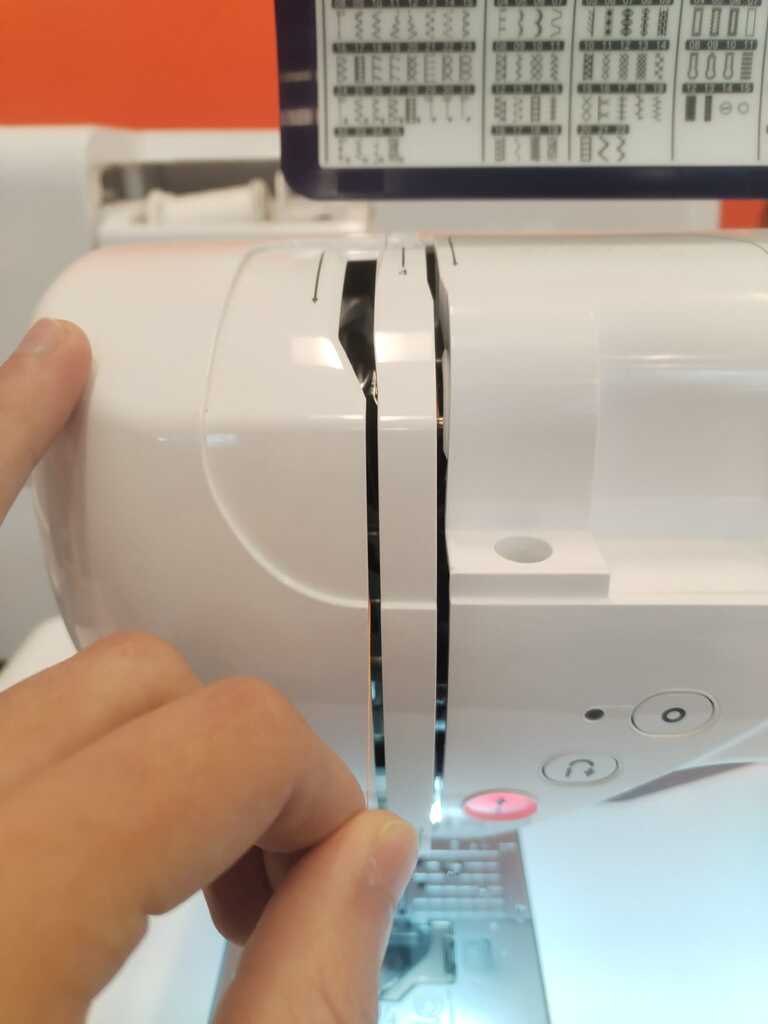
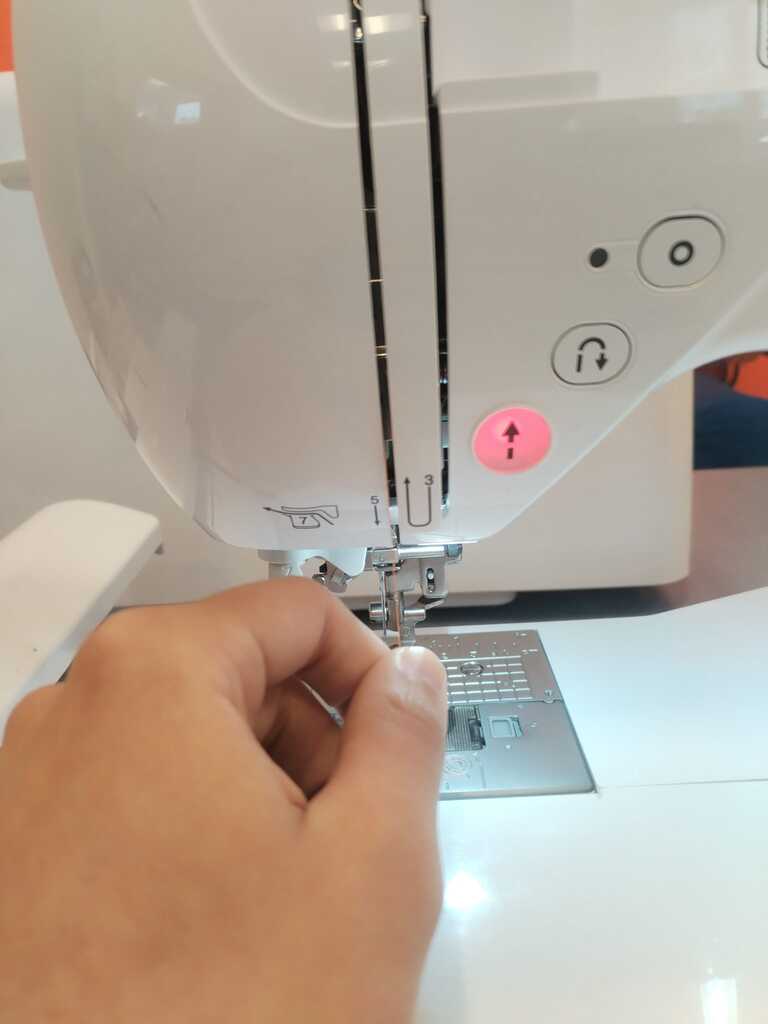
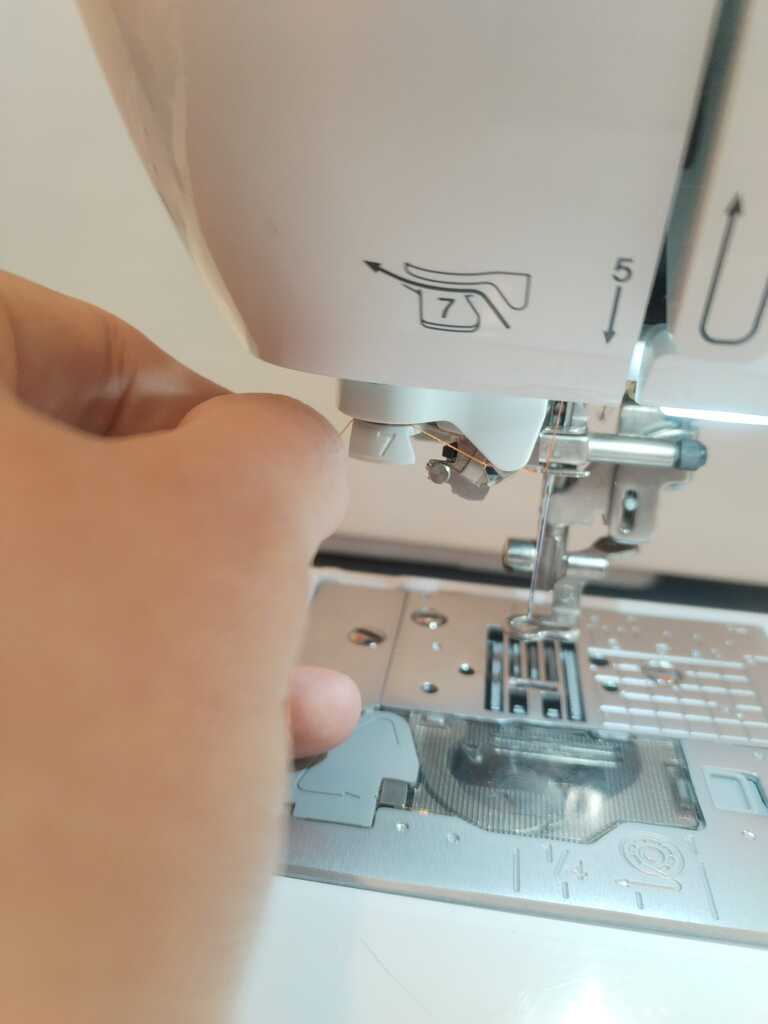
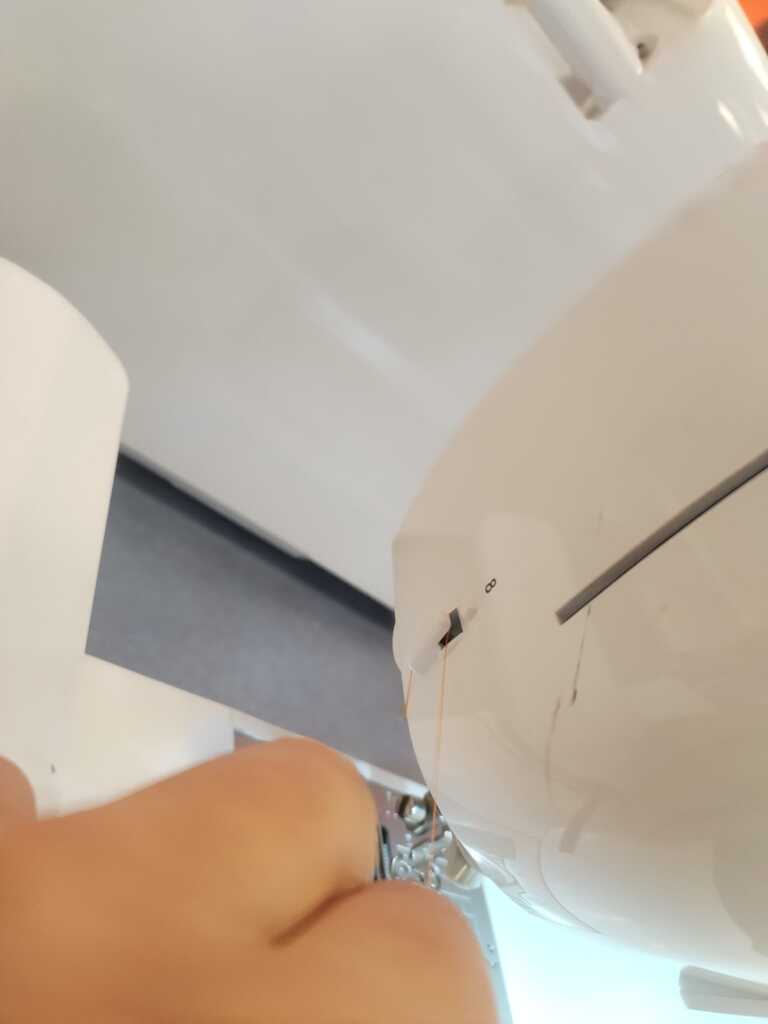
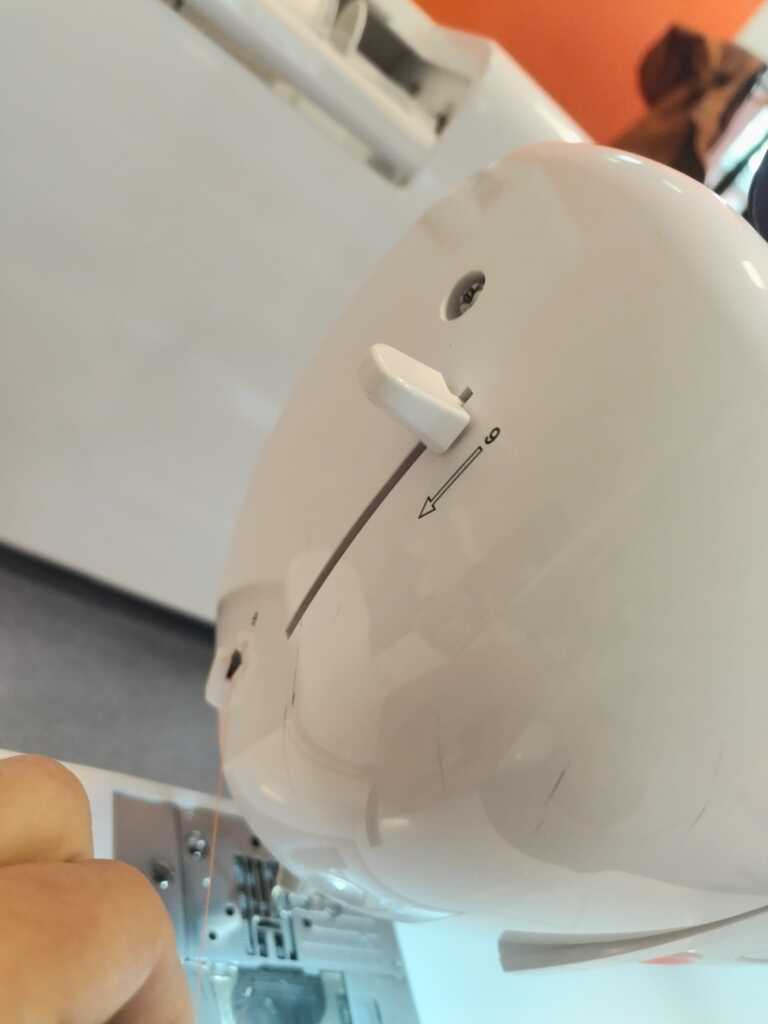
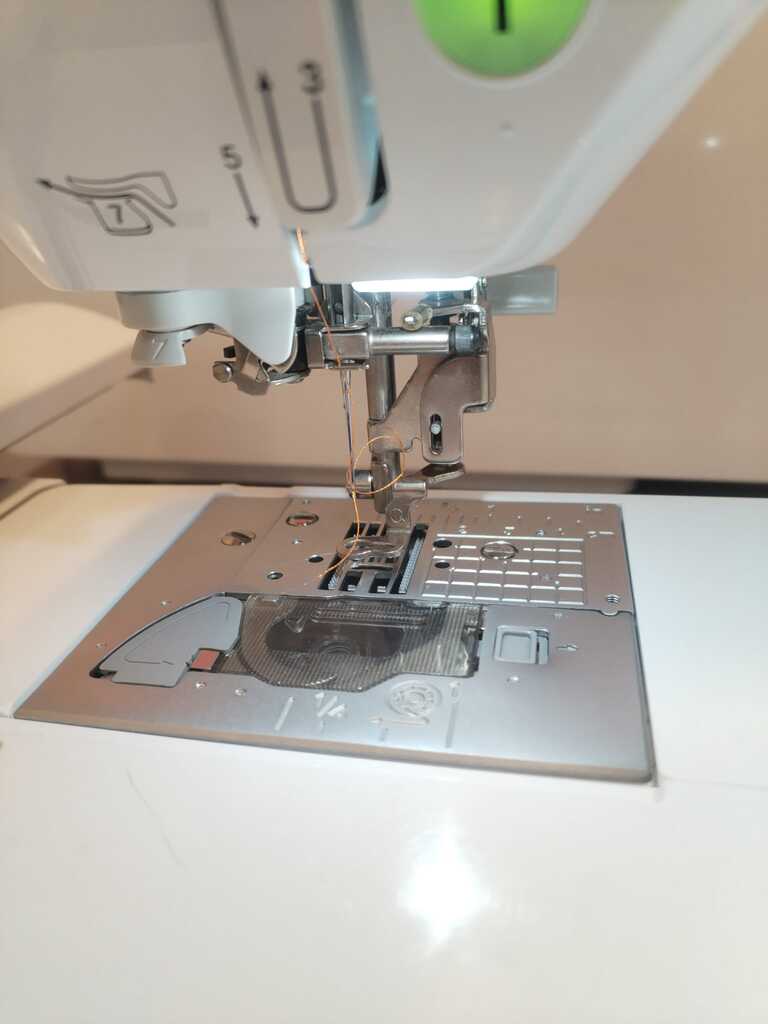
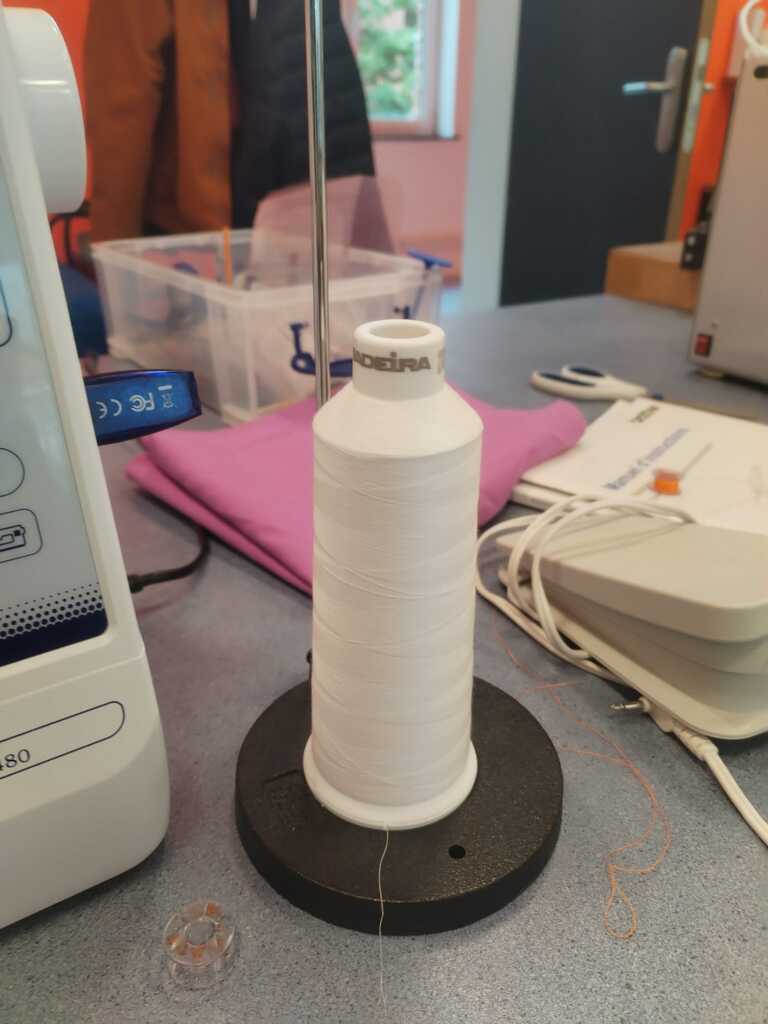
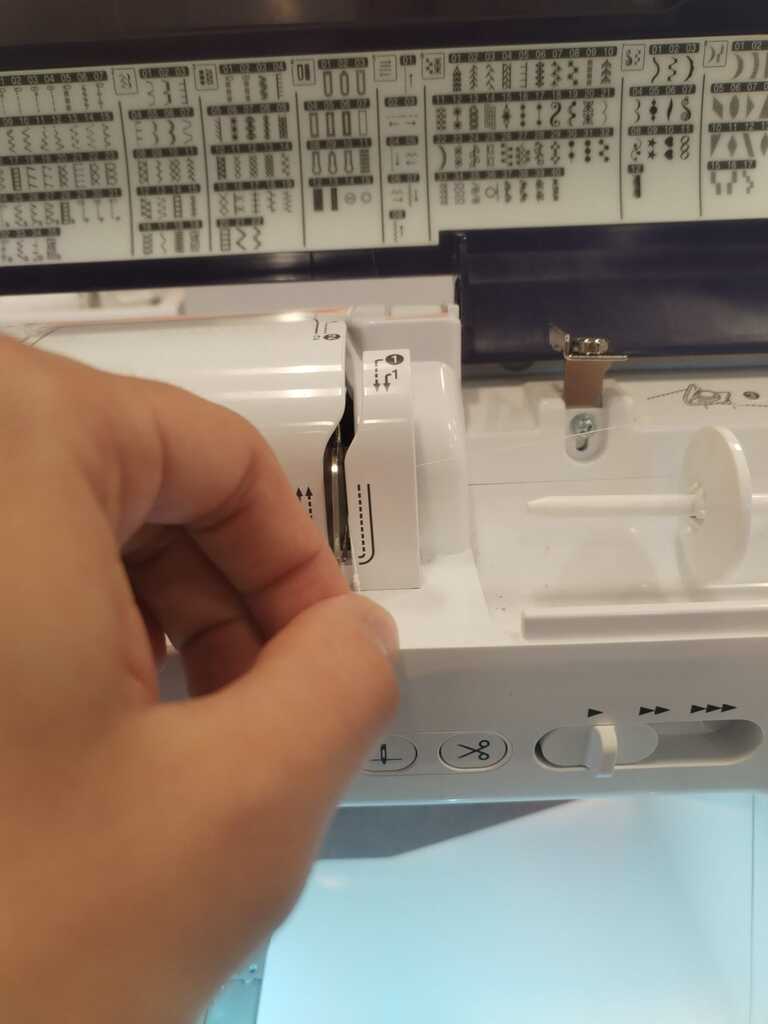
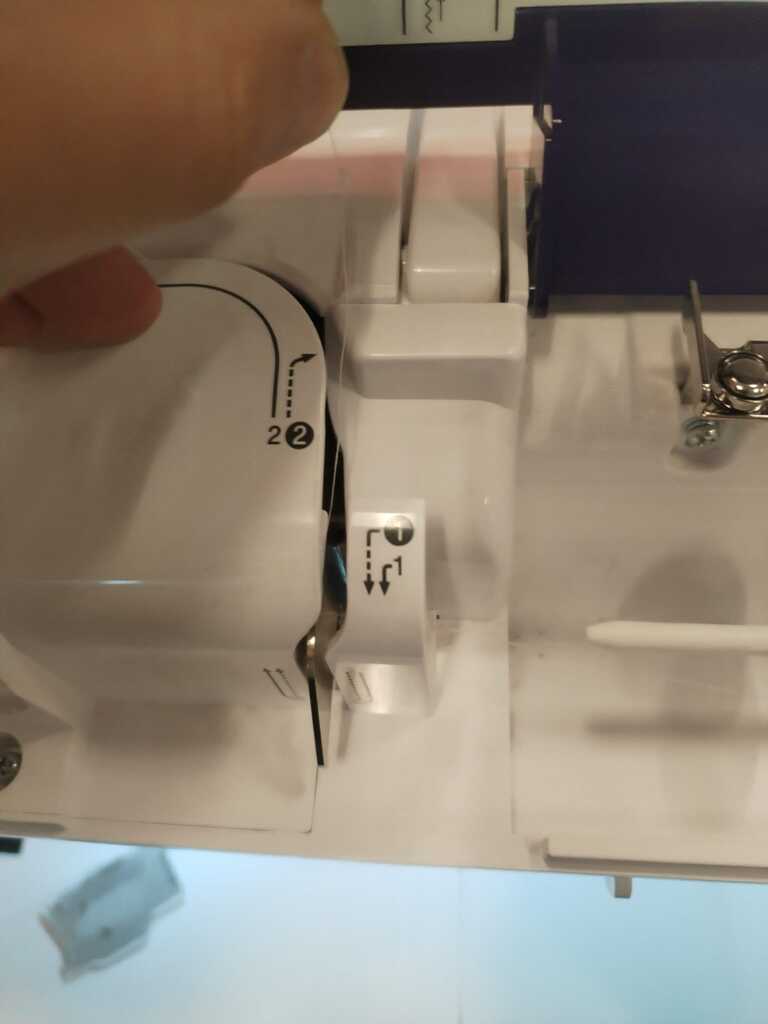
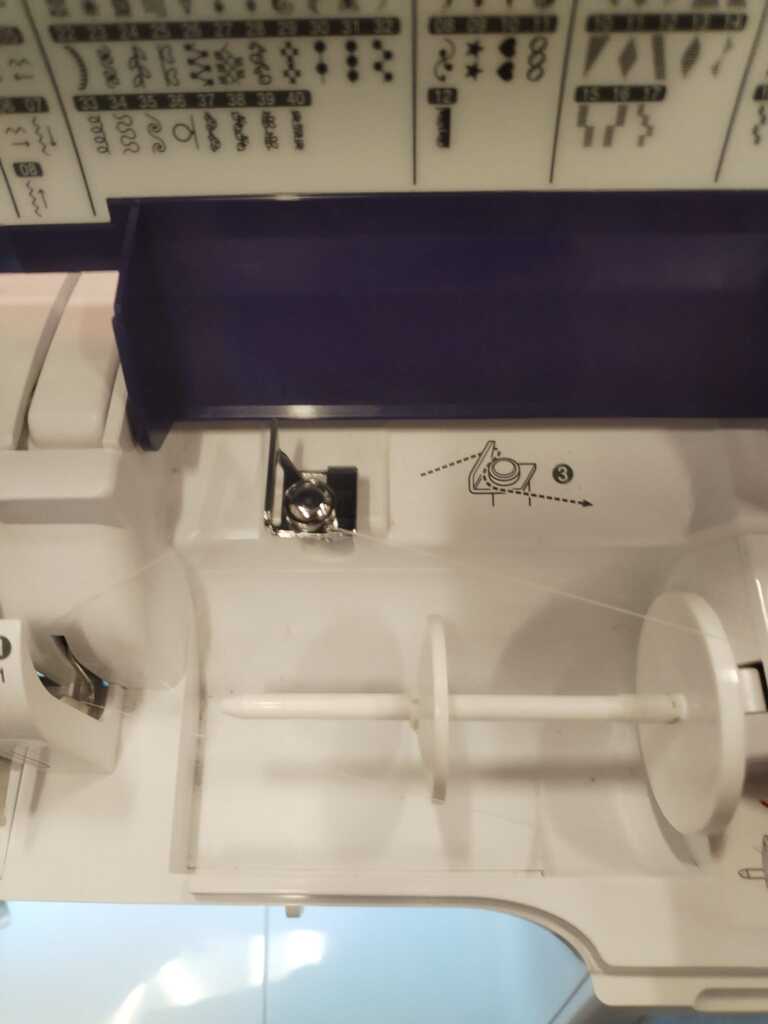
Installing the thread<
To install the thread, follow the steps below.
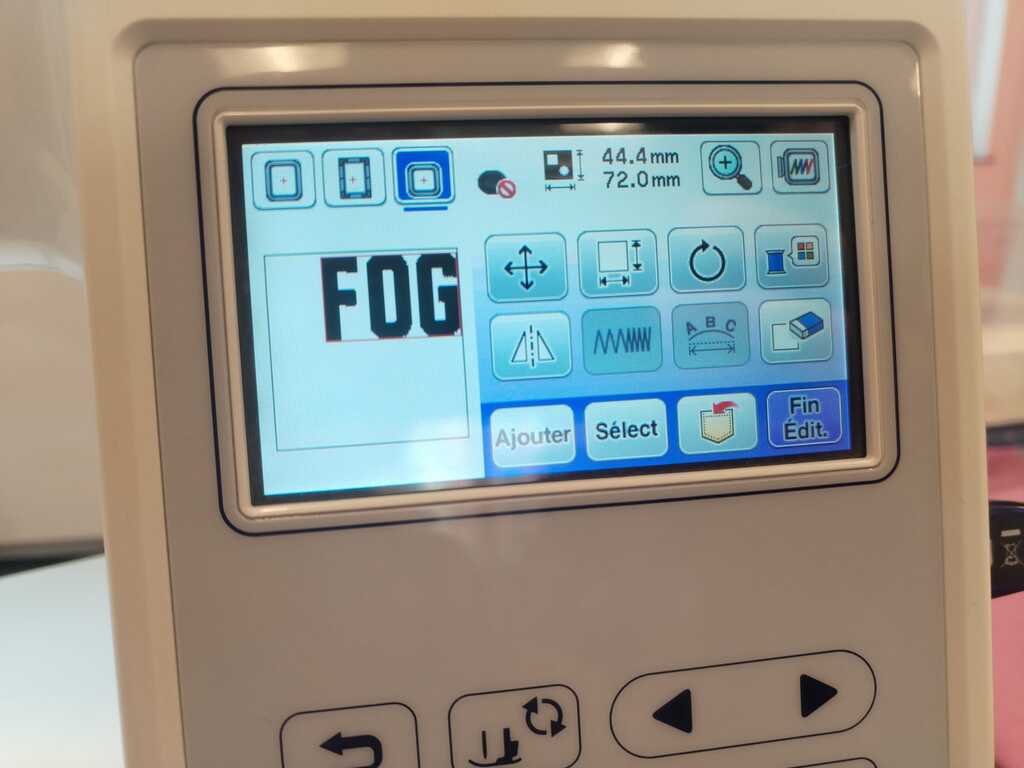
Launching<
Once the thread is installed, you may start the embroiding from the machine interface. I don't give much details here since it is quite explicit.
Note
In the interface, you may define your frame size, place your drawing and define a lot of other options which I did not explore.
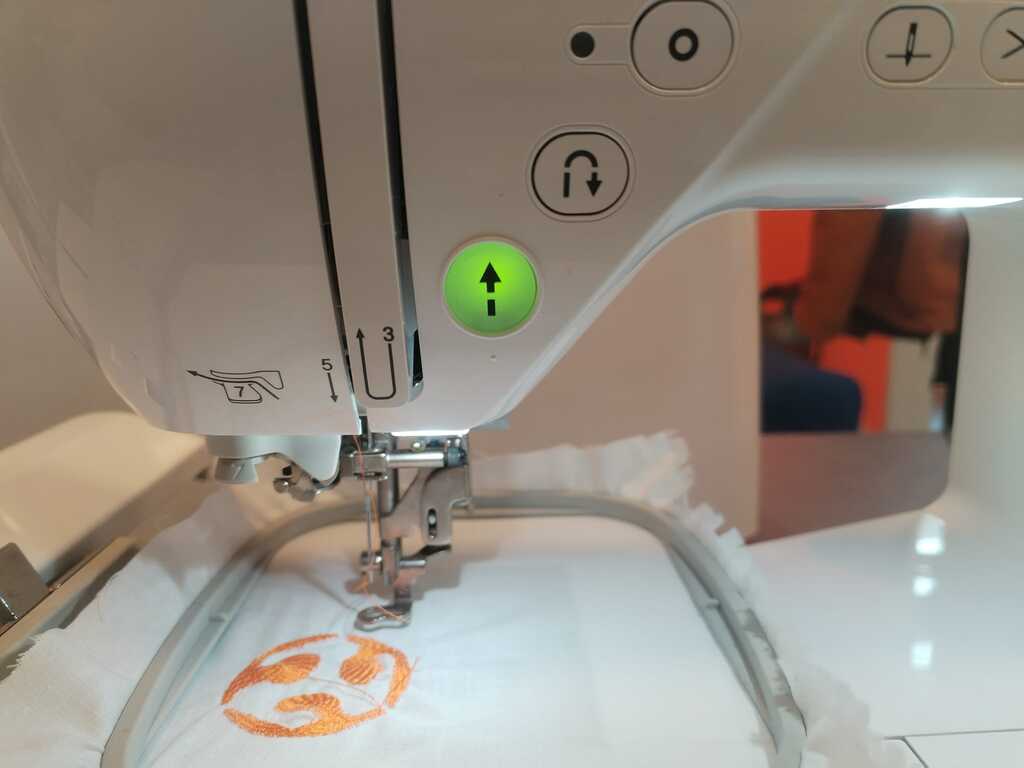
Note
Once you're ready, push the green button.
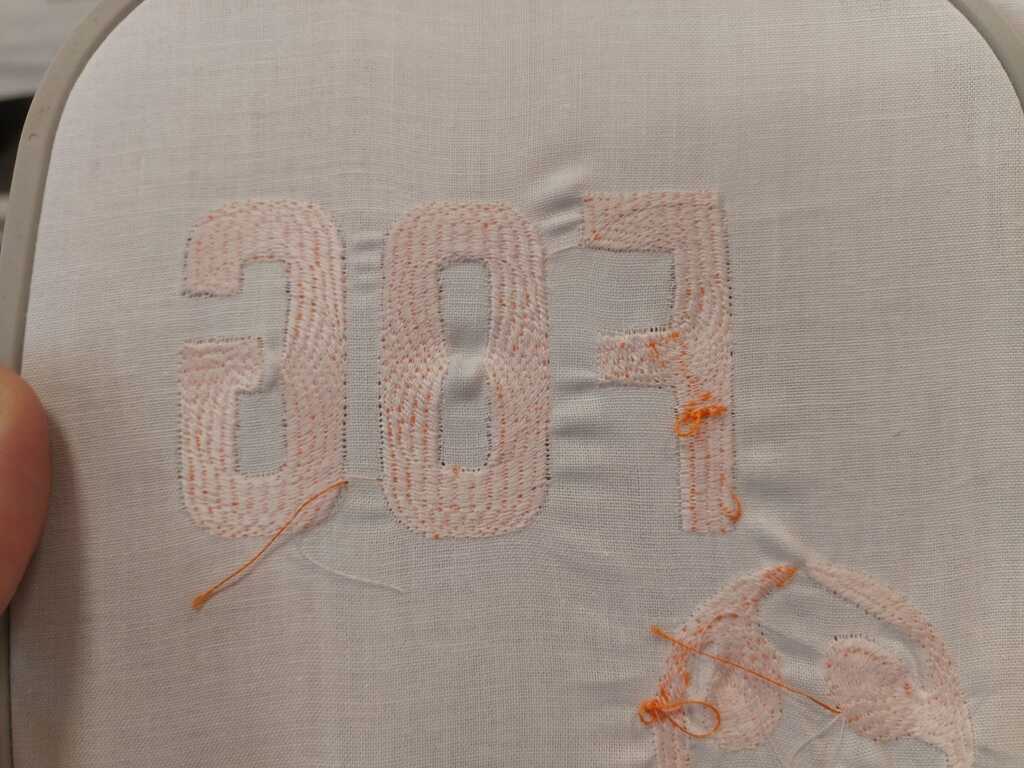
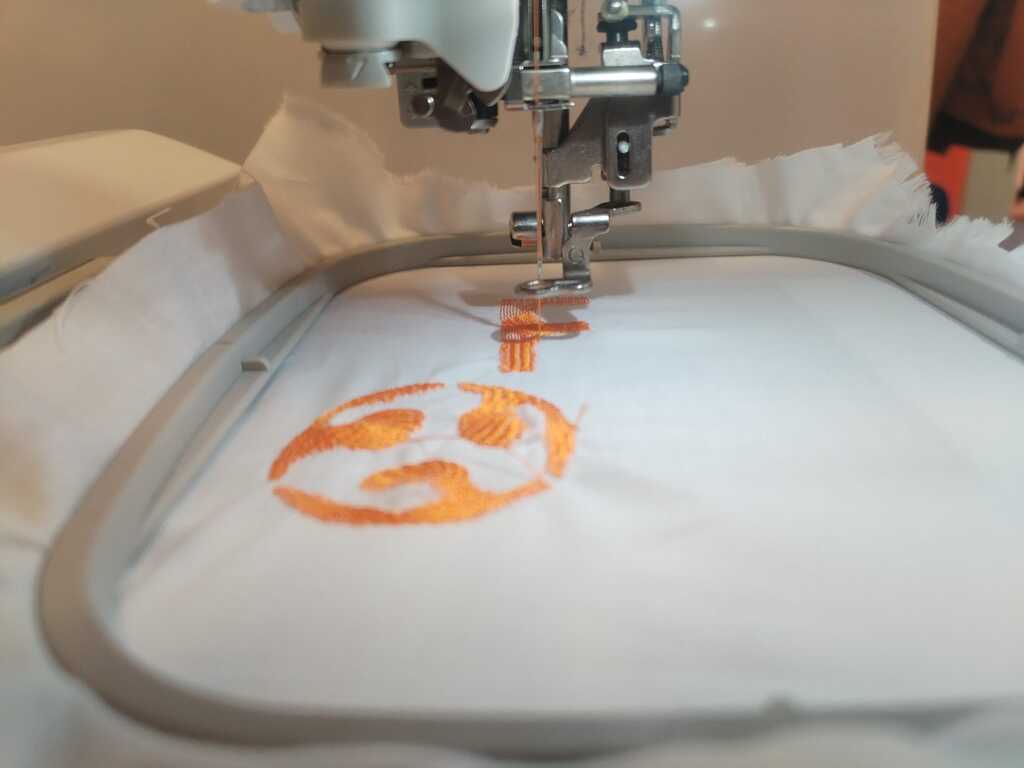
2.2. Changing the Can<
The stitching technique used by the machine requires two threads. One that goes in front of your textile and which makes the drawing visible (which is orange in our case) and an other one which is only visible at the back of your textile. The latter is wound around a "can" installed in the machine. If the can is empty, you must refill it.
Empty Can !<
![]()
Note
If the can empties during the stitching process, you'll get this error message. Don't panick, we will see here how to refill the can without losing track of the process.
![]()
Note
Just in case, check on the screen at which step the machine stopped (here it is 1196/6625). If the machine losses track, you may simply enter that number.
Cutting the thread<
Note
The can is installed underneath the textile hence we need ot remove it. However, we first need to cut the threads that are currently being used.
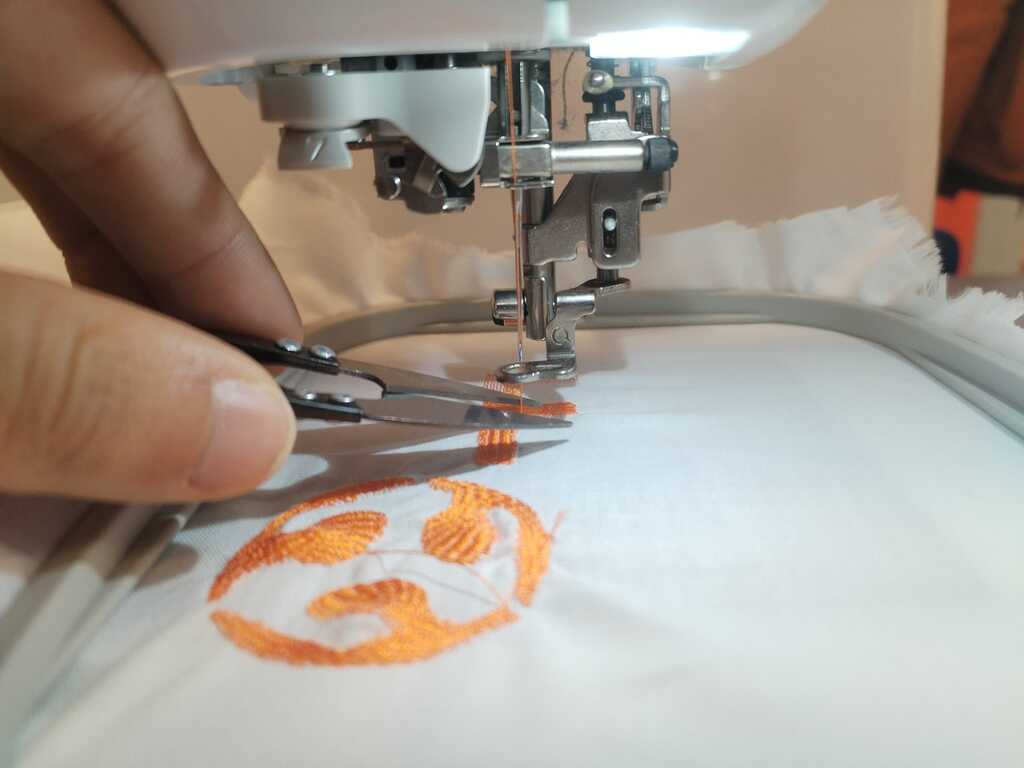
Note
For that, you may simply use scissors.
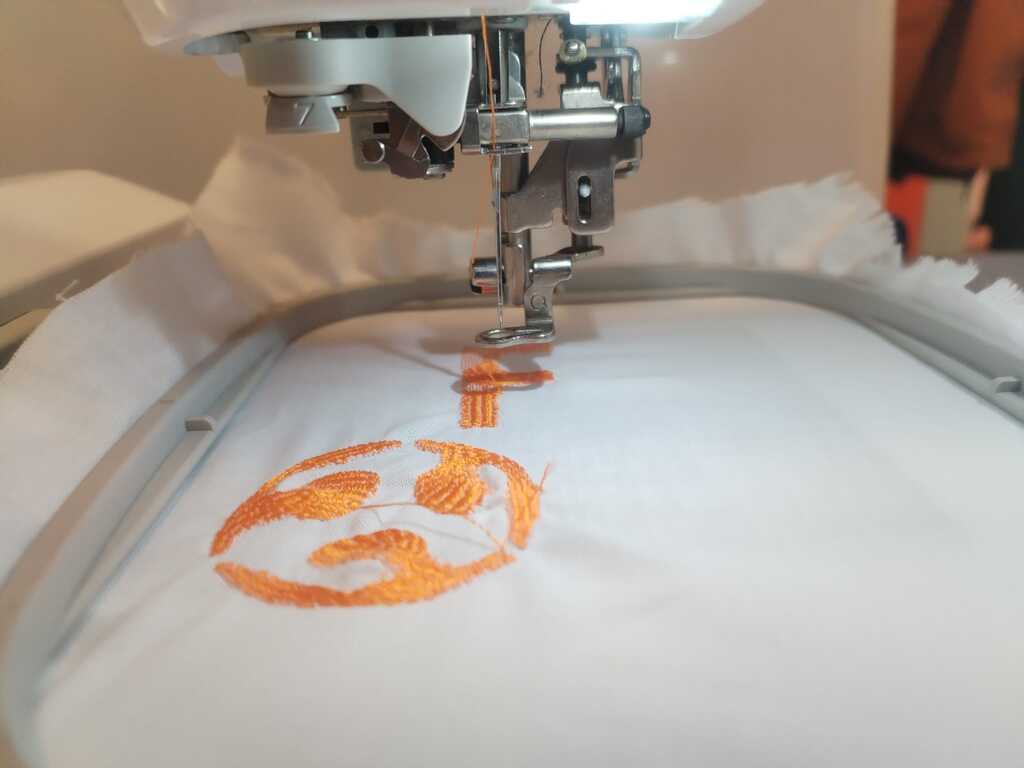
Note
Well done !
Note
Don't forget to cut the remaining thread from the can hanging below your textile.
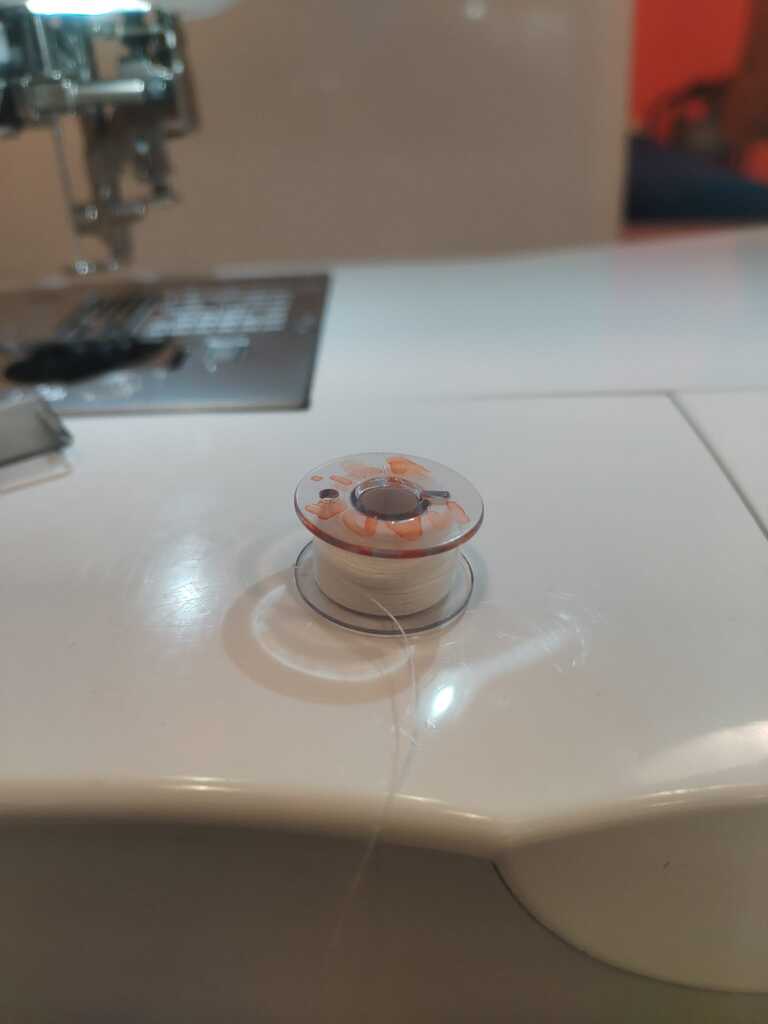
Removing an empty can<
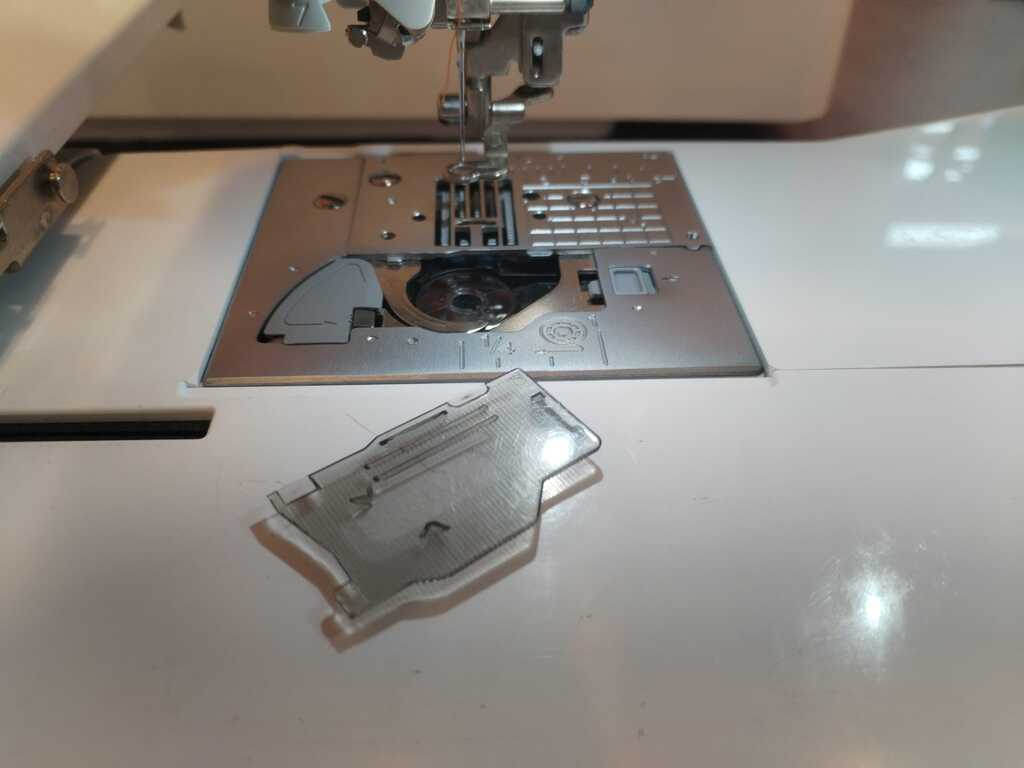
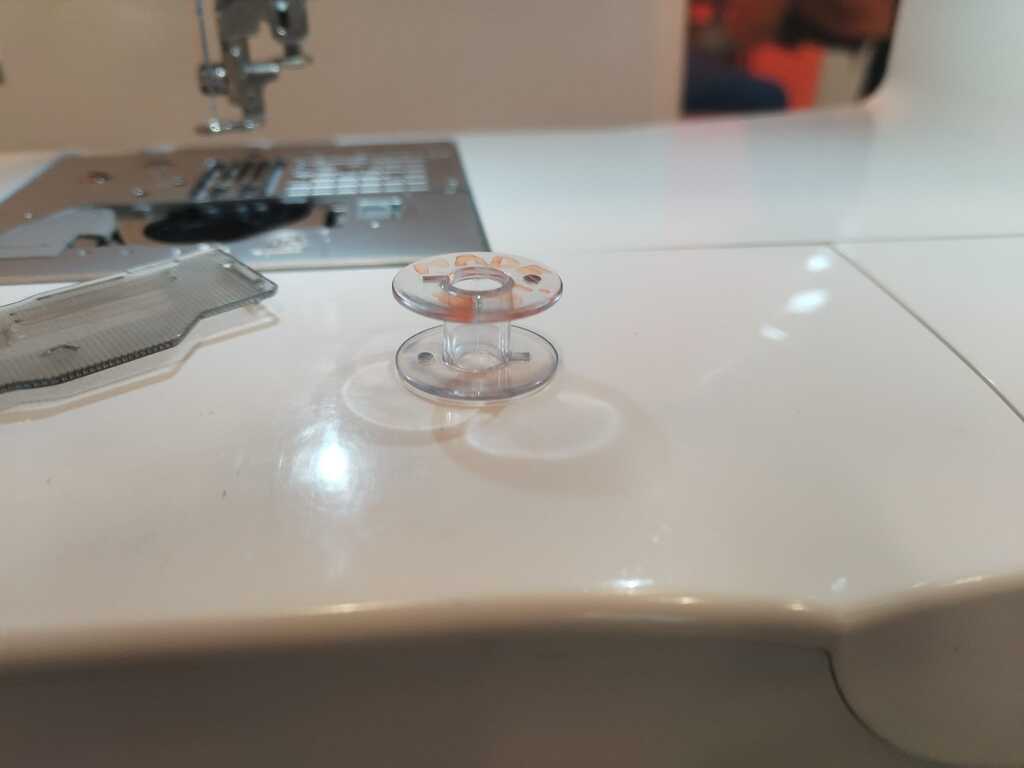
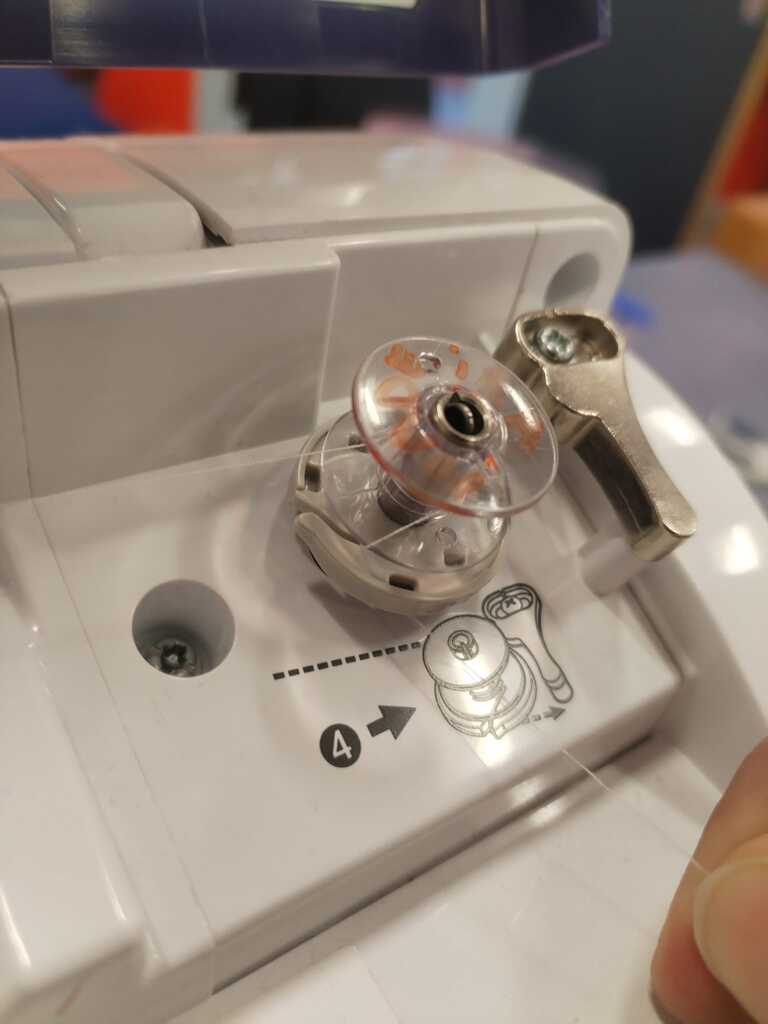
Refilling a can<
To refill an empty can, follow the steps below.

Setting back a Can<
To set back the can at its place follow the steps below.
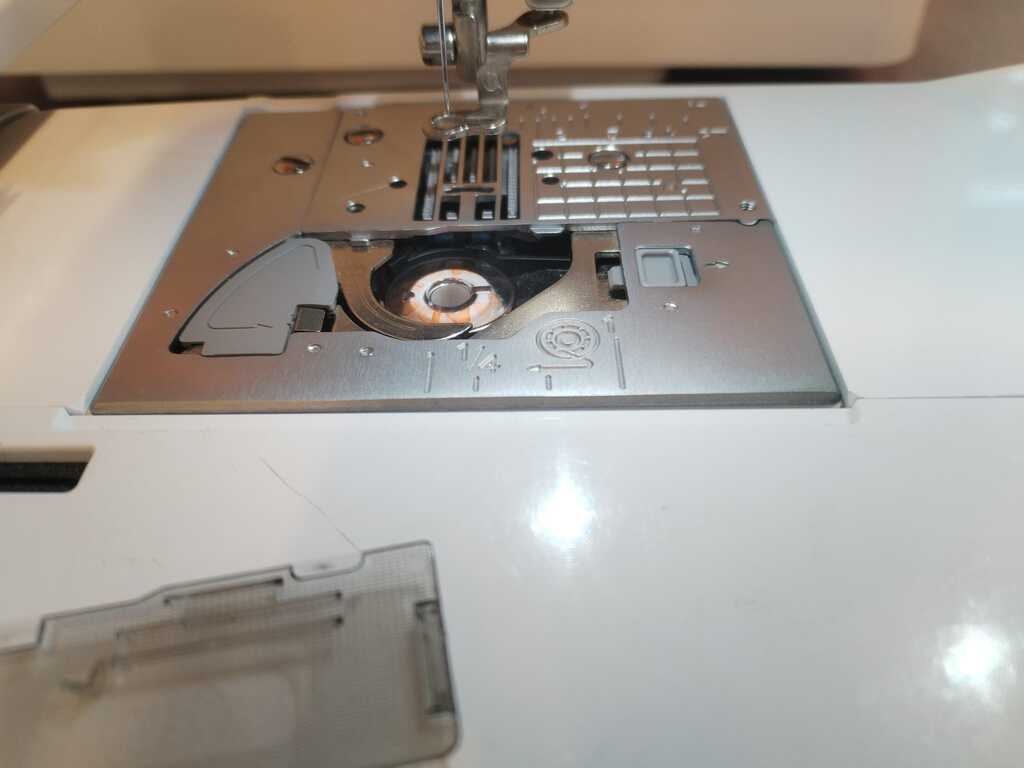
Note
Get the filled can back at its initial place.
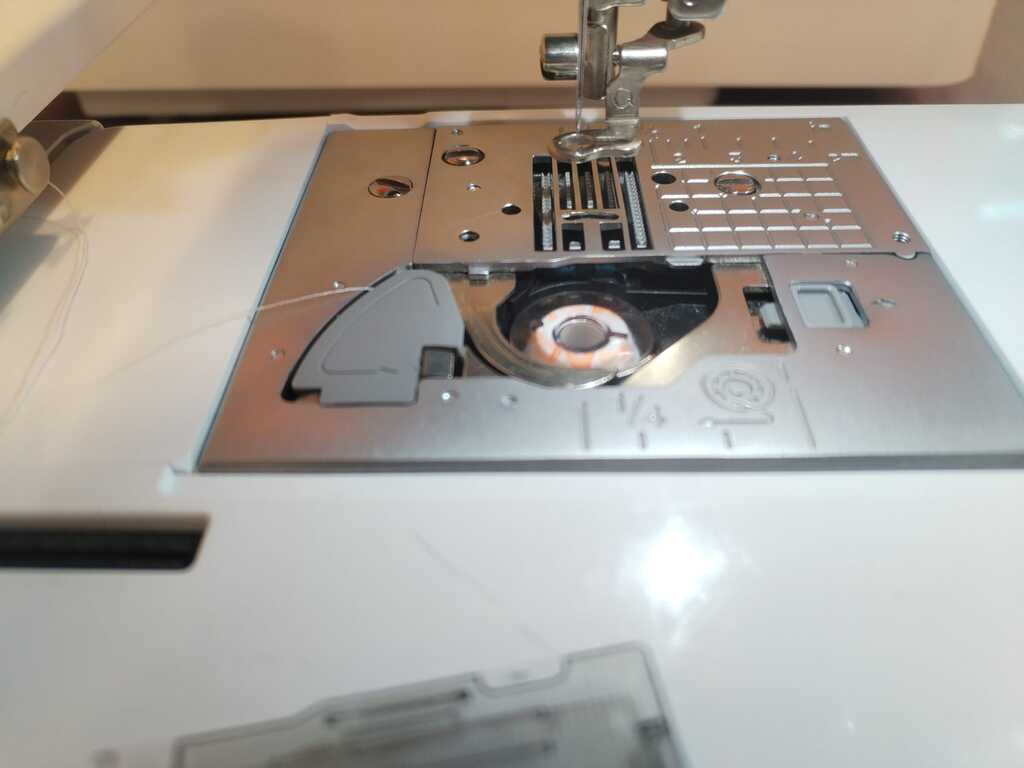
Note
Slide the thread in the slit until the thread is cut.
Note
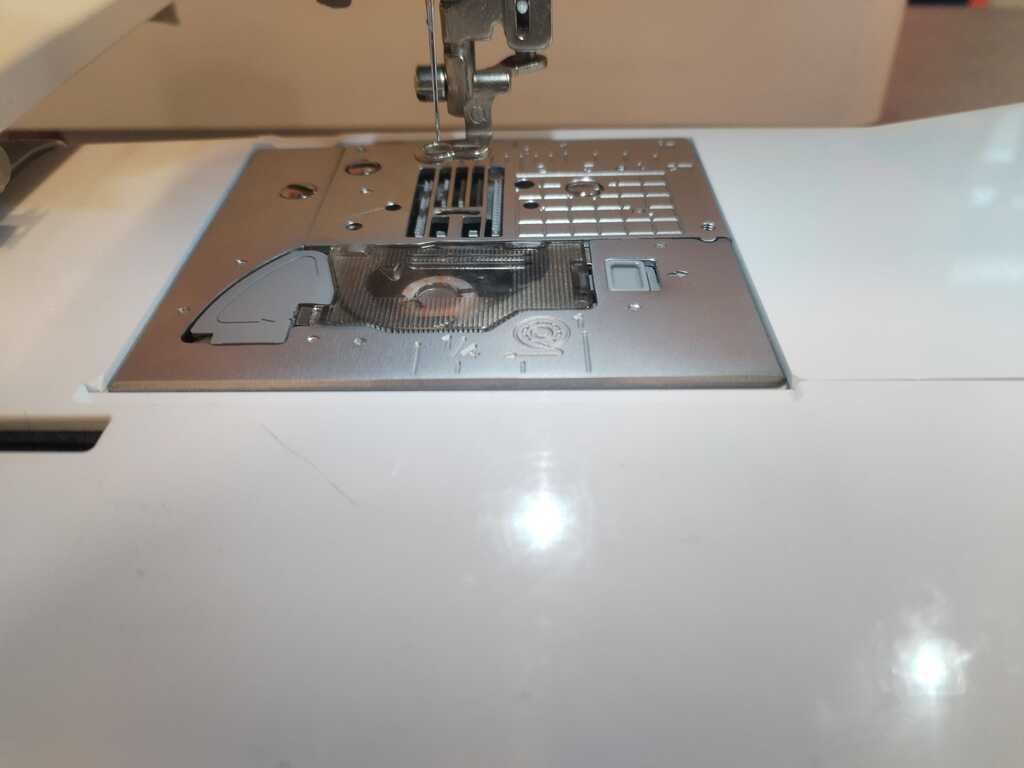
Close the lid. To be sure that it is well closed, try to open it. The lid should open by jumping a bit like in the next video.
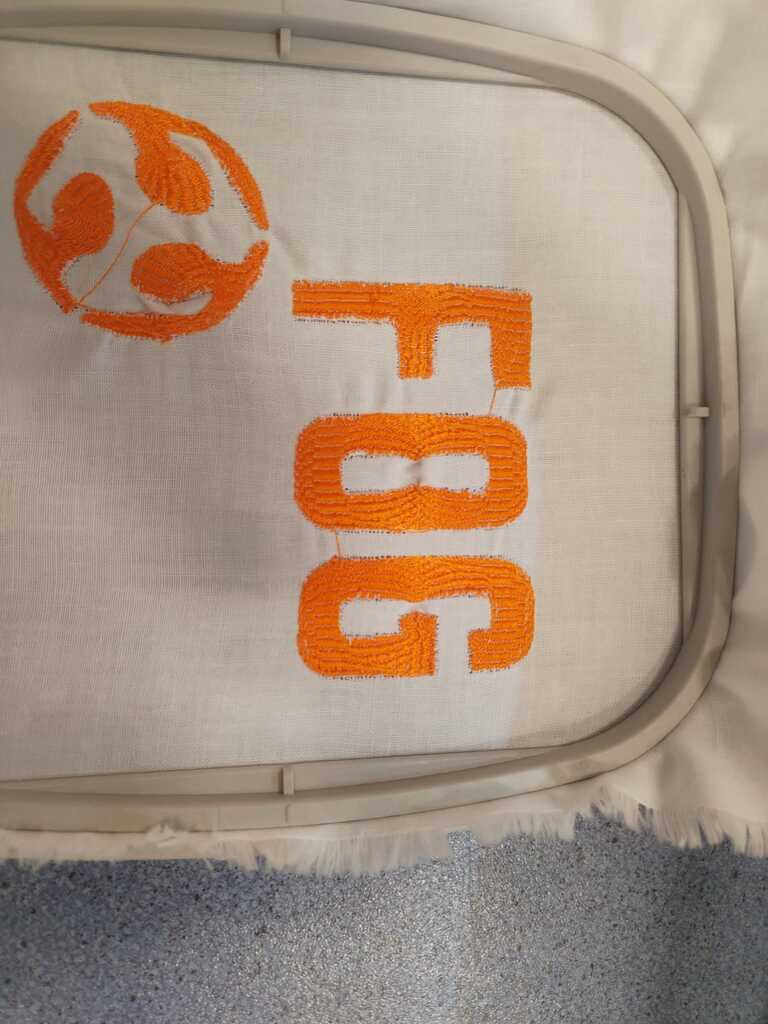
2.3. Result<
After changing the can, I restarted the embroiding. Below you may find the final result.