5. 3D Scanning and Printing
This week I design a part it can't be done easily by substraction and scanning objects.
Group recap
If you want to read the Group Page, Click Here.
3D Printing
Know as additive manufacturing because it stacks layers of all kind to create a physical object.
In this practice I will be using only DLP (Direct Light Process) and FDM (Fused Deposition Modeling).
-
Materials
- PLA
- ABS
- PETG
- Nylon
- TPU
-
Rules
- Overhang: part that extend out with no material.
- Angle: can be printed without support.
- Bridging: gap between 2 parts without support.
- Thickness: minimum Thickness of walls.
- Dimensions: material shrinkage.
- Anisotropy: changes of resistance depending on the layer direction.
- Surface: quality of the printing.
- Clearence: space between the support and the part (0.2-0.5).
*For more details check the Group Site.*
Designing the part
For the design of the part I will be using Solidworks to create it.
-
Steps
- Create part 1
- Create part 2
- Make an Assembly
- Save it as 1 part in .STL
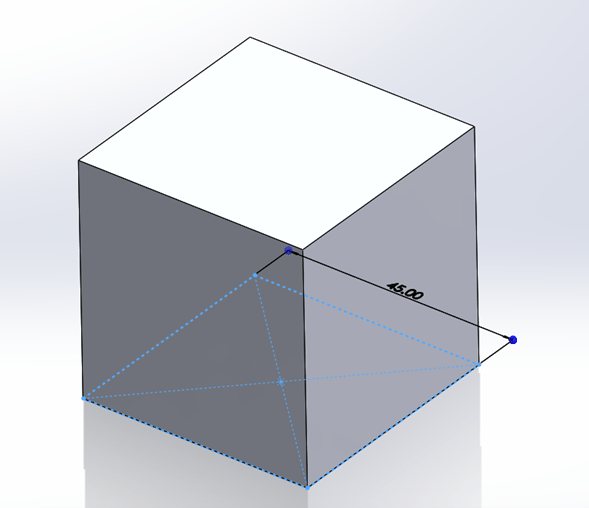
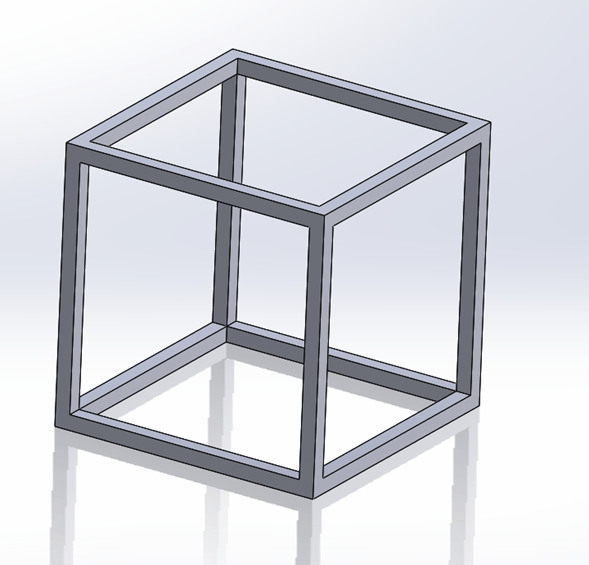
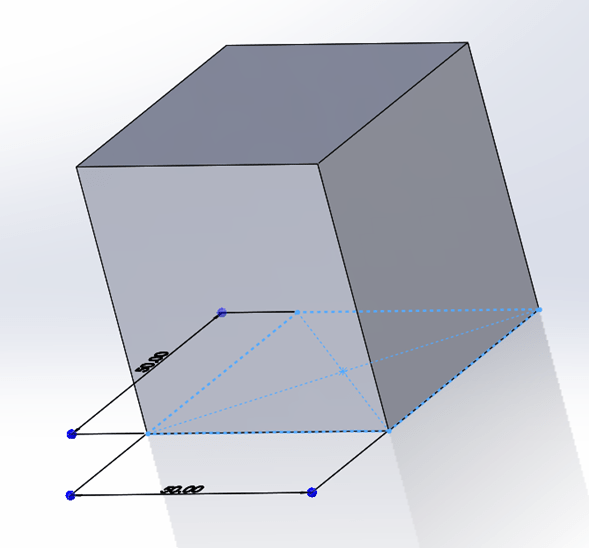
- Create a square on a sketch
- Give a pad of the same height
- Make a hole in 1 face (use Offsett entities)
- Repeat for all the faces
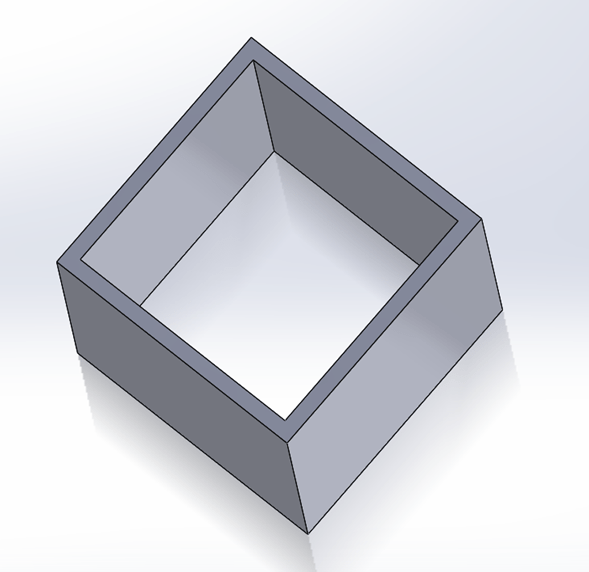
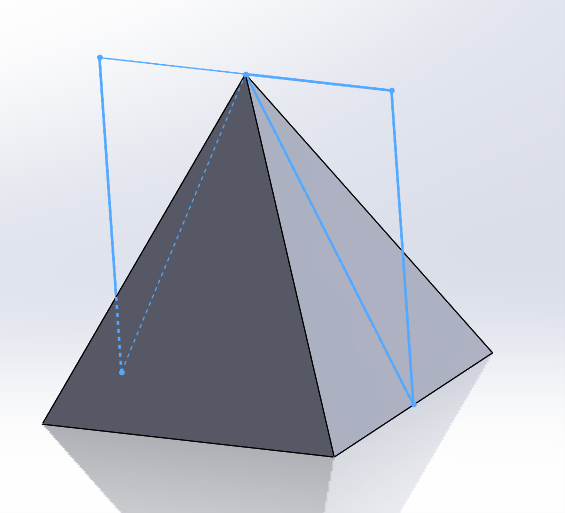
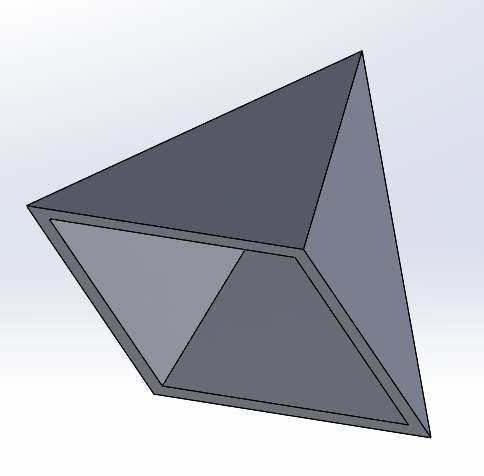
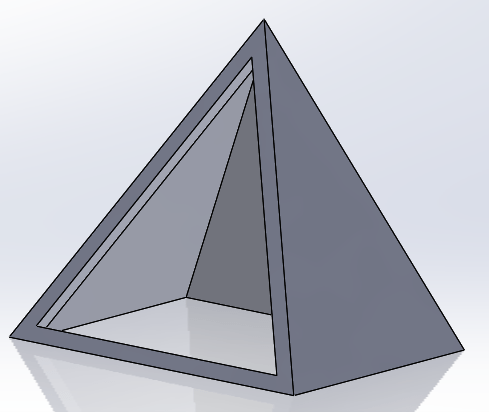
Part 2 (Triangle)
- Create a square on a sketch and give it a pad
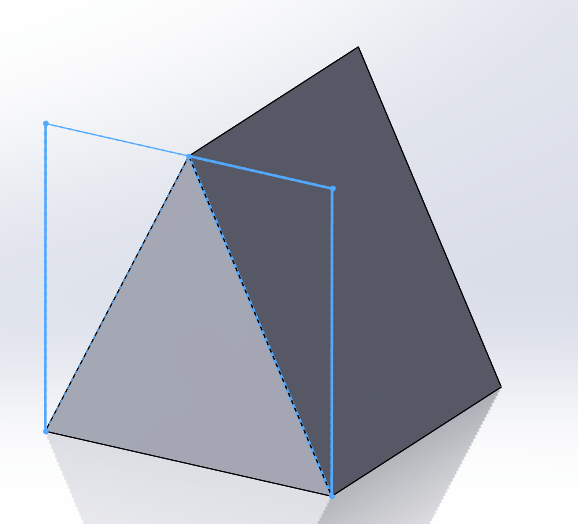
- Cut extrude the shape of the triangle
- Create a plane on the middle of the figure
- sketch on the new plane and cut the triangle again
- Make a shell on 1 side
- Make a cut Extrude on the other sides
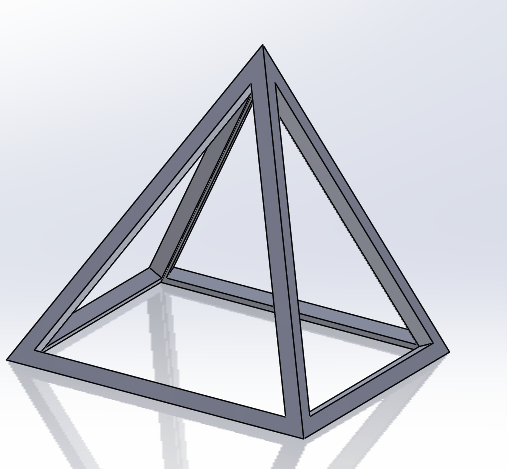
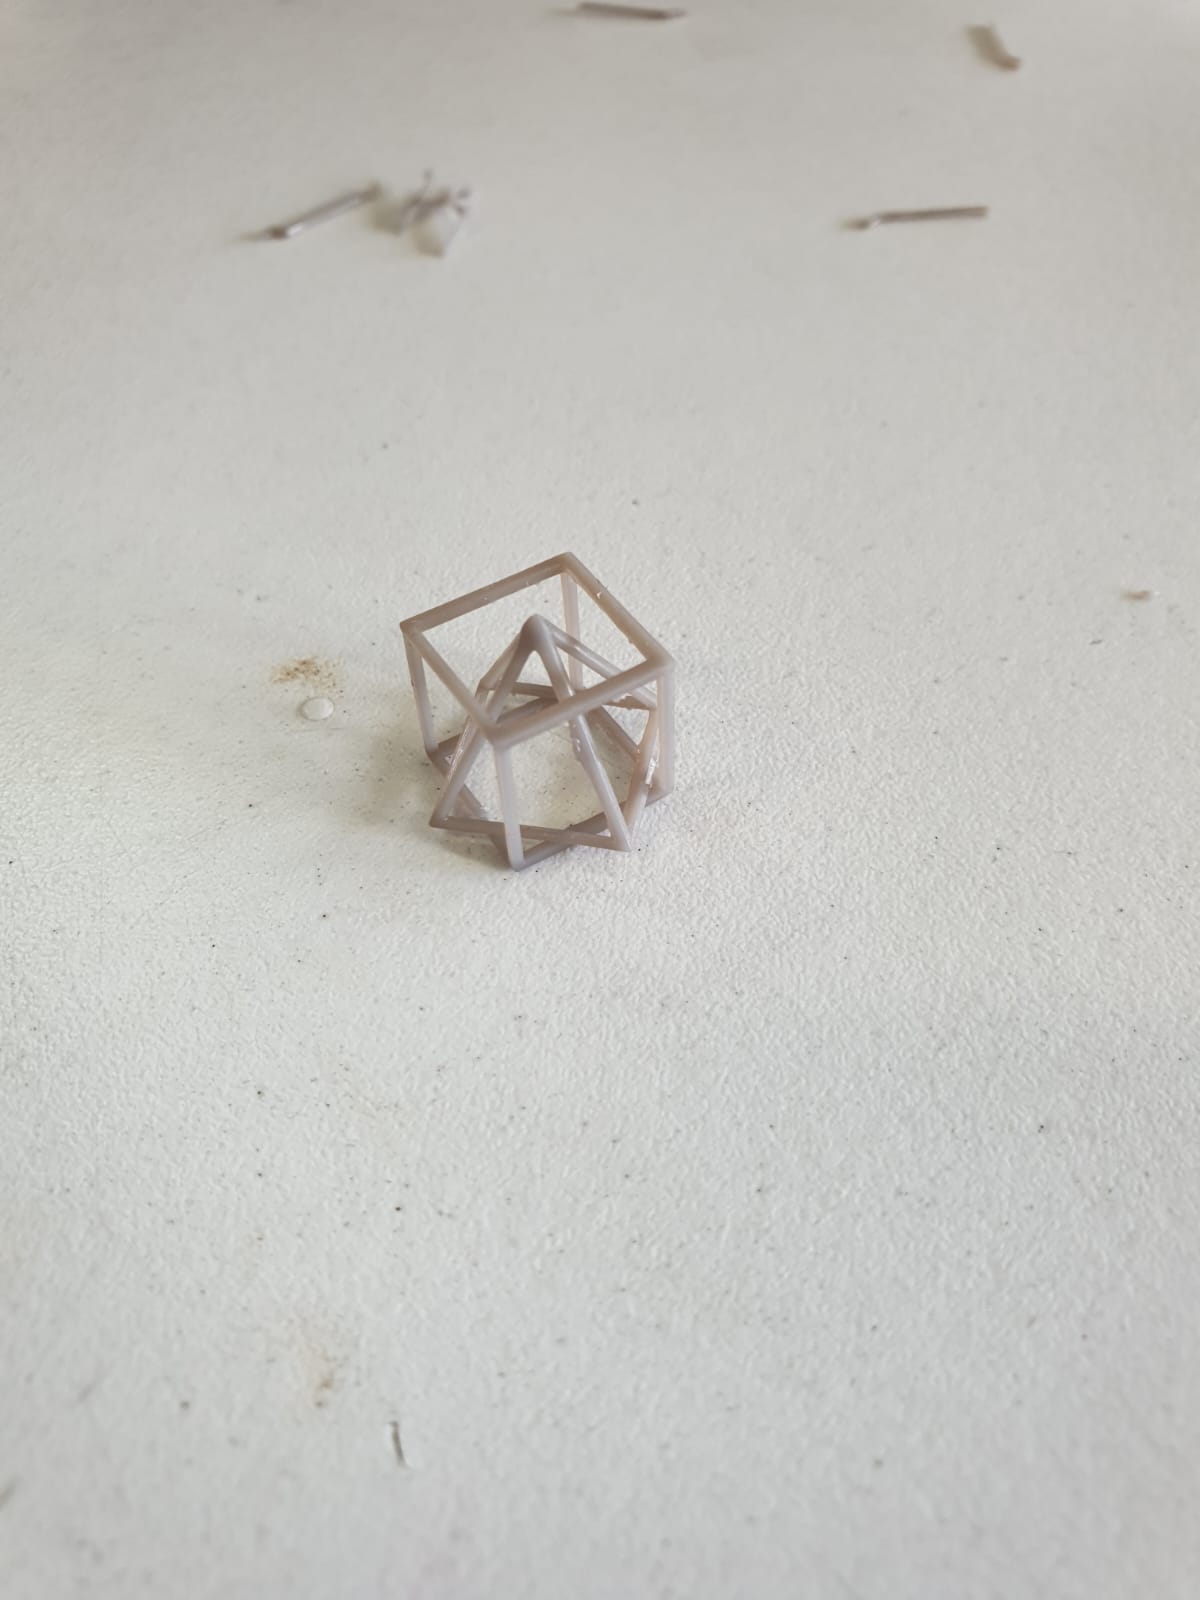
Assembly and saving
After having the two diferent parts or as many as you want, open an Assembly
and add the parts. Move them as you want the figure to be.
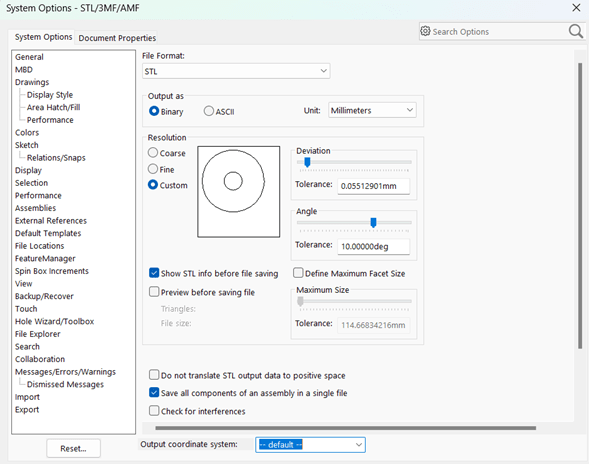
When you contraint them: Click on Save as and choose .stl for printing program
before saving it go to advanced options and enable save all components as a single file.
Printing the parts
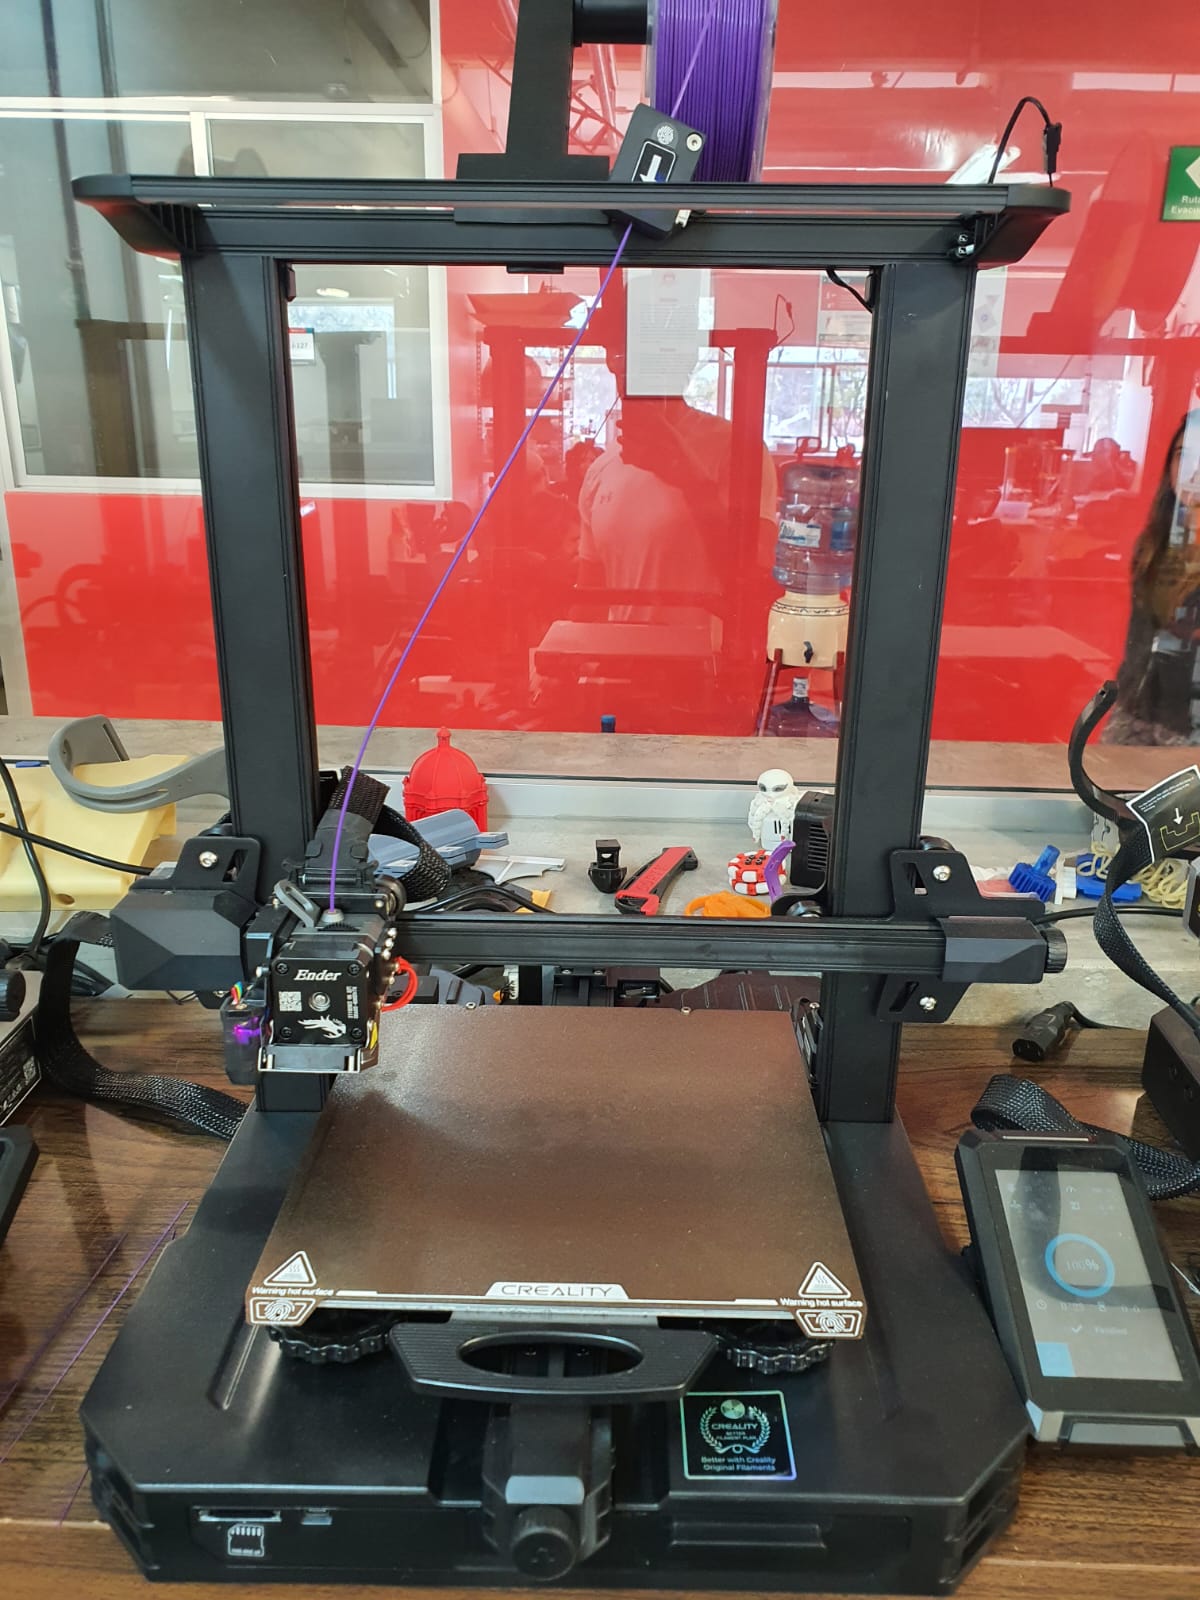
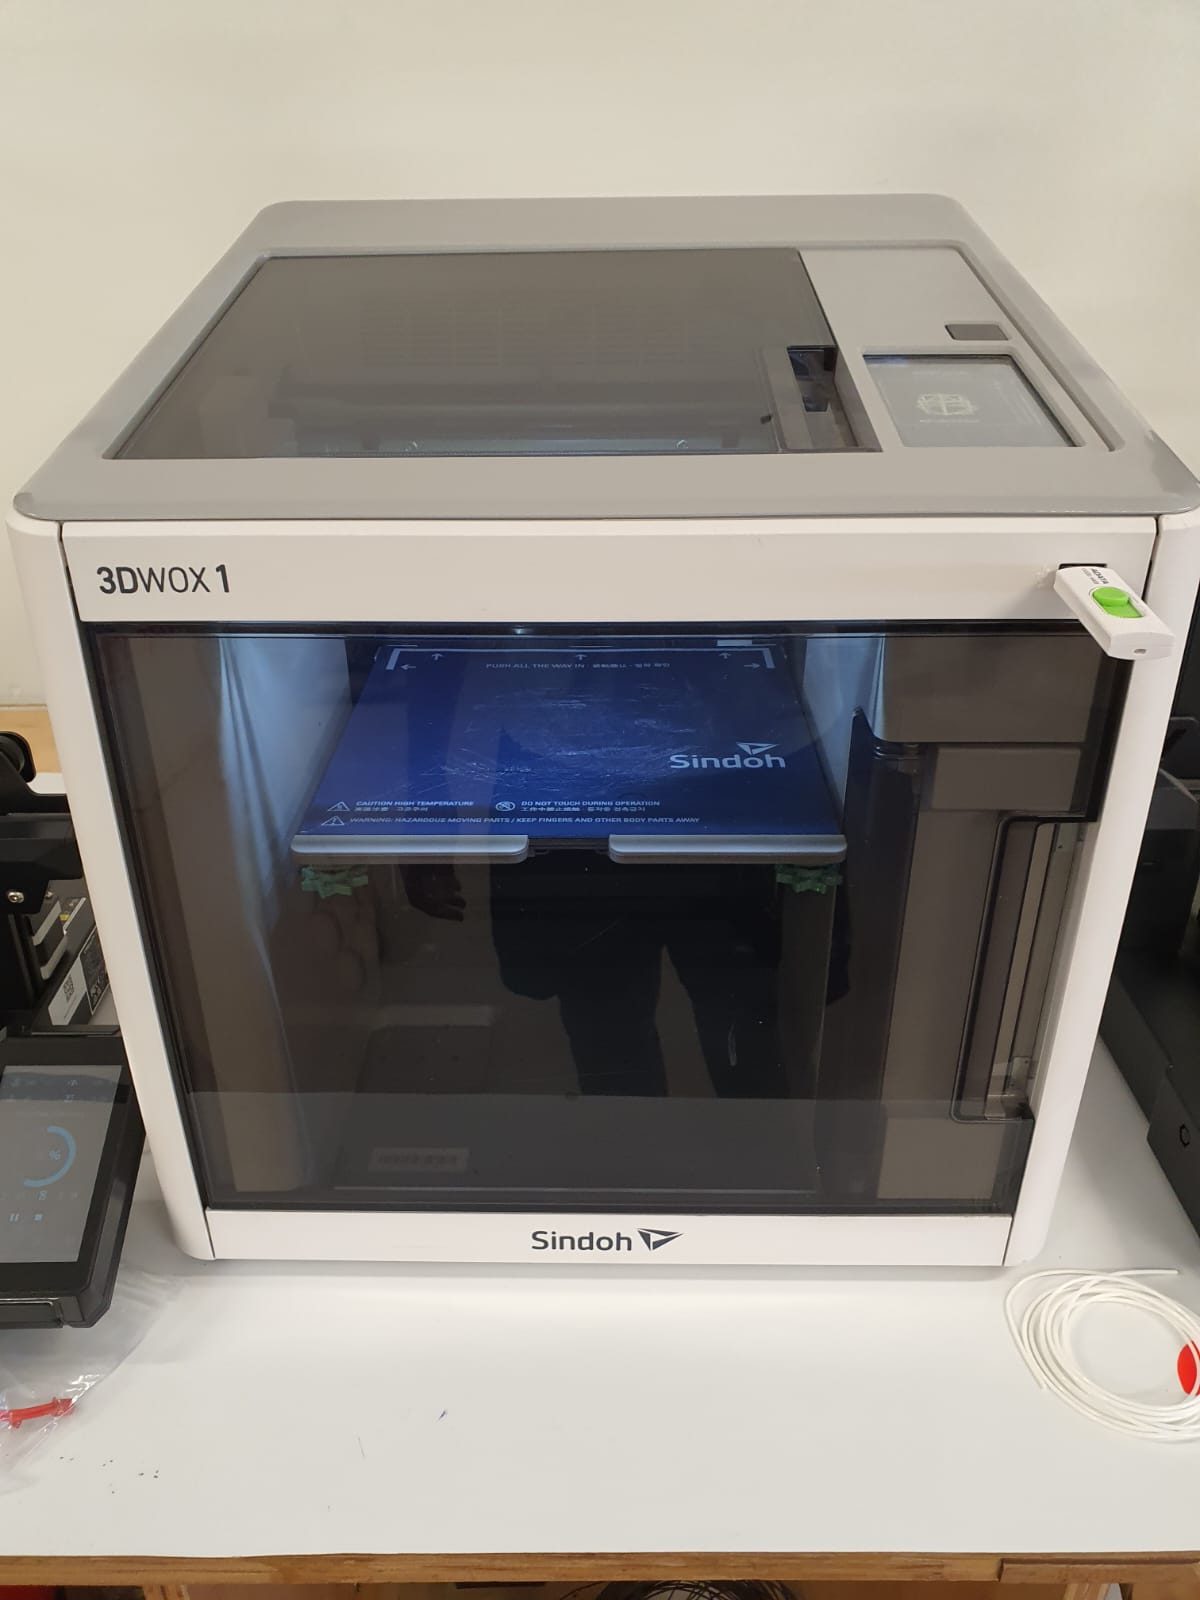
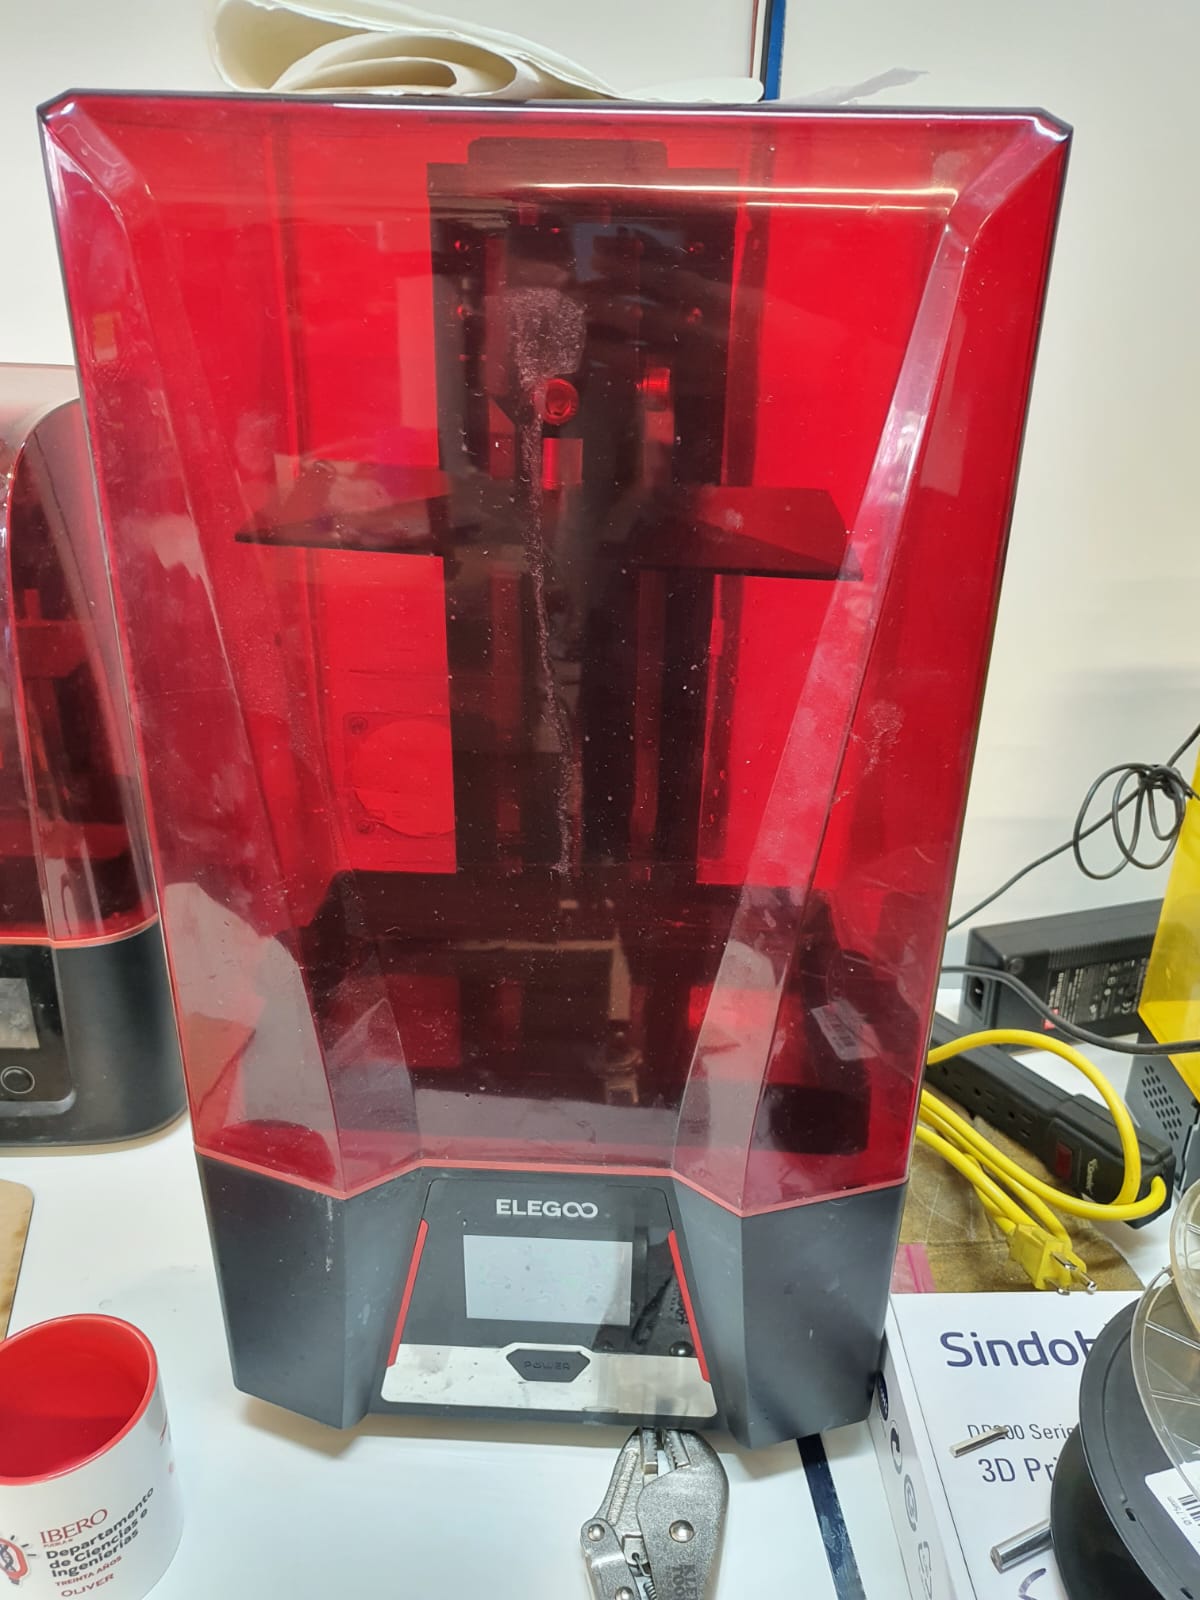
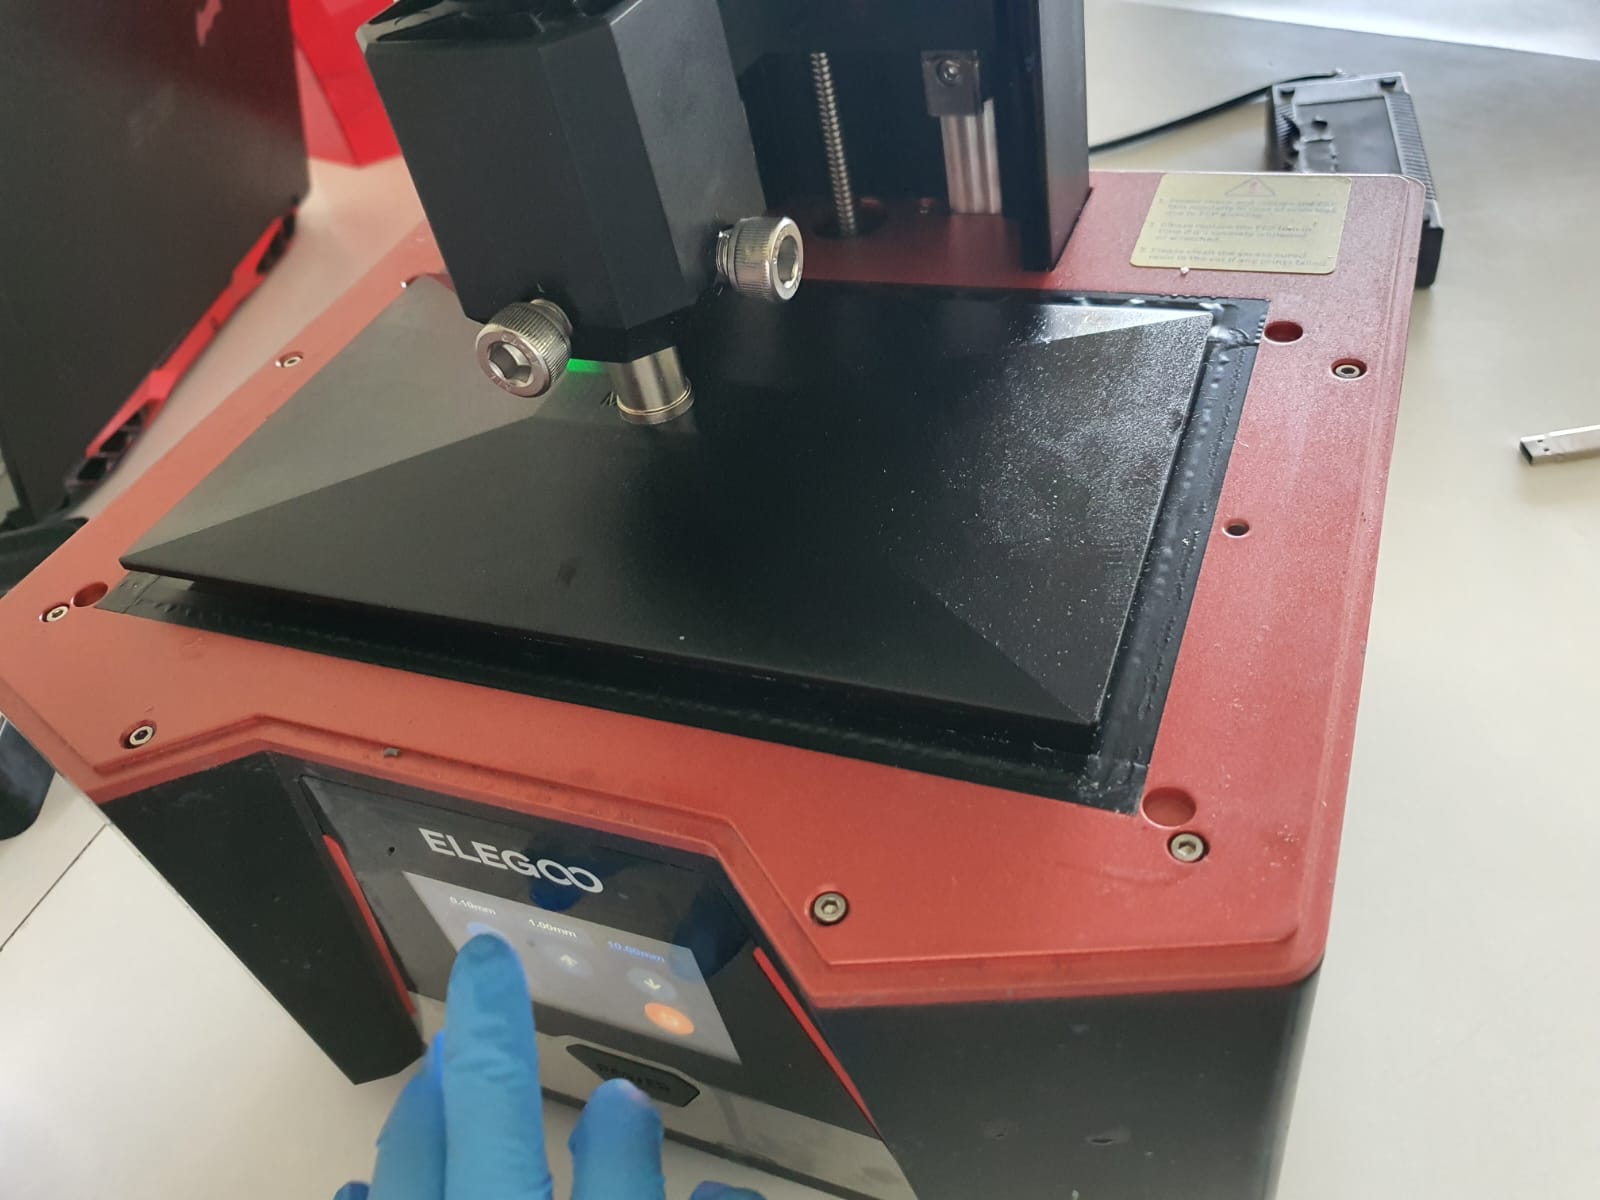
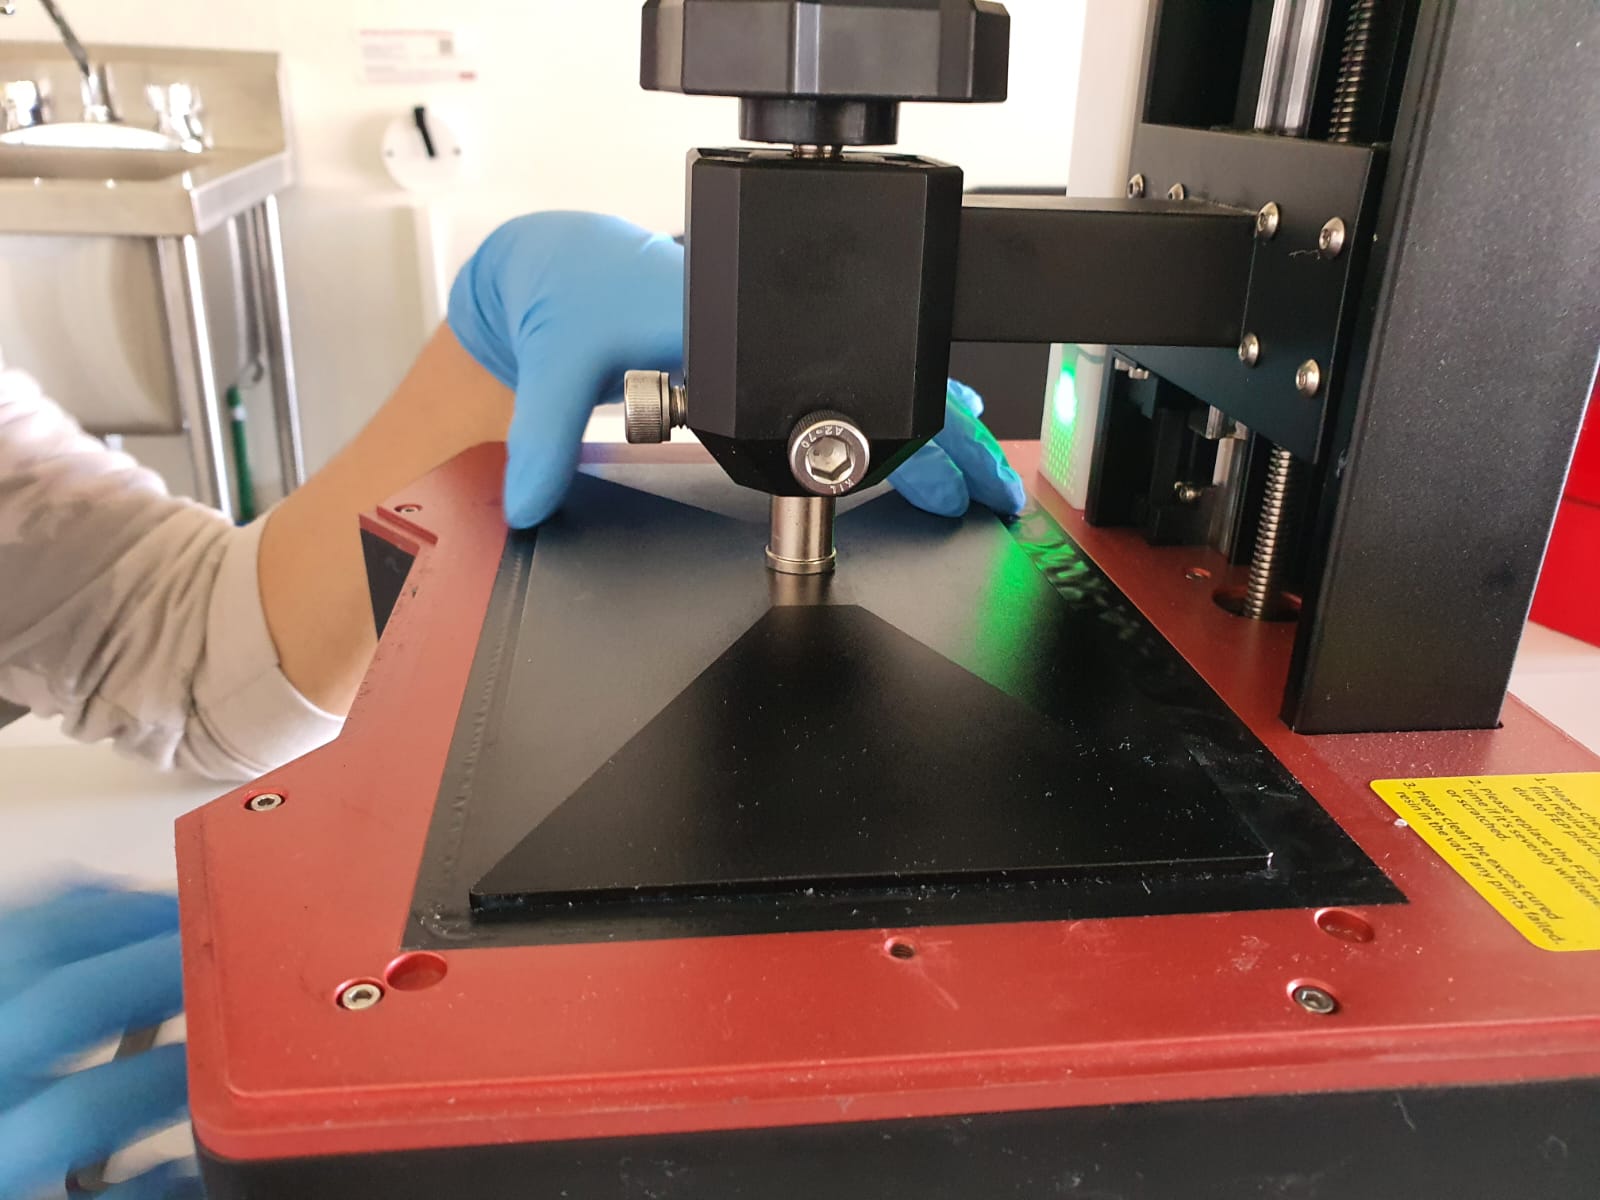
For printing the part I will use 3 different printers: Ender 3 S1 pro, SINDOH 3DWox1 and ELEGOO SATURN 2.
The first two are gpong to be in PLA and the last one in High Speed Resin.
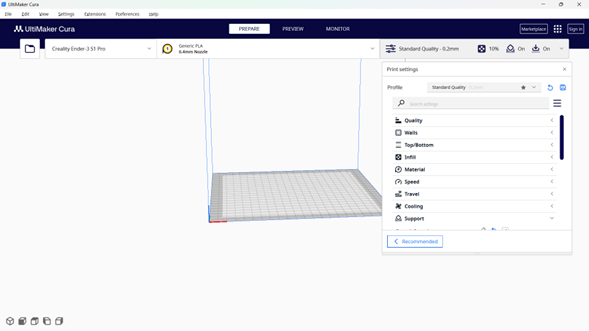
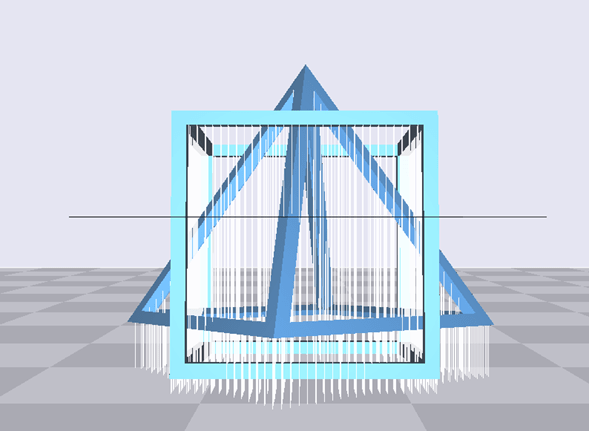
UltiMaker CURA
On the Ultimaker Cura we have a very intuitive interface, a navigation bar on top, where we can load a file and change the printing machine (Ender 3 S1 Pro).
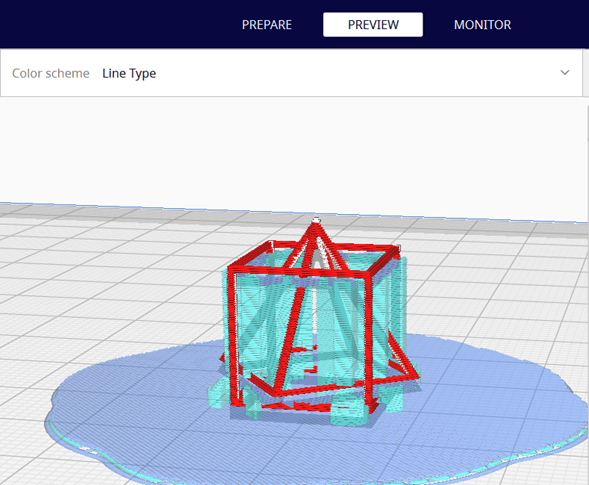
On the top side after generating your model you can preview how the printing is going to be. In case you don't like something.
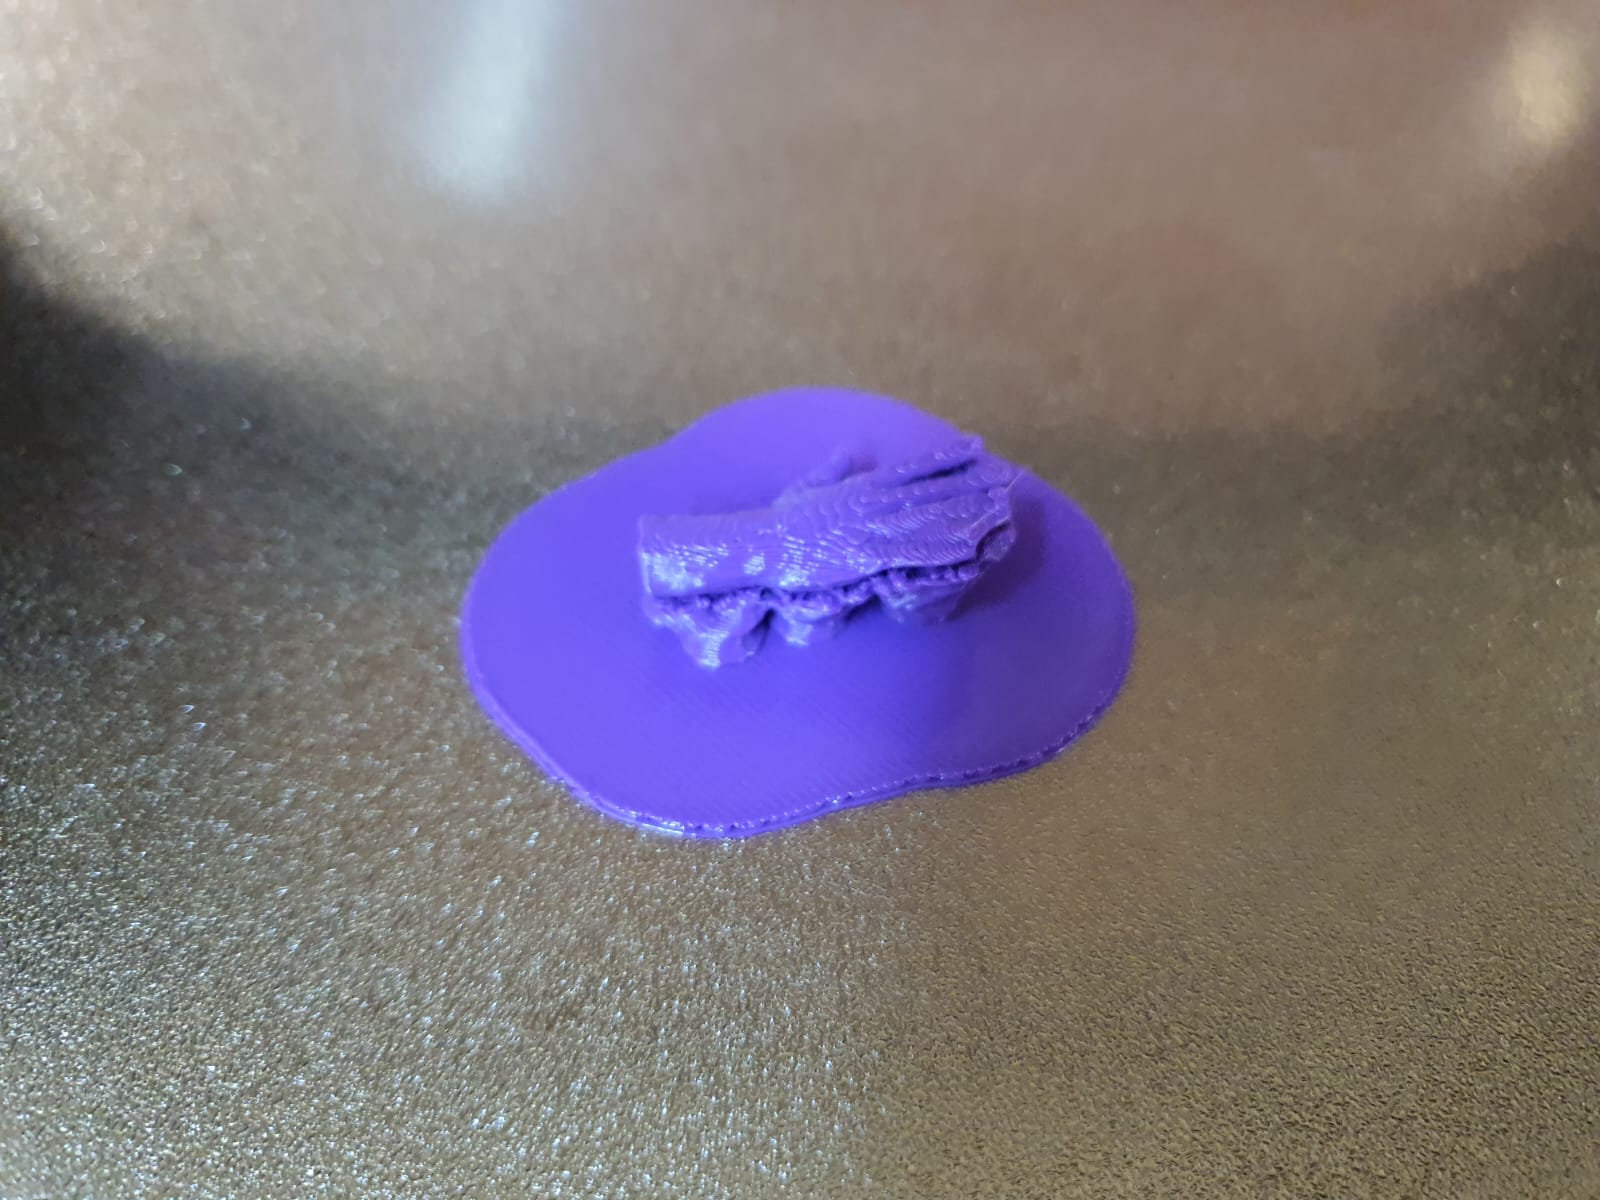
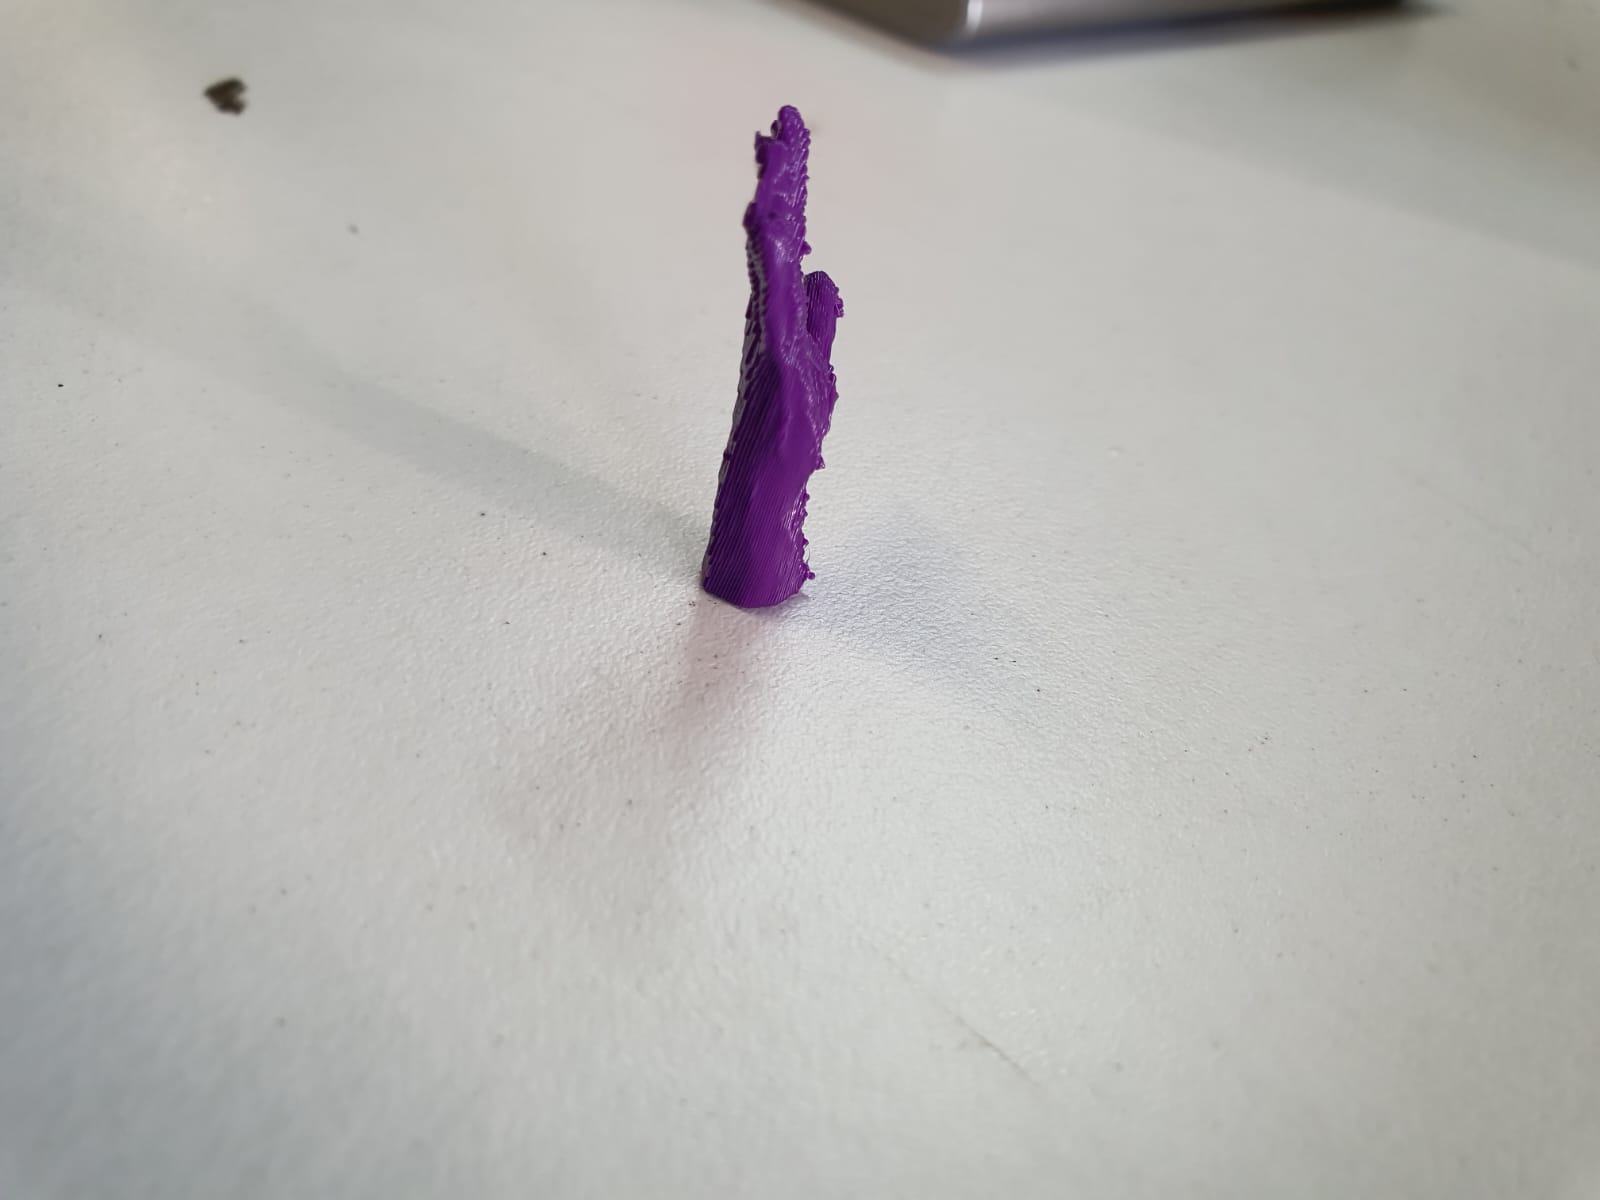
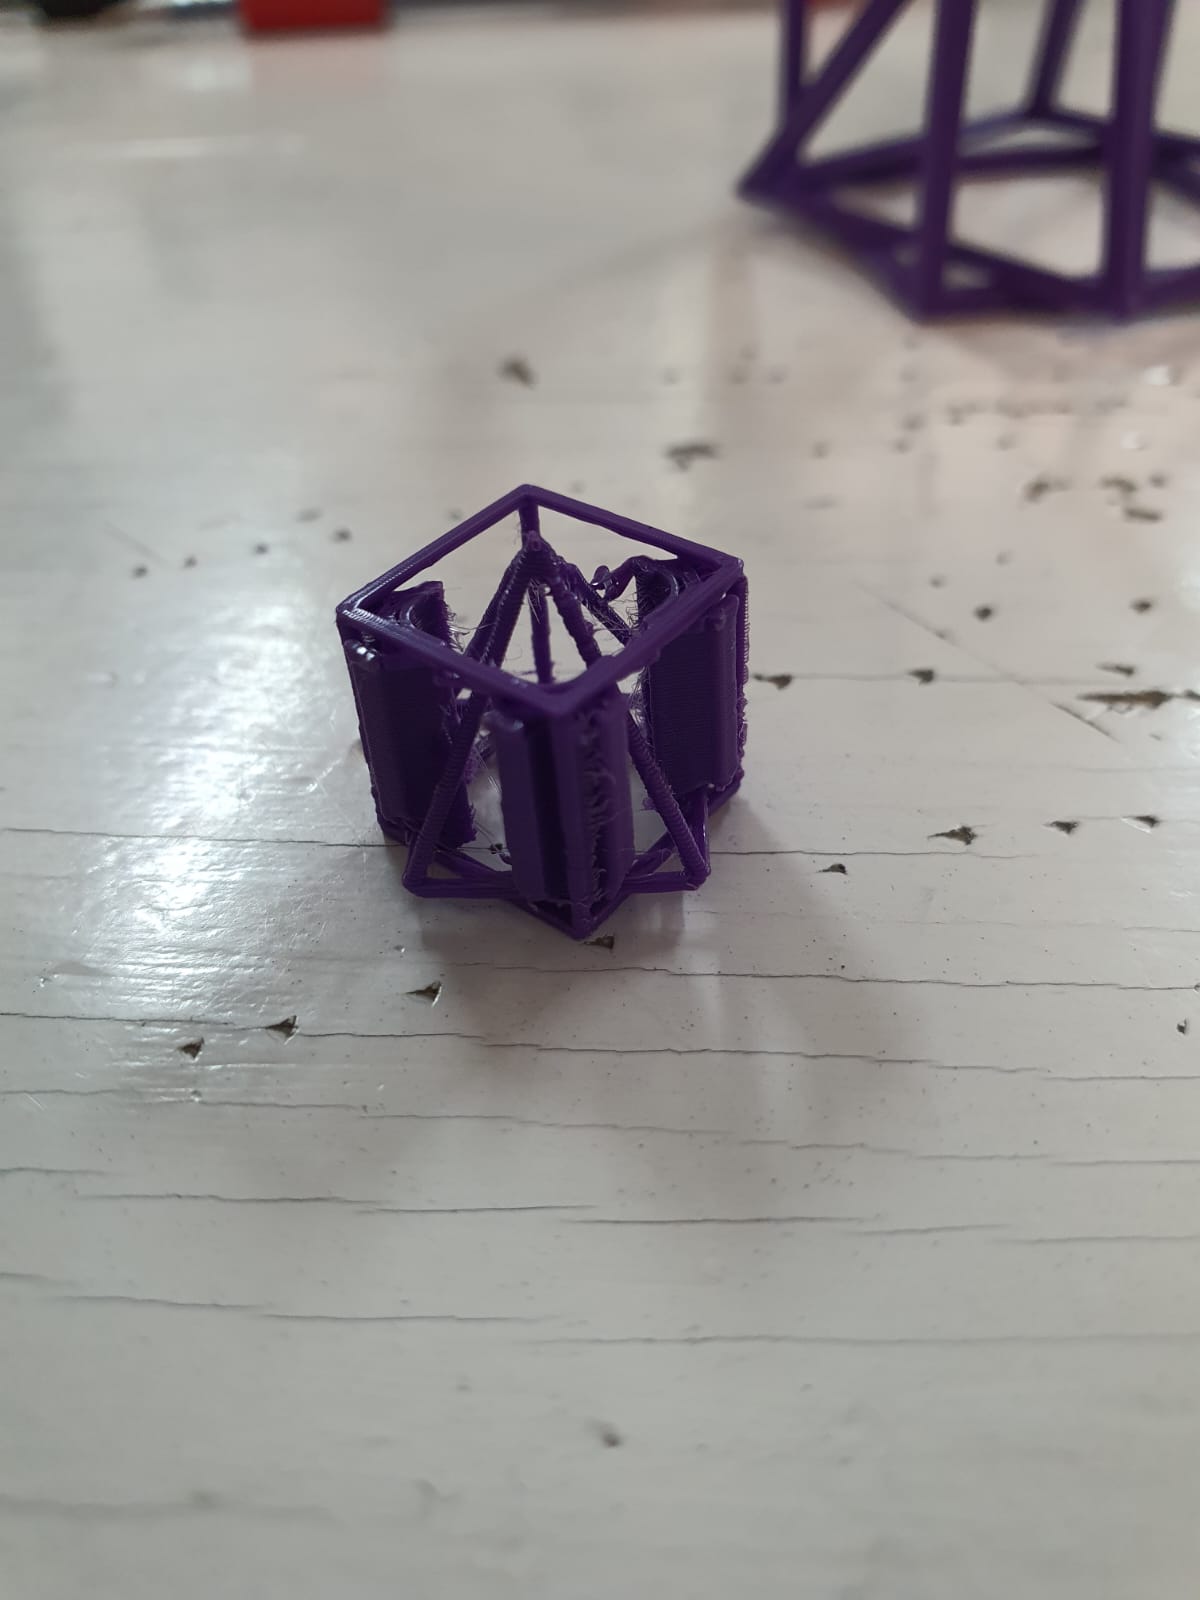
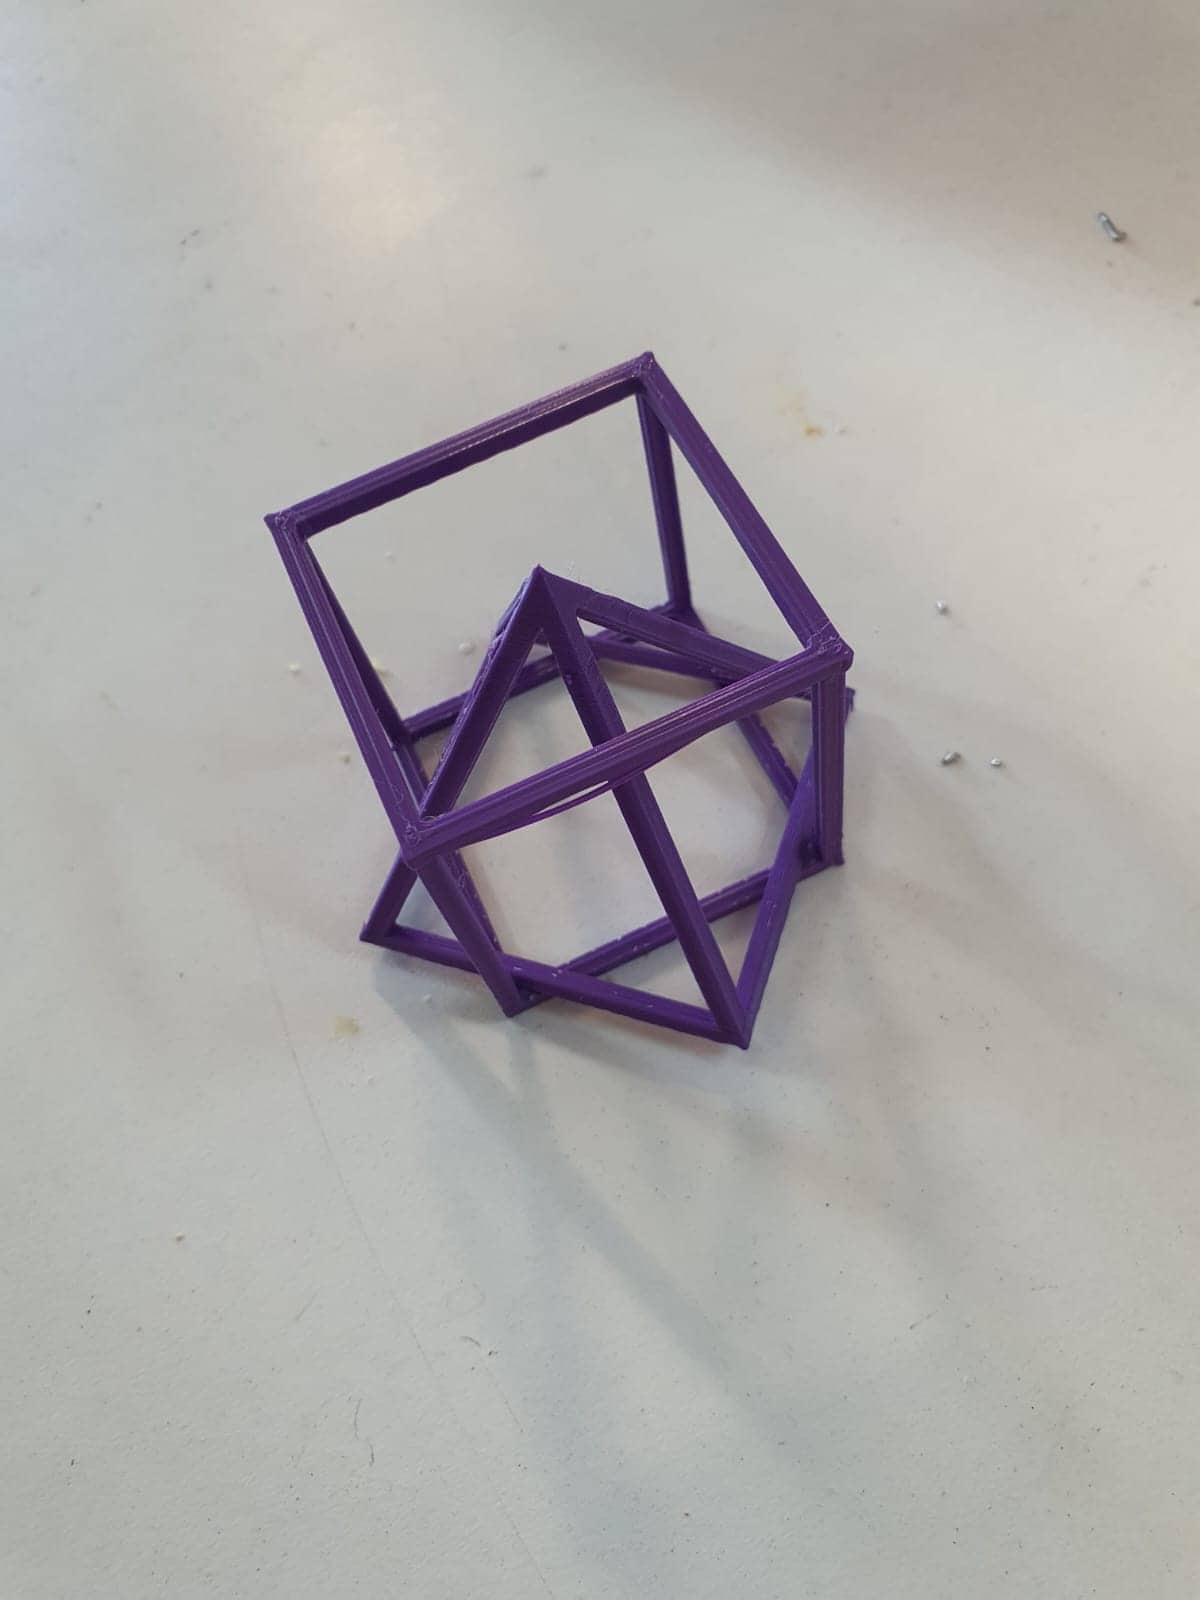
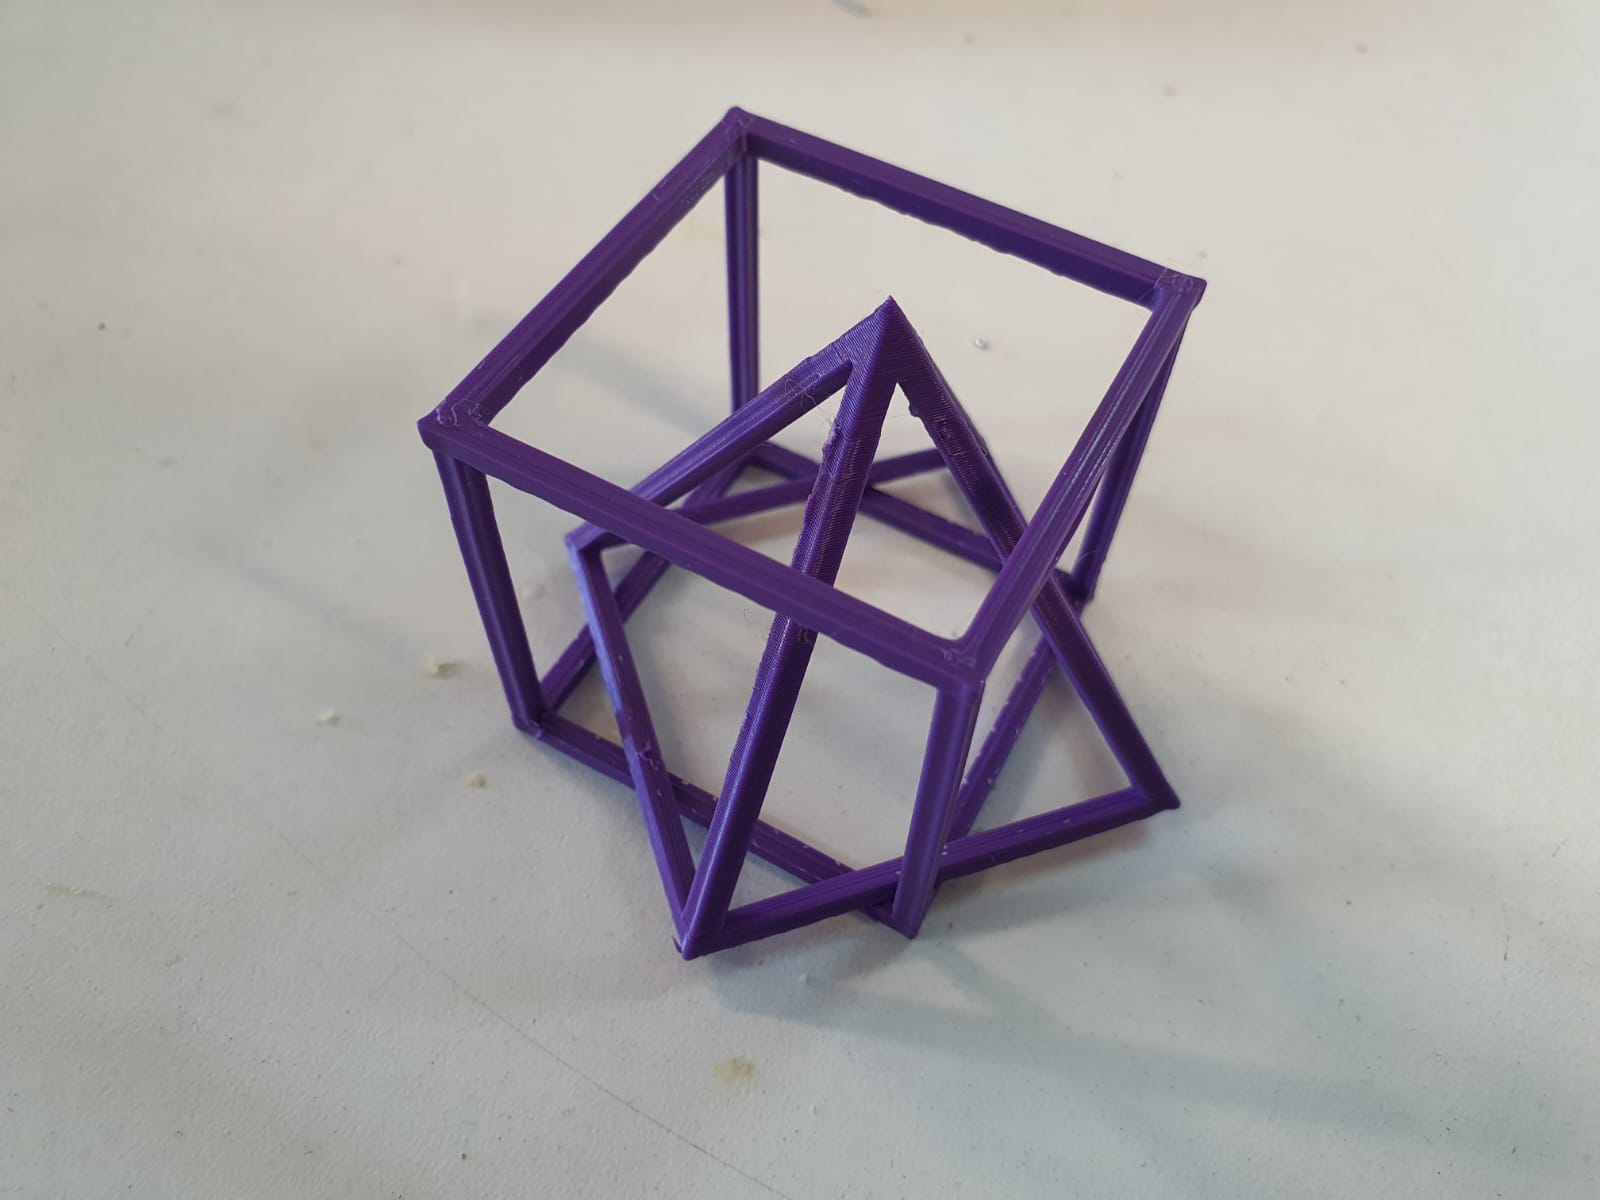
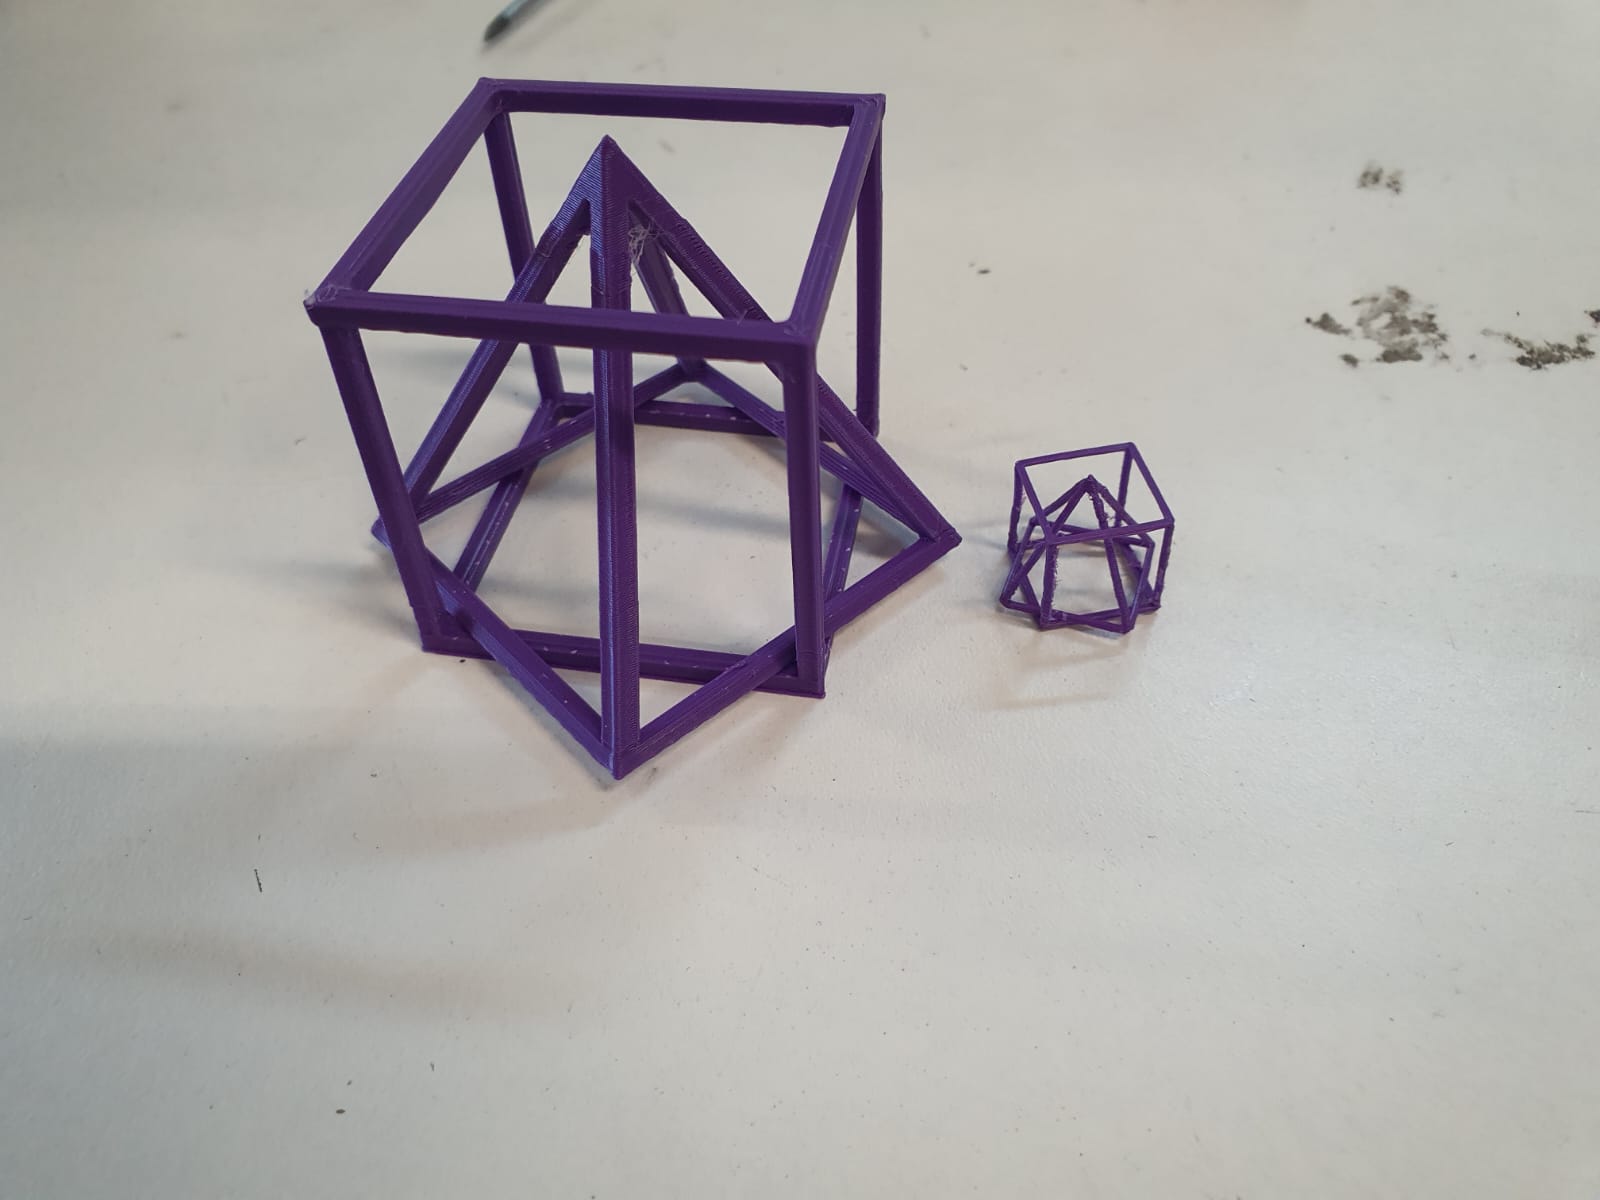
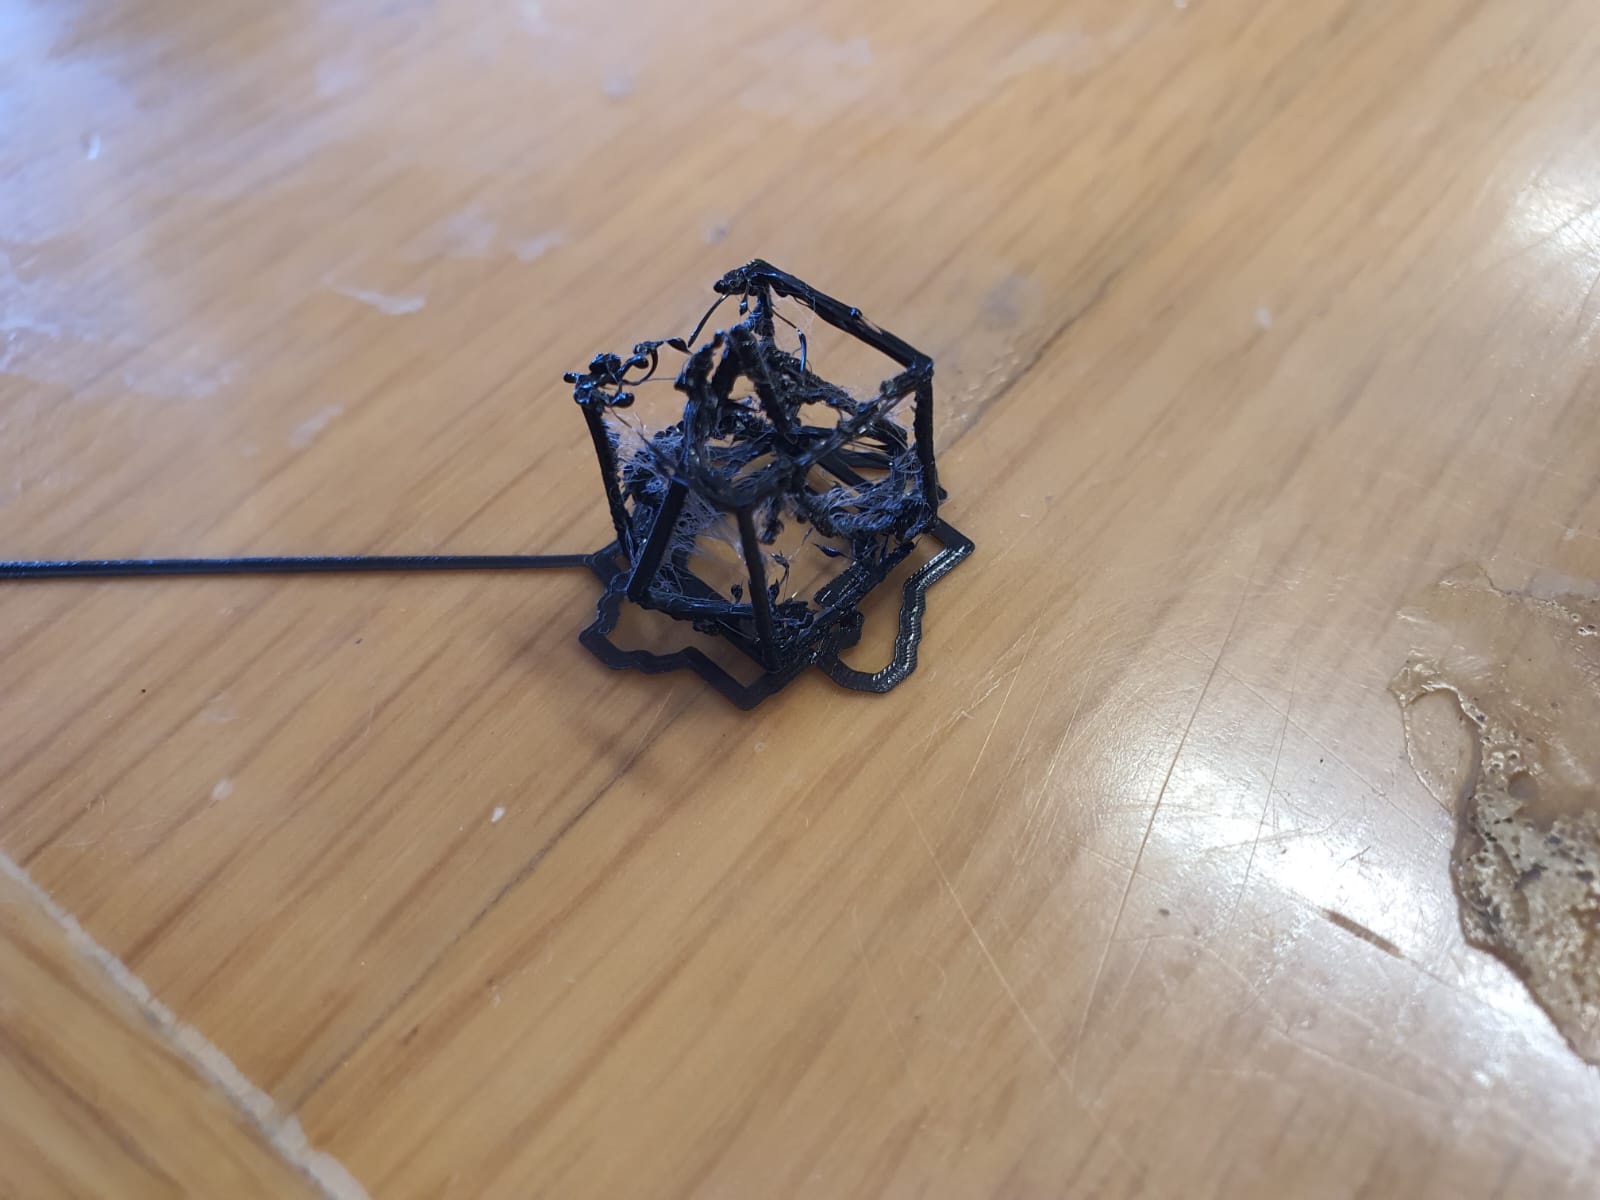
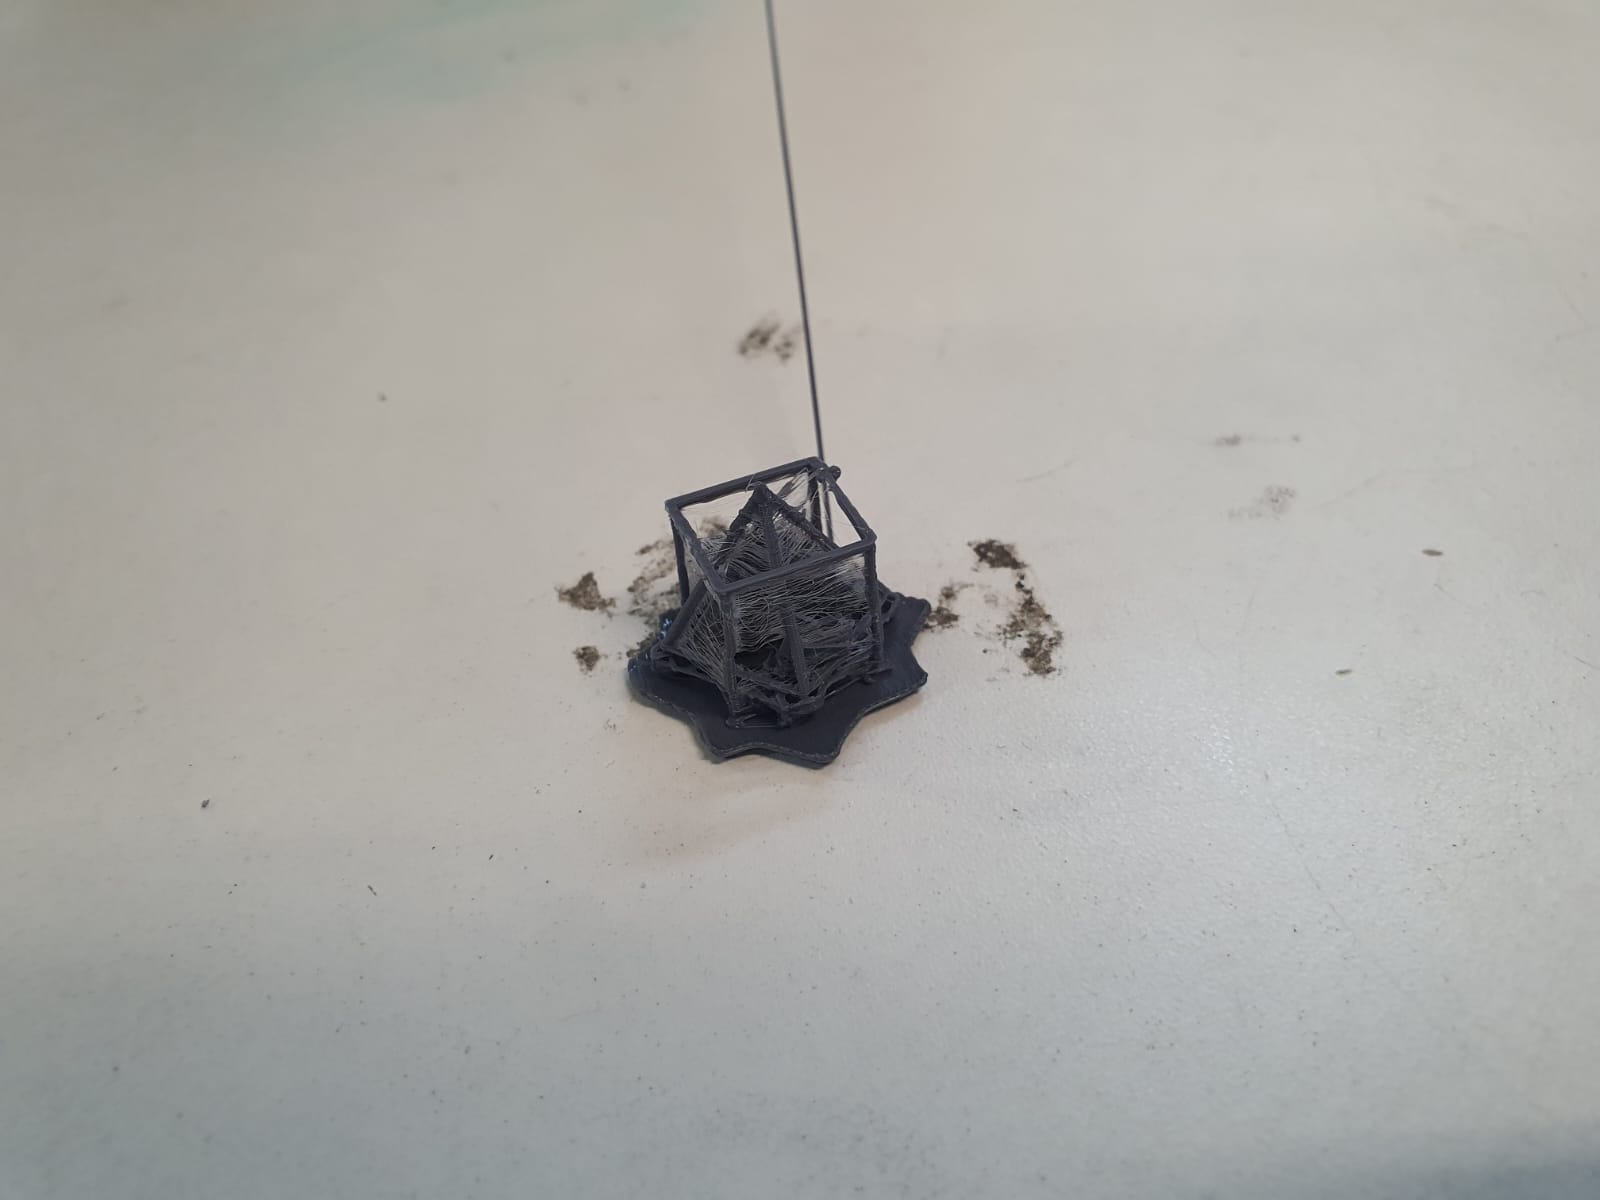
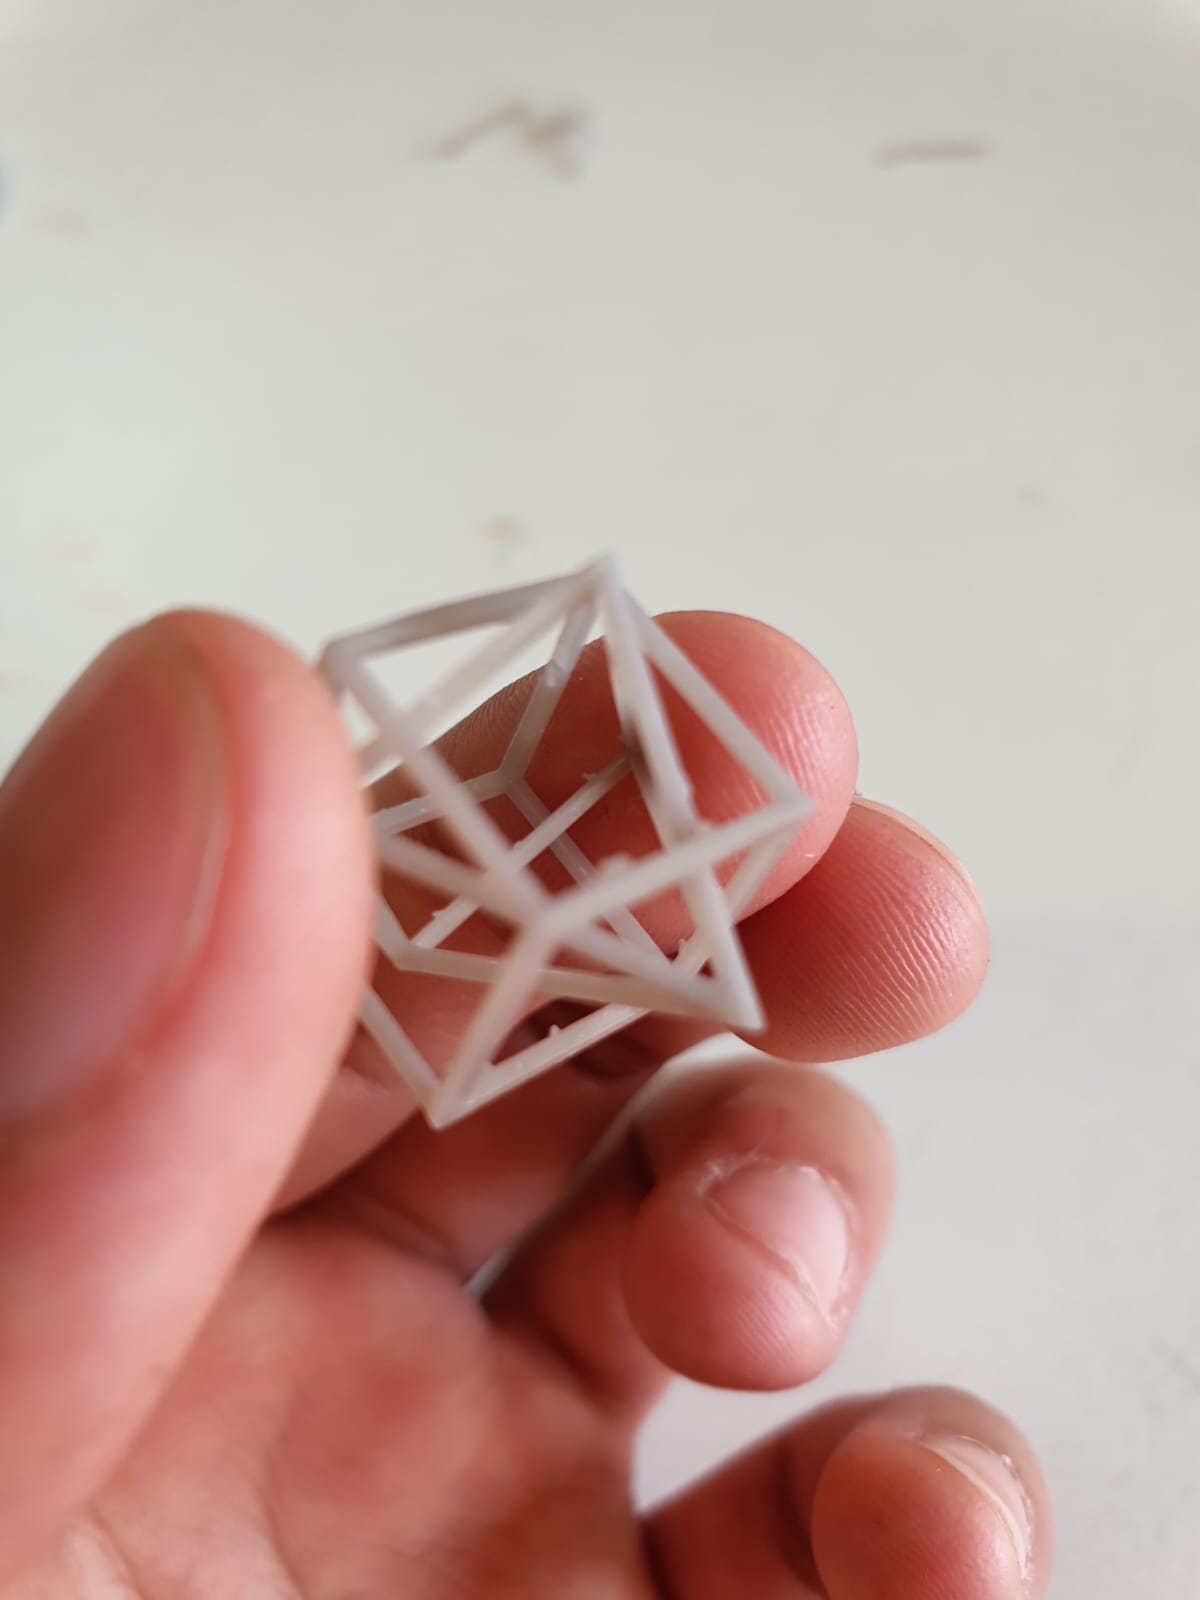
After removing the supports we get 2 parts, the big one was easy removing the supports, but for the little one was a different case (very complicated). I was impressed on how well the part print (it is only 2 lines of filament).
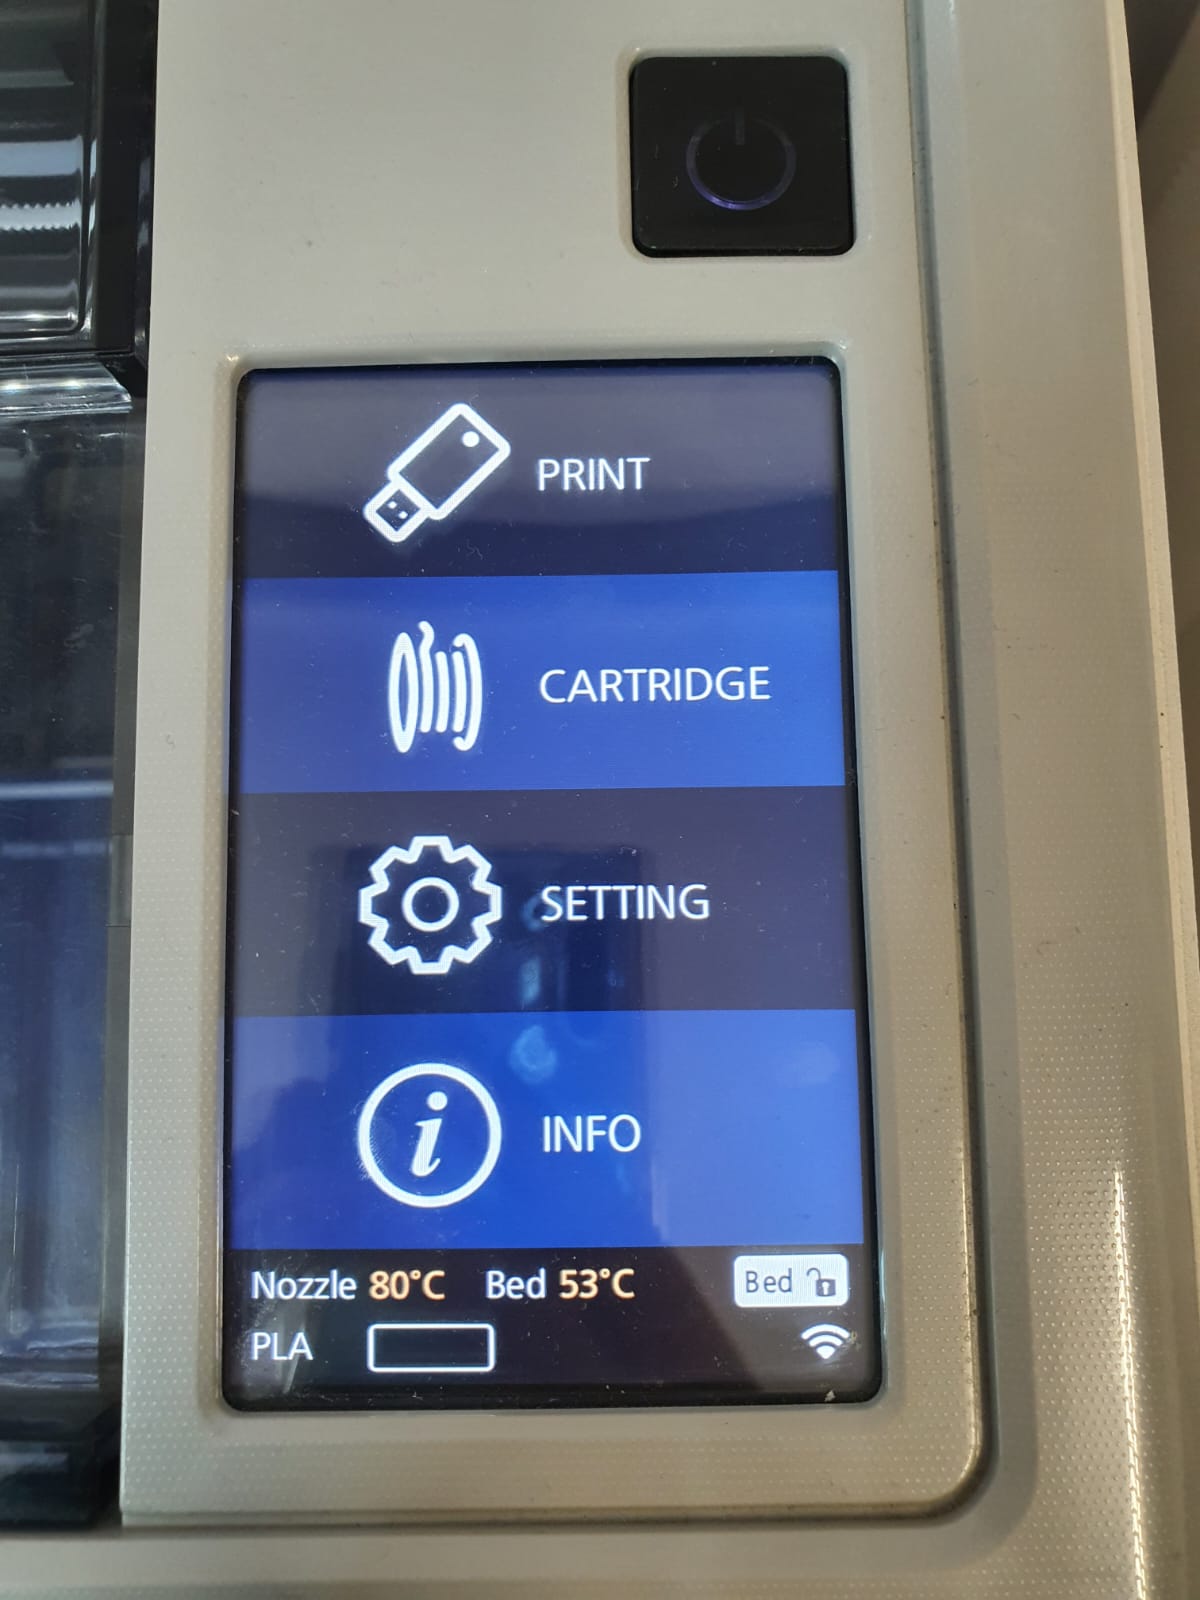
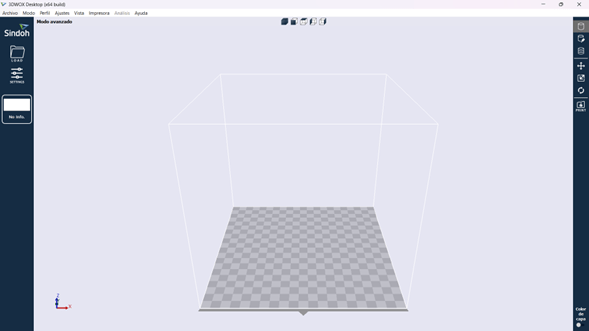
On the 3D Wox we have a different interface, less intuitive and older than Cura on the left we have the setting of the printer.
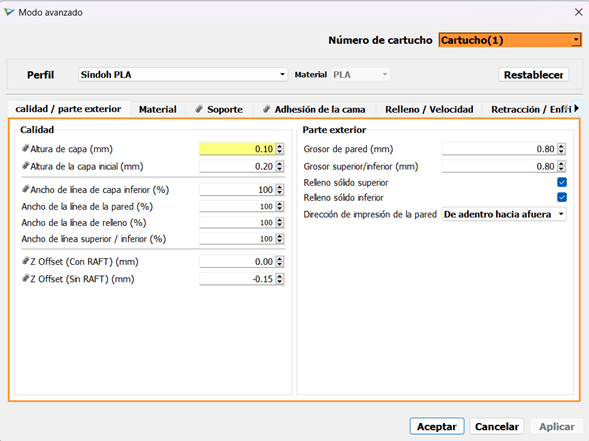
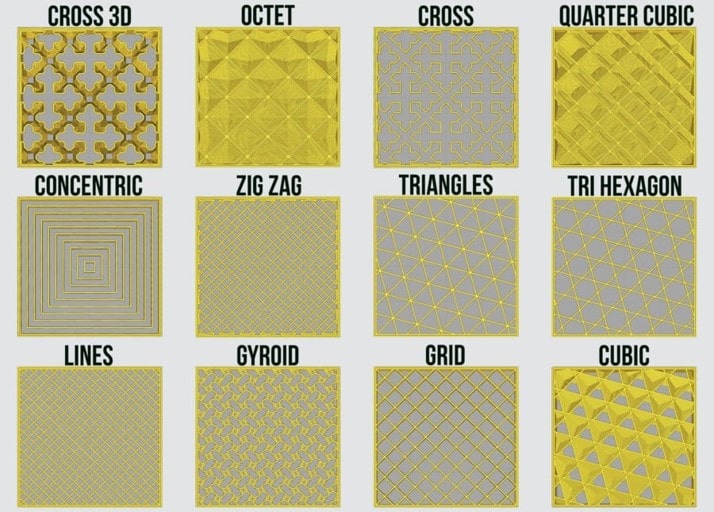
I made two different test using different supports patterns, but it didn't change much.

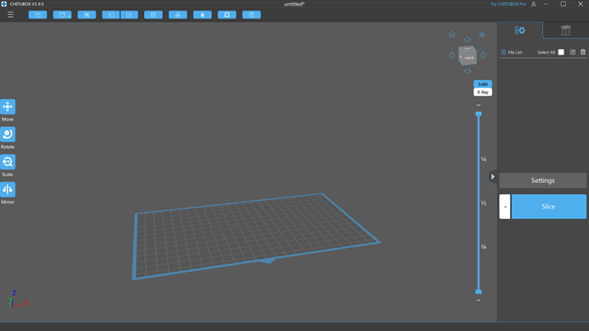
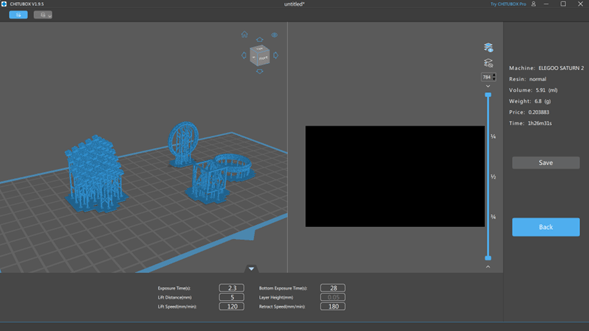
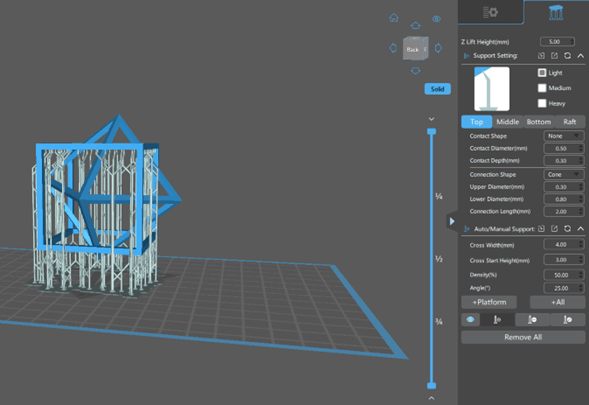
Chitubox generates a .ctb file used for resin printers, in this case Saturn 2. I used high speed resin. It is important to set the parameters correctly for a correct use.
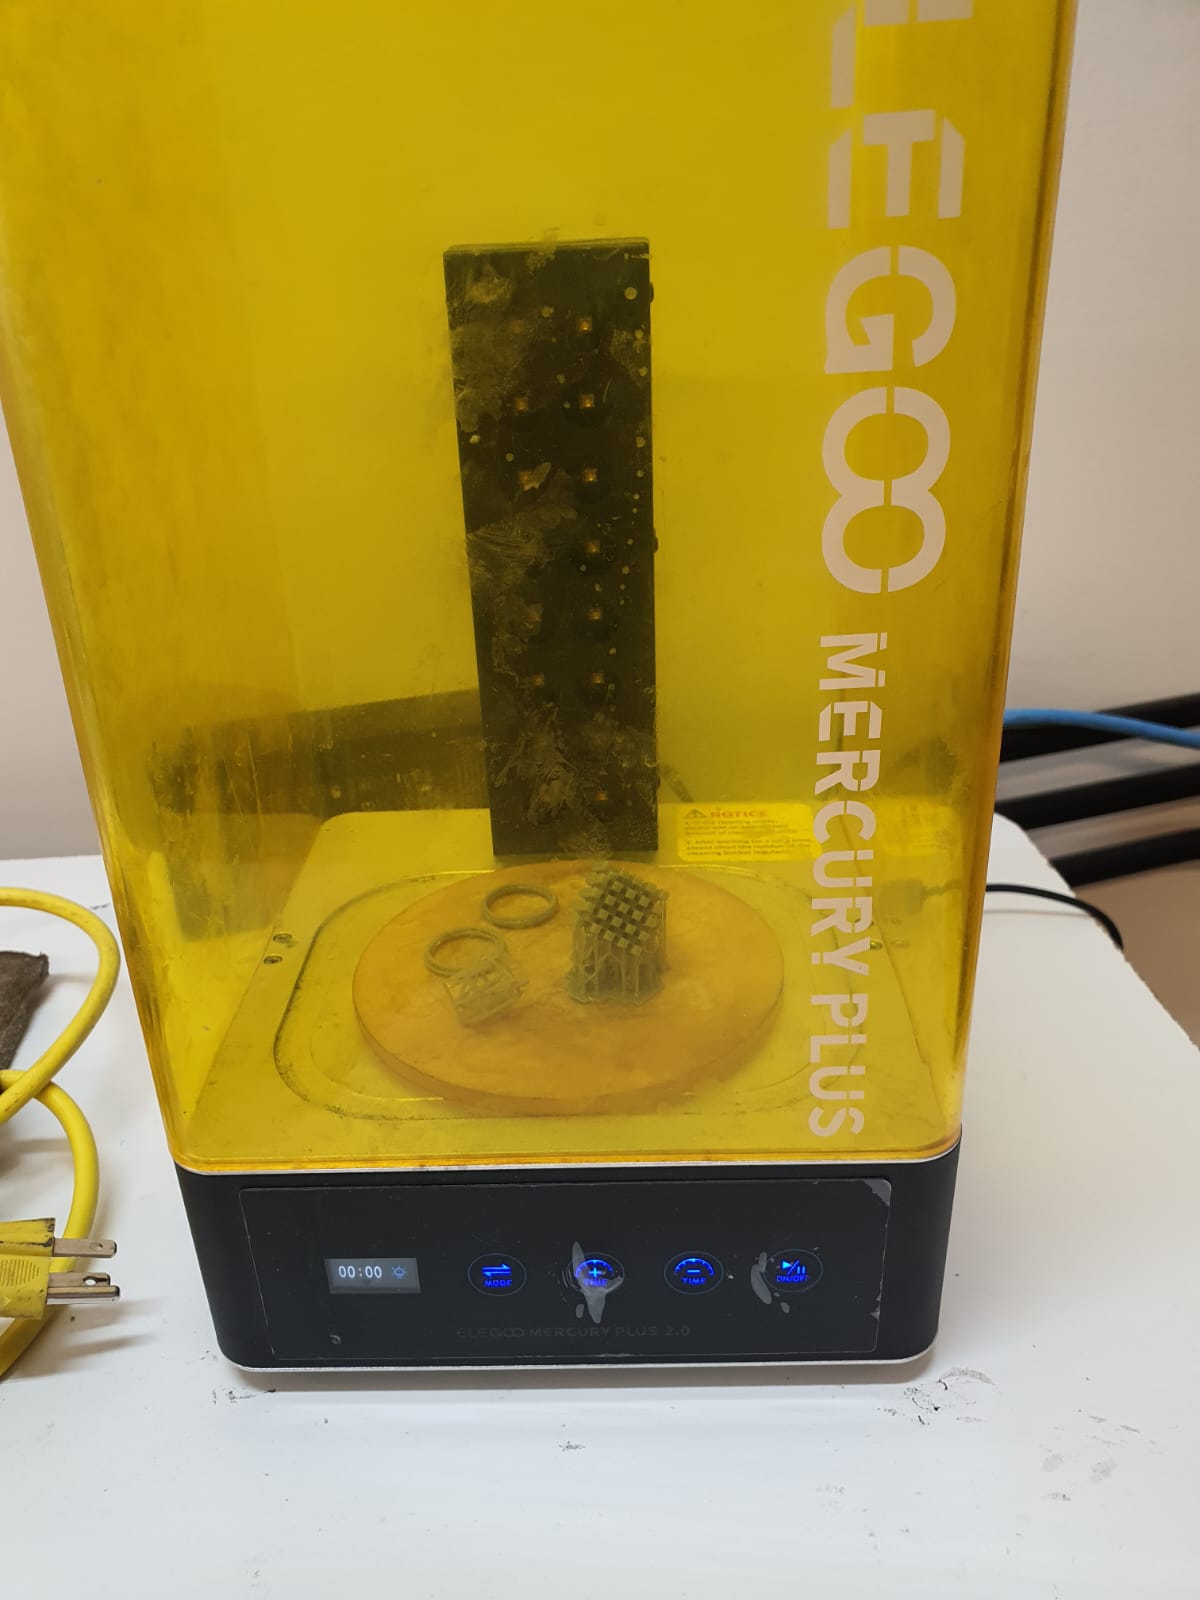
-
Steps:
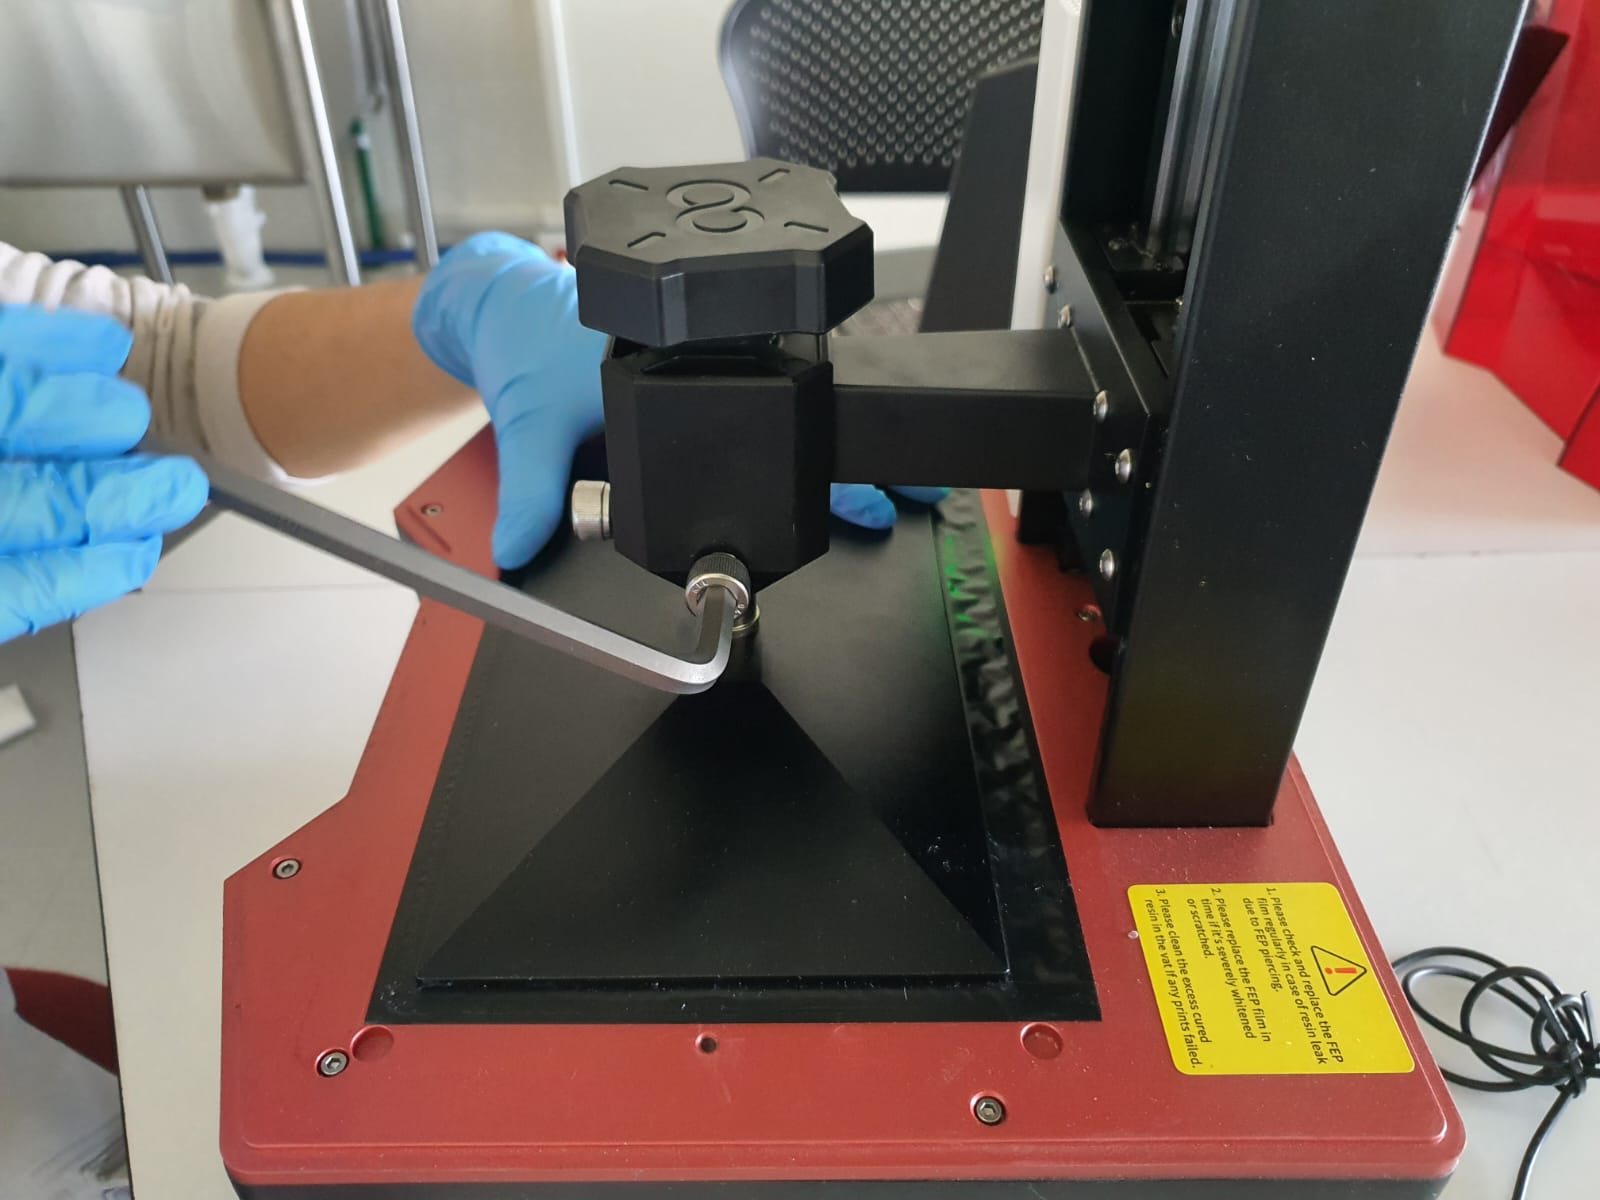
- Calibrate the machine
- Add resin
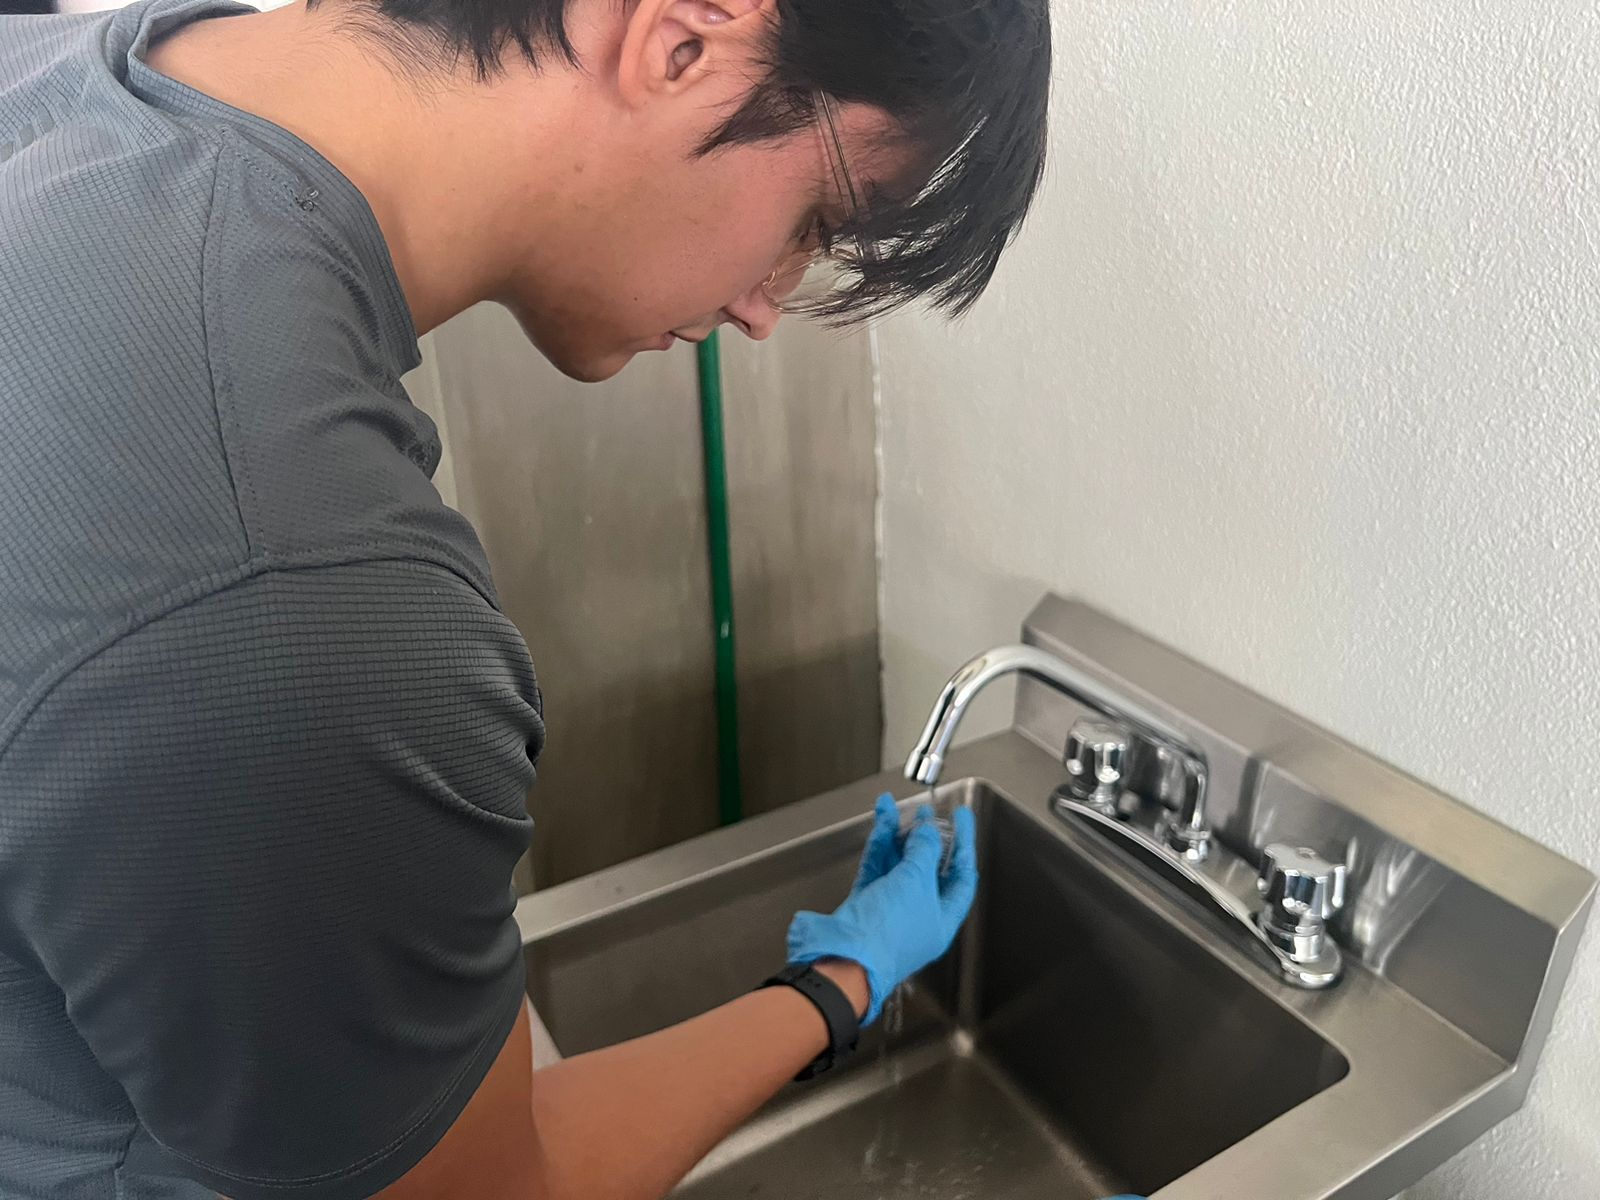
- Remove parts
- Clean the parts (isopropyl alcohol)
- Cure the parts
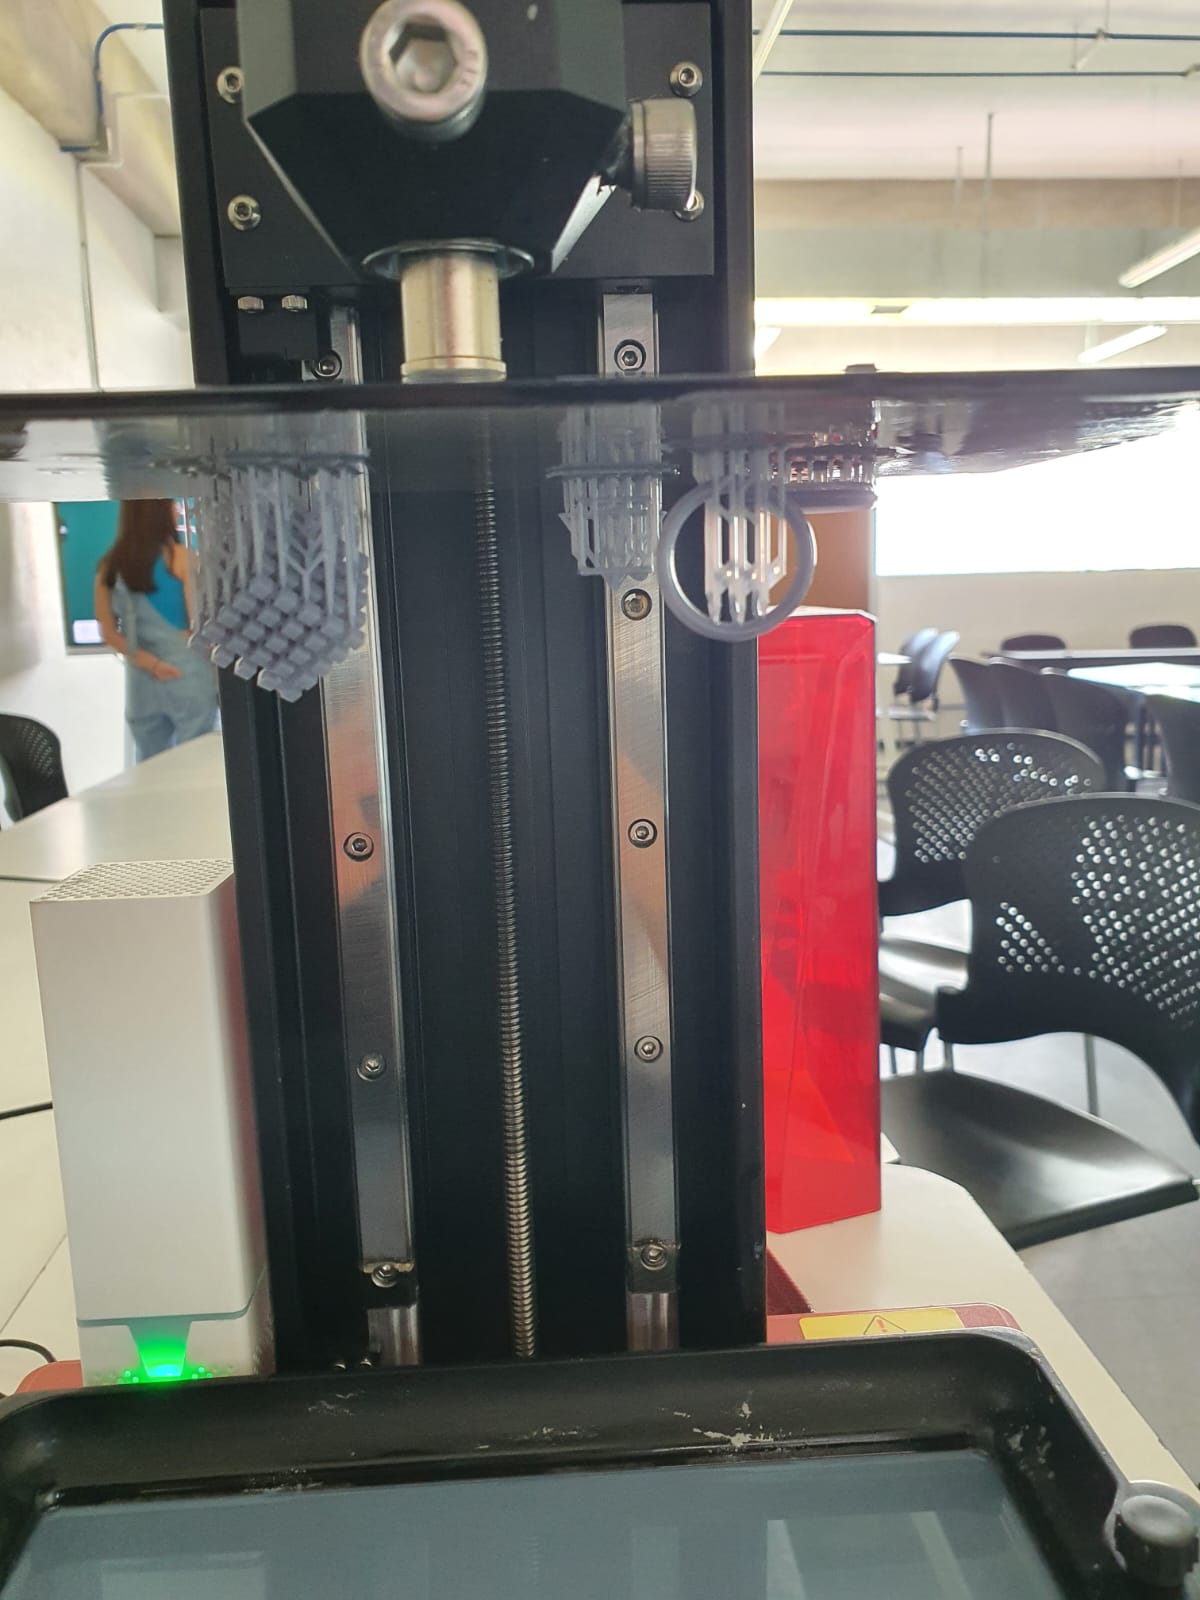
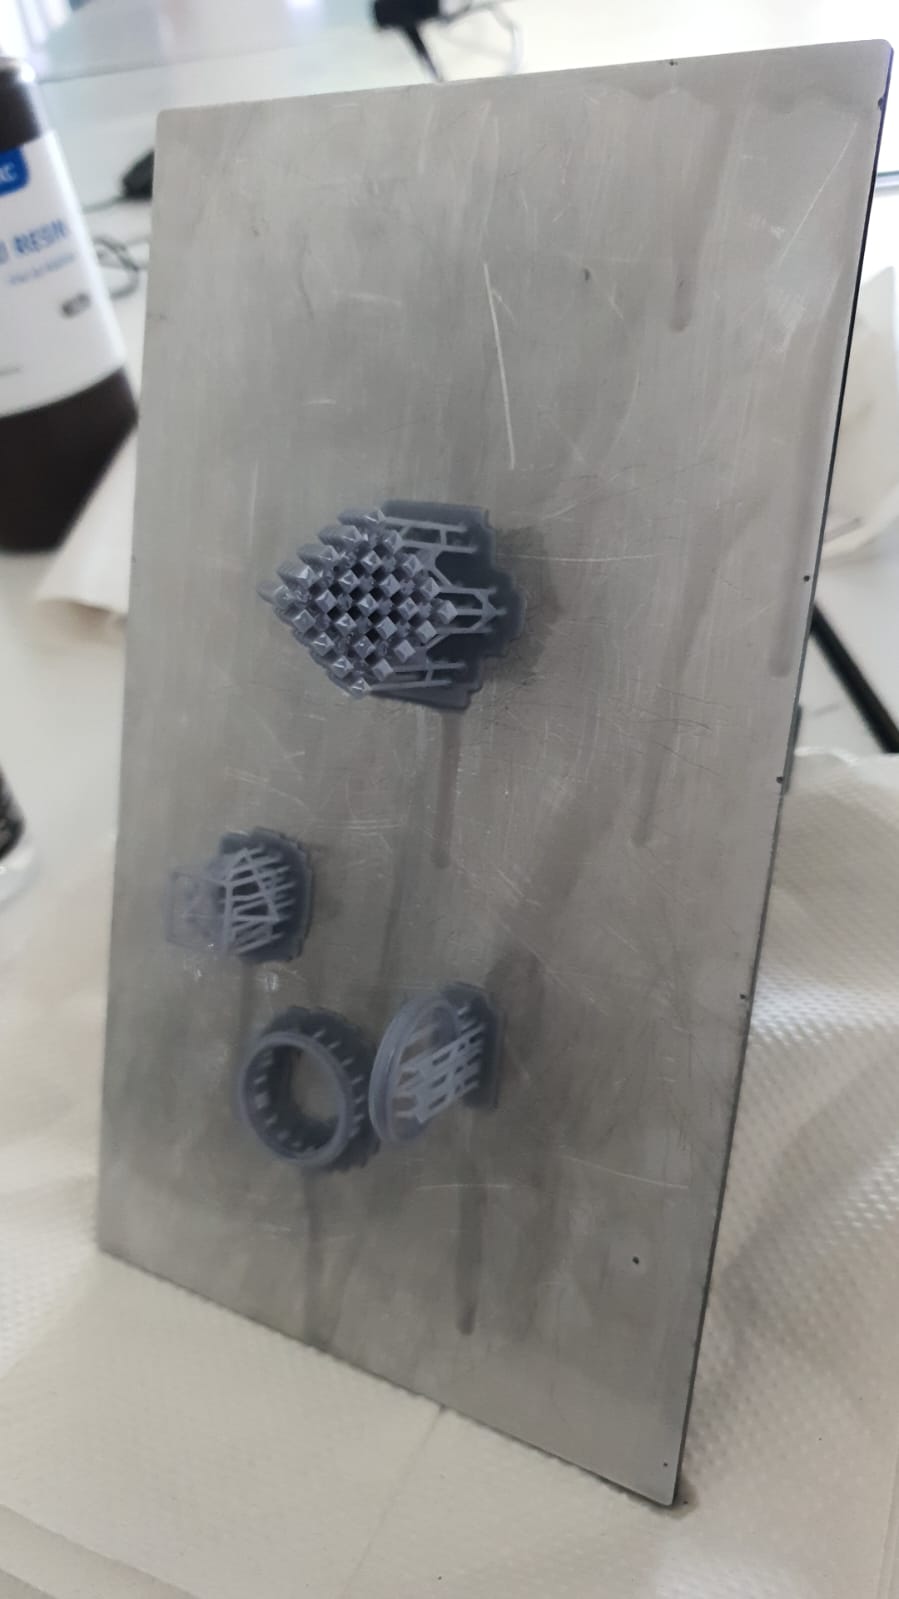
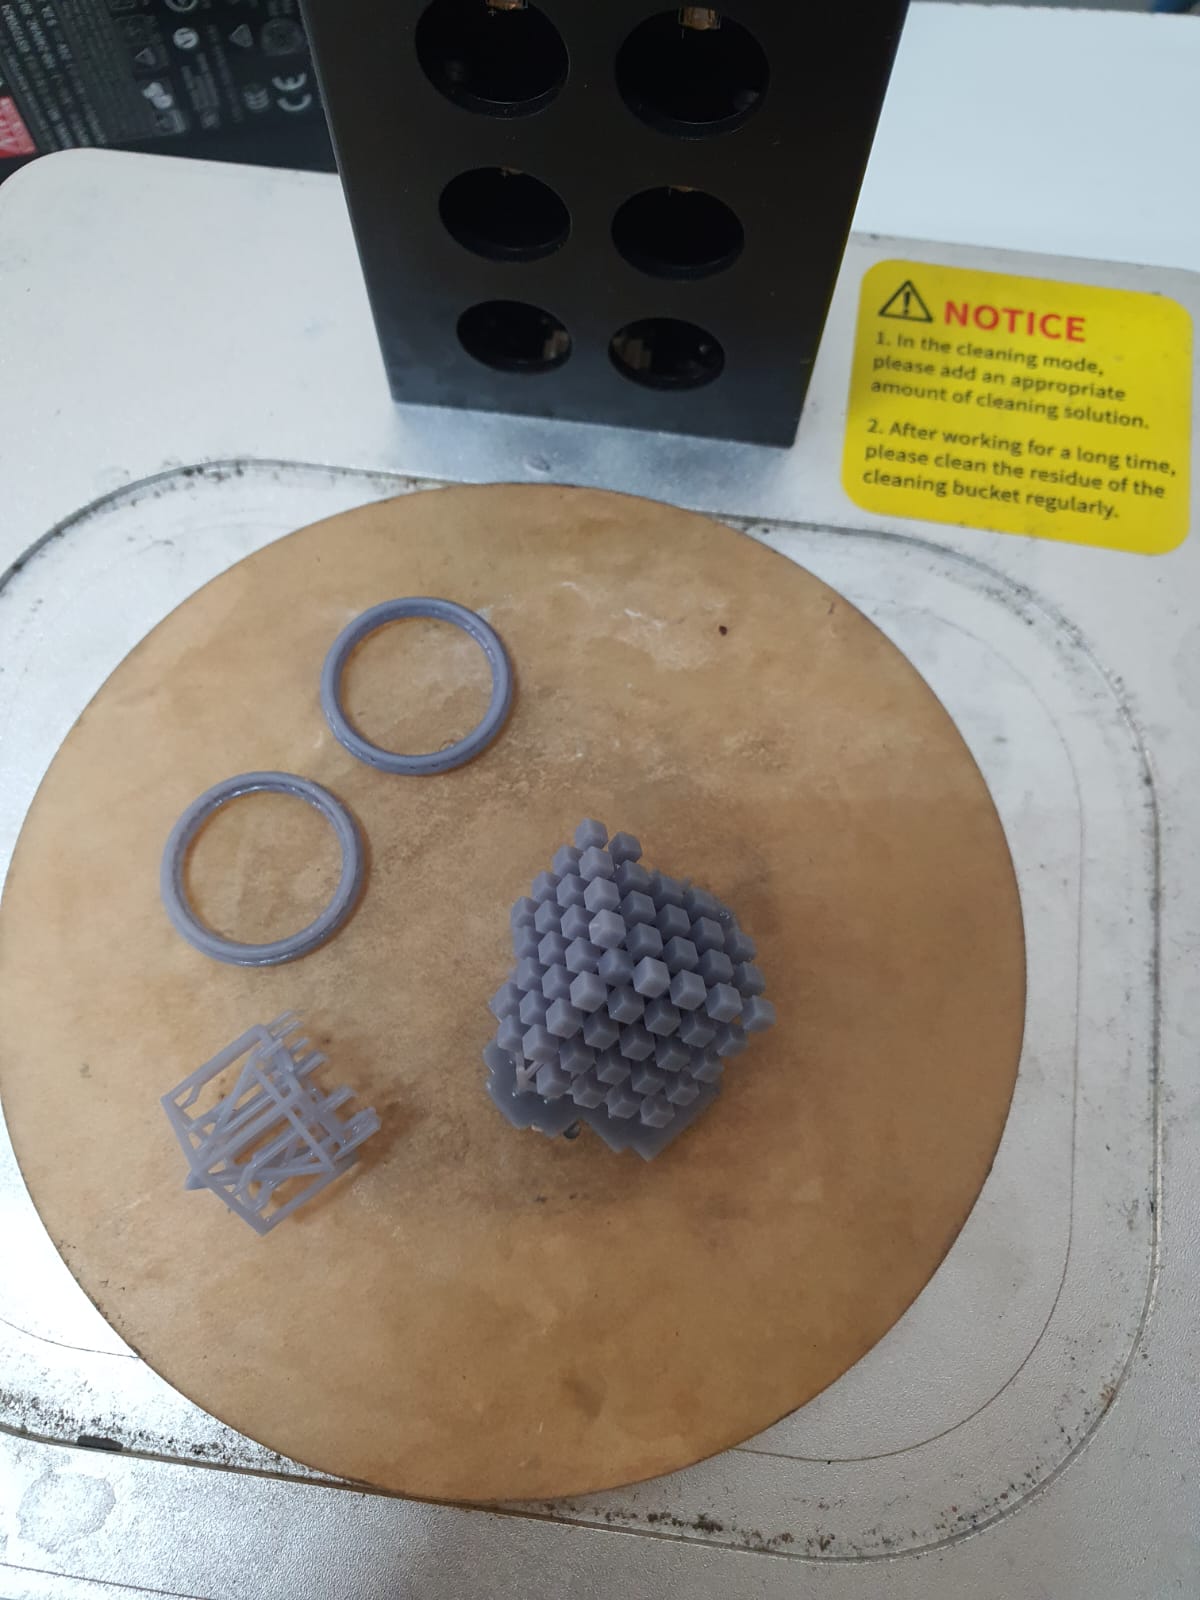
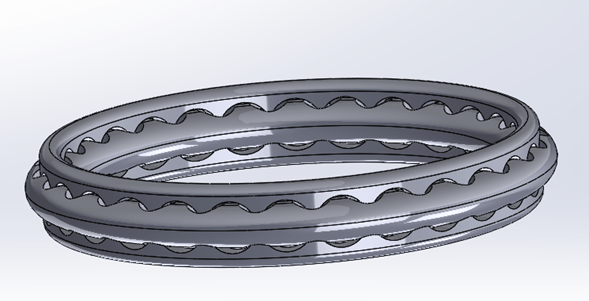
Final parts
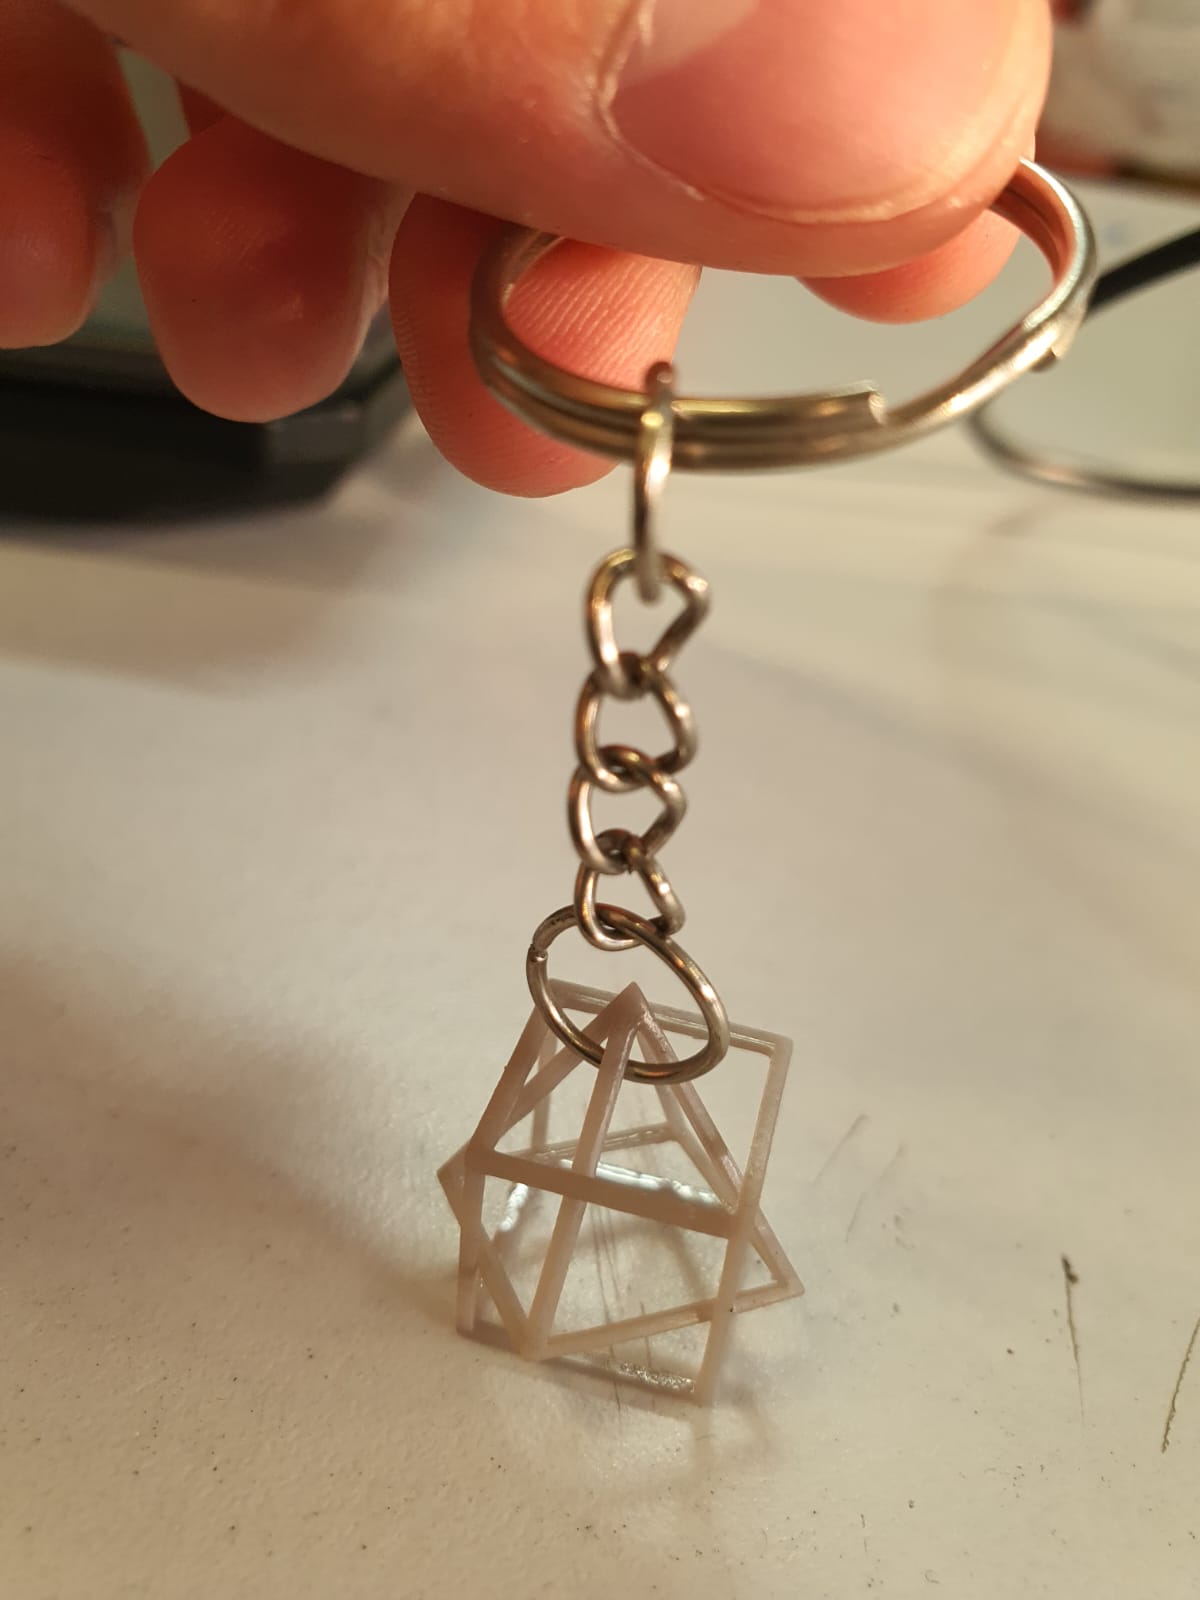
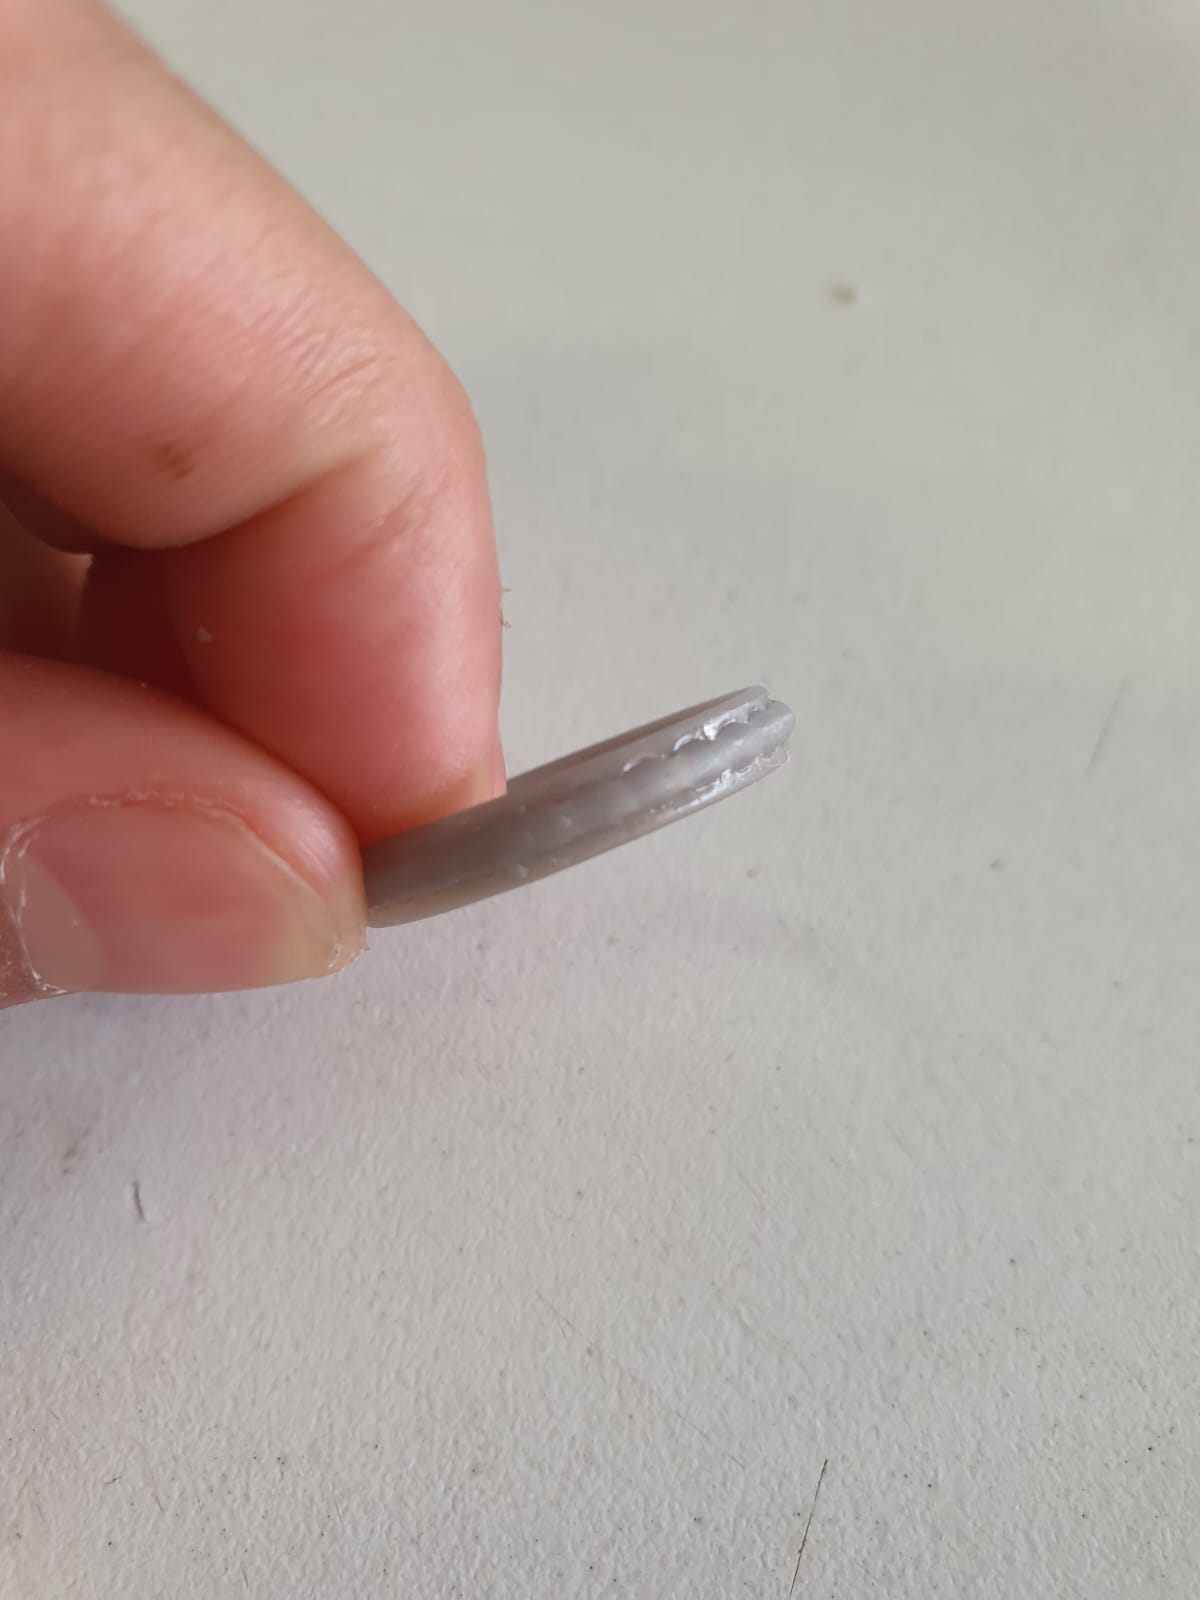
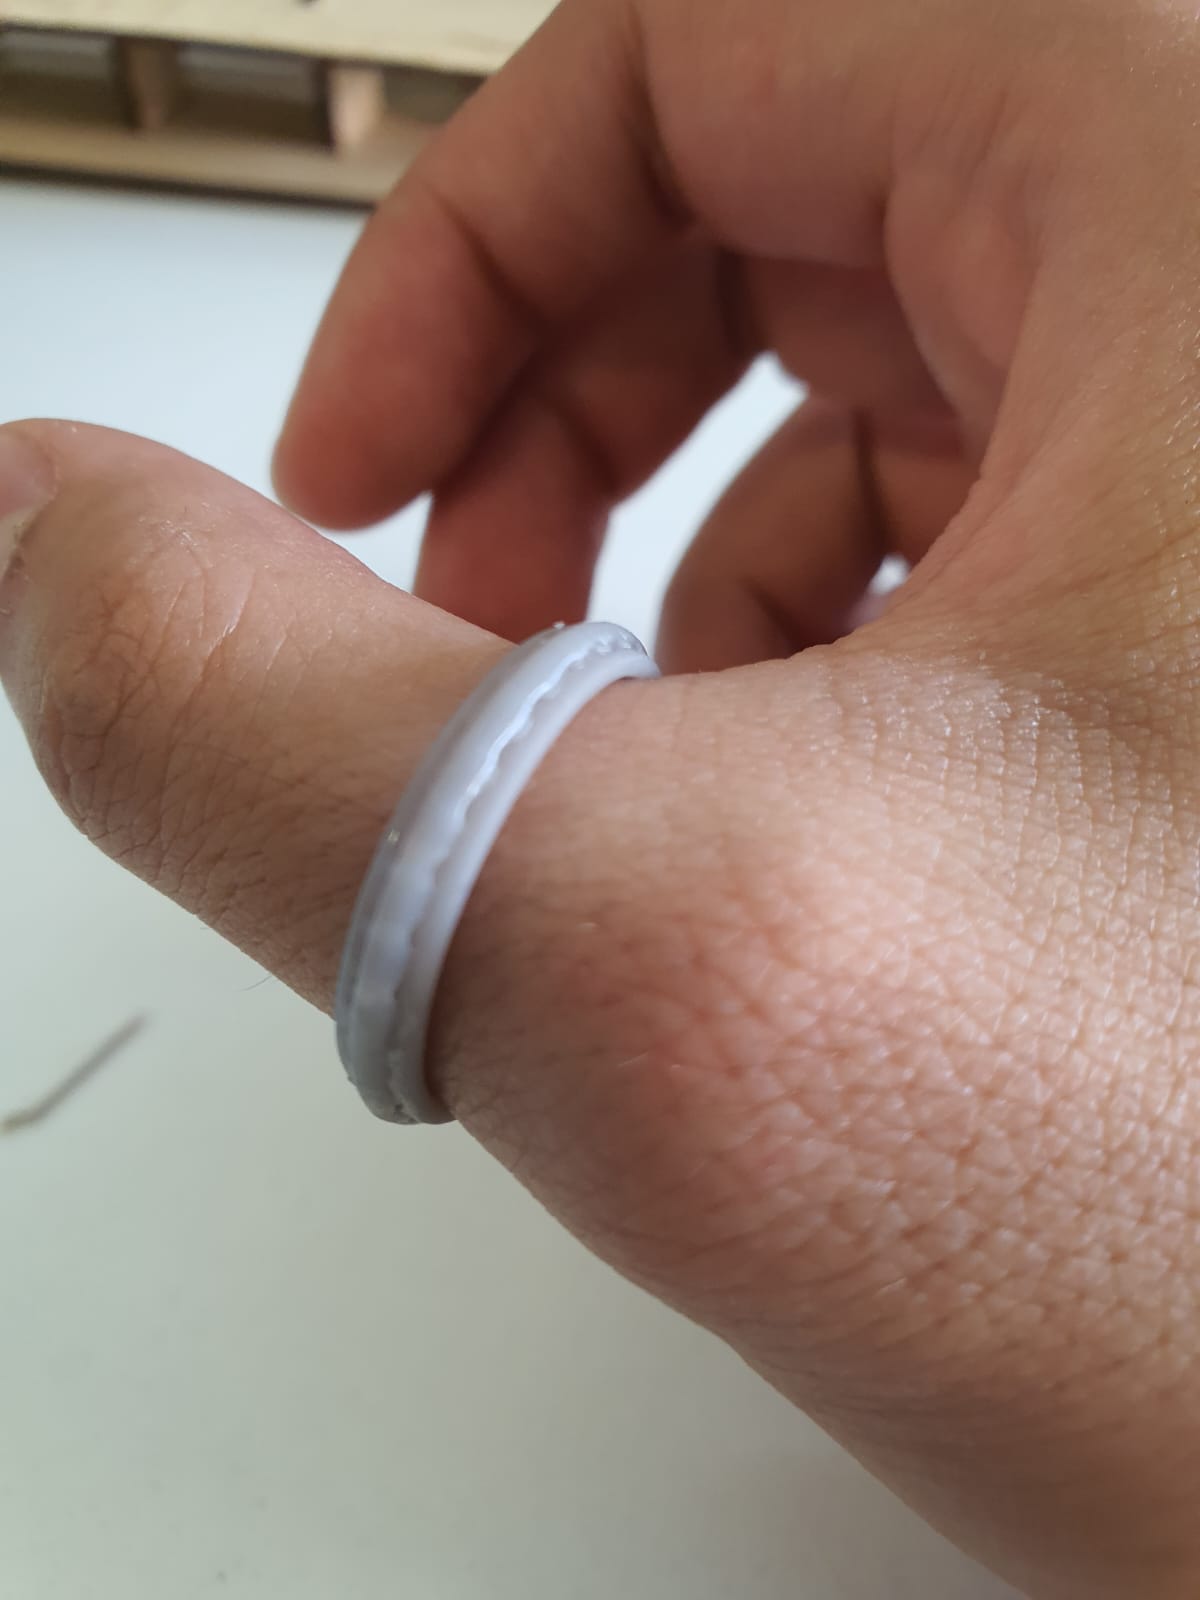
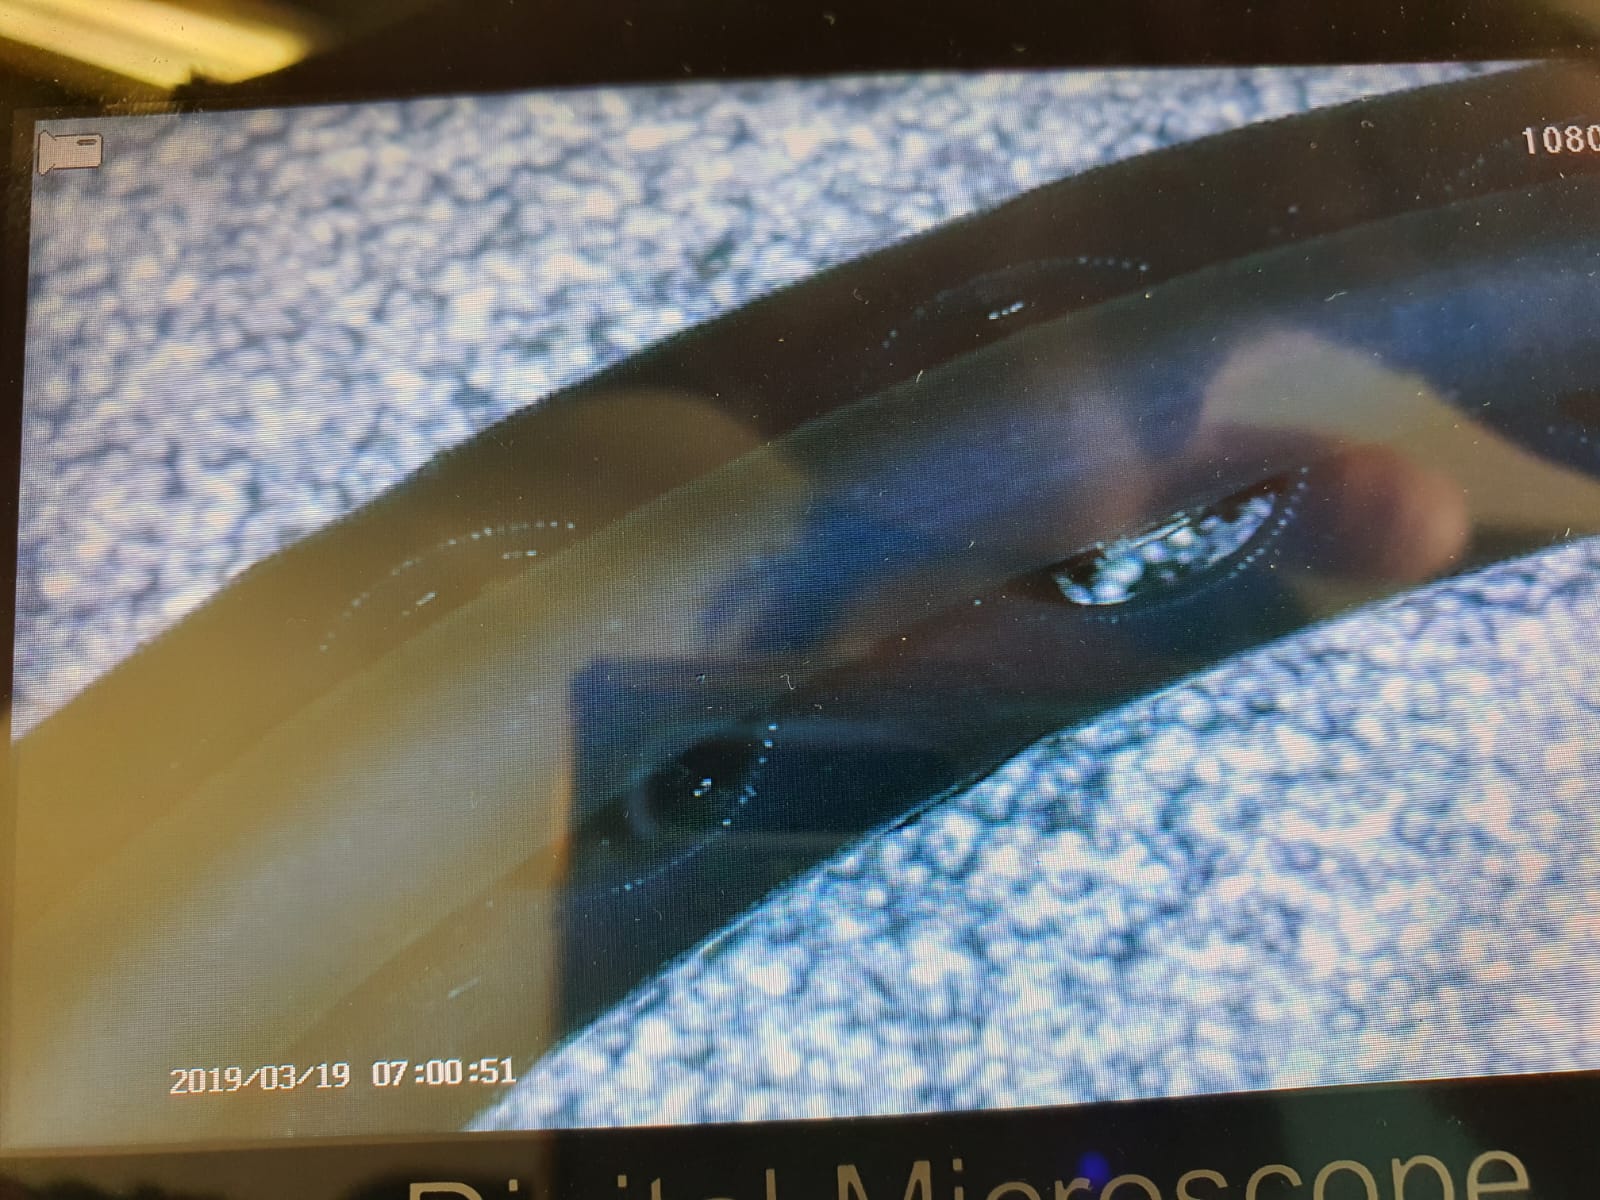
I also created a ring with very small perforations that cont be printed in 3D for its tolerance, and amazingly the resin went pretty well.
Files
Scanning
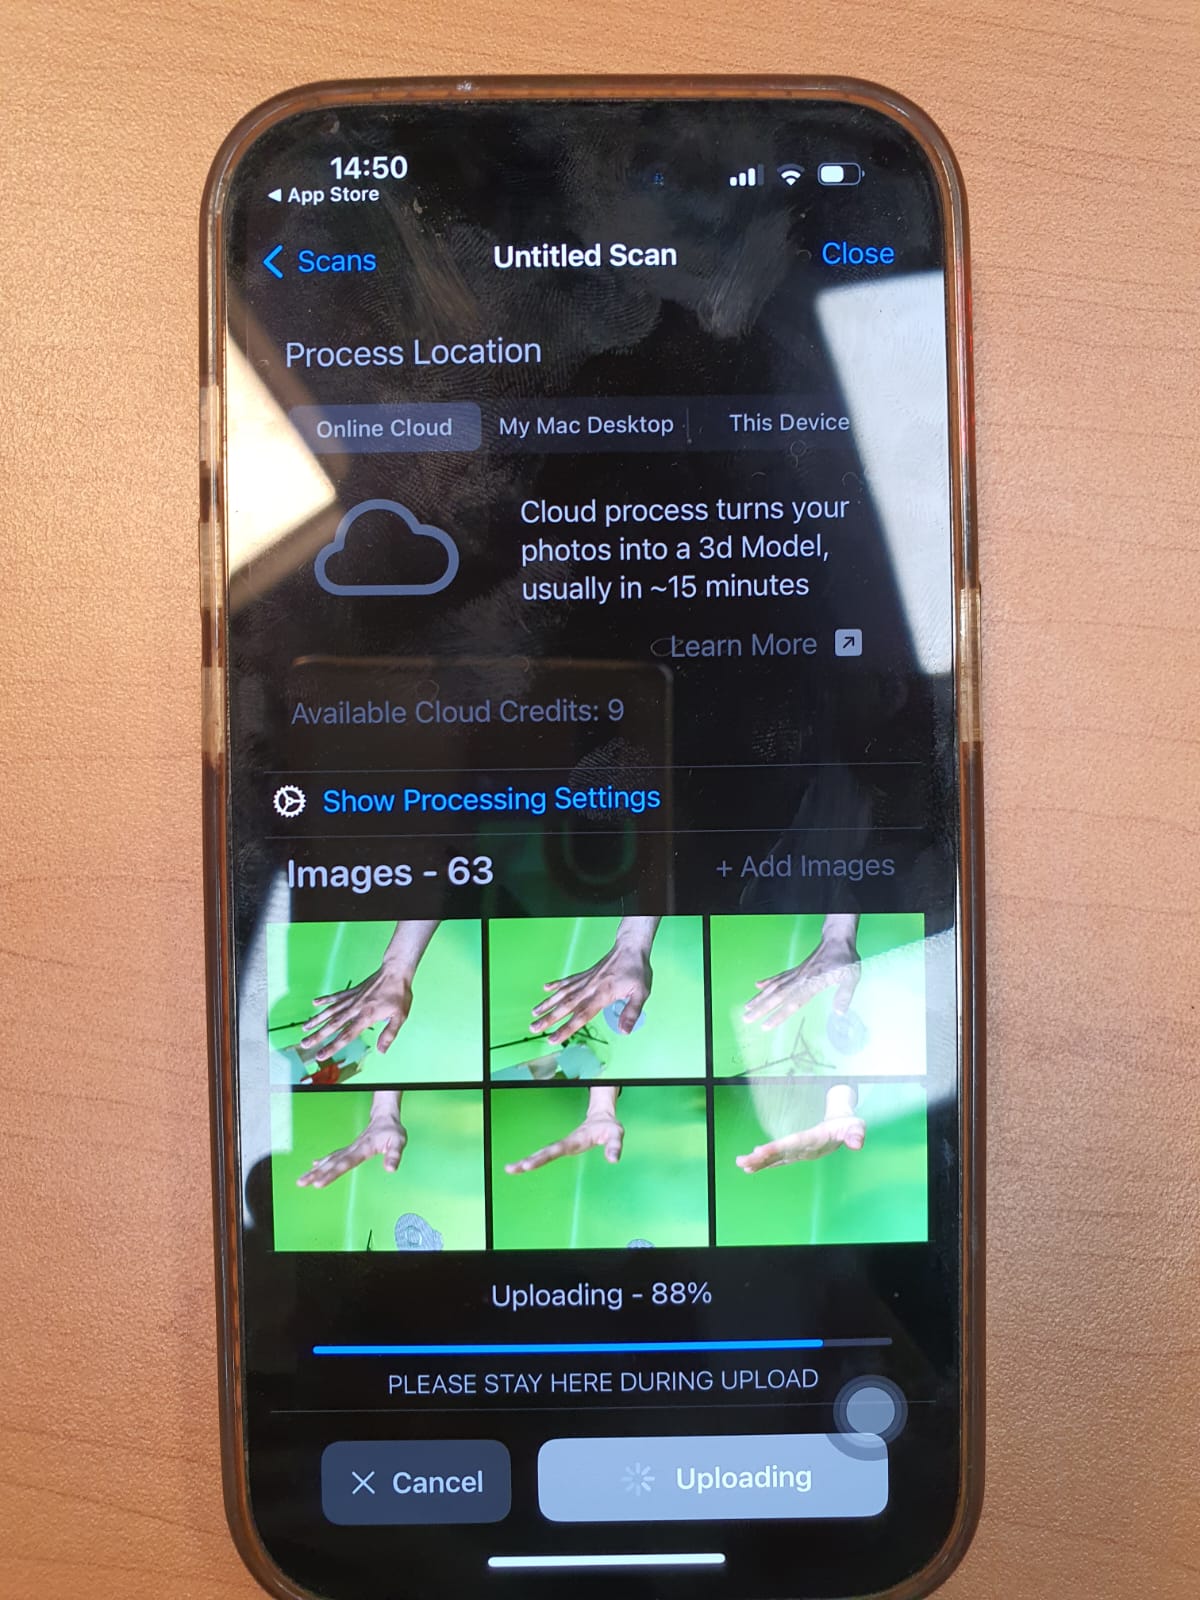
For the scannign I will be using an app called 3D Scanner App for IPhone. Here is a list of different
apps you can download, some of them are free, others costs.
For my Final Project I will need to make a glove so having a scanned hand to modify, add and meassure
different components its crutial. So with help of some friends I scanned their hand and subsequently print it.
The app is very intuitive and easy to use, I will generate by photos, after taking a lot of photos from diferent angles
upload them and click on process. Wait some time and you get a model you can edit if needed. After you can export as .stl
or .obj.

If you want, you can export it and use it on a modeling software, for example I used solidworks. In here you can create parts to add into your design.
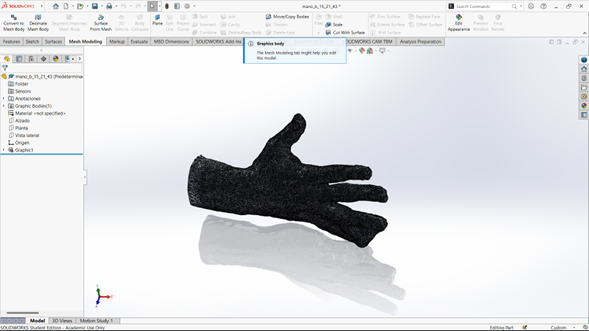
Below you can see the real hand to compare it with the stl.

Now let's print it
I decided to print it in Ender for the support and the scale used.