2. Computer-Aided Design
Computer-aided design or CAD it is used to create 2D or 3D models of real products, this helps the companies save resources before manufacturing their products. For this week assignment I will be explaining some of the most used softwares for 2D and 3D manufacturing.
List of Softwares
On the buttons below you can find basic instructions of some design softwares. It's ipmortant to know the diferences
in each one and when to use it. The designs aren't out of this world but it shows the basics (tools, functions).
Lets keep it simple!
I've never used most of this softwares but I did my best.
My Project
After using different softwares and deciding which one is best for my necesities, I decided to use SolidWorks because of my experience with it and the way I can make assemblys.
Design
As mentioned in the Final Project part, I need to make to parts to be complete the first one is a glove with sesnros mounted up and for the second one a speaker to recive and interprate the information.
Speaker base
I will be making all the speaker case, where all the components will be mount up.
So lets start Creating a new part and a circle with diameter of 130mm. After we can make an extrude to give some height. Using the shell operation we make an empty circle of 15mm of thickness. For the last operation we will add little circles with a circular pattern where the bolts will be screwed.


Giving us 6 holes for screws


Speaker top
We will make a new part with 3 cricles, one for the hole, another for the extrude and te last one for reference for the bolts.

For creating a frame all around the circle for support the speaker, on the right plane we draw a slot and constraint it. For last giving a revolve around the z-axis


Assembly
 We start a new Assembly, adding both parts on it you can move them around where ever
you want to, but don't you can constraint the position as well. There is a clip on the top part
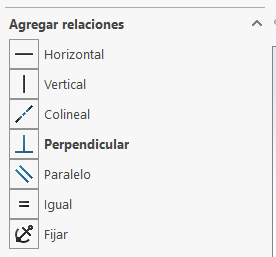
of the navigation bar, there are a lot of different operations to apply as Coincident, parallel, perpendicular
tangent, concentric, by distance, by angle, etc.

As I join them together I realize the mising spot for charging and leds indicators so Left click on the part and edit part. In there all the sketch will be modify with an cut. After saving we gat the final desgin case for the spaeker.


SolidWorks
SolidWorks is a CAD model, it consists of 3D geometry created from models or draftings. A way to start is on a Sketch where you add your features, from there the operations can be reordered, edited or add other ones.
Features for Sketches
- Boss-Extrude: extrudes a sketch (lineal)
- Fillet: to round off corners/edges
- Shell: removes the inside of the body leaving a thickness
- Revolve: add material by revolving a sketch around an axis
- Cut-Extrude: remove material from a part
- Holes: diferent types of holes in the model
- Loft: transition between profiles
- Mirror: repeat a pattern along an axis
Sketching Features
- Line: creates a line with 2 points
- Smart Dimension: give a dimension
- Circle: create a cricle
- Rectangle: rectangle with 2 or 3 points
- Arc: arc using center and 2 points
- Trim: erease or convert lines
- Convert Entities: sketch all the border lines
So, let's get Started
For using solidworks you require a license for using it, once you install and open it its going to show a window where you can choose between creating a part, an assembly (various parts) or drawing. We click on creating a new Part.
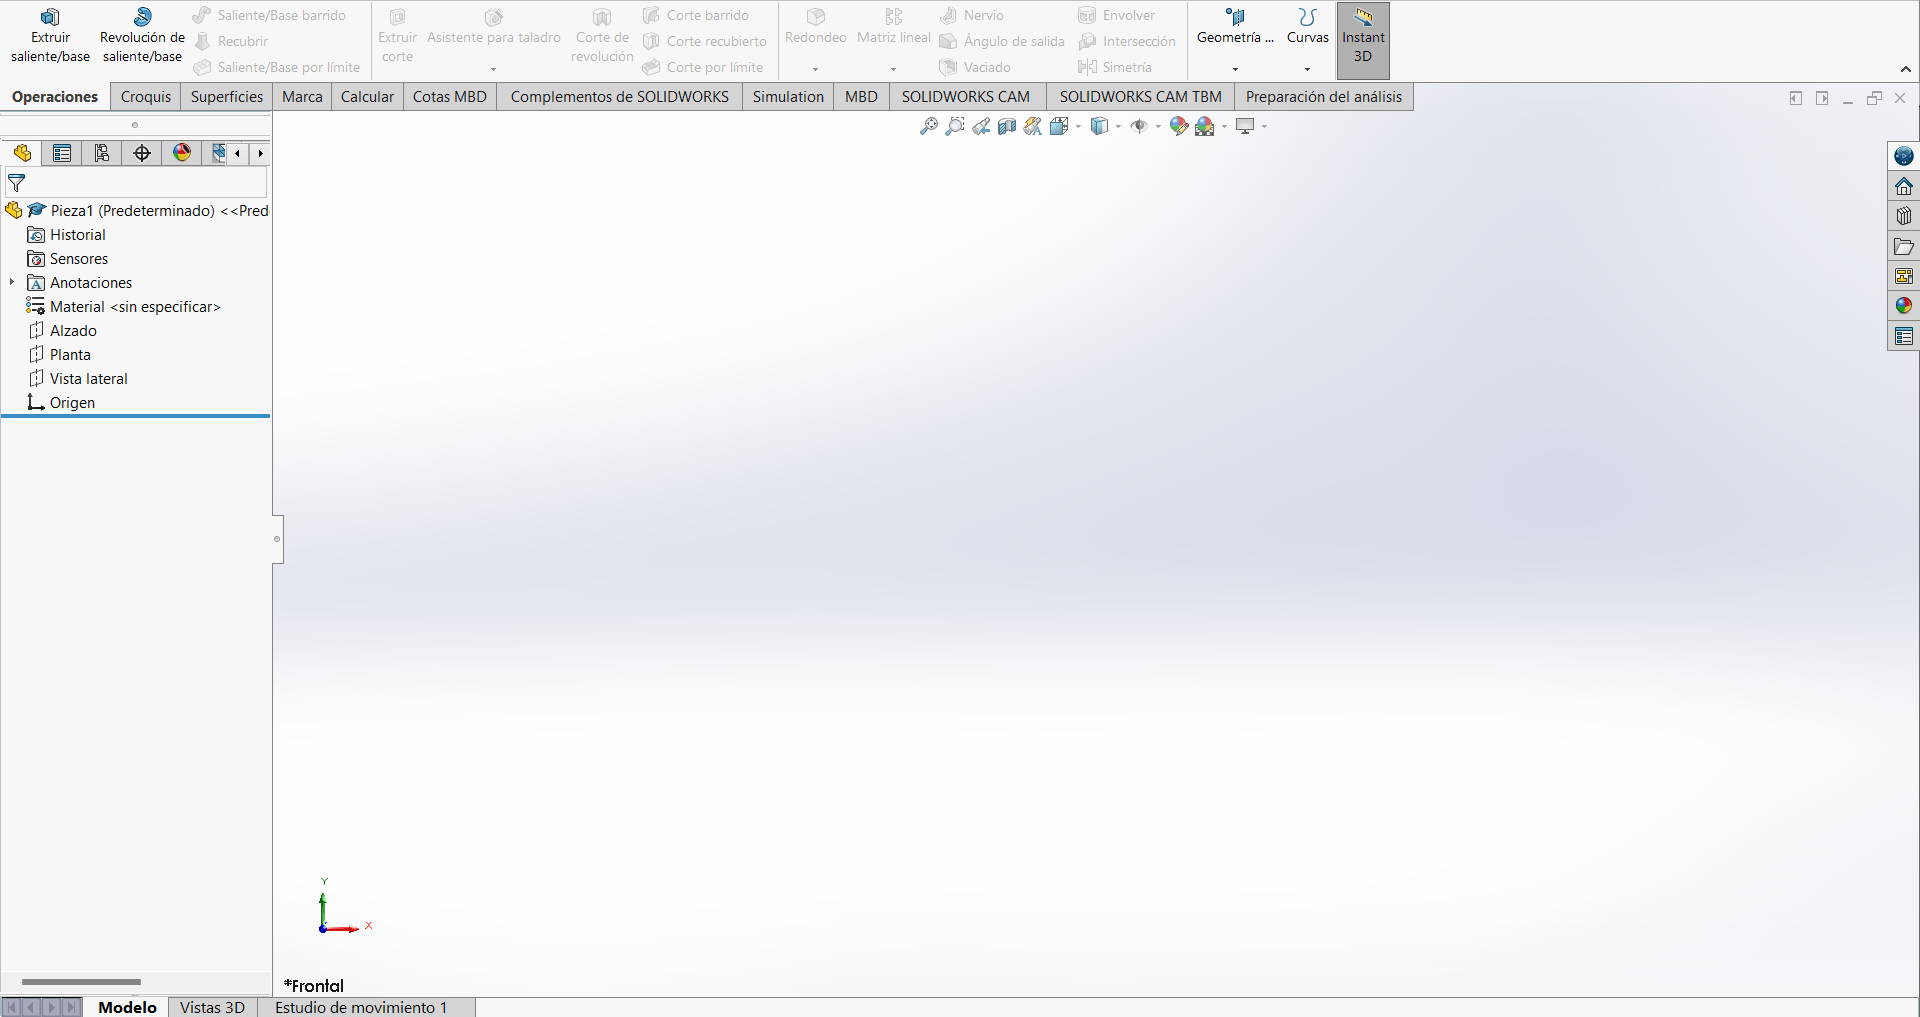
Once in the menu
The fist thing we can notice is that all the operations got a name on it, so it's very easy
to identify the operations. On the left of the window we find the part information like the history,
material, origin, planes, etc. We got 3 planes (top,front, right).
On the top left of the page we are going to select Sketch and the top plane to start sketching. Once inside de tools are going to change for sketch, using the features from above we add our shapes, it is important to mentions that blue lines aren't resticted (they can move) so use Smart Dimension to give it a meassurement (the line is black now). Constraints are usefull to prevent adding to much dimensions.
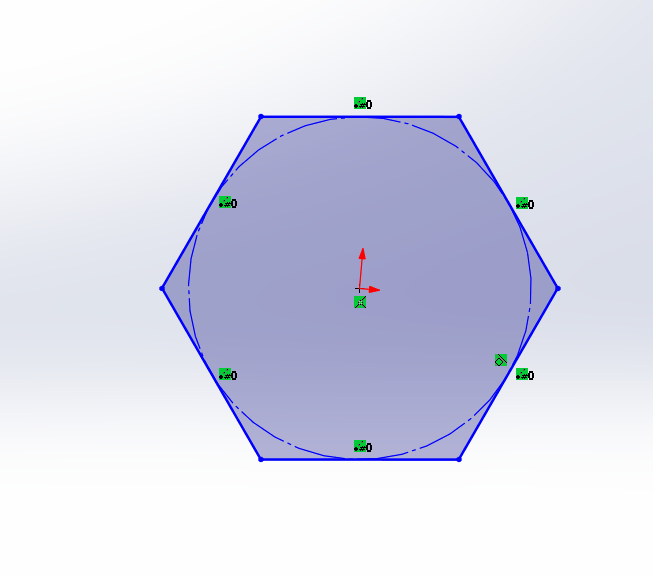
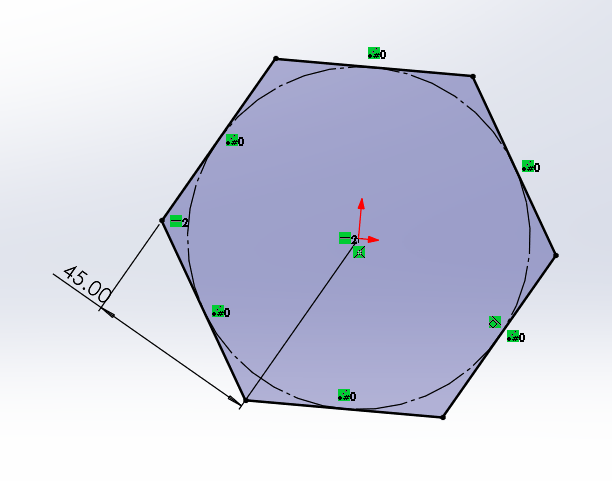
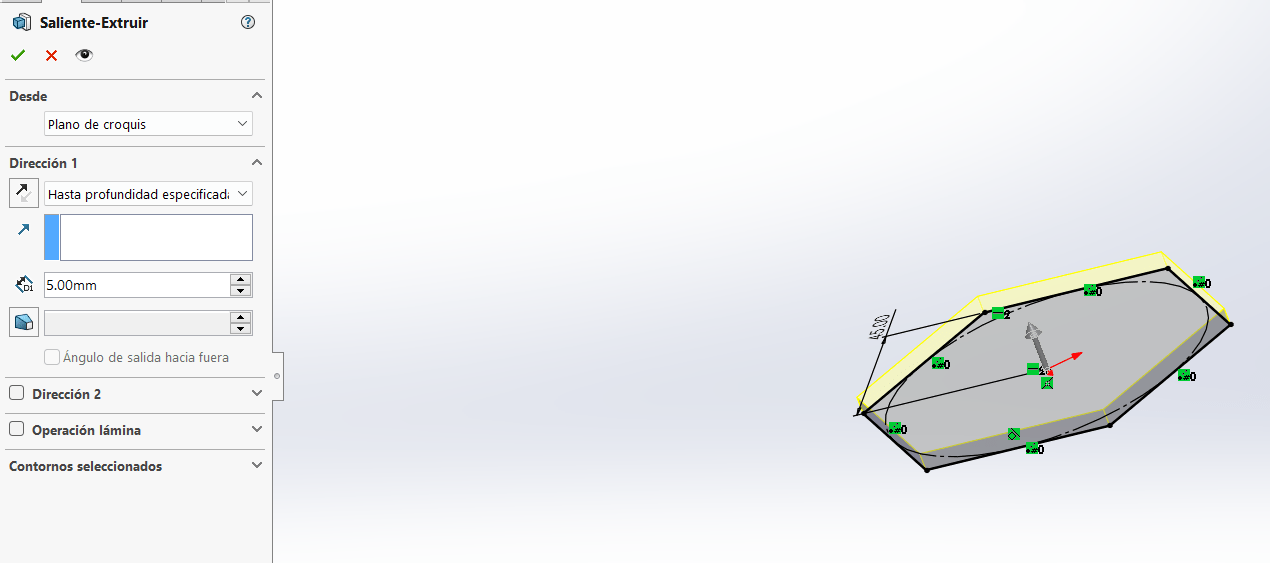
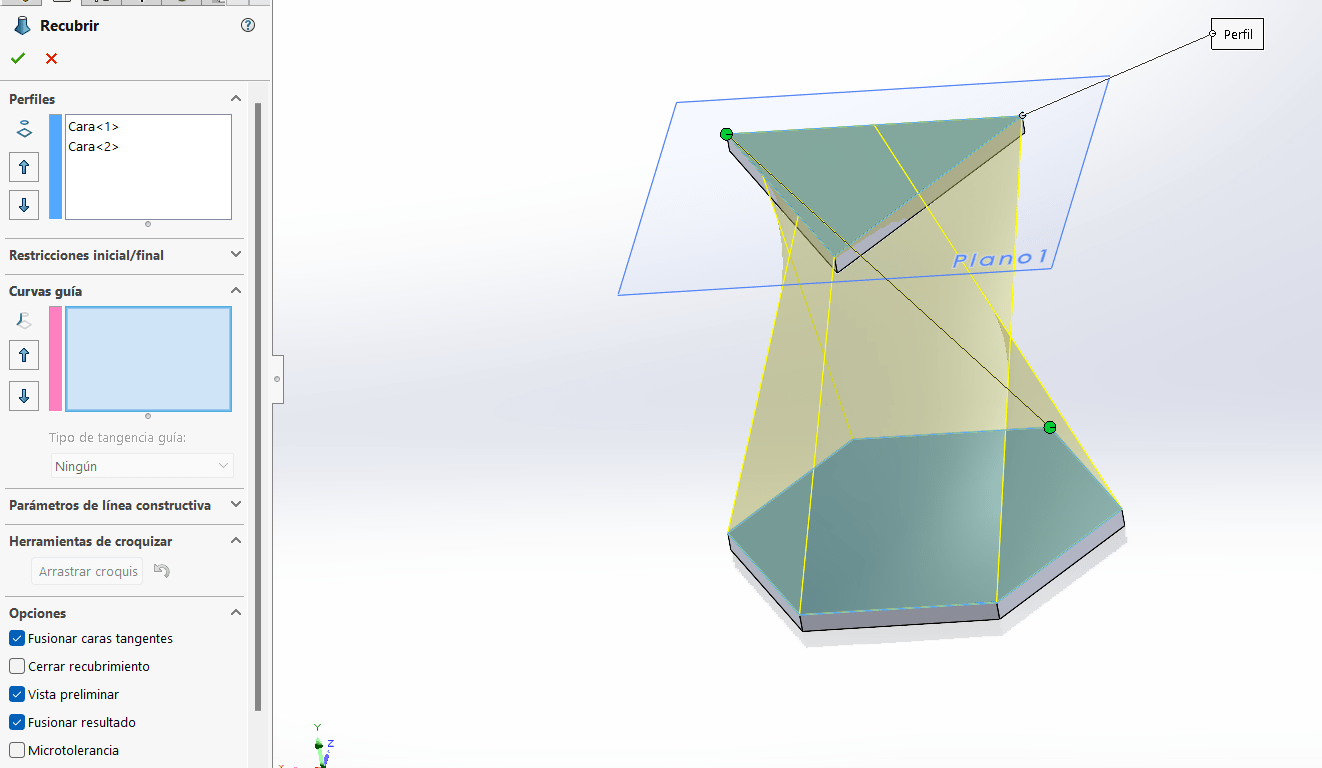
We are going to create a new Plane parallel from the face specifying the distance separation Now that we have 2 figures we are going to choose the loft operation to join them (we can especify the begining of the line and the end to give some angle).
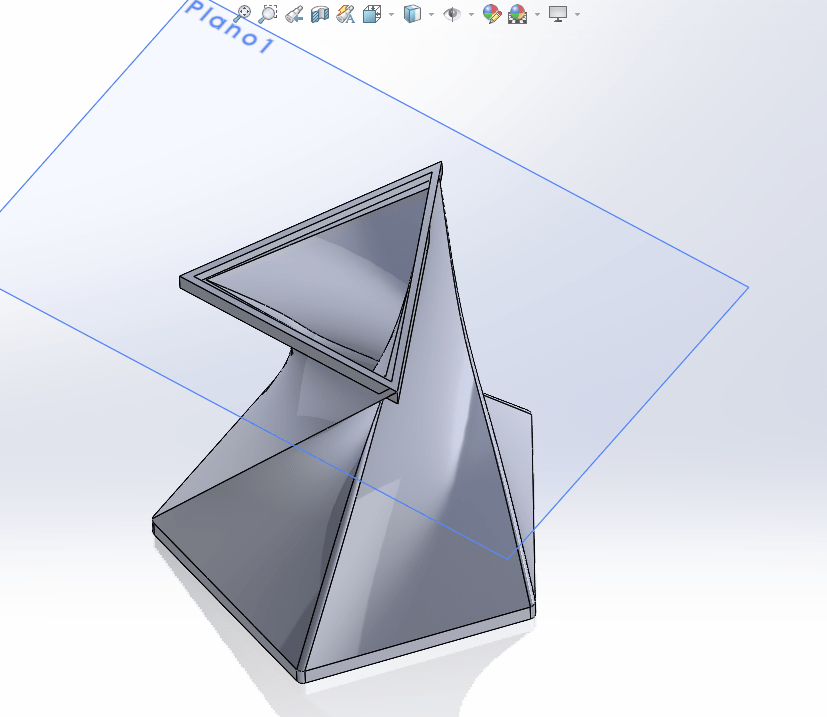
In this case we want to put things inside it so its important to be hollow, using the Shell operation we can give a thickness to the object.
For the last operation we are going to soften the corners they are too sharp, using Fillet operation on all the lines and a radius we got a beter part.
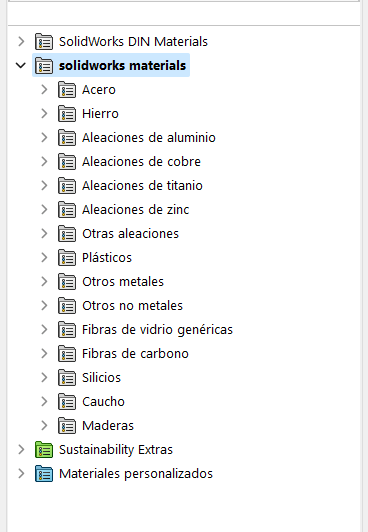
Finally we are going to add some material, right click on material it shows a new window with all kind of materials (steel, plastic, wood, etc.). Adding material will help on a future to prove strength, forces and durability of the part. For visual style, adding an aspect to get a colorfull part.
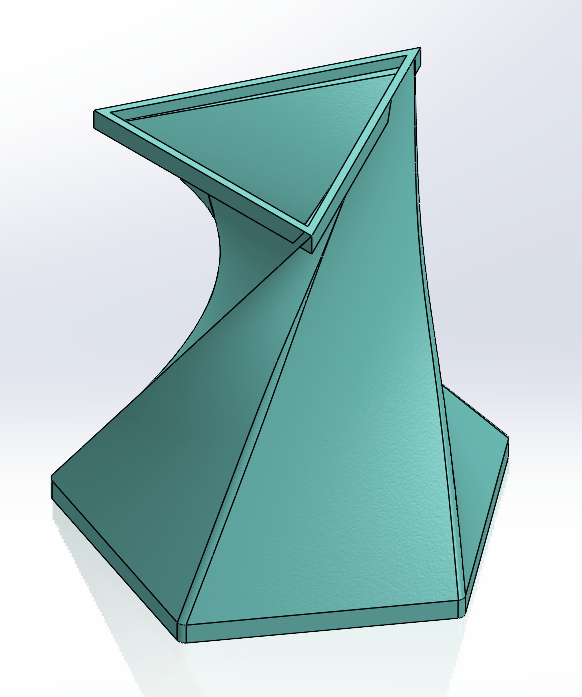
And then you have it a decorative vase for your house, room, office!
3D Model
Fusion 360
Fusion 360 is a cloud-base software from Autodesk able to model CAD, CAM, CAR circuits. Some of the advantages of the software are parametric design, freeform, surface, etc. It has an extension called workflows that allows collaboration for design. In their main page they have self-paced learning for no fee, allowing everyone to learn about modeling, manufacturing, data managment, electronics, etc.
Fusion is very similar to most CAD softwares, it's very intuitive with a top menu that changes depending on what you're doing.
Features for Sketches
- Boss-Extrude: extrudes a sketch (lineal)
- Fillet: to round off corners/edges
- Shell: removes the inside of the body leaving a thickness
- Revolve: add material by revolving a sketch around an axis
- Cut-Extrude: remove material from a part
- Holes: diferent types of holes in the model
- Loft: transition between profiles
- Mirror: repeat a pattern along an axis
Sketching Features
- Line: creates a line with 2 points
- Smart Dimension: give a dimension
- Circle: create a cricle
- Rectangle: rectangle with 2 or 3 points
- Arc: arc using center and 2 points
- Trim: erease or convert lines
- Convert Entities: sketch all the border lines
Let's Start!
For using Fusion you need a license once you got one and install it, we are ready to go.
On the main page we found something very similar to SolidWorks, we got all the part operations on top, we can sketch from a plane, etc. For this software I'm going to use a tool that I found very intersting (creating forms by deforming the object).
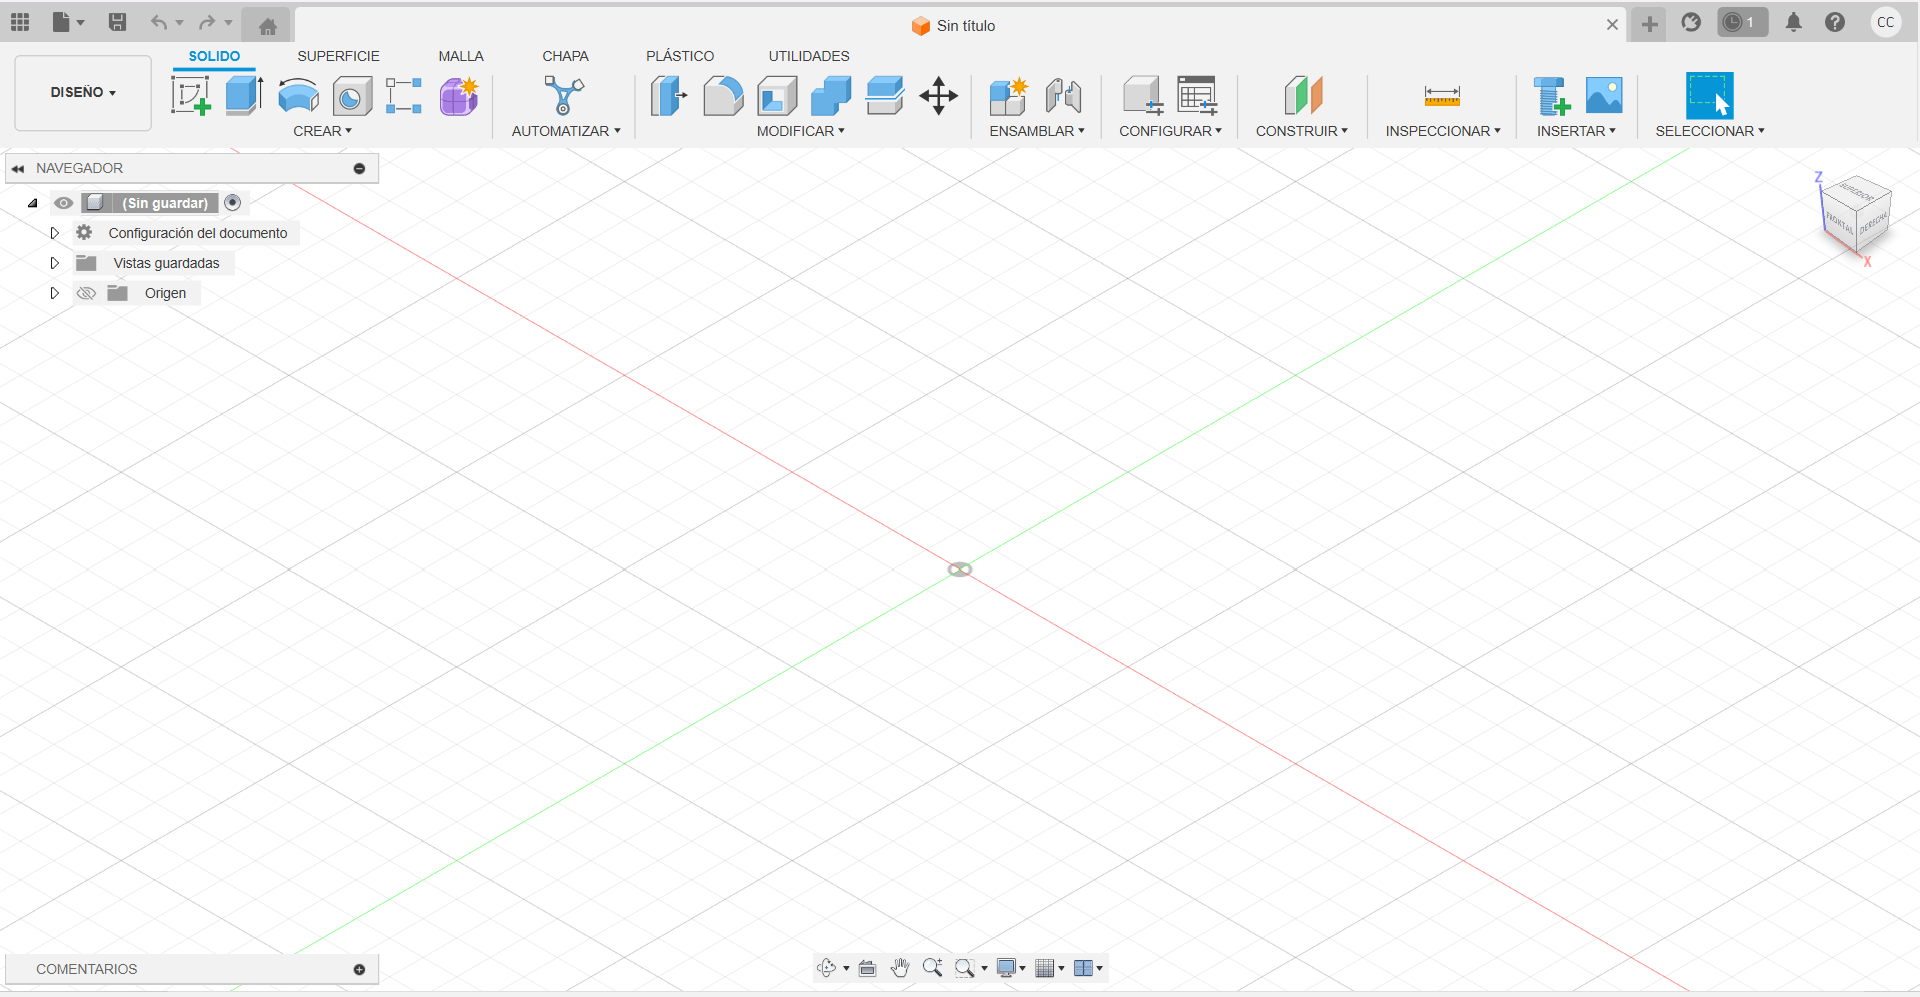
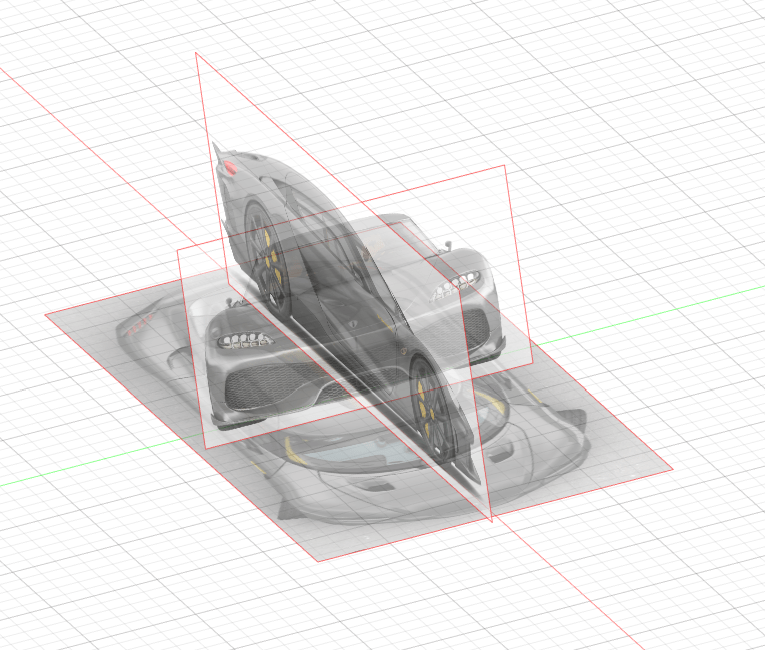
We are going to start by finding images on the web of and object, needing top, right and front view. On the top bar, click on Add Image and position it in the respective plane, now for all the views.
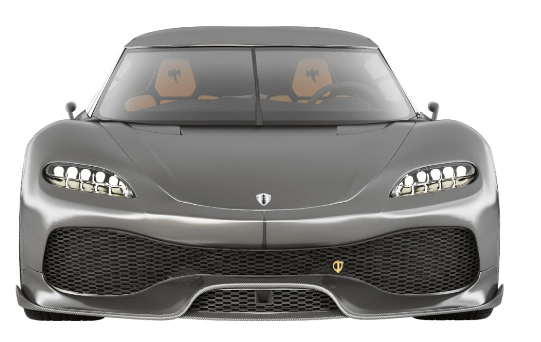

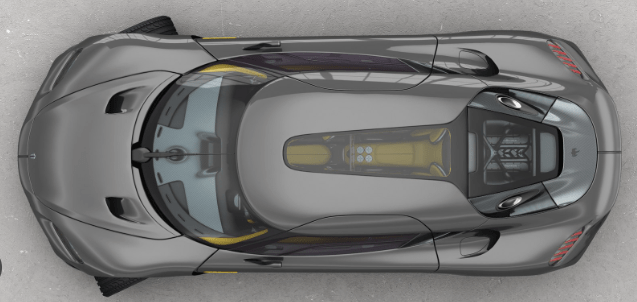
Once you order all the views and they look symmetrical you can start editing the form.
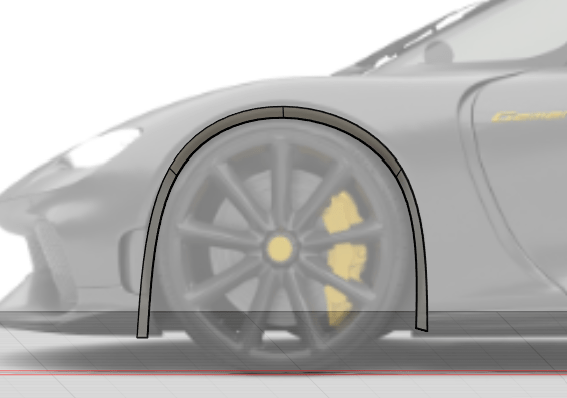
Starting on the right view add some circles on the tyres spot after that we gave some tickness.
Here the wonders begin
Right click on the shape edit form and you can strart to distort it ant way we want. The main goal is to look a like the image you use.
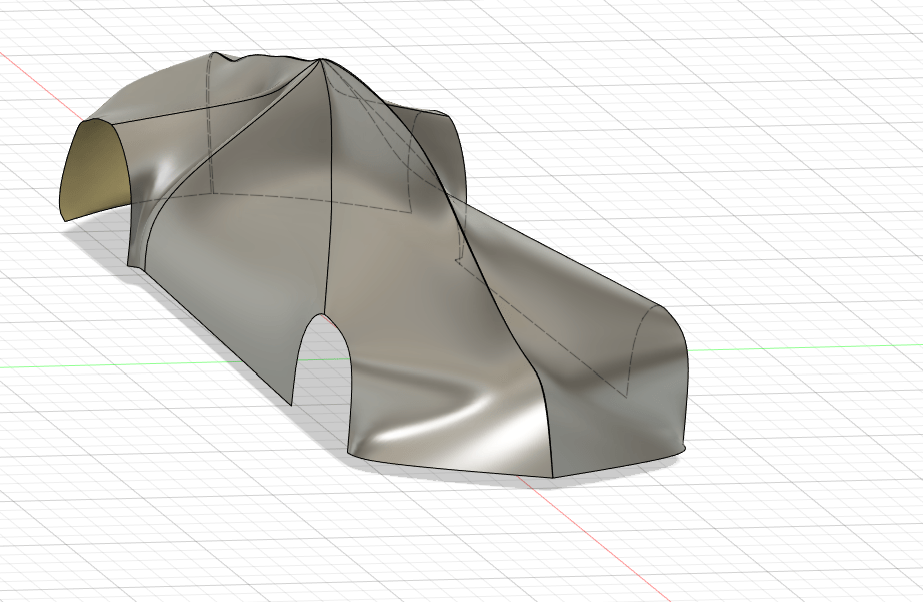
It's going to happen that the square doesn't cover as you want, if you right click on a space and select subdivide you can add more divisions to the part (rows and columns). After changing it a lot and messing up things, starting over I got the design of an owfull futuristic car.
Like it is going to be symetric I applied Symmetry along de right plane. Made some last changes on it and finally got the design. Now you have to make it a solid, clicking on the check mark on the top right of the bar.
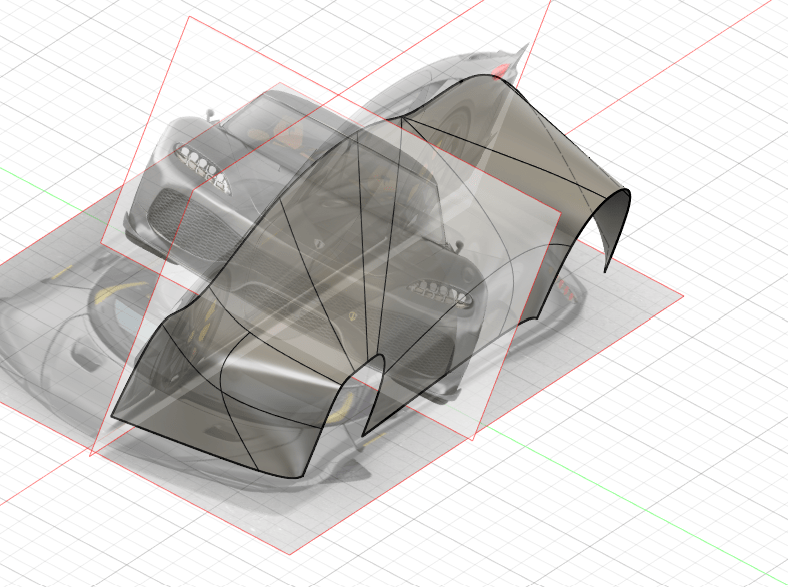
Now we have one solid body instead of many parts. We add some meterial for finishing looks, aluminum armour.
It isn't my best work but considering it is the first time I used it, I guess isn't that bad.
OnShape
OnShape is an online 3D modeling aplication that provides users to design, collab and share proyects in real-time in ANY DEVICE. In case you haven't entered on any other CAD software, there are basically the same tools.
Features for Sketches
- Boss-Extrude: extrudes a sketch (lineal)
- Fillet: to round off corners/edges
- Shell: removes the inside of the body leaving a thickness
- Revolve: add material by revolving a sketch around an axis
- Cut-Extrude: remove material from a part
- Holes: diferent types of holes in the model
- Loft: transition between profiles
- Mirror: repeat a pattern along an axis
Sketching Features
- Line: creates a line with 2 points
- Smart Dimension: give a dimension
- Circle: create a cricle
- Rectangle: rectangle with 2 or 3 points
- Arc: arc using center and 2 points
- Trim: erease or convert lines
- Convert Entities: sketch all the border lines
Let's test it
After creating a new file, the fist thing you notice is a interface similar to Fusion and Solid, they are preaty the same but I found OnShape easier in the commands bar. For using something similar to Solid I did an helicoidal gear (using same operations).
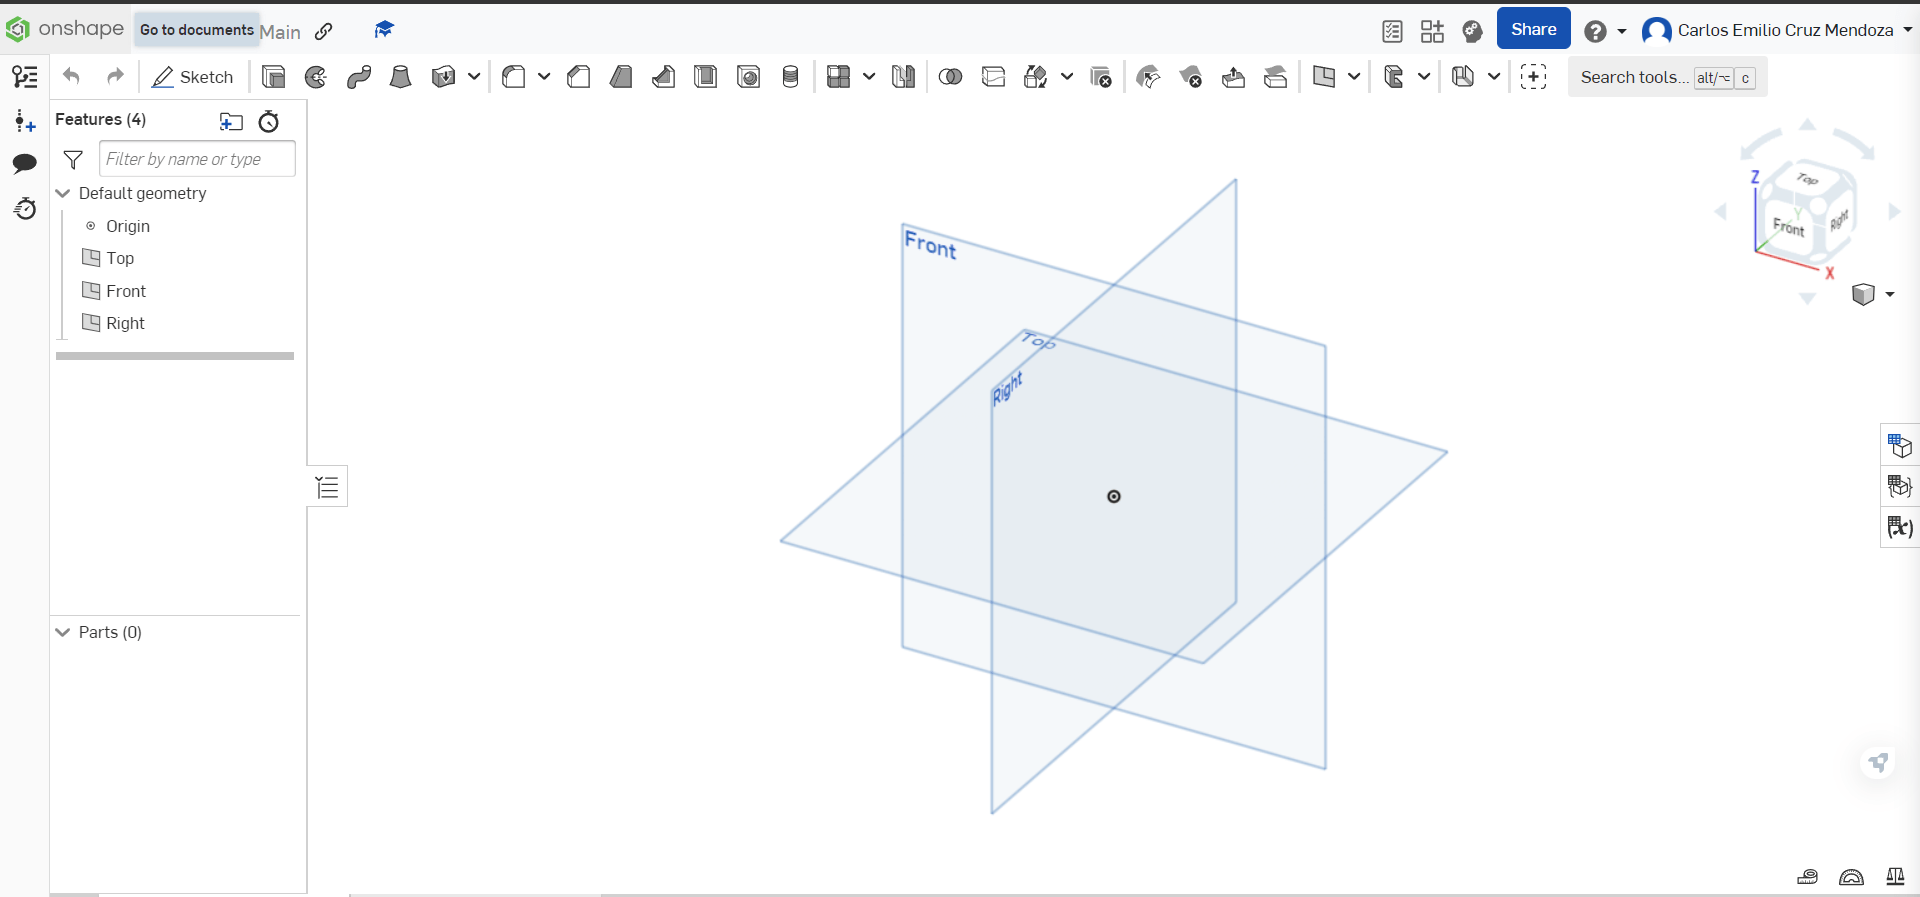
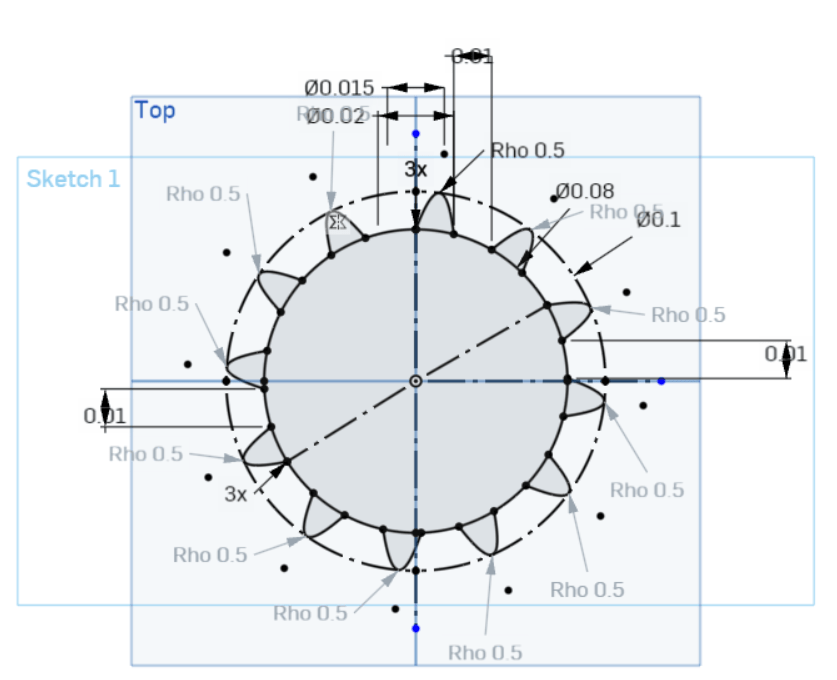
Selecting Sketch and a work plane. As the gears have a pattern we can only make a part of it and after use Circular pattern operation for 360°. We start making 2 reference circles where the tooth of the gear will be, using an arc we add a teeth, remeber is important to restric the shapes all has to be in black.
Now we use the extrude operation for some depth.
Creating a new plane on top of the gear after I copied the sketch on the new plane and the same way give some extrude.
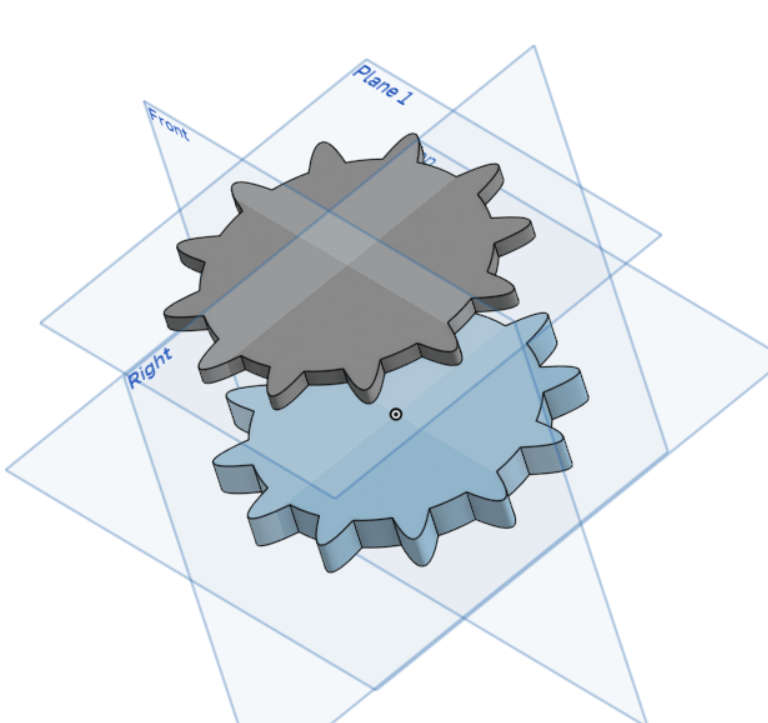
Using Loft operation to join both faces and select the starting and end point to make a little twist.
*Note I noticed the parts you create have different colors, in a big sketch it is going to be so usefull to identify them (Great UI by OnShape).
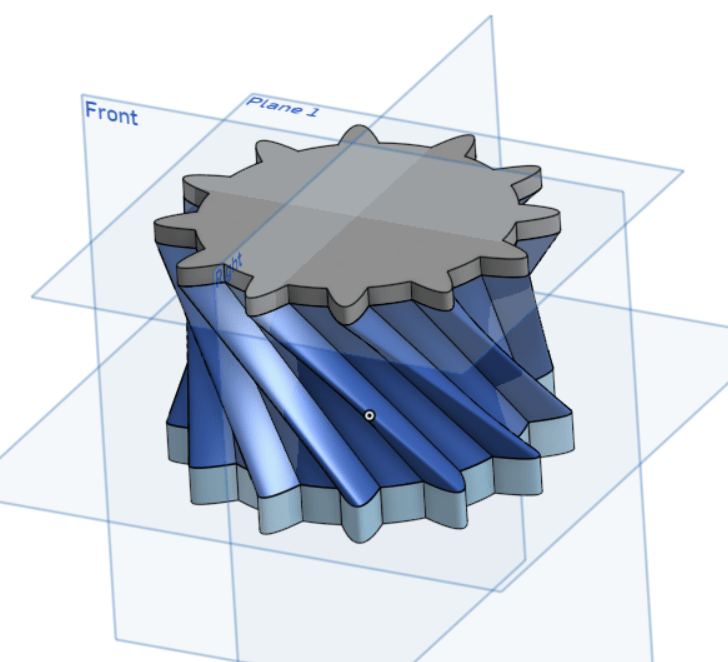
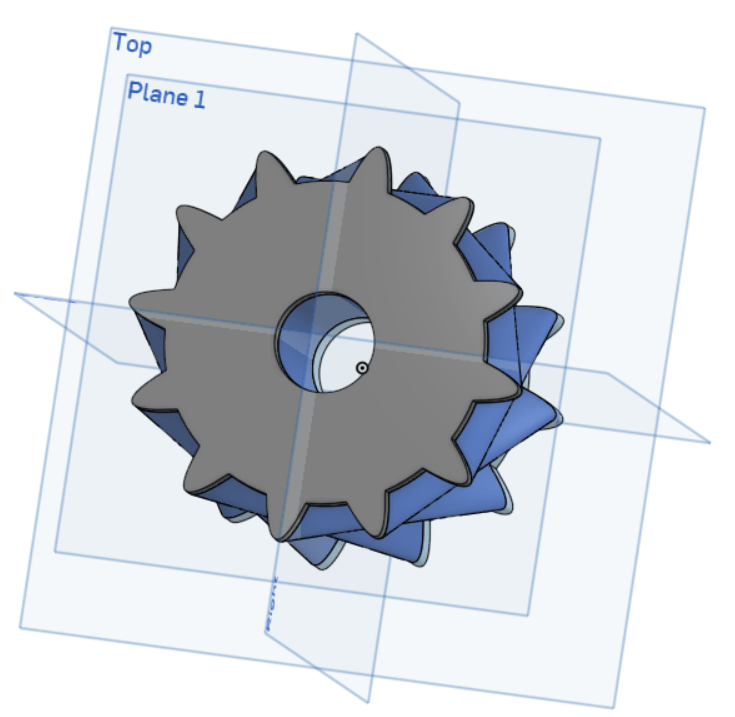
All the gears are mounted in a transmision axis so making a hole in the center is fundamental. And finally we're done!
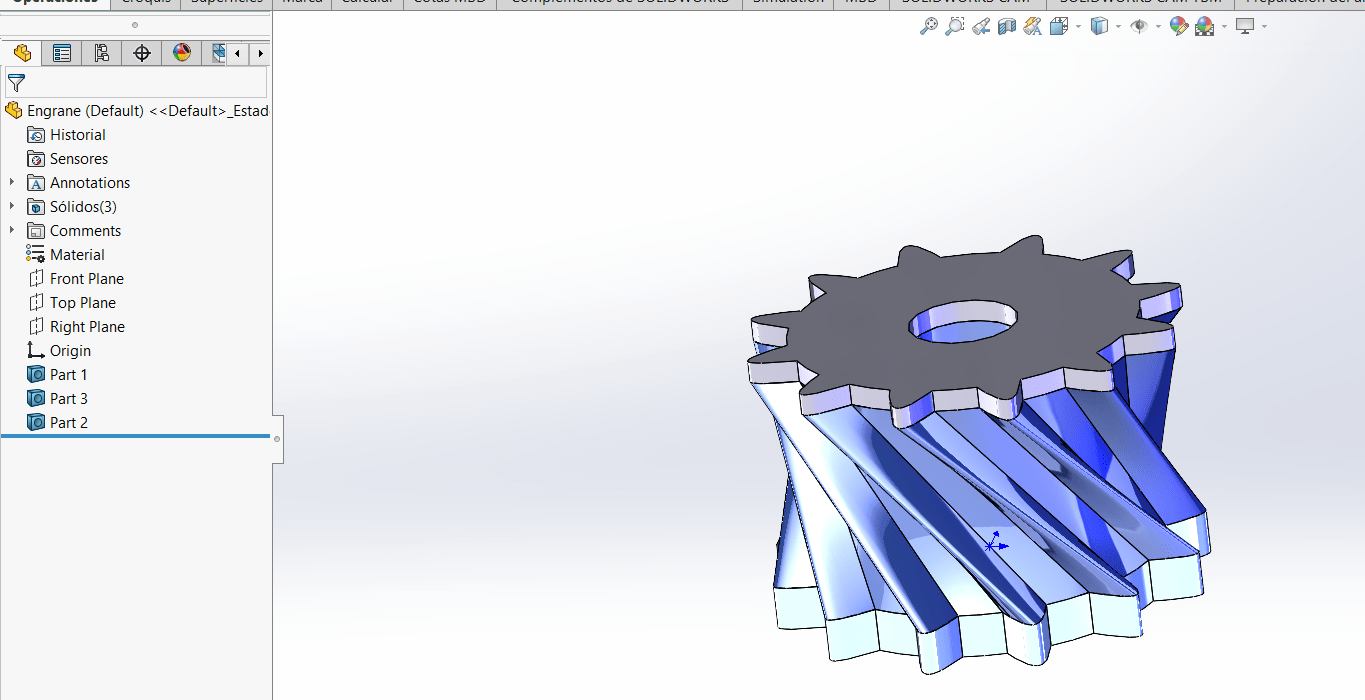
On the top-right of the page you can find some interesting things as sharing button and tutorials. On the left panel you can commit and create versions of the work you make. In case yo want to export the file there are a lot of aviable options, if ypu want to export all the design all the parts have to be selected. Lets make a trial and open it on SolidWorks
Mobile App
As I mentioned earlier you can modify it in every internet device. I tried to edit it on my phone and I'm very satisfied with the perfrmance on the phone. I mean it's kind of dificult to change or add things but in a hurry or just for showing it is more than enough.

Ilustrator
Ilustrator is an extension of Adobe used for graphic design to create logos, icons, graphics, ilustrations, etc. Ilustator use Vectors this helps to prevent bluring when changing size for digital or printing format (No pixelation).
Adobe isn't free but it offers a complete package depending on your necesities. There are a lot of tools, so continuously are mention the most important ones and their shortcut.
Draw Tools
To draw and edit objects/paths
- Pen: draw connected lines and curves (P)
- Pencil: draw freehand paths (N)
- Anchor Point: convert corner toanchor points (shift+c)
- Curvature: draw and connect lines (shift+~)
Select Tools
- Selection: select an object to move/resize (v)
- Direct: select anchor points and paths to reshape (a)
- Lasso: drag to draw a shape around (q)
- Group: select an object in a group
Navigate Tools
- Hand: move tha canvas (h)
- Rotate: change the orientation (shift+h)
- Zoom: zoom in and out (z)
Paint Tools
- Gradient: gradual blend between colors (g)
- Mesh: blend colors and contours on objects (u)
- Live Bucket: live paint group for color/patterns/gradients (k)
Text Tools
- Type: enter a text (t)
- Type on Path: text along a shape
- Vertical Type: vertical text on a shape
Modify Tools
- Rotate: rotate objects (r)
- Reflect: flip object over a reference (o)
- Scale: resize an object (s)
Make a Design
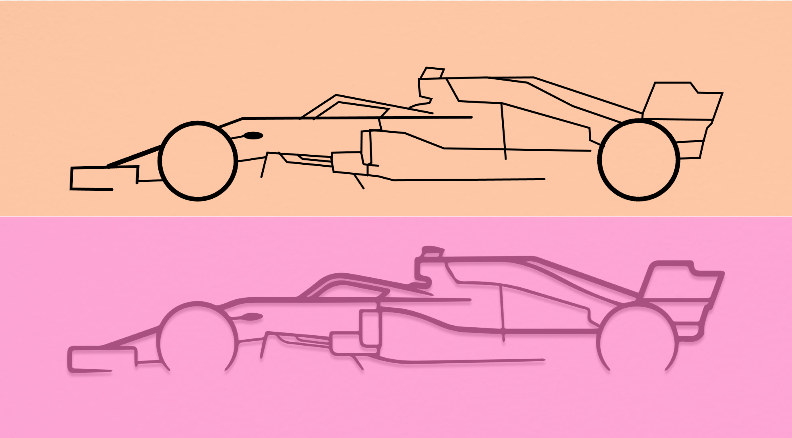
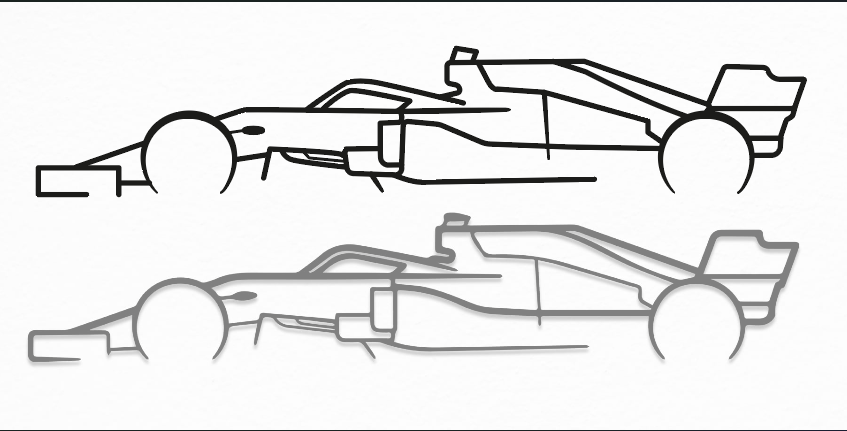
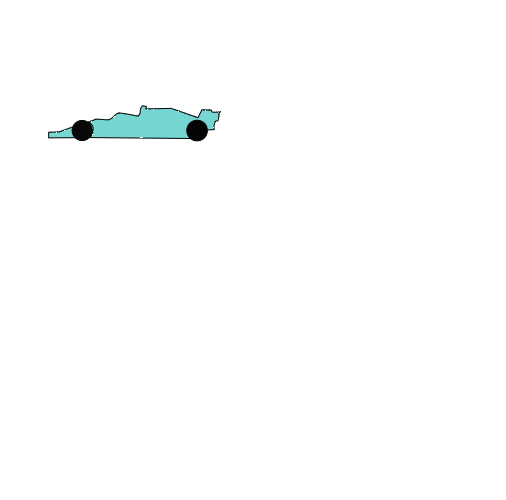
I've always hate drawing, I'm awfull so im going to recreate a web image of a F1 broder car. The first thing to do was find a decent image and save it in the desktop.
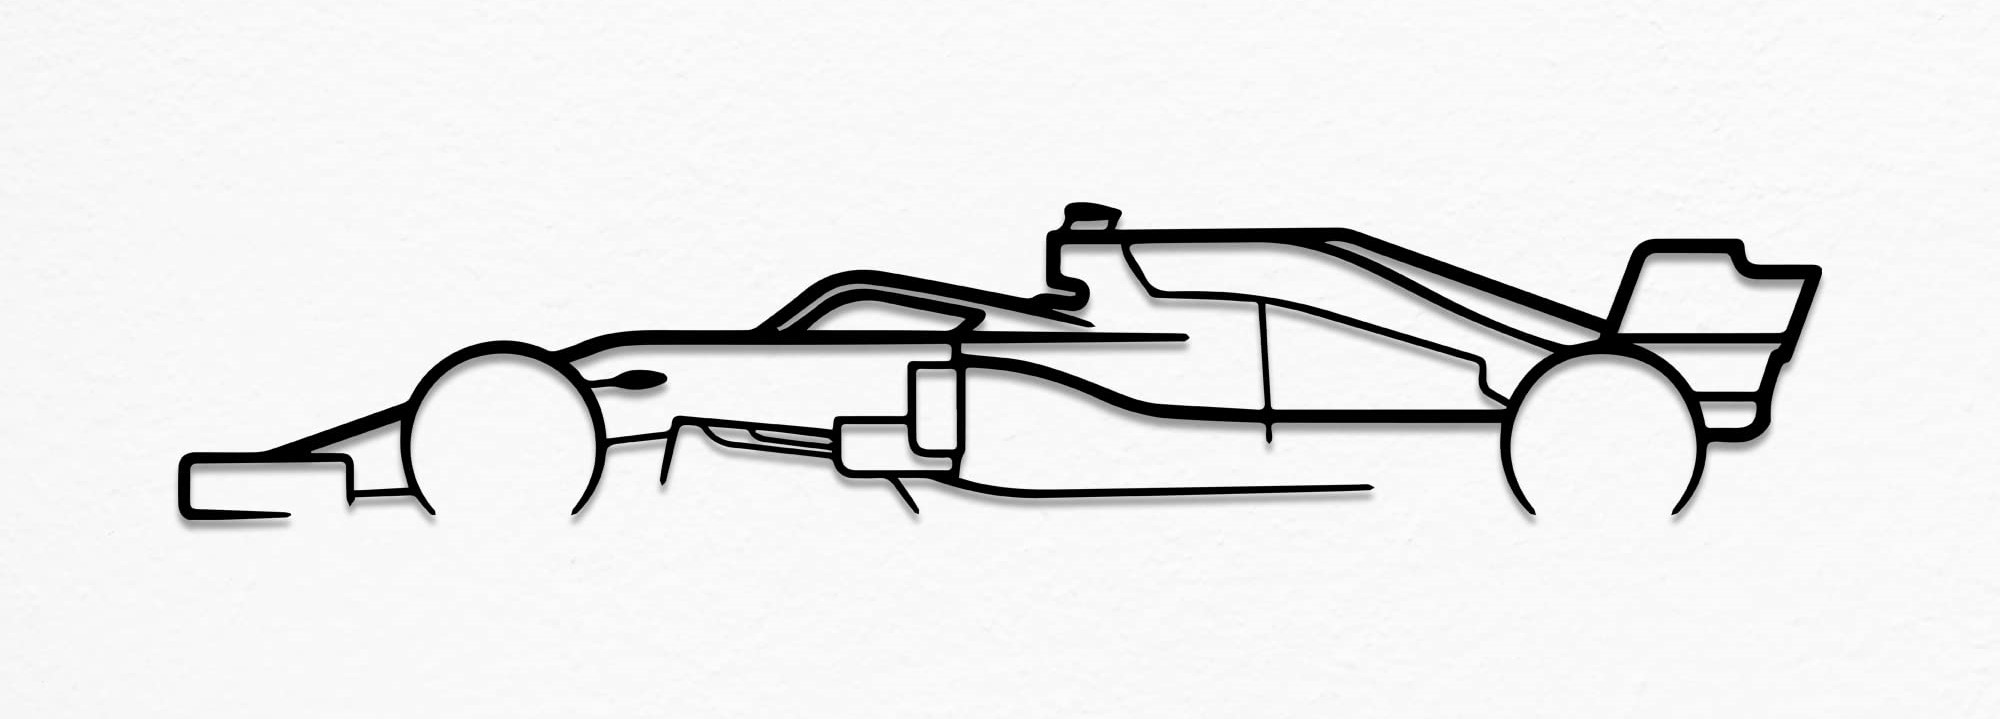
Once you download and open Adobe Ilustrator (Ai), first we have to create a new file, this pops up a window with the cavas configurations settings. I worked on a horizontal page in A4 size and the most important part is the color RGB for working on the computer or websites ans CMYK if it's for printing.
Now we can see the interface of Ilustrator, on the left bar are all the commands mentioned before. We instert the image to the canva and change the opacity for better reference.
 23.16.23.png)
Once we insert the image we change the size holding shift for prevent deforming.
There is nothing else to do but start inserting lines matching the original, changing its thickness. Curving some lines, adding circles, making anchors etc. after a while I got the final product.
For giving a little more of styling I save it and I'm going to modify it on Photoshop.
Photoshop
Photoshop same as Ilustrator is from the Adobe family but this one changes form vectors to pixels. Mainly used in photography and graphics. The main functions are:
- Filters
- Lights
- Special Effects
- Textures
- 3D ilustrations
I didn't use it to add much things as I use the template I created on Ai
Changes
So overall I create various layers:
- For the Background
- For the Text
- For the Tyre Marks
- For the car
Using and playing a little bit with the colors, hoe, saturation, etc. I finally liked the model I got to.

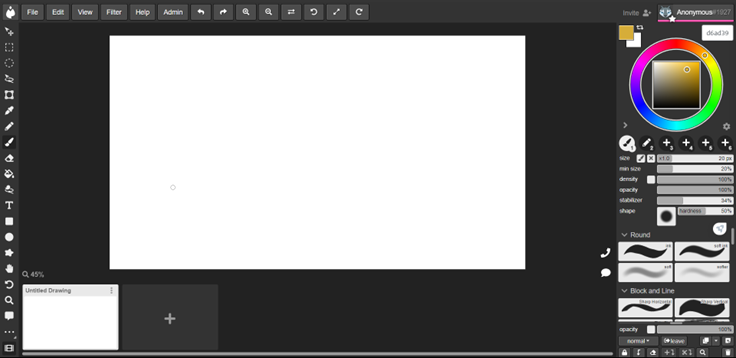
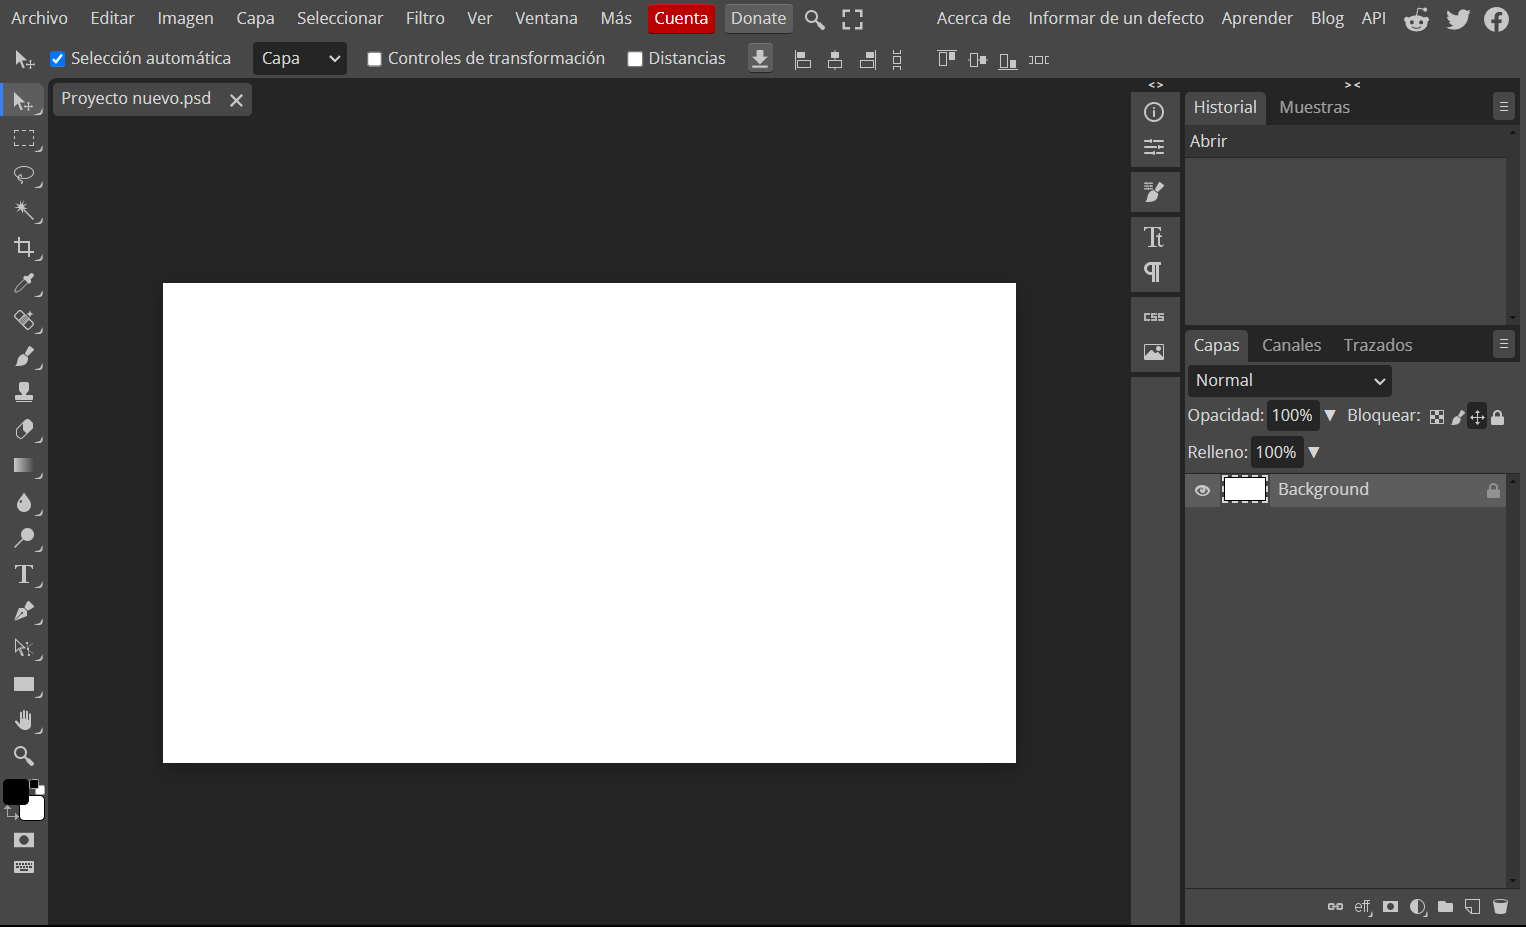
I found another free softwares Online very similar to Photoshop. We can see the interface is pretty the same. But in a hurry or if you don't have the Adobe license they are a very good resource.
Files
Boxy SVG
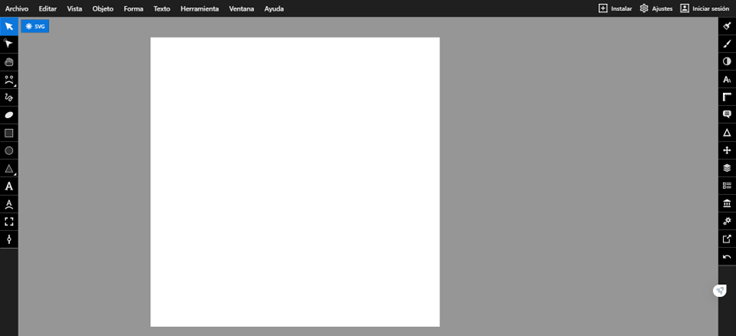
The idea of Boxy is a UI without many elements that cover the view. You can personalize yur own keyboard shortcuts.
Main Window
As it said there are few commands on view, you have to look them up on the menu. We can make almost everything as in Ilustrator (shapes, lines, pencil, fill, etc).
The most I like about it is that is very "easy" to animate objets or create GIFs. The platform support many formats for saving.

Sketchpad
Sketchpad is an Online sketching tool. This one looks diferent from the others have less items on sight on the left bar (select, crop, pencil, fill, text and clip part).
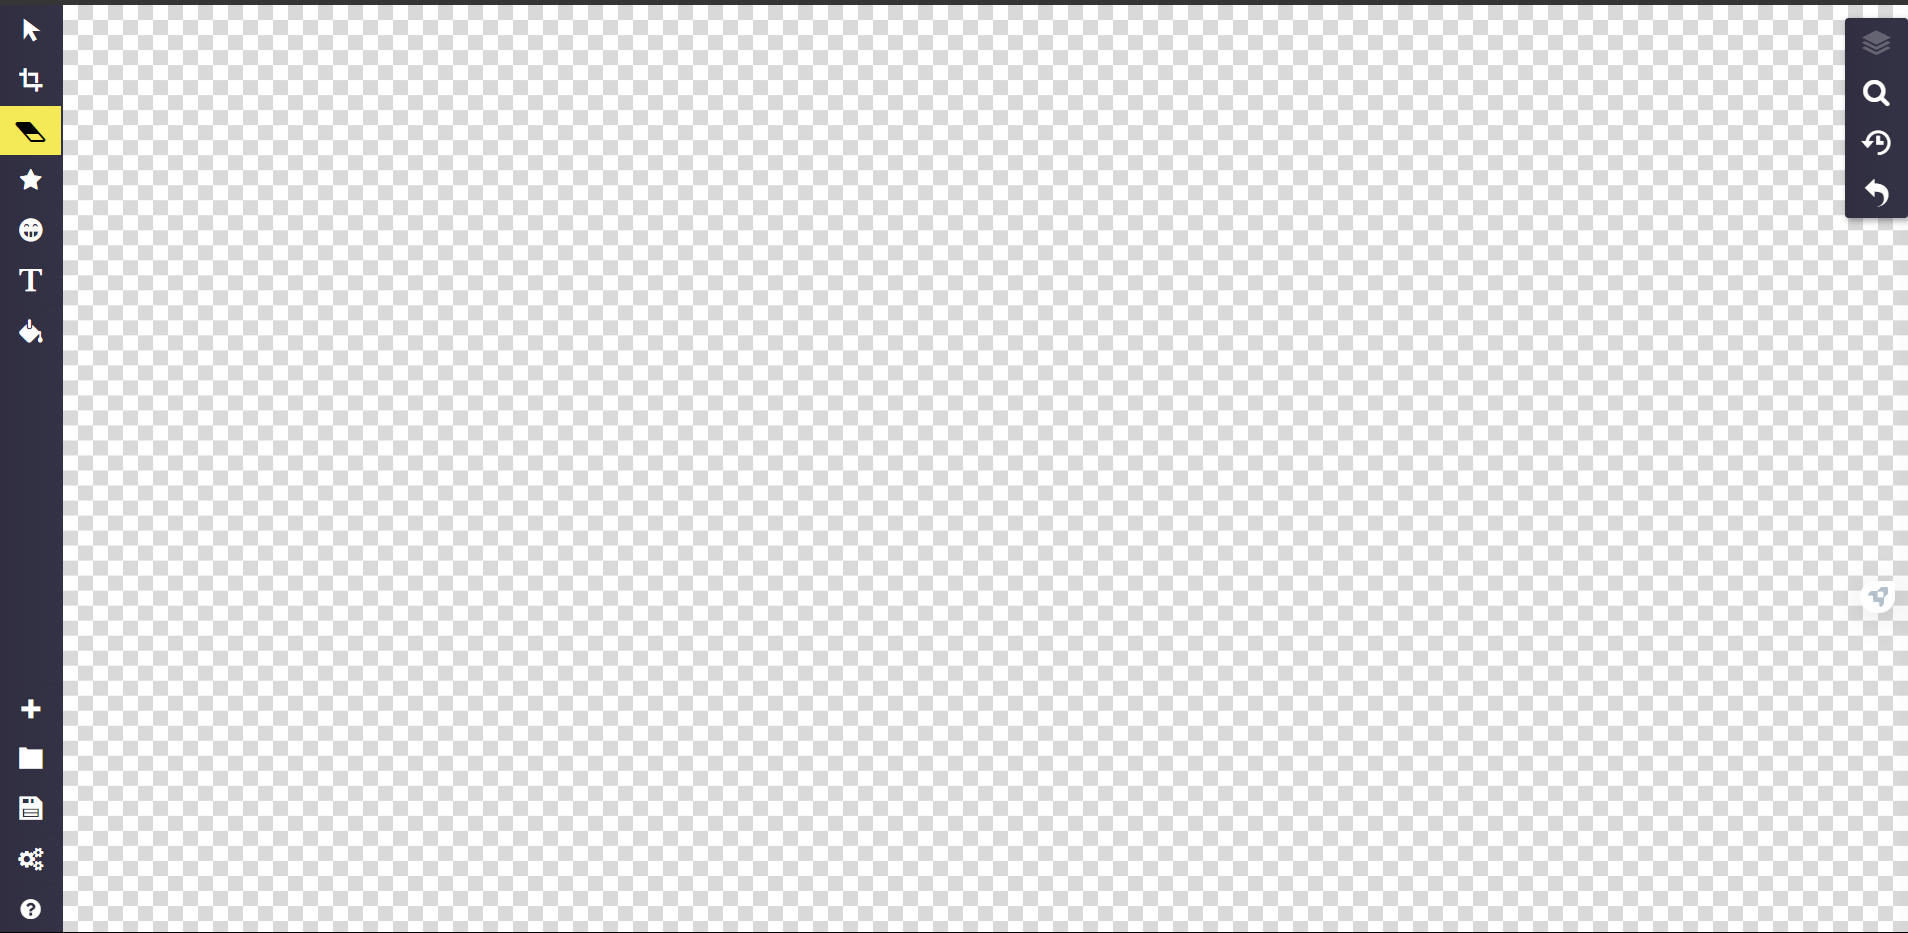
I'm not going to lie I found it very dificult and less responsive than the ohters. Its Interface wasn't for me I double clicked sometimes open windows erease things didn't want to, etc. Creating the layers was a mess because it object create one layer by its own, you have to select all the actions and then create 1 layer.
I don't know if it is my inexperience but I think there are other softwares for a better use.
