12. Molding and Casting
Molding and casting are processes used to manufacture replicas of an object, usign plastic, metal, ceramic, etc.
Molding: is the creation of the negative of an object for creating multiple copies.
Casting: pouring a liquid material into the mold cavity, where it solidifies to the desired shape.
- Uses:
- Prototyping: create prototypes for testing before mass prodution.
- Manufacturing: used for mass production of parts or products.
- Replication: for replicate detailed objects (sculptures, art pieces, architectural elements, etc).
- Customization: molds can be modified to incorporate changes.
- Cost-effectiveness: depending on the material but it is cheaper than machining.
On the Group Page Click Here, you can check the datasheet of different materials as well as some test of each one.
Design
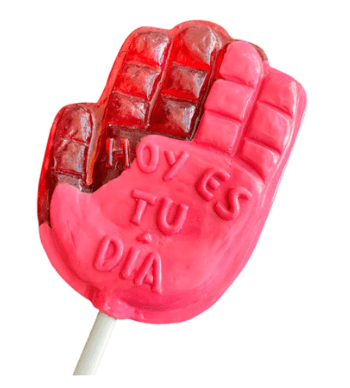
For the mold I used as inspiration an unusual Mexican lollipop from the Company Vero, they are called:
- Manita
- Tarrito
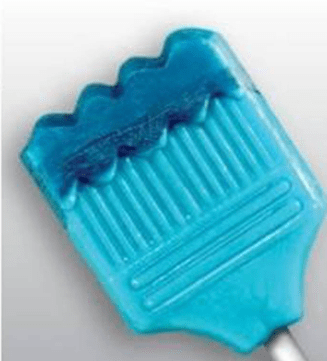
- Pinta brocha


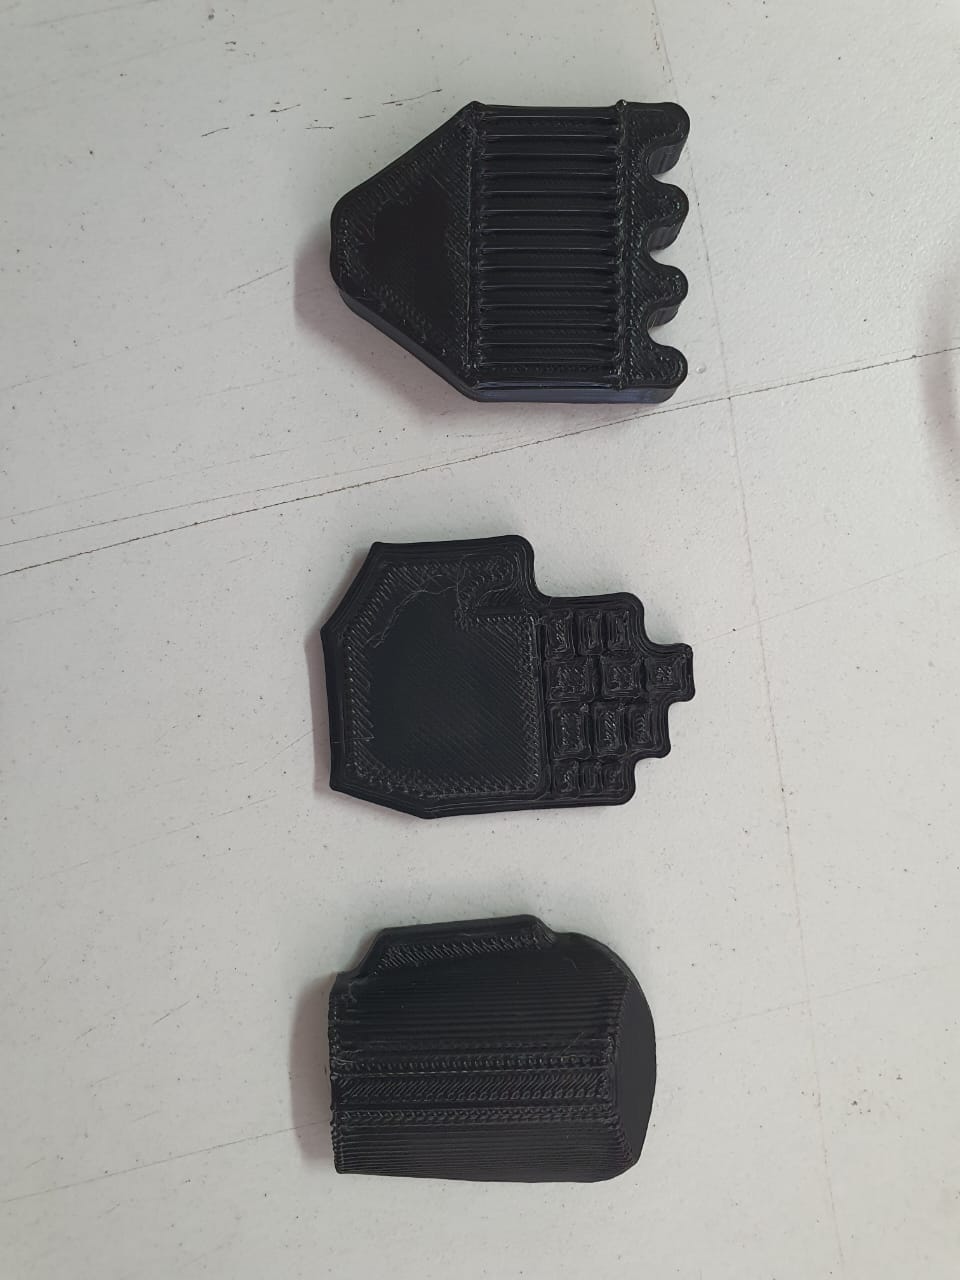
So for the first step I designed all the lollipops in Solidworks while eating them for extra inspiration. After having all the design I join them in an assembly.

As the machine uses a .STL format file I make some test with the .stl and print them just to verify their appearance.
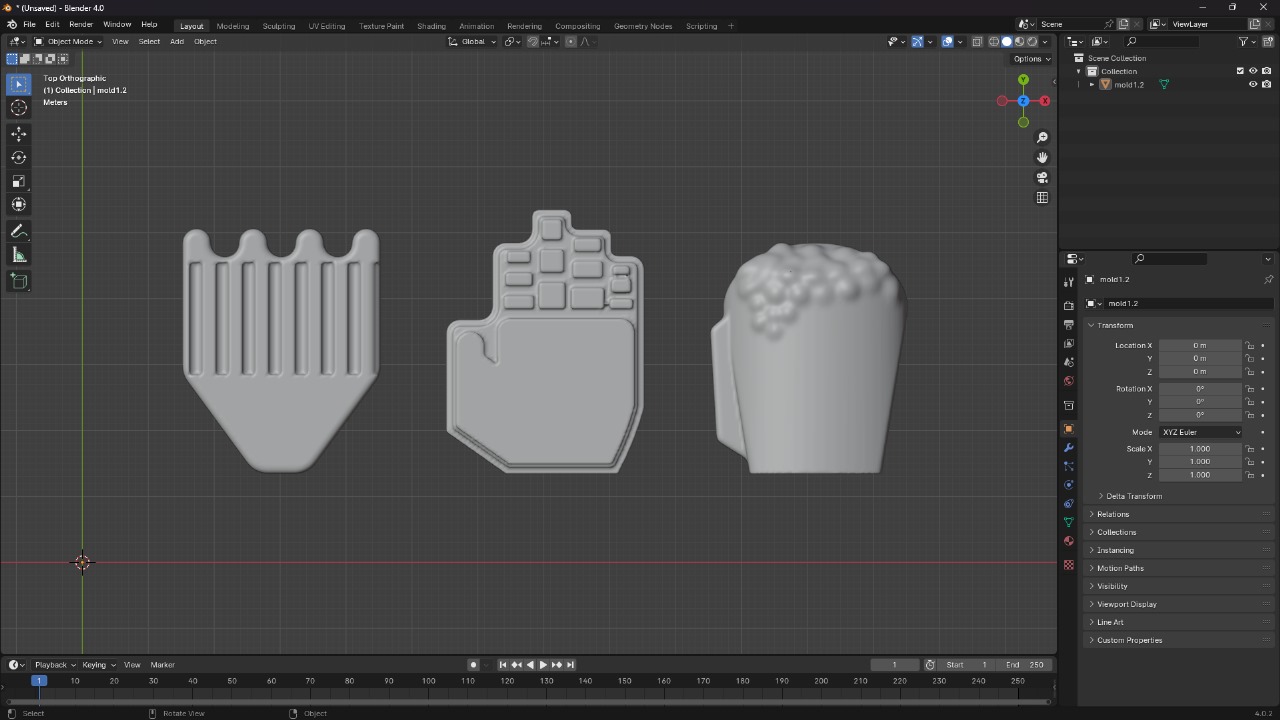
After I printed the parts I realized the Tarrito could be better, so I open the STL parts in Blender and add some bubbles on top of the lollipop, that way I got a better mold, looking like this:
Software
After having the part in STL format I try to use mods to generate .rlm file, but I couldn't so I choose to download
SRP Player. This Software generates the code for SRM-20 milling machine to
create a mold.

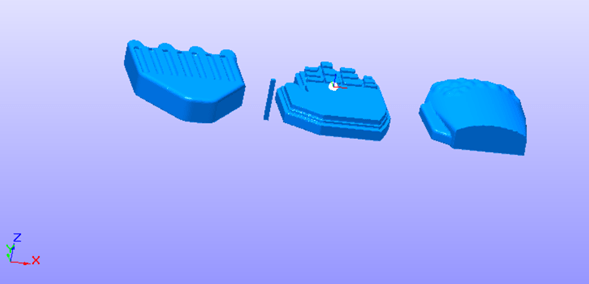
When you open the app it will look something like this:
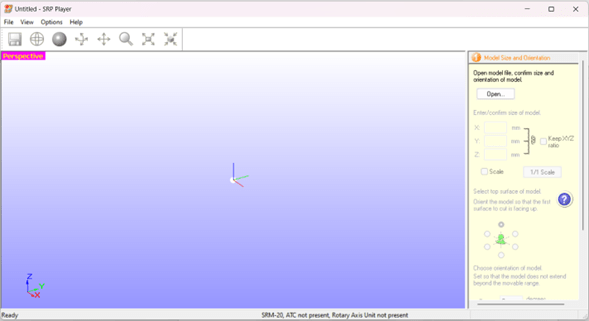
In the you can find in the center your figure, on the right bar the steps to generate the file and on the top bar the configurations options.
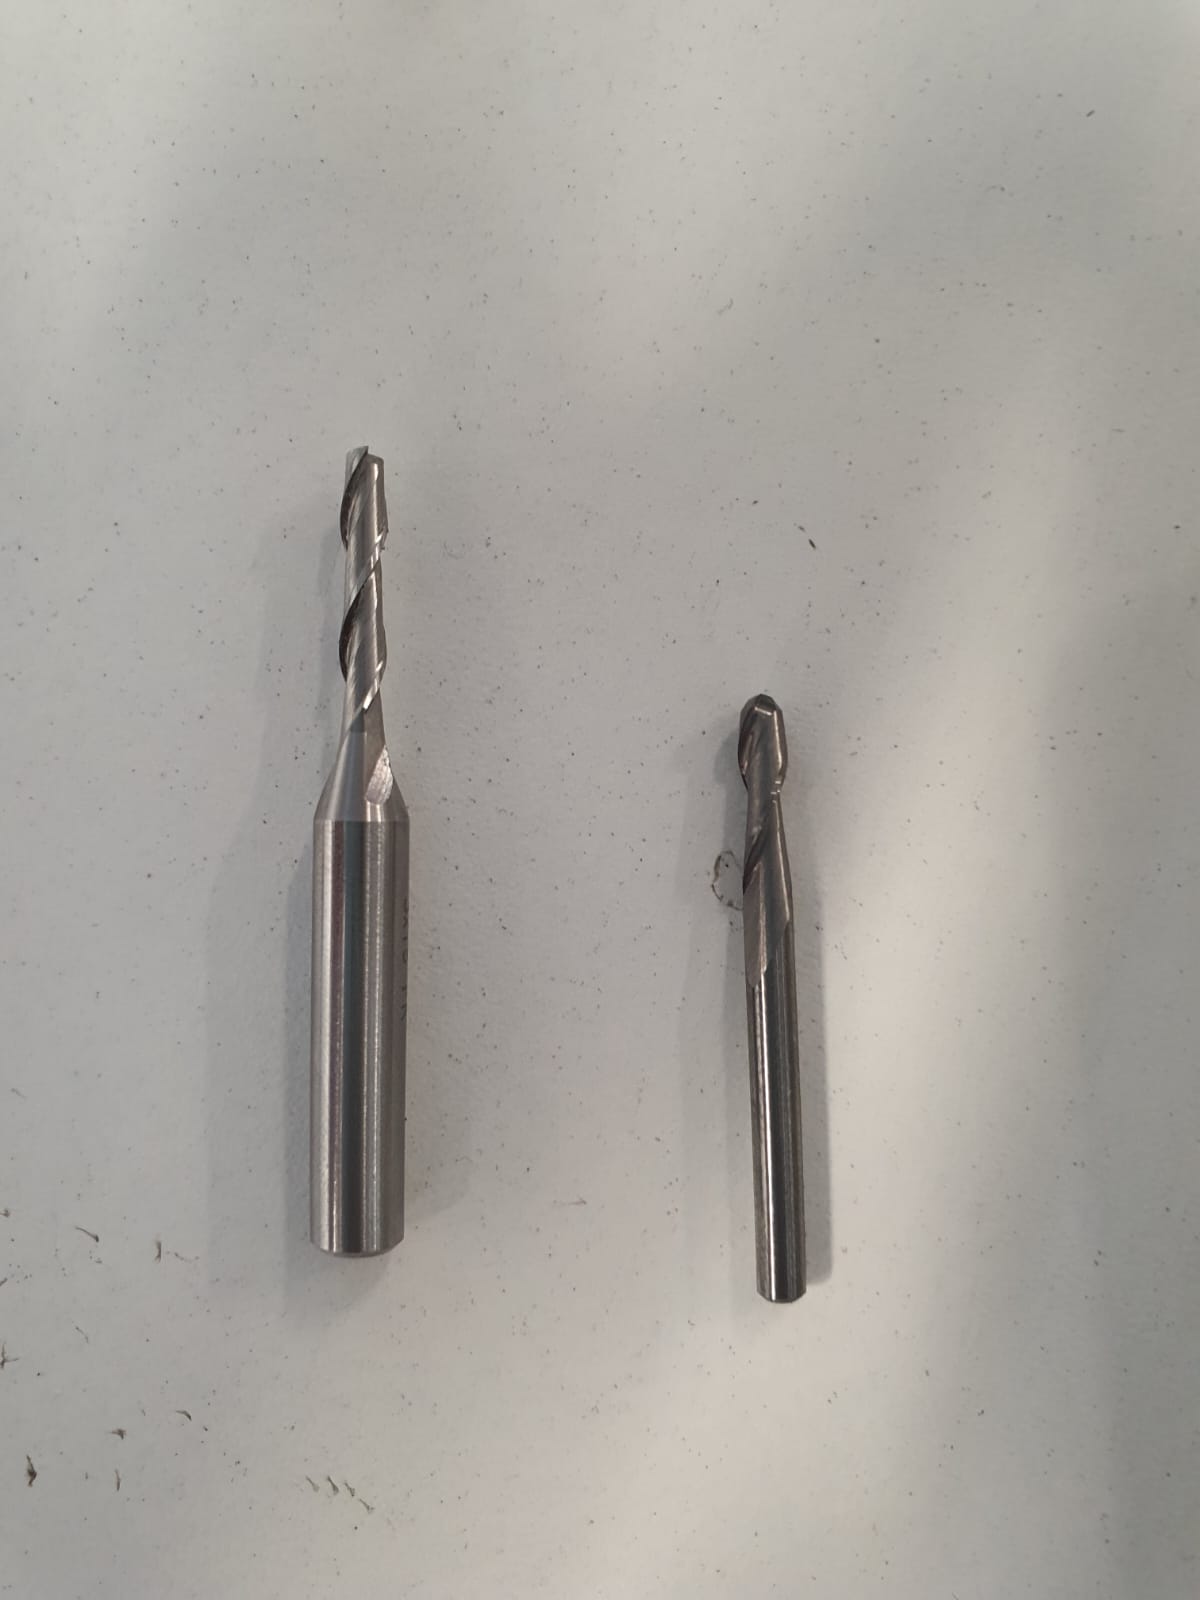
On the top bar in Options > Add Tool we are going to create 2 different tools, for roughing and finishing
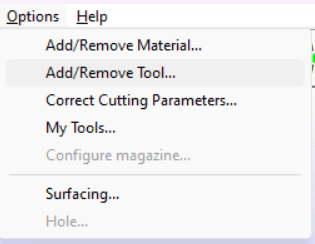
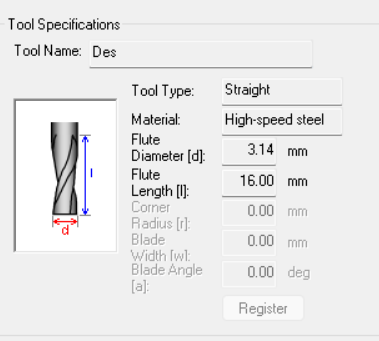
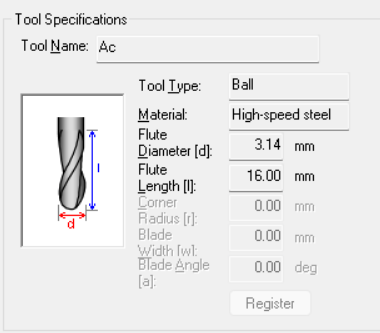
The tools parameters where confiugred from our original tools.
1. Open your STL file
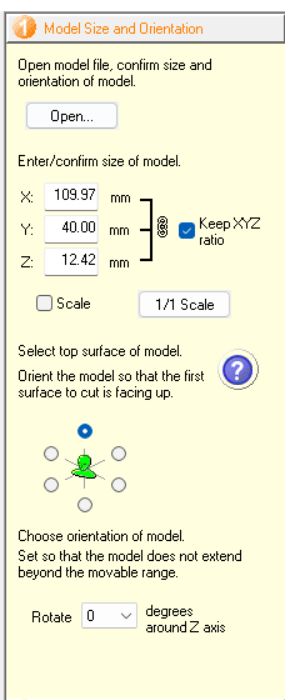
In here you can change the oriantation of the file, change the dimensions, etc.
2. Select the milling

In here you can change the parameters of the milling like the surface finish (better/faster), if it has a lot of curves, etc.
3. Create the tool path
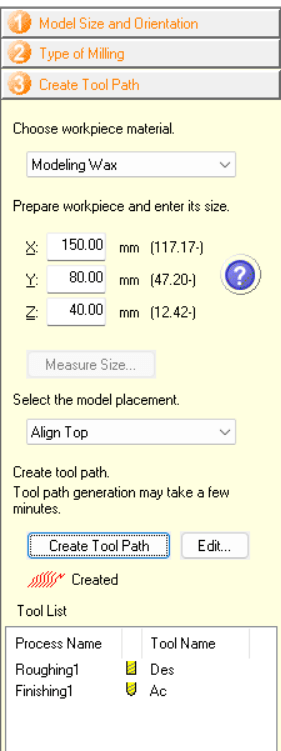
Select the material you are working with, its size where is the part placement (on top) and edit and create the tool path with the tools you have for rooughing and finishing.
4. Preview the results
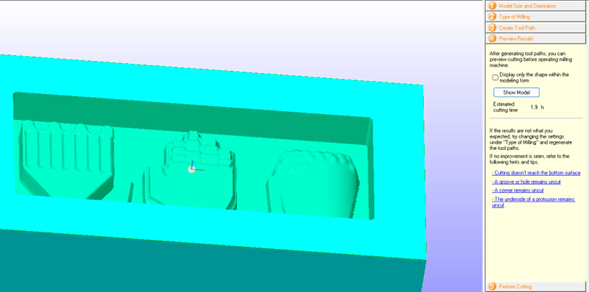
After finishing the configuration you can preview the process and the final part so you can change something if you don't like something.
5. Cut it
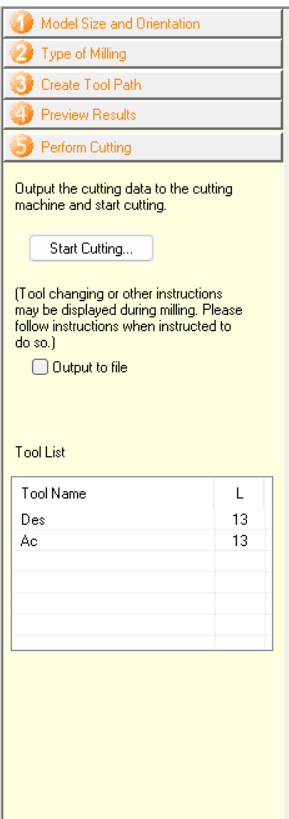
You have to open also Vpanel to configure X, Y and Z to its origin. After that you can click on Start Cutting. It will automaticly stop to change the tool and when it is finished.
As it was my first time using the Software and didn't want to mess up my Modleing Wax first I make a test on some Styrofoam of the same meassurements.

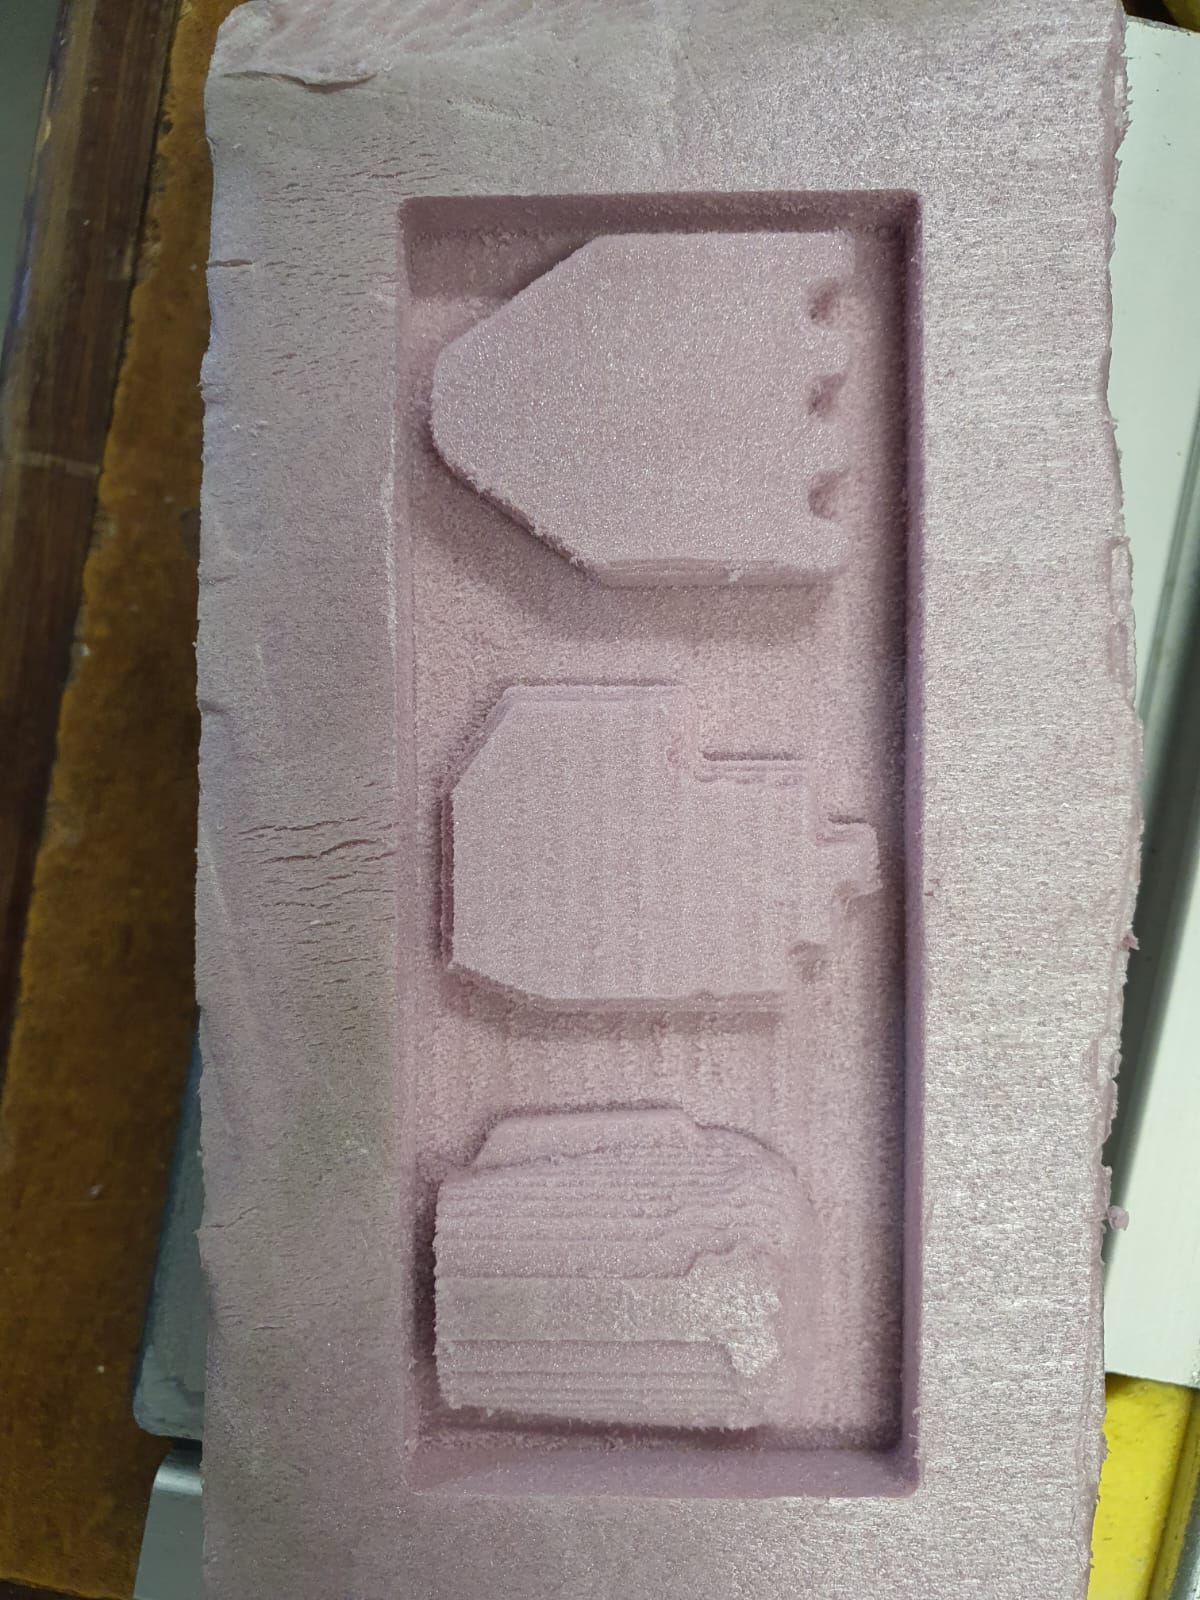
As I result I got this part that I like, so it was time for the wax...

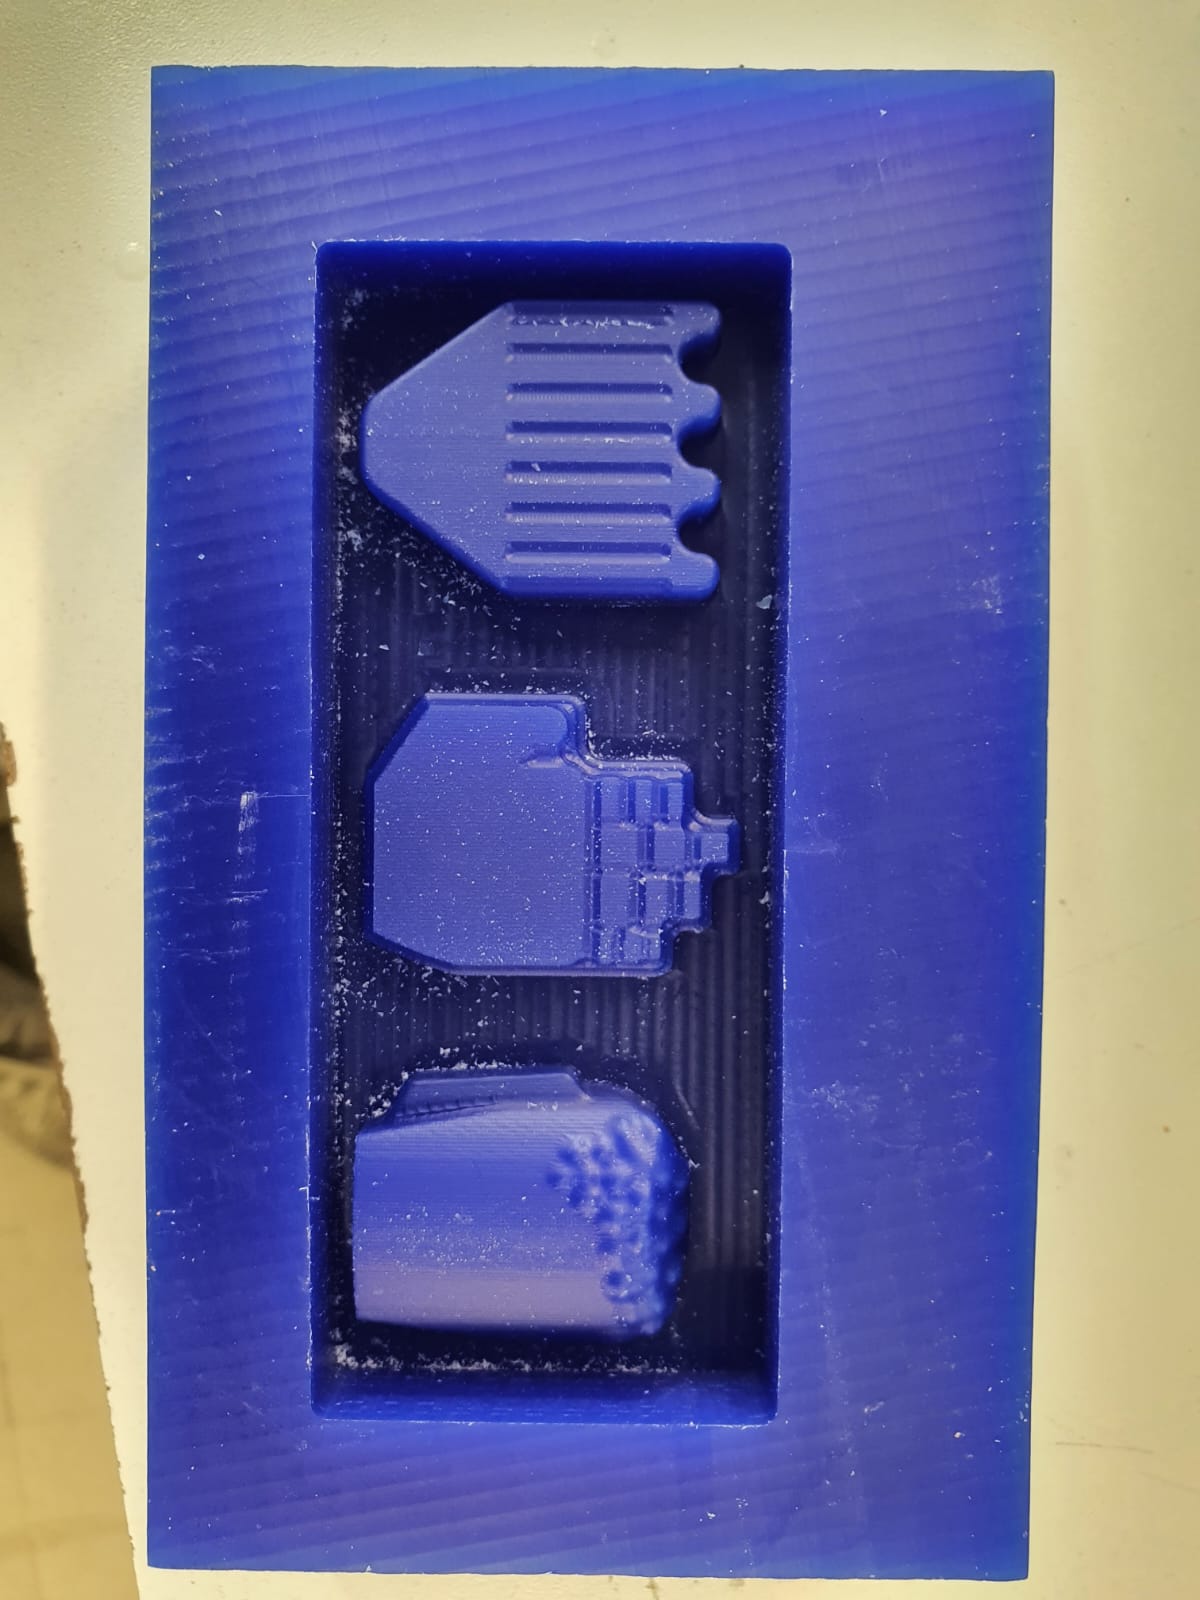
Molding
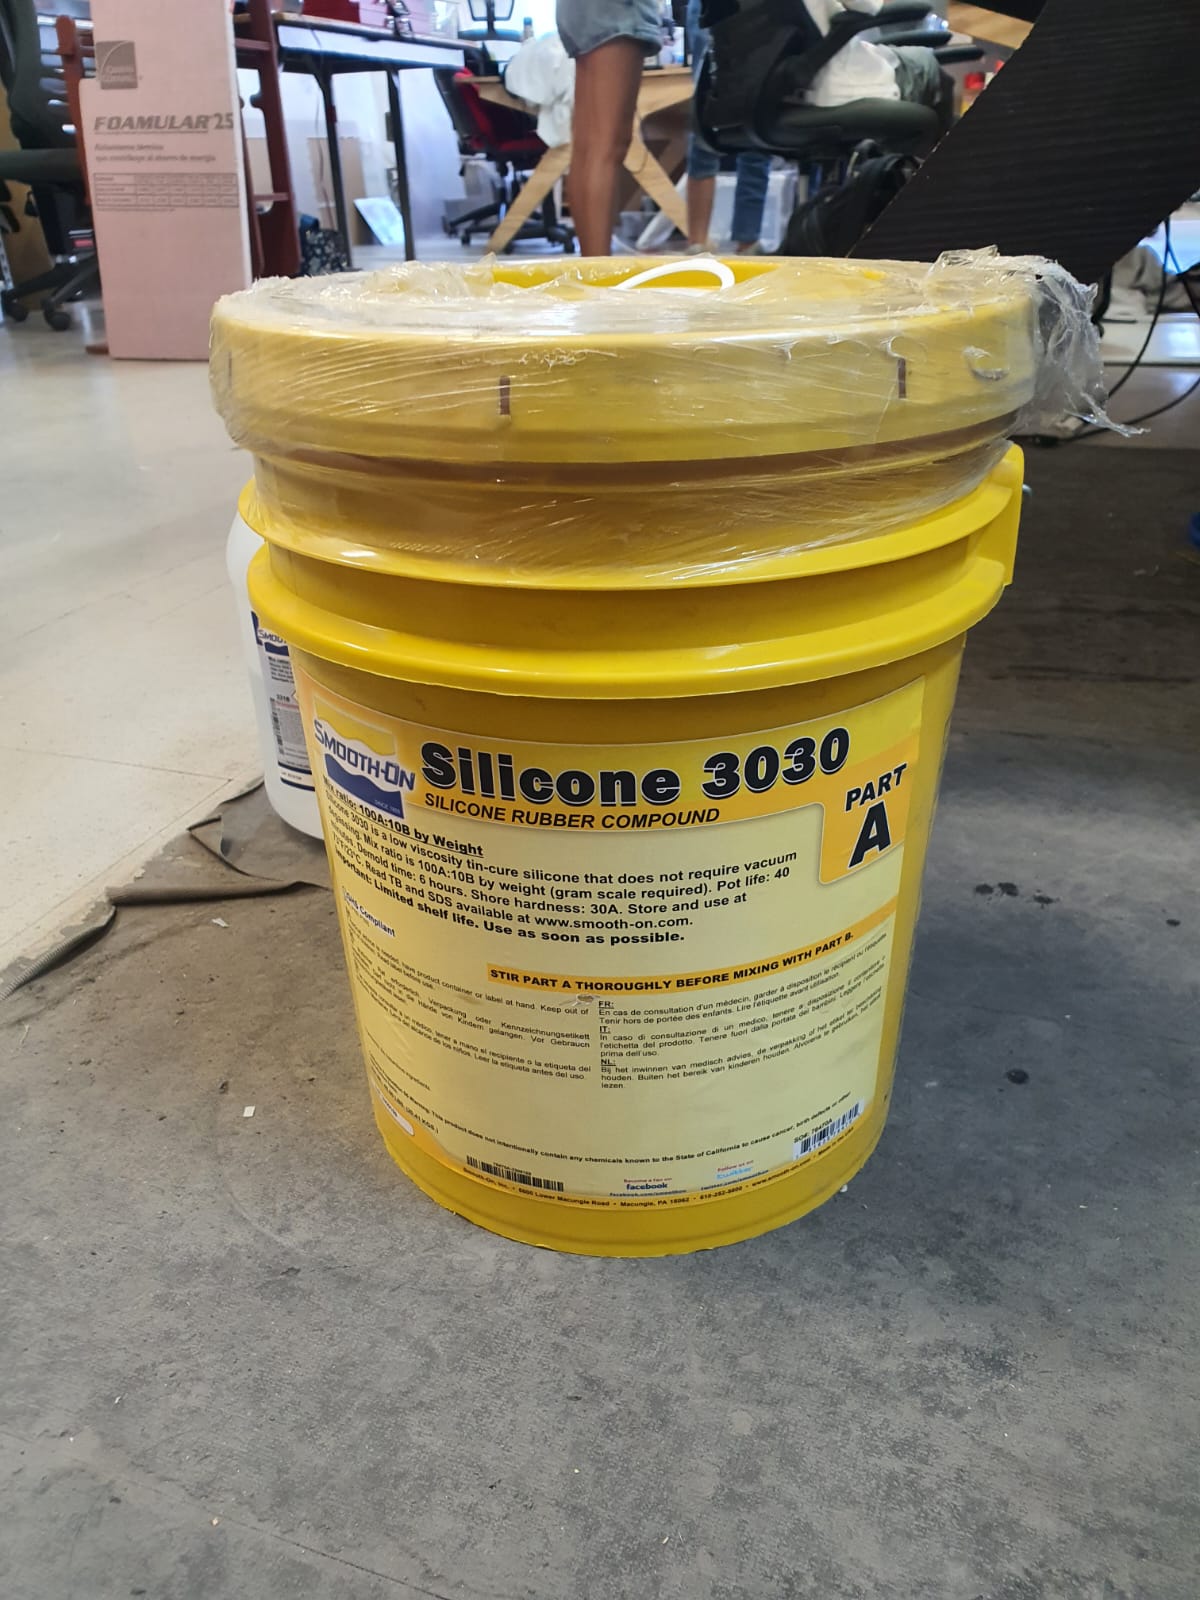
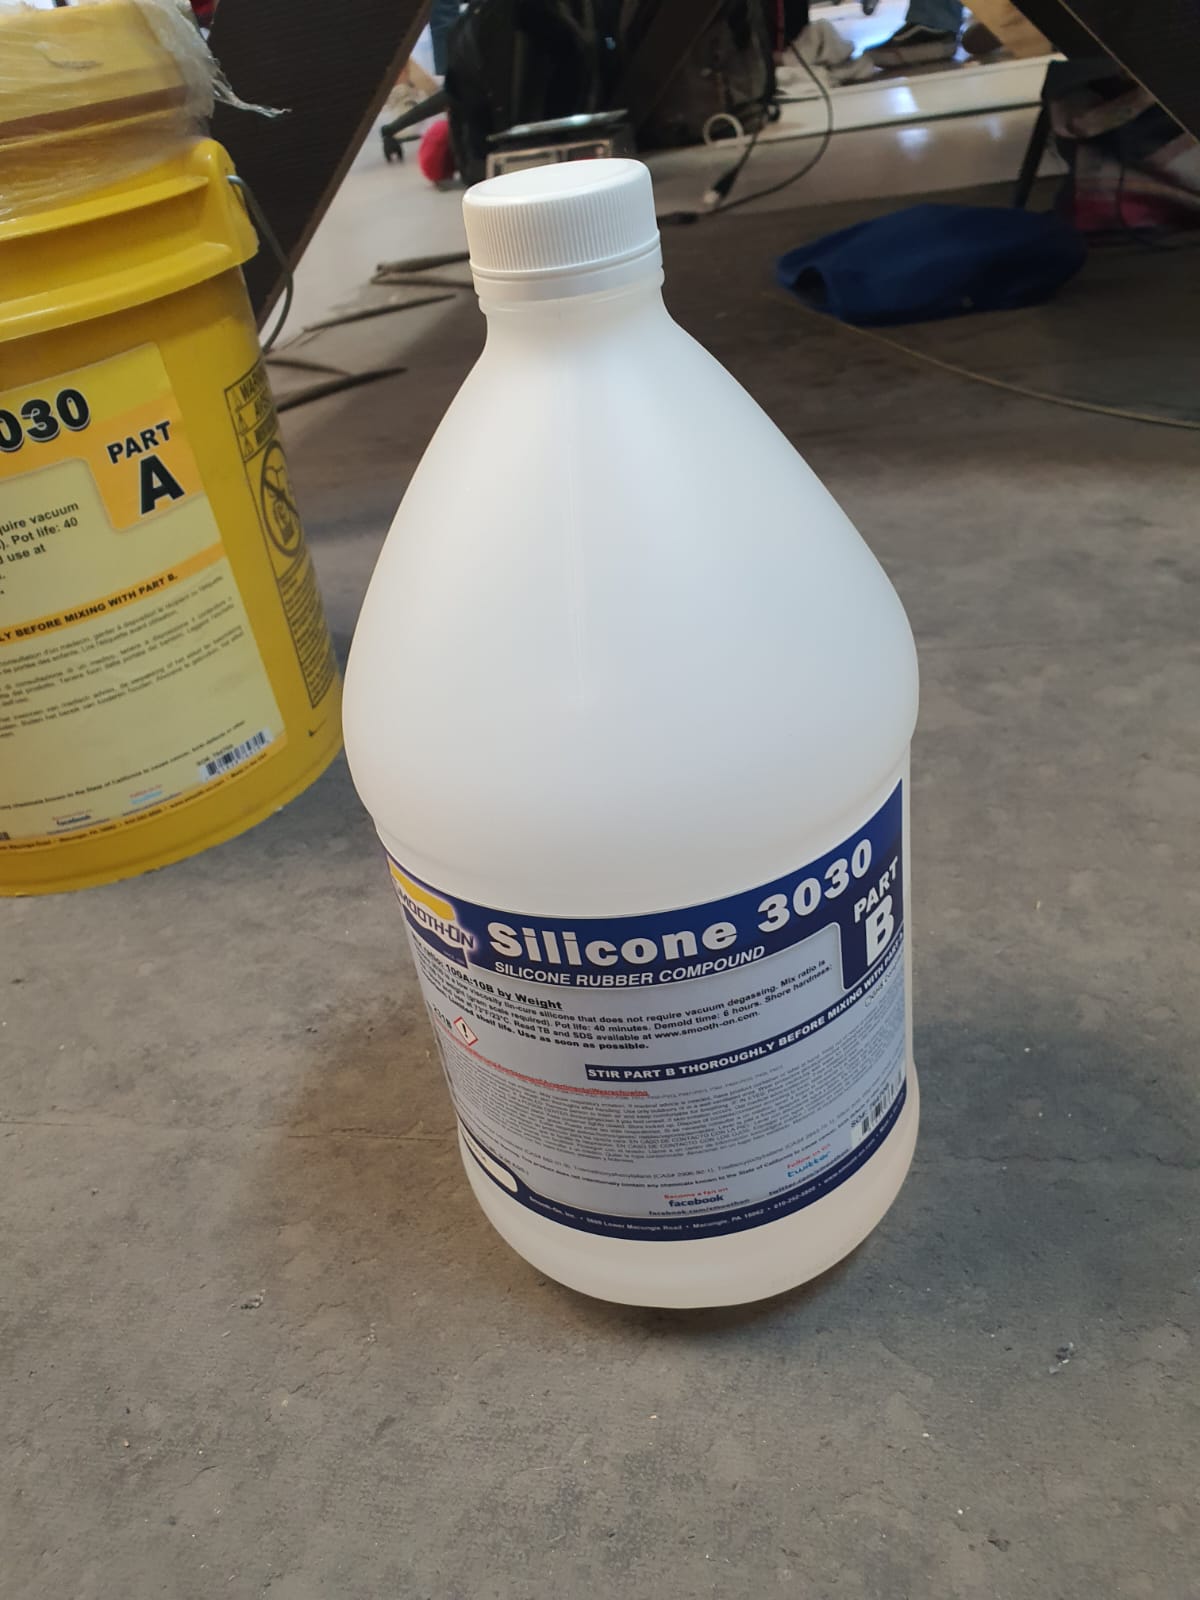
After having my wax mold I used Silicone 3030 with a ratio 100A : 10B for my final mold.
Click here for the Datasheet
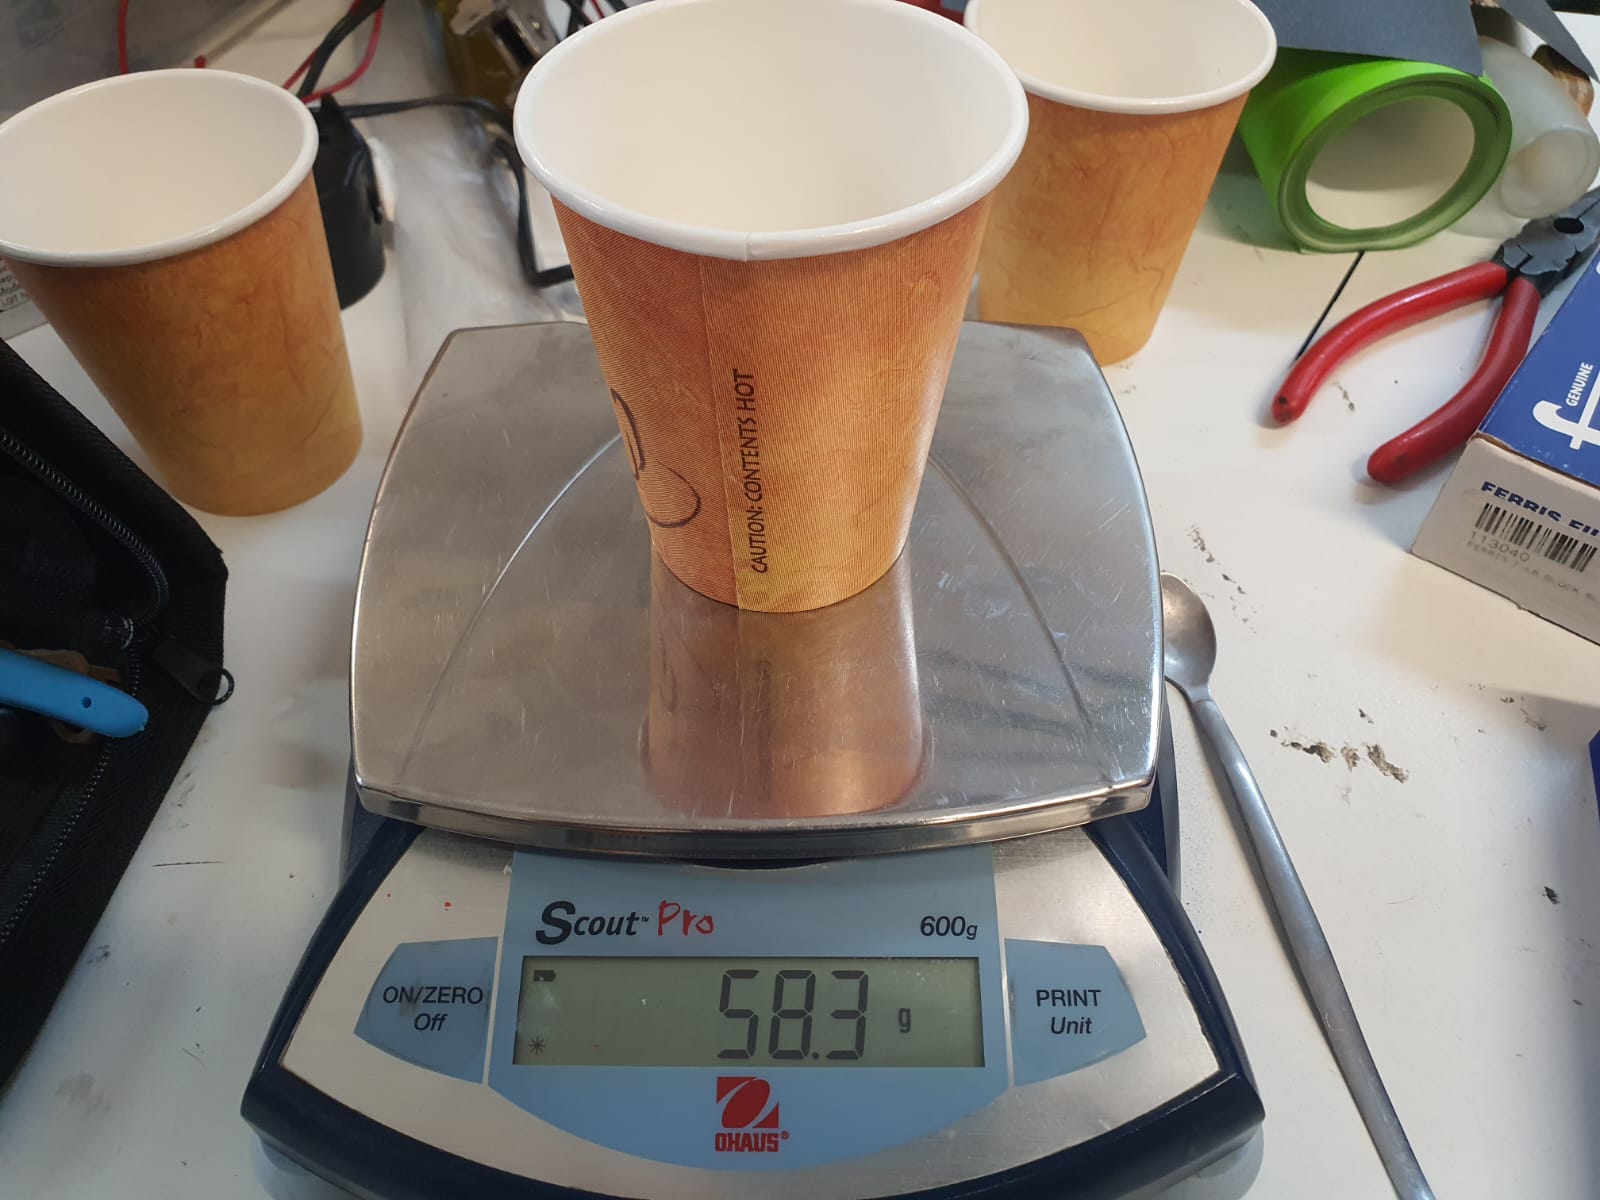
1. Meassure
First I weigh the amount of water my mold uses, as a result was about 58.3 ml
2. Compound A
As I know I can have some loss on the material because it is sticky I decided to use 70 ml of the compund A.

3. Compound B
As I folow the ratio 100:10 I used 7 ml of the compound B.

4. Mix and pour
It was carefully mixed for about 2-3 minutes, after having a uniform mix I pour it into the mold trting to get all the sides. Also give some taps to make the air go up in case it was traped inside.
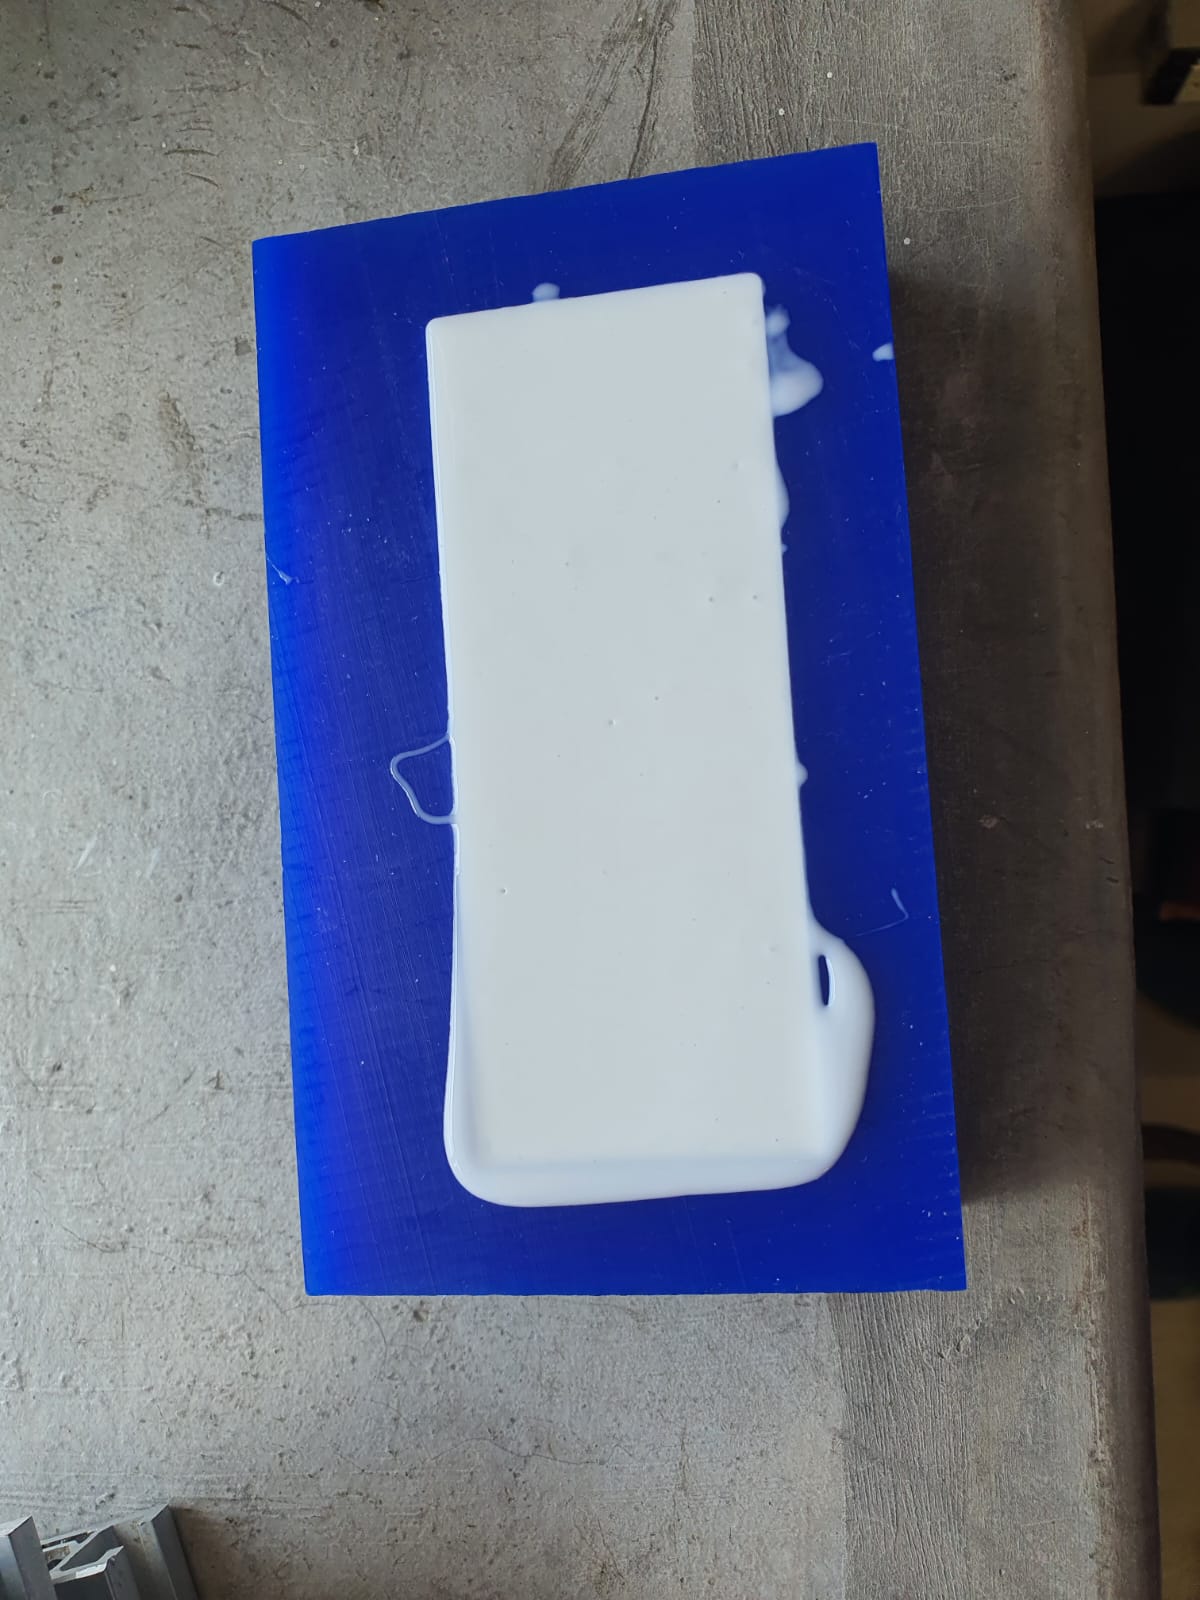
5. Let dry
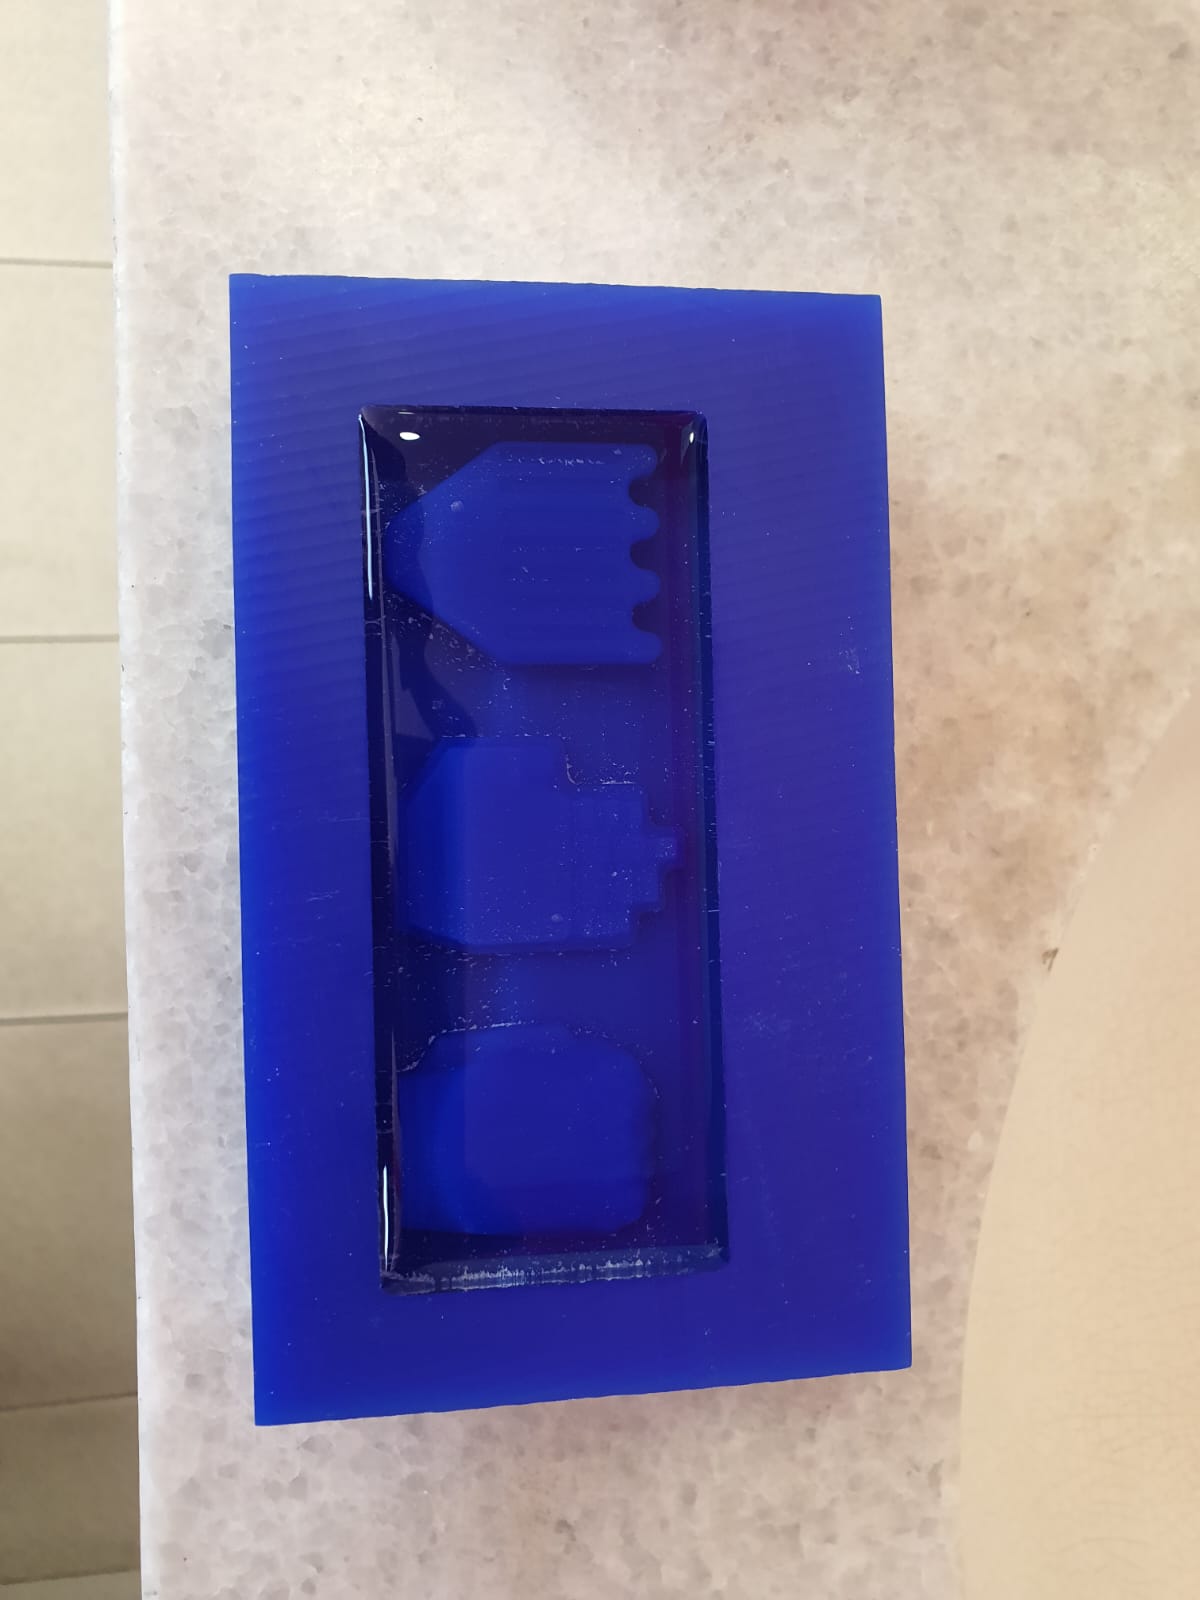
The mold is ready to pull out in about 6 hours, after the time passed it came preatty easy.

6. Demold and cure
After demolding I cure it in the oven at 65 °C for 5 hours to evaporate all the reamining solution and smells.
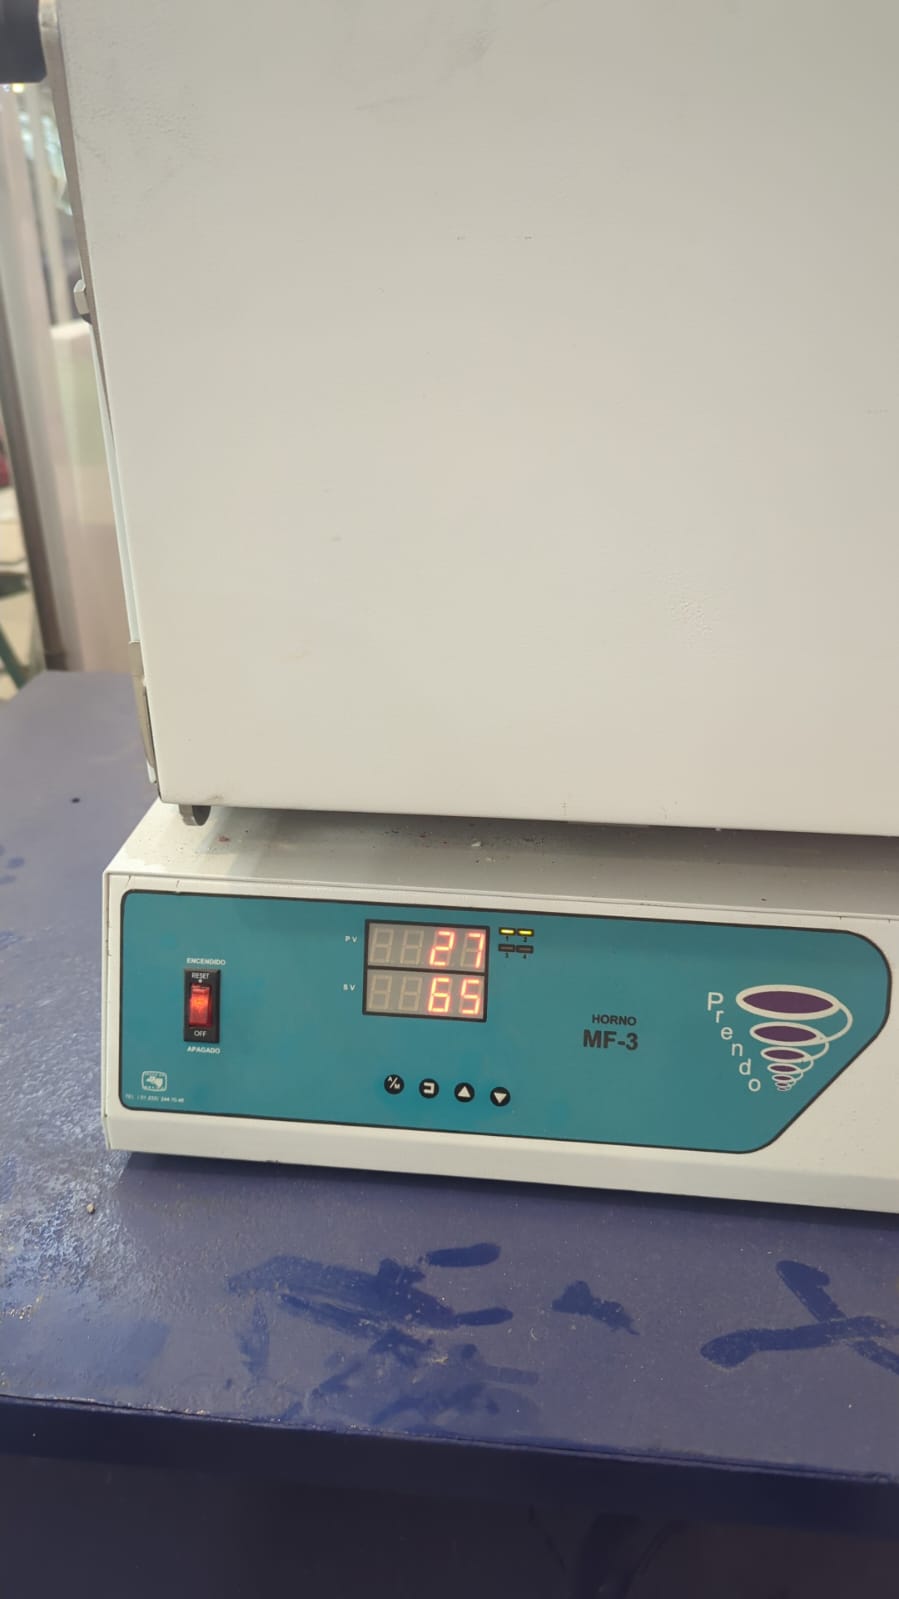

Now we can to start cast
Casting
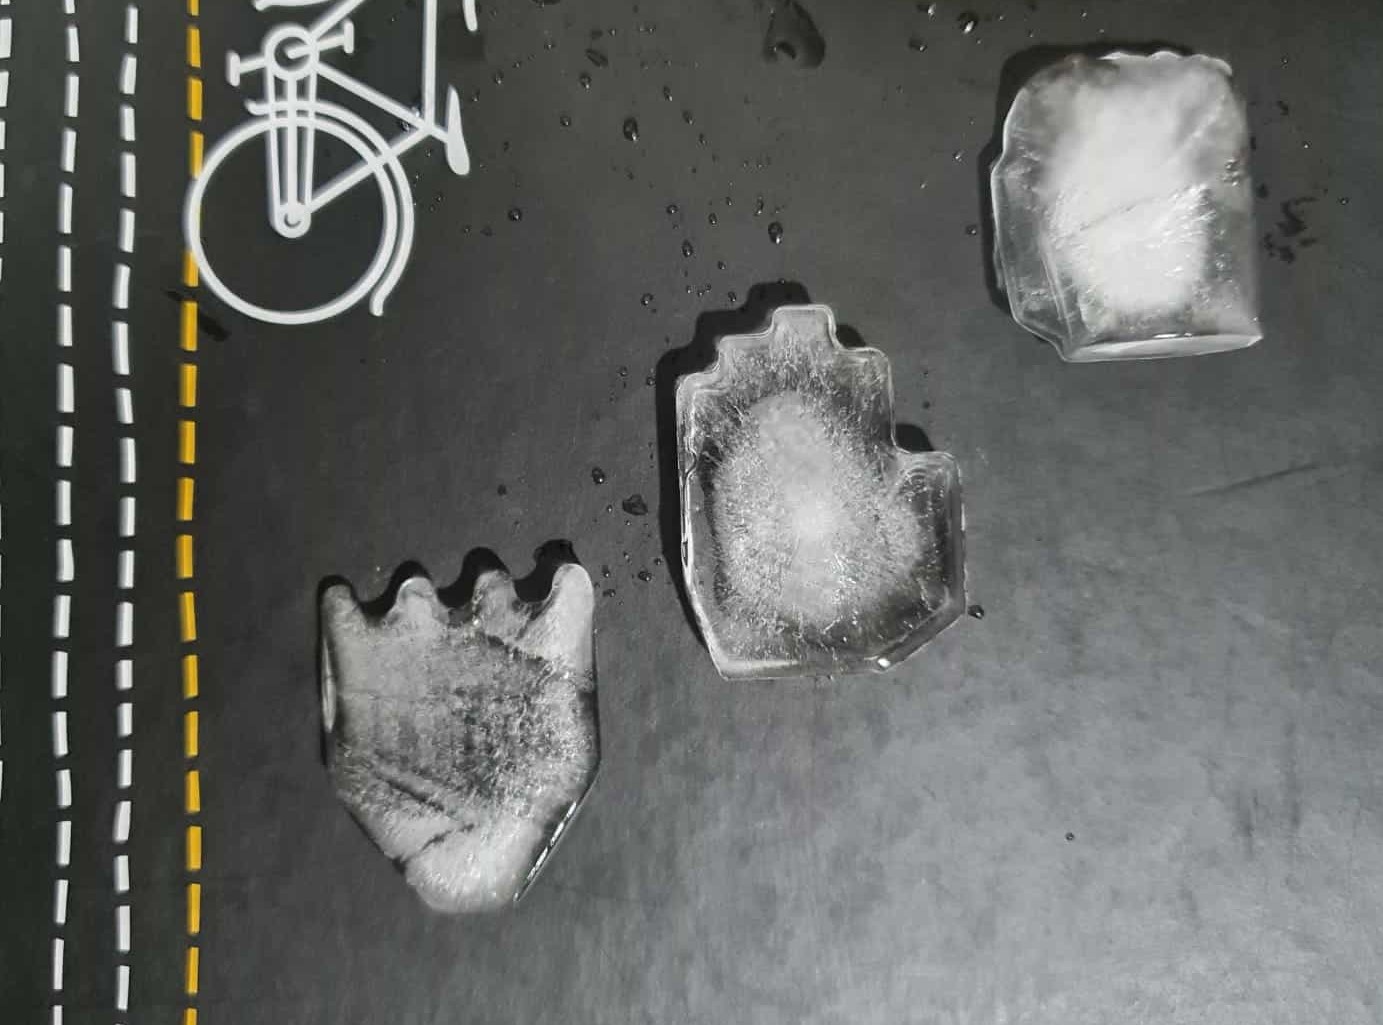
It is important to know that the material used for the mold Silicone 3030 isn't food safe, so I didn't really tried the products I made
the were only demostrative.
First I made some ice cubes with the form of the lollipops, on the first image it didn't appreciate well.
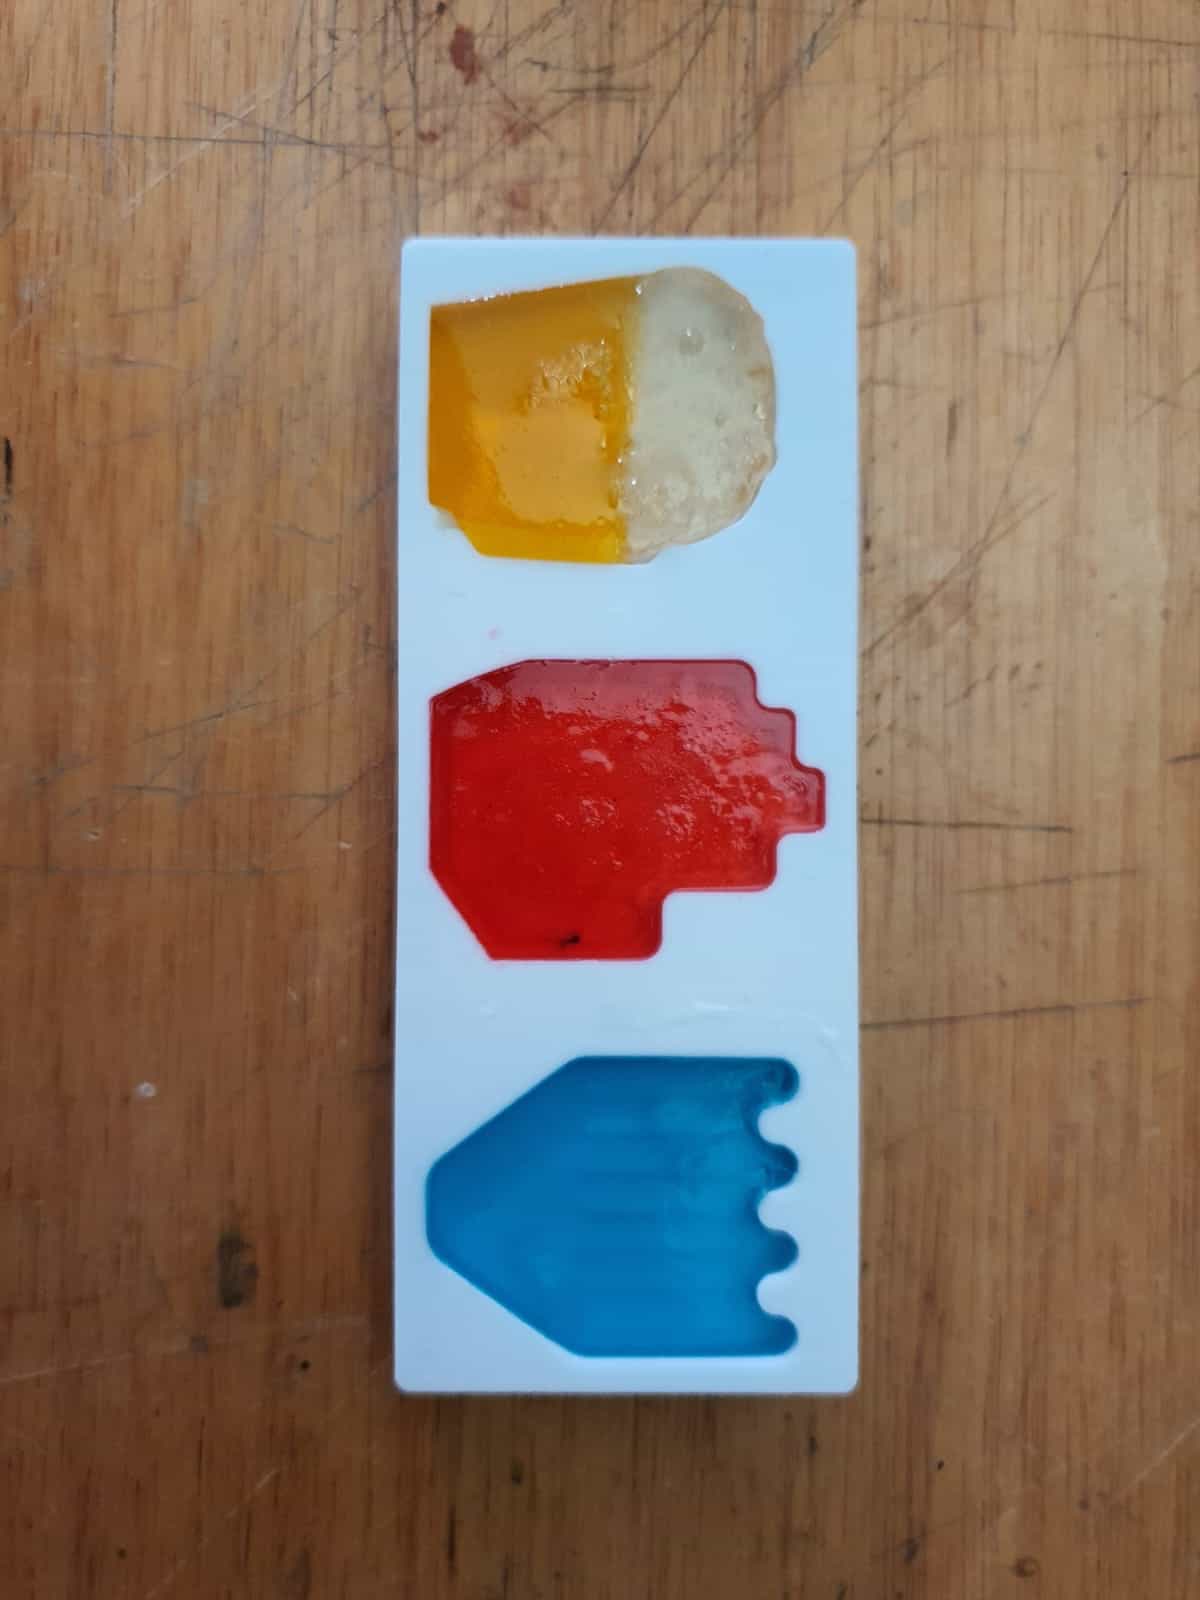
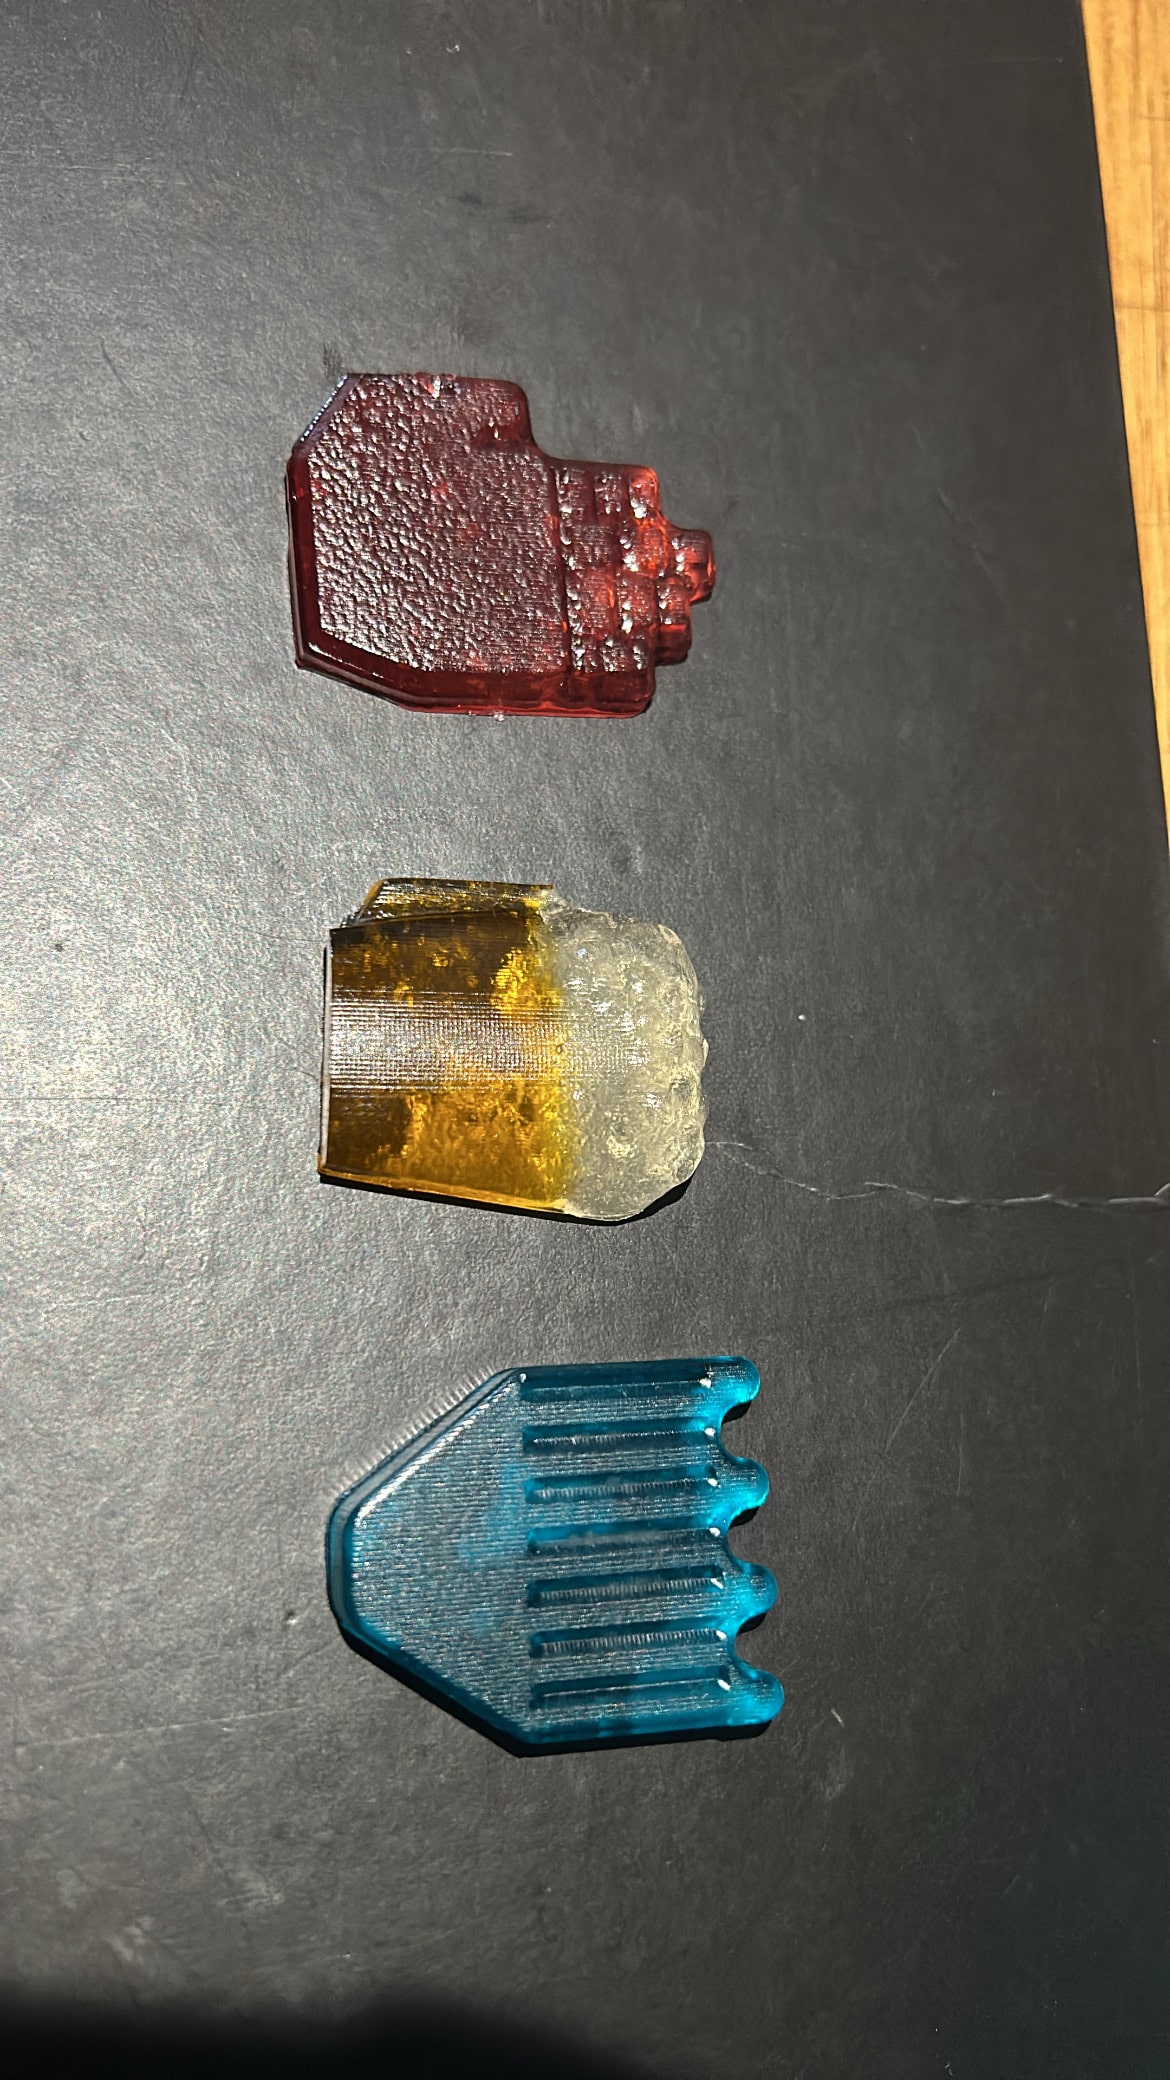
Later I mixed up some jello with gelatin and few water, to get the consistency of a gummy. For the Manita I used Red Currant, for the Tarrito
I made a mix of Coconut and Pineapple and finally for the Pinta Brocha I used Blueberry.
Files