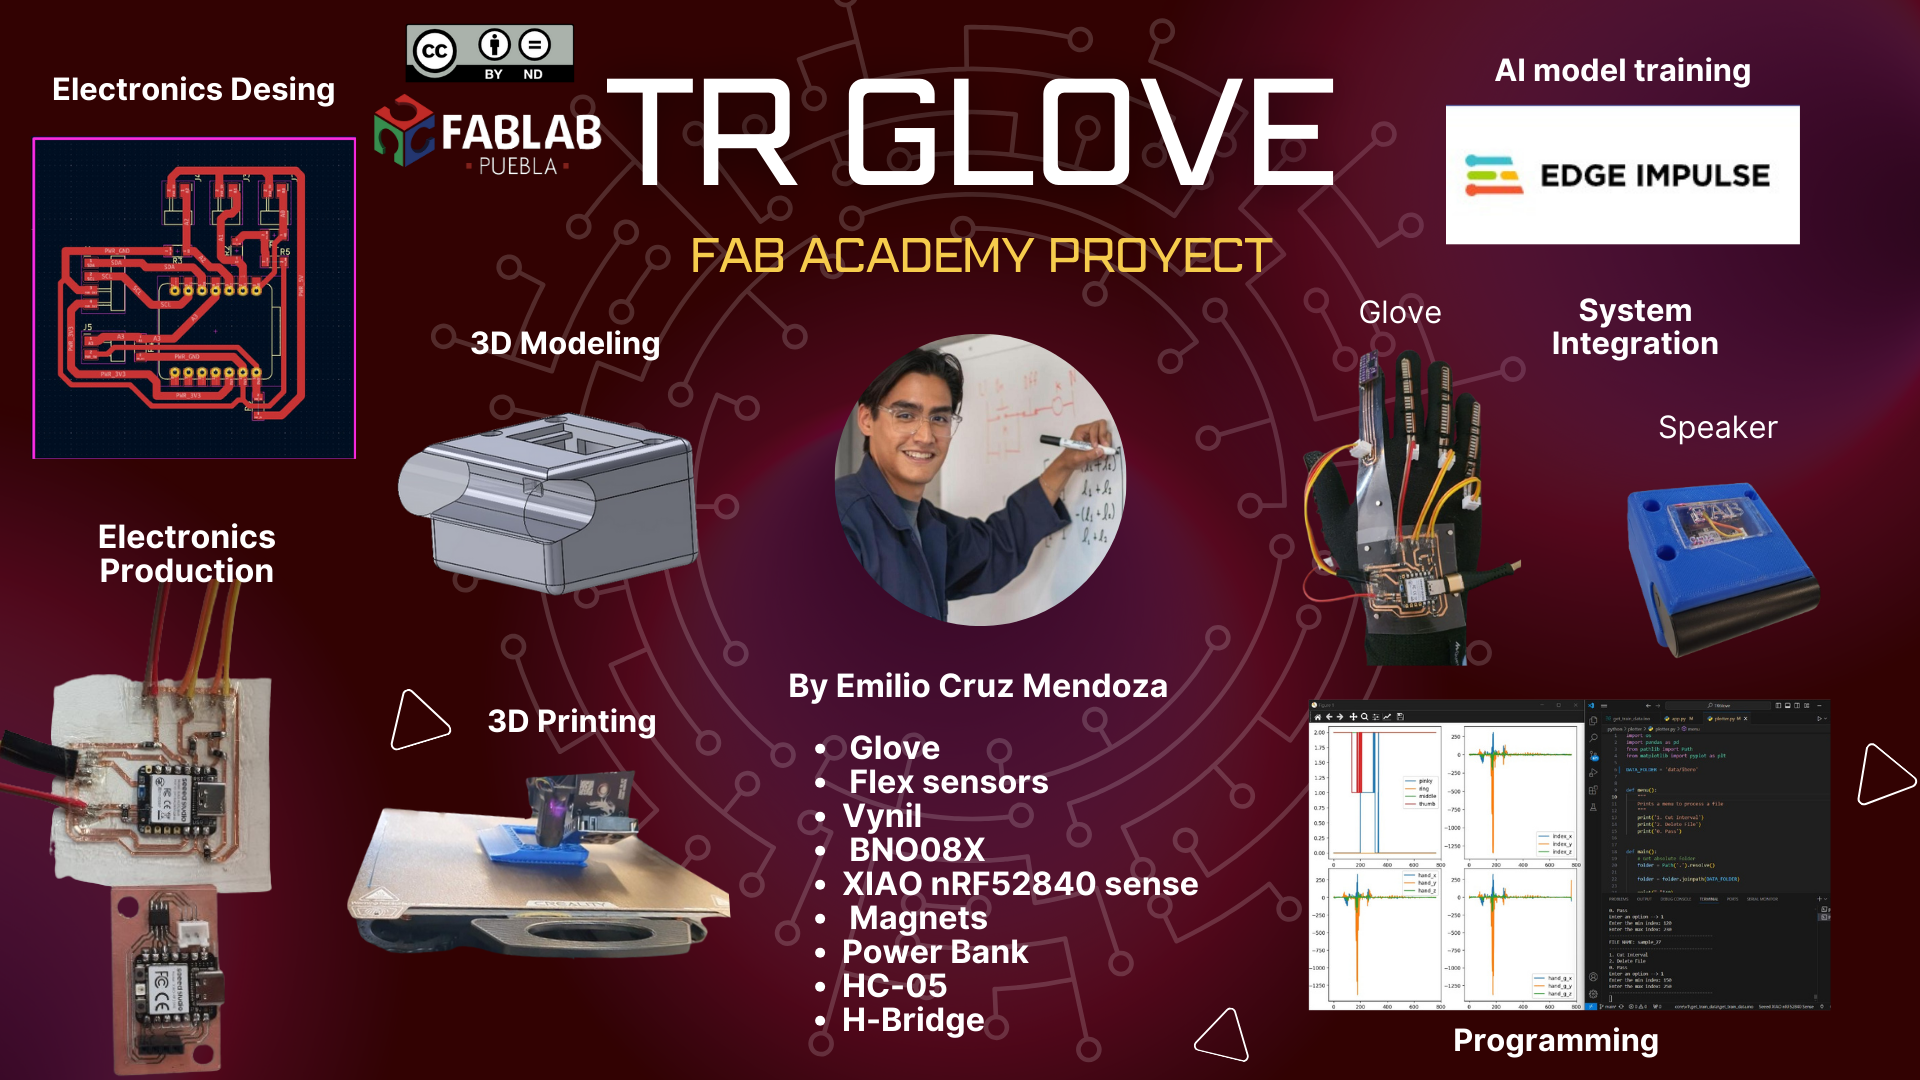
My Final Project
For my Final Project I'm planing on doing a translator glove for deaf-mute individuals.
If you want to see the future plans for the project you can Click Here.
In case of the final cost, what will be done, designed parts and processed used, Click Here.
All the components, comunication and system integration can be found if you Click Here.
For my final project this weeks were relevant for the outcome. On this weeks I learned the bases of how to do it, make mistakes for finally creating something new that integrates everything.
- 1. Project management …
- 2. Computer Aided Design …
- 3. Computer Controlled Cutting …
- 4. Electronics Production …
- 5. 3D Scanning and Printing …
- 6. Embedded Programming …
- 8. Electronics Design …
- 9. Output Devices …
- 11. Input Devices …
- 15. Wildcard Week …
- 16. System integration …
- 17. Applications and Implications …
- 18. Invention, Intellectual Property and Income …
At last, the FINAL Project
Speaker
Materials
- XIAO RP2040
- TB67H45AFNG
- HC-05
- Power bank
- 3 m5 bolts
- Acrylic
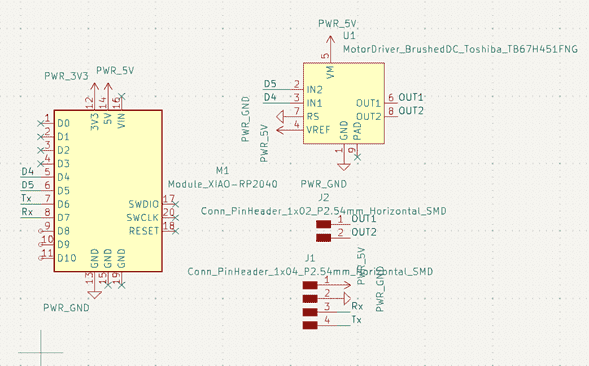
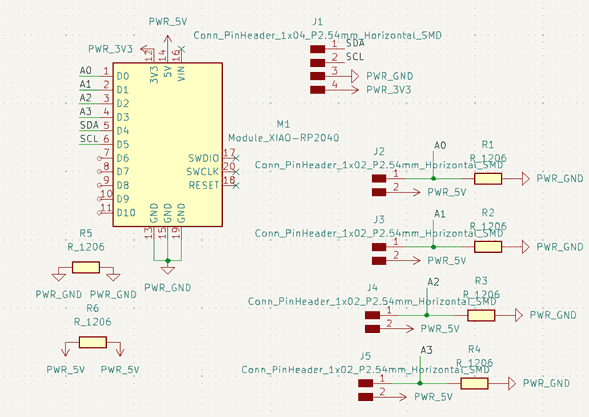
PCB Design
For the first part we need to design the MAIN PCB that will control the speaker.
After a lot of tests with opamps and different H-bride, I found out that the best way is to use an
H-Bridge TB67H45AFNG. This will be controled using a XIAO RP2040. If you want to use another microcontroller
the code will need to be changed.
For this I designed the PCB using KiCad:
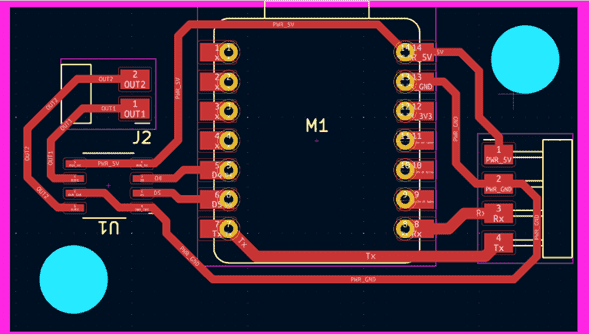
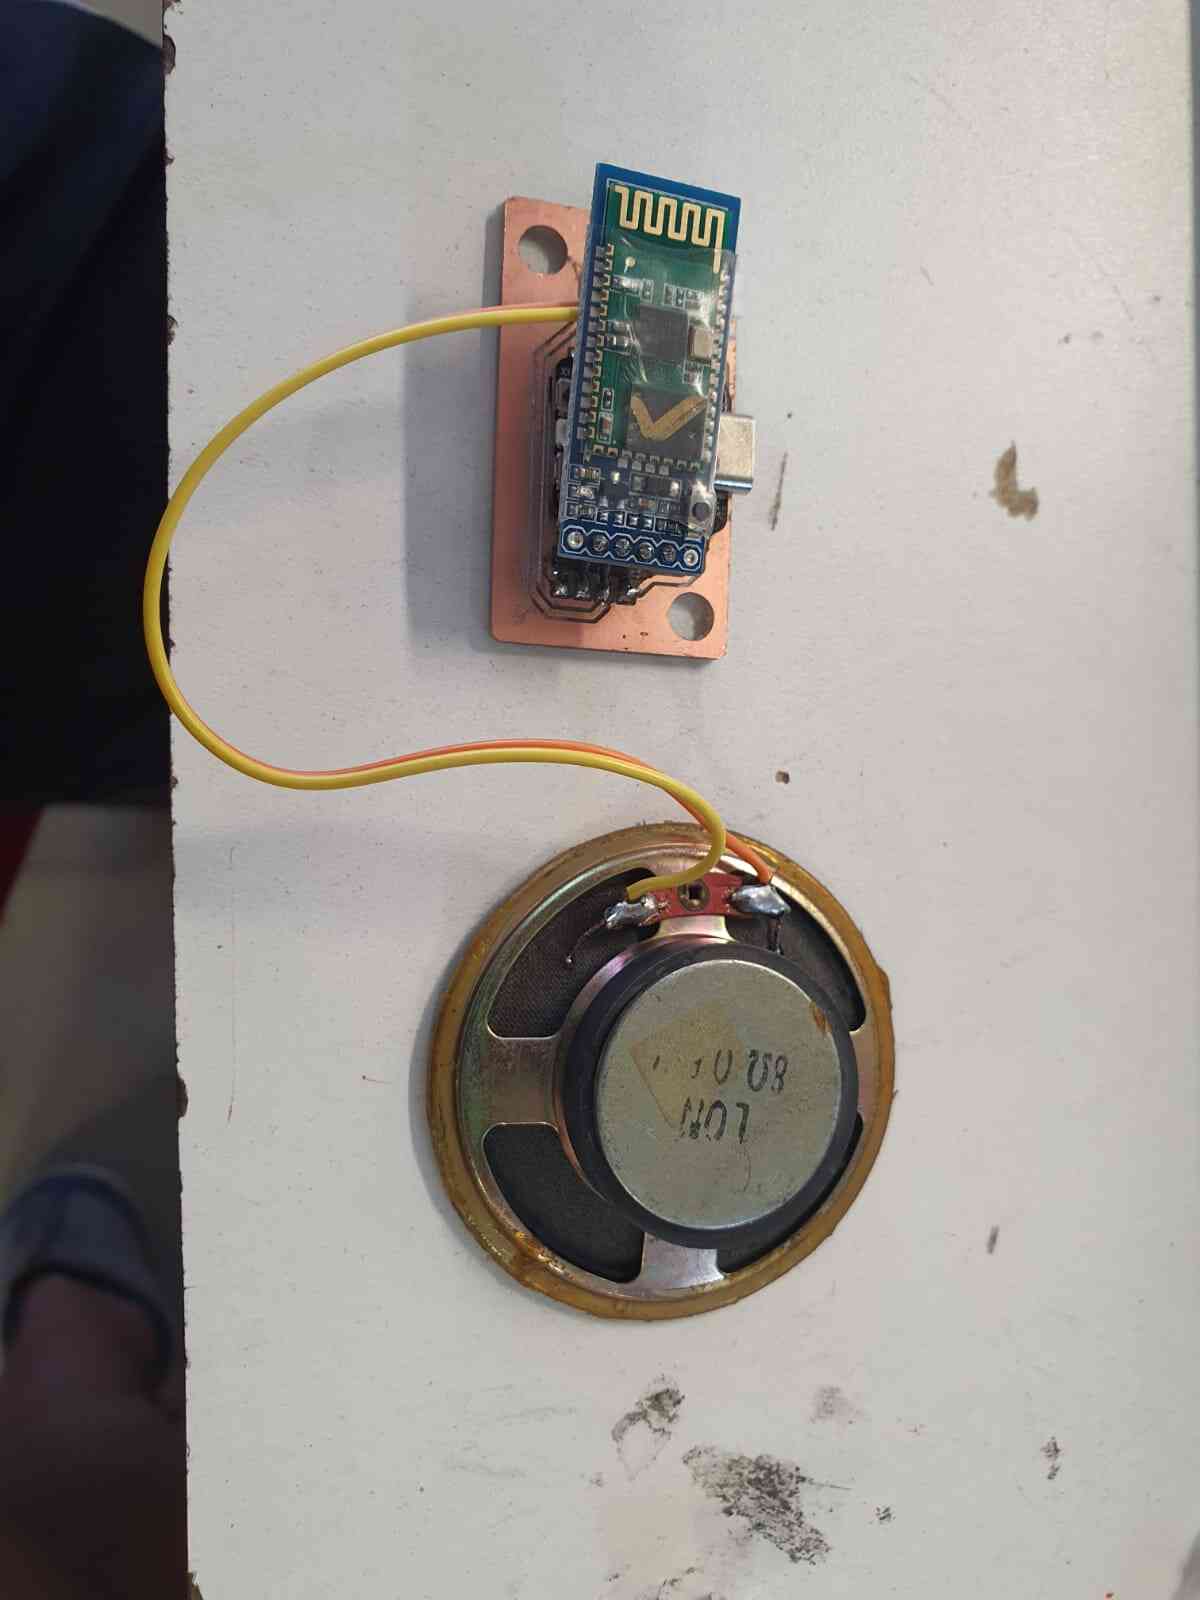
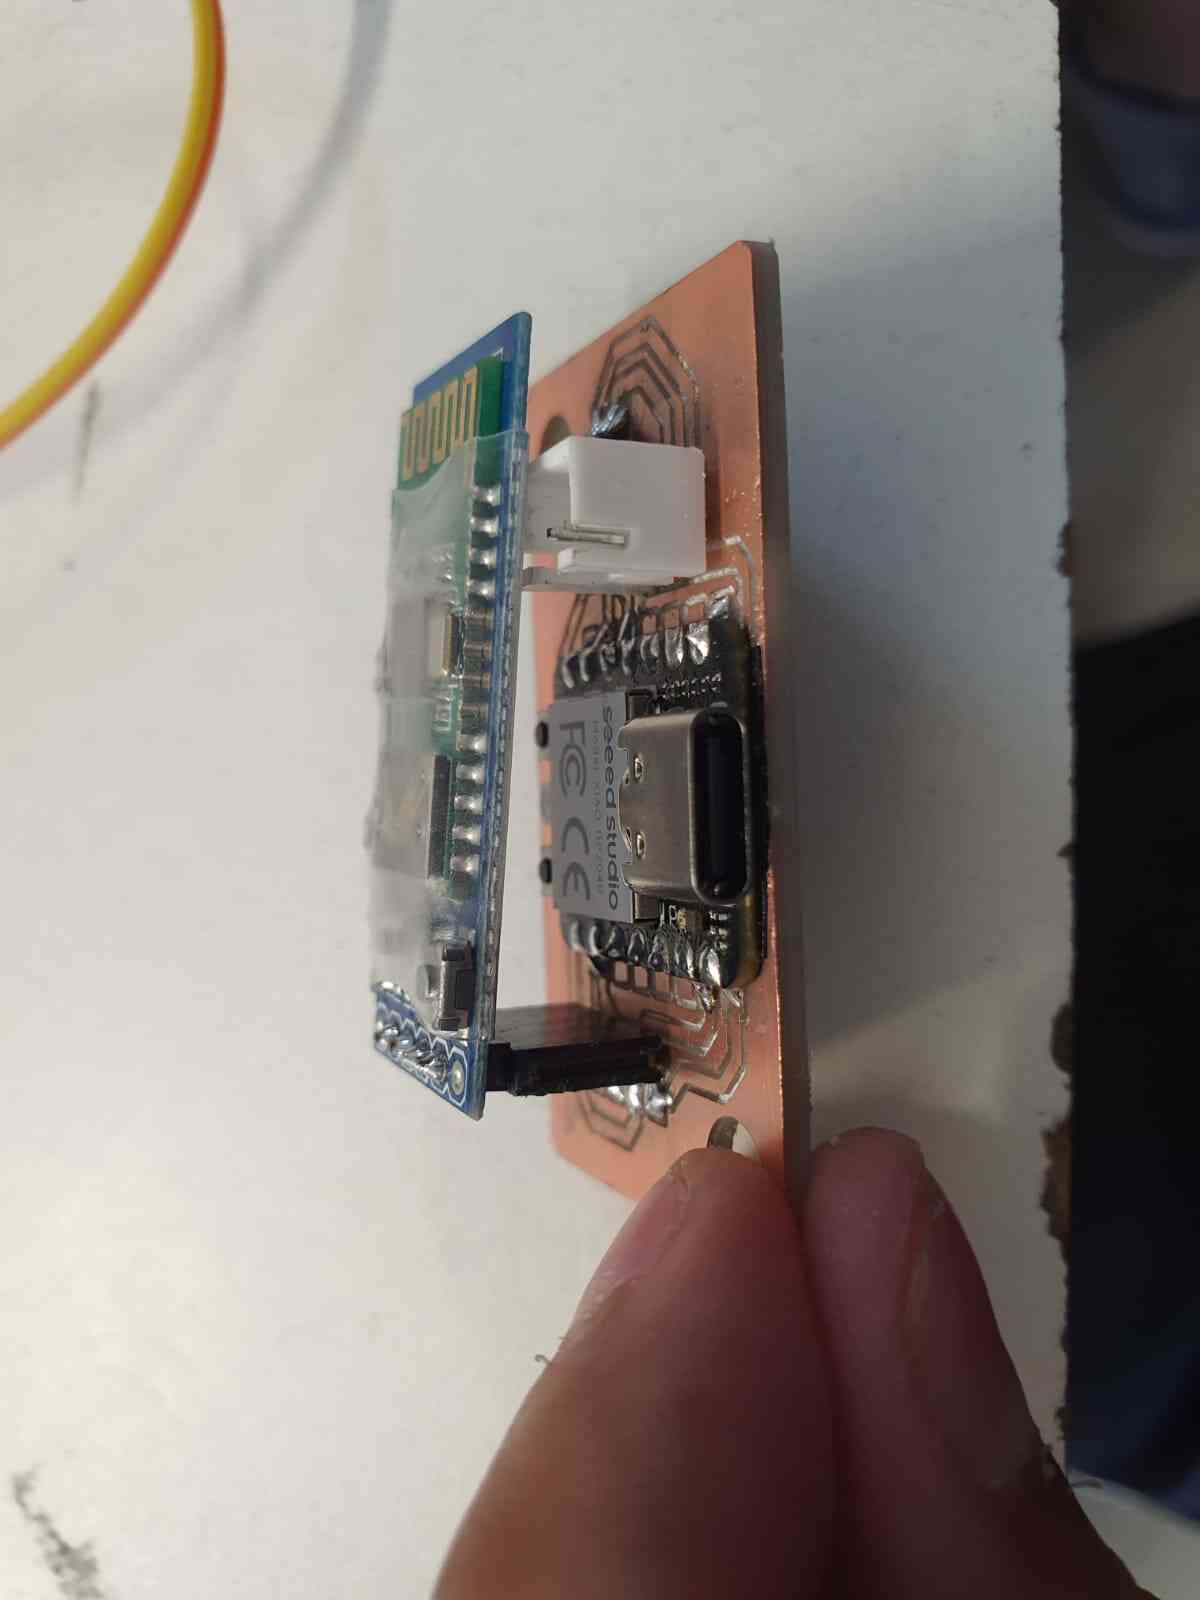
After soldering it looks something like this:
Design Case
After having the dimensions of the PCB we open Solidworks.
In here I designed the button and top part that will be joined by 3 m5 bolts.
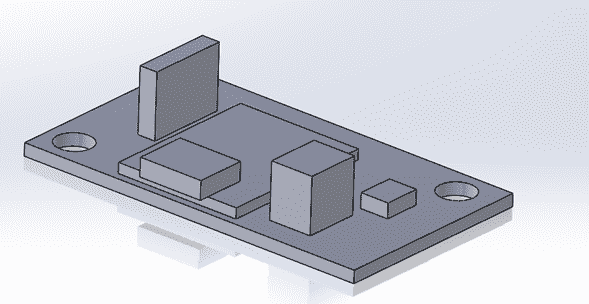
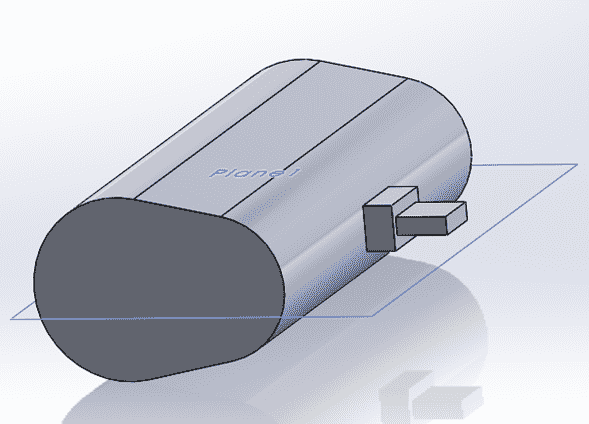
First I designed the PCB, speaker and power bank to give me an idea of the dimensions:
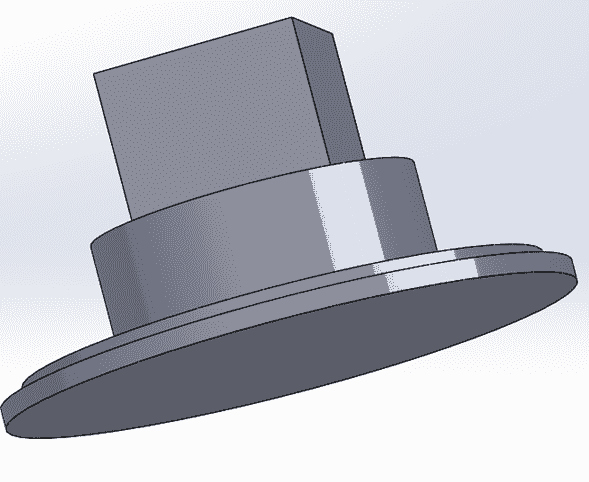
Button PART
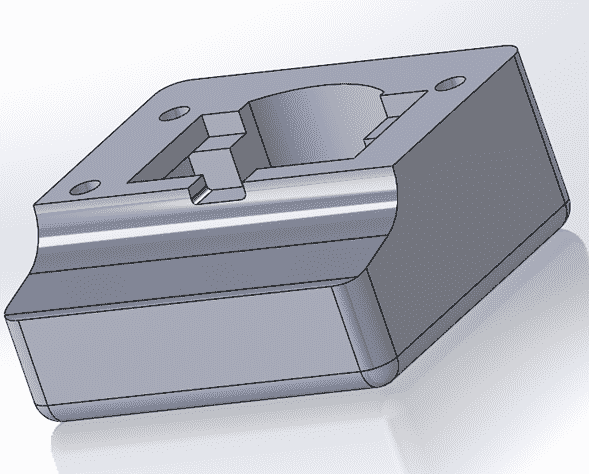
TOP PART
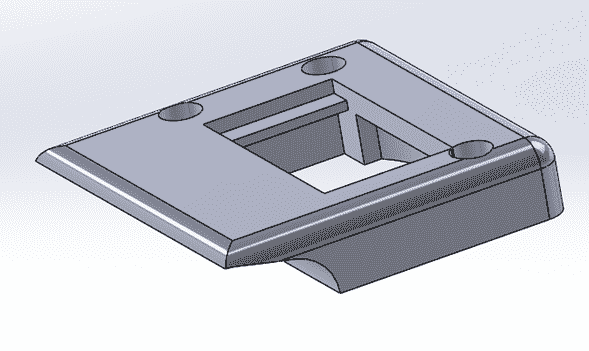
Assembly
After adding this two parts into an Assembly and a Window of Acrylic for look the inside components,
we get this:

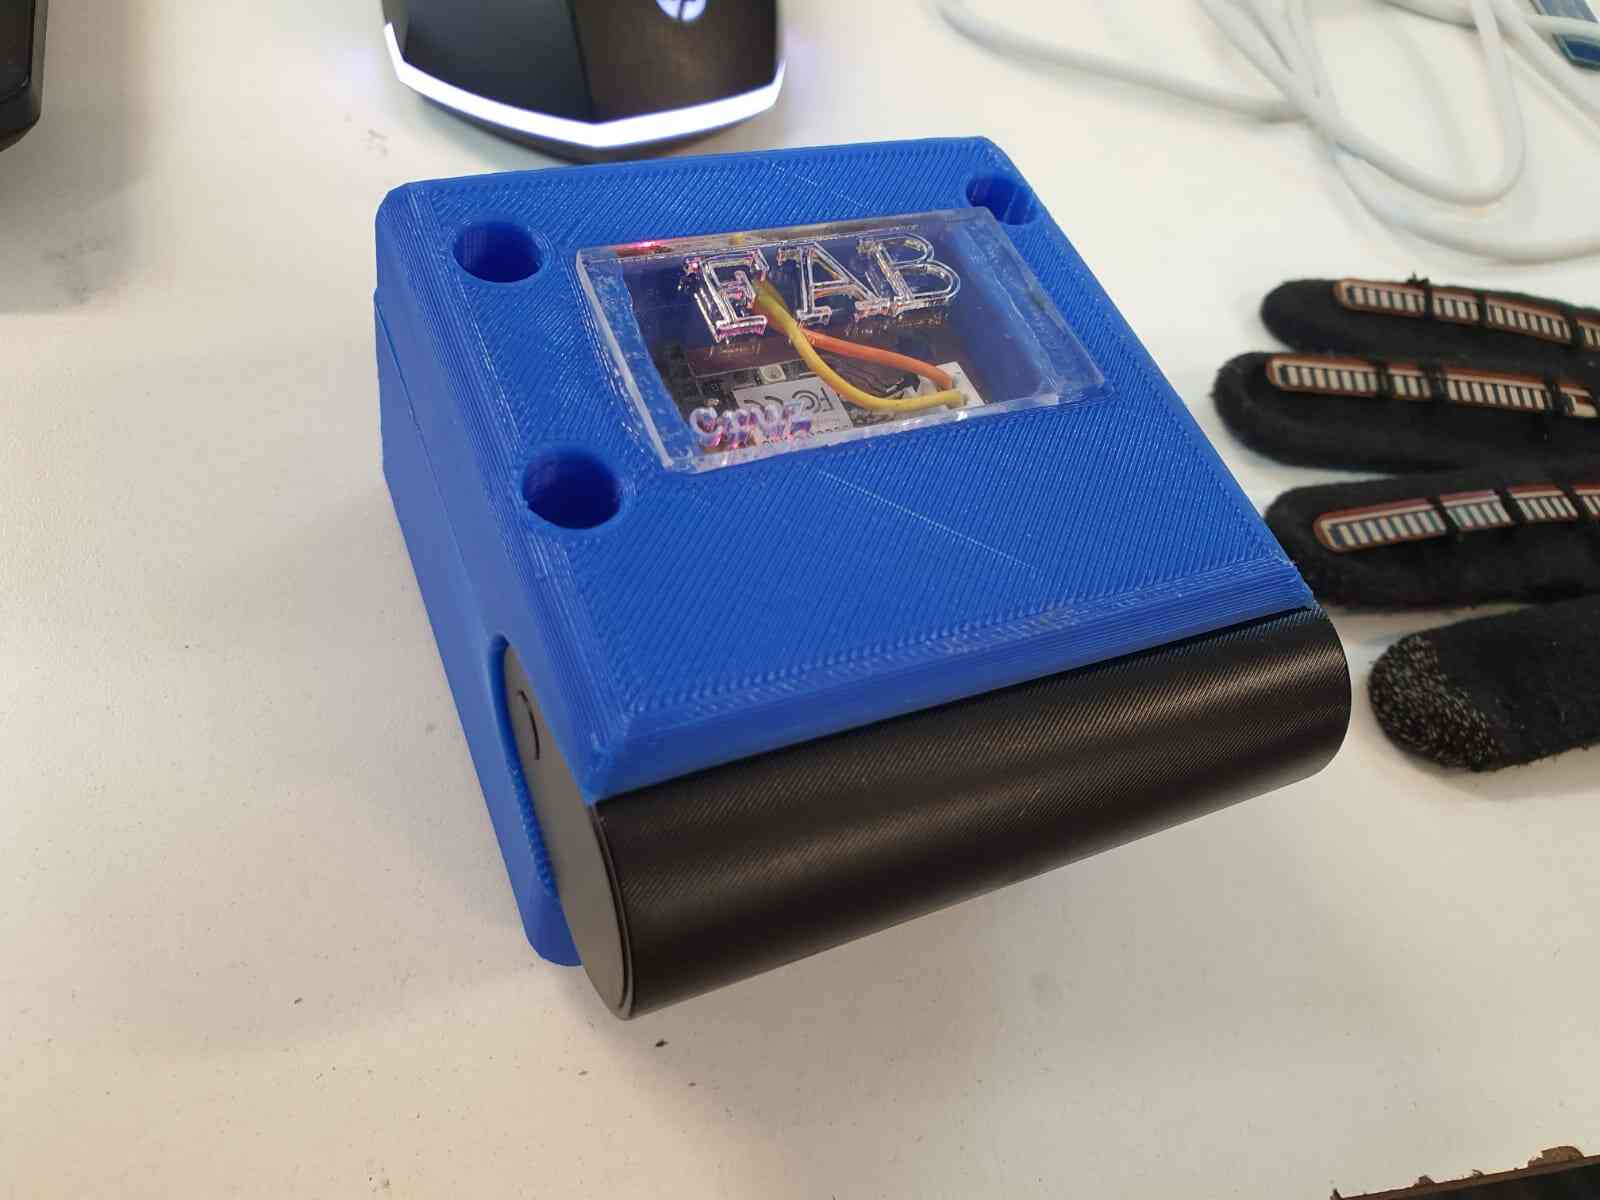
We use Cura to slide the parts and 3D print them in PLA, also I used the Laser machine for
cutting a the Window.
After having all the parts we can star the assembly:
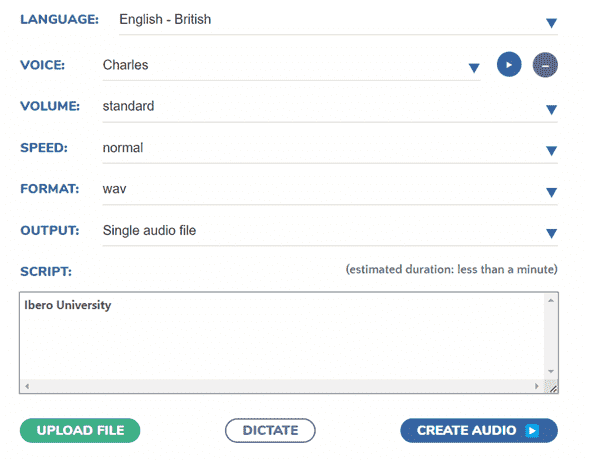
Making the sound
For making the sound we need different steps.
- Use Narakeet to create a .wav sound
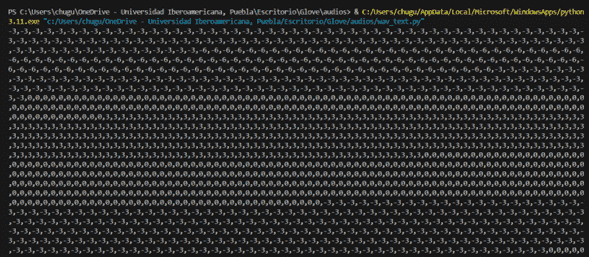
- Run a Python script to convert the .wav to a value
- Copy the Output
- Create an array in Arduino with the obtained value

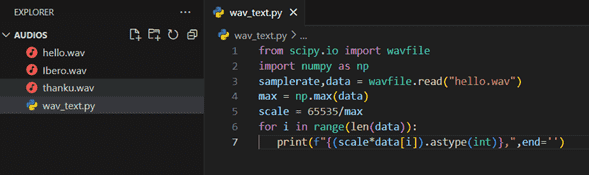

Code
Using Arduino for the main code, first we create the different sound files es .h to include the on the main
code.
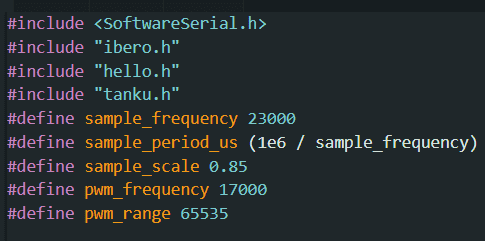
After having all the libraries we can load the code. That reads the value from the Bluetooth and send a sound depending
on the given data: 1, 2 or 3.
Tests
In the next video we can send a value from the phone to the speaker.
Glove
Material
- Xiao-nRF52840
- 4 Flex sensors
- BNO08x
- 2 Resistors 0k
- 4 Resistors 10k
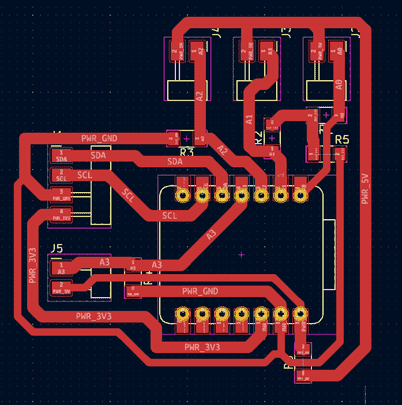
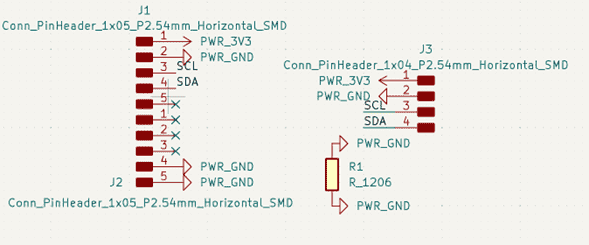
PCB Design
In this case I made the PCB having on mind that it will be cutted on Vinyl so the tracks have to be
thicker. I design two different PCB's, one for the main hand hoding the voltage dividers and the Xiao-nRF52840
with the outputs to be connected to the flex sensors and to the other PCB.
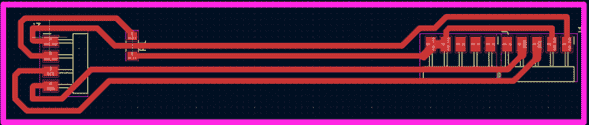
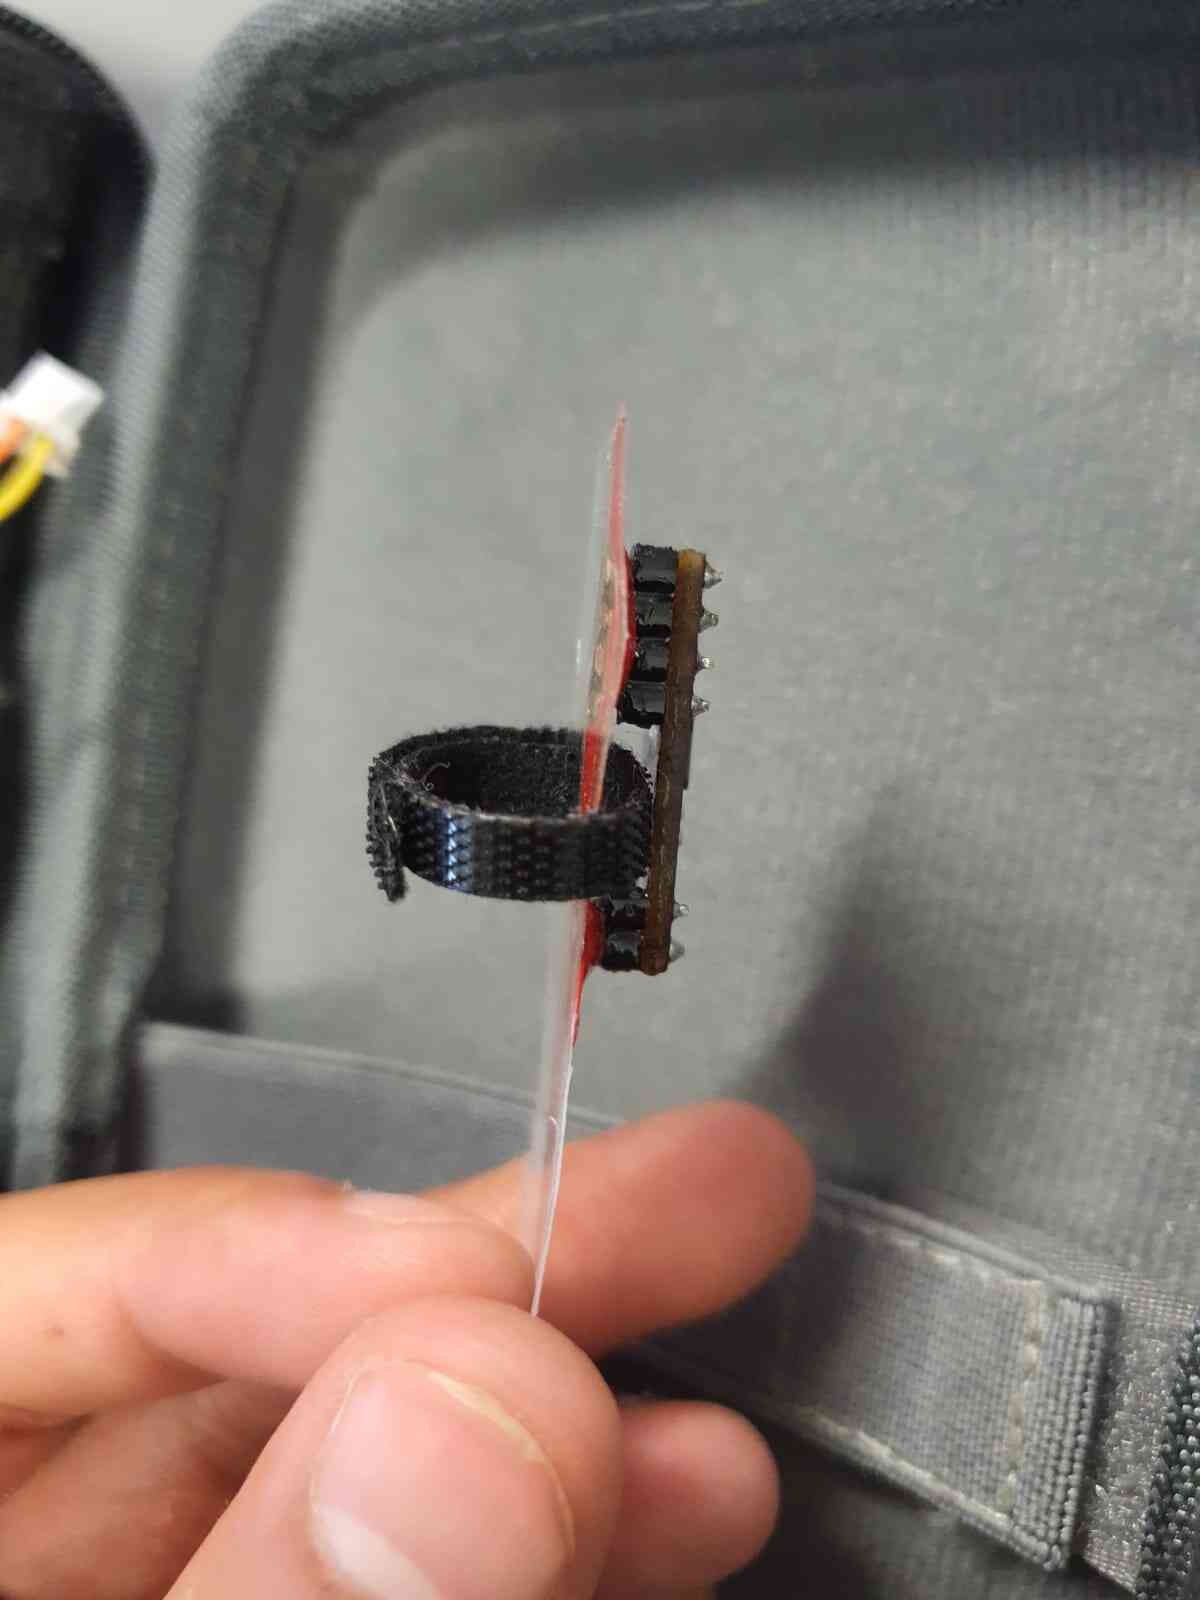
The other flexible PCB is going to hold the IMU BNO08x so it has to be long enough for the index finger and to hold
the pin conectors.
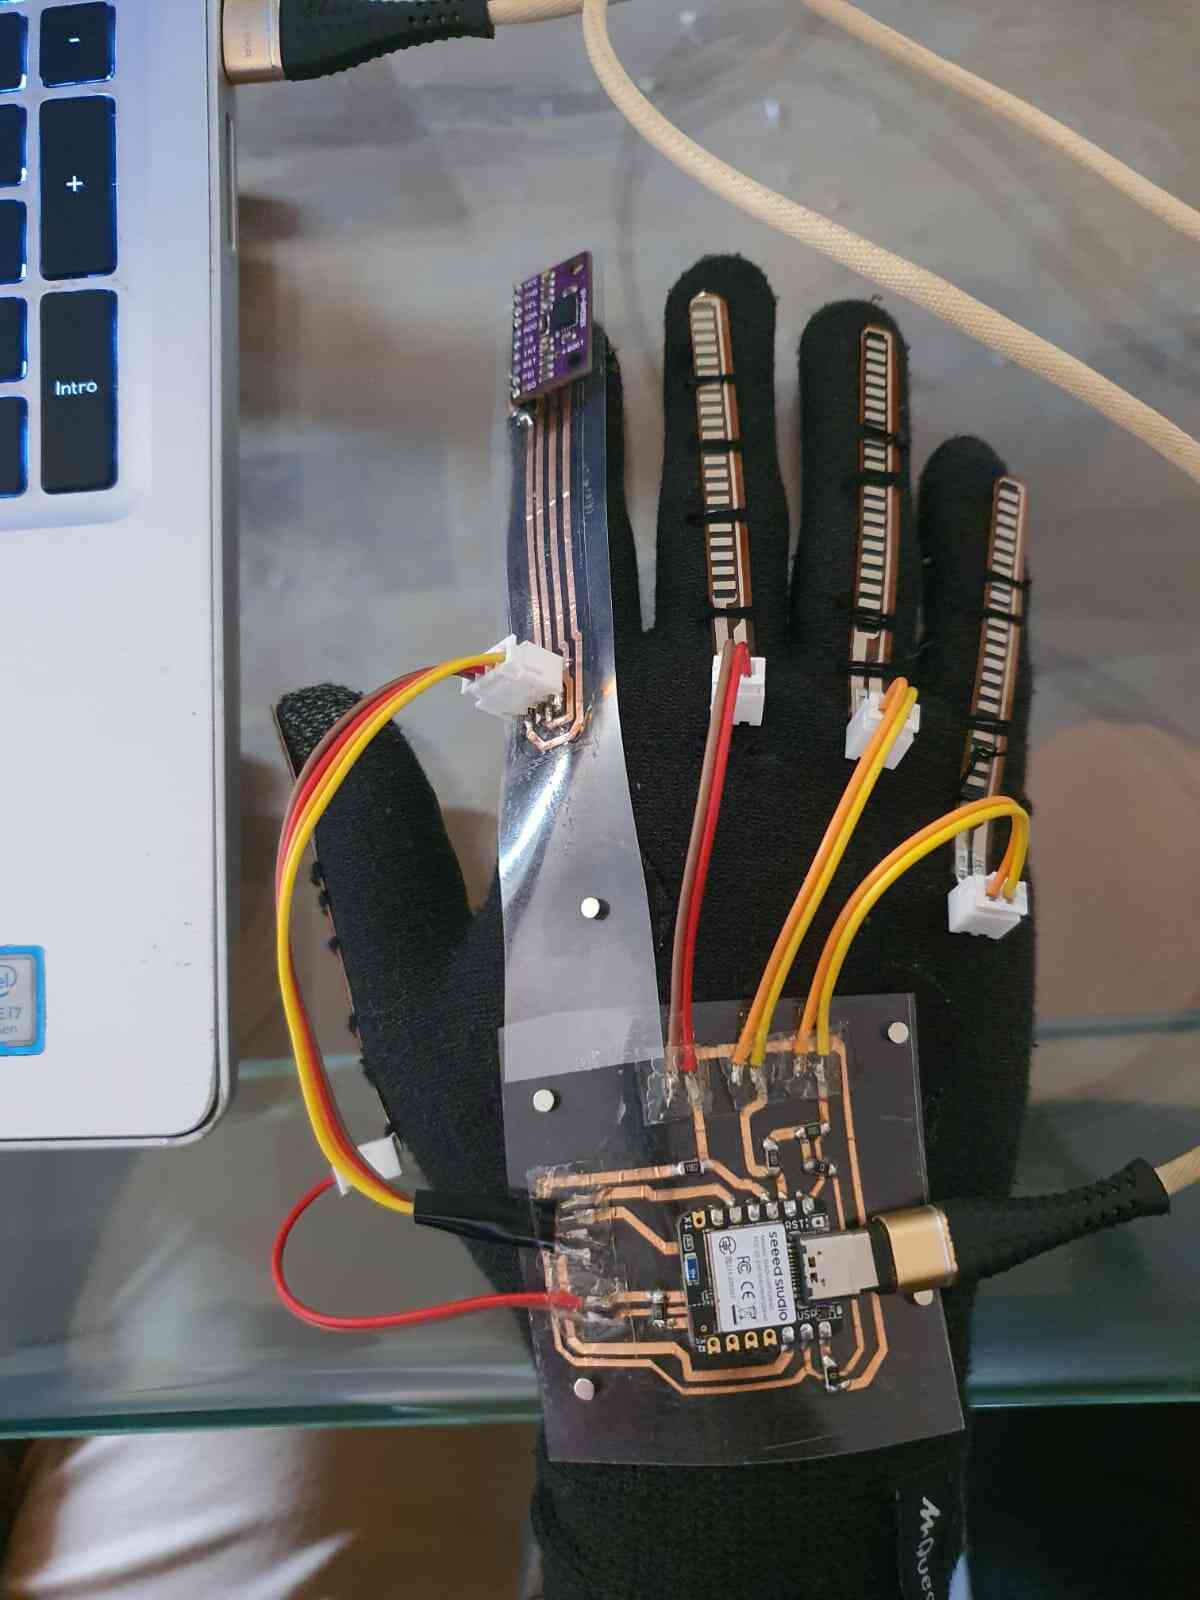
Assembly
First it is important to add some magnets in the glove as well as sewing the flex sensors into place. For this step it
is important that the base doesn't move and the top can slide while flexing the finger.
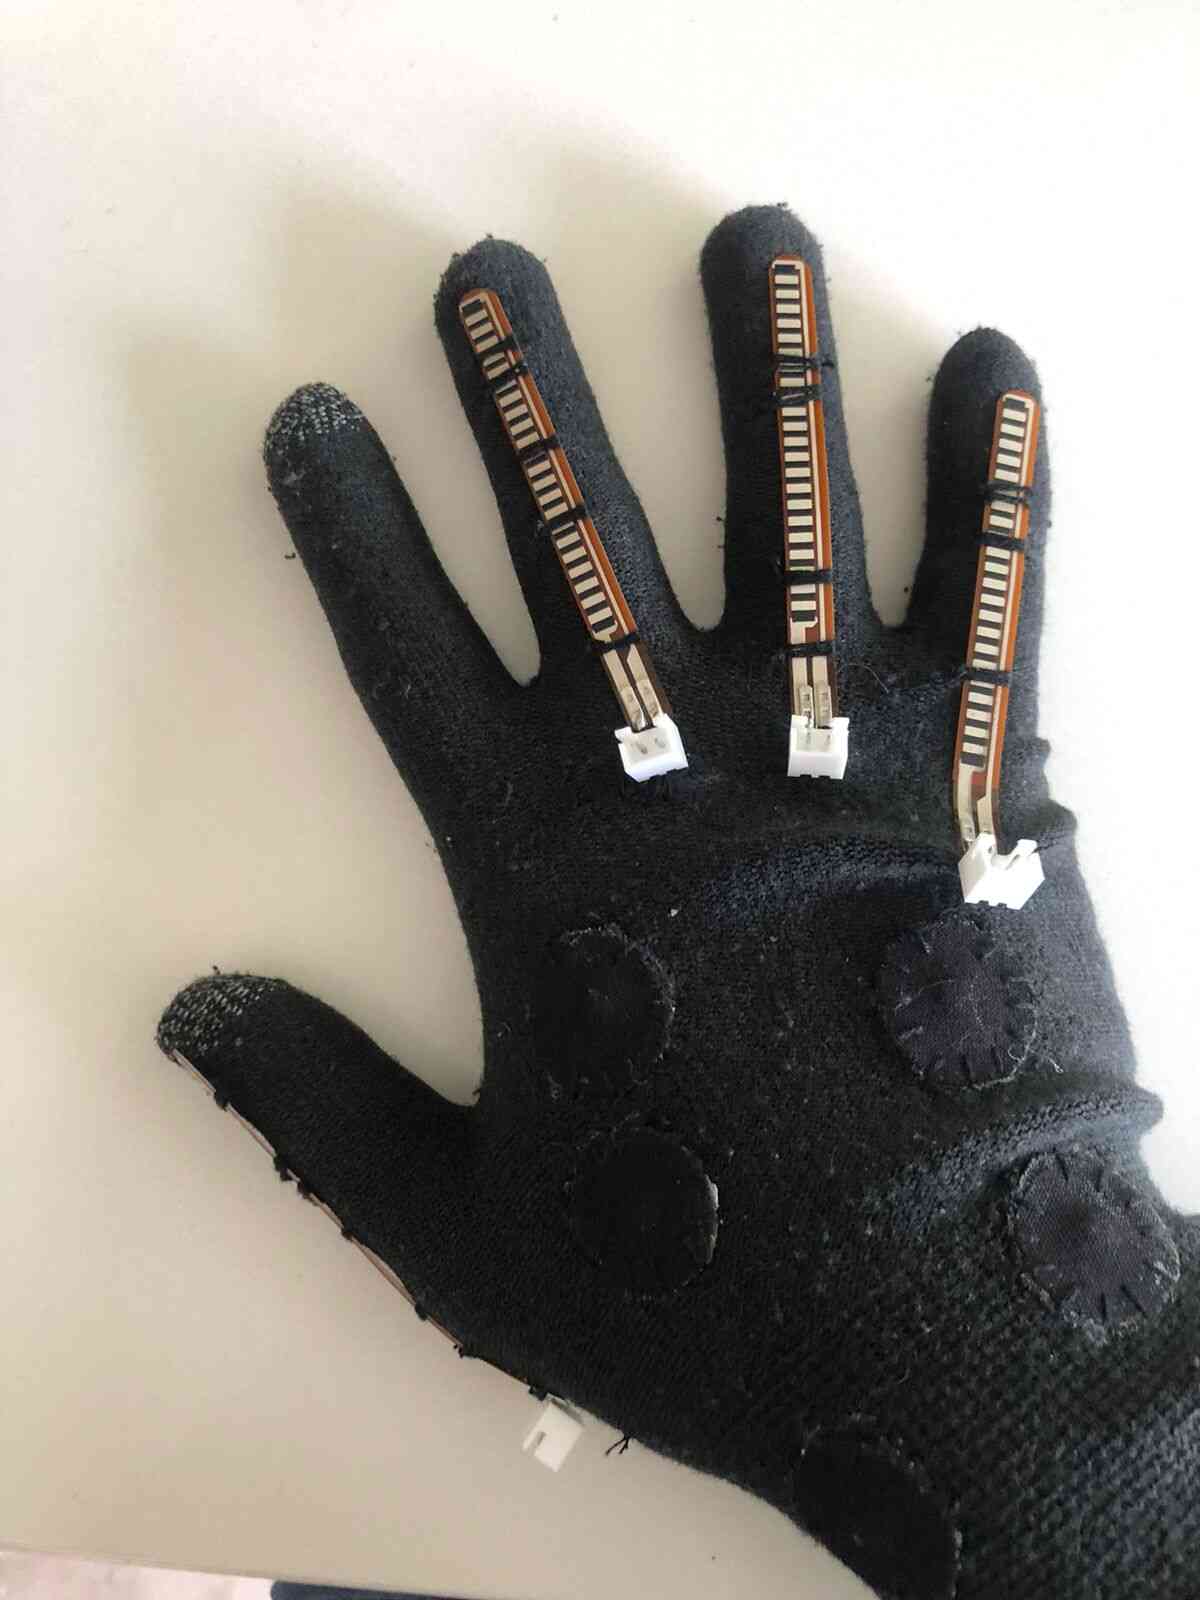
For the PCB after soldering them use nail polish to make them stronger.
For the index it will have a Velcro on the top for this sliding.
Once having all the components we can easily assembly it like this, thanks to the magnets.
Code
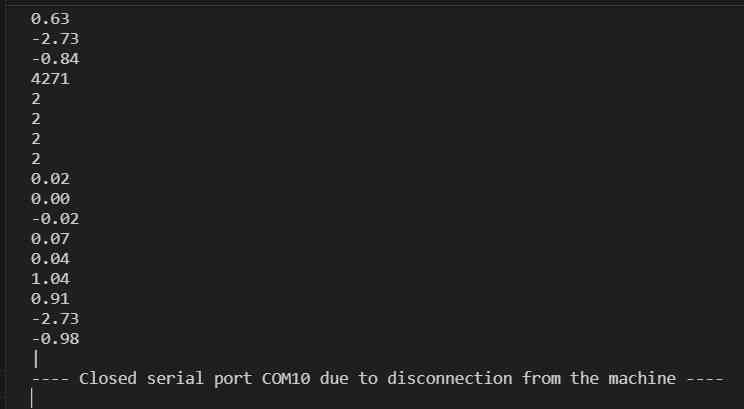
For the code made in Arduino, that reads all the flex sensors and the IMU by I2C.
The flex sensors are going to be mapped between 3 values (complete flex, medium and straight).
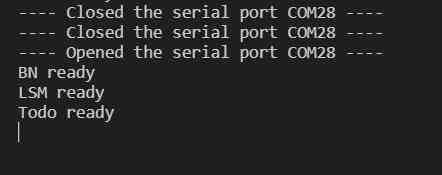
On the code we print in the Serial Monitor the different values of the felx sensors, external IMU and internal IMU and Gyroscope.
The are messages detecting the reading in case the sensors don't initialize.
The samples are going to be every 2600 miliseconds for the later implementation.
Tests
After having the code we can run and see on the serial monitor the output.
Integrated System
Get Data
Once we have the code for getting data, we can run the python script that will show us avery file created every 5 seconds.
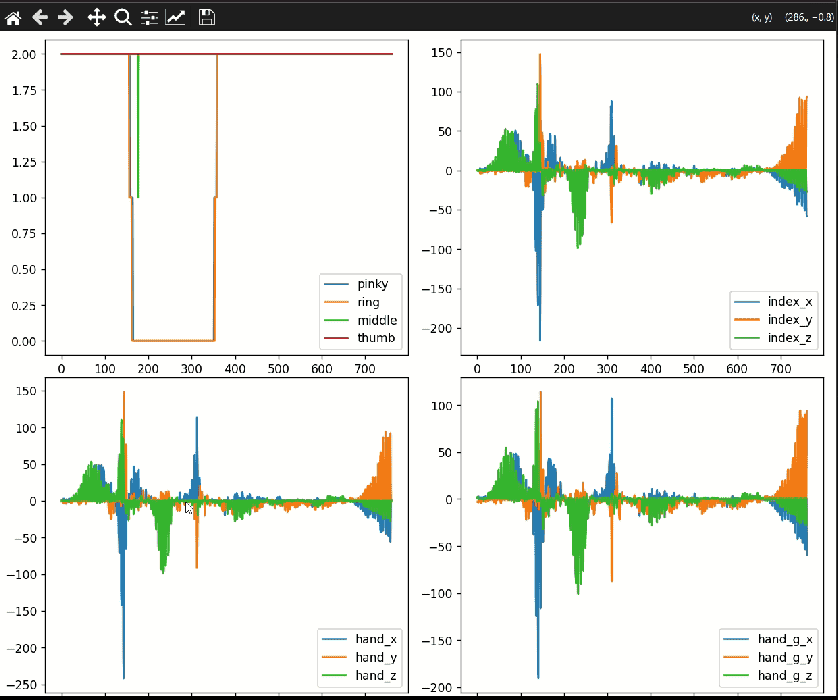
When you run the code it shows the graph of the 2.6 seconds and different values with a menu with different optios: next, cut, delete, back, etc.
The ideas is to crop the data to only have the valuable data on the .json and the .csv file that creates
We have to run it every time we add a new sign.
Here is the graph it displays:
Train Model
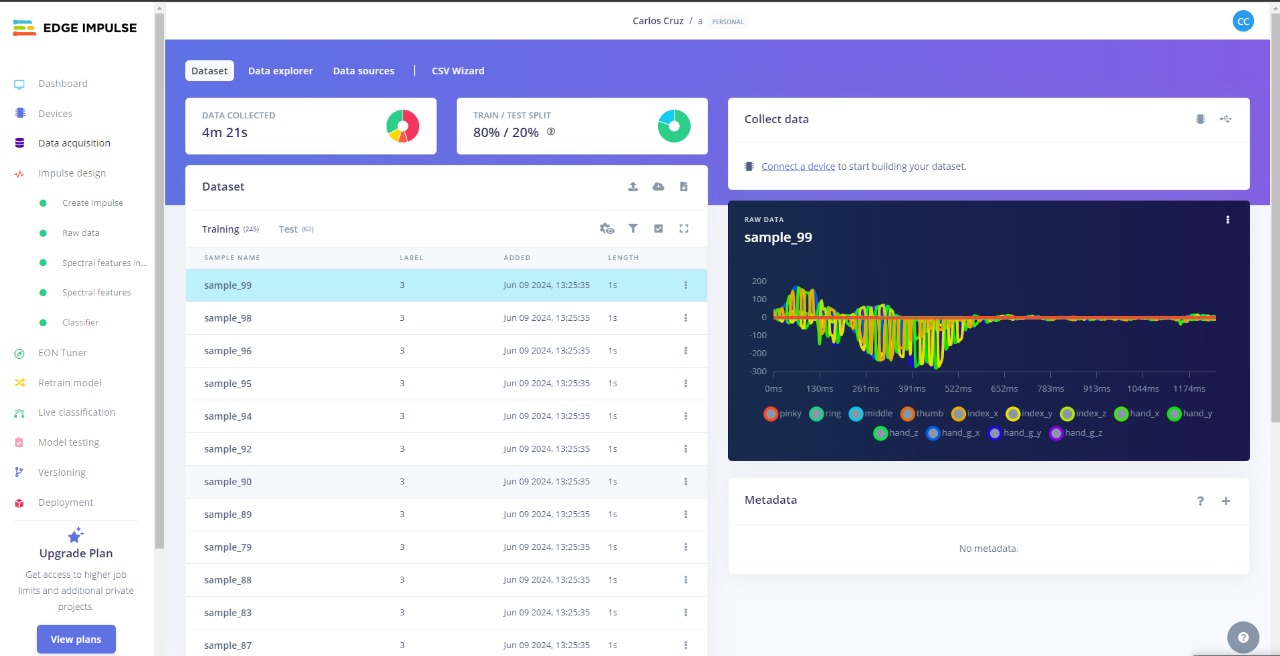
Once we have the data on a .csv format by running the python script above, we cah upload all tha data to
Edge Impulse.
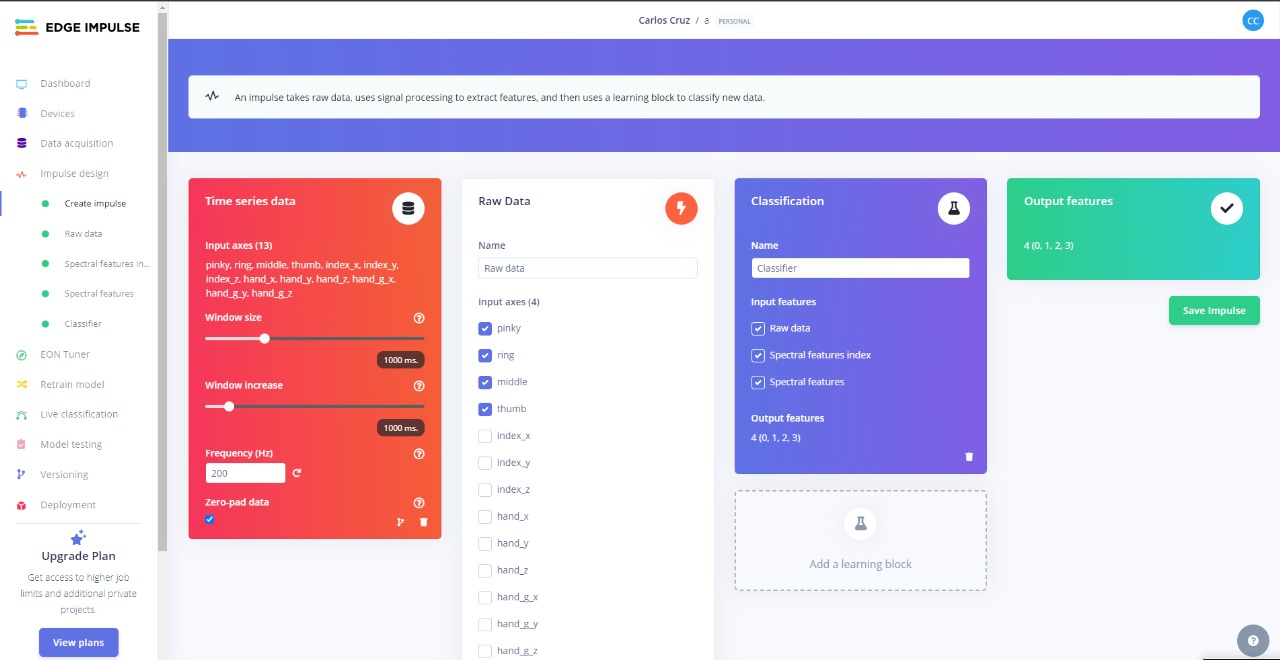
Then with all the data we can select and divide the data and classify it, then generate the impulse.
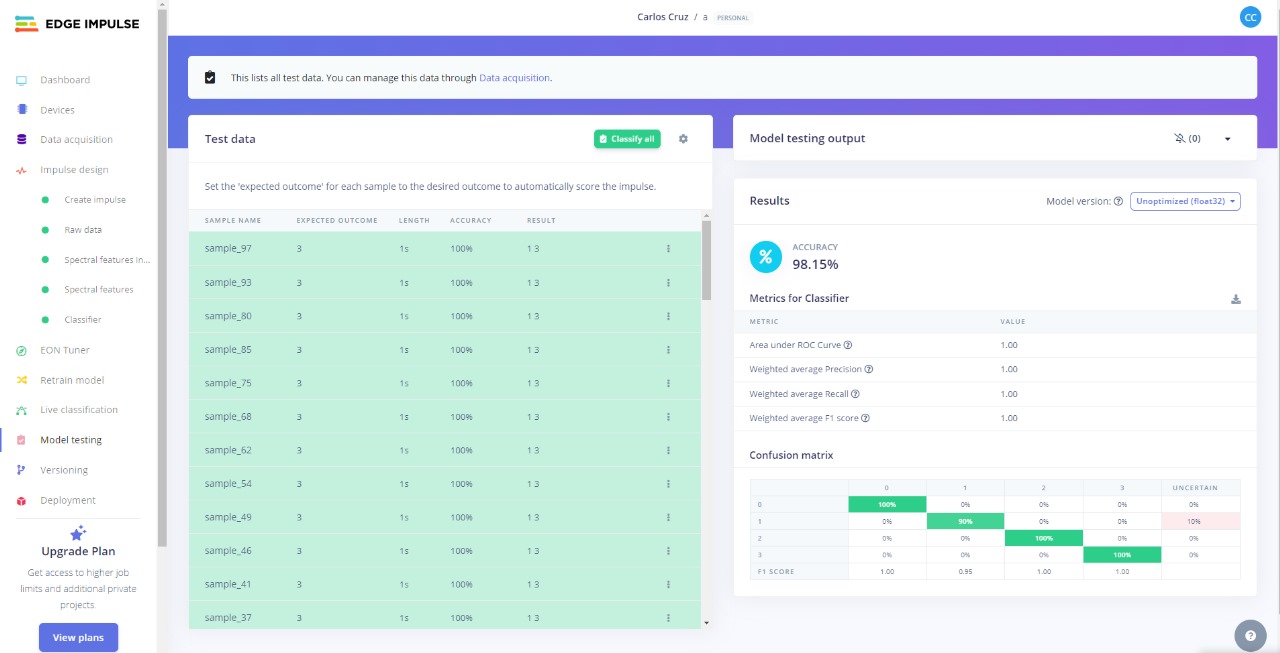
Then we generate the Train, we can see that the data obtained was relevant because of the outcome:
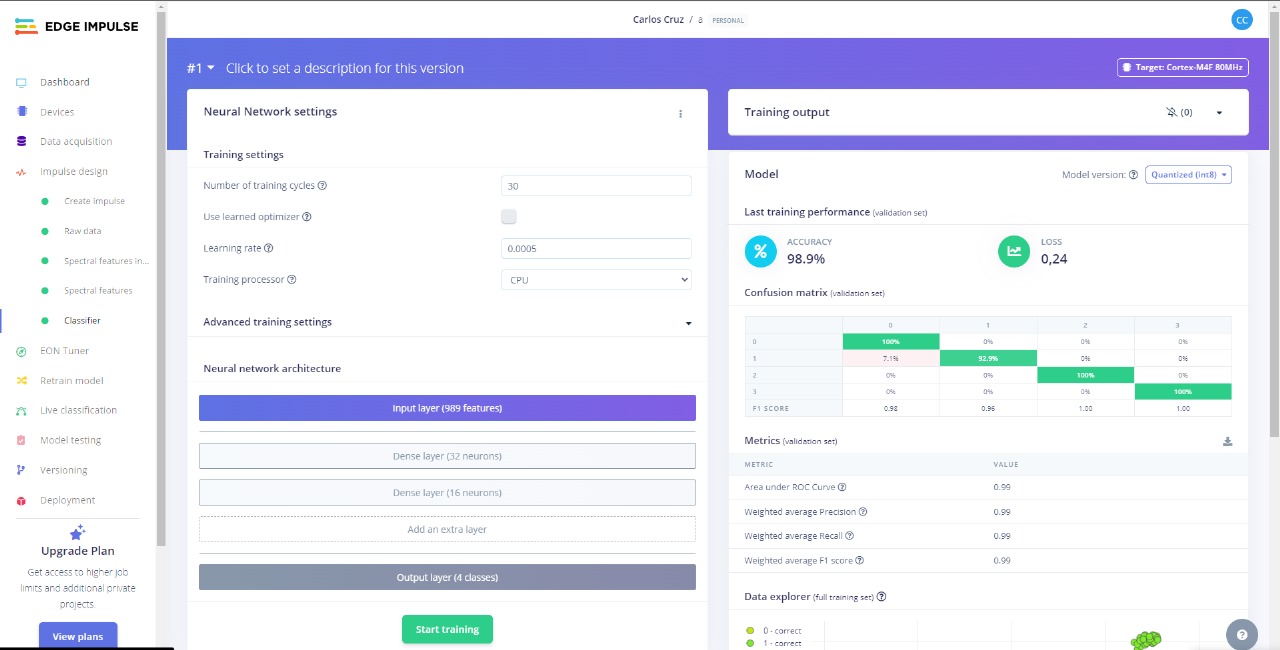
For the final part, Edge Impulse select some data that he didnt used to train it and run the model. When having the test done we got this output, that is very accurate.
Final Project
After having all the above we can run the code and see the result of the trained model and its predictions as an
output.
Steps of how does it works:
- Get the data of the glove
- Save it in a .json file
- Load it to the Xiao with the model
- The outcome will be in the serial monitor
- The Laptop is in charge of sending the value to the speaker
- The speaker receives the value and produces a sound
But it can be trained for more!!
Files